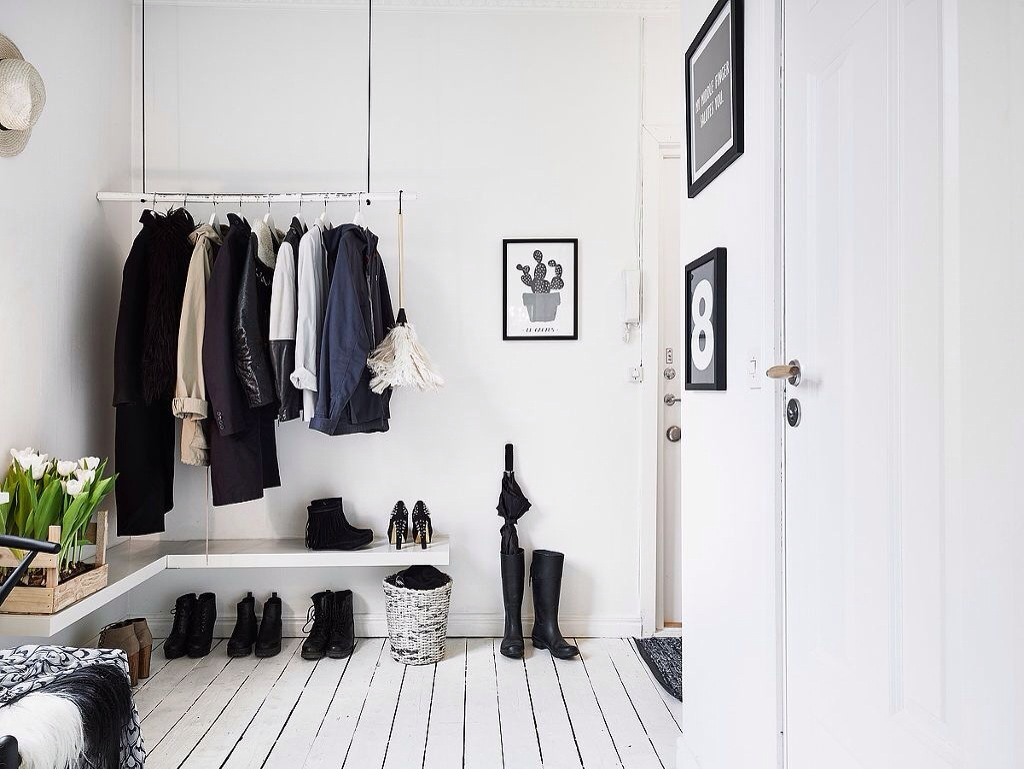
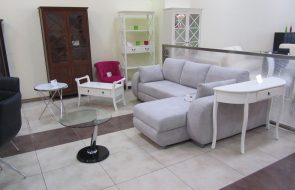
The problem of storing shoes in an apartment is always relevant - each person has several sets that require a lot of storage space. After the street, it is impossible to immediately put the shoes in the closet, so having a special rack in the hallway will be the best solution.
Modern stores offer a wide variety of options of any size and design. A suitable shelf or rack will help save space in the hallway, ensure order, and provide space for your guests' boots and shoes.
Despite the large selection of finished products in stores, a DIY shoe rack does not lose its popularity. You can make a model that perfectly matches your interior in terms of style, accurately calculate the dimensions, and choose the desired materials.
The piece of furniture is quite simple, so even a novice craftsman can handle the task, and it is easy to find a project for every taste on the Internet.
In addition to the pleasure of creative work, making a shoe rack yourself will help you save on the expensive services of a professional carpenter.
Content
Selecting a project
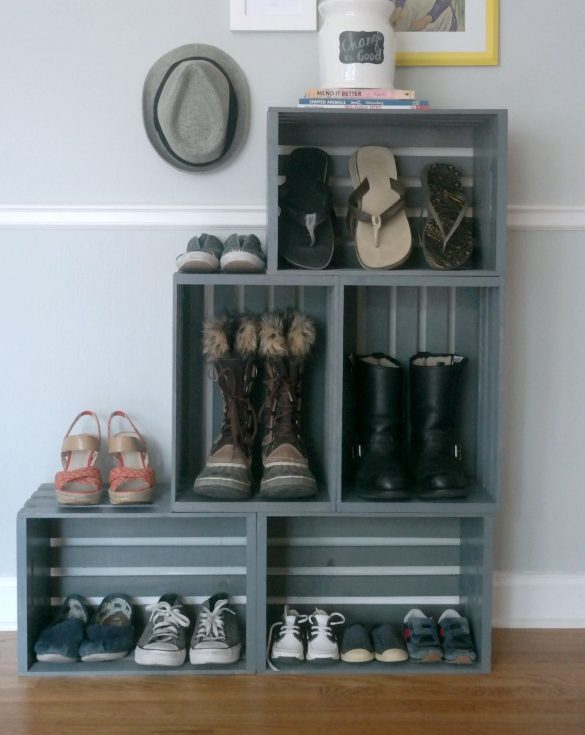
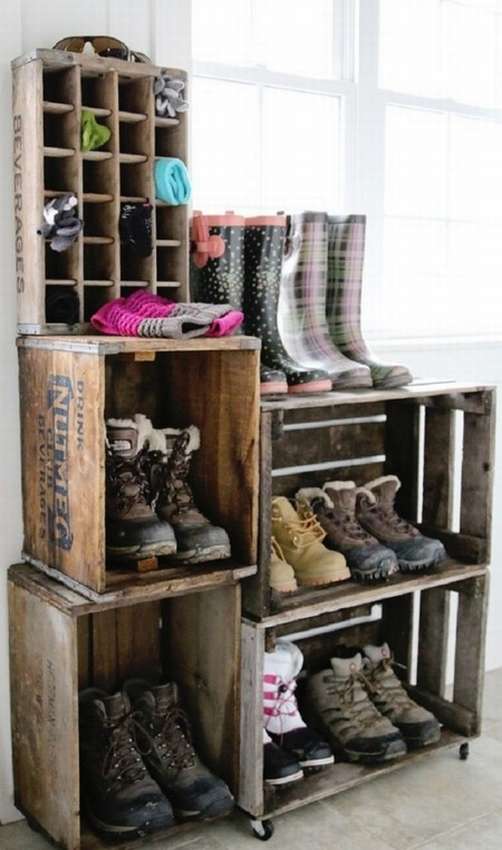
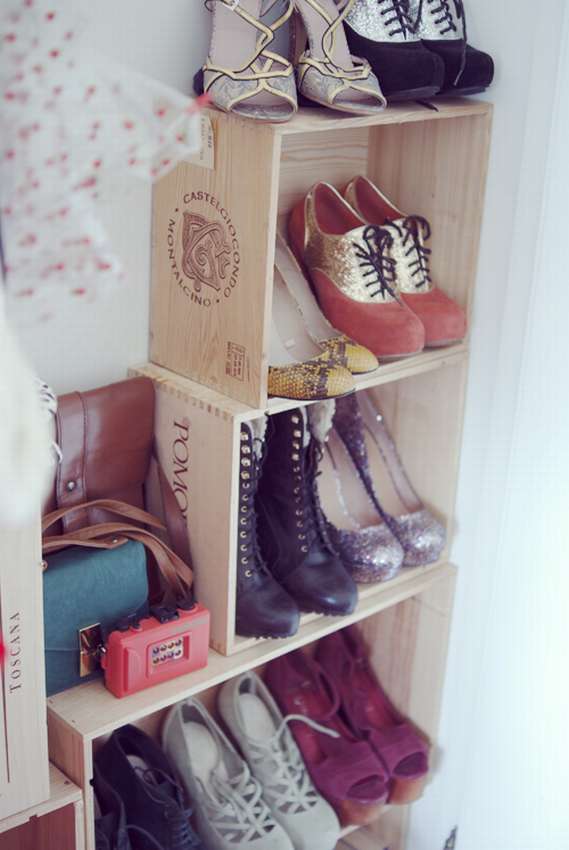
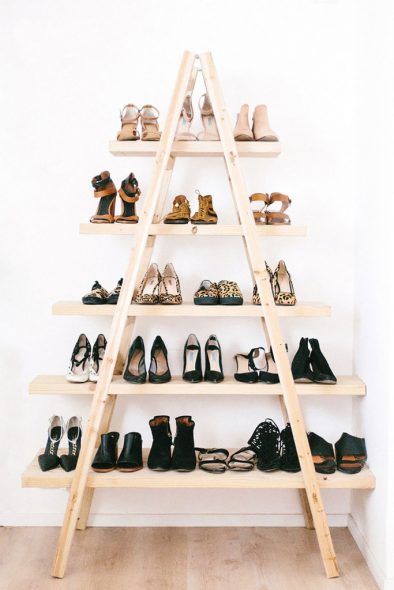
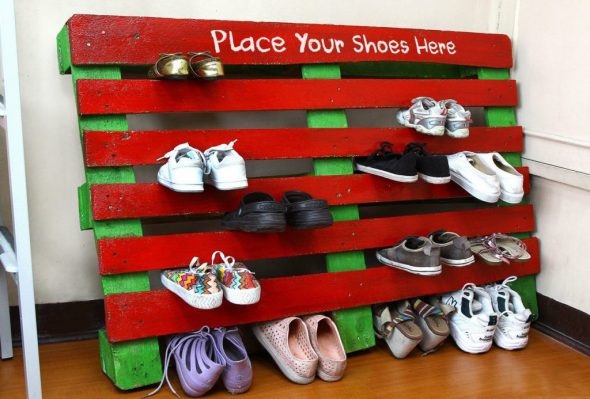
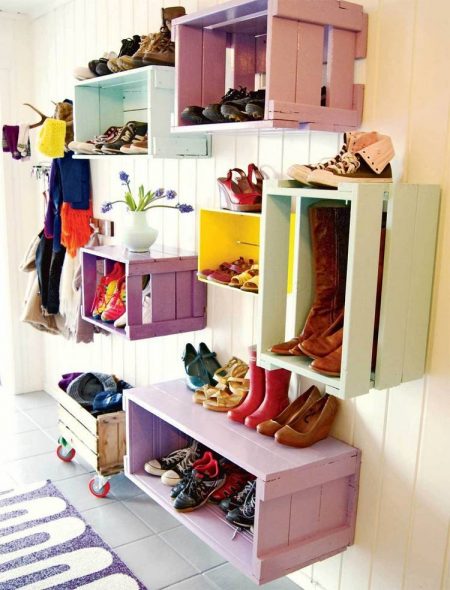
A DIY shoe rack can be made in many different ways. Using improvised means, such as cardboard boxes and wooden crates, opens up a wide field for imagination. You can also choose the traditional method - making an item from scratch using tools and suitable materials. The design can be very different - floor, hanging models, cabinets, shelves, panels.
Whatever project you choose, you need to make a drawing - this will help to avoid errors with dimensions, to make sure that the finished product will fit in the space allocated to it. Therefore, measurements are taken in the room in advance.
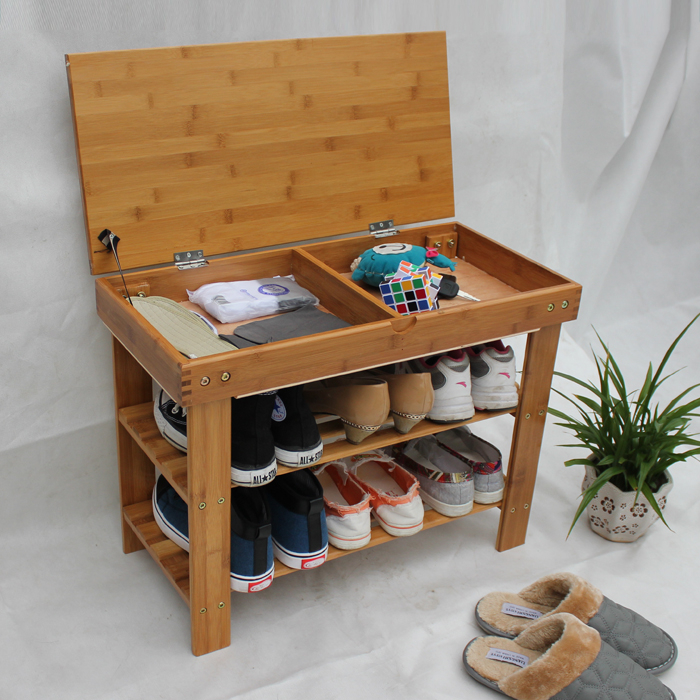
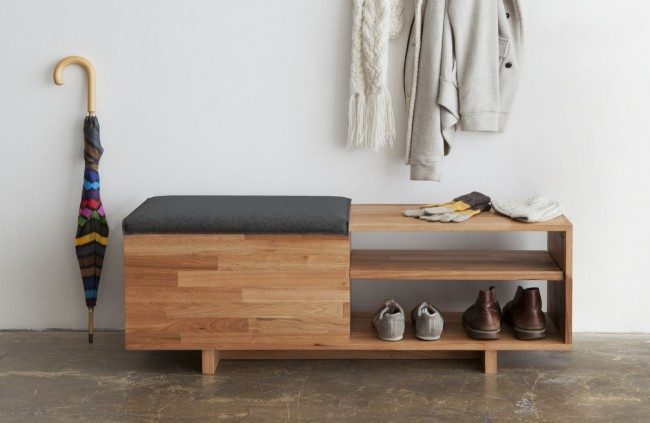
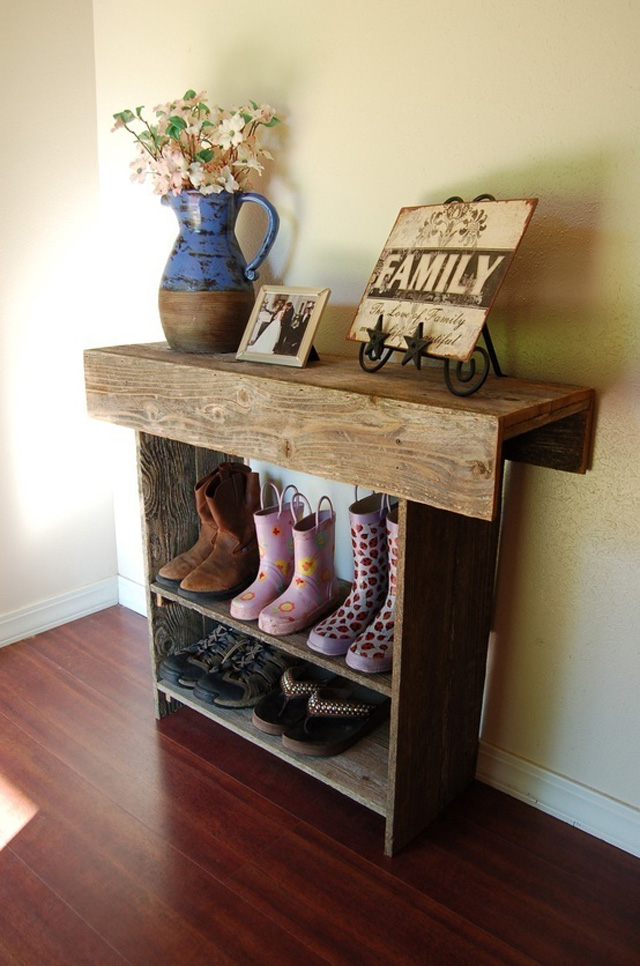
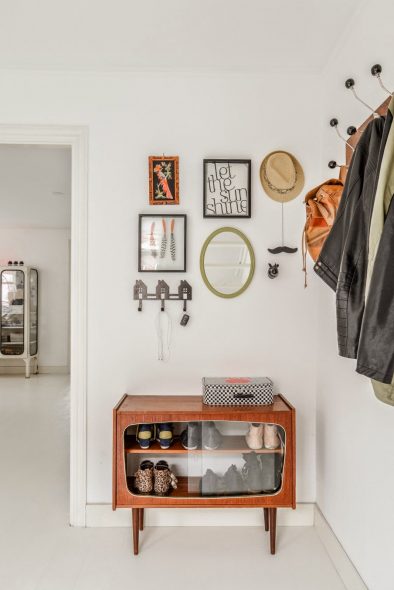
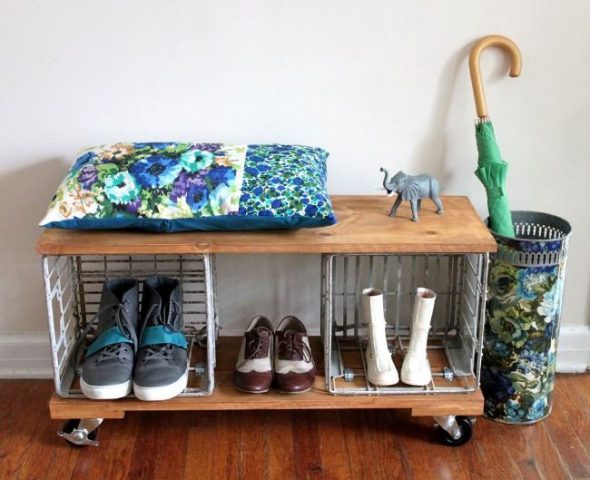
In addition to the size, you should consider the functionality of the rack, whether it will perform any additional tasks. For example, a cabinet that simultaneously functions as a table in the hallway will provide a place where it is convenient to put keys, an umbrella, and small items.
Necessary tools and materials
There are many rather original solutions on how to make a shoe rack with your own hands from scrap materials. These can be pieces of wood, plywood, metal, plastic, fabric. Also used are pieces of linoleum, laminate, plastic water pipes. When placing outdoor shoes, the material must be moisture-resistant, so as not to suffer from contamination, frequent cleaning.
The specific set of tools you will need will depend on the materials you choose, but the following items will generally be needed:
- hacksaw, chainsaw;
- hammer;
- grinder with cutting wheel;
- nails, screws;
- electric drill;
- jigsaw;
- screwdriver, screwdriver;
- wood glue;
- roulette.
Working with metal will require the use of a soldering iron, a welding machine - when using them, do not forget about protective equipment (mask, gloves). You will also need a plane, a grinder, sandpaper. Fastening parts from different materials will require purchasing fittings in a hardware store - metal furniture corners, door handles.
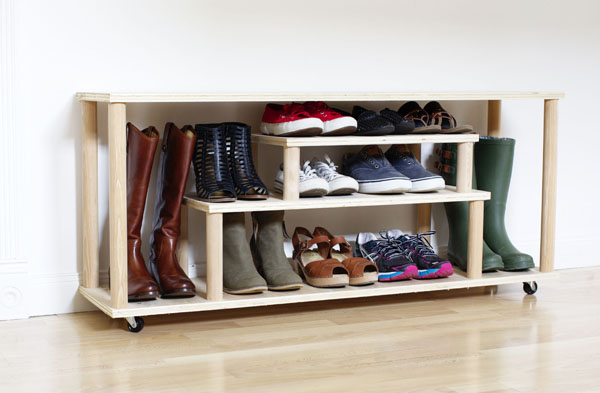
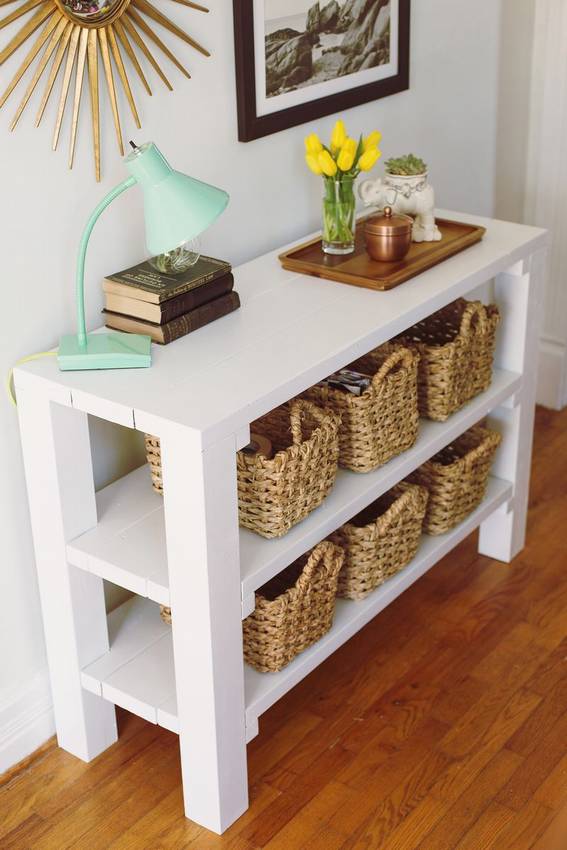
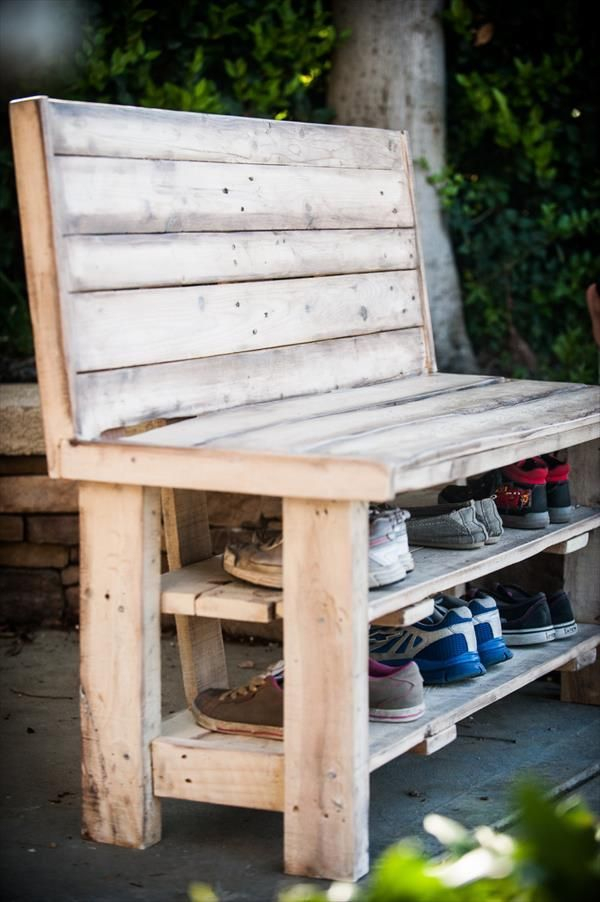
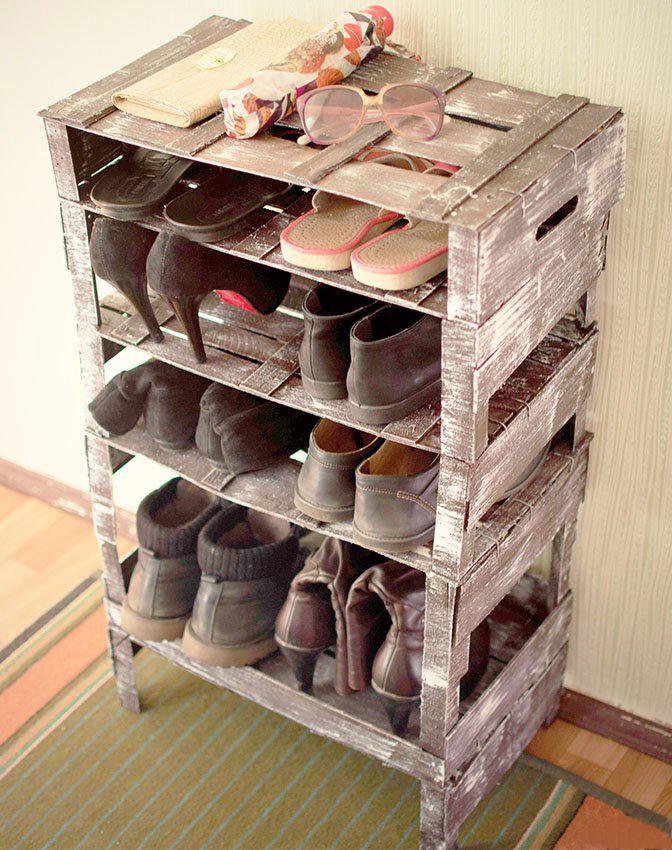
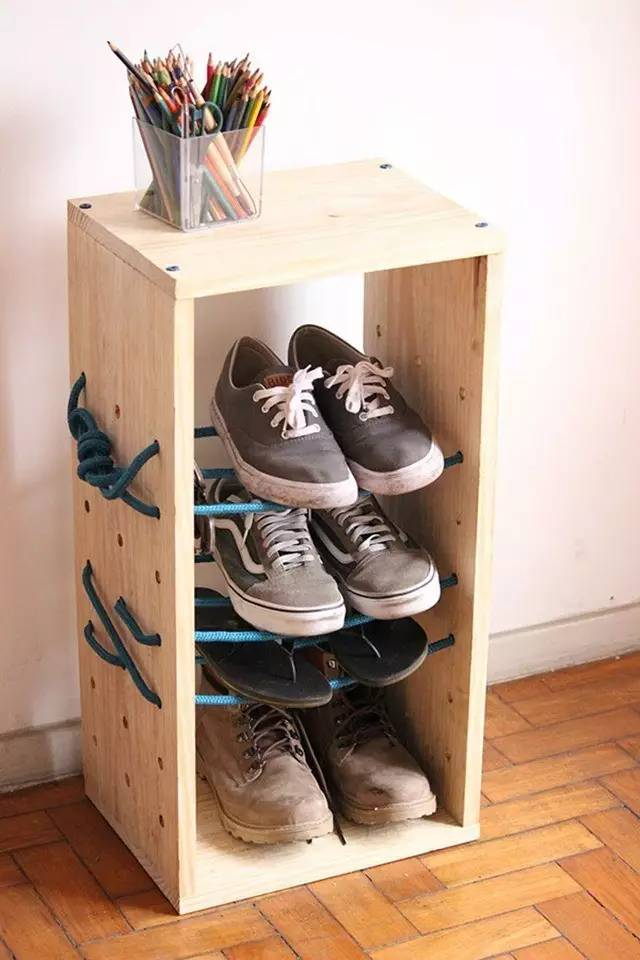
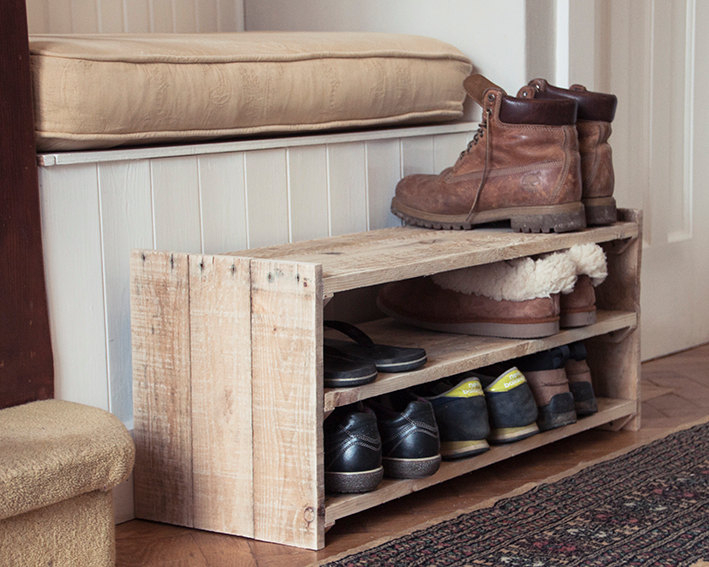
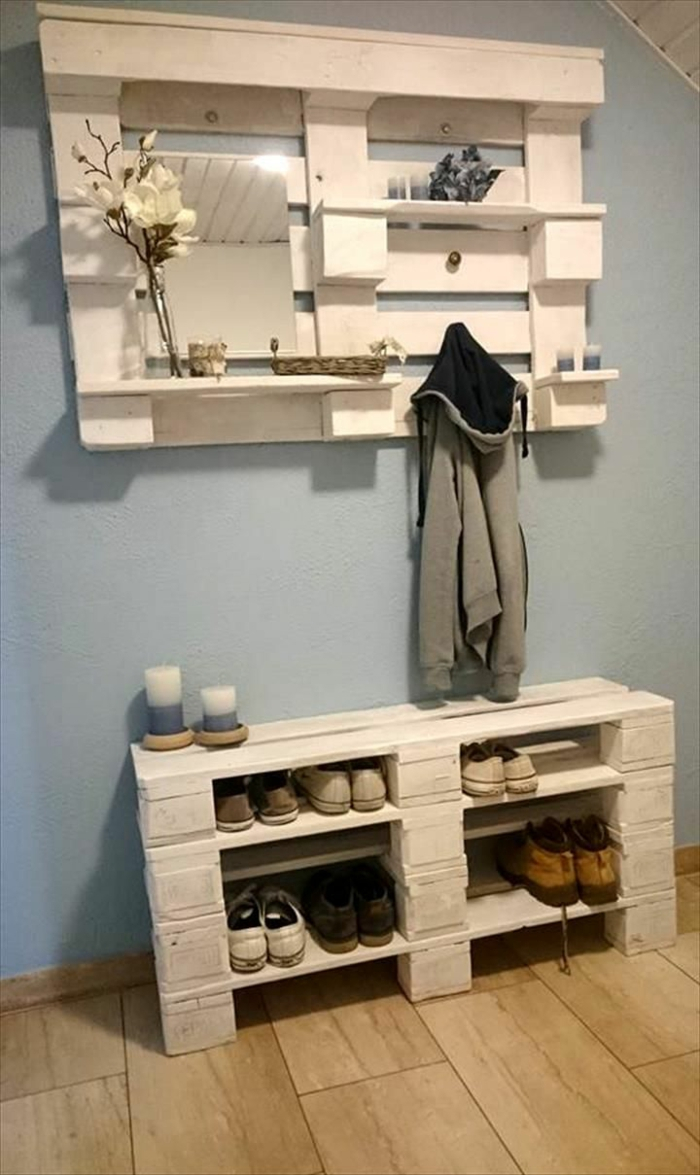
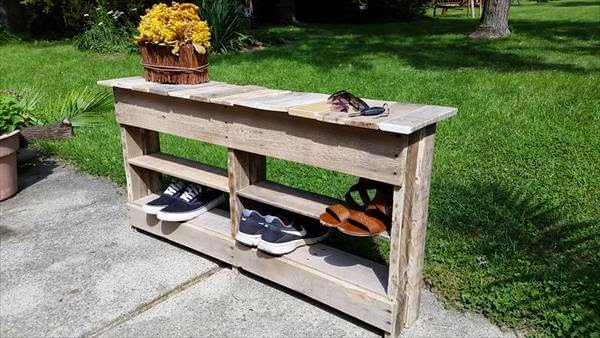
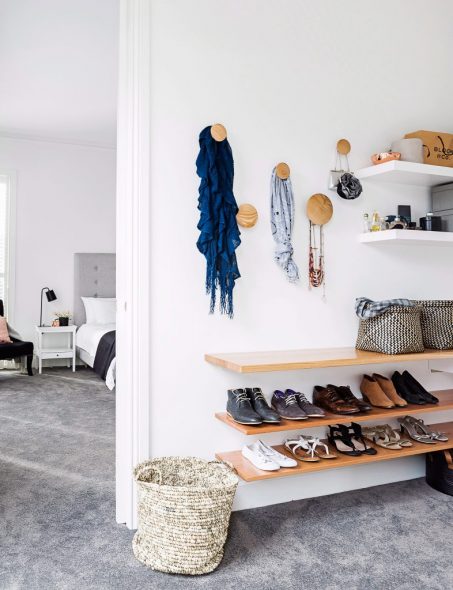
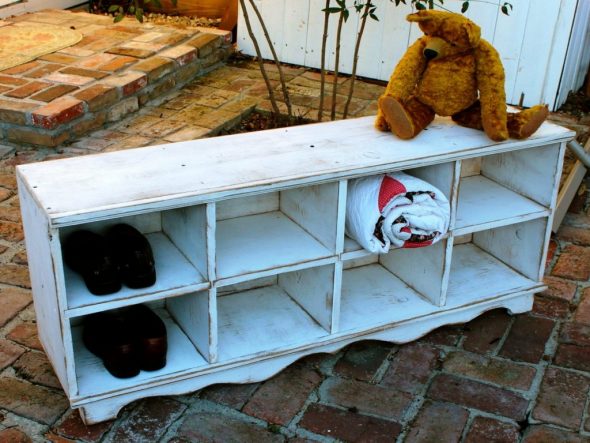
From wooden boards
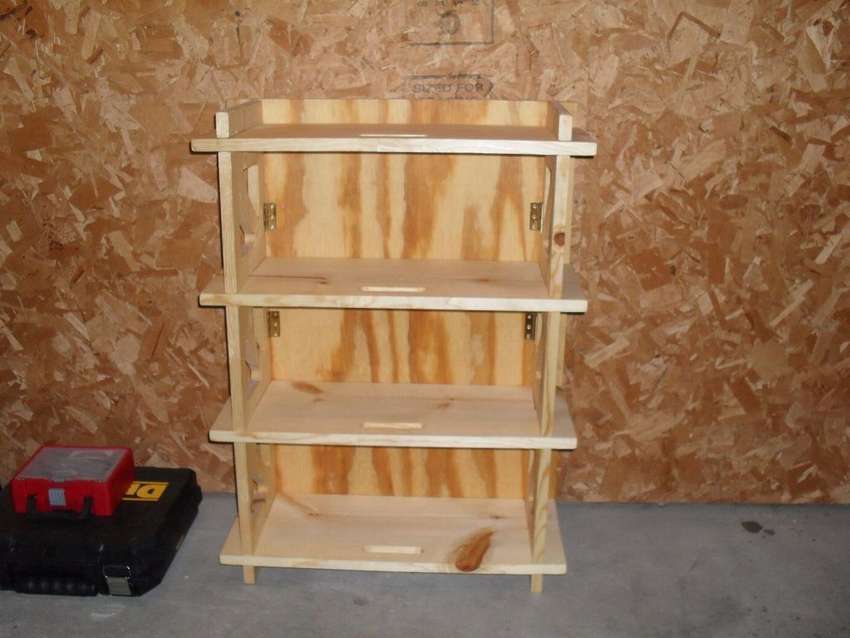
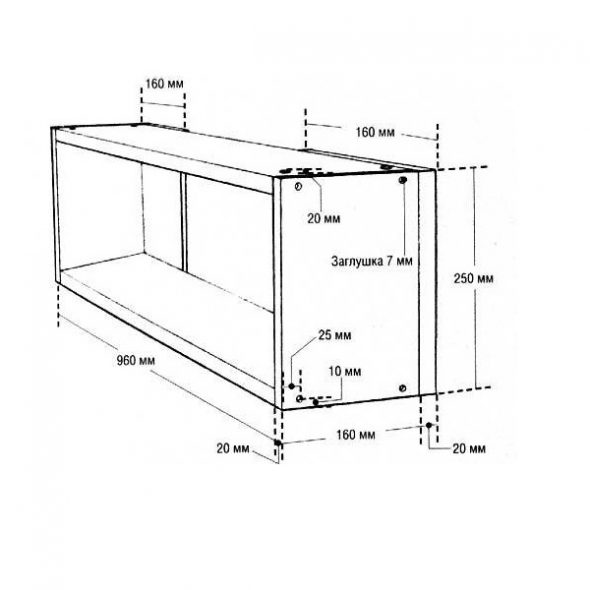
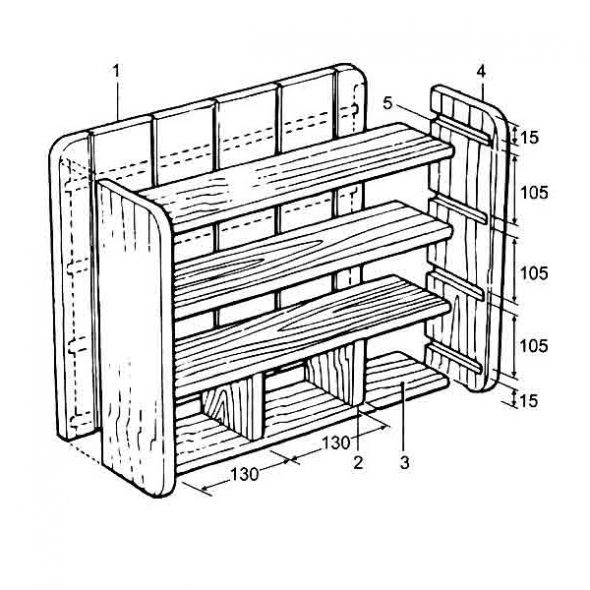
For this simple project, you need to prepare boards 1.5-2 cm thick. Pine is a good choice - its wood is easy to process and is durable. There will be only six parts, the work is carried out in the following sequence.
- Based on the measurements taken, the dimensions of the frame are calculated and a drawing is made.
- The side walls are cut to the required size (for a specific project, the height is about 80 cm).
- Crossbars are made - four pieces, about 60 cm long.
- The support bars that hold the crossbars are cut out.
- All surfaces are sanded until smooth.
- The bars are attached to the main fragments in accordance with each other.
- Boards are placed on the bars, the lower and upper ones are secured with wood glue and metal corners - this will form the frame of the rack.
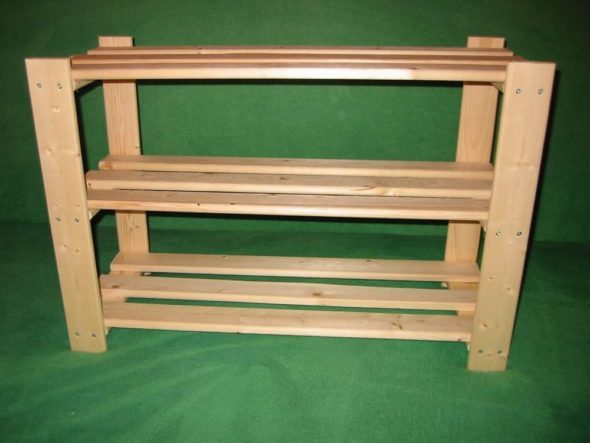
Wheels attached to the lower part of the sidewalls make it easier to move the frame. You can make a shoe rack with your own hands using the same principle from chipboard or plywood. In the latter case, you need to be careful - plywood easily cracks and forms chips when sawing.
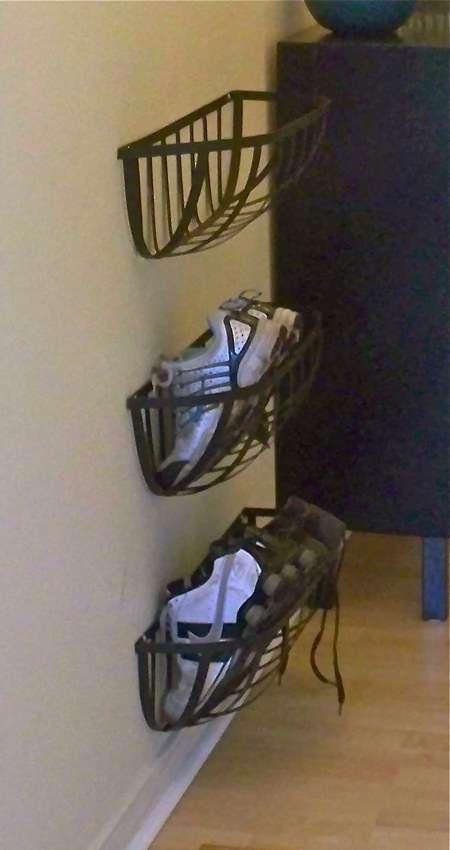
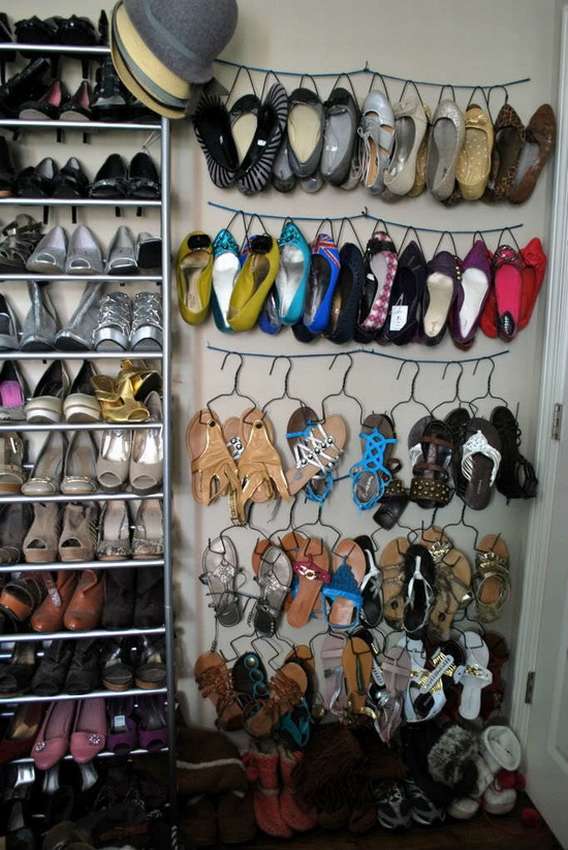
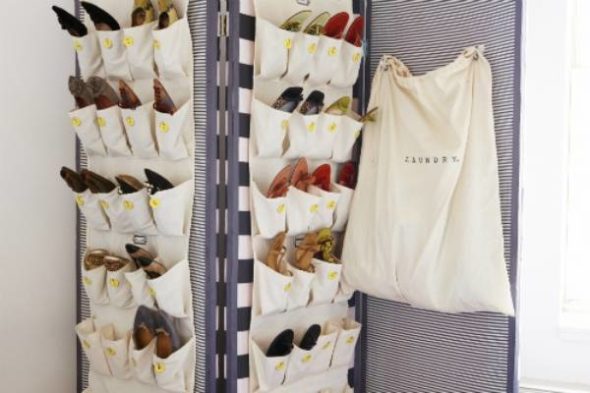
Portable
Lightweight shelves that can be easily moved or transferred to another room if necessary are very popular. Make a portable shelf from cardboard, fabric and other materials.
- A frame is made from rigid wire and slats, onto which the fabric of the panel is stretched. The frame is rectangular, made like a hanger - when placed on a cabinet door, the filled fabric shelf will not twist.
- A rectangular panel is sewn from thick fabric that can be washed well. The panel is stretched onto a frame.
- Rows of pockets are sewn onto the fabric. The pockets should be dense and easy to clean. Soft plastic, thin rubber, book covers will do.
A lightweight portable shelf is great for storing summer sandals and sneakers, but it won't hold heavy winter or autumn shoes that drip dirty moisture.
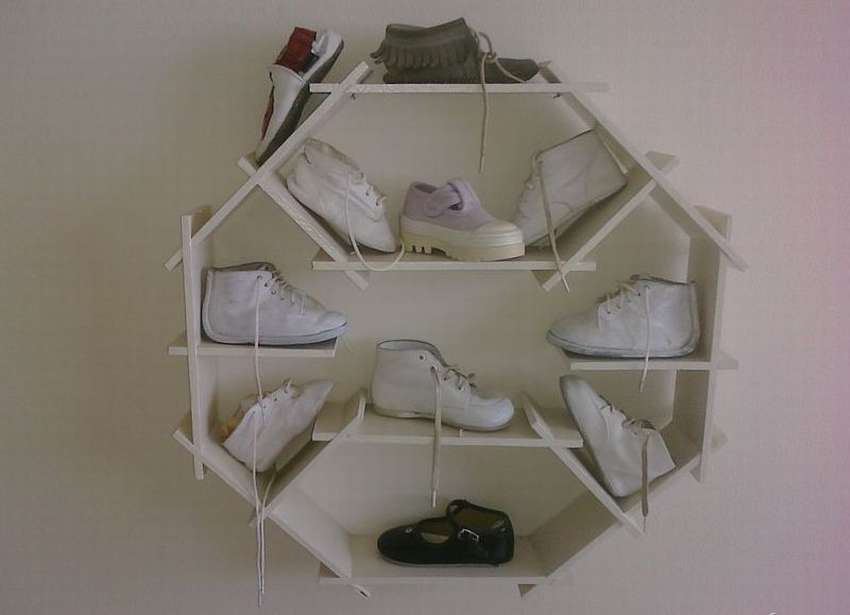
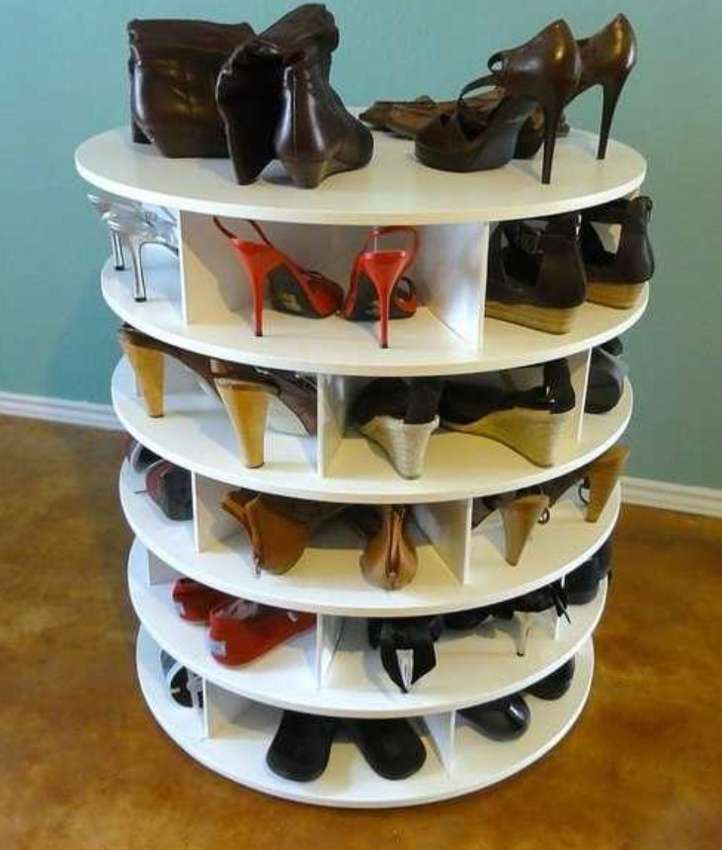
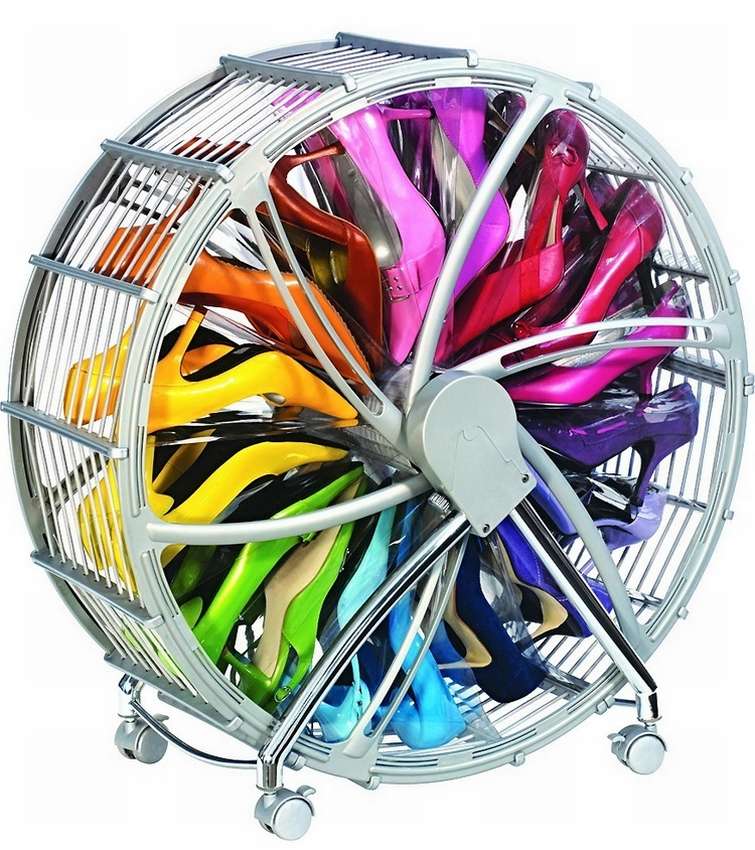
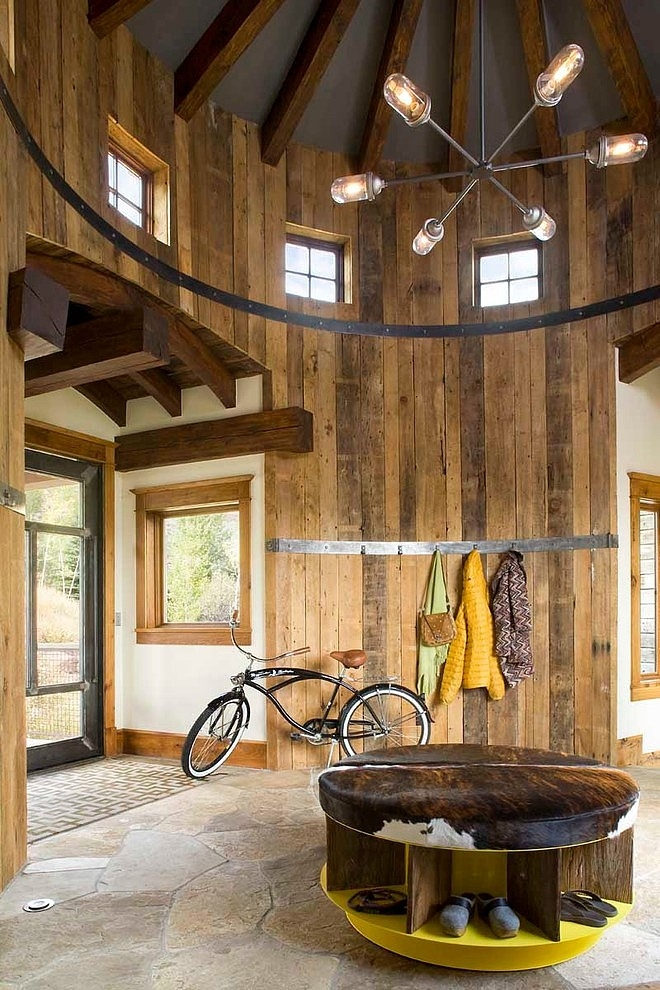
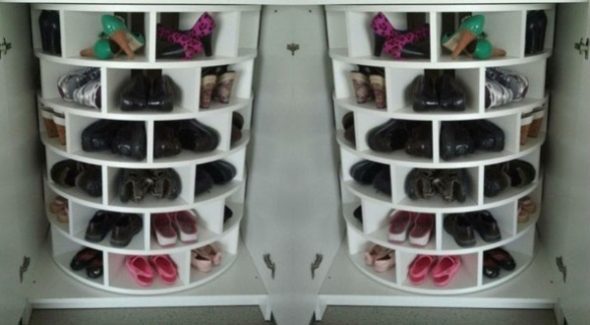
Carousel
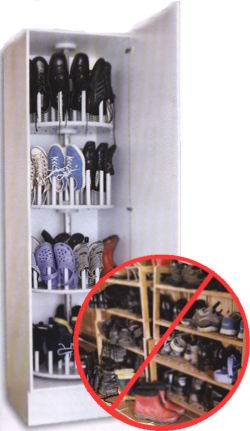
This option is suitable for installation in the hallway, placement in a closet. A round shelf with capacious cells allows you to quickly find the right pair of shoes - just turn it around its axis. Such a shelf can be made of wood, chipboard, plastic and a metal rod.
- In accordance with the dimensions of the product, circles of the stand of the required diameter are cut out. A hole is made in the center for the rod.
- Wheels or a rotating mechanism on bearings are attached to the bottom of the lower circle.
- Dividers – quadrangular-shaped blanks – are installed vertically on the circle.
- The second circle is placed on top and secured. The topmost circle is secured to the rod with a bolt and washer.
- Fastening is carried out using fittings (metal corners).
To turn, either a support mechanism is used, or a double bottom is made - a lower stable layer and the first shelf located above it. A special gasket made of smaller diameter disks will reduce friction between the bottom and the first tier.
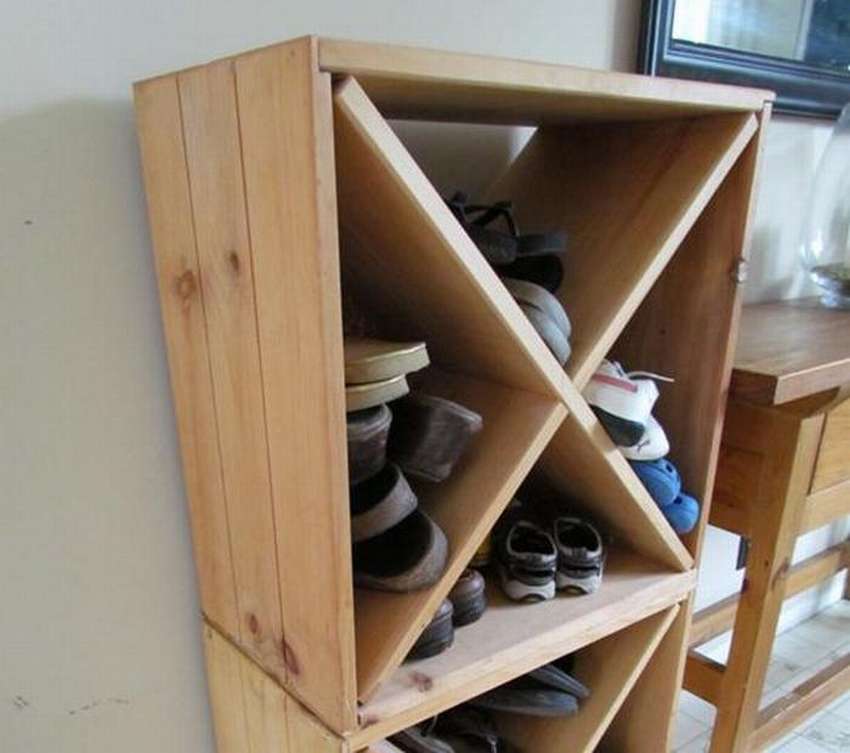
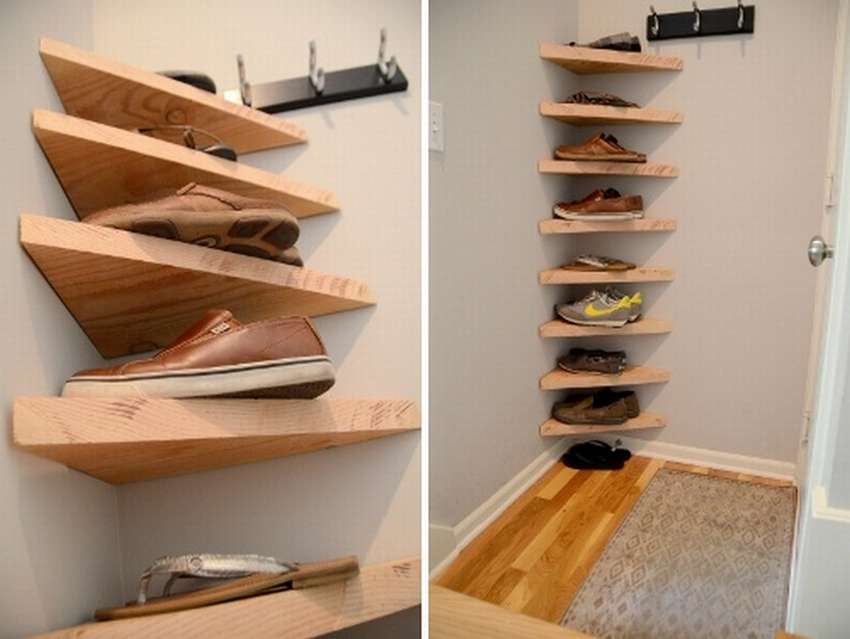
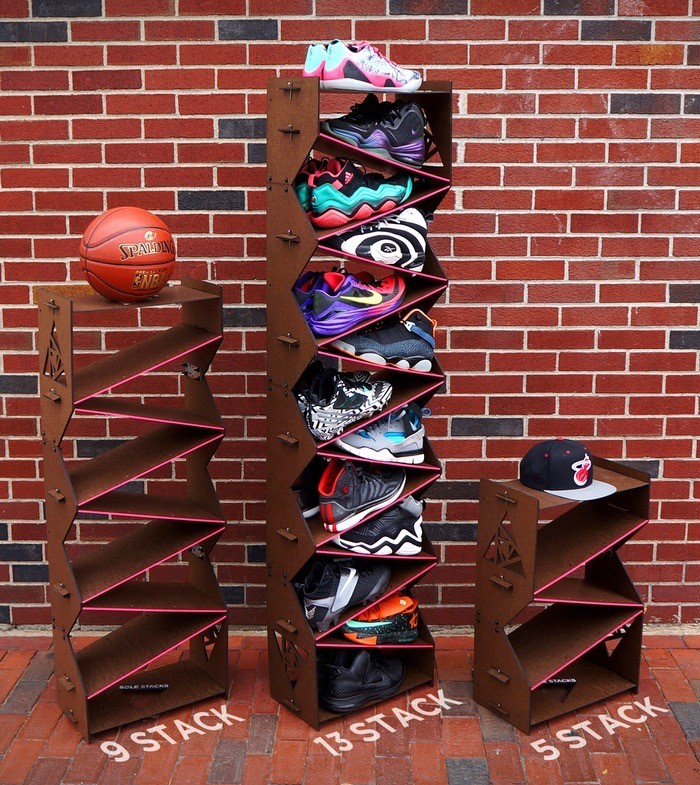
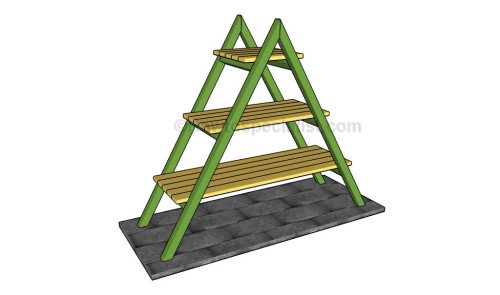
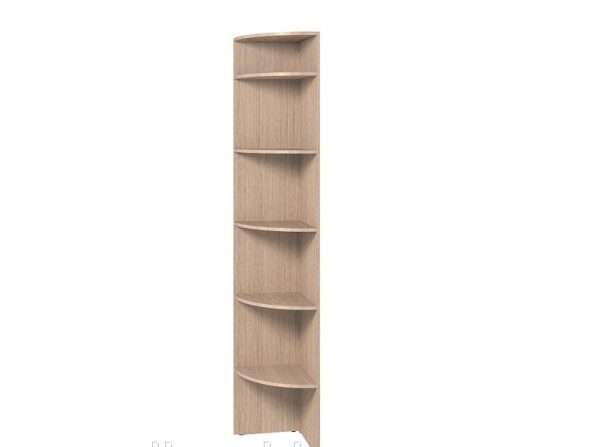
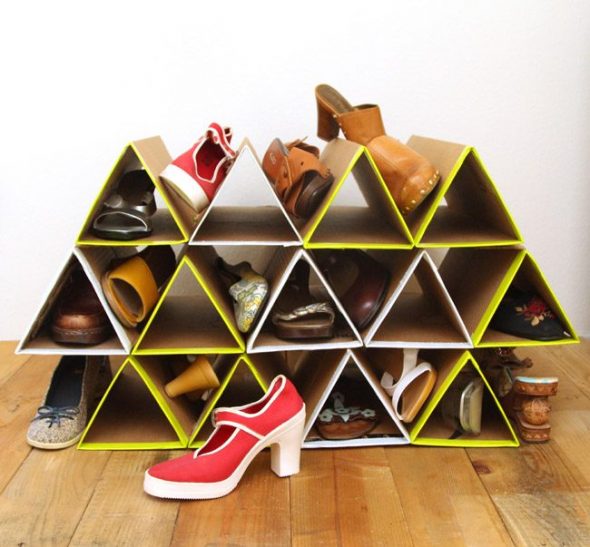
Corner
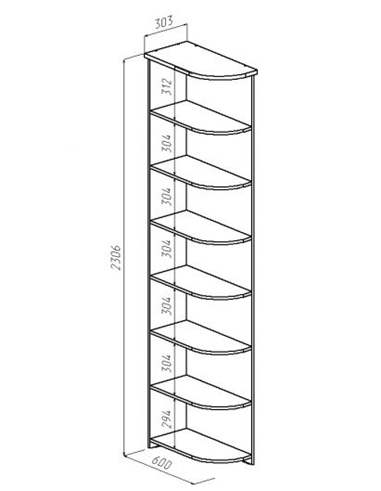
The most economical and convenient for use in small hallways is a corner shelf.
Stages of work:
- cut out the required number of crossbars - triangular or semicircular;
- Using fittings, attach them to the sides - these can be either solid pieces of wood, plastic, cardboard, forming a corner, or separate vertical slats.
The corner shelf can be quite tall, and its triangular compartments can accommodate multiple pairs of shoes without taking up functional space.
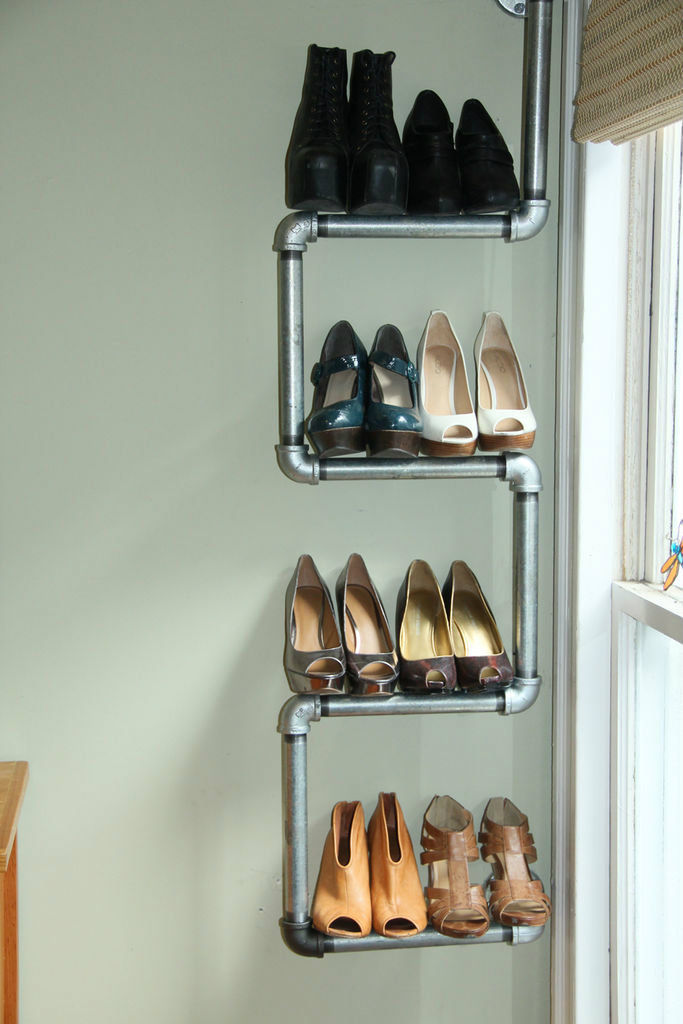
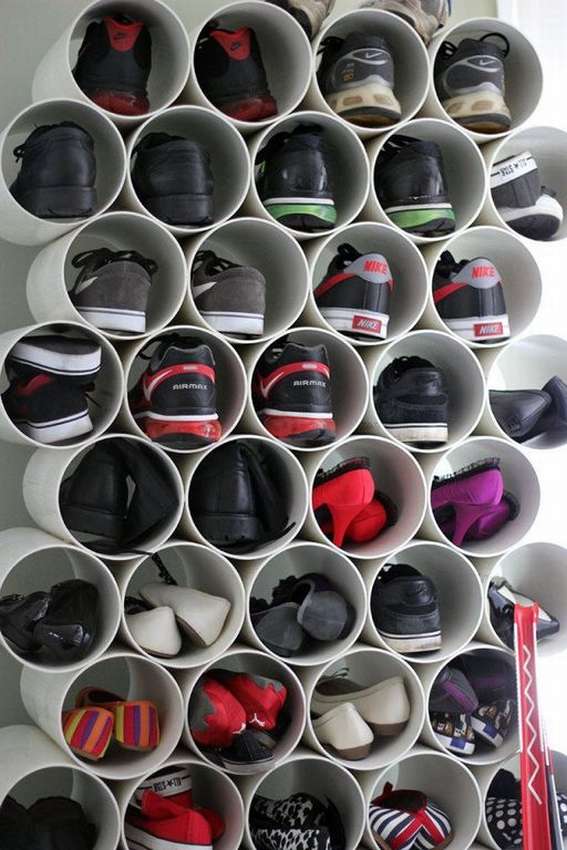
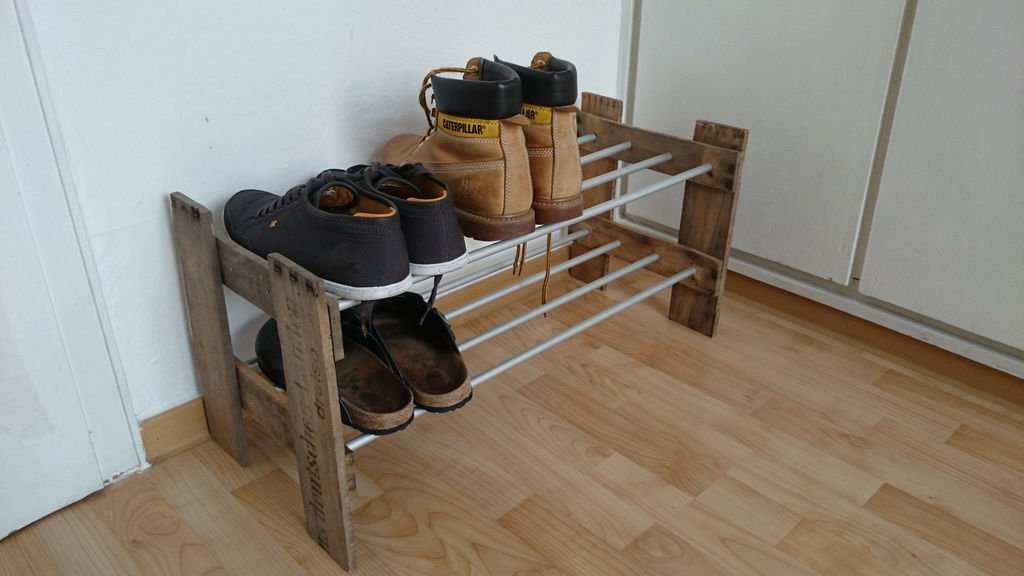
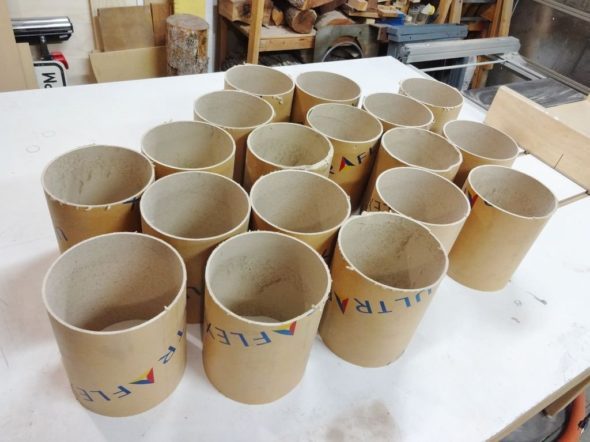
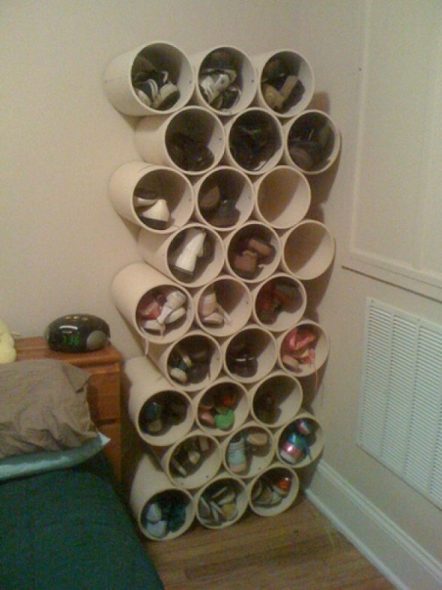
From sections of water pipes
An unusual option would be to use plastic pipes cut in a certain way and connected with glue. The original design, which has a stylish appearance, looks good in modern interiors.
- For manufacturing, plastic pipes, polyvinyl chloride are suitable. The diameter is about 25 cm. It is necessary to cut them into equal pieces about 35-40 cm long.

Sawed identical pieces of pipe corresponding to the length of the shoe - The edges are processed with sandpaper, and the pieces themselves are painted and covered with decorative material.
- The sections are connected with glue. Both even rows and staggered arrangement are suitable.

We glue the prepared pieces of pipes together
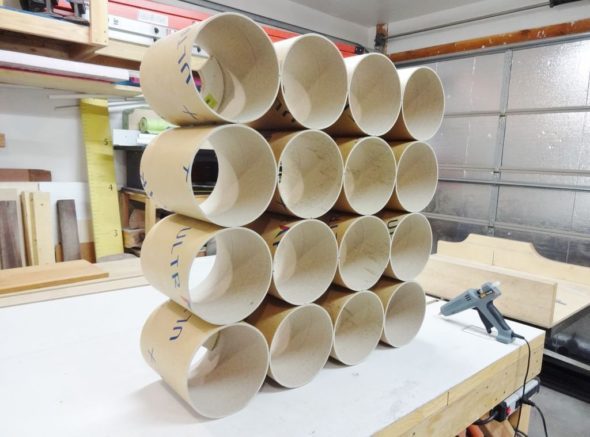
The design of water pipes is convenient because it is easy to make any width and height, to vary them. A compact shelf made of sections will fit into the smallest space.
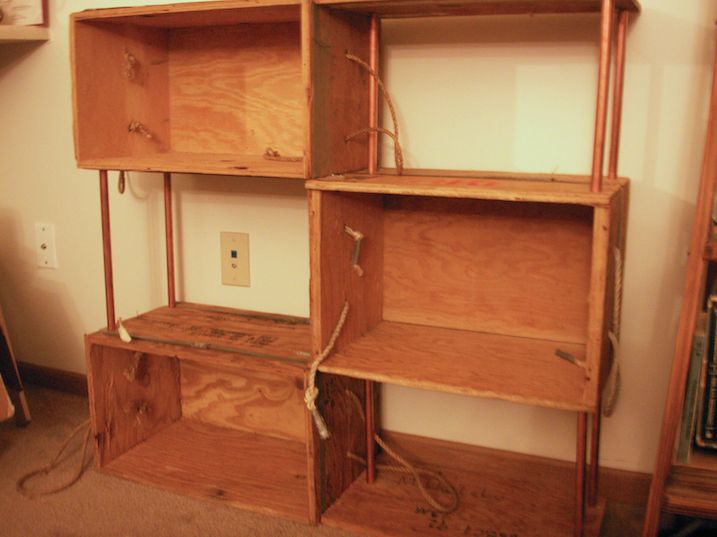
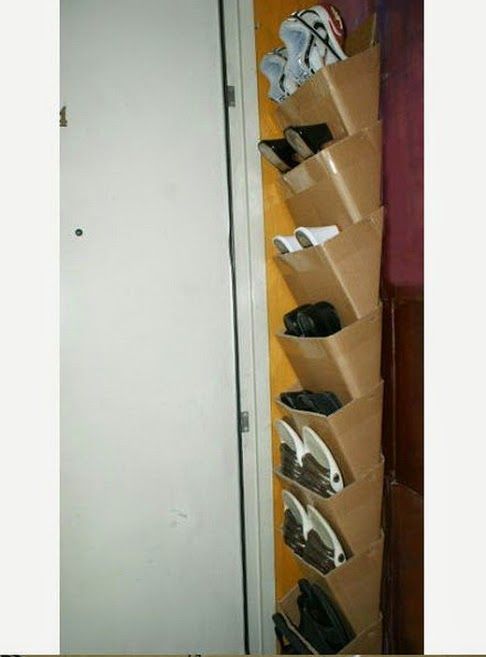
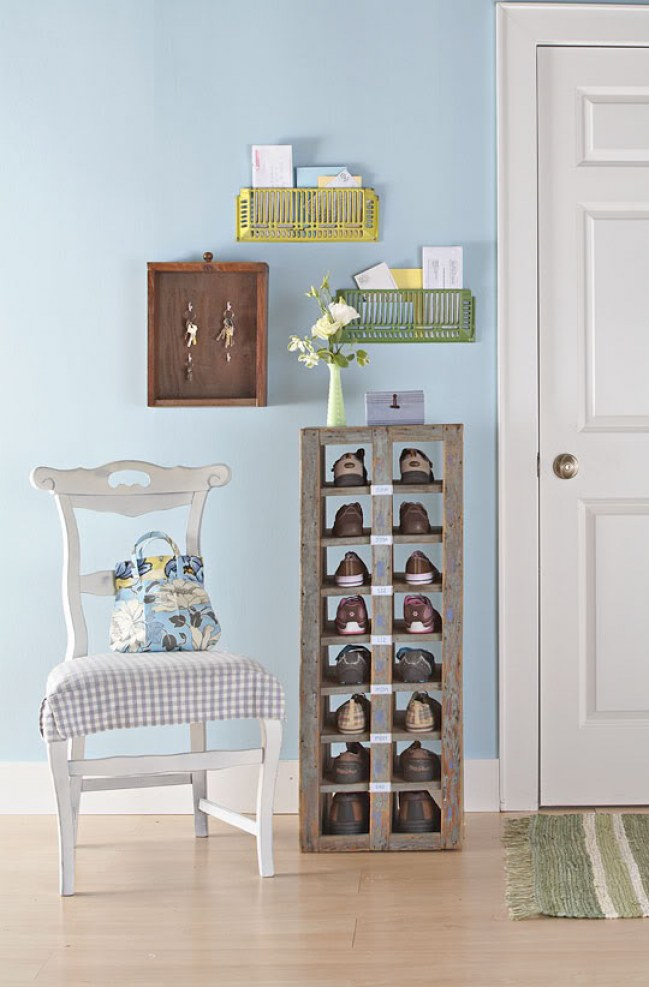
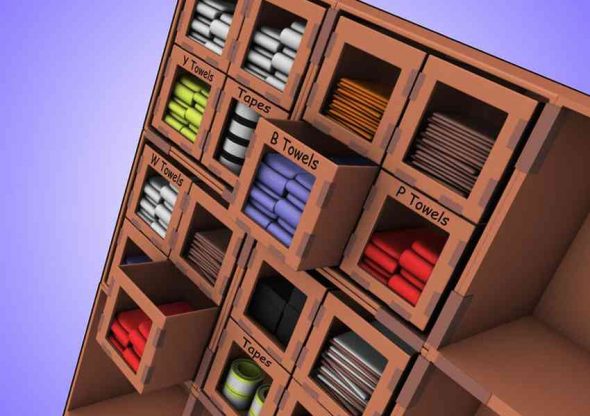
From cardboard boxes
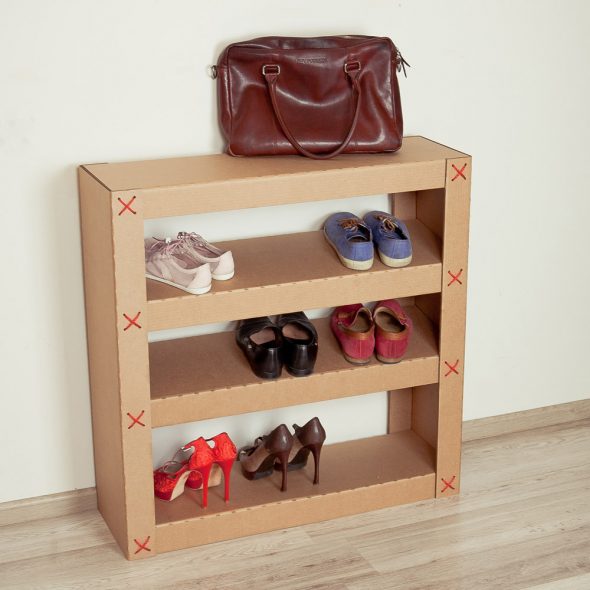
The most accessible and inexpensive option of all. The downside of the design is its low strength, so it is recommended to put light sneakers and flip-flops in the upper compartments, and put heavy boots below.
Manufacturing.
- Boxes of the same size of two types are selected - large ones for the frame, smaller ones for the drawers.
- The lids of the boxes are carefully cut off or taped. Large boxes are fastened with tape into a rack.
- For smaller boxes, a rectangular hole is cut in the front wall.
- The boxes are inserted into the cells.
The cut parts of the lids are used to make internal partitions and compartments for small items. Cardboard easily absorbs water, it is recommended to treat all boxes with moisture-resistant paint or varnish.
Decorating
Depending on the material of manufacture, the means of decoration will differ. The decoration of wooden products will require sanding with sandpaper, treatment with carpenter's varnish, various stains, wood paint. A wooden structure will last much longer if it is treated with a moisture-proof impregnation with an antiseptic - this will protect against mold and fungus. Quick-drying paint, self-adhesive film with a decorative pattern are suitable for metal and plastic structures. Cardboard must be protected from moisture with a special impregnation. A shoe rack can be painted in any color in accordance with the overall interior design. The decoration is often completed by applying a pattern or ornament using paint. Wooden products are often decorated with carvings, a burnt image made using a special device.
Video: Simple DIY Shoe Rack
https://www.youtube.com/watch?v=dgIXBPCeNyo
50 photos of DIY hallway shelves: