A bumper for a child's bed is a very practical and necessary thing. This element allows not only to protect the baby from a cool draft, but also to weaken his contact with the hard bars of the bed.
A baby's bed must have such protection. Soft sides can protect children from injuries, bruises and abrasions. You can make beautiful and original sides with your own loving mother's hands, using ready-made patterns or advice from experts.
Similar products can be purchased in any of the shopping centers. They are also called "bumpers" or "security", but is it necessary to spend a huge amount of cash, because a side for a bed from falling with your own hands is quite simple.
Content
- Types of bumpers for a baby cot
- Types of filler for bumpers in a baby crib
- How to sew bumpers for a crib for a newborn with your own hands, step-by-step instructions
- How to sew a frill into the side correctly
- VIDEO: Sewing bumper pillows for a baby’s crib.
- Bumpers for a crib for newborns – 50 photo ideas:
Types of bumpers for a baby cot
Before deciding what kind of bumpers to sew for a child's bed with your own hands, you need to understand the main indicators for each type of these products and the sewing features.
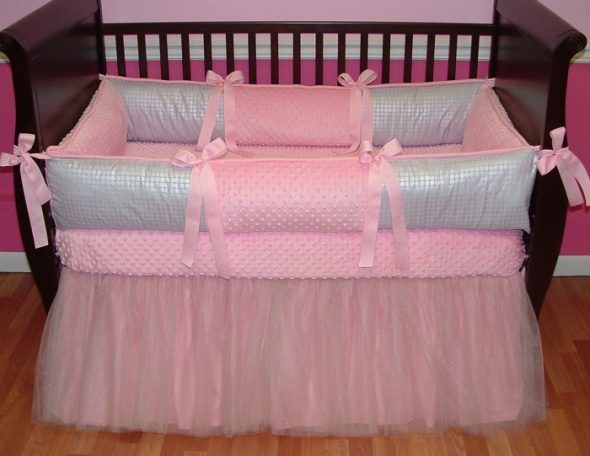
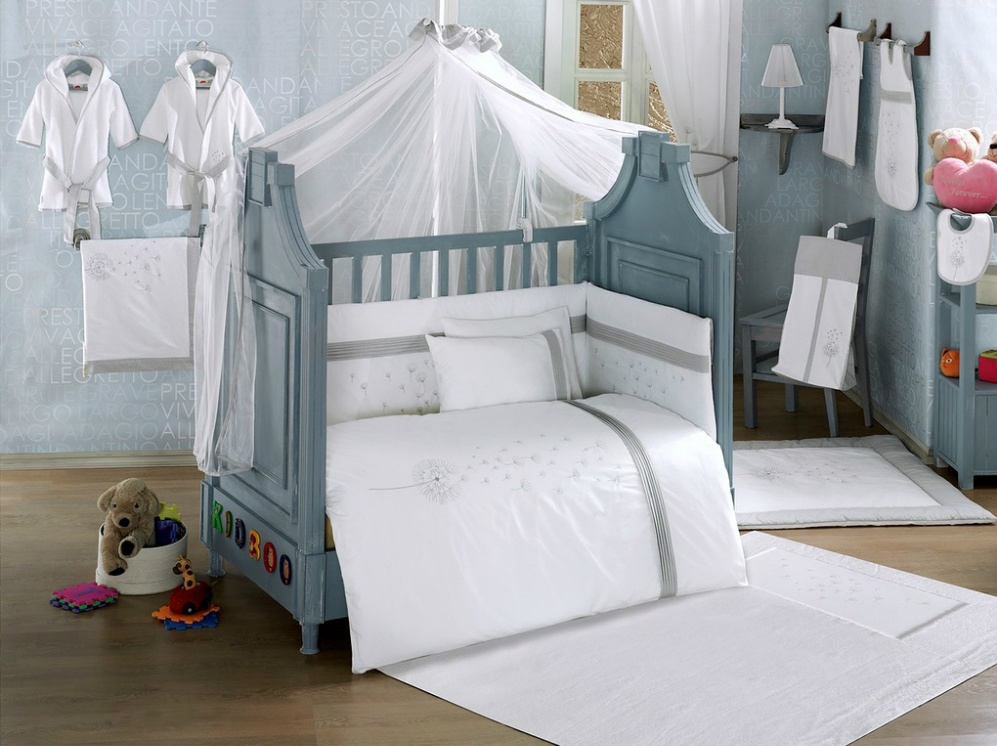
- Sides with replaceable covers.
They consist of pillows with covers made of natural material. The covers are put on like pillowcases and fastened with zippers. The advantage is that it is possible to sew two sets of outer covers and wash only them. However, this kind of aspect is suspicious, since the baby is able to dirty both pillowcases and pillows.
For sewing you will need additional cotton material and 4 zippers, at least 42 cm long, which will lead to additional costs. Replacement covers are sewn a couple of centimeters larger than the pads so that they can be comfortably put on. The need to use zippers and fasteners is alarming, since they contain small parts that the baby can swallow.
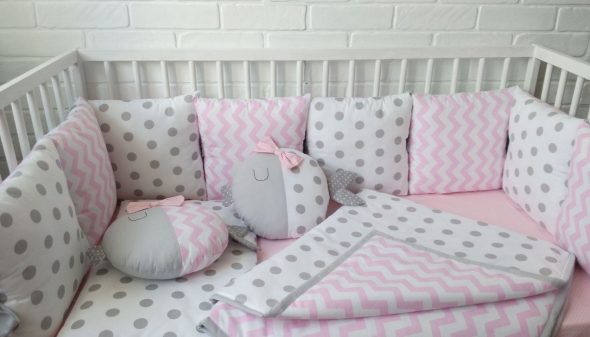
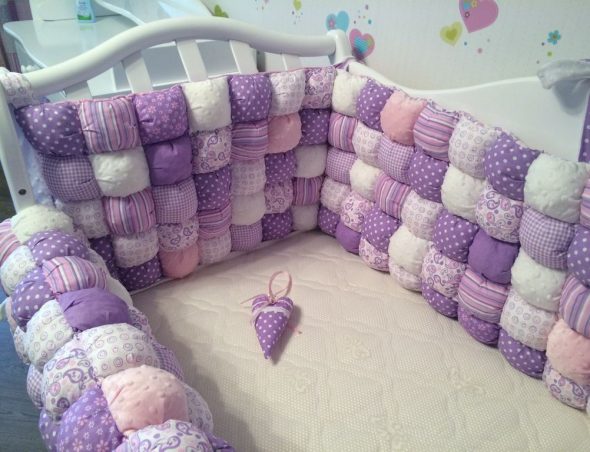
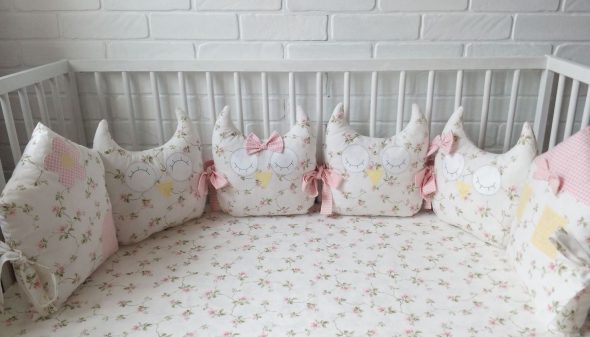
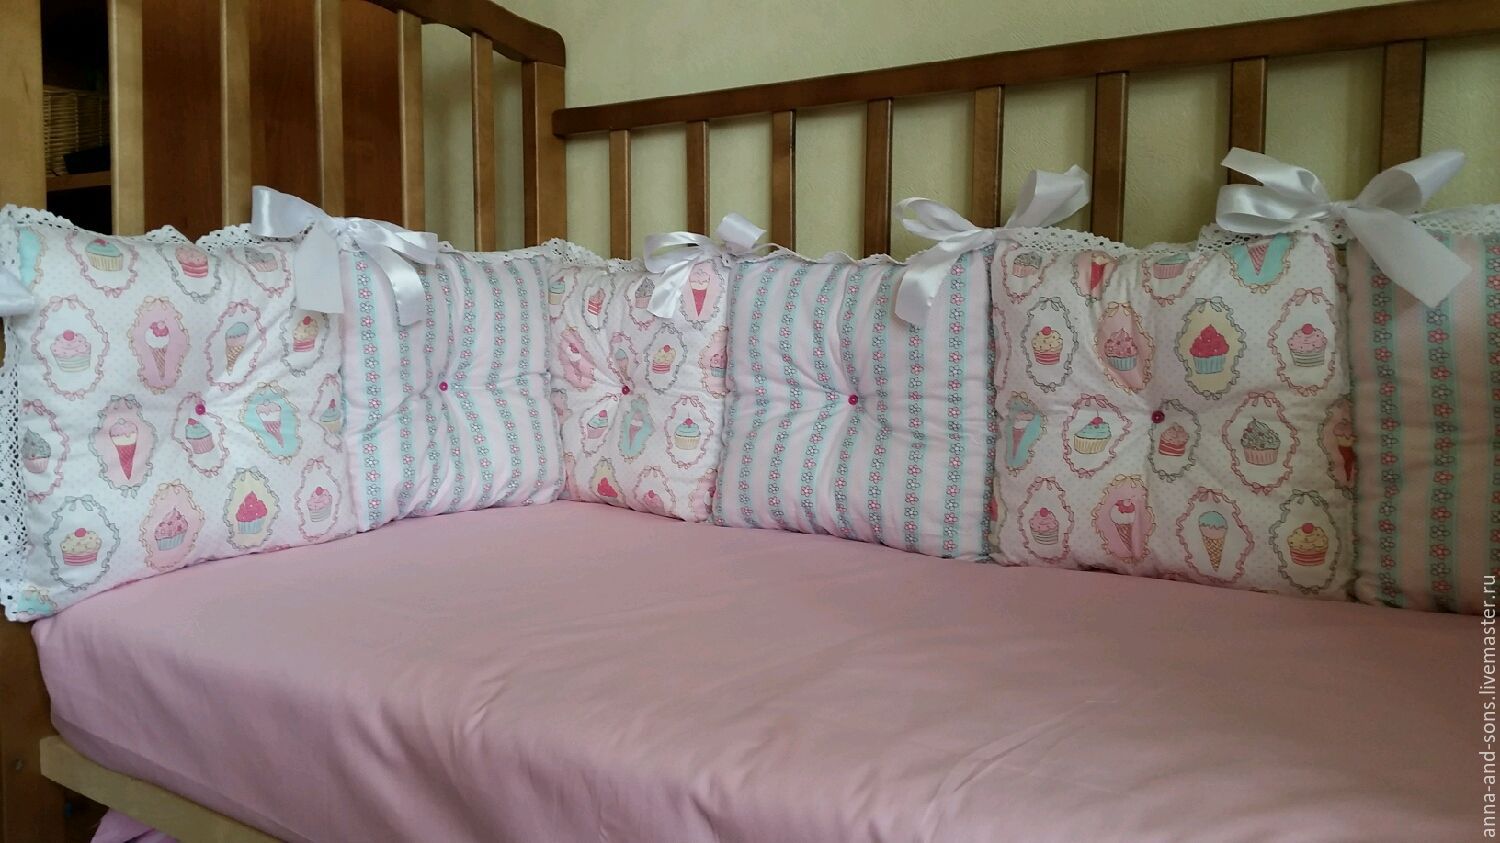
- Sides made of cushions.
Convenient because it is possible to use more filler. In cases with small pillows, 40 - 50 cm in size, the thickness of the sides can be increased. Thus, the bed will become the warmest and most comfortable.
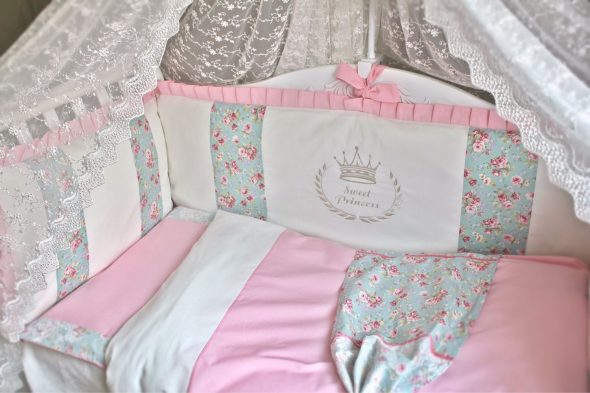
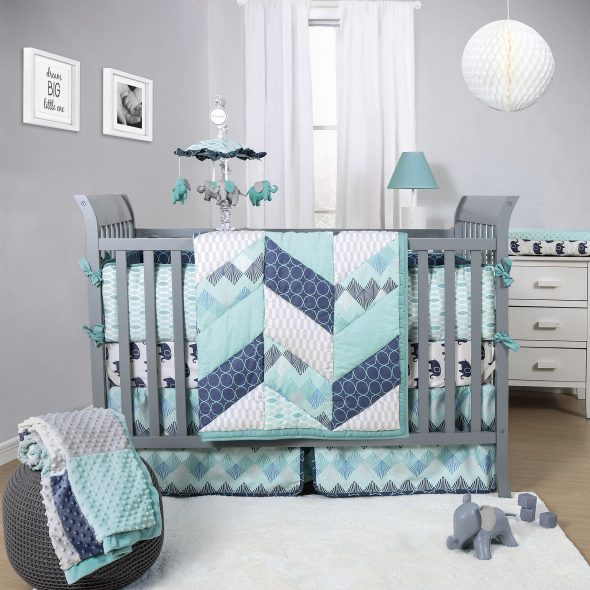
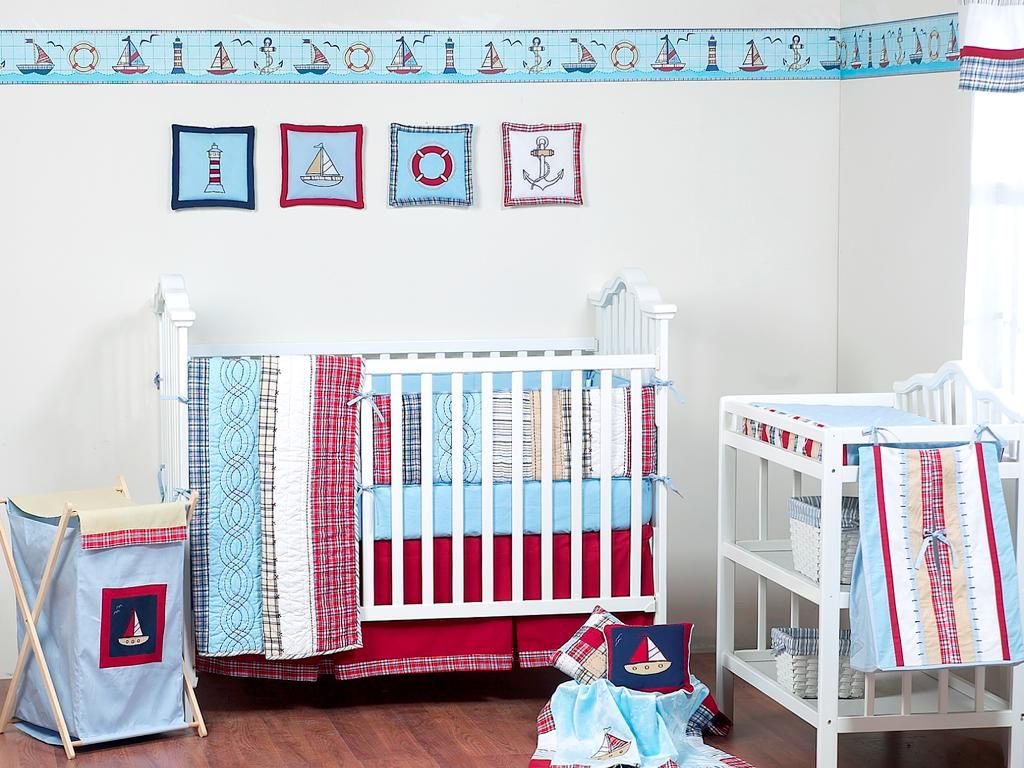
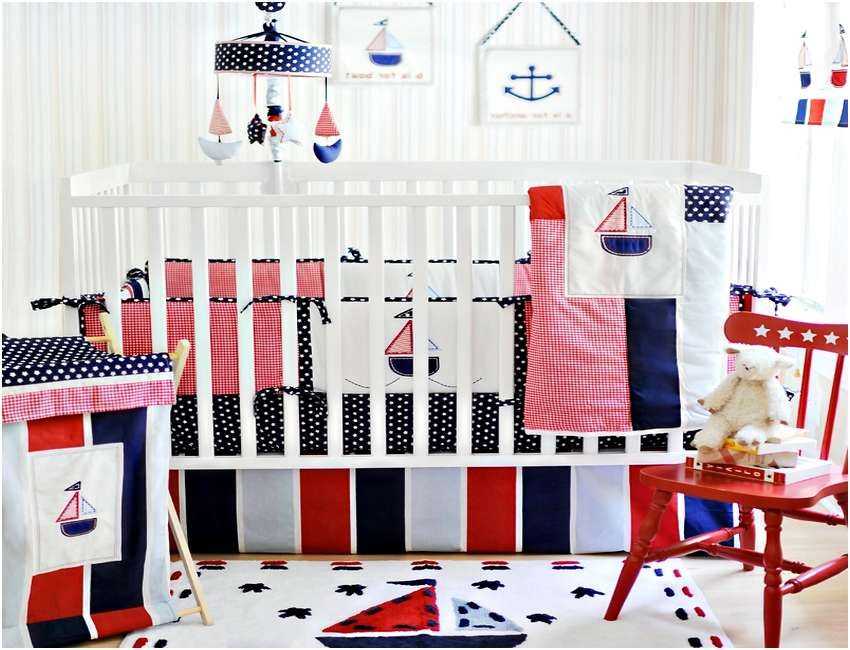
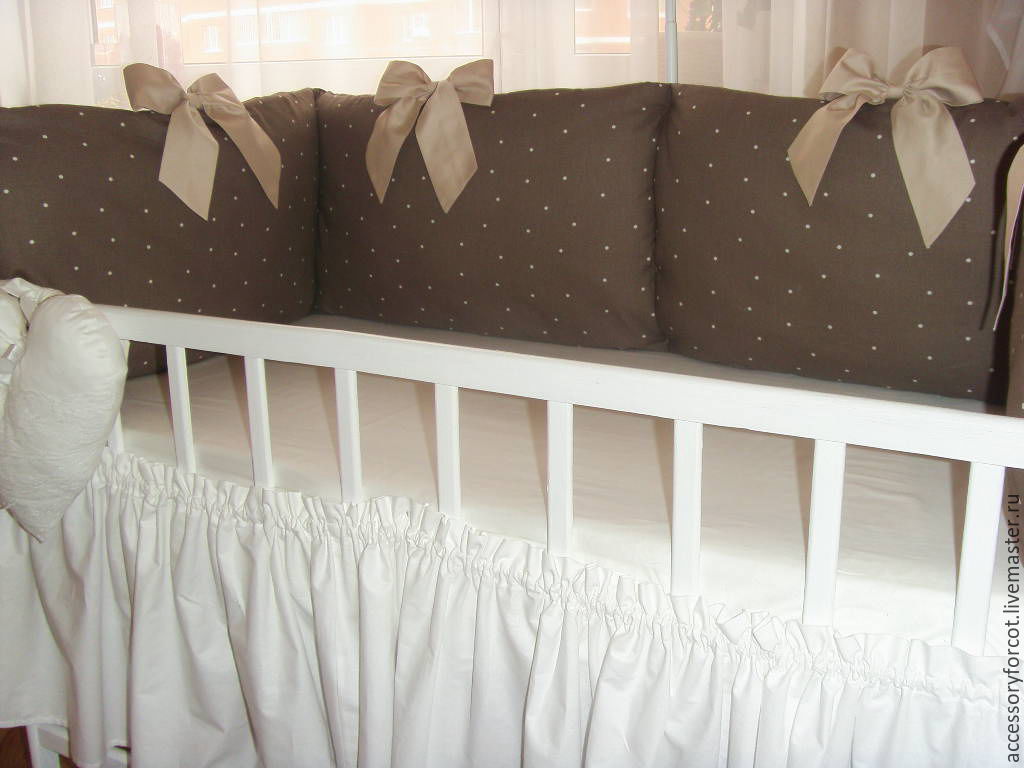
- High sides.
Cover the wooden rods of the crib completely. They protect the baby from drafts and protect against blows quite well. But the baby is forced to limit himself to the view of the inside of his bed, which can affect the level of his mental development.
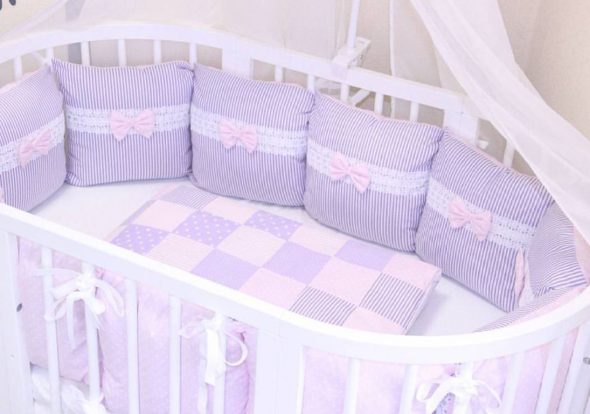
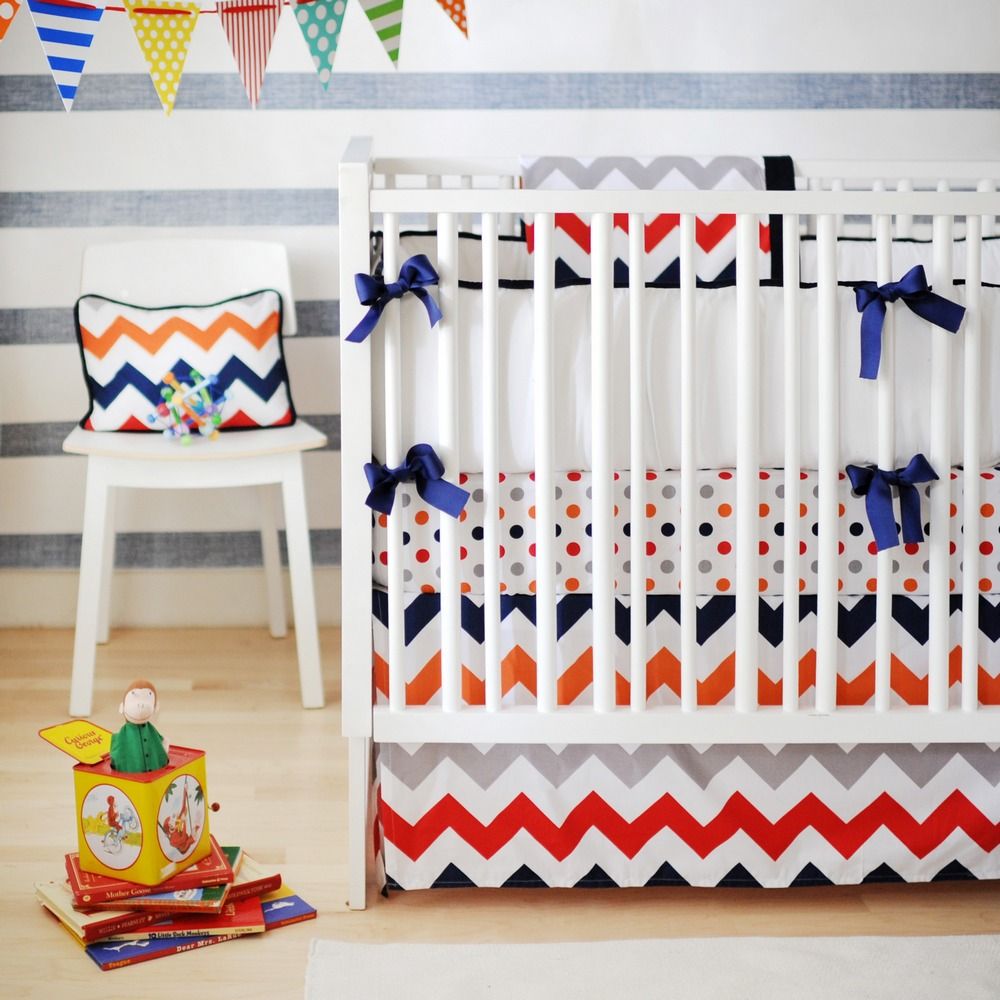
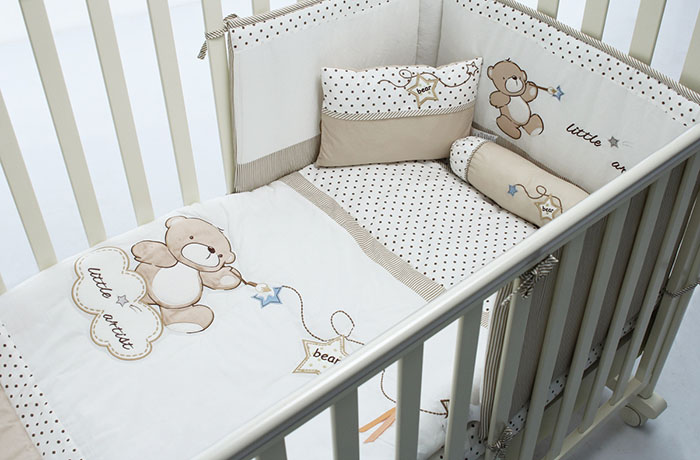
- Low sides that partially cover the bed rails.
In shopping centers you can find many modifications of bumpers that block the bed by 2/3 or 1/3. Such products have an absolute advantage - they do not limit the baby's view and allow him to monitor what is happening around.
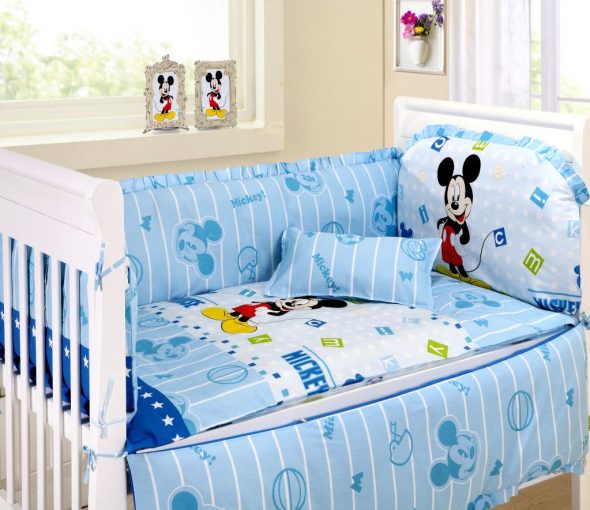
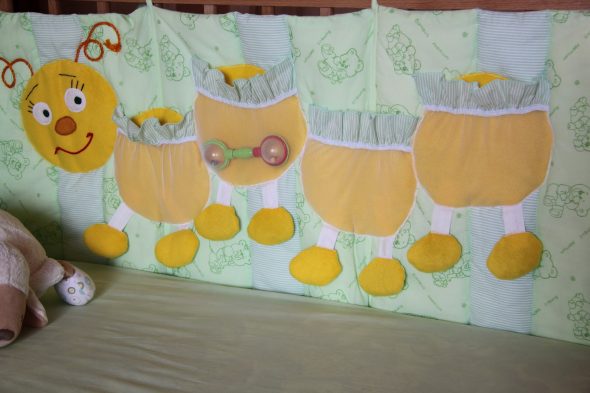
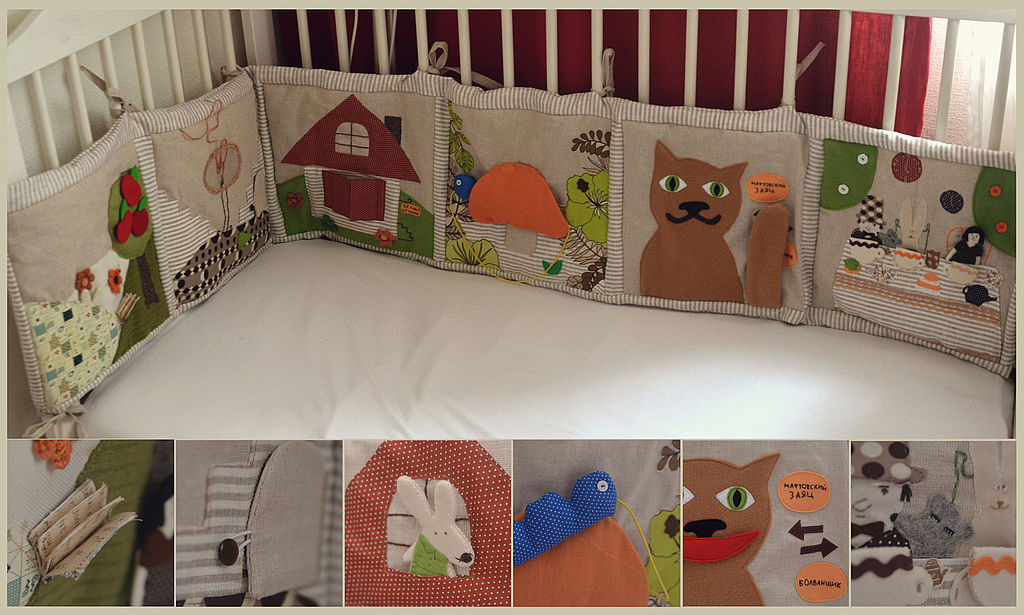
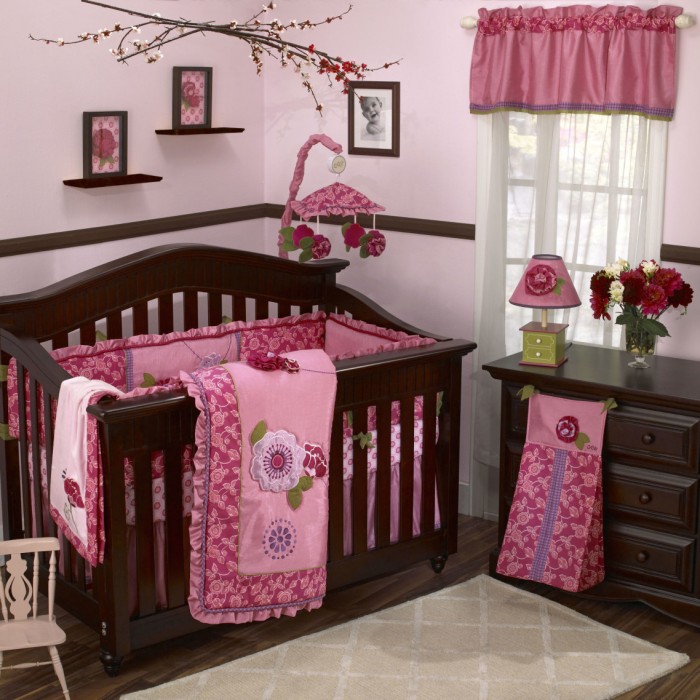
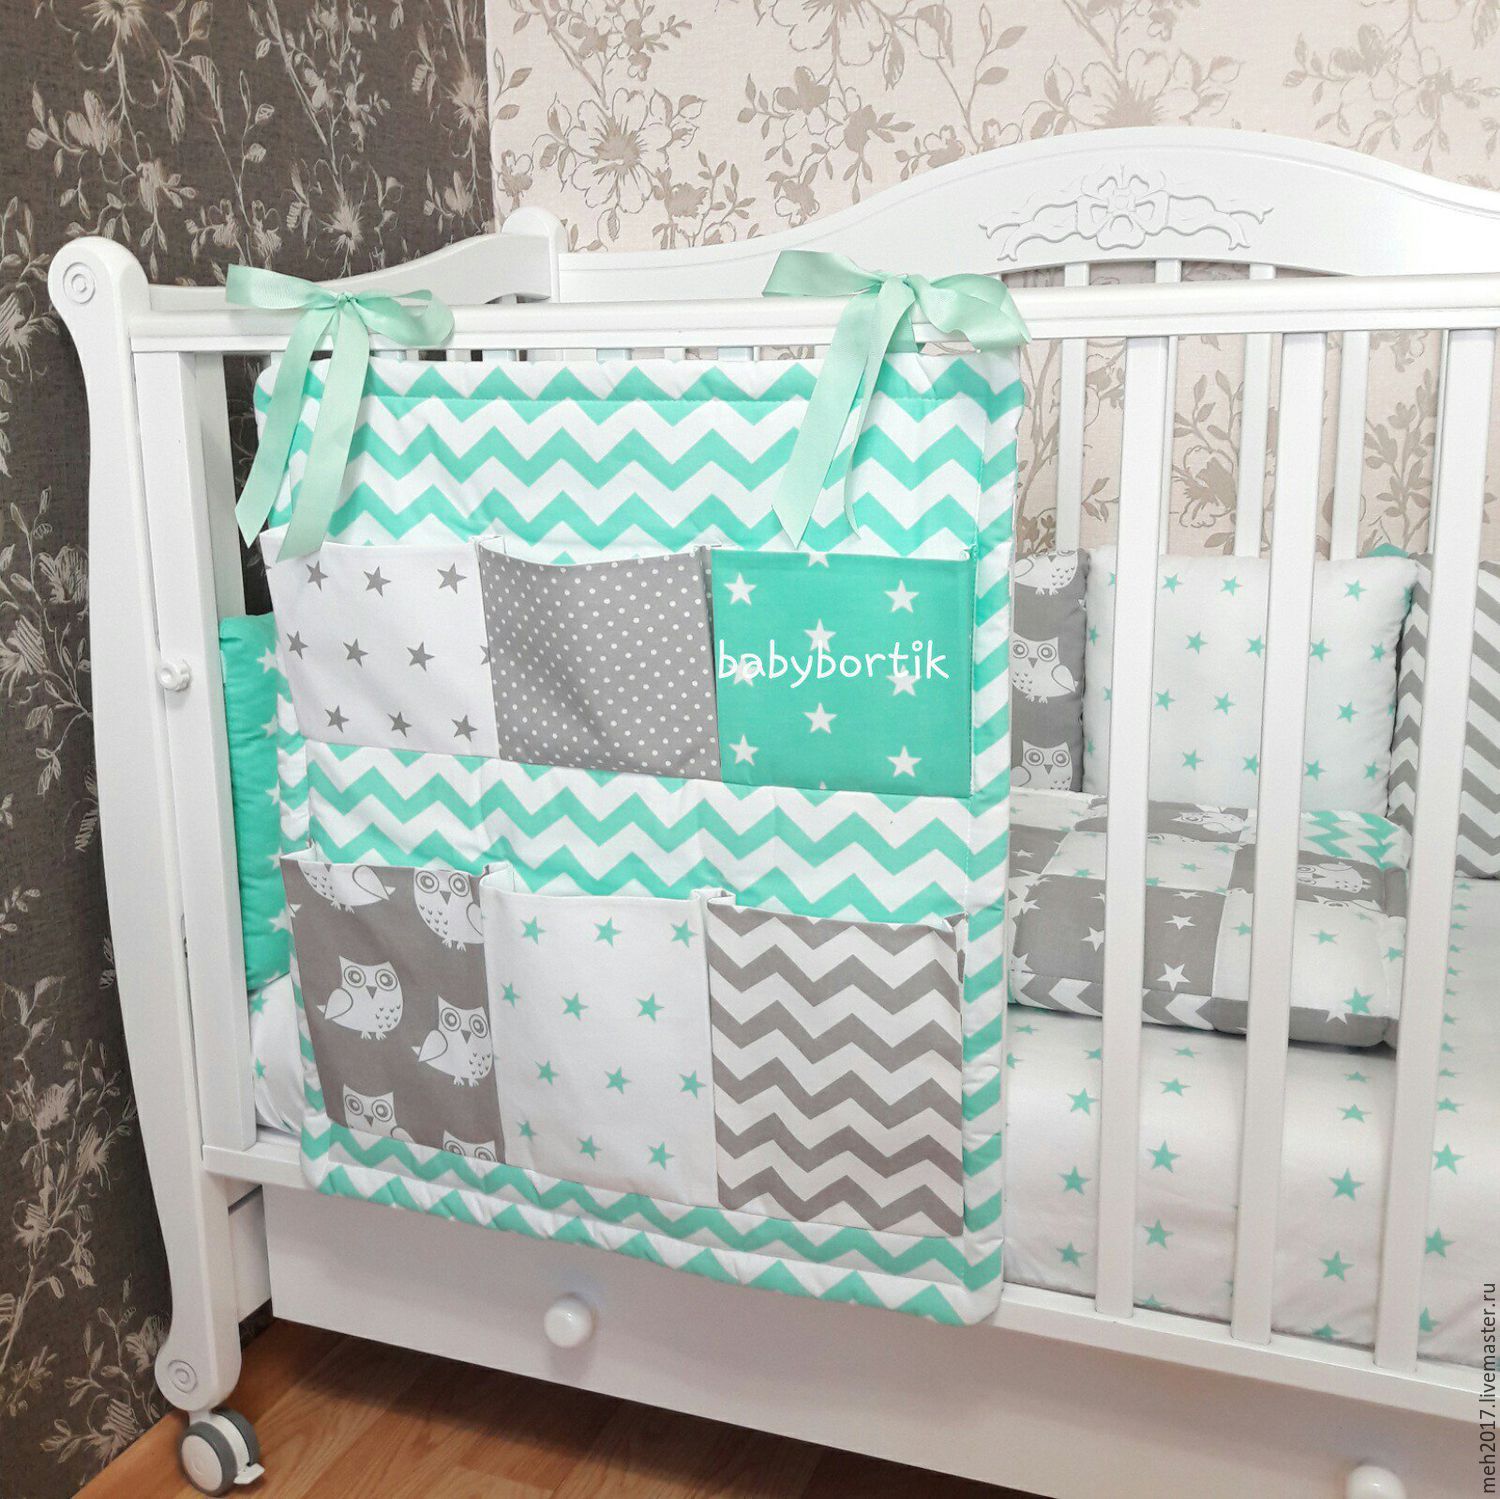
- Sides with pockets.
If you want to make a bumper with pockets, then an essential condition will be their presence on the outside of the bed. Internal placement will always attract the baby.
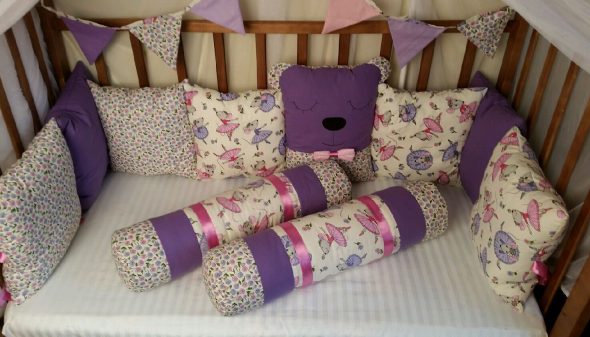
- Rollers.
They are made and secured in the same way as pillows. This option is used much less often, as it does not protect the baby's head from impacts and falls. But in conditions of high temperature in the room where the baby is, this type of bumpers allows access to fresh cool air.
Protections made with fastenings in the form of ties, locks, or Velcro can tear at the moment when the child tries to get up and pulls the edge.
The material for making bumpers is also very important. Artificial materials can irritate the skin, causing allergic or inflammatory reactions. Therefore, it is better to give preference exclusively to natural fabric.
Types of filler for bumpers in a baby crib
Today, a large number of fillers have been developed, each with its own advantages. Namely:
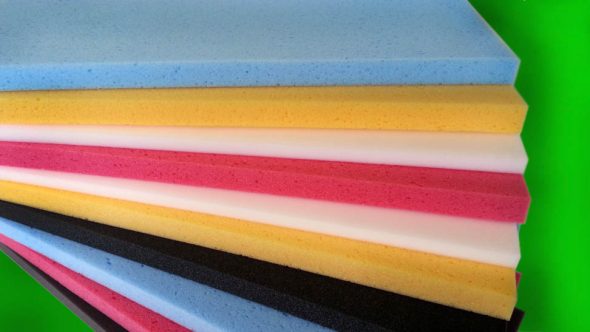
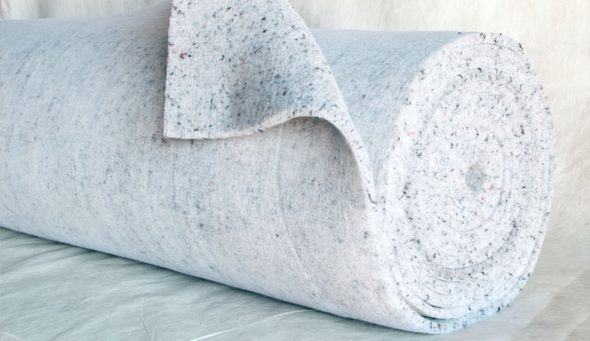
- Foam rubber is a microfiller that requires special conditions.
This is, first of all, a meticulous and high-quality drying. This base has the property of retaining water well, which promotes the formation of microorganisms inside.
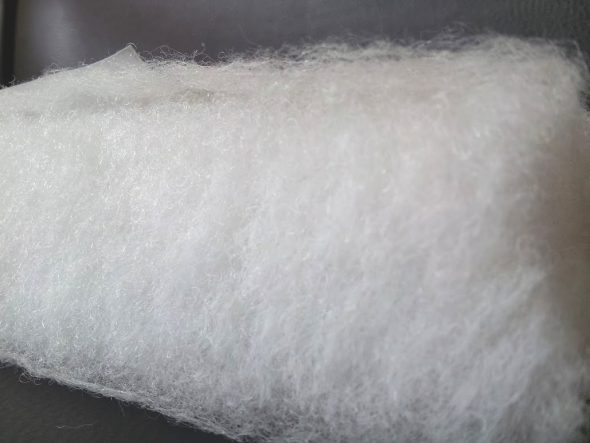
- Sintepon is the best microfiller.
This material is not expensive, simple, quite flexible, washes well and dries instantly. Its qualities prevent the formation of fungus.
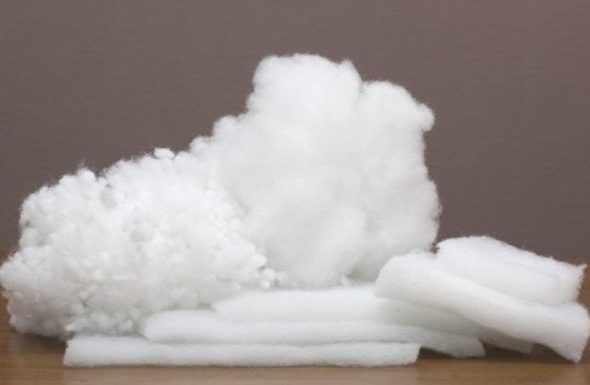
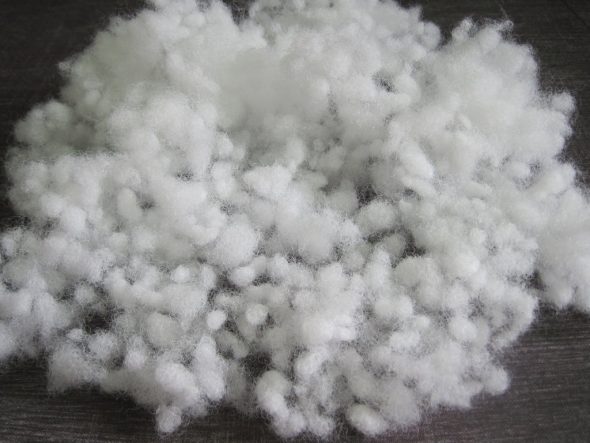
- Hollowfiber is the newest filler, superior in quality to synthetic padding.
It is absolutely non-toxic, does not retain moisture, dries instantly without changing its original configuration. Due to its spiral texture, the filler is very wear-resistant.
- Periotec is an innovative fiber.
Its main advantage is hypoallergenicity. It is a very flexible artificial material, easy to wash.
- Hollcon is an artificial filler.
It has fantastic heat-resistant properties. It is absolutely non-allergenic, flexible and wear-resistant.
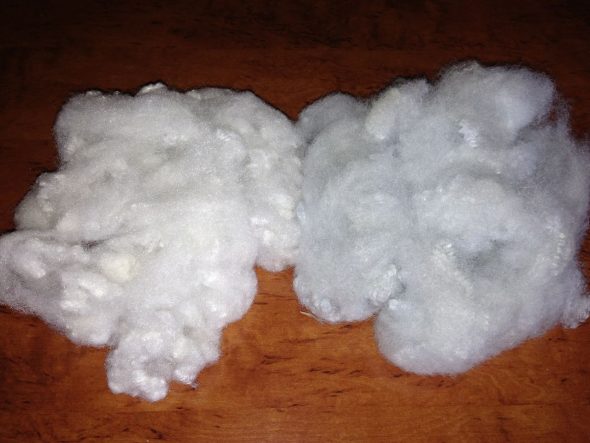
- Polyester is a hollow fiber.
It has antiallergenic properties. Does not lose its original configuration. Does not absorb water and odor.
How to sew bumpers for a crib for a newborn with your own hands, step-by-step instructions
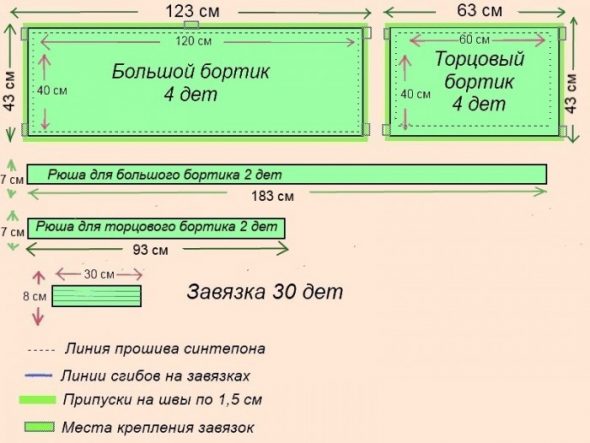
In order to make bumpers for a newborn crib with your own hands, patterns are not at all necessary. You can make markings directly on the fabric. To correctly measure for sewing a bumper, you just need to measure the perimeter of the crib and divide it by the number of pillows. But since baby cribs generally have standard parameters, you can use the following dimensions.
- Make 4 pieces – 43 x 63 cm.
- Make 4 pieces - 43 x 123 cm
- For the frills you will need pieces of fabric 7 cm wide and 180 cm long.

Pattern of crib sides with dimensions. - Cut the filler according to these scales of the parts.
- The frill strips must first be prepared by ironing them.
- Use your fingers to create curves in the pieces and, after inserting the frill, sew each pair of pieces together on 3 sides.
- After inserting the filling, sew up the remaining side.
- Sew ties or Velcro to all parts of the sides.

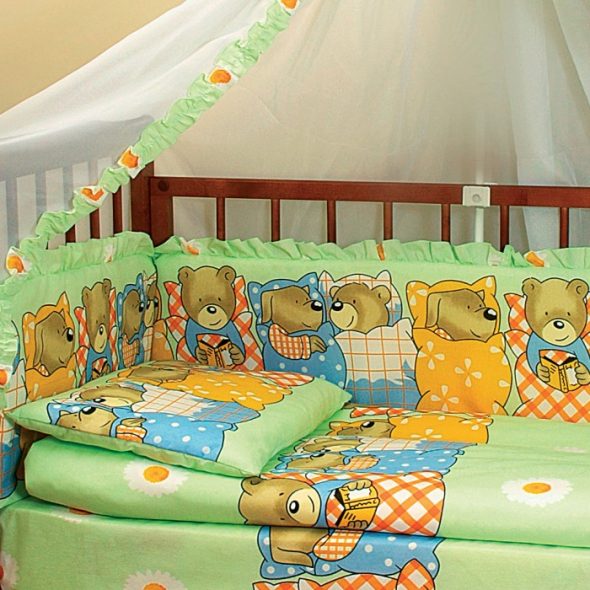
Ready-made bumpers for a newborn's crib.
How to sew a frill into the side correctly
In order to sew in a frill, you need to know a few nuances.The length of the frill can be changed. At a minimum, it should be 1.5 times longer than the detail. In this case, the folds will not be very lush.

The frill can be easily gathered on a sewing machine. Gather the ruffle manually using a regular needle. To do this, take a thread of the desired length with a needle. Then arrange the material in an "accordion" pattern, piercing it with a needle. Now all that remains is to evenly distribute the pleating along the entire length of the thread.
Believe in your own strength. If a mother or grandmother really wants to make a bumper for a baby with her own hands, it will definitely work out.

VIDEO: Sewing bumper pillows for a baby’s crib.
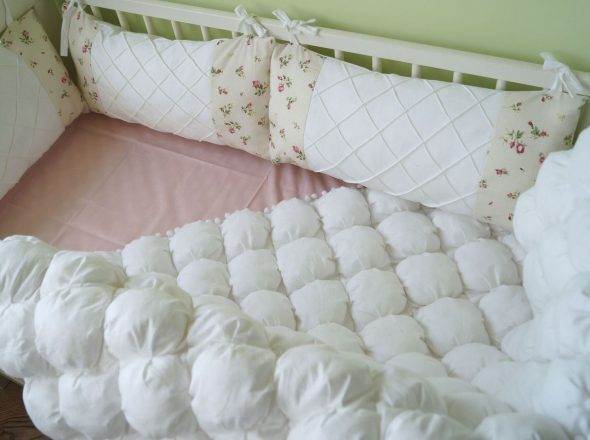
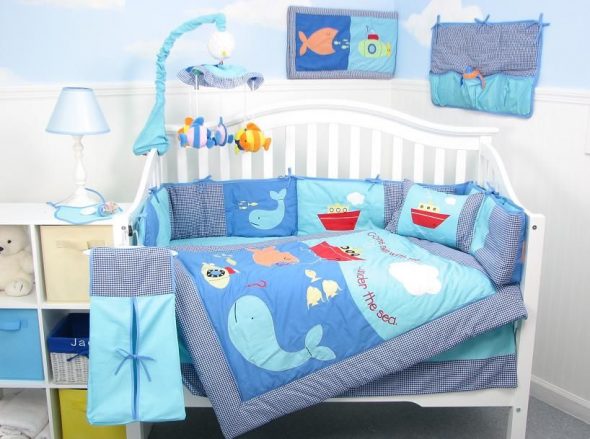
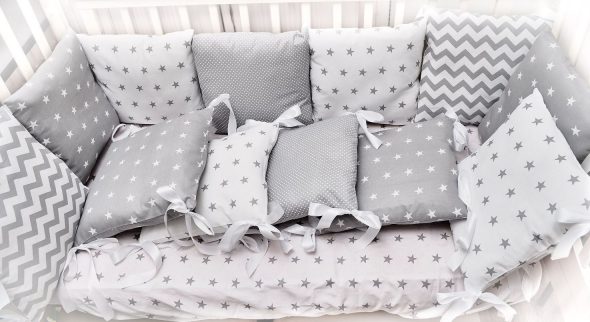
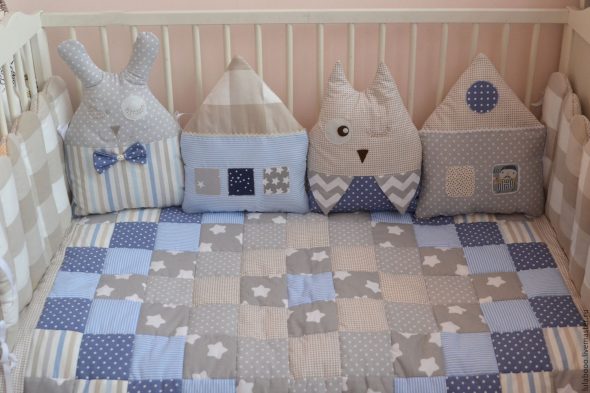
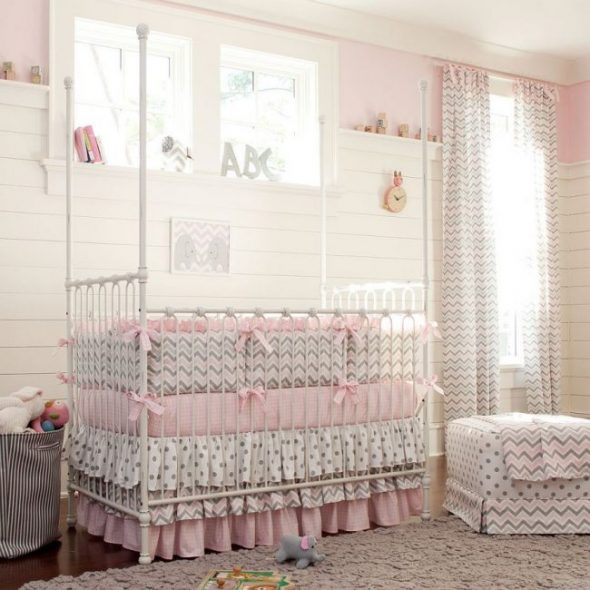
Bumpers for a crib for newborns – 50 photo ideas:
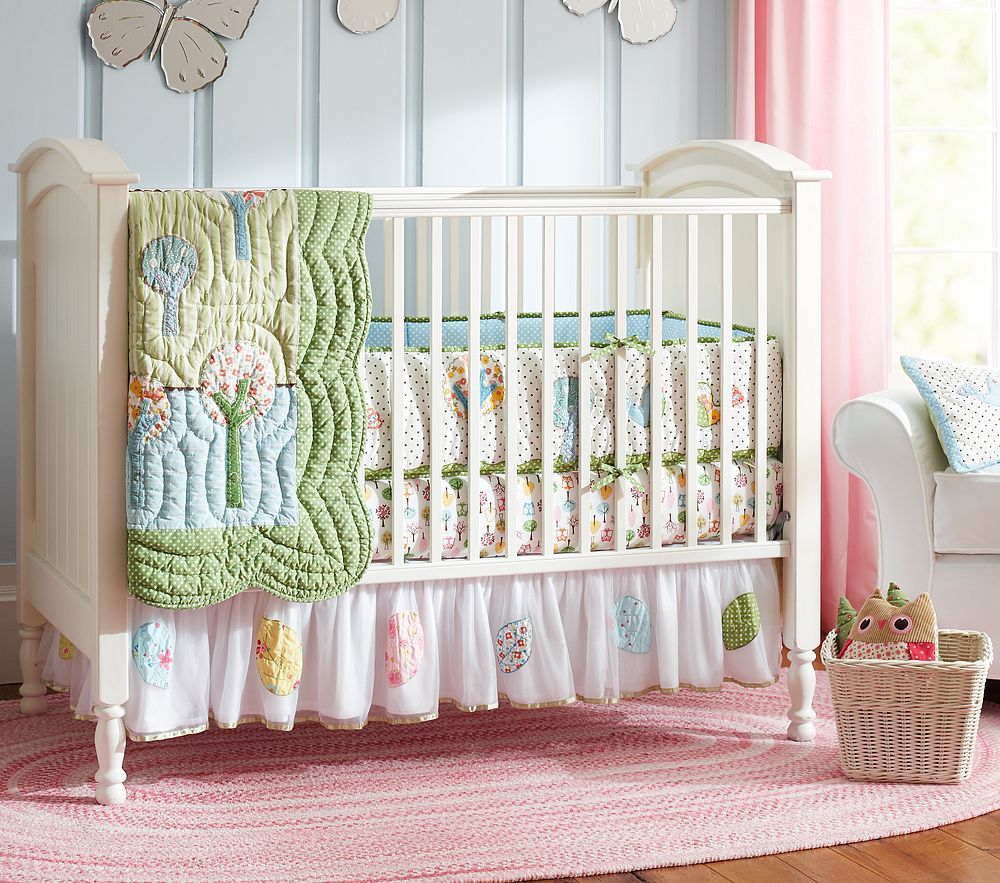
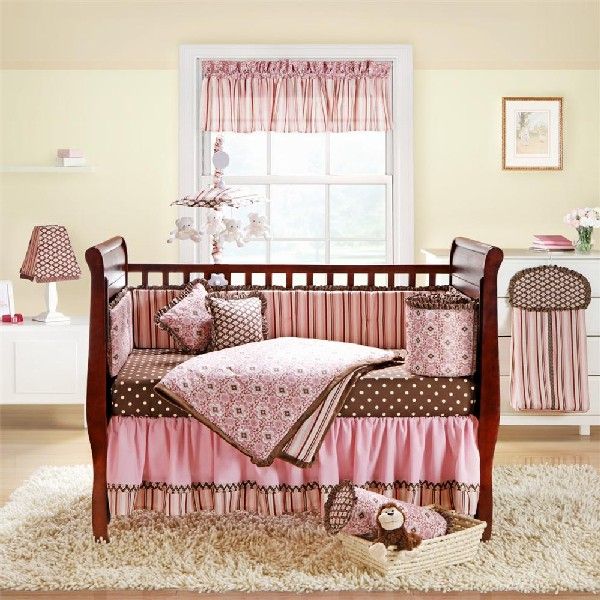
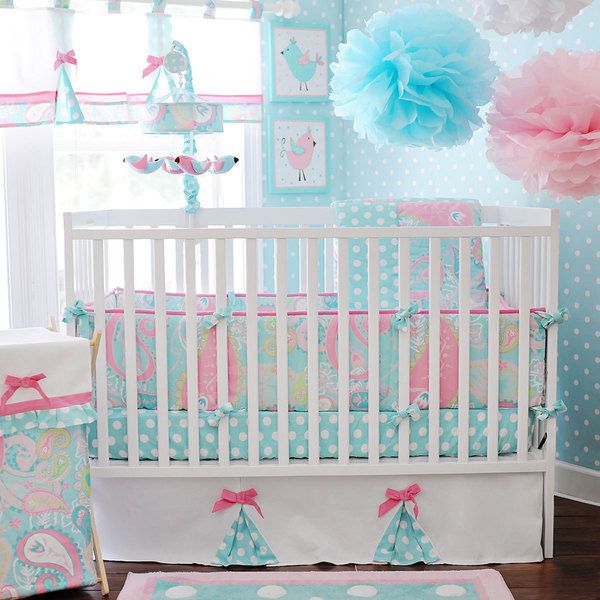
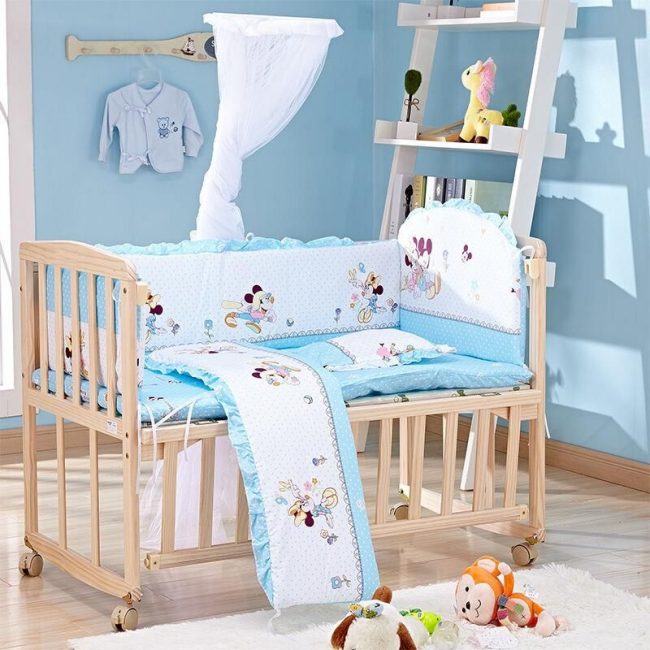
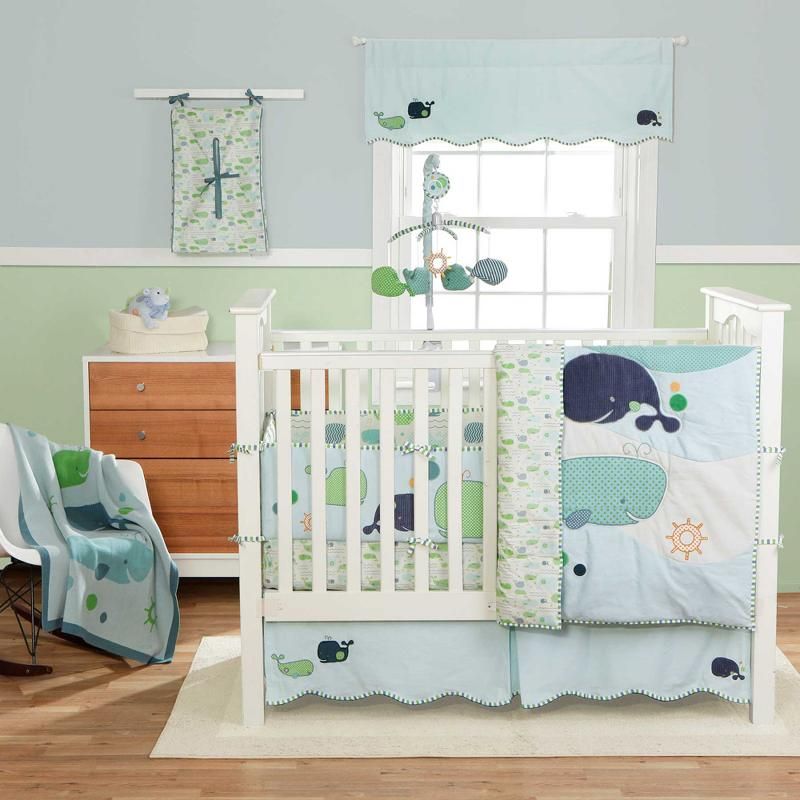
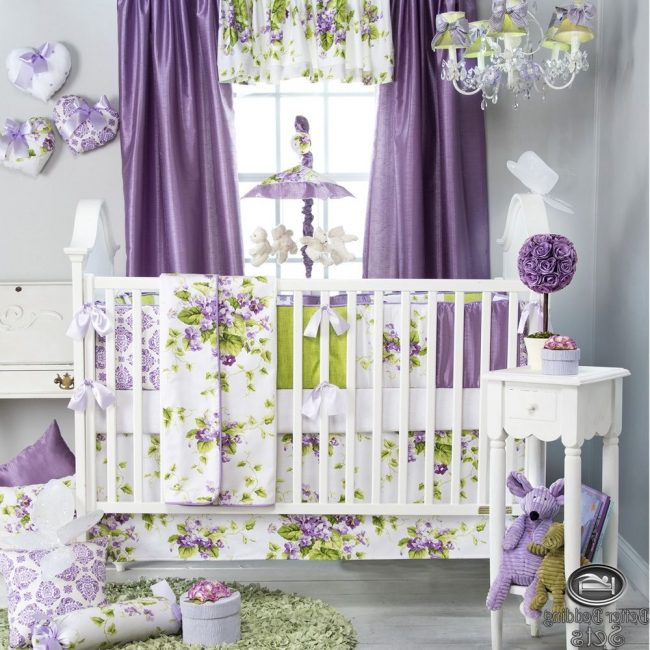
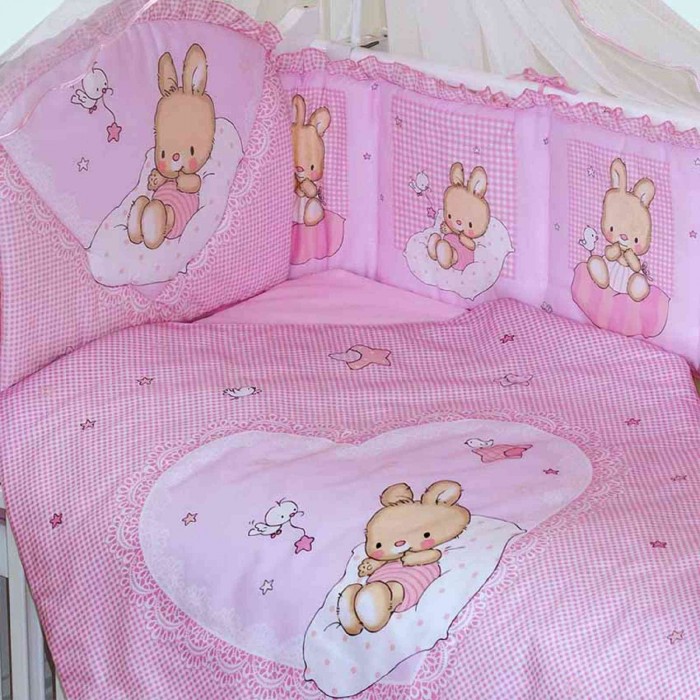
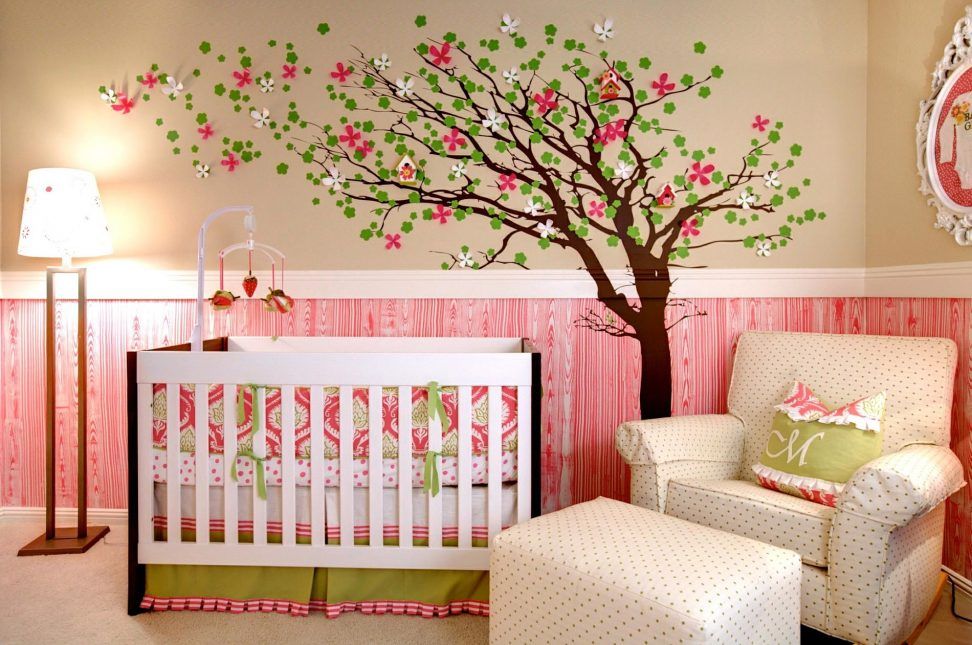
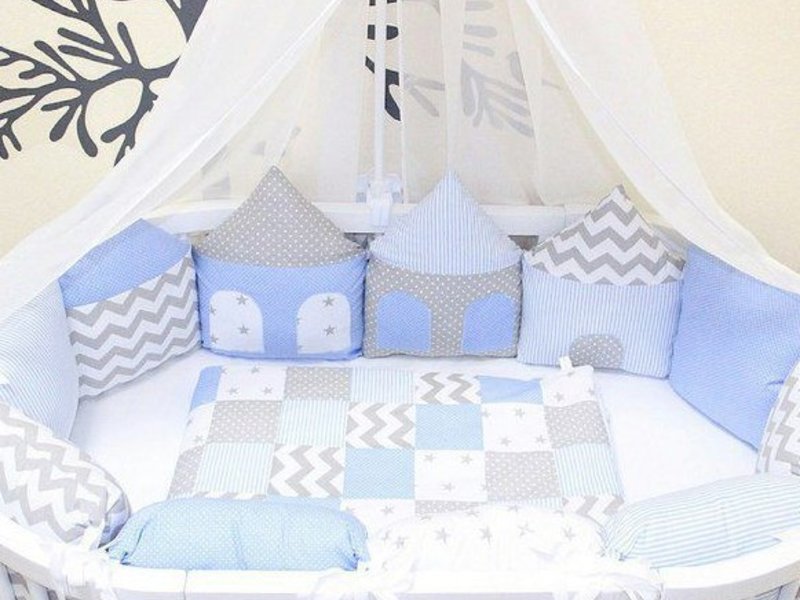
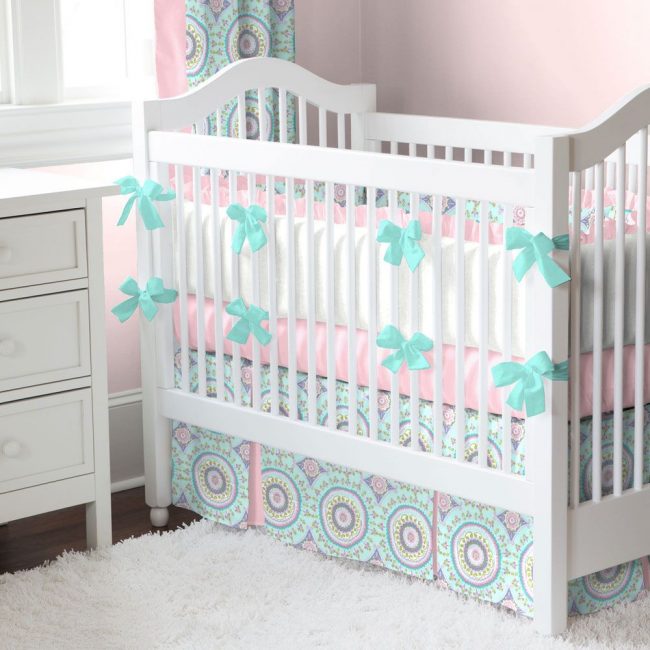
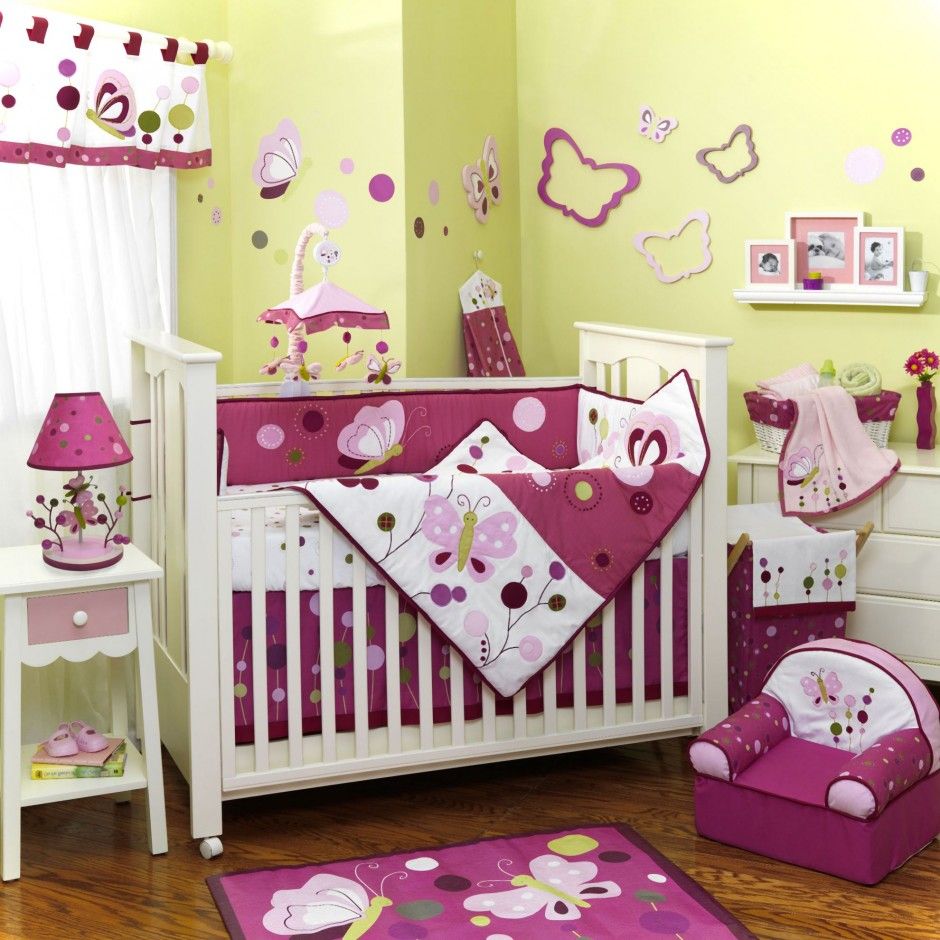
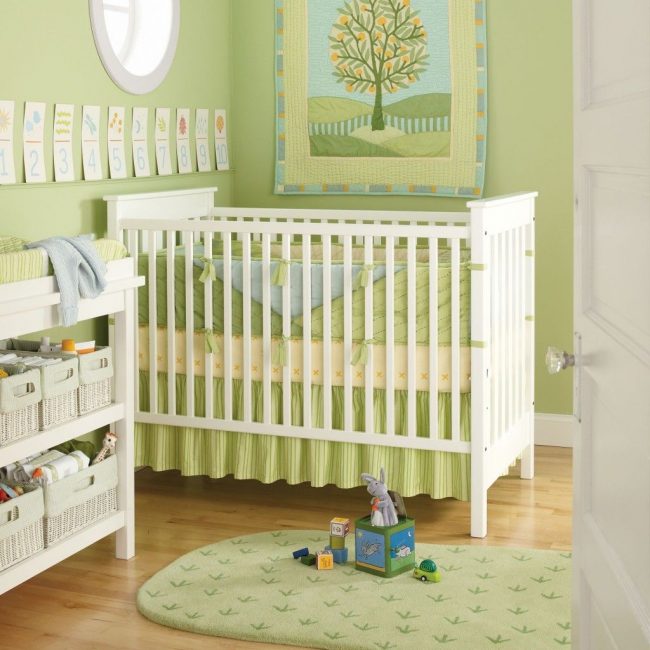
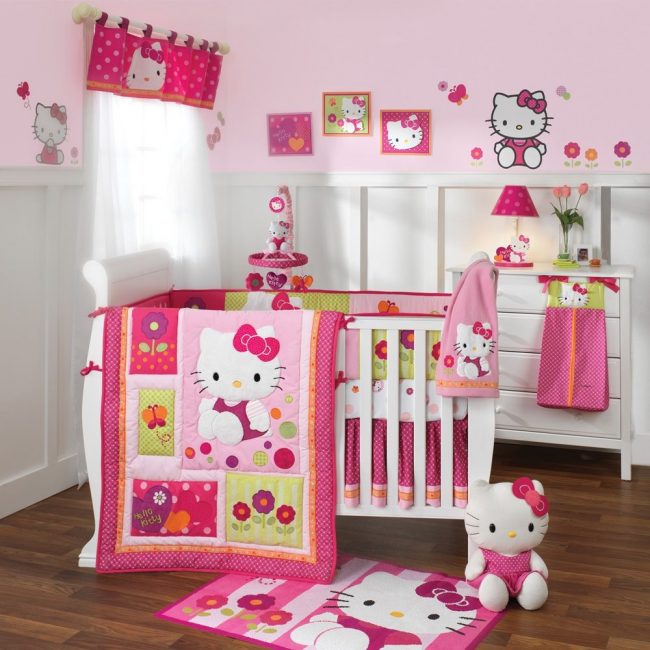
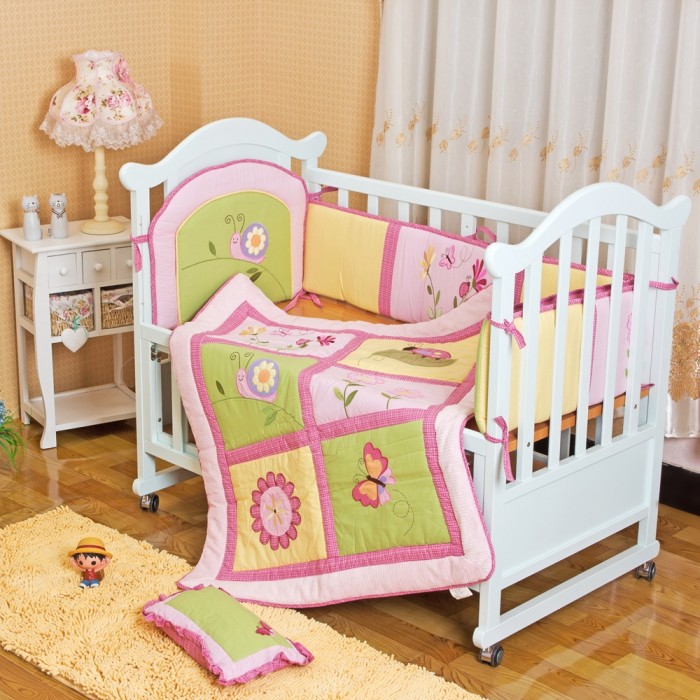
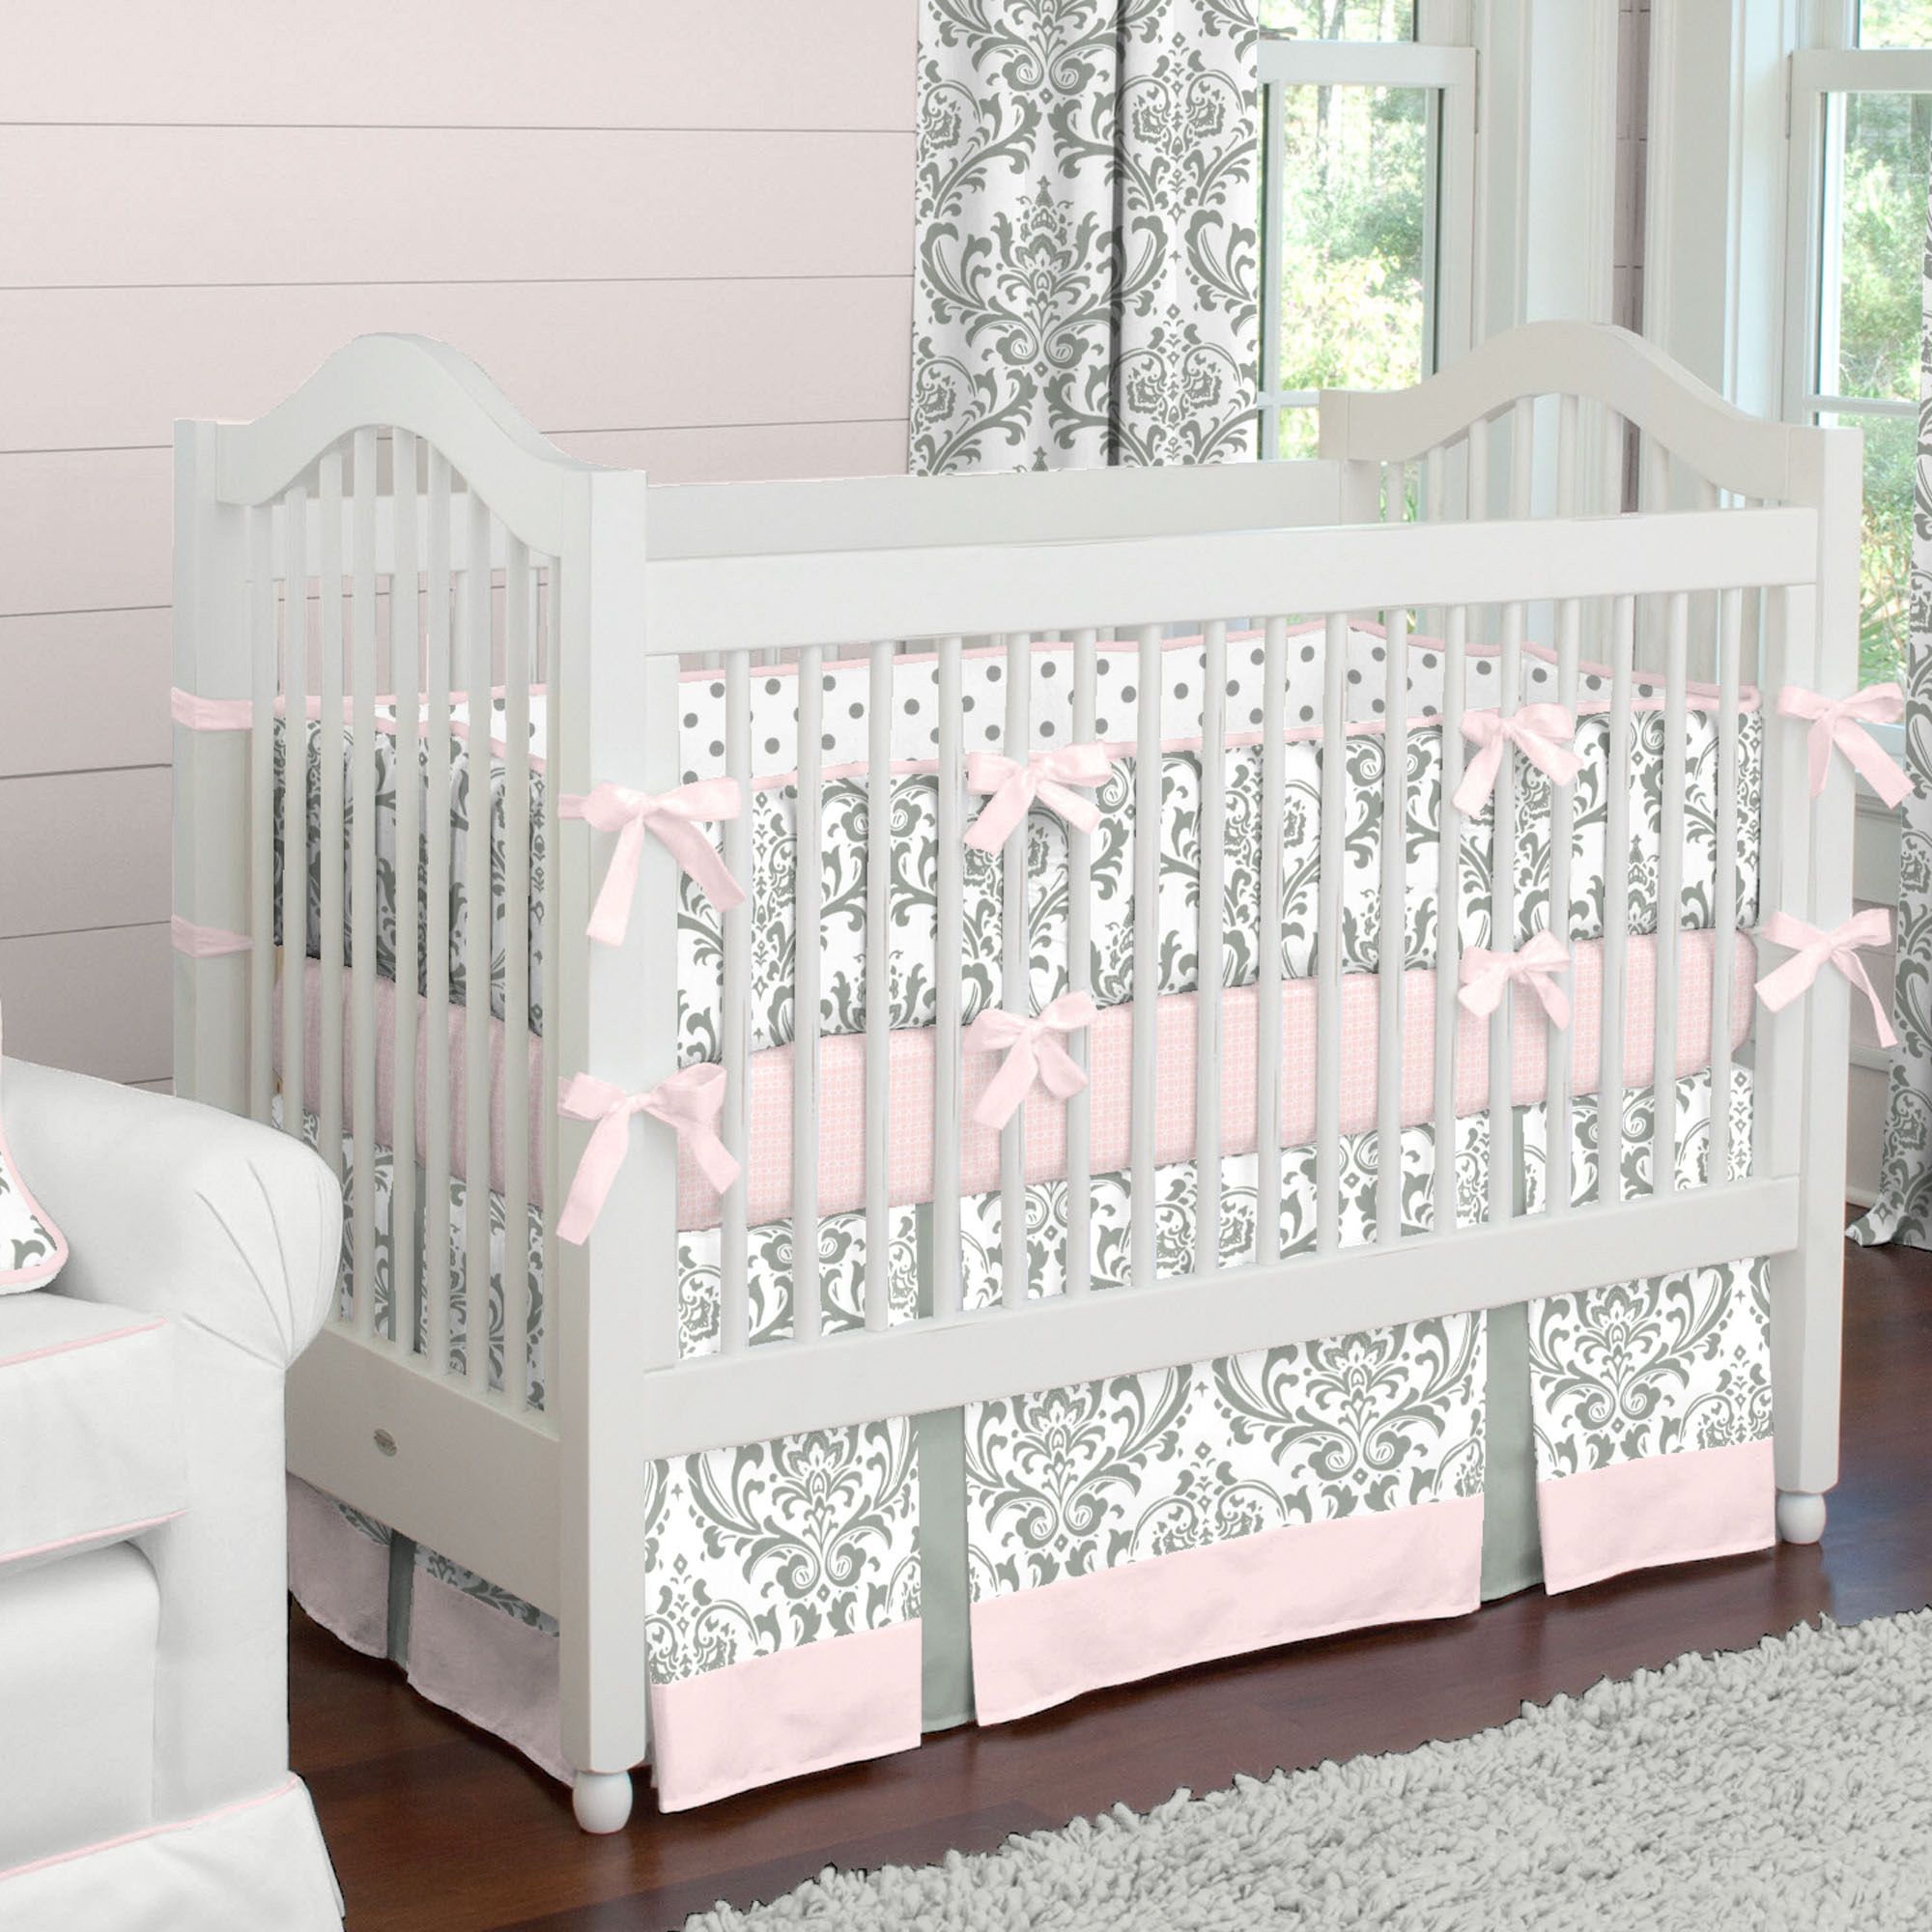
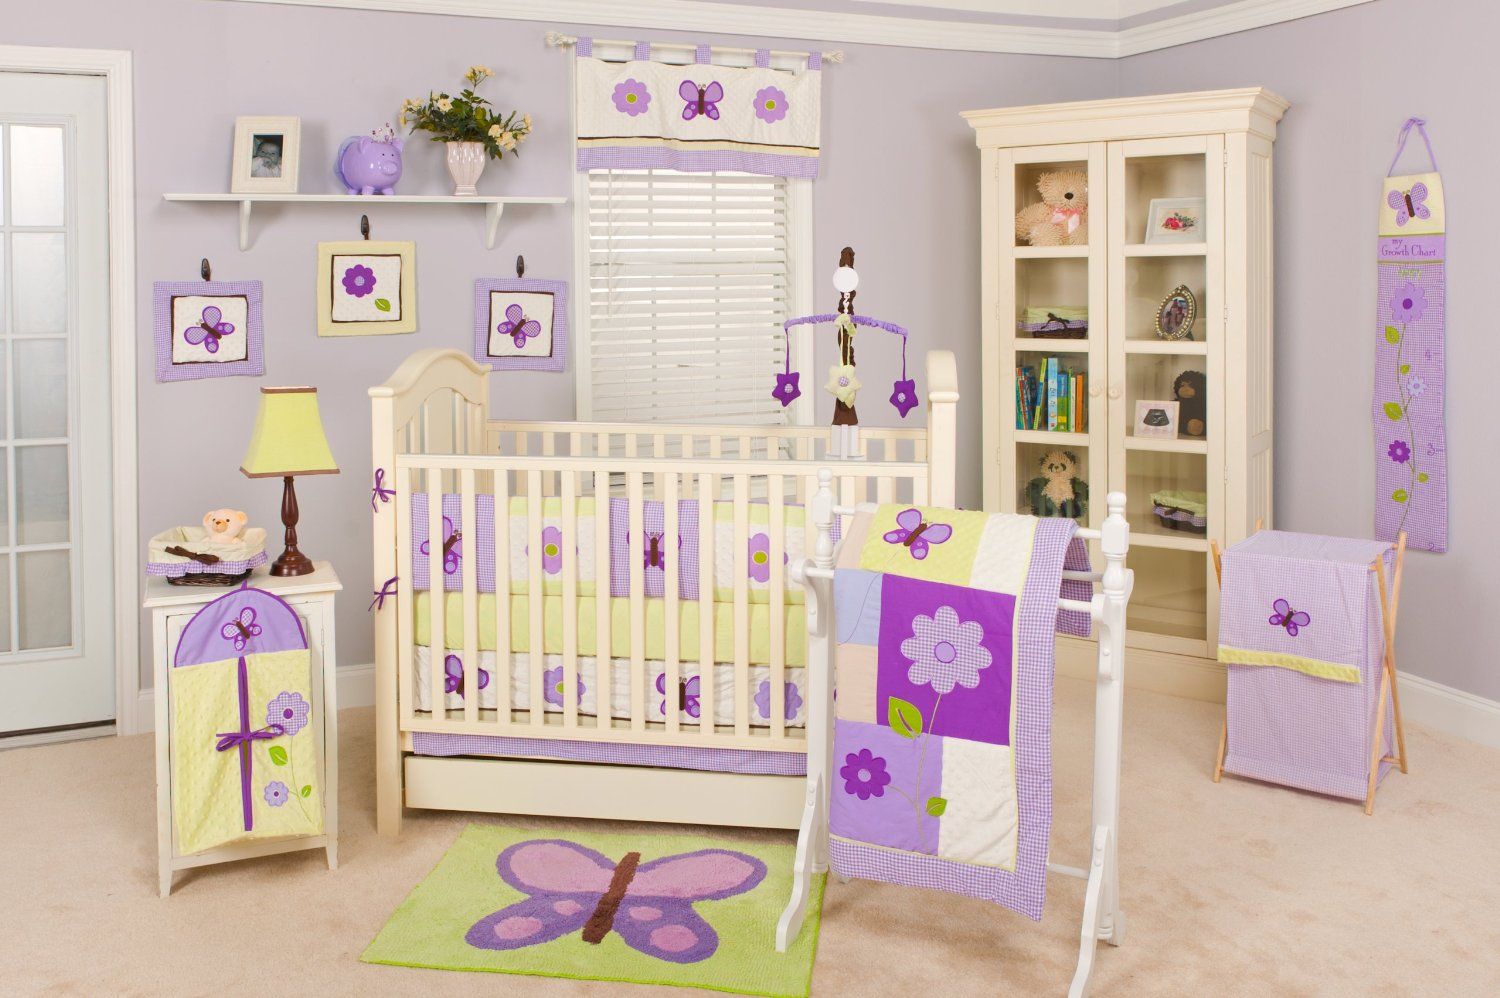
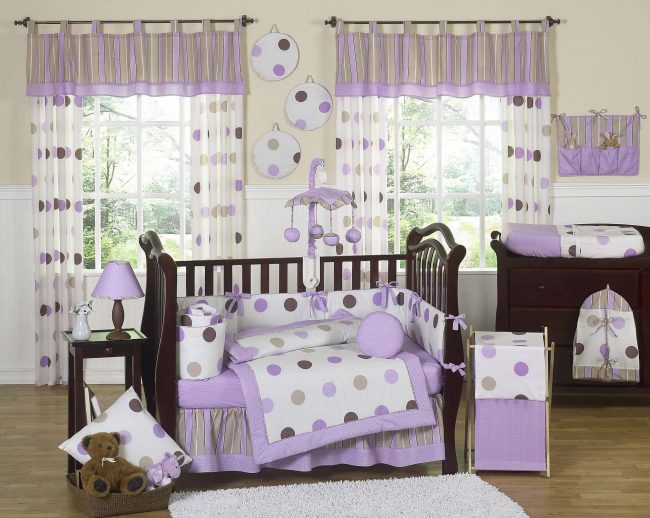

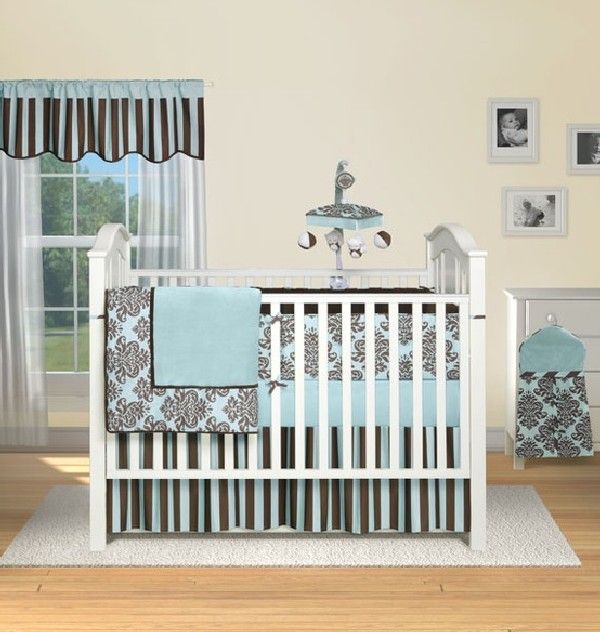
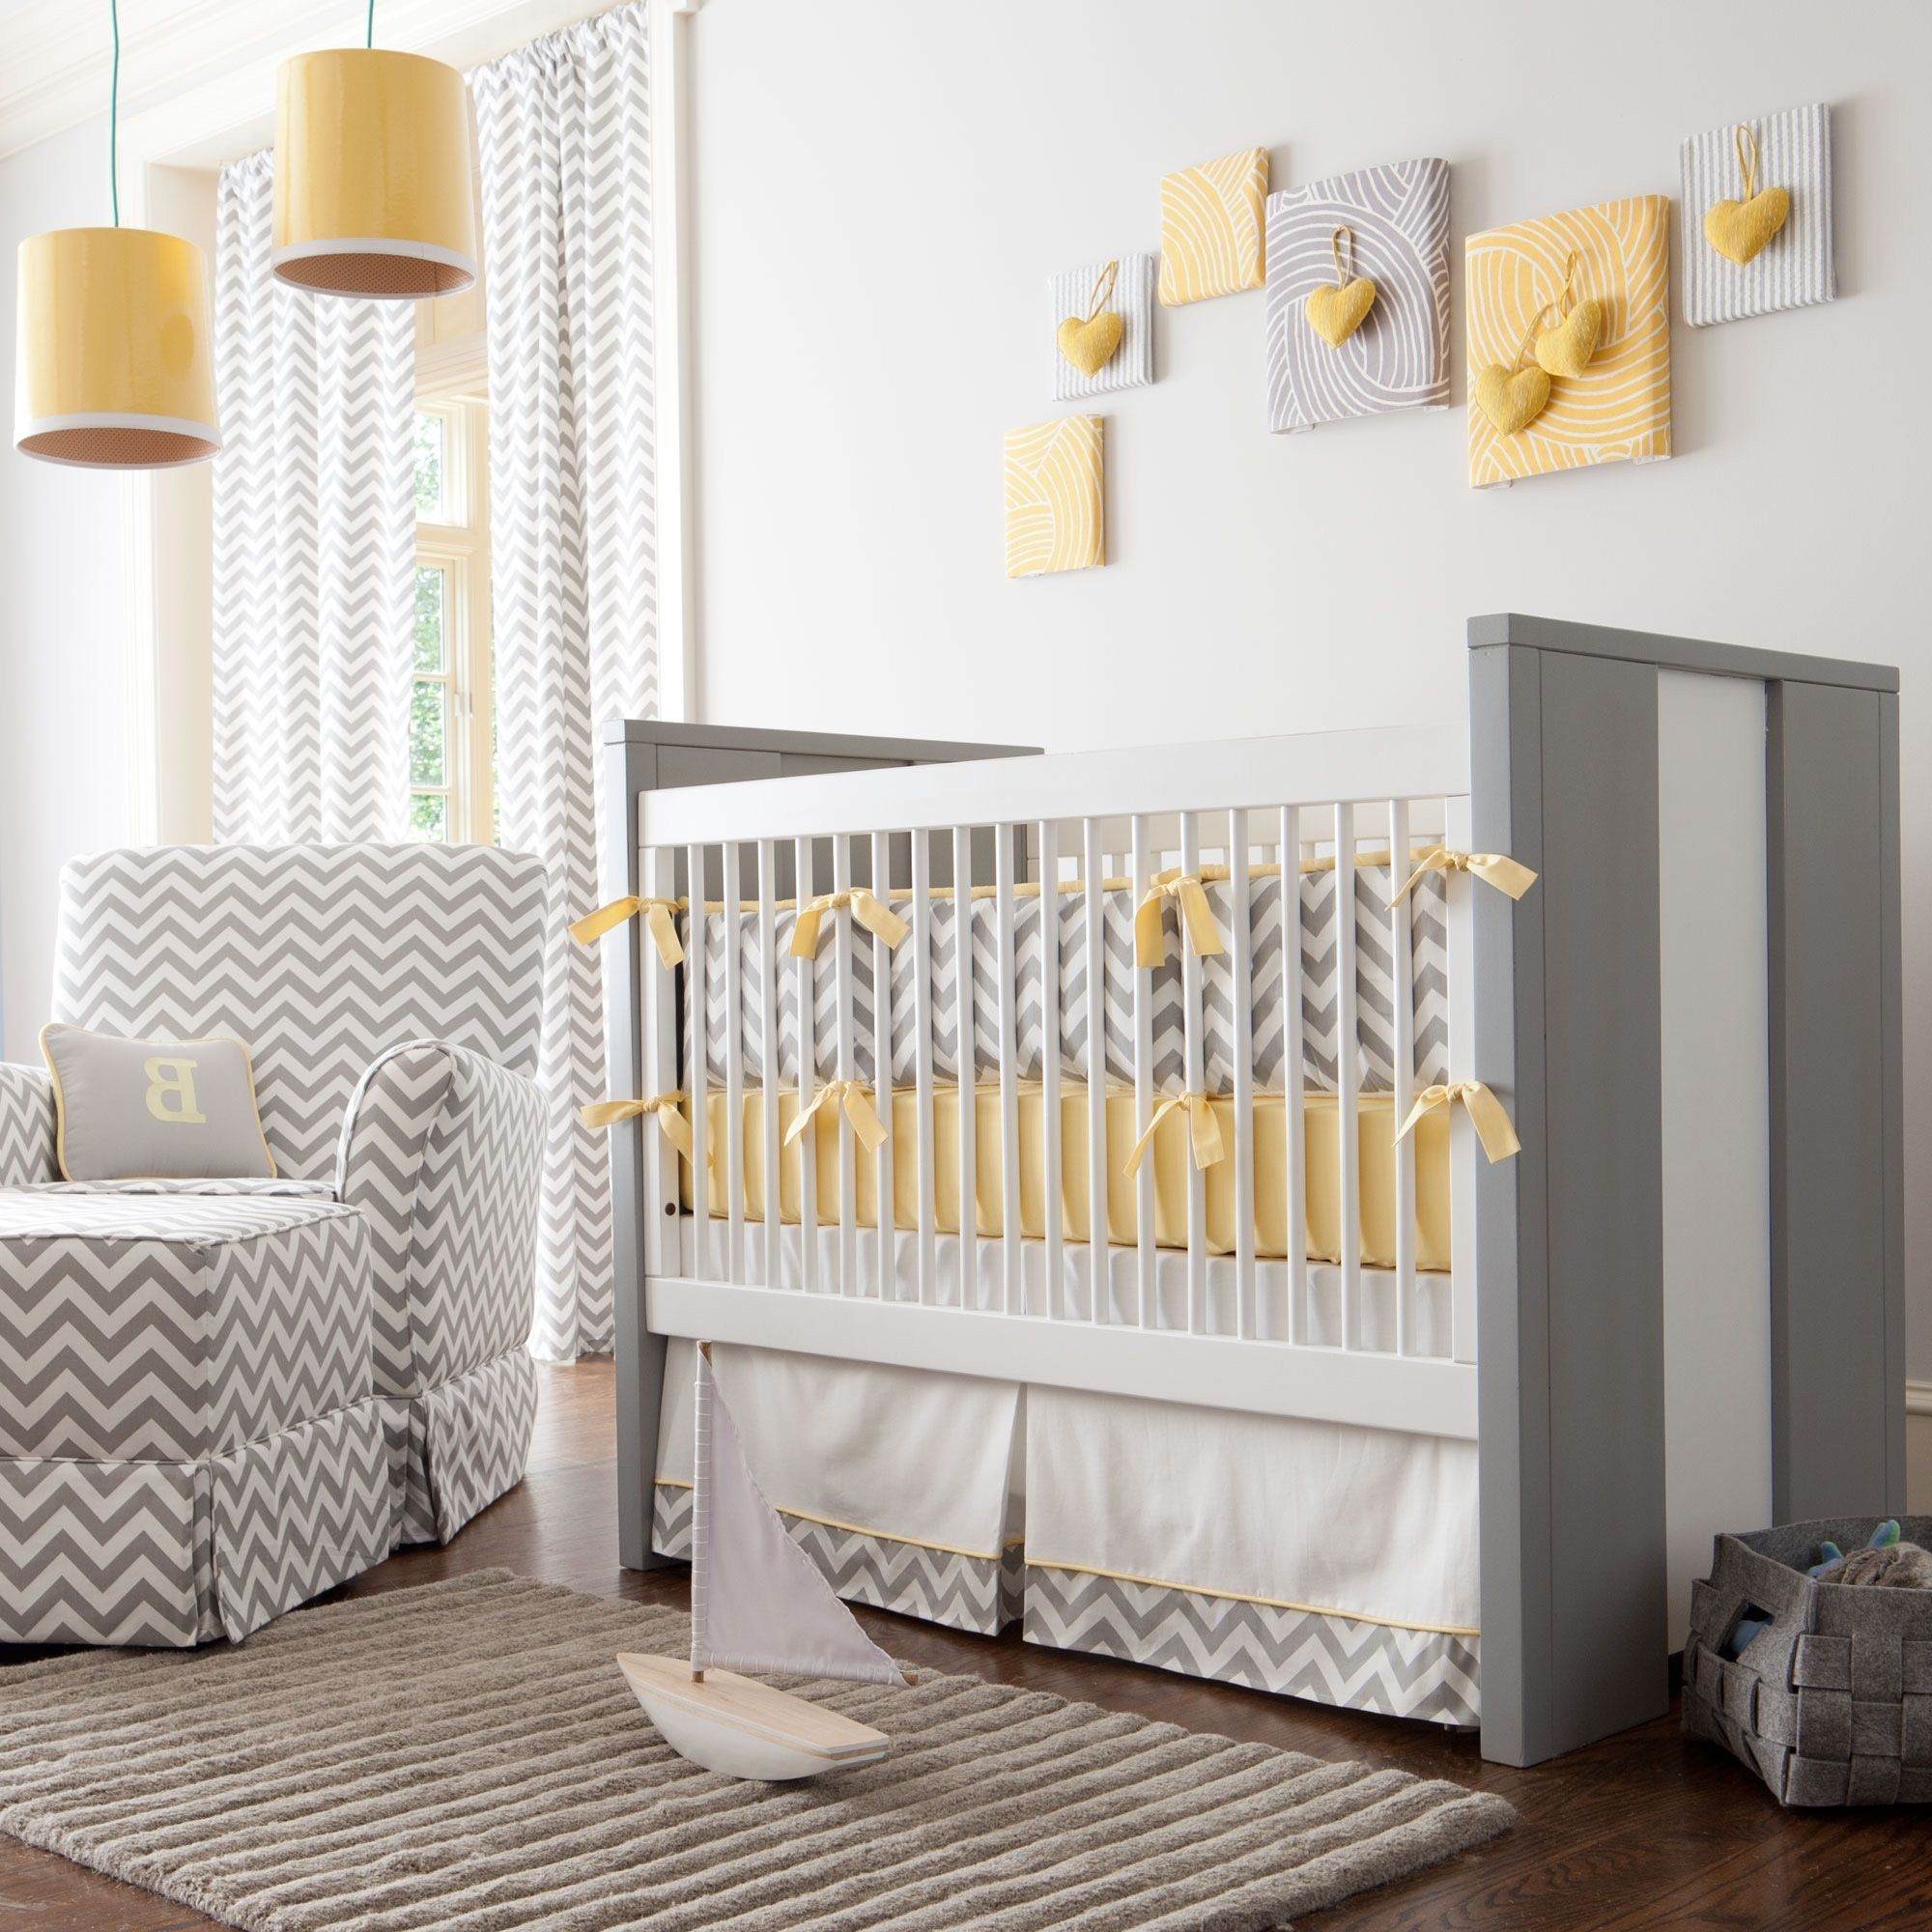
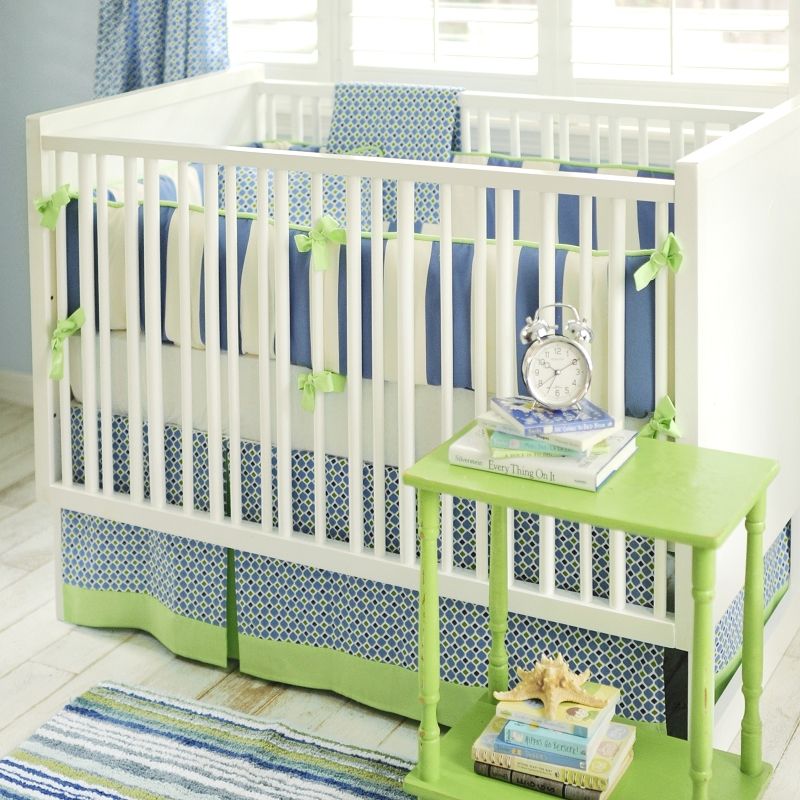
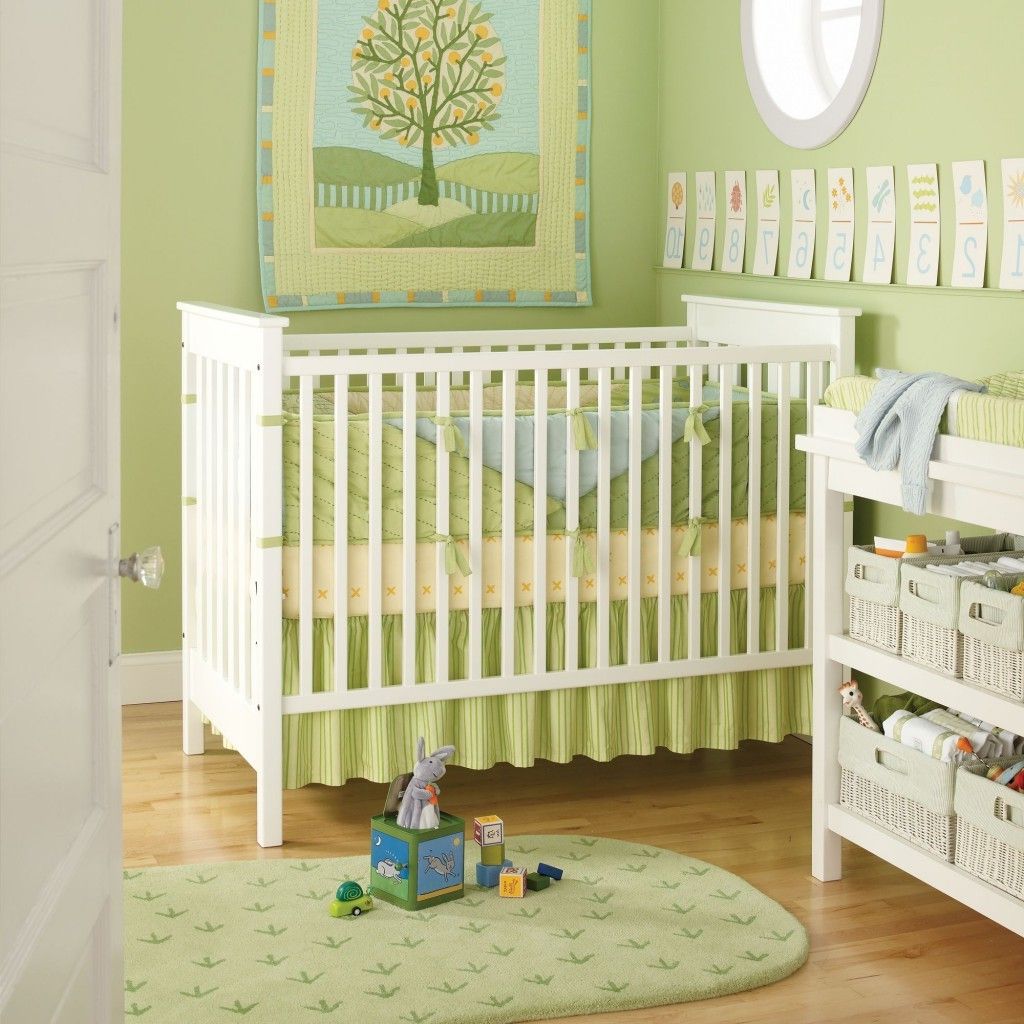
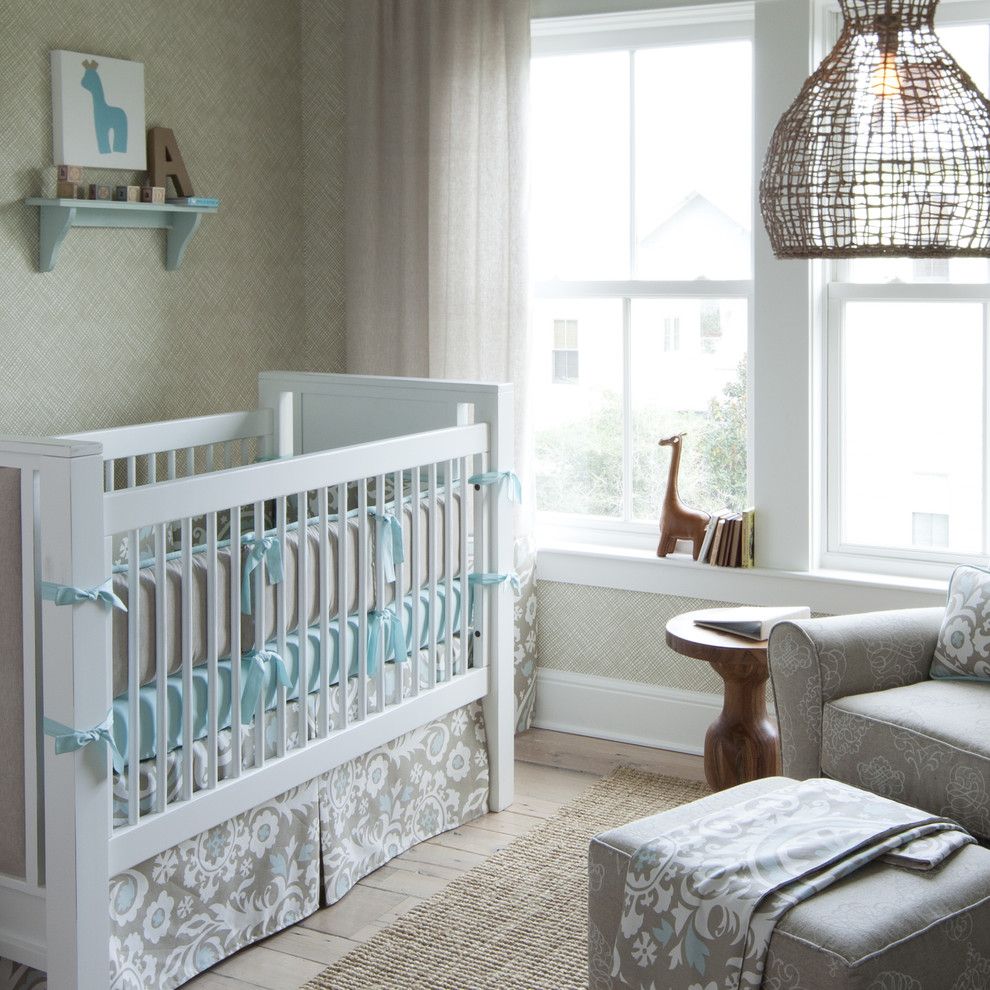
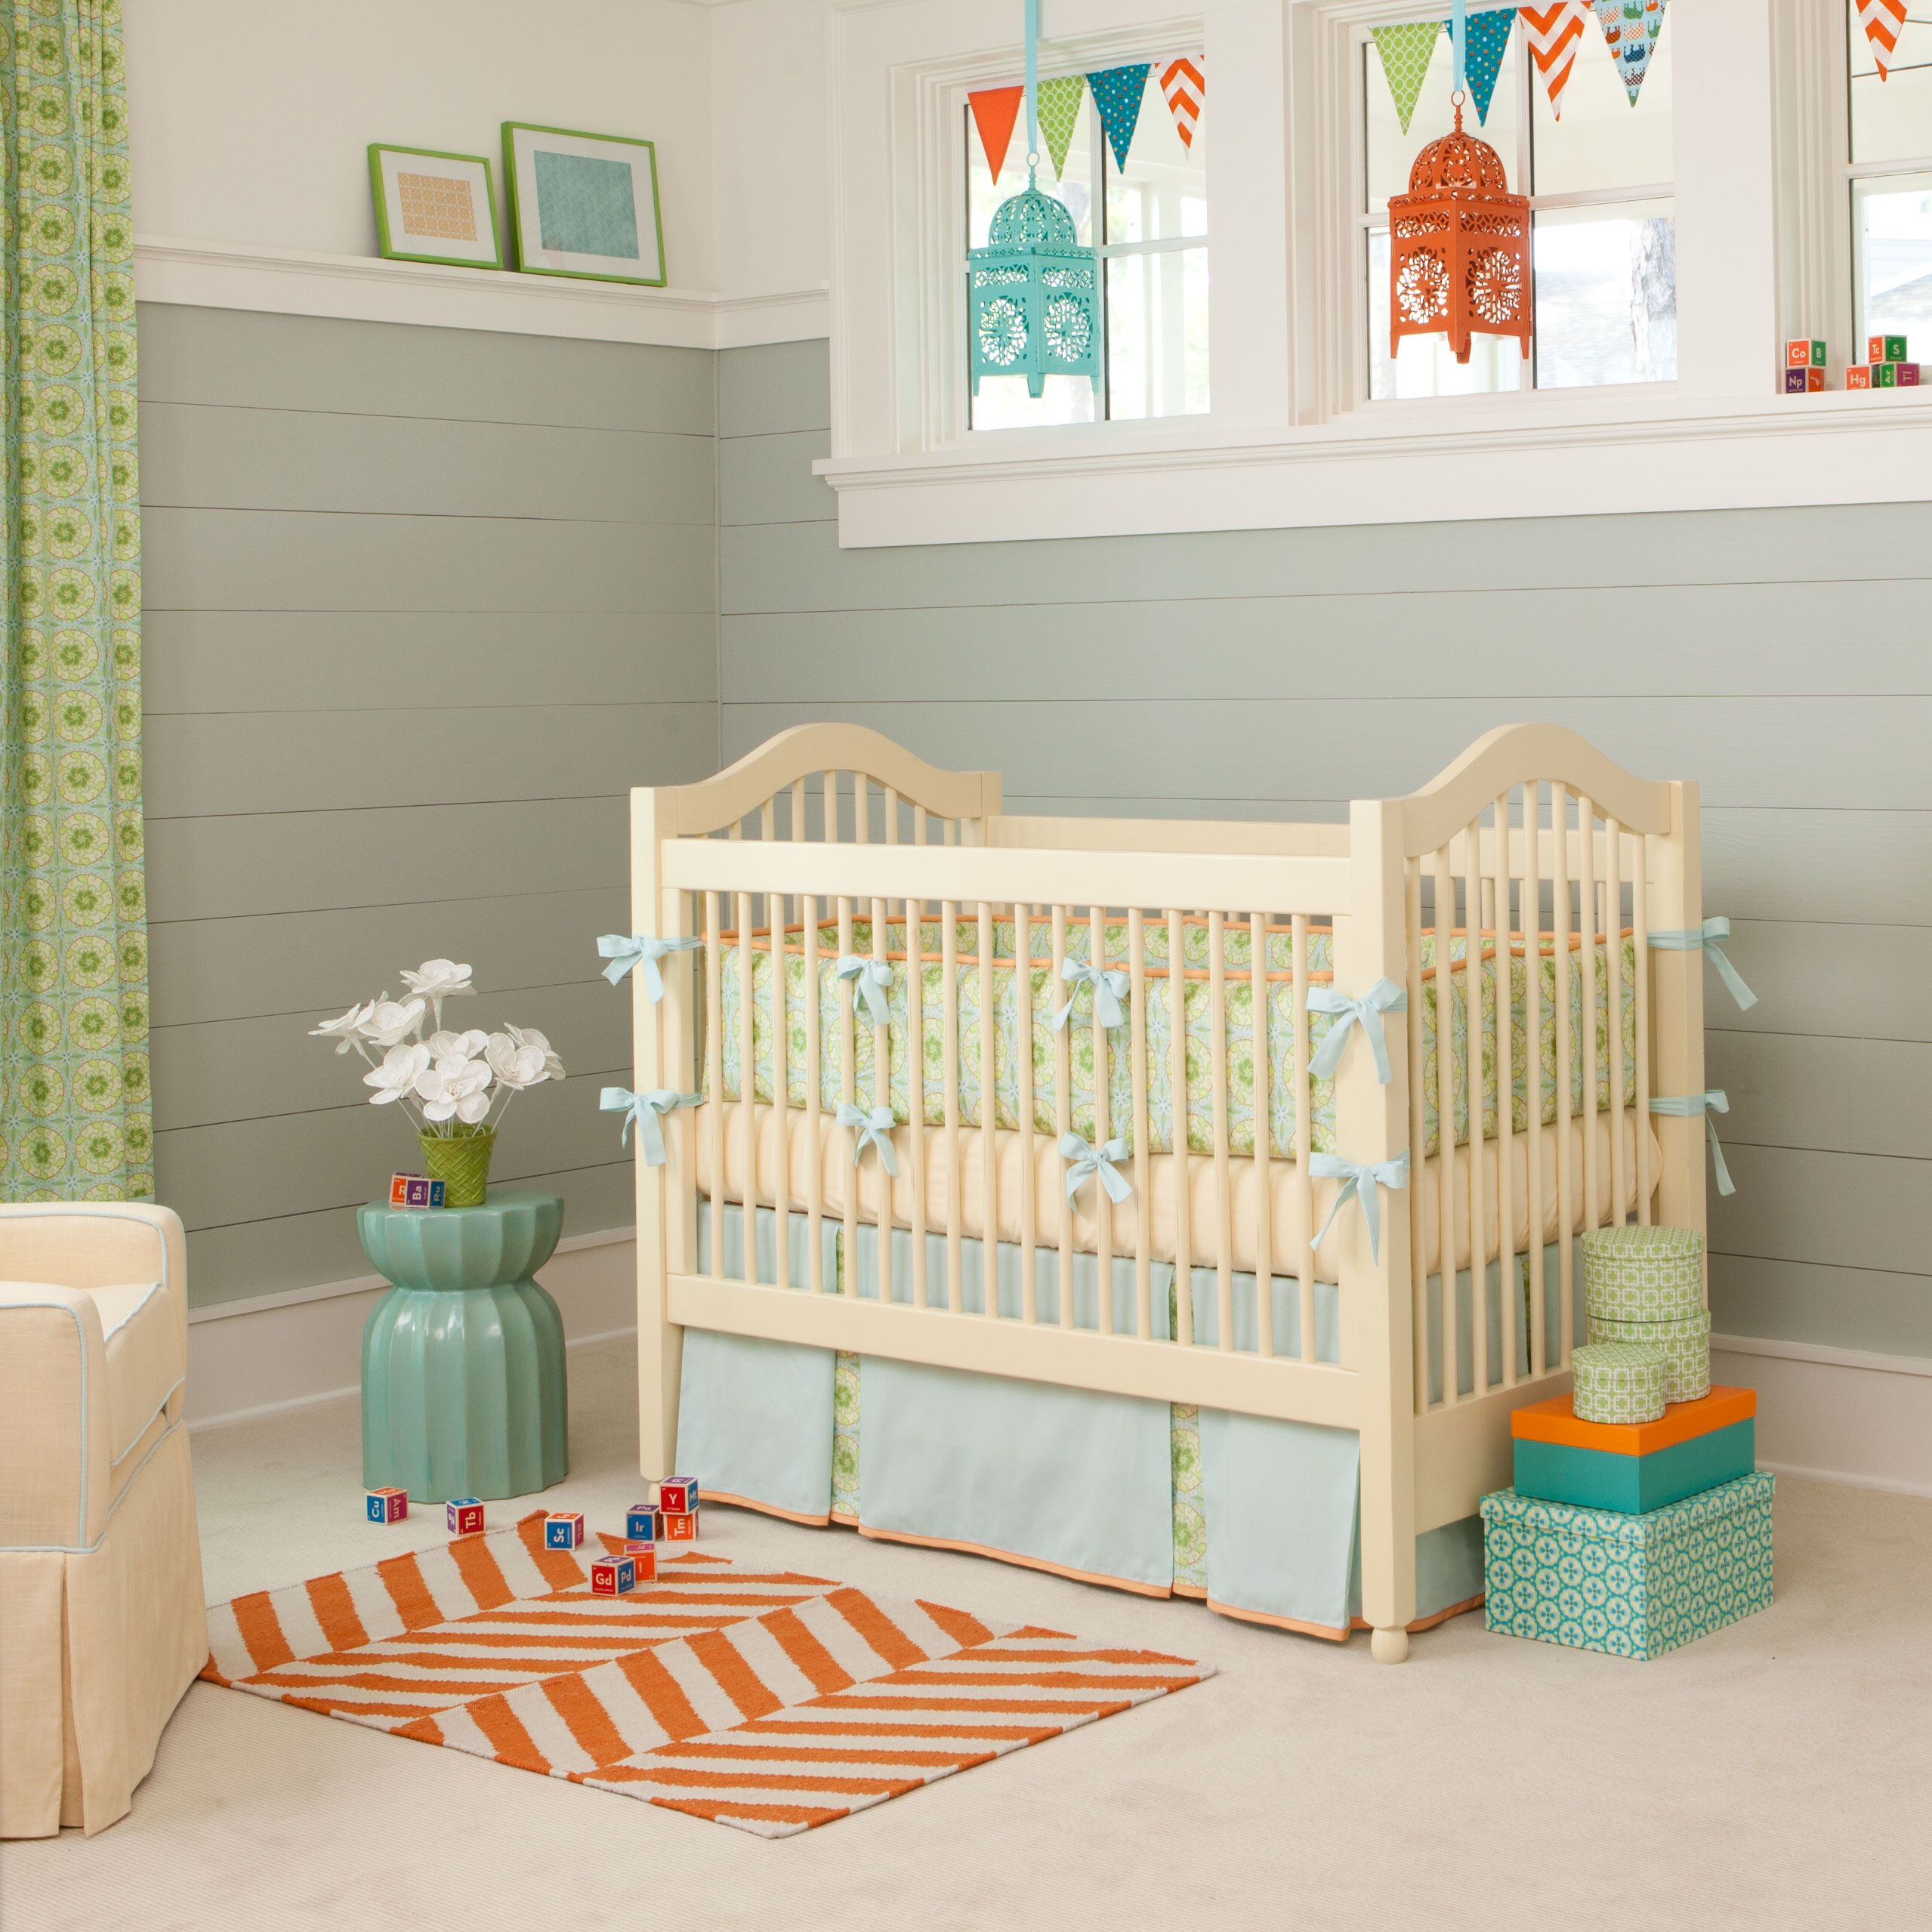
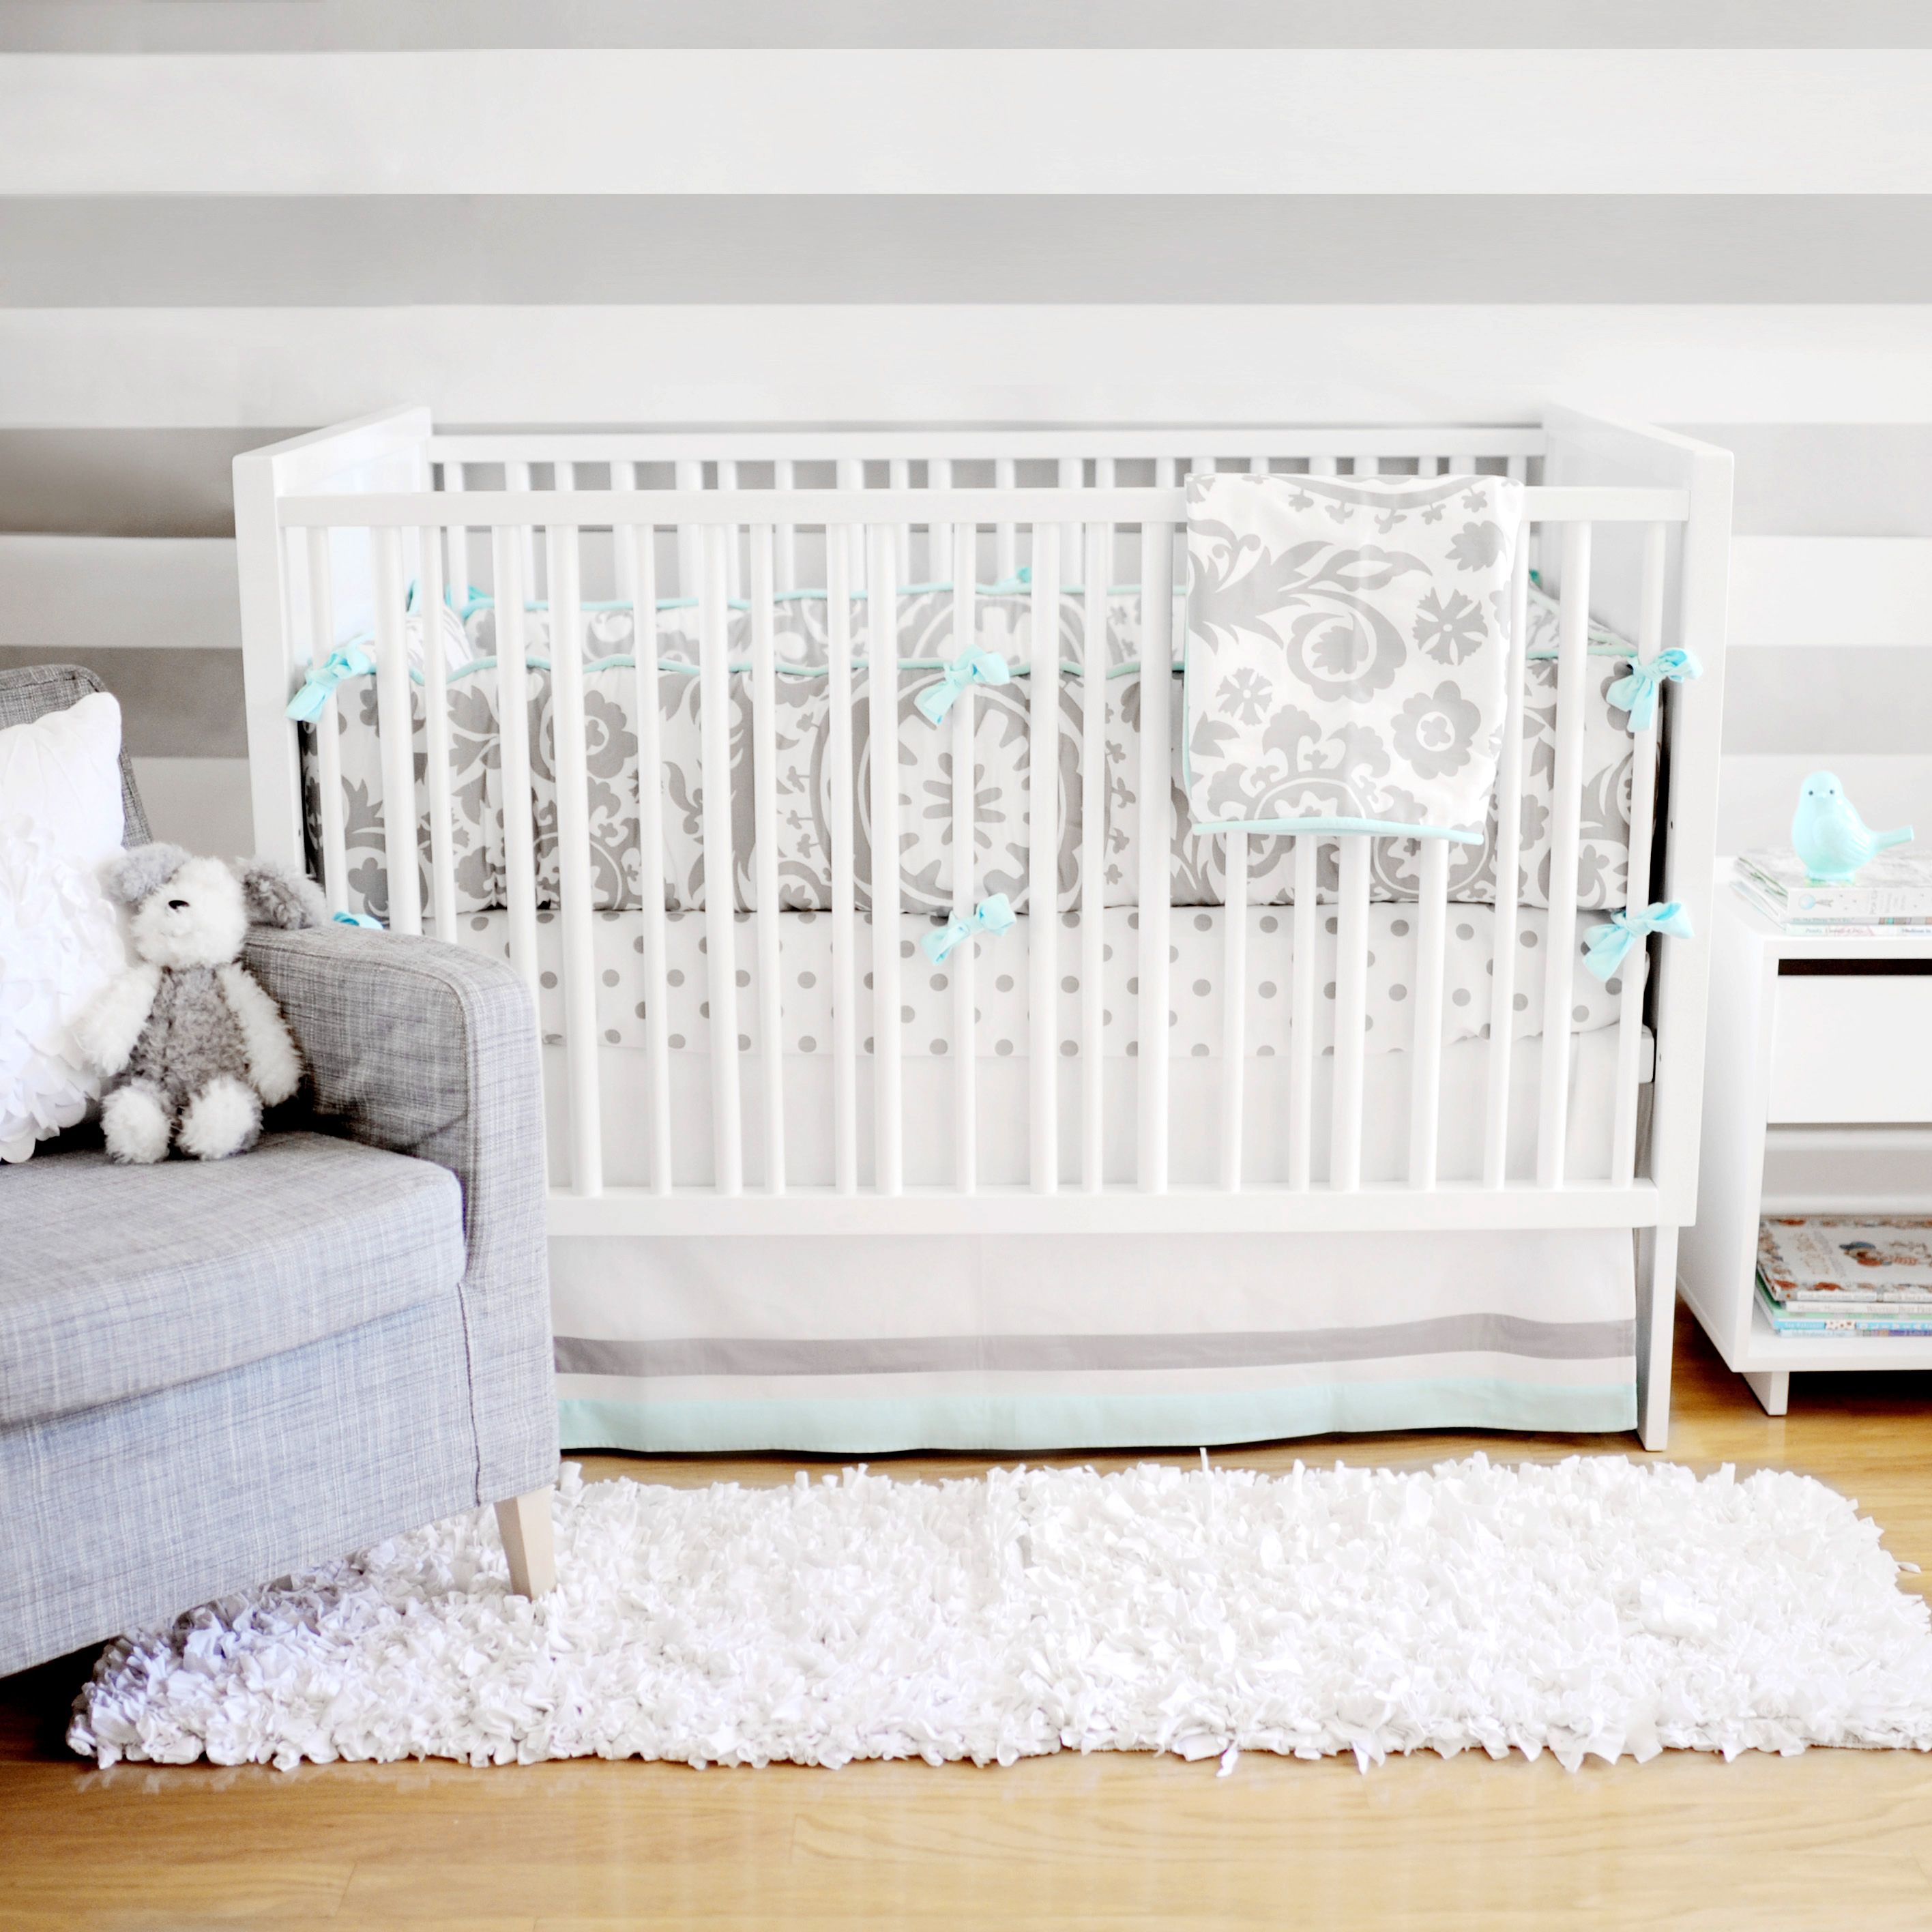

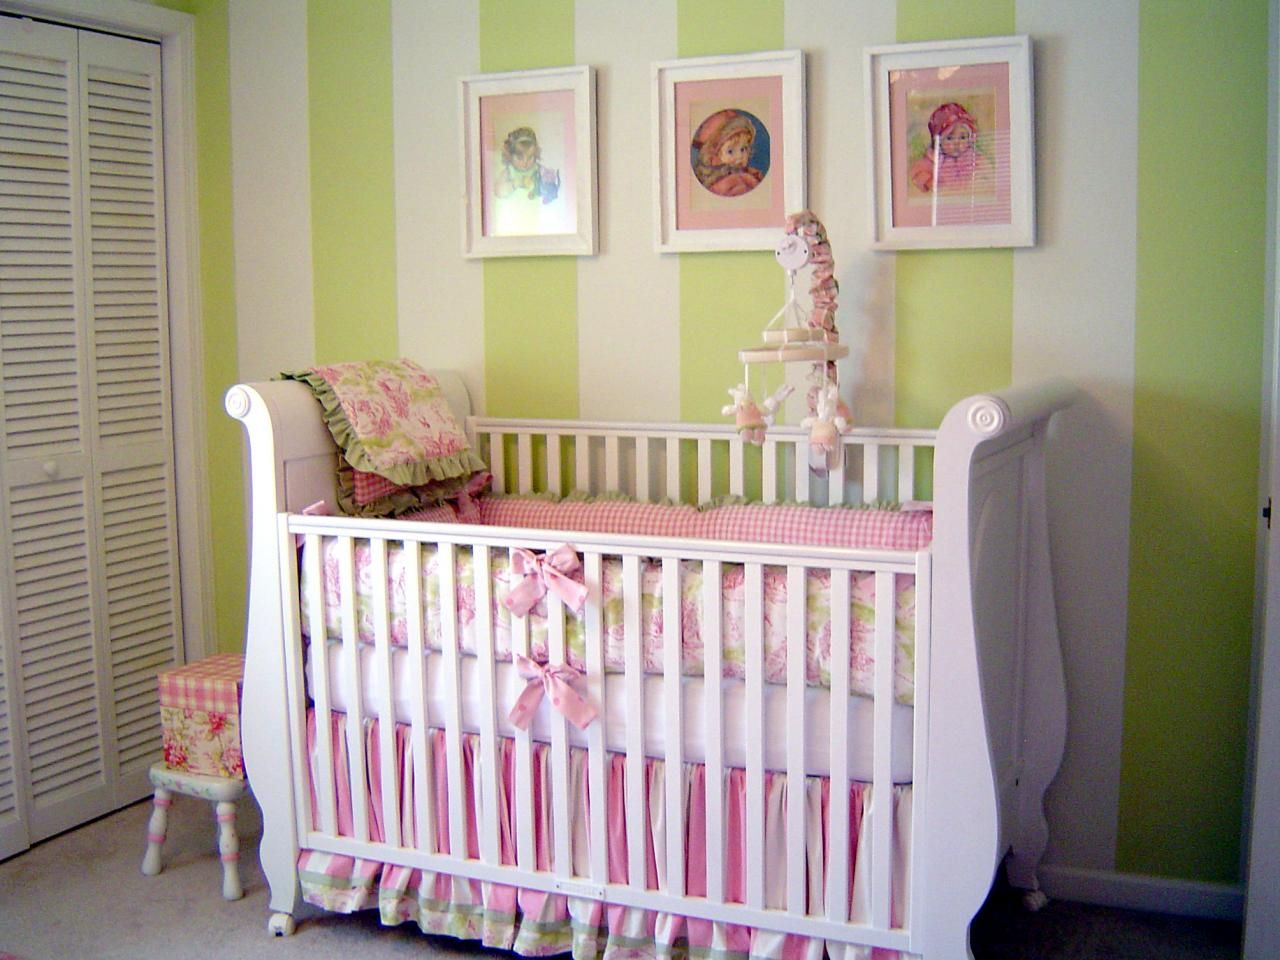
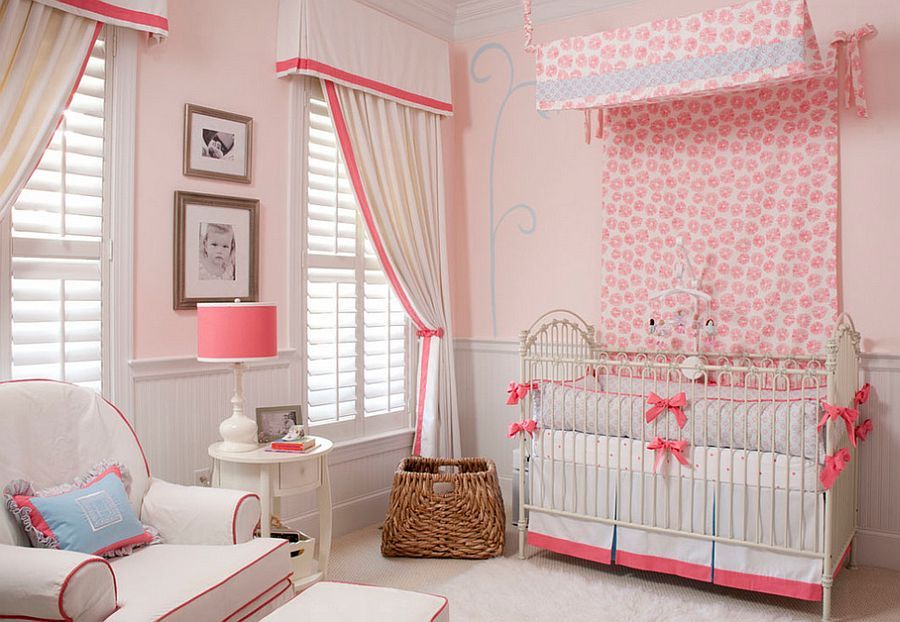
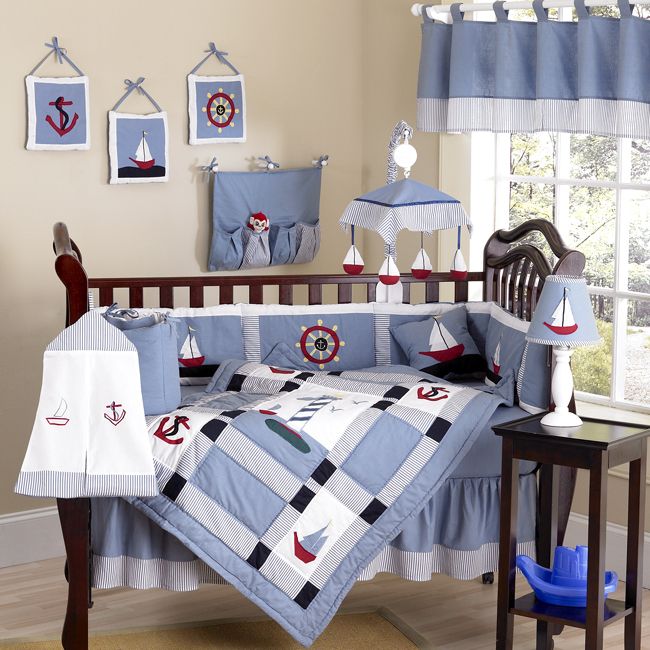
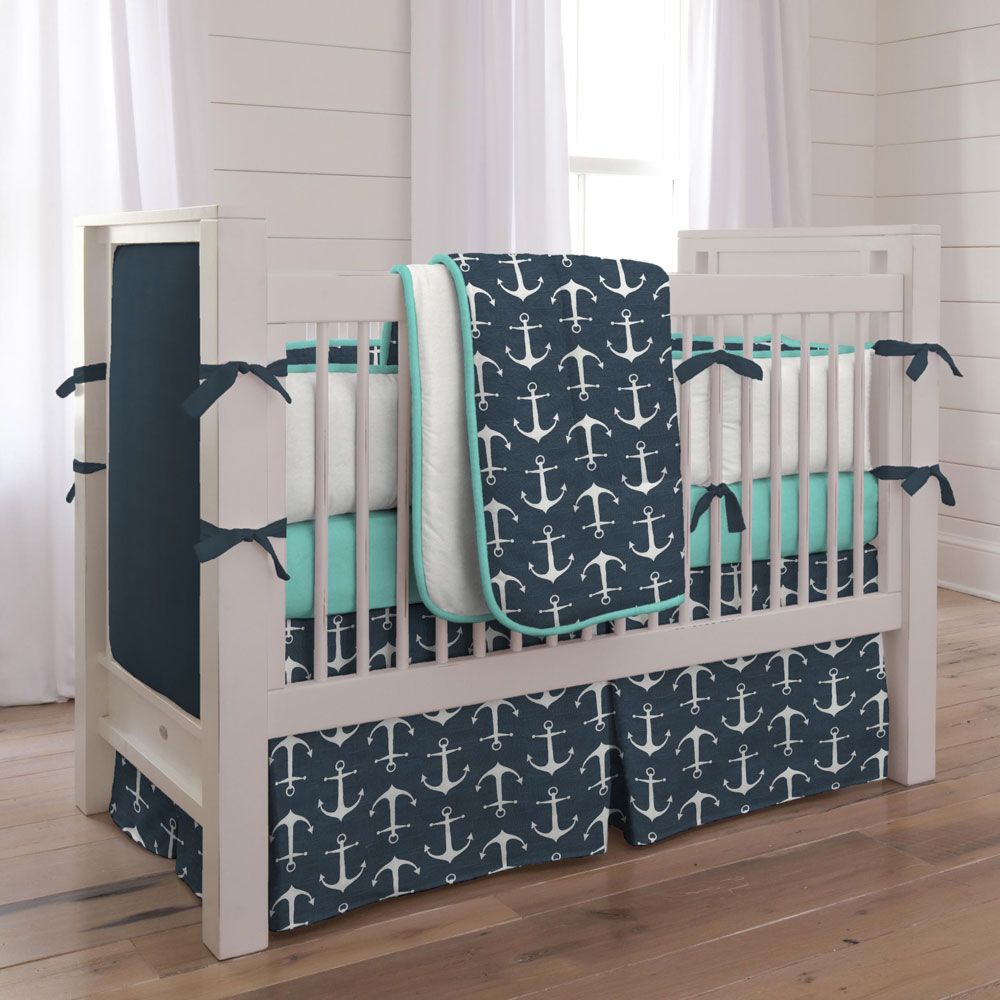
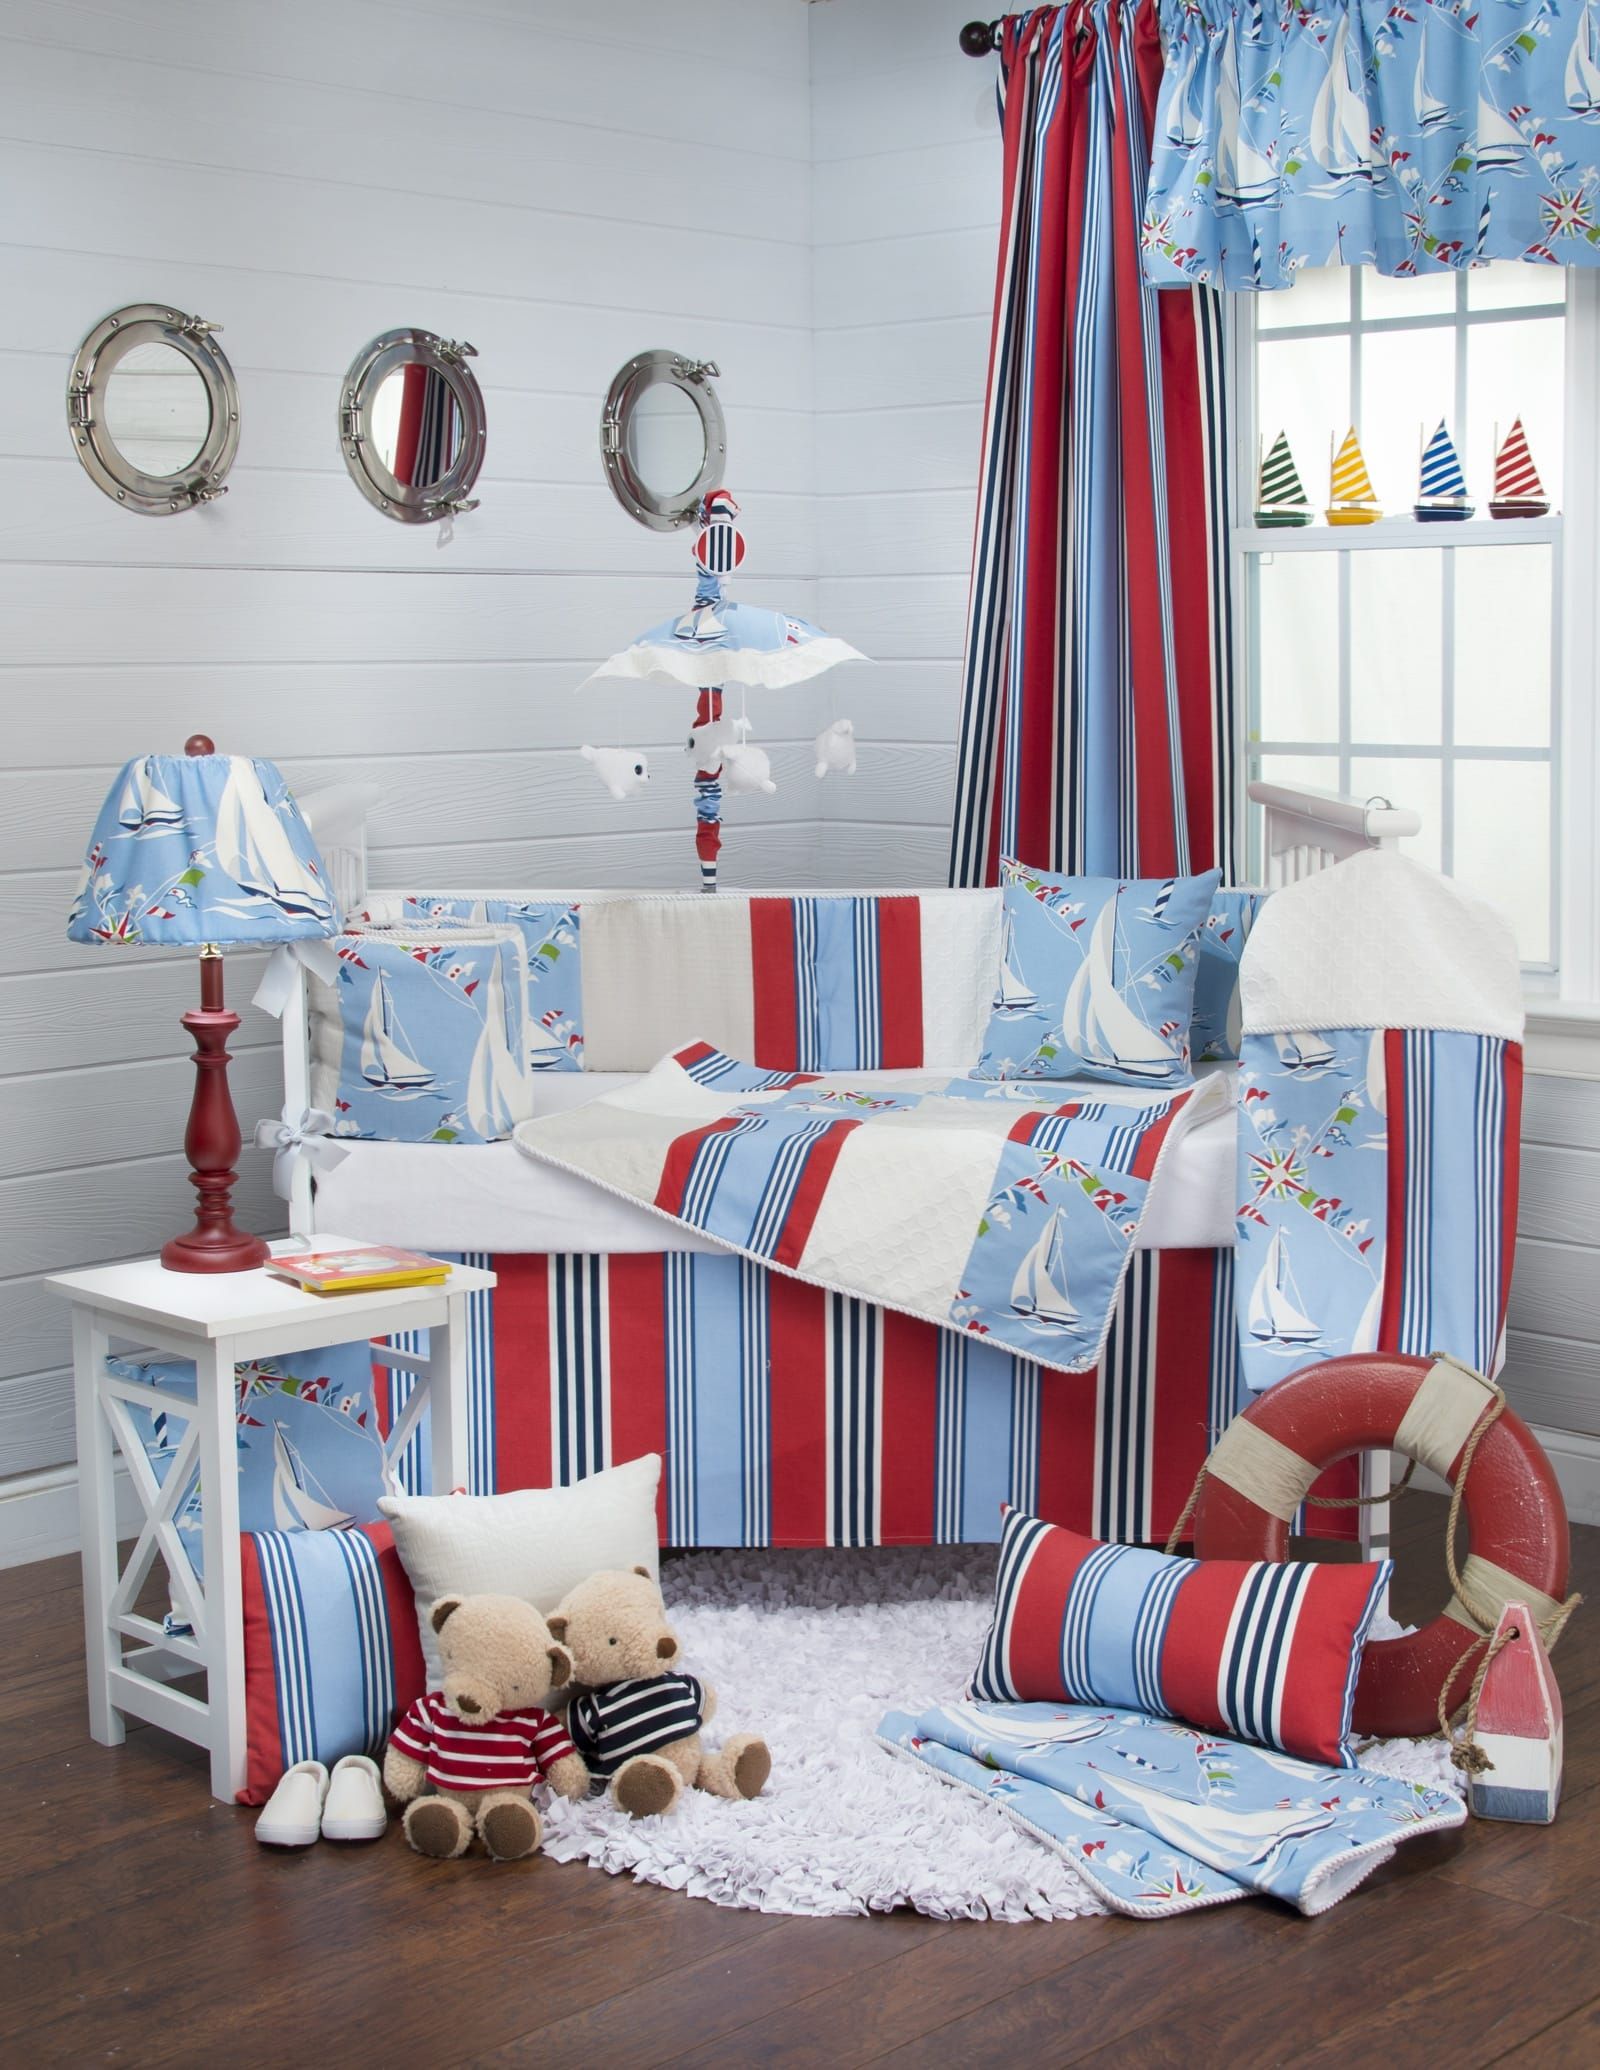
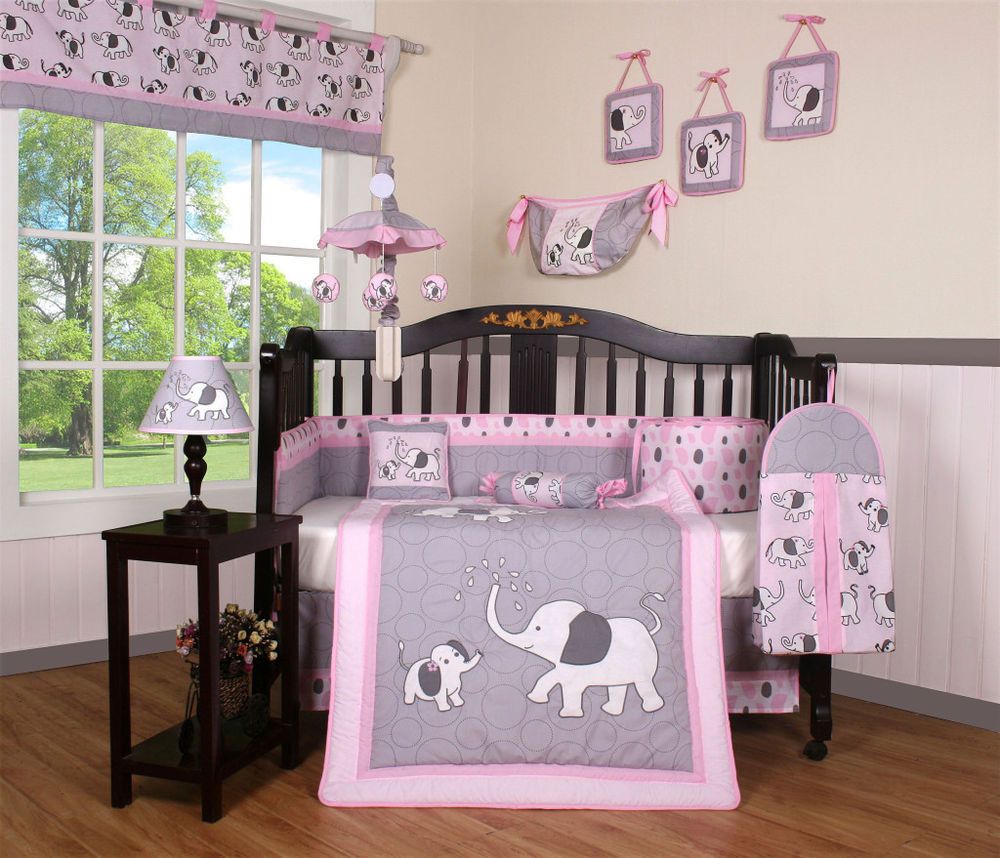
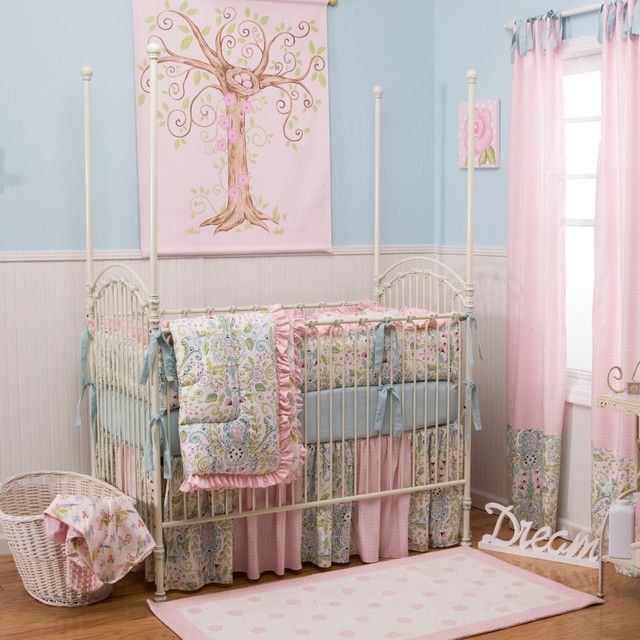
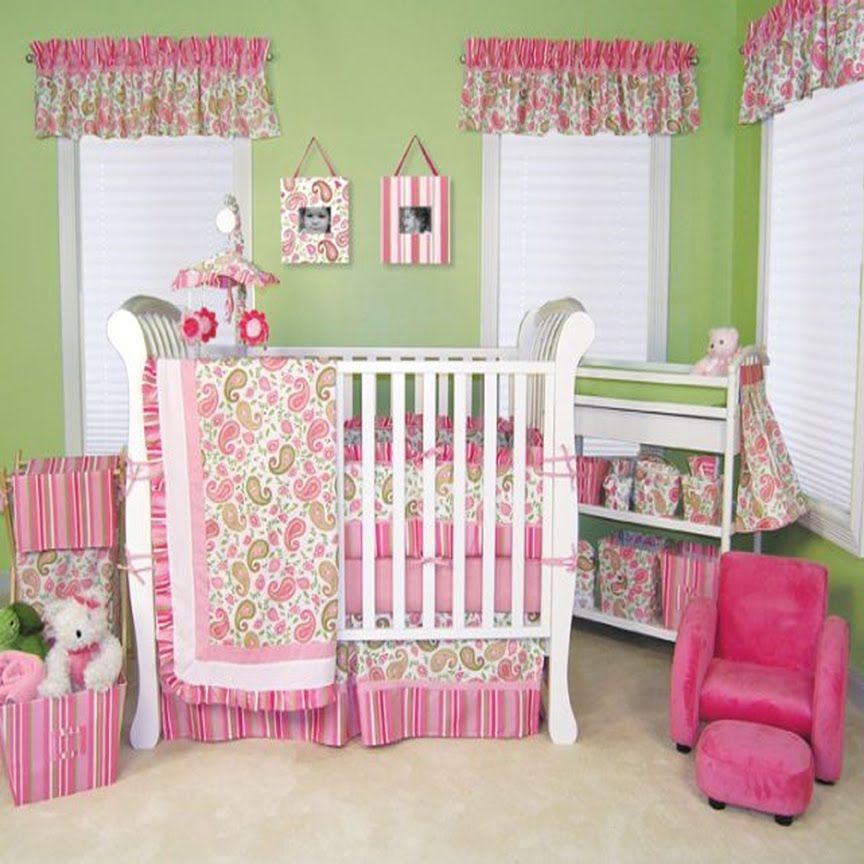
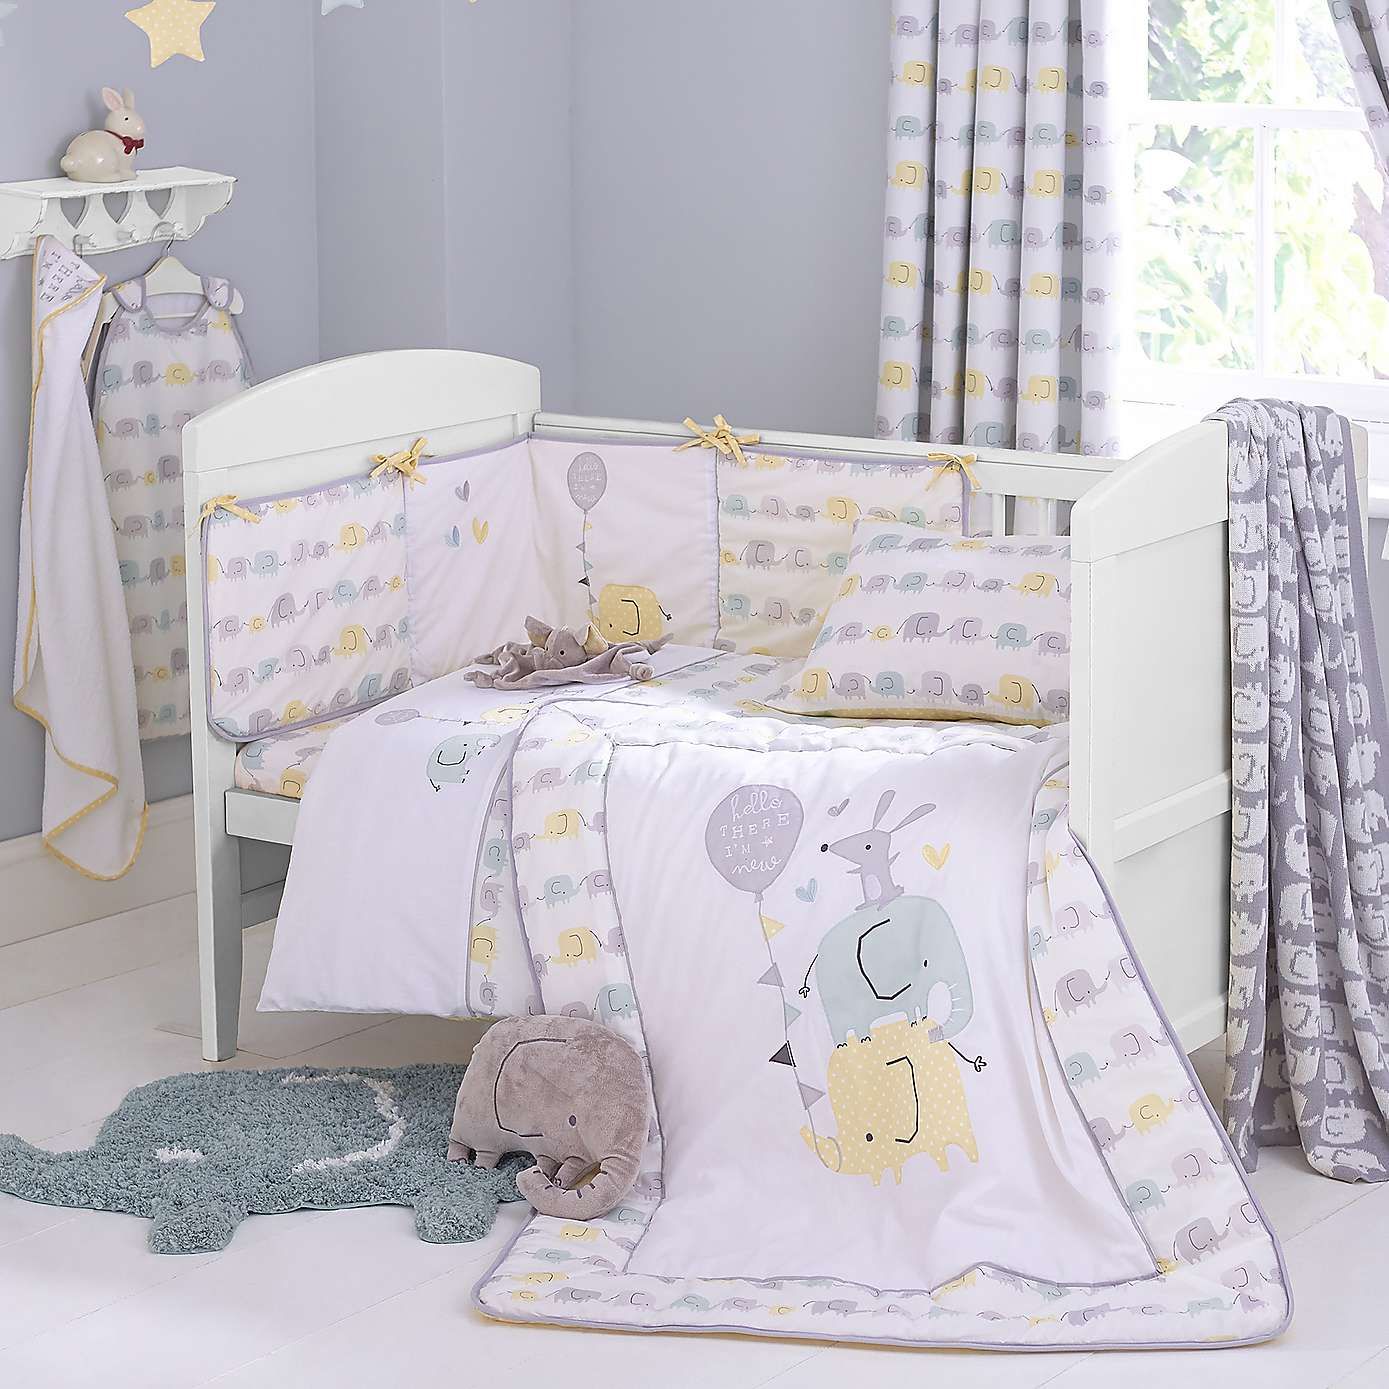
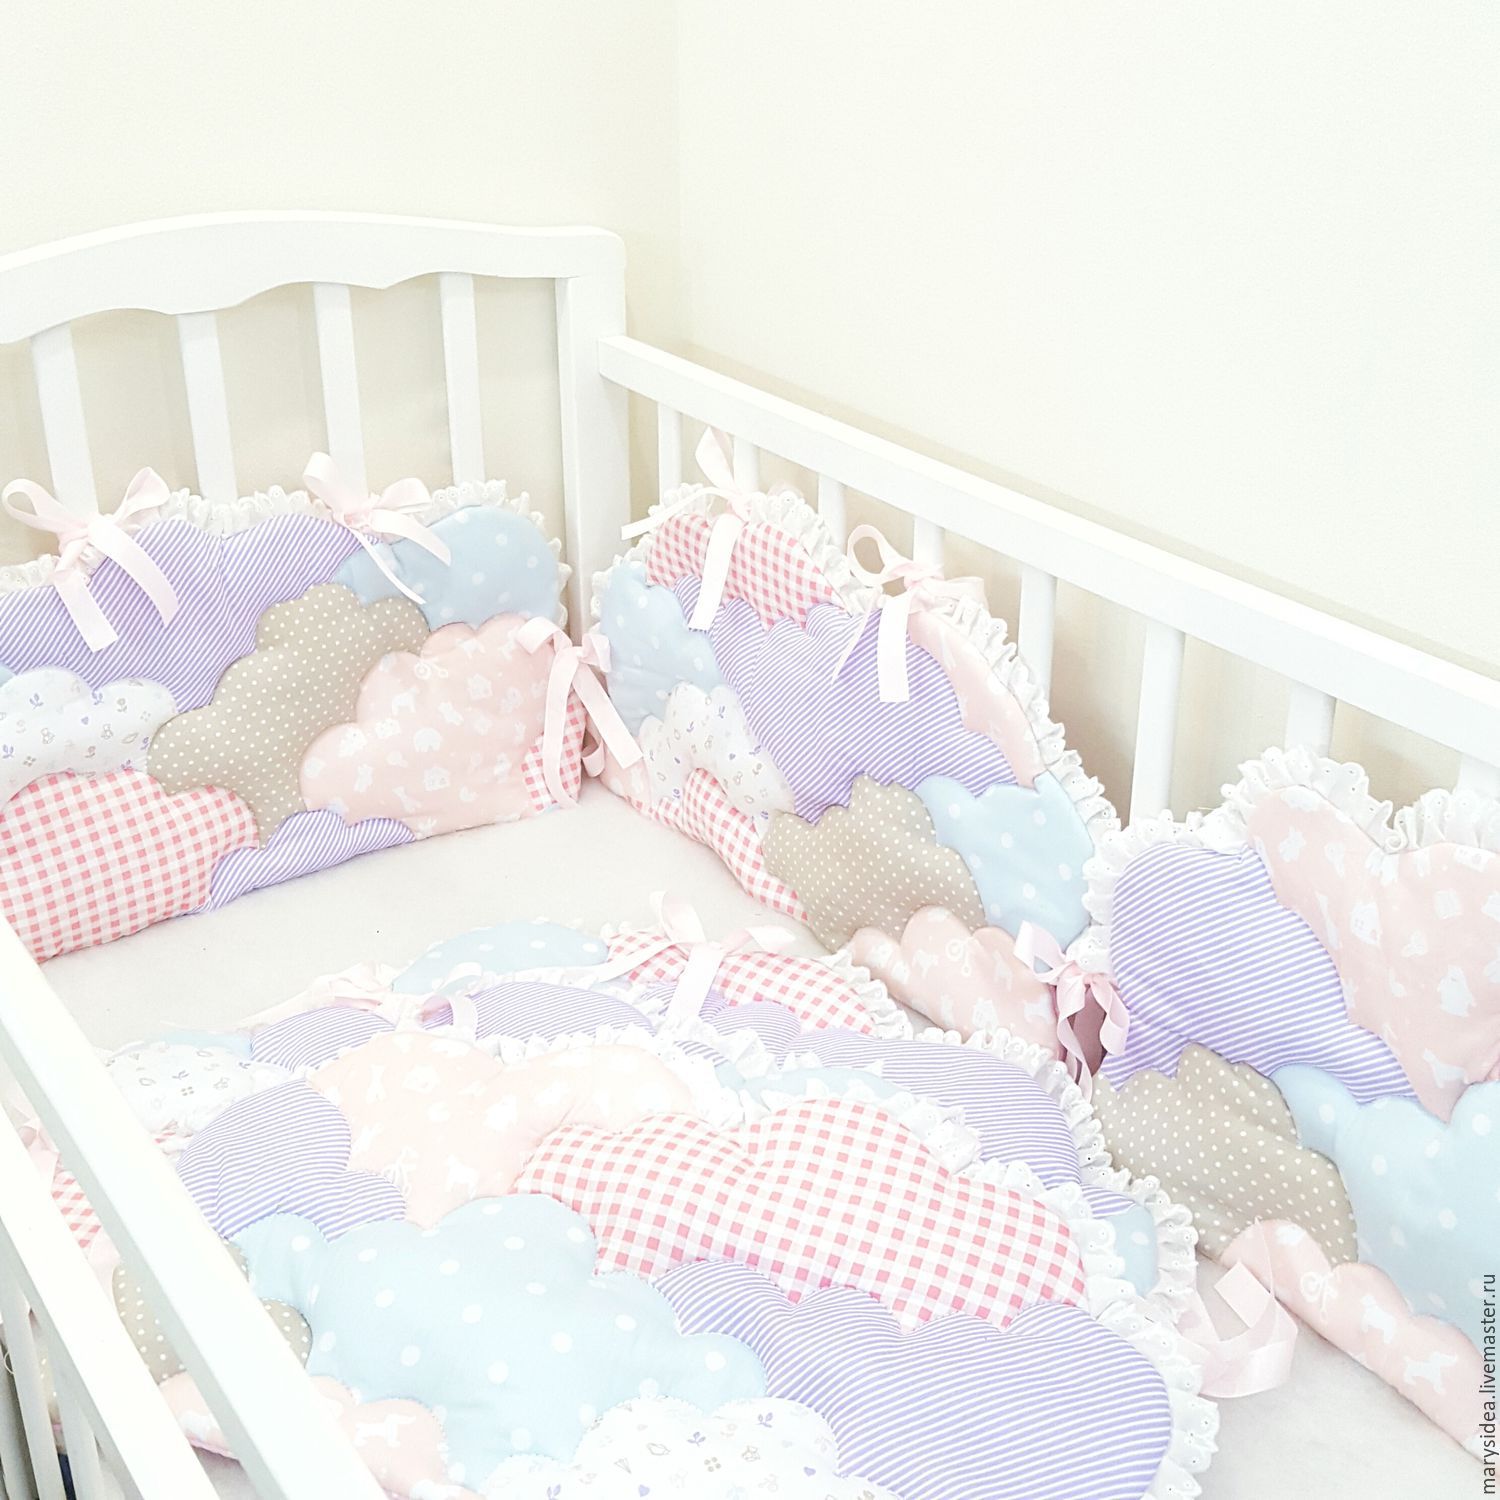
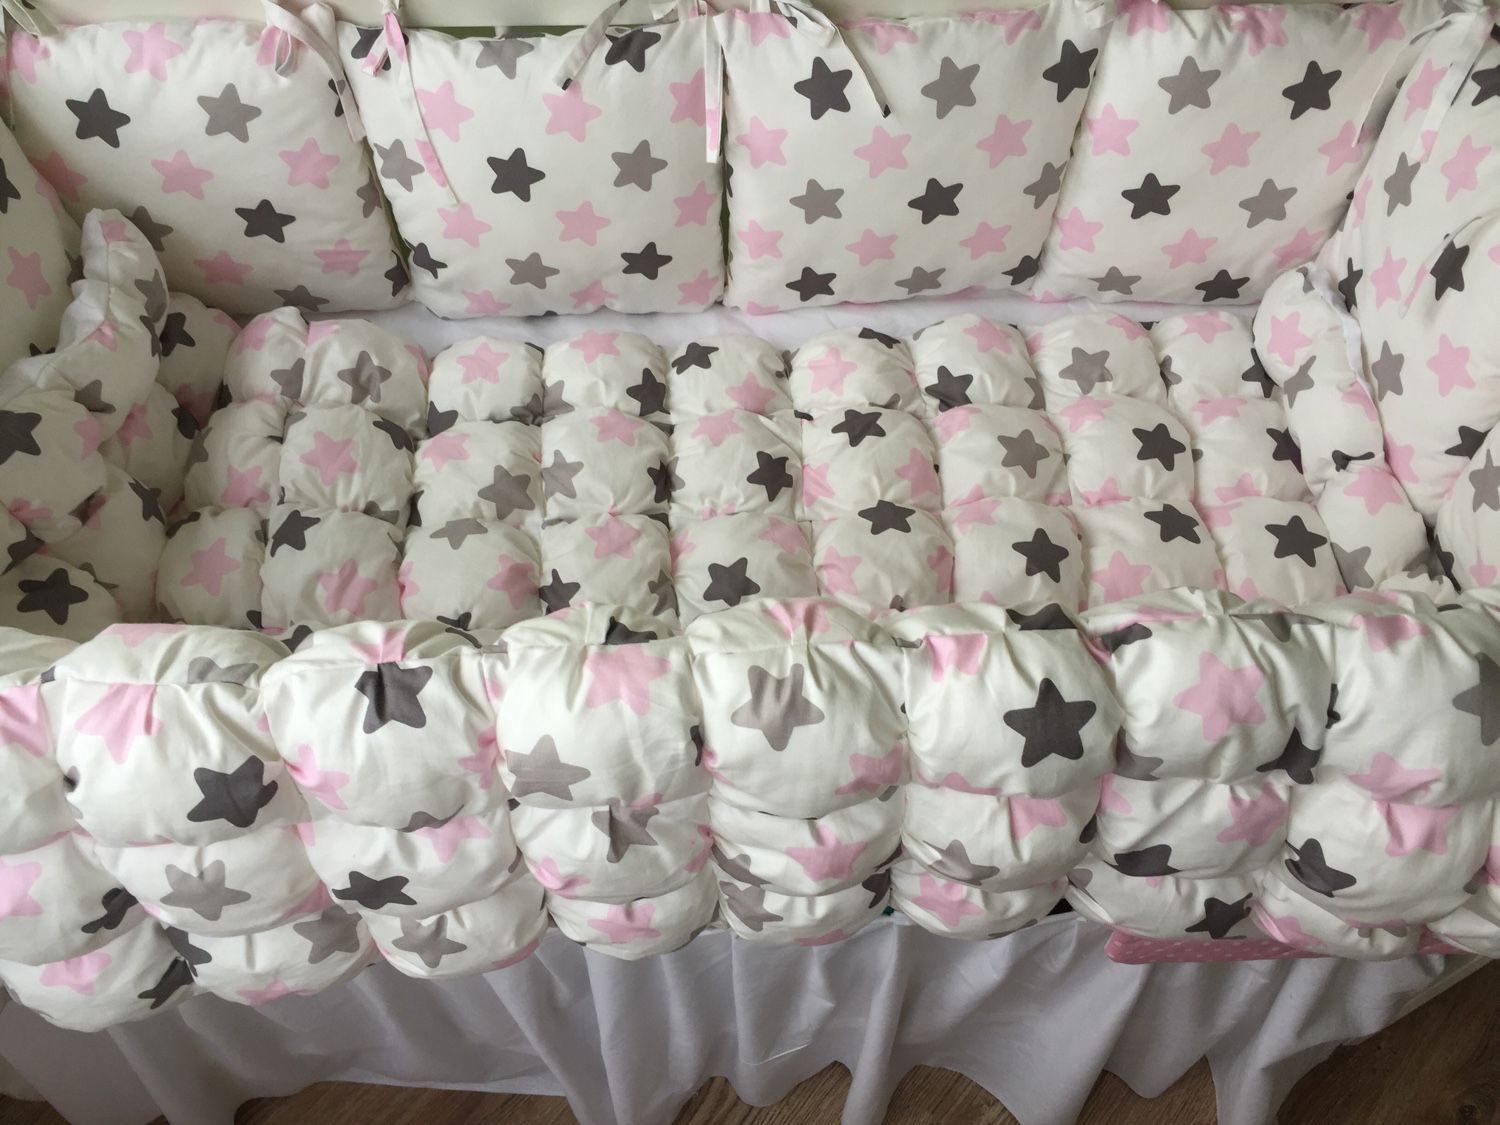
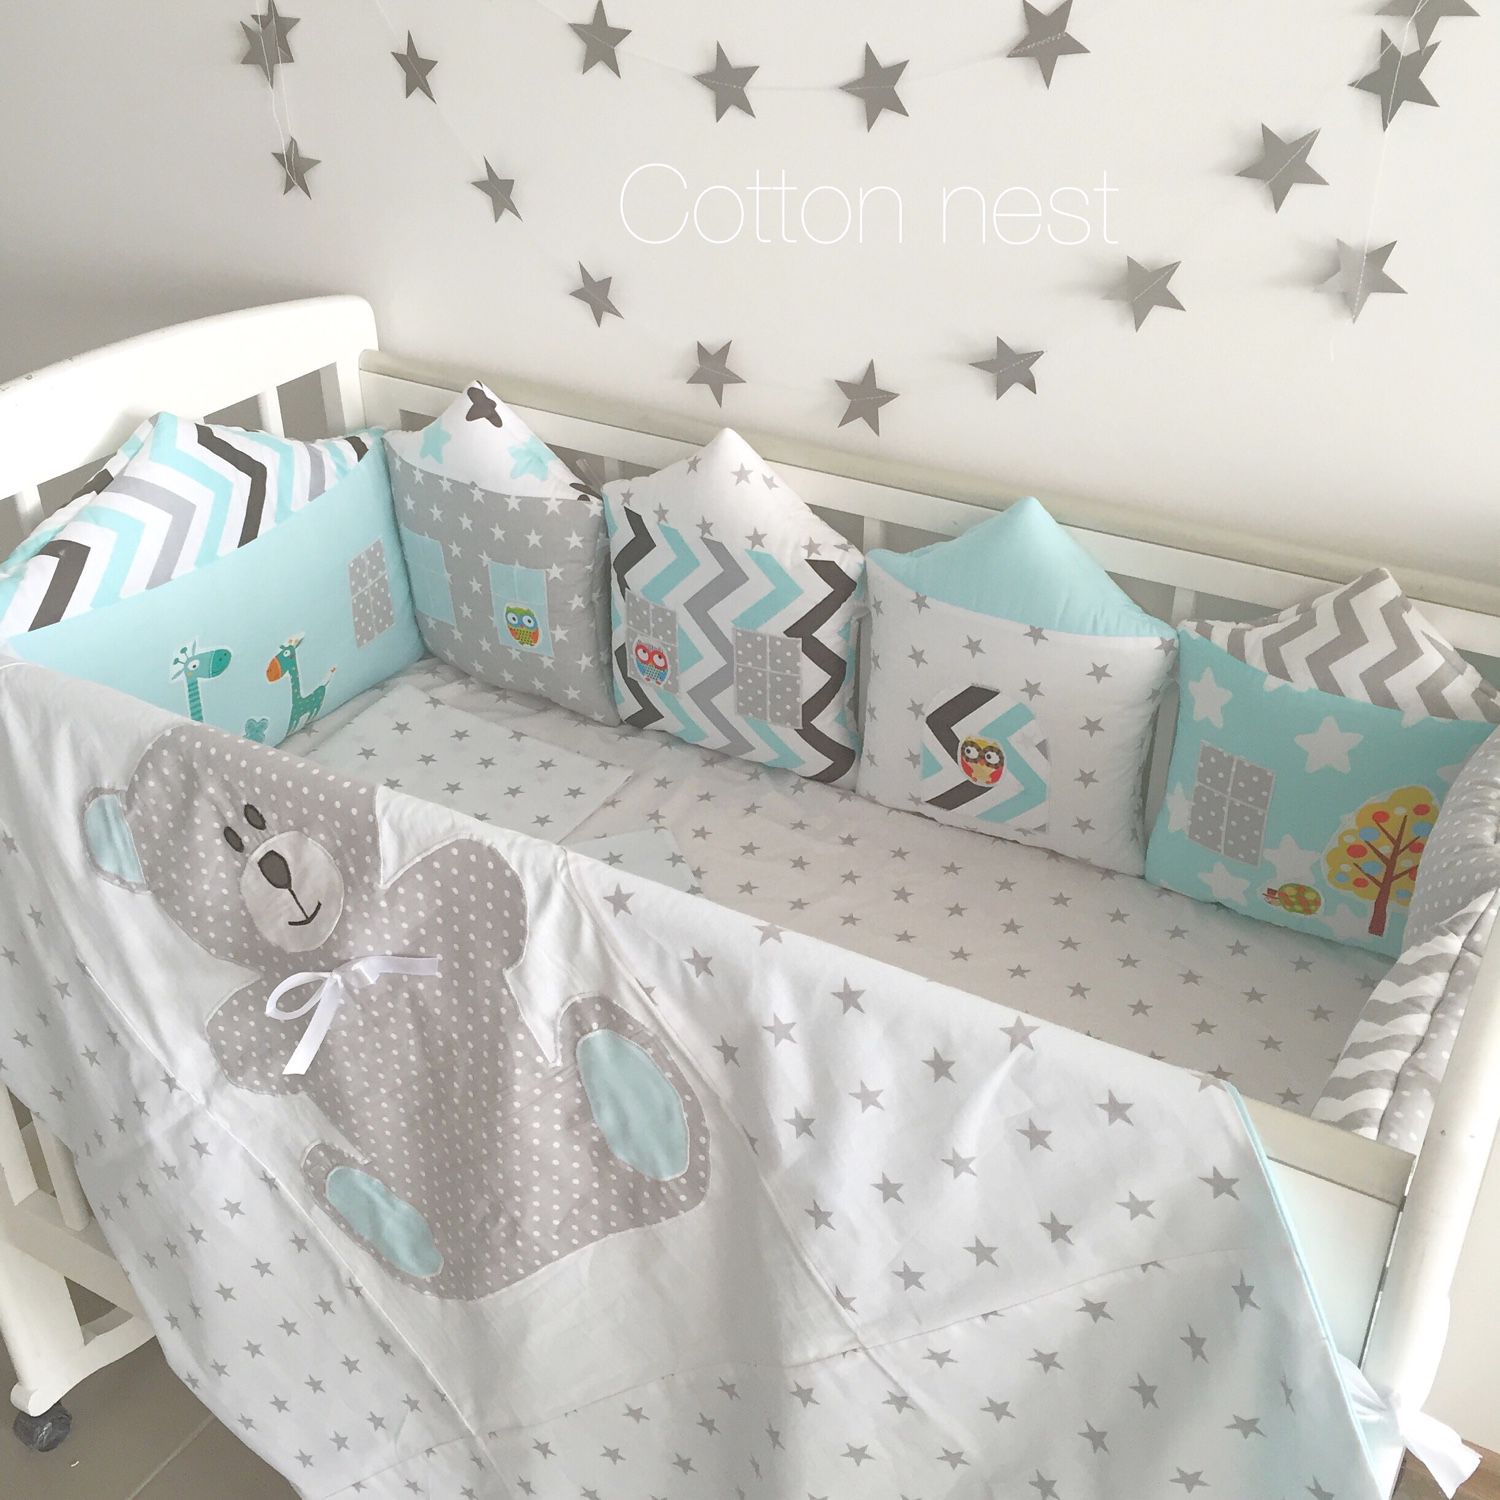
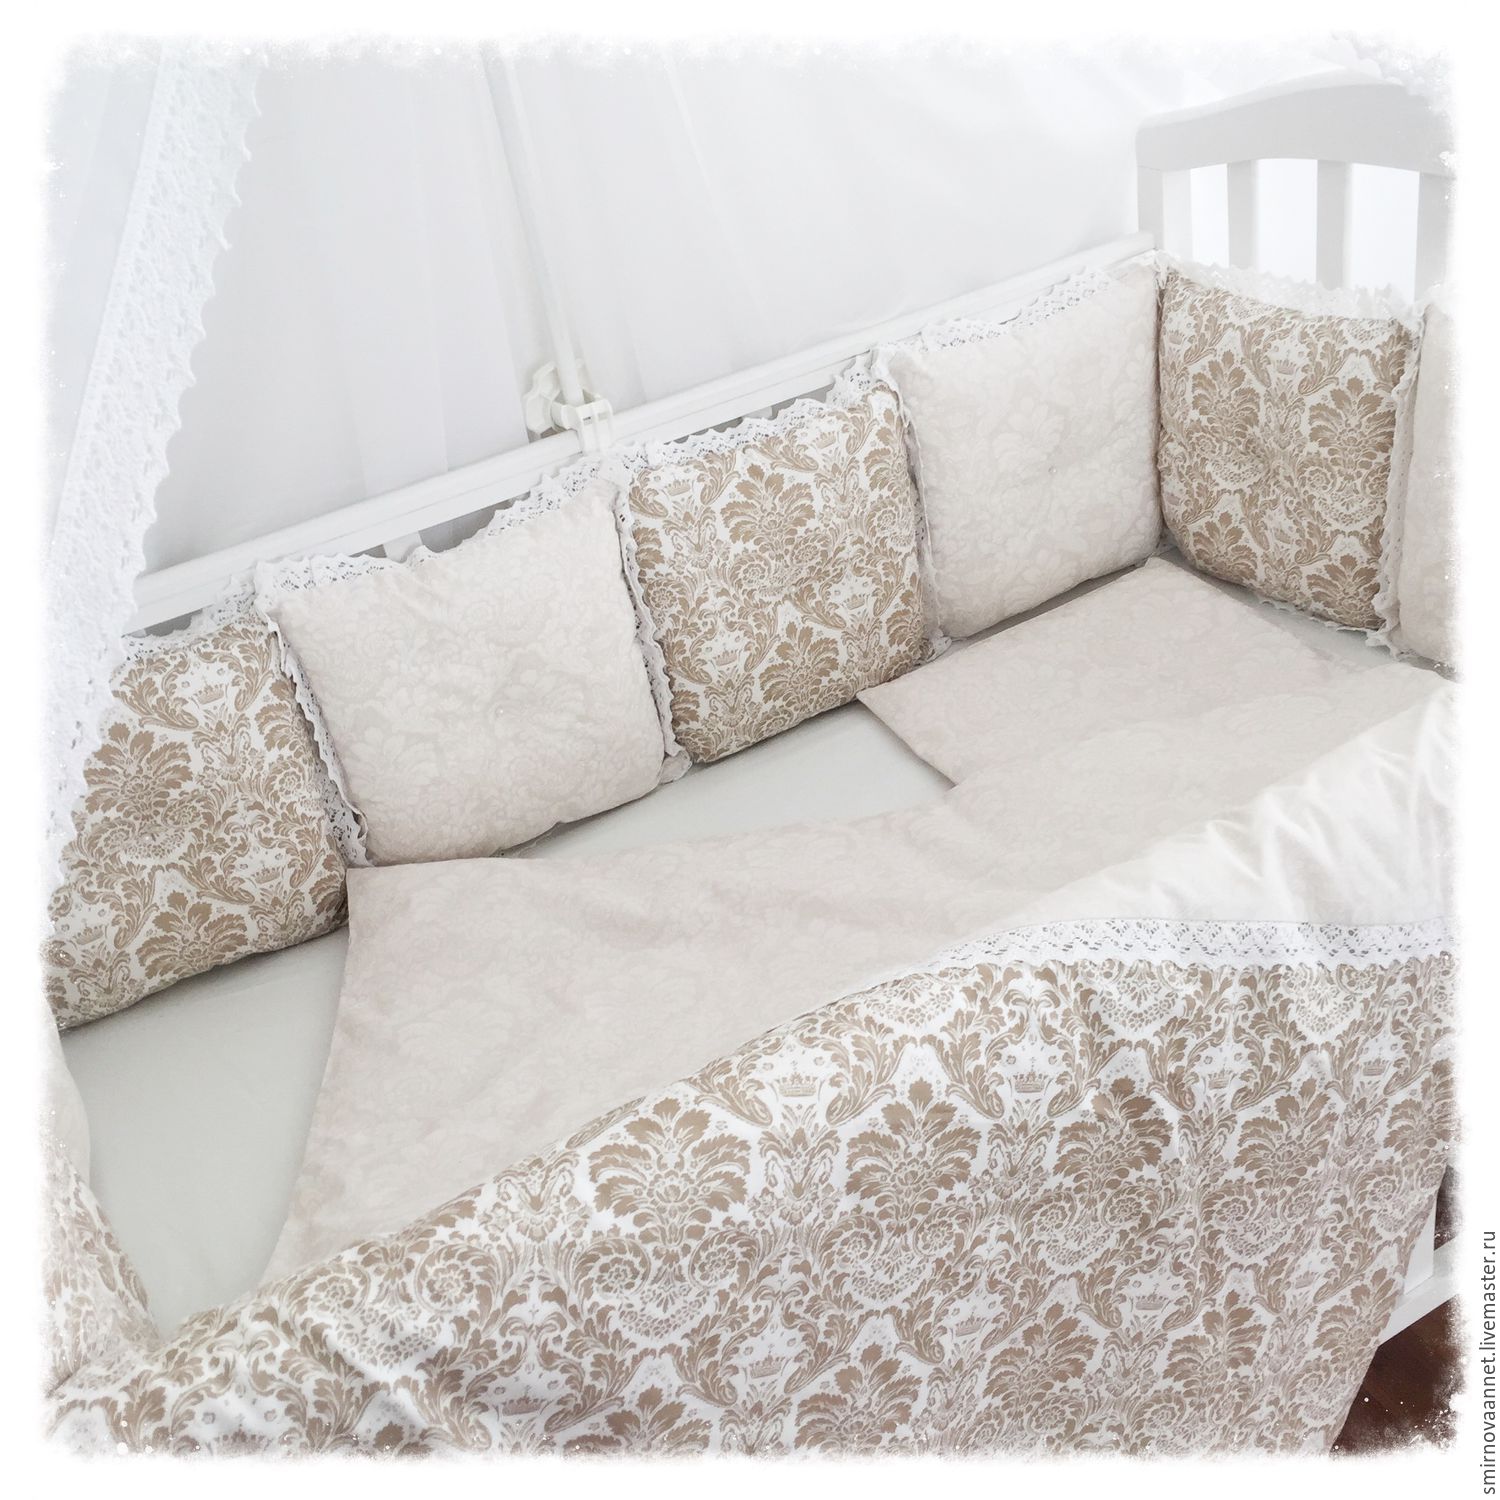


Look at all the different bumpers there are! Bombon bumpers are very interesting!