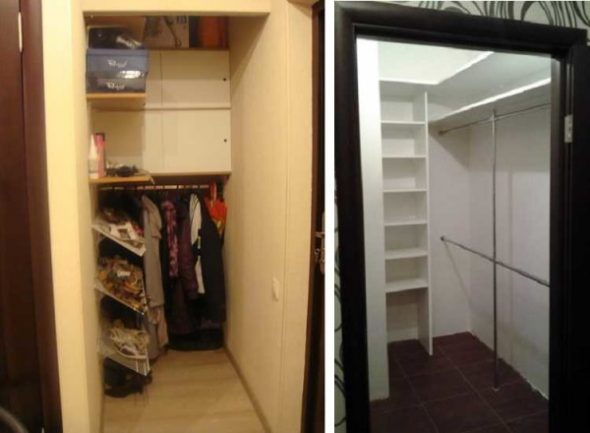
When it comes to storing things in an apartment, the best solution is a dressing room. It usually does not take up much space, which is relevant for small apartments, but at the same time allows you to conveniently store clothes and shoes in one area, which simultaneously saves space. You can order it from professionals, but then you will have to come to terms with the fact that you will not get exactly what you expected: the end result rarely meets all the wishes of the customers. But doing it yourself will be much easier - a little effort is enough.
Content
Place for a dressing room
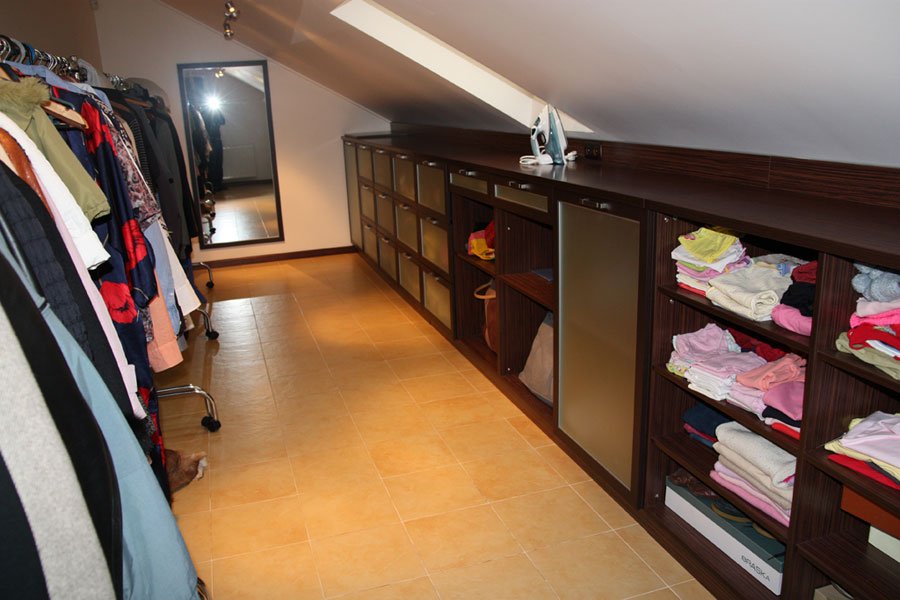
First of all, you need to decide on a place. A small space of up to one and a half square meters is enough for a dressing room. But where this place will be located is up to the owners to decide. As an option, it can be a bedroom, a corner between walls, a balcony or loggia, an attic - or a storage room, the presence of which is already provided for in the apartment layout.
Types of dressing room
Depending on the location, there are several types of dressing room.
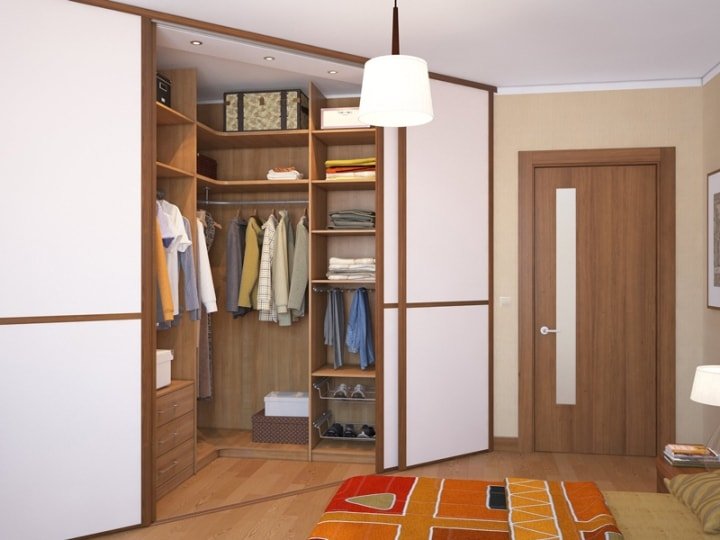
- Corner
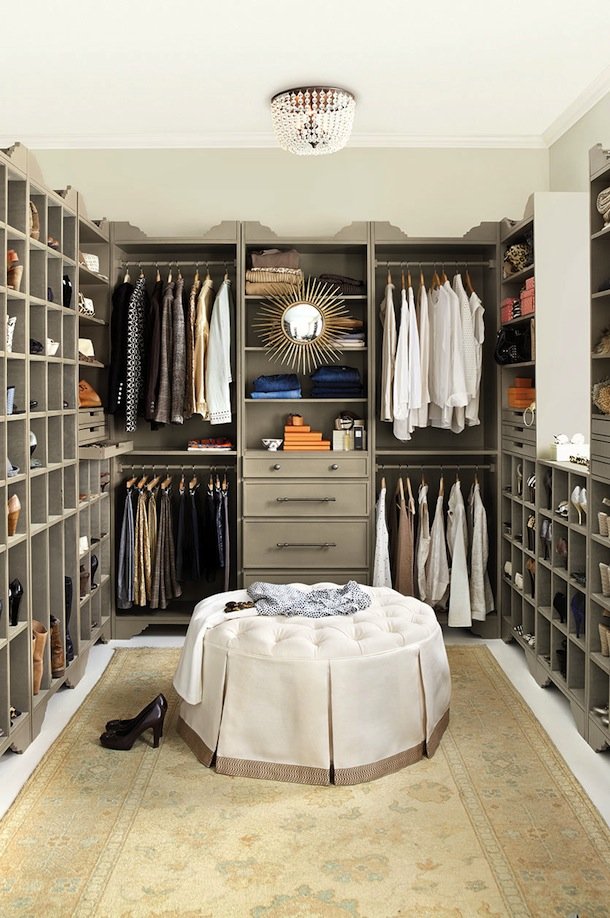
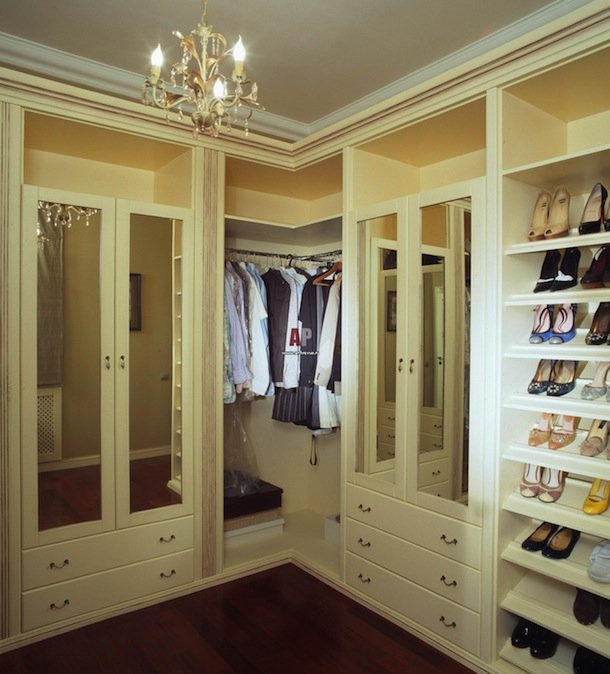
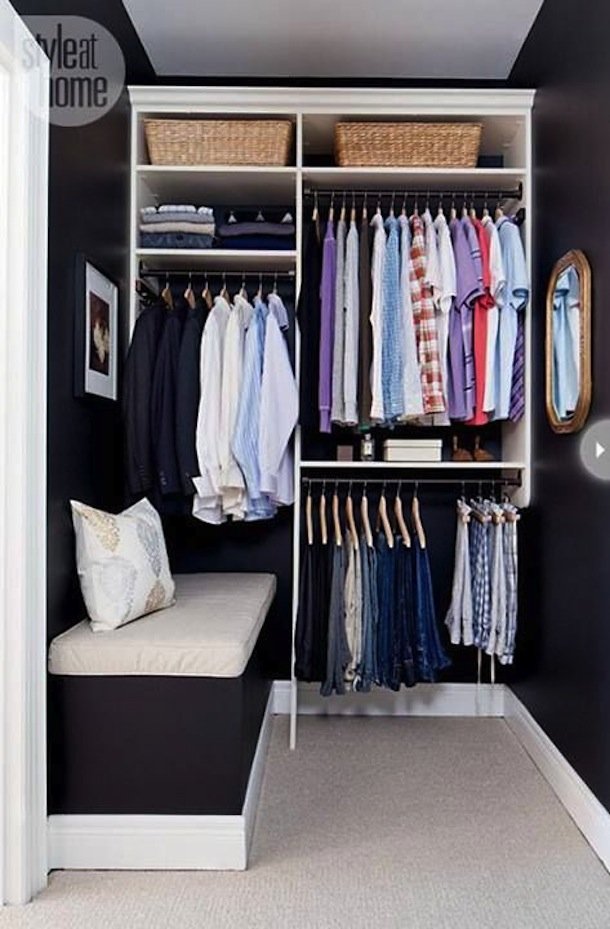
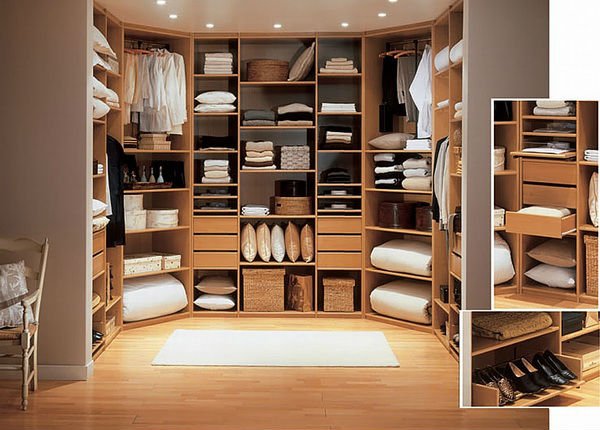
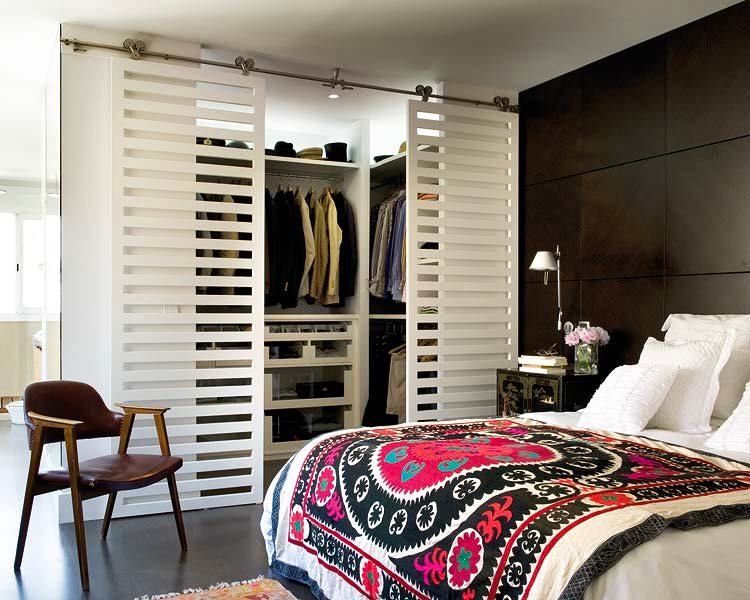
The corner dressing room is located at the junction of two walls. It is effective in terms of ergonomics, overall design of the apartment, visually smoothes out the sharpness of straight lines. To separate part of the corner room from the rest of the room, it is better to use plasterboard, it is easy for non-professionals and will help save money. To fill the corner dressing room, an L-shaped system of shelf arrangement is used. The optimal location is the bedroom.

- U-shaped
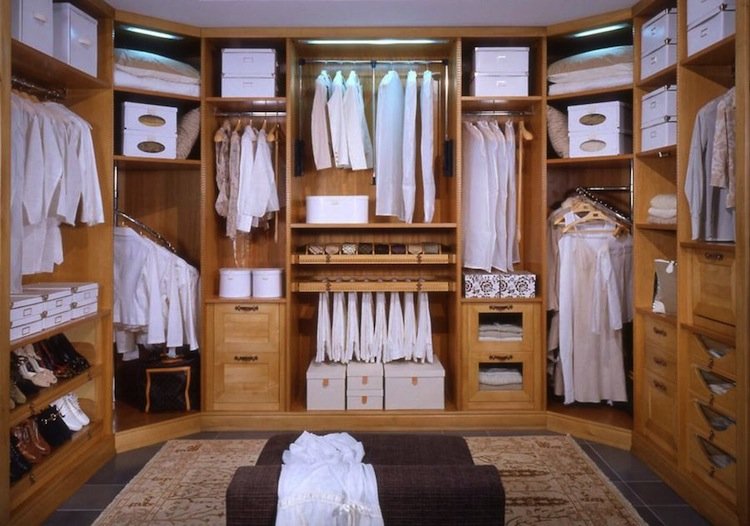
This option is suitable for owners of a "pencil case" bedroom - an elongated narrow room. The U-shaped system will visually equalize the space, making it more harmonious. A wall, closet, or screen will help separate the desired part from the bedroom. The arrangement of shelves on three walls at once will significantly save space.
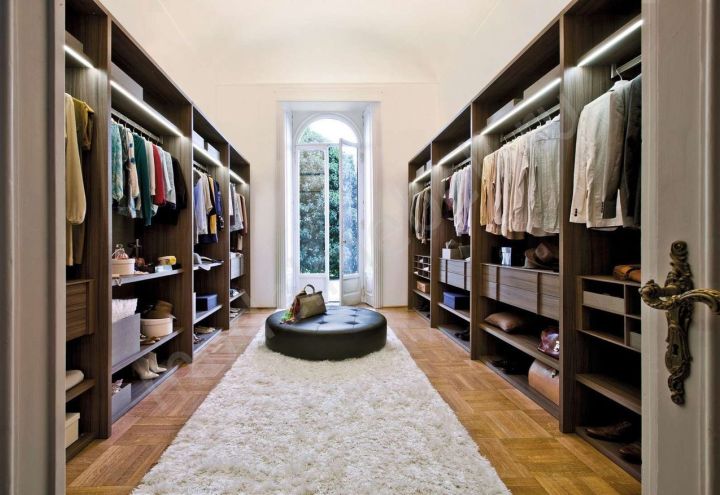
- Parallel
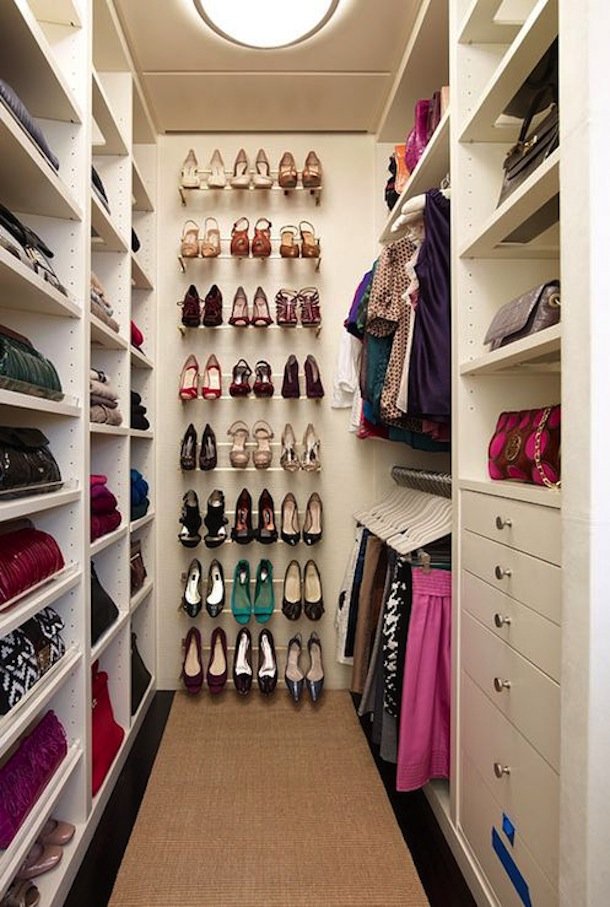
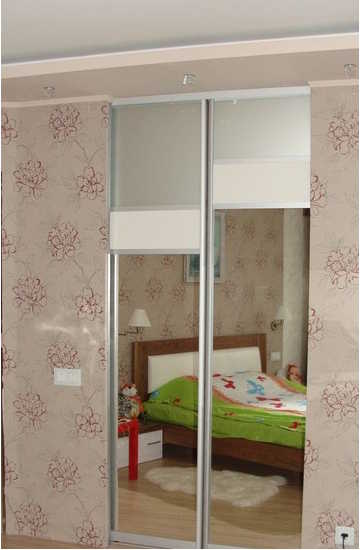
It is located in passage rooms, usually narrow long corridors. A parallel dressing room consists of two closets located opposite each other. The closets must be covered with a mirror wall, sliding doors or a screen. This arrangement is especially convenient for storing outdoor clothing and shoes.
- Linear
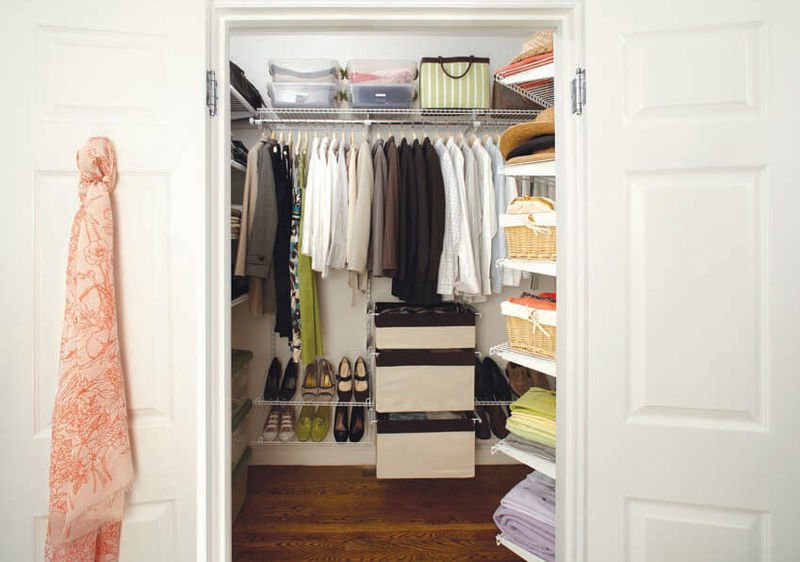
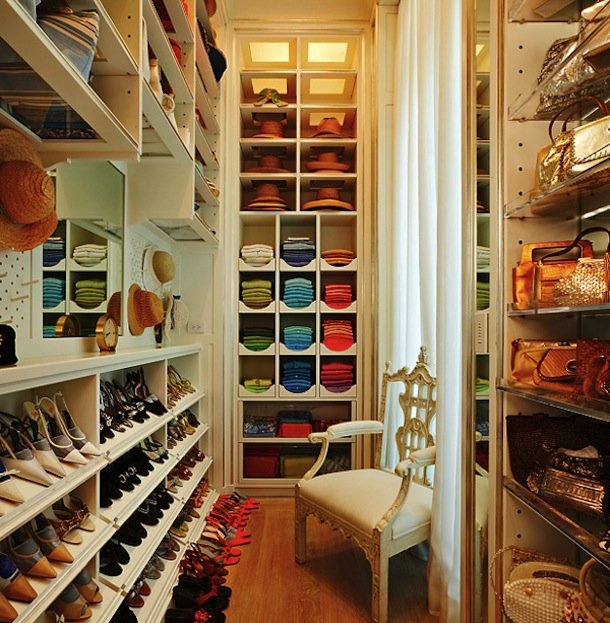
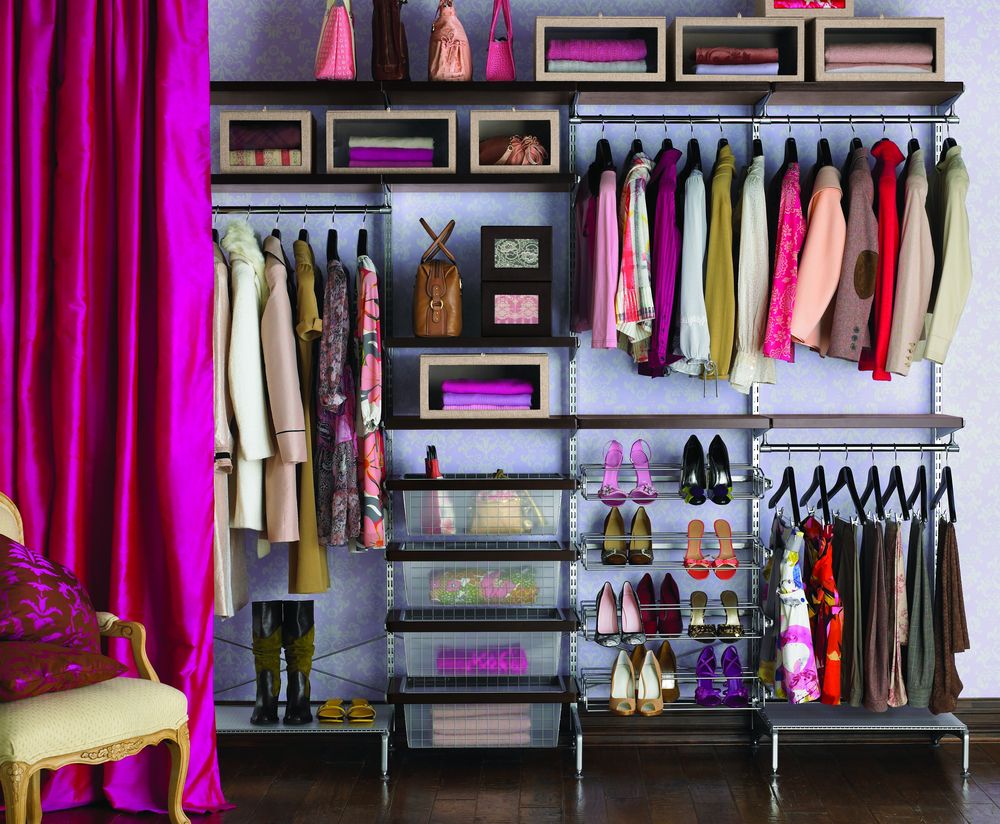
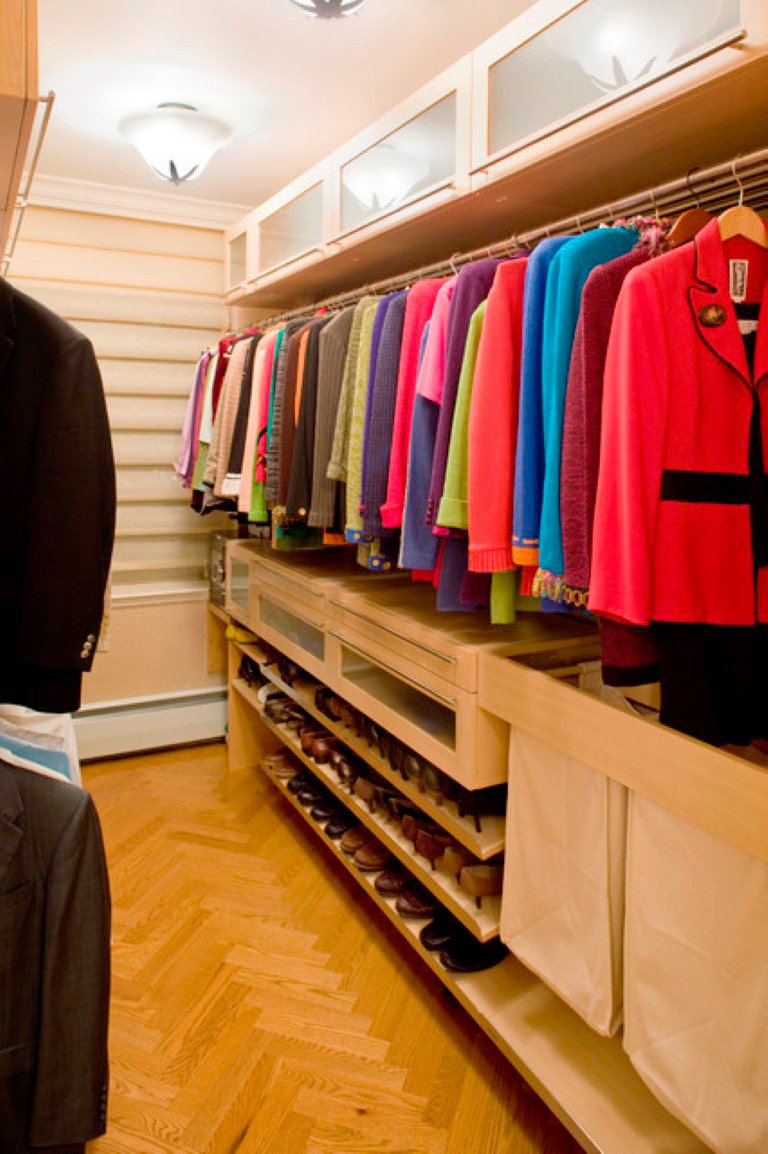
It is an oblong sliding wardrobe, located against a blank wall without windows. It is fenced off with sliding doors along the entire width of the wall, an opaque curtain or plasterboard. Alternatively, it can be left without a facade.
Material and tools
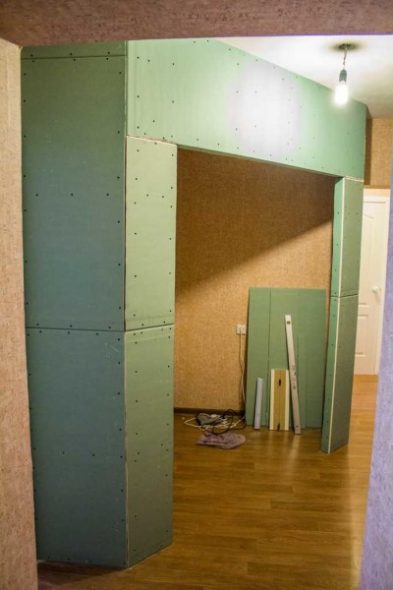
It is better to use plasterboard sheets to separate the dressing room. It is lightweight, flexible, plastic, elastic. Hygroscopicity will not allow air to stagnate, so you can not be afraid of unpleasant odors. The flexibility of plasterboard will allow you to implement additional interesting ideas: cascades, arches, small niches. When working with plasterboard, there is a minimum of garbage, so many hours of cleaning can be eliminated. It has no equal in subsequent decor, but you should not attach shelves to it - it may not withstand the weight.
To fence off a wall, you only need the following tools:
- metal profile 50-100 mm;
- plasterboard sheets;
- primer;
- insulation;
- putty;
- fastening parts;
- screwdriver.
Creating a dressing room
The plan is ready, the drawings are drawn up, the necessary materials are collected, the tools are selected – it’s time to start building. If there is no separate room allocated for the dressing room, you will have to fence off the wall yourself.
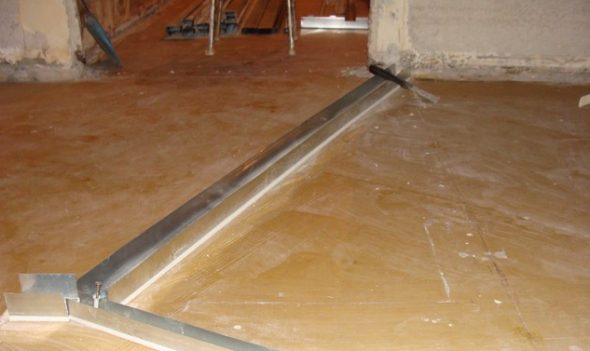
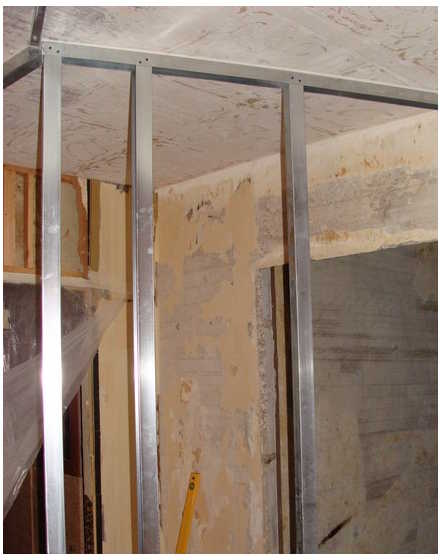
- Fix the upper guide to the ceiling. Use the most suitable type of fastener: dowels, anchors, "butterflies", etc.
- Apply double-sided adhesive tape to the profile for a tighter fit to the surface.
- Attach the guide pieces to the floor.

We install PN profiles on the floor and ceiling along the perimeter of the future walls. - Attach vertical guides to the walls so that both profiles are connected. The vertical elements can be attached directly to the wall or to special hangers.

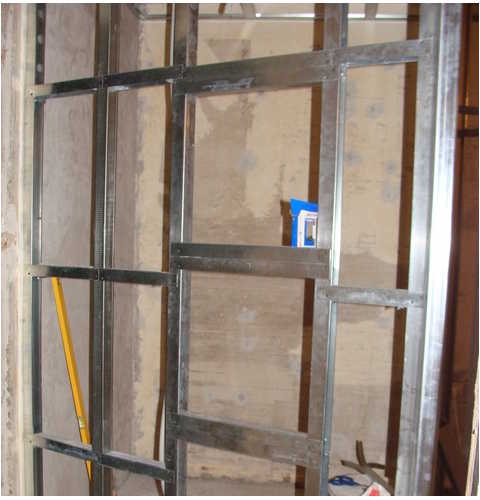
We install vertical ribs of the future structure from PS profiles - Mount the doorway. The posts are also made of a metal profile, which is fixed in the upper and lower guides using self-tapping screws.
- Install a transverse profile to the vertically fixed profiles, which determines the height of the doorway. The horizontal bar should be fastened to the upper guide for rigidity.
- Add the remaining vertical elements at 600mm intervals.

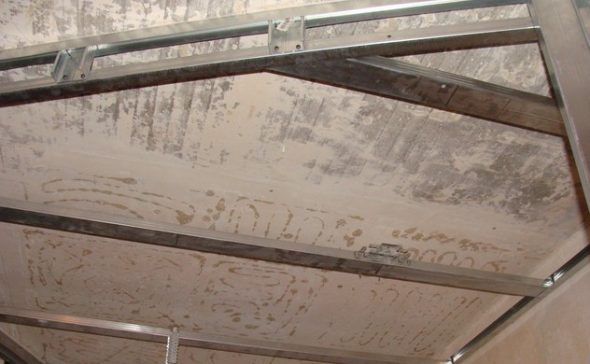
Then we install horizontal stiffeners from PN profiles. 
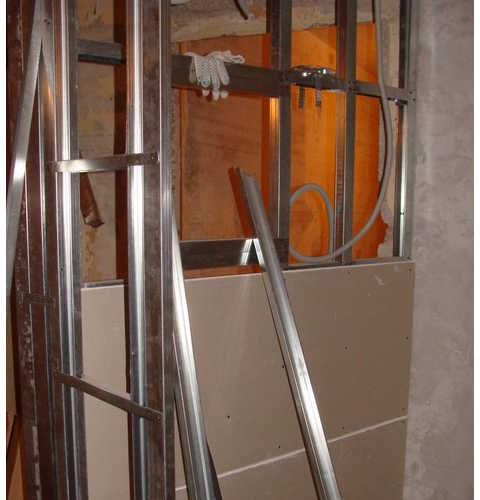
Installation of a supporting structure made of metal profiles for a suspended ceiling - Cover the frame with plasterboard and install soundproofing material between the vertical profiles.
We cover the inner surface of the walls with plasterboard - Apply putty to the seams and screw heads, having first glued fiberglass mesh to the joints of the sheets.

After the entire structure is ready, we begin puttying. - Proceed to decorative coating.
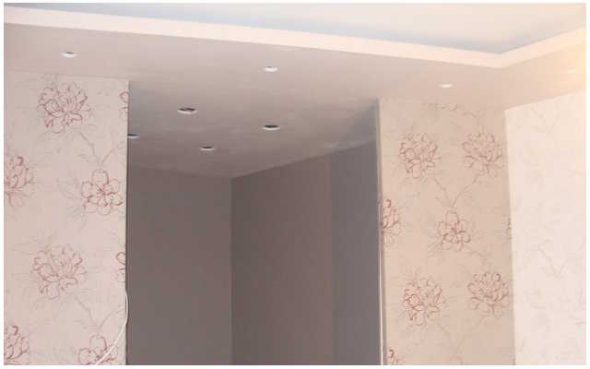
Having completed all the rough work, we proceed to painting the ceilings and wallpapering 
The final stage is installing interior doors

In addition to a plasterboard wall, you can use false walls, arched partitions, decorative structures, furniture, vertical posts, and screens to create a dressing room partition.
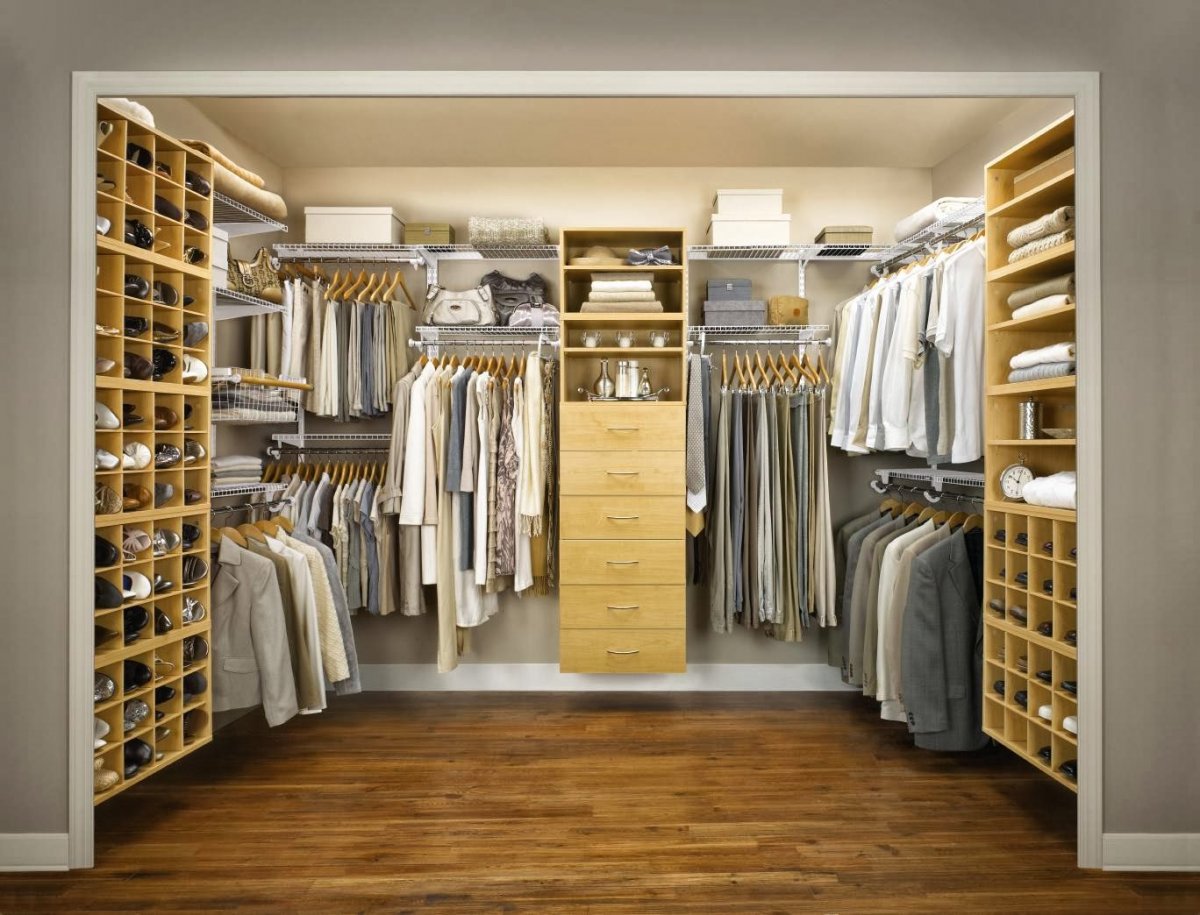
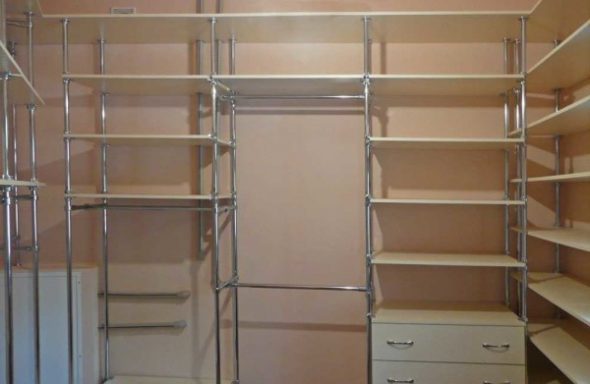
Filling the dressing room
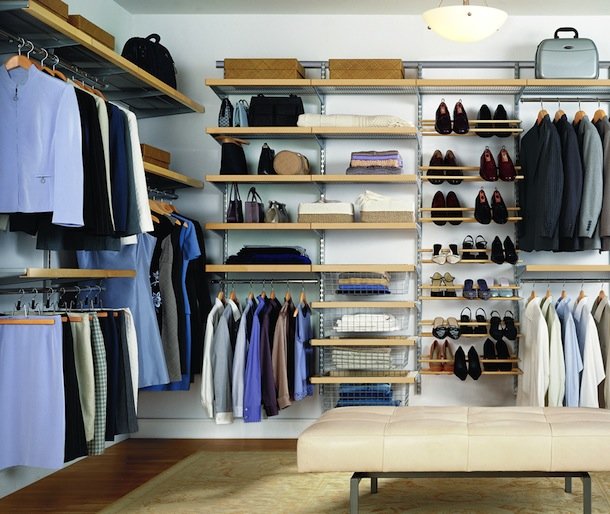
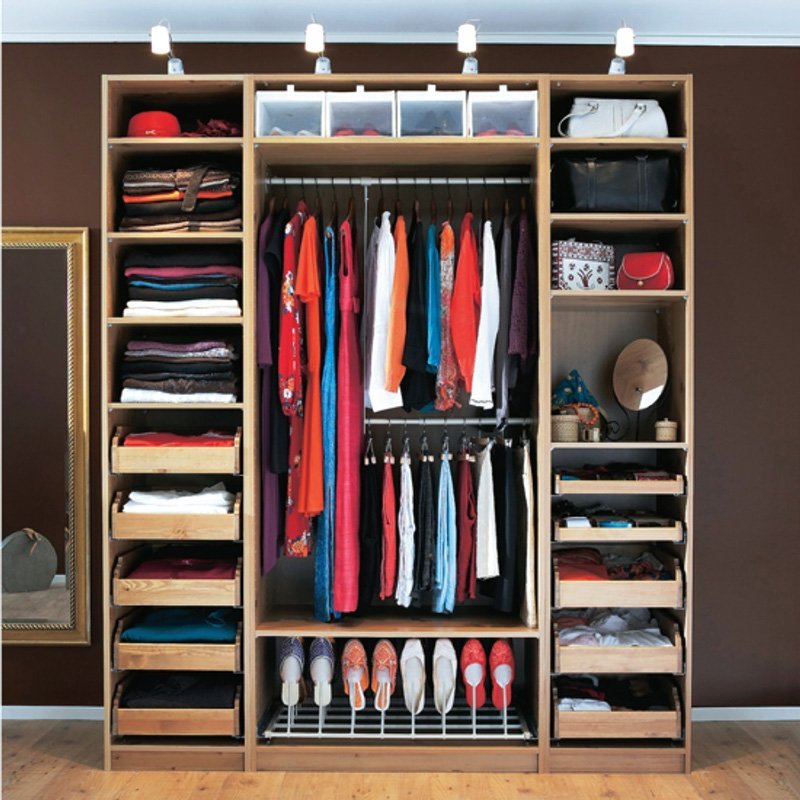
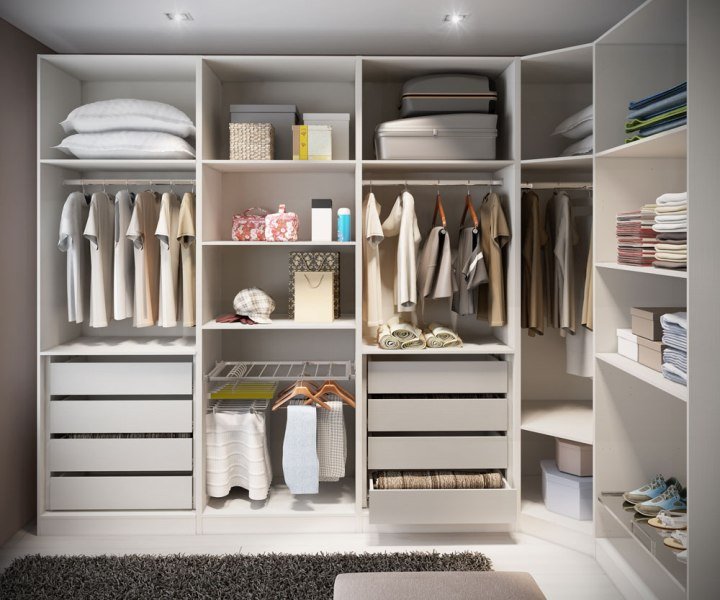
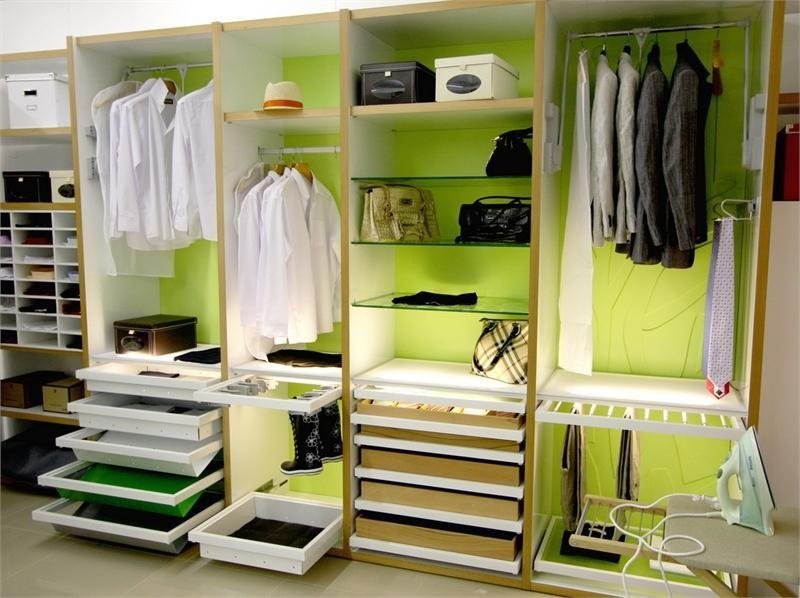
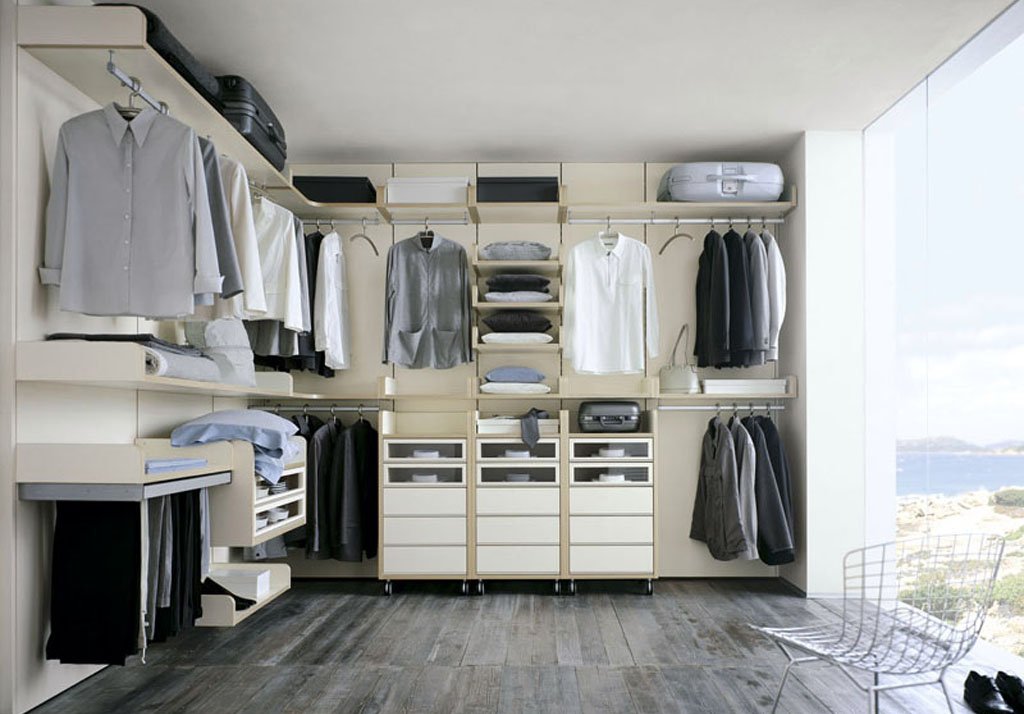
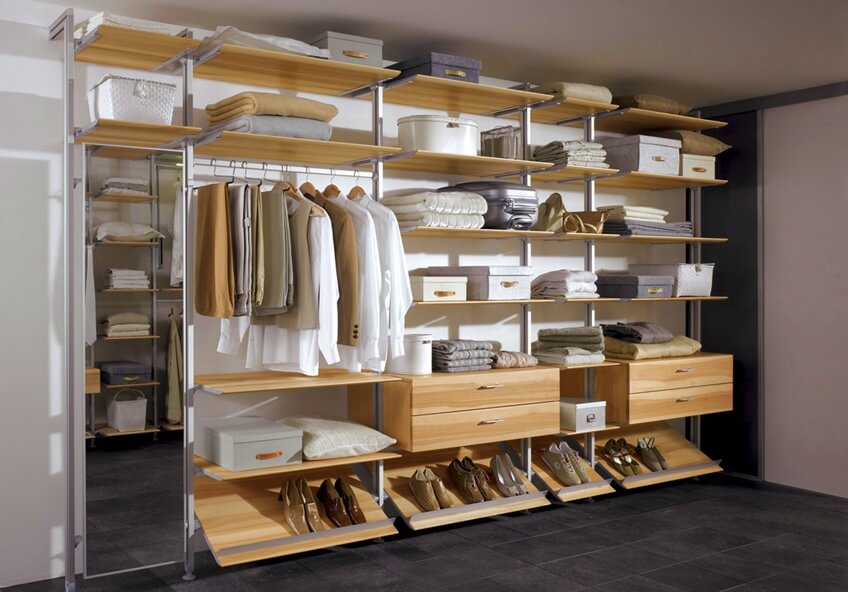
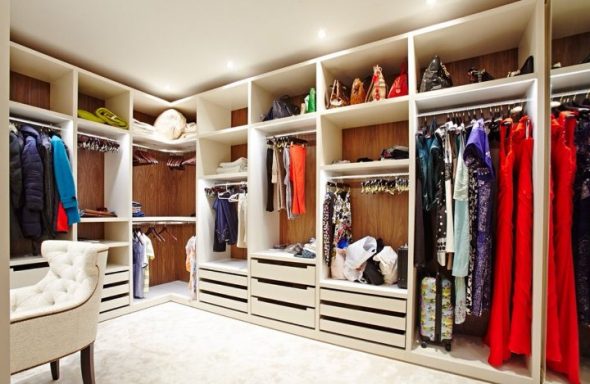
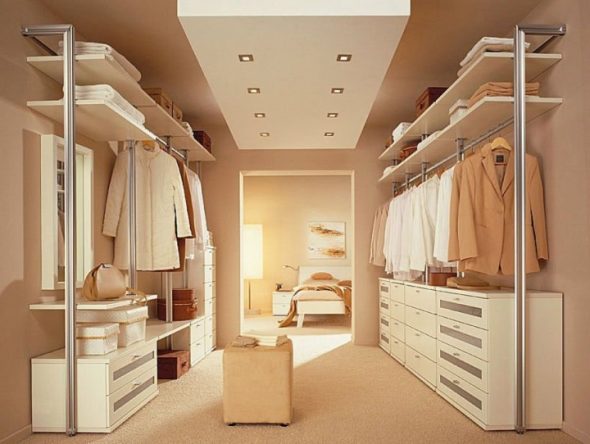
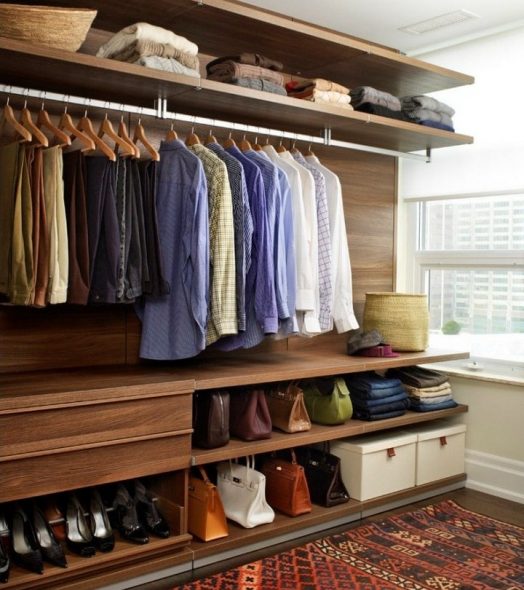
Today, the world market offers a wide variety of wardrobe accessories: from budget Chinese organizers for things to world-famous furniture brands. However, given the average area of a city apartment, it is better to forget about furniture, since it threatens to fill the space where every inch counts. The best organization option is open shelves, drawers, hangers.
They can be combined together in three different types of designs.
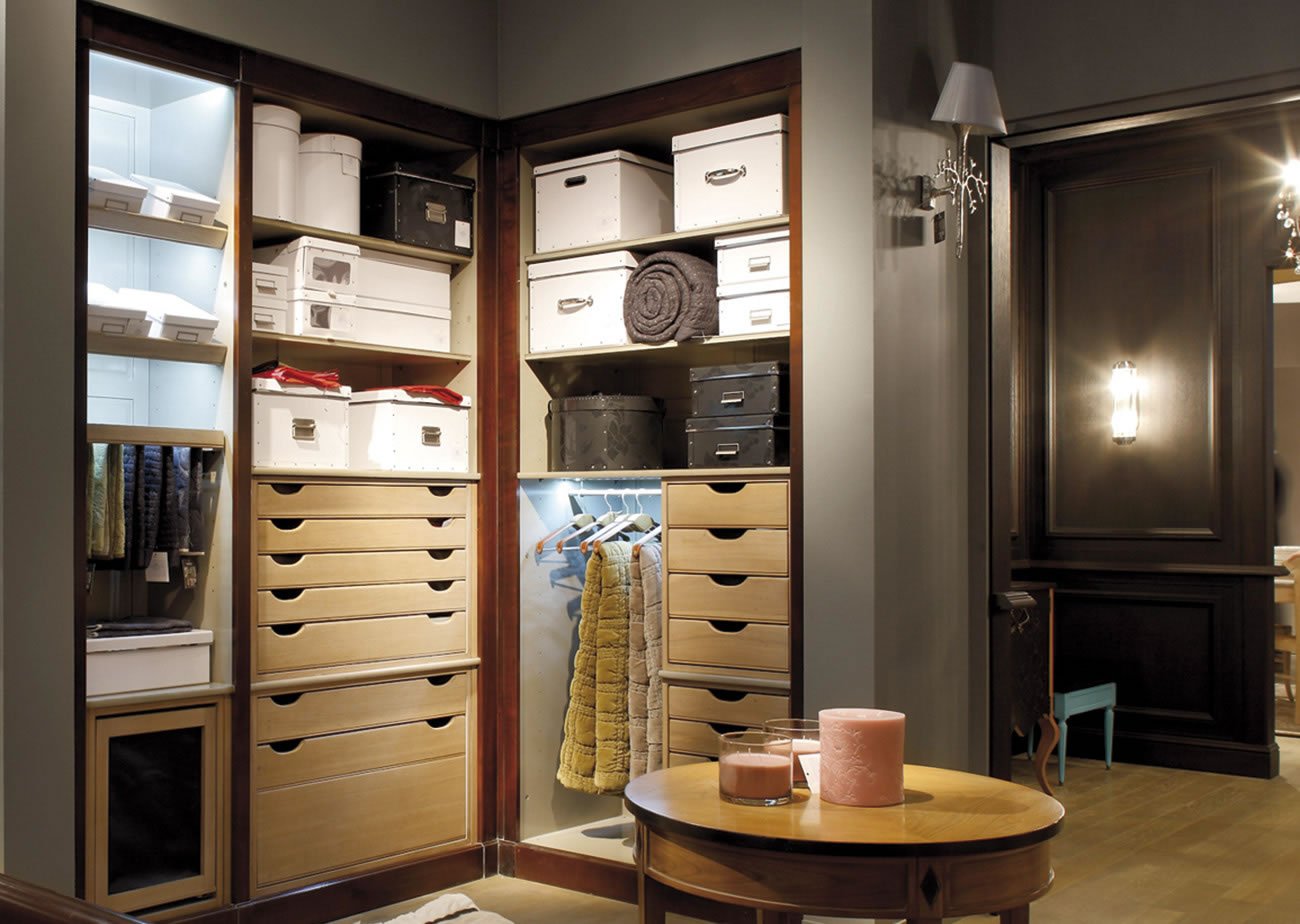
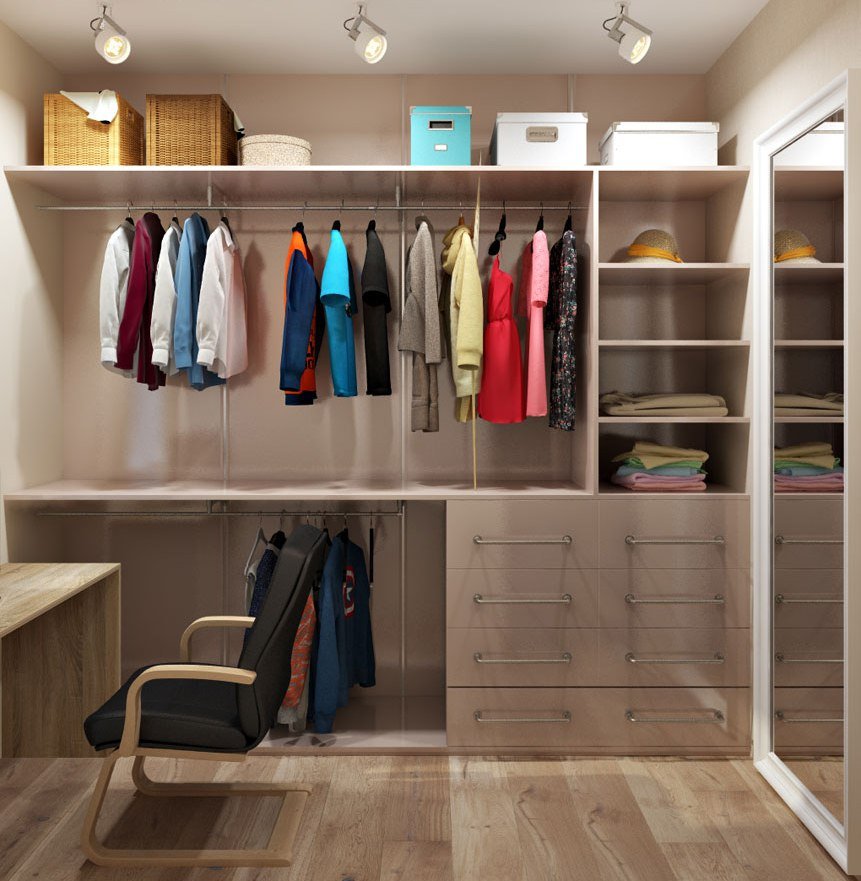
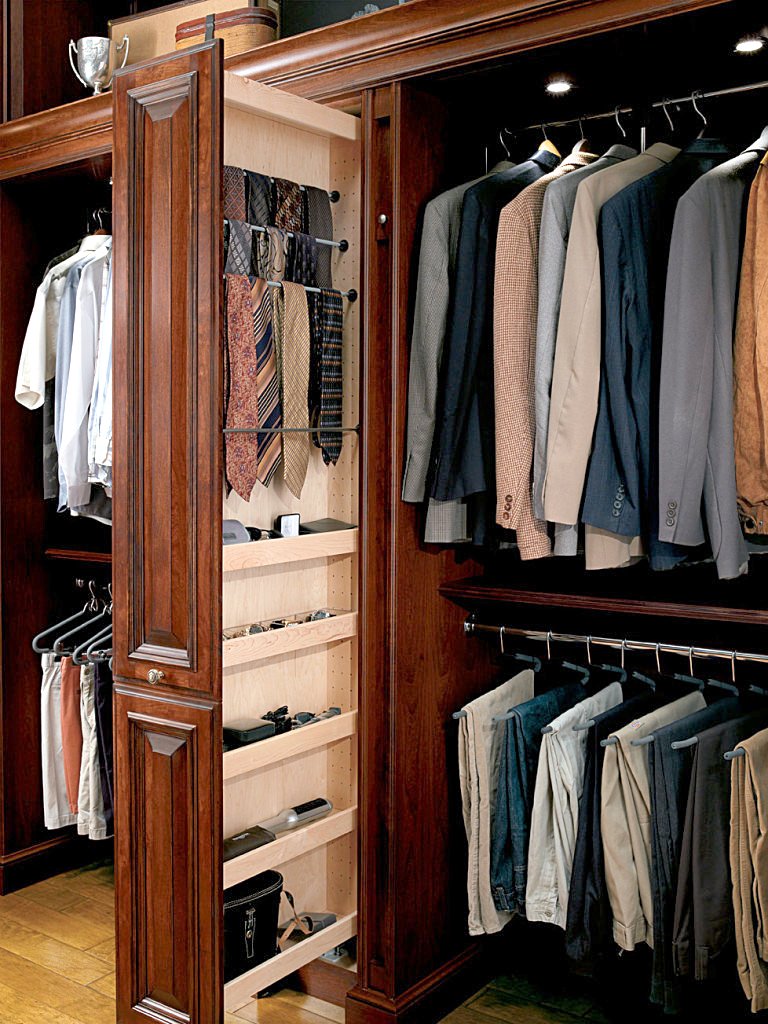
- Cabinet. The cabinet design uses wooden panels. This type of construction is characterized by the presence of corner elements and rigid fixation.
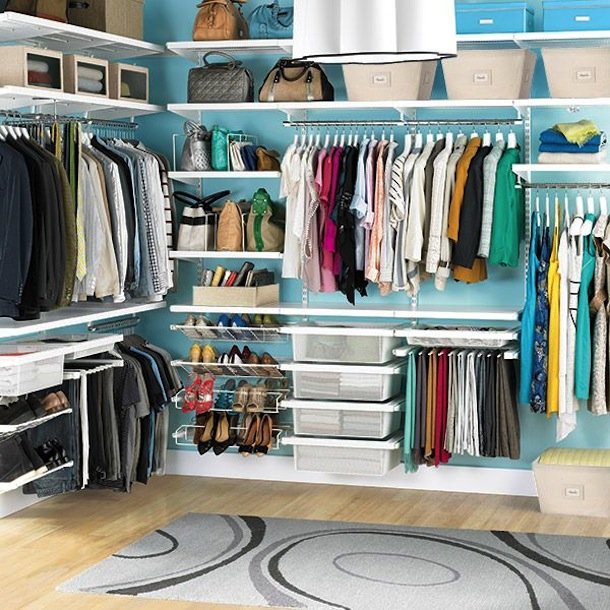
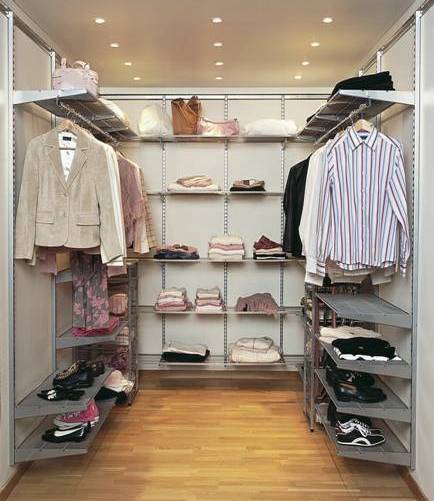
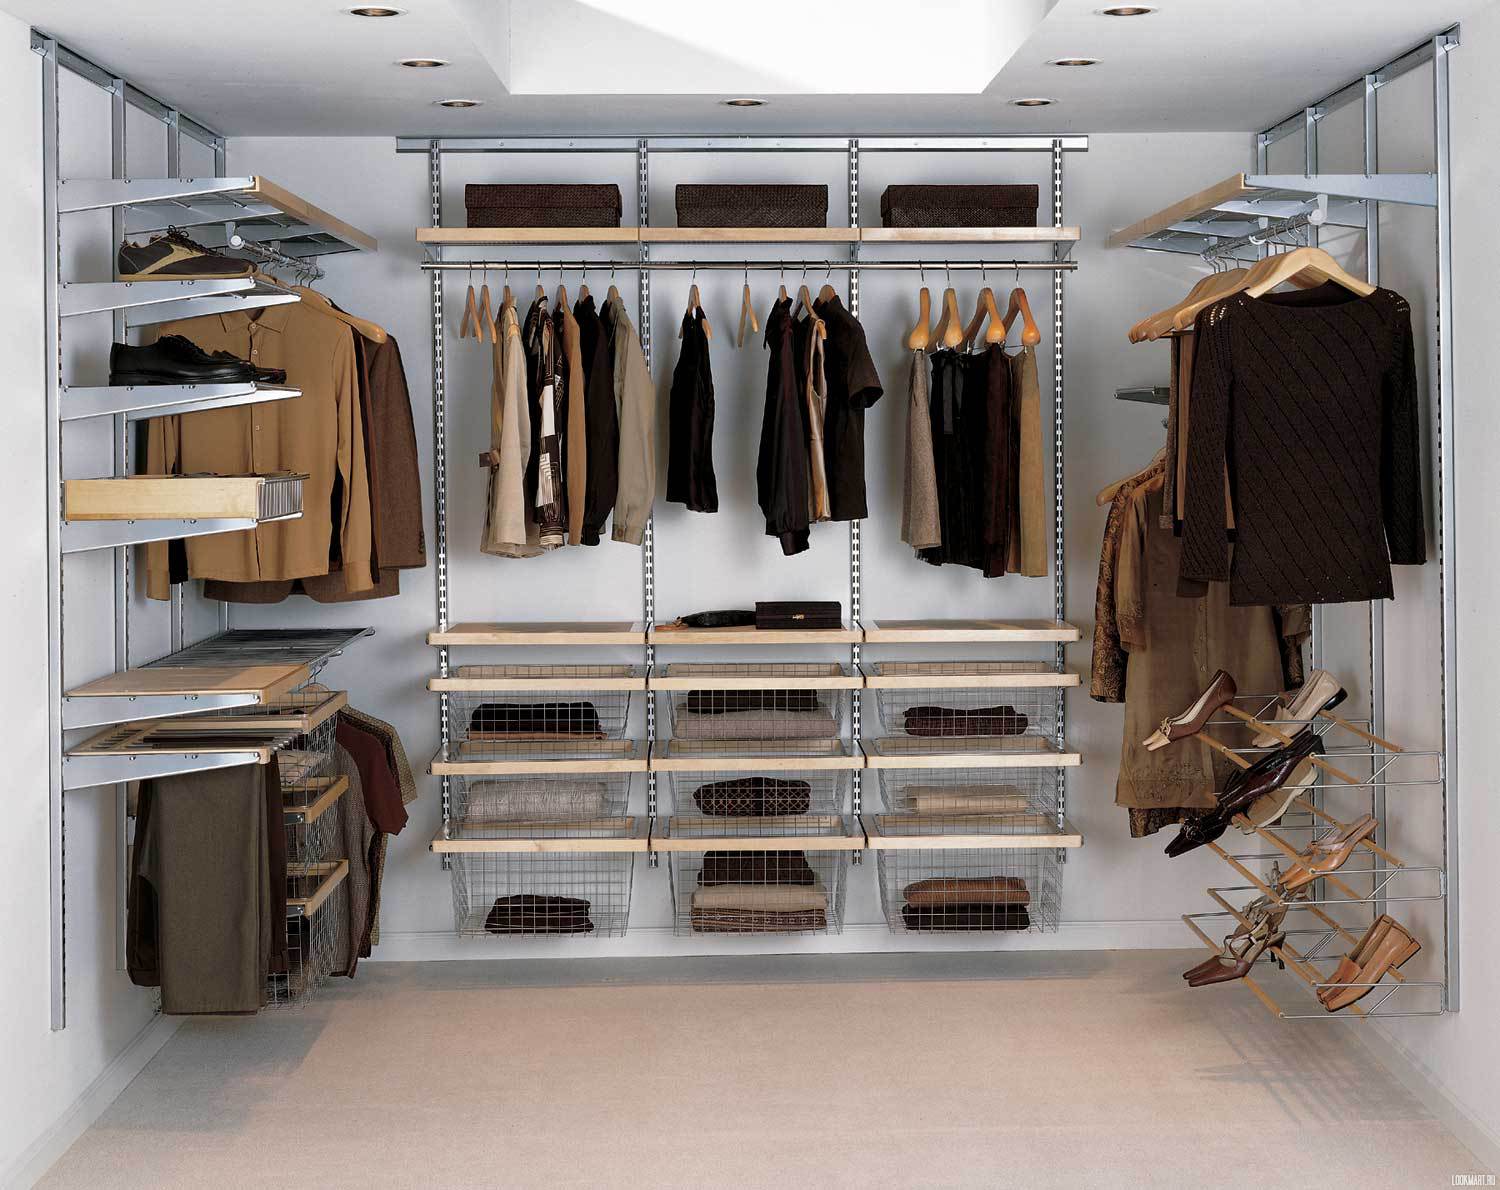
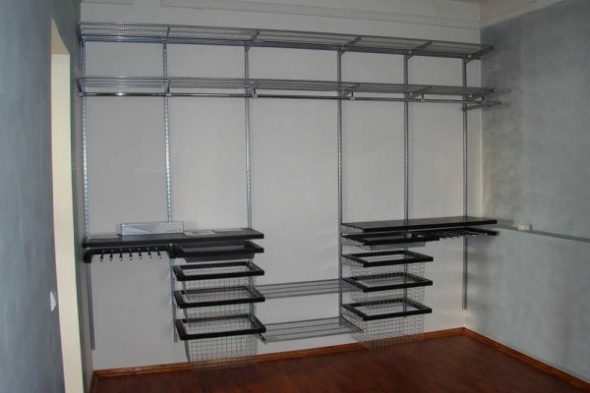
- Honeycomb. Honeycomb construction uses mesh baskets instead of wooden boxes. They are easy to rearrange. The main advantage is the transparency of such a construction.
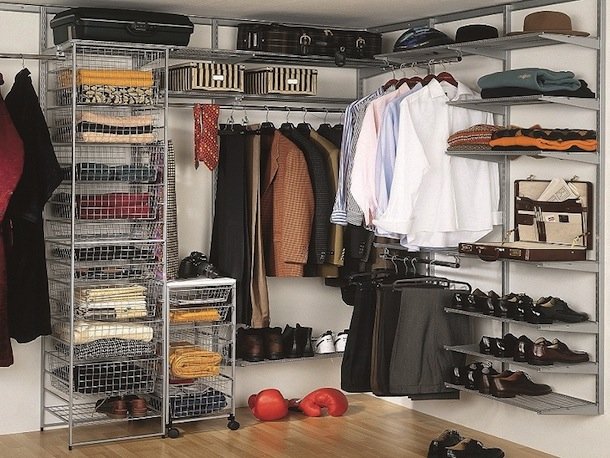
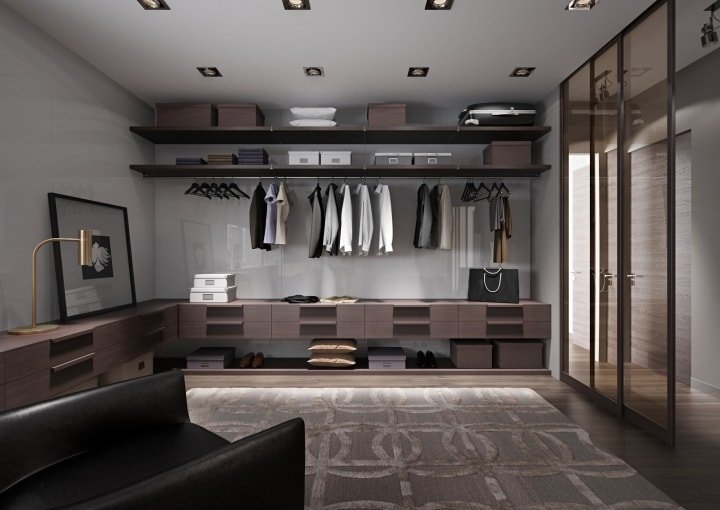
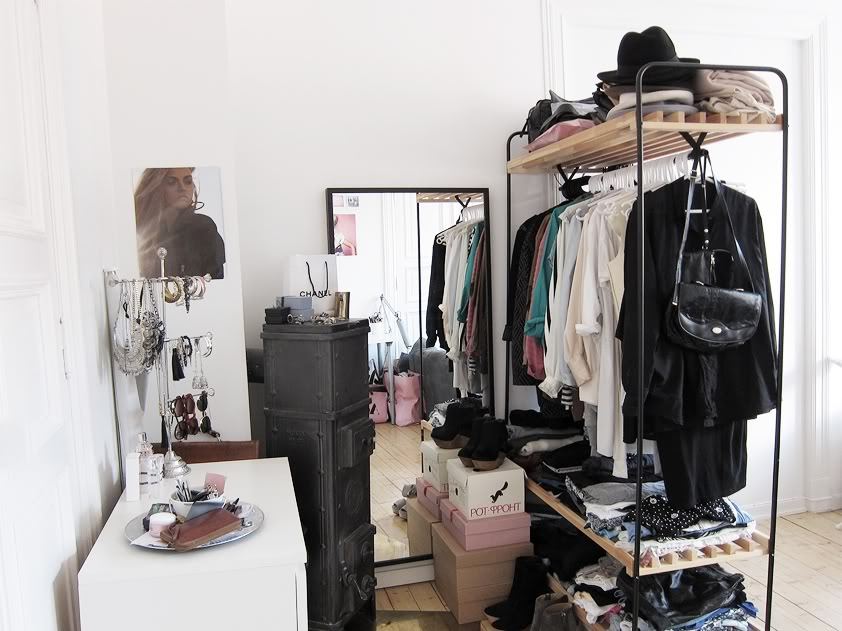
- Loft. A good option for large areas. It is distinguished by an abundance of metal parts. Boxes with baskets for things can be used from any material.
Each type of construction should follow the general rule: three times more space should be allocated for rods with hangers than for shelves.
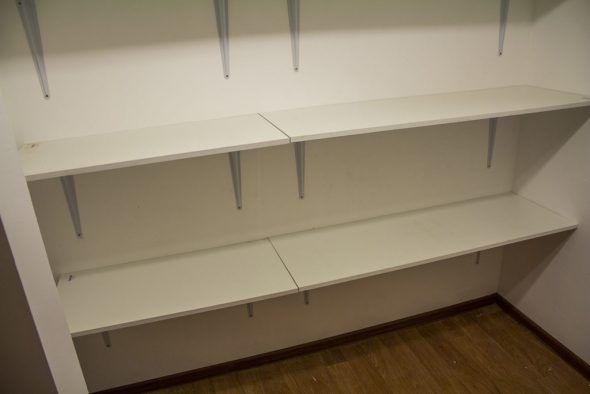
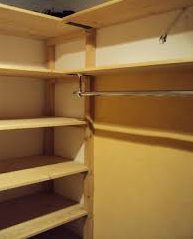
DIY wardrobe shelves.
However, the option with purchased shelves may not be suitable for those whose wardrobe has an unusual shape - or for those who want to create their own unique, inimitable design. In this case, you can make shelves for the wardrobe with your own hands. In addition, making homemade shelves will cost less than buying full-fledged wardrobes.
Shelves for things can be made from the following material:
- chipboard;
- plastic;
- plywood;
- tree;
- metal;
- chipboard;
- plasterboard.
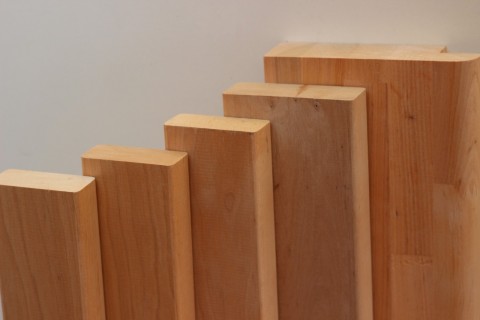
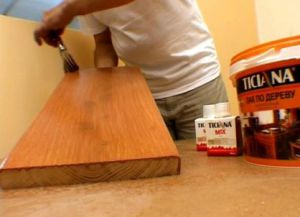
If wood is chosen as the main material, it is worth starting from its species (it is better to use pine or spruce), type, quality, purity and humidity. The boards must be perfectly smooth, without cracks, crevices, voids and unevenness, and also absolutely dry.
There are the following types of shelves:
- classic;
- angular;
- mounted;
- floor;
- modes;
- exclusive.
Decide on the type of shelf and its location. When choosing a place, remember that there are three zones in the dressing room: lower (up to 0.6 m), middle (from 0.6 to 1.9 m), upper (1.9 m and higher). Think over the size of the shelf based on the total area of the room. Prepare the tools: grinder, jigsaw (hand saw), screwdriver (screwdrivers), electric drill, screws or self-tapping screws, wood varnish, brush, square, hand router.
When working, remember that each detail must be processed with a grinder. Work should be done with gloves, they will protect your hands from injuries and will allow you not to stain the wood.
Manufacturing process
Let's take as an example a standard rectangular shelf with parameters 250X300X1100 mm.
- Transfer the measurements from the drawing to the boards.

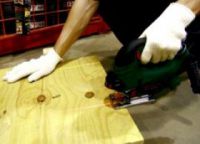
We mark the boards according to the required dimensions using a pencil and a ruler. - Start sawing. It is advisable to use a jigsaw to make the cuts, as it will ensure even cuts.

We lay the boards on a flat surface and cut out the necessary parts from them along the previously marked lines. - Sand each piece, stain and varnish.

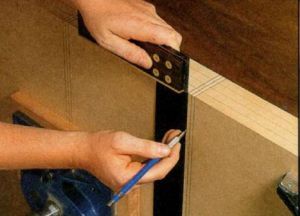
We cover all the parts with varnish in two layers - Start assembling the shelf. Step back 8 mm from the ends, draw two lines parallel to the cuts.
- On these lines, mark two points at a distance of 6 cm from the edge, drill holes for screws on them.

We drill holes in the attachment points - Do the same with the bottom piece of the structure.
- Attach the side pieces to the bottom board and secure with screws.
- Attach the second board.
- Attach brackets to the ends of the side pieces of the structure.
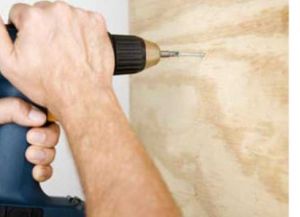
- Drill holes in the wall for the dowels, insert the screws, and tighten.
- Hang the finished structure.

DIY Wooden Wardrobe
It is advisable to make open shelves to make it easier to find clothes. Alternatively, you can make shelves with glass doors.
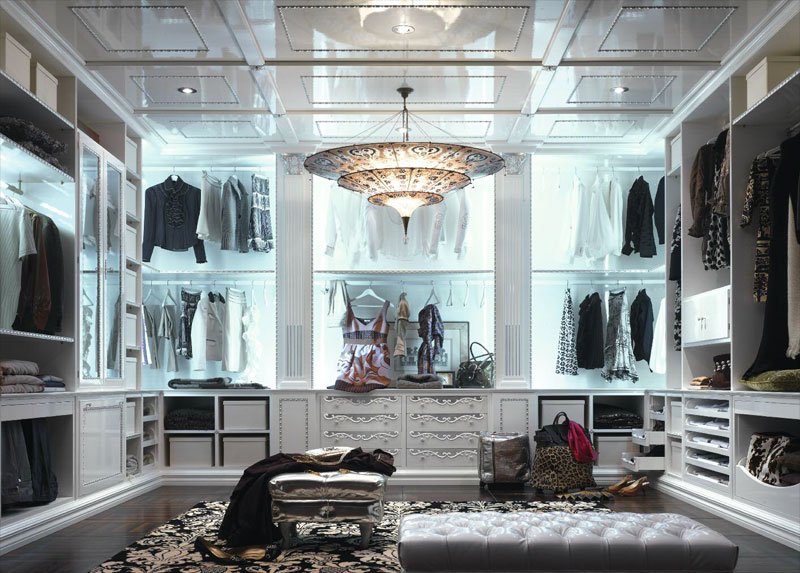
Design of a dressing room
What should you remember when decorating a dressing room?
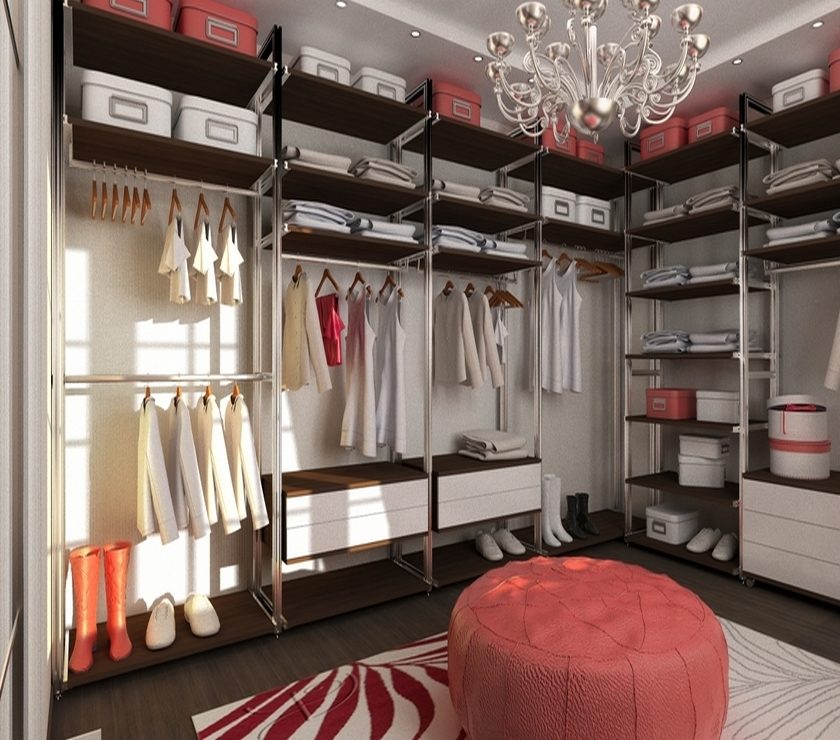
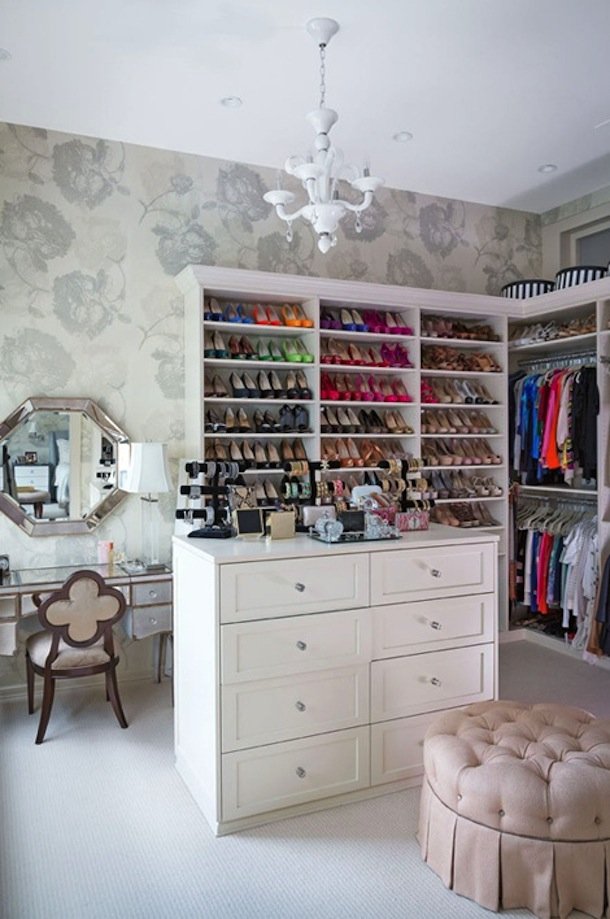
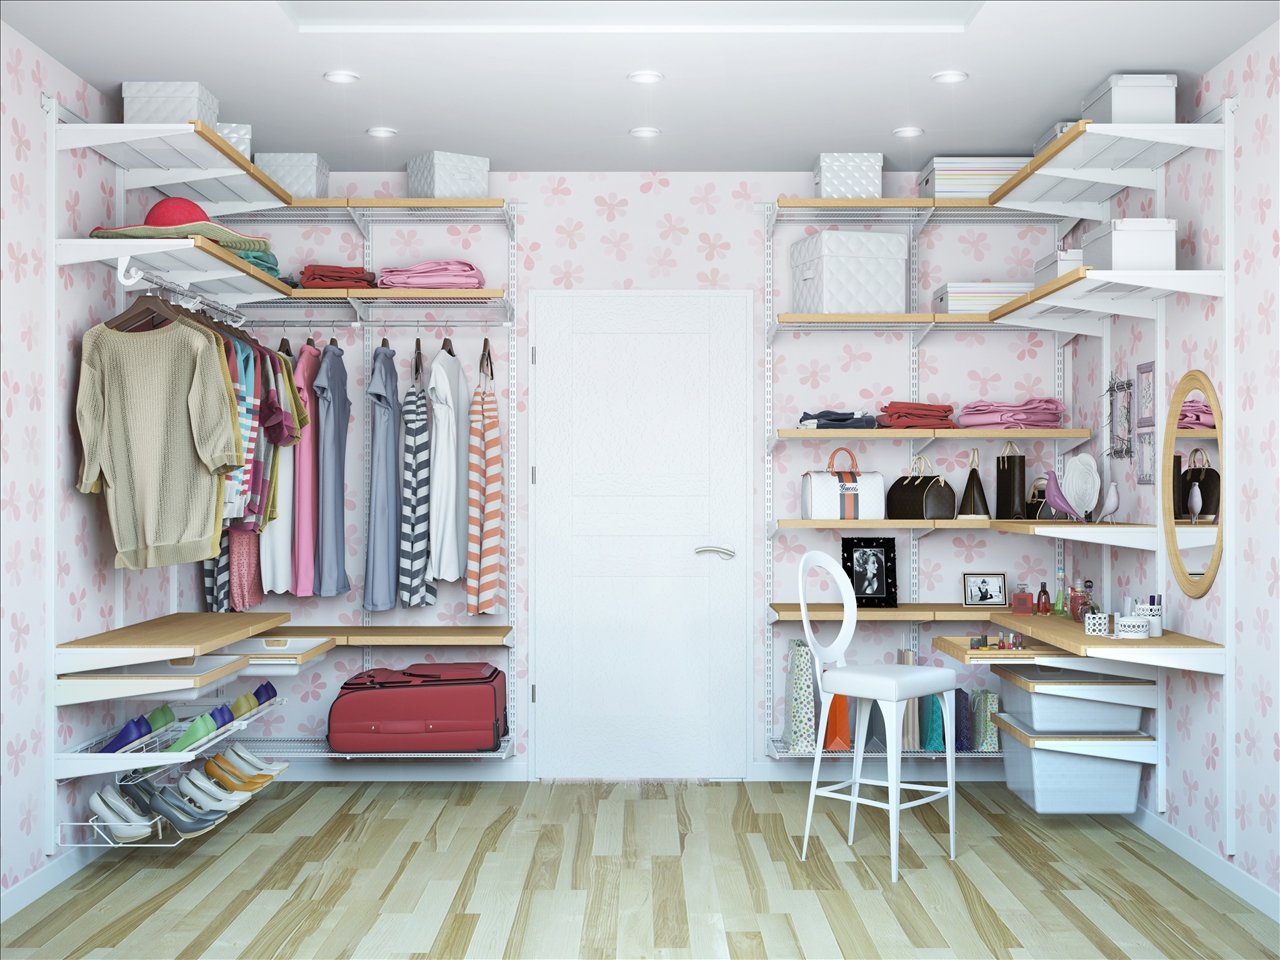
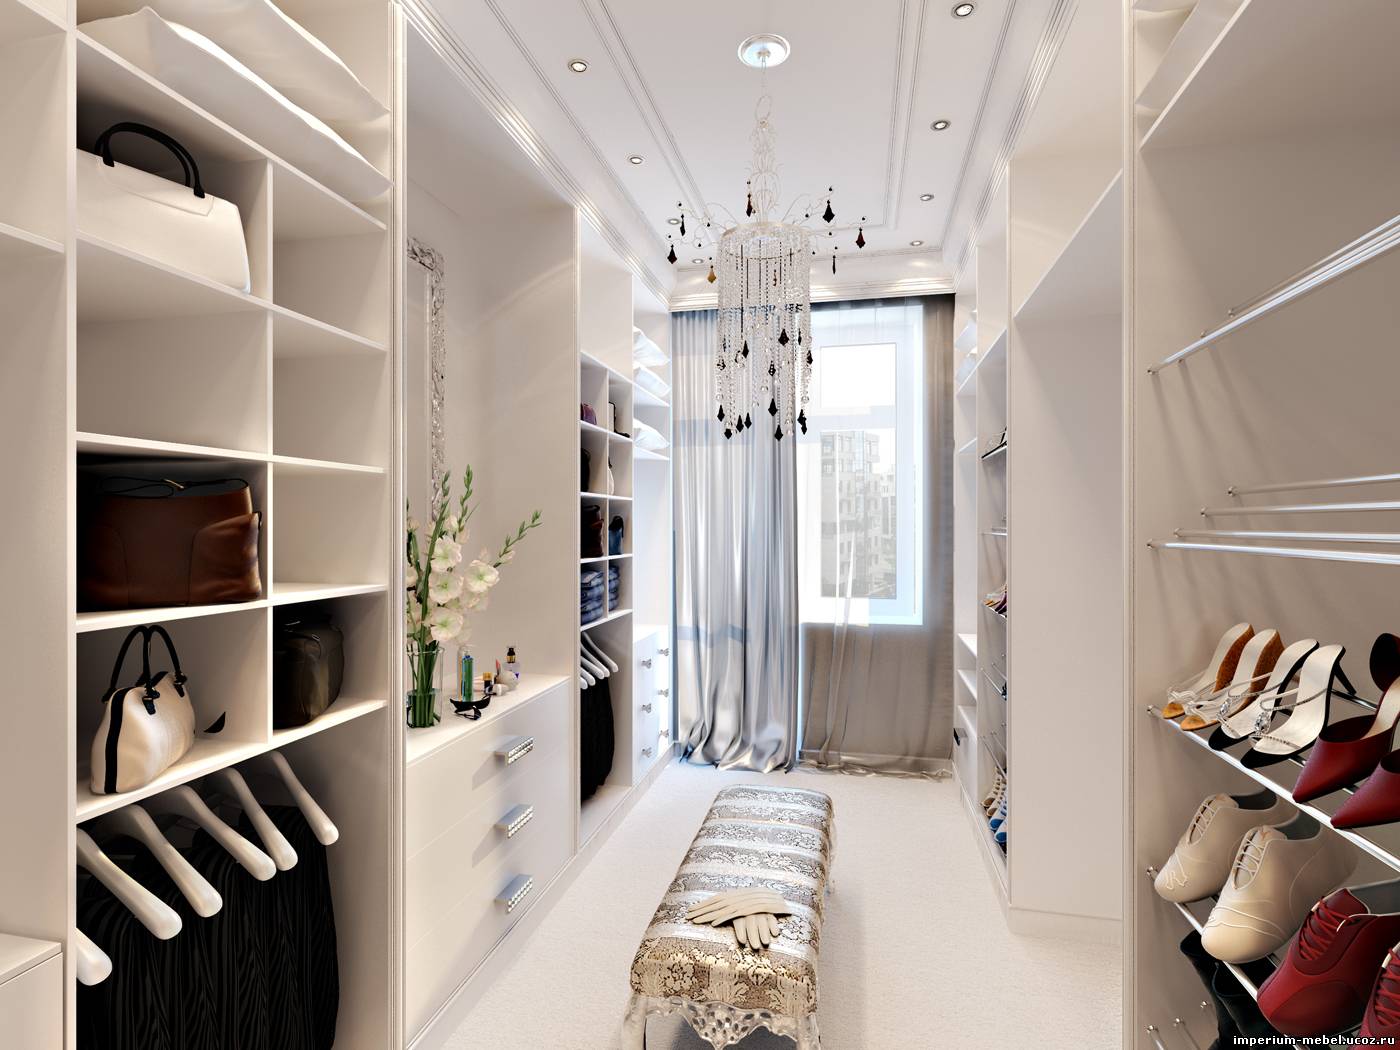
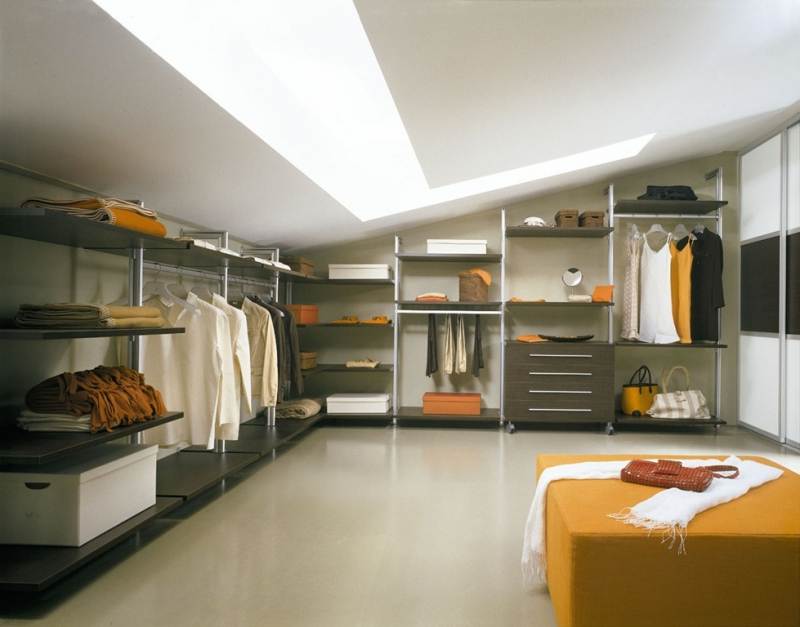
- Light. The main rule of lighting is that the light should be as close to natural as possible, especially if there is no window in the dressing room. The most convenient lighting option is ceiling lighting. For a small dressing room, it is necessary to install spotlights or LED strips. A chandelier is suitable for a large dressing room, and clip-on lamps are suitable for a corner dressing room. Ceiling lighting can be combined with sconce lighting, floor lamps. Another option is lamps with a built-in motion sensor or lamps in the form of a decorative element.
- Ventilation. To prevent things from getting damp and moldy, ventilation is necessary. An exhaust duct should be connected to a dressing room without a window, with a fan installed at its entrance. It will provide the necessary air flow.
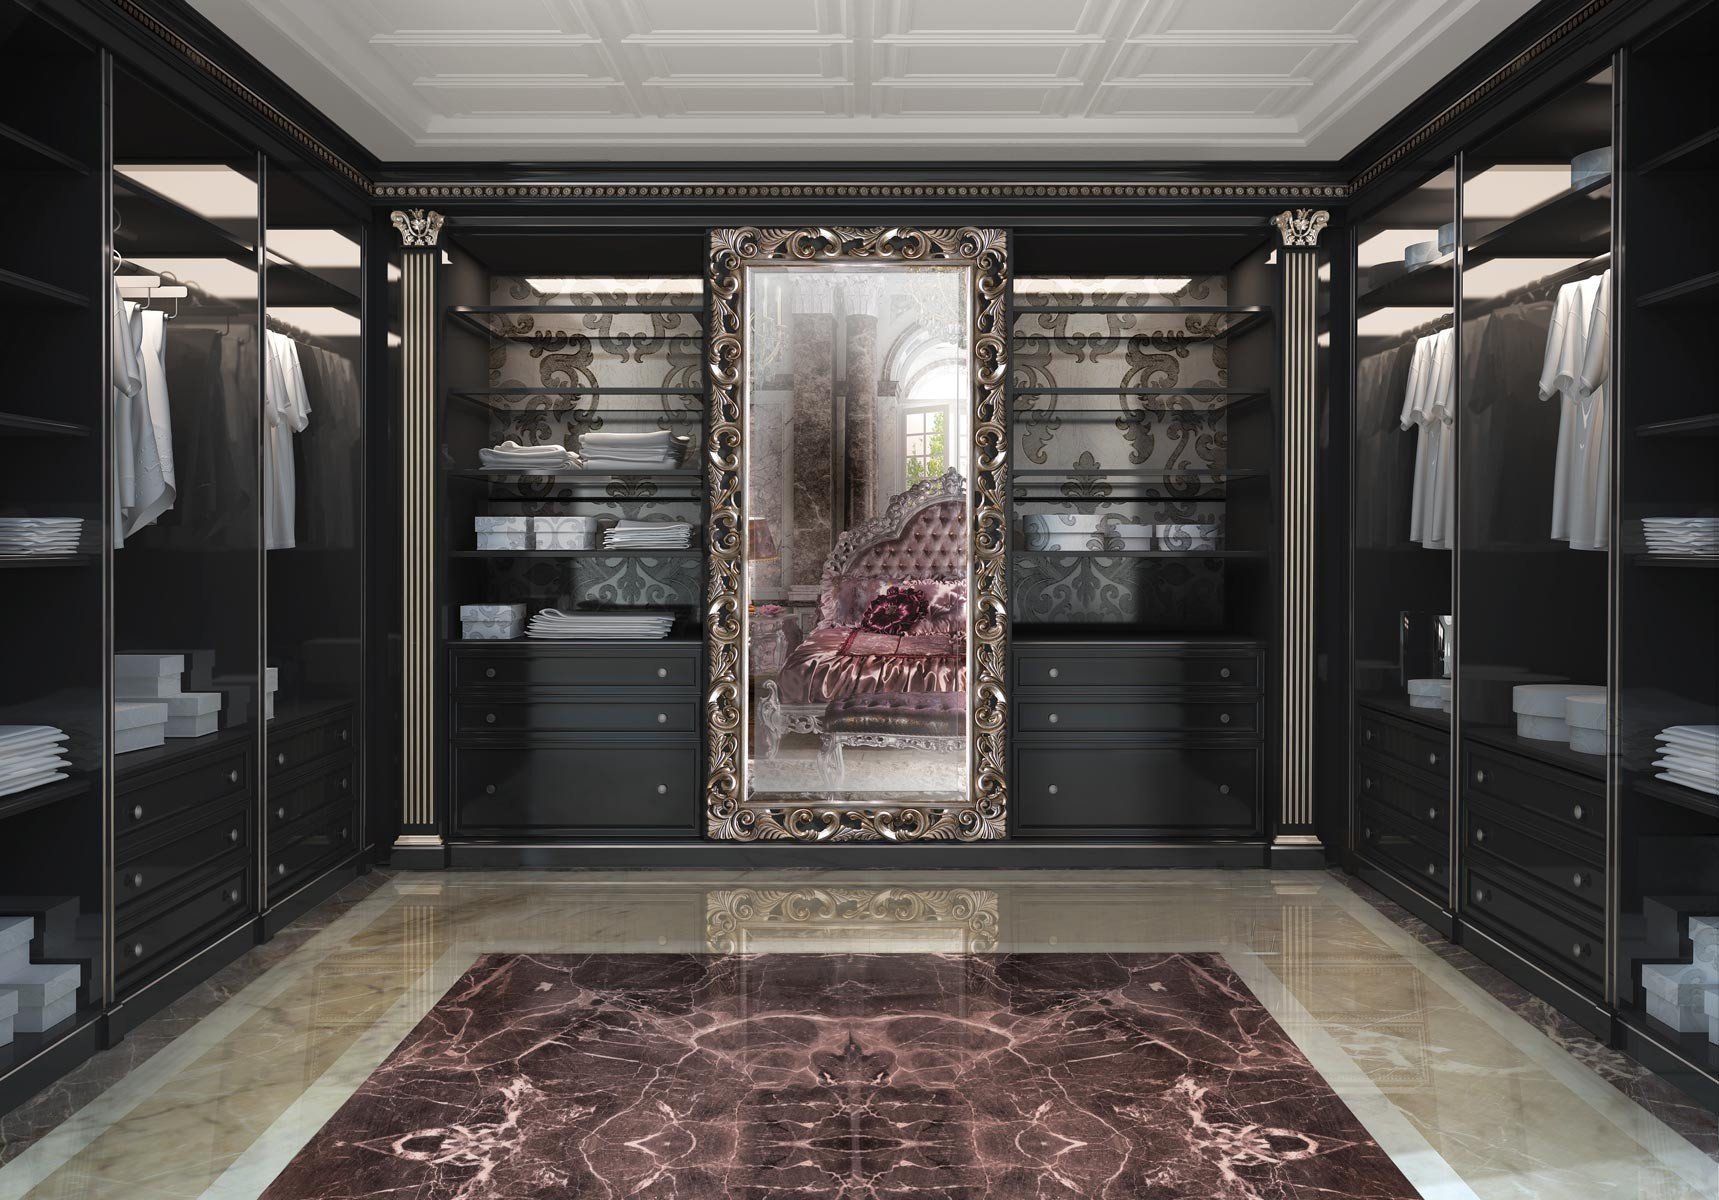
- Mirror. One of the main attributes of a dressing room is a mirror. It is best to choose a full-length mirror for a dressing room to see your own image completely. The mirror can be hung on the wall or built into the door of a wardrobe, which will significantly save space. In addition to its main function, the mirror adds light to the dressing room and helps to visually increase the space.
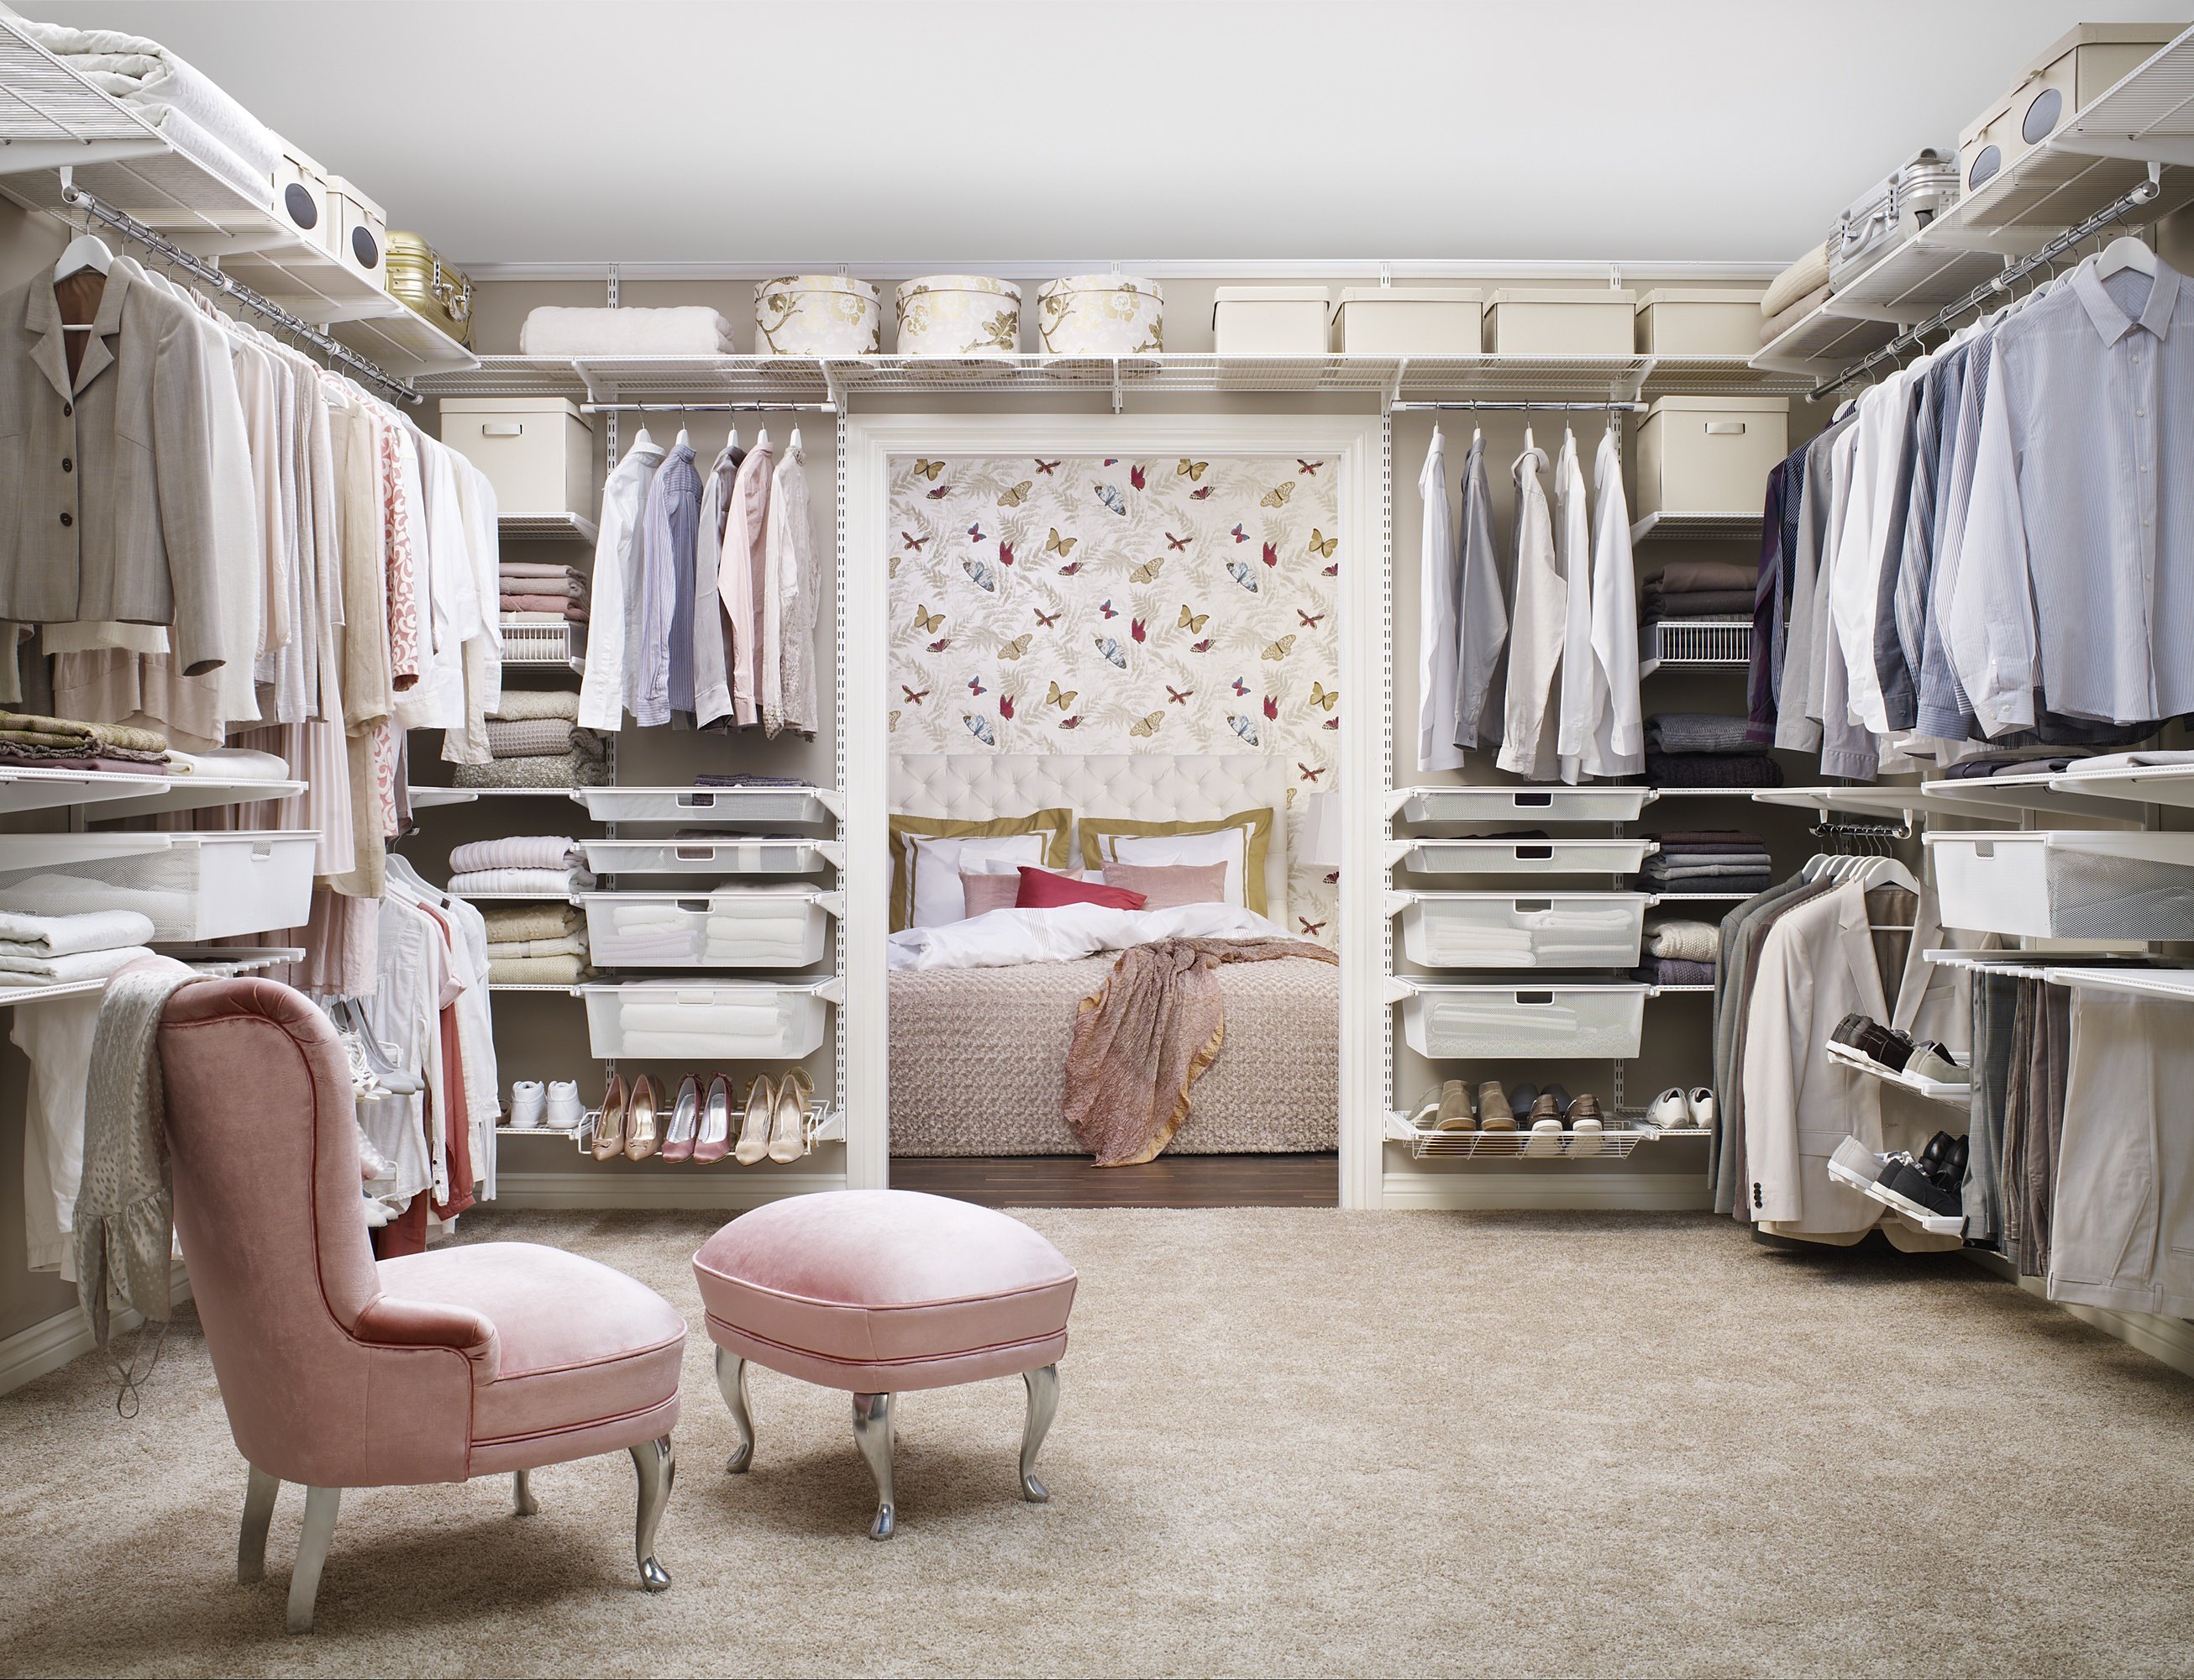
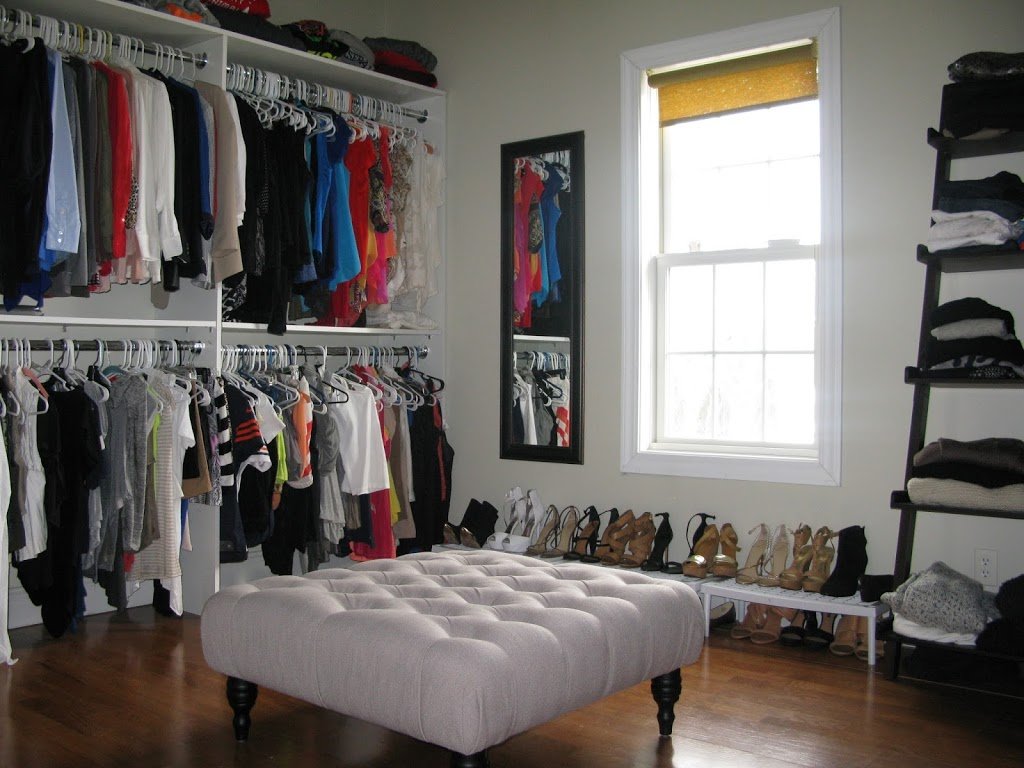
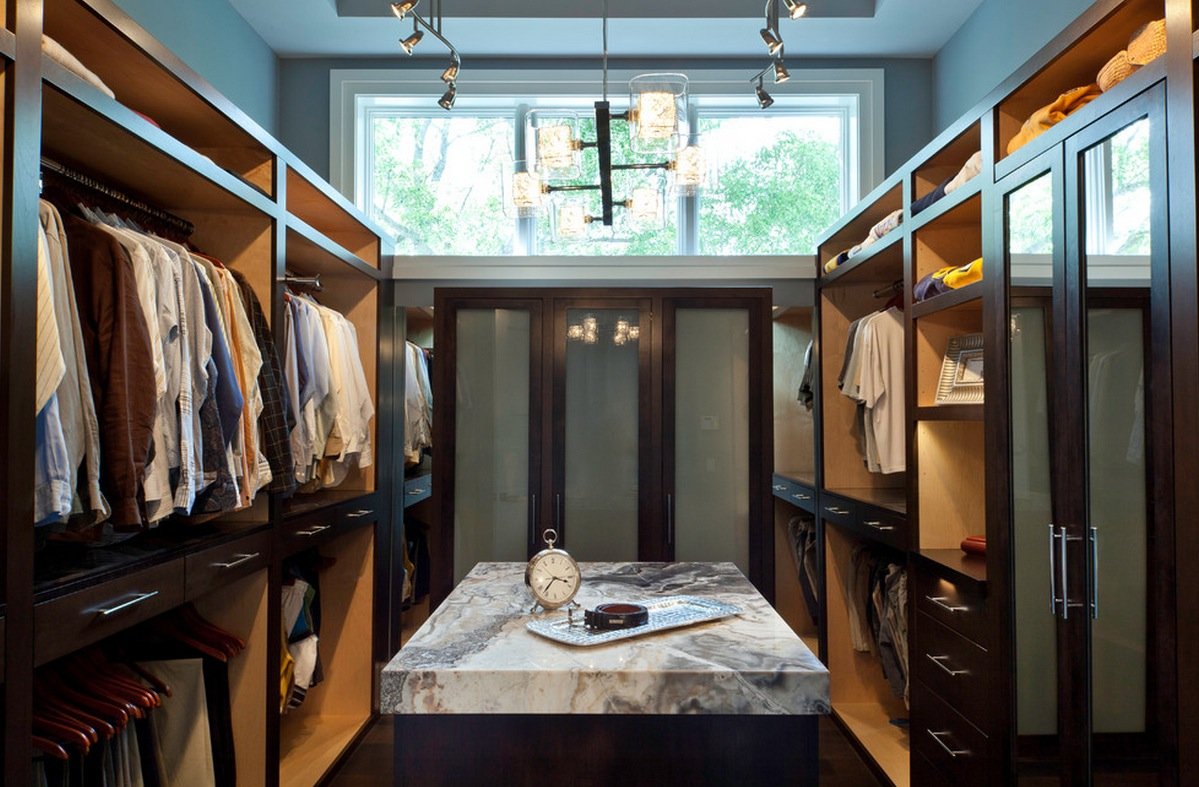
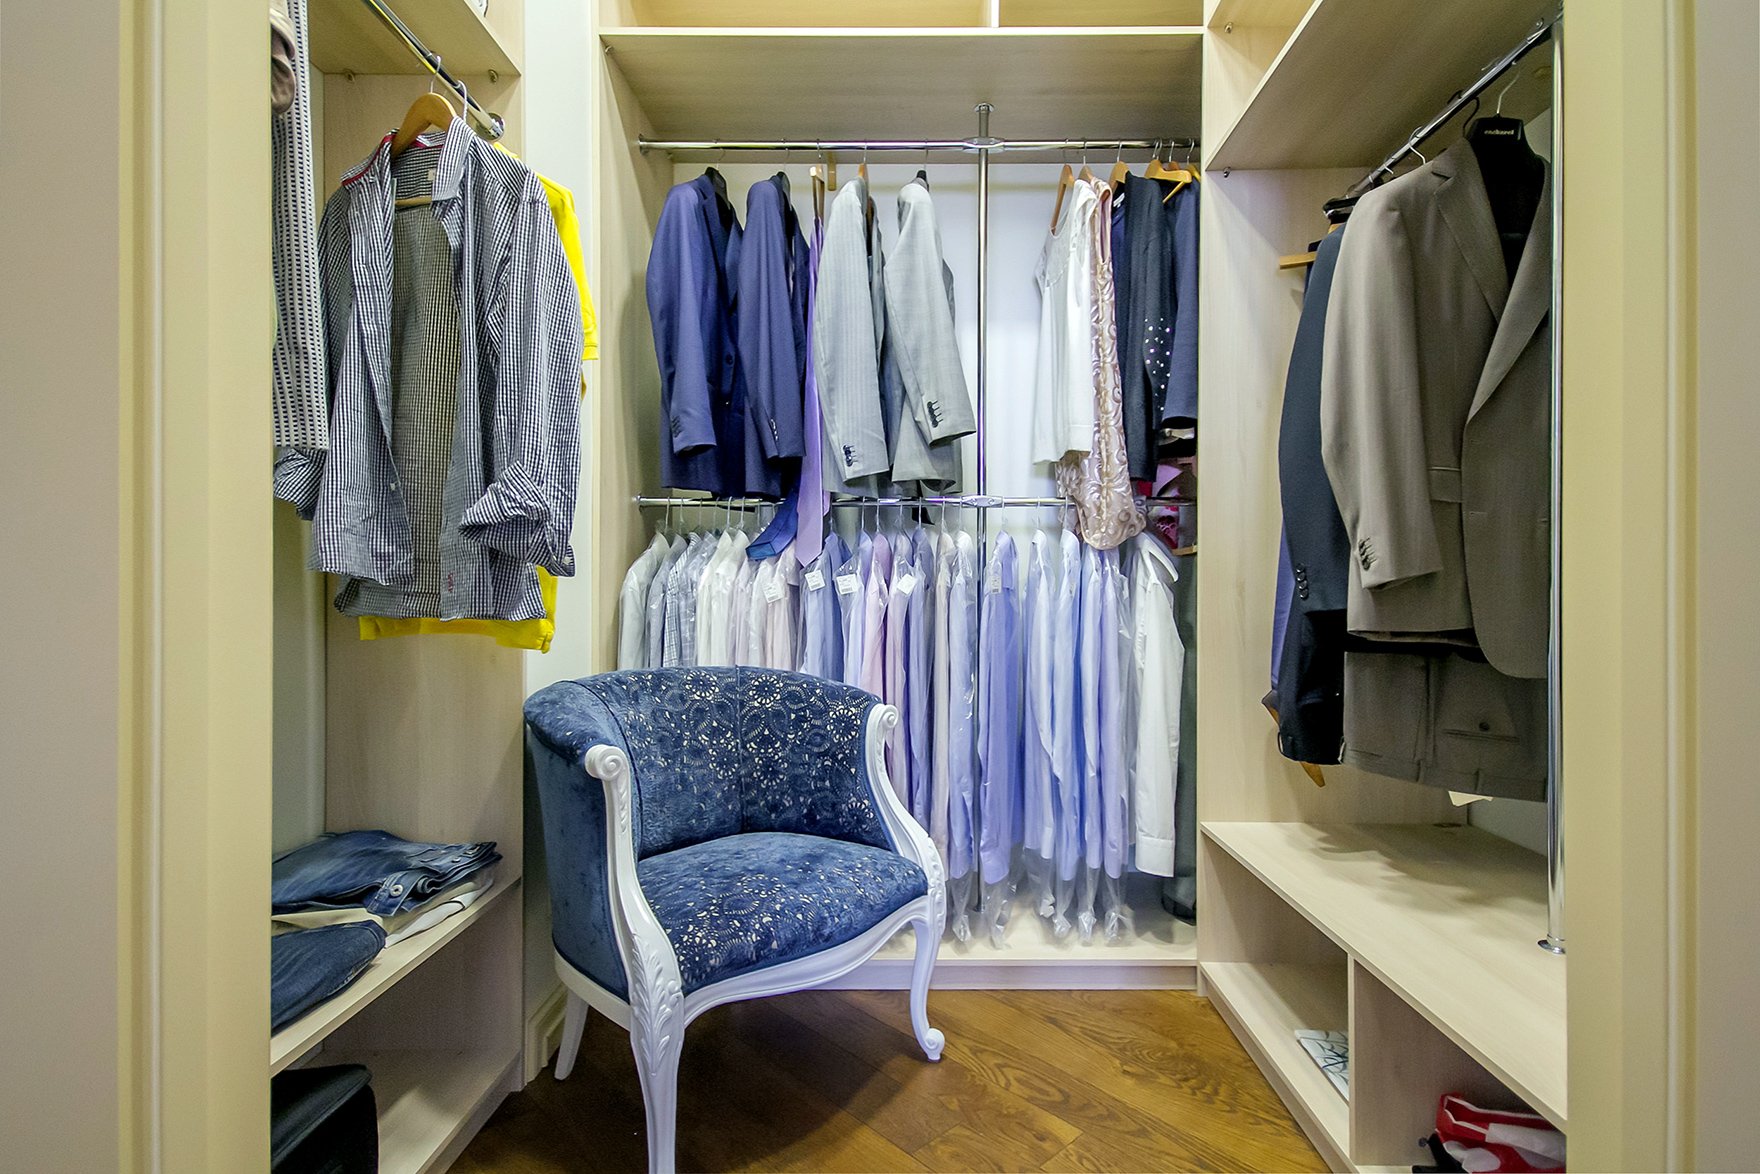
- Furniture. If space allows, a small table, ottoman or light chair should be placed in the dressing room. They are not only decorative elements, but also have a functional load. It is important that the furniture items are not bulky, but fit well into the decor of the room.
- Accessories. Small decorative accessories will add brightness, make it more elegant, aesthetically attractive. A small carpet in the center, glass vases with flowers or decorative stones or airy figurines will add extra gloss.
The design of the dressing room should not be independent. It should be done in the same style as the design of the entire apartment. To do this, you can choose the same color scheme or common interior elements that connect all the rooms.
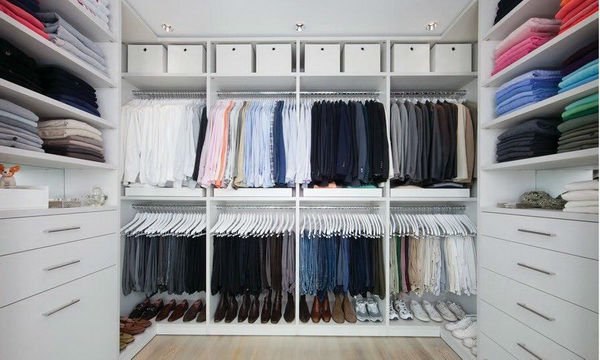
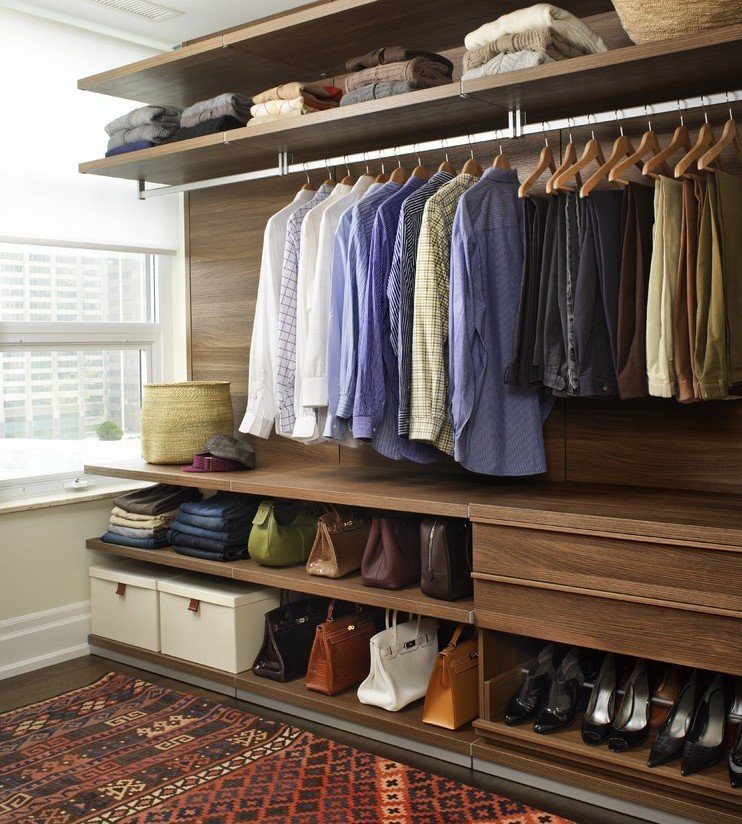
Rules for storing things in the wardrobe
The following rules for storing clothes and shoes should be observed.
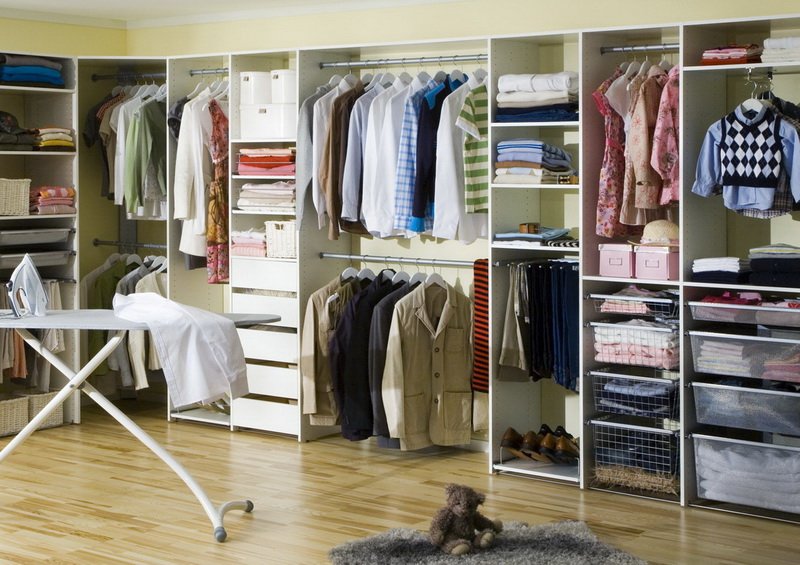
- Create separate shelves for men's and women's clothing. This will help organize the search for things and avoid confusion.
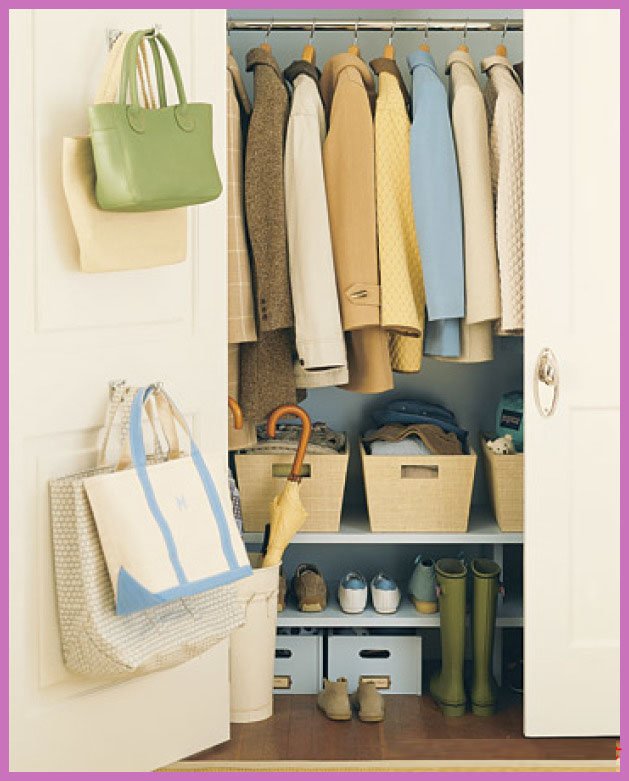
- For outerwear, set aside a place near the entrance. They have the most germs from the street.
- Don't mix underwear and bedding together. Keep them on separate shelves or baskets.
- It is advisable to use a rotating shoe cabinet for storing shoes. Such a cabinet will fit more pairs of shoes than regular shelves.
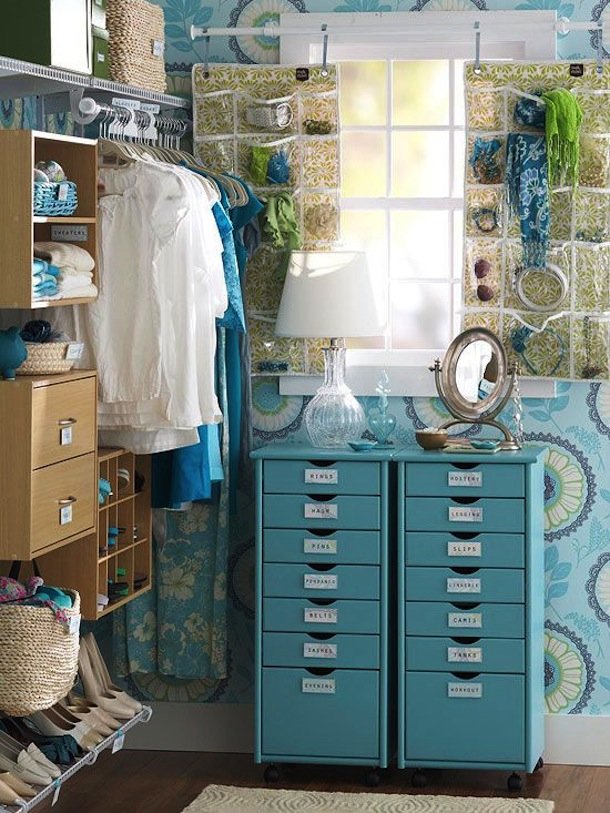
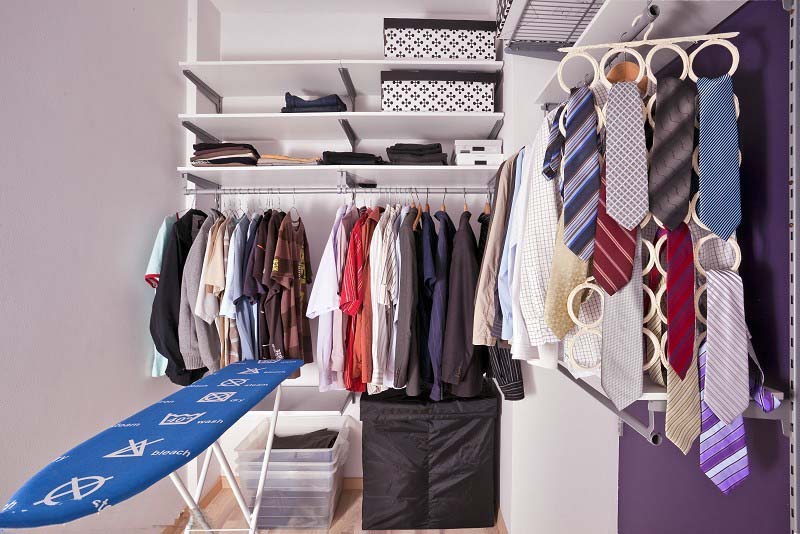
- For small items of clothing (underwear, ties, belts, etc.), set aside shelves with special compartments.
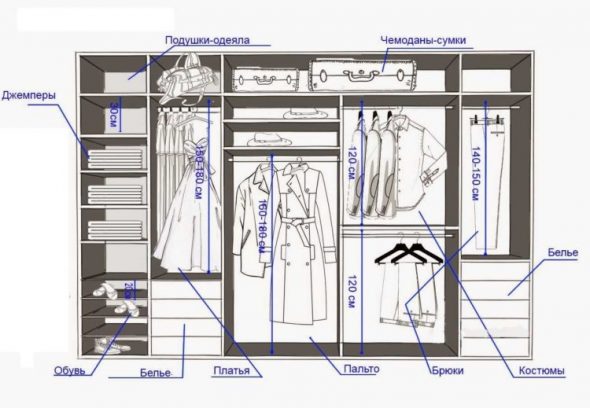
- Use all the space from the floor to the ceiling for shelves for your things.
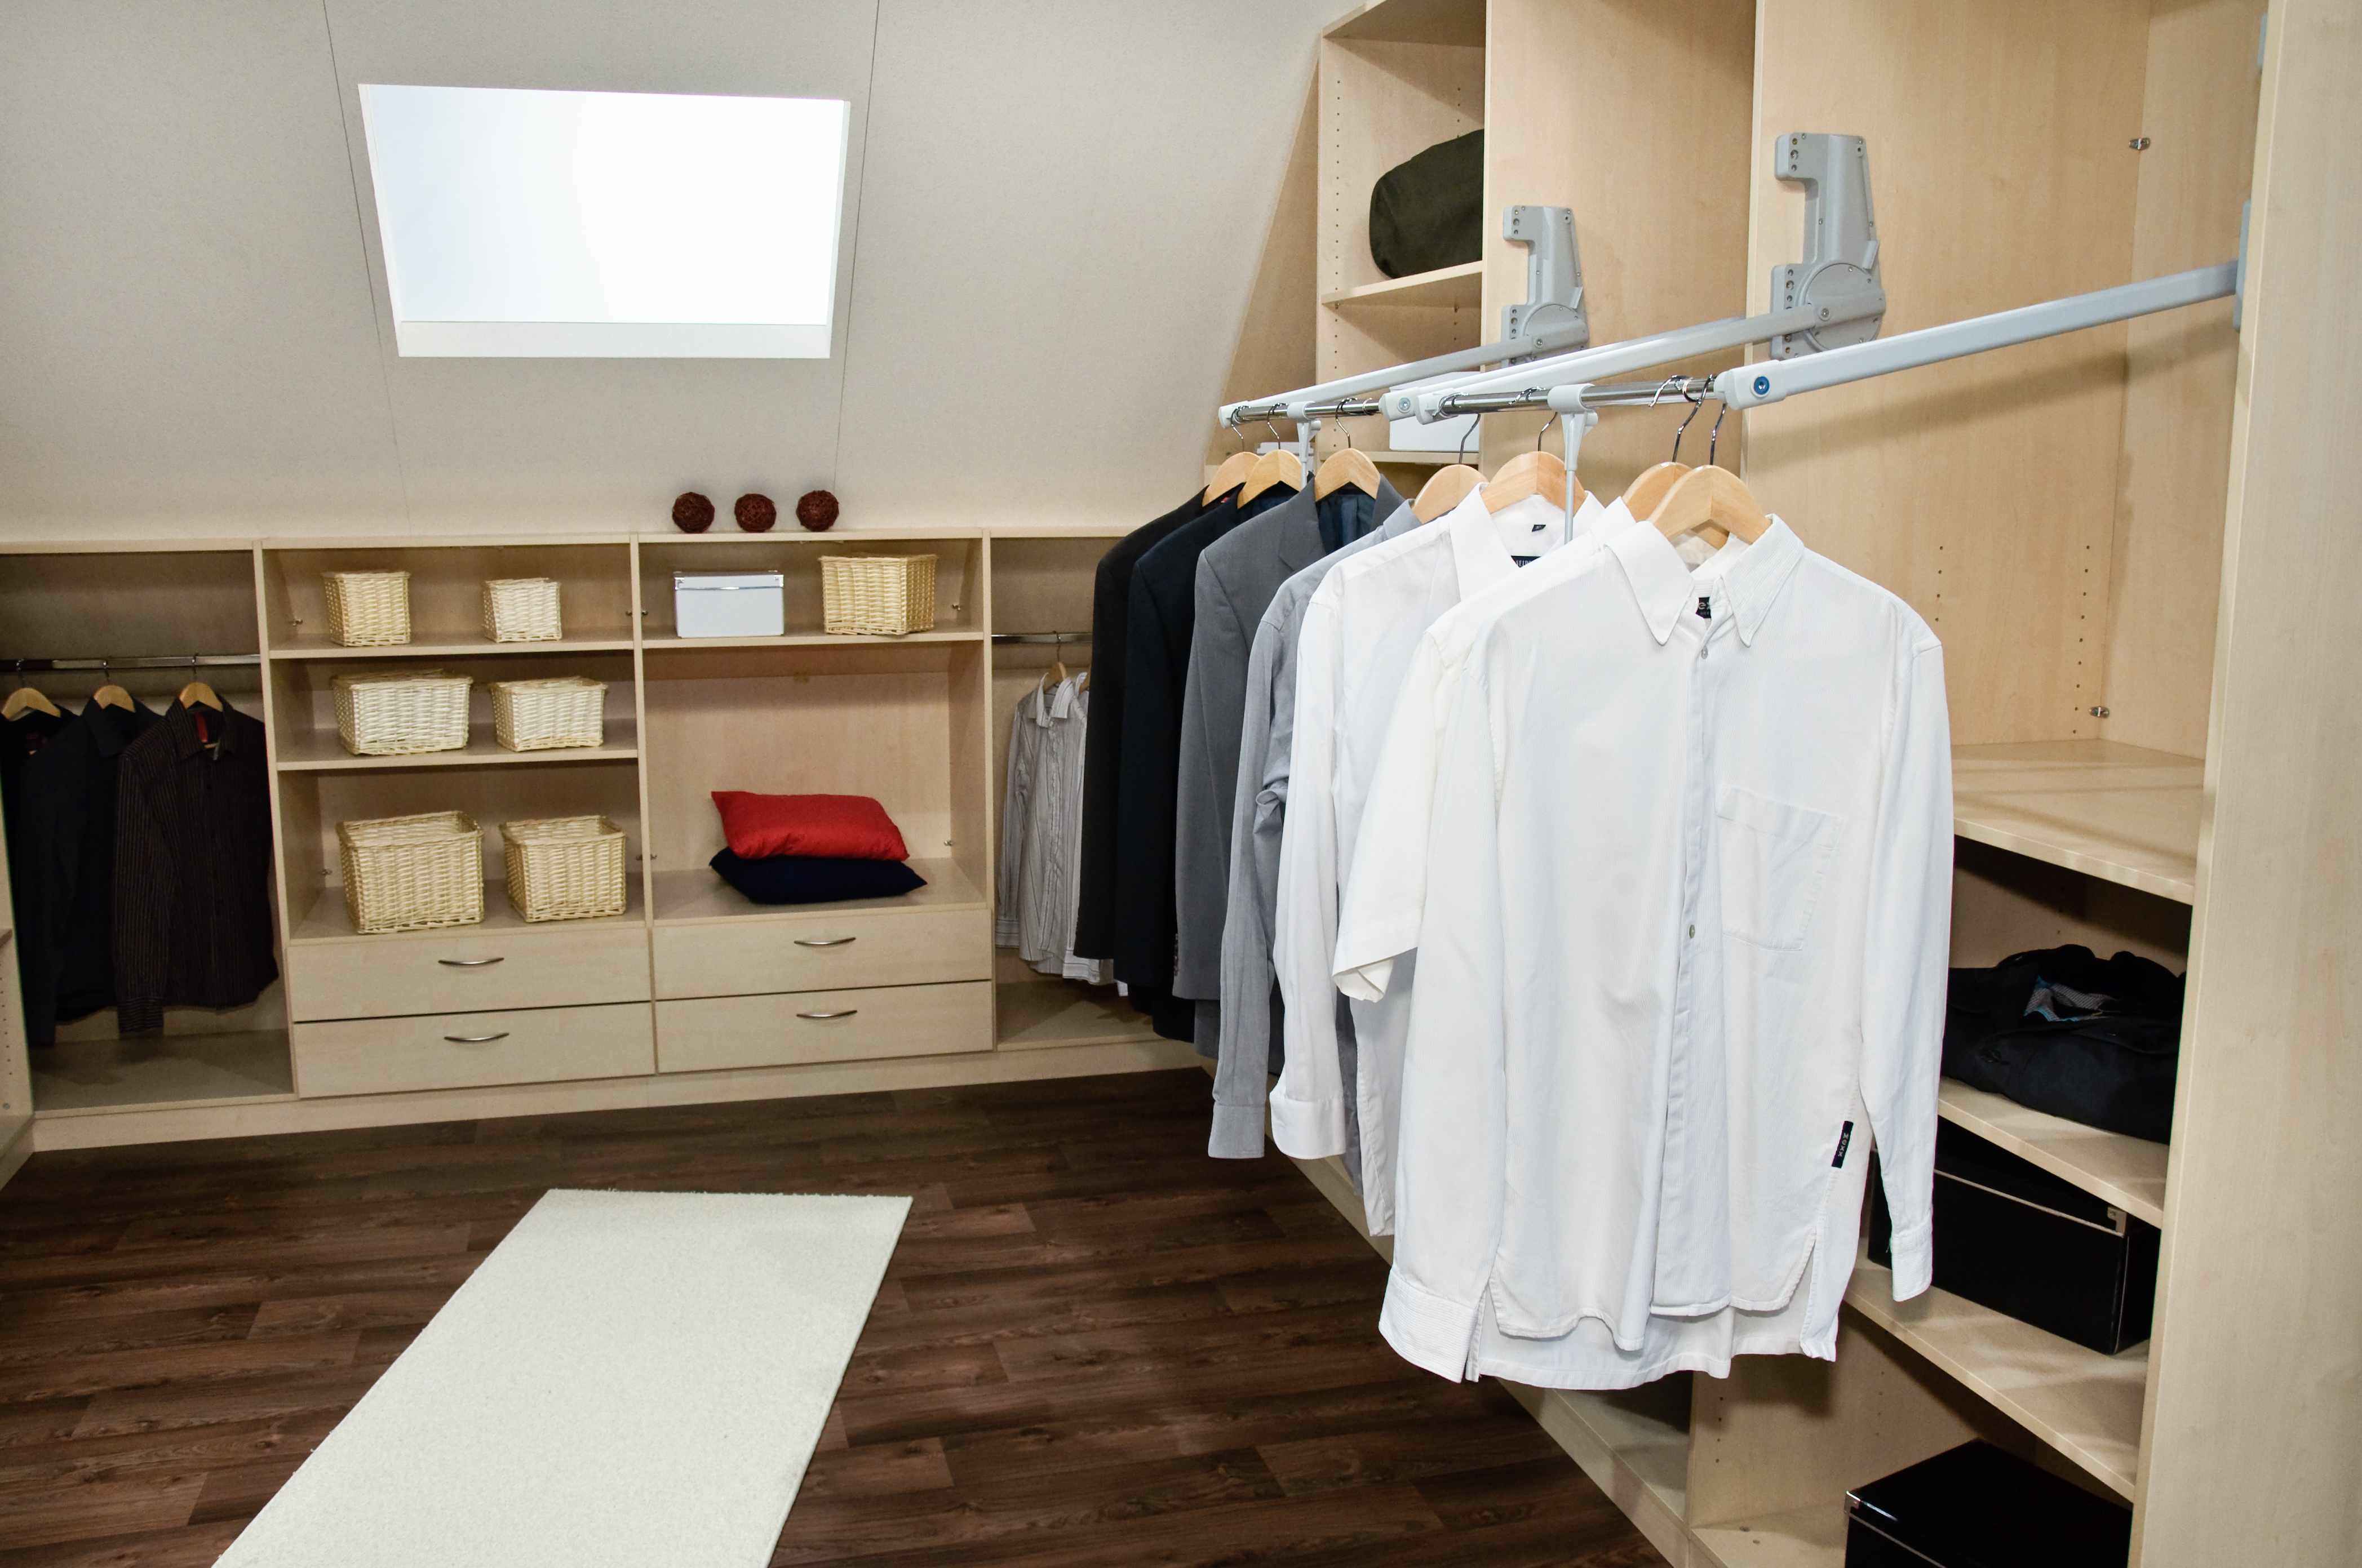
- The upper area is convenient for storing hats, bedspreads, and seasonal items.
- The middle zone should be used to store the most frequently used items. All the rods with hangers should also be located there.
- Use the lower area for bed linen and shoes.
Video: How to make a dressing room
50 photo ideas for convenient organization of a dressing room: