This article will be useful for those who are interested in a master class on making a box with your own hands. How to make a jewelry box at home from improvised means: cardboard with a lid, paper, fabric. Ideas for beautiful box designs.
In every home there are a thousand little things that can be given a second life. Such things will not only be functional, but also quite attractive if you approach the process of work with all seriousness. This is a very convenient box that will come in handy for storing jewelry, memorable things, threads with needles and other little things. It is quick and easy to make a box with your own hands, for this they stock up on the necessary materials, think about how to decorate the box and follow certain algorithms of actions.
Content
Choosing the shape of the box
The choice of the shape of the chest depends on:
- from personal preferences;
- what do they plan to store in it;
- what tools they have at hand.
You can make a storage chest:
- simple rectangular shape;
- round;
- in the shape of a heart.
To work on creating a box from improvised means at home, prepare the following materials:
- thick cardboard;
- soft, dense fabric;
- glue;
- materials for decoration;
- scotch;
- scissors;
- paper;
- stationery knife;
- pencil;
- ruler.
A simple rectangular or square box
A product of this shape is made of high-density cardboard.
Additional information! This is necessary so that the final product holds the chosen shape well.
As a basis, choose a shoe box. Then form tubes from paper. For this, take a regular A4 sheet.
After the tubes are twisted, they begin to glue them along the perimeter of the base at a distance of 3-4 cm from each other. They do it vertically.
The remaining part of the tubes is glued inside the base, bending them. Inside, the places where the paper guides are glued are covered with thick cardboard. The lid of the box is glued according to the same principle. This is a clear diagram of how to make a cardboard box.
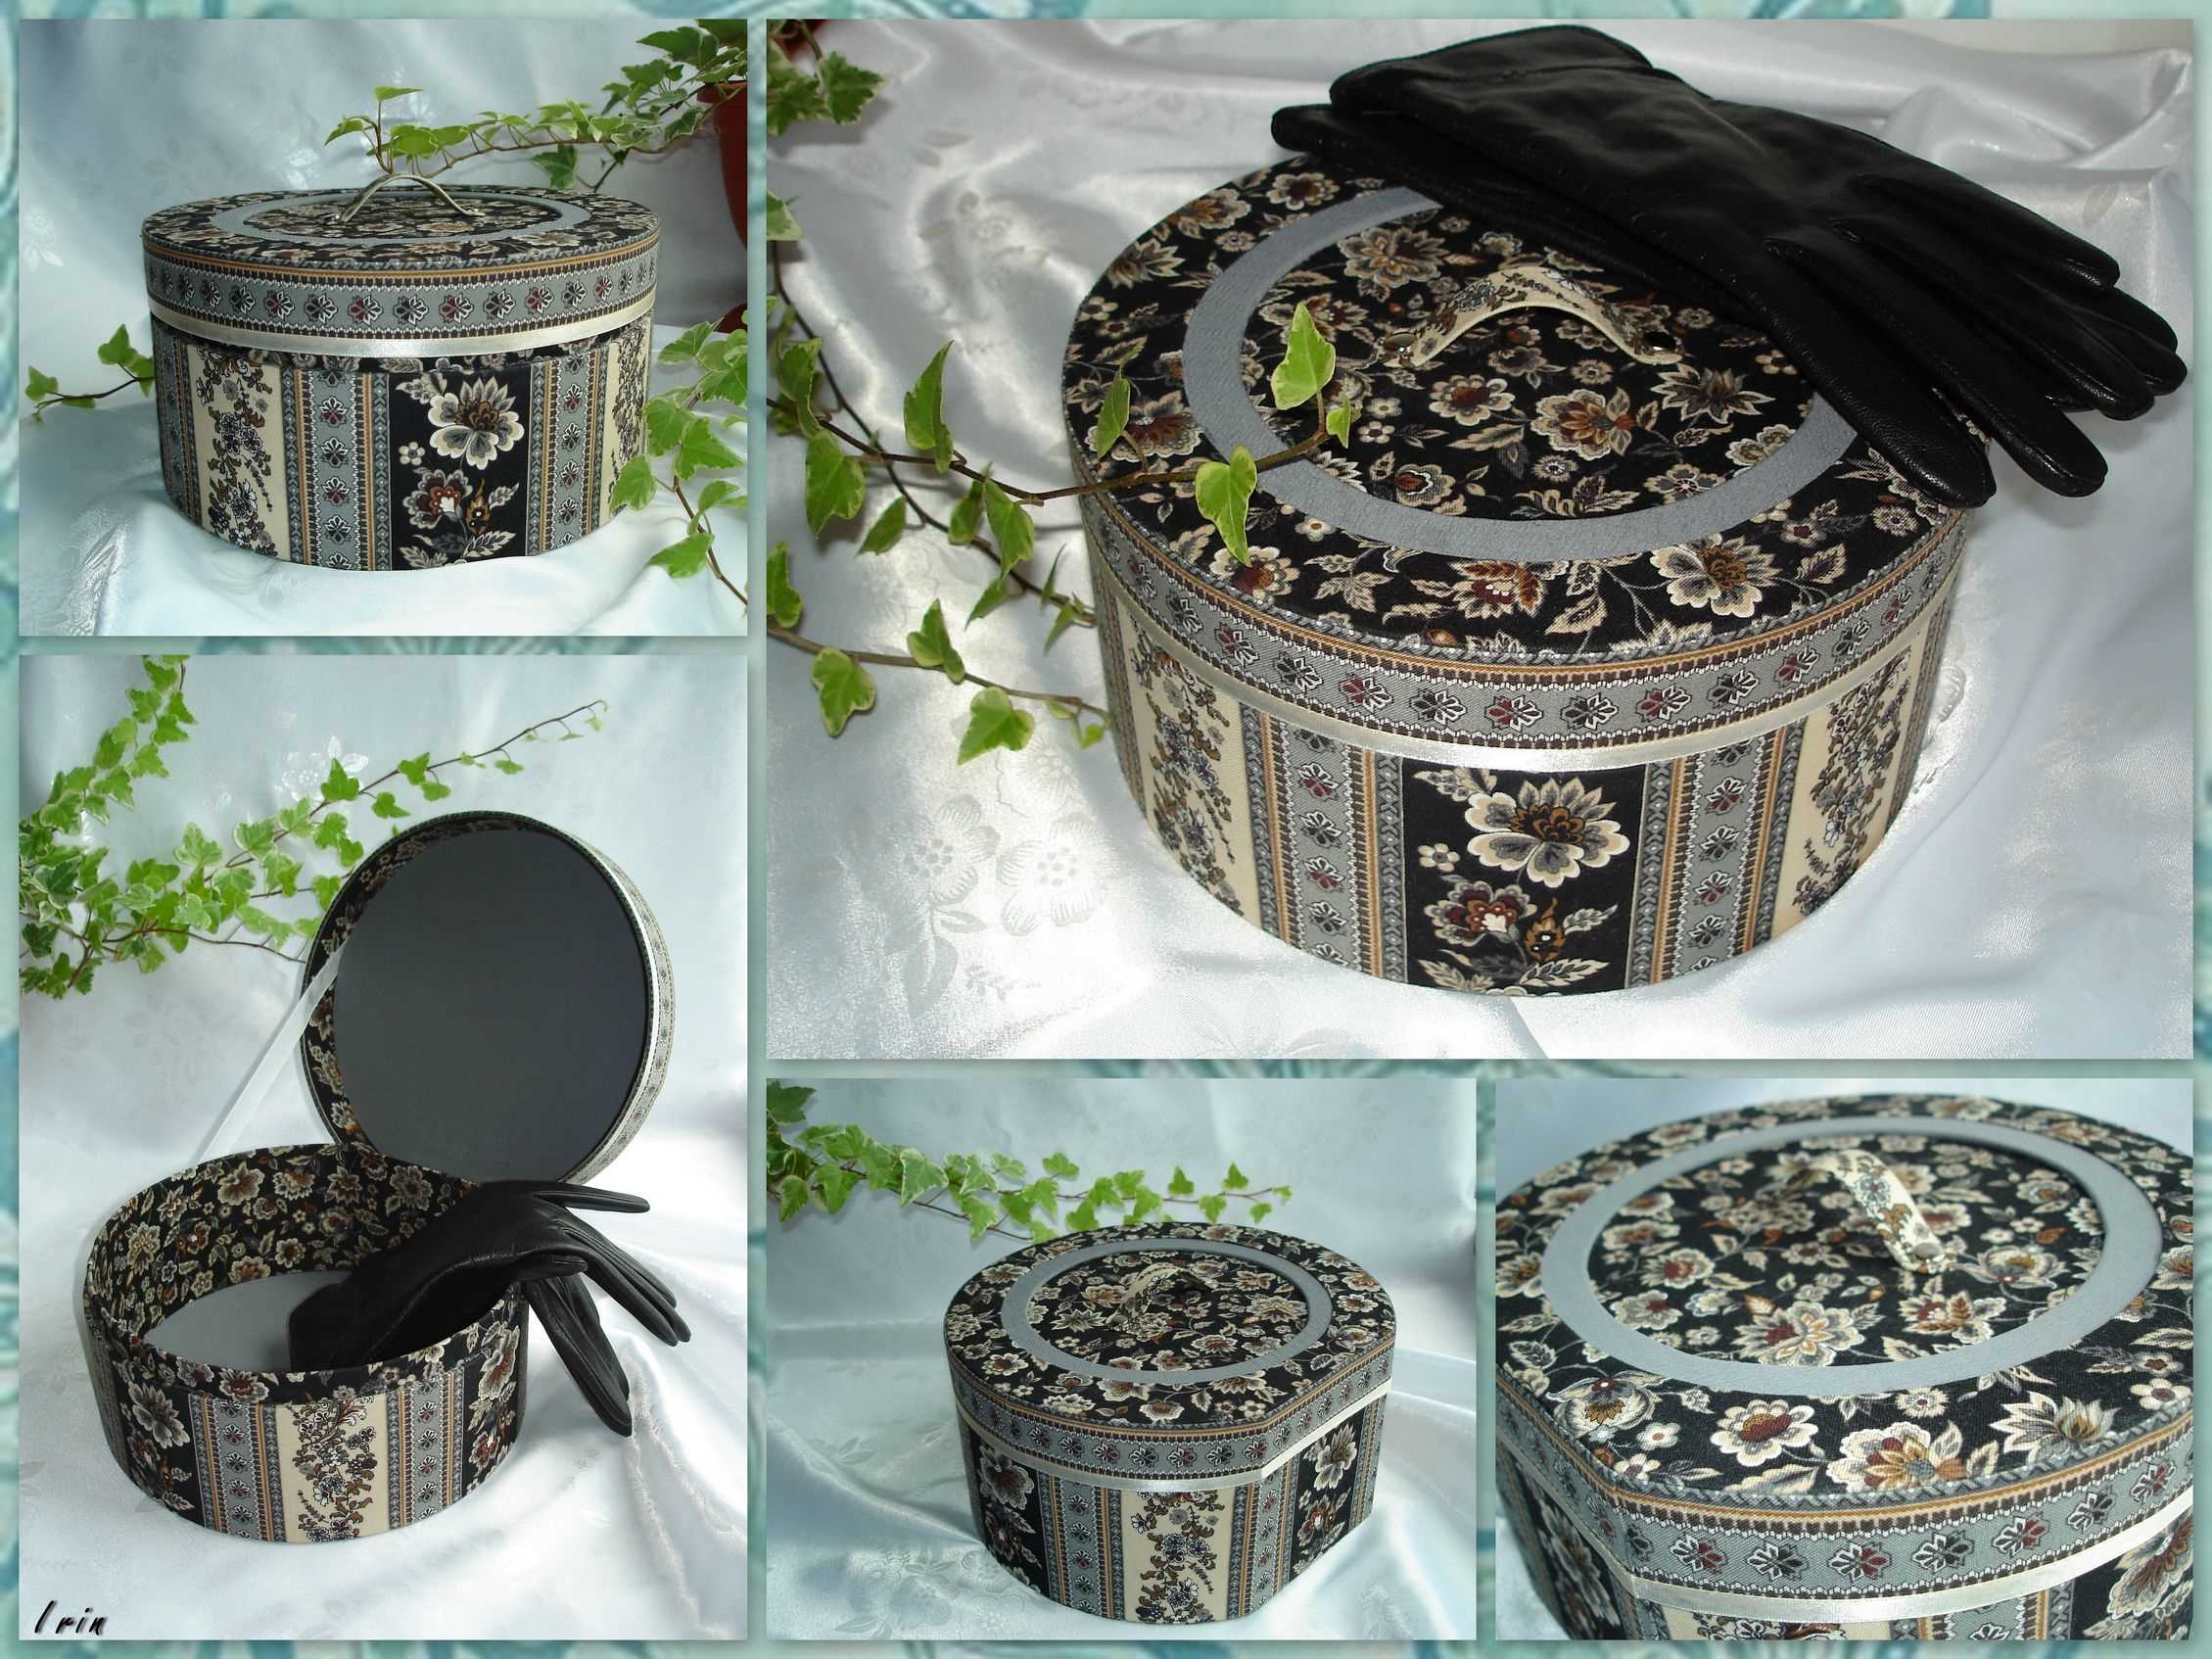
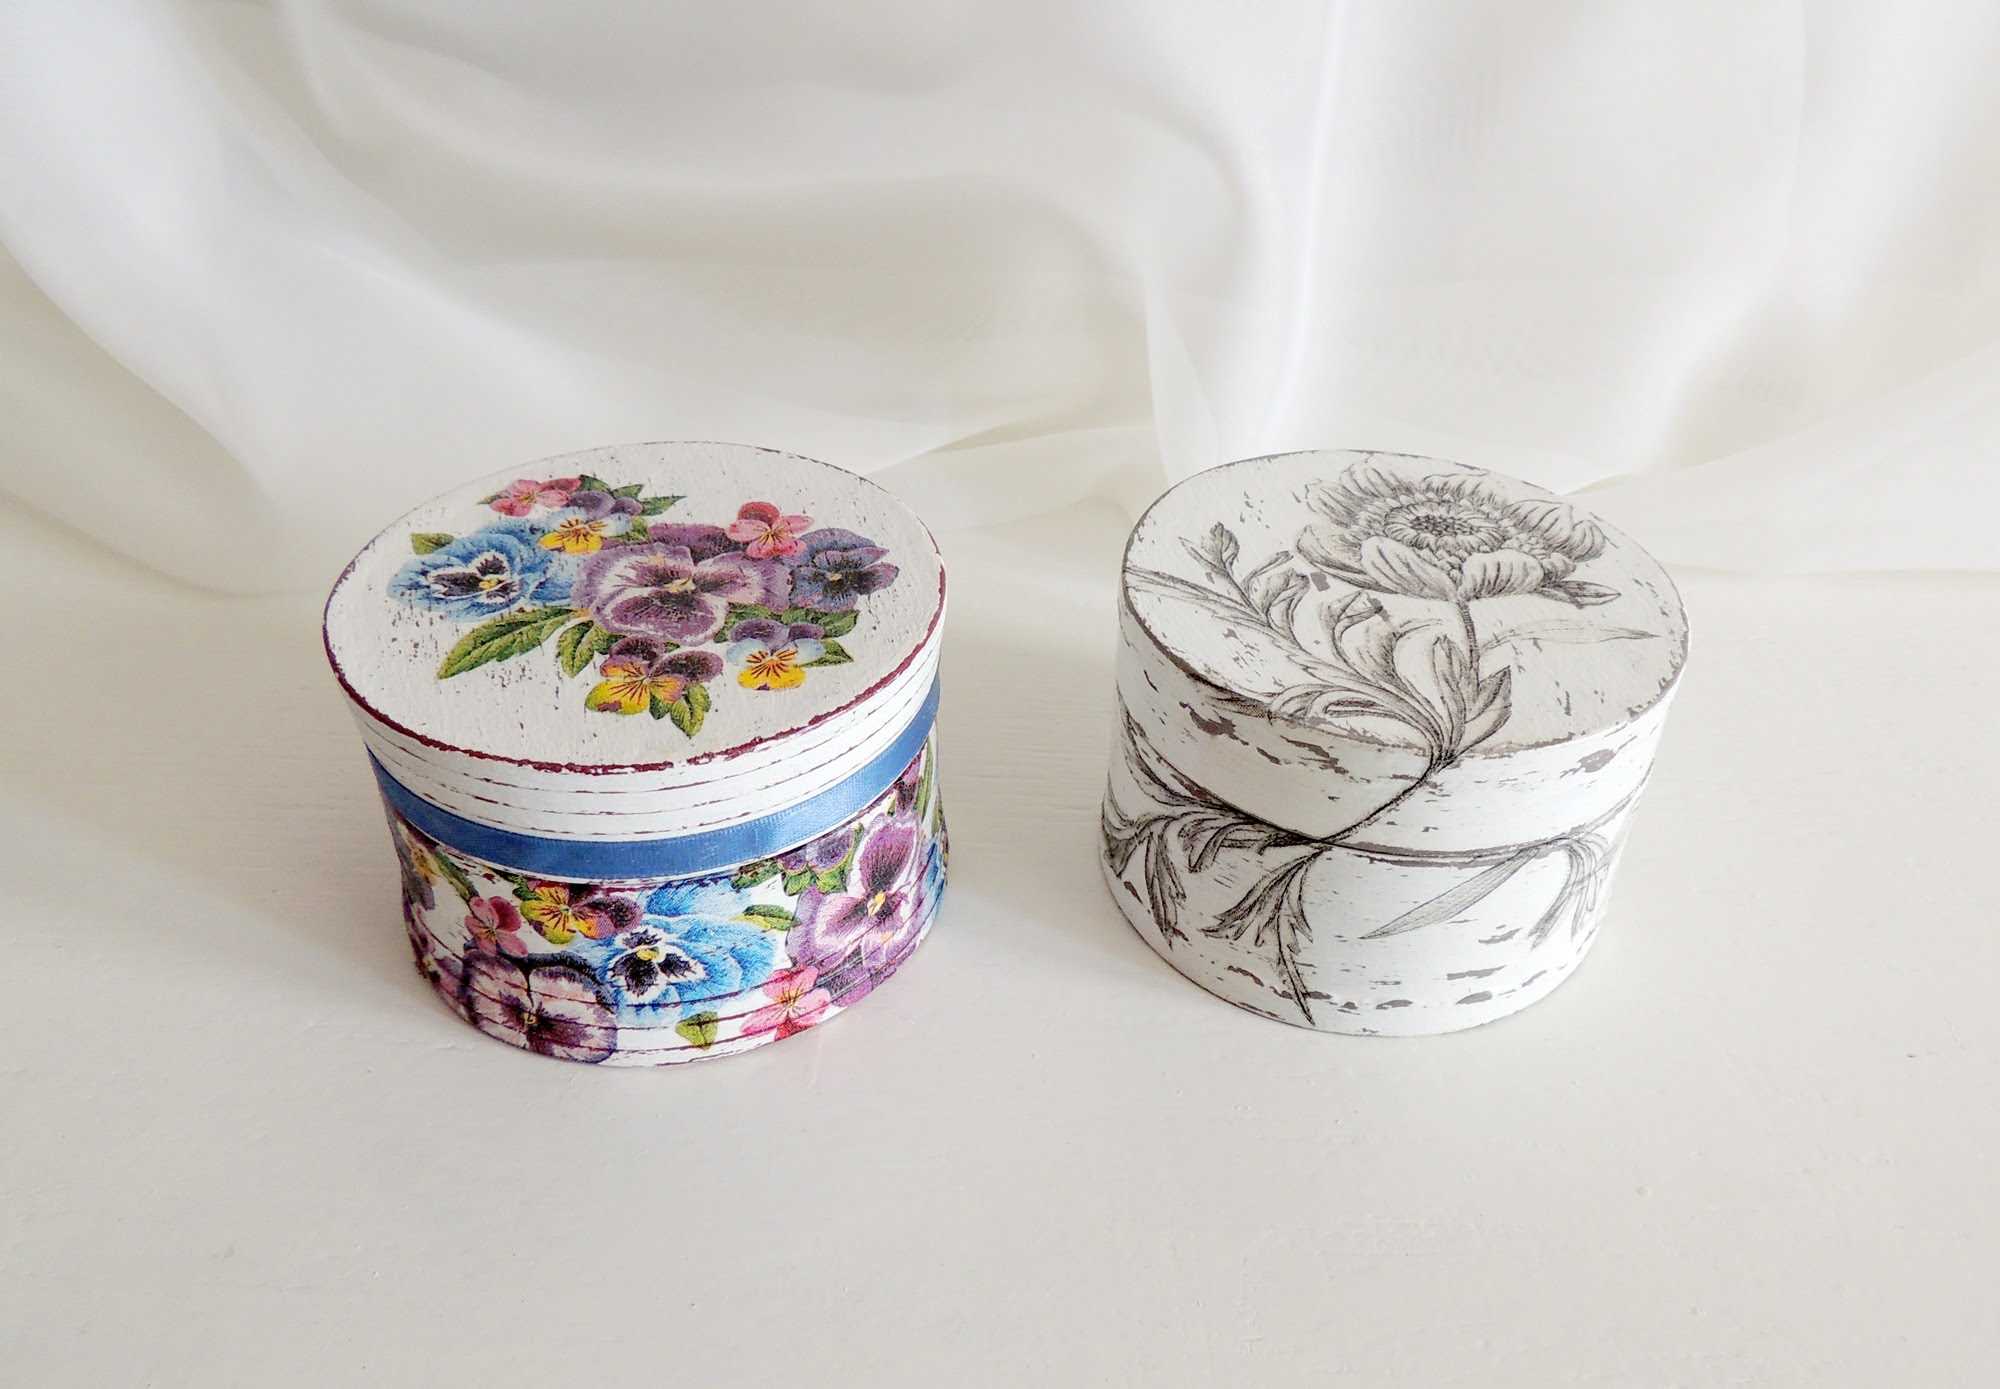
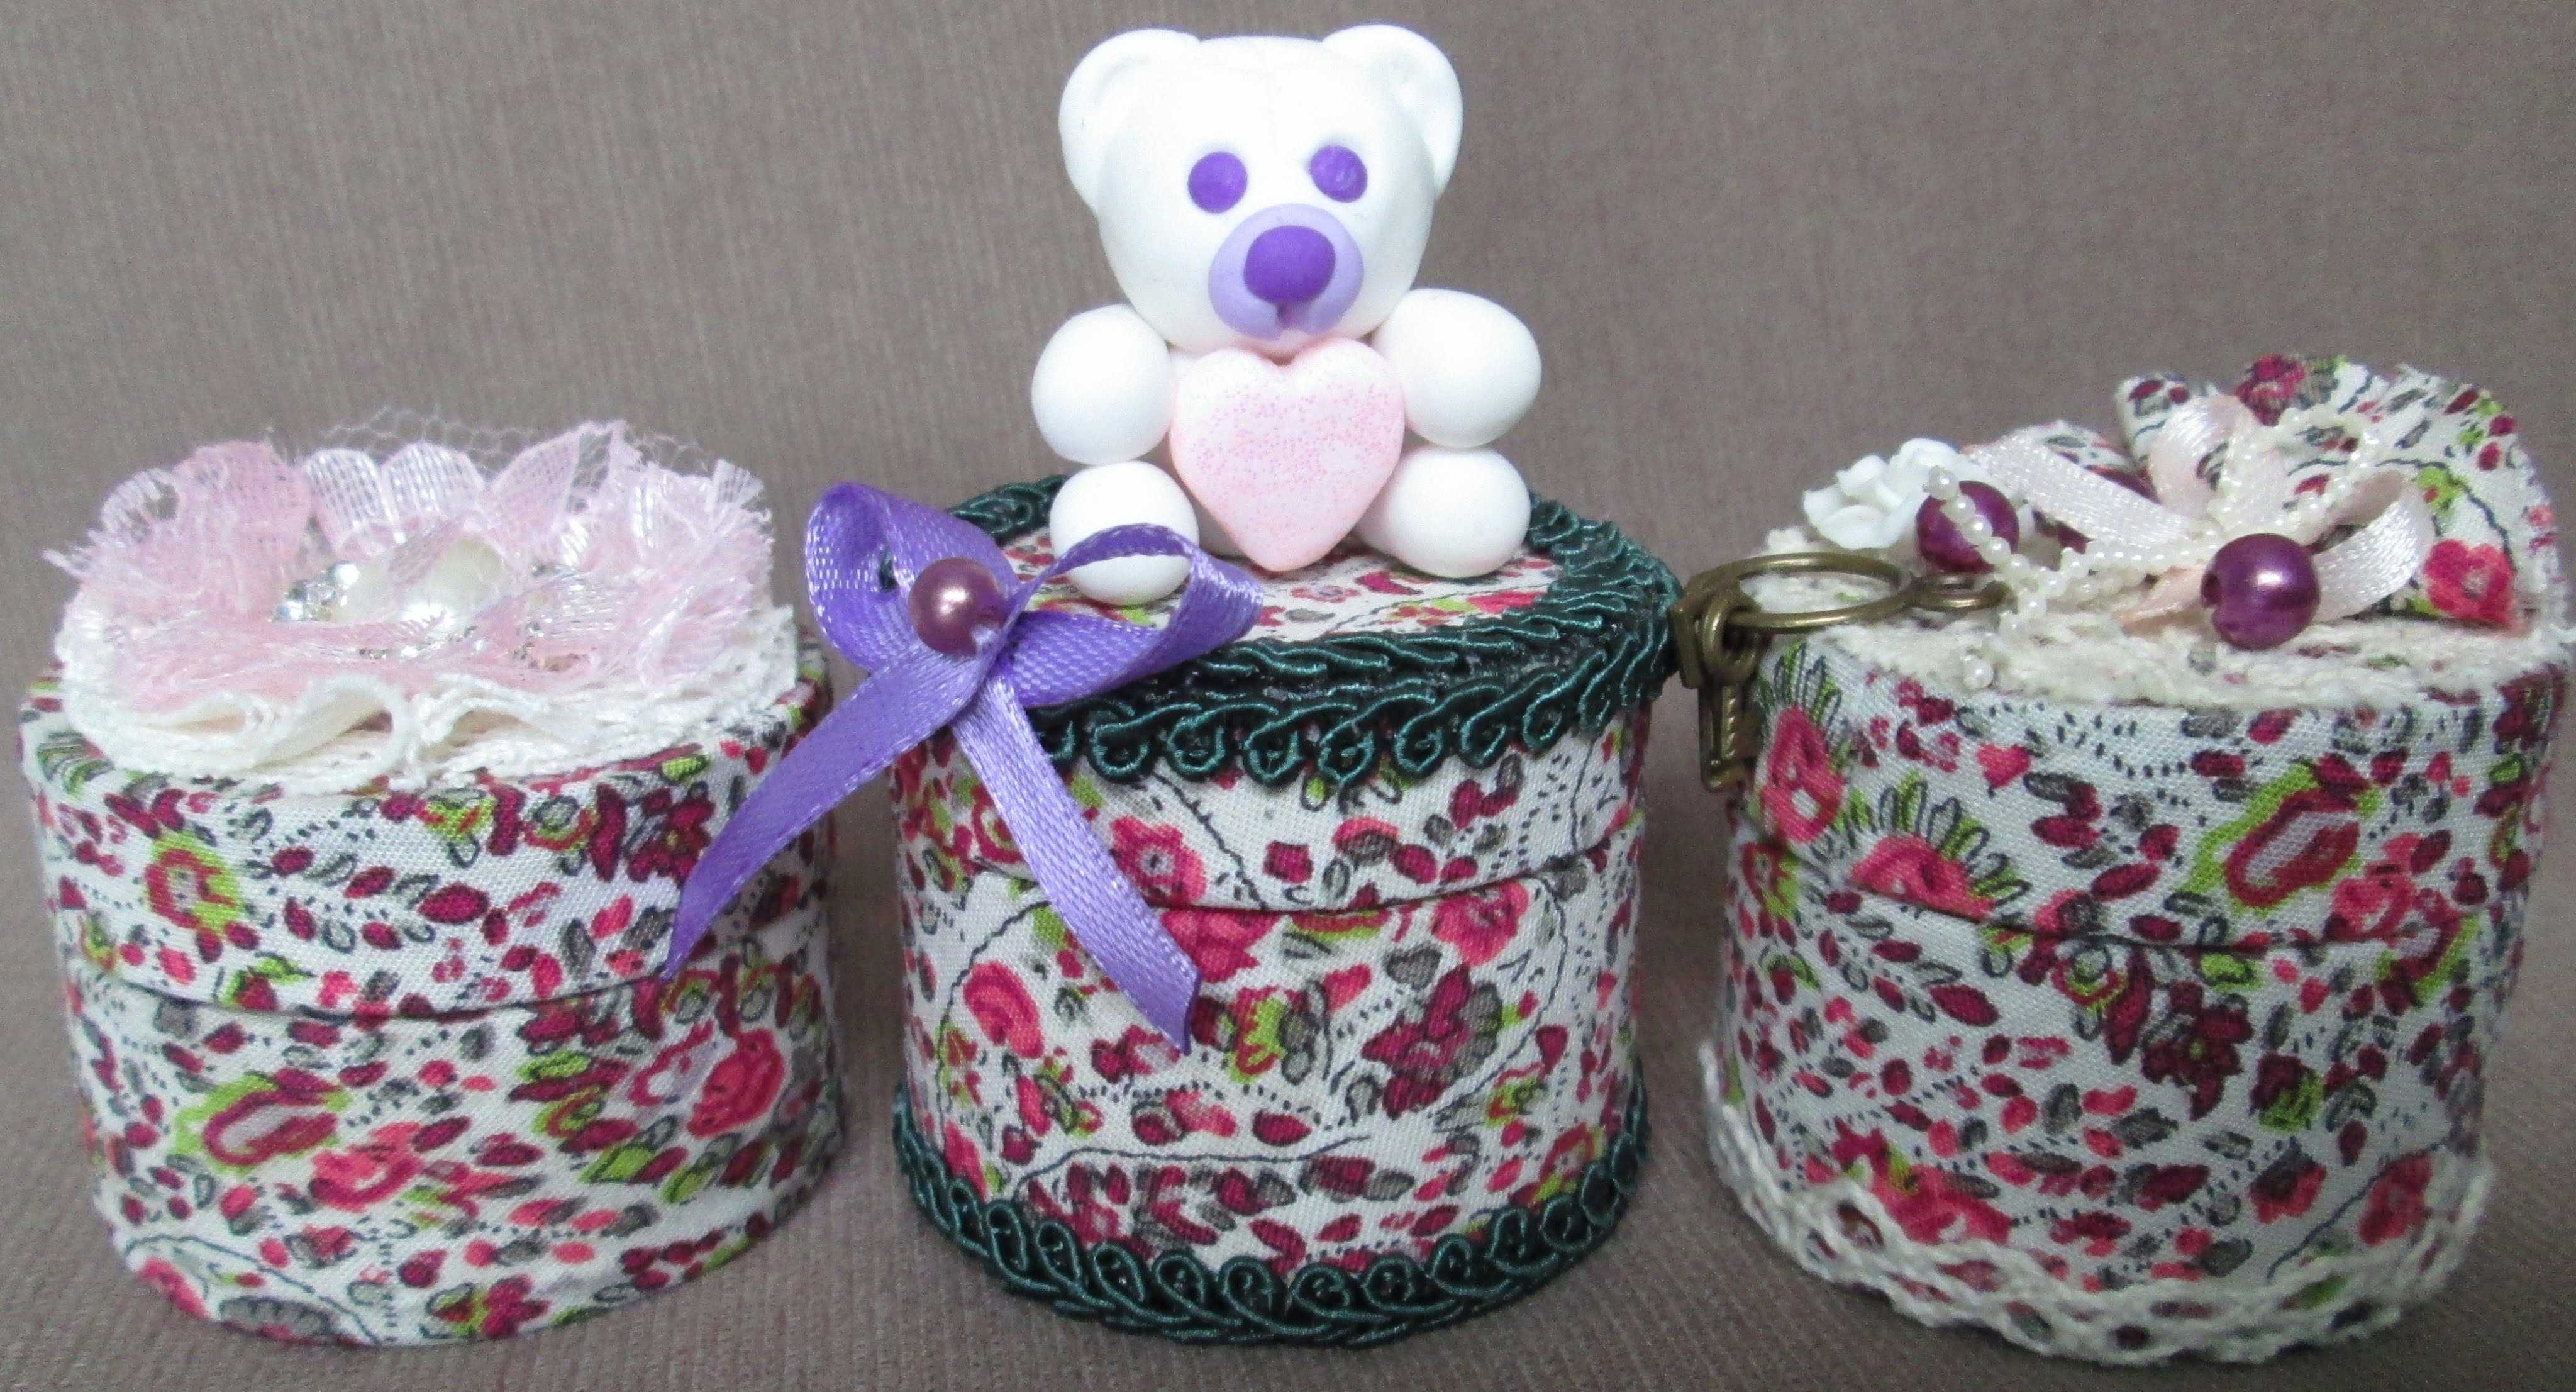
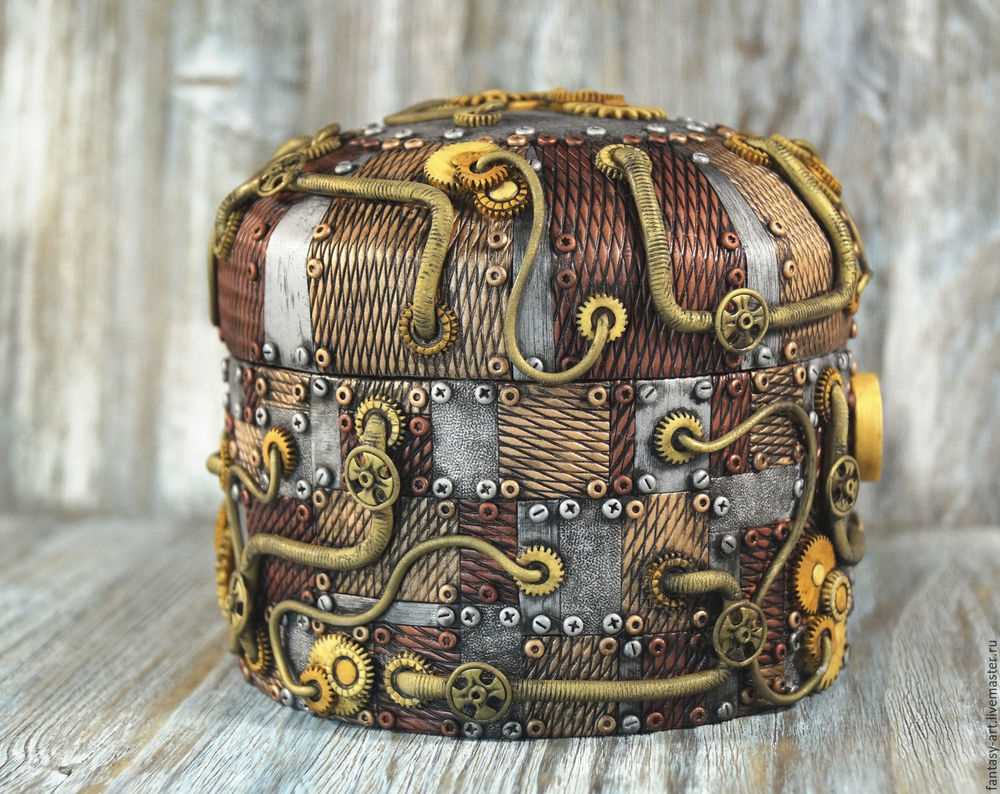
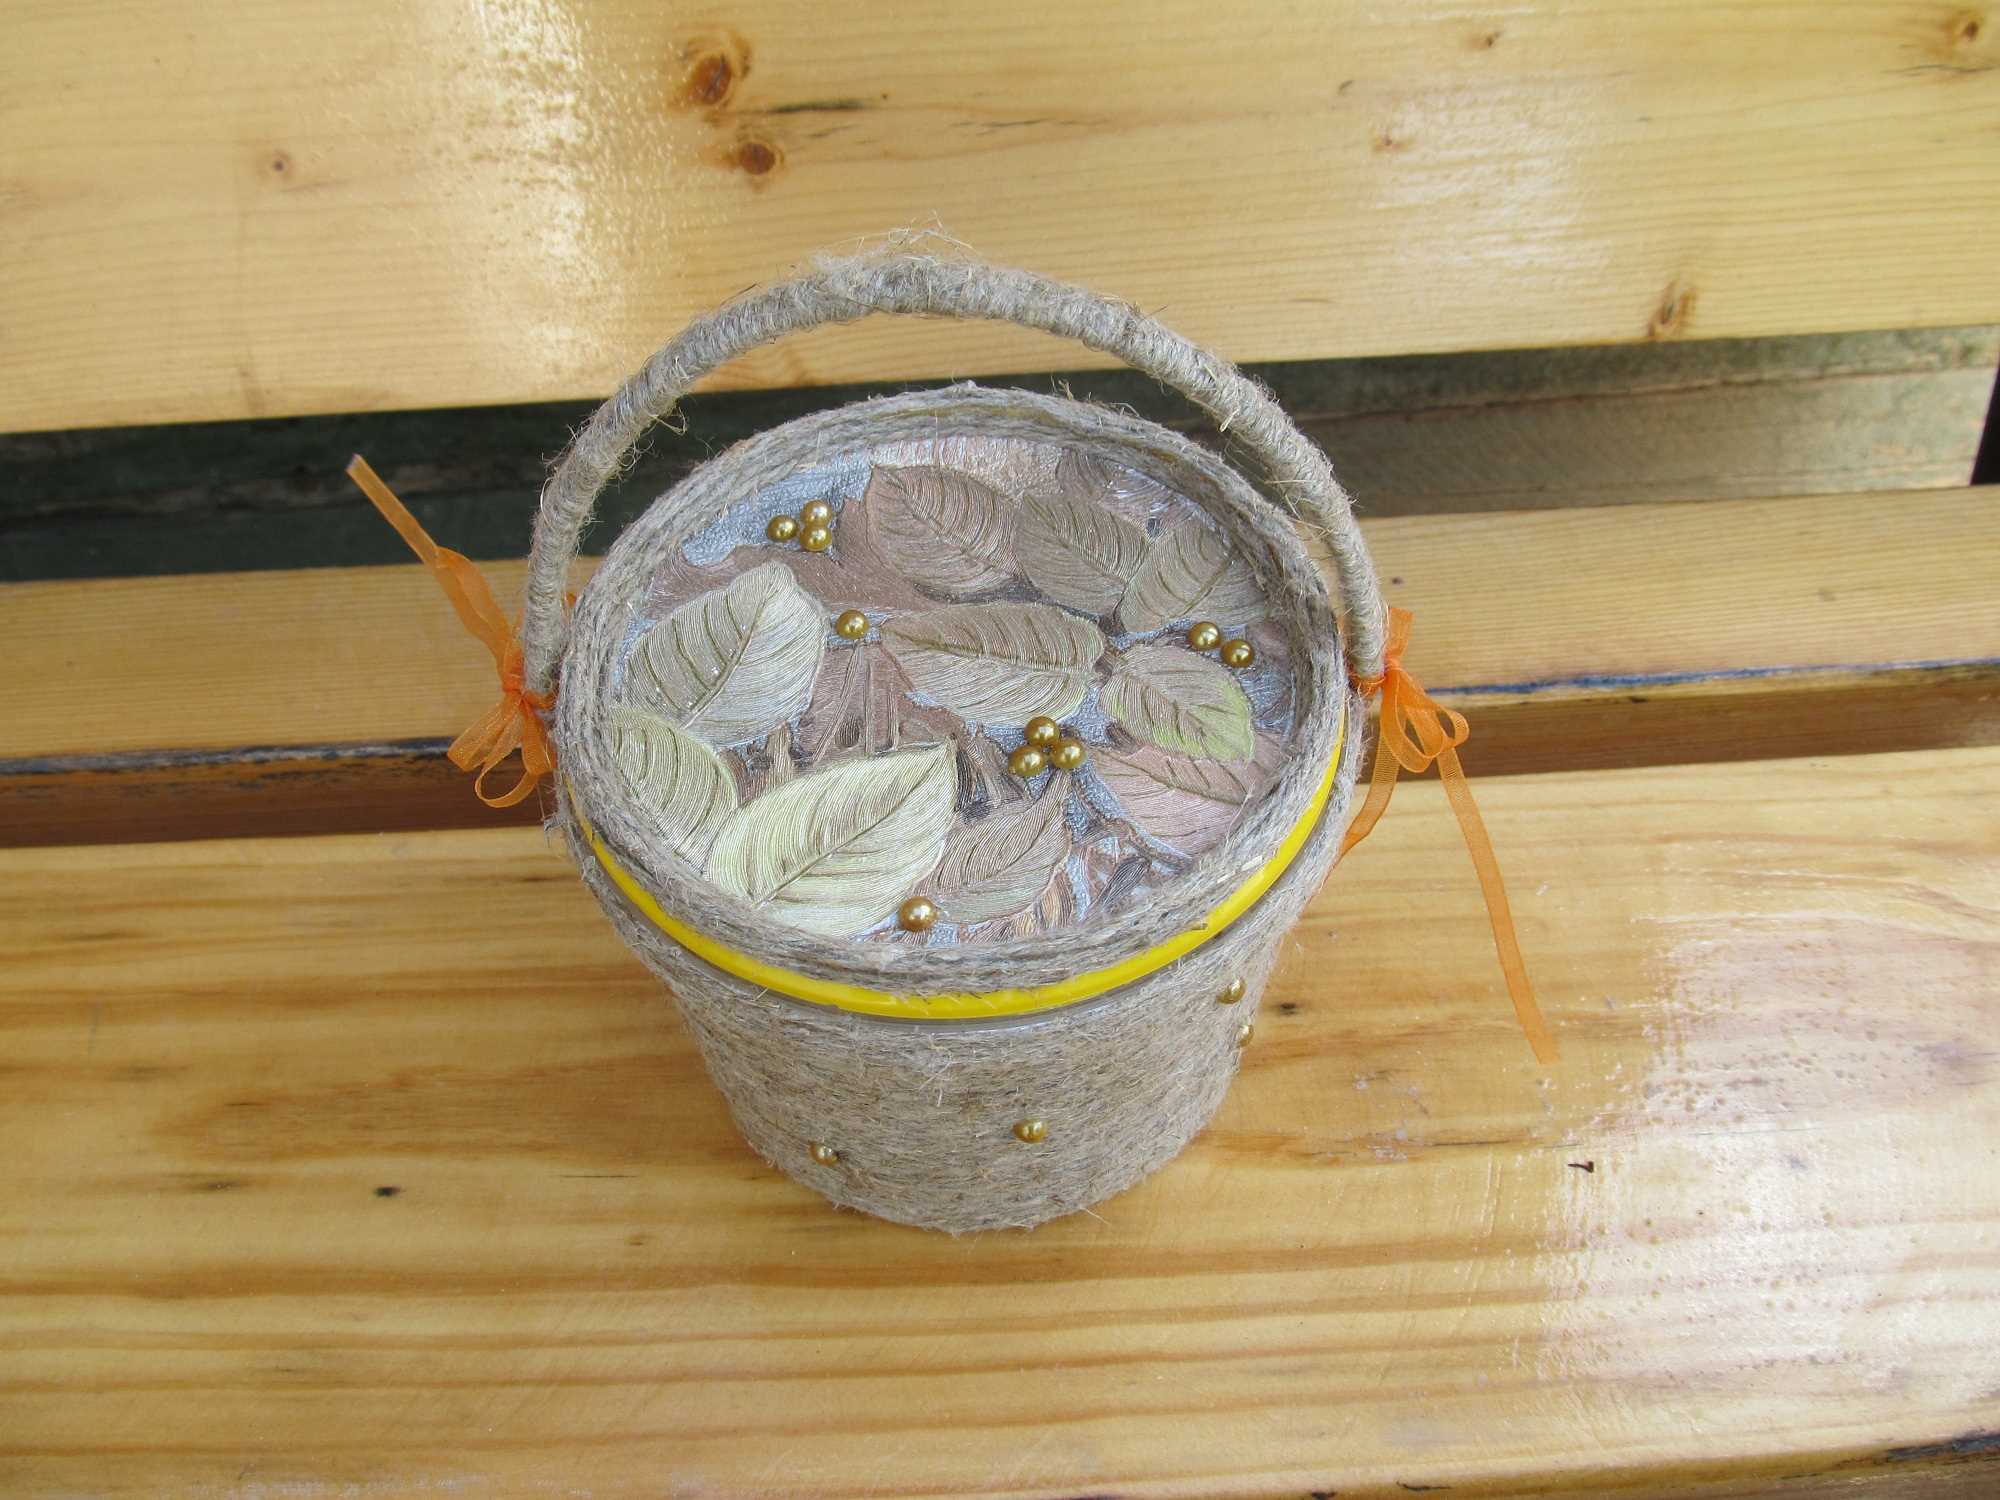
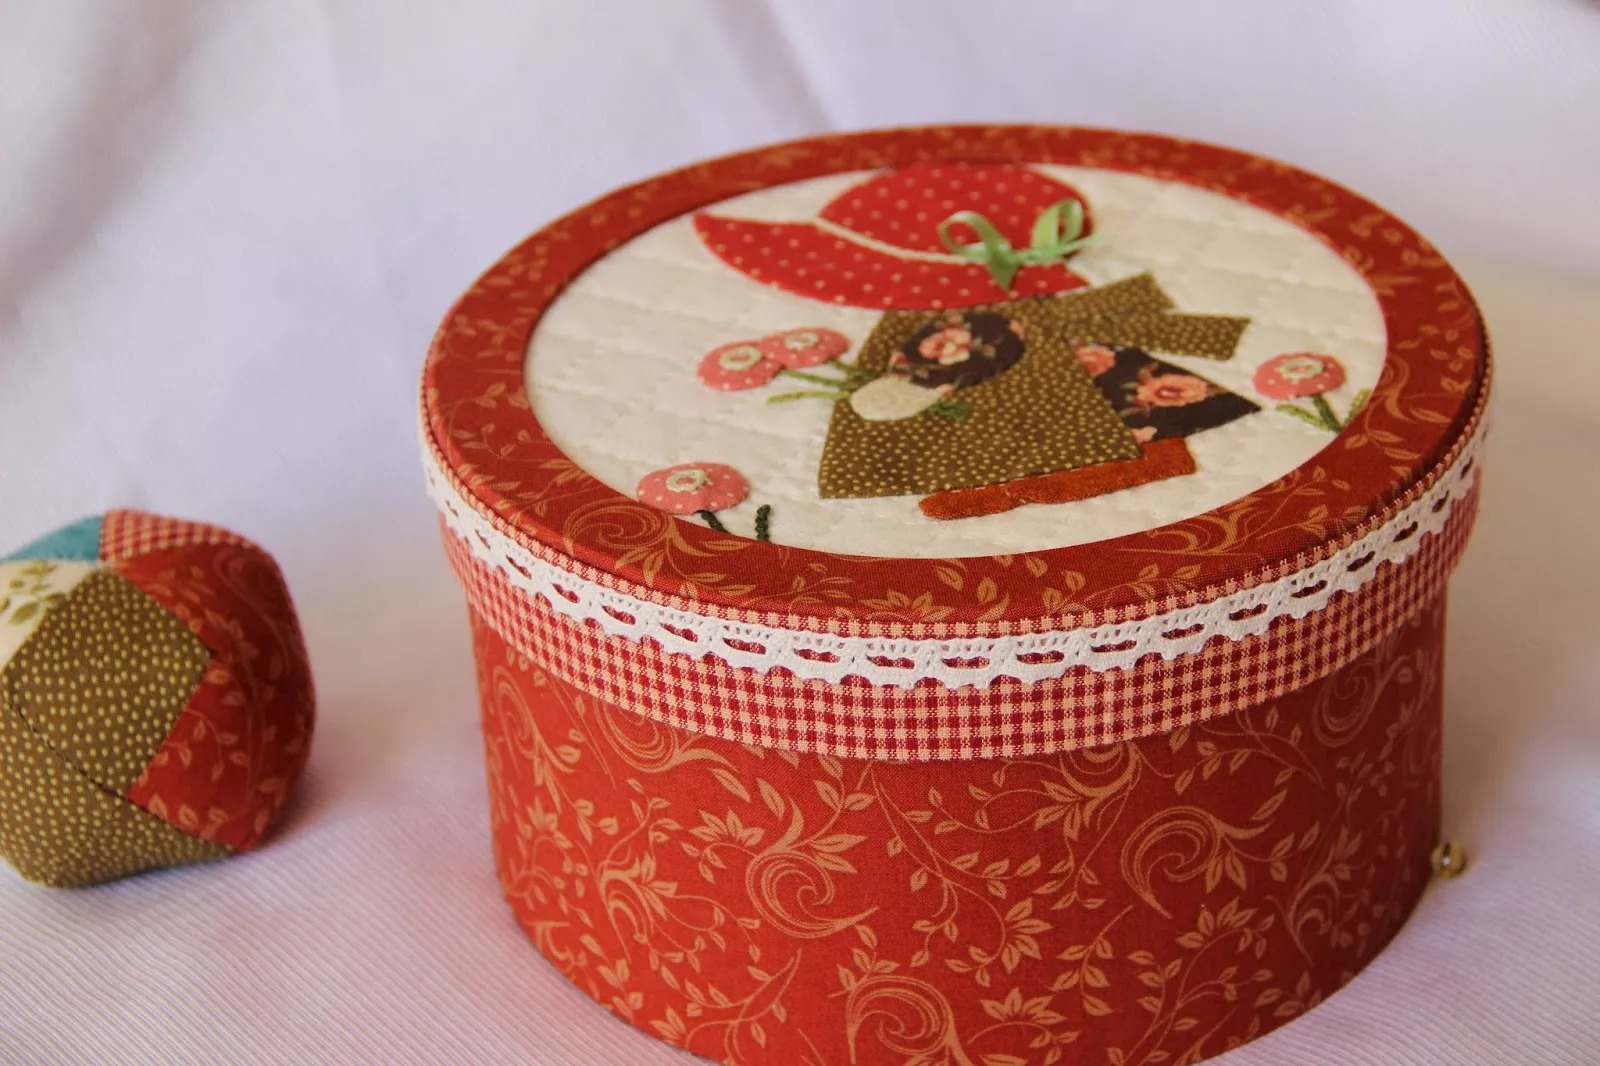
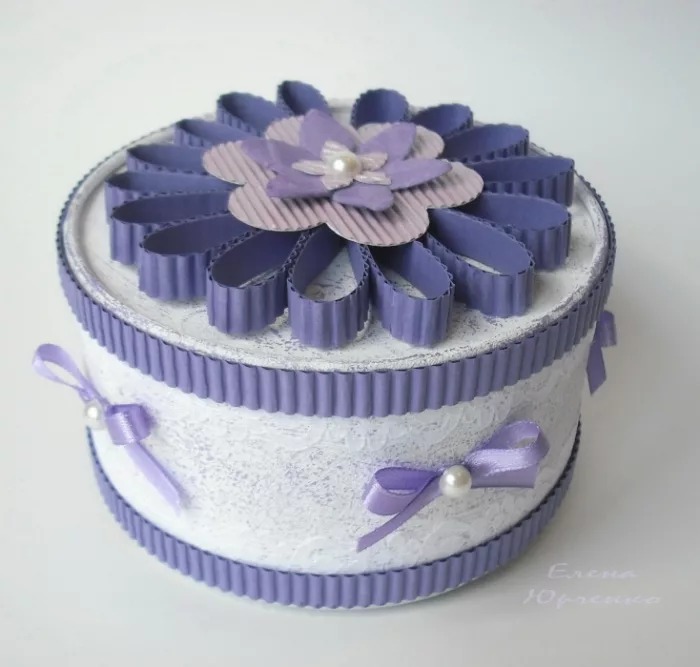
Round box
The basis for the round chest is a thick part of a roll of scotch tape. It can be of different diameters, but in any case it can be beautifully decorated and played up.
First, take some thick cardboard and draw 3 circles on it along the outer edge of the roll of tape and 2 along the outer edge. The smaller diameter ones are glued together. This is how the bottom of the box is made.
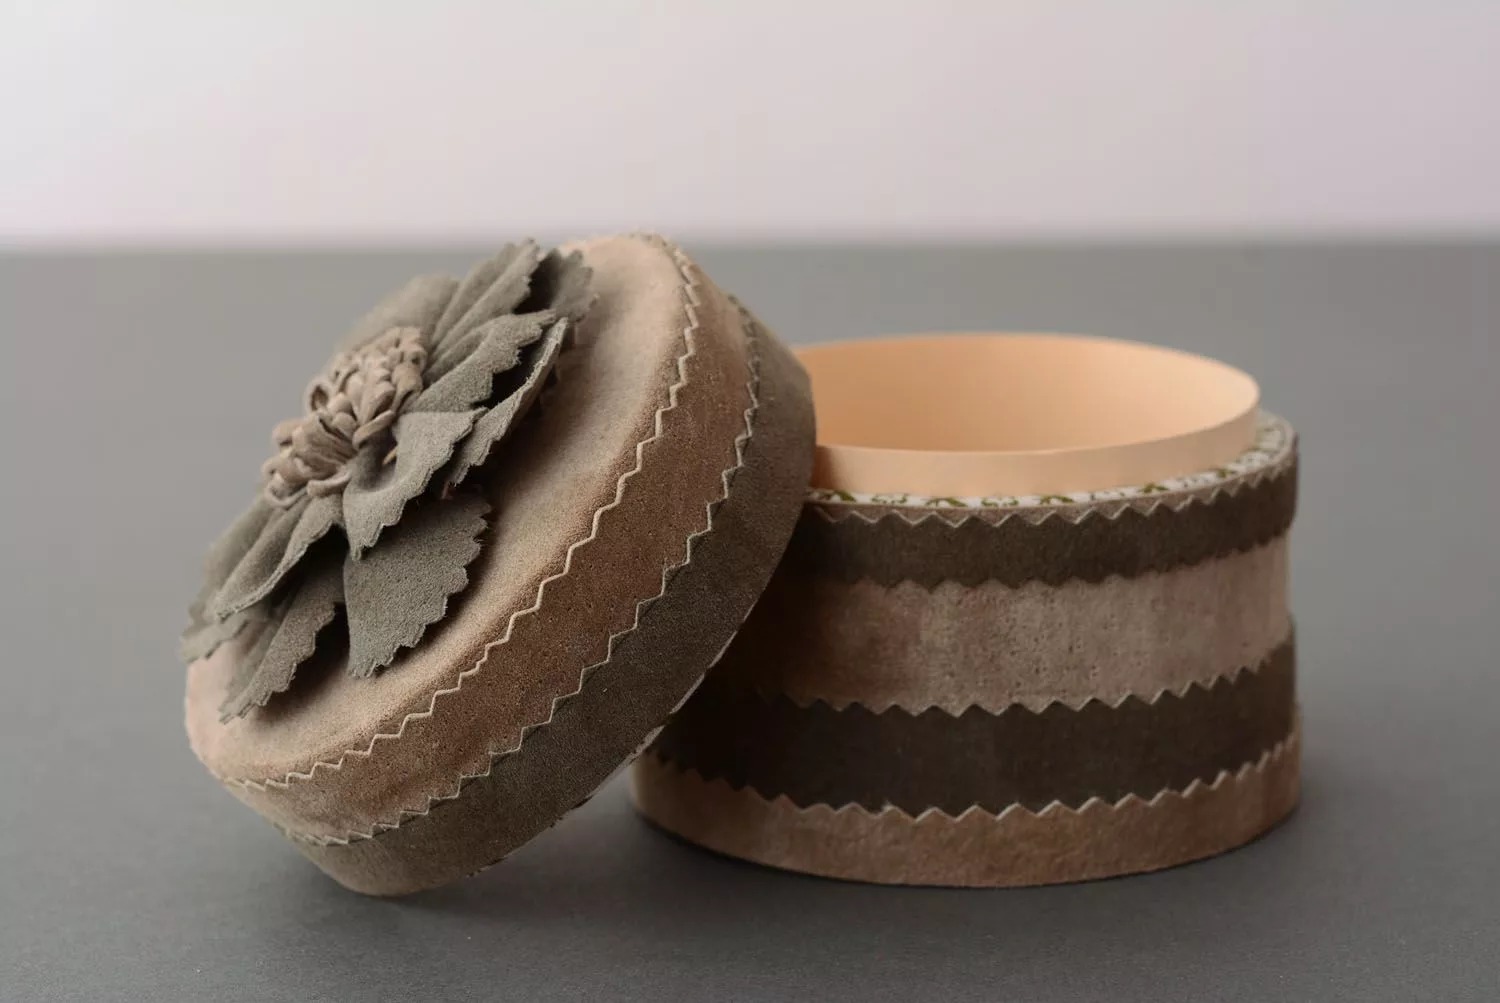
Those circles that are larger in diameter are also glued together. Cut out a strip 4-5 cm wide and the length equal to the diameter of the large circle. This strip is glued to the circle along the inner edge, having first made a small cut along the perimeter. The lid is ready.
Important! This is necessary to ensure that the strip is not deformed during the gluing process.
The finished model is decorated to your taste. This version of a box for a girl made with your own hands will be a wonderful gift.
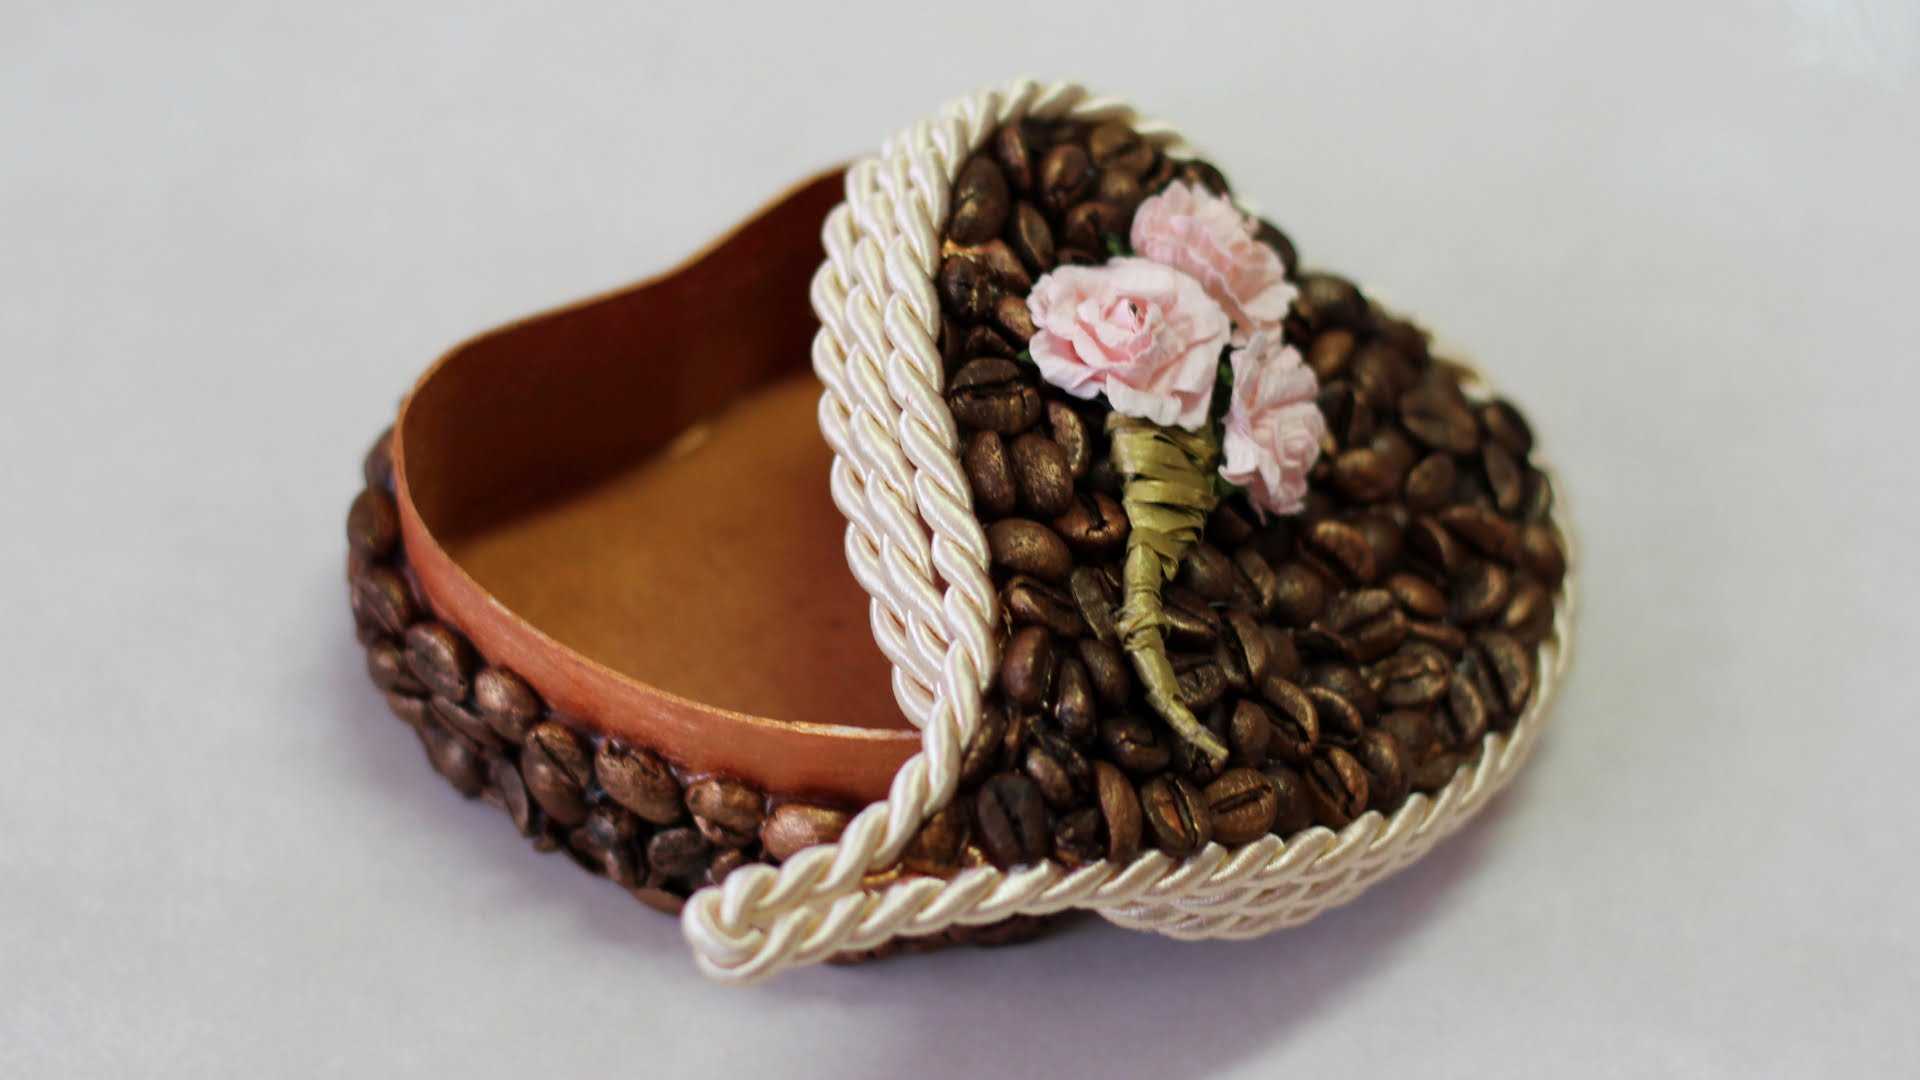
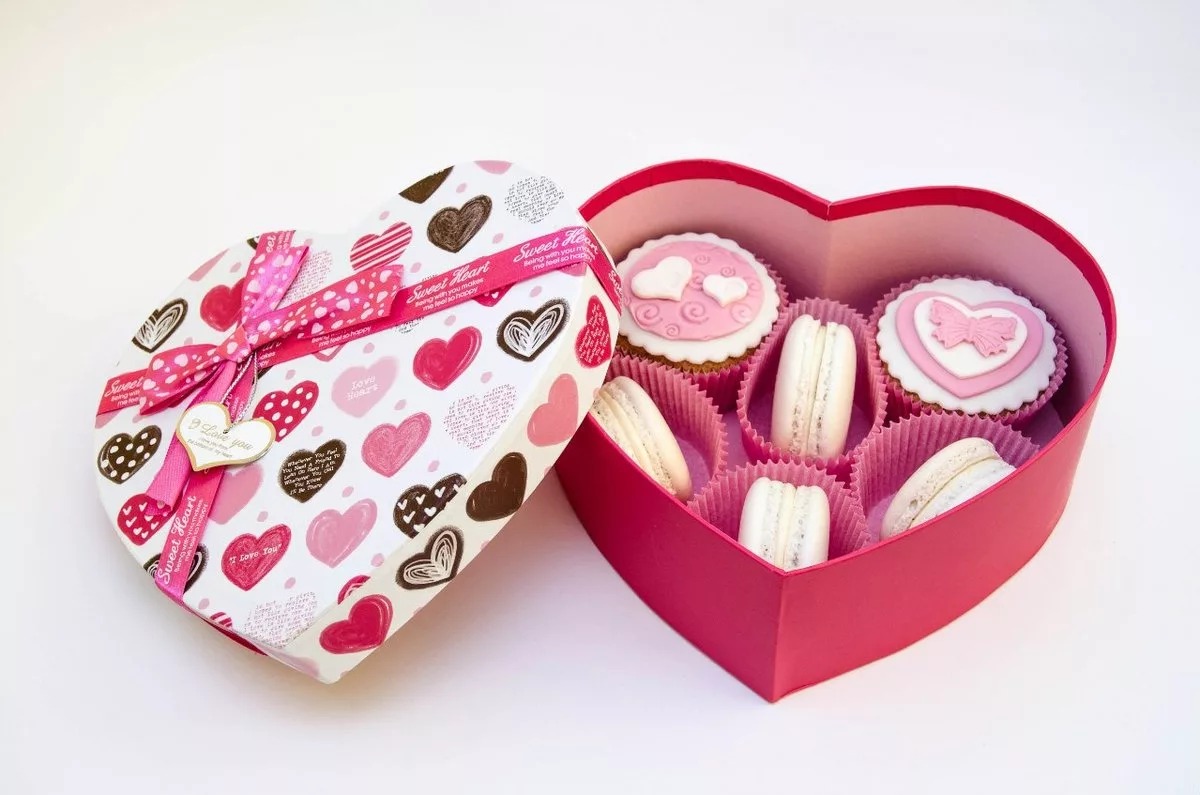
Heart shaped box
This handmade box will be a wonderful gift for any occasion.
First, draw a heart on thick cardboard; this will be the bottom of the box. Then cut out a strip 10-15 cm wide from the same material.
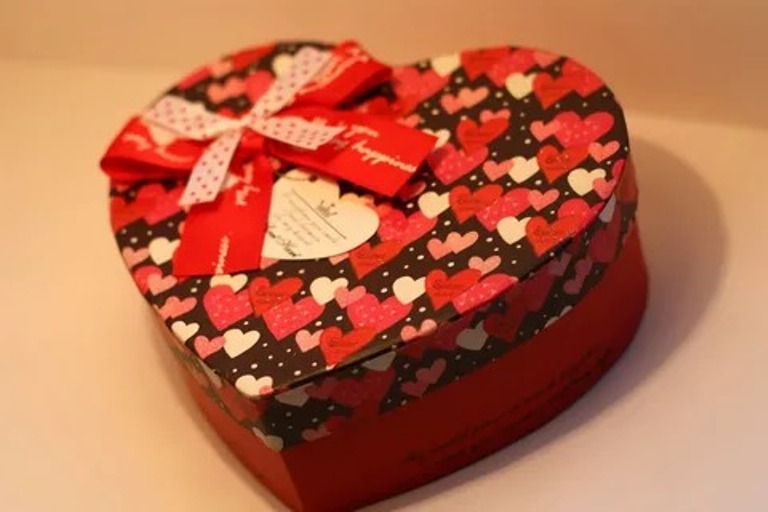
Additional information! The width of the strip should be determined by the size of the bottom of the product.
On each side of the strip, make cuts or cut out equal triangles of 3-5 mm. And glue it to the base. Do the same with the other strip. Since the shape of the product is not even, wait 10-15 minutes before starting to decorate until it dries. Then select the decor of the box and start working.
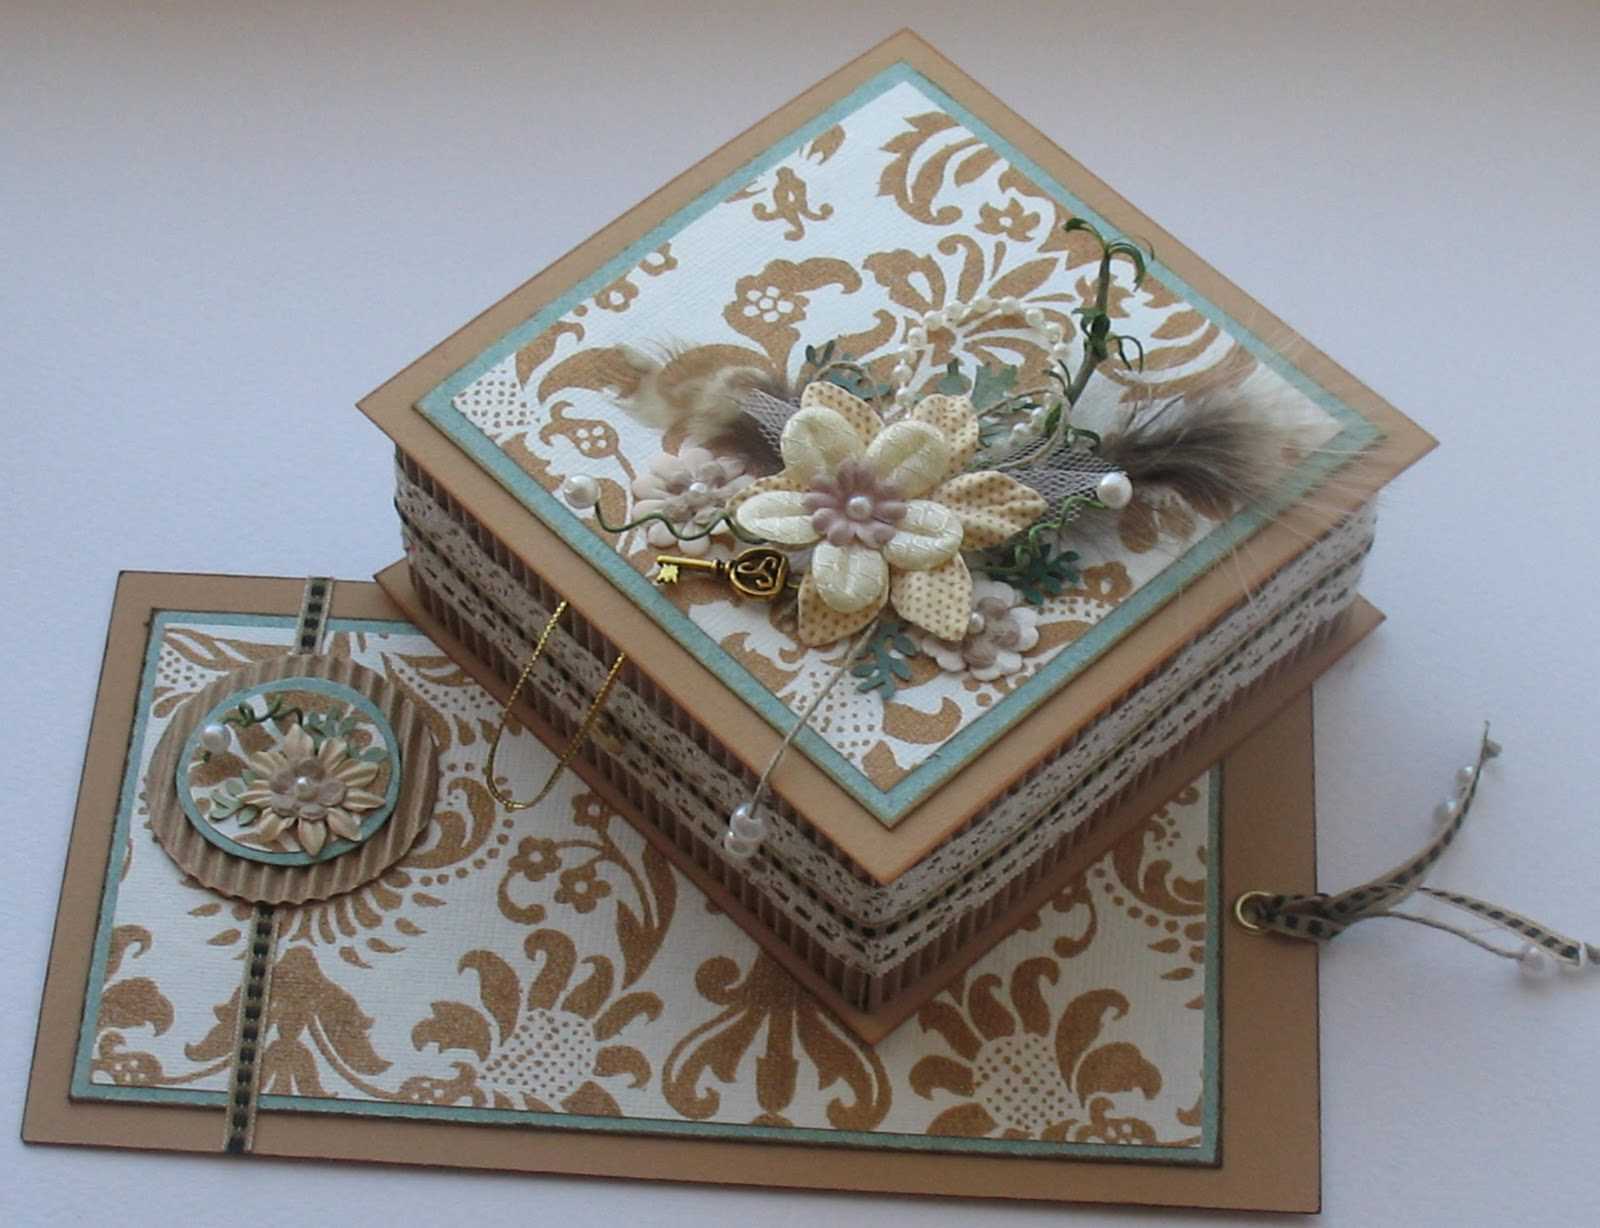
Options for making boxes
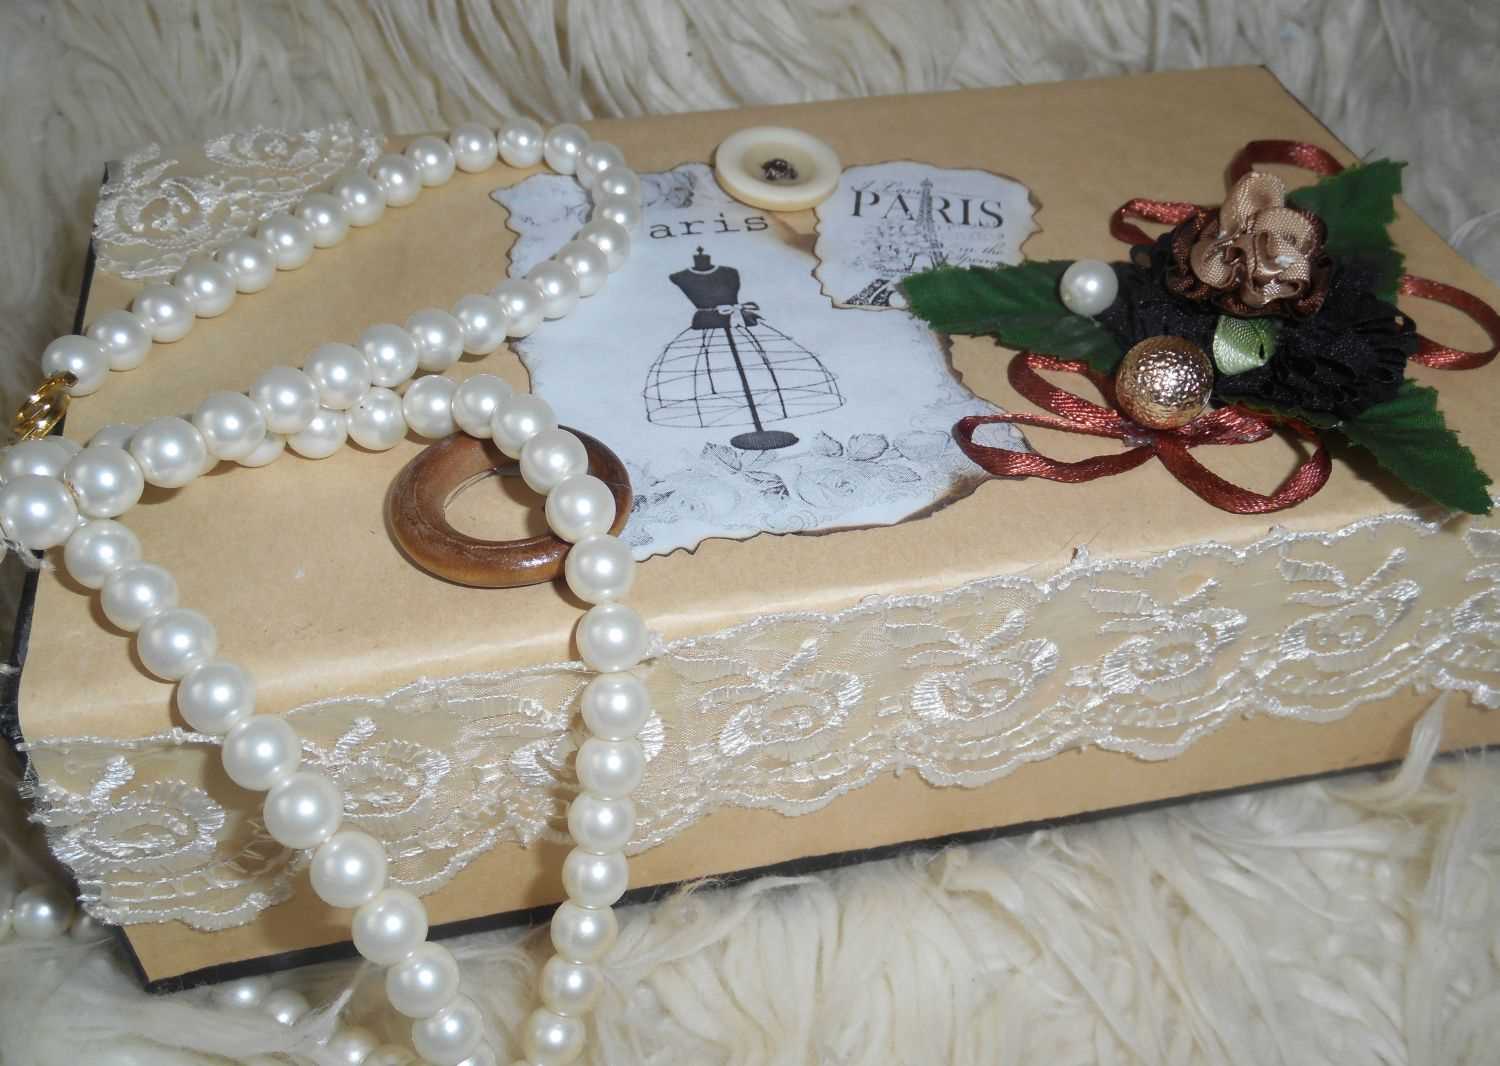
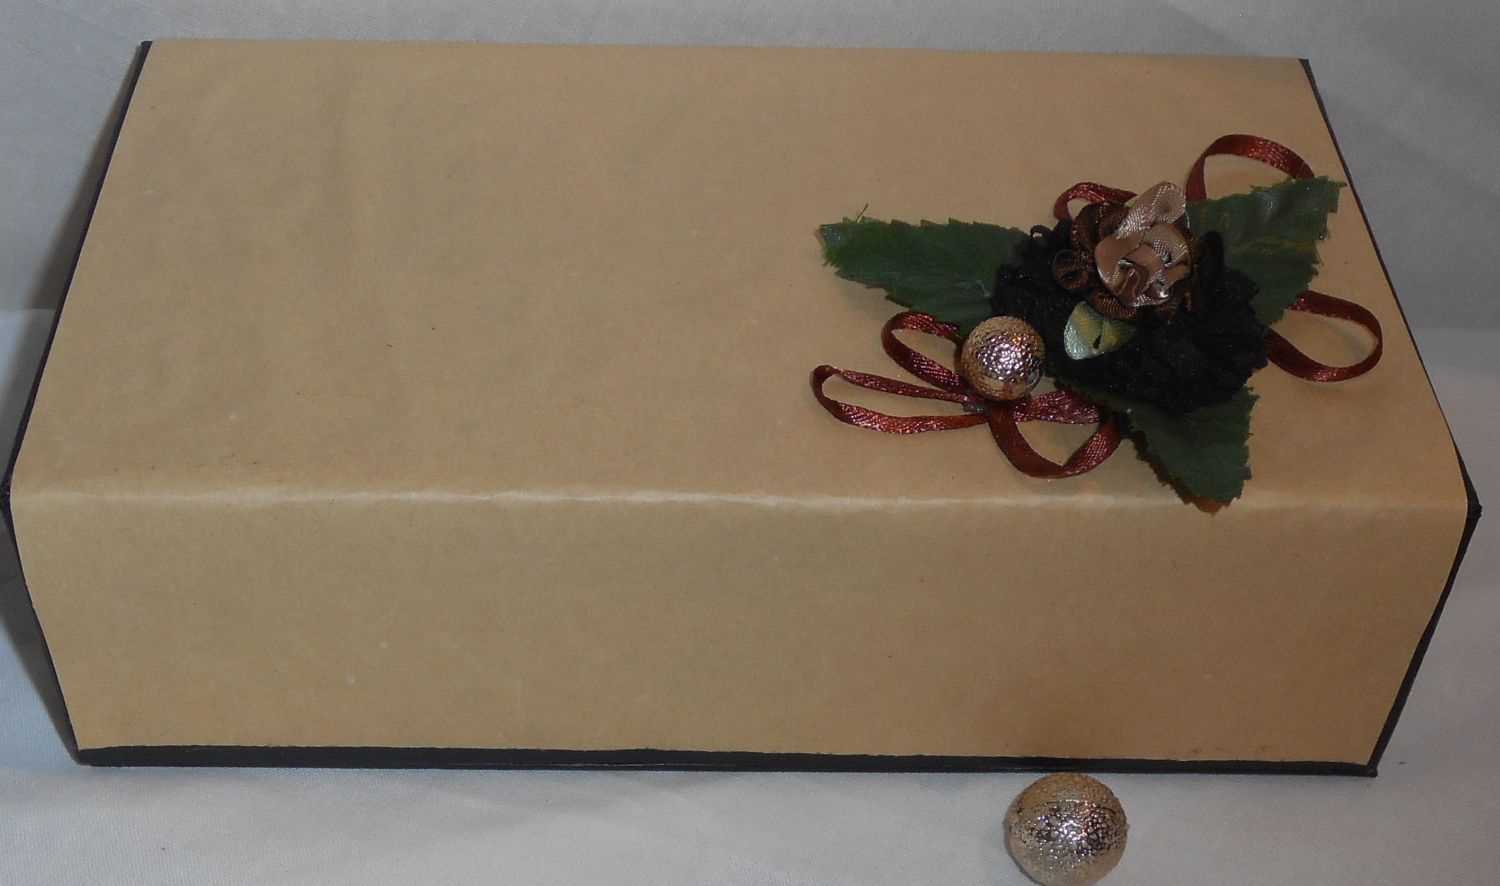
From a candy box
To work on a box made from a box with your own hands you will need:
- candy box;
- beautiful wrapping paper;
- plain paper;
- acrylic paint;
- glue;
- scissors.
The first step is to glue the entire perimeter of the base with paper, leaving a small margin at the edges. For the bottom and lid, I use uncut paper. To create beautiful corners, first glue the sides, cut the corners and bend them inward.
Pay special attention to the inside of the lid, making sure that there is enough cut paper to spare.
Important! The width of the cut canvas on the sides should be 3 cm greater than the width of the box.
The inner part is pasted so that the cut strips along the entire perimeter, when pasted, go to the bottom by 2 cm.
After the chest is covered with wrapping paper, rectangles are cut out of plain paper. Their size should cover the box inside and its joint with the wrapping paper. The paper is glued so that the wrapping paper on the lid leaves margins equal to 1-2 cm. The bottom is completely covered with plain cloth.
Afterwards, let the cardboard box dry.
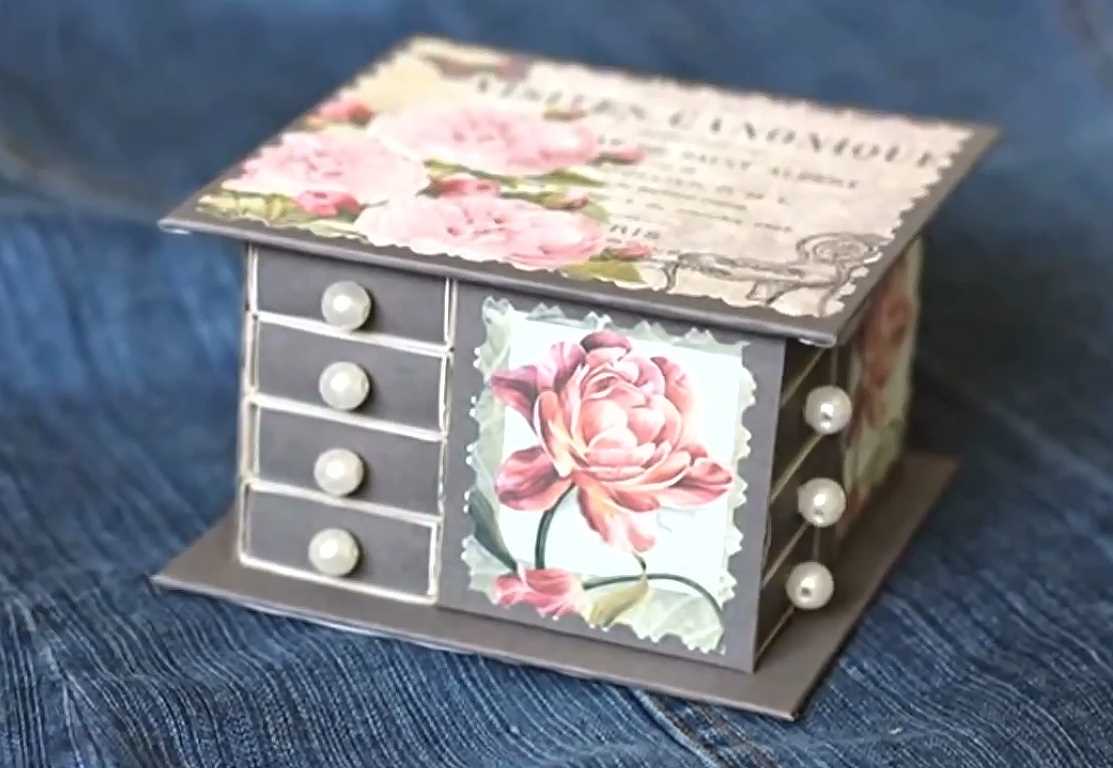
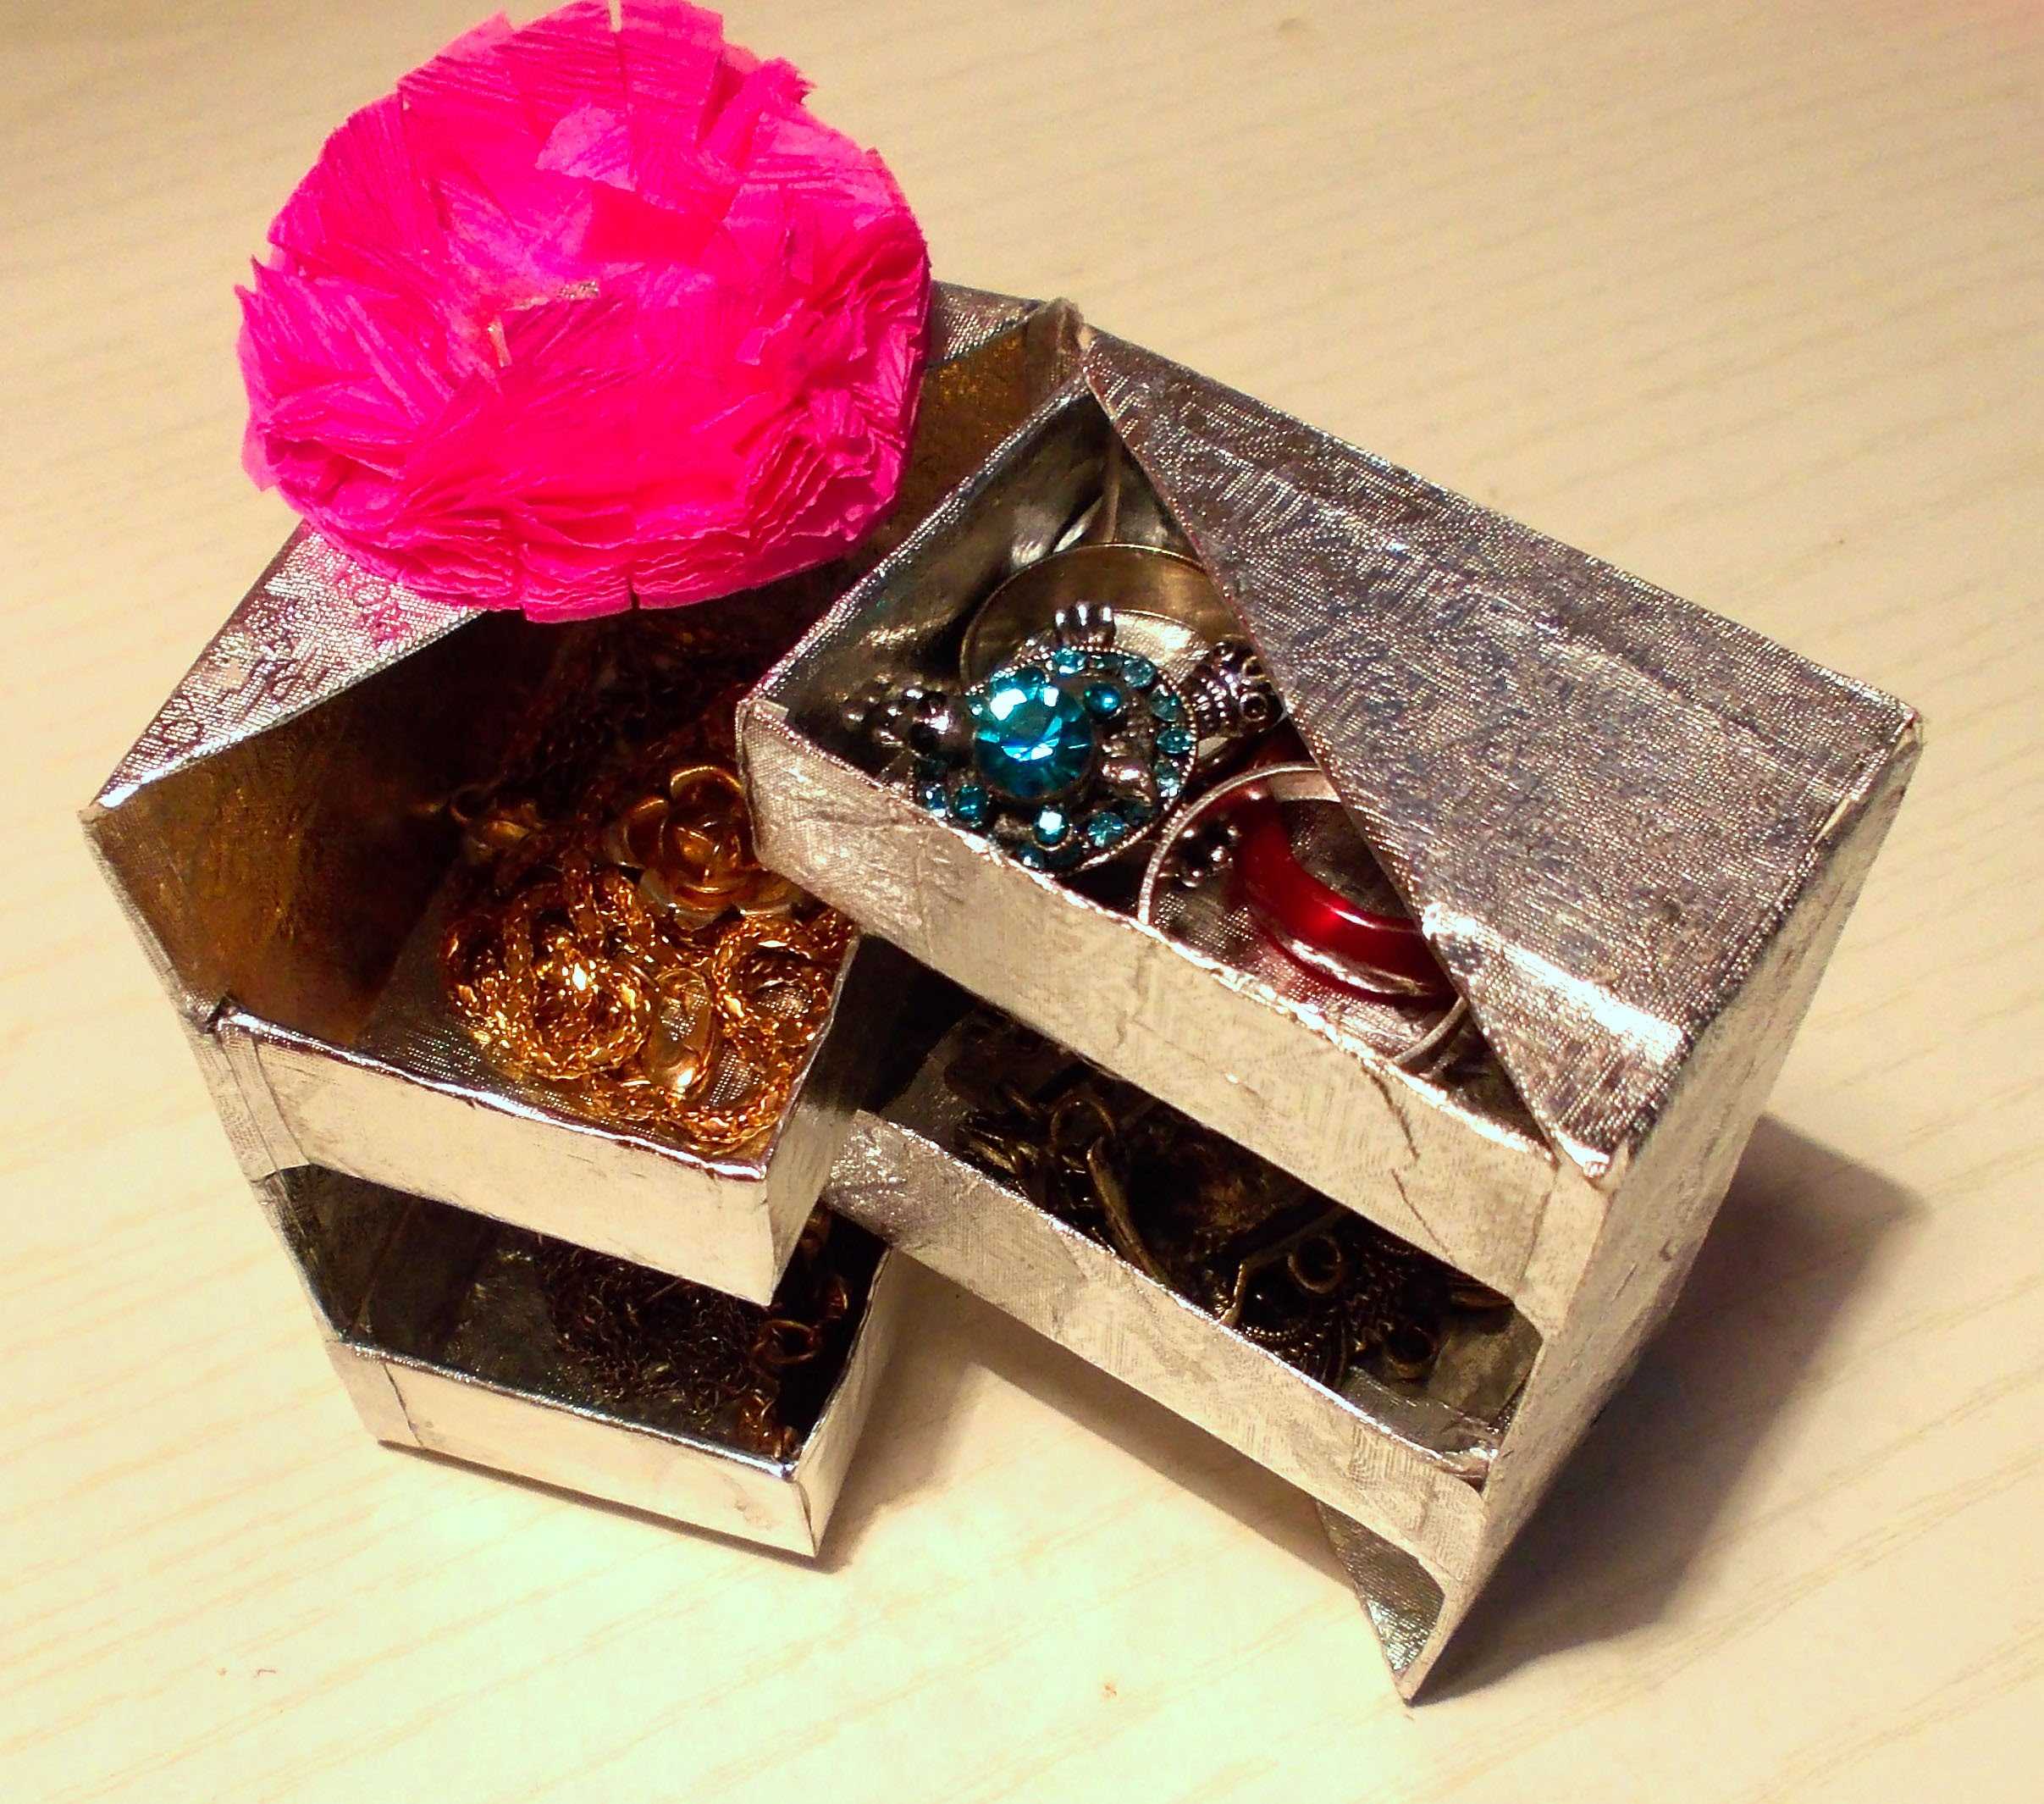
From ordinary matchboxes
To make a box with your own hands you will need:
- 10 matchboxes;
- thick cardboard;
- glue;
- materials for decoration.
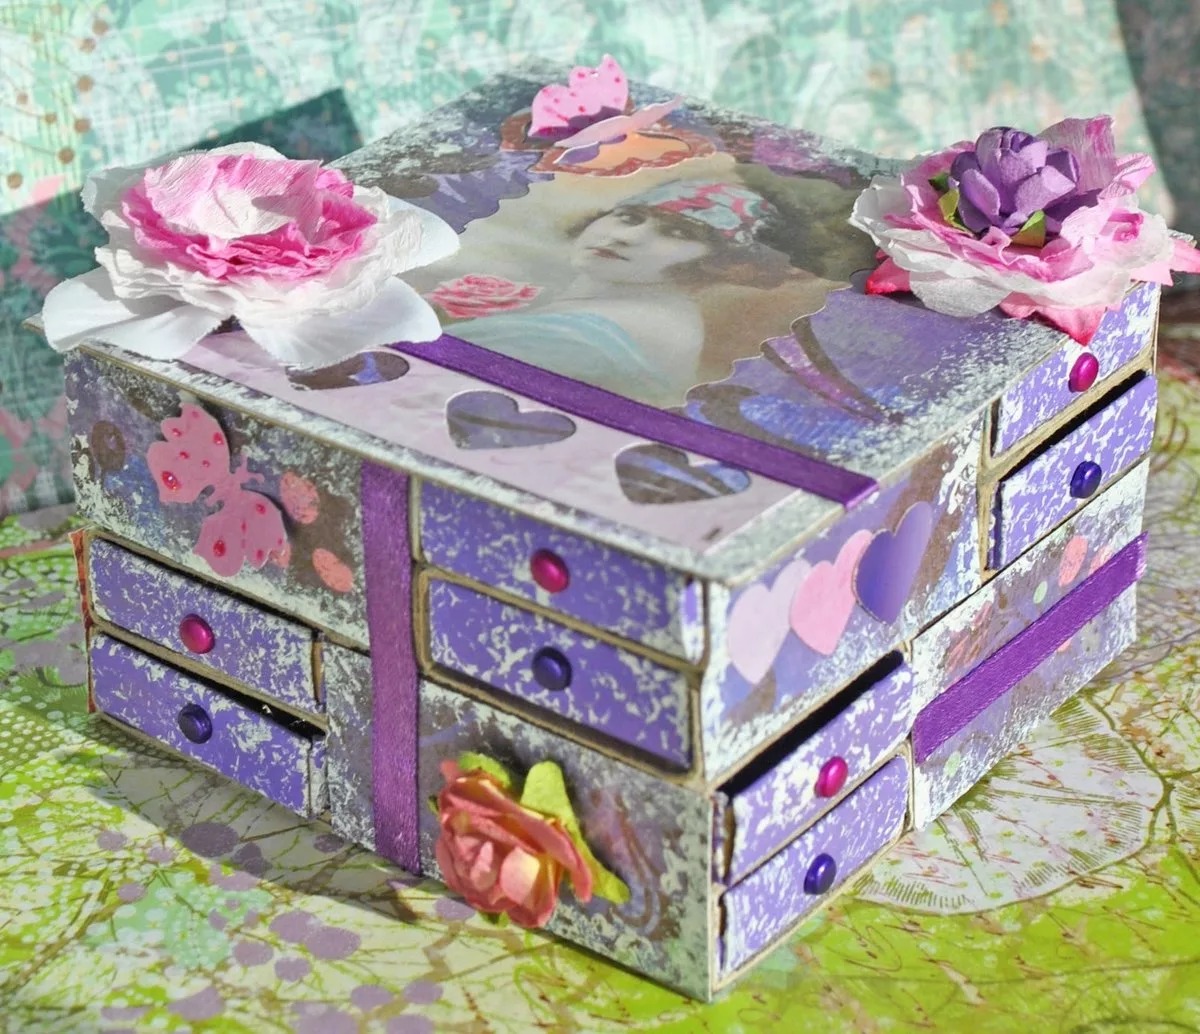
First, cut out a square shape from cardboard, then glue the boxes together in groups of 5 or 2 pieces.
Please note! You can take any number of matchboxes, they will eventually serve as small boxes.
The resulting chest of drawers is glued to the base so that it is completely covered with cardboard.
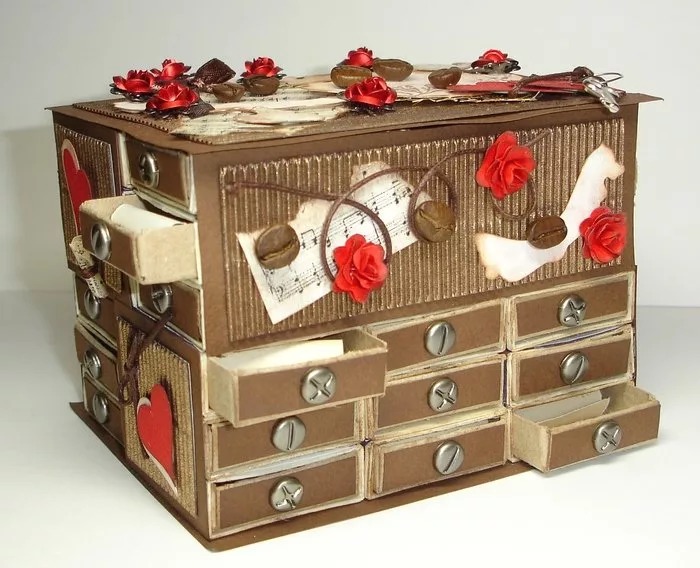
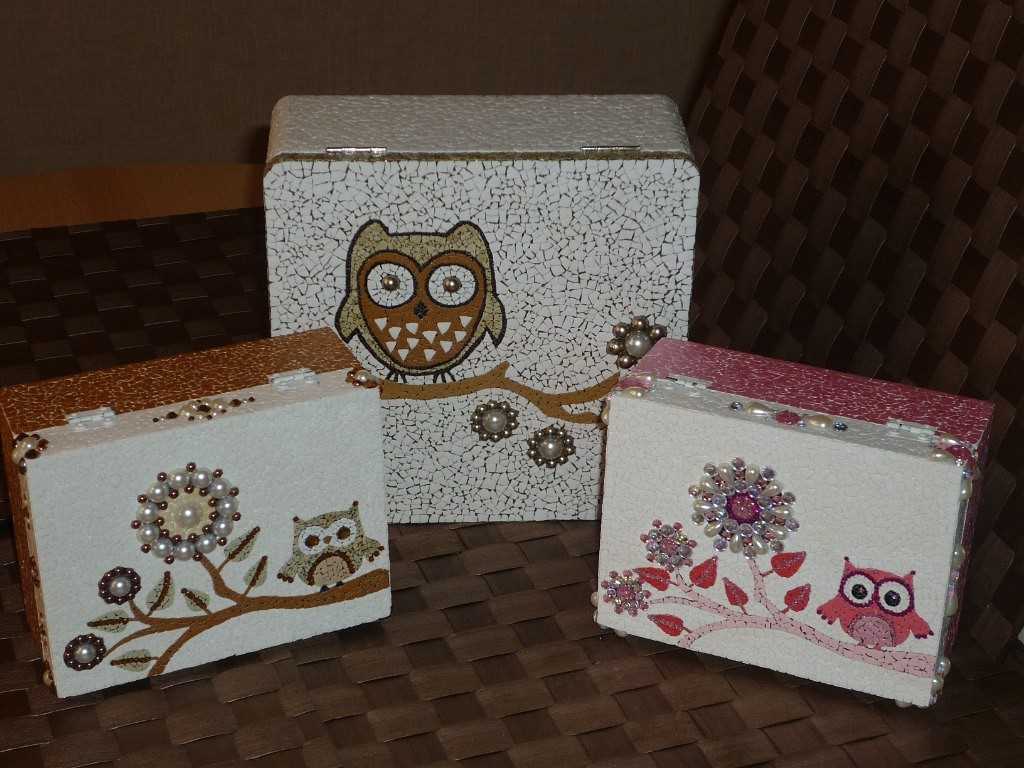
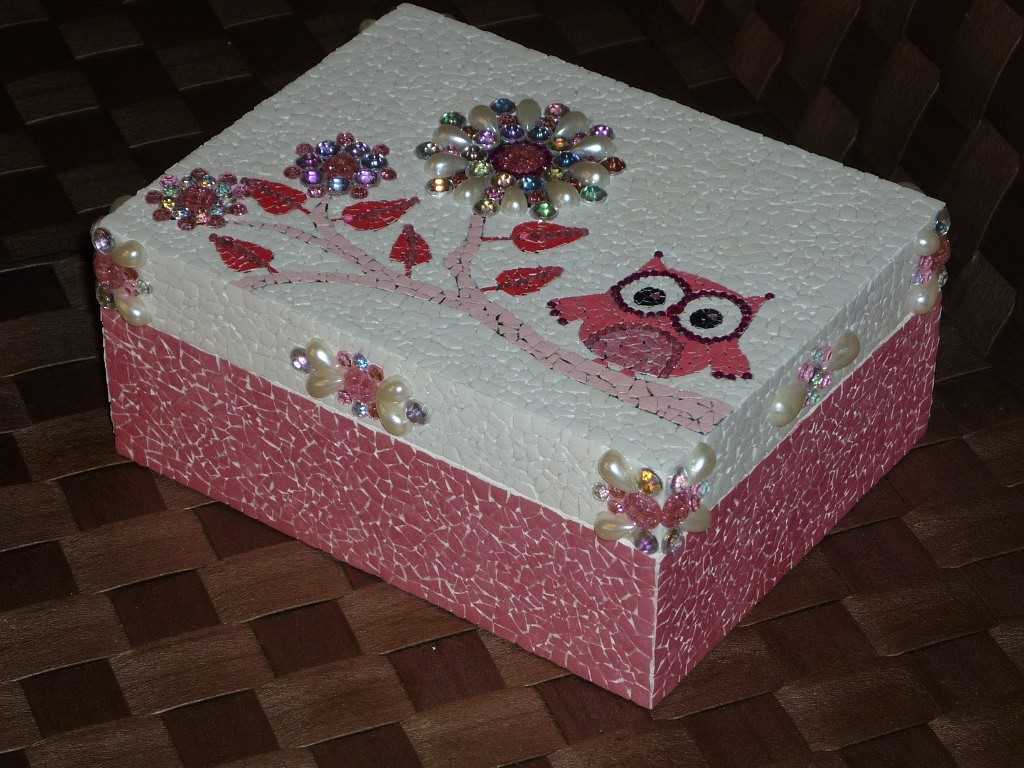
Decorate the chest. Beads, rhinestones, and decorative hooks are used as handles on the box.
Made of corrugated cardboard
It is worth noting that this version of the product is made without a lid. For work you will need:
- corrugated cardboard;
- glue;
- scissors or knife;
- pencil.
To do this, draw two rectangles and a square on cardboard using a ruler. Choose a size that suits you, but keep in mind that one rectangle should be half the size of the other.
Then, using scissors or a knife, carefully cut out the figures. They need to be cut out in a volume of 20 pieces. In this case, 5 pieces are made with a large entrance, 5 pieces with 2 entrances, 10 pieces with 3 entrances, and 5 pieces without entrances.
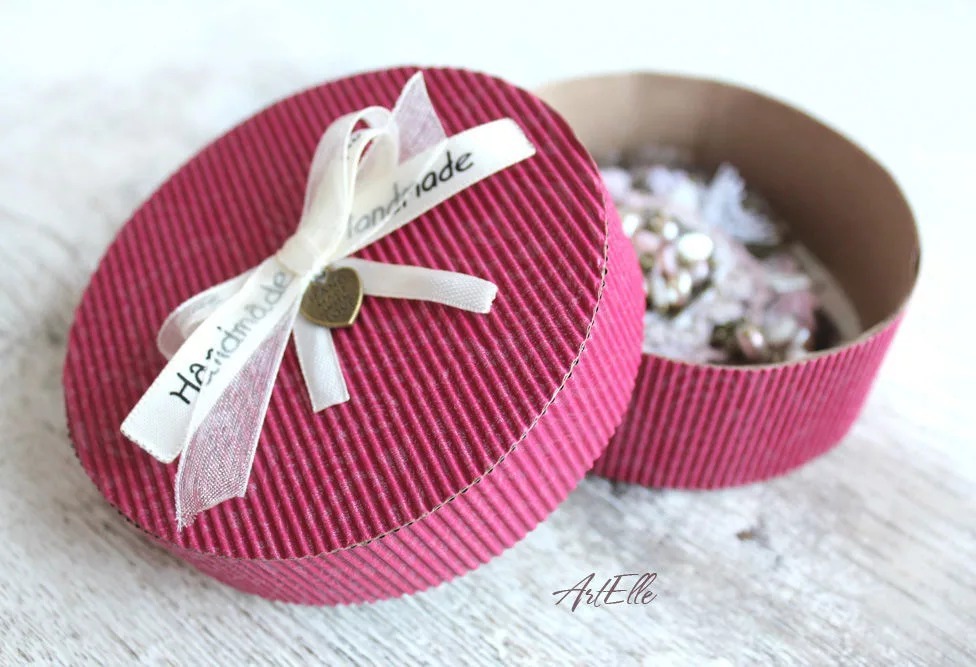
First, glue the base of the organizer - these are 5 sheets without entrances, then glue with a large entrance, then with 2 entrances and finally with 3. Then the parts are glued together, decorated with paper or decorated and left overnight under the press.
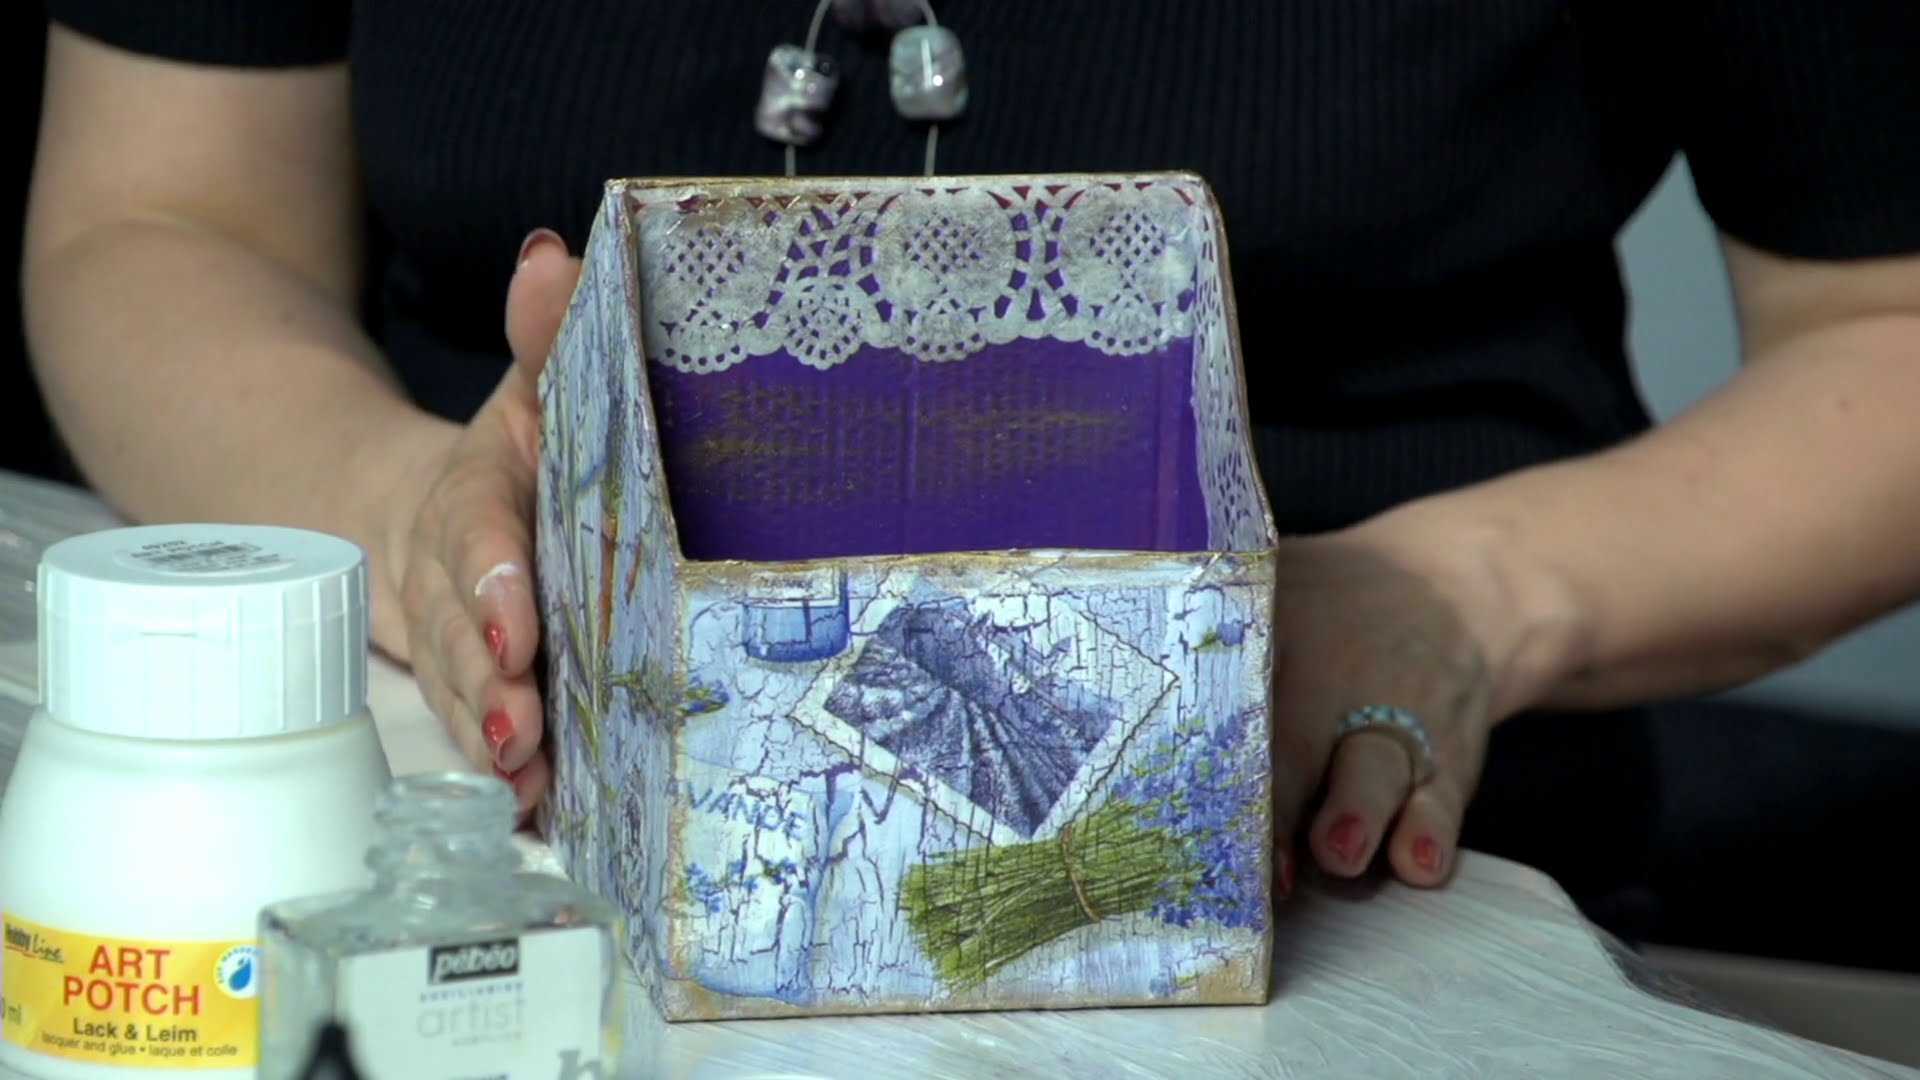
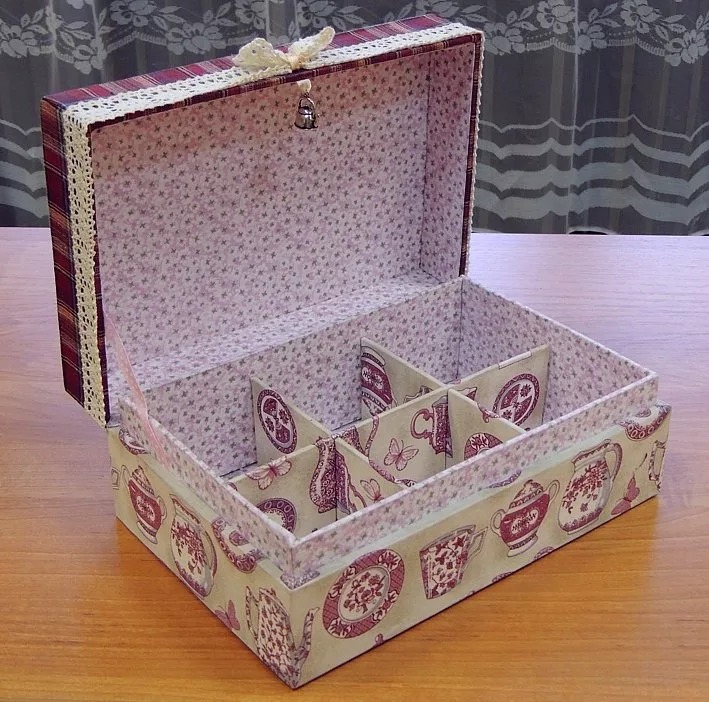
Shoe Box Jewelry Box
To work you will need:
- shoe box;
- paper or fabric;
- glue;
- scissors;
- thick cardboard;
- decor.
To start working on a shoebox box, step by step, cover the box with the selected material. Sometimes, DIY jewelry boxes are decorated from under a shoebox with paper on the outside and fabric on the inside.
Three strips are cut from cardboard, 1 cm longer than the base, and one strip 1-2 cm wider than the box. These will be the sections for decorations.
The strips are glued at equal distances from each other, on the one that will be located in width, cuts are made. The strips are inserted into the cuts, which are glued in width.
Then the sections are decorated with fabric.
Then decorate to your taste.
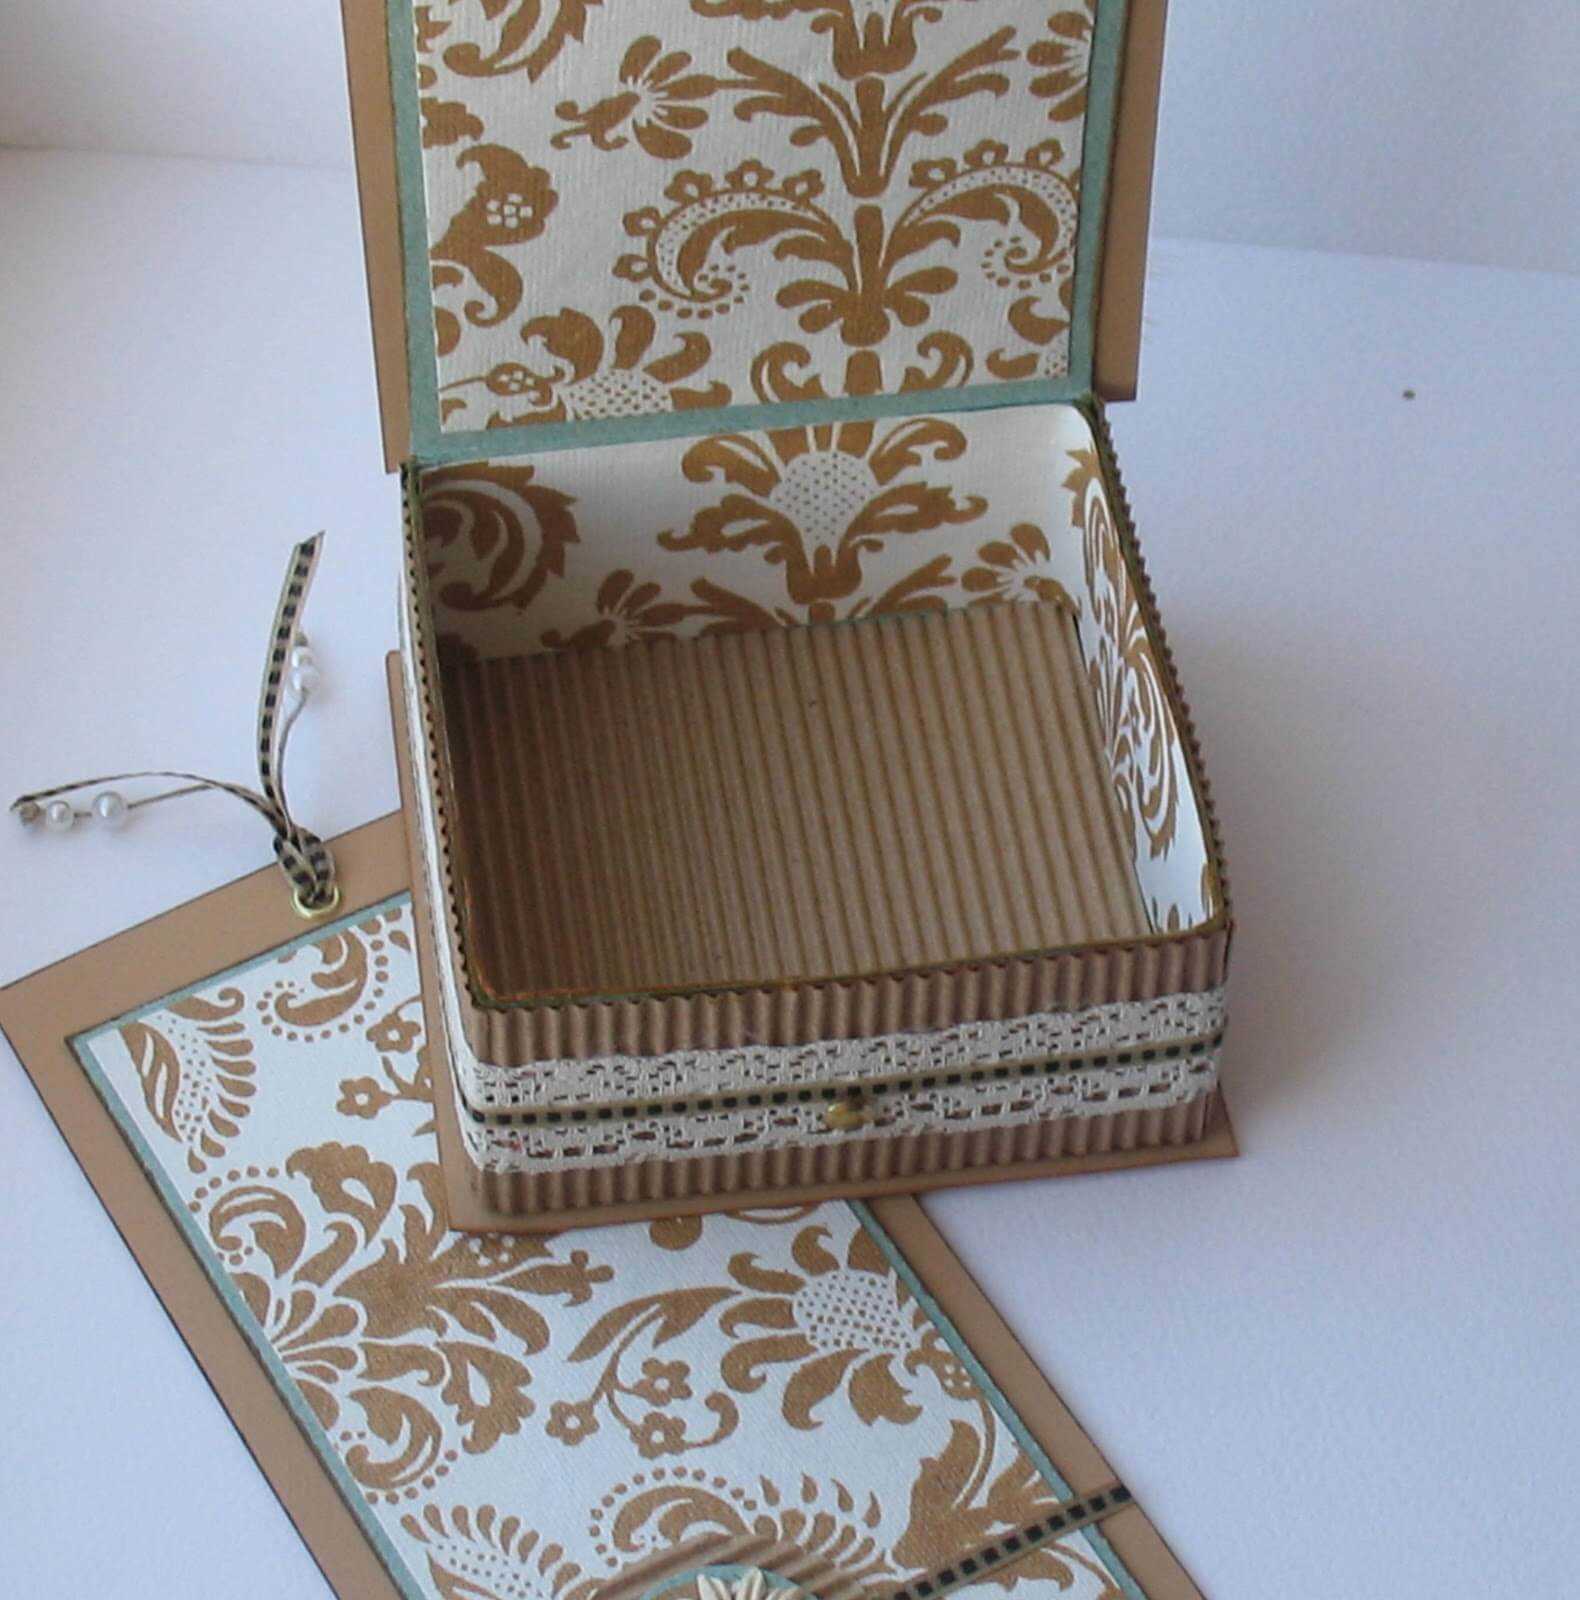
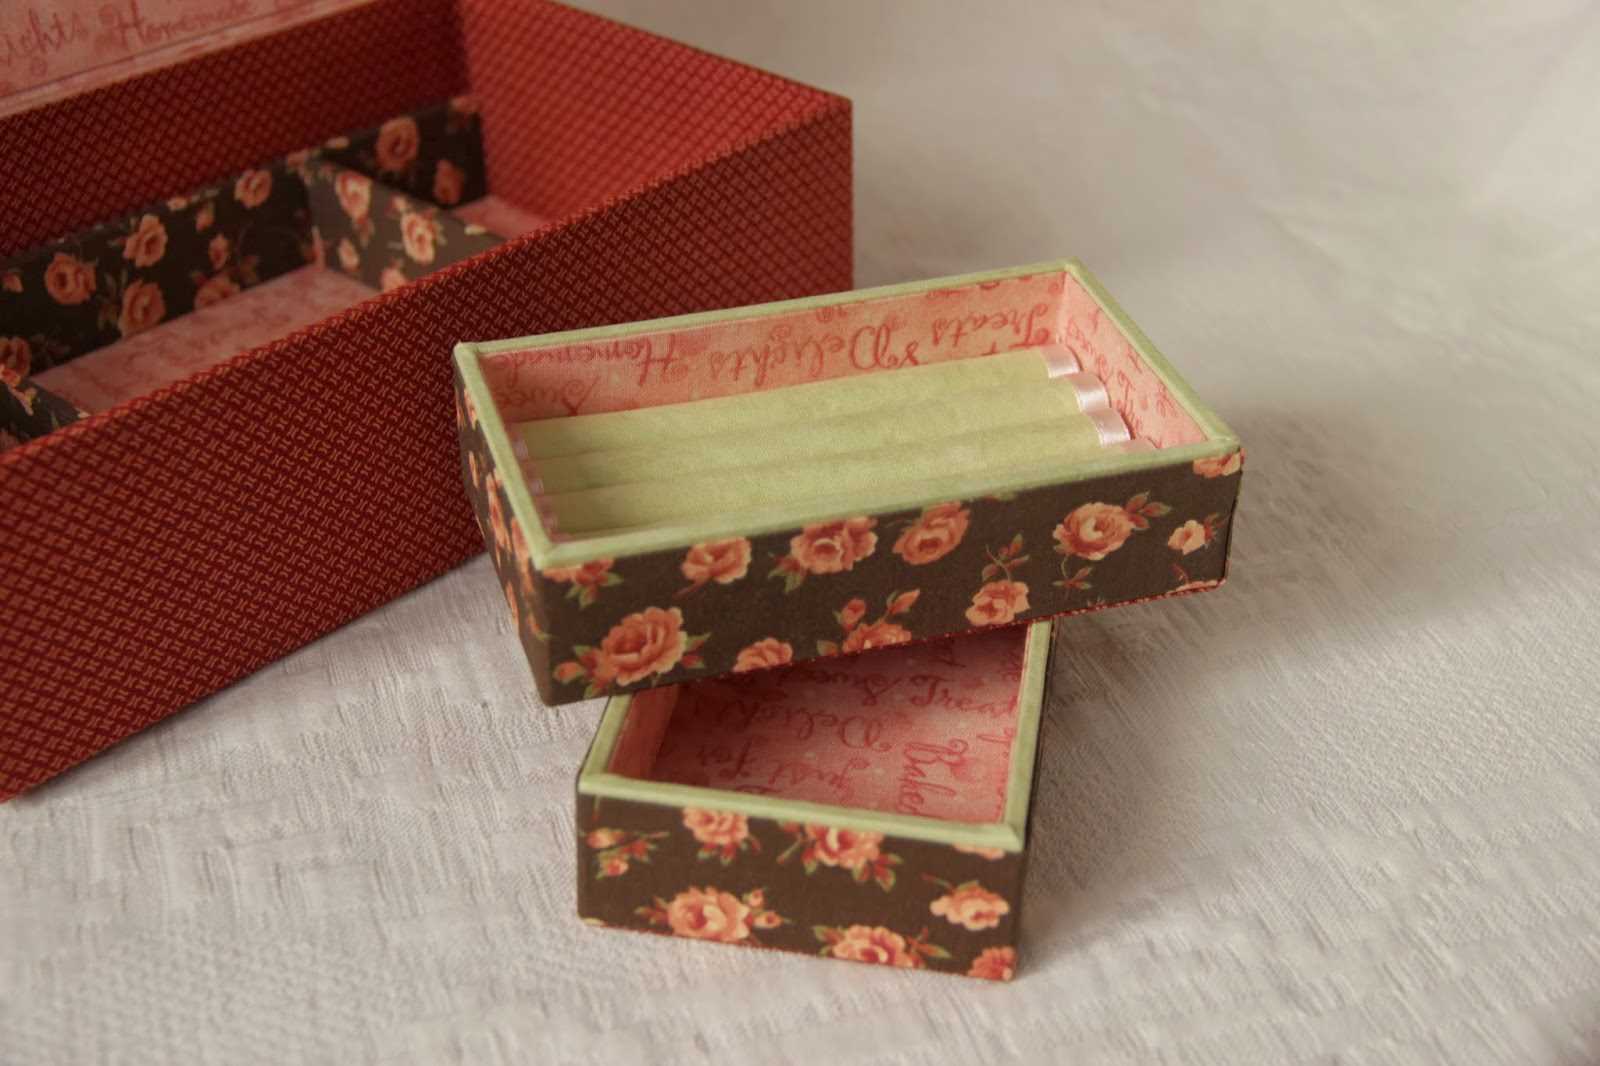
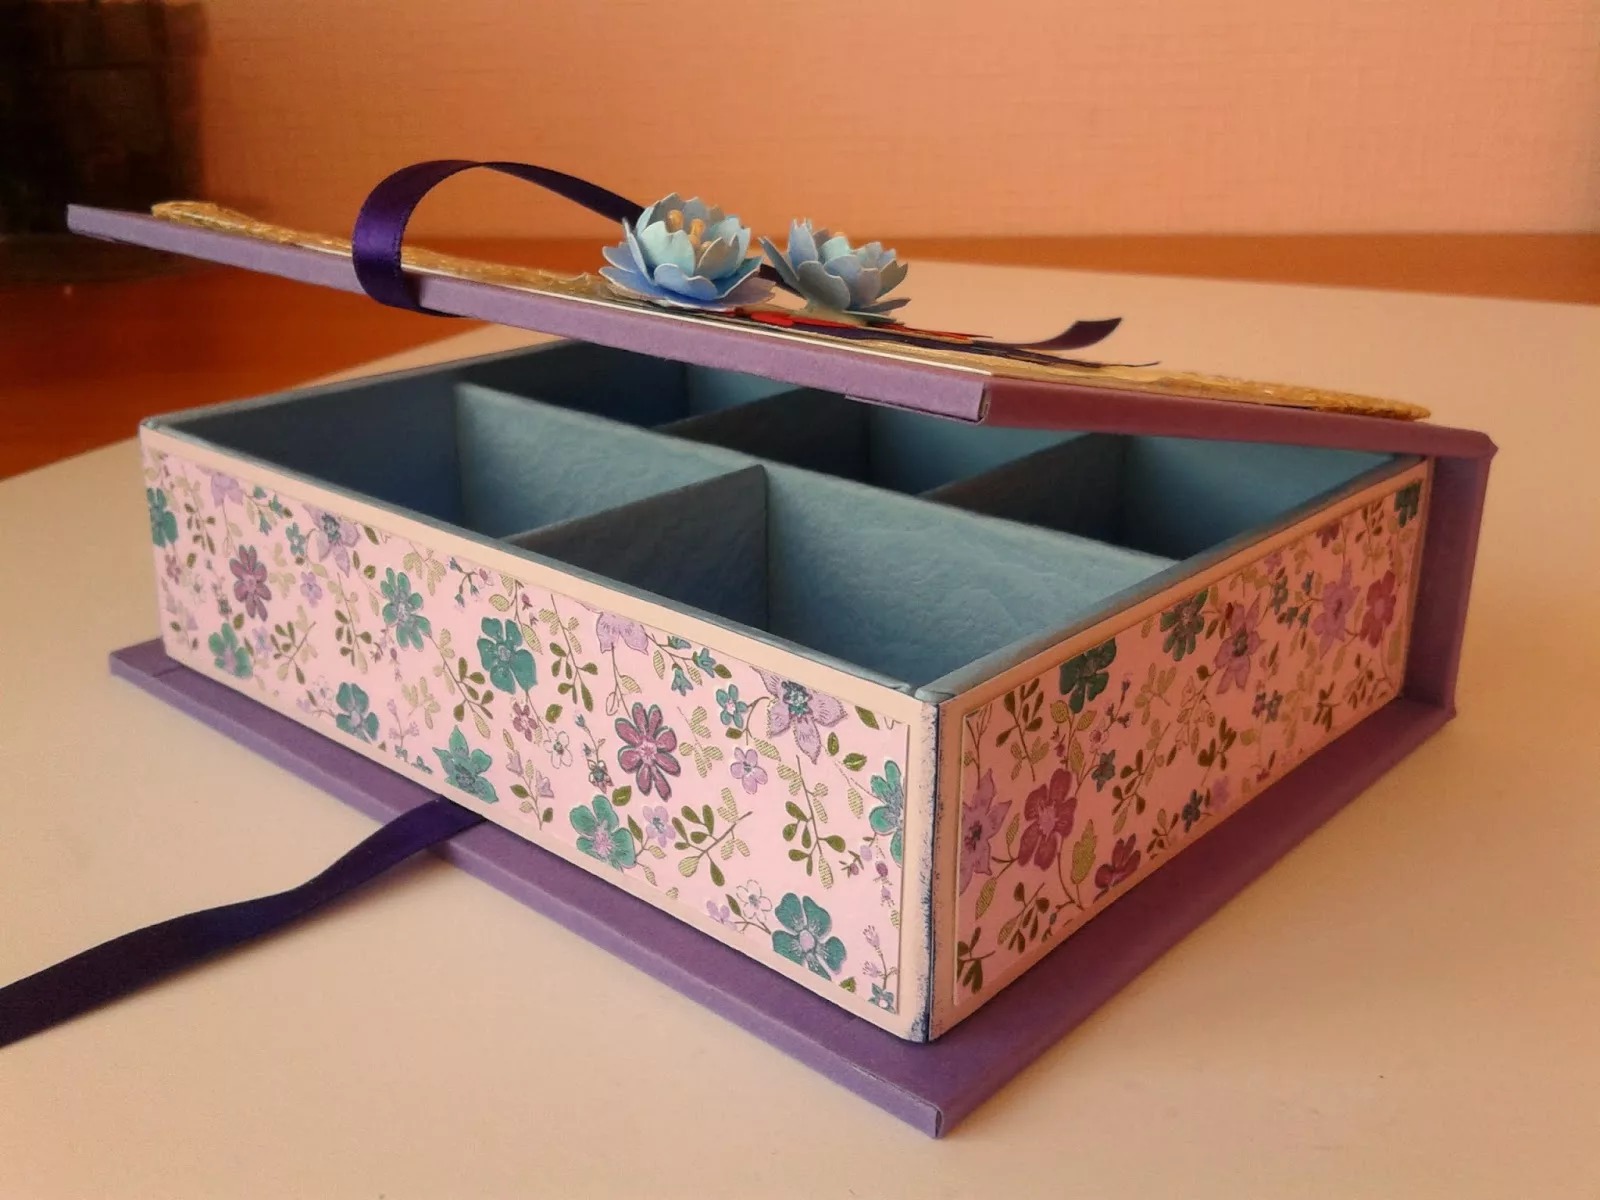
Made of cardboard with several compartments
This version of a DIY cardboard box with a lid and instructions is easy to make with your child. You will need:
- thick cardboard;
- glue;
- scotch;
- paper;
- decor.
The structure is assembled and fixed using adhesive tape or scotch tape.
After assembling the product, you can begin decorating it. Buttons, beads or decorative hooks can be used as handles.
From a milk or juice box
This is one of the easiest options for making a box with your own hands from scrap materials.
You will need:
- empty milk or juice box;
- paper or fabric;
- glue;
- scissors;
- decor.
The first step in making a cardboard box is to cut out a lid on the wide and long sides of the packaging.
Important! The lid should be cut with an indent of 3 cm along the edges of the smaller dimensions (in length).
Then the edges of the lid are pasted over with either tape or thin material. After that, they begin decorating the packaging itself. For this, they use fabric or beautiful paper. The inside of the box is also pasted over with material. In order for the lid to be fixed, they glue a ribbon to both edges so that it can be tied into a bow.
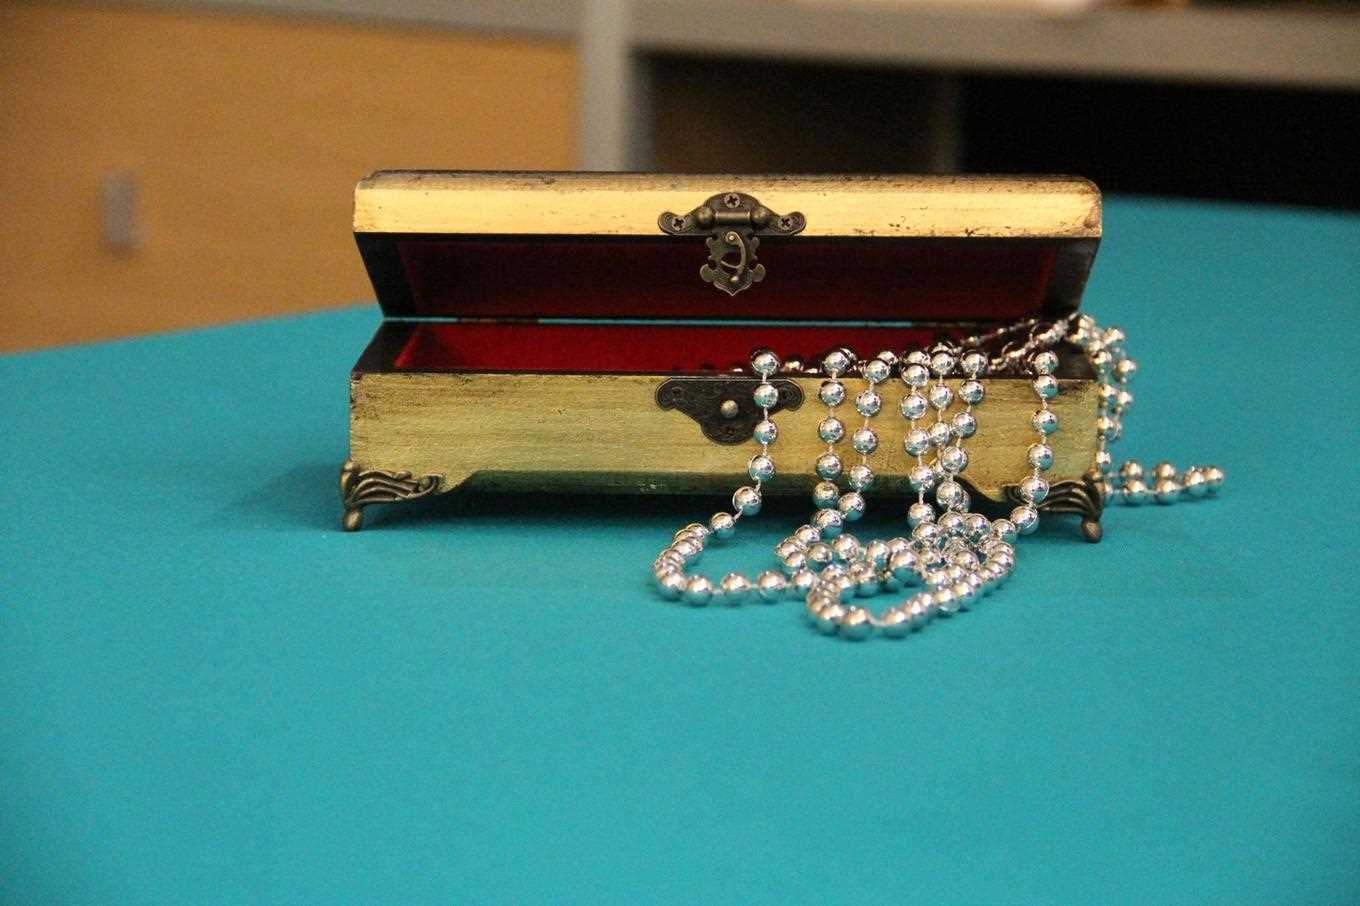
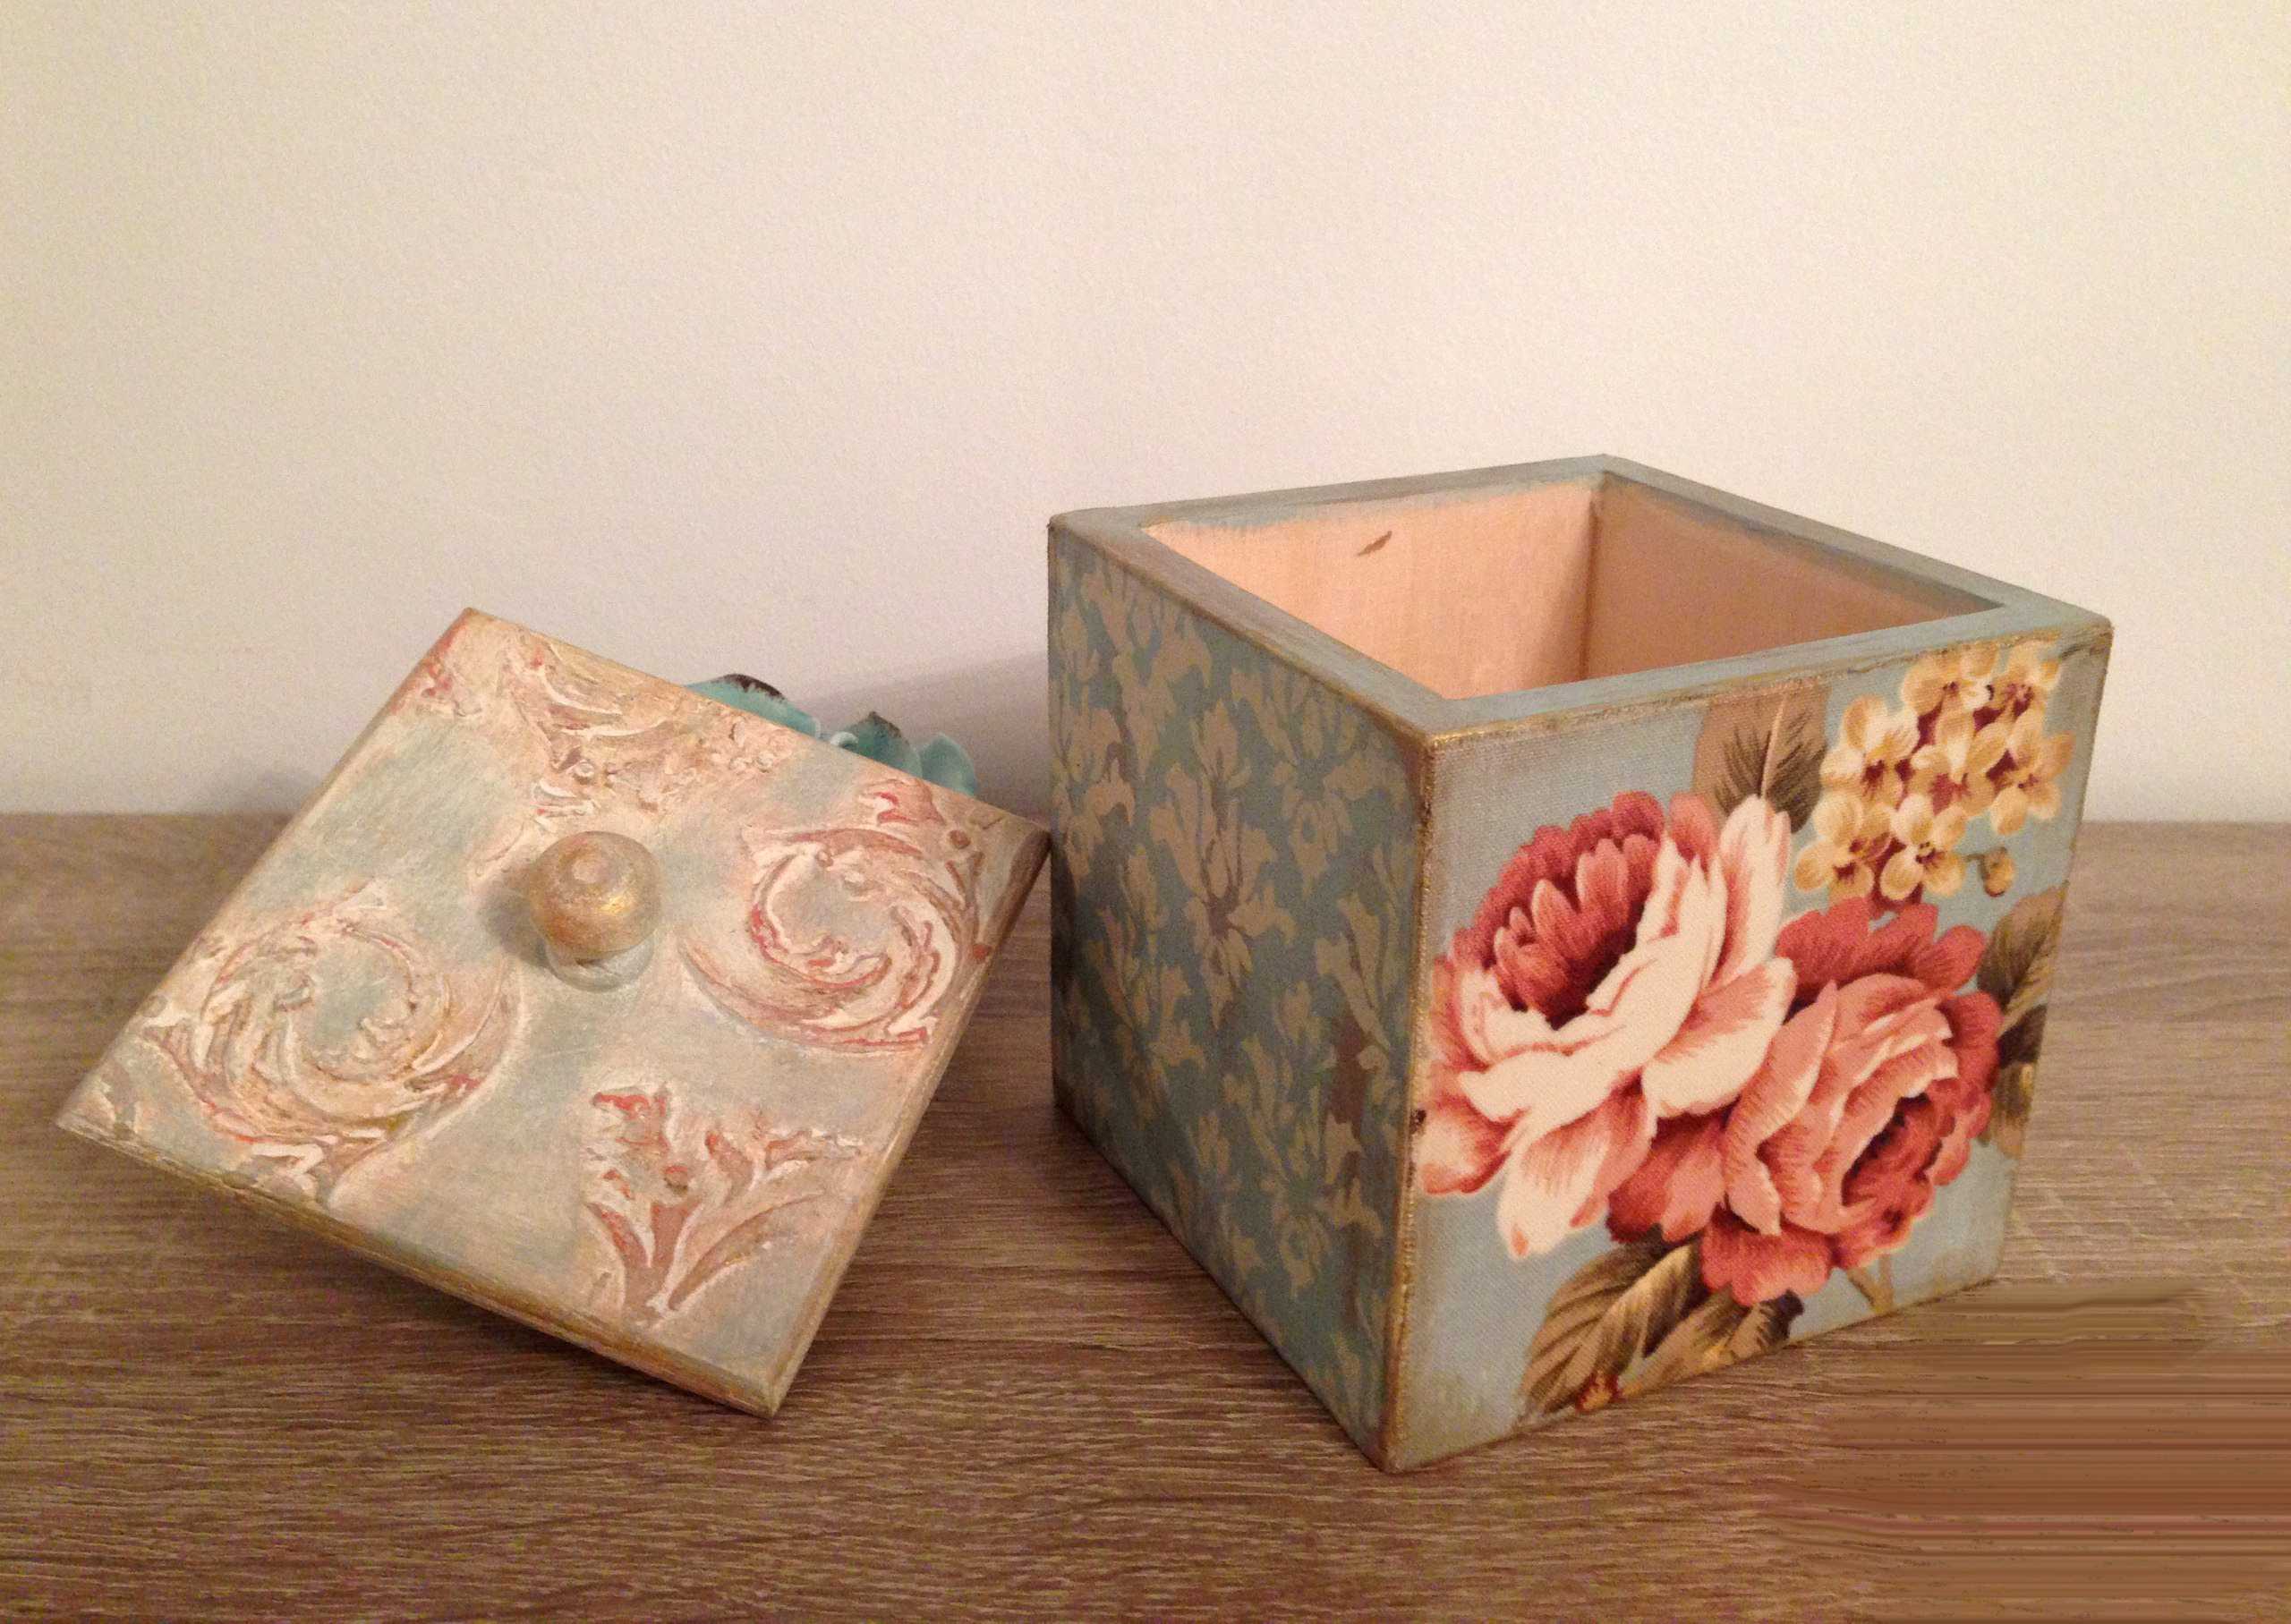
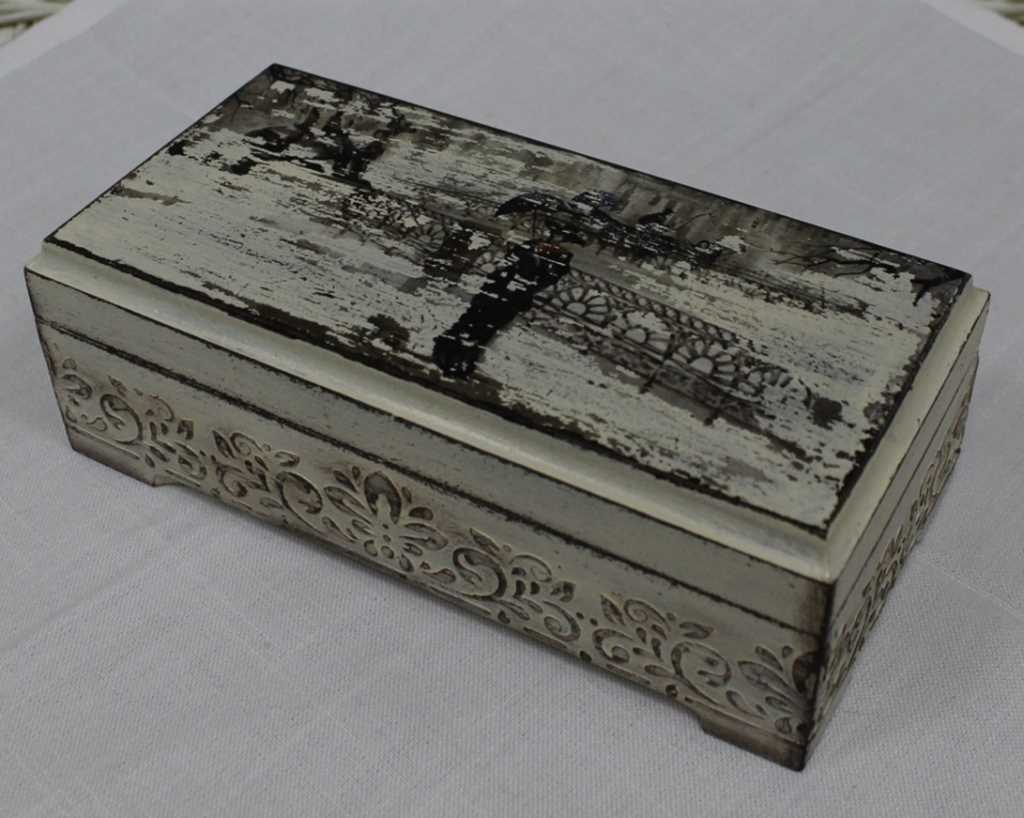
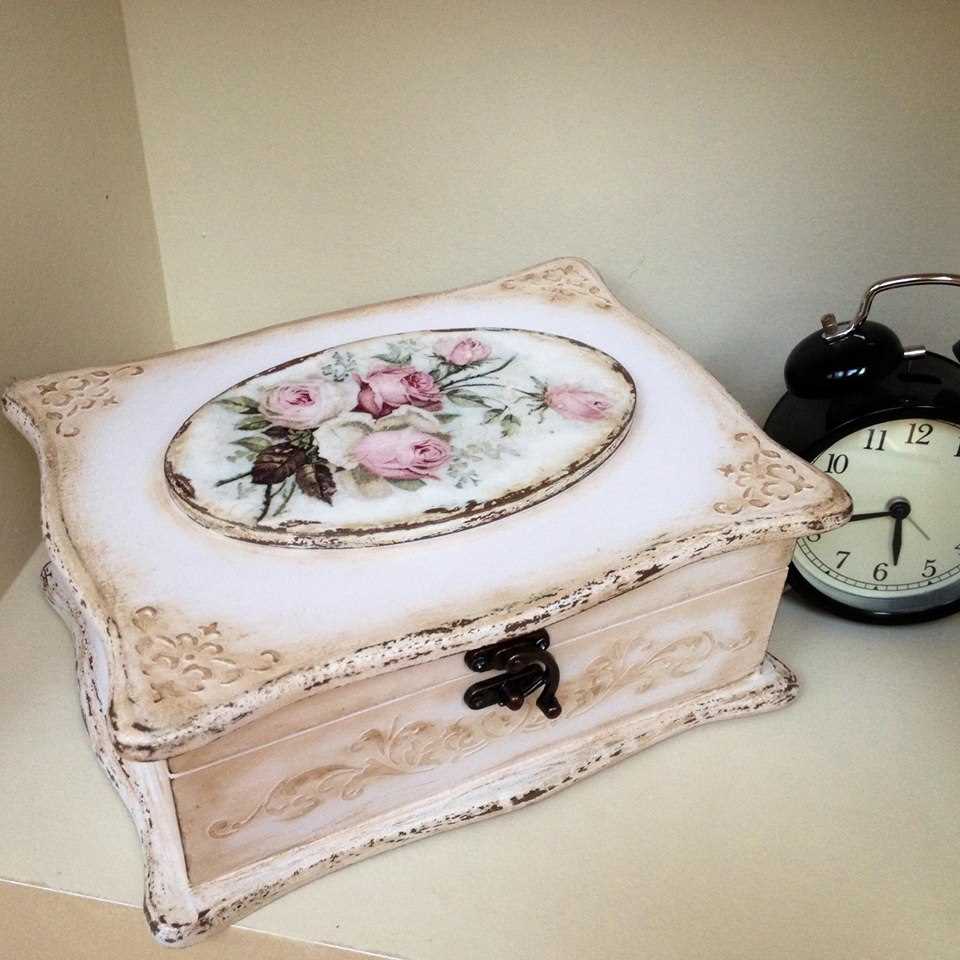
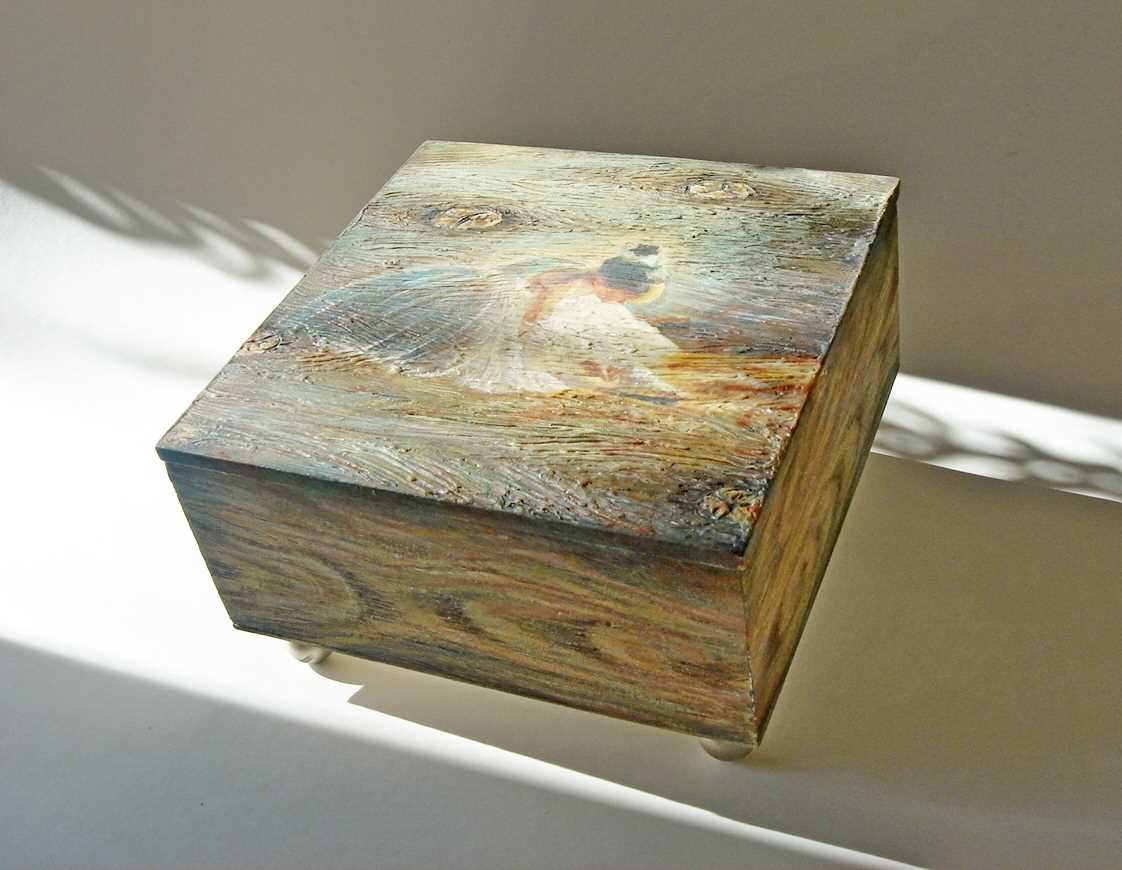
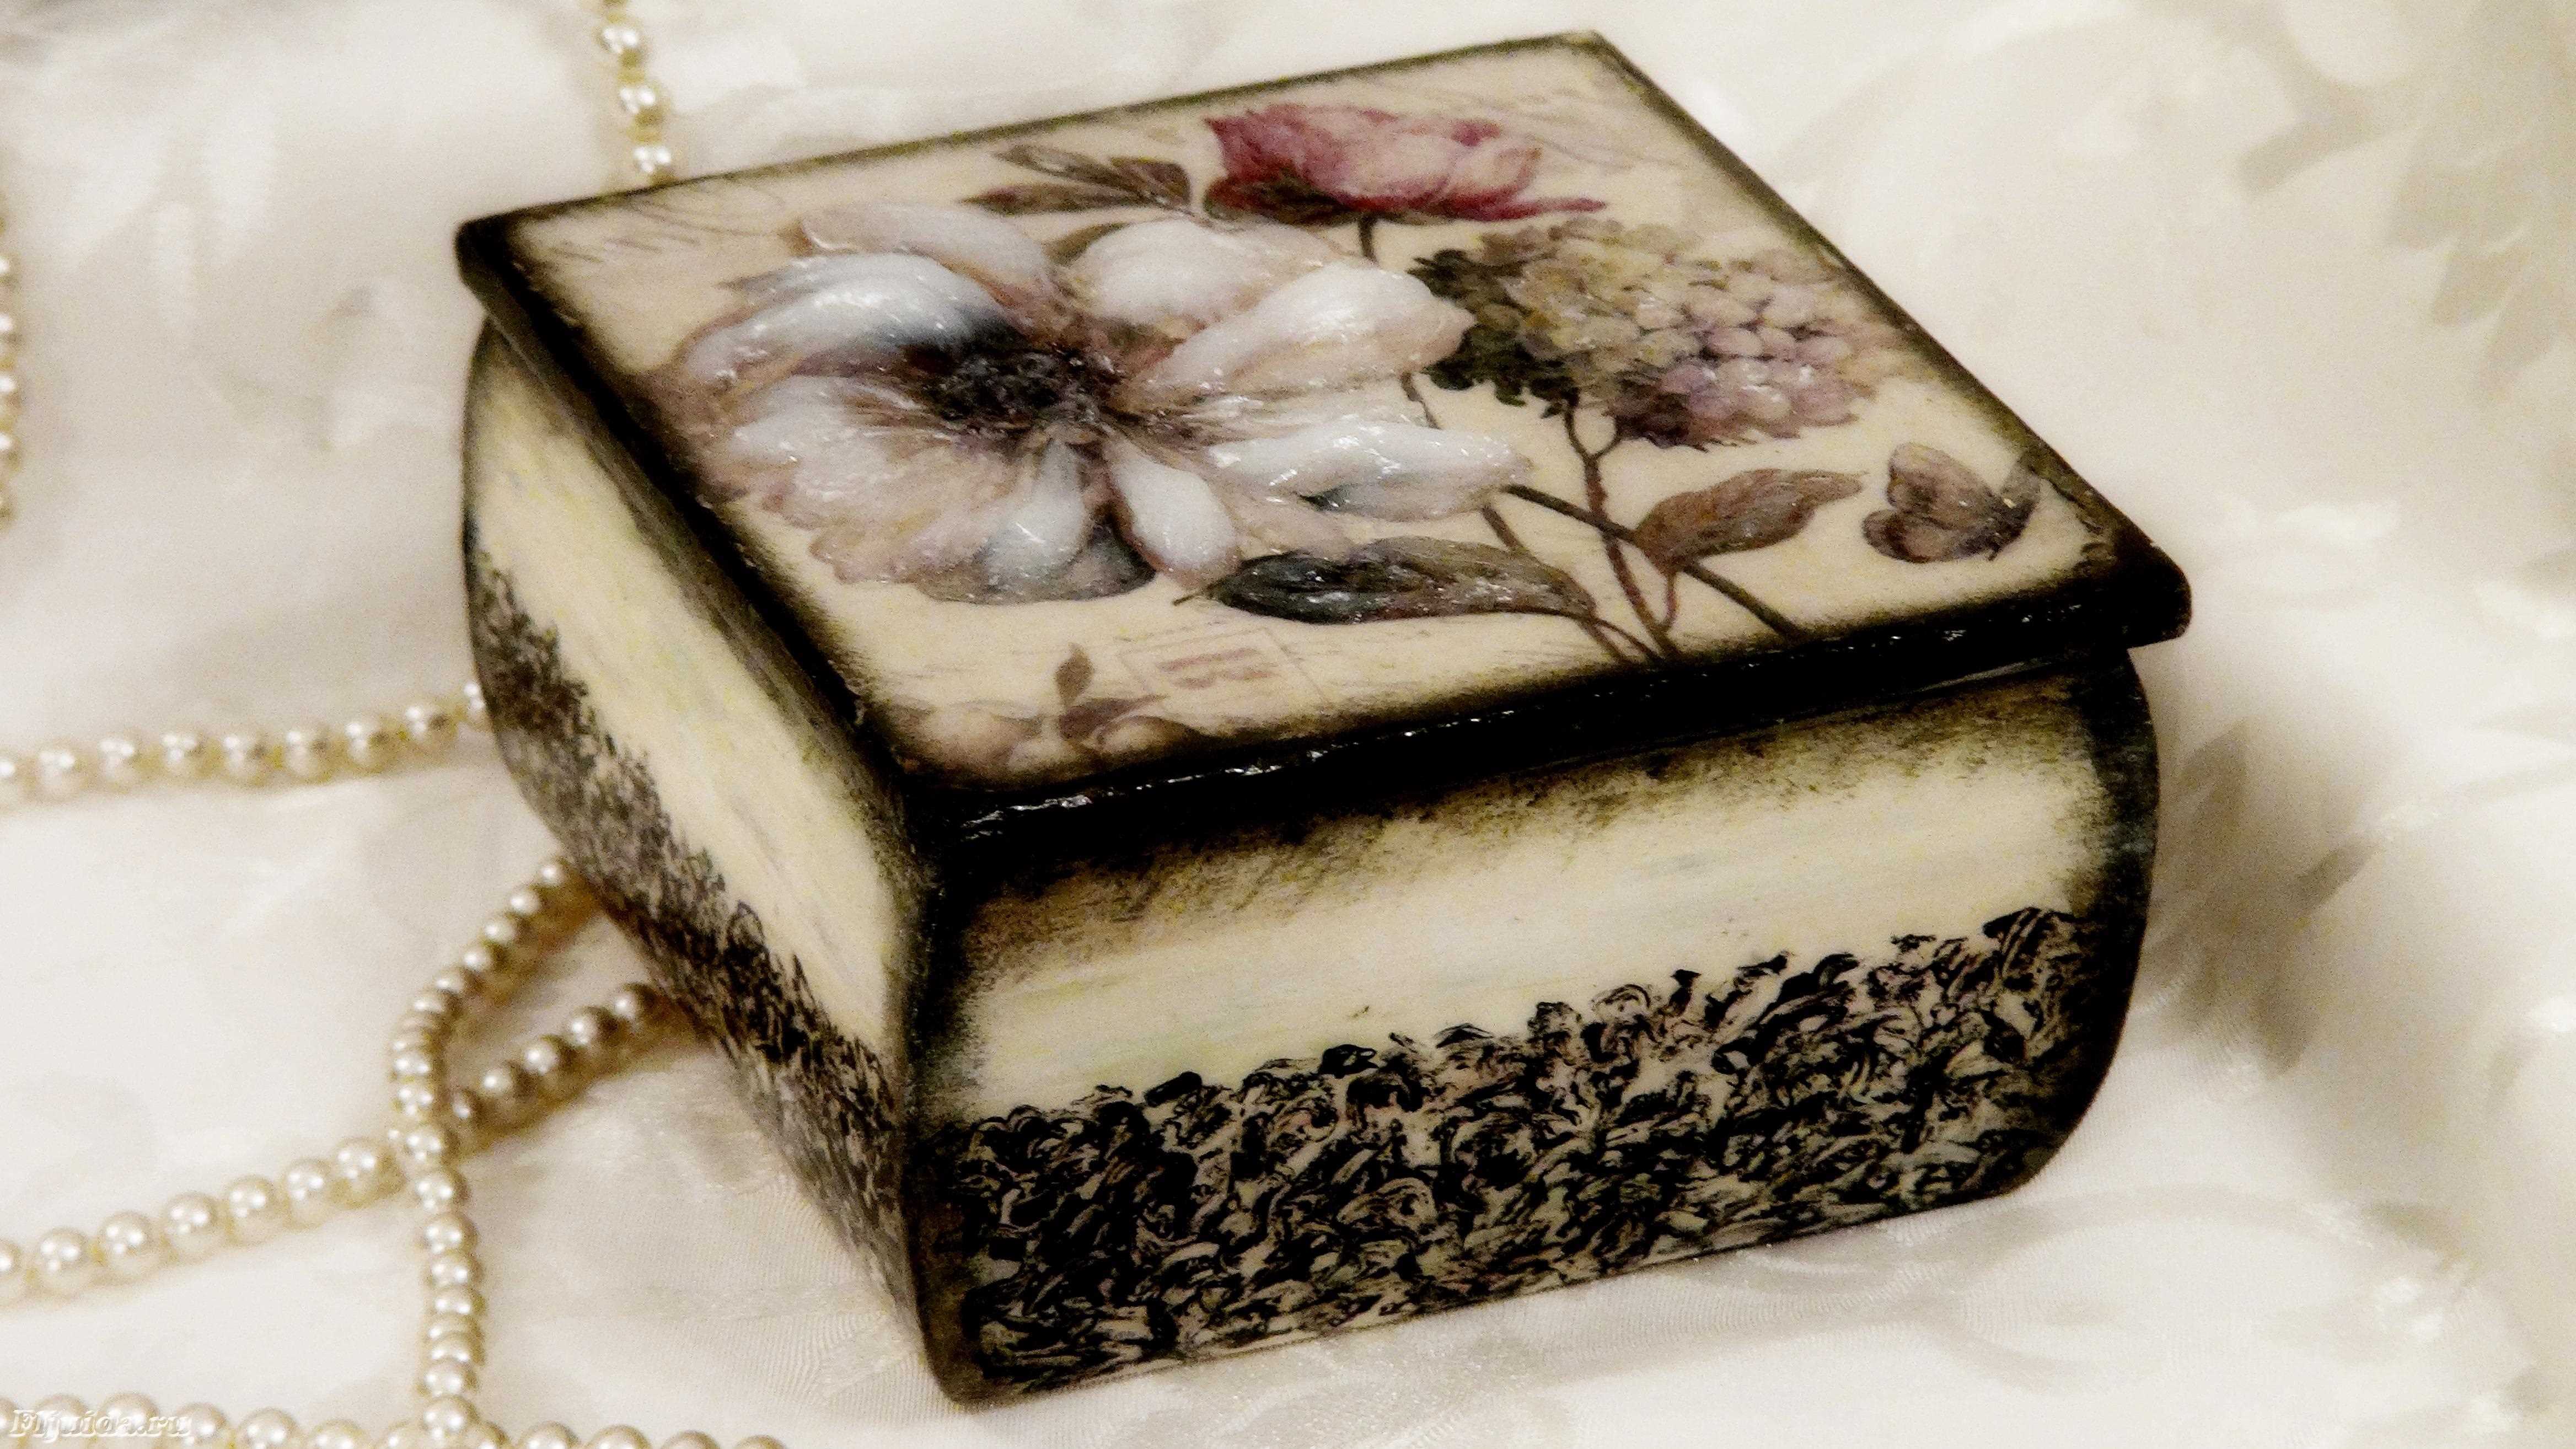
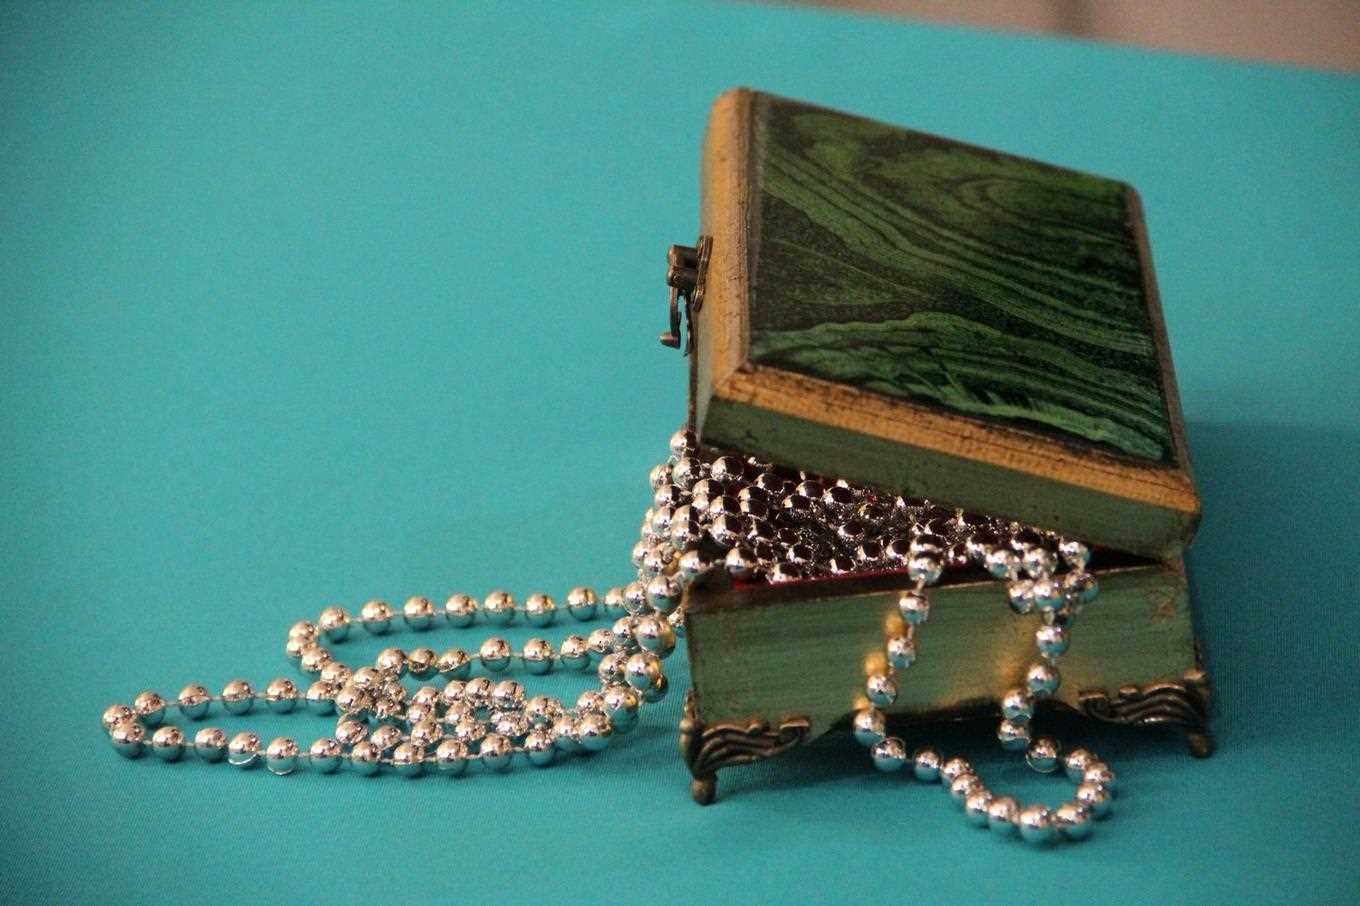
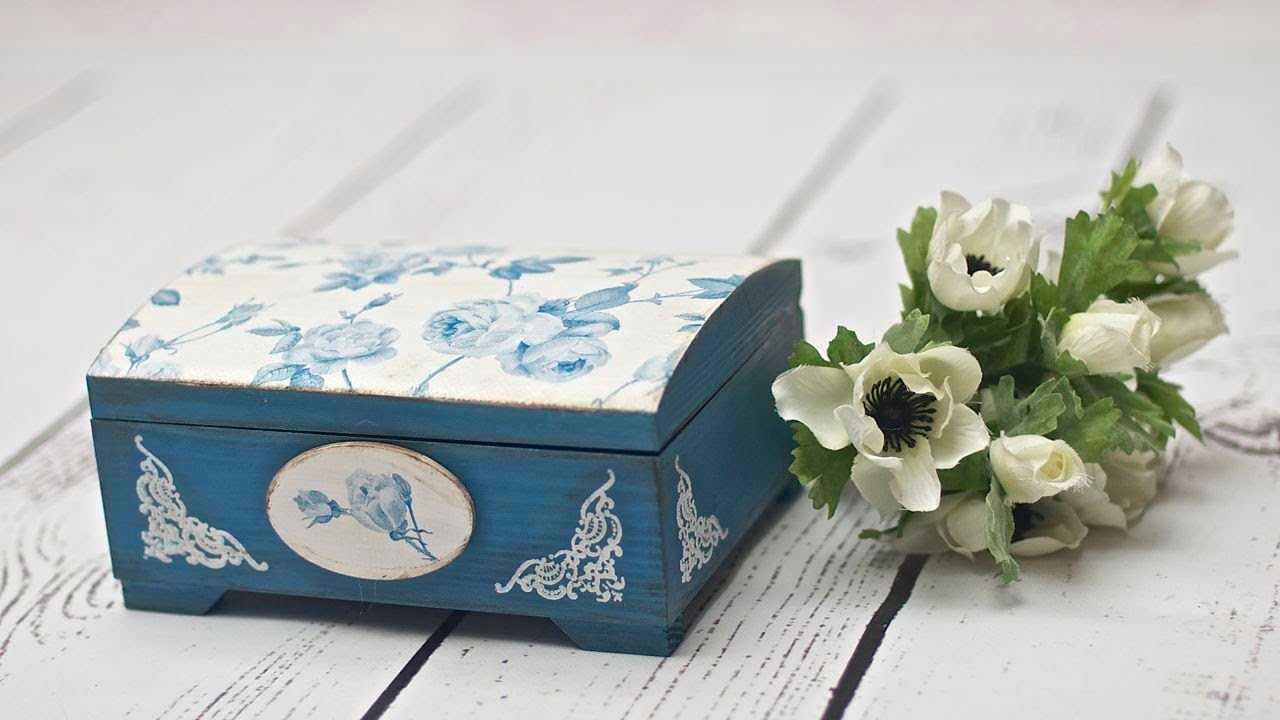
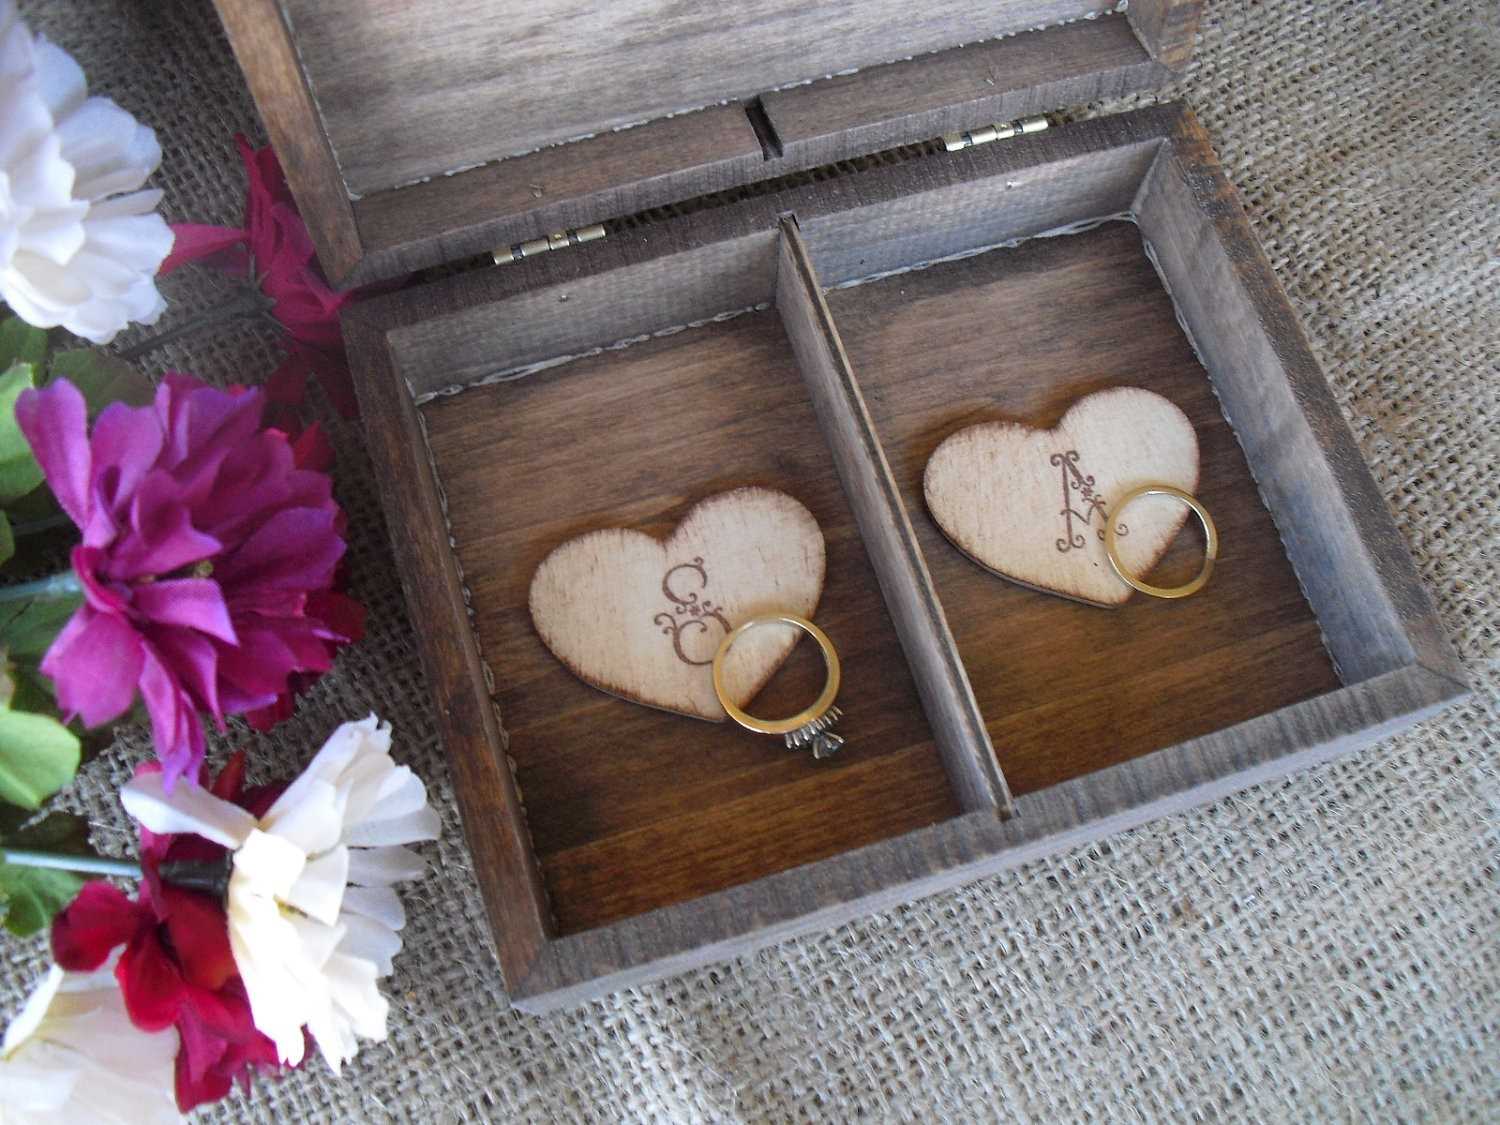
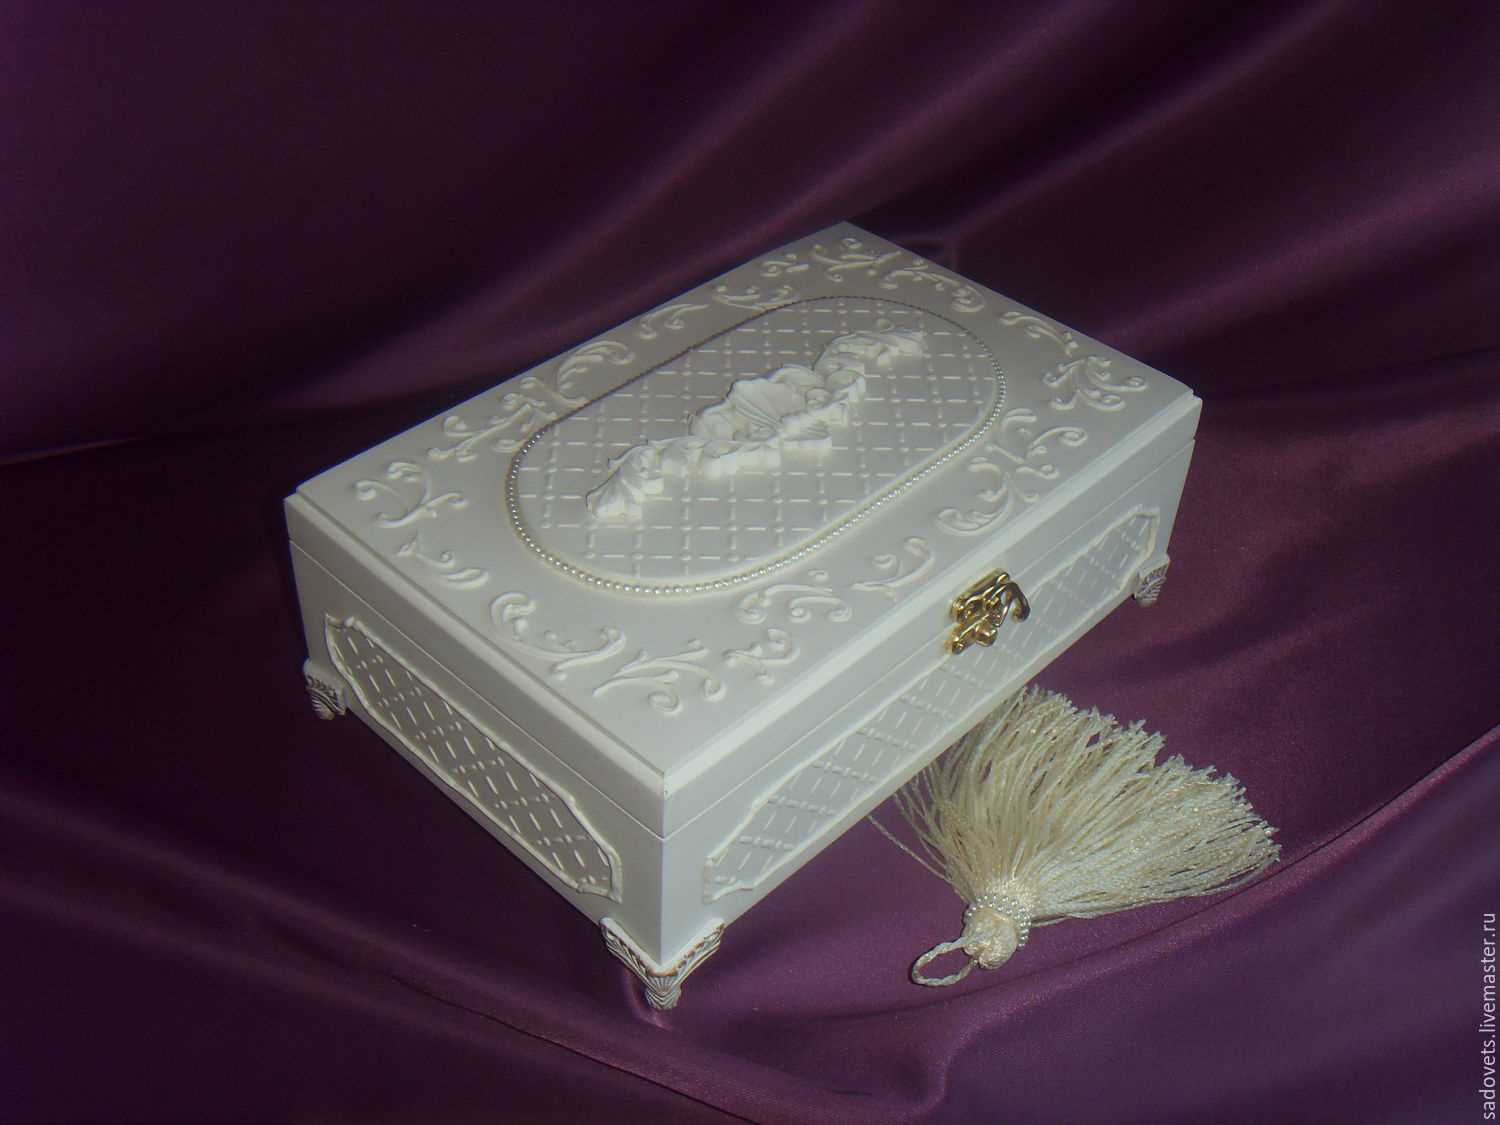
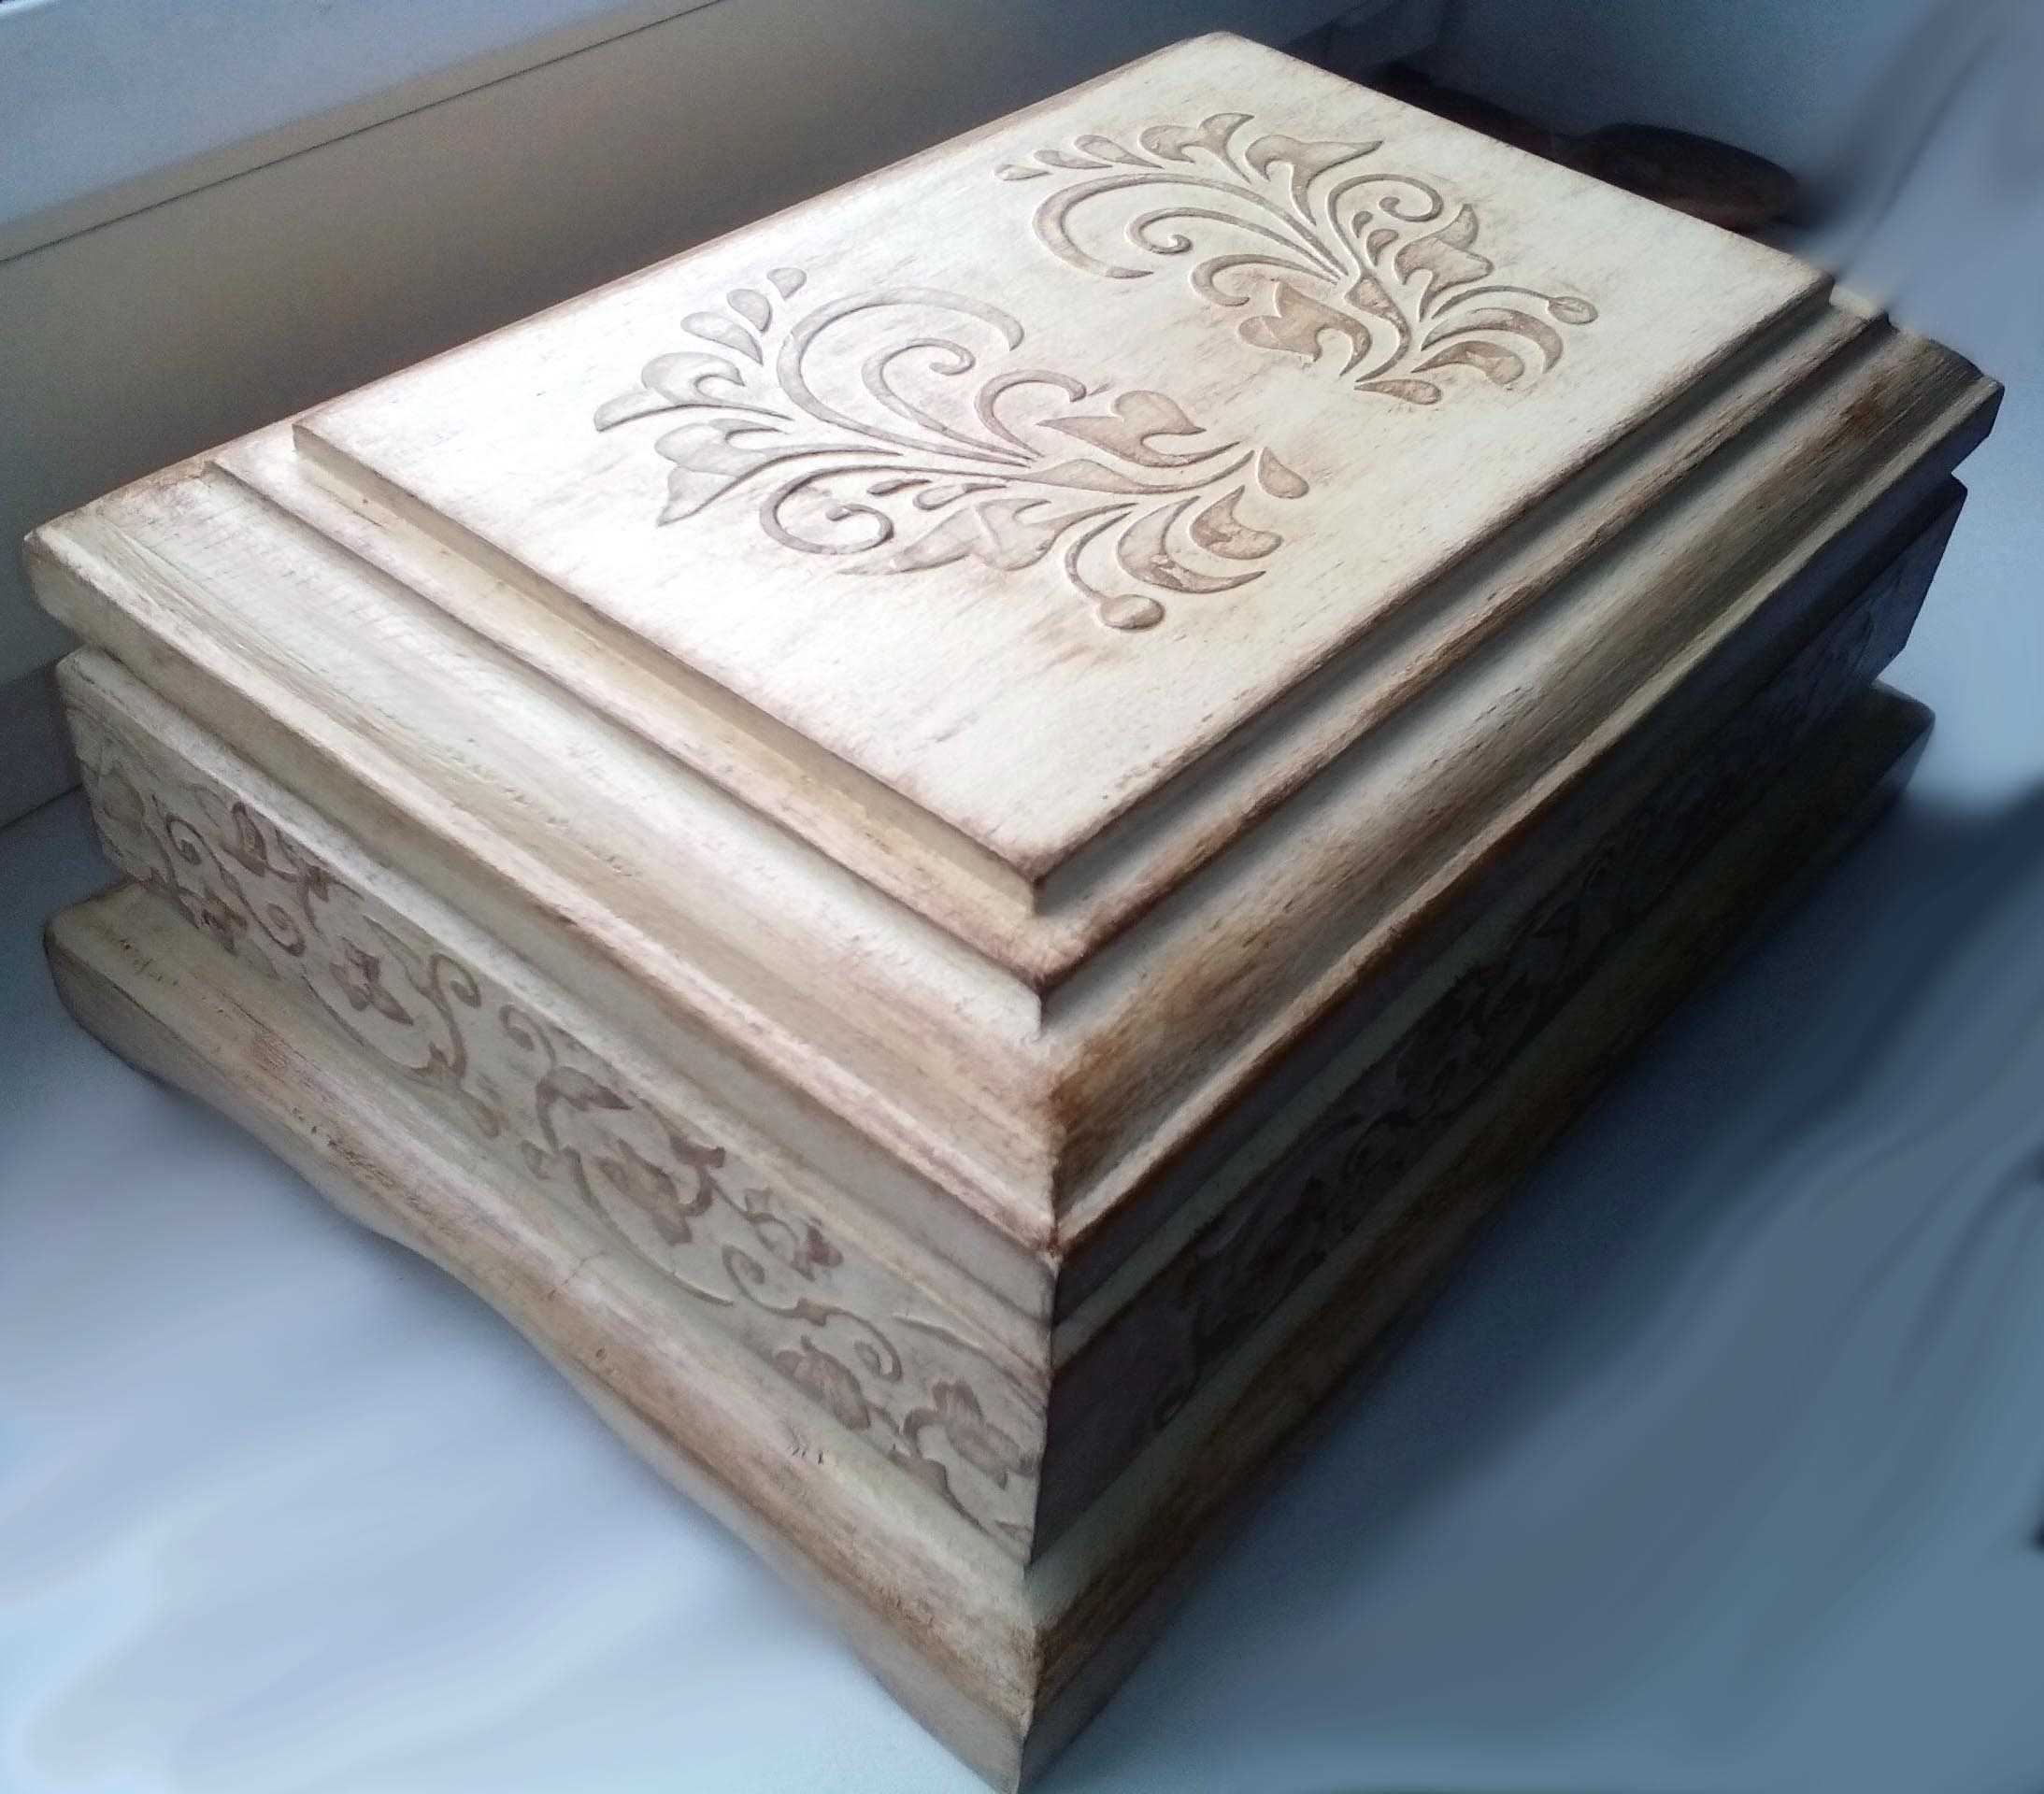
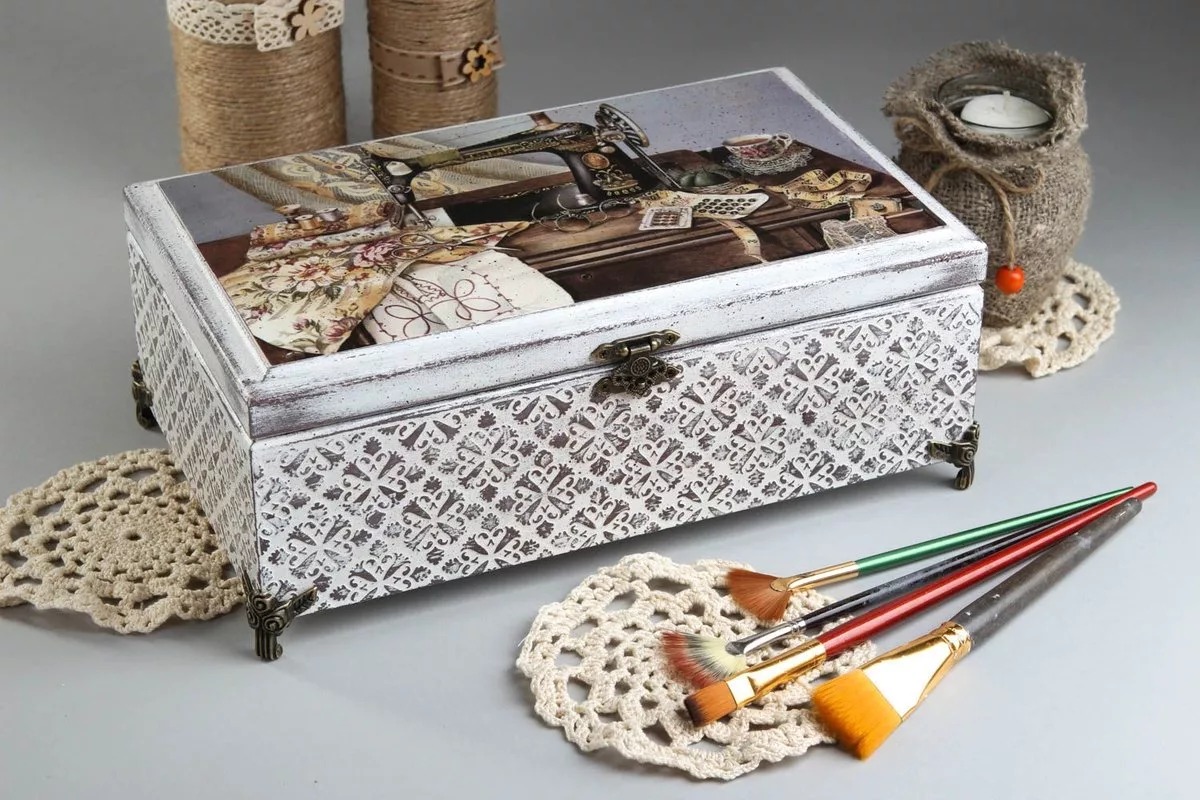
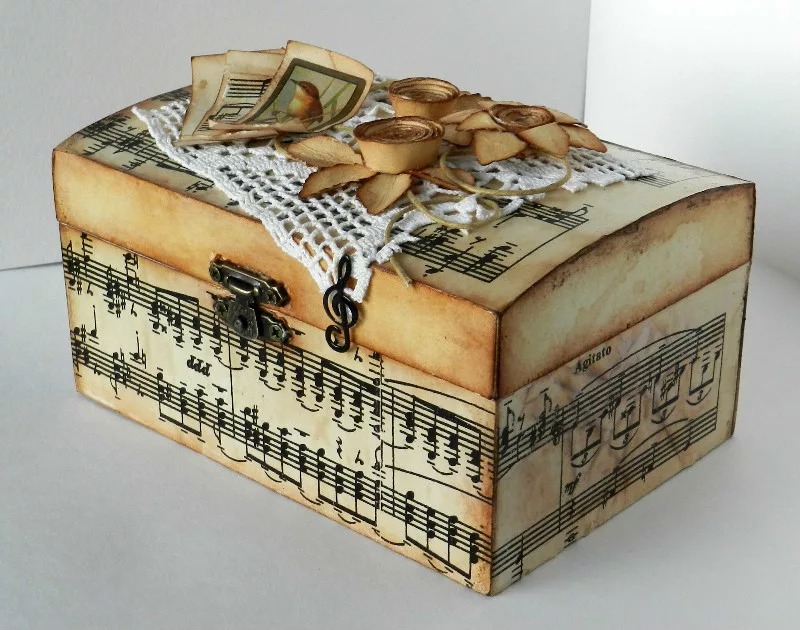
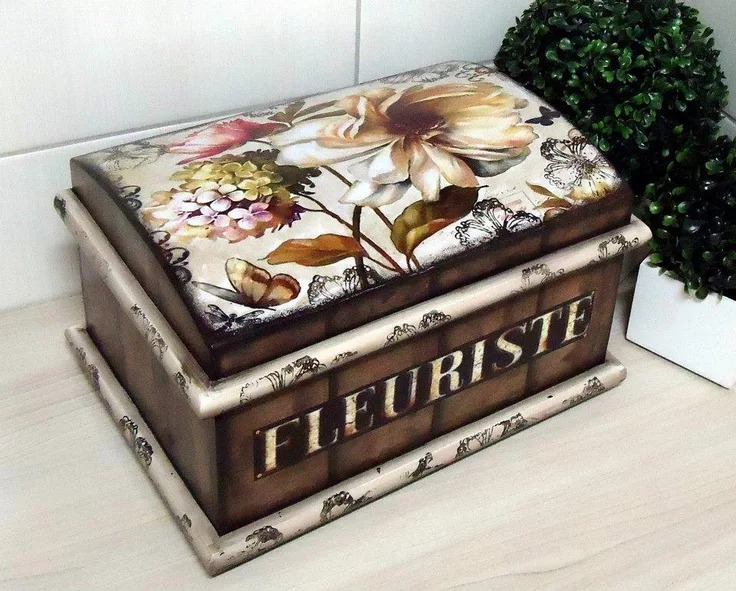
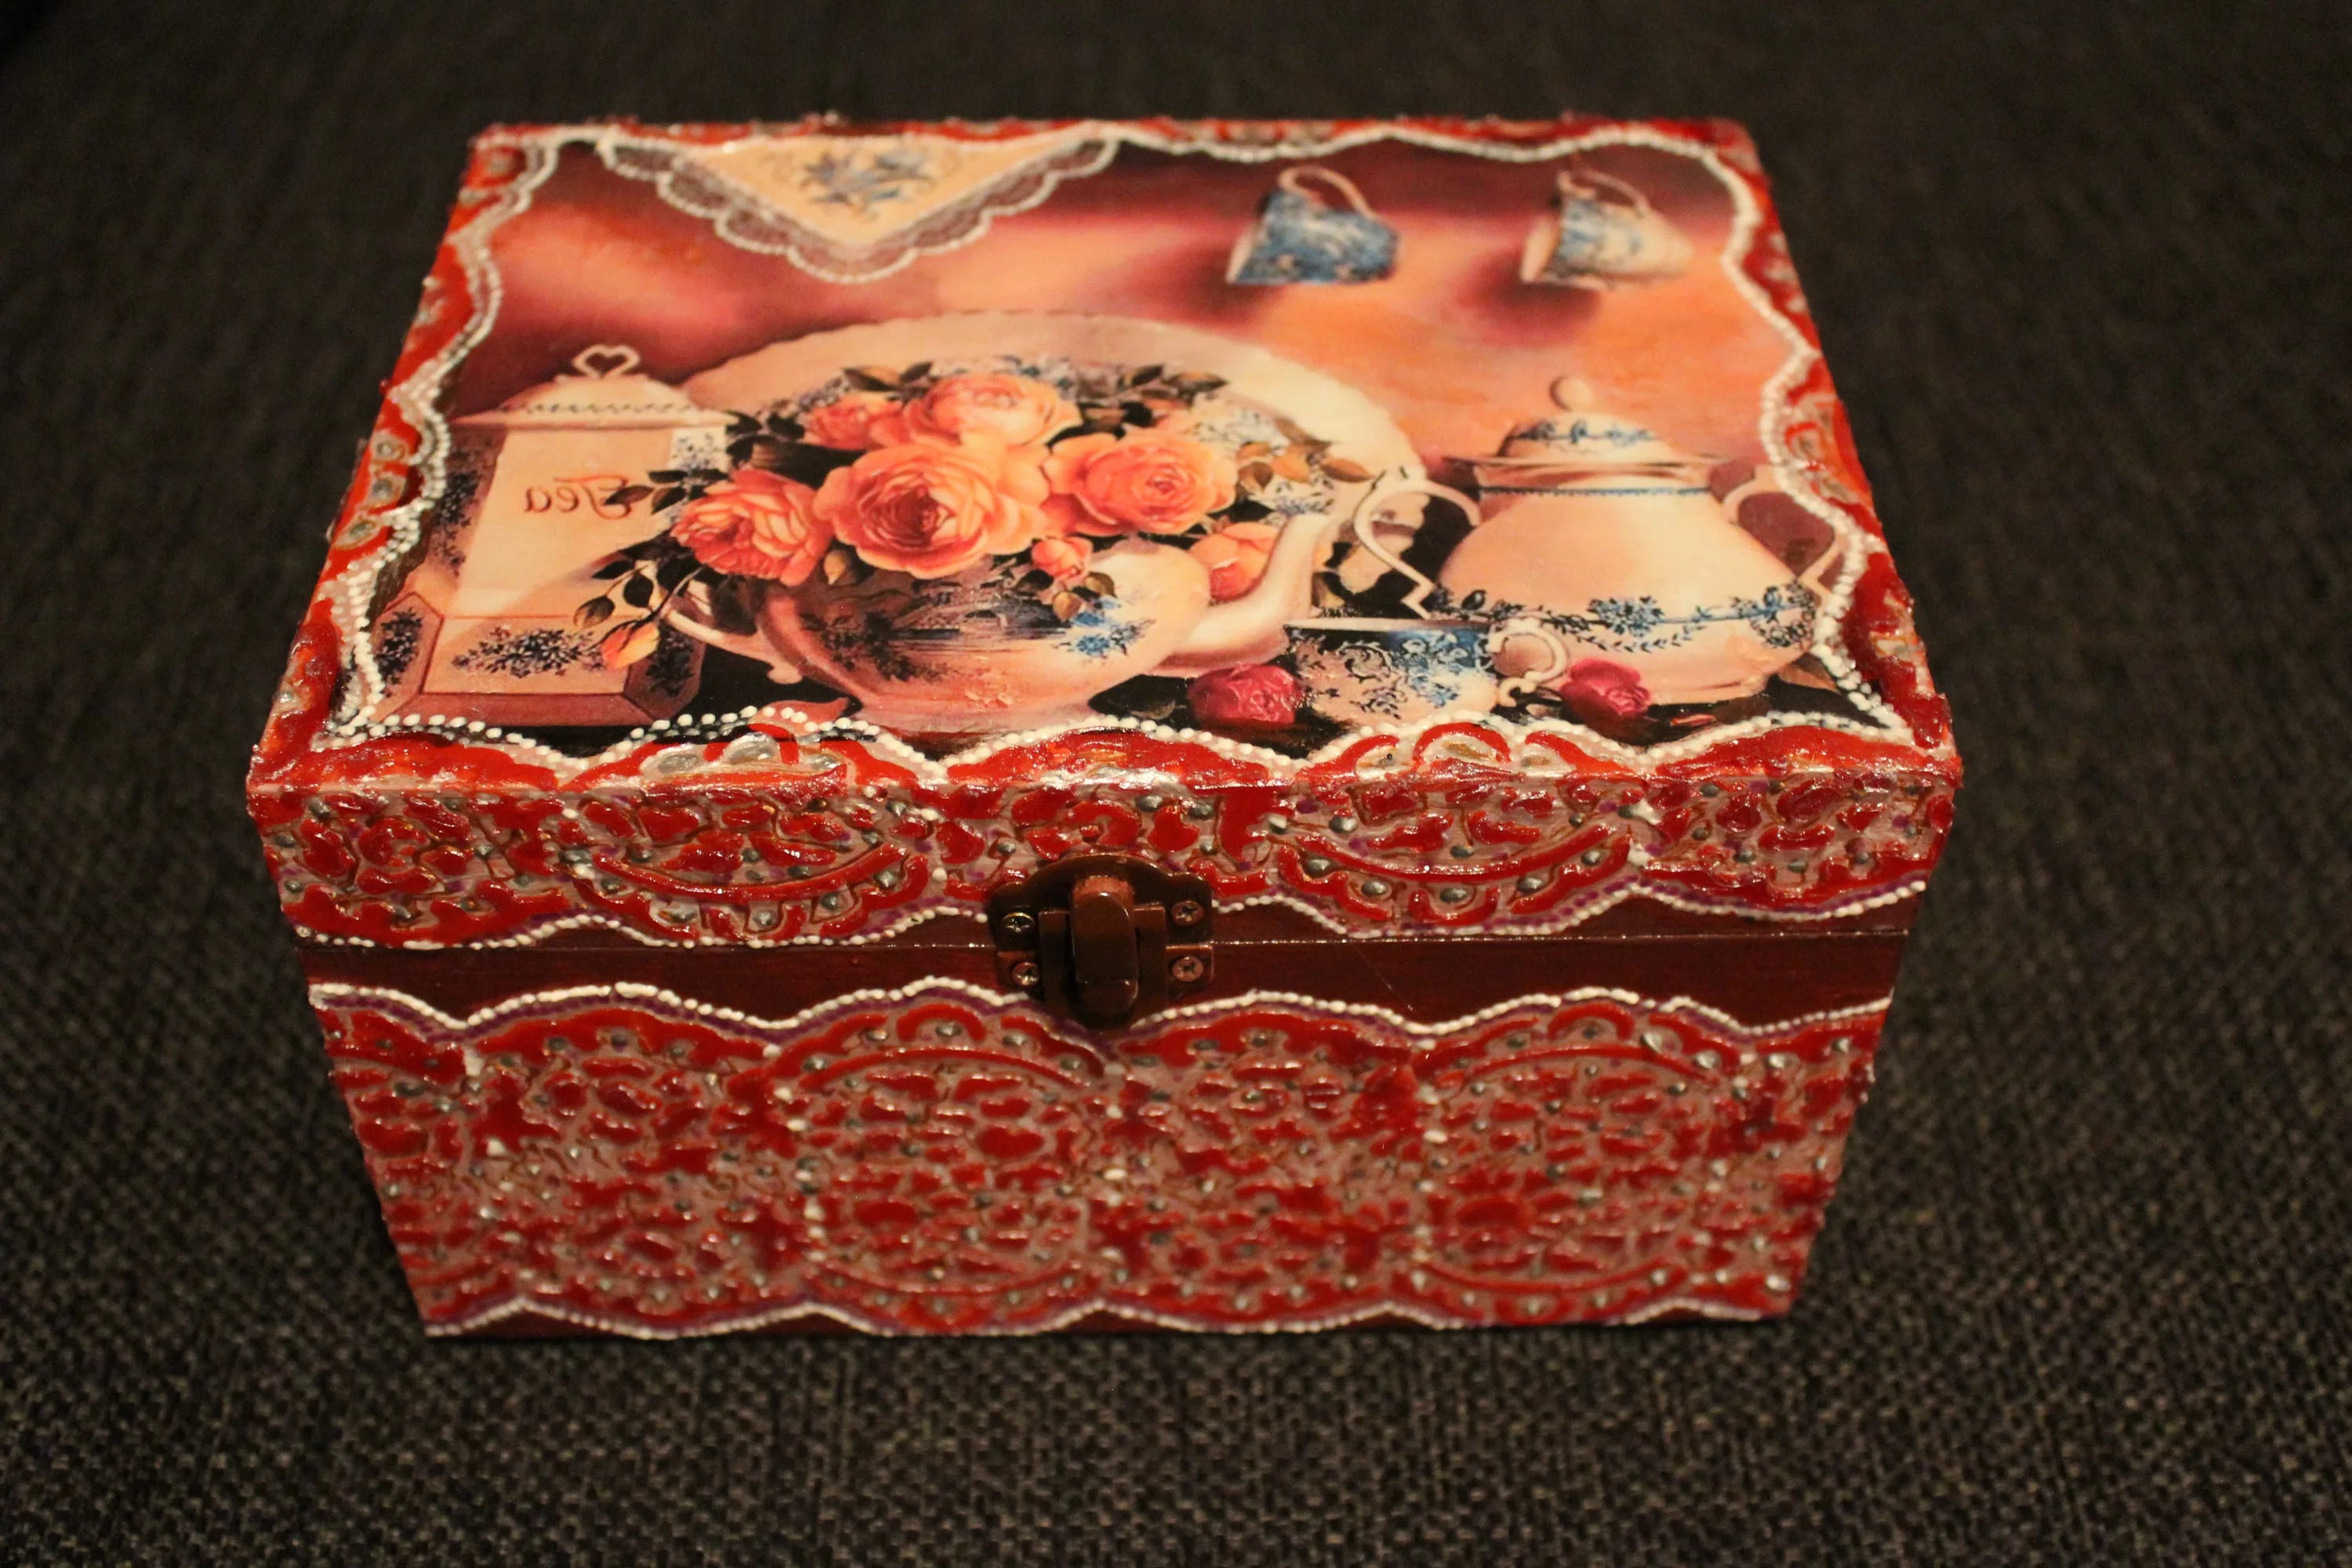
Wooden fakes
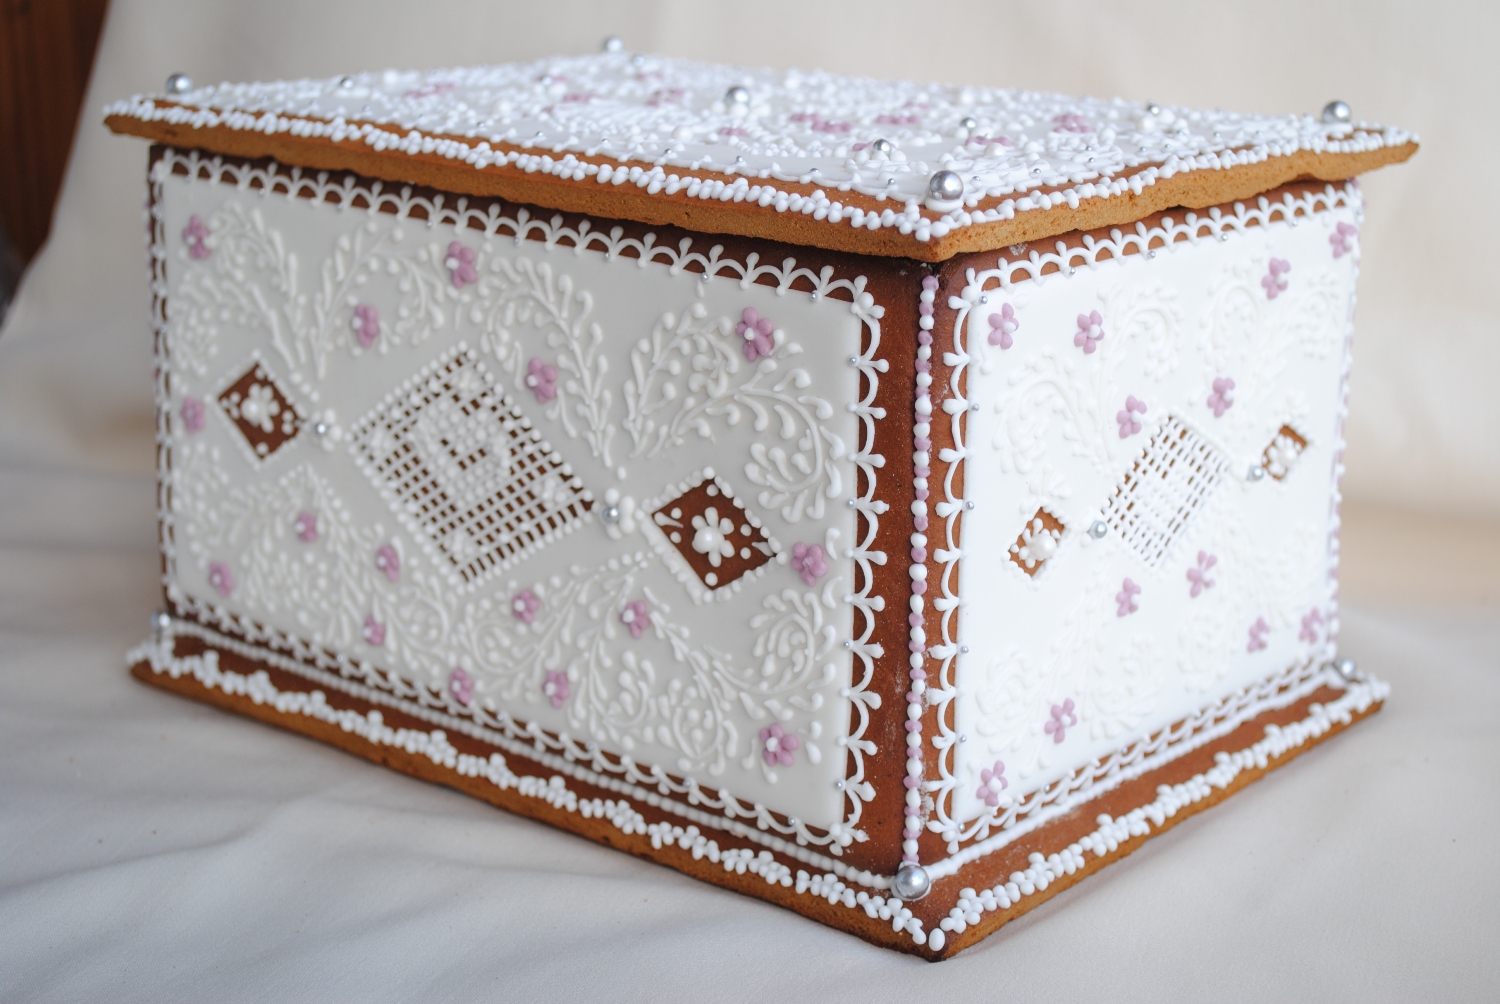
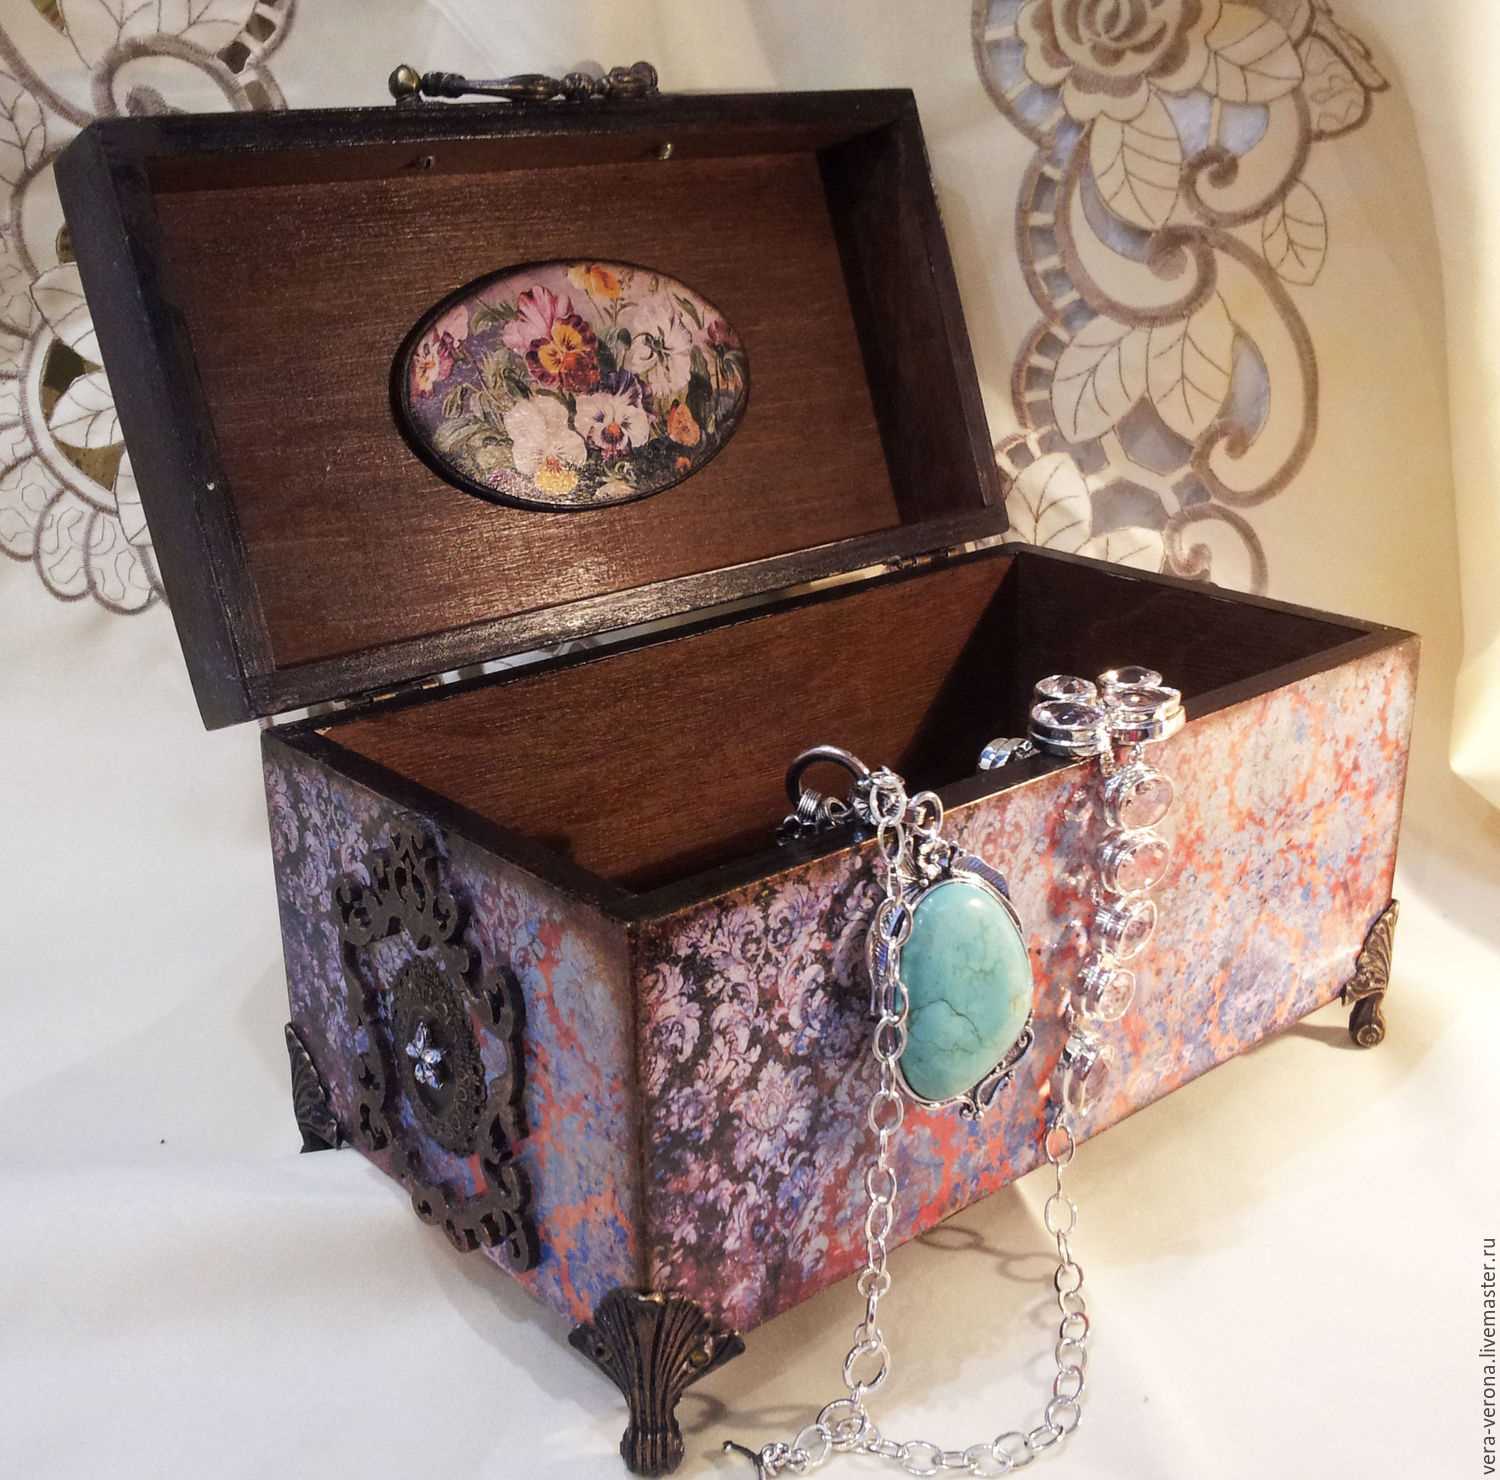
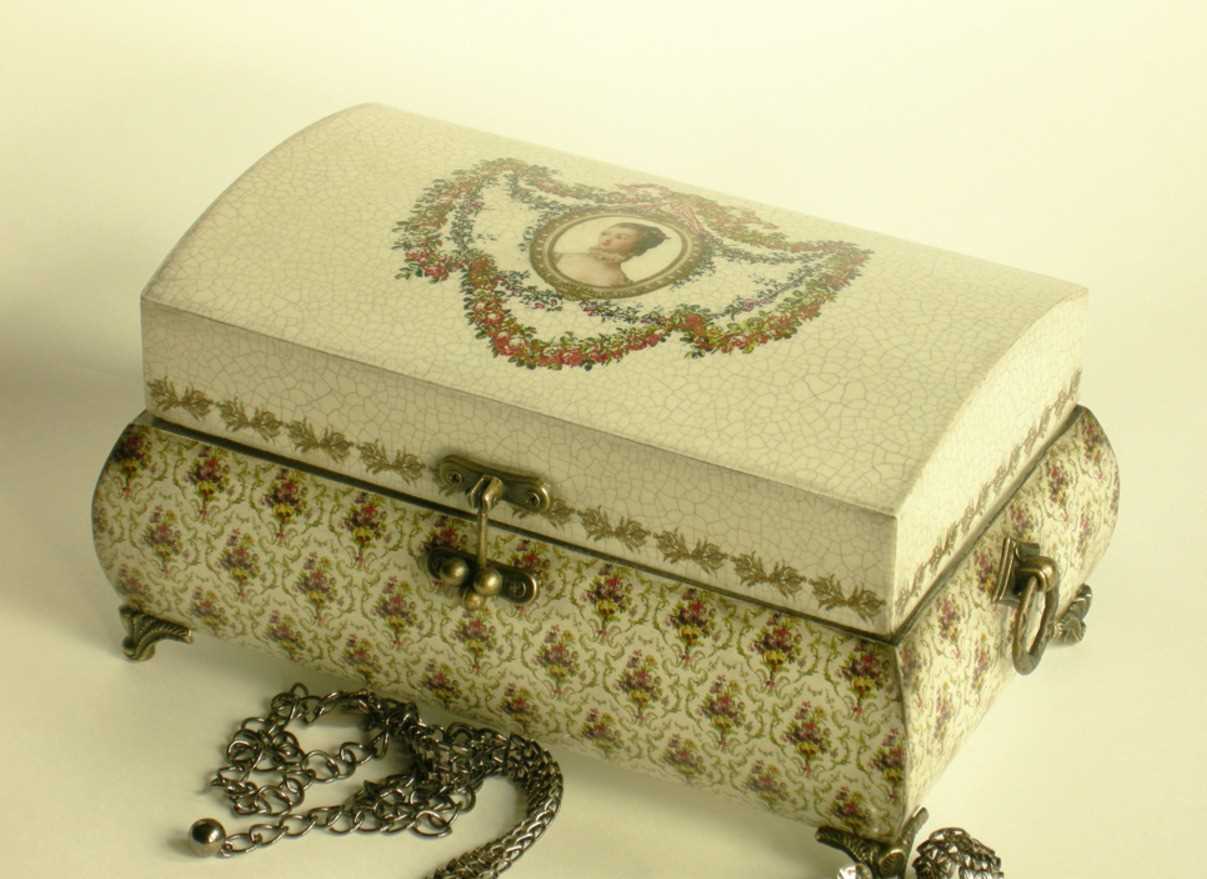
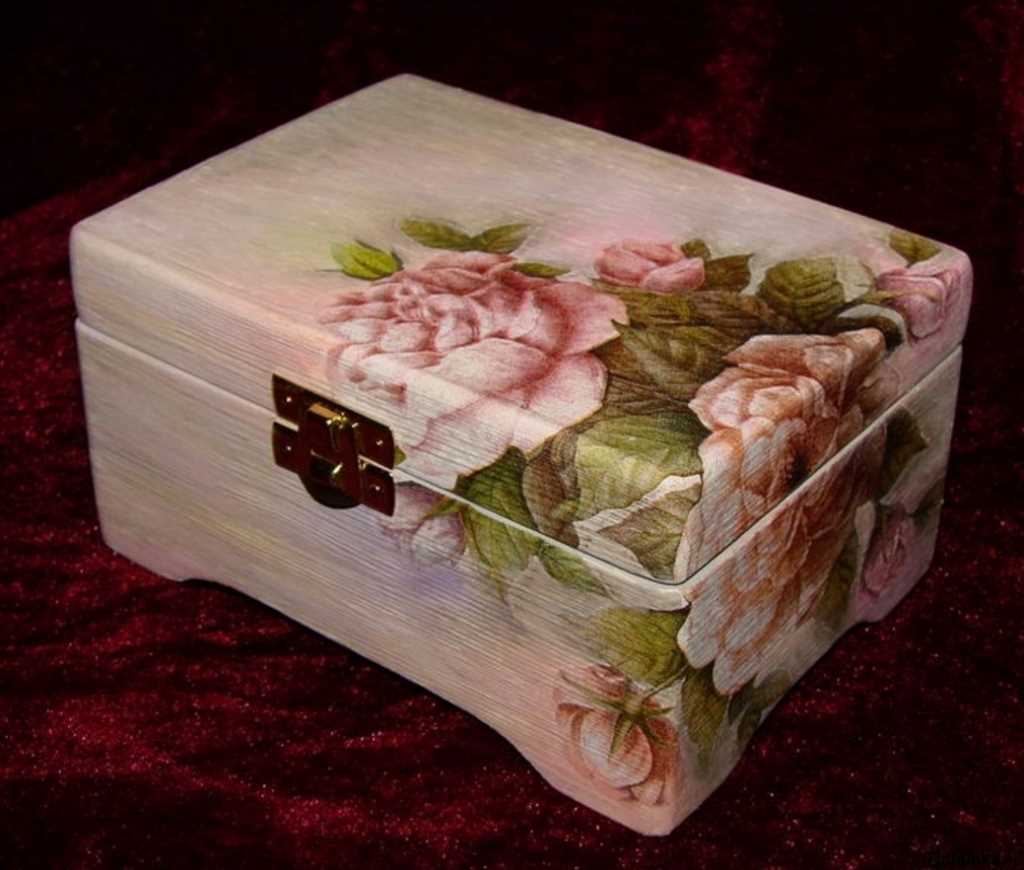
Many people choose wood as the main material for caskets. Decorating wooden boxes with your own hands is very simple and there are always plenty of options.
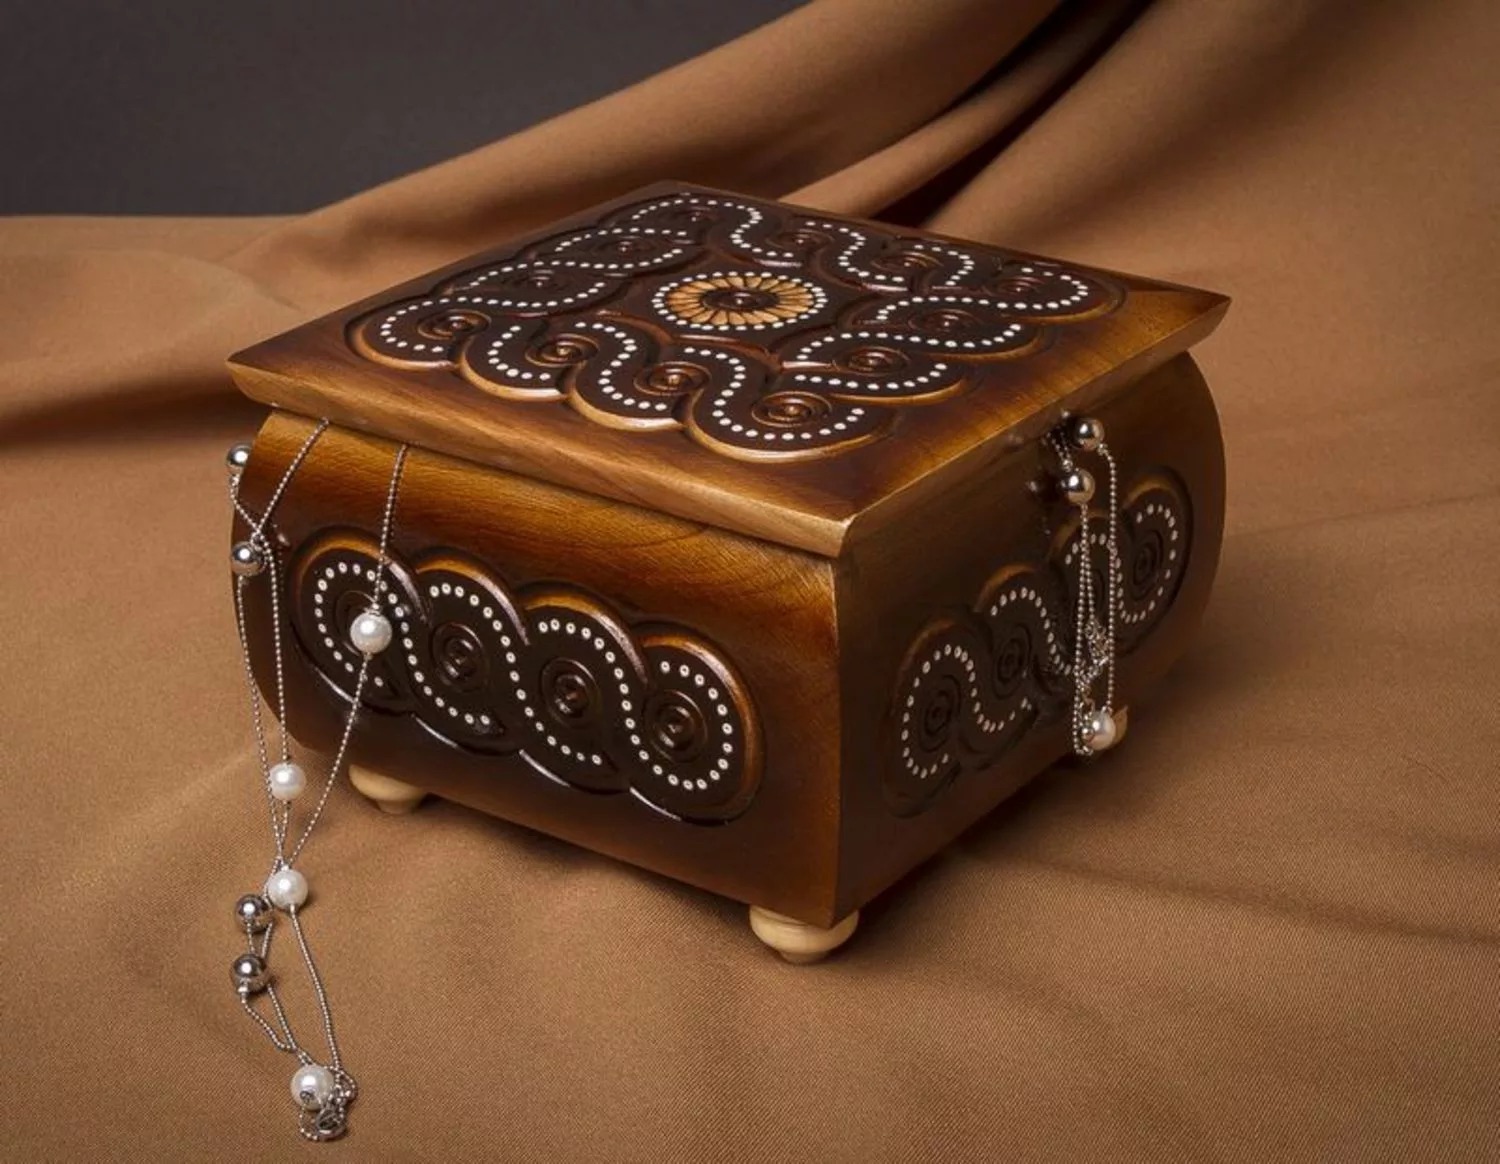
Then apply primer or paint. After that, the chest is dried.
Decorated wooden boxes look very rich and dignified. This is a great idea for a gift.
From postcards
They make boxes with their own hands from old greeting cards. For this you need:
- 14 postcards;
- scissors;
- sewing threads.
In order to make a box with your own hands, at the first stage of work, 4 postcards are sewn together, and the same actions are done for the lid.

Important! When sewing, use a loop stitch.
Then, 5 pieces of the same size as the postcards are made from thick cardboard. They are covered with fabric and sewn together to form a box.
The covered postcards are folded and sewn to the box along the edges. Then the lid is sewn to the finished chest.
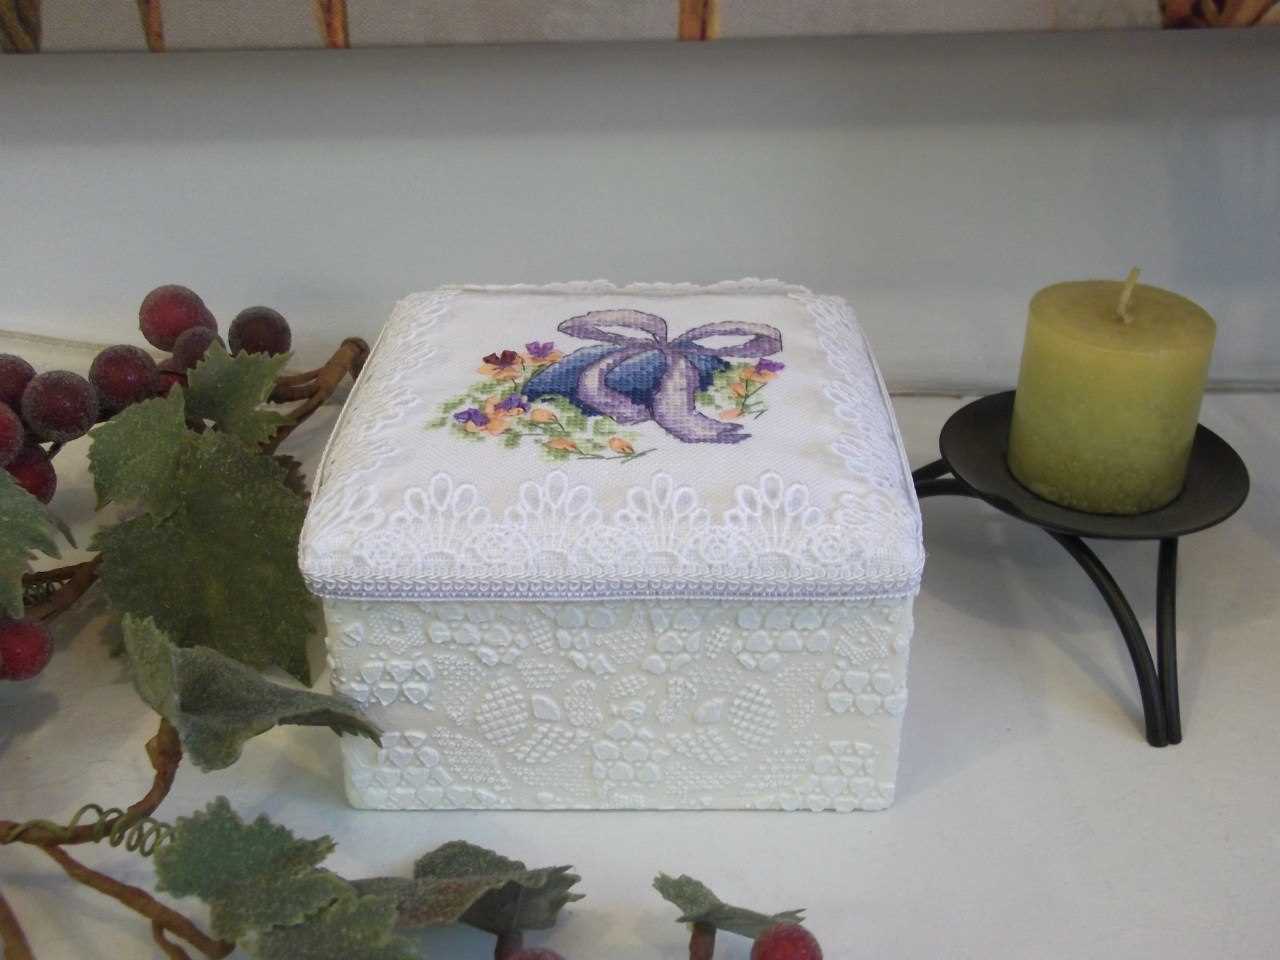
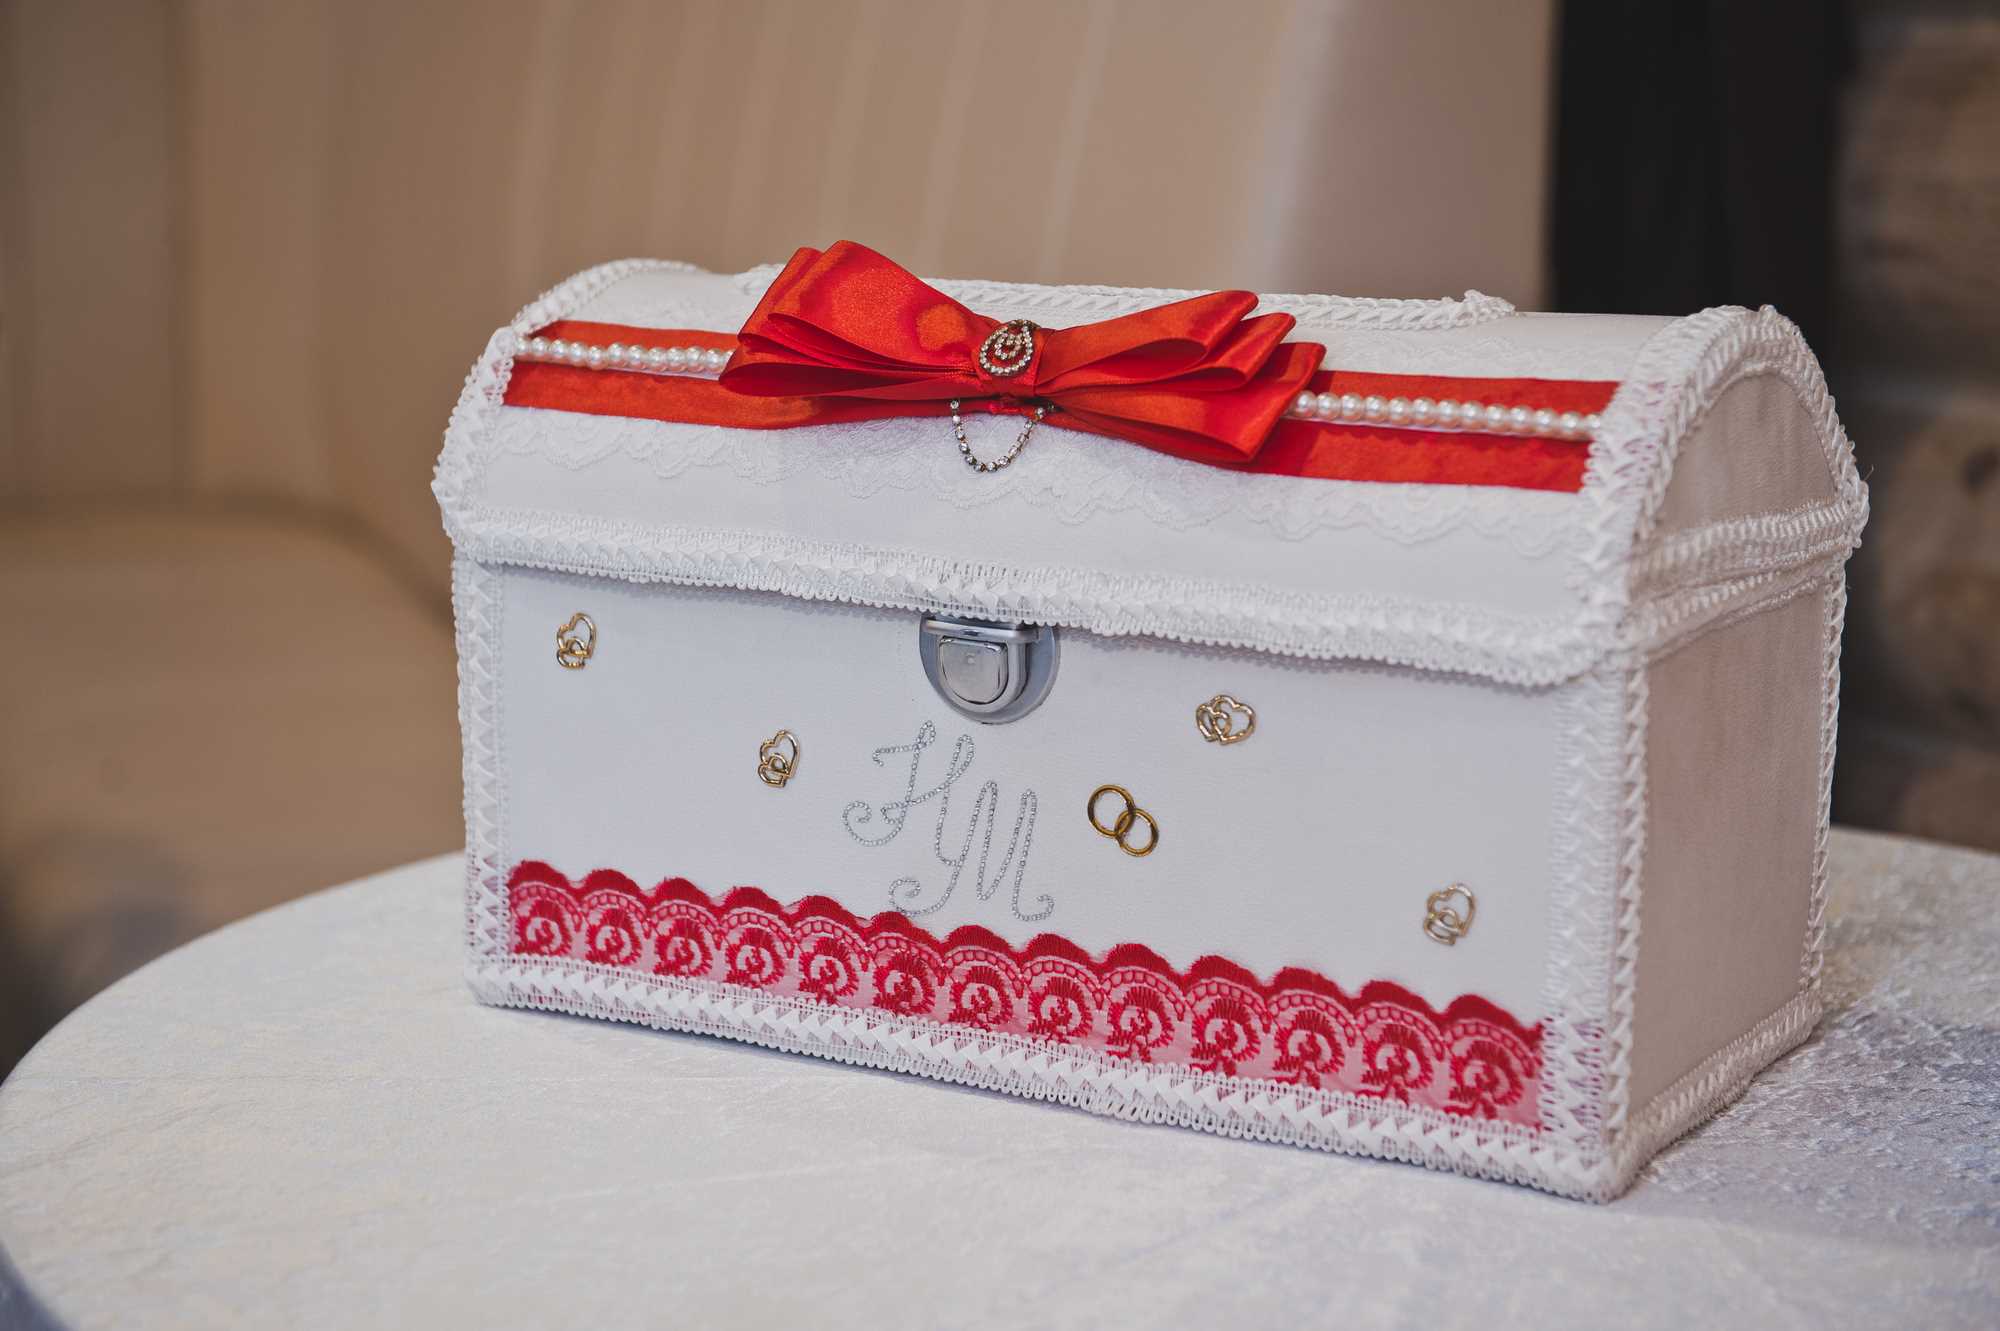
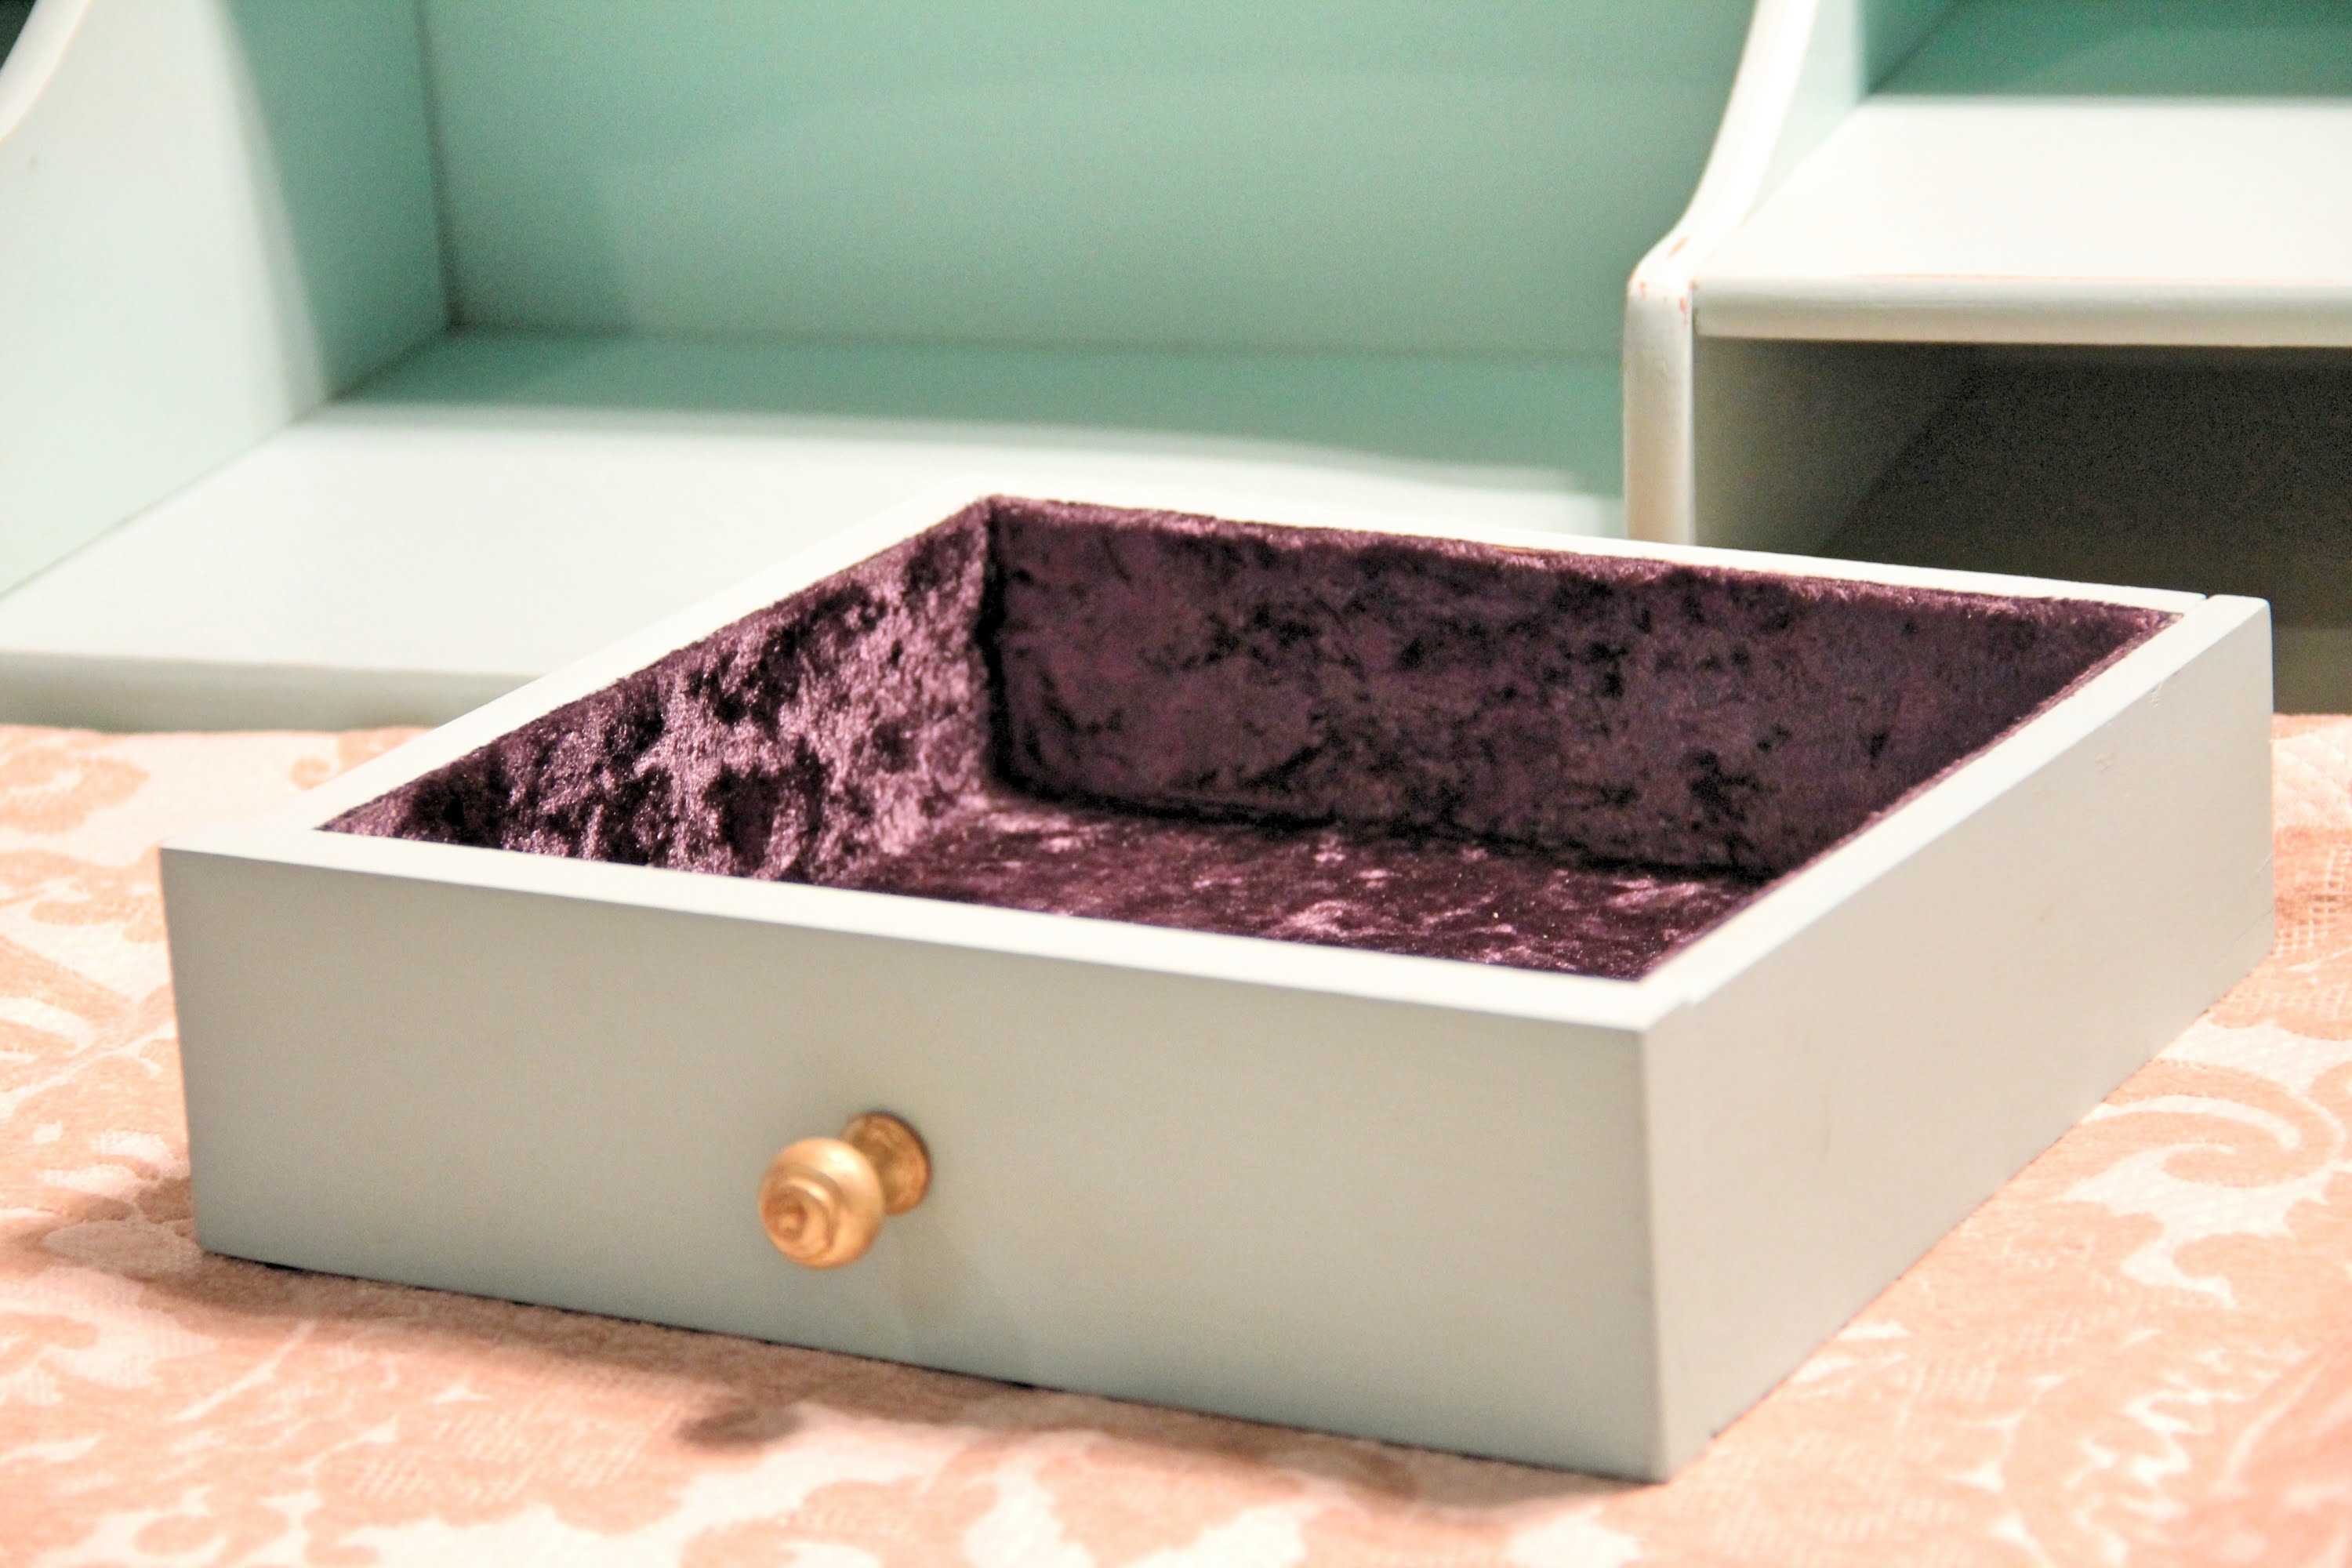
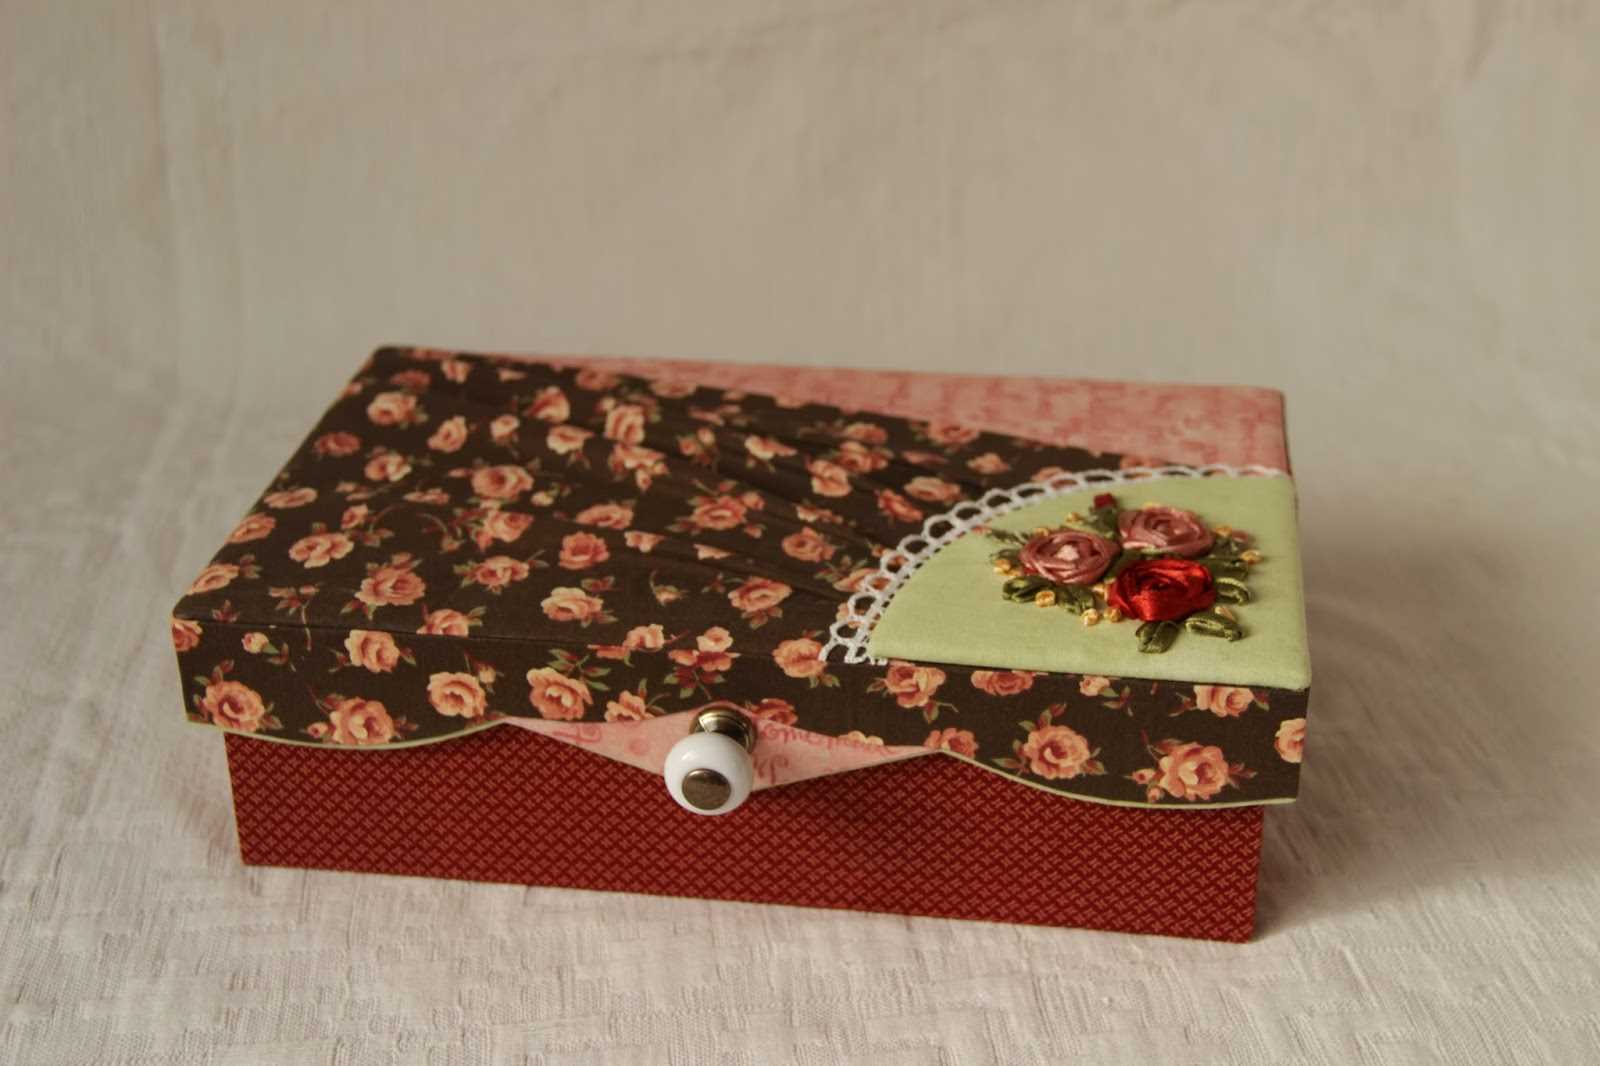
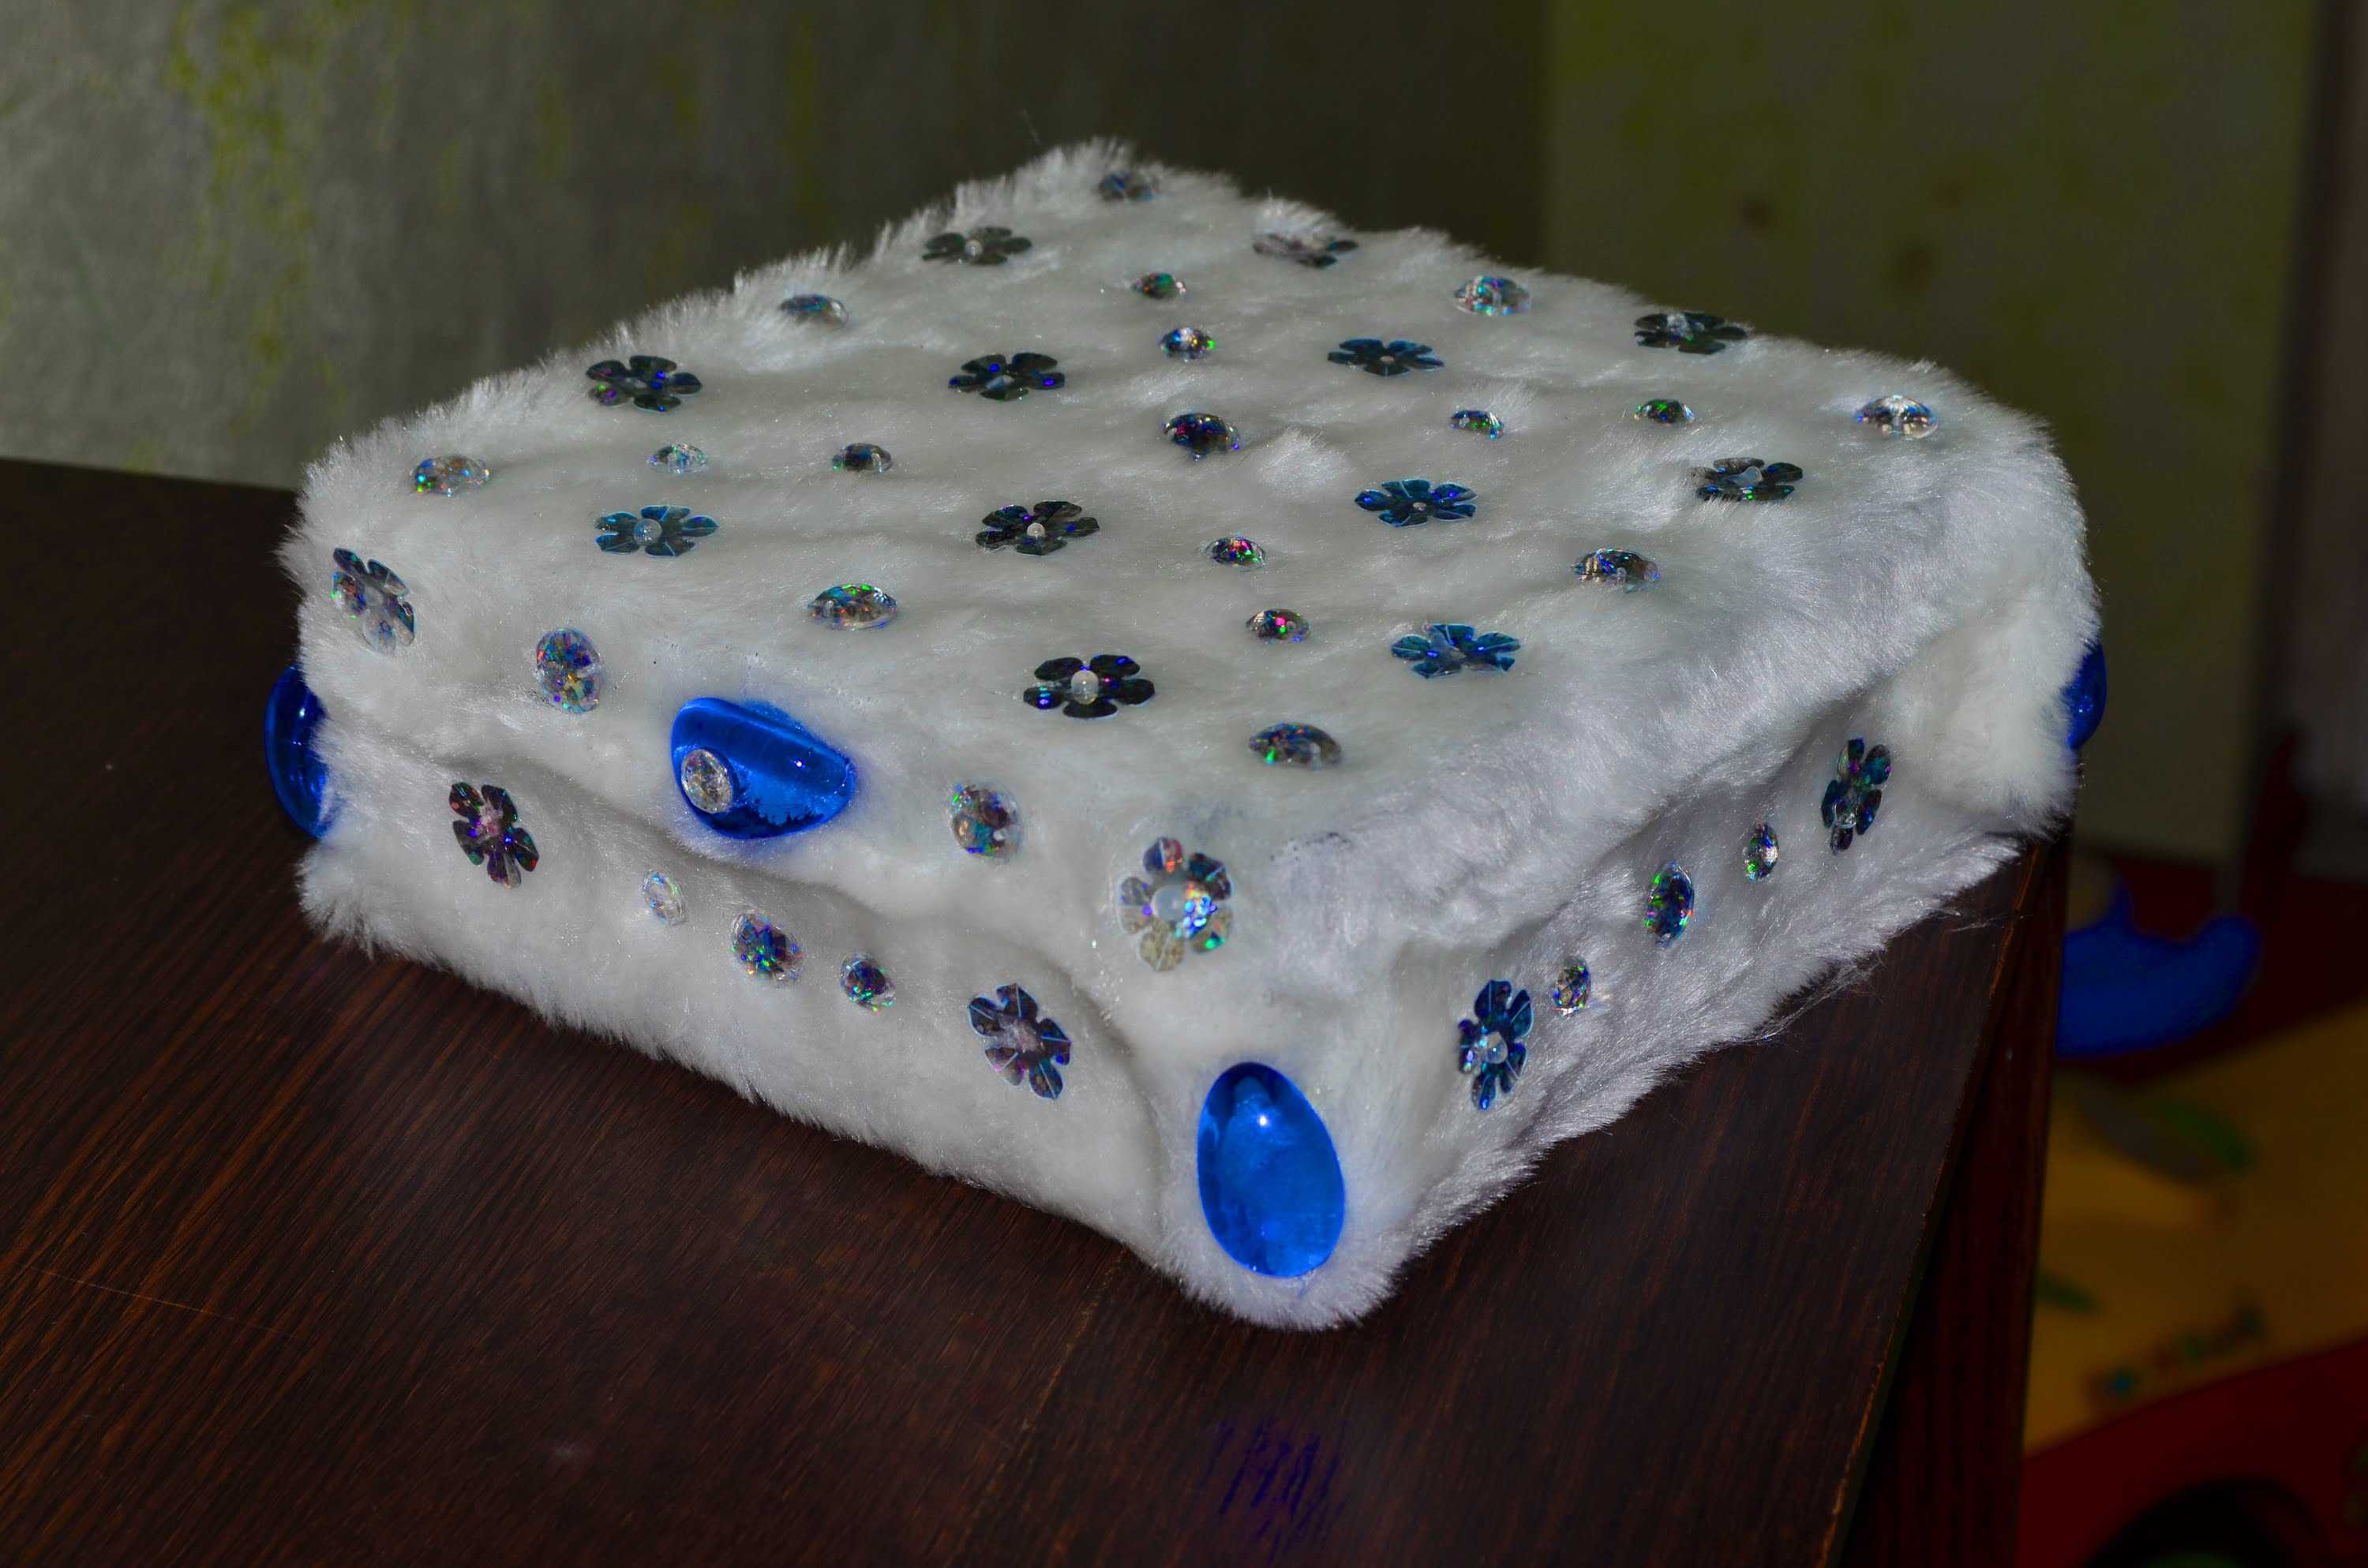
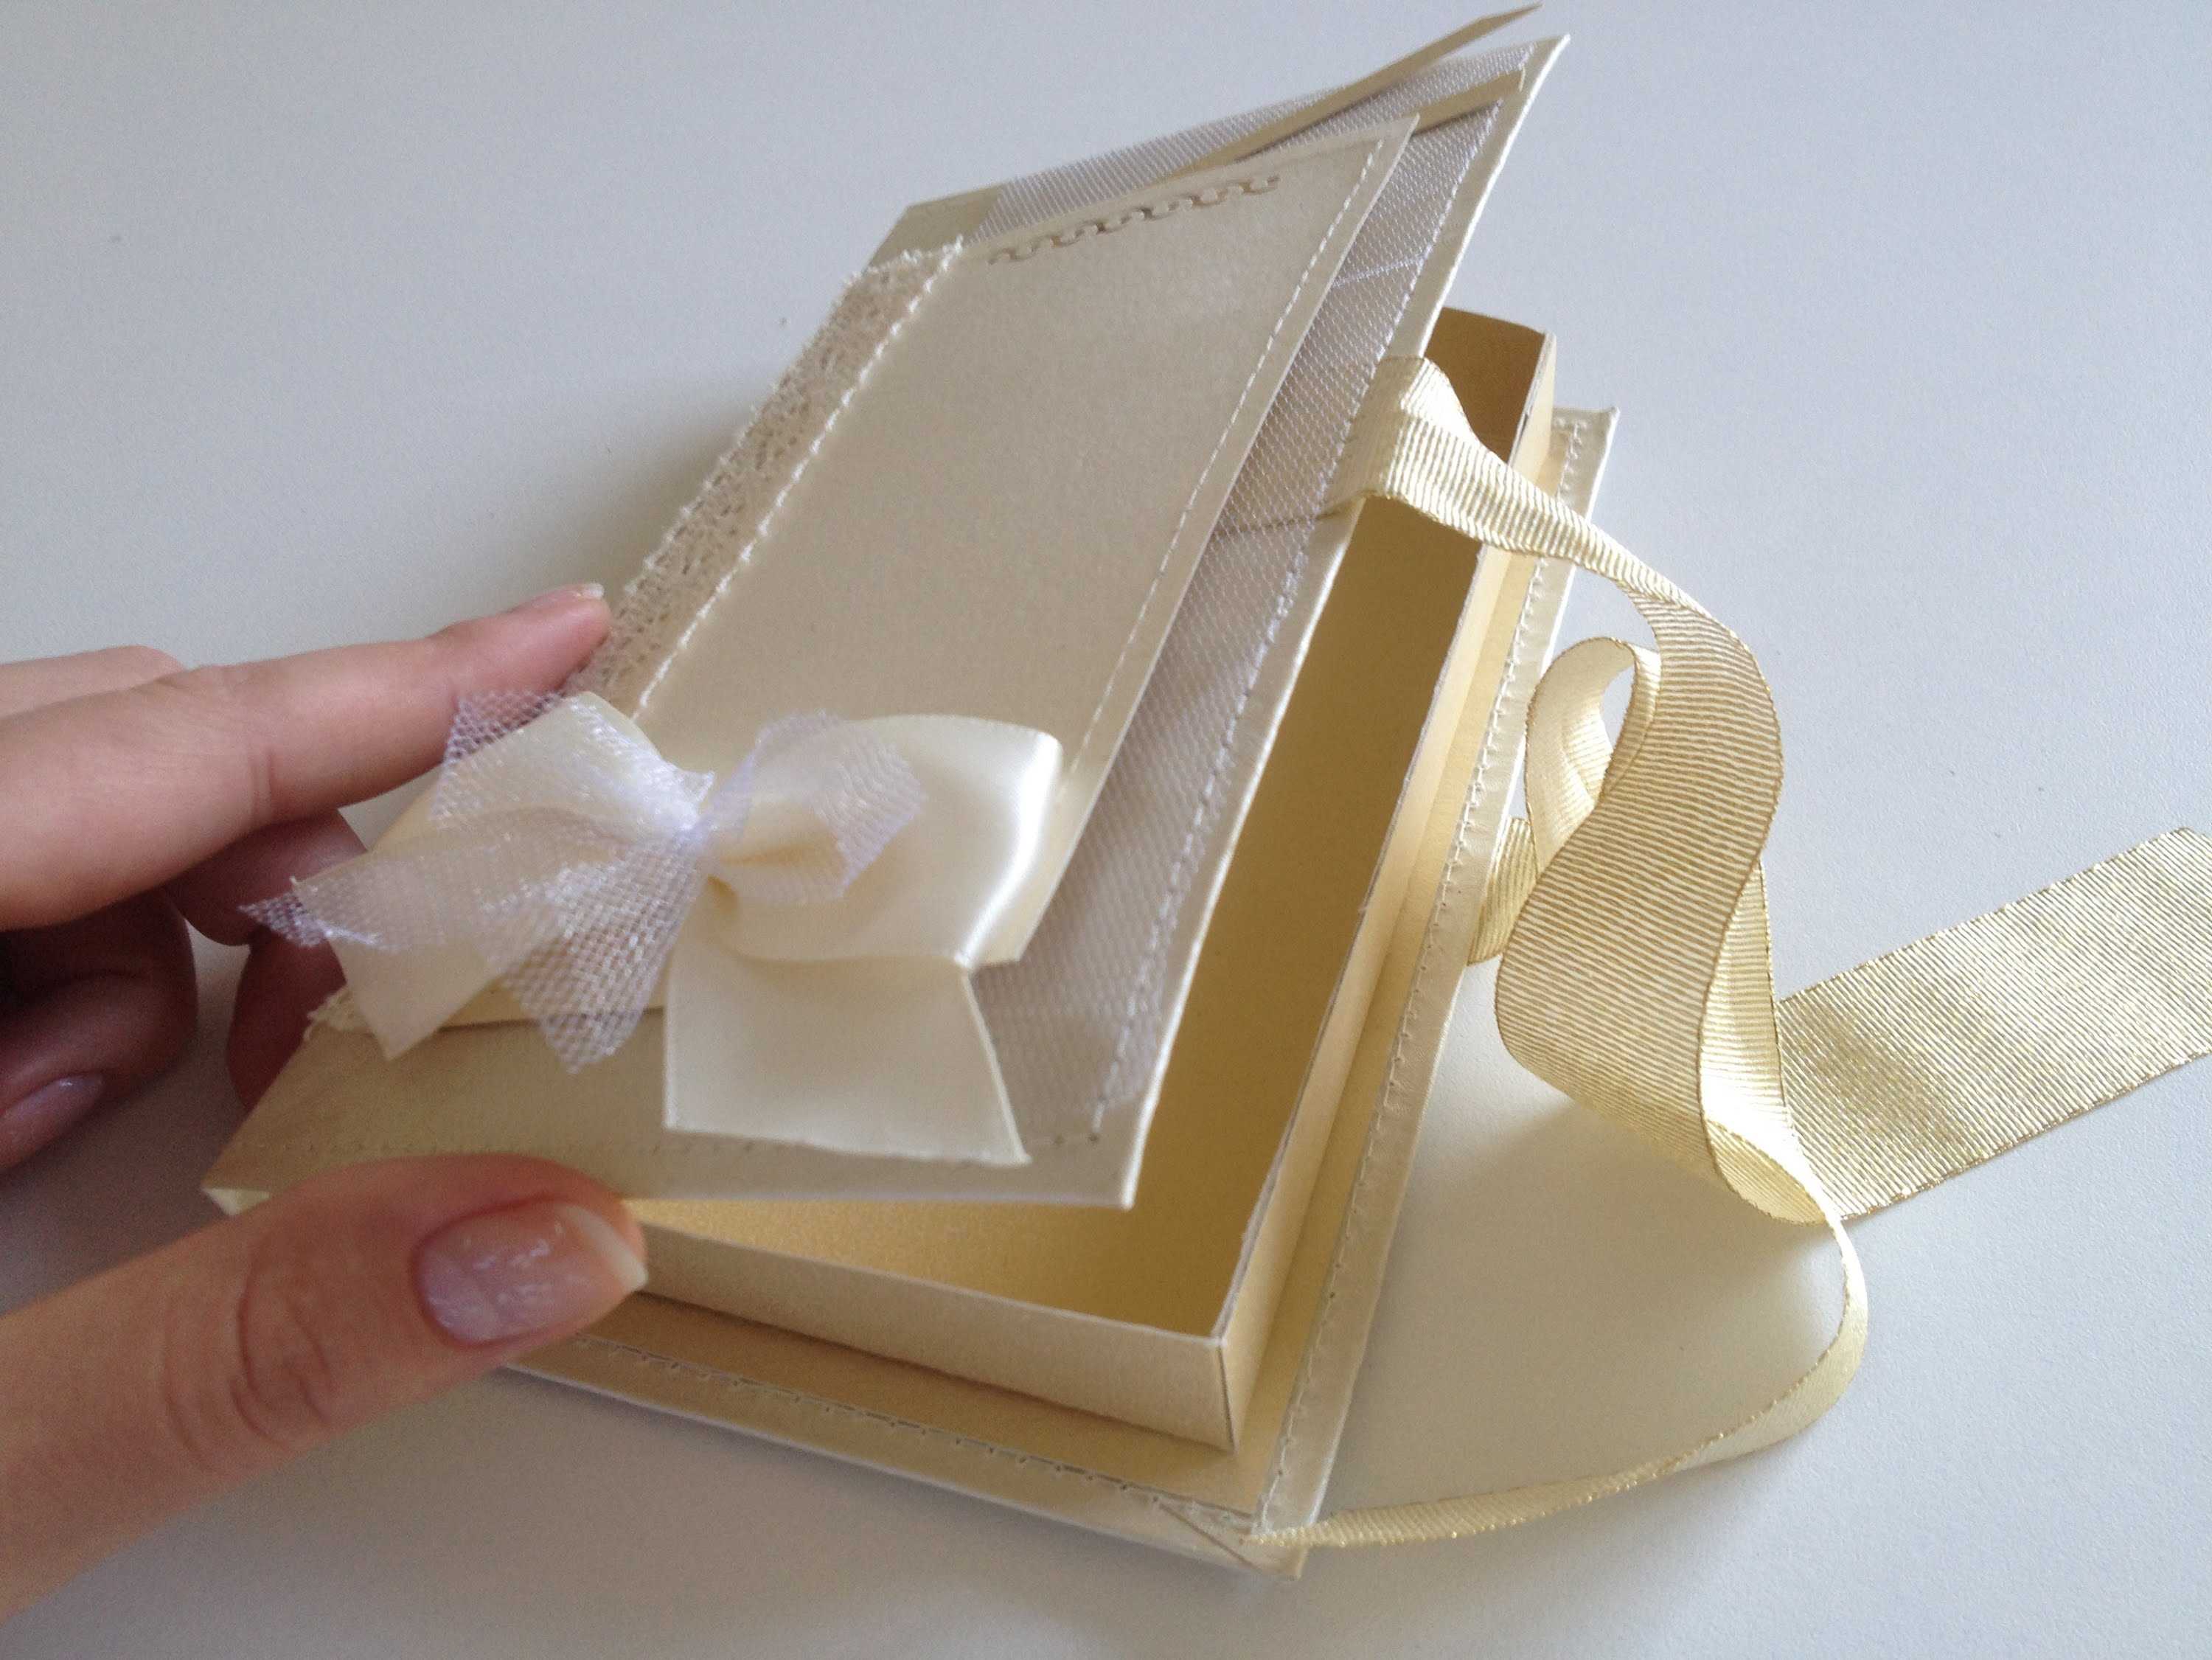
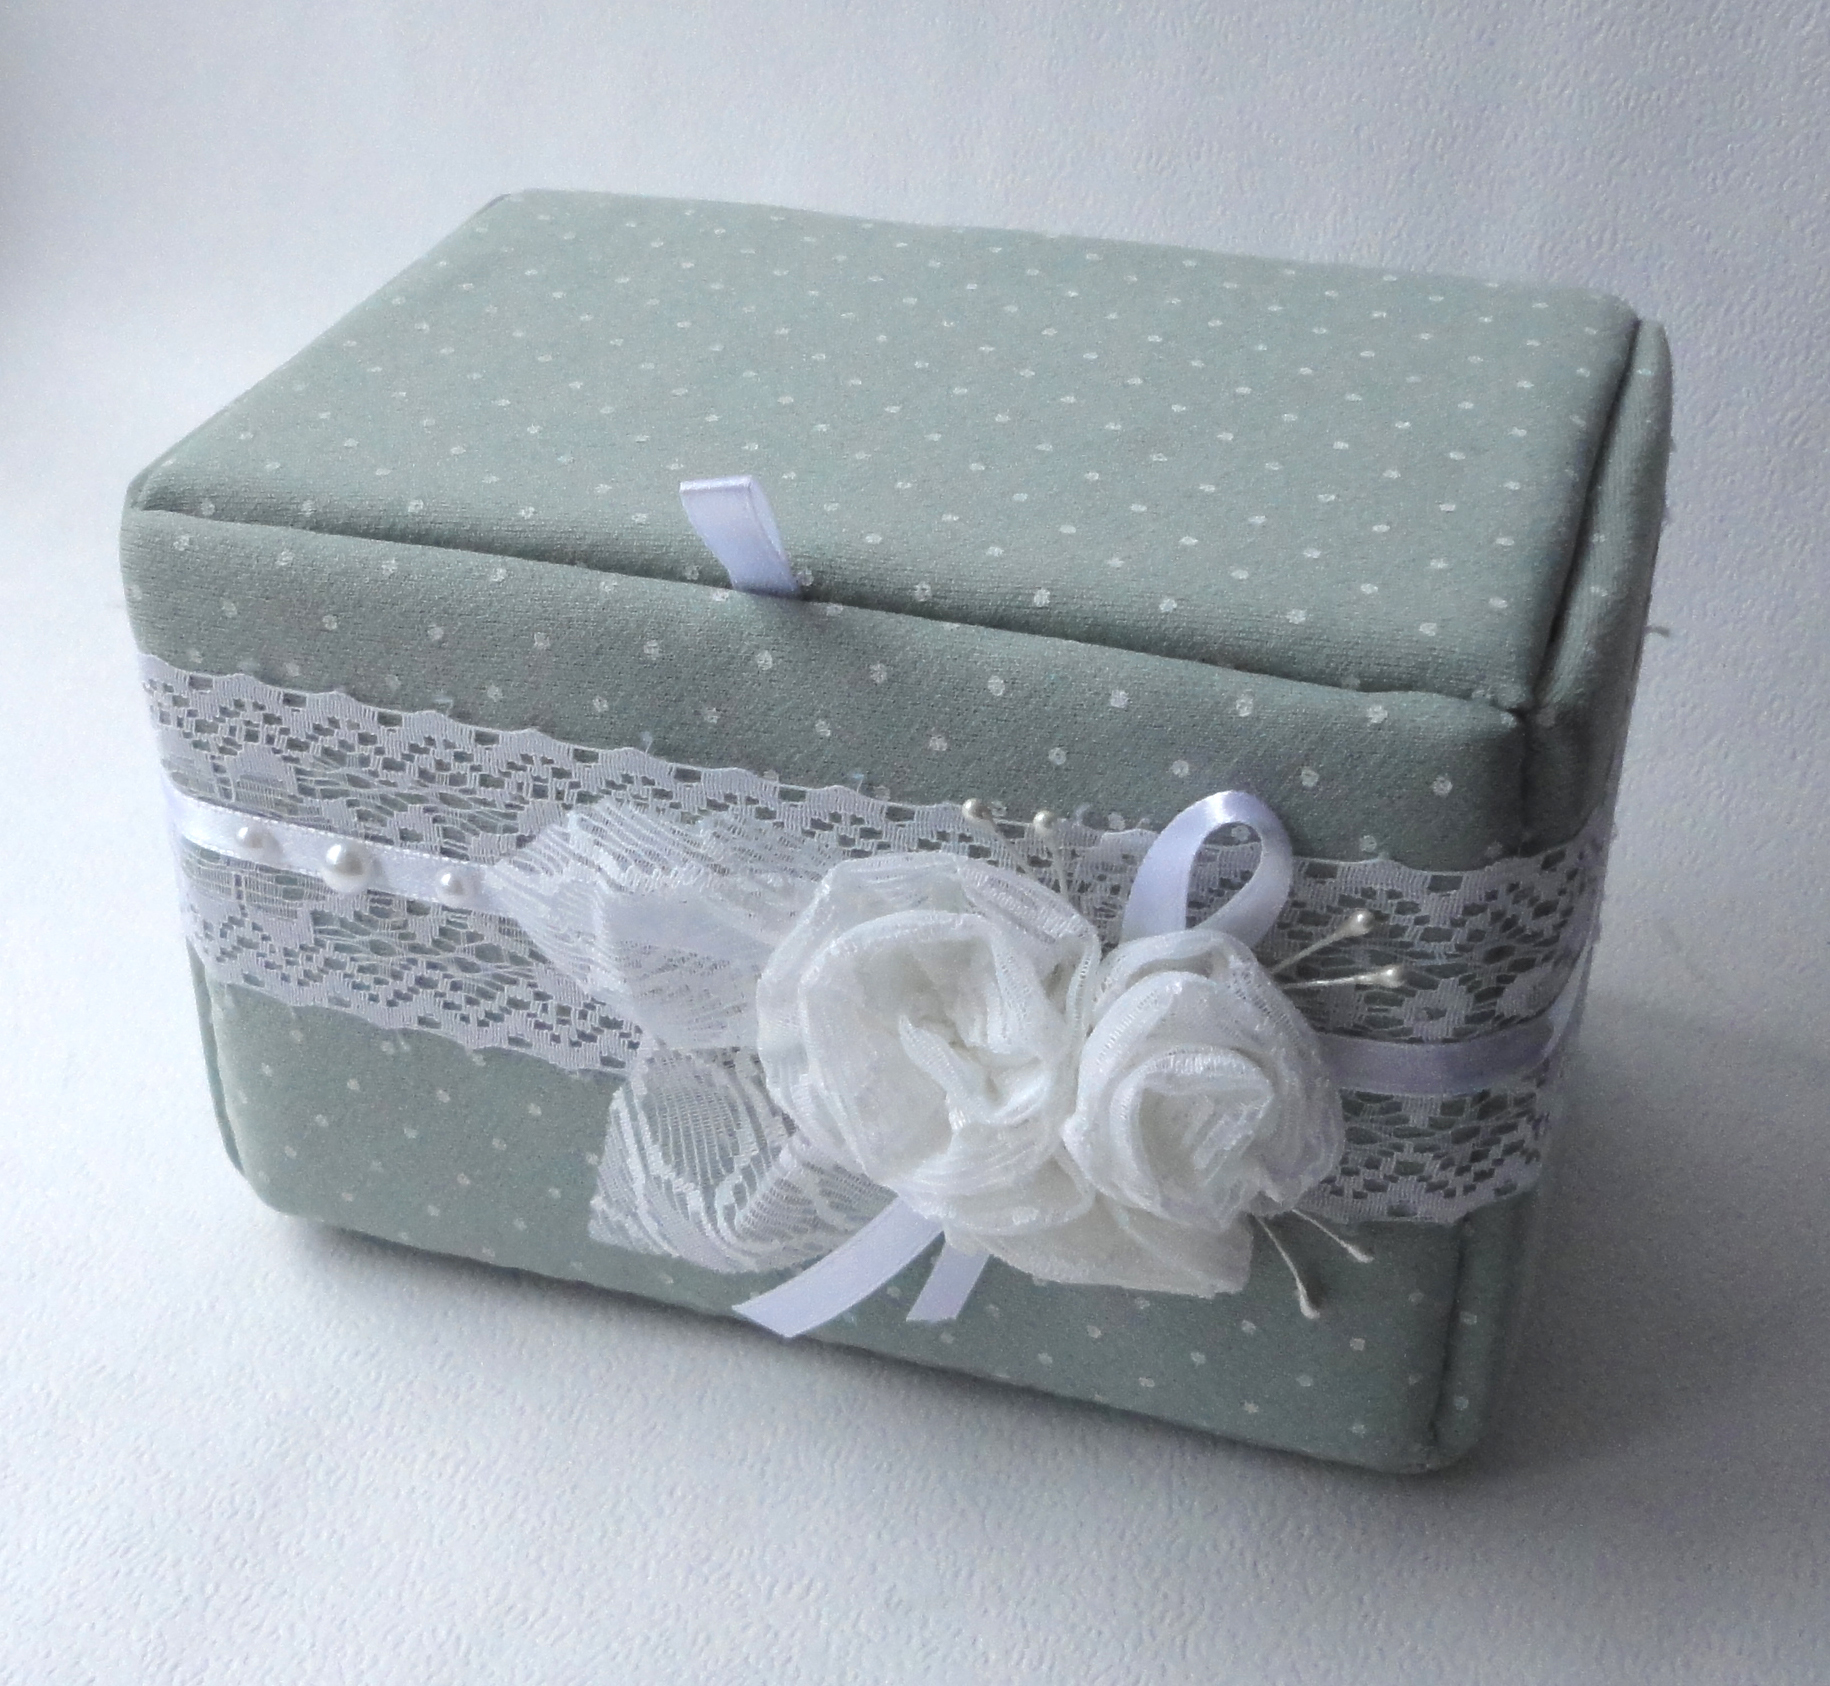
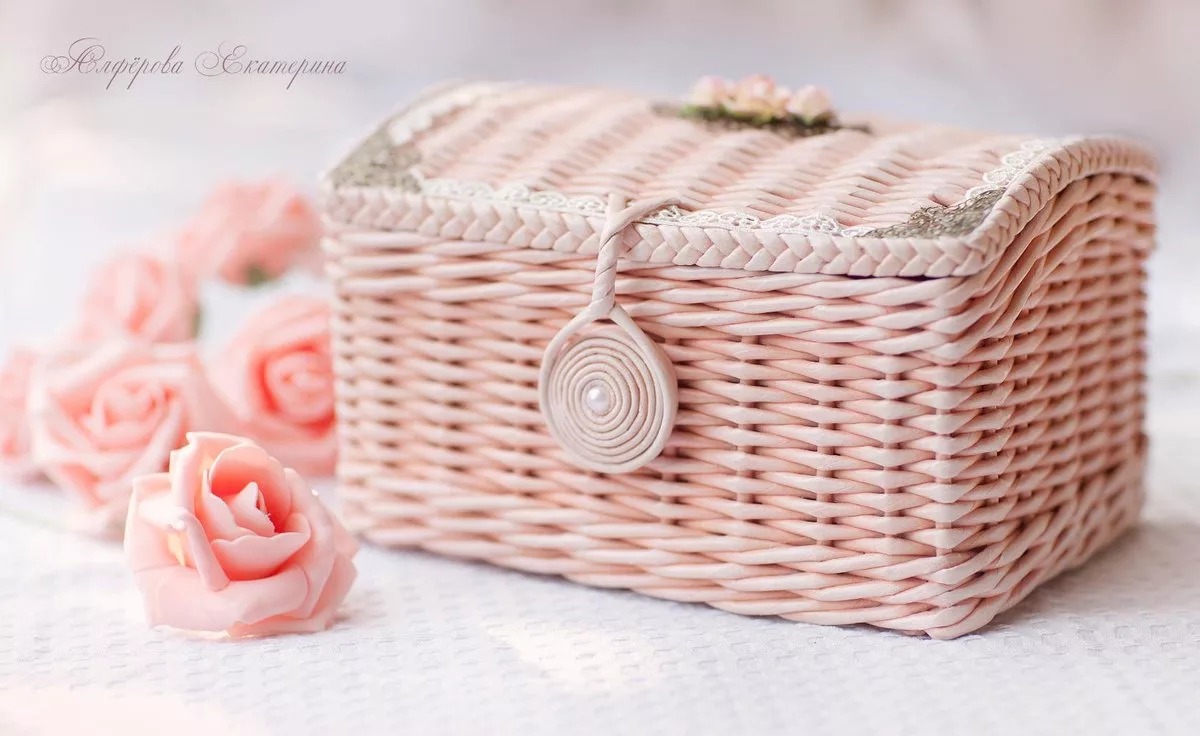
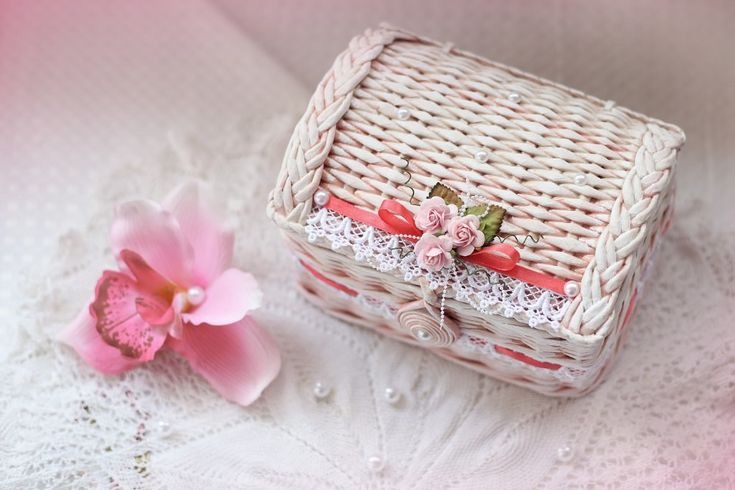
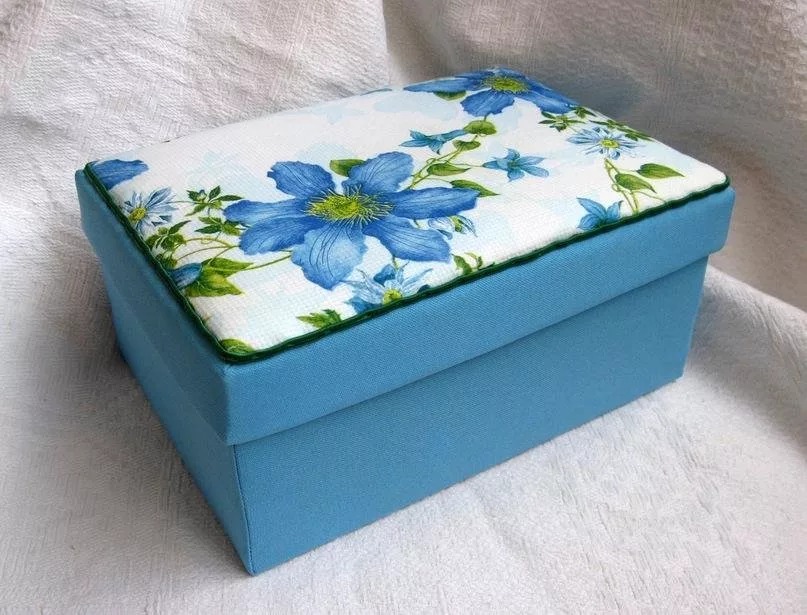
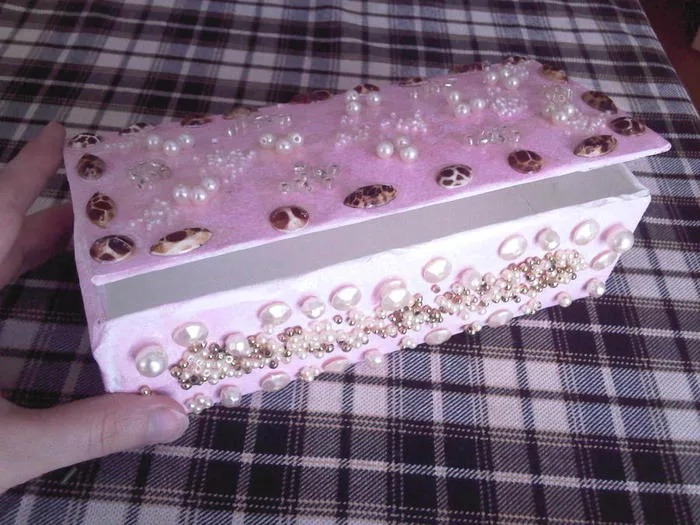
Soft box
Making a soft fabric box will not take much time, and the result will please you for a long time. For work, take a ready-made blank of any shape. Soft material is glued along the entire outer side.
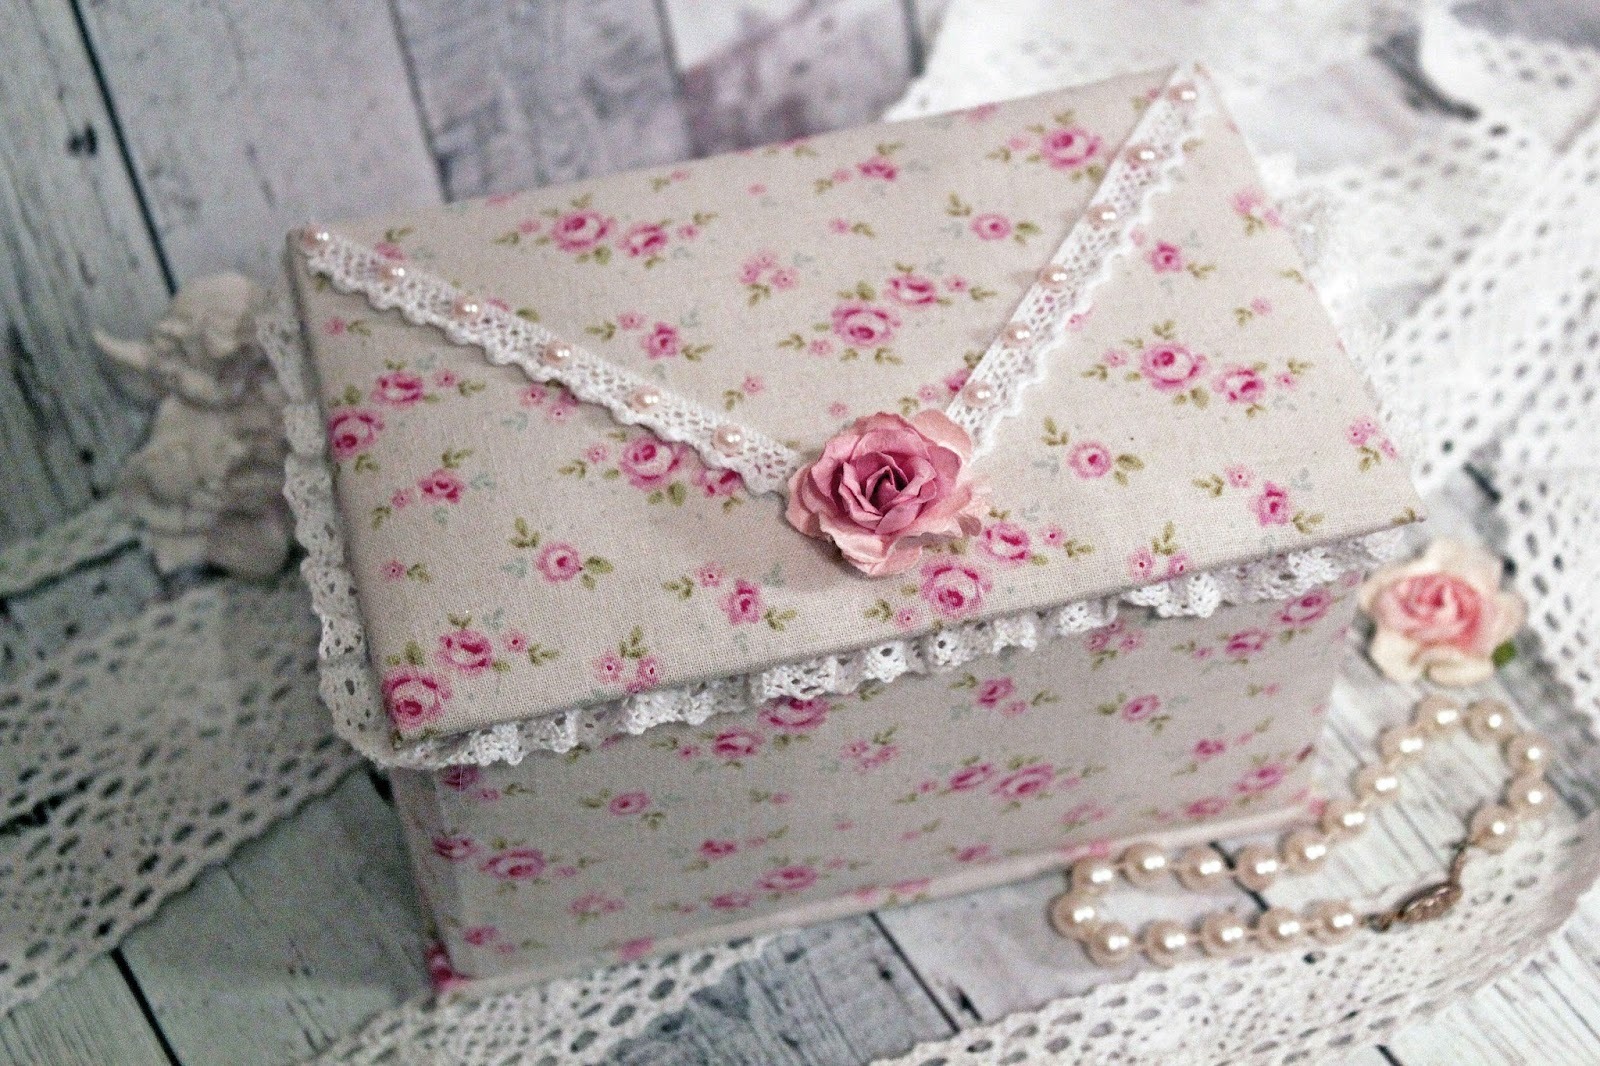
Please note! The amount of fabric is taken twice.
For the bottom, cut out a lighter shade of fabric and also first glue the soft material, and then the fabric.
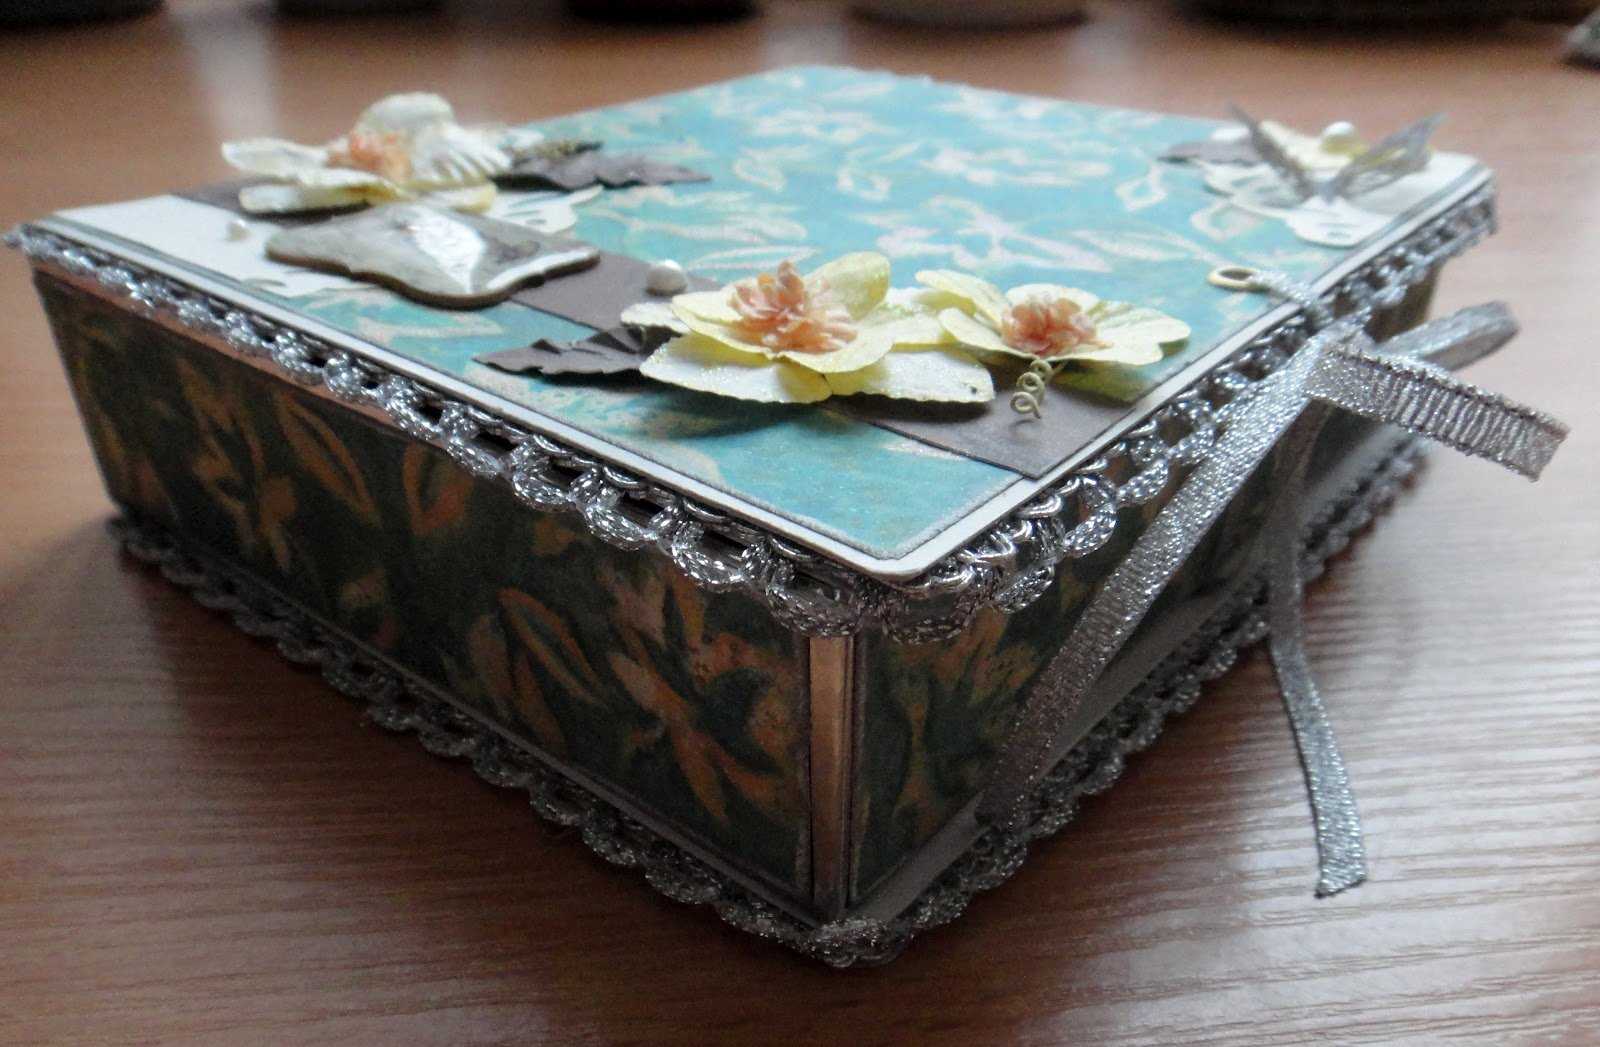
To decorate such a box with your own hands, you can use ribbons, beads, beads, rhinestones. Fabric boxes look festive and elegant.
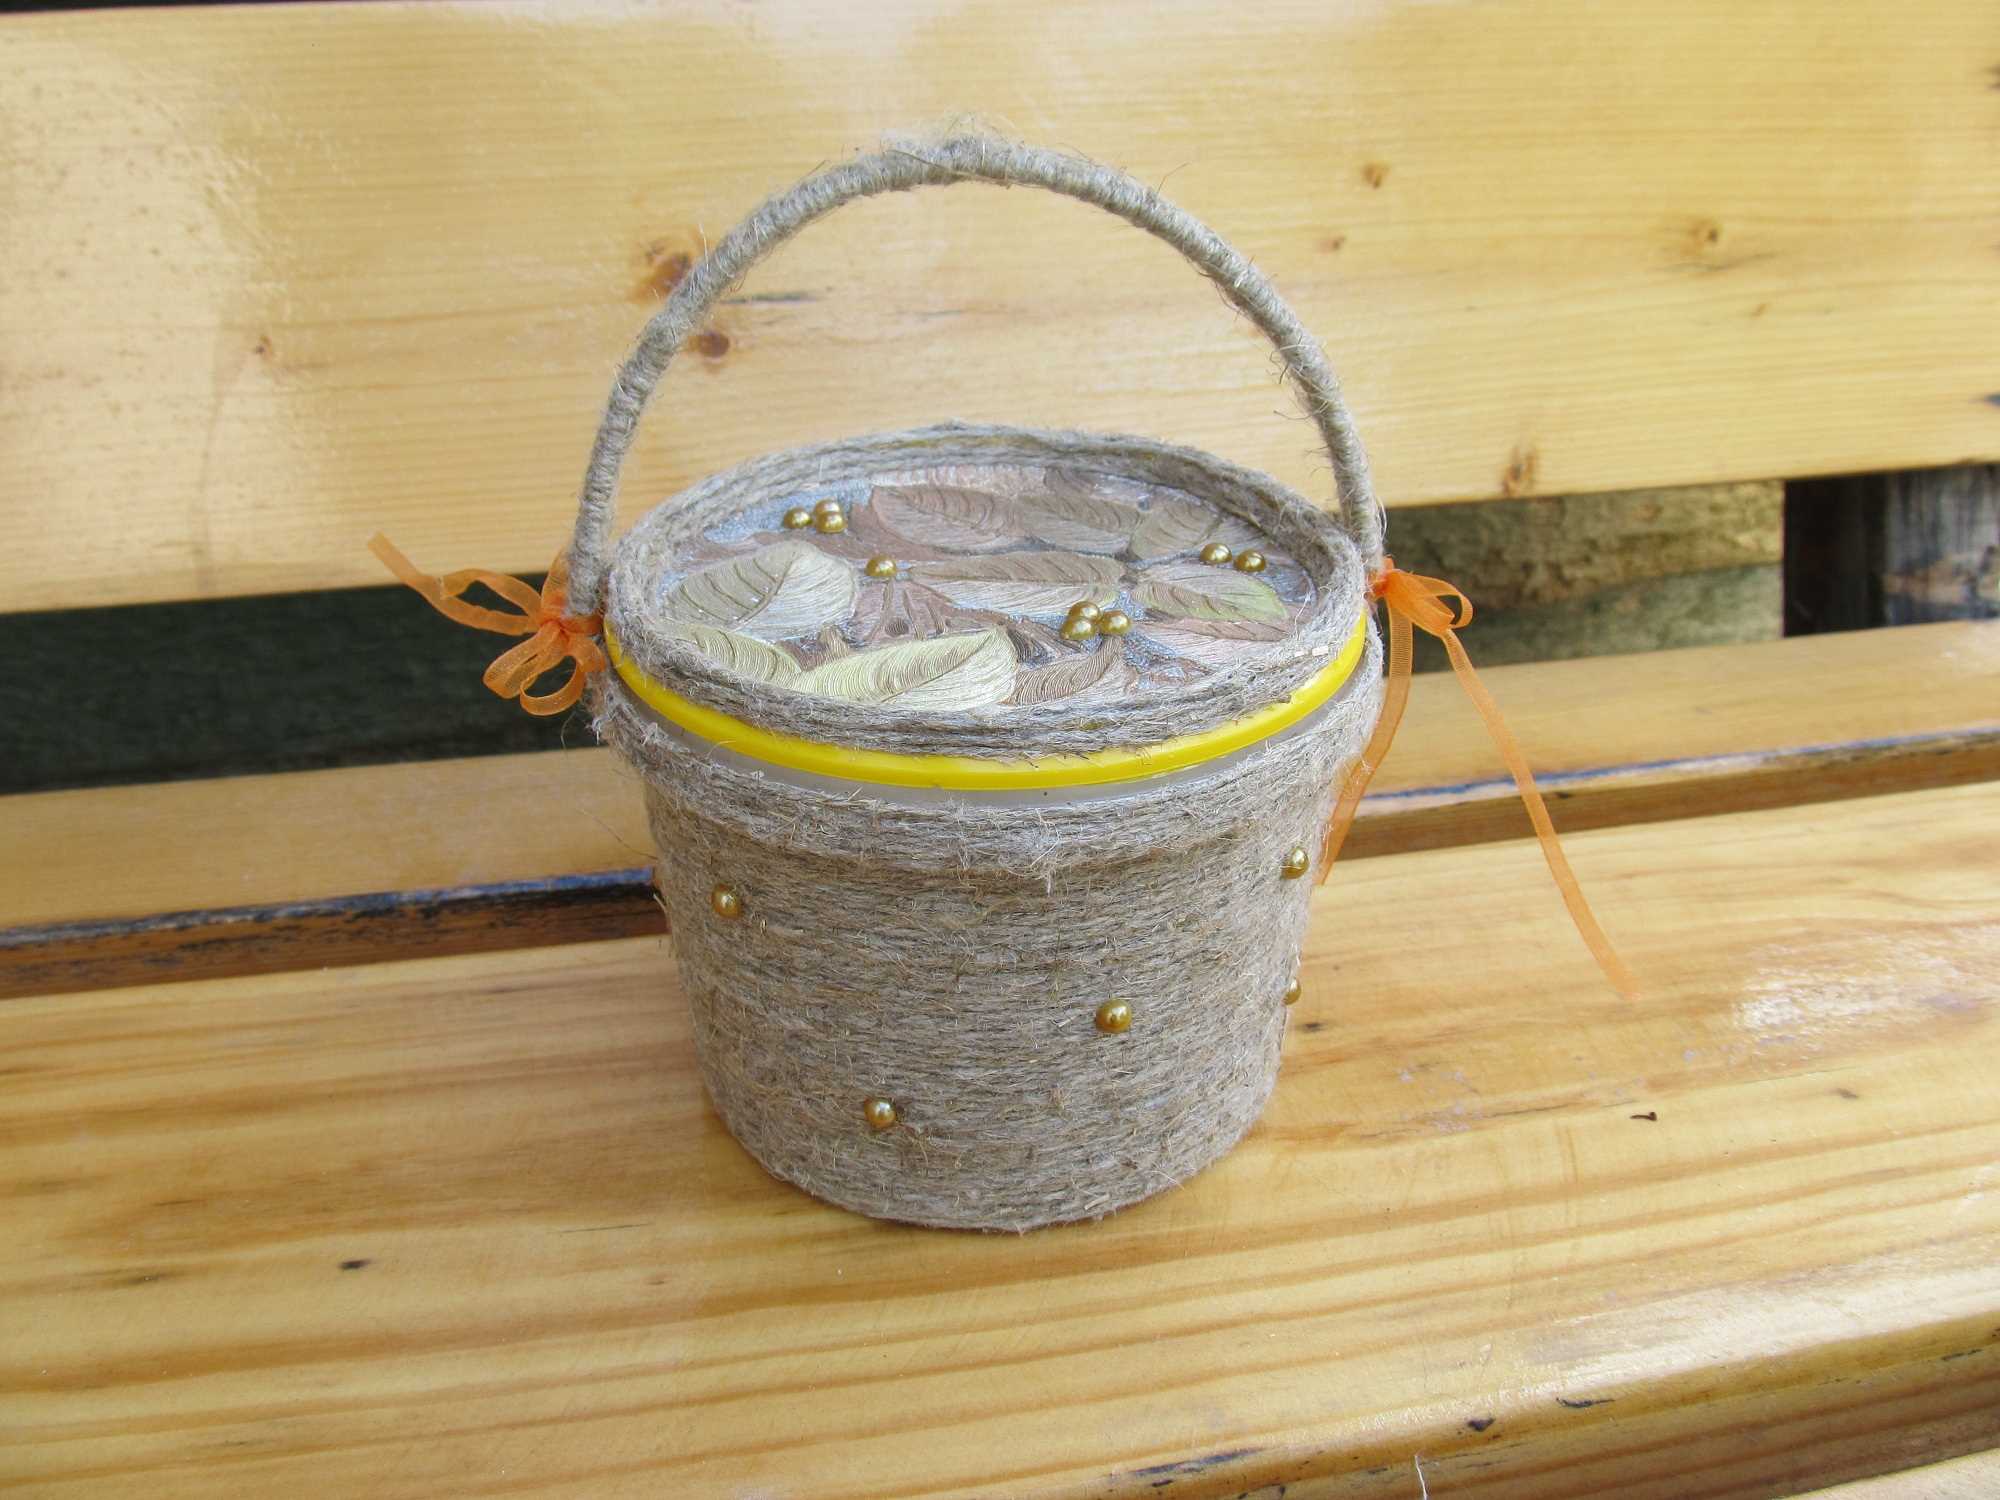
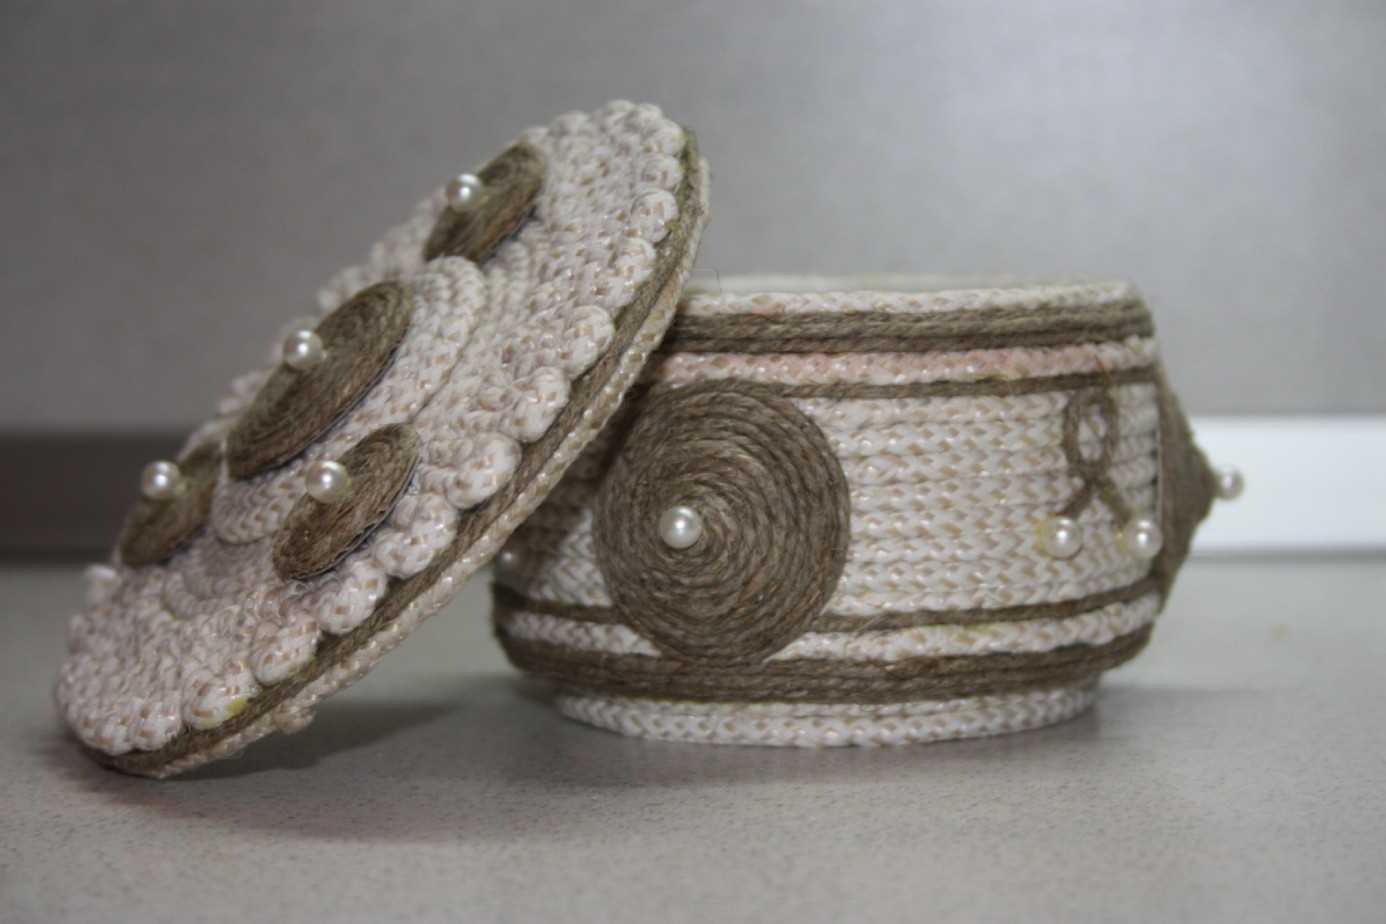
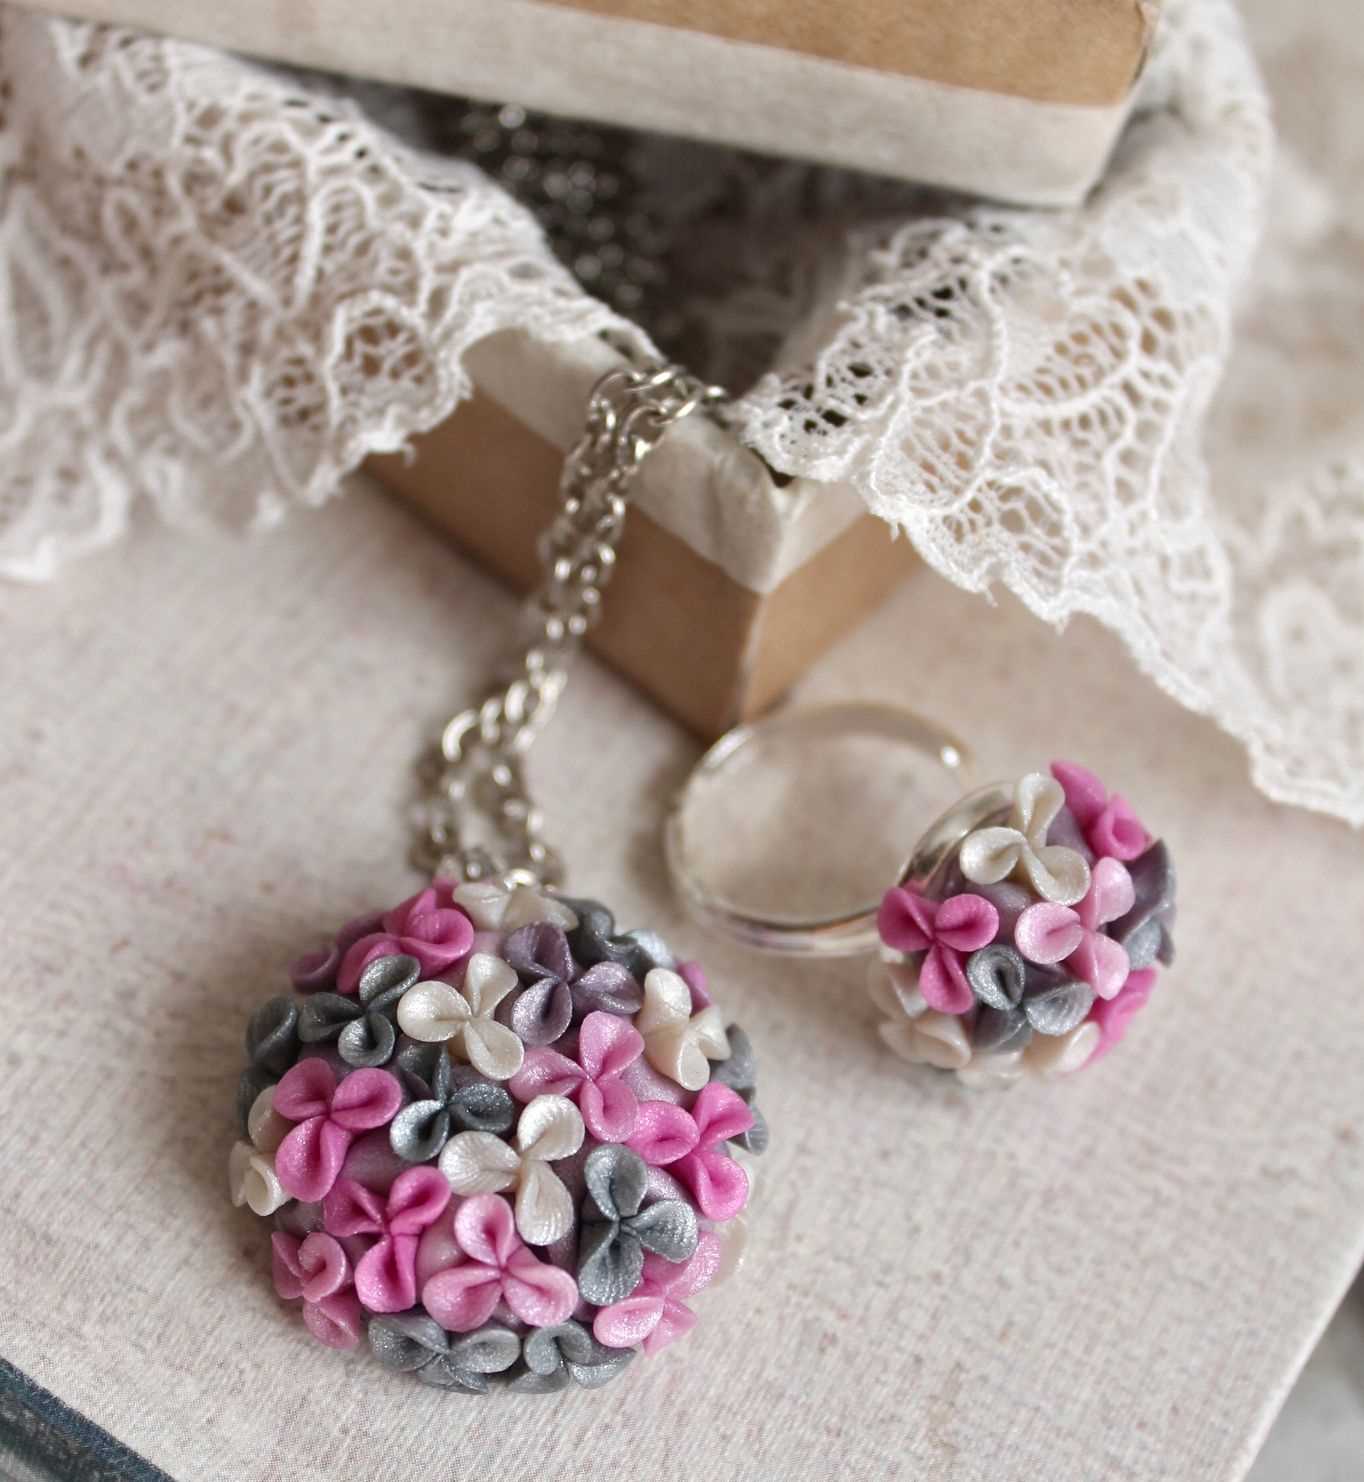
Thread boxes
Another option for making boxes with your own hands at home is threads. These are lightweight boxes that are suitable for a girl.
To work you will need:
- threads;
- cardboard;
- toothpicks;
- decorations.
Any shape is cut out of thick cardboard. Then toothpicks are glued around the perimeter of the figure.
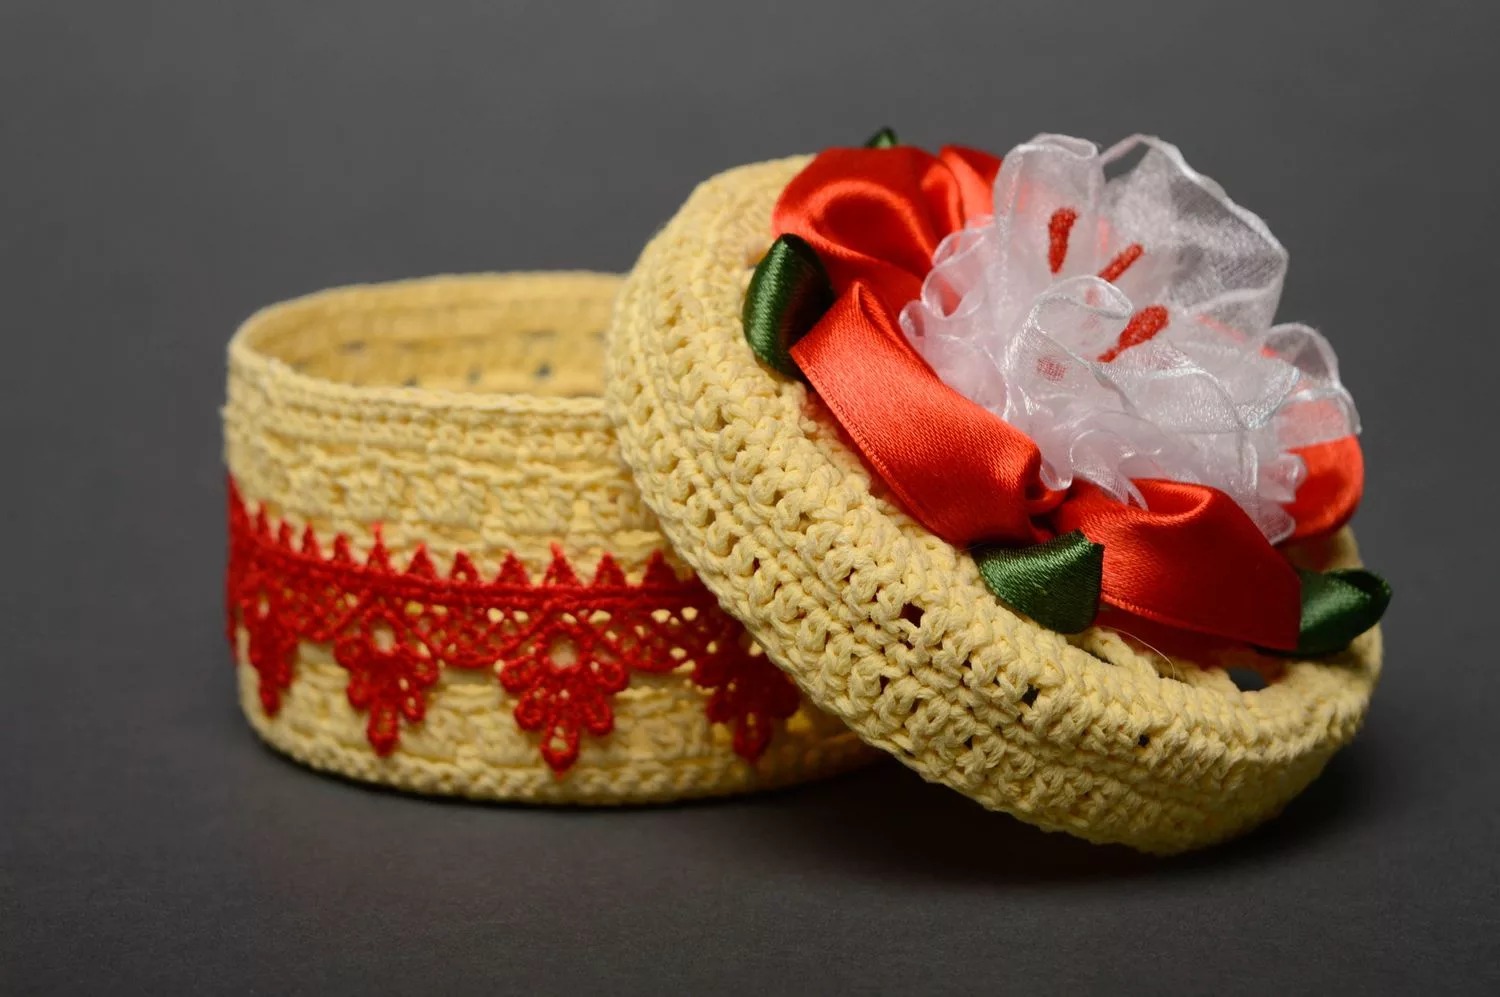
Then they begin to lay the weaving of threads on the toothpicks, bending around every second toothpick. So row after row they reach the end and secure the thread. Beads or beads are put on the ends of the toothpicks. Sometimes they are decorated with a ribbon of rhinestones. Such a beautiful handmade box can be used to store rubber bands or jewelry.
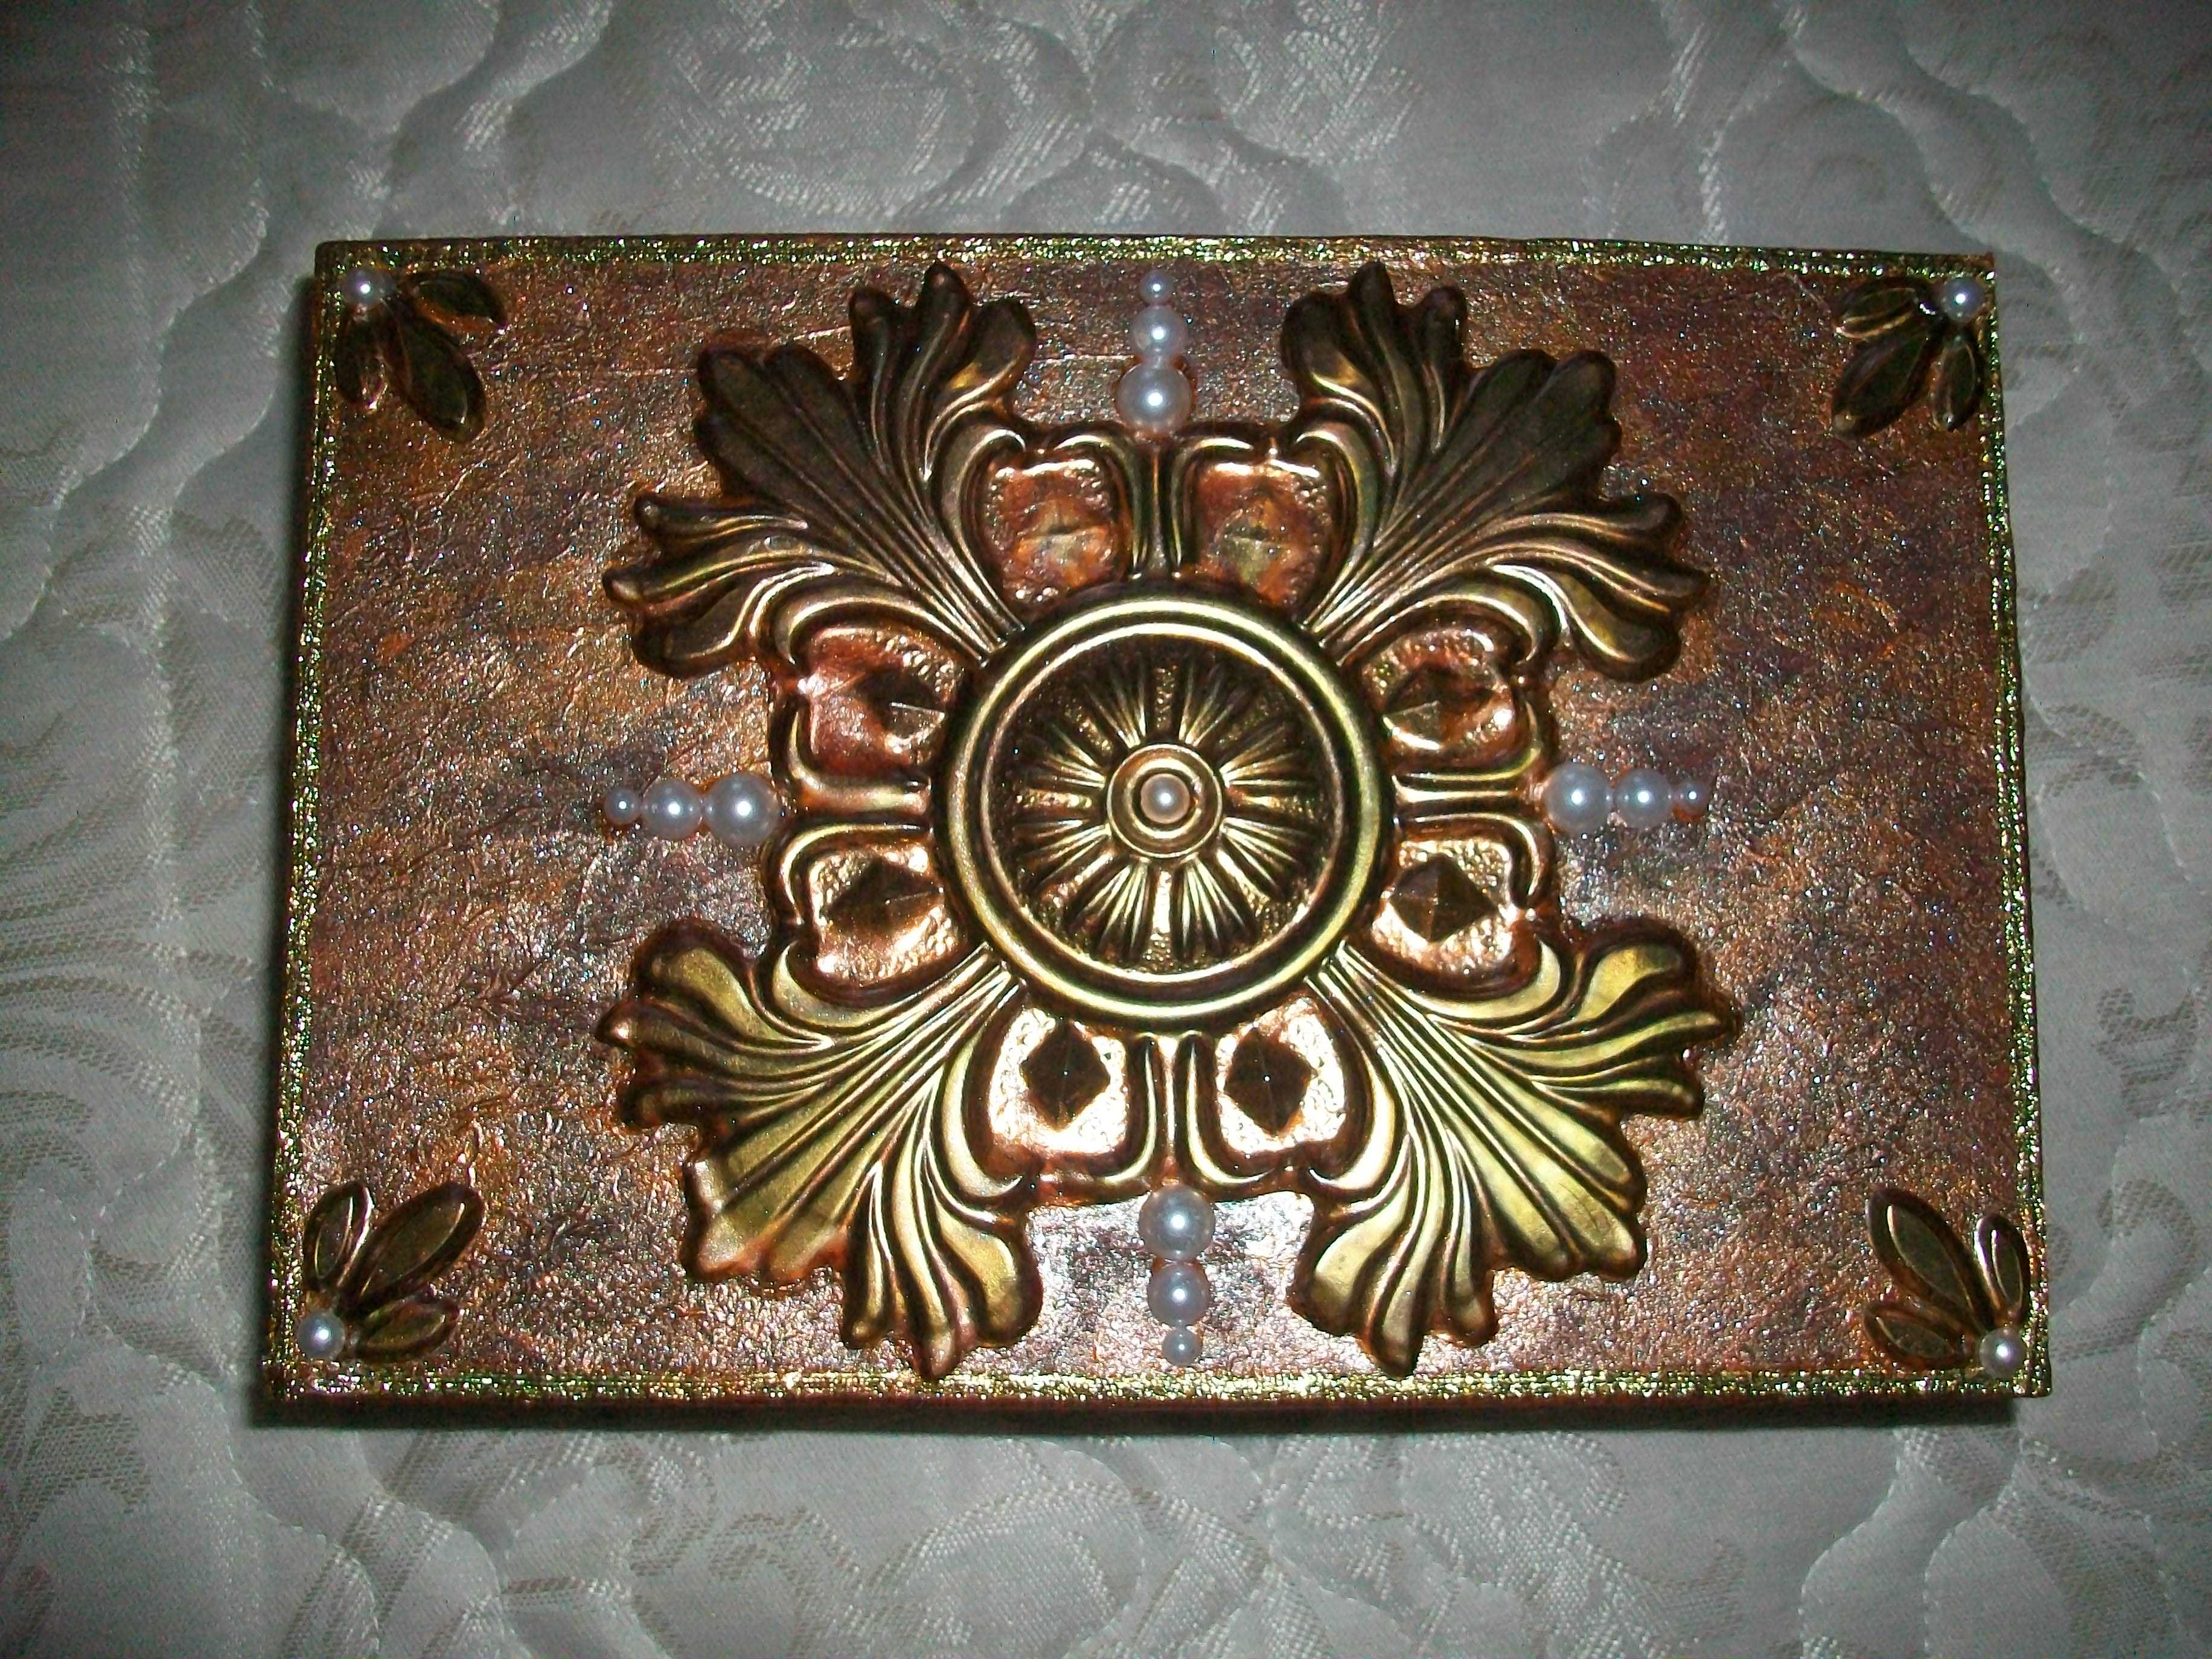
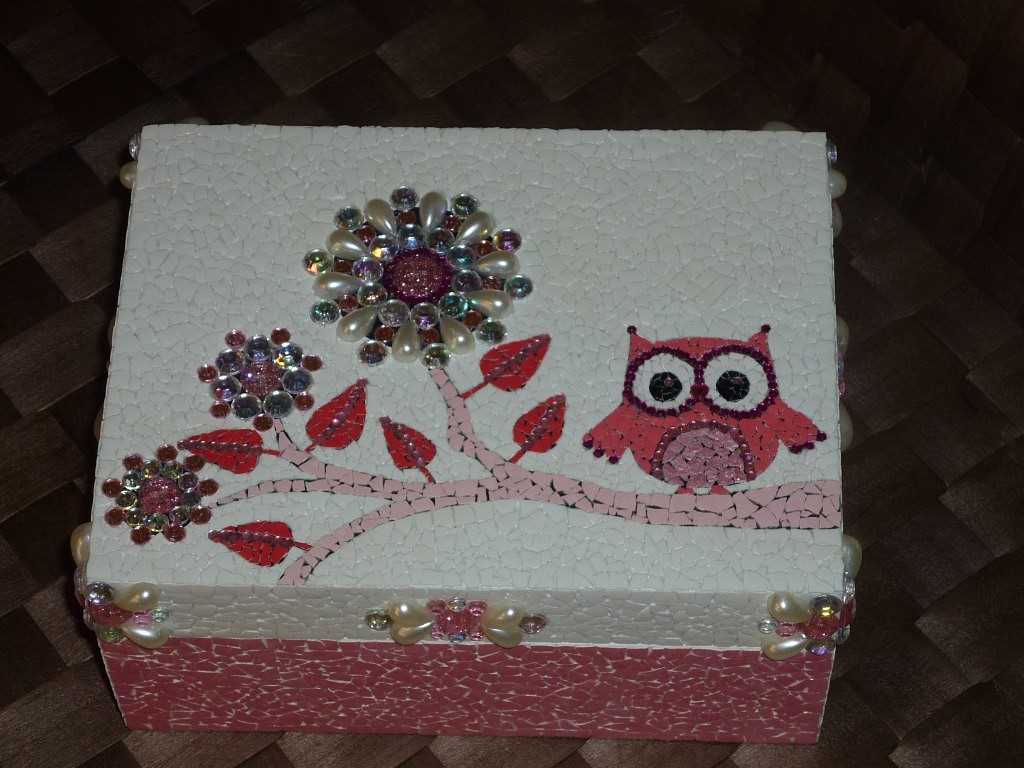
Use vinyl wallpaper
Making a jewelry box with your own hands is very simple and quick. Vinyl wallpaper is used to decorate the box. For work you will also need:
- glue;
- scissors;
- towel.
Then, using glue, glue the wallpaper and press it firmly onto the surface. After the product dries, it is covered with transparent varnish or glitter paint.
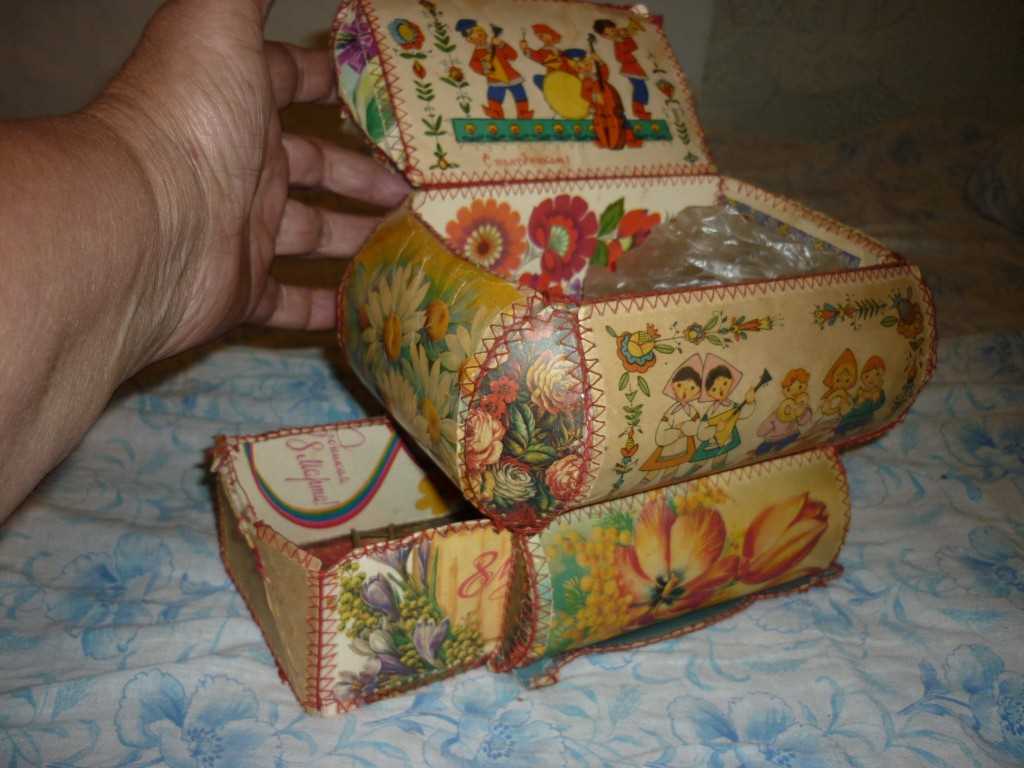
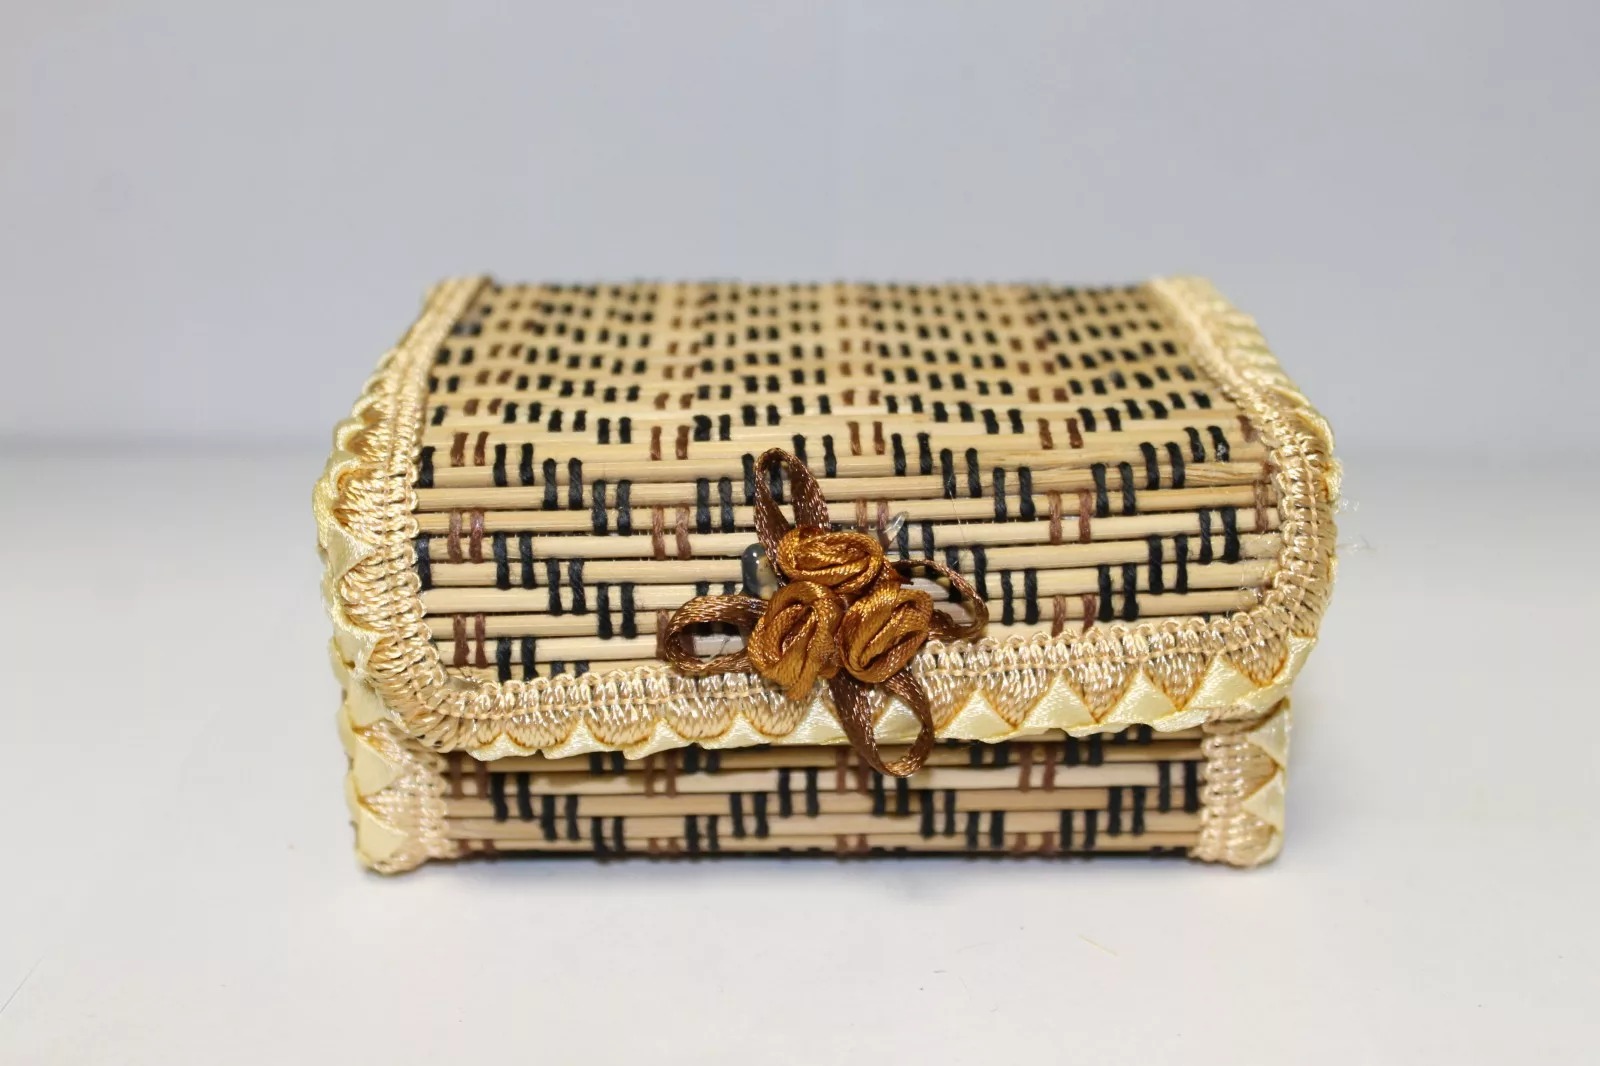
Bamboo Napkin Boxes
A jewelry box is made with your own hands from a bamboo napkin. For this, thick fabric is sewn around the entire perimeter.

Important! Pay special attention to the place where the napkin and fabric are fastened.
Then the base and sides are connected so that the lid remains at the top. The edge of the lid is decorated with a beautiful seam or ribbon. For the fastener, use a ready-made fastener or a thread and a loop.
Making different boxes with your own hands is a very exciting process. Boxes are sewn from fabric, boxes are made from paper and from any available means. A decorative box made with your own hands will be a great gift, a sign of attention for friends and relatives.
VIDEO: DIY soft decorative box.
50 original options for boxes made from improvised means: