Euro screw is a fastener, also called confirmat, known since the early 1990s. This screw is also called Euro screw or simply "eureka". The name comes from the Confirmat trademark, under which it is produced by the German company Hafele. In the USSR, confirmat was learned only in 1973.

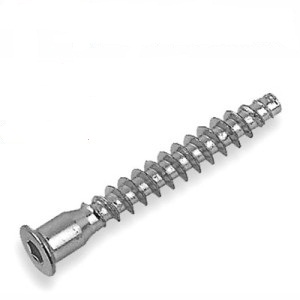
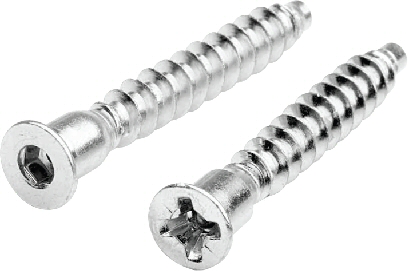
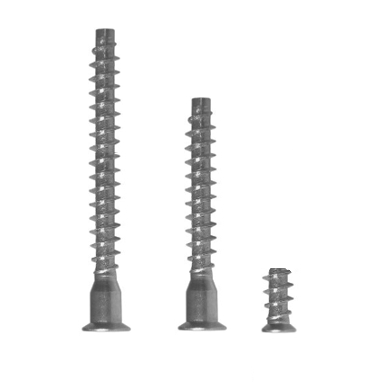
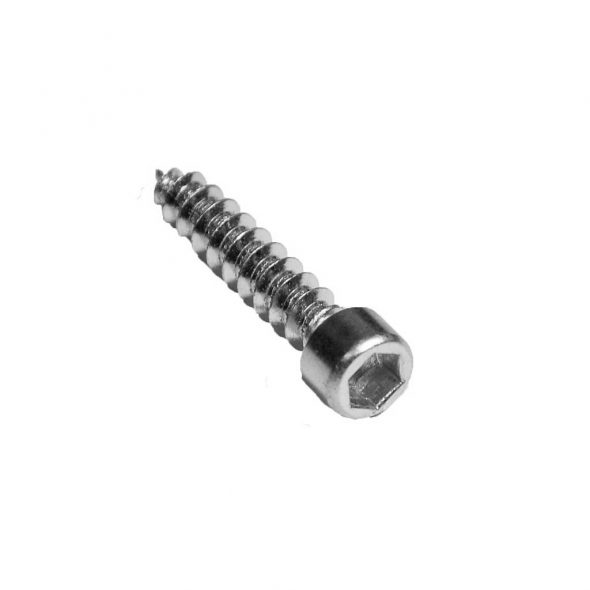
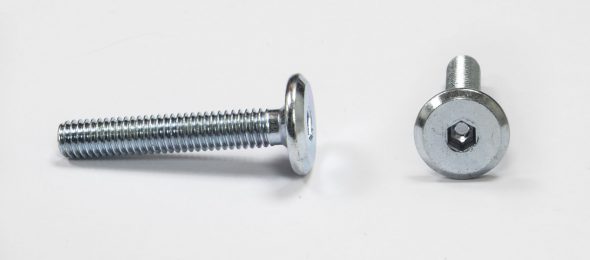
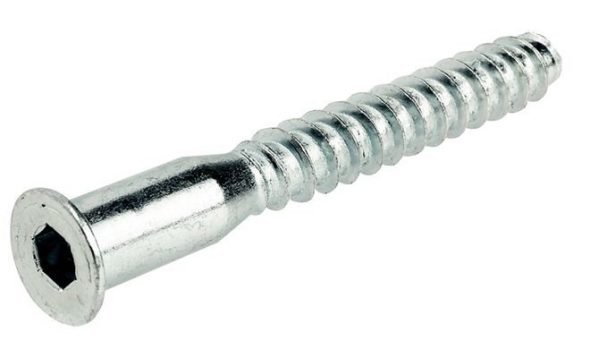
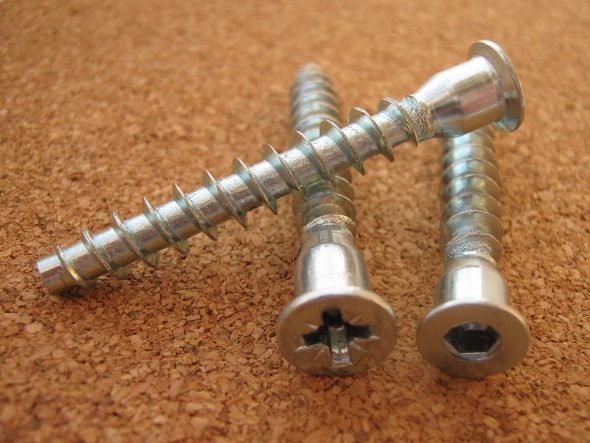
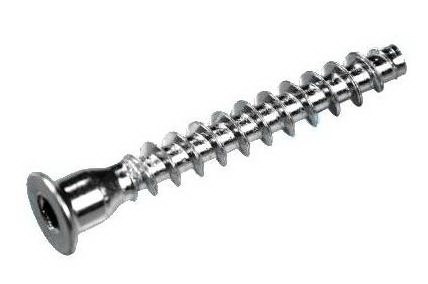
The confirmat looks like a screw with a flat end, but with a countersunk head on six or four edges. It has threads with serrations at the bottom. In the upper part of the screw, near the head, there is no thread due to uselessness, since the confirmat is much thicker than the screw and the upper part of the thread does not play any role in the reliability of the fastening. Euro screws for furniture are made of high-strength carbon steel, which allows you to easily remove them from the material if used incorrectly.
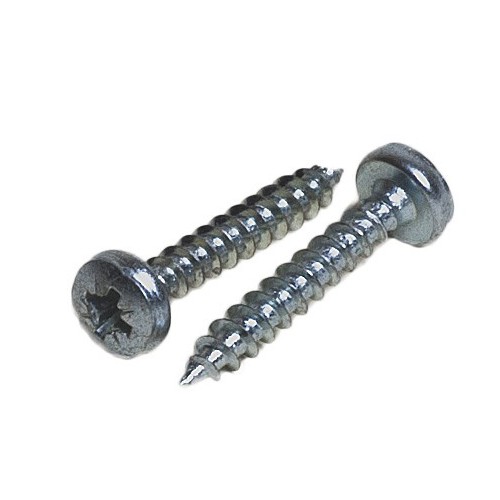
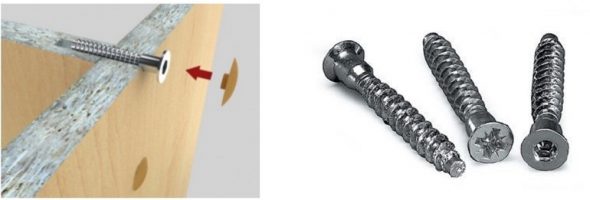
The advantages of a confirmat over a regular screw are great, because it not only pulls the parts together, but also holds them firmly from lateral displacement. The connected parts on a screw will not sit tightly enough. Due to the fragility of the chipboard, the use of screws does not live up to expectations. Chipboard is a fairly soft material and the reliability of the screw depends on the place where it is screwed in. The confirmat will hold securely and firmly even if there are pores in the chipboard.
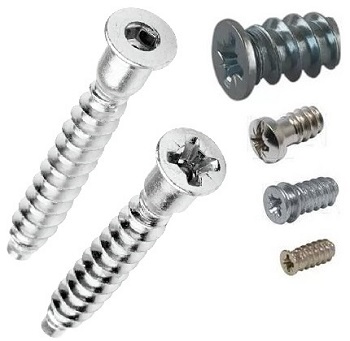

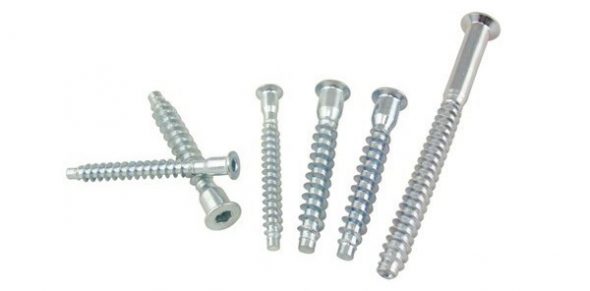
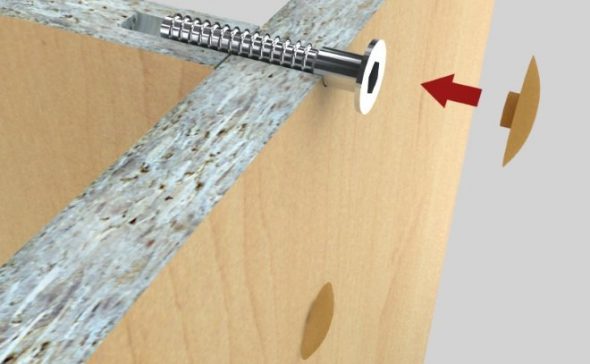
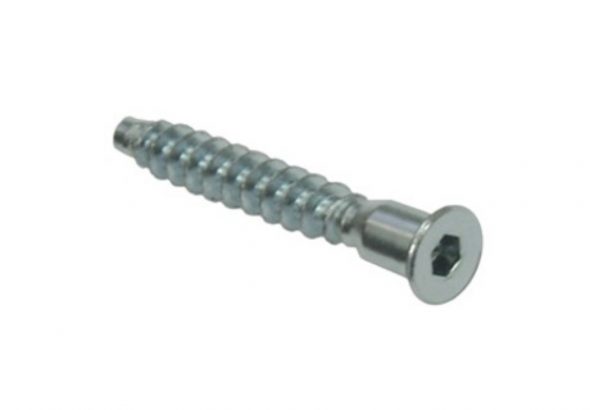
Using Euro screws, you get high reliability of sections pulled together with this fastener. The cost, in relation to any product, is a penny. Confirmat is easy to install and withstands heavy loads. The disadvantage is the uncovered fastener, the cap is visible. It needs to be covered with a plug or a sticker in the color of the chipboard. Another disadvantage is a certain number of furniture assemblies, often no more than three times, because with frequent disassembly of furniture, the thread can break.
How to connect?
To connect two parts of laminated chipboard (the thickness of one sheet is 16 mm), a Euro screw is used. One of the most cost-effective and accessible methods today. To install it, you will need:
- drill;
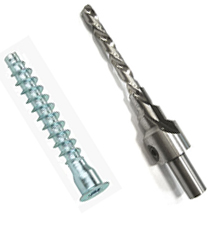
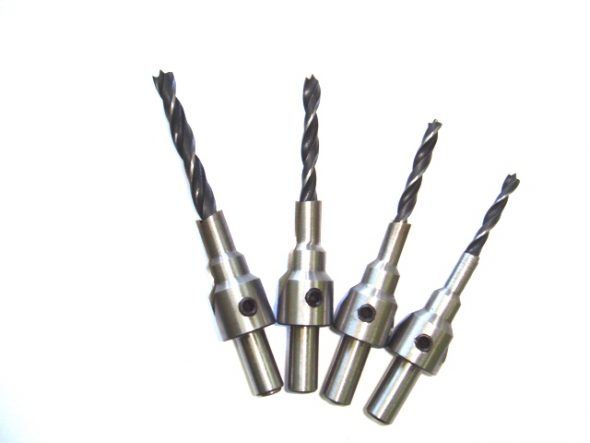
- 4.5 mm and 7 mm drills or a “confirmat” drill;
- handle, square, Allen key.
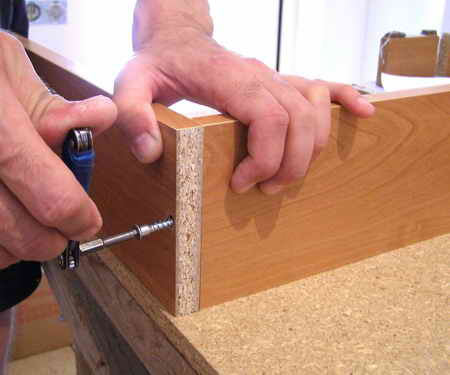
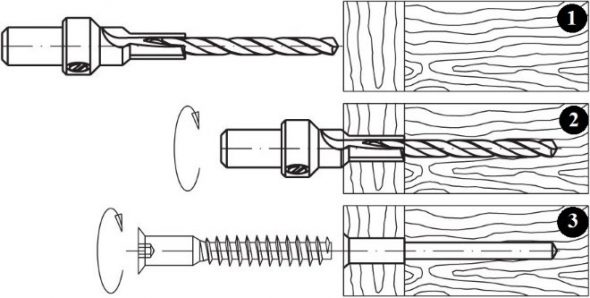
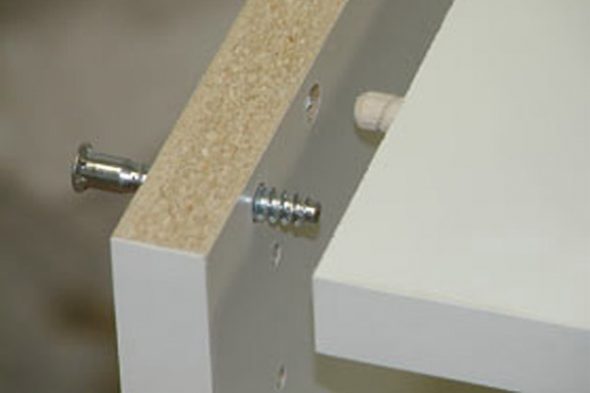
You need to pull together two 16 mm thick parts. We step back 8 mm vertically from the part and draw an axial line, put a dot. We make a hole using a drill with a diameter of 7 mm. We do the same on the second part, only we take a drill with a diameter of 4.5 mm. If you have a "confirmat" drill, the work is reduced several times, but such a drill is quite difficult to find. All you need is to make a hole and connect the two parts together. Using such a drill is rational in case of a large volume of work and repeated use. Buying such a drill for "one-time" use is impractical.
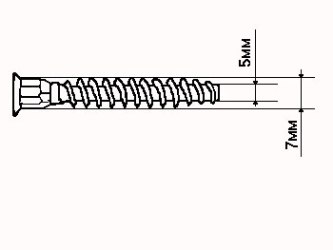
When assembling furniture, a 6.4*50 confirmat is used. To connect the parts qualitatively, the diameter of the hole should be 4.5-5 mm. and a depth of 50 mm.
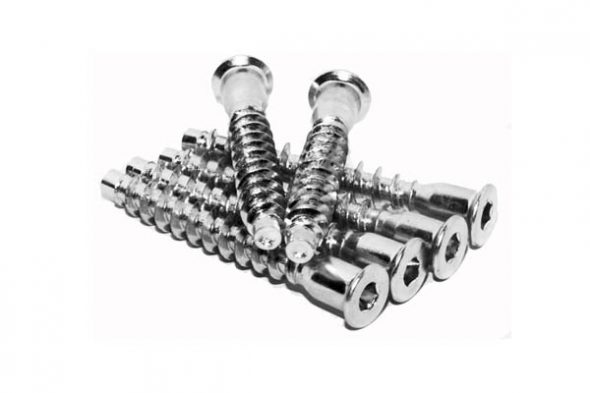
Sizes of confirmats
The required parameters are usually calculated based on the external thread.
The most common sizes of Euro screws:
- length: 40 (millimeters), thread diameter: 5 (millimeters);
- length: 50 (millimeters), thread diameter: 5 (millimeters);
- length: 40 (millimeters), thread diameter: 6.3 (millimeters);
- length: 40 (millimeters), thread diameter: 6.3 (millimeters);
- length: 40 (millimeters), thread diameter: 7 (millimeters);
- length: 50 (millimeters), thread diameter: 7 (millimeters);
- length: 60 (millimeters), thread diameter: 7 (millimeters);
- Length: 70 (millimeters), thread diameter: 7 (millimeters).
The main thing here is to maintain all the dimensions. Otherwise, the confirmat will fall out, or, on the contrary, will tear the chipboard, and you will ruin the furniture. The confirmat drill also makes a recess for the head. The holes are made strictly according to the markings and the drill must be held parallel to the surface. To avoid chipping, a sheet of chipboard or plywood is placed on the back side. An important point: when drilling the end of a part, the drill must be strictly perpendicular to its end, otherwise, if deviated, the drill will go to the side, and the part will be ruined. When drilling into the plastic of the part, the perpendicularity of the drill to the part is important. To avoid the drill coming off, use a regular awl. With it, a small recess is made in the plastic and end. After connecting (pulling) the two parts, they can be adjusted with a rubber mallet.
Another option is to drill the parts together. This method is not only fast, but also precise. Only for this you need to securely fix the parts with clamps. This saves your time and speeds up the assembly process.
In the end, using a confirmat is completely justified. You don't need any special tools to install it. All you need is to order the required number of confirmats. It's unlikely that you'll get a quality tie the first time, but after making a couple of ties, everything will work out. As they say, the eyes are afraid, but the hands are doing.


The captions under the pictures do not correspond to the content. For example, under the heading “Sizes of confirmat screws” there is a photo and the caption: “The disadvantage is that the fastener is not covered, the head is visible.” Why do we need confirmat screws with a visible head? But the shape of the fastener does not look like a confirmat screw (or maybe it is a subtype of confirmat screws?) Then why is there a photo in the chapter on confirmat screw sizes? And so it is throughout the text. Another caption under the photo: “Has serrated threads at the bottom.” Where are the serrations, I ask? They are not visible in the photo! The article is useless for professionals, they already know. The article is harmful for beginners – it is misleading.