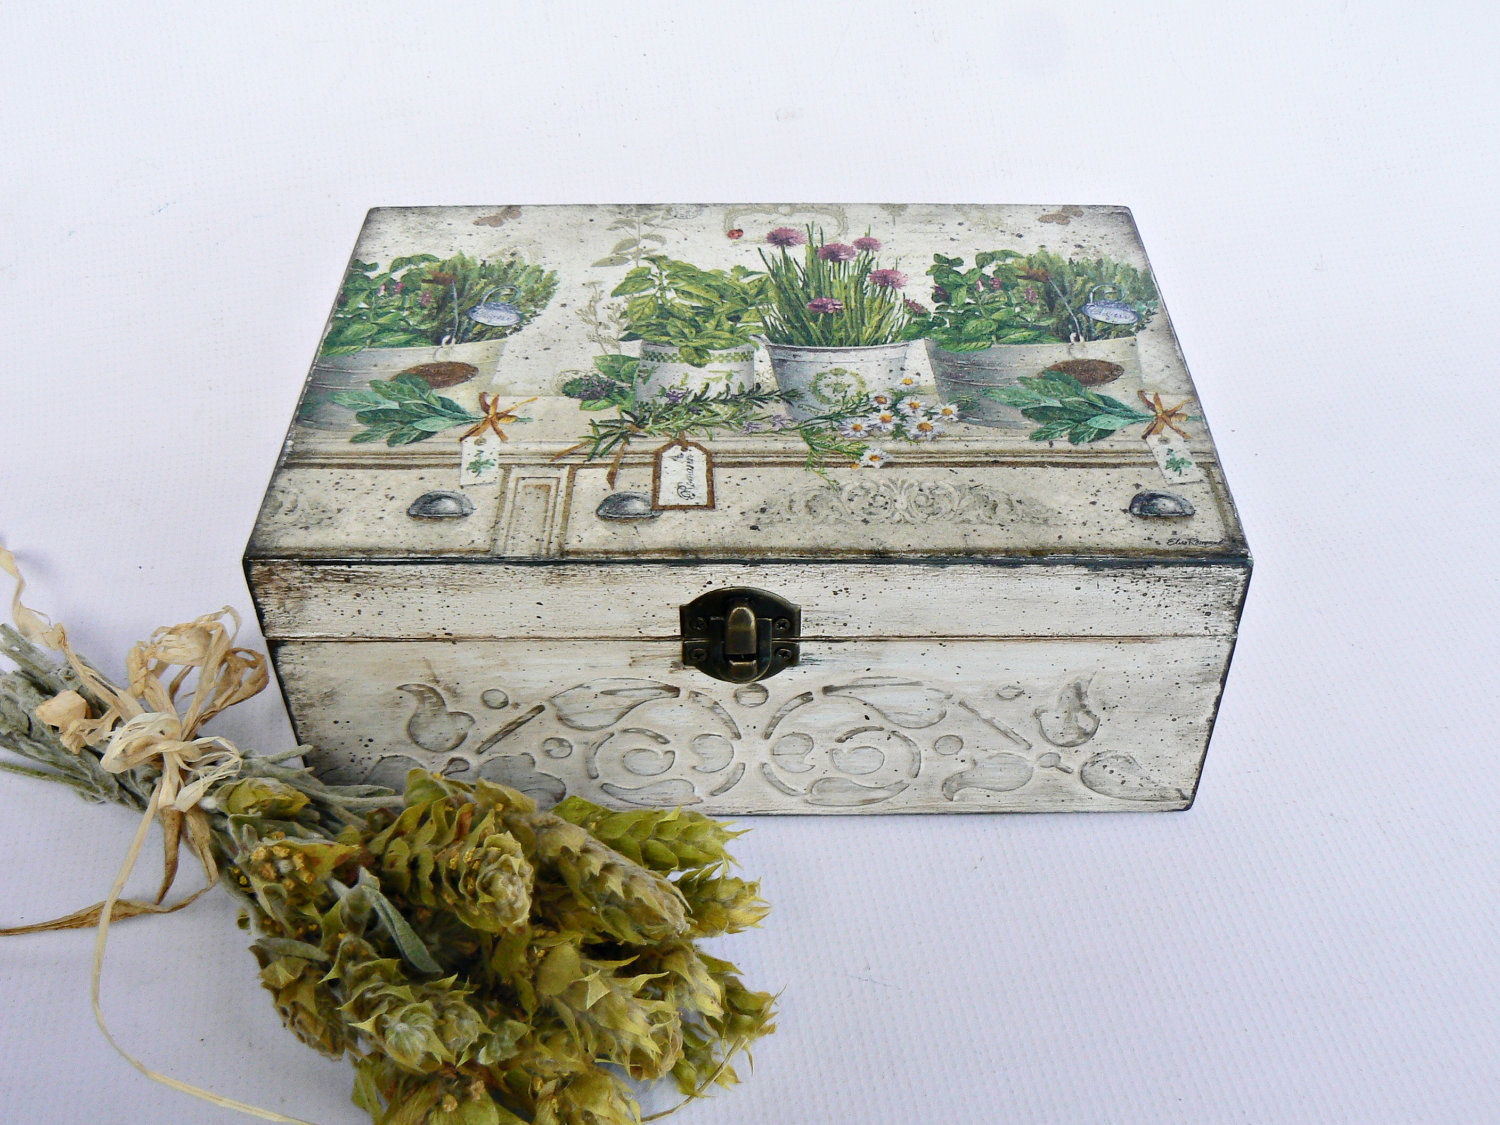
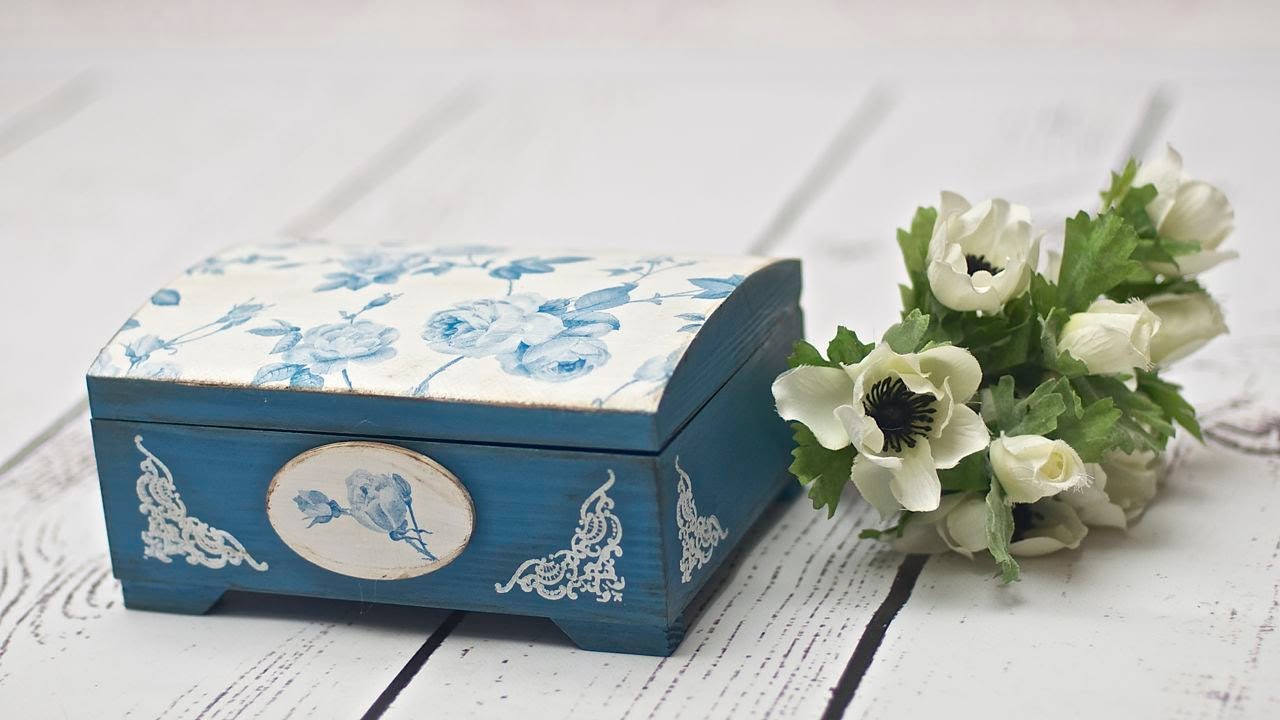
Additional decorative elements significantly transform the design of each room in the house. Various boxes or caskets are used not only as an accessory, but also perform a practical function. Decoupage boxes will look especially bright and unusual. Several options can be used as a design, which will allow you to choose a box style for almost any interior design.
Content
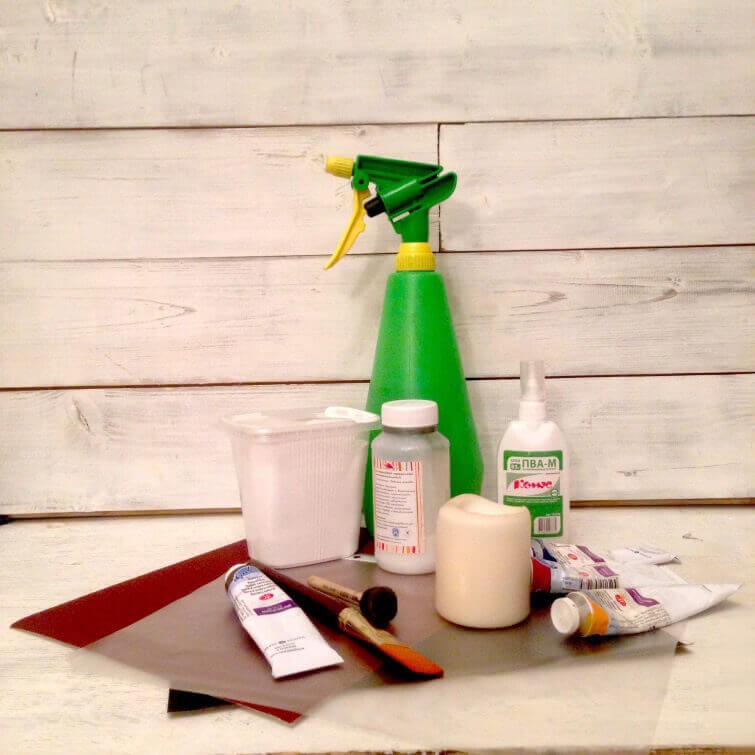
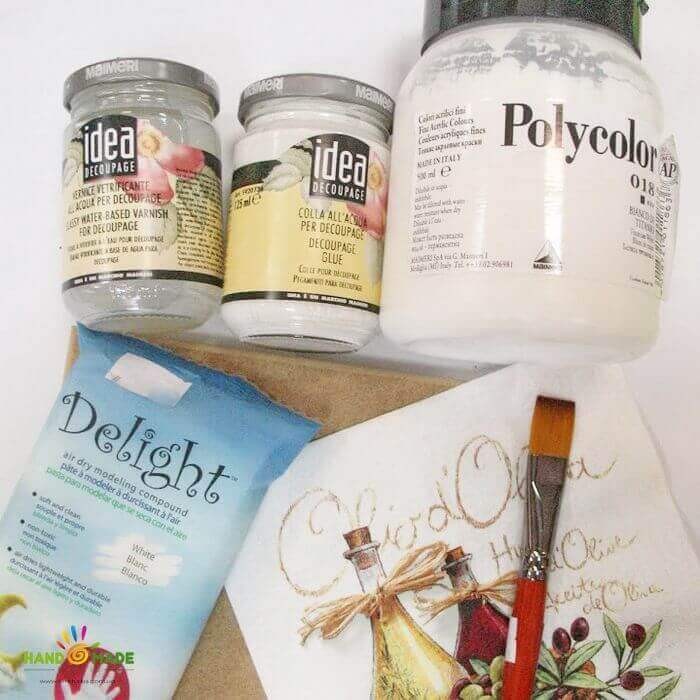
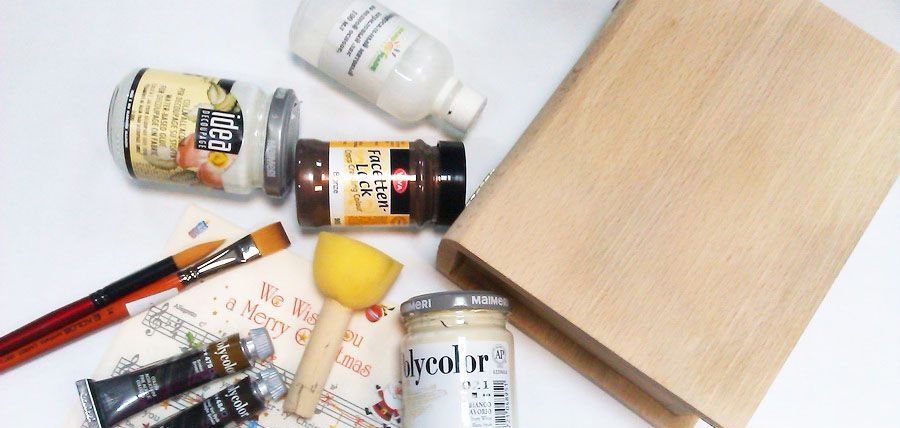
- Necessary tools and materials
- Technique and rules for performing decoupage
- DIY Decoupage Boxes and Caskets
- Decoupage in vintage style
- Decoupage in Provence style
- Decoupage in shabby chic style
- Decoupage of antique box
- Decoupage of a patchwork box
- Methods of paper thinning
- Conclusion
- VIDEO: DIY decoupage of a box.
- 50 original decoupage options for boxes:
Necessary tools and materials
Preparation is an important stage in the technological process. It is recommended to select a suitable box in advance, think over the style of design and decoration of surfaces.
Tools:
- box;
- napkins with the required pattern;
- sandpaper;
- screwdriver;
- degreaser;
- glue;
- acrylic paints;
- acrylic varnish;
- soft foam sponge;
- scissors;
- brushes;
- stain;
- candle;
- synthetic padding;
- fabric scraps for patchwork;
- cardboard;
- needle;
- threads.
When decorating, special napkins intended for decoupage are used. As an alternative, ordinary paper products with a bright pattern are suitable. In this case, it is recommended to carefully separate the lower layers of paper.
Technique and rules for performing decoupage
When working, you should follow a few simple recommendations.
Process
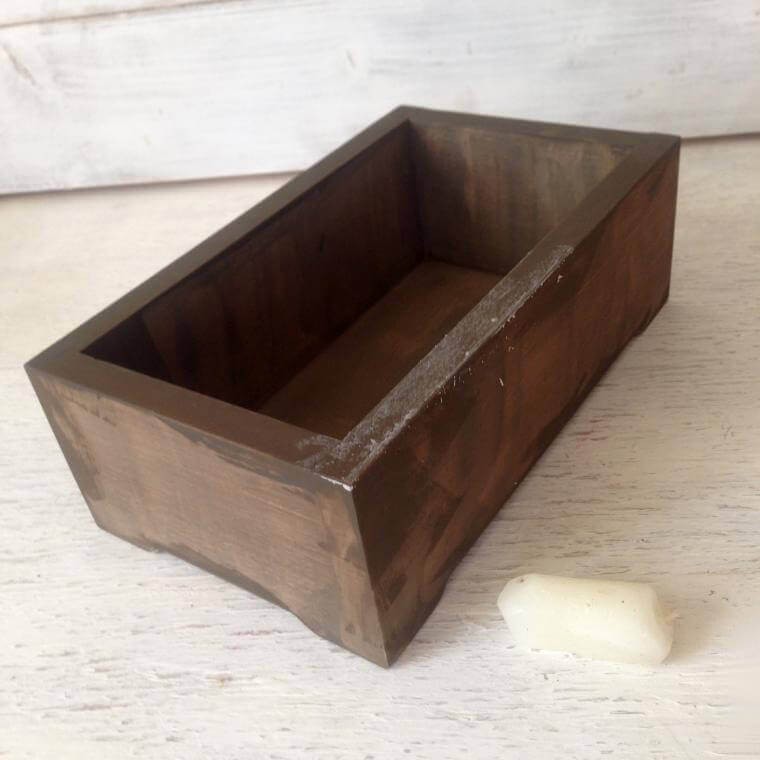
- Decorated surfaces must be cleaned of old coating using sandpaper. Varnish and paint are removed from wooden boxes, cardboard boxes are cleaned of dust and small dirt with a soft cloth.
- When working with paper, the box will need to be cleaned of traces of glue. To remove it, you can use a soft rag or cotton pad and a degreaser. All metal elements are removed from wooden boxes using a screwdriver.
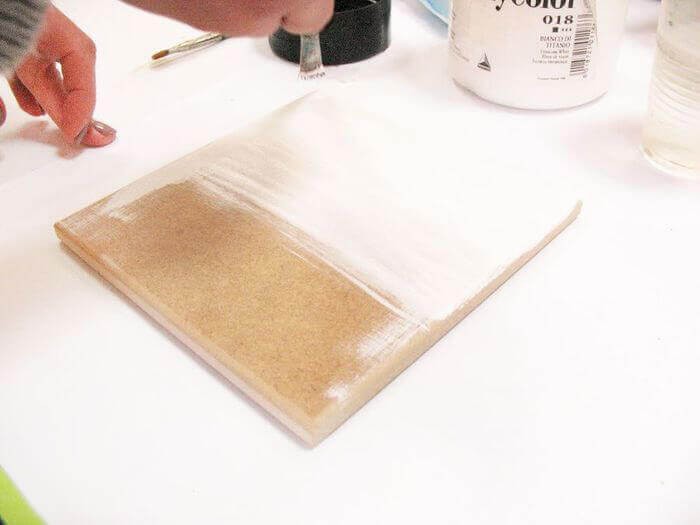
- The surface of wooden products should be leveled. Acrylic primer will come in handy for leveling.
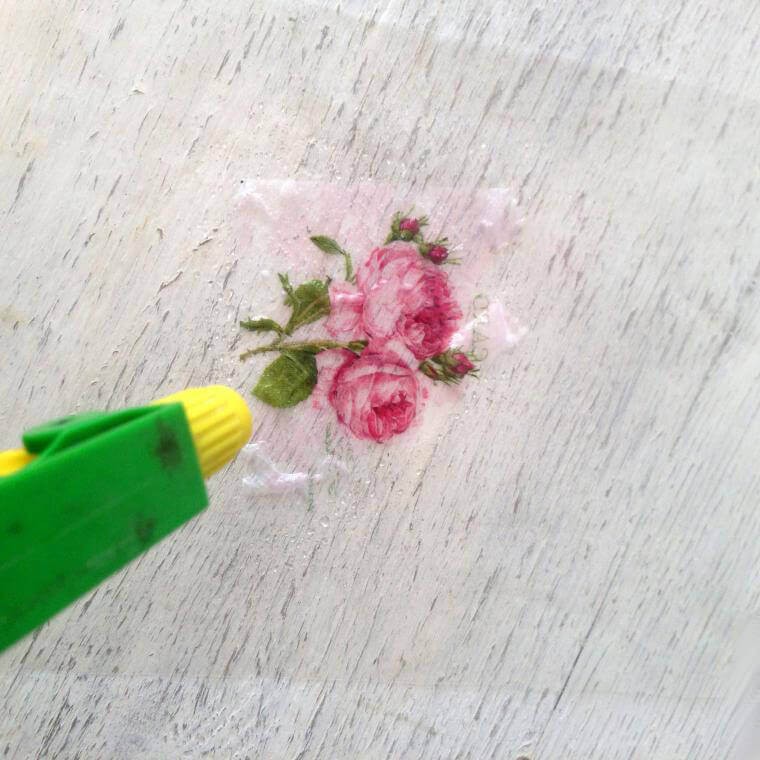
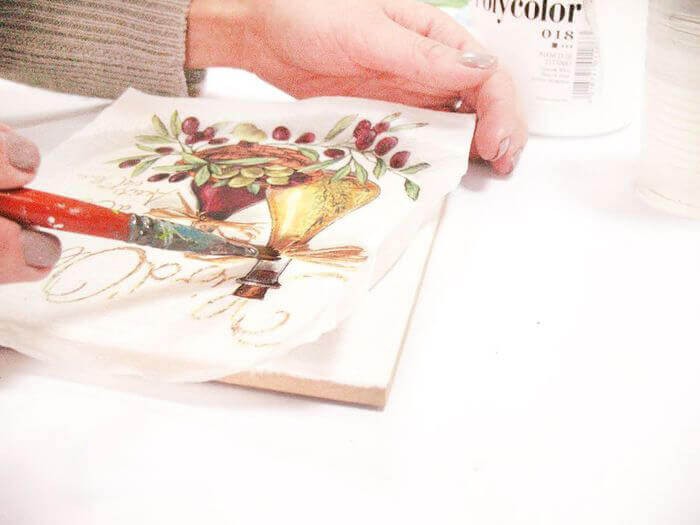
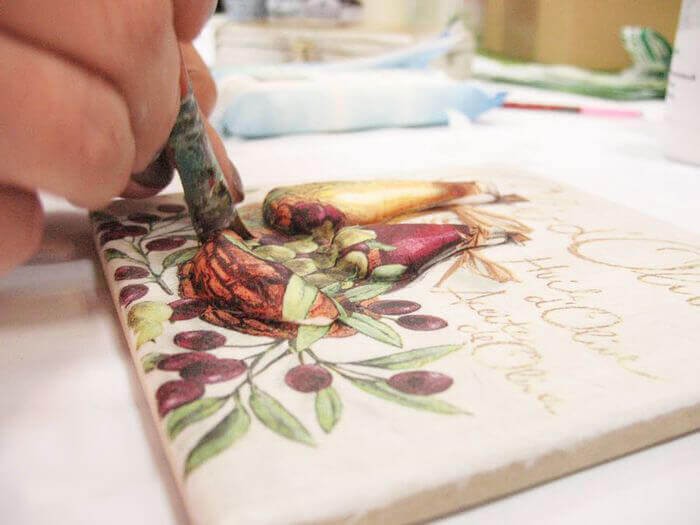
- The drawing is carefully separated from the protective layer and applied to the surface to be decorated. It is better to apply the glue over the napkin, carefully smoothing out the resulting folds.
- Applying varnish after complete drying will help to secure the result.
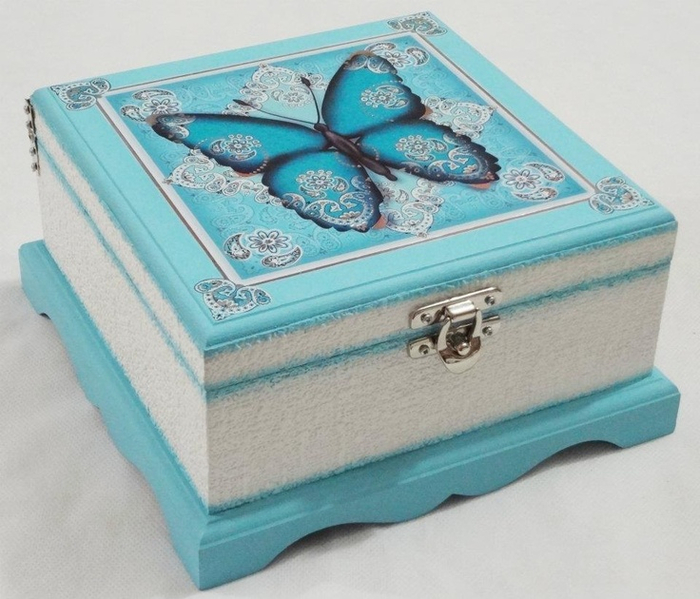
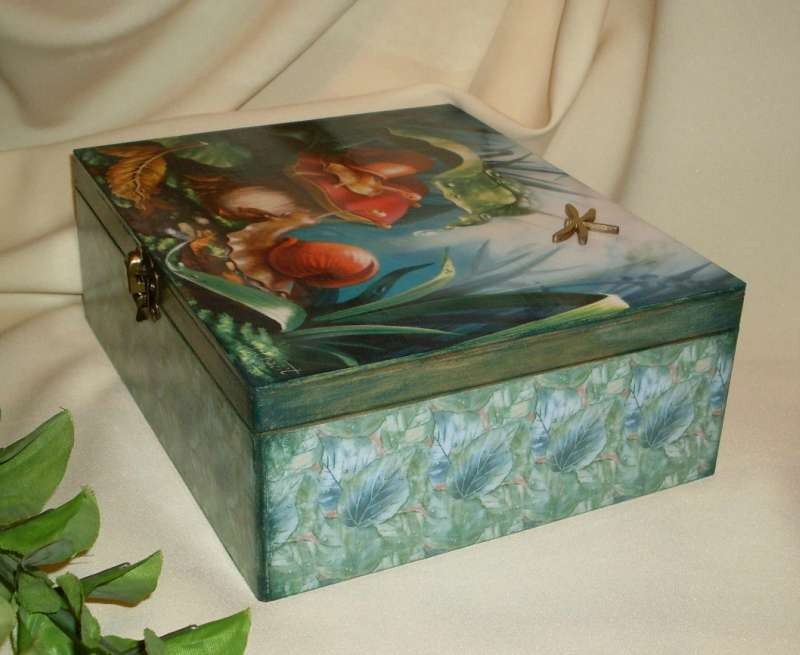
DIY Decoupage Boxes and Caskets
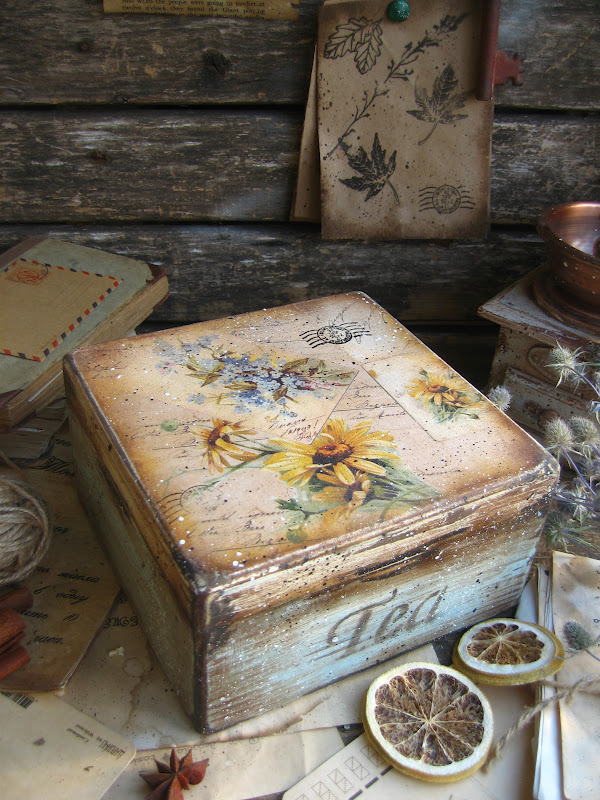
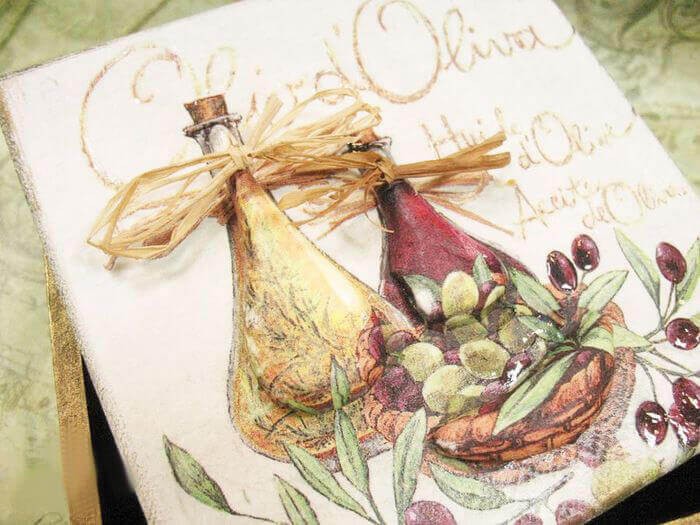
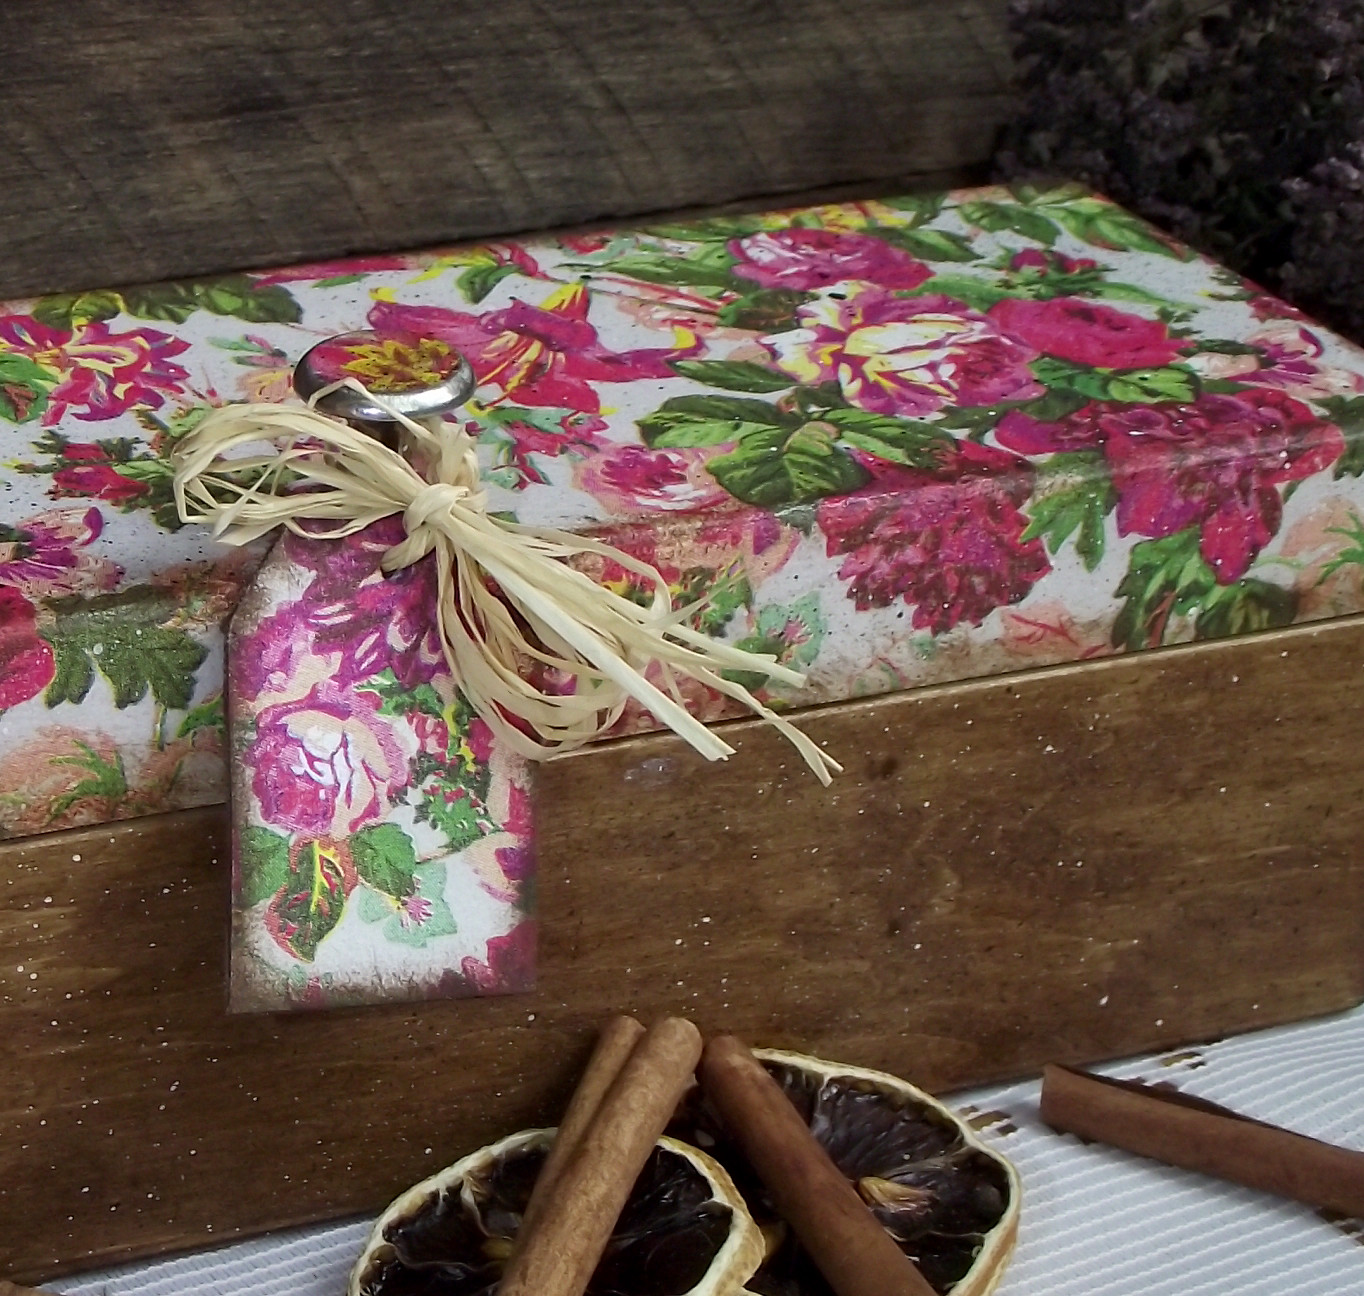
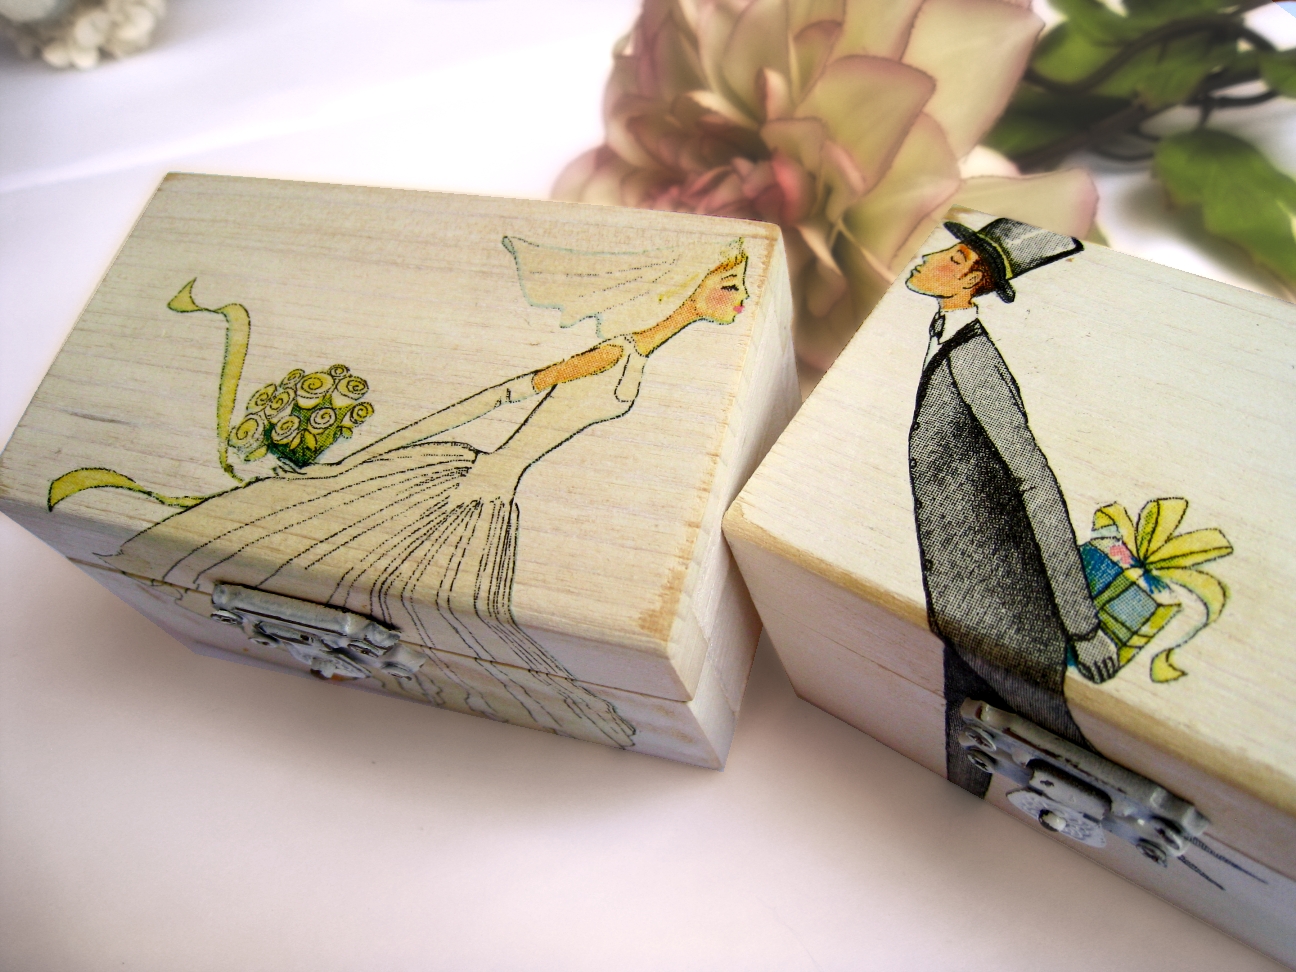
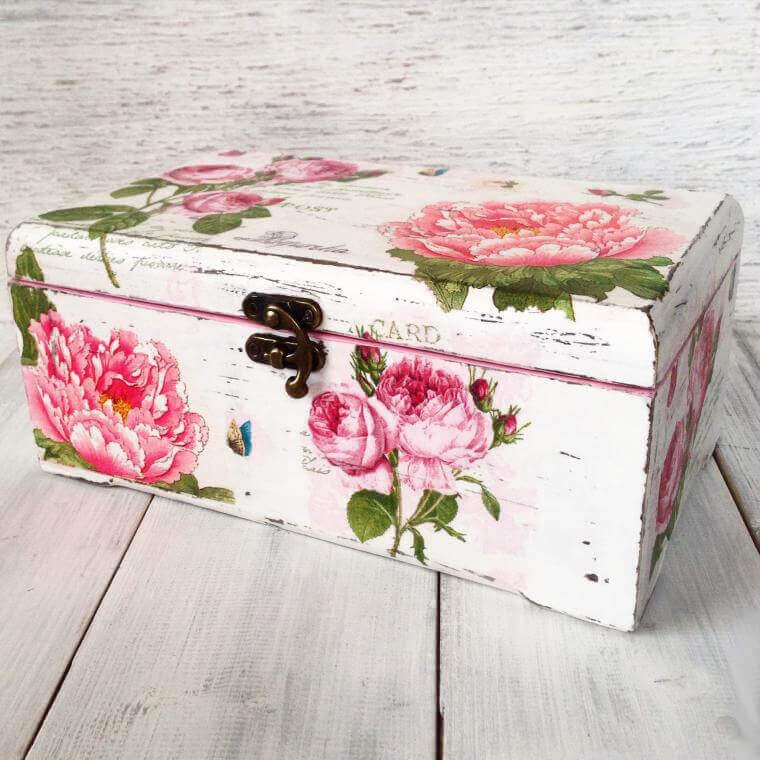
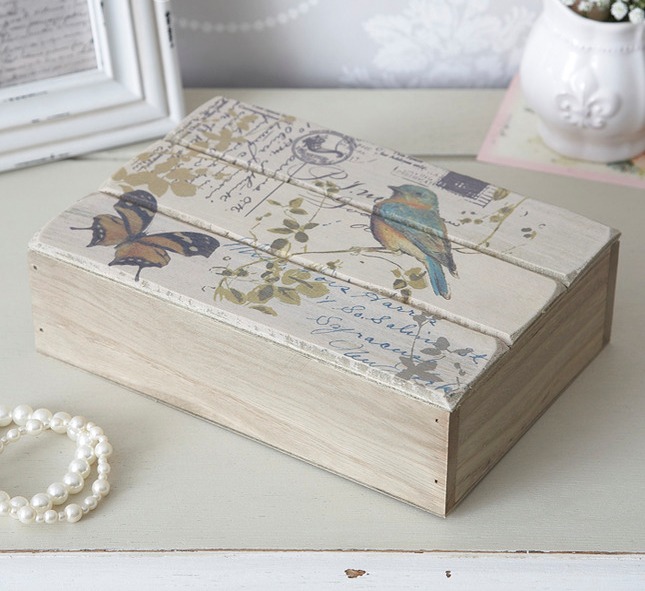
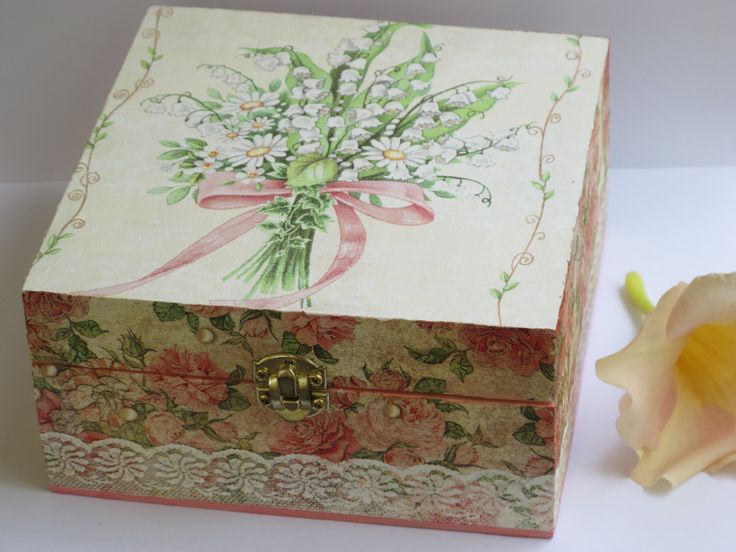
Decoupage helps to create a bright and original interior item from an ordinary and unremarkable thing. This technique is especially popular in such styles as Provence, vintage, ethnic and classic. For work, it is recommended to select napkins with images of flowers, birds, and bright patterns.
Note: Many designers use decoupage ideas when decorating their home interiors.
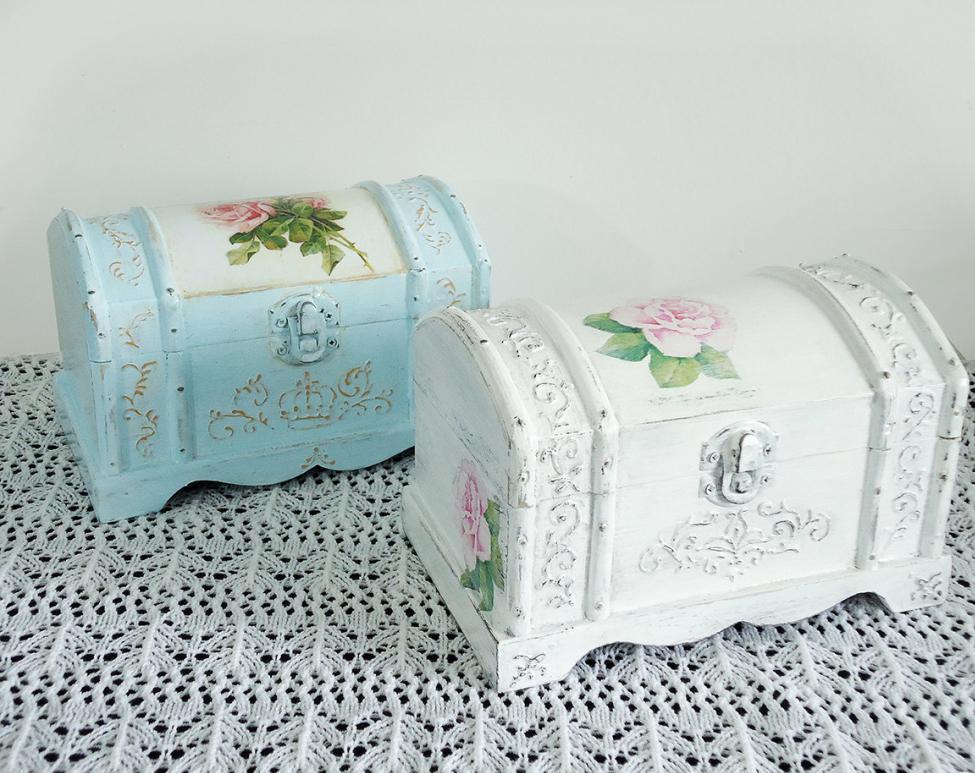
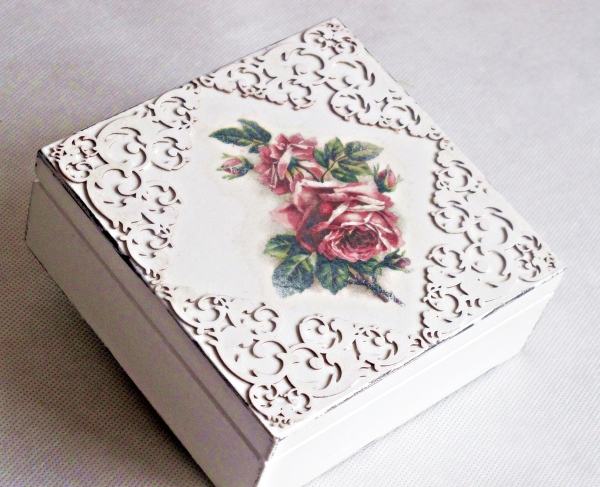
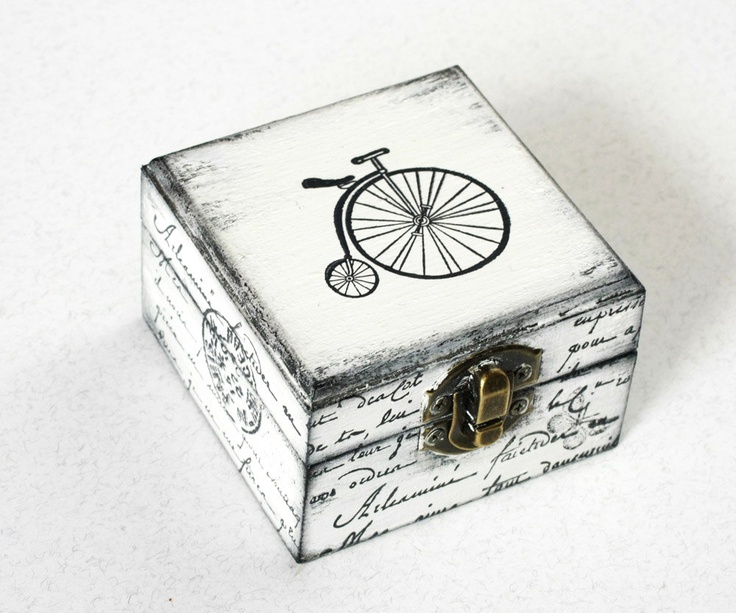
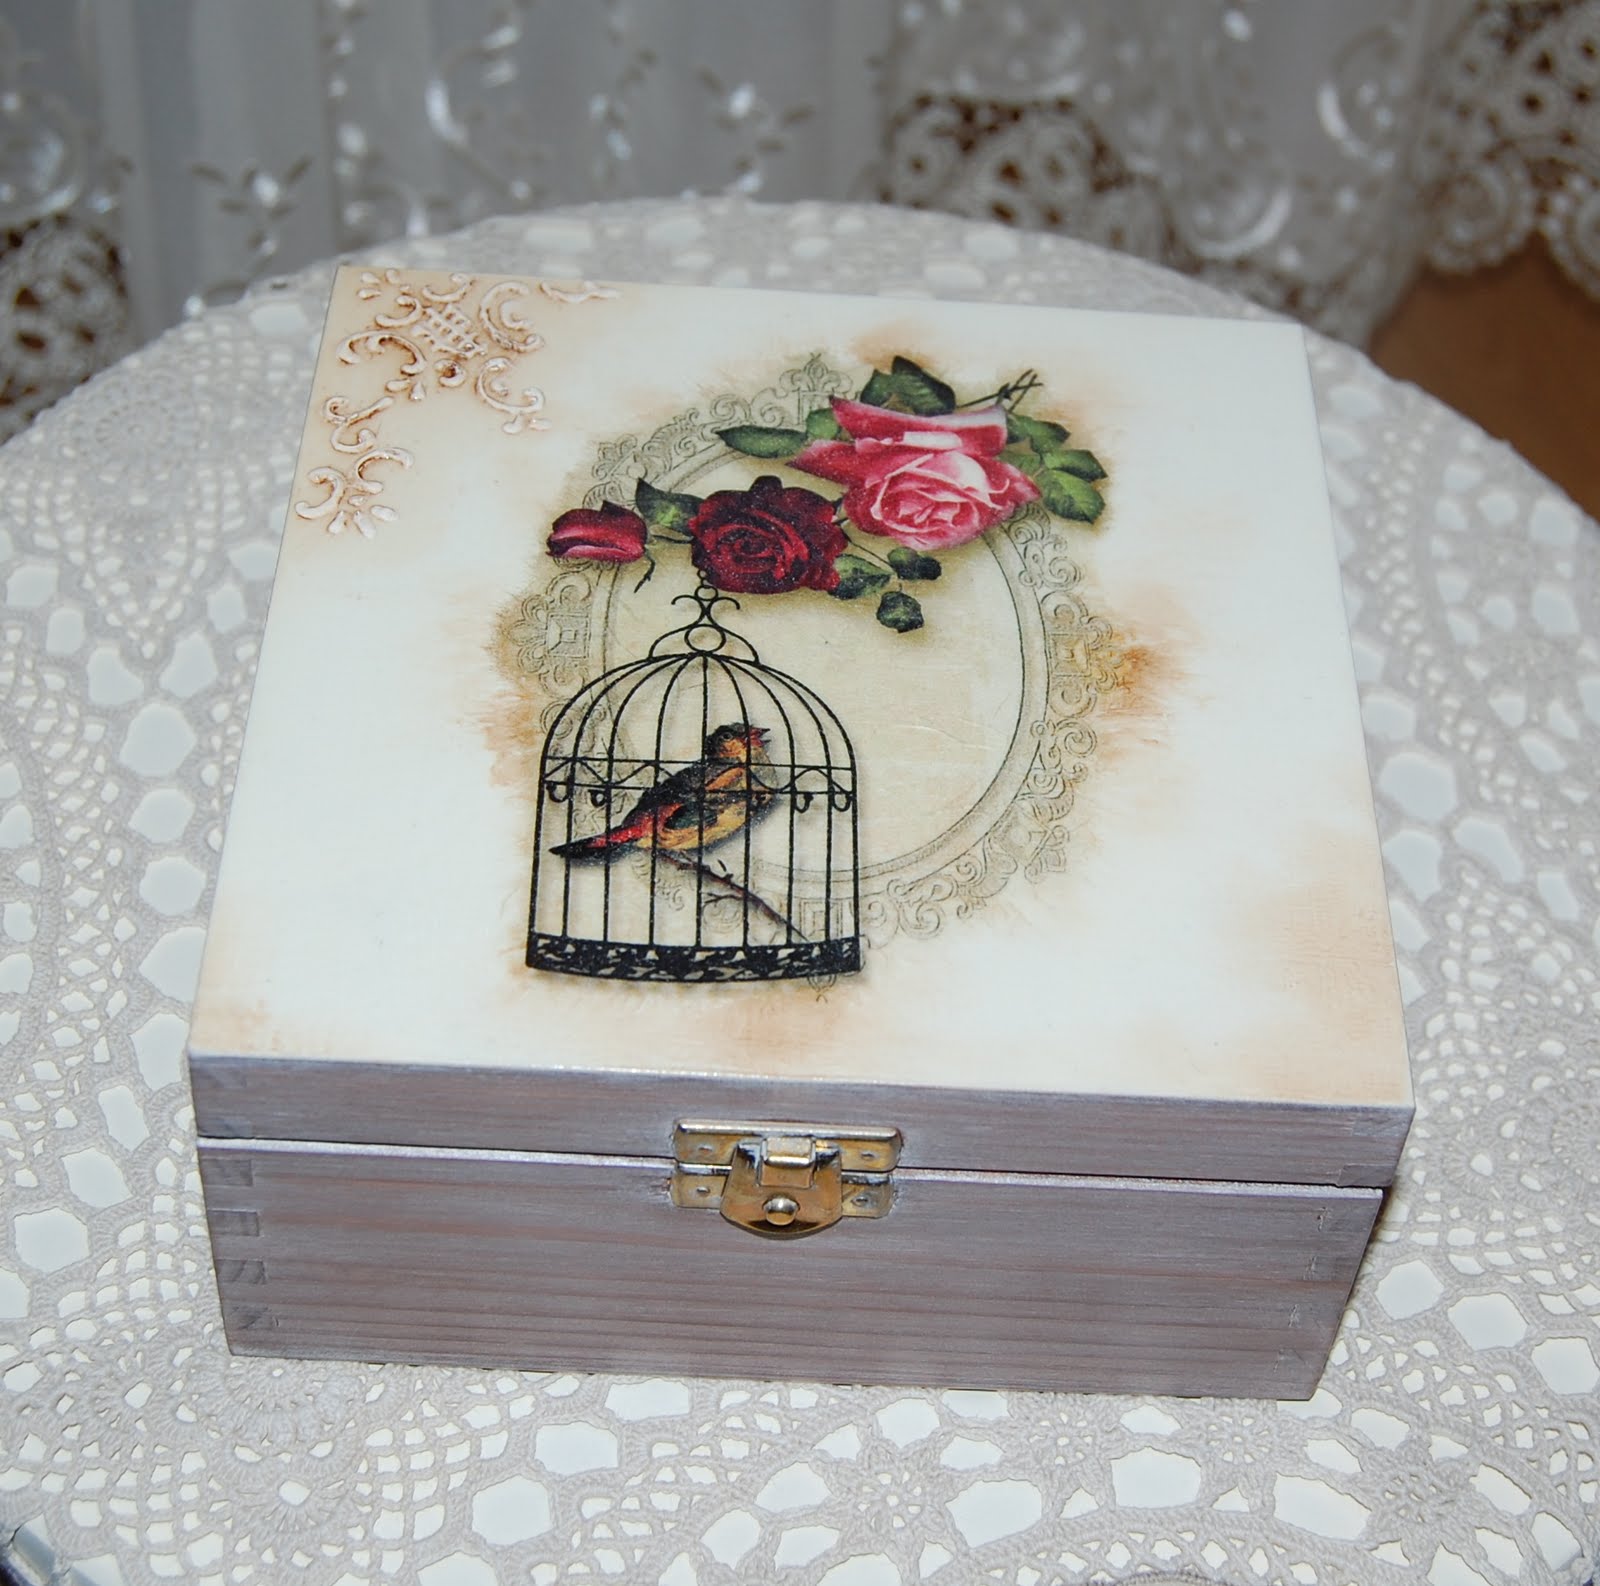
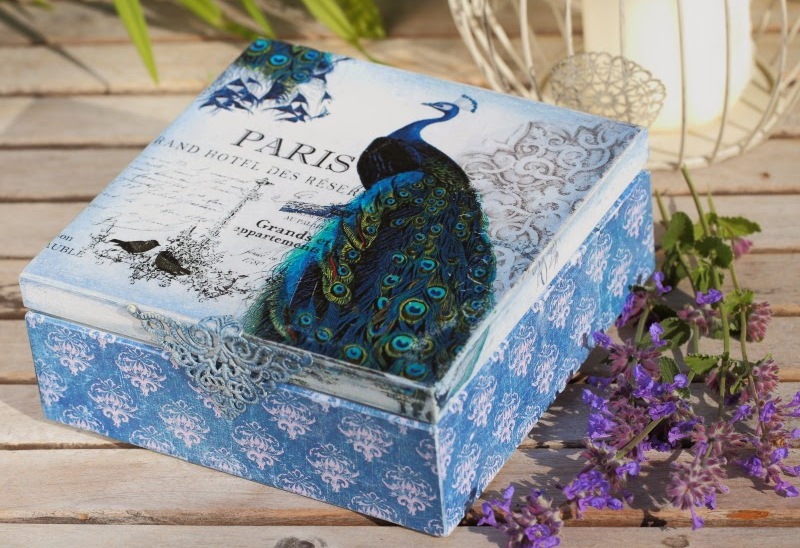
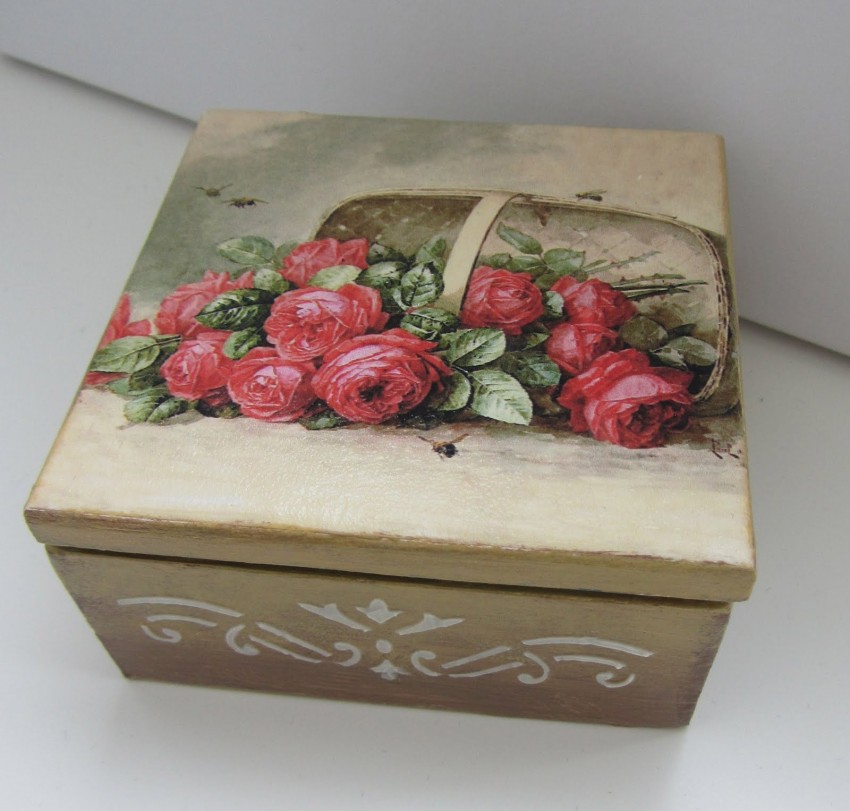
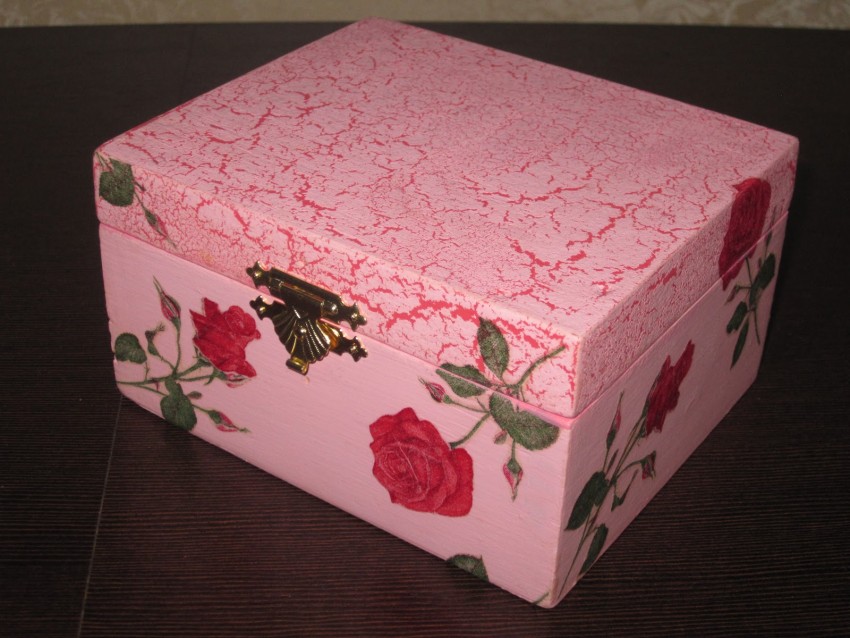
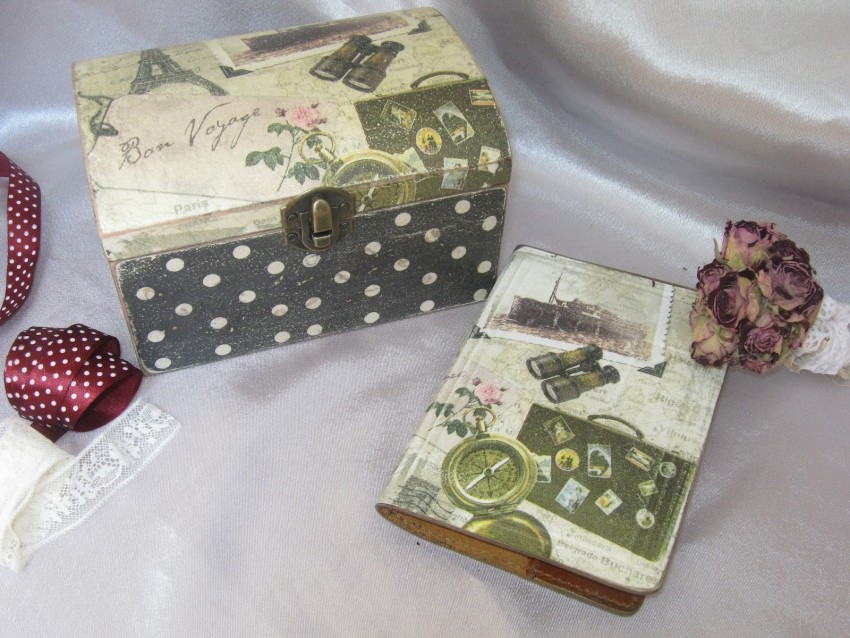
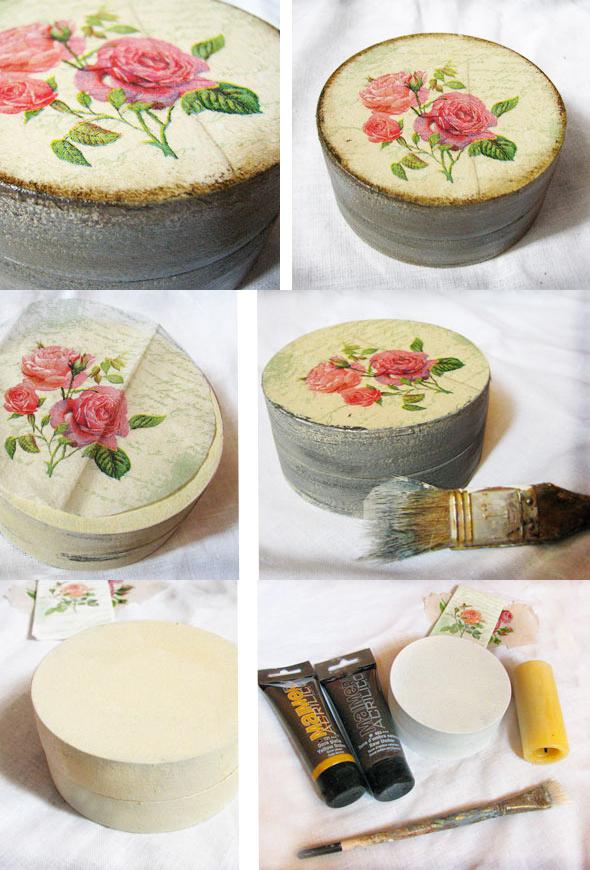
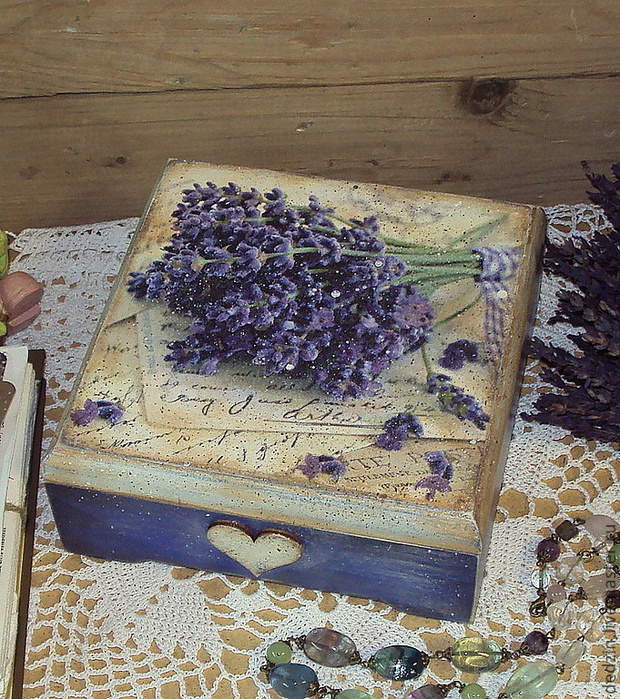
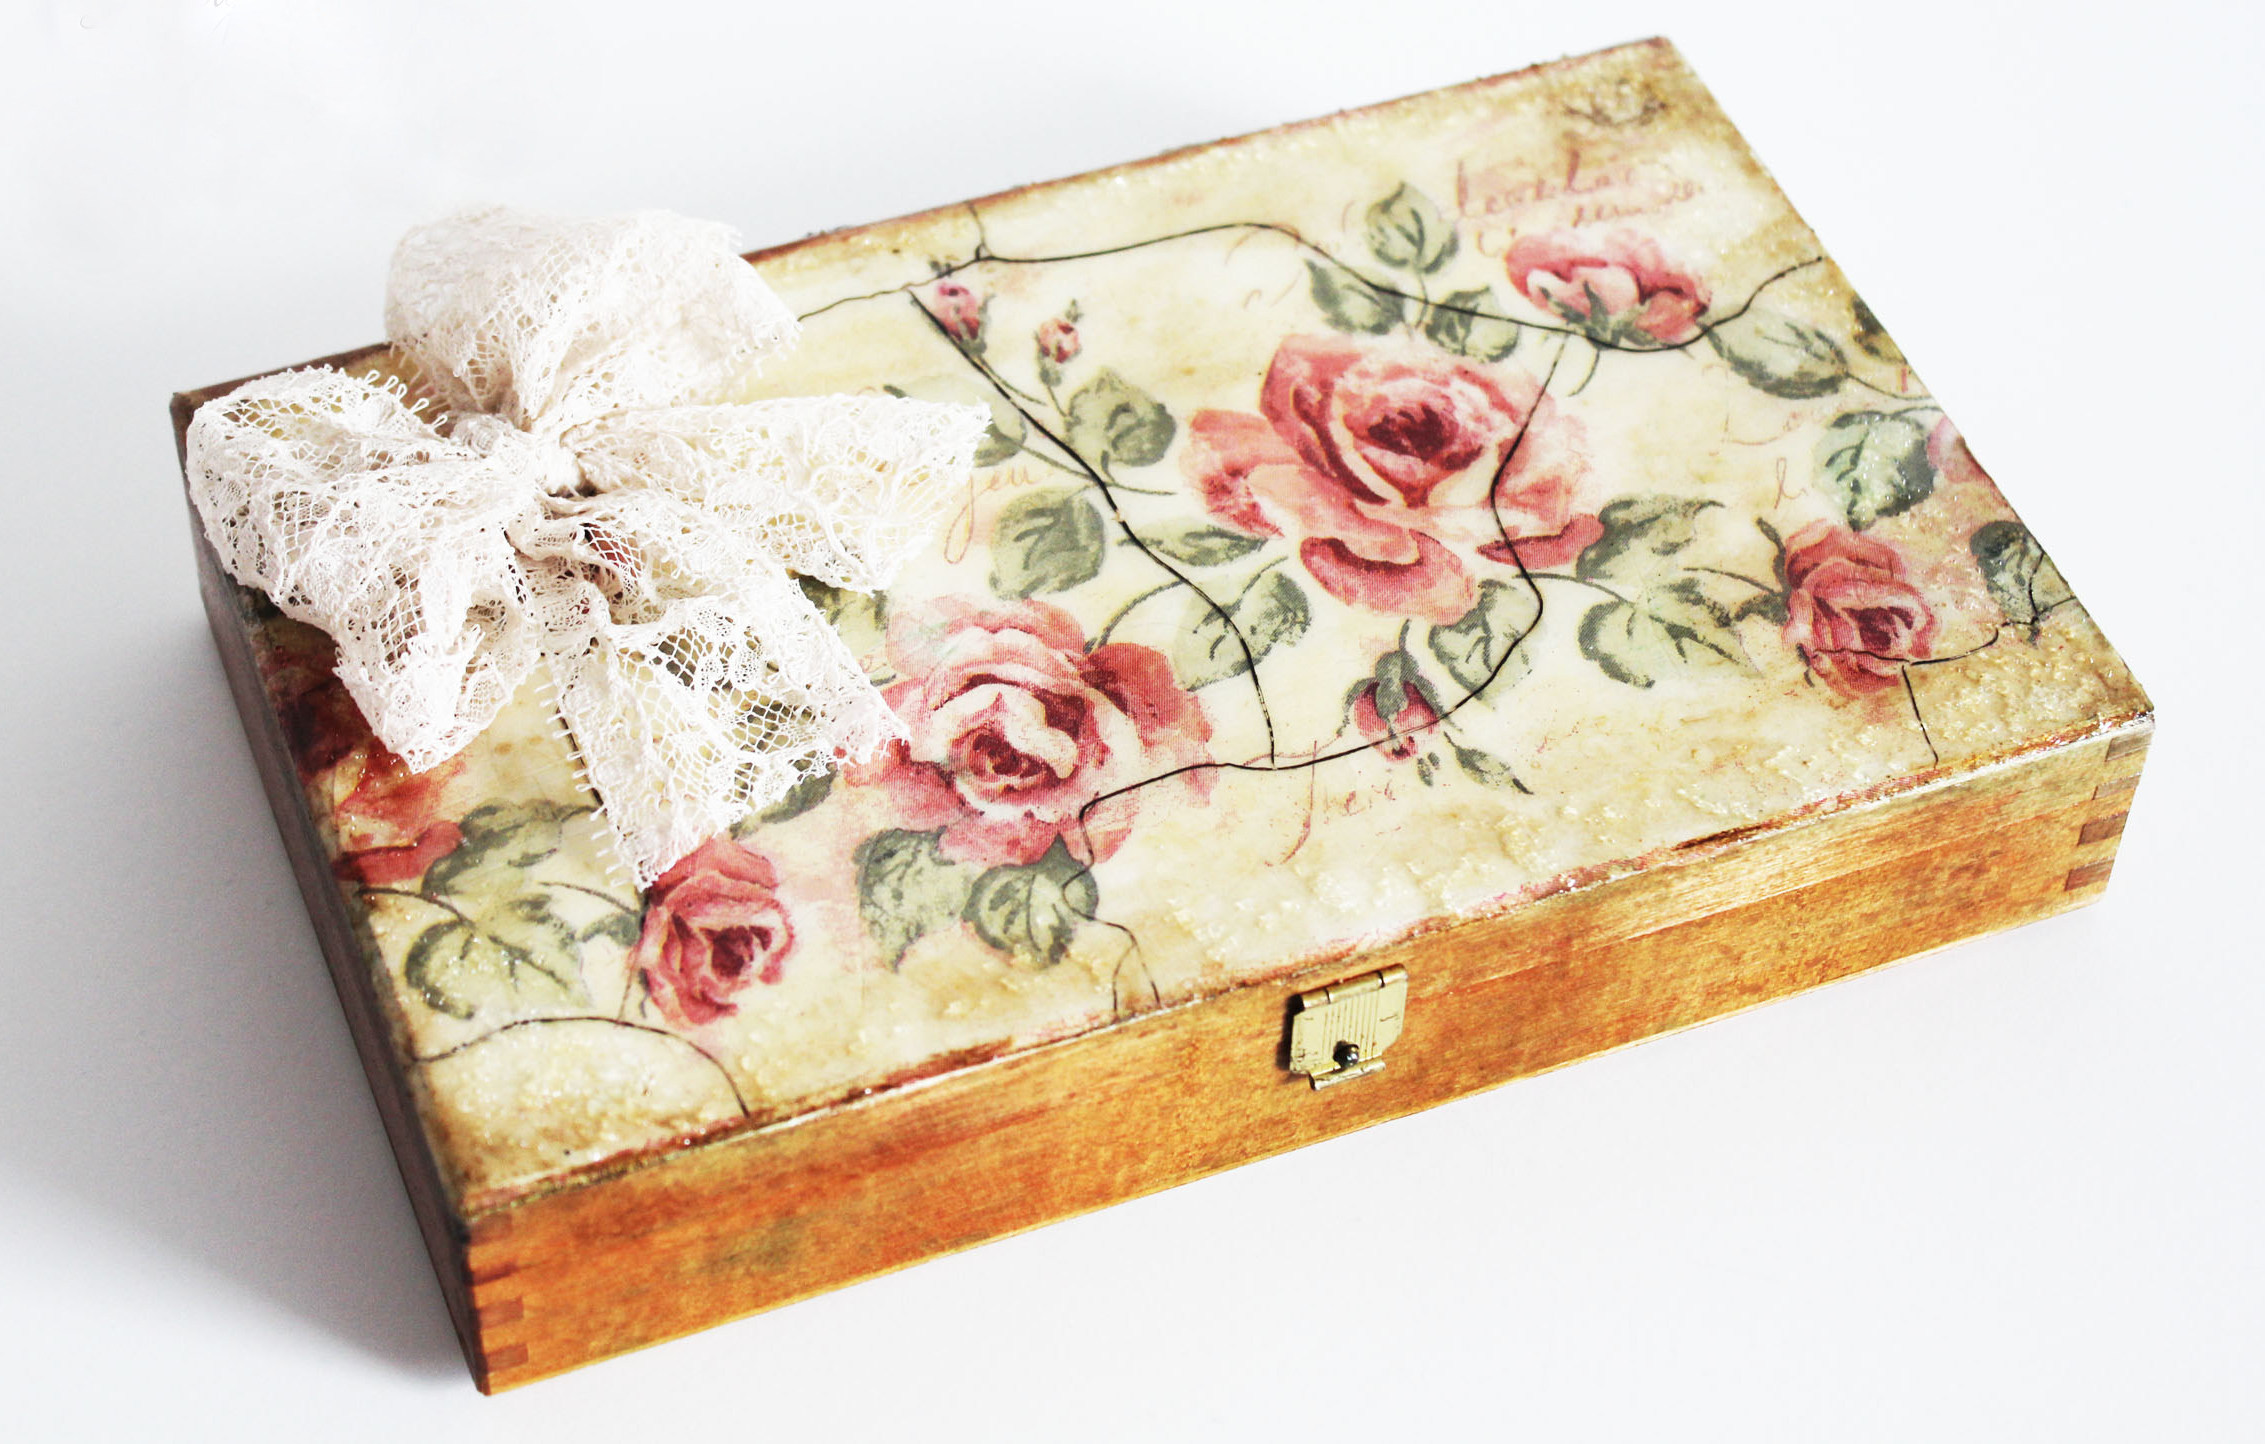
Decoupage in vintage style
Vintage style boxes are very popular. A box made in vintage technique will be not only functional but also attractive.
When working with wood products, the surface must be thoroughly cleaned of the old coating using sandpaper. Priming will help eliminate unevenness, chips and small cracks.
Note: Priming must also be done inside the box.
The choice of shade depends on personal preferences. It is recommended to paint products in dark, saturated tones.
The map is glued on. The bottom of the box can be decorated with a small strip of lace. After the glue dries, the product is varnished.
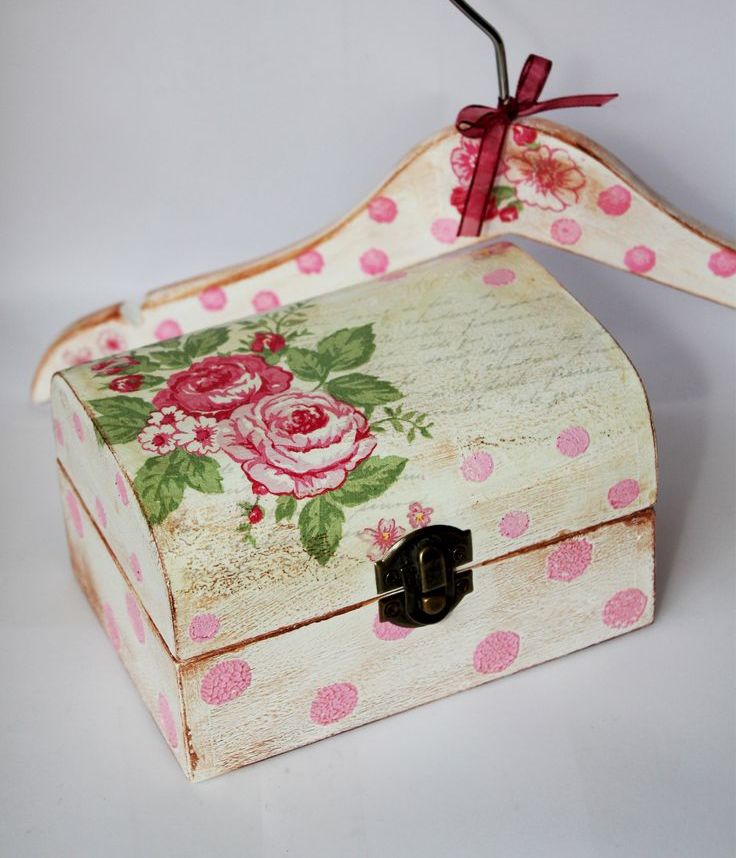
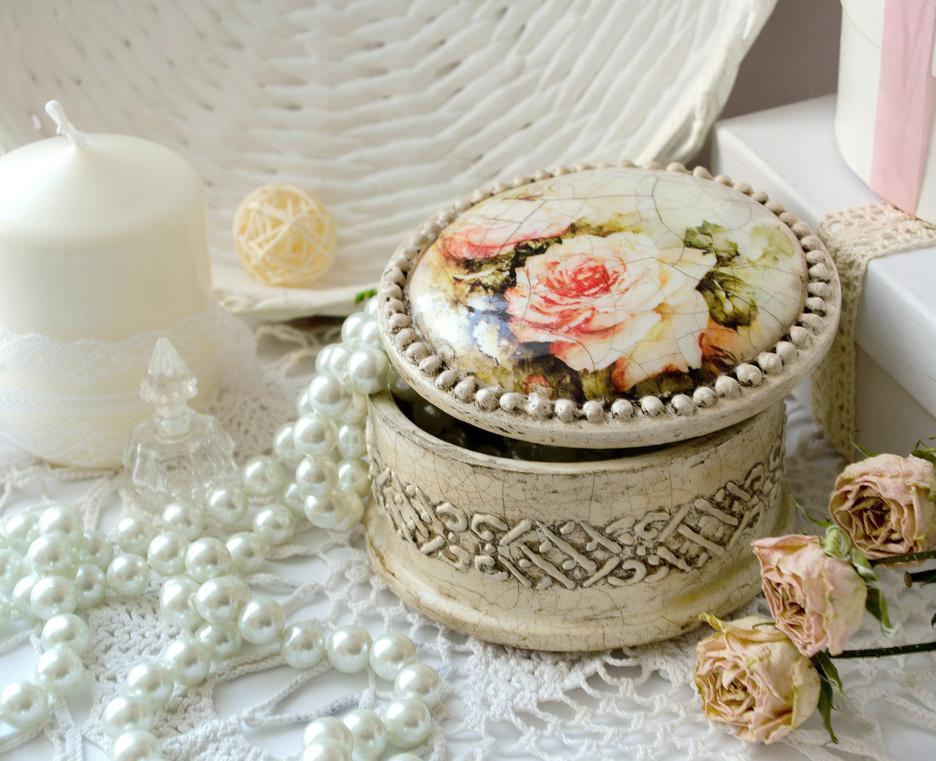
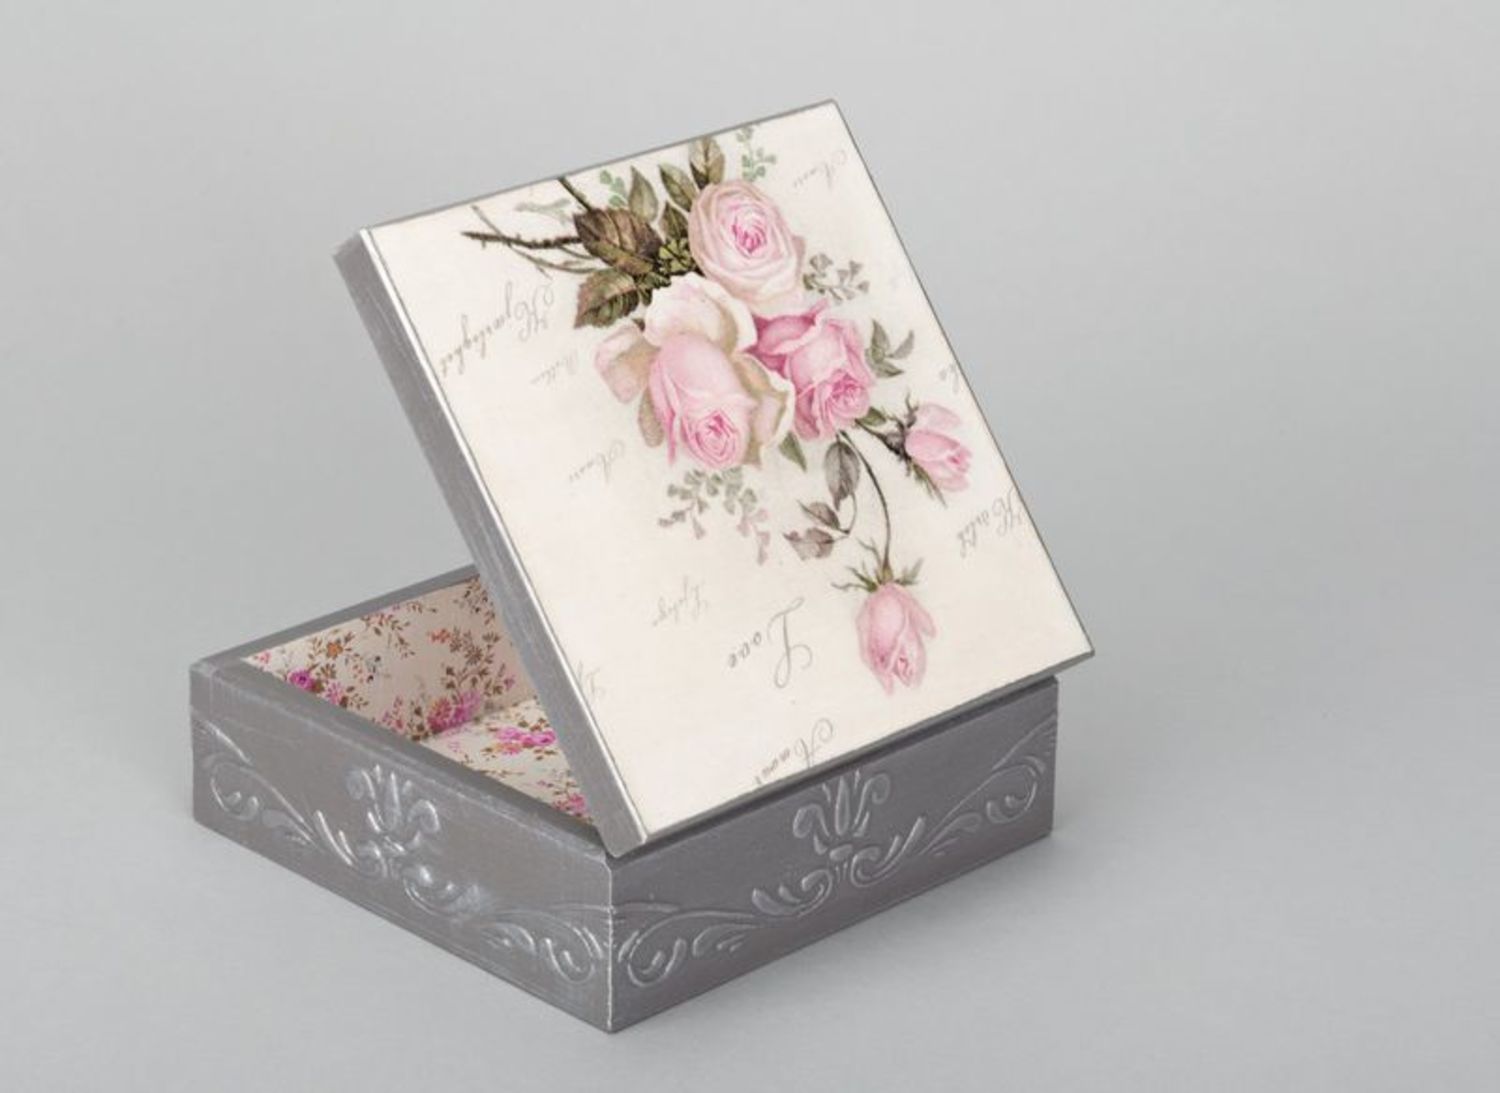
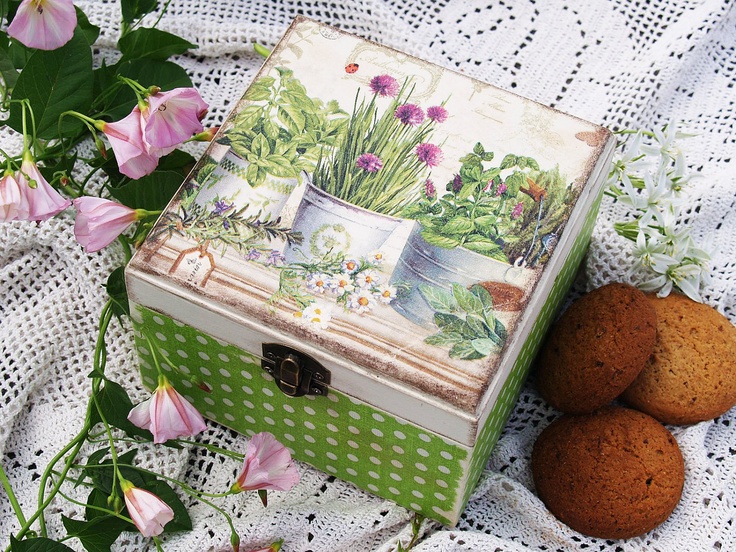
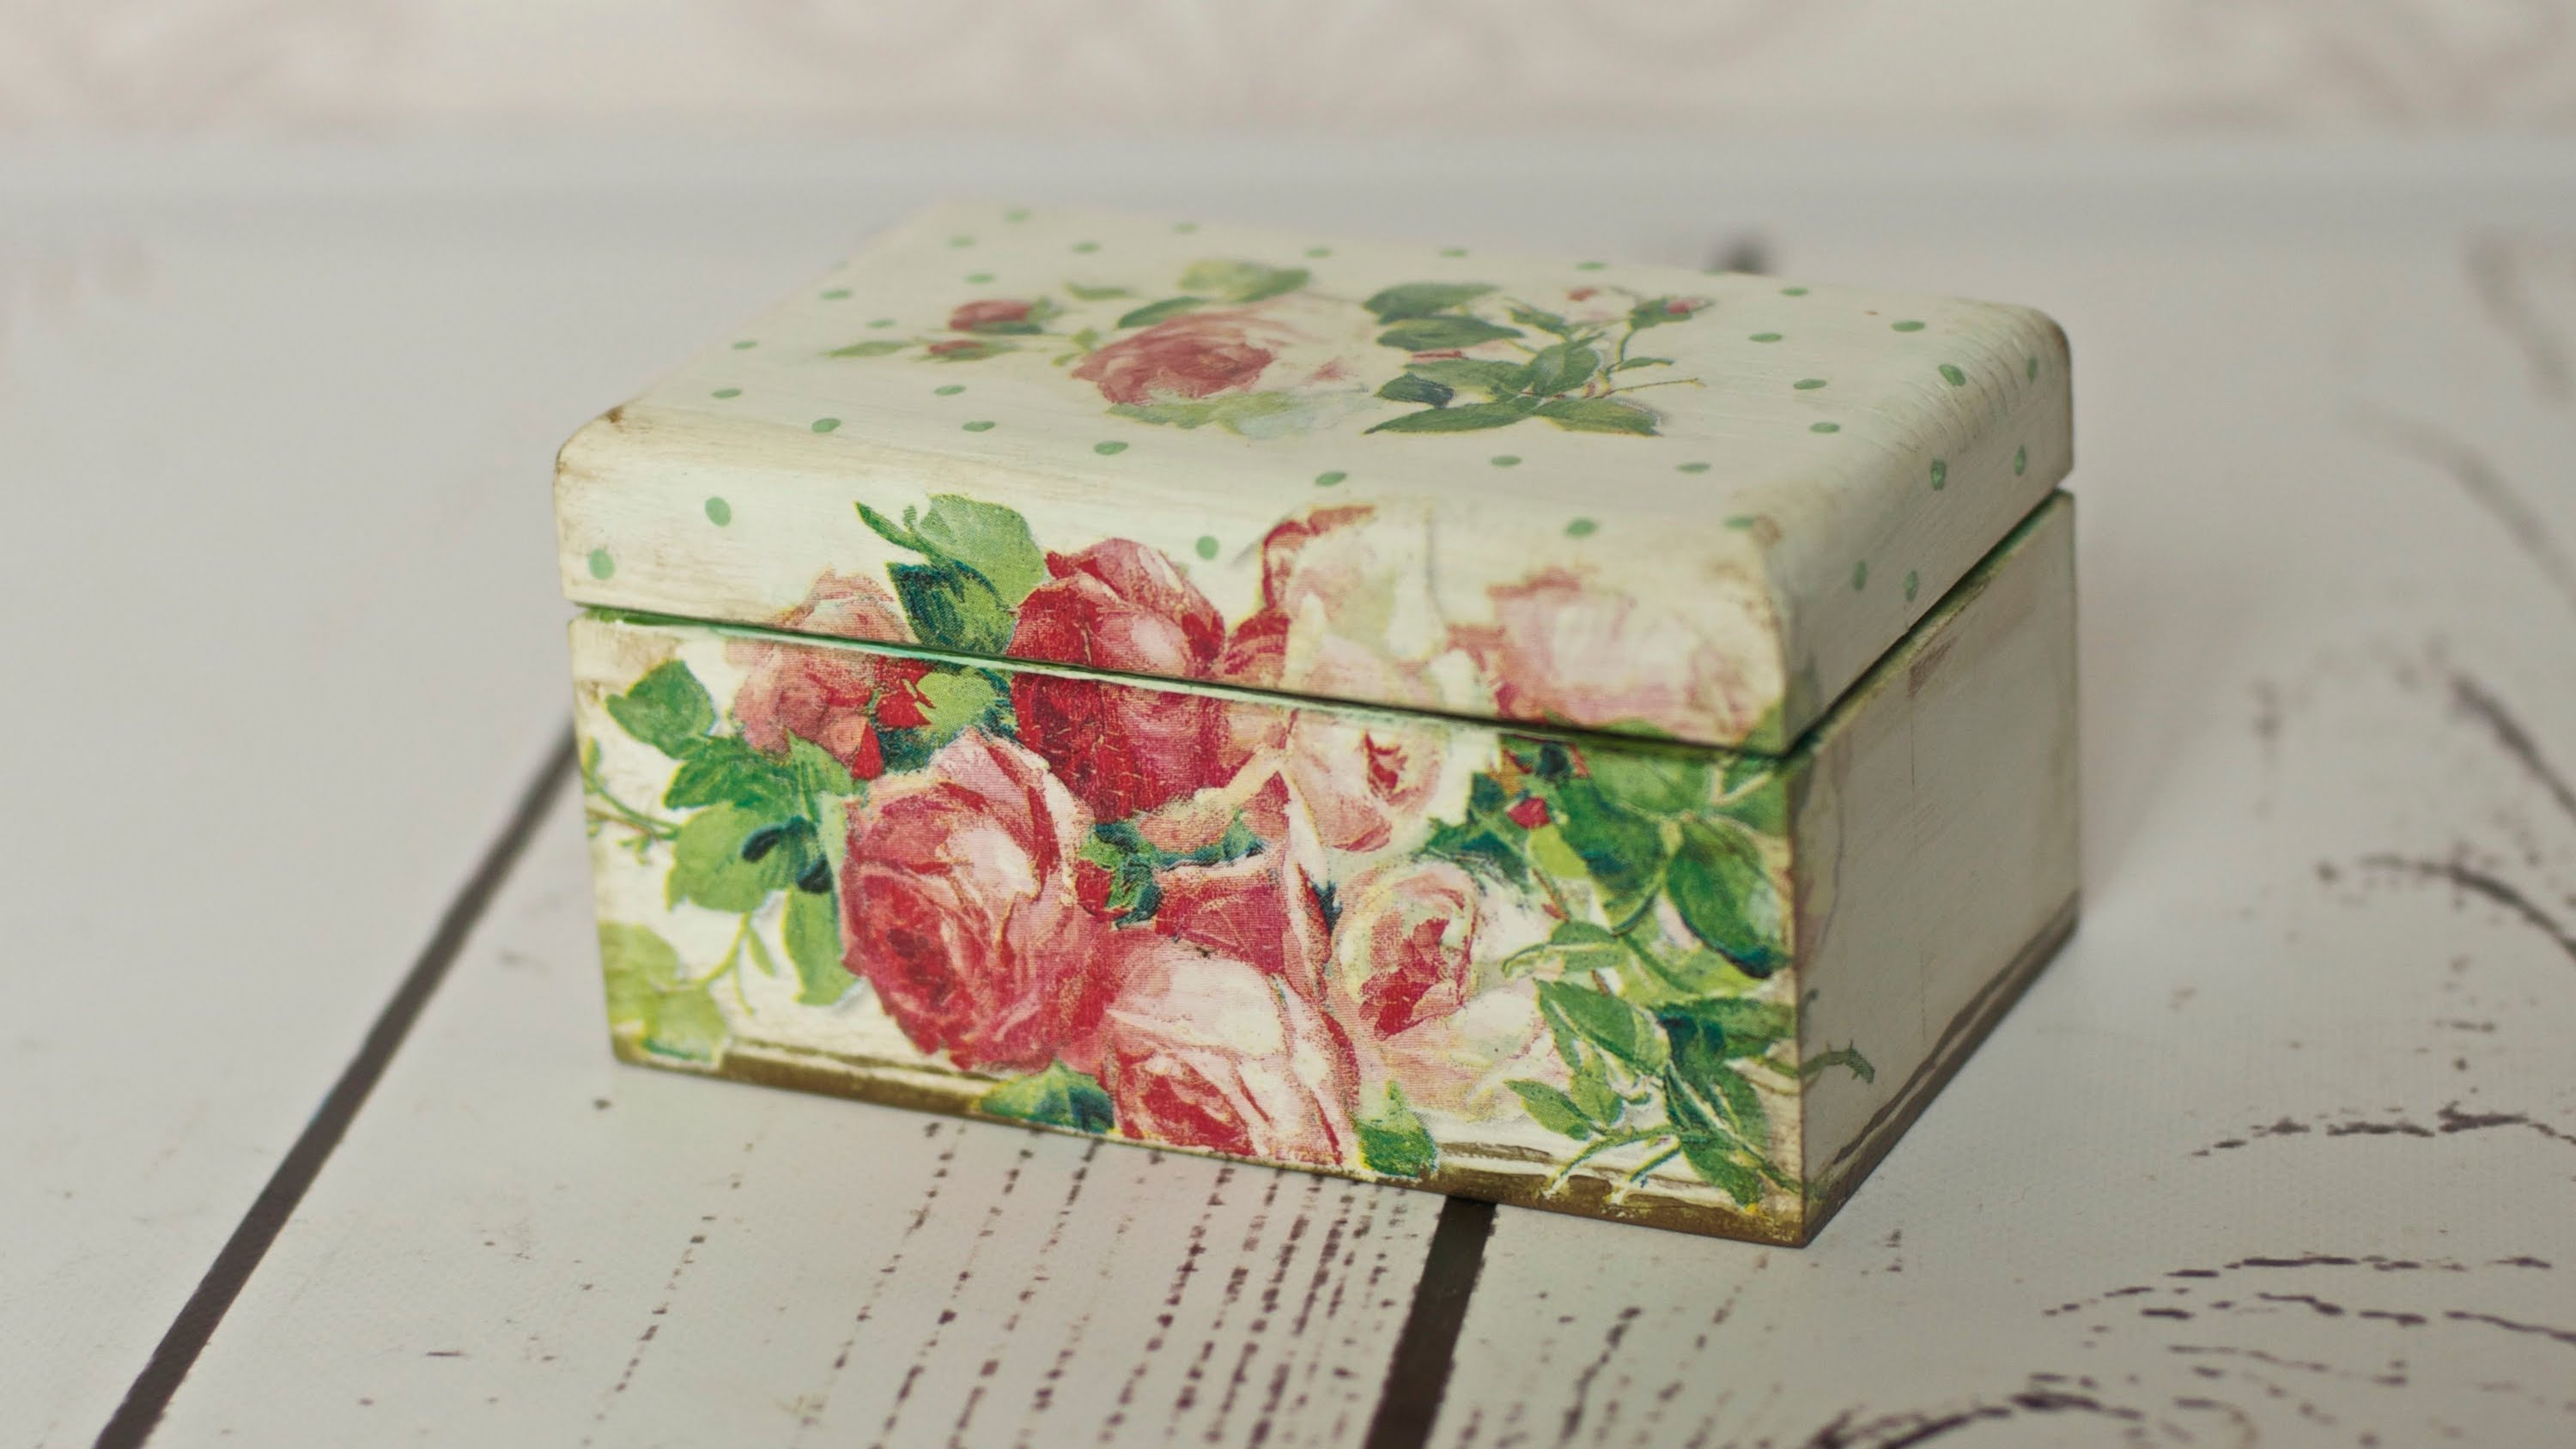
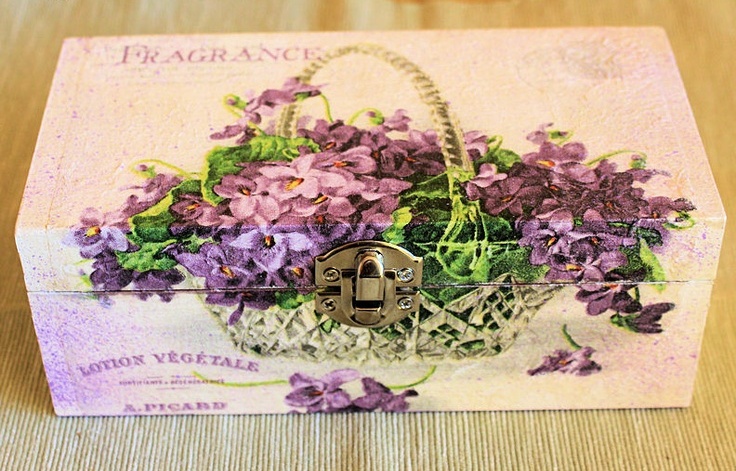
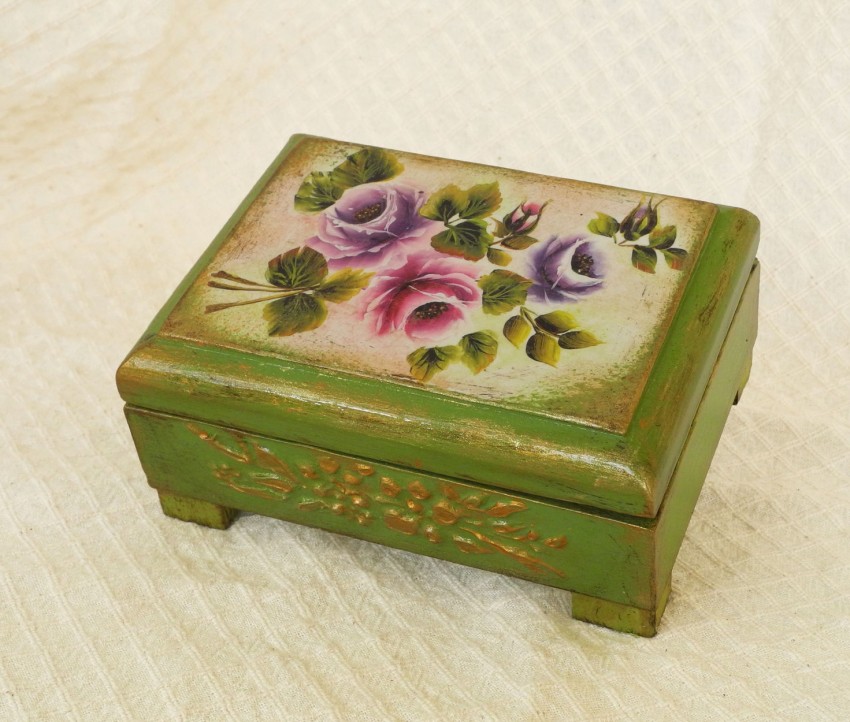
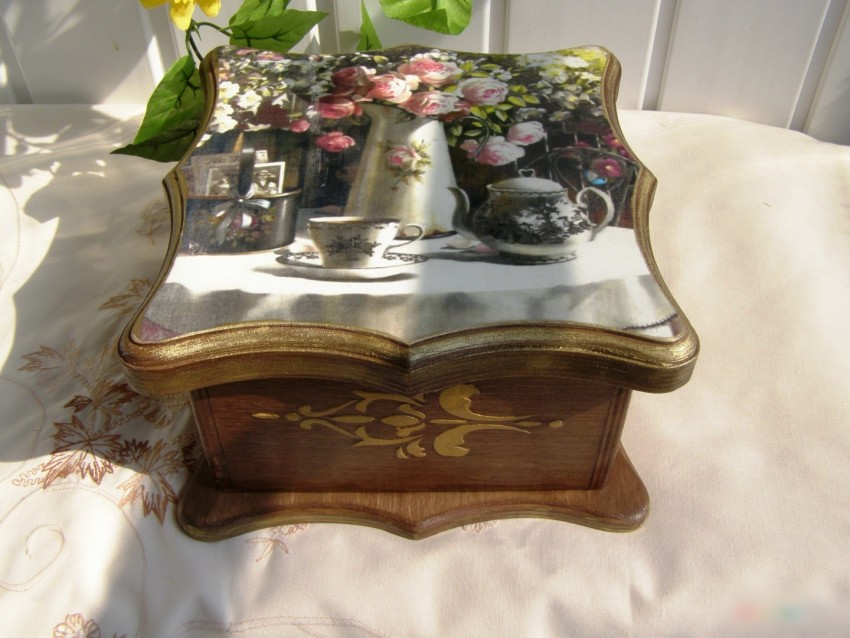
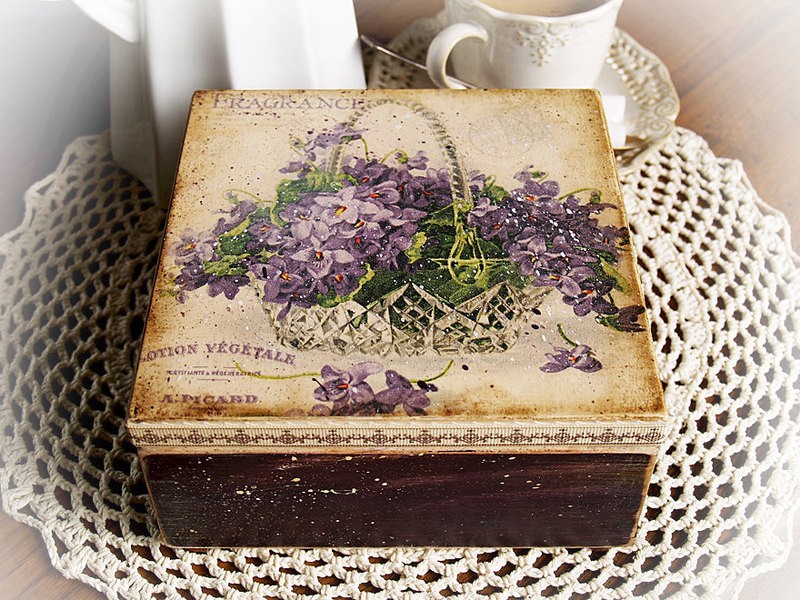
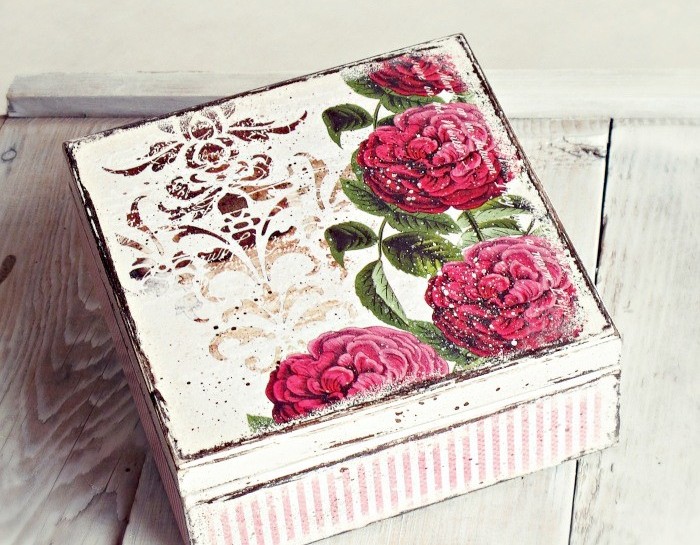
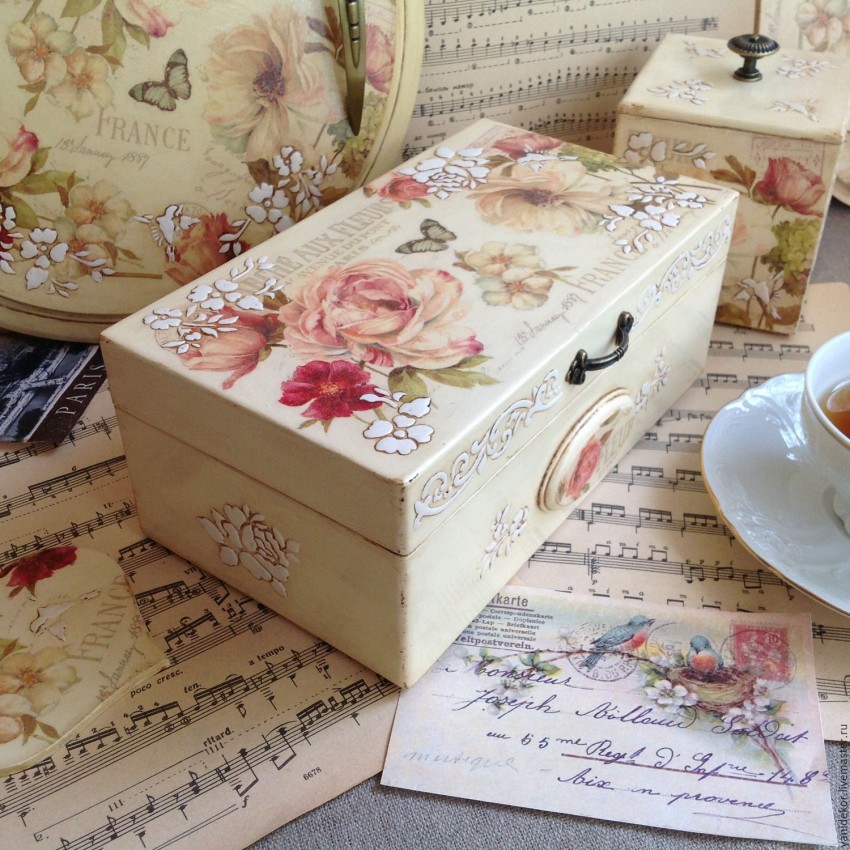
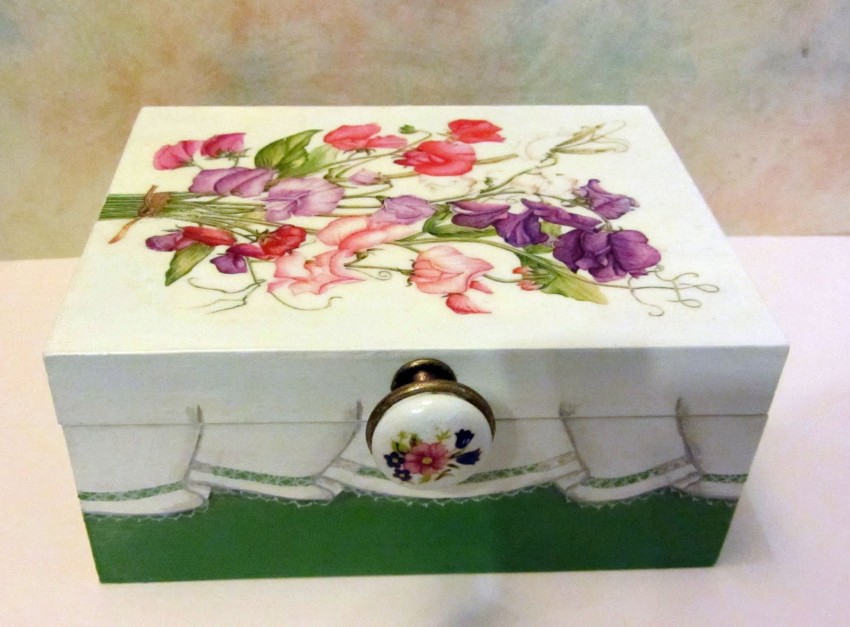
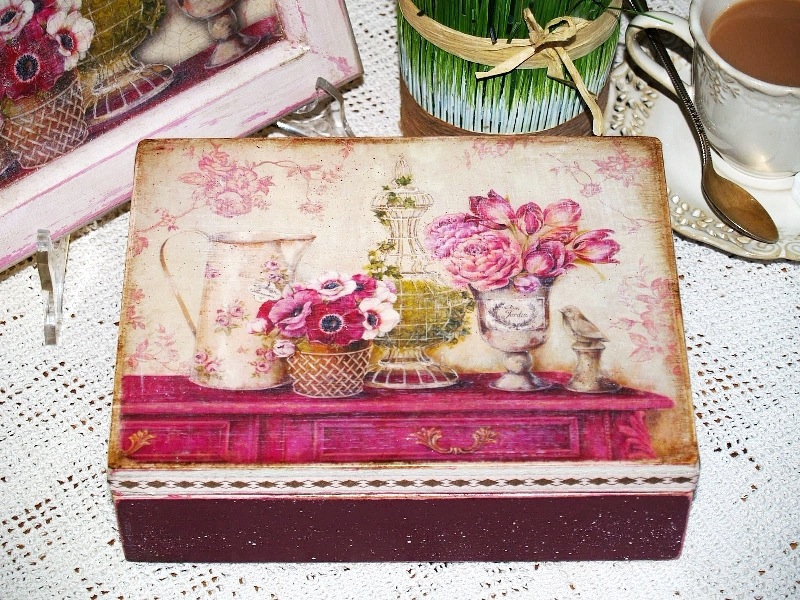
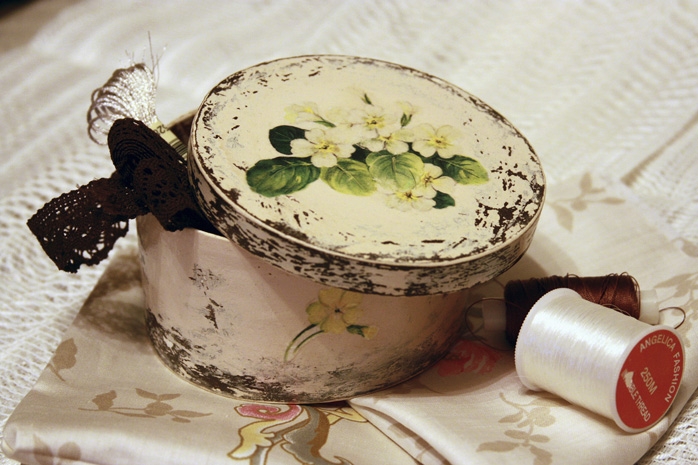
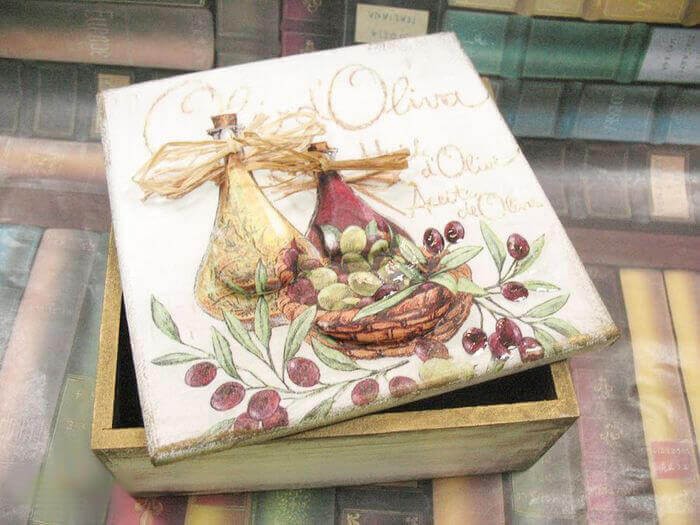
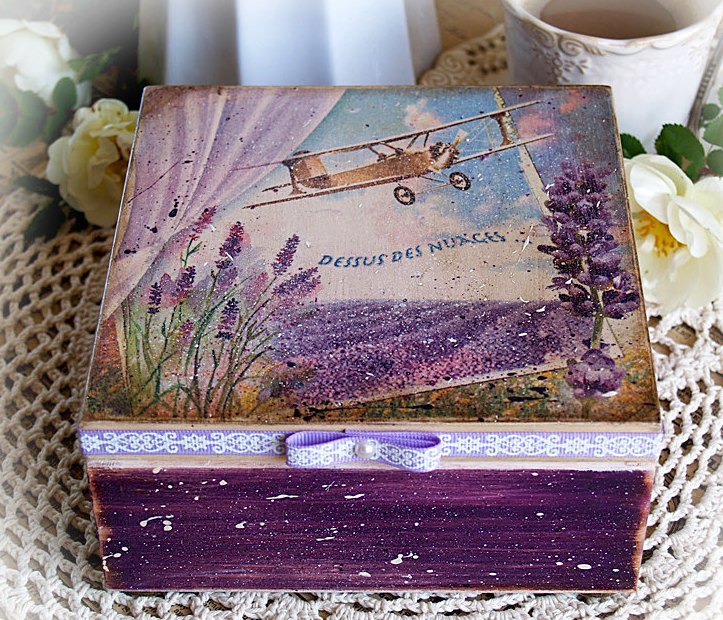
Decoupage in Provence style
Provence is distinguished by a large number of various additions, pastel shades and bright images. When decorating a box in the Provence style, it is recommended to choose a soft palette: white, pale pink, beige. A suitable option would be to choose a round box.
When decorating, the lid and body can be painted in different colors. To give an antique effect, after the glue dries, the walls can be lightly sanded.
Supplement. Provence is widely used in the design of a living room or kitchen. Boxes made in this technique will become an original decor.
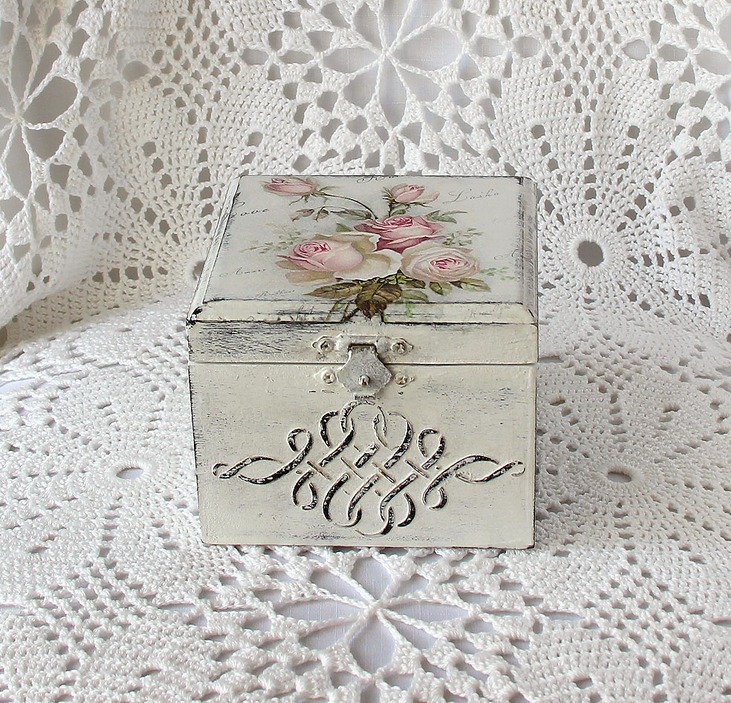
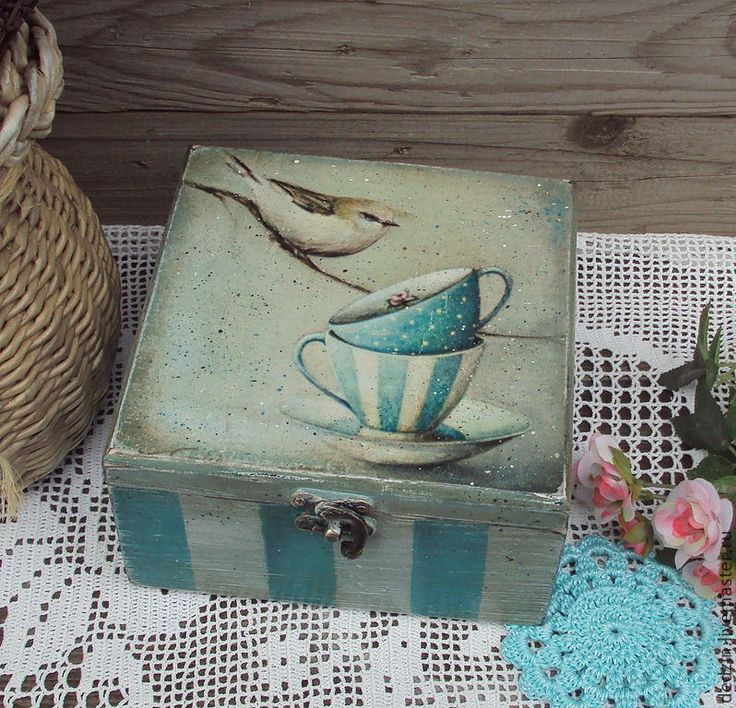
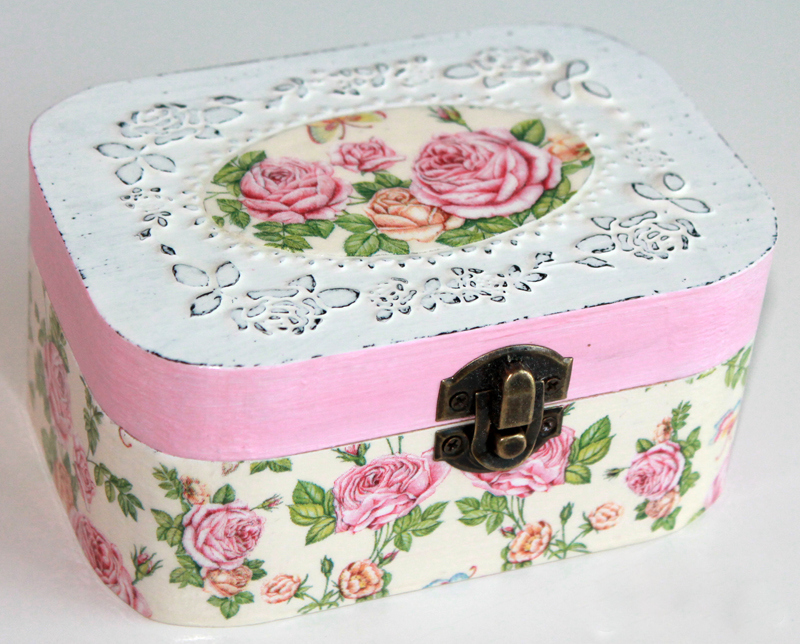
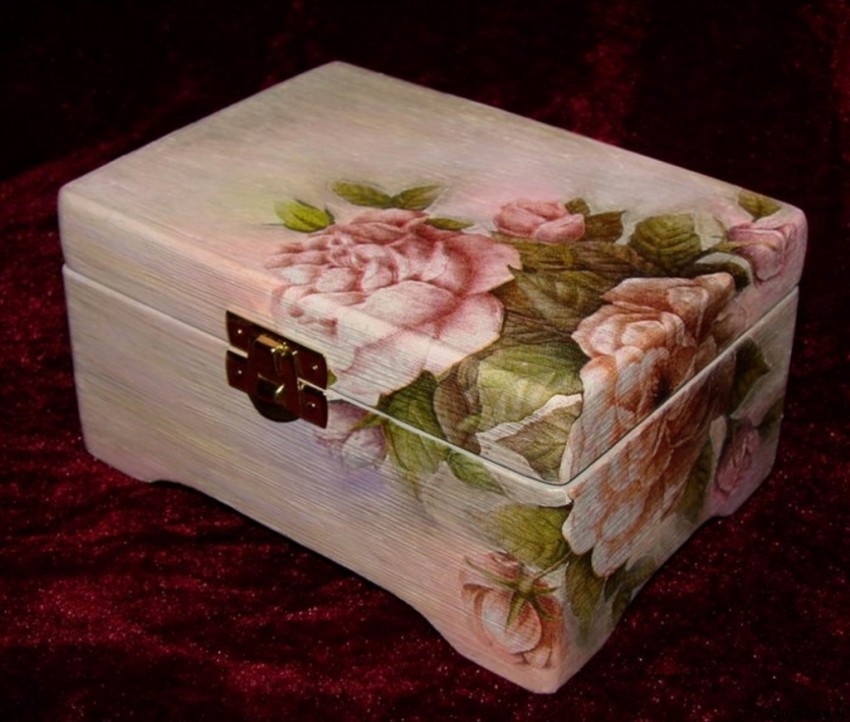
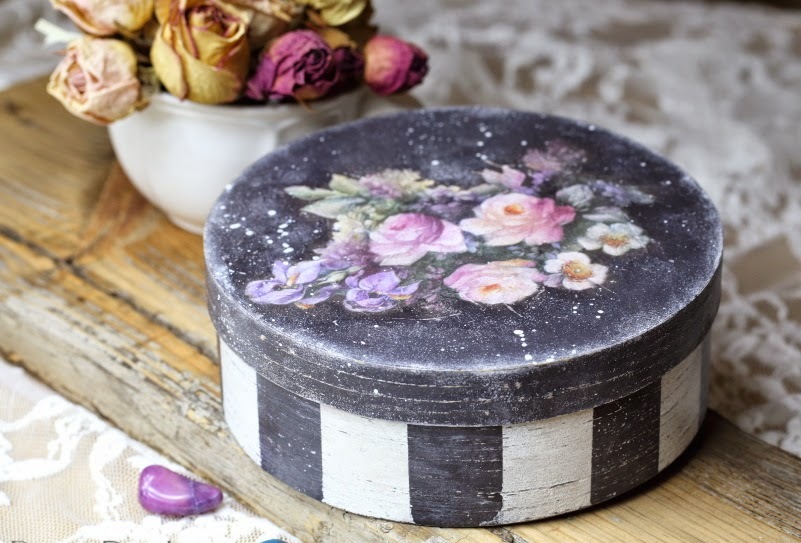
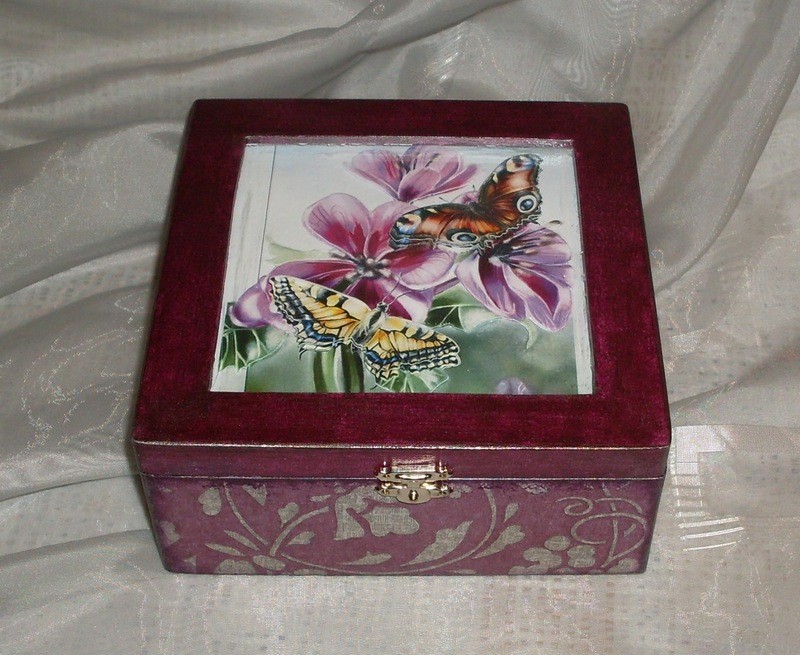
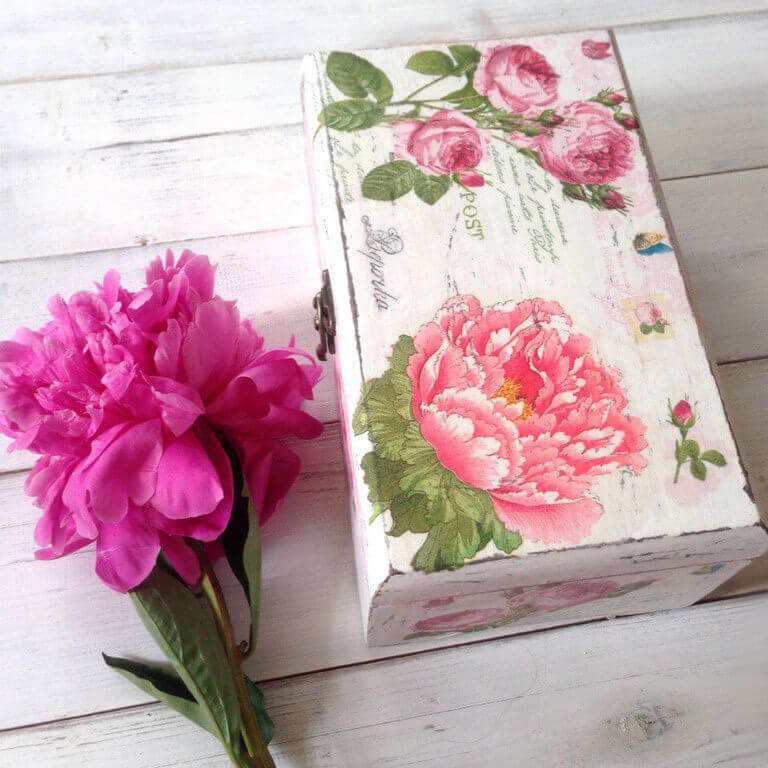
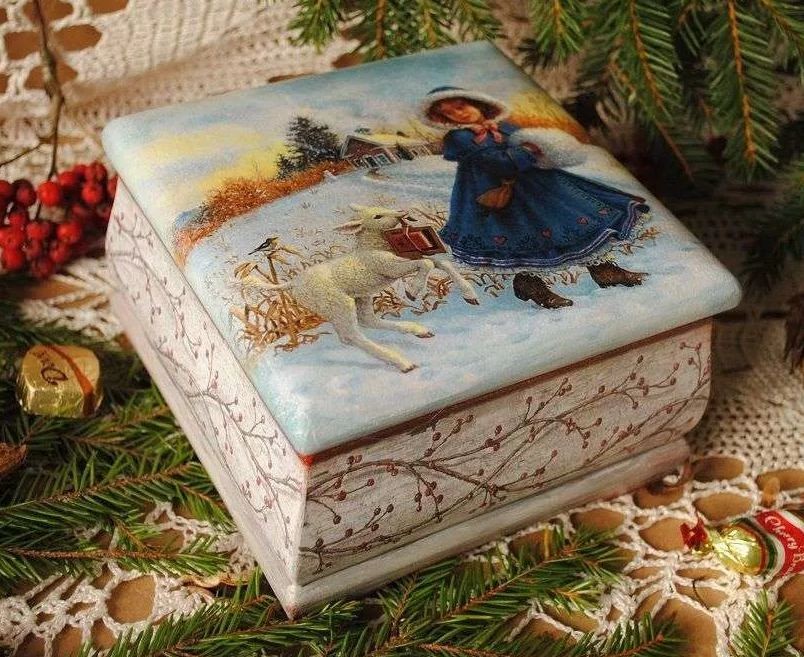
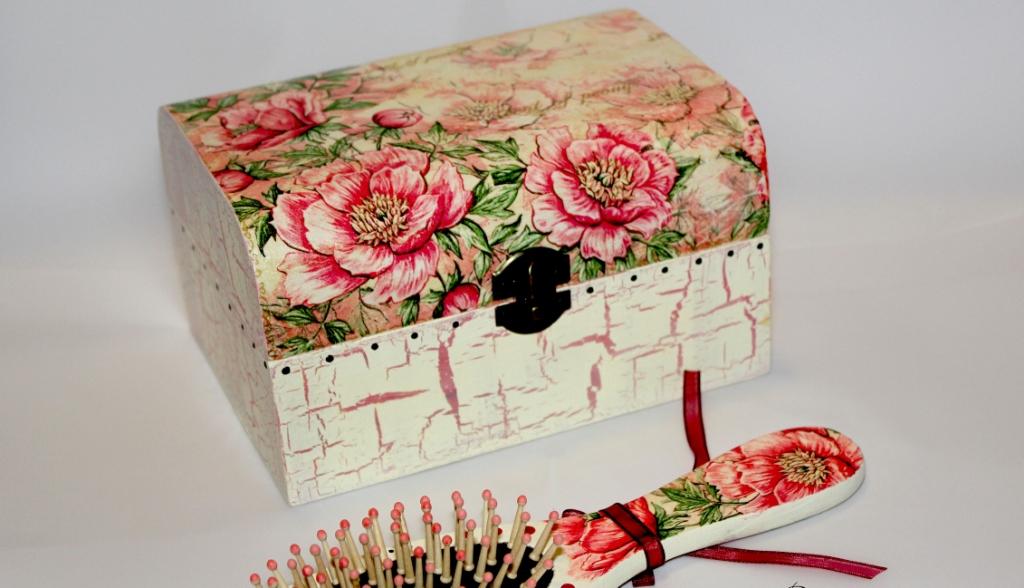
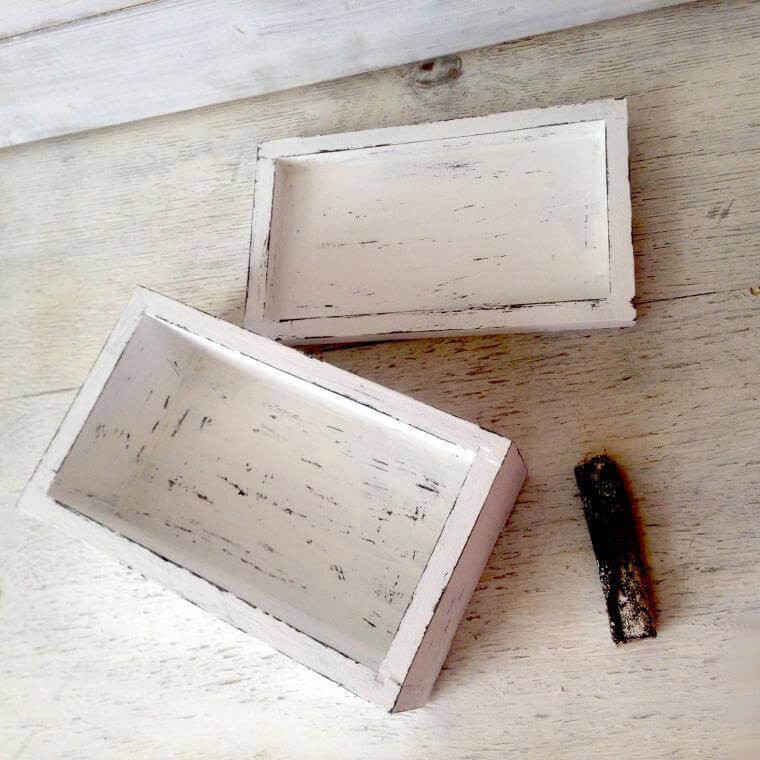
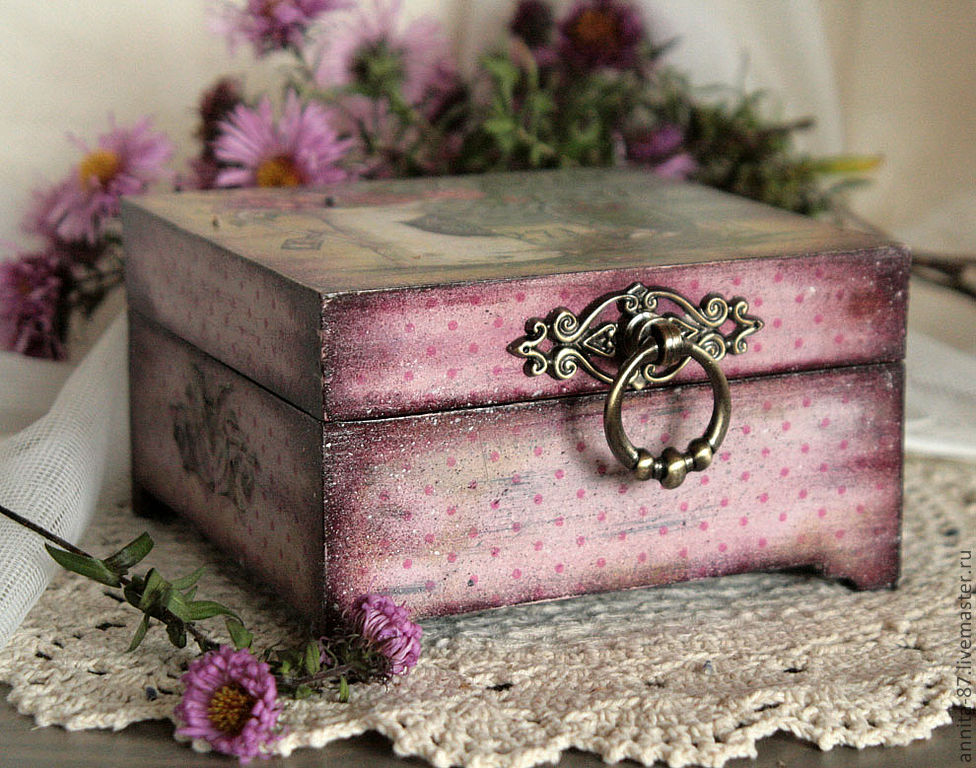
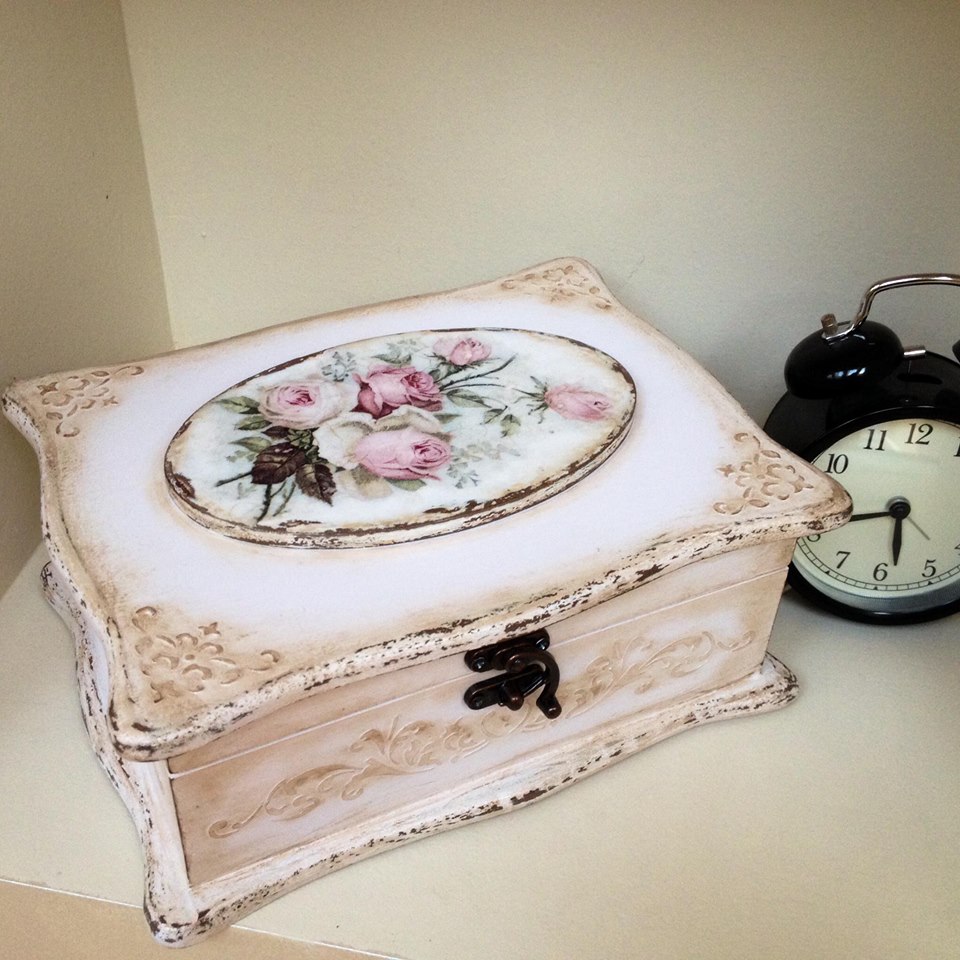
Decoupage in shabby chic style
This decoration method is similar to the above-described option. When working, soft pastel shades are also chosen, preference is given to images with bouquets of flowers, birds.
After the preparatory work, the chest is painted with dark paint. After complete drying, light paint of the selected shade is applied. After drying, the edges and the top are processed with sandpaper to create small abrasions (optional).
The napkin is carefully peeled off. Only the top layer with the image is needed for work. The picture is glued with glue.
Advice: Round boxes look especially original, with the image moving from the lid to the side wall.
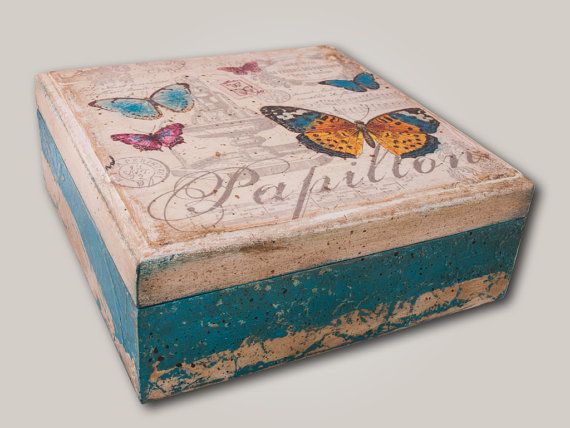
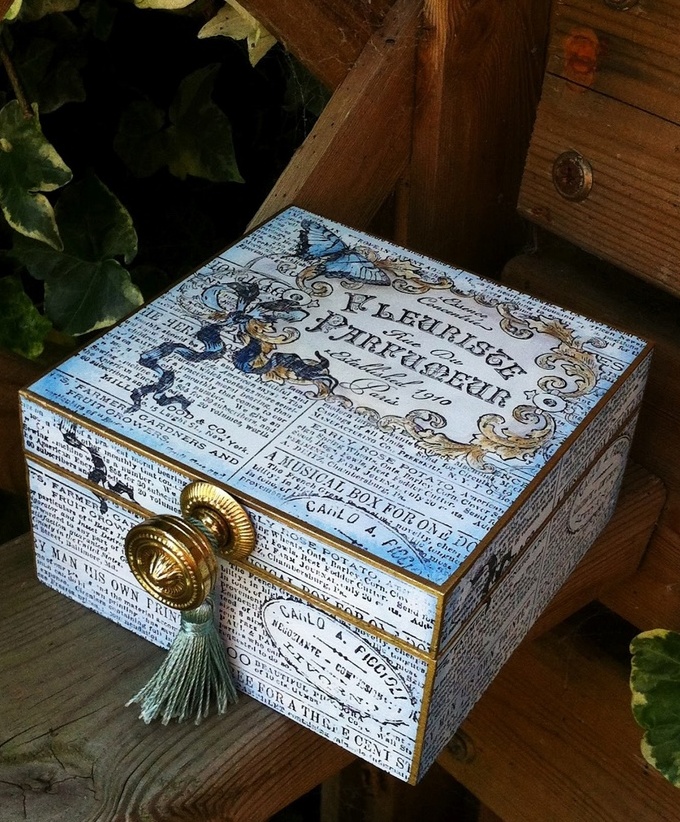
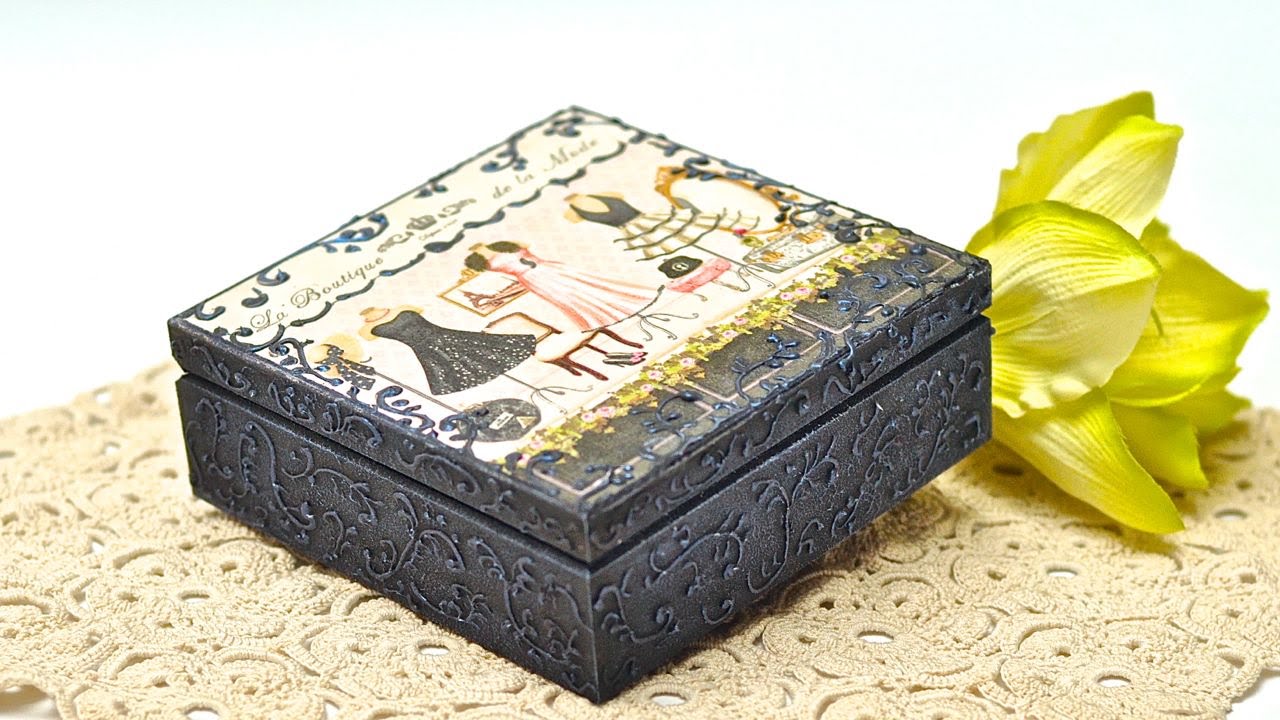
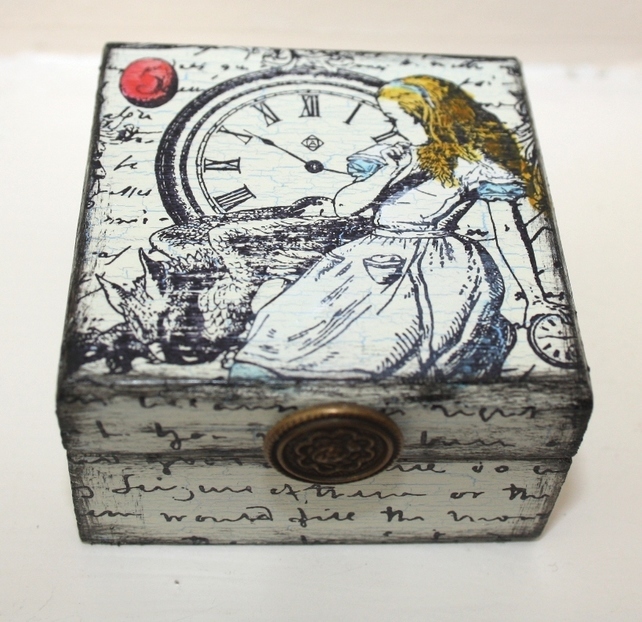
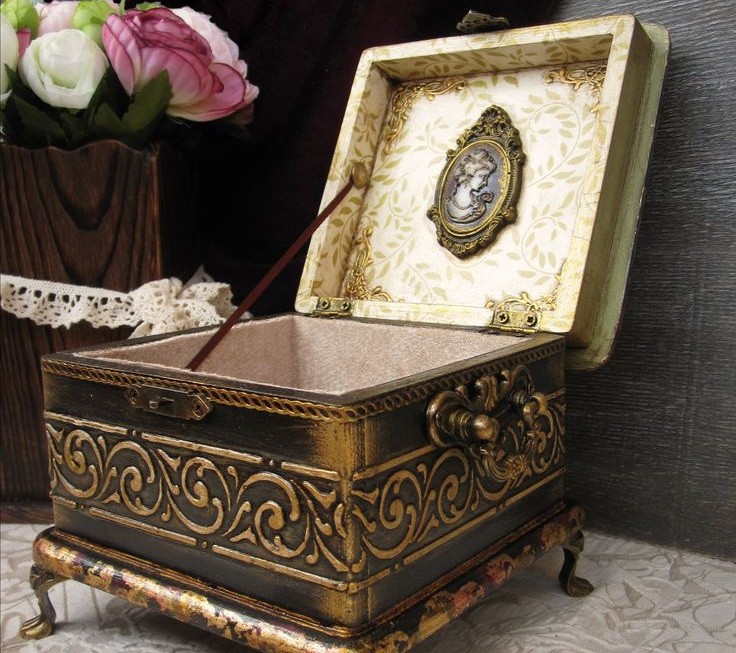
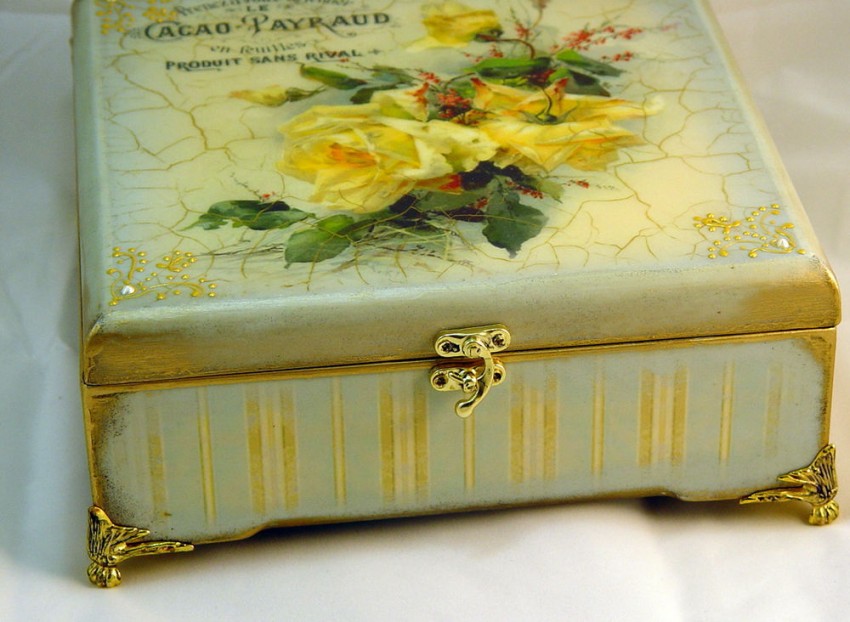
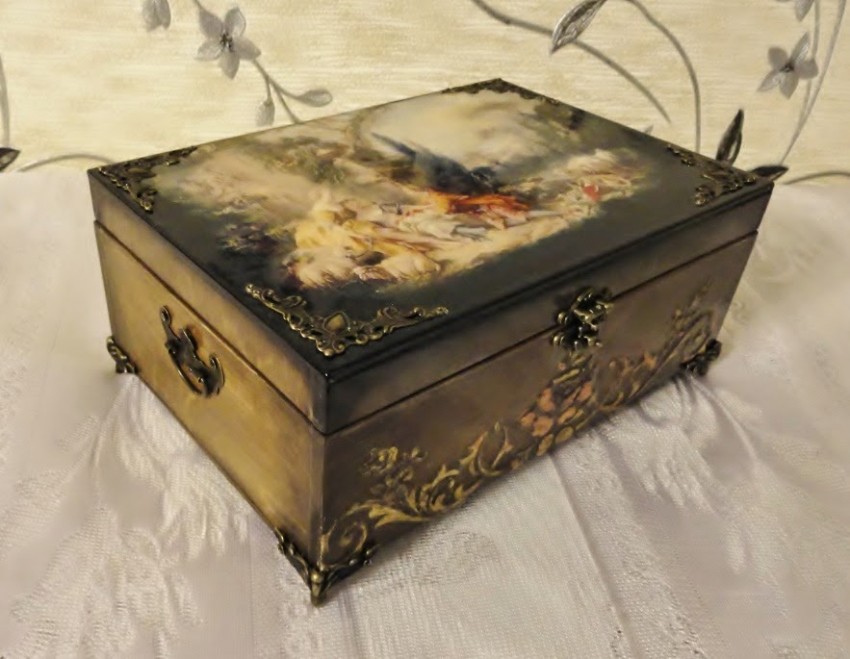
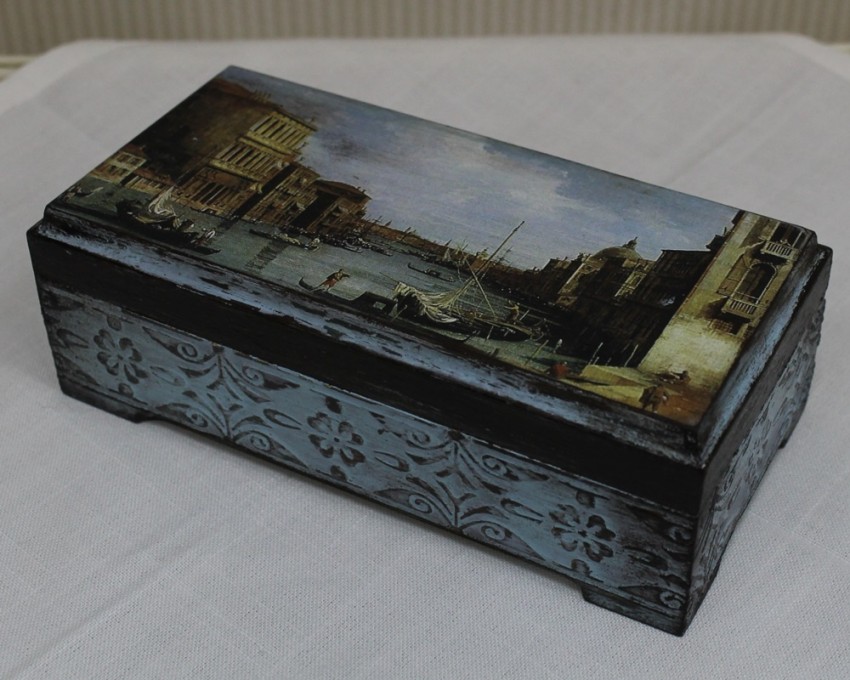
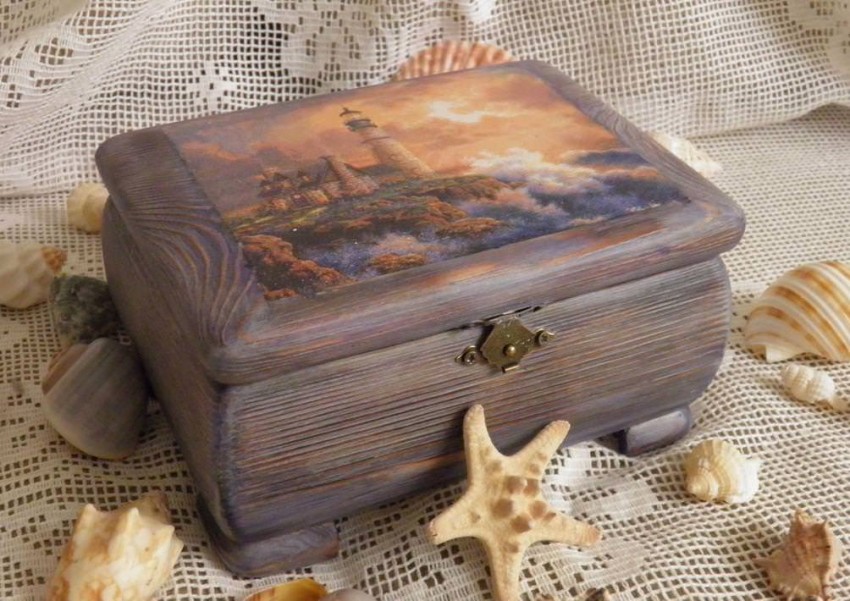
Decoupage of antique box
Accessories designed in retro style are distinguished by their special sophistication. Such a product can be used as a decorative element or presented as a gift.
After sanding and priming, the box is covered with dark paint. Varnish is applied on top, and the edges and ribs are treated with a candle. After drying, the box is painted with the desired shade, the surface is wiped with sandpaper until small abrasions appear. Napkins with an image are glued to the lid or walls.
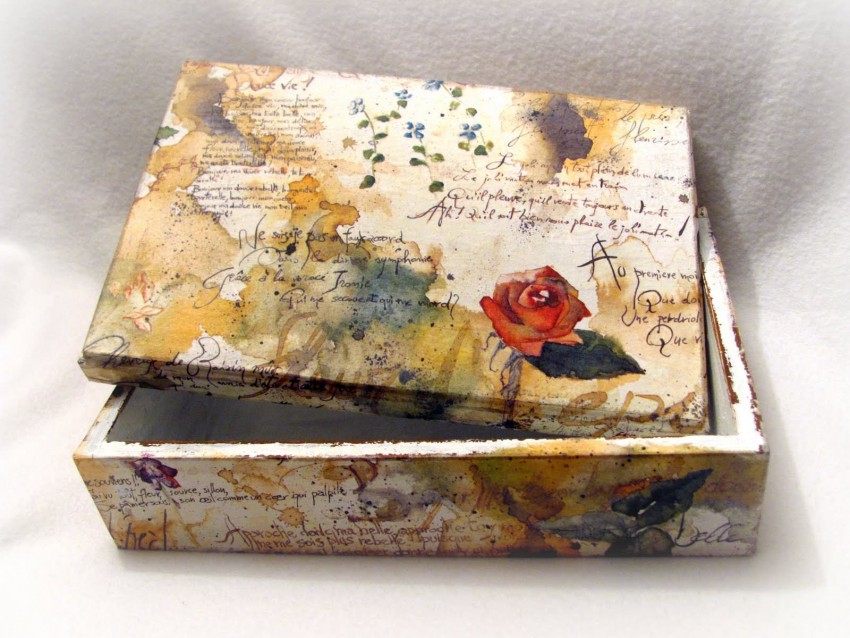
Note: After the glue has dried, the edges of the napkins can be slightly sanded.
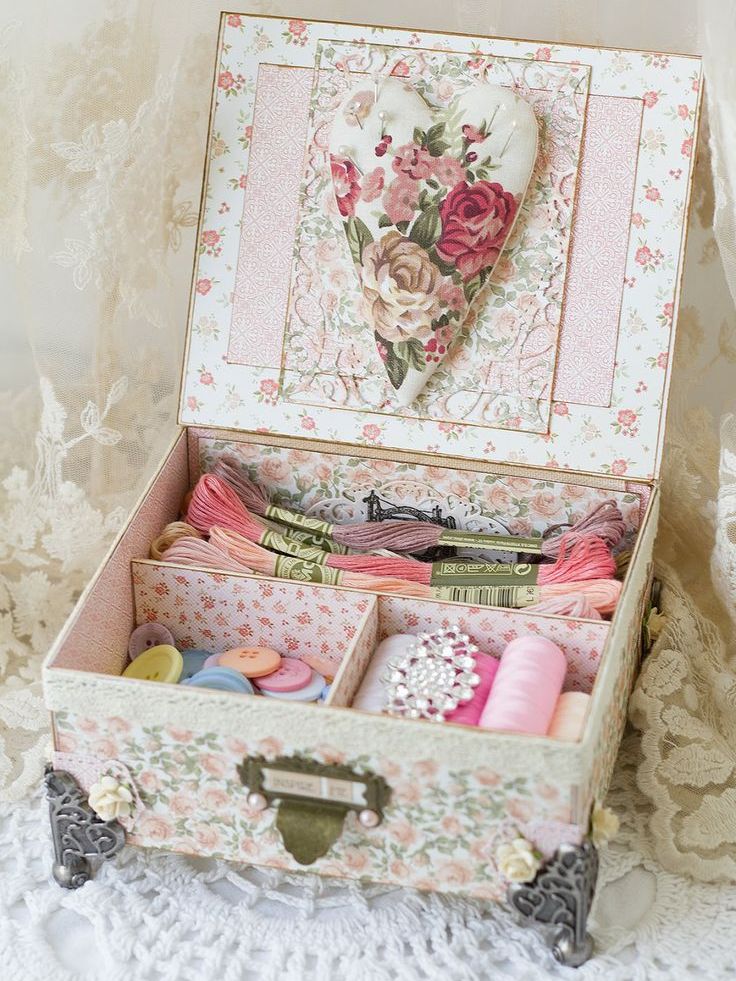
Decoupage of a patchwork box
Patchwork is widely used in the field of handicrafts. This method is used to make a large number of decorative items - from boxes to bedspreads and throws for furniture. Such a chest can be used to store sewing accessories. An unnecessary shoe box will be the best choice for decoupage.
The box must be prepared for work: the surface is cleaned from dirt, traces of tape are removed using a degreaser. Cut out blanks of the required size from the fabric. The front side is pasted over with decoupage napkins. Synthetic padding is laid out on the back side, the edges are folded. The blanks are stretched onto cardboard, fastened with threads. This element will be located on the lid. The side elements can be painted, an ornament can be applied using a stencil.
Methods of paper thinning
An important step in the preparation process is thinning the paper. If this point is not observed, the image may lie unevenly, and the result itself will be significantly spoiled.
Options:
- Carefully cover the front side with varnish, attach tape to the back side. After drying, the top layer is easily removed, and the napkin itself turns out very thin.
- Water will be useful as an additional component to the varnish. The front surface is covered with several layers of varnish. After complete drying, the picture is immersed in water for about 30 minutes. After being in the water, the back half of the napkin can be easily rolled off by hand.
- When using photo paper, you will also need varnish, which covers the side with the image. The lower part is placed on a damp surface (for example, a towel). The layers will gradually begin to peel off. In order to remove the layer, you can pick up the corner with a stationery knife.
Conclusion
The decoupage technique is characterized by simple actions and an original result. By using several simple methods and a little imagination, you can significantly transform an old or unnecessary chest.
VIDEO: DIY decoupage of a box.
50 original decoupage options for boxes: