If you have a habit of losing and forgetting sunglasses, a mobile phone or other important little things, a key holder made by yourself will become your reliable assistant. This device is designed to store small household items, comes in several types and is located at eye level in the hallway of your home. This design can be not only an assistant against forgetfulness, but also a wonderful addition to the interior. How to use a key holder correctly? Each owner has his own solution.

Content
- Wall key holder options
- Where is the best place to place the key keeper?
- Benefits of making a key holder with your own hands
- DIY Key Holder: Deciding on Design and Construction
- Hooks for key holder
- Wooden Wall Key Holders: DIY Simple Models
- Using decoupage technique in decoration
- What other materials can be used to make a key holder?
- VIDEO: DIY key holder decor.
- 50 options for original key holders for the home:
Wall key holder options
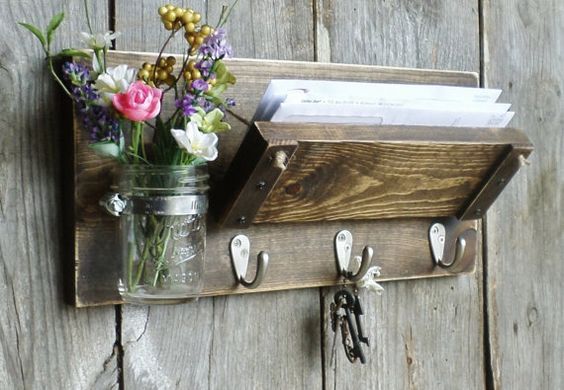
Such a decorative element as a wall key holder, made with your own hands, will complement your hallway, will become a practical and convenient solution for everyone who loses keys. The appearance and shape depend on the owner's flight of fantasy. Let's consider what kind of wall key holders for the hallway, made with your own hands, are.
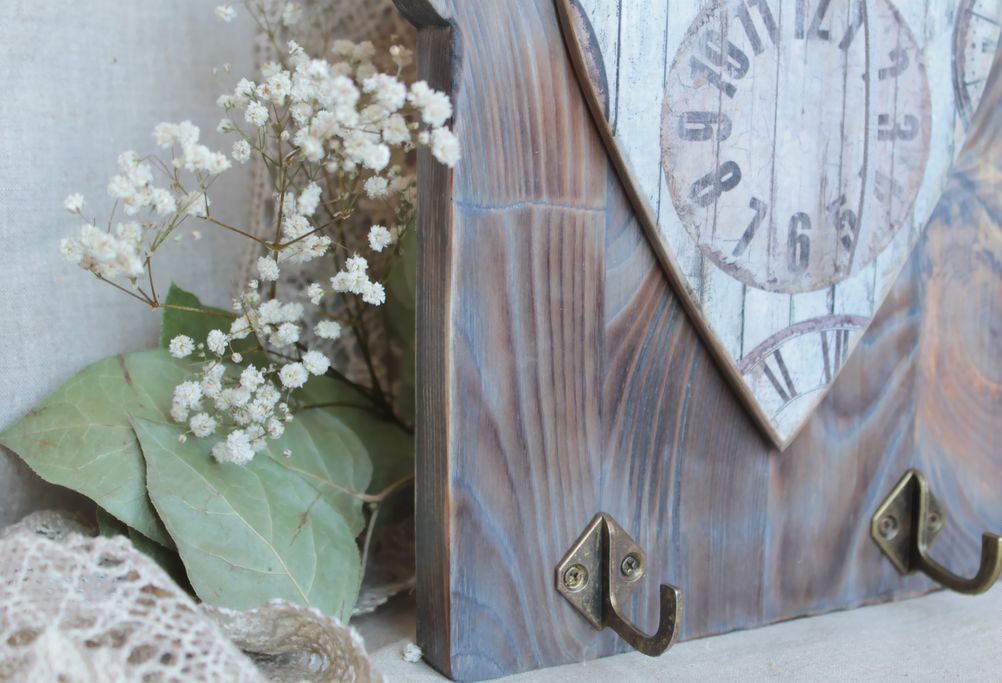
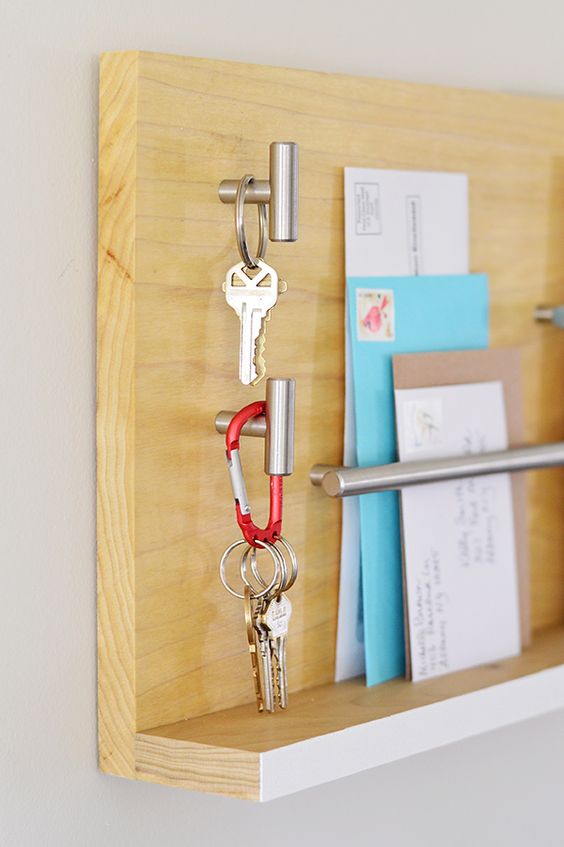
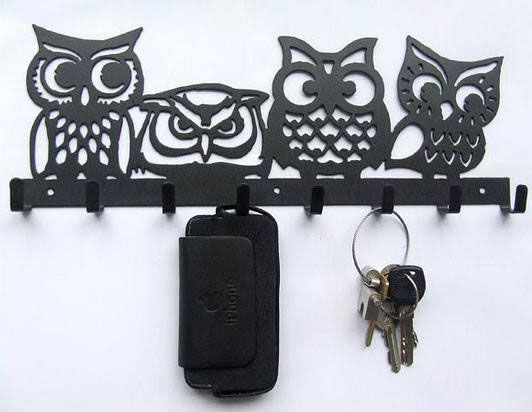
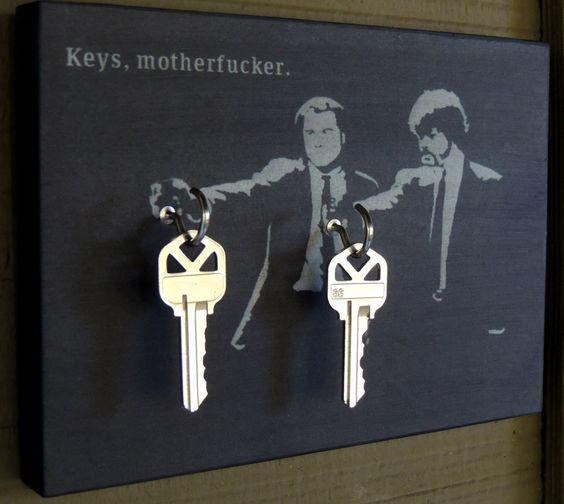
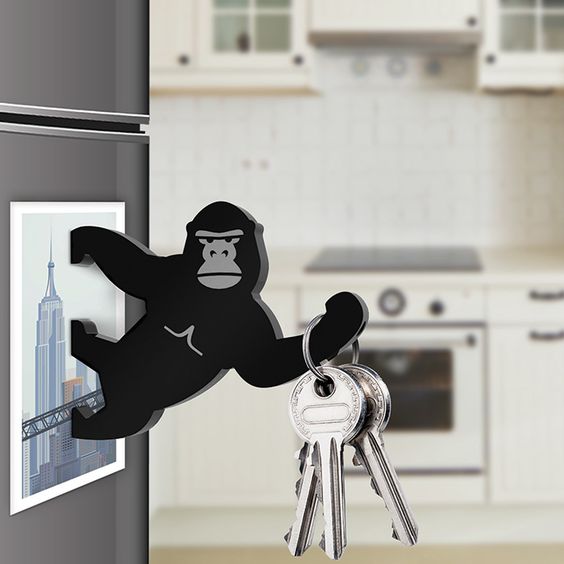
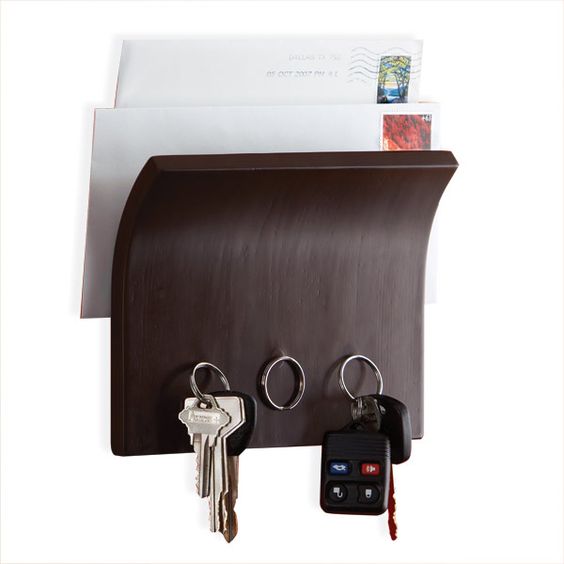
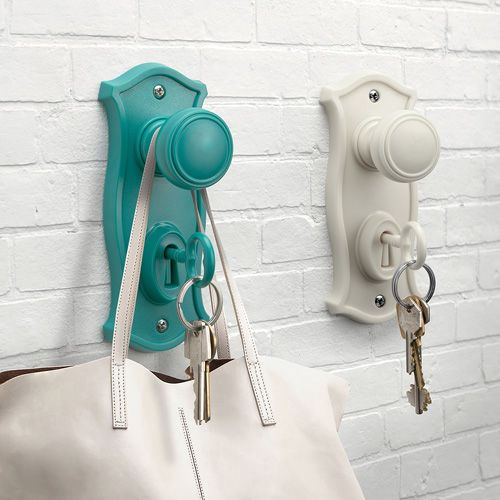
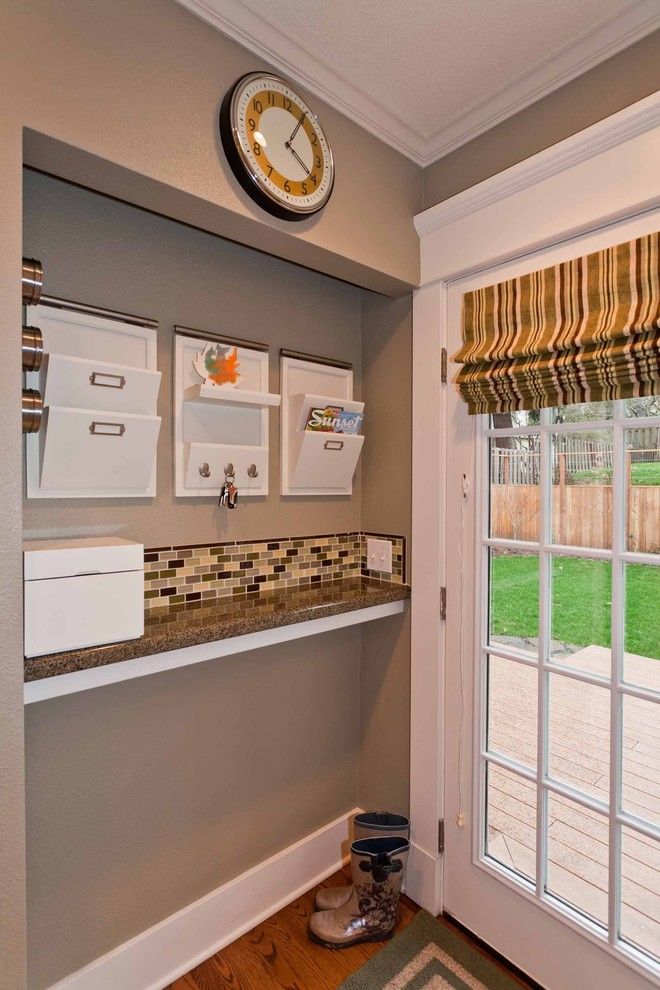
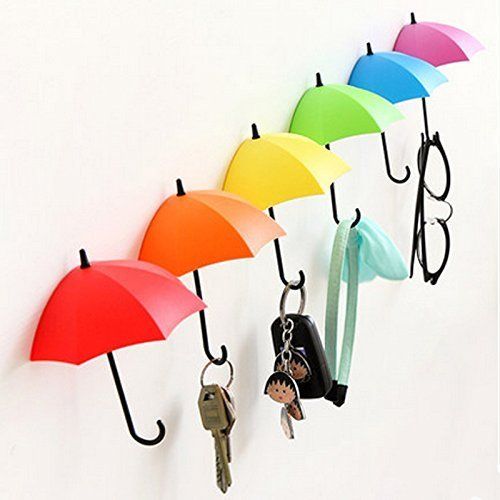
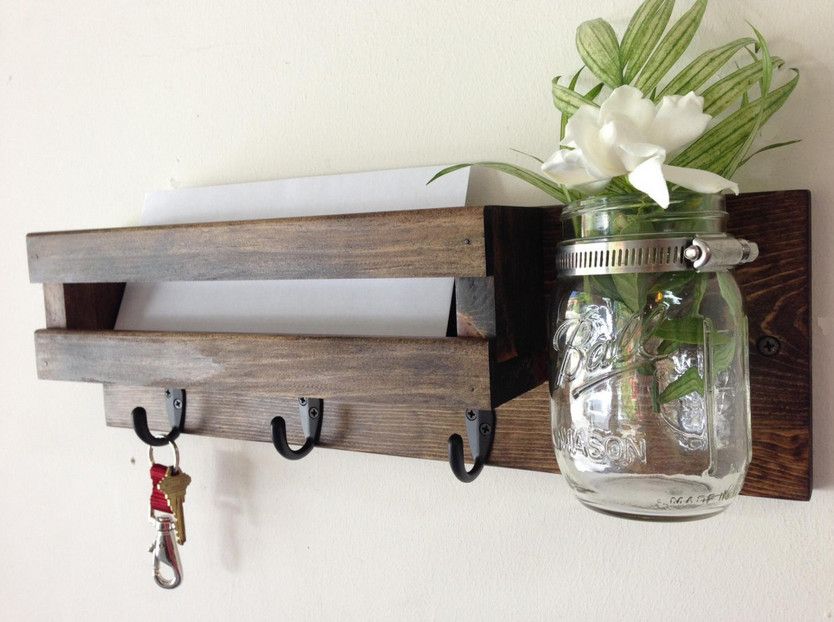
- An option that is hung on the wall. It is located at eye level, not far from the exit, so that it is always visible. The method of fastening depends on the owner's imagination and the interior design solution: metal, plastic hooks or magnetic devices.
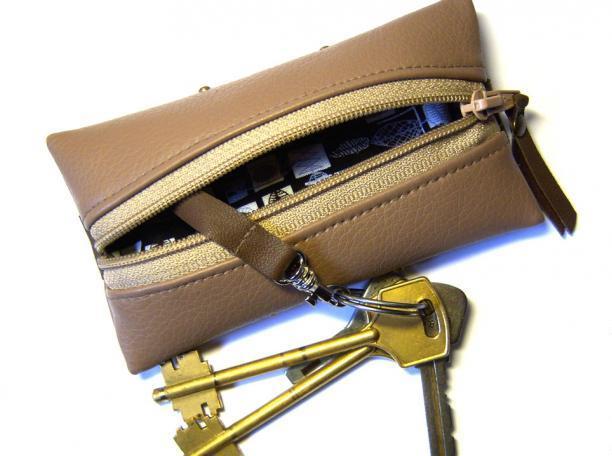
- Key holders for carrying in pockets are beautiful and unusual. If you like to carry bunches of keys, you don’t have to worry about damage and scratches on phone (tablet) screens, the product is sewn from leather or leatherette, which prevents holes from being worn inside clothes and bags.
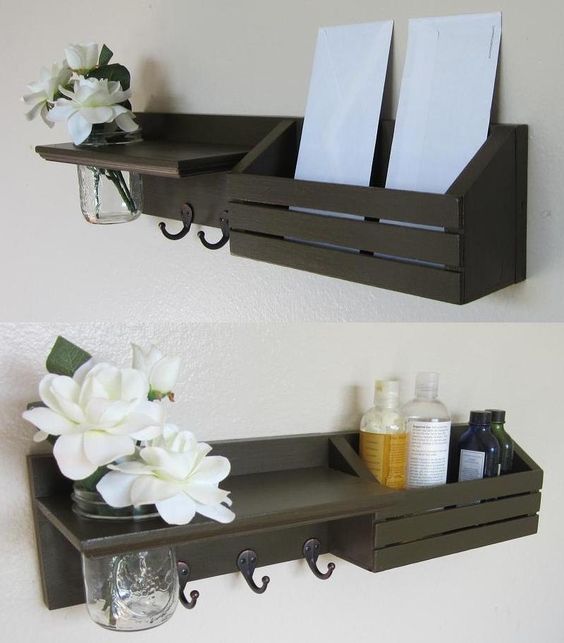
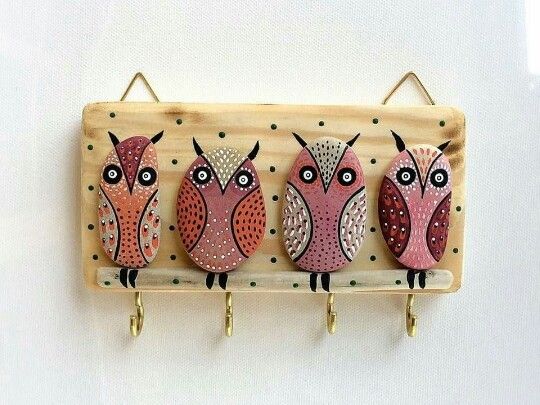
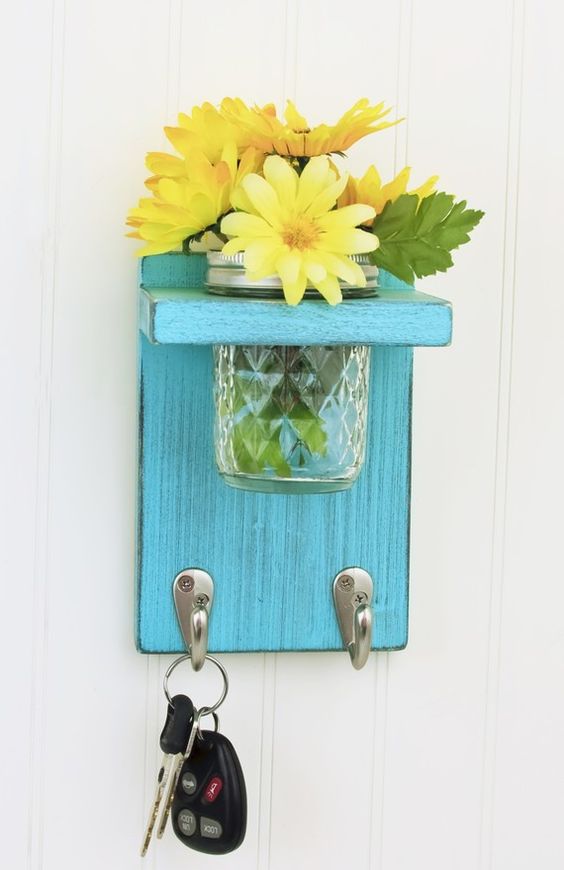
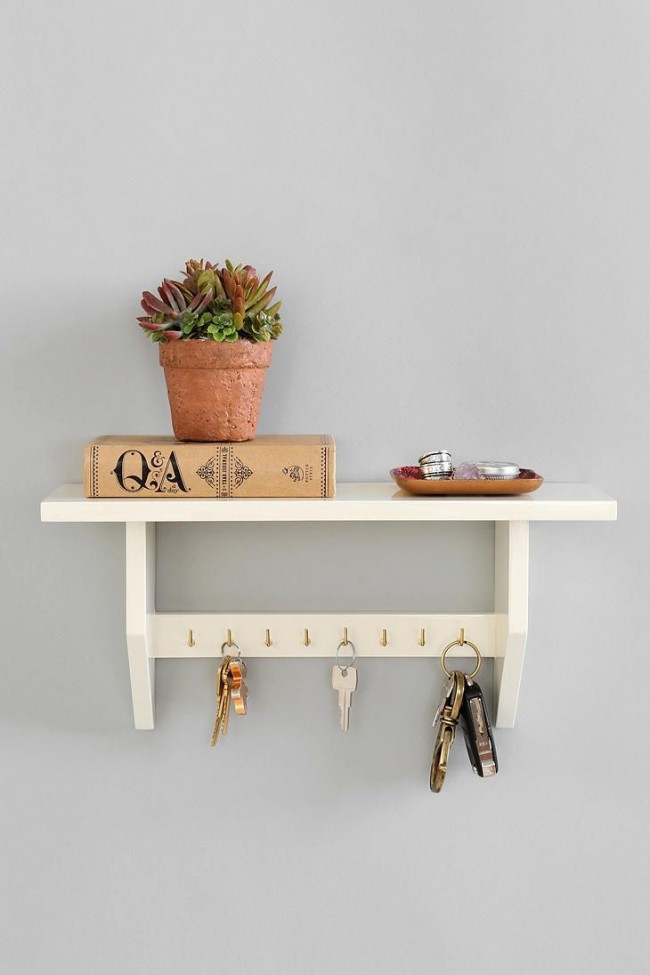
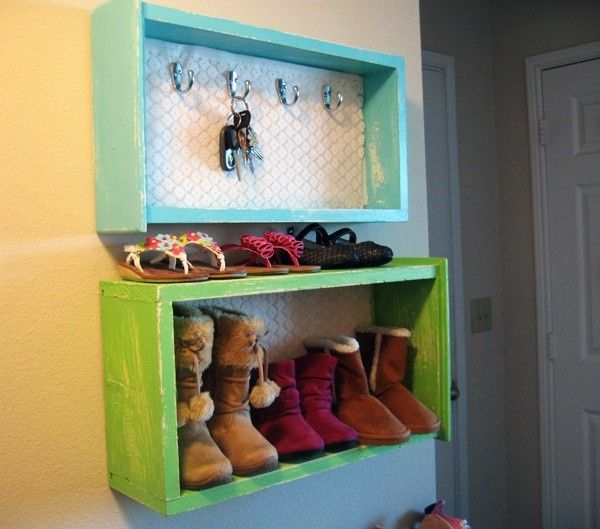
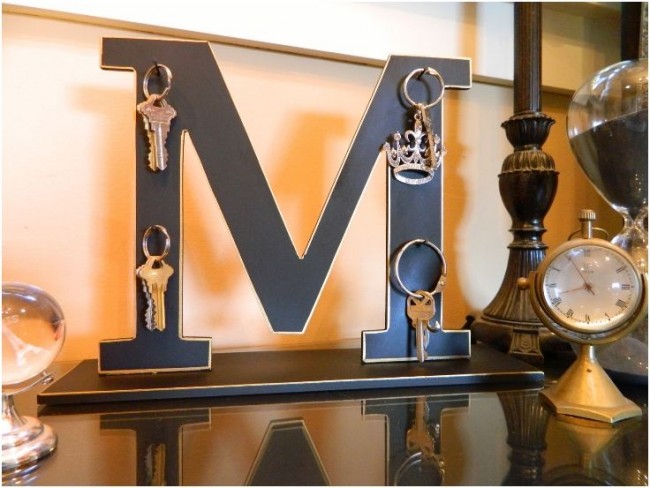
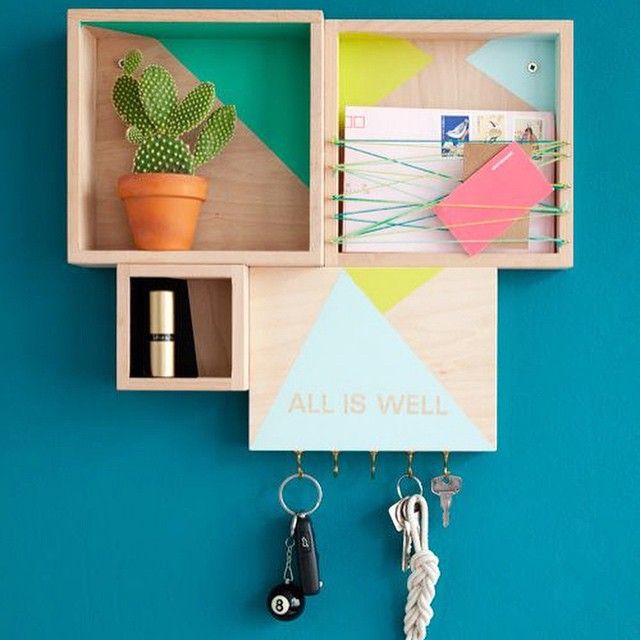
- Tabletop key holder made of metal, cardboard, wood. The shape and appearance can be different - a box, a frame, a house. You can paint and decorate the key holder. Put a keychain on the bunch - then you will definitely not forget to hang it on the hooks.
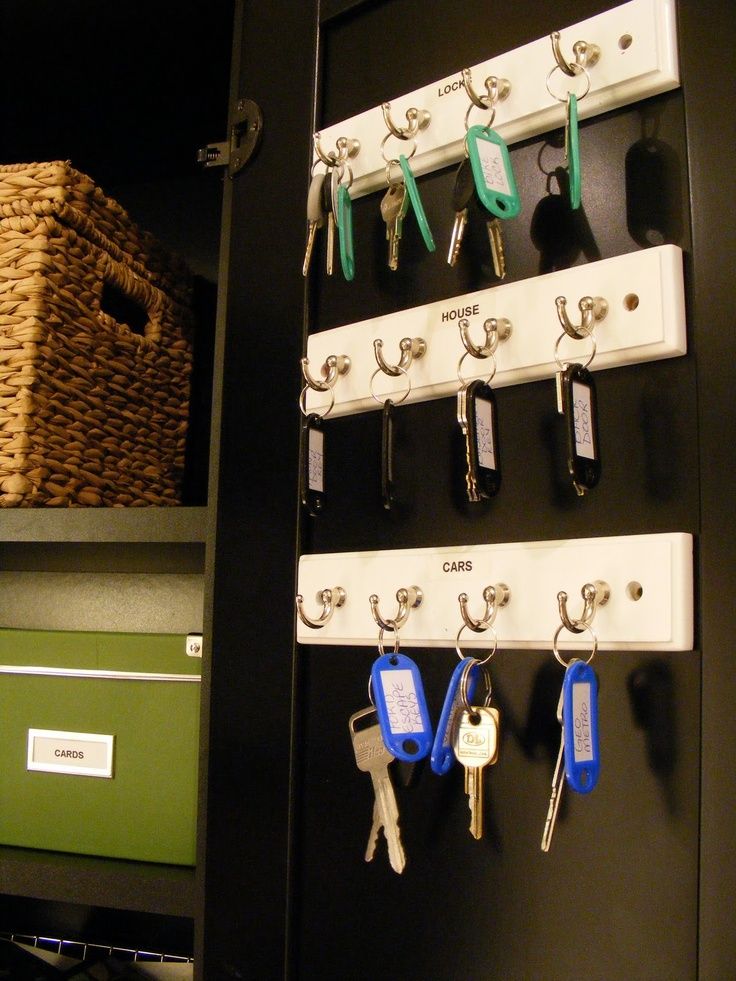
- If there is a dressing table in the hallway, the product would be appropriate on the door of the cabinet or dressing table.
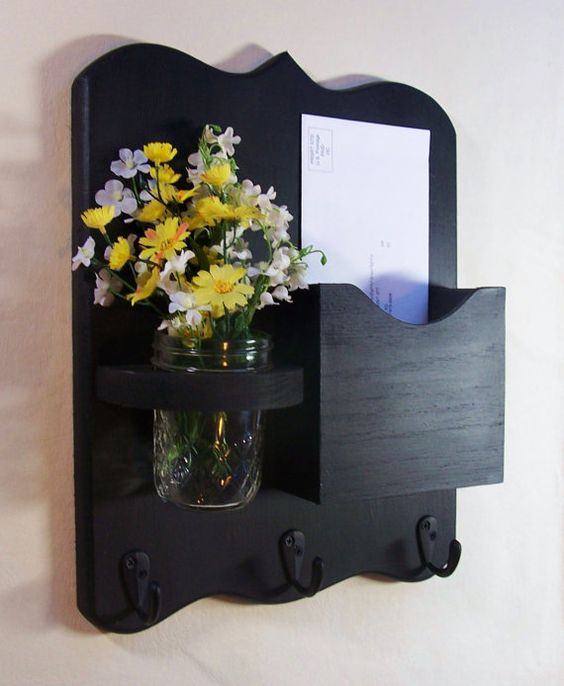
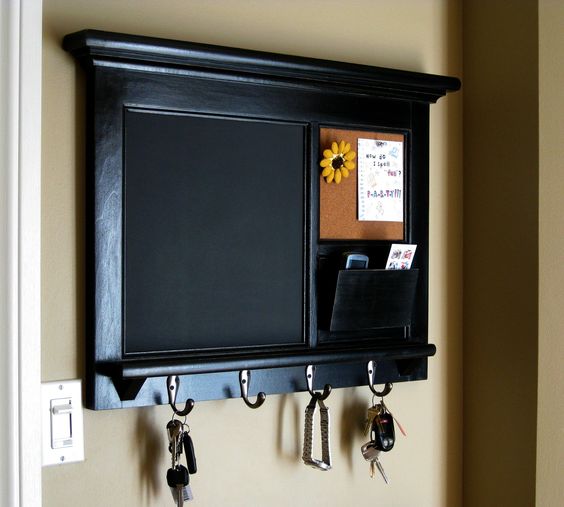
A DIY key hanger is used for notes, memos, and reminders. Leave your cell phone or sunglasses there. It's a convenient place to store flash drives, shoe polish, and a brush. Be careful when placing the device near the front door: protect the structure from possible property theft.

The development of such structures is carried out taking into account the location: in office premises they are metal, with a built-in internal lock. In warehouses, the products are simple and rough in appearance, but they perform their function. However, for home comfort, it is recommended to think through all the details and appearance, because your home is your reflection.
Where is the best place to place the key keeper?
The main rule to follow when choosing the location of the key holder is ease of use and the principle of "always in sight". Often owners lose keys, and it turns out that they were always in one place. Many will find it convenient to carry a pocket key holder - it is always nearby, compactly fits in a bag or jacket pocket. But the loss of the entire set occurs at once.
If the product is intended for storing home keys (an extension, garage, window and balcony bars, basement) - place it near the front door or on the inside of built-in cabinets. This way the risk of losing or being stolen is reduced to a minimum - the structure is separately locked. The hallway (corridor) is an ideal place to attach the key holder. You will not forget your keychain when leaving for work and will not remember in the car - your gaze will stop on the key keeper intuitively.
Benefits of making a key holder with your own hands
There are many advantages to creating an original key holder with your own hands and at home.
- It is rare to find a key holder that would fit the overall interior concept 100%. If you create it yourself, you will save not only nerves and time, but also finances - the main thing is to have the necessary building materials at hand.
- You will put your love into the work and fill the room with your warmth. This is a great way to express your individuality, sense of taste and style;
- The quality is selected independently - what could be more important than confidence in the durability of the product and the naturalness of the materials?
- Your hallway will acquire a completely different appearance - an exclusive key holder will delight your friends and family.
- Saving money is not the last point in planning a family budget.
DIY Key Holder: Deciding on Design and Construction
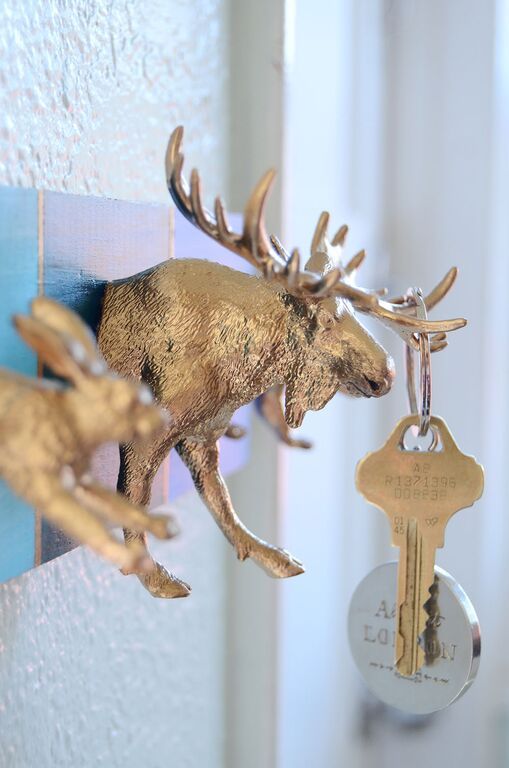
Pocket, from cardboard, from a box, on the wall or for a flat surface (chest of drawers, table) - the project of the key holder can be anything! There are many types of hangers for small items and keys, the main thing is to decide on its location. When you have decided where the product will stand, hang, you can think about its shape and appearance. Perhaps your hallway is decorated like wood? Then complementing it with original decor that combines usefulness and beauty is simply necessary!
If the style is high-tech, create your own unique key holder from metal, polish it and bring fashion trends to your hallway. The materials for production can be very different: leather, wood, cardboard, metal and others.
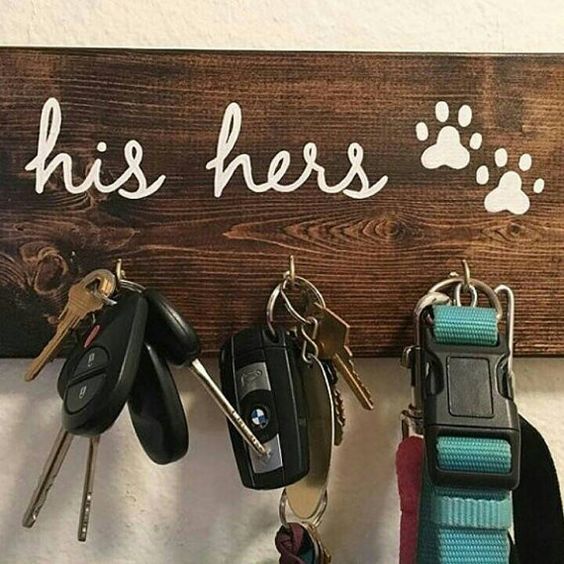
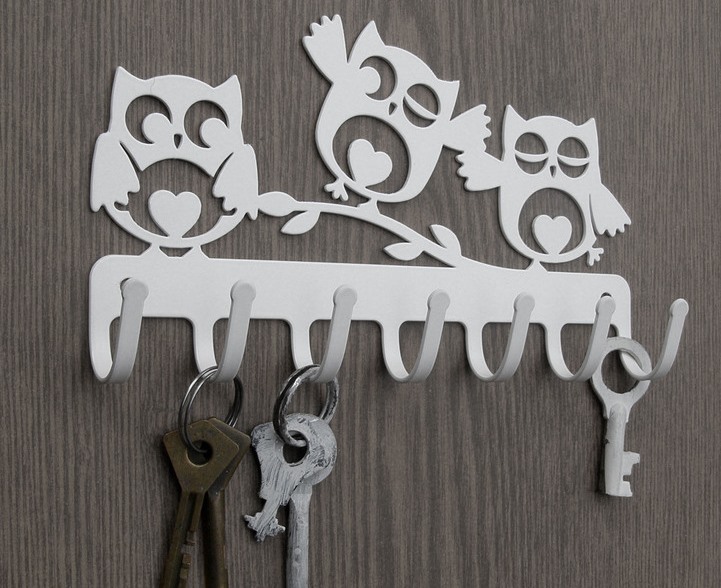
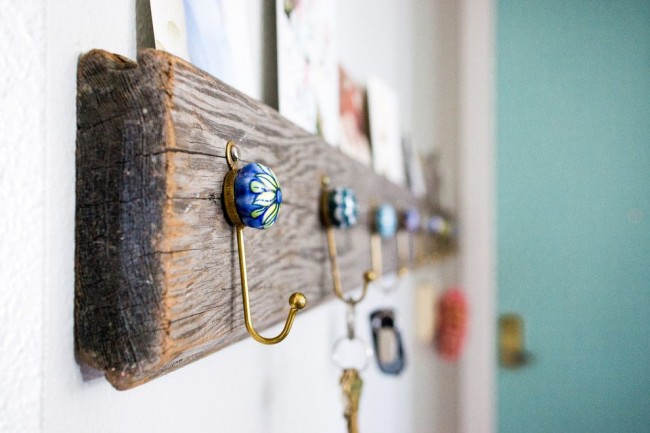
Hooks for key holder
A homemade original key holder can be made from different materials, which gives a reason to include imagination and creativity. Hooks are an important detail of the product, they can be very different. You can buy blanks in any store that sells furniture fittings. For example, a convenient option is overhead types of hooks that are conveniently attached to the key holder. To fix the holders on a material such as plywood or chipboard, they need to be glued. The adhesive base should be characterized by excellent adhesion to wood and other materials (it is worth choosing based on the material of the hooks).
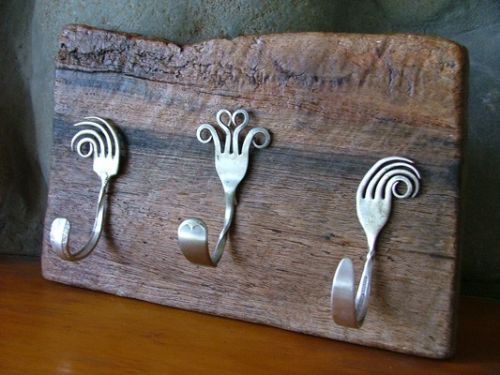
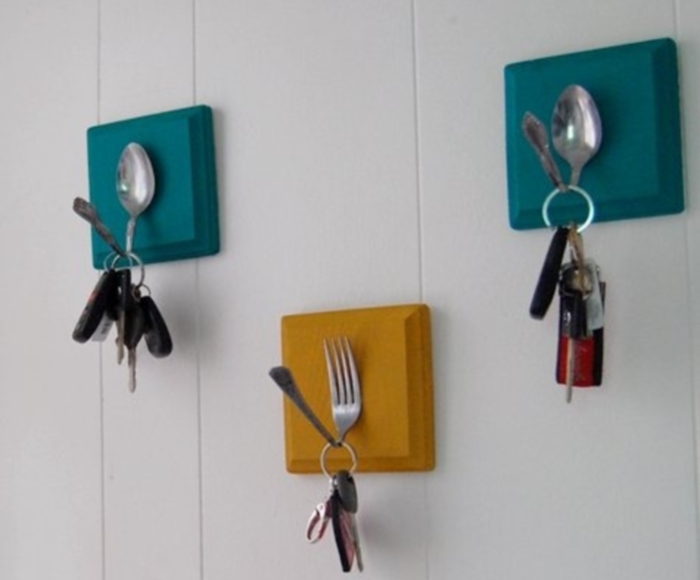
The metal pins inside each fastener are hammered in, conquering even concrete walls. The downside is the high cost. If you're feeling creative, you can try making hooks out of old forks, wire, or twigs.
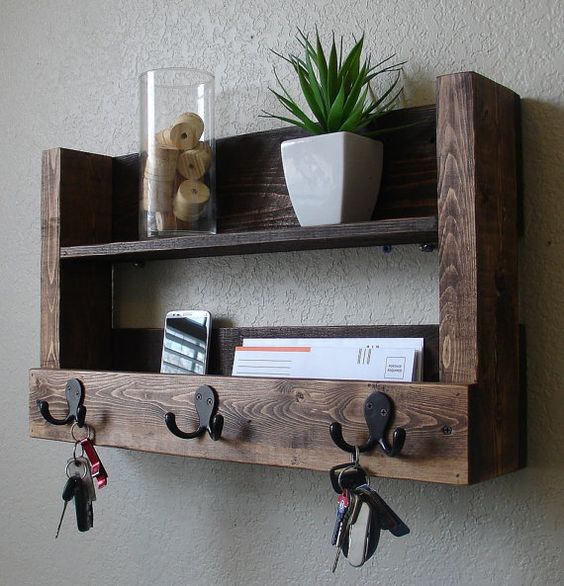
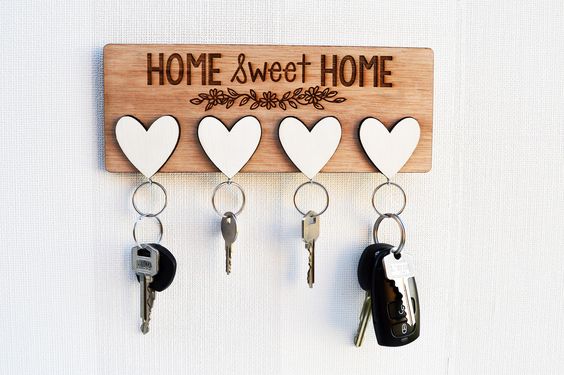
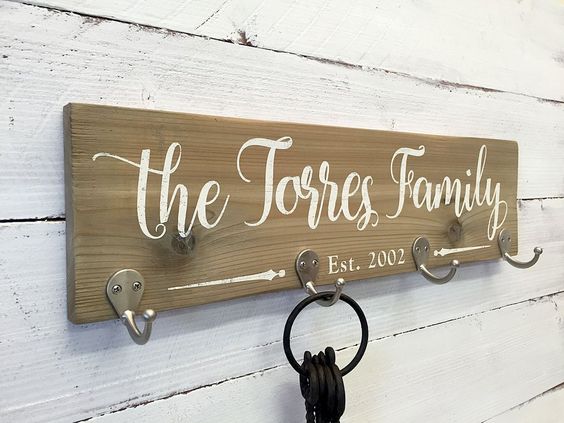
Wooden Wall Key Holders: DIY Simple Models
A wooden key holder, created with your own hands, unusual drawings for which can be cut out of natural wood. A homemade key holder can be made from any type of wood raw material. So, what will be needed for the blanks:
- hard wood (eg oak);
- hand drill;
- hammer drill;
- mortise type nails;
- dowels.
How the work happens:
- First, sand the raw material;
- make several different holes;
- cover the surface with stain and paint;
- Place the blank on the area of the wall where you plan to hang it;
- The part is screwed on using a hammer drill.
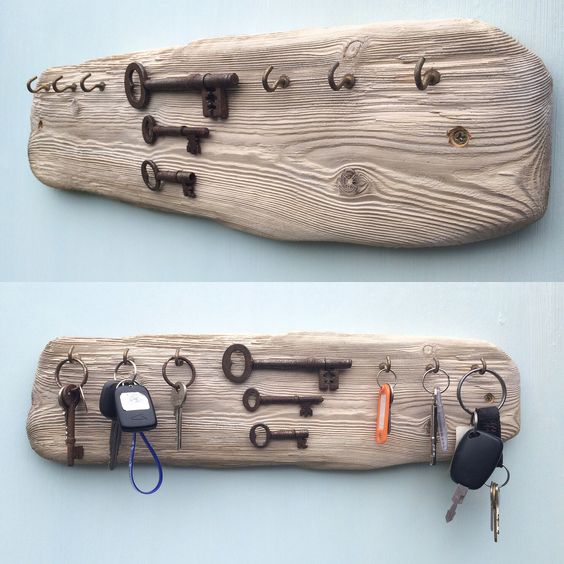
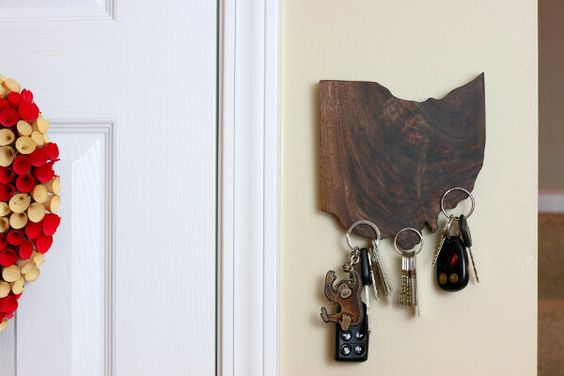
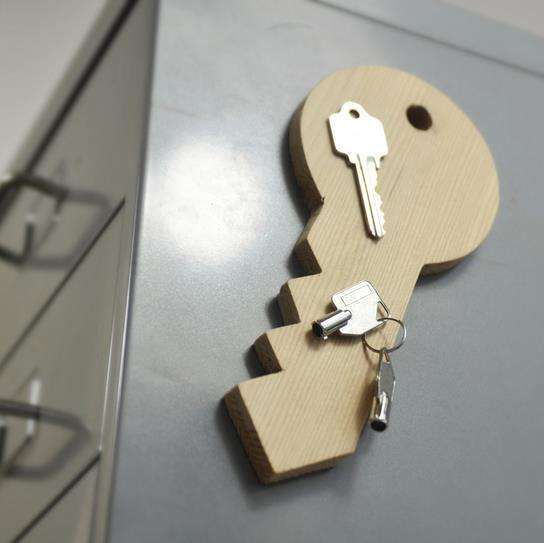
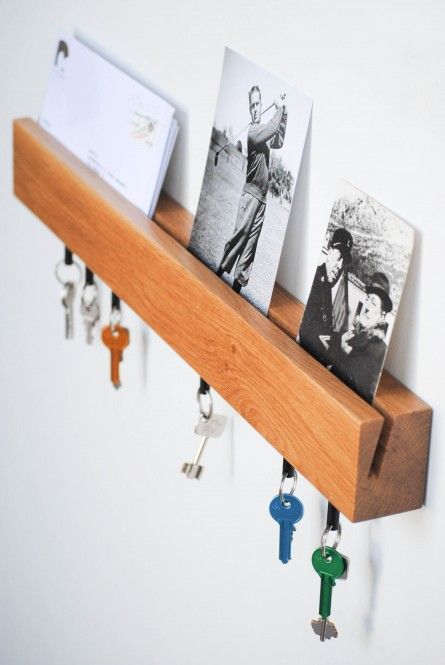
Wooden and without hooks
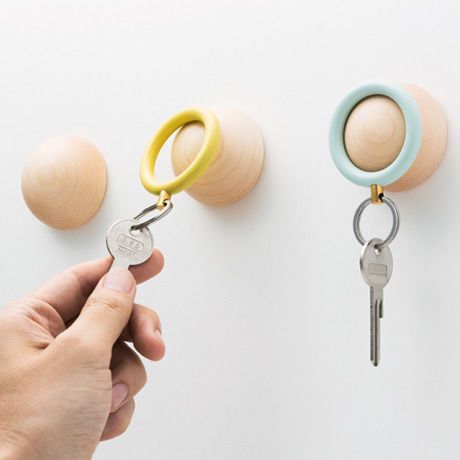
A hallway key hanger, floor or wall-mounted, can be made without hooks or magnets. The best option for making it is to use wood. The principle of operation of such a key holder is simple - the key is not hung, but stuck into a slot of suitable parameters. The slots can be small and in any quantity, straight or at an angle. The most convenient way to make them is to use a milling machine. A circular saw is the second suitable method.

DIY Plywood Key Holder: Several Examples of Execution
If you have some materials left over after the renovation, you can use them for a DIY key holder project. The optimal thickness of the material should be about 10 mm. You will need:
- a drawing of a key holder made of cardboard or wood, which can be transferred to chipboard;
- power tools;
- putty and spatula;
- metal hooks and fasteners.
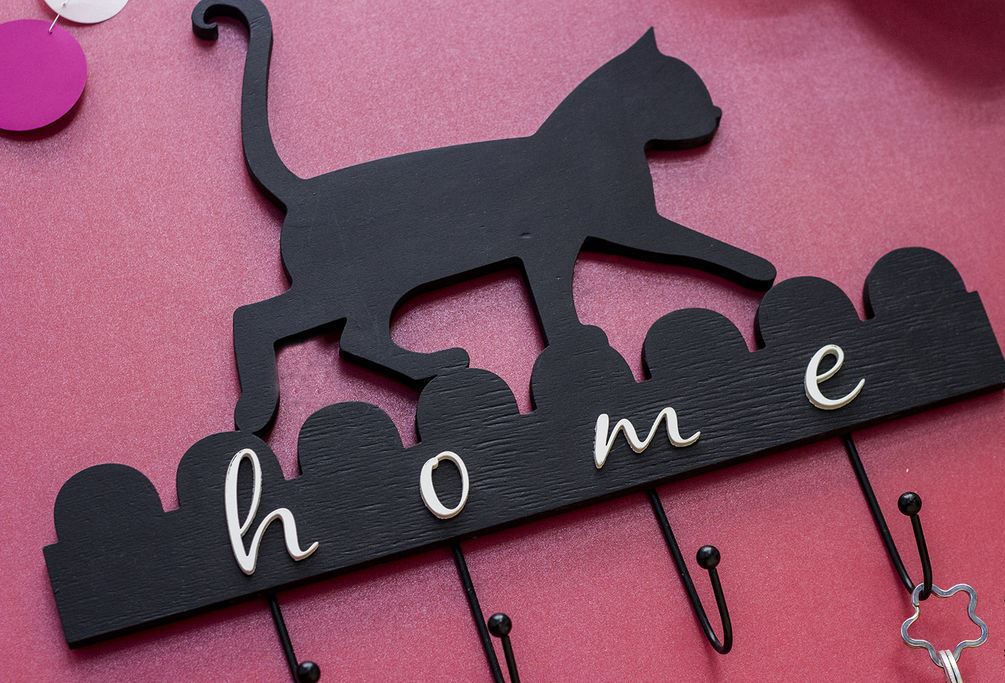
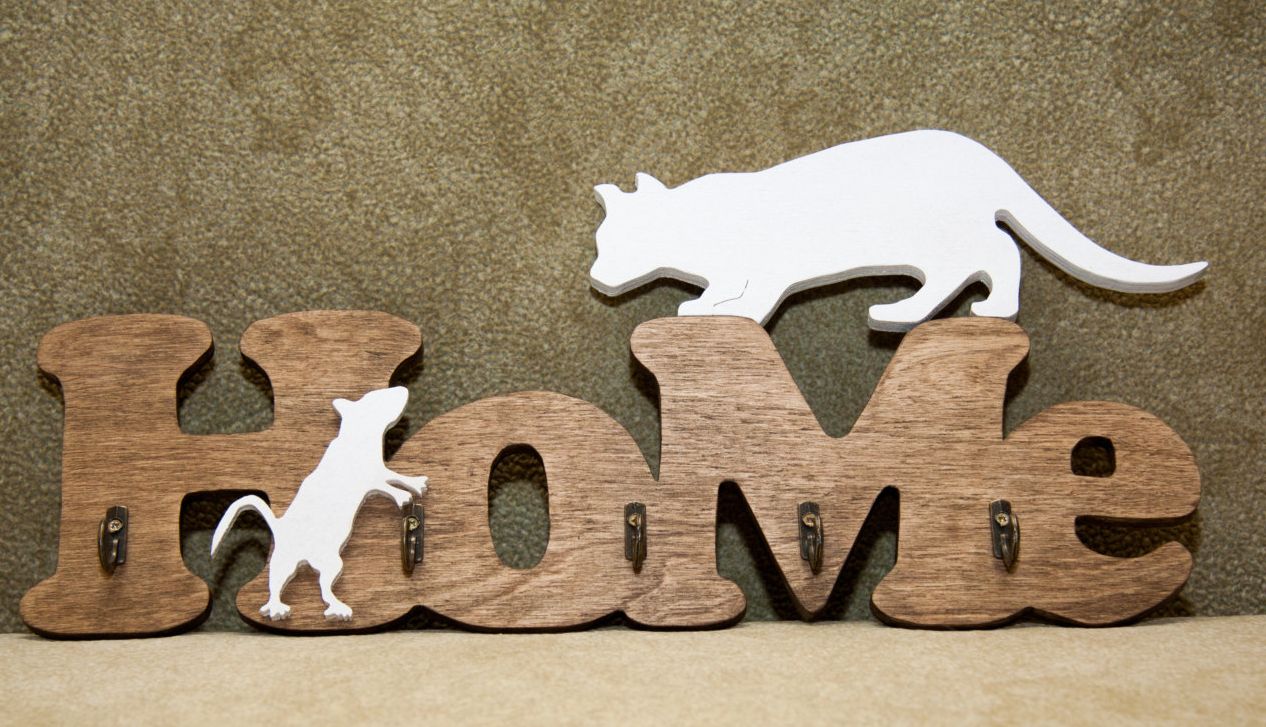
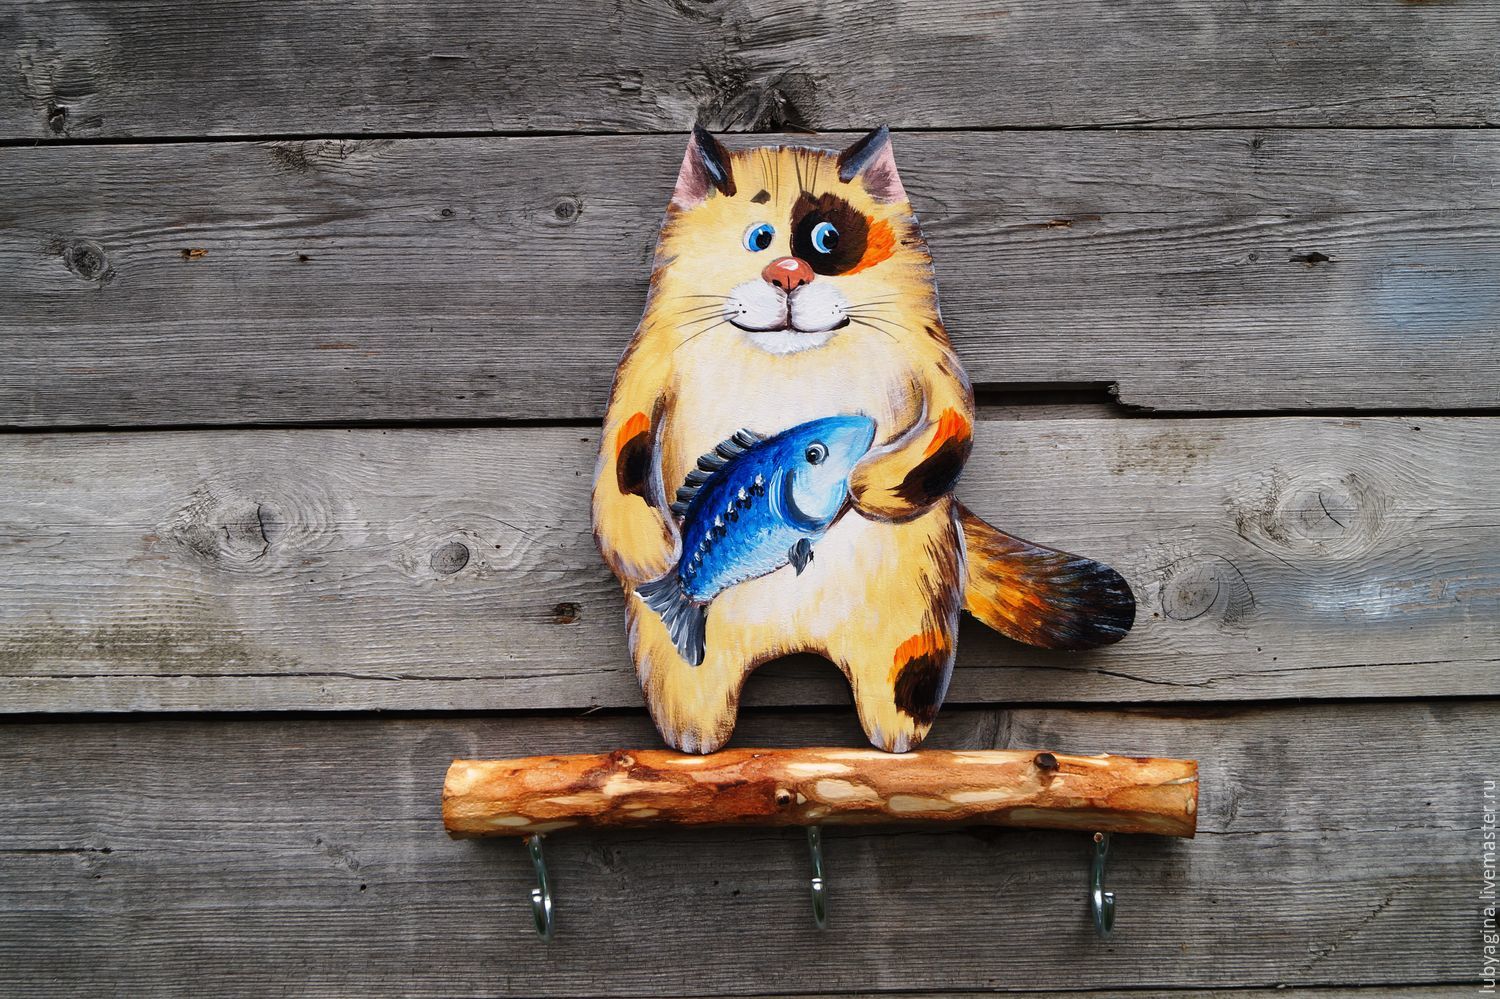
The shape of the product is a flight of fancy: a cat, a fish, a fancy bird, the most suitable outline is a large key. Attach the pattern to the plywood and carefully trace the drawing with a stationery pencil. Then the jigsaw comes into play - we begin cutting out the outline.
IMPORTANT! To make the wood smooth and avoid unpleasant cracks and chips on the surface, it is necessary to apply the prepared mixture to the “risk zones” with a spatula. When the material is completely dry, you can cut out holes for wall mounts and a place for keys, on which the hooks will be located.
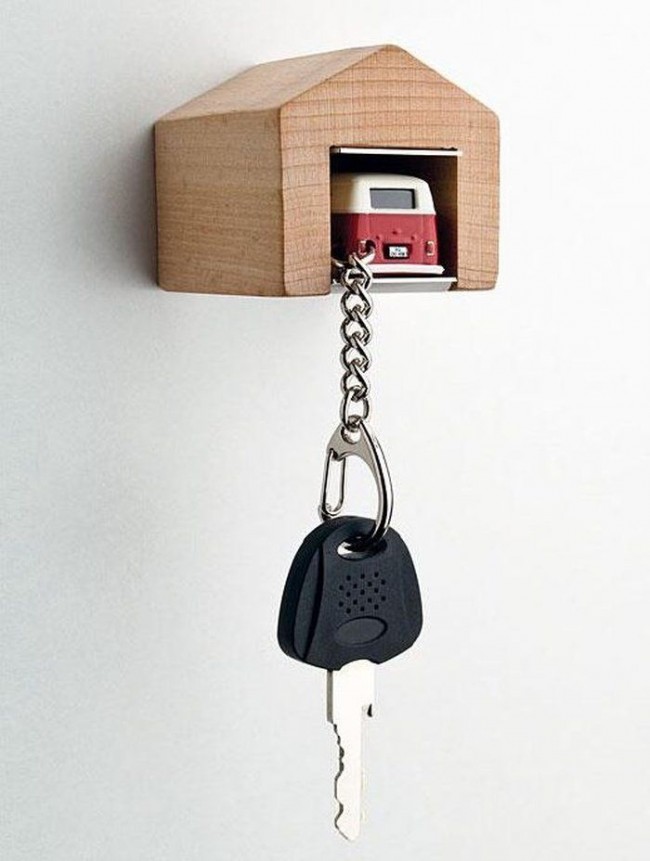
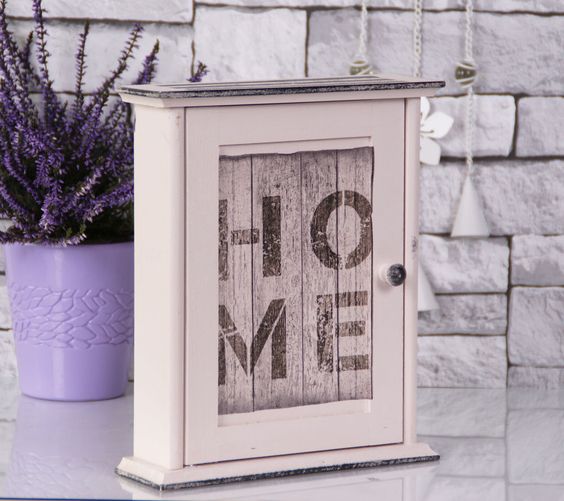
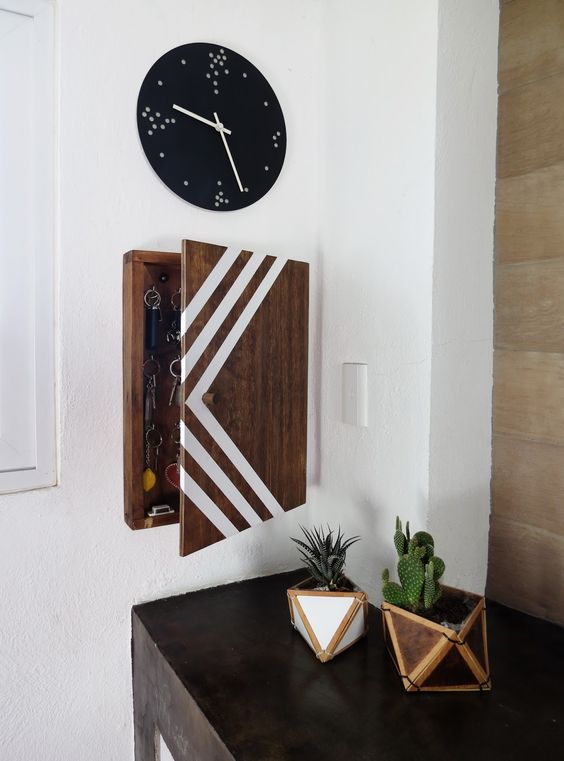
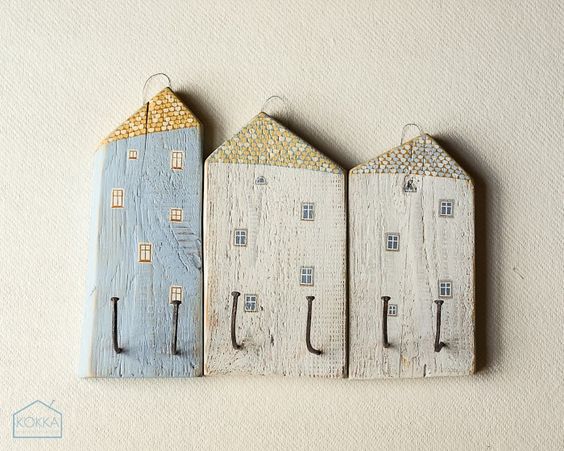
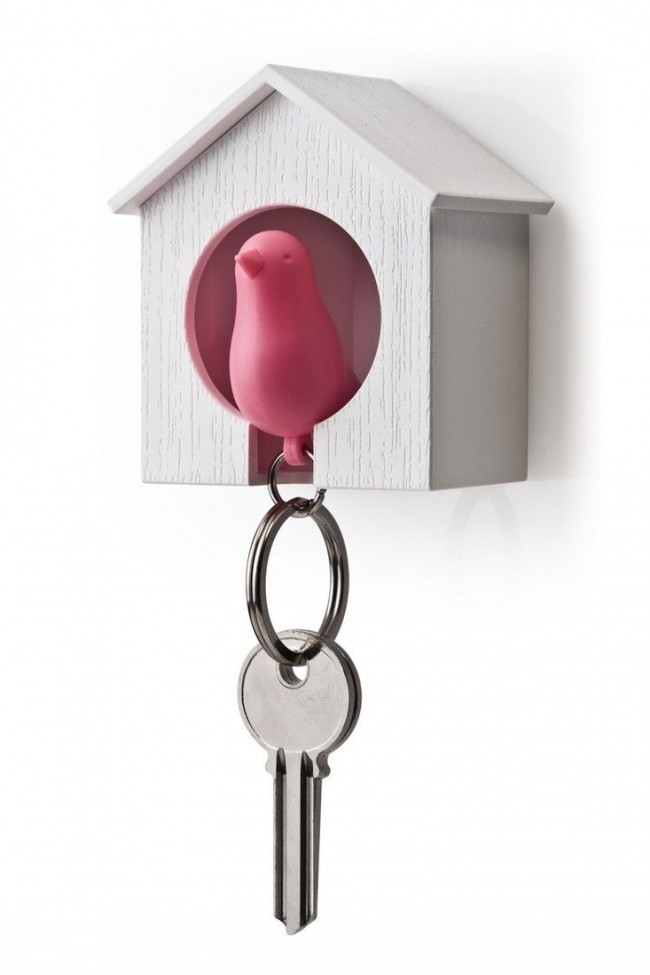
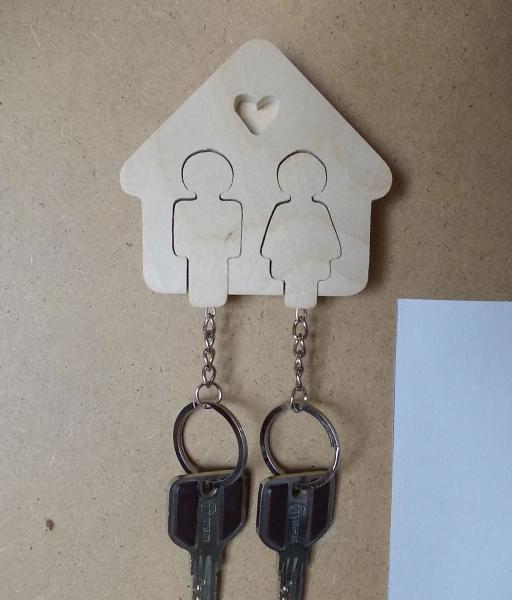
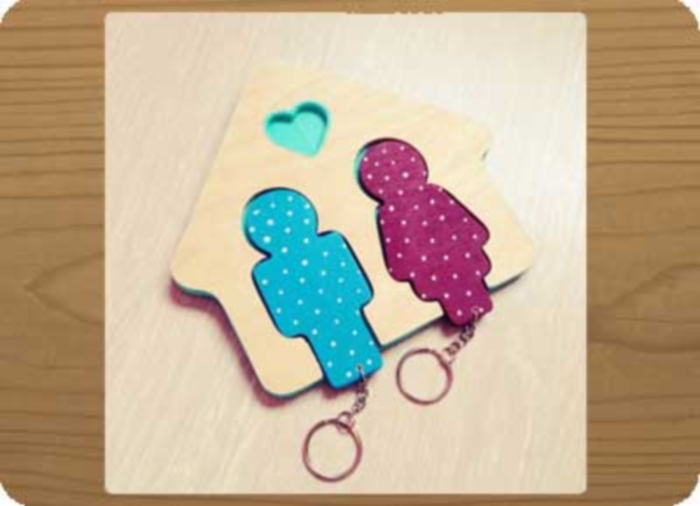
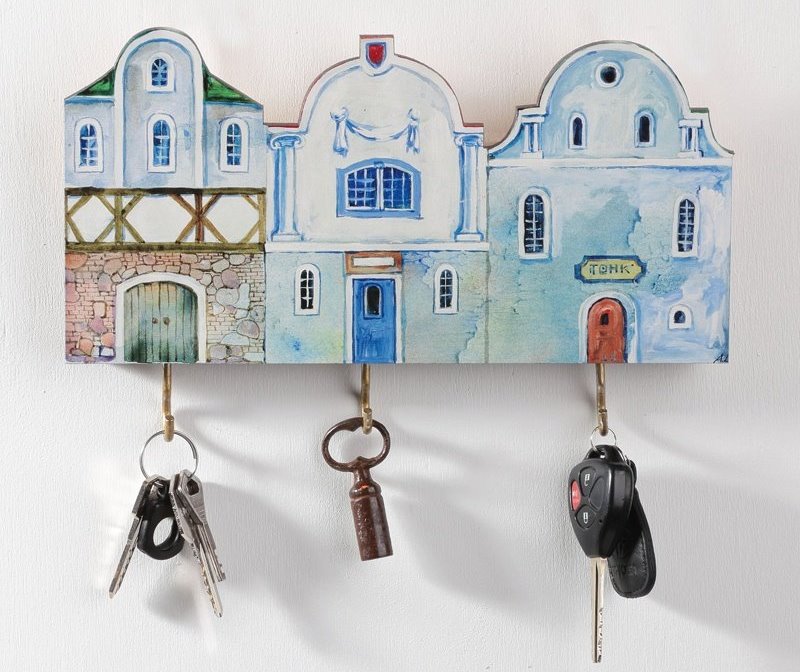
Closed key holder in the shape of a house
You can create an original wall key hanger in the form of a house, which looks like a birdhouse, with doors. The material for production can be any: textile, cardboard, wood. According to statistics, many aesthetes always prefer wood.
What you will need:
- a small piece of plywood;
- highly abrasive material;
- door fasteners;
- hanging parts;
- paint and varnish material for finishing coating.
The work takes place in several stages:
- a draft sketch of the future product is made;
- parts of the future house are cut out;
- the parts are rubbed with sandpaper;
- each part is covered with varnish in three layers;
- After the parts have completely dried, assembly takes place – the fasteners must be hidden from the eyes of others.
The doors are secured, the hooks are attached and the lock is mounted. If you want to decorate the product, you can do this by painting and varnishing. You can decorate the finished key holder with individual elements. Your unusual closed original key holder is ready!
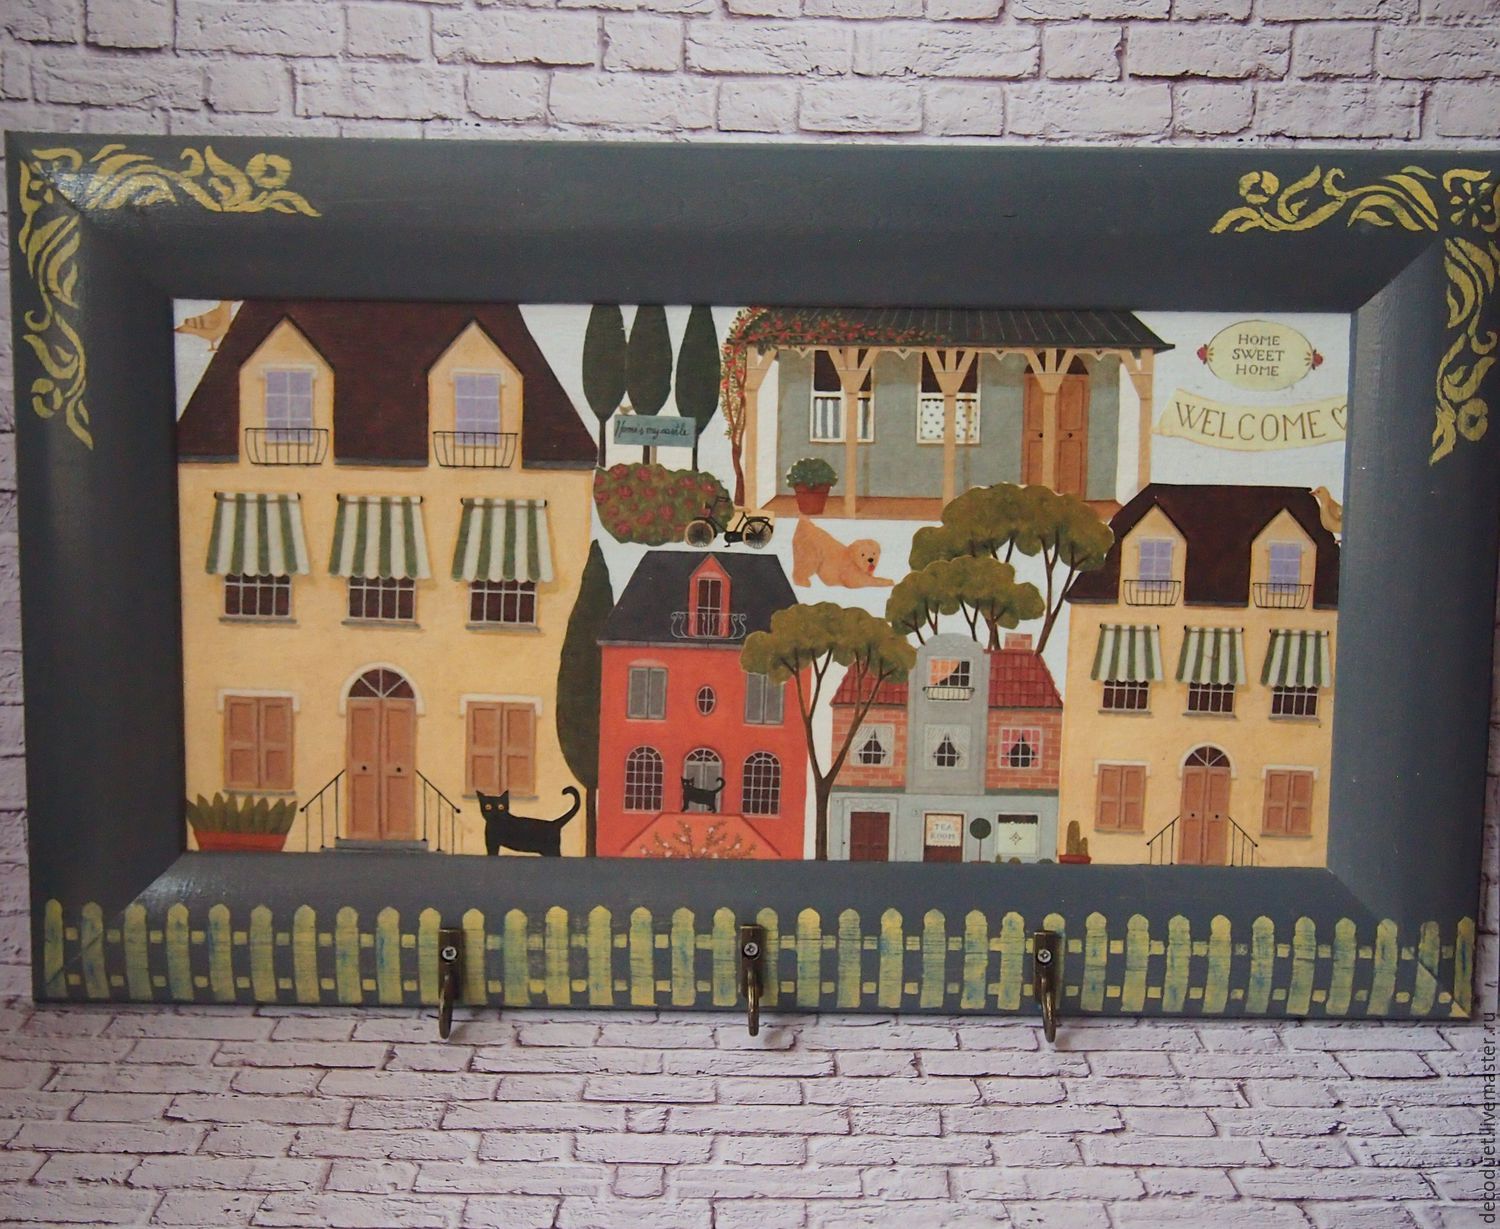
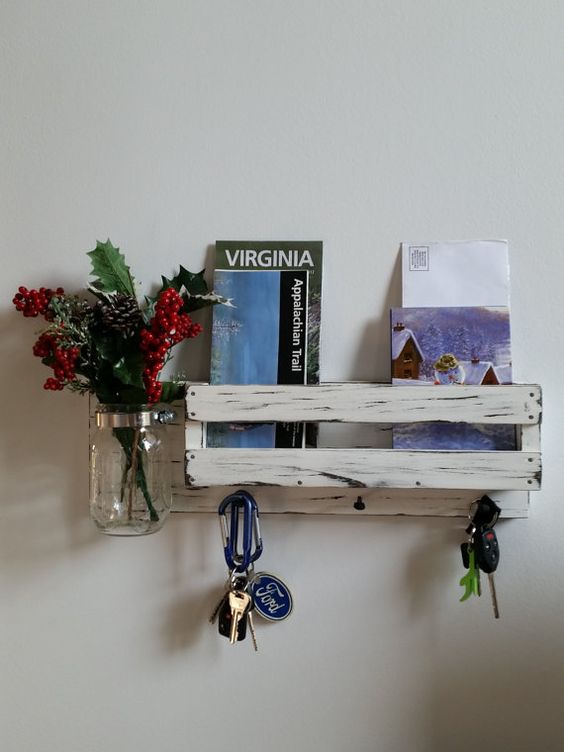
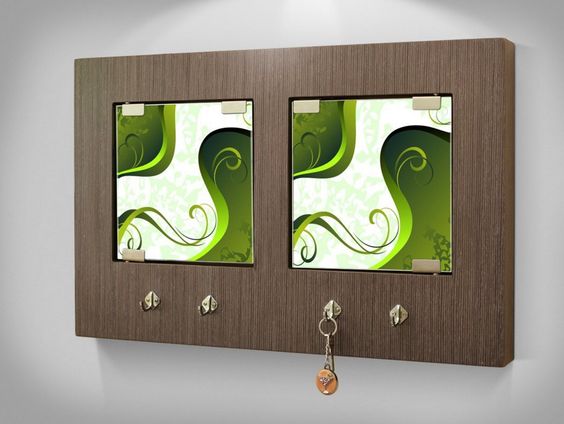
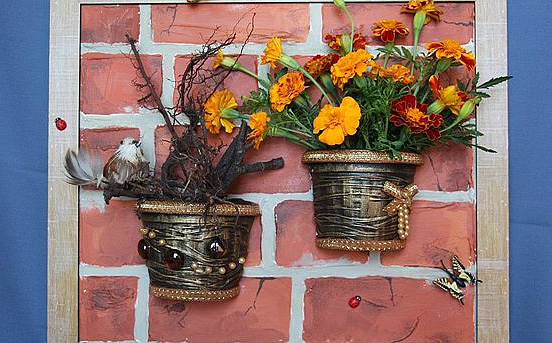
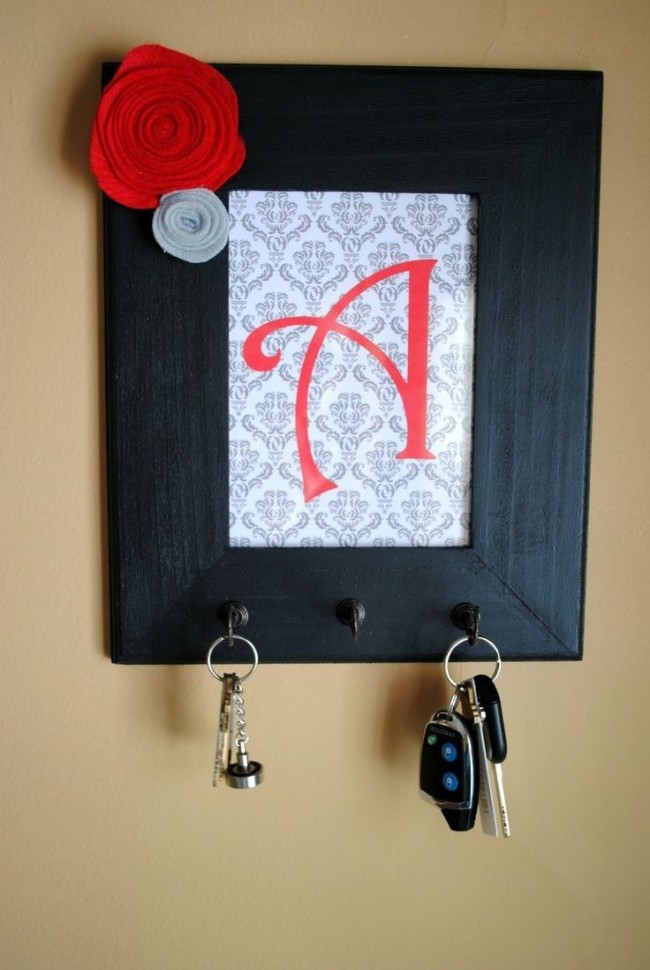
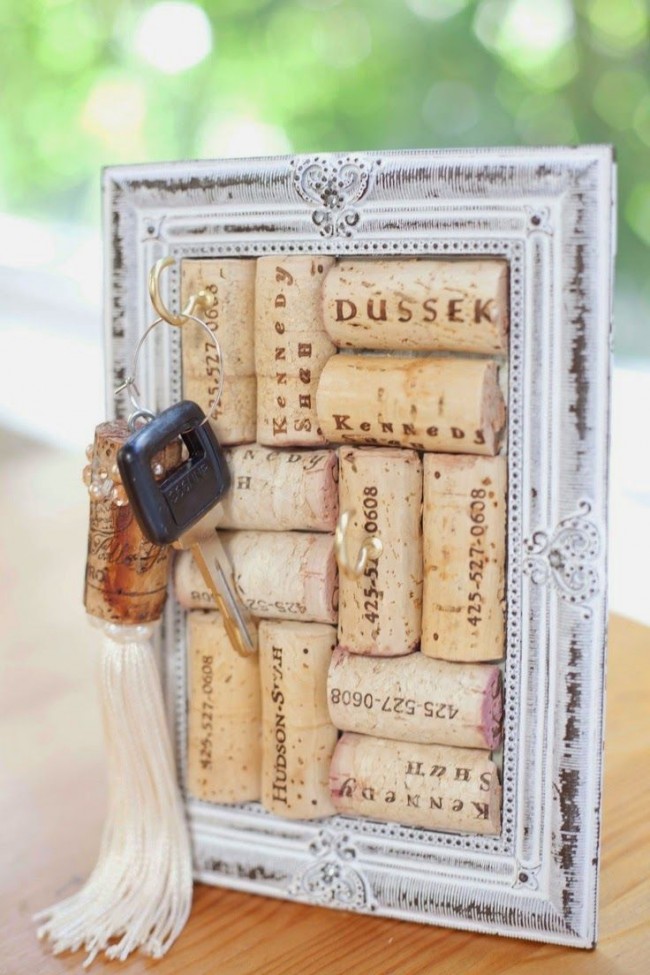
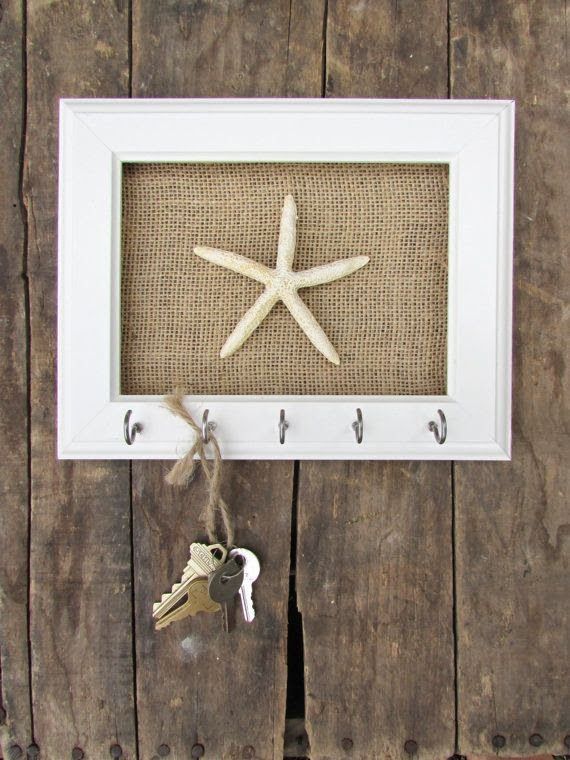
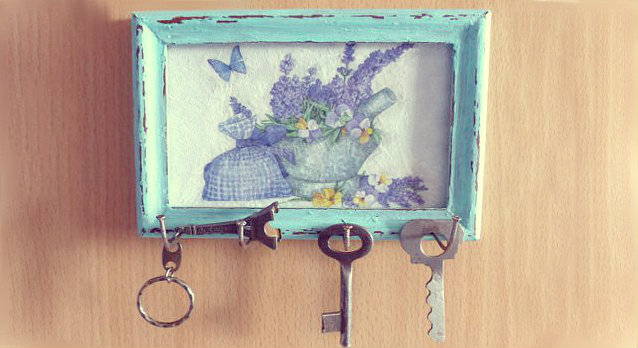
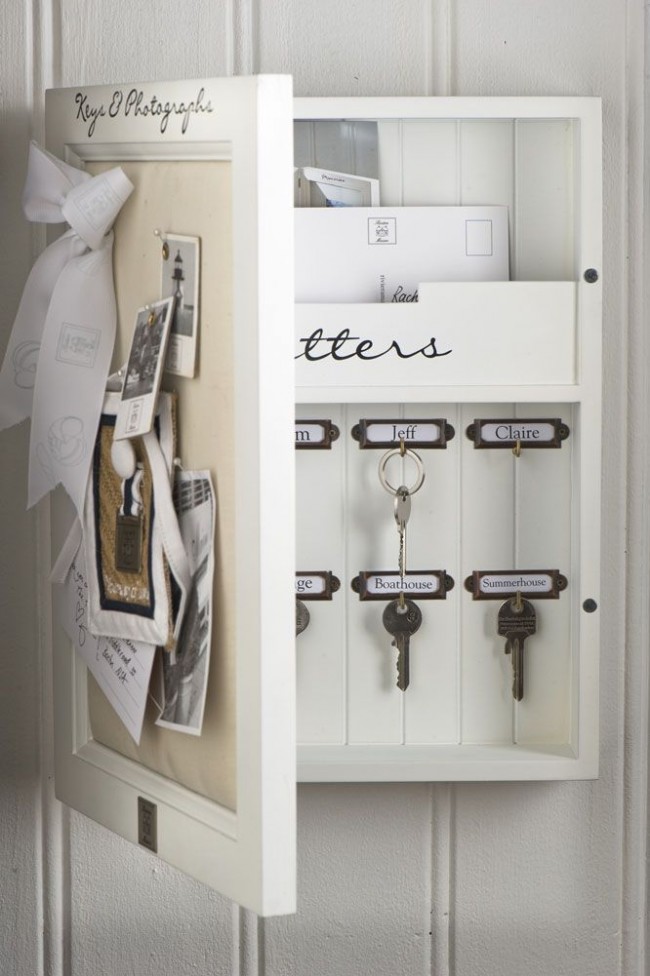
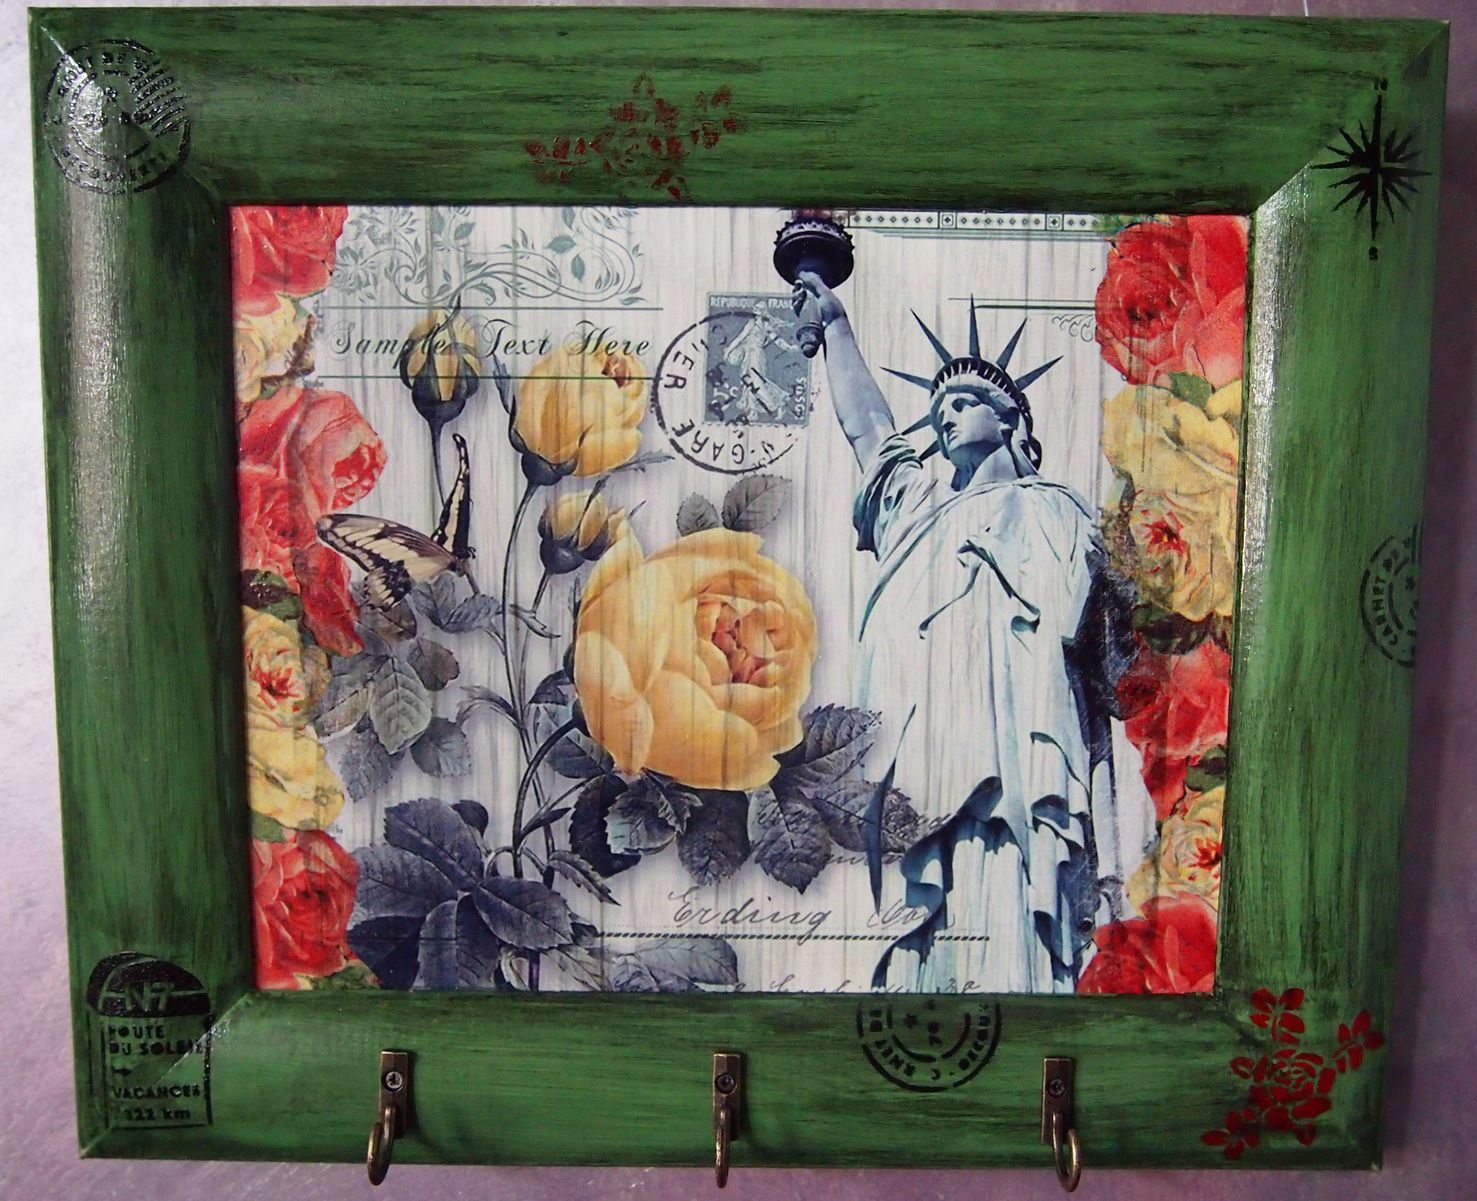
From picture frames
Have you found an old picture or photo frame at home? Make useful wall or table key holders for the hallway from scrap materials or wood. Decorate the wall and complement the interior with an original element. So, you will need:
- base – picture frame;
- plywood, the size of which is measured according to the frame;
- acrylic paints and primer;
- a brush with wide synthetic bristles;
- power tools: drill and jigsaw;
- hanging elements;
- adhesive base.
Measure the inside of the base and use a jigsaw to make a plywood figure that will serve as a surface for attaching the hooks. Make holes with a thin drill and cover the material with white paint or acrylic primer. Wipe with sandpaper and go over the surface with a damp cloth.
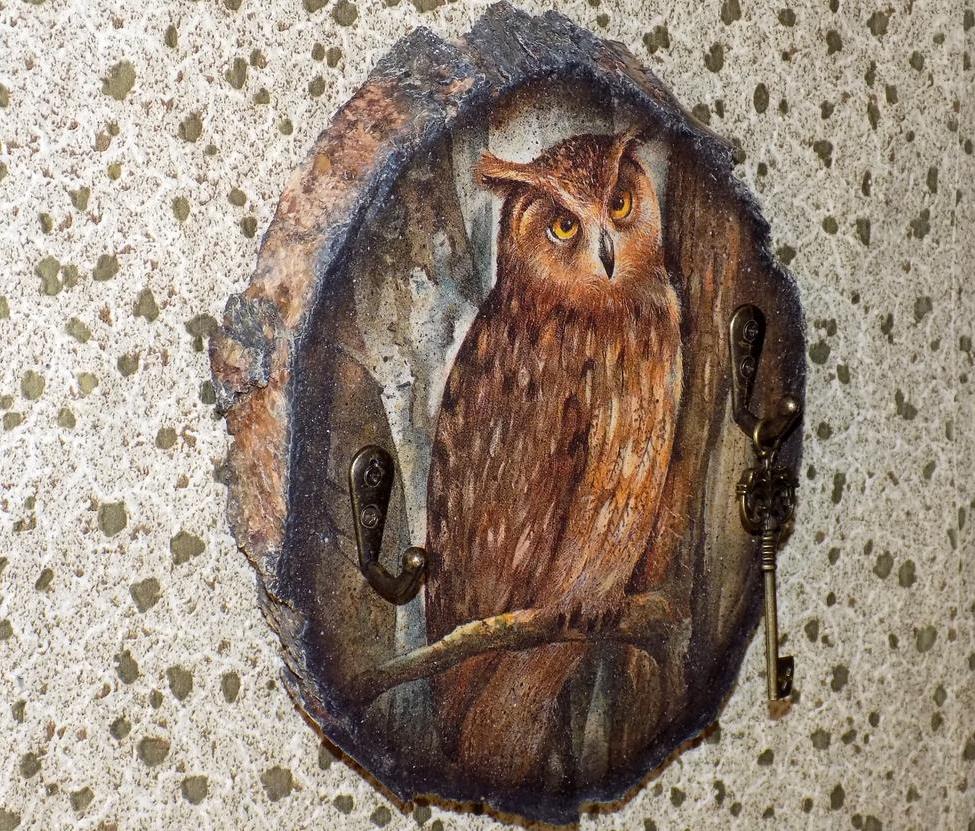
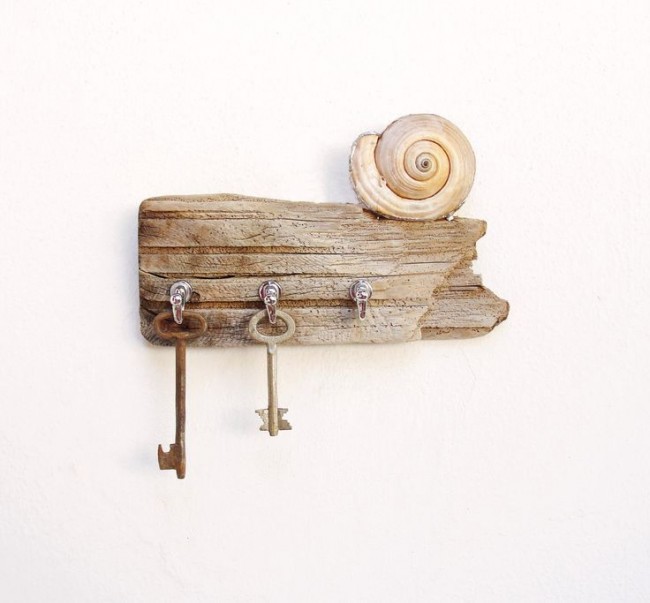
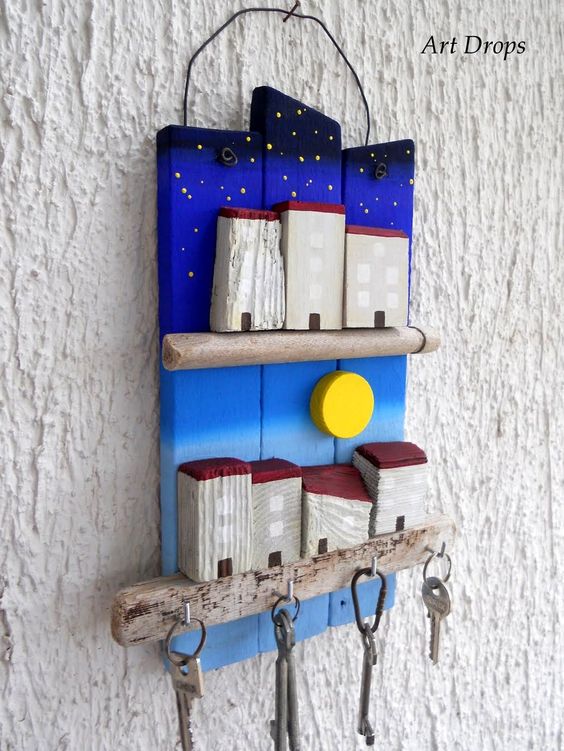
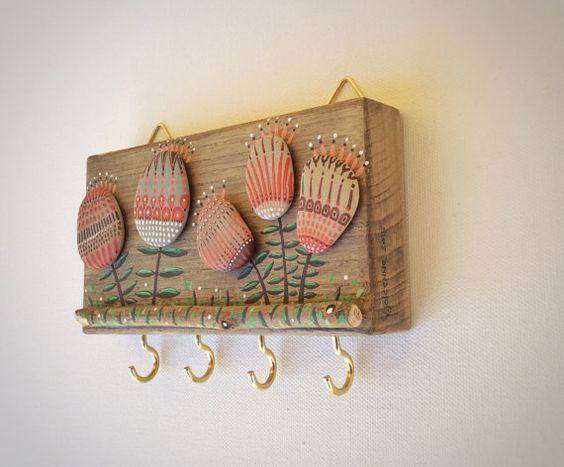
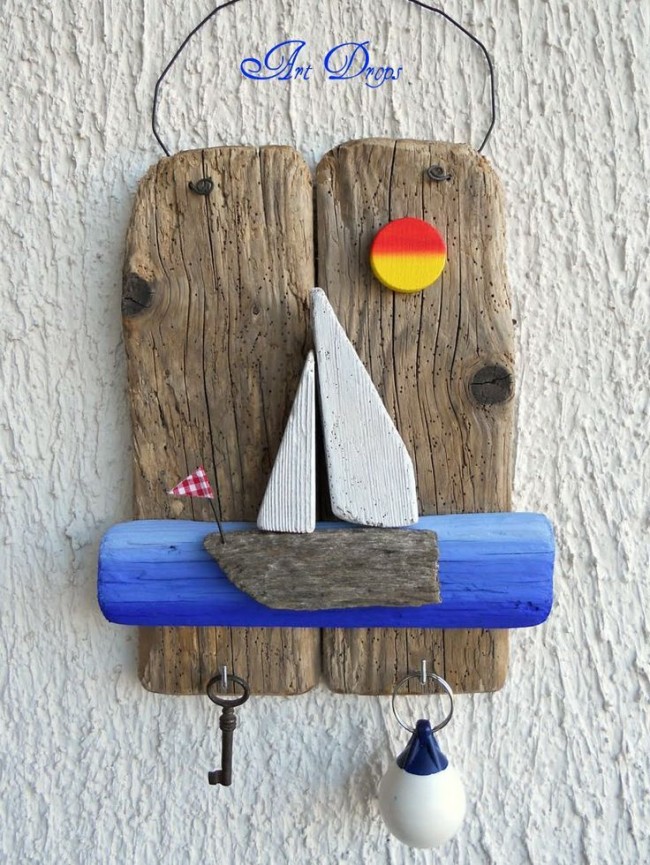
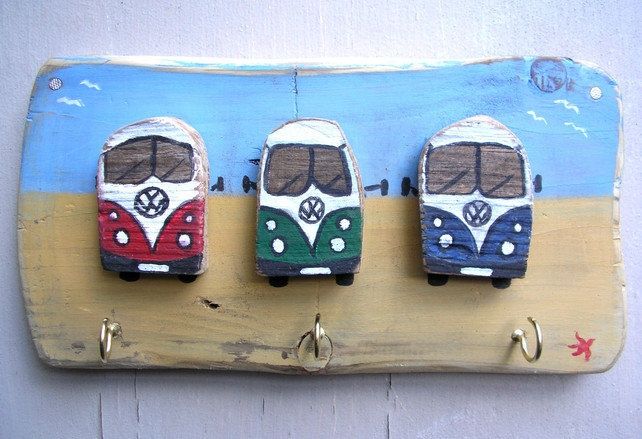
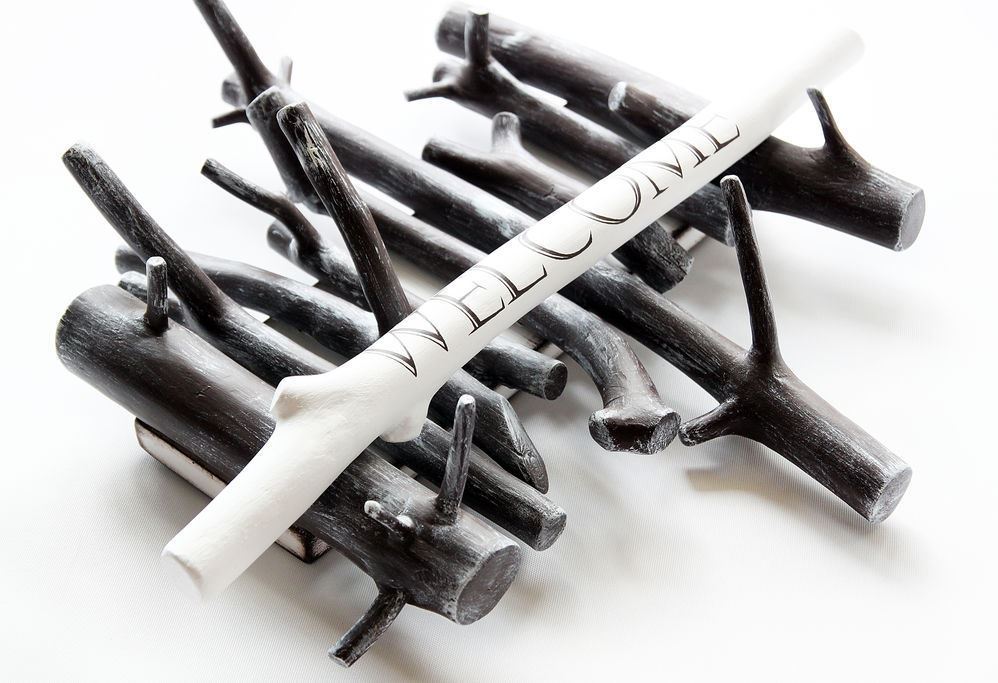
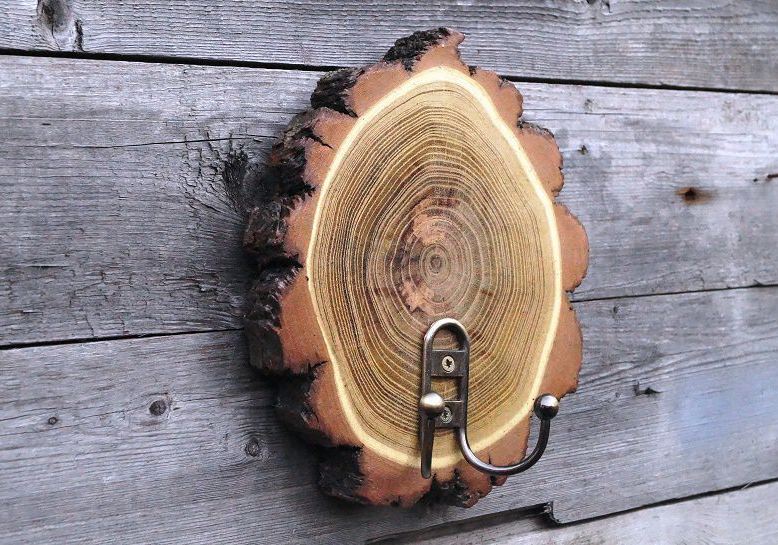
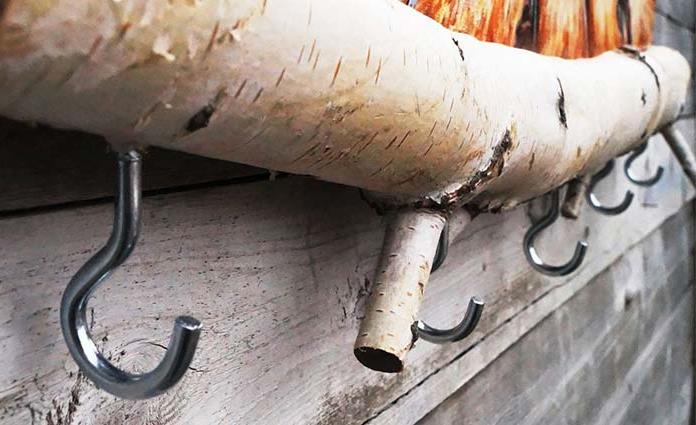
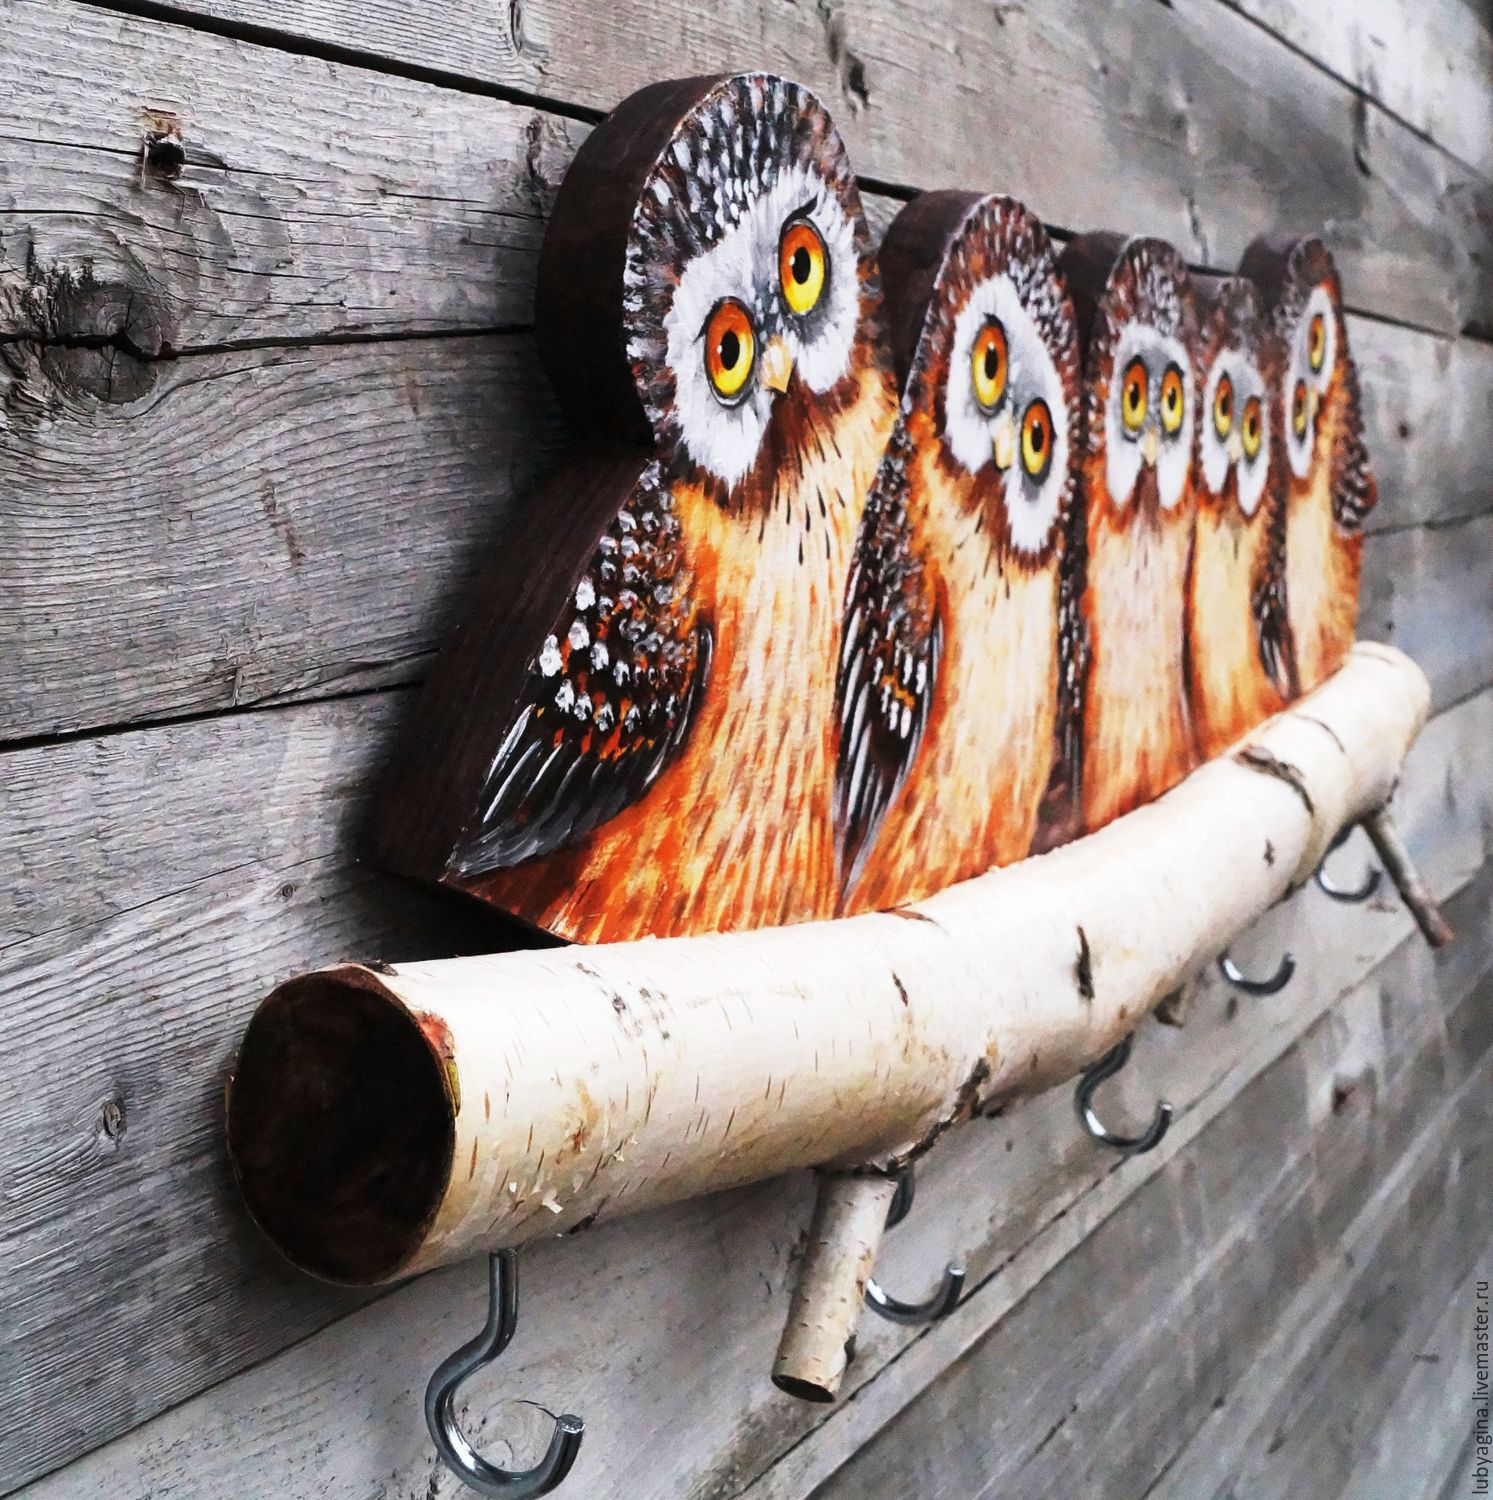
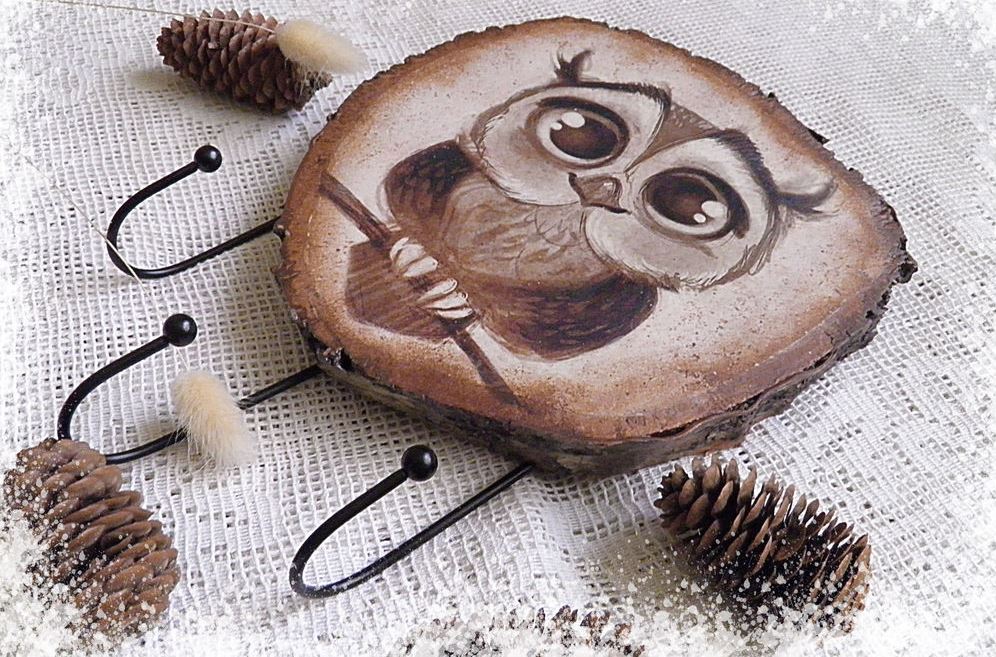
Original key holder made from a branch
For big connoisseurs of eco-style, natural elements in design, this version of an open key holder is for you! Minimum costs, materials and time - and your hallway is decorated with a new, incredibly beautiful and original element. For the master class (mk) you will need:
- tree branch, preferably dry;
- paints for wooden surfaces, acrylic ones are suitable;
- drill;
- jigsaw and hooks for hanging.
Don't forget about the stain. Each branch is individual, so feel free to get to work.
- Wash the raw materials carefully and thoroughly, dry them with a construction hair dryer (a regular one will do, set to maximum power). Clean the surface: carefully saw off any excess branches. Decide whether to remove or keep the bark. If you are going to remove it, use sandpaper. You can leave the bark, cleaning off the damaged areas.
- Mark the locations of the future hangers - carefully cut them with a jigsaw, drill holes with a drill.
IMPORTANT! Be sure to cover the wood with stain - this is an antiseptic agent that provides for natural rotting processes, dries the raw material and protects against insects.
The composition is applied to the surface with a wide brush, then left to dry for a couple of hours. If the branch is cleared of bark, cover it with acrylic varnish, previously diluted in proportions of 1 to 1 with water. When the base dries, cover with undiluted varnish. If you want to give the key holder a beautiful shade, paint it with acrylic paint. The final stage is the final coating with transparent varnish. Hooks for hanging keys are knots that remain on the branch.
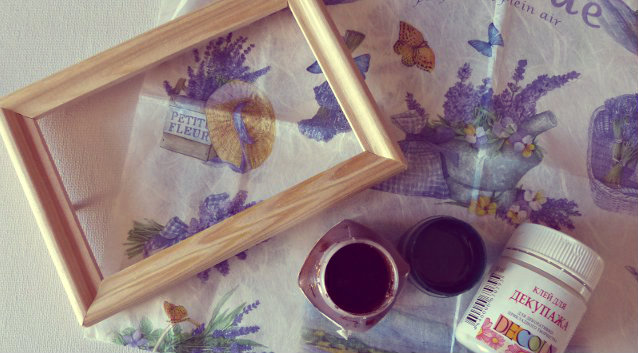
Using decoupage technique in decoration
Many people are interested in the question: how to make a key holder with your own hands from scrap materials or wood? You can create a real masterpiece and decorate it using decoupage technique. To do this, prepare the workplace: cover the tabletop with oilcloth. Take the base (these can be frames of old paintings for a key holder made of plywood and wood), dip a household sponge for washing dishes in white acrylic paint and paint the product with gentle blotting movements.
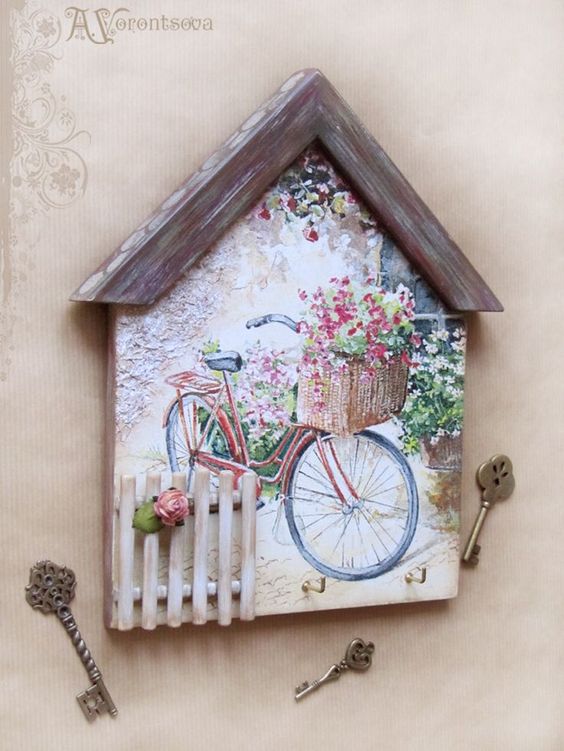
When the first layer dries, apply the next one. Carefully review the work: uneven layers need to be painted over. While the base is drying, prepare a special mixture: mix water with an adhesive base (PVA) in equal proportions. Apply the mixture to the surface with a fan-shaped brush, then apply a single-layer napkin from the middle. Apply glue on top, removing the excess. When the material dries, paint with acrylic varnish. To fix the decoupage map on the surface, apply at least 5 layers of material. To highlight the contrast and ribbing of the surface, paint with black paint on top. The wooden key holder in decoupage style will be completely ready when the unevenness and roughness are removed with sandpaper after the paints and varnishes have completely hardened.
What other materials can be used to make a key holder?
Making and decorating a key holder from leather or wood is not a complicated process. In addition to the above materials, you can make a wall or table key holder with your own hands from a box, metal or plywood. Chipboard or an old photo (painting) frame will do.
Choose the frame and material based on your own taste preferences. A stylish key holder made by yourself from wood will become a real decoration of your hallway!
VIDEO: DIY key holder decor.
50 options for original key holders for the home: