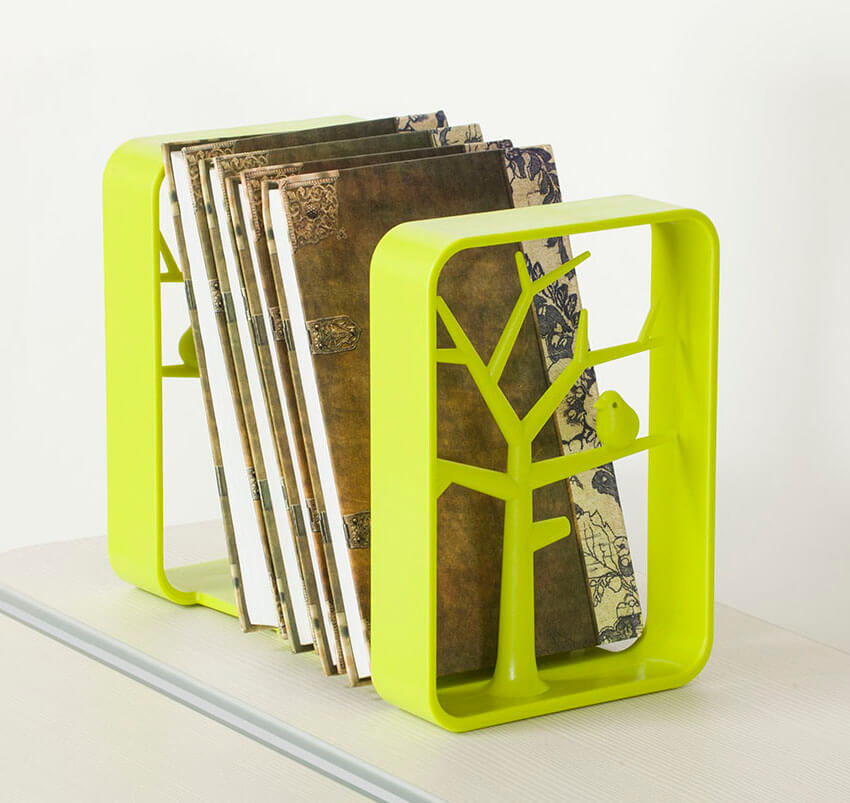
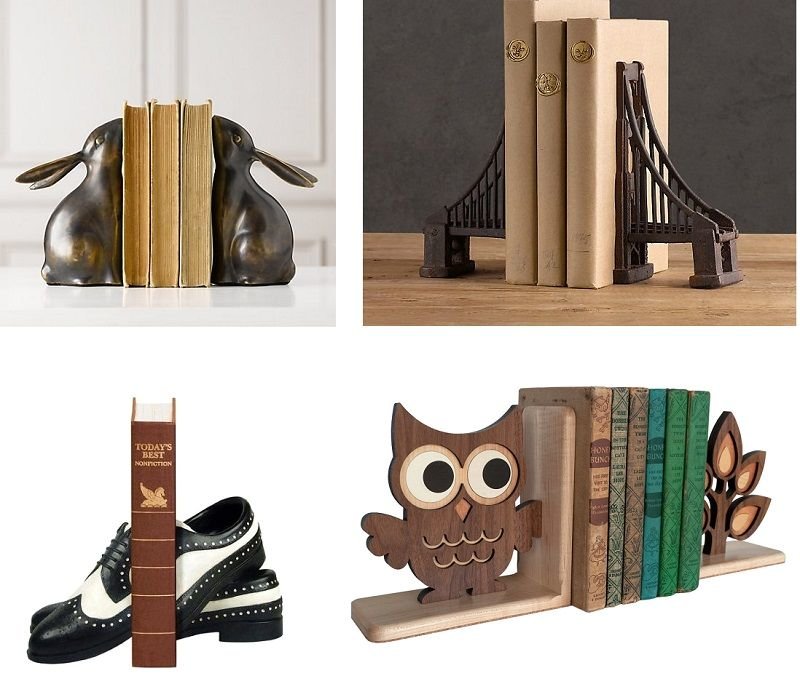
Books, in any form, will always be in fashion, as will bookshelves for them. But book stands made with your own hands can add variety to any, even the most dull, interior.
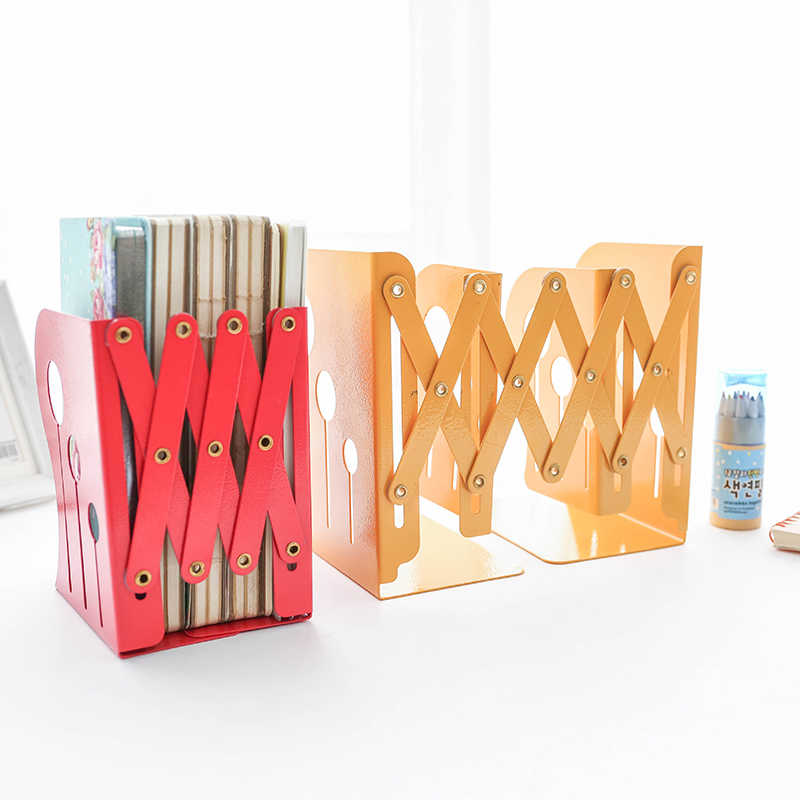
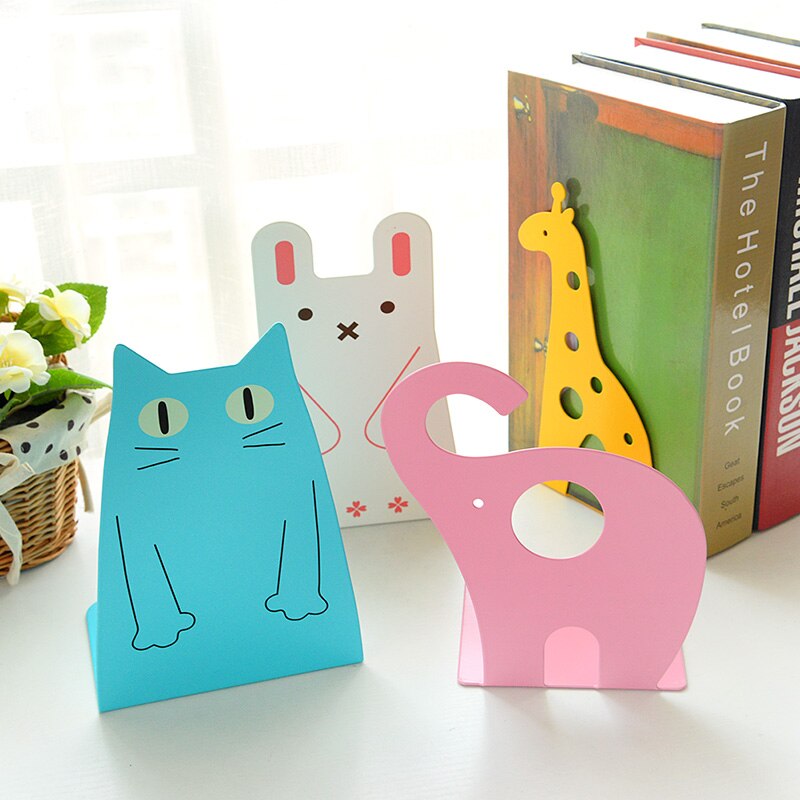
The main purpose of this simple device is to maintain good vision in children, since a vertically positioned book does not strain the pupil, preventing changes in the structure of the eye lens. Also, modern design solutions are focused on minimalism and comfort, and a book stand is indispensable in this case, because it frees up space at the desk.
In order for an elegant accessory to decorate your home, you only need a few hours of free time, imagination (and the World Wide Web will help you get interesting ideas), patience and perseverance. A book stand can be made without much material expense, because the following can be used as material: toothbrushes, cardboard boxes or wooden planks, children's toys, plaster or plywood, and even wallpaper left over from renovation.
Content
Wooden stand
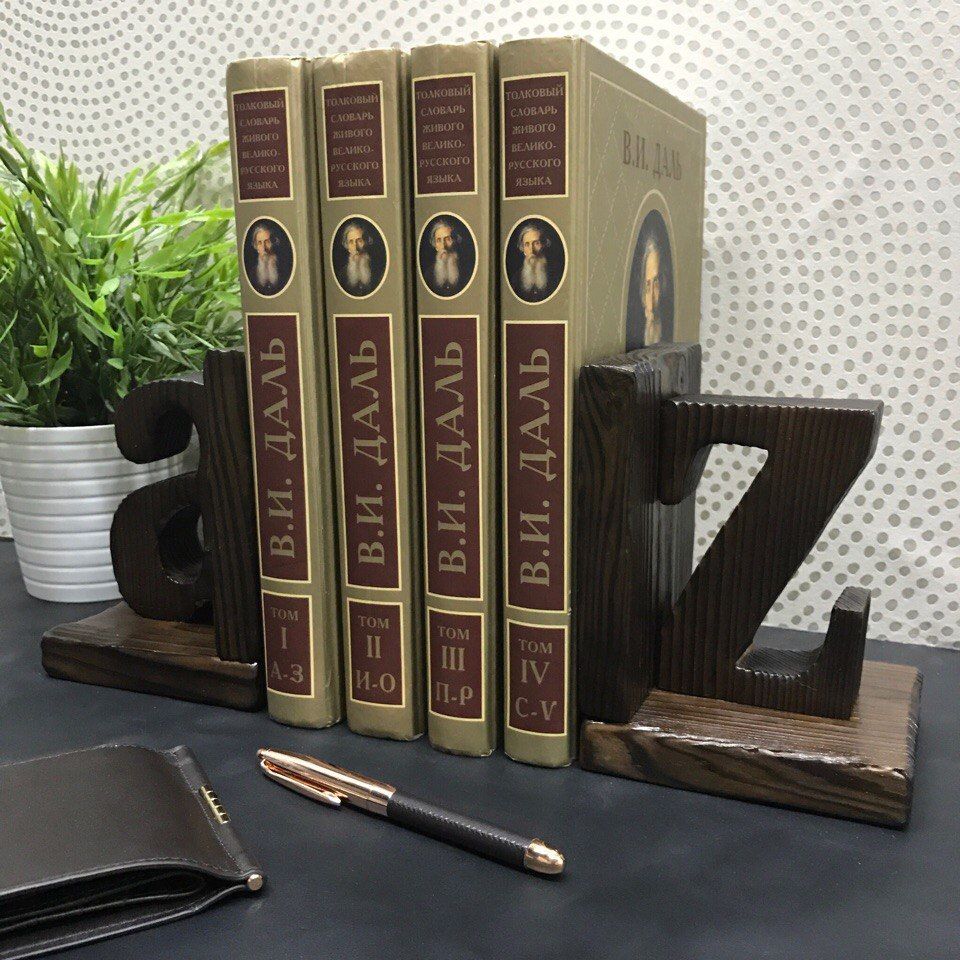
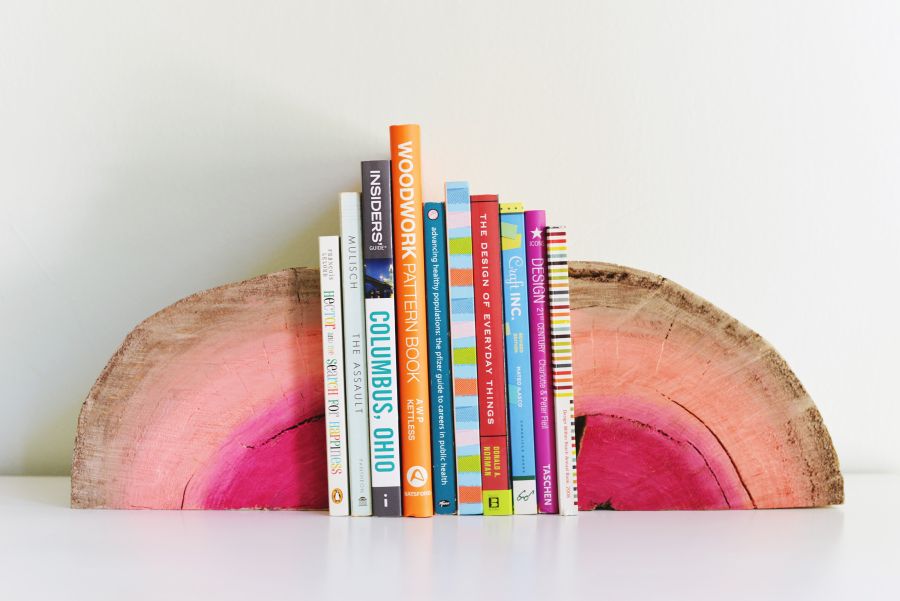
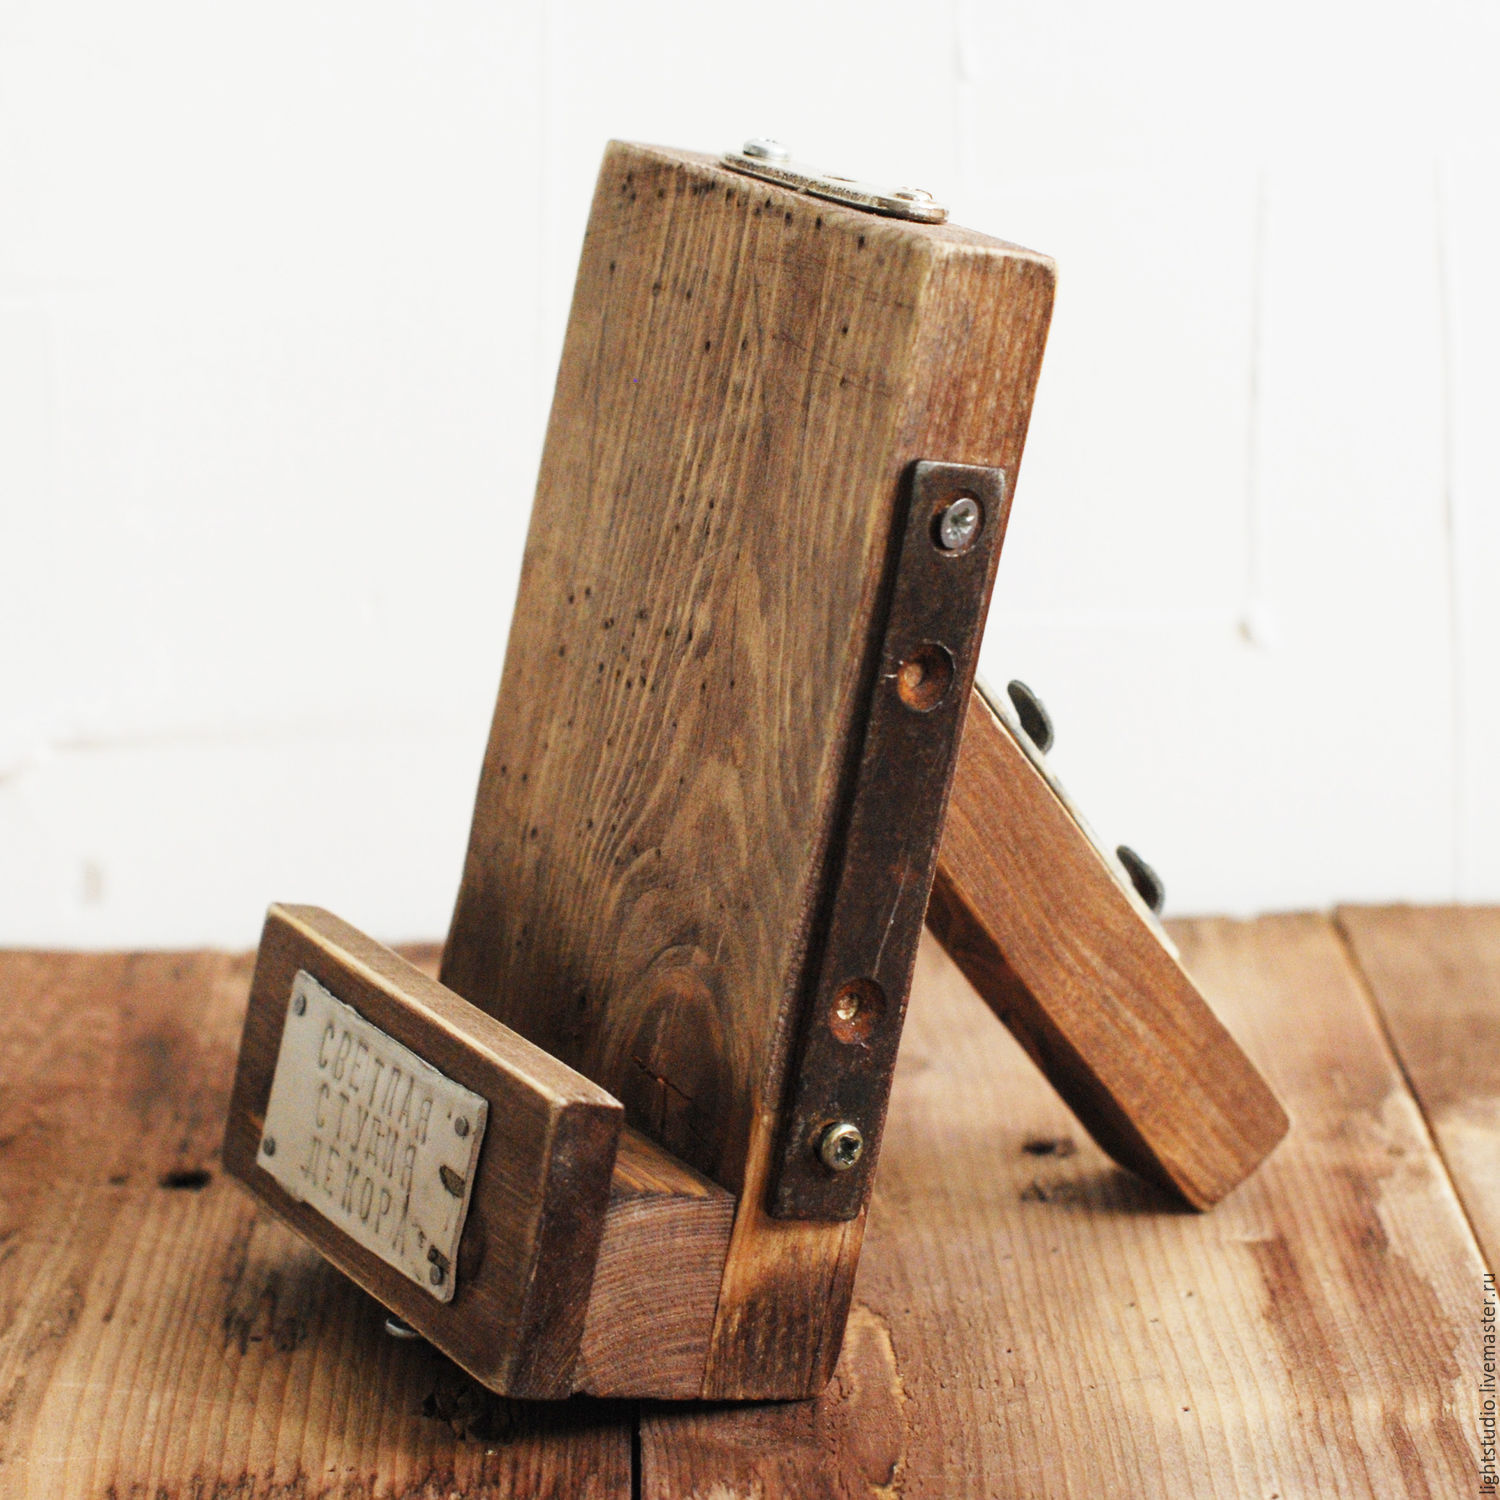
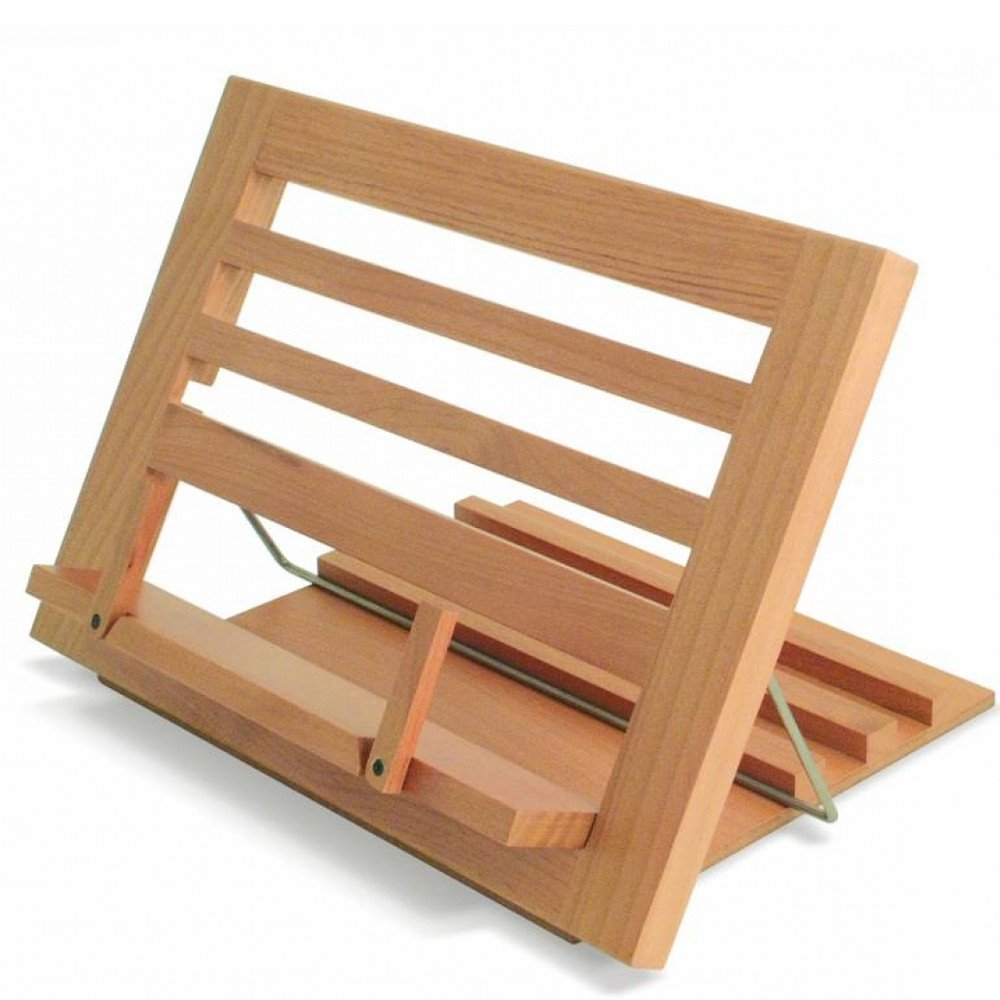
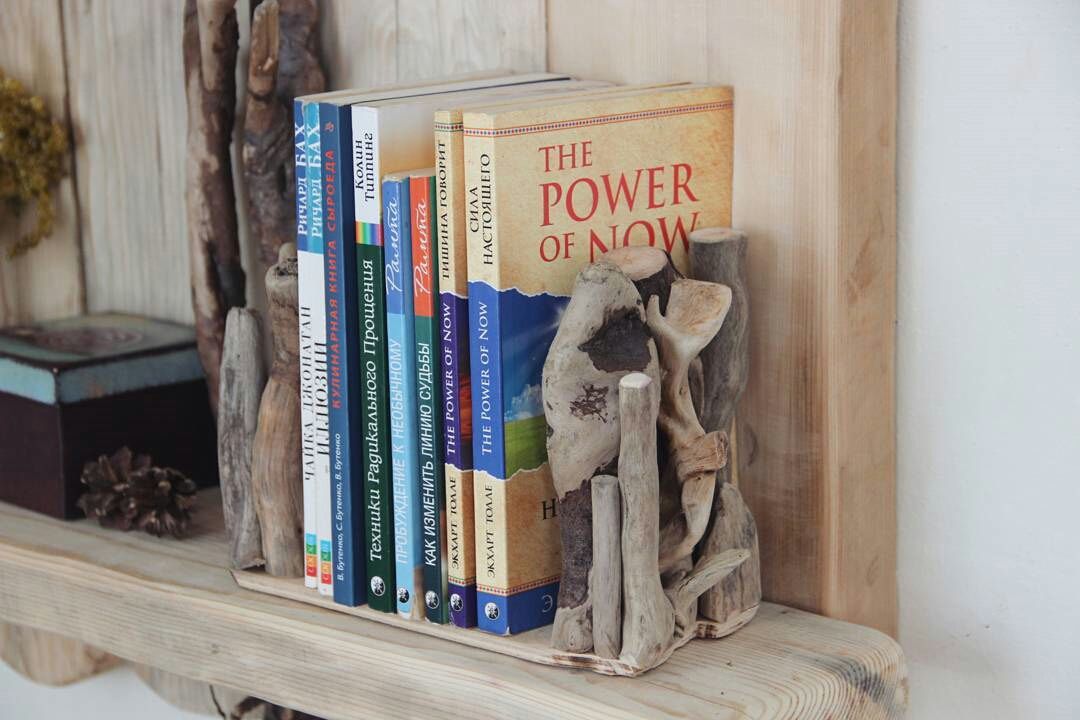
The classic material for creating a stand is wood. In this case, you can use either wooden planks, or a wooden block, a log. In this case, an indispensable auxiliary tool will be sandpaper or a grinding machine, which eliminate defects on the wood and give it an aesthetic appearance.

You can also make a wooden book stand yourself, "breathing new life" into an old kitchen board. Just attach a book holder to the front and a retaining bar to the back. You can decorate the material with decorative paint of one or several tones (for example, like the popular ombre). The finished product must be thoroughly dried.
Important! In carpentry work, haste is not welcome, so think carefully about how the finished product will look. It would be good to make a model and take all the necessary measurements, and only then start processing the parts.
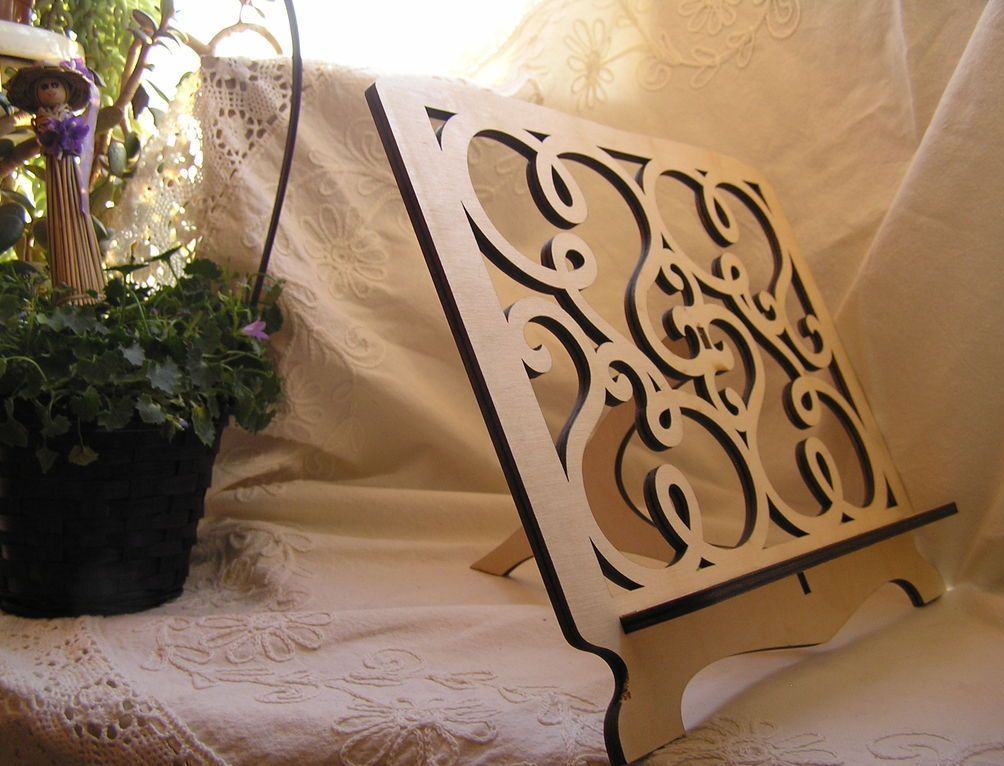
Plywood can be an excellent substitute for wood when making a book stand. To do this, you need:
- cut the plywood sheet into 5 parts: 20x1x2 cm – 2 pcs.; 18x3x2 cm – 1 pc.; 20x5x2 cm – 1 pc.; 34.5x20x2 cm – 1 pc.;
- Next, cut grooves for the legs in the largest board;
- glue the front parts of the workpiece in the center of the cut grooves;
- Place a press on the glued parts and dry;
- Next, you need to glue the legs and also dry them under a press.
Additional information: The parts can be dried one by one if there is no special vice. Any weight can be used for this purpose.
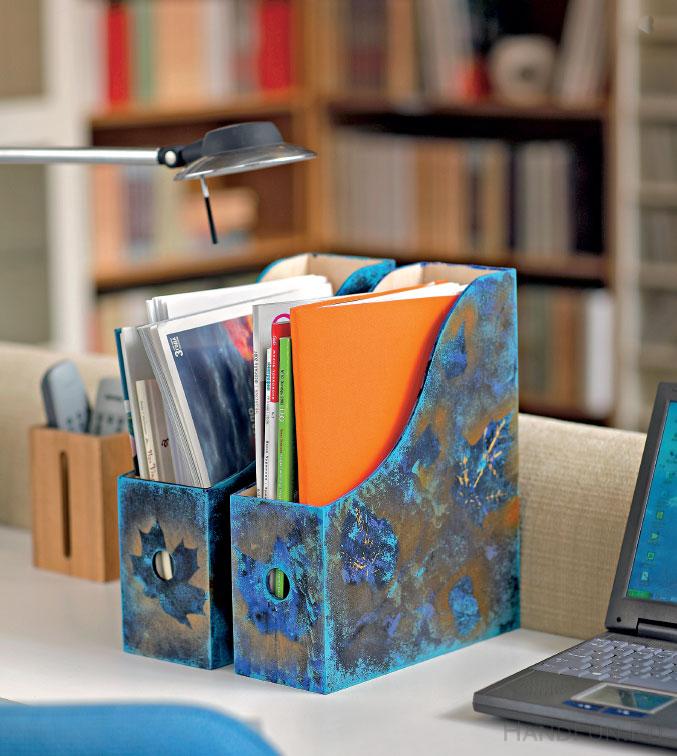
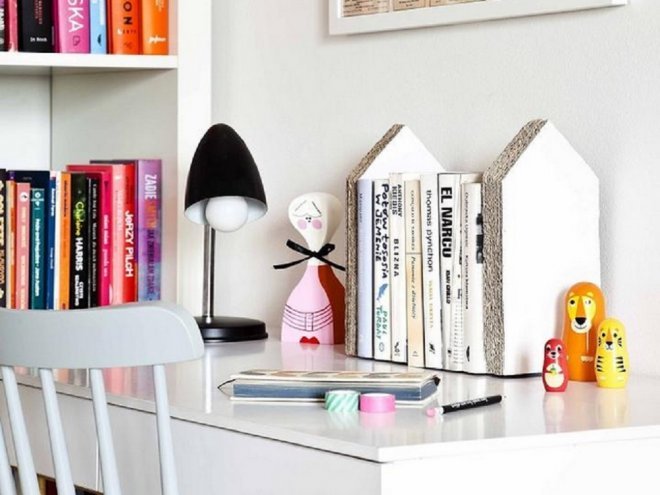
Cardboard stand
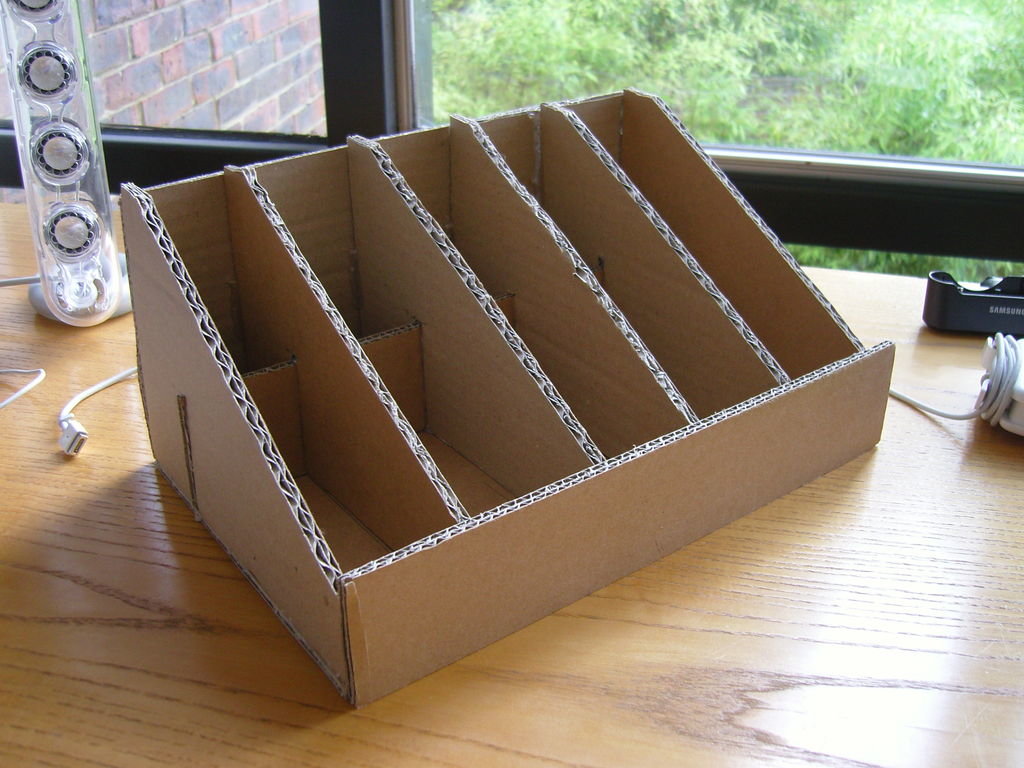
If you are wondering how to make a paper bookend, use cardboard.
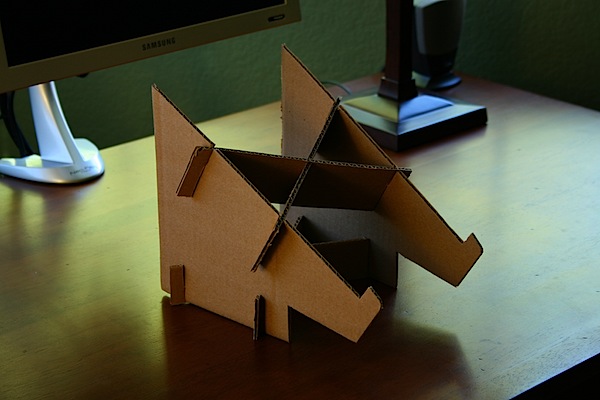
- Cut out 2 identical rectangles, each measuring 35×42 cm. Fold them 14 cm along the long side and glue them into one piece.
- Cut out 2 more rectangles measuring 5x14 cm and glue them together as well.
- Glue the small and large triangles together as follows: glue one end to the smaller part of the folded rectangle at the edge, and the other end to about the middle of the large part. Carefully coat the joints with hot glue.
- Cut out a piece measuring 29.5 x 10 cm and fold it in half.
- Cut out a rectangle 2 times smaller in width than the previous one. Glue the parts from p. 4 and p. 5 together to make a triangular cylinder.
- Glue the cylinder to the large workpiece from below.
- Cover the workpiece with newspapers and napkins, paint and varnish.
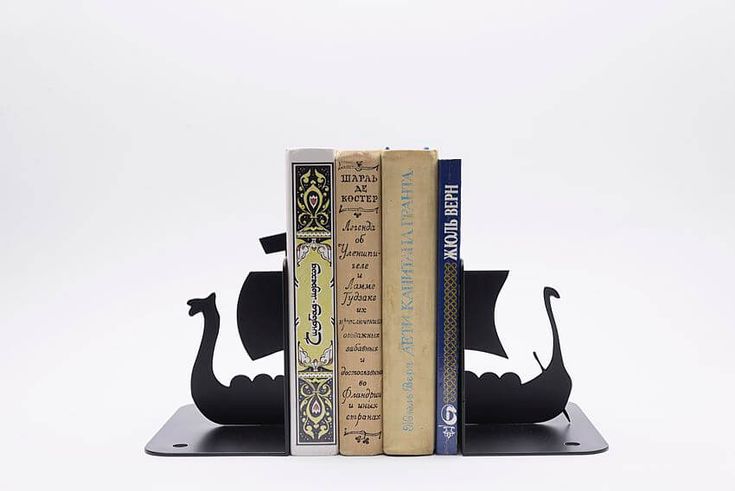
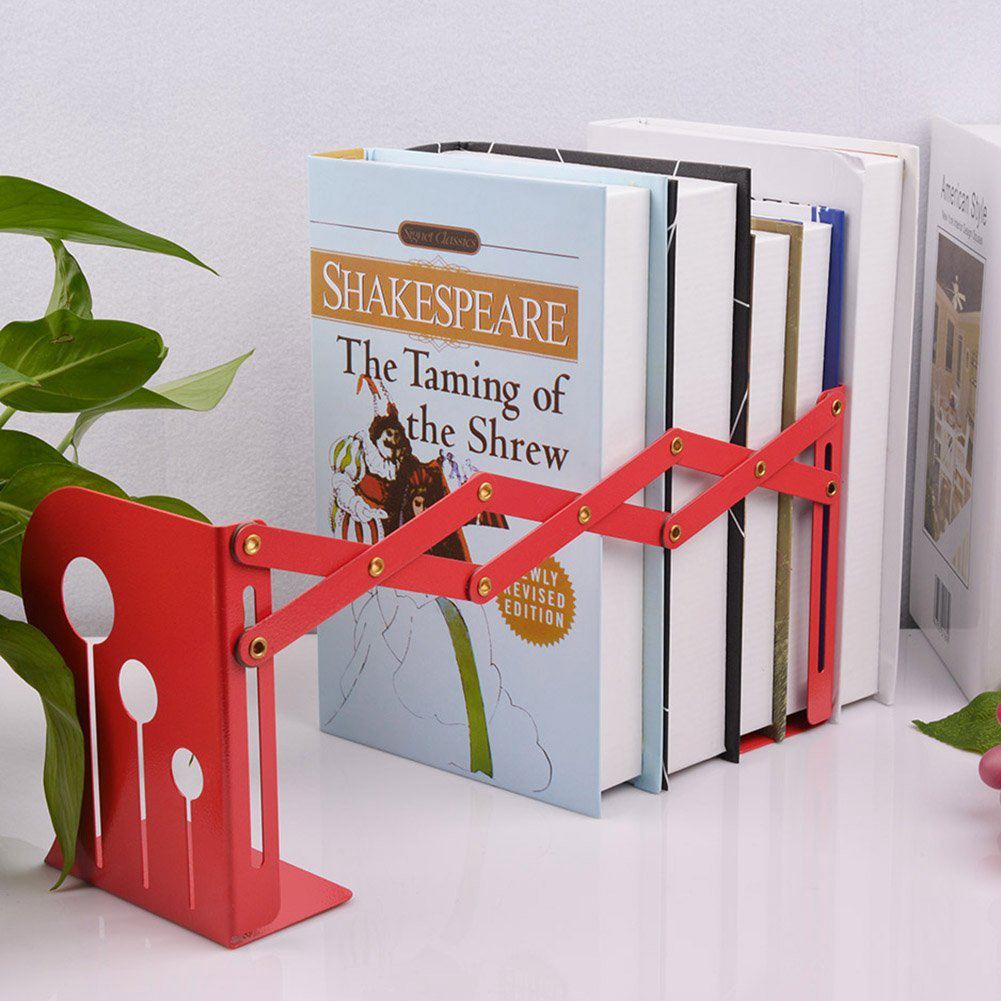
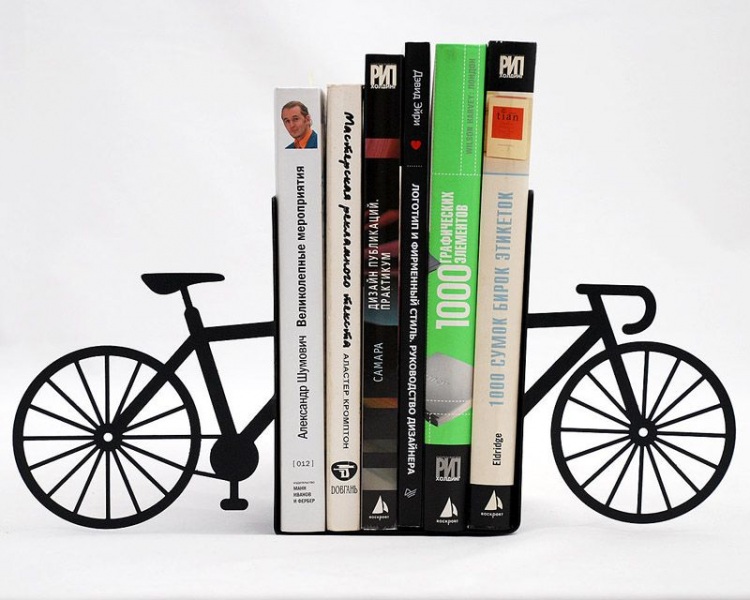
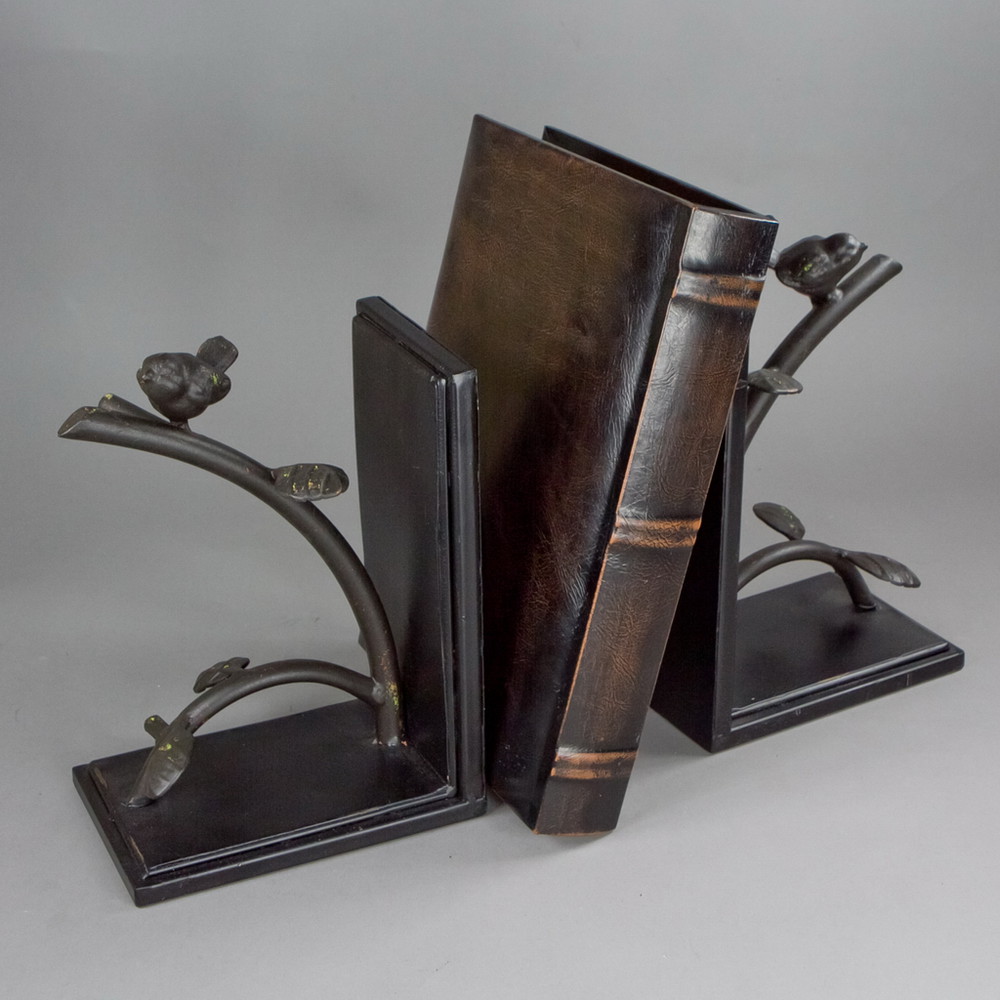
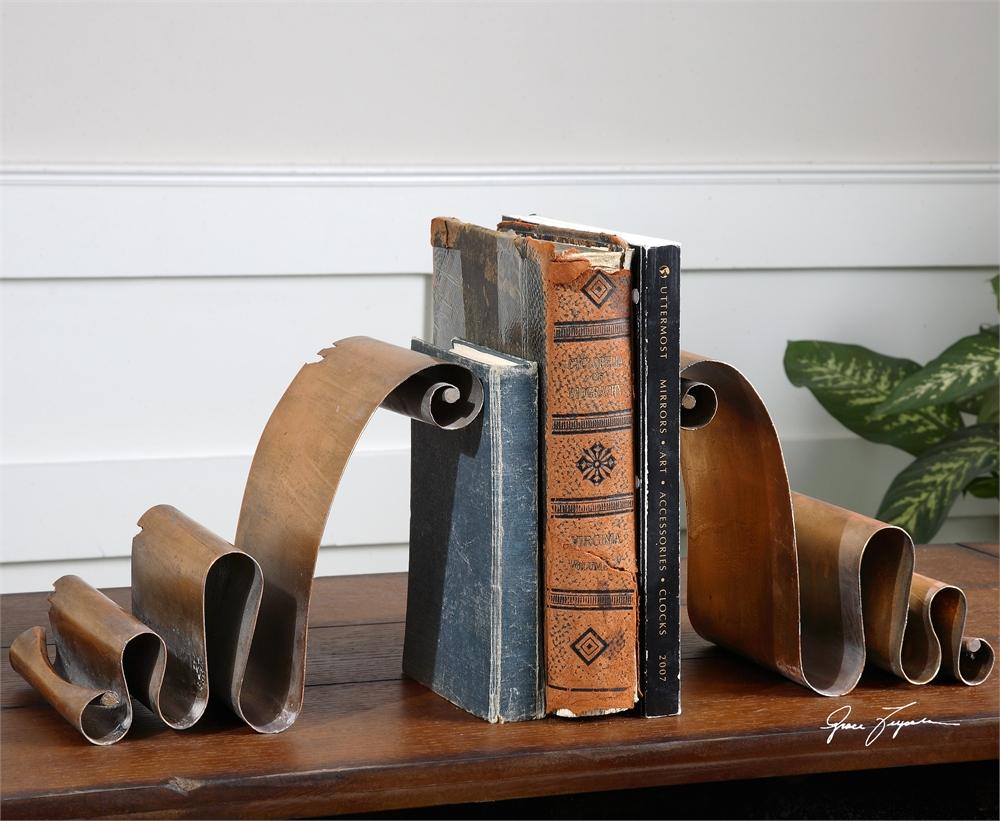
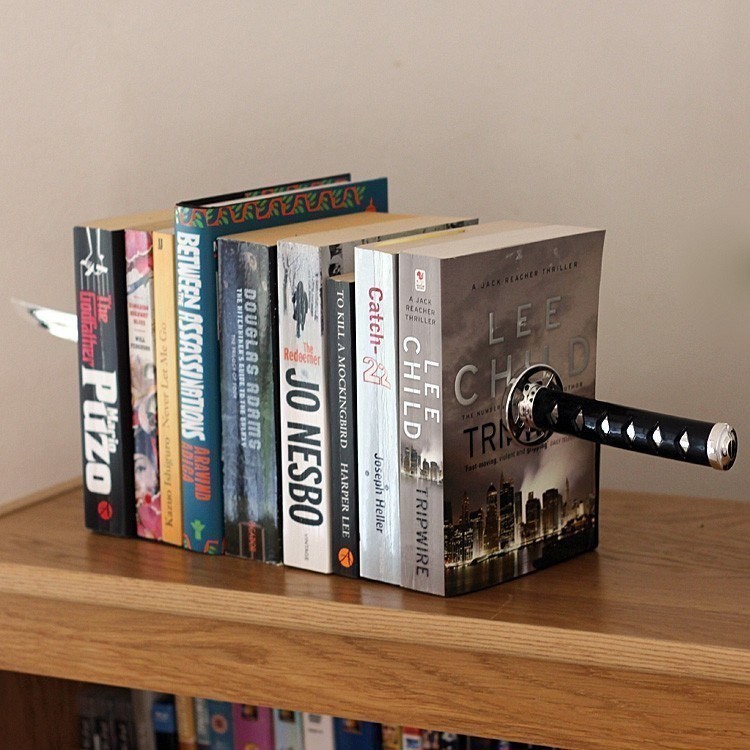
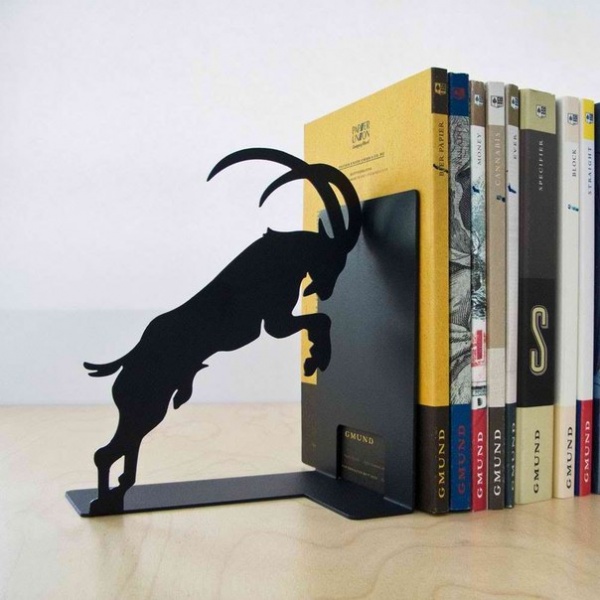
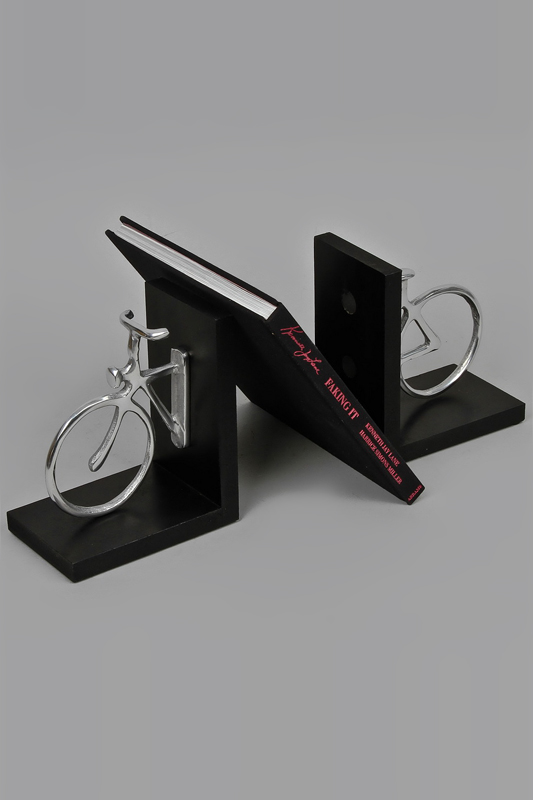
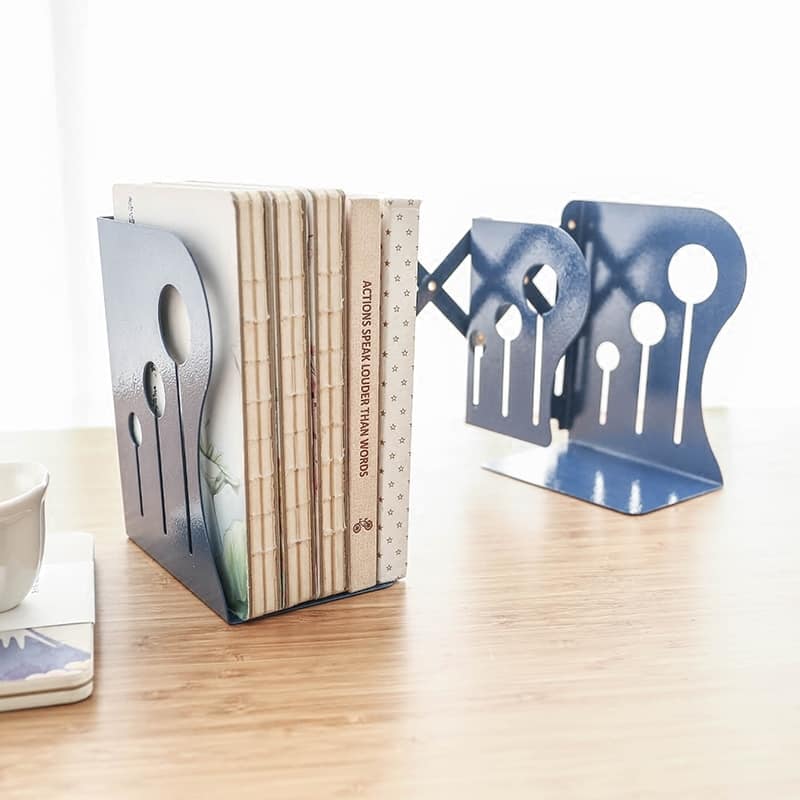
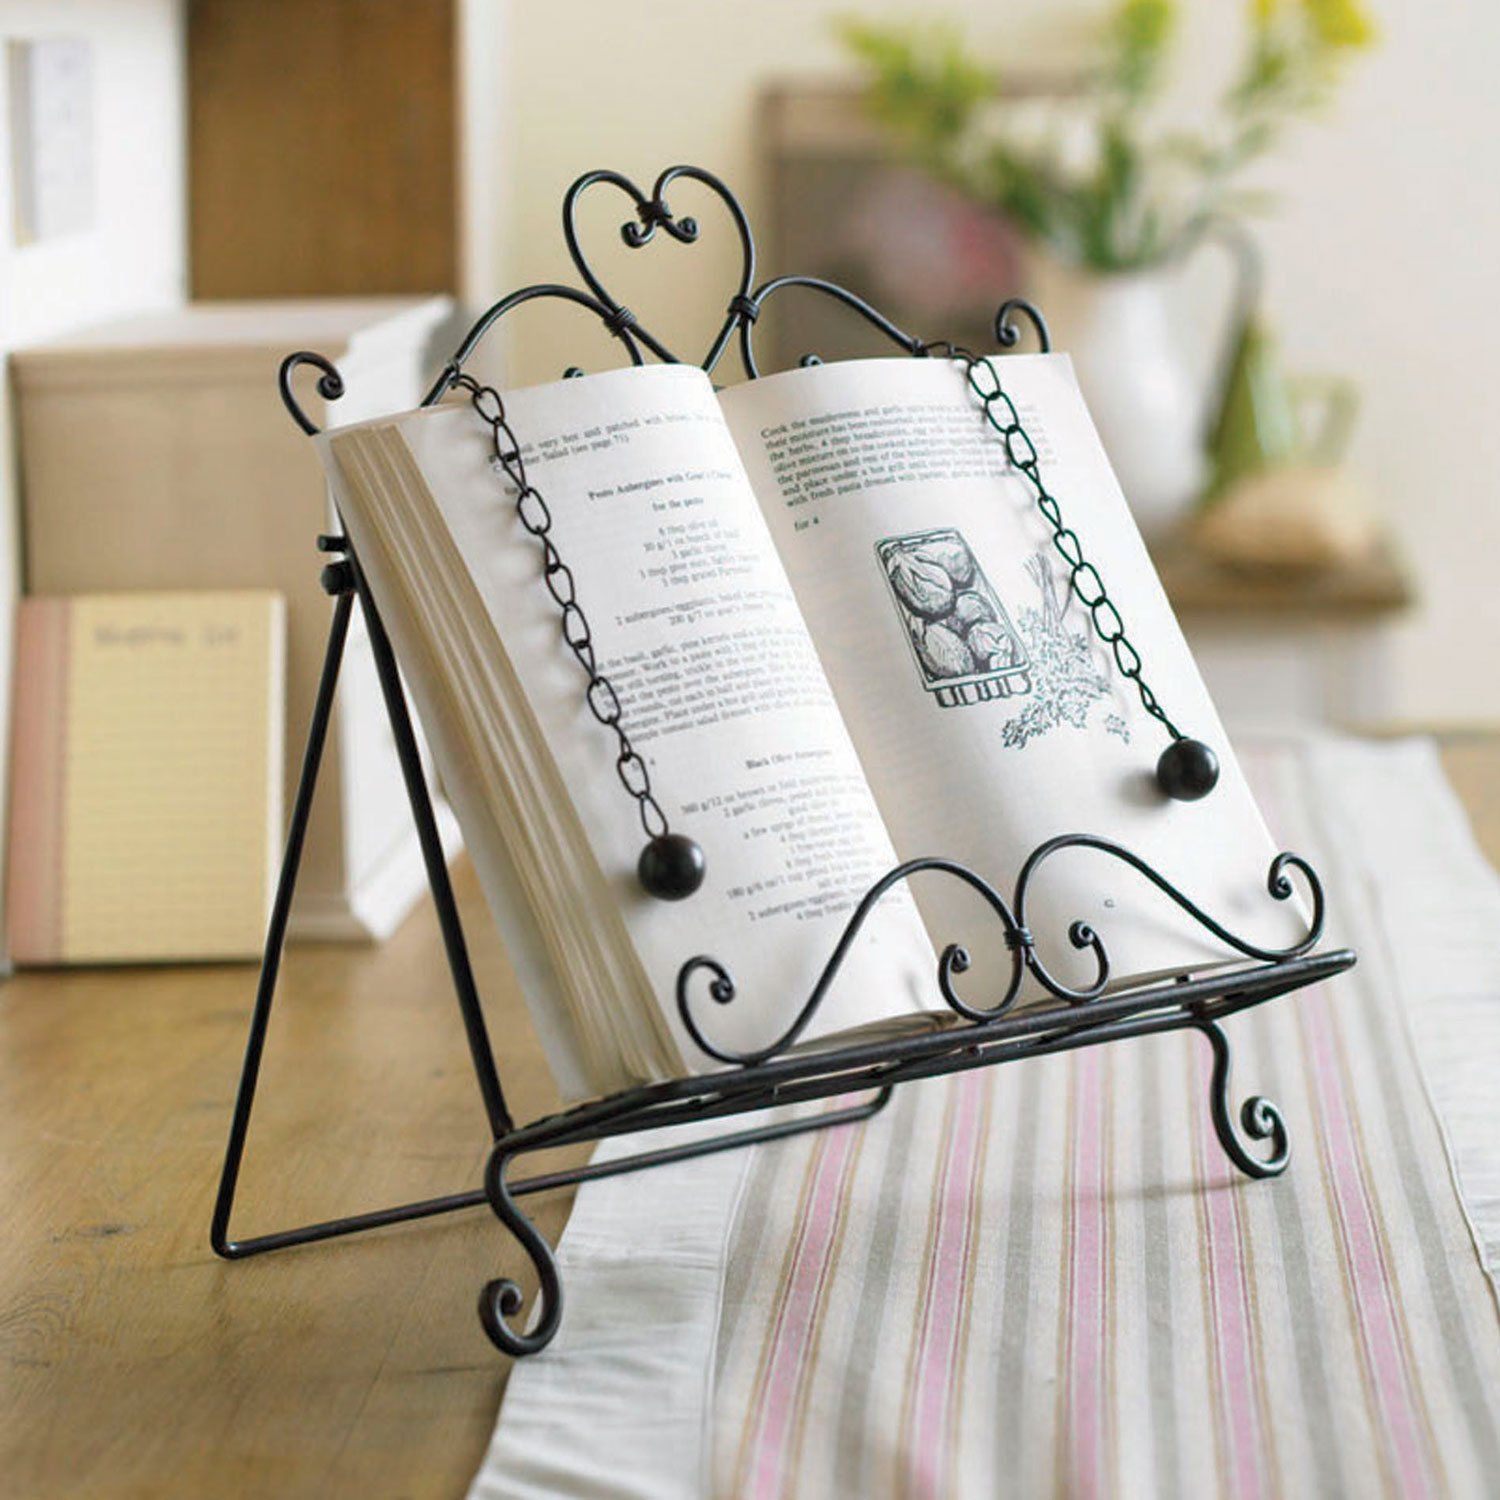
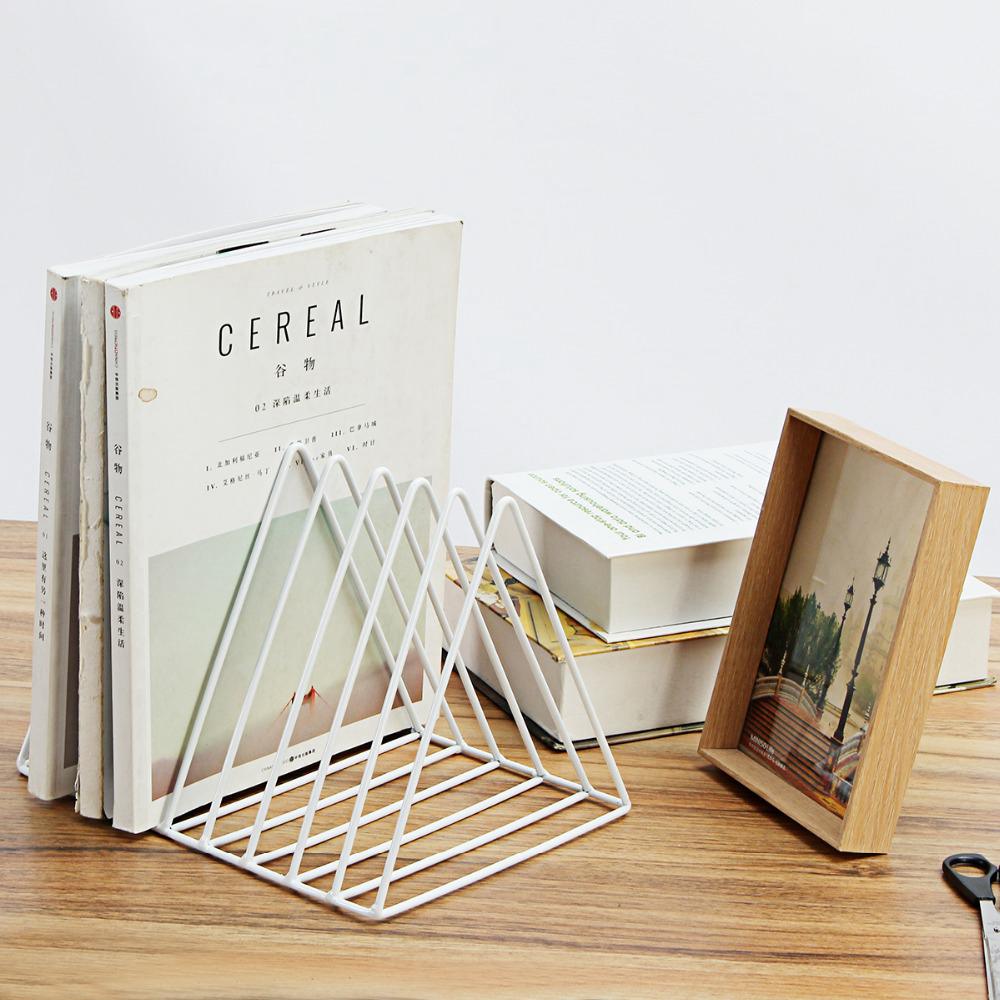
Ironwork
A real work of art can be forged from iron. But how to make a book stand from iron if you are not a blacksmith? - with the help of wire. The flexibility of the material can give it any desired shape. For a book accessory you will need a wire with a diameter of 4-5 mm, 4 pins with a diameter of 1.5 mm.
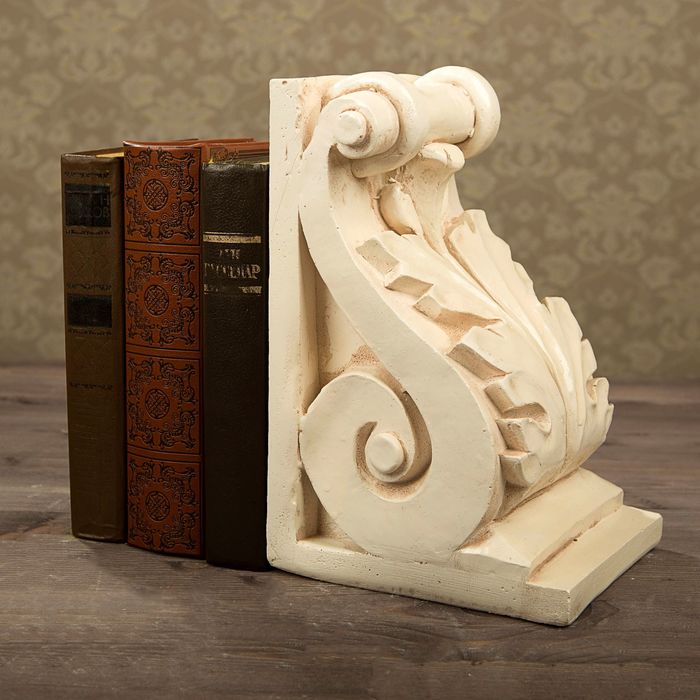
Plaster stand
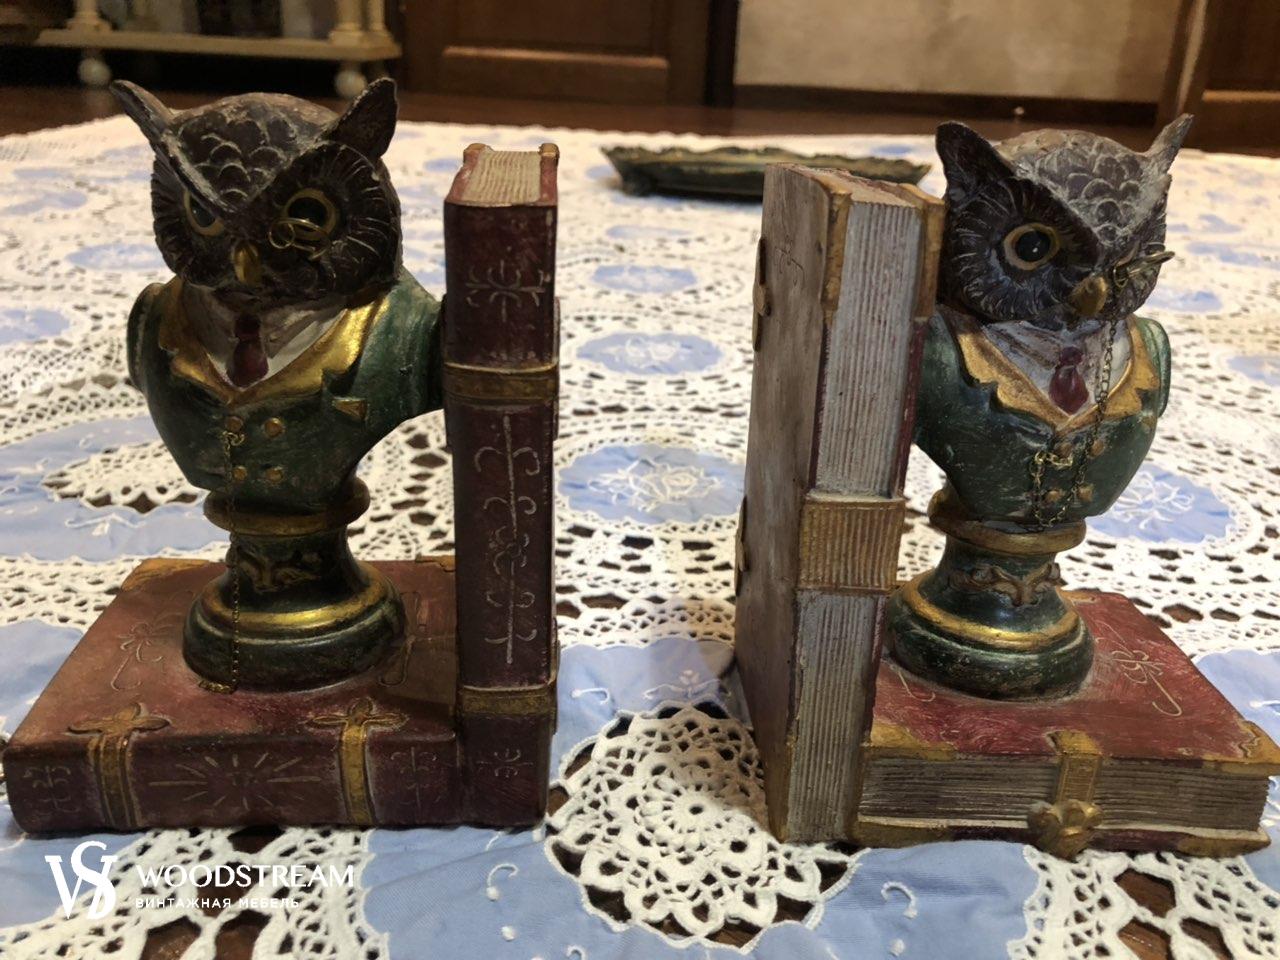
No less attractive for designers are self-made bookends. To implement the most intricate ideas, you can use plaster.
Important! You need an assistant for this task, because it is better to hold the form horizontally, not vertically.
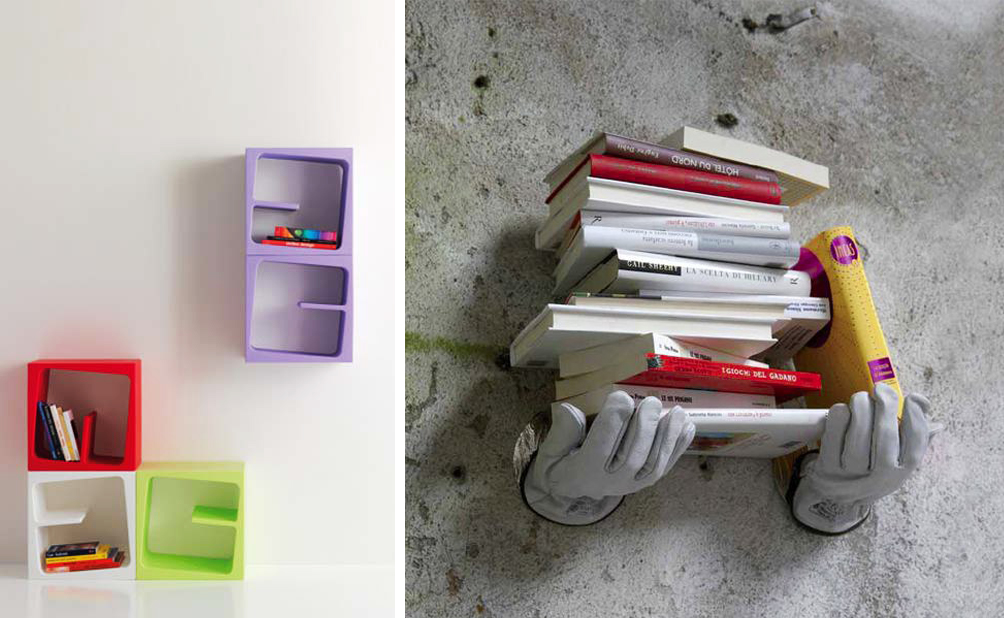
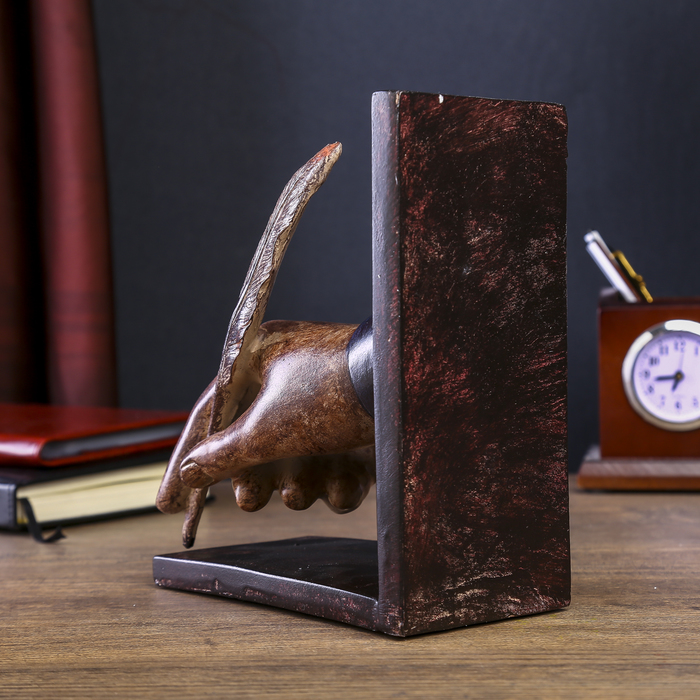
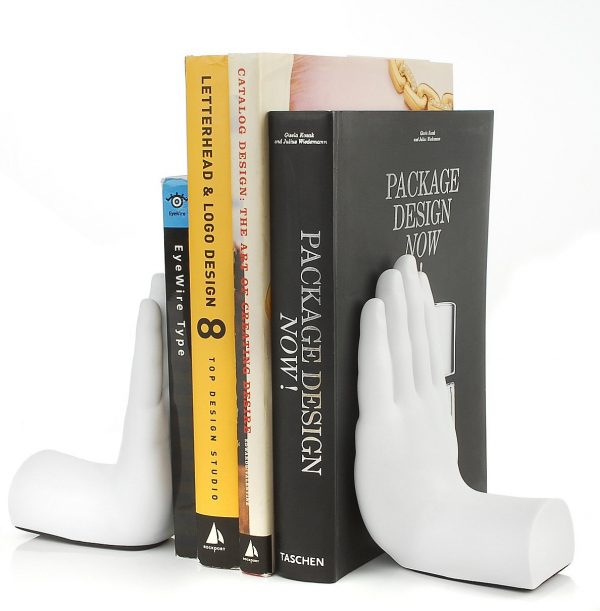
Such a magnificent designer thing can be made from plaster, for example, imprinting your hand, foot or any object. First of all, it is necessary to mix the alginate to a dough-like state. As a form, you can use a regular box sealed with adhesive tape.
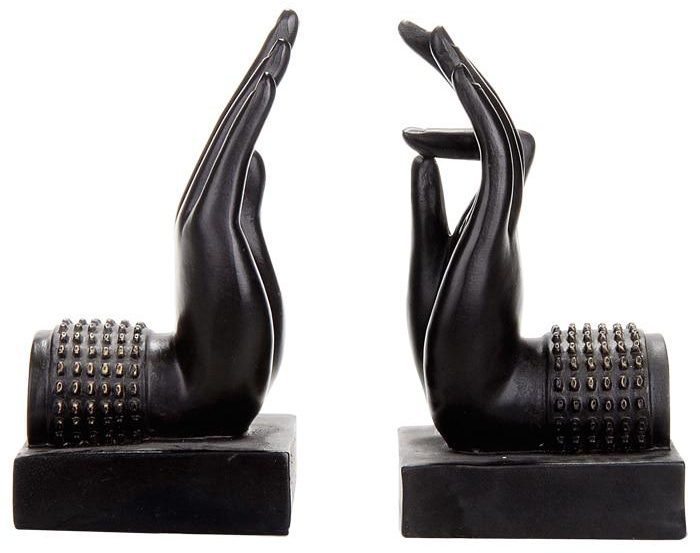
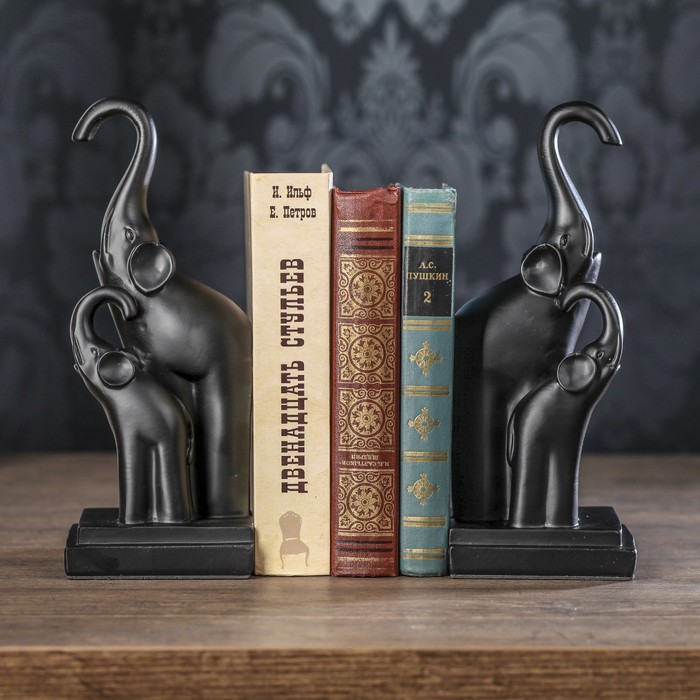
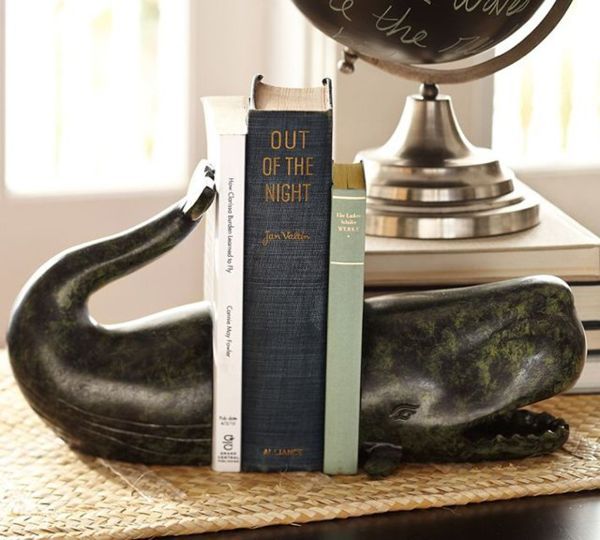
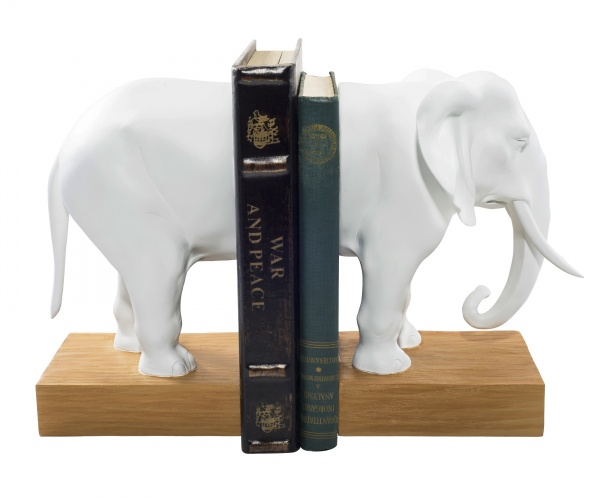
Make a hole in the box for the hand and first pour some of the alginate to the level of the hand, and after a minute the remaining mass. After about ten minutes, the hand simply stretches out. Fill the resulting hole with plaster. Leave to dry overnight. Then cut out the alginate and take out the plaster hand. Cover with paint and glue to a wooden board. Instead of a hand, you can use any other figures, for example, like the elephant in the photo.
Additional information: The remaining small lumps and bubbles in the alginate liquid do not affect the result.
From other materials
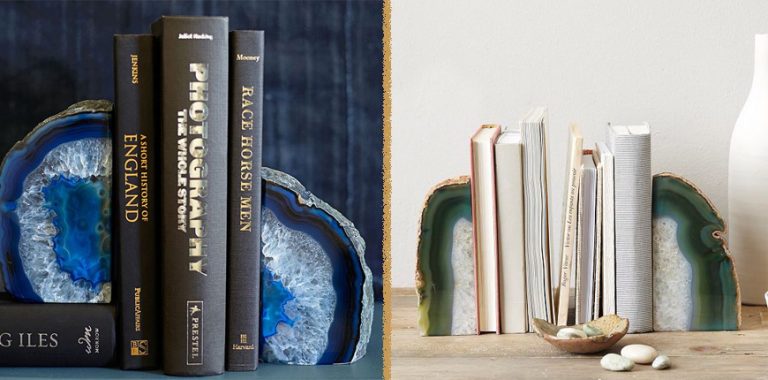
You can also make a book holder yourself from stone. In the simplest case, you will need two massive stones, spray paint, and cork adhesive pads so that the stones do not scratch the surface and move easily. The stones need to be painted, for example, in fashionable gold or silver. Glue the cork pads to the dried stones.
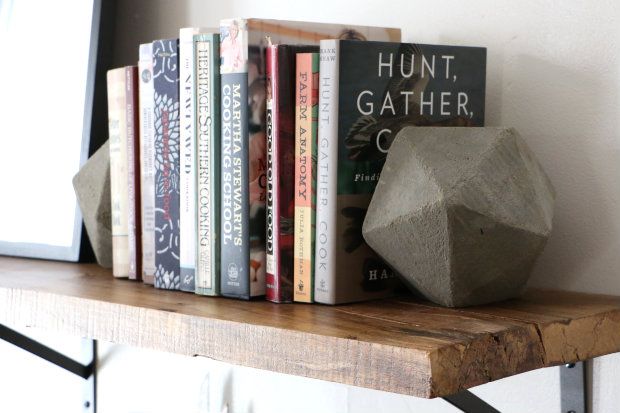
To make a concrete bookend on a shelf with your own hands, first of all, you need to grease the mold. Then mix the concrete until it becomes doughy. Fill the molds with concrete and leave overnight to dry. Separate the seized parts from the molds by tapping them with a brick or hammer. Sand the bottom of the future stand. Finally, paint the molds or leave them as is.
Additional information: To get rid of bubbles, tap and shake the container with concrete.
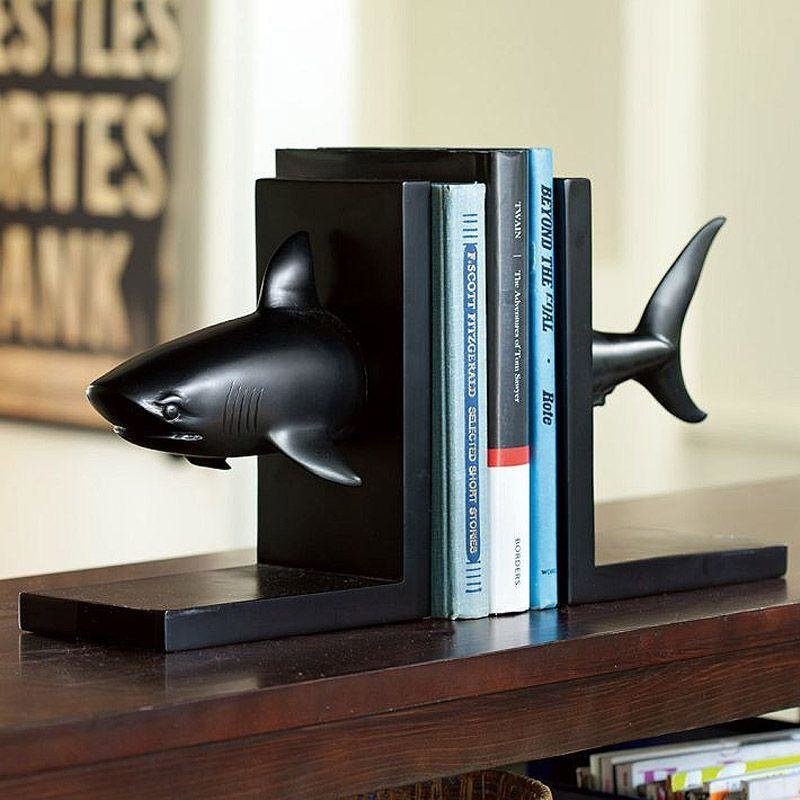
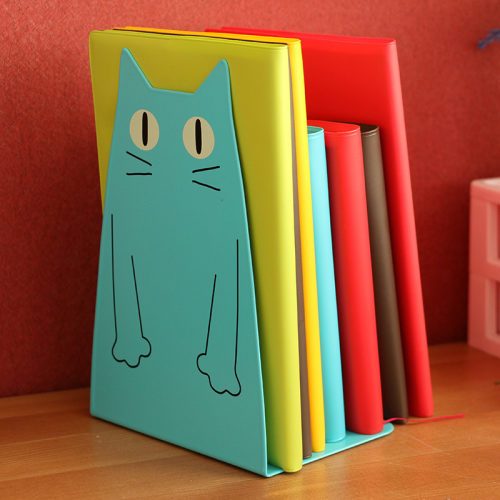
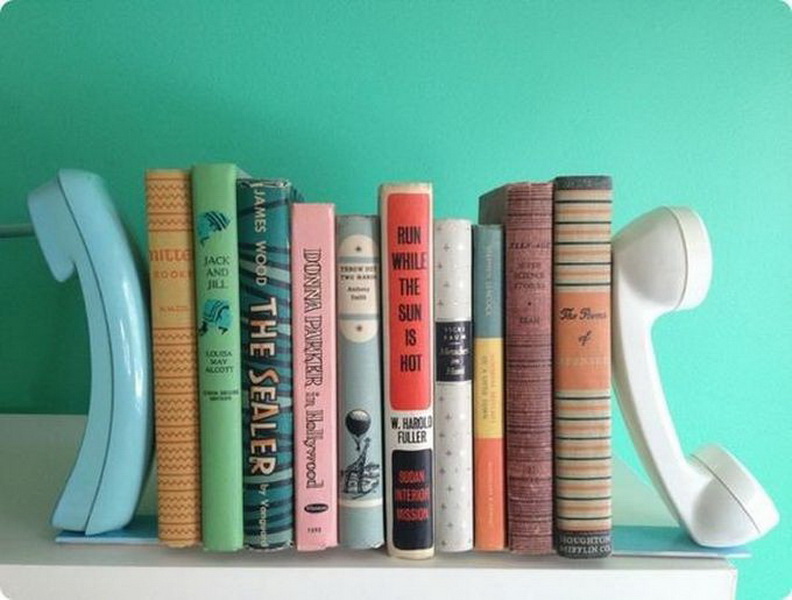
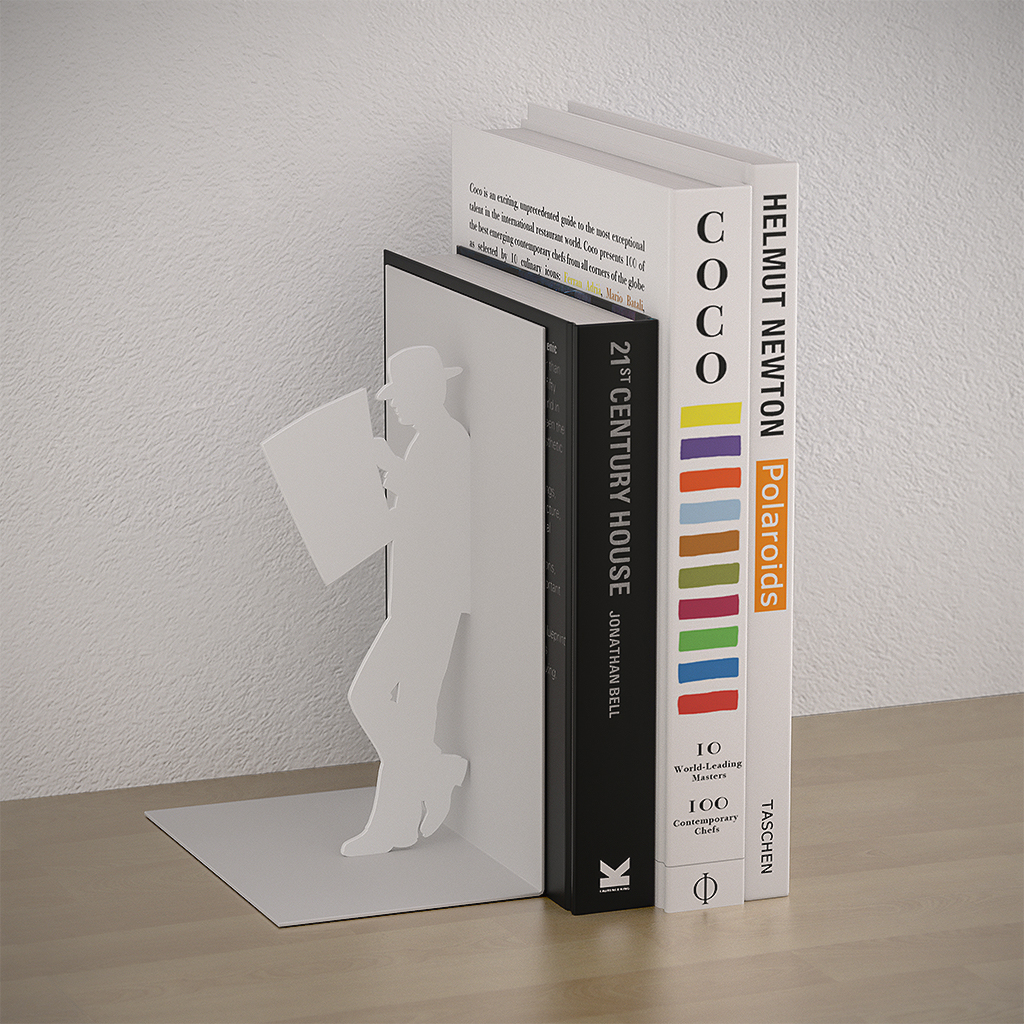
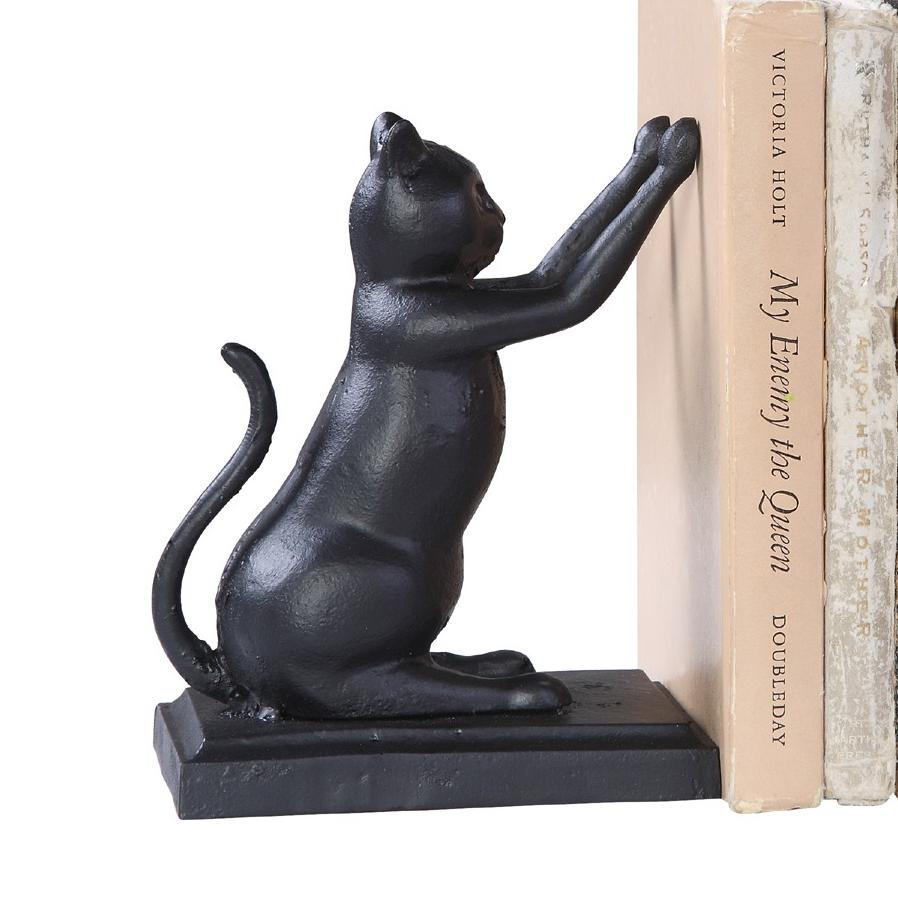
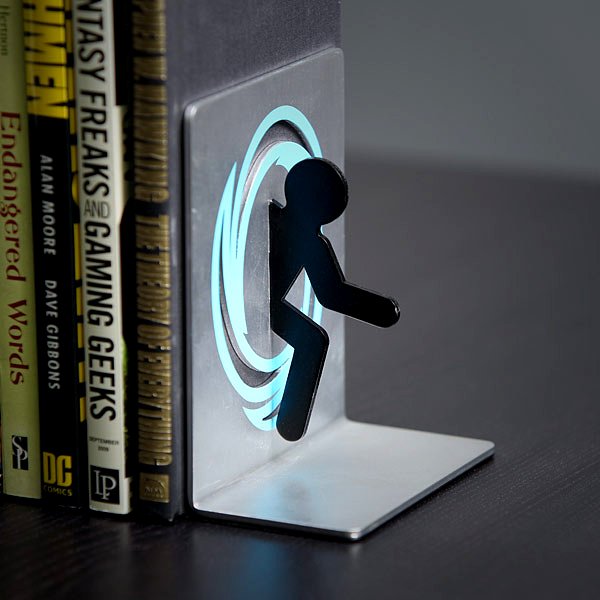
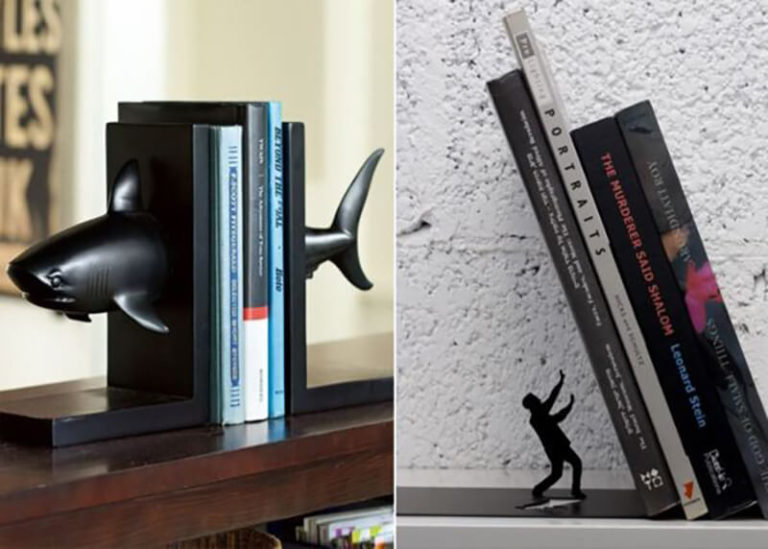
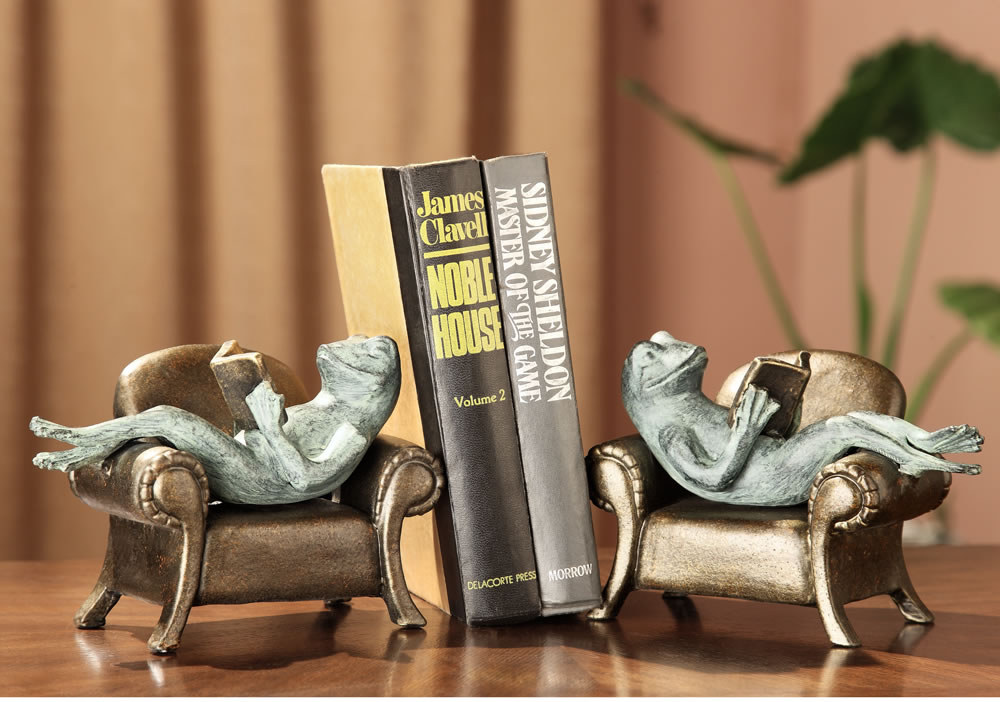
If the classic options are boring, then the answer to the question of how to make a creative book stand with your own hands will help:
- Old corded telephone tubes;
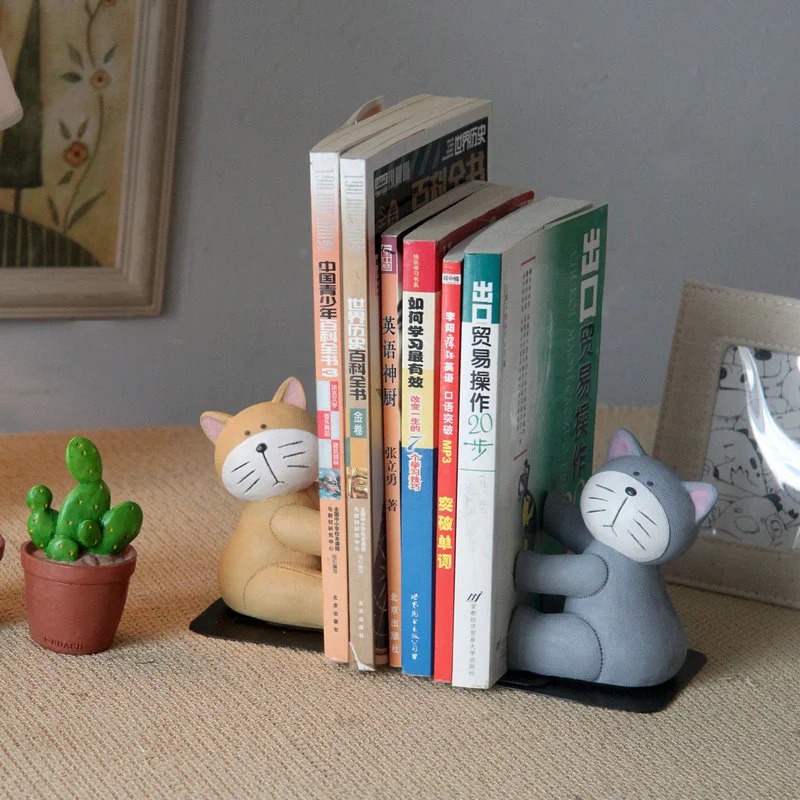
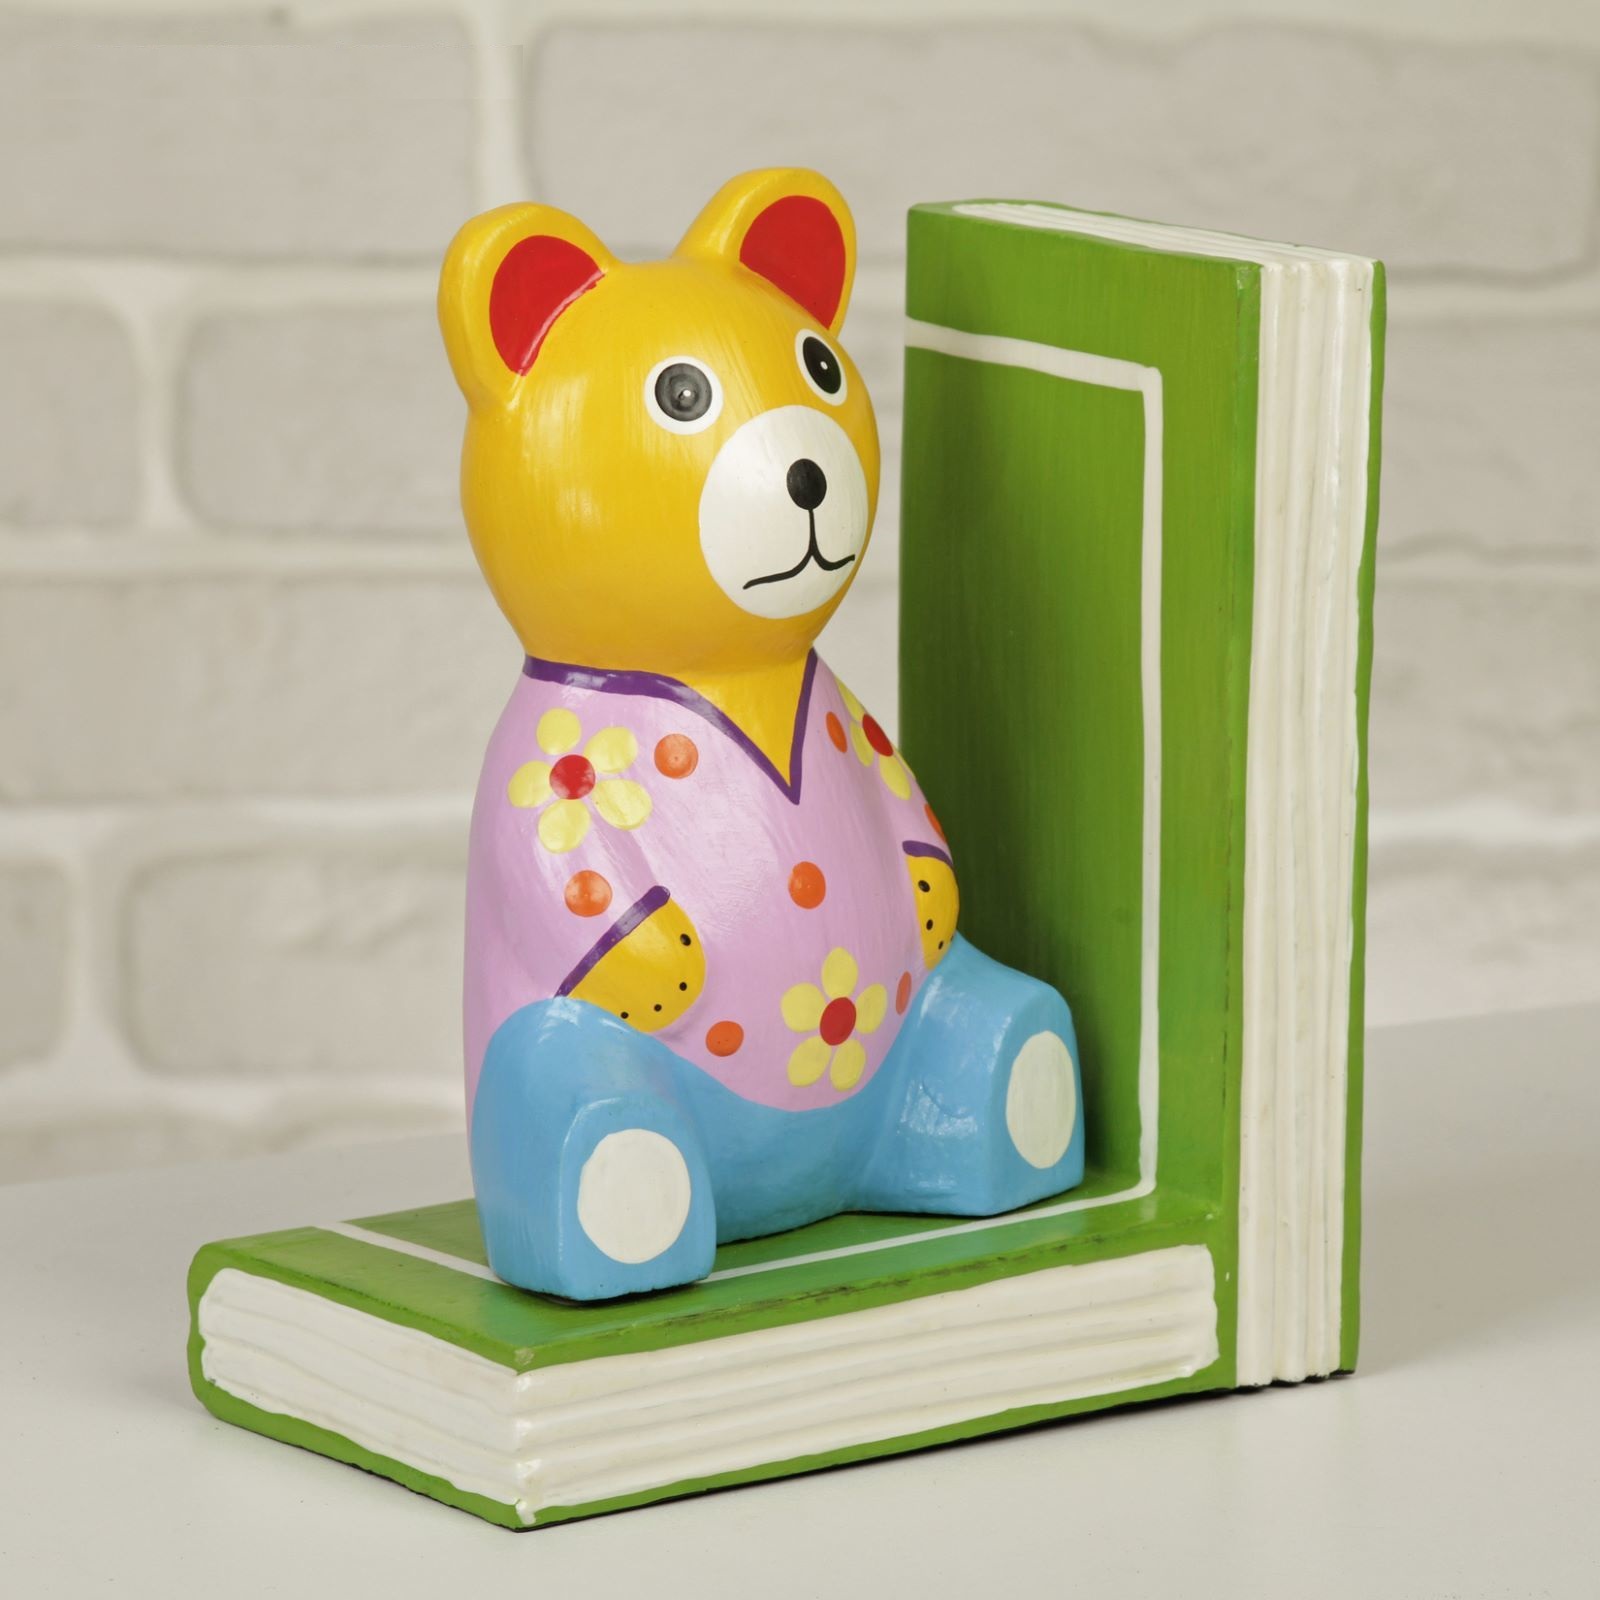
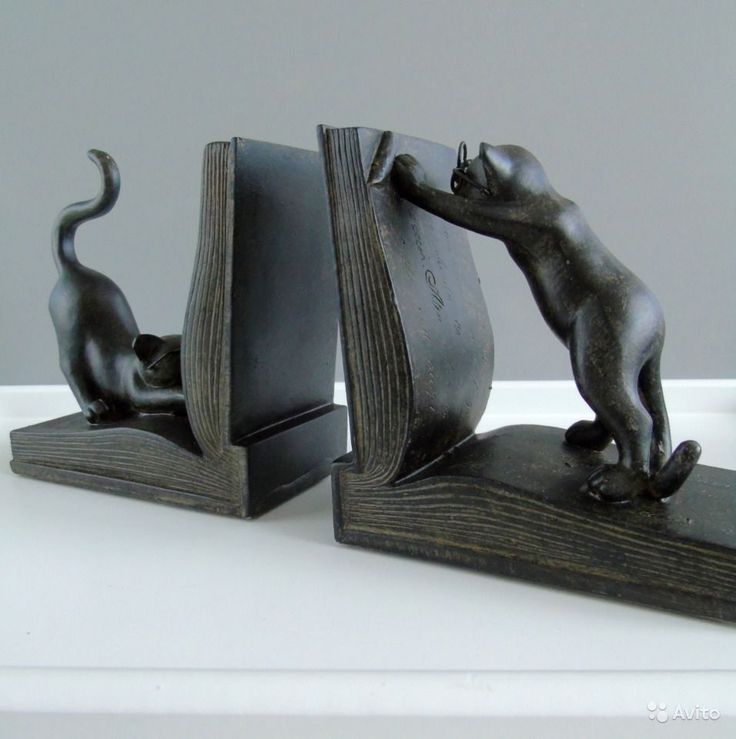
- Children's toys;
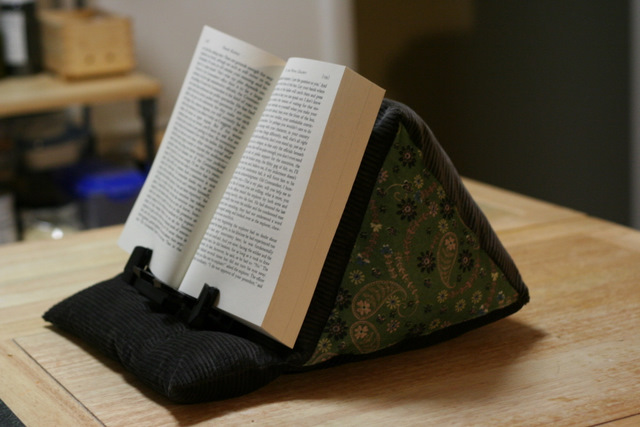
- Pillows of different shapes.
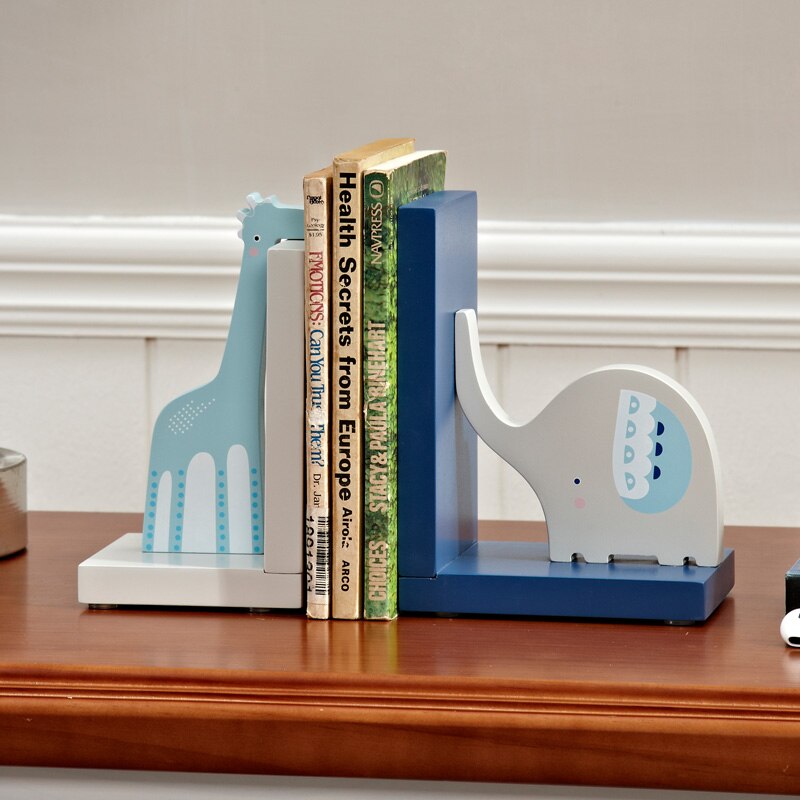
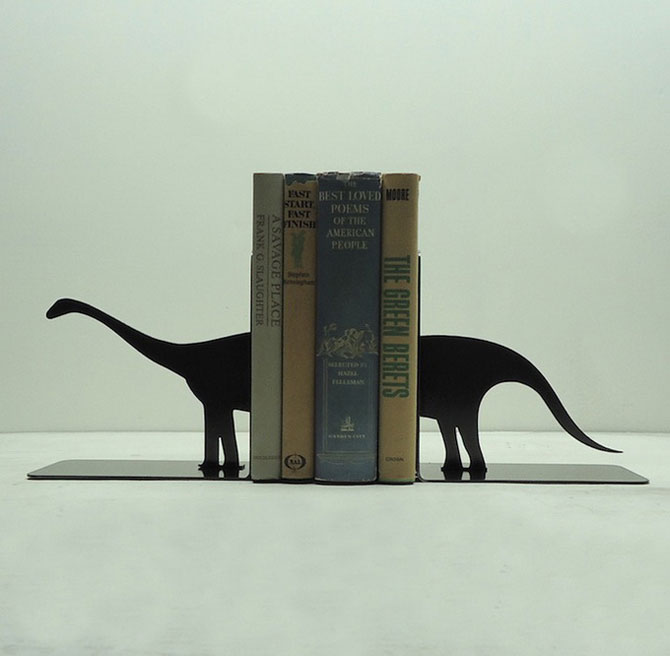
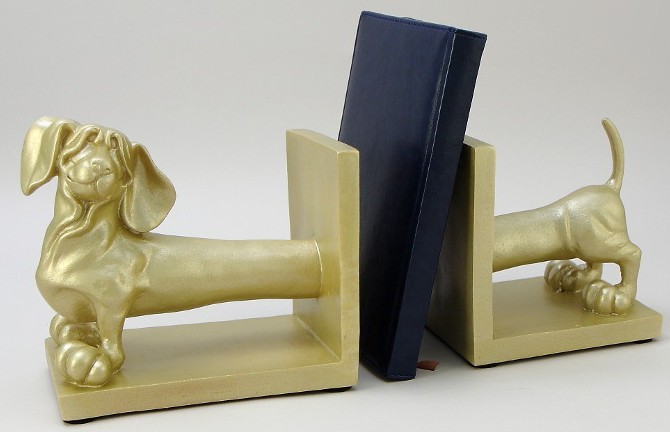
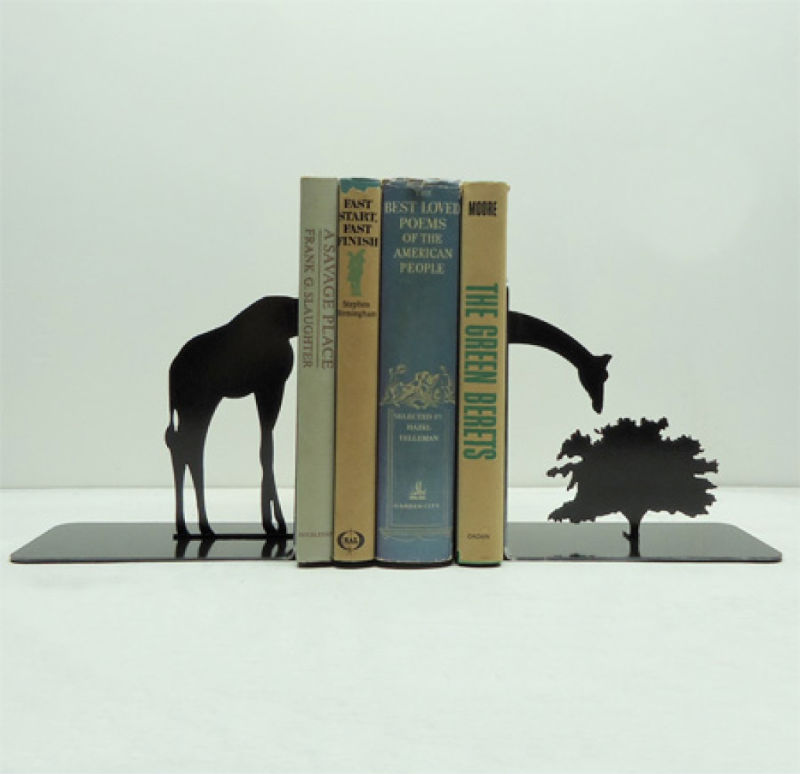
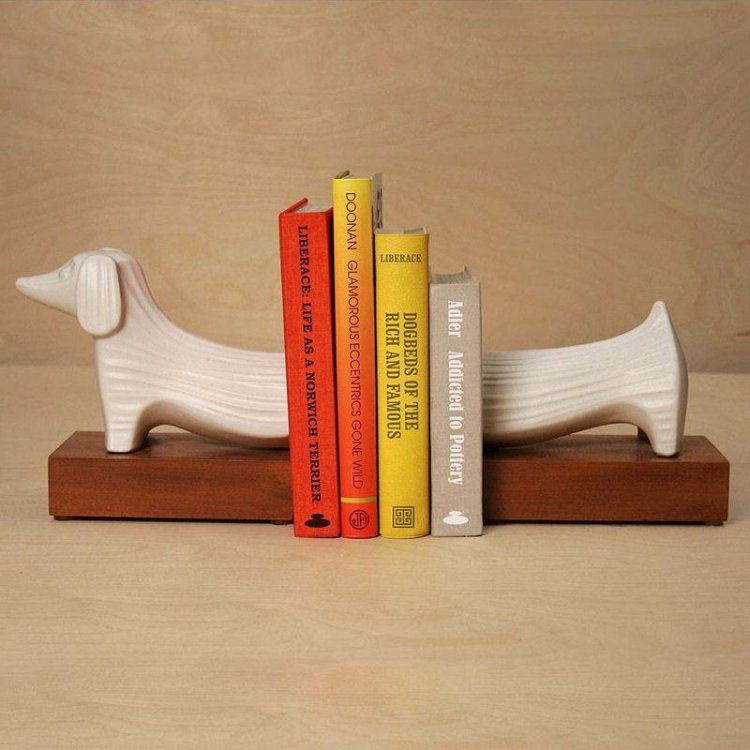
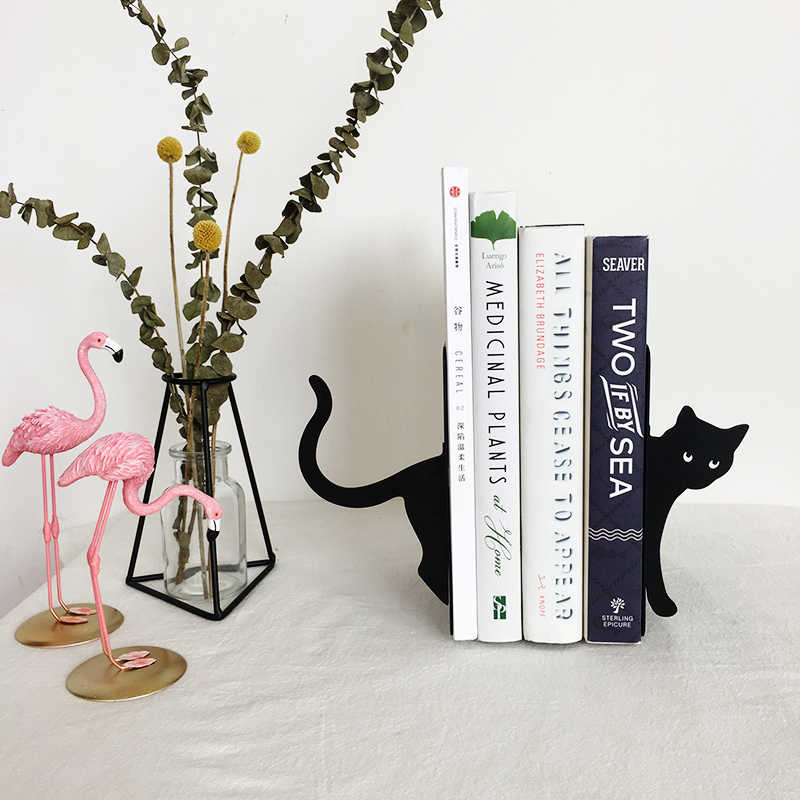
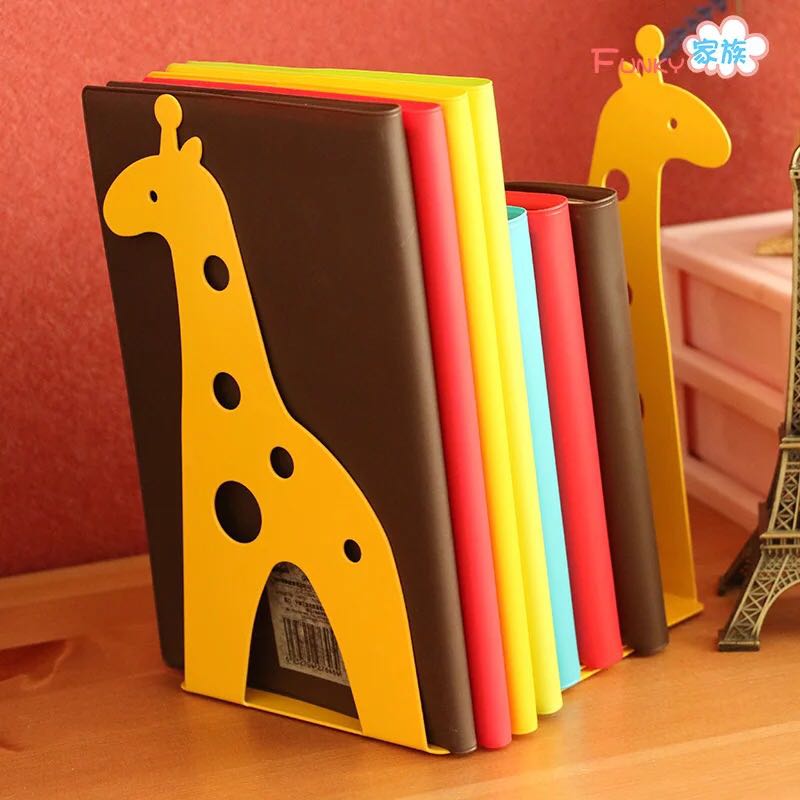
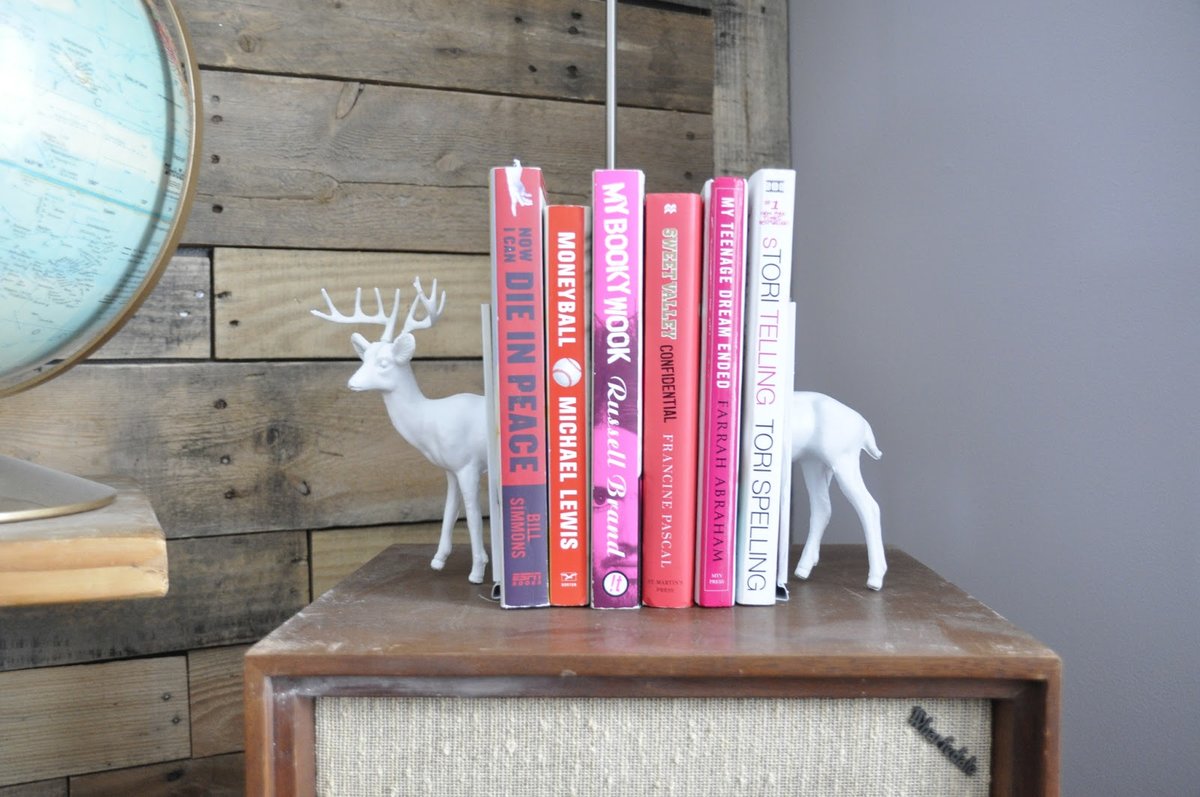
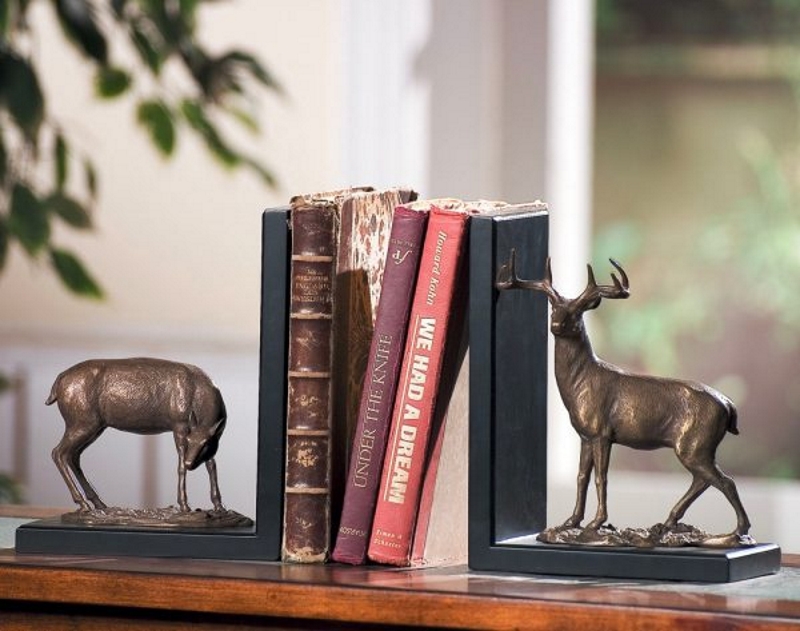
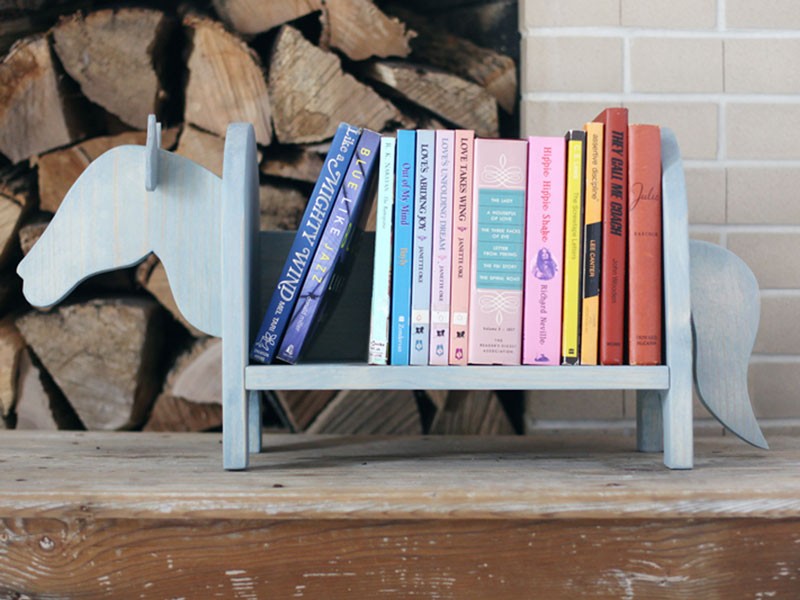
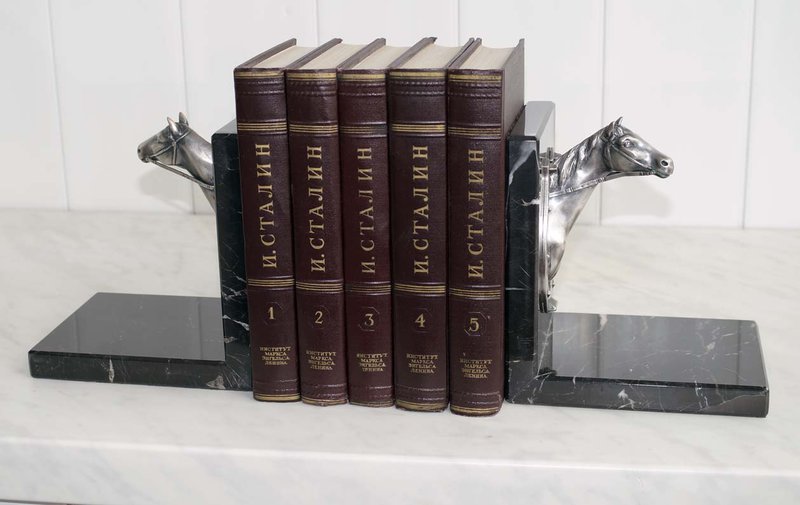
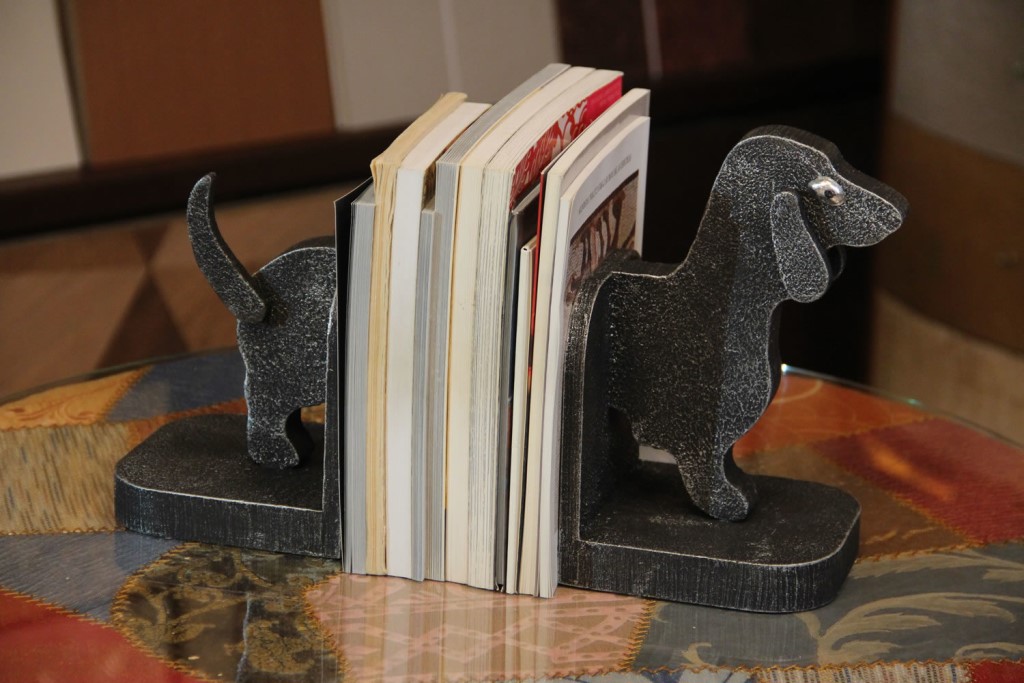
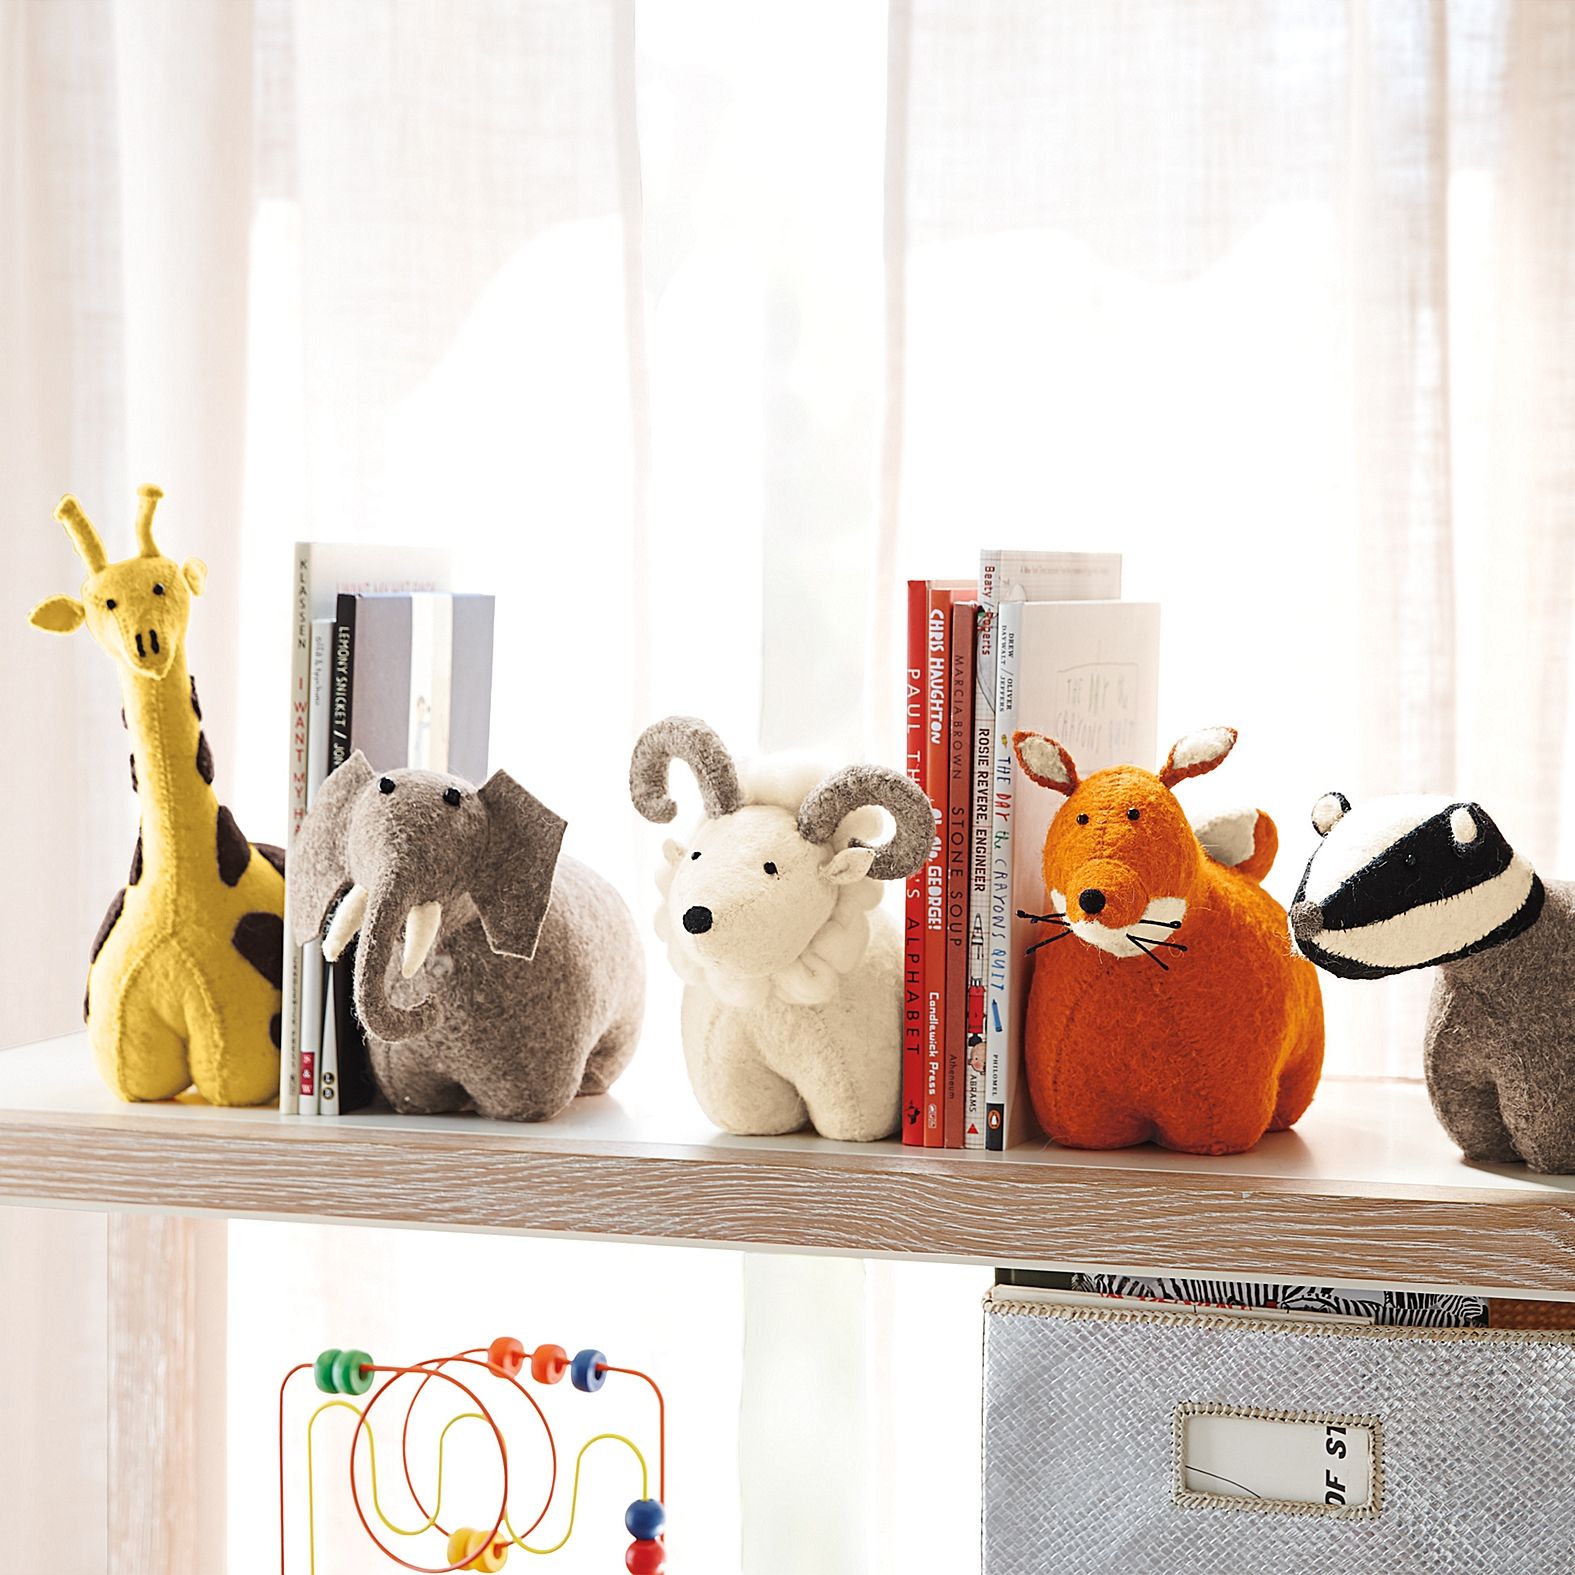
You can also cut a toy animal, such as a giraffe, horizontally. Glue the back part to the left holder, and the front part to the right.
Good luck in your creative pursuits!
VIDEO: How to make a book stand with your own hands.
50 original options for bookends: