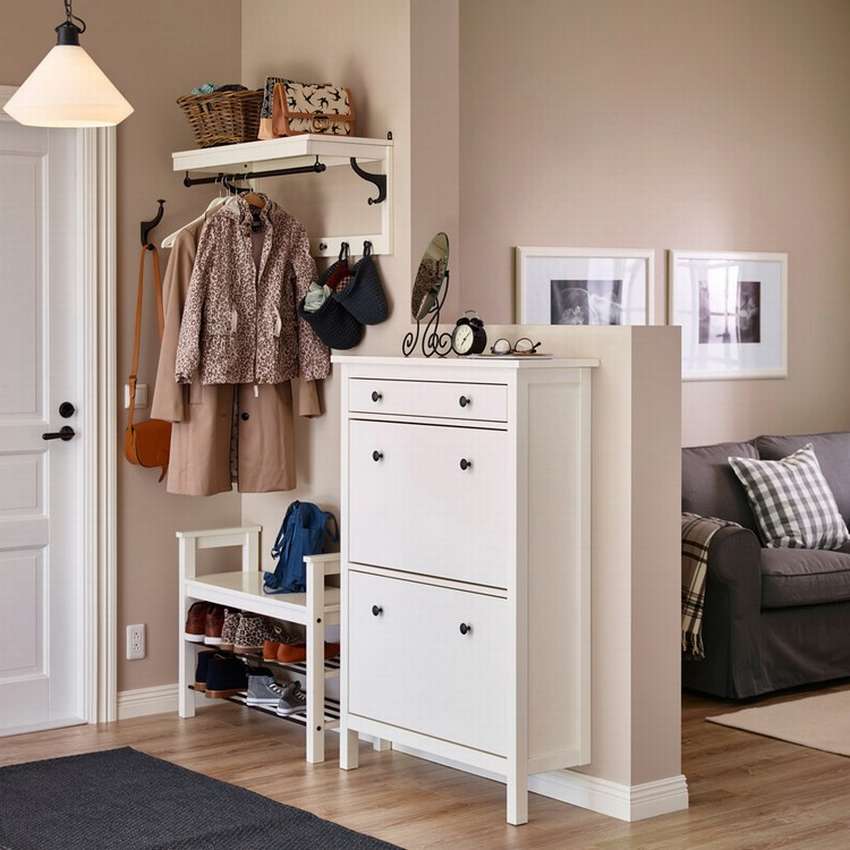
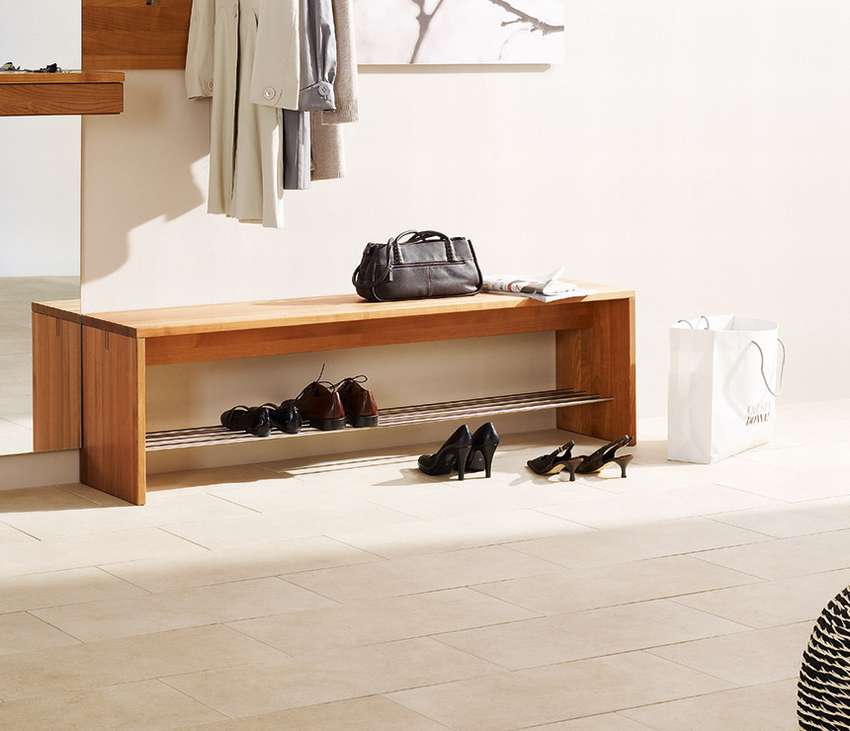
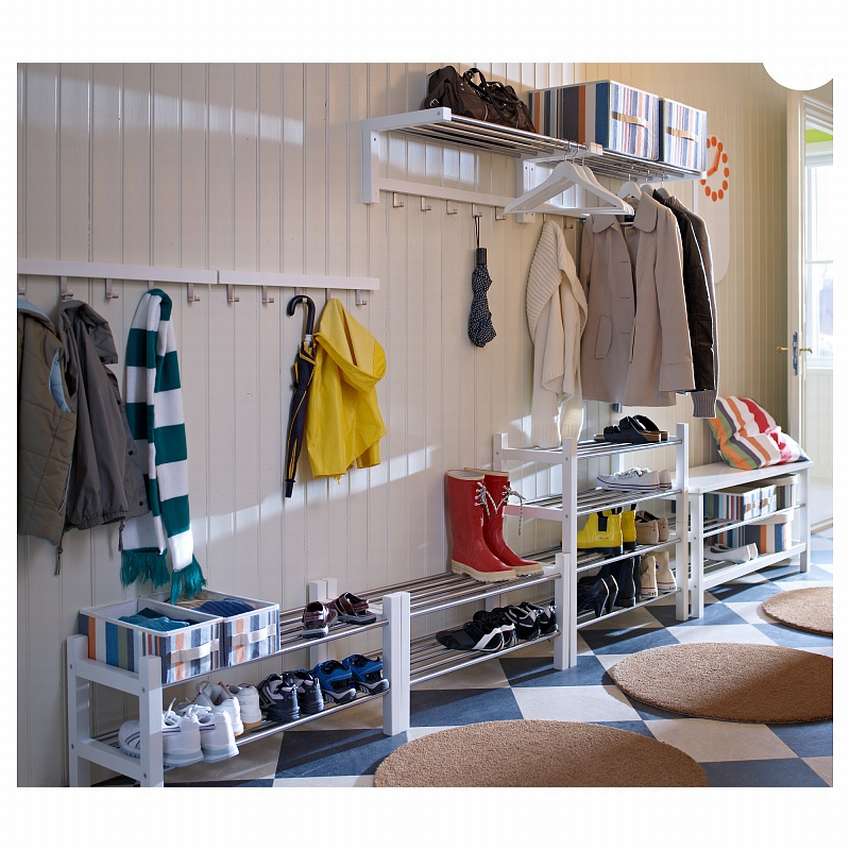
A shoe rack is a necessary piece of furniture in any room.

To make your interior different from others and exclusive and show the individuality of the owner, you can make a shoe rack yourself. This will allow you not only to fit an interesting thing into the environment, but also to show your creative skills.
Content
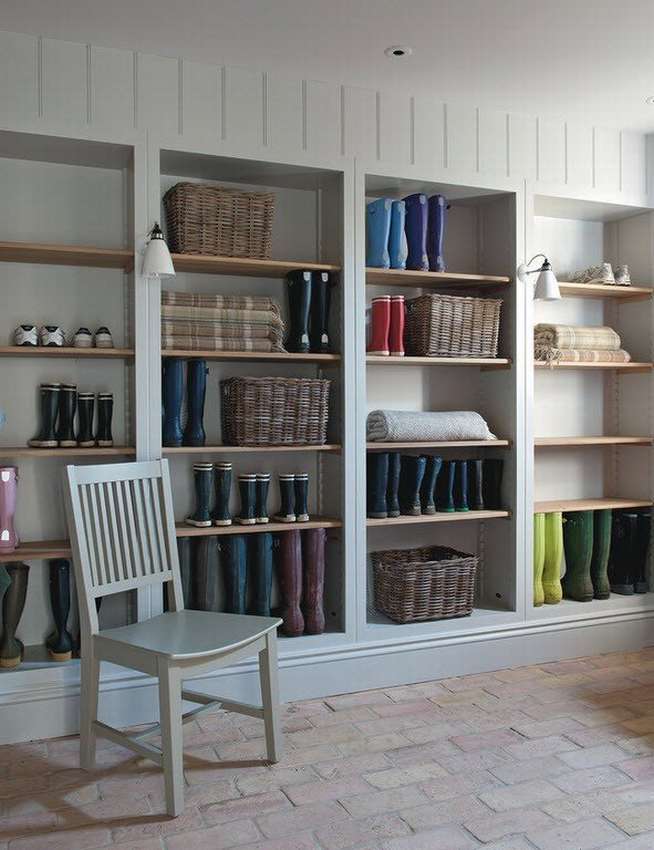
Types and purpose of homemade shelves for the hallway
| Shelf type | Brief description |
| Divisions by spatial location | |
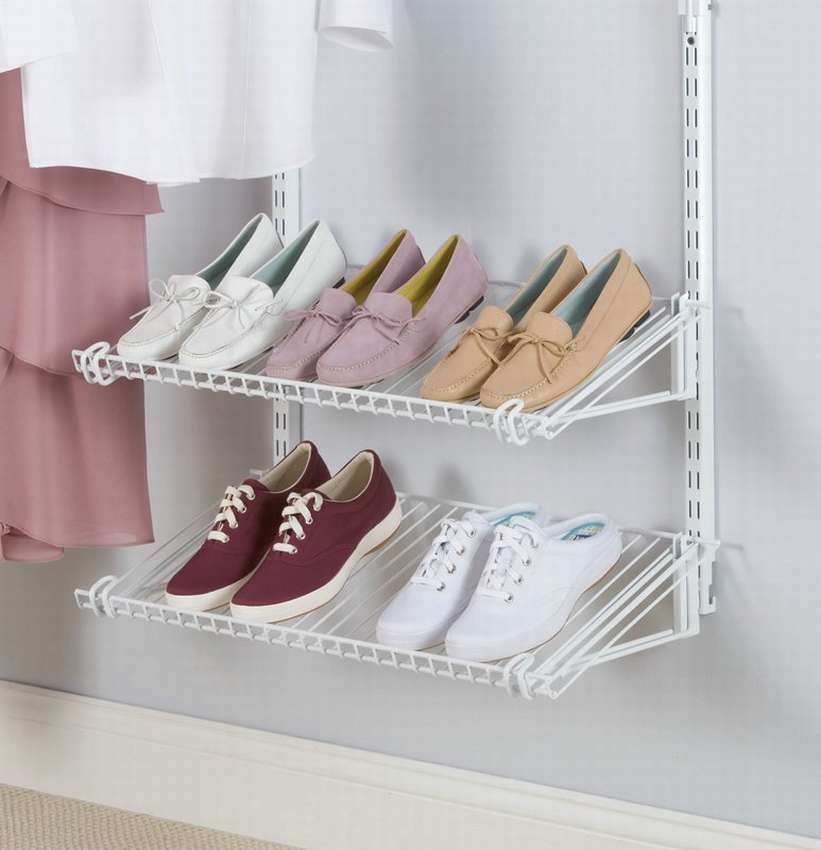
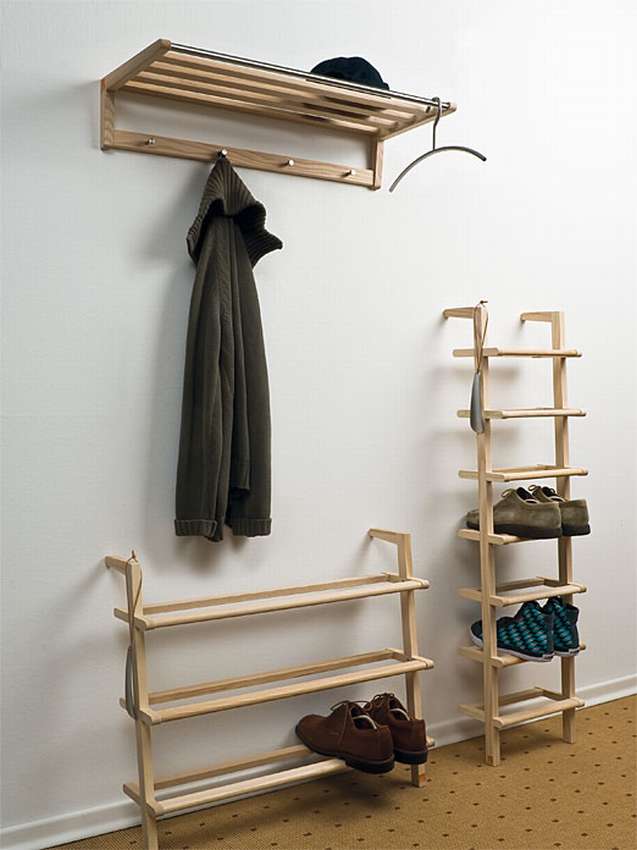
| Wall mounted | Attaches to the wall |
| Suspended | It is suspended from the ceiling using special fasteners |
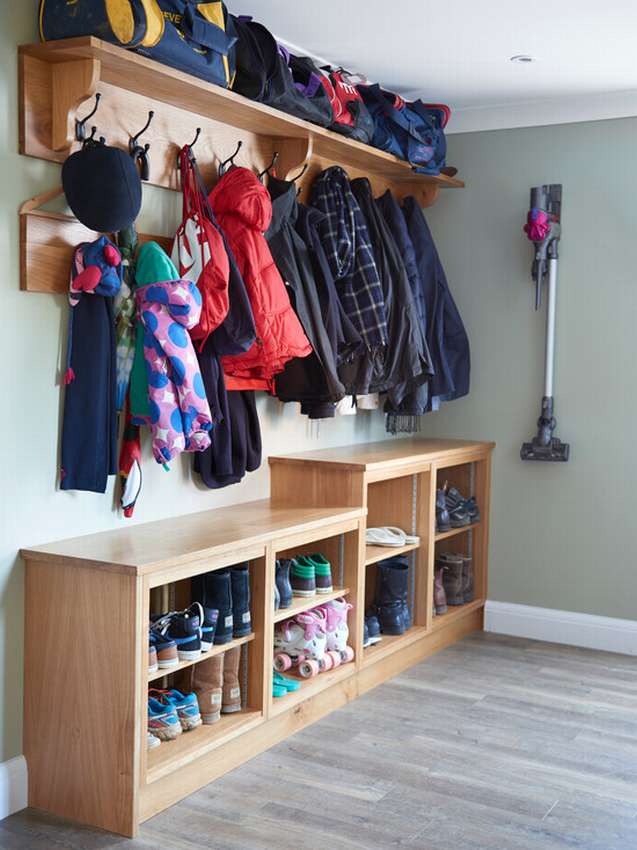
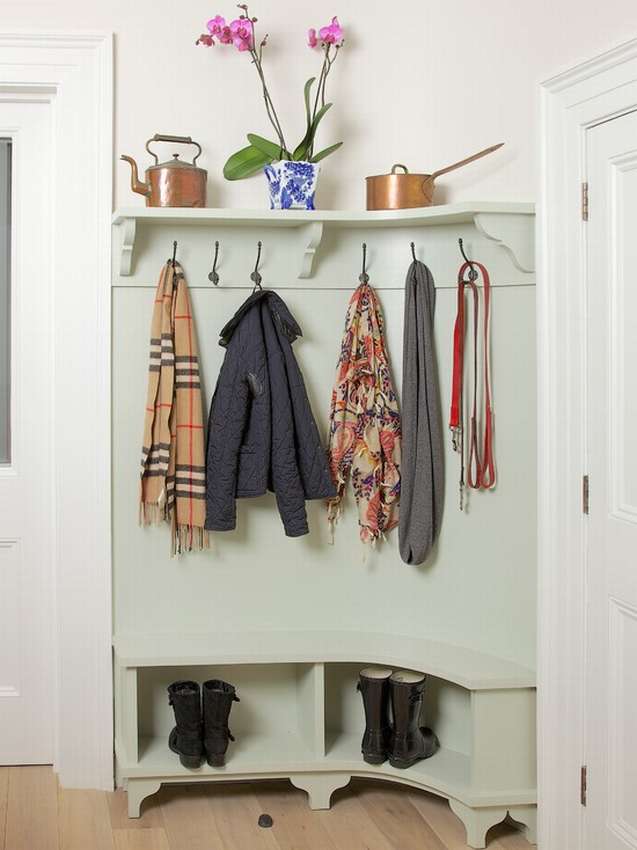
| Corner | It is attached to two adjacent walls and is located in the corner of the room. |
| Division by type of construction | |
| Console shelf | One plane that is attached horizontally to the wall. |
| Shelf with side walls | It has side stops for items placed on it. |
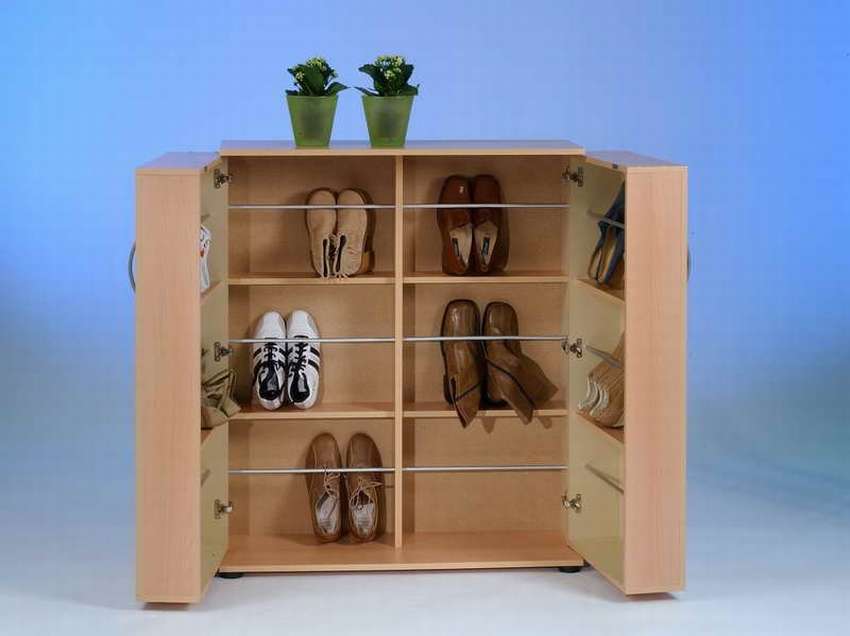
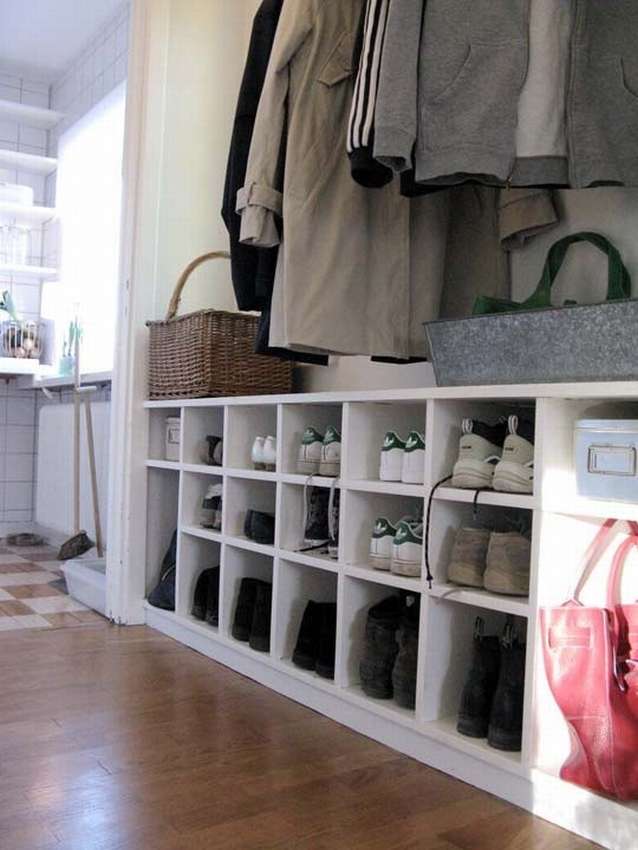
| Shelf with side walls and a top horizontal wall | One of the common types of wall cabinets without doors. |
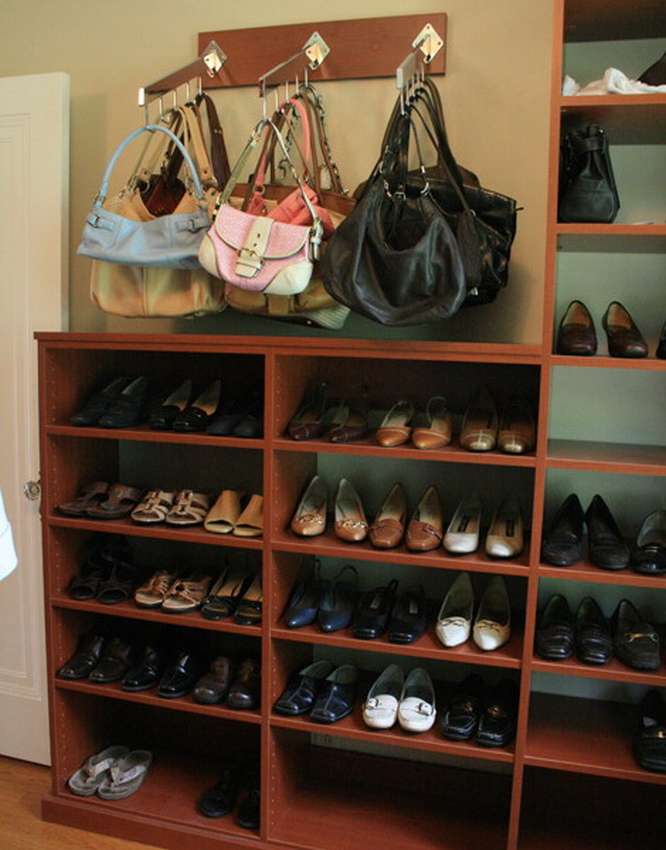
| Shelf with back wall | There is a back wall |
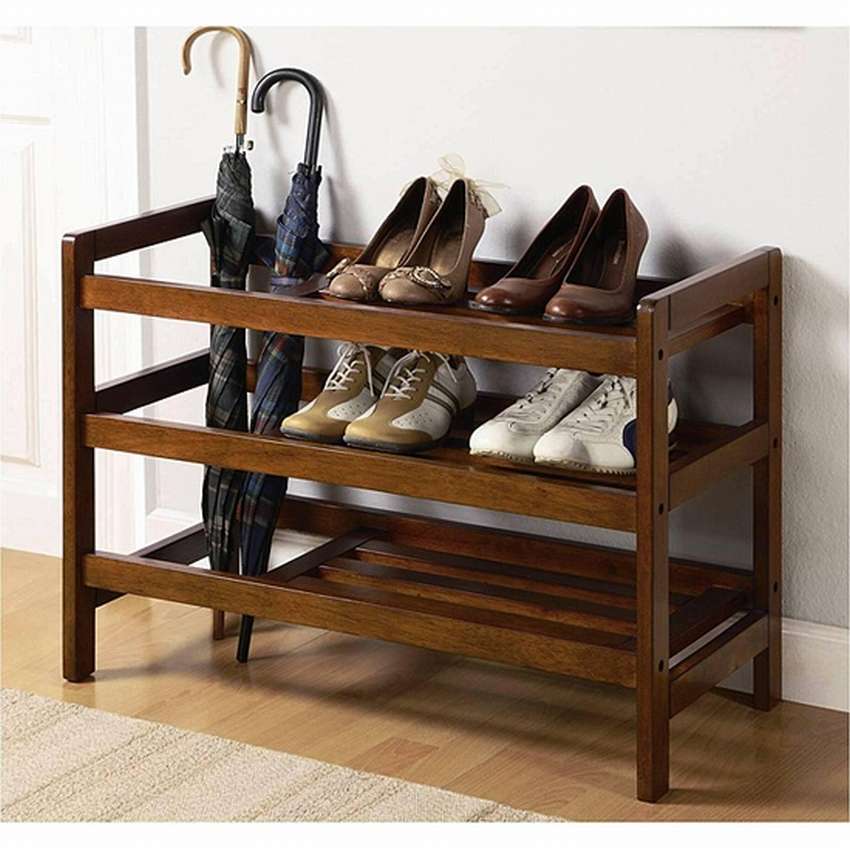
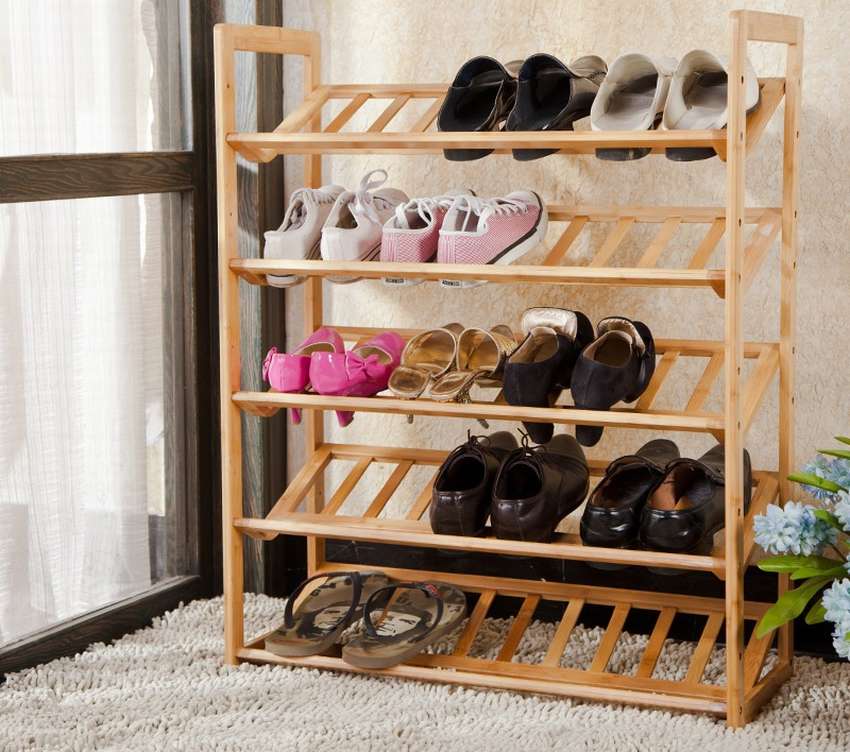
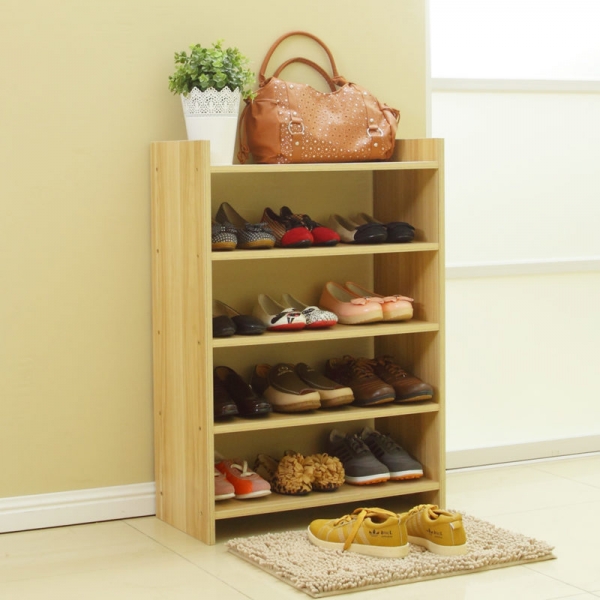
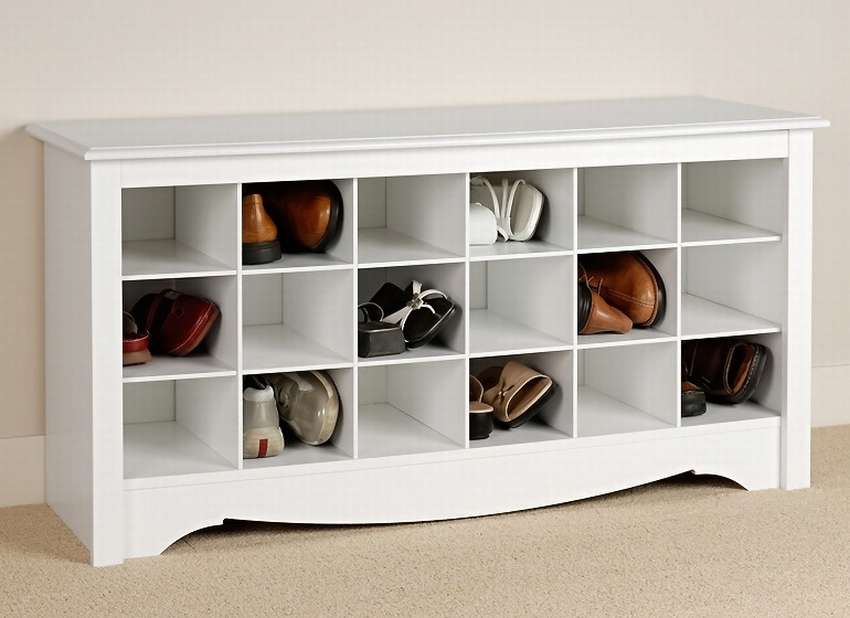
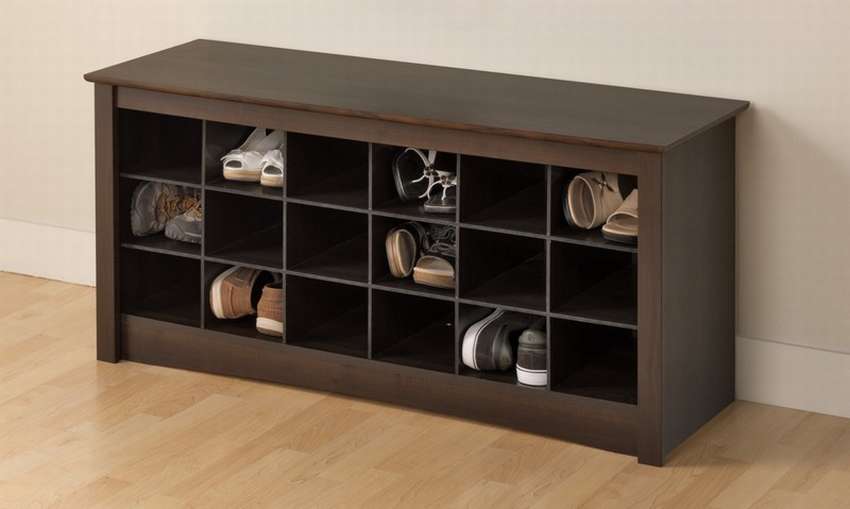
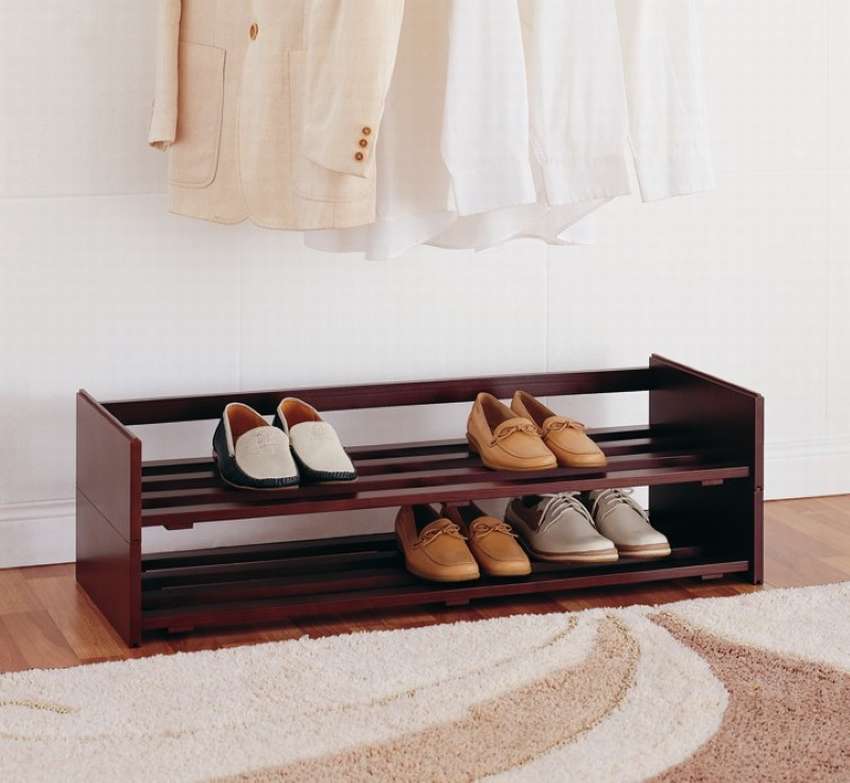
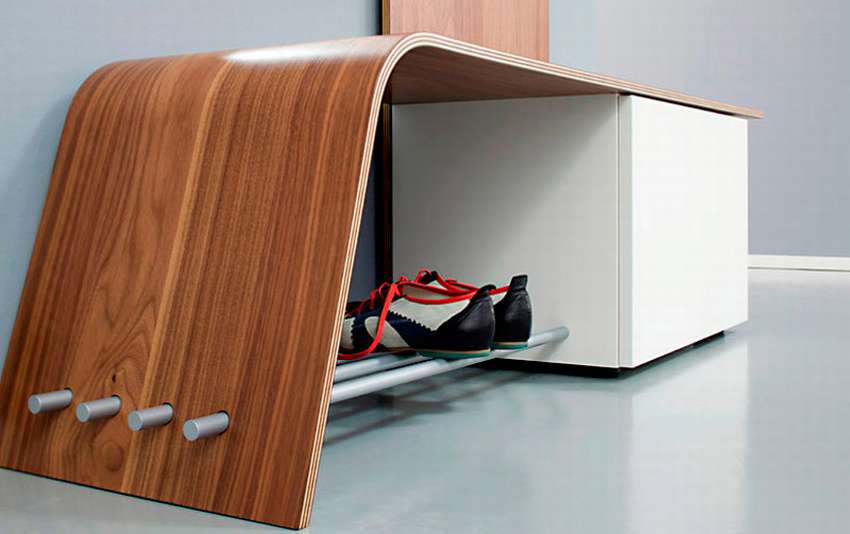
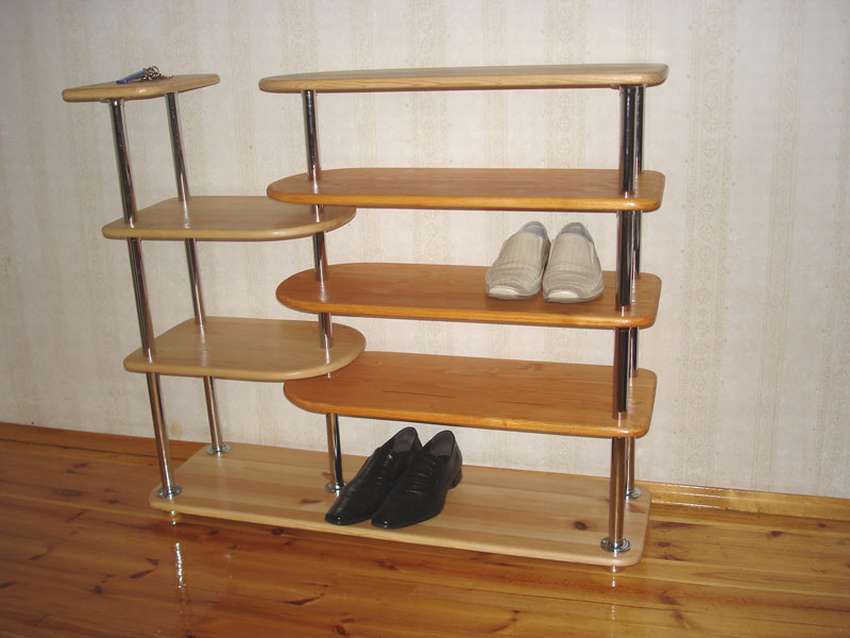
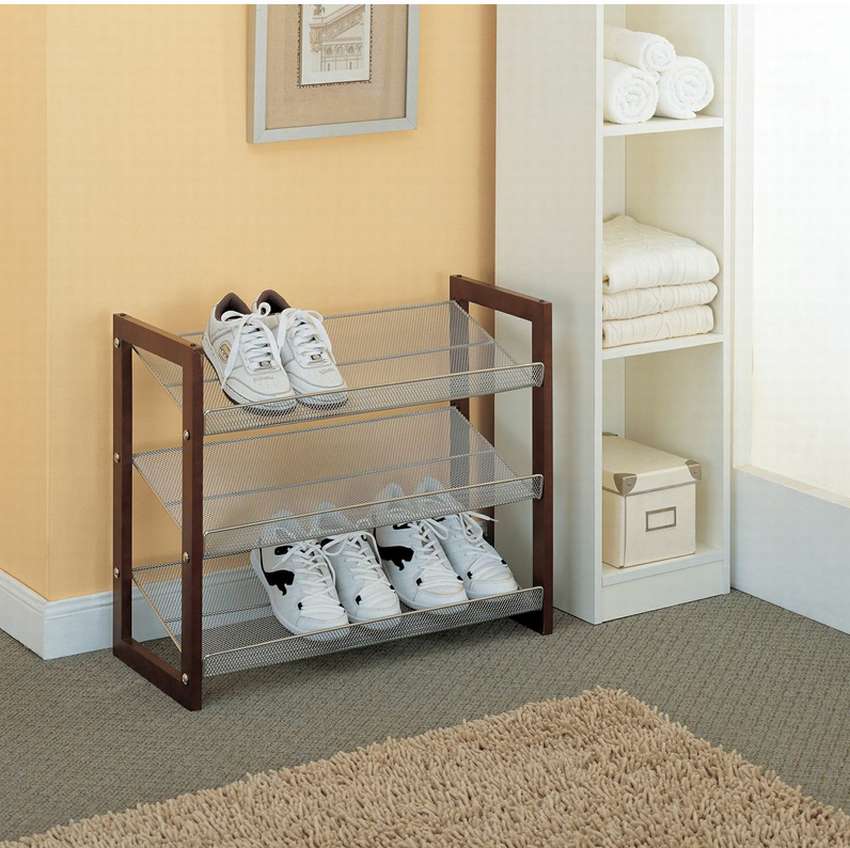
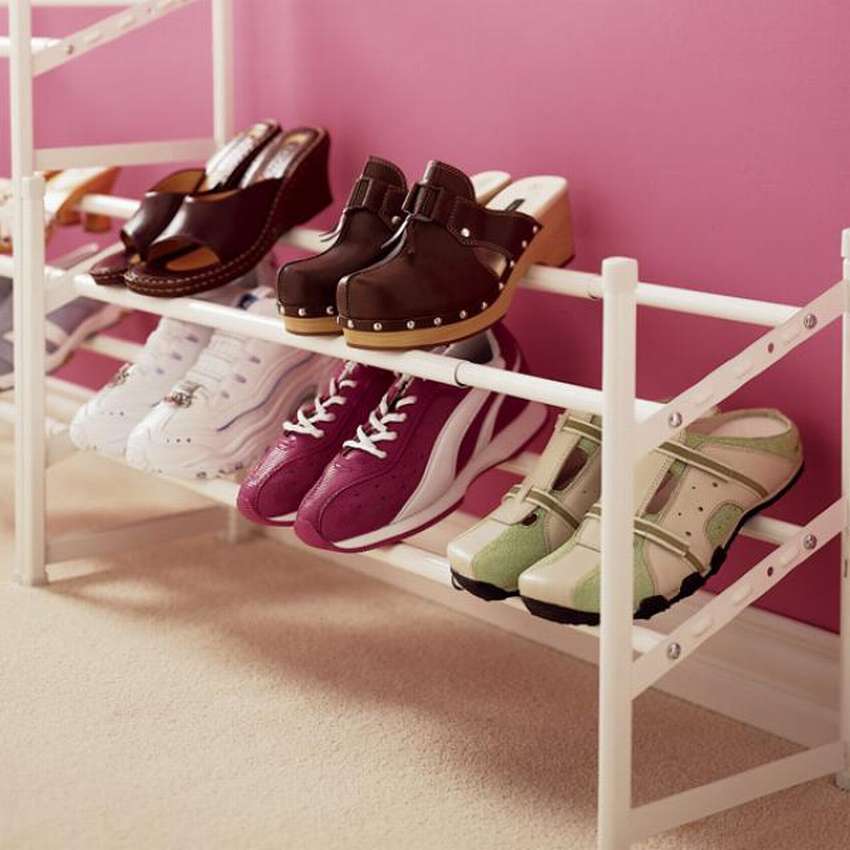
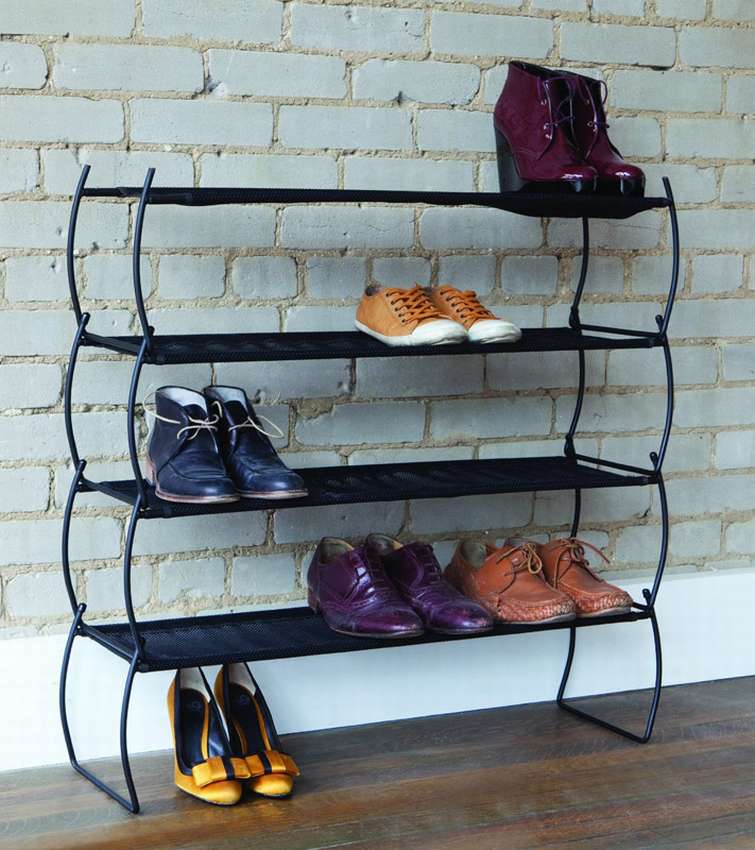
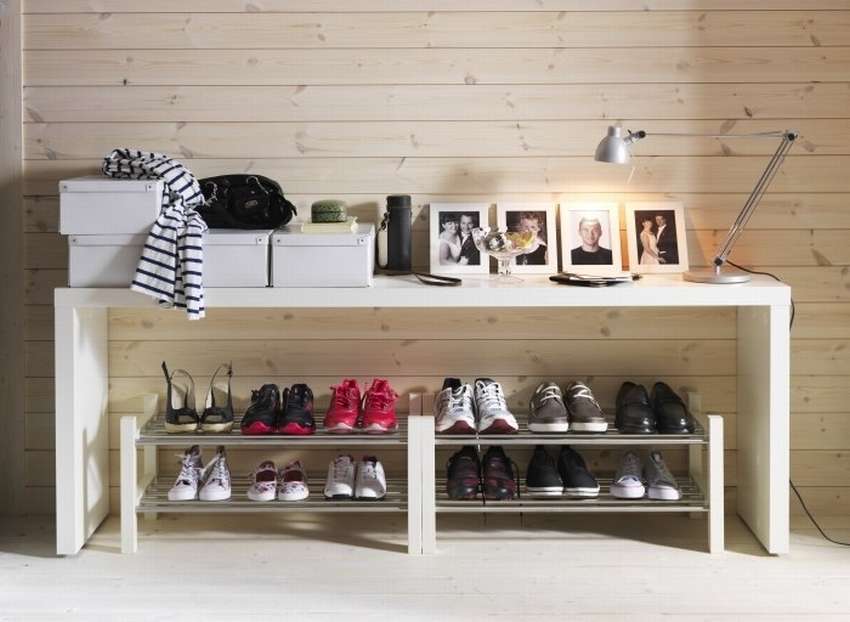
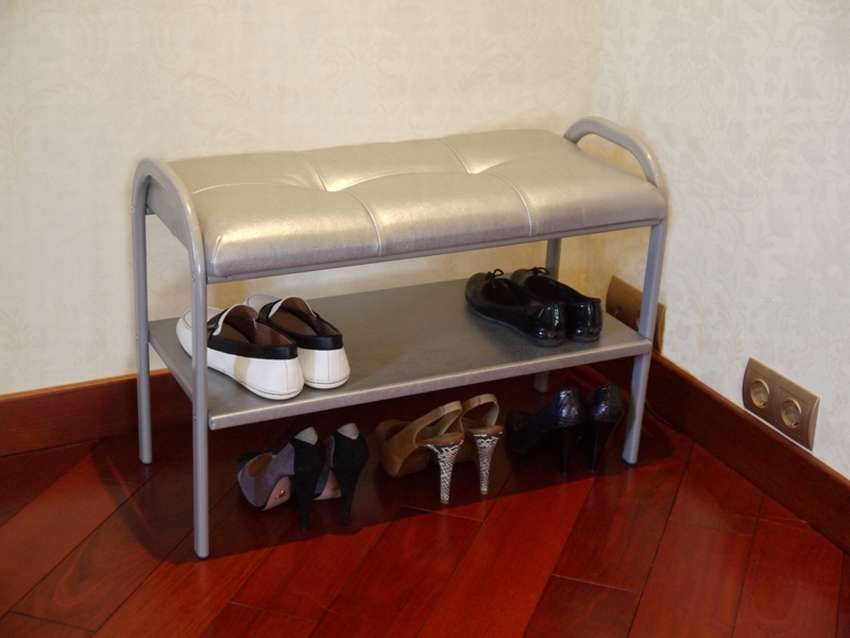
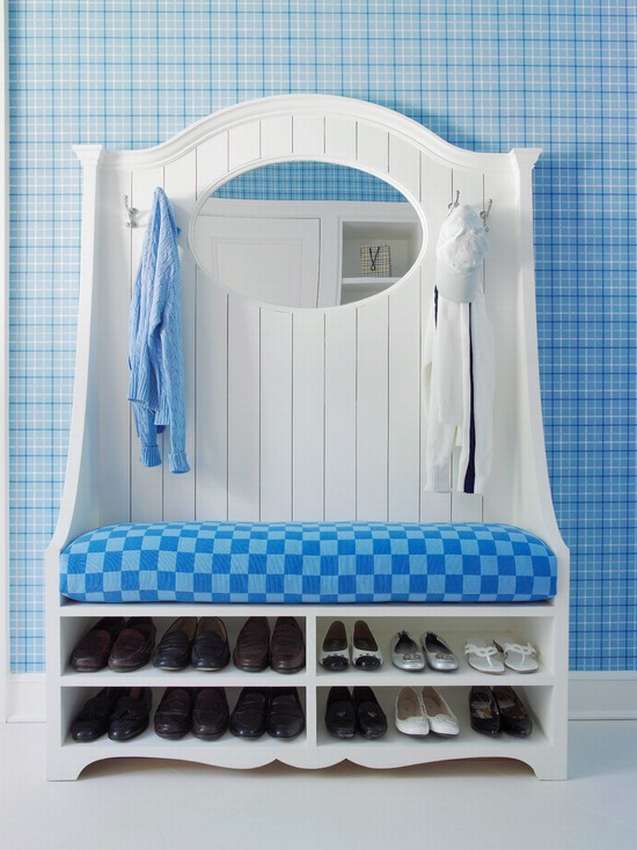
| Multi-tier shelf | It has several horizontal parts that are located one above the other. |
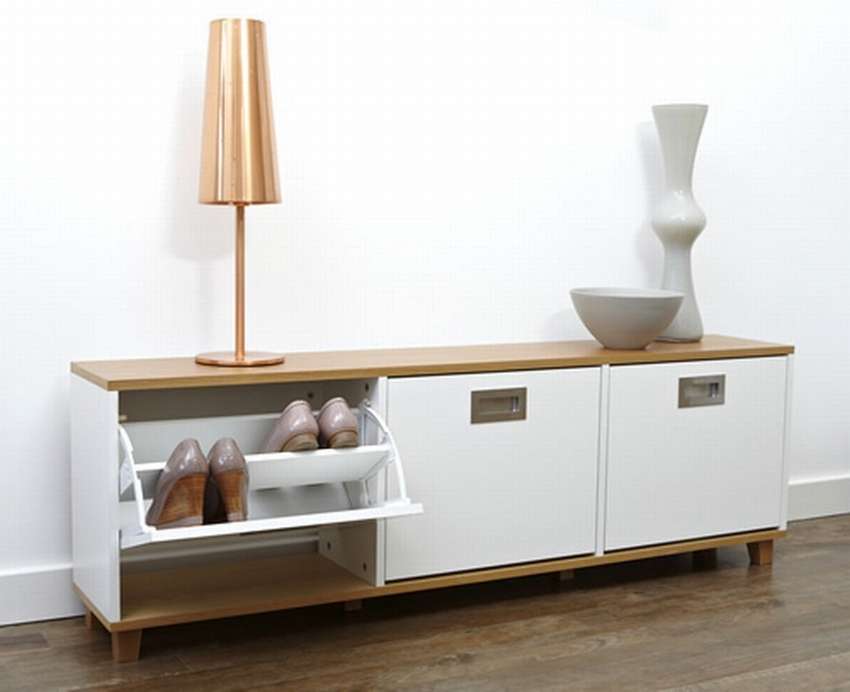
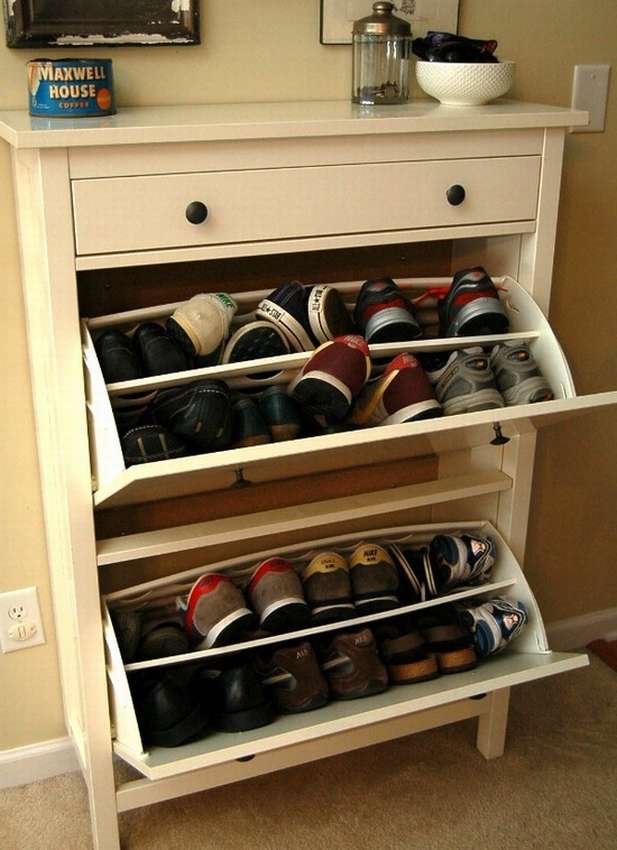
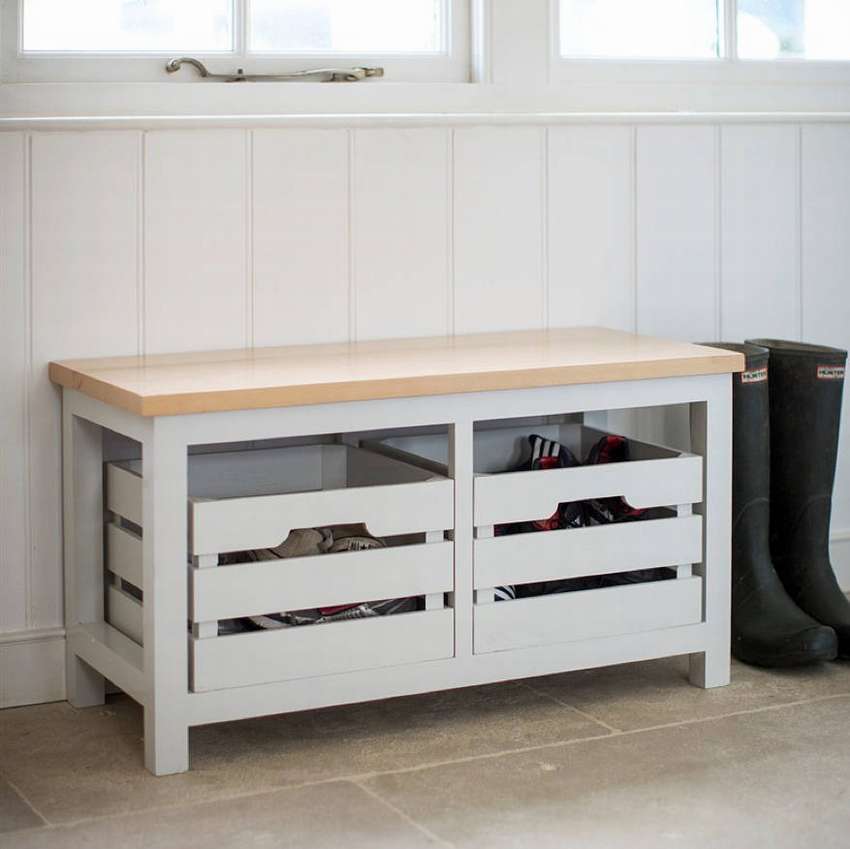
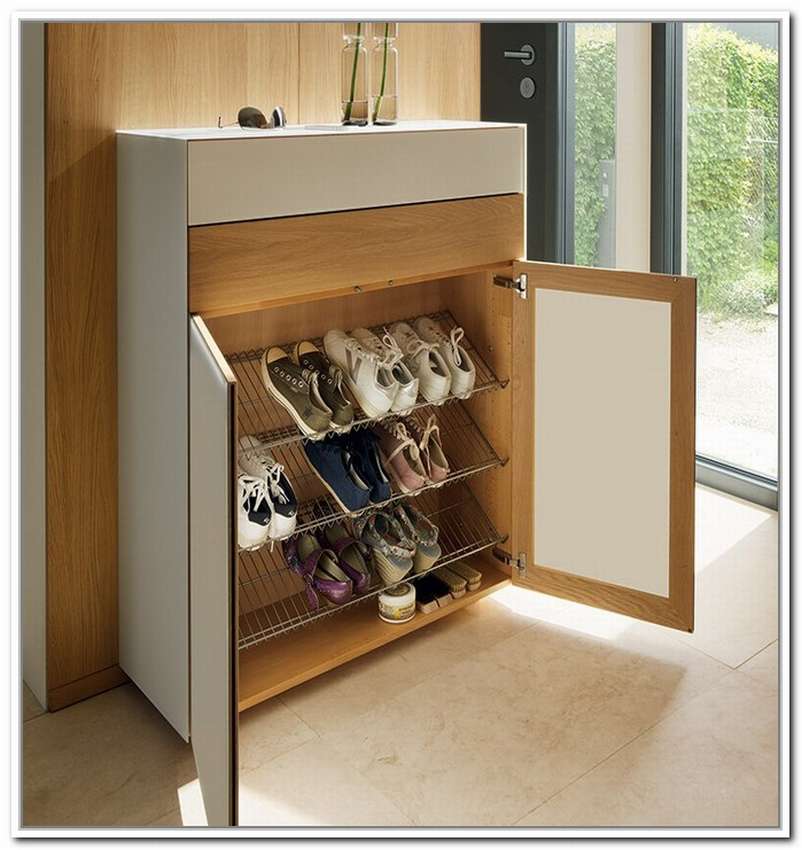
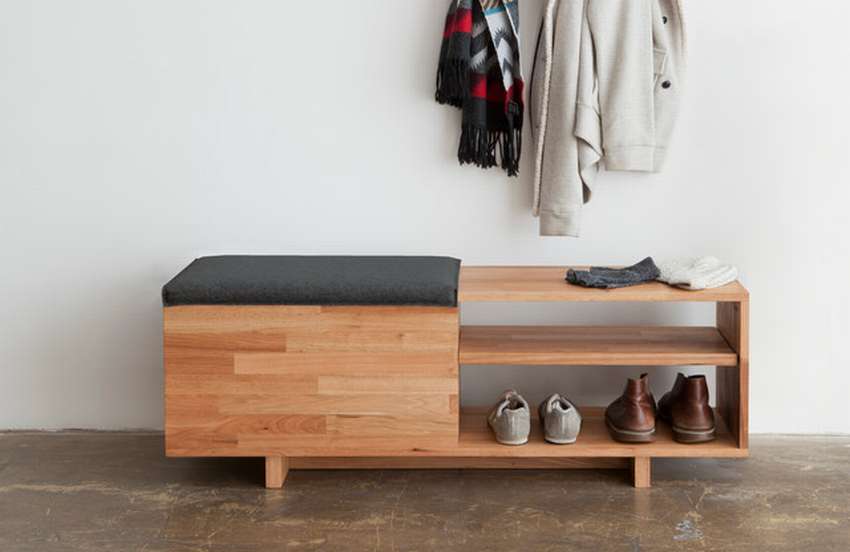
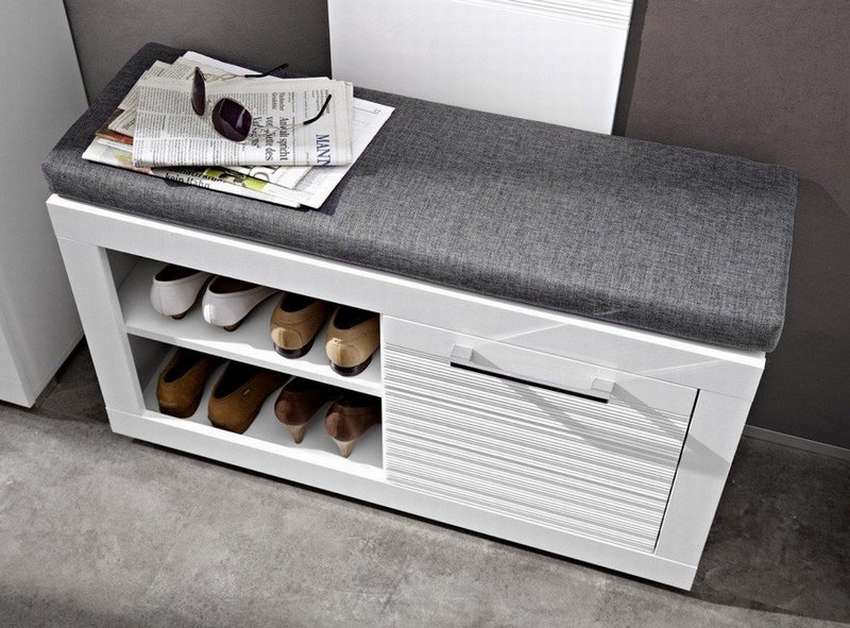
| Combination shelf | It has both horizontal and vertical parts and can have drawers. |
| Carousel shelf | Has an axis of rotation |
Materials and tools for manufacturing
In order to make a shelf with your own hands, you must first decide on the material from which it will be made. It can be made from solid wood or chipboard, MDF, as well as using glass, metal or stone.
There are different types of fasteners to attach a shelf to a wall. They are divided into hidden and decorative. The choice of material is a very important task, because it will determine the choice of tools and the shelf's service life.
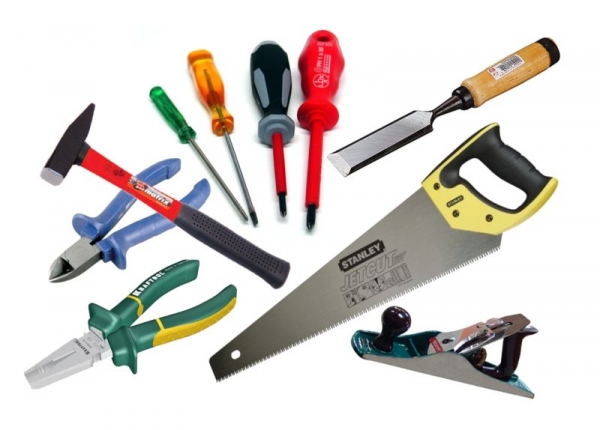
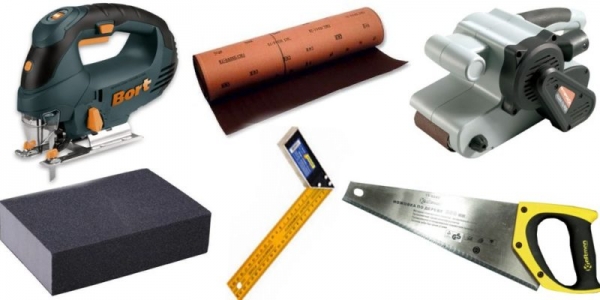
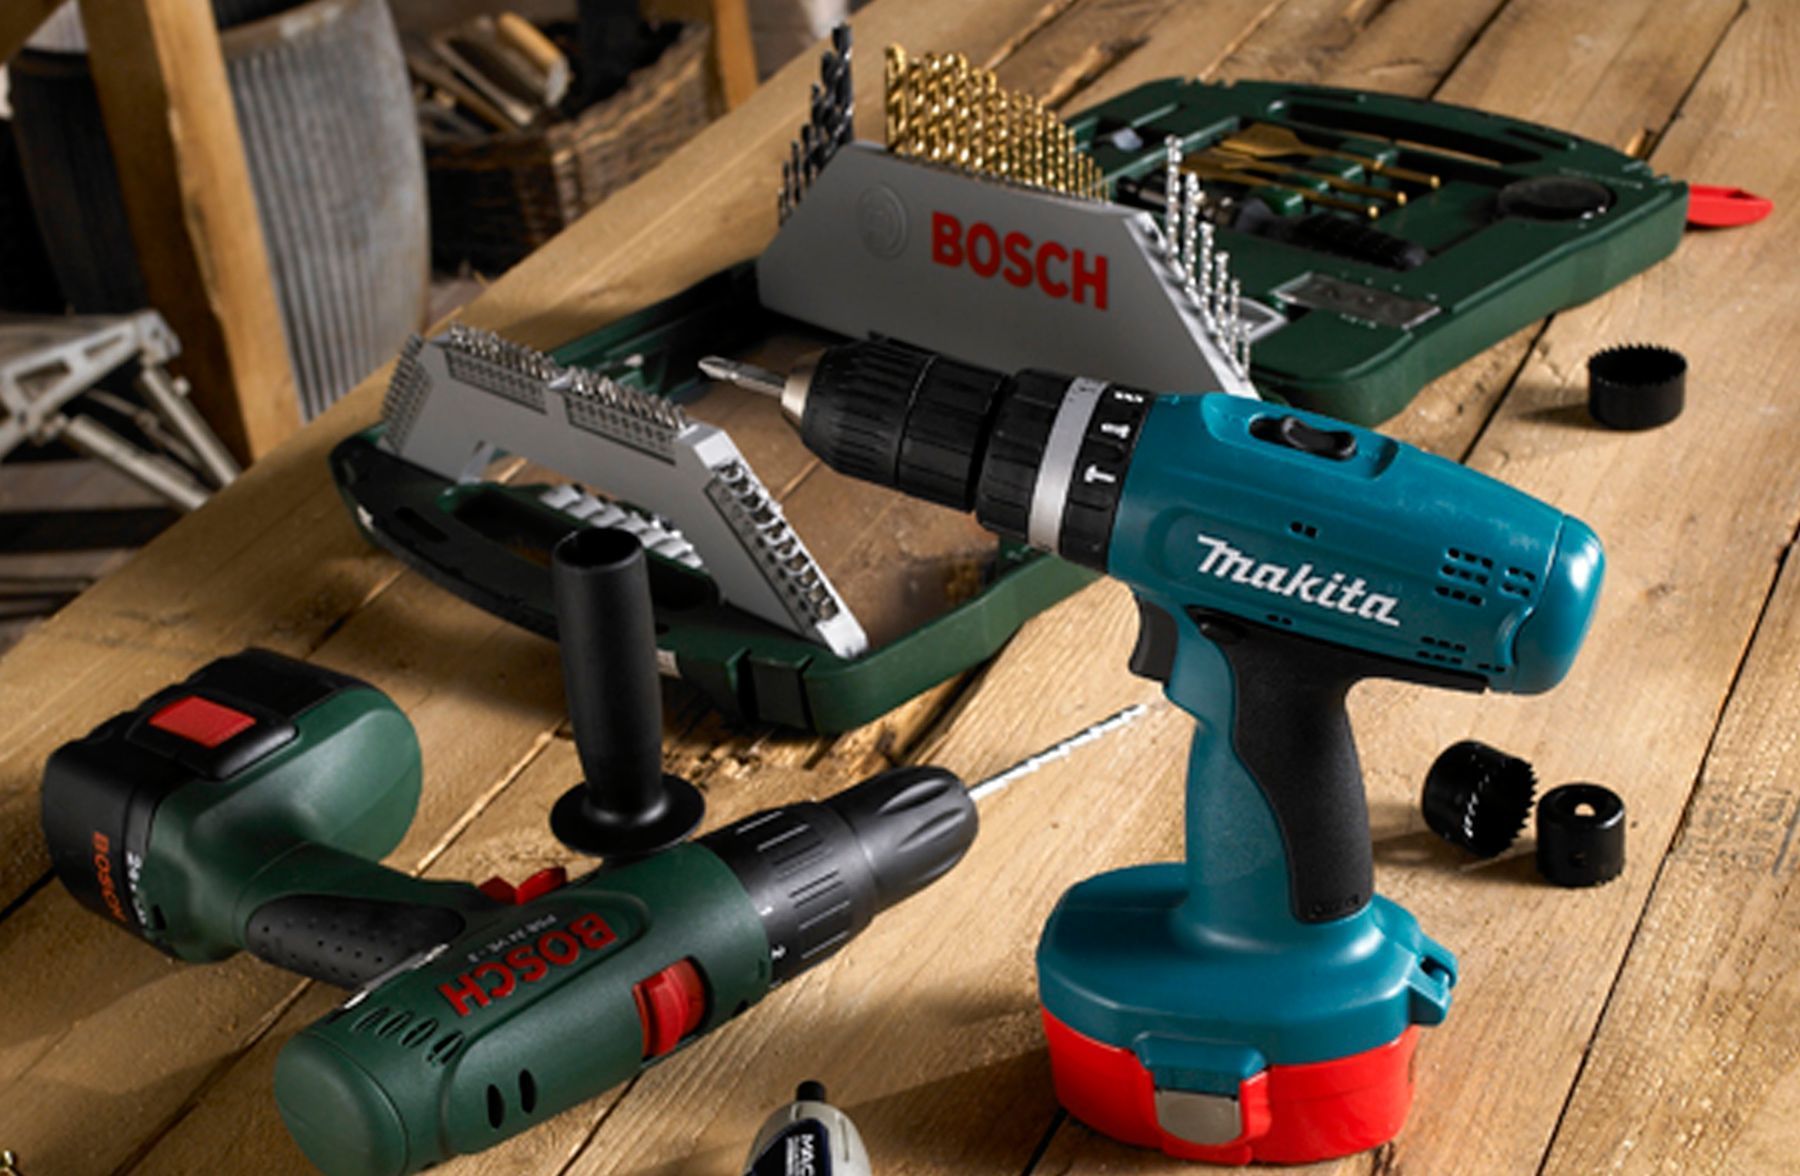
If you choose wood materials, you should not forget that they require additional processing after finishing the work. It is impossible to name a specific set of tools, but there are those that you will certainly need in any case:
- electric drill;
- glue;
- simple pencil;
- sandpaper;
- fastening fittings;
- screwdriver;
- wood saw;
- varnish
- acrylic paint
To create shelves, you can use ready-made furniture boards.
How to Make a Shoe Rack Yourself
Before you start working on the product, you need to make a rough layout on paper, this will allow you to make the product better and determine the necessary inventory and dimensions. After that, the latter must be measured on the material itself, and also mark where the fasteners will be located.
There are some simple tips on how to make a shoe rack easily and simply. For example, if you are making a simple version of the product, then it can be attached with regular screws. And to install the doors, you can use special awnings. Before assembling the finished product, you need to coat it with varnish or paint, if such should be in your project.
In order to make a shoe rack with your own hands, almost any materials that are at hand will do. For example, parts of old furniture or construction materials left over from repairs.
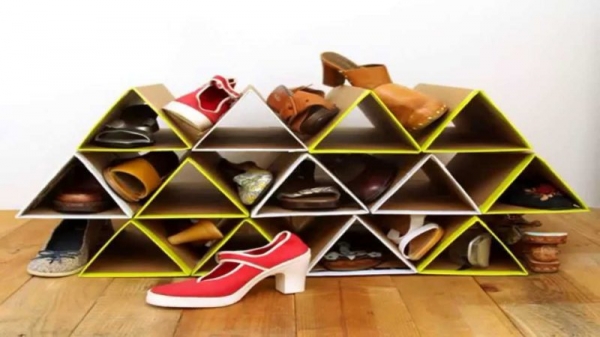
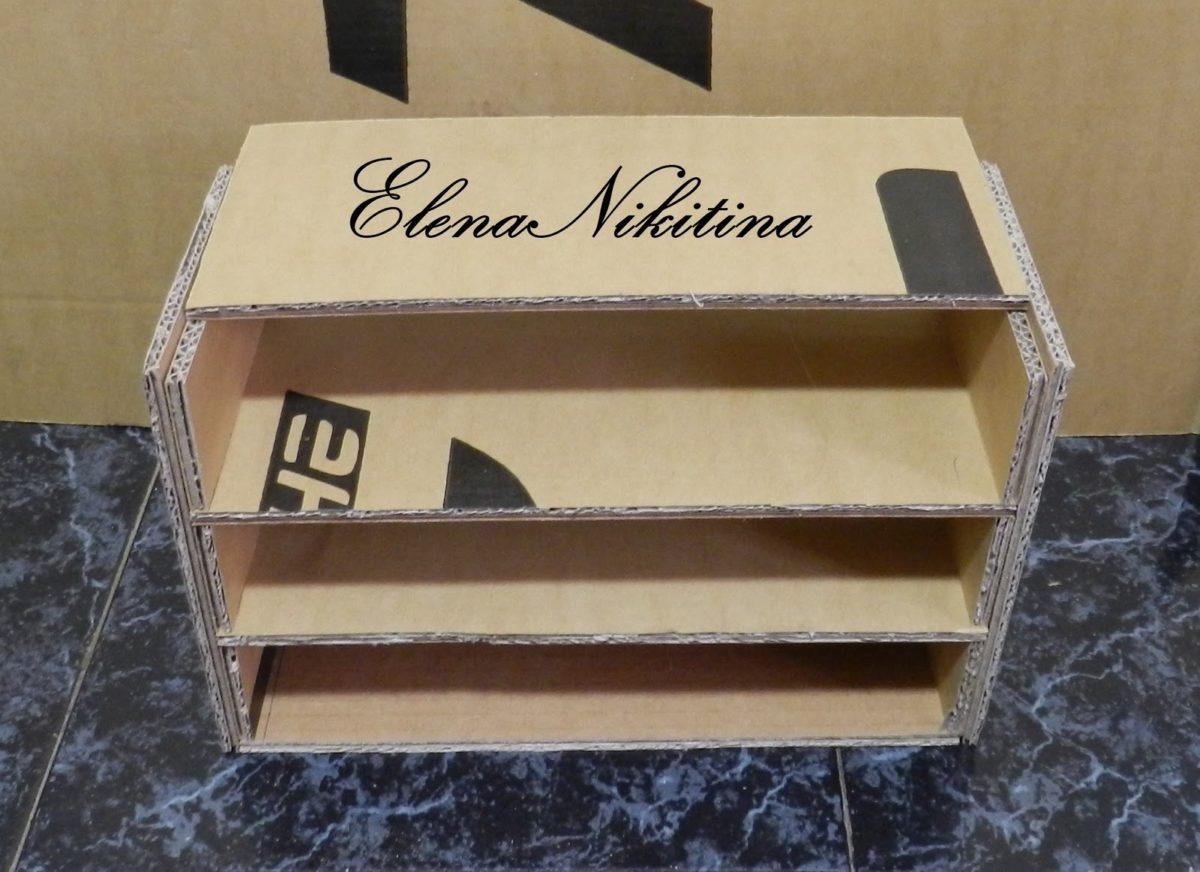
Cardboard version
To create a shelf from cardboard, you will need thick cardboard boxes, a pencil and a ruler, glue, paint, cord, and you can use some decor.
Rectangles of the same size, approximately 65x60 centimeters, need to be cut out of cardboard. The first, longest side needs to be divided into several parts of 20, 25, 20 cm and make straight lines. The second side is divided at the 25 cm mark. You should get a square and a rectangle. The sides of the rectangle need to be cut off, as a result you will get a blank in the shape of the letter T. On the remaining segments, you need to set aside 11 cm along the upper border of the quadrangle. Next, you need to draw diagonal lines that will connect these points together with the corners of the letter T. After all the manipulations, you can bend your blank along the lines. The back of the shelf will be a rectangle, you need to glue a square to it so that all the triangular parts become side walls.
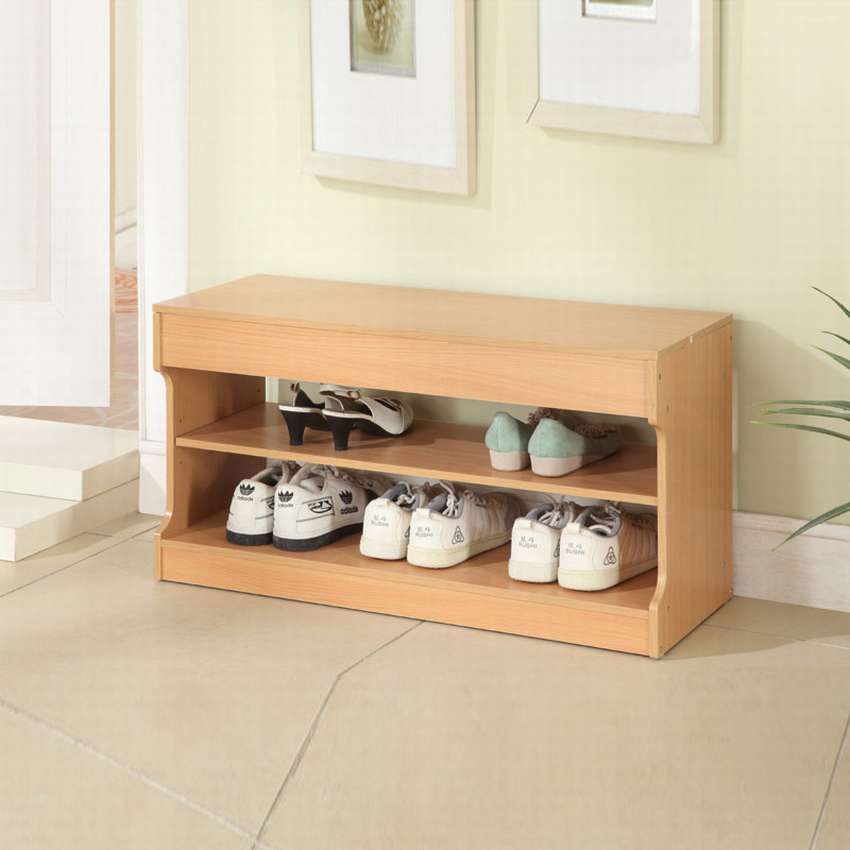
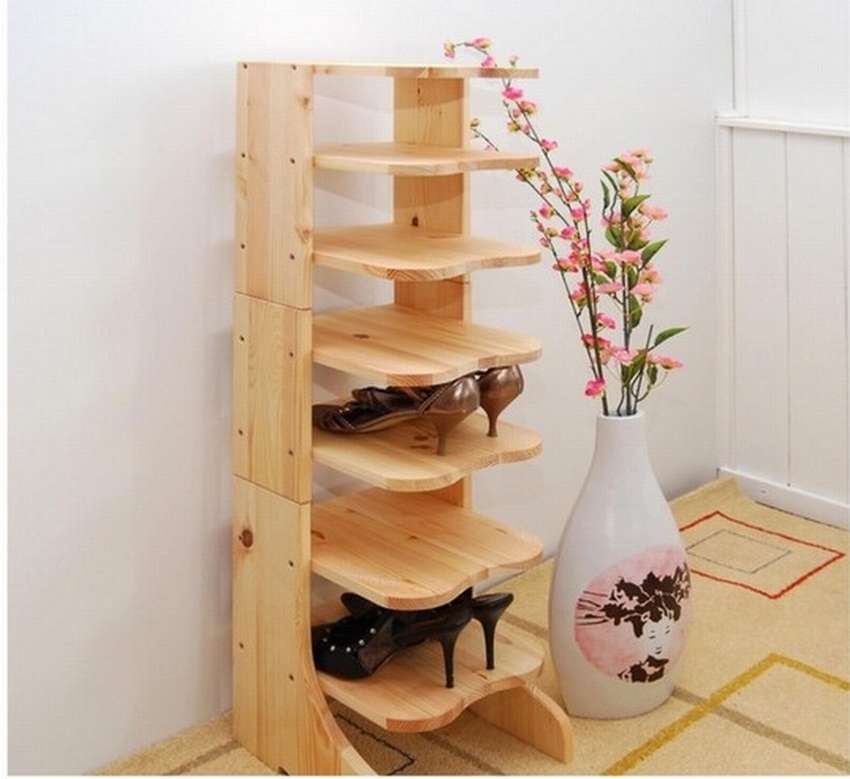
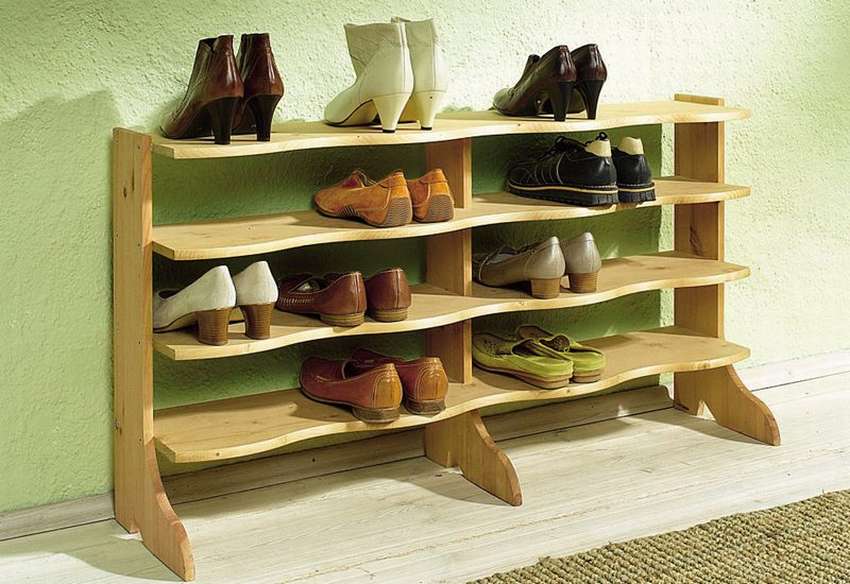
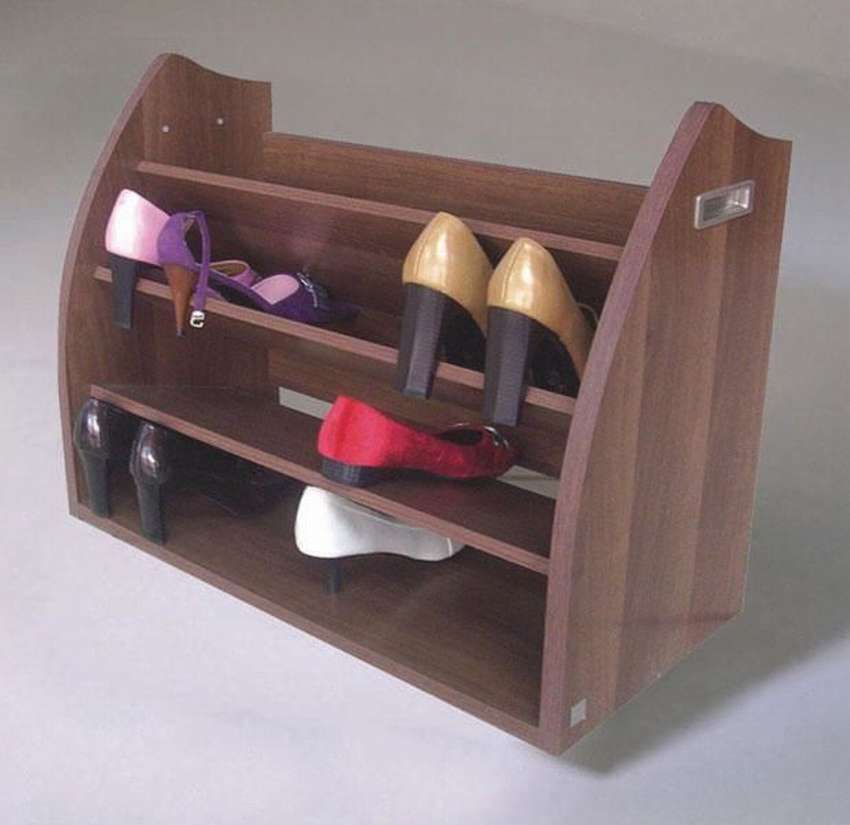
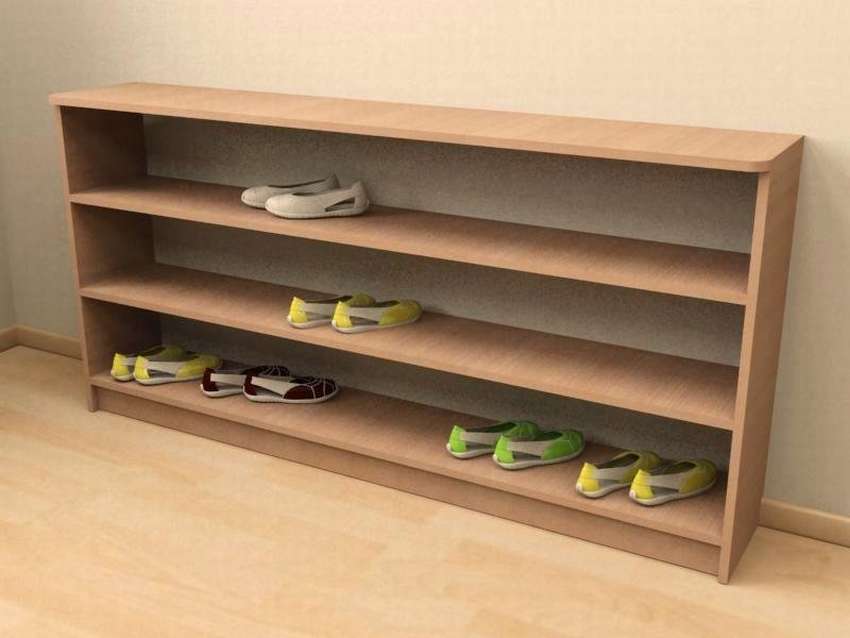
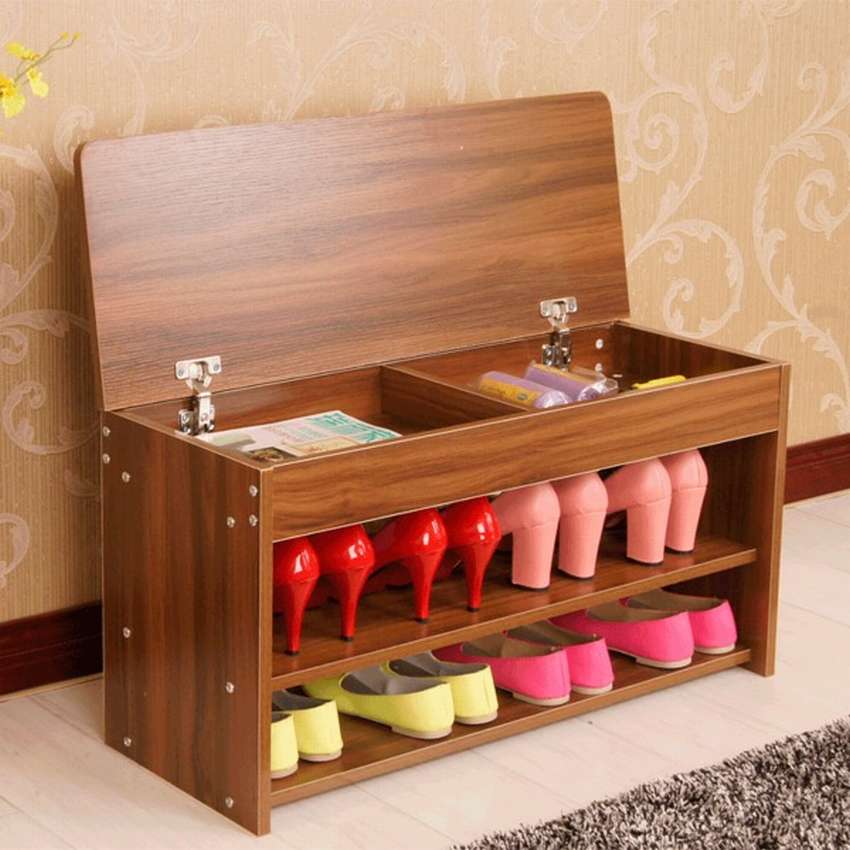
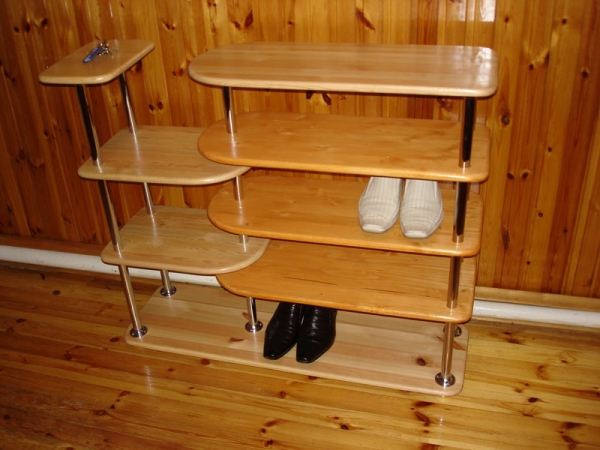
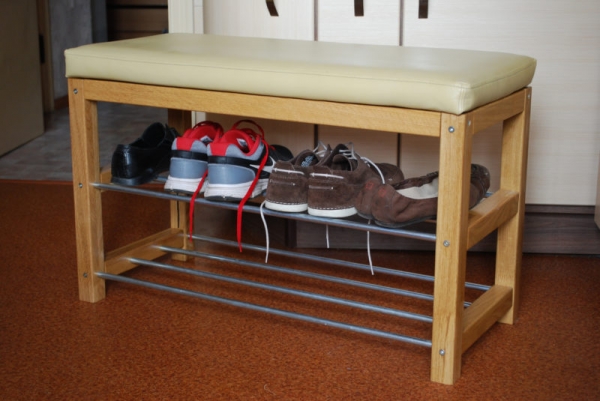
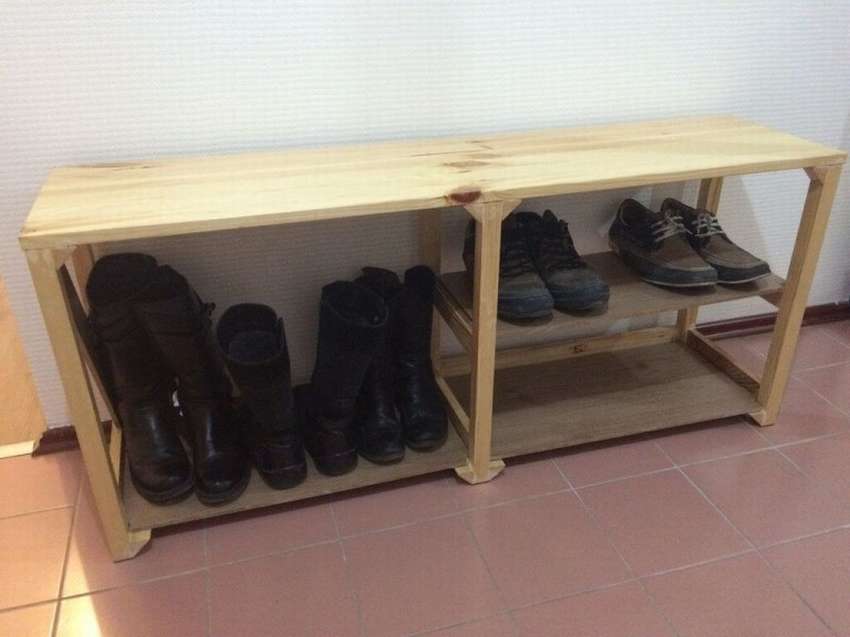
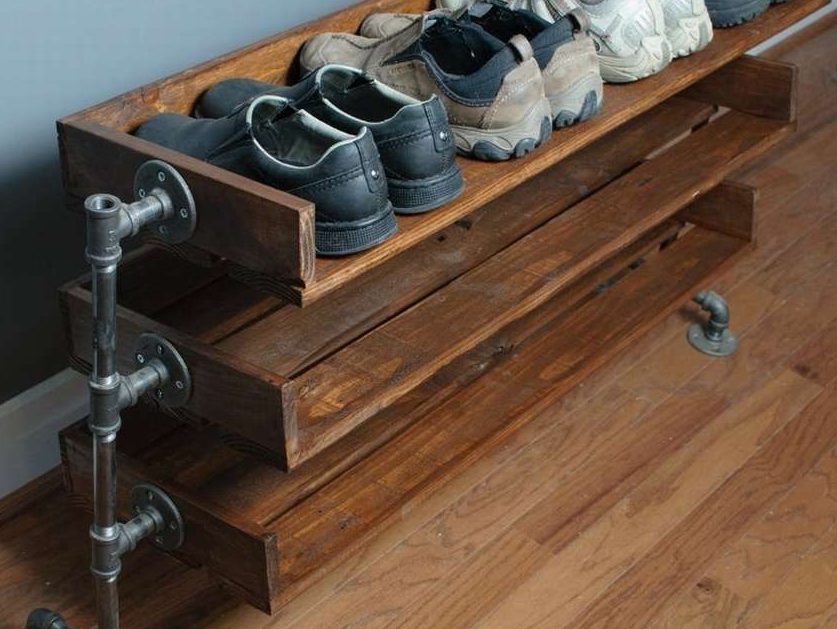
Wooden shoe rack
Of course, the most common material for a shoe rack is wood. Often there are shelves made of chipboard, plywood, MDF. To work with such materials, you will need a special set of tools: an electric jigsaw, sandpaper, an electric drill and screws with metal corners.


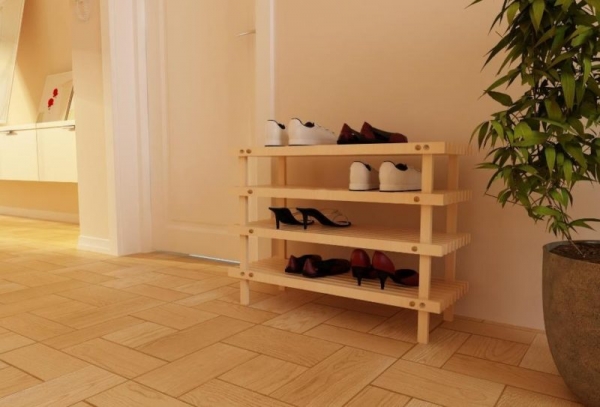
After you have prepared the drawings, you can measure these dimensions on the material and carefully cut out all the parts, observing the safety rules and using tools. Where the side parts and shelves will be connected, you need to make holes smaller than the diameter of the screws themselves.
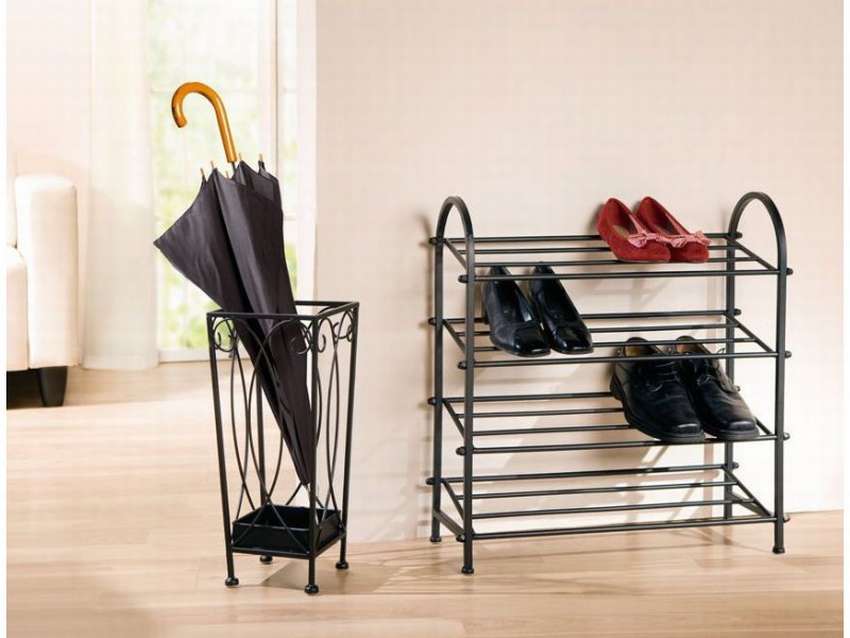
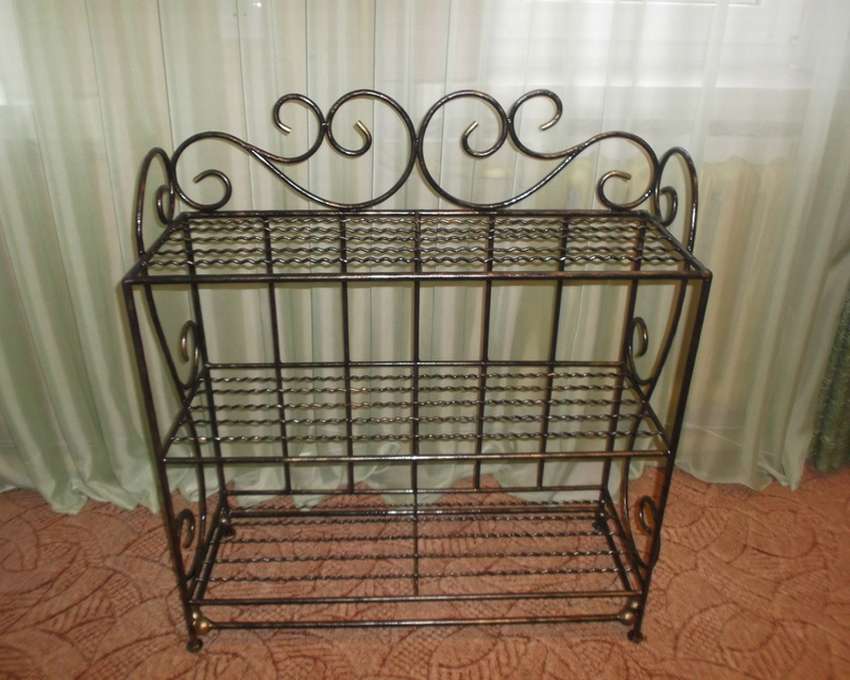
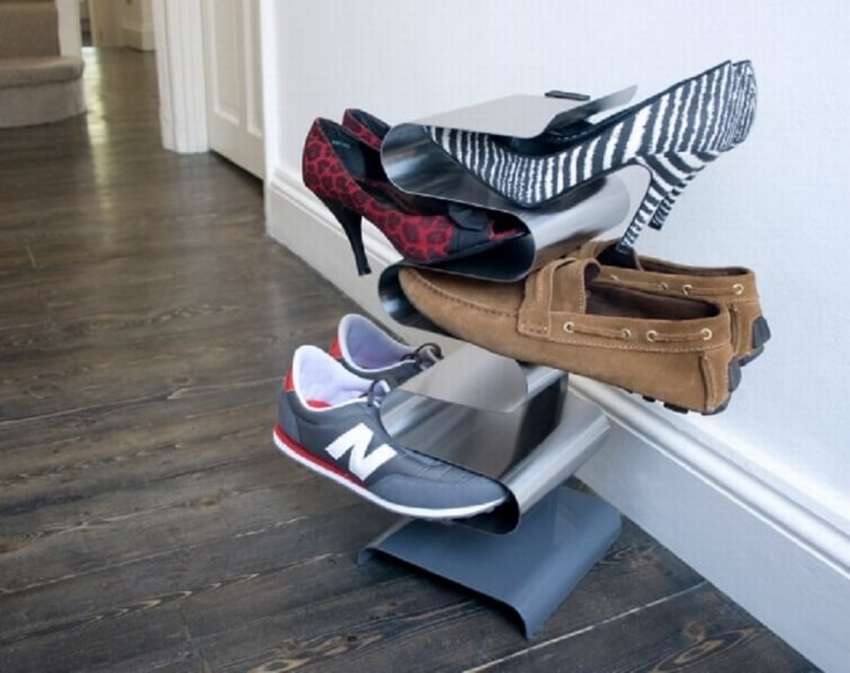
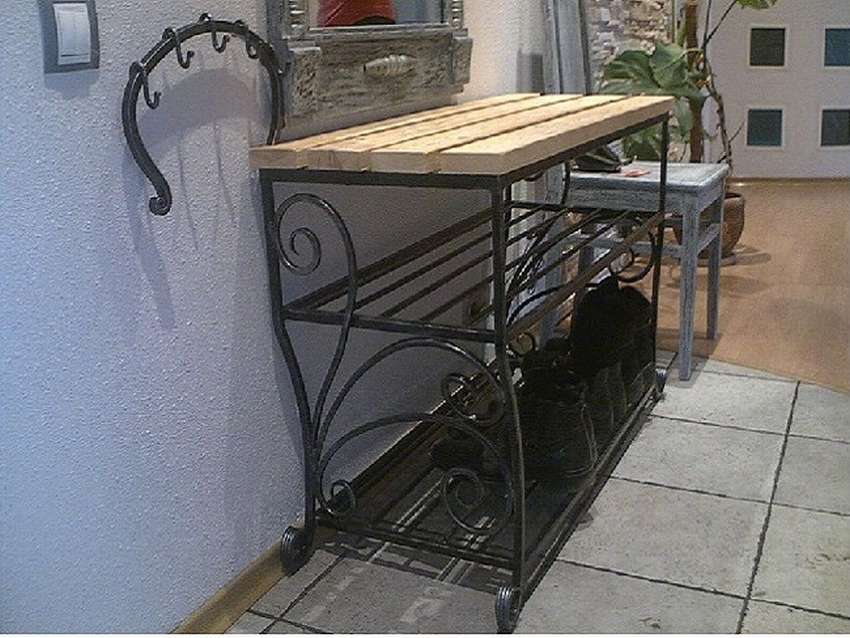
From profile
A shoe rack can also be made from a metal profile.
Important! Galvanized profile is the most preferable to use, as it is more resistant to moisture.
Using a self-tapping screw, you need to attach the profile to the wall, and using a level tool, you need to measure so that the profile is attached evenly. A frame is assembled from the profile, onto which the cut shelves are attached.
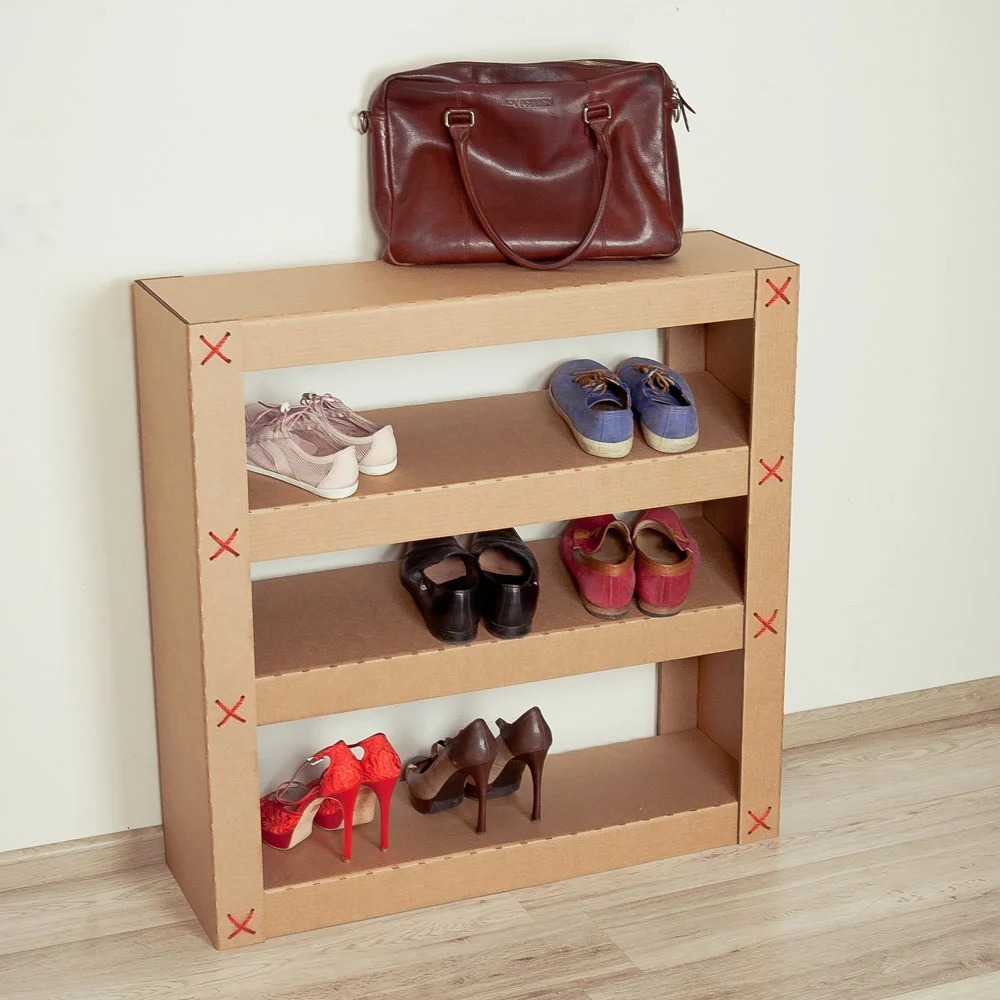
Simple Shoe Rack Made From Boxes
Paper boxes from household appliances can be used as a shoe rack, scotch tape or glue will help to fasten such a structure. It can be decorated or painted with regular acrylic paint. Unfortunately, such a shelf will not be able to withstand heavy shoes, but as a summer option it will be perfect.
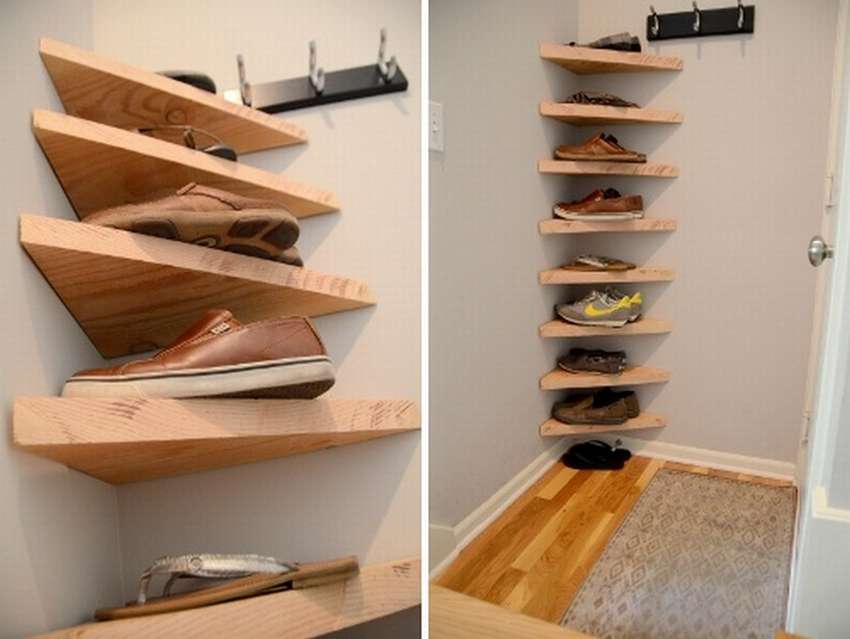
Corner shoe rack
Just like in other options, first of all you need to make a drawing and decide on the dimensions. Decide in advance in which corner the shoe rack will be and calculate according to it. Of the tools you will need 2 two-meter boards; shelves, can be of different sizes and from the same type of wood, an electric jigsaw, metal corners and screws, antiseptic and varnish.

First, you need to sand the boards well and treat each one with an antiseptic and varnish, or, if you decide to make a colorful shoe rack, paint it. To connect the structure, you need to take into account that the two main boards are connected to each other only with the help of small shelves, starting from the bottom one. After all the parts are fastened together, you can start decorating.
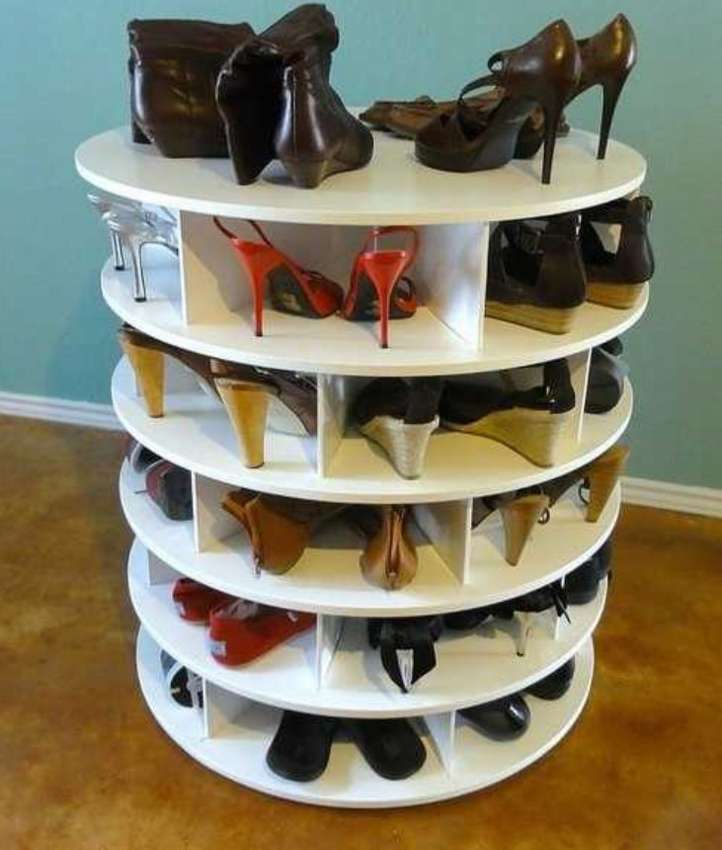
Shoe rack carousel
Another interesting version of a shoe rack is a carousel shelf. It is distinguished by the fact that, using it, you will save space, but at the same time you will not lose the capacity of the shoe cabinet. It is made using fiberboard, metal pins and screws. First, even round blanks and square blanks are cut out of the material. Using a regular compass, it is necessary to make markings for the pins.
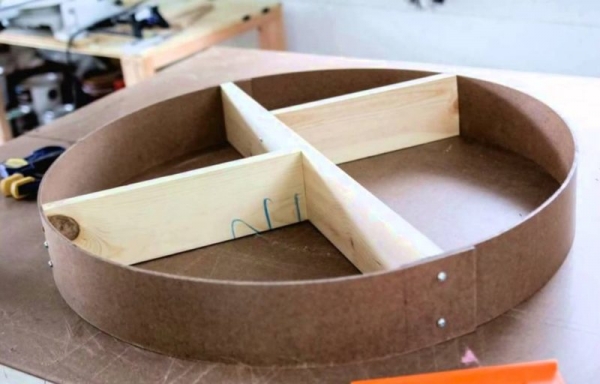
Additional information! The circles for the stands must be fixed with large diameter disks and placed at the required height.
The base of the shelf will be square blanks. After that, using corners, disks are attached to the rod, starting with the smallest one. The last one is secured with a nut to the pin.
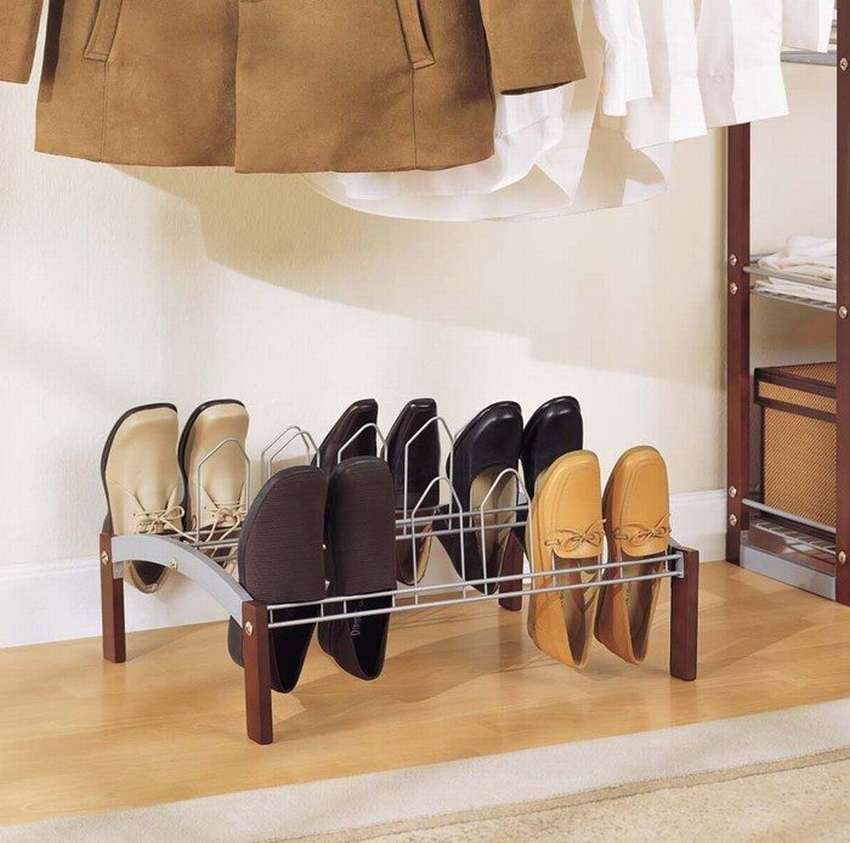
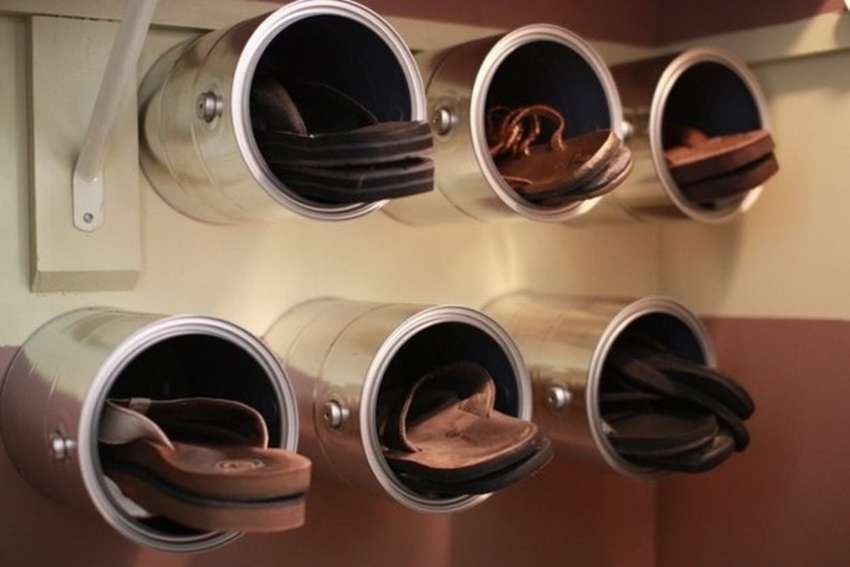
Shoe racks made of pipes
Anything you have in your home can be used as material for a shoe rack. For example, PVC pipes are not just an unusual solution, but also practically the easiest. To make it, you need pipes that will be about 30 cm in diameter. They need to be cut into small pieces, the size needs to be calculated based on the parameters of the room.
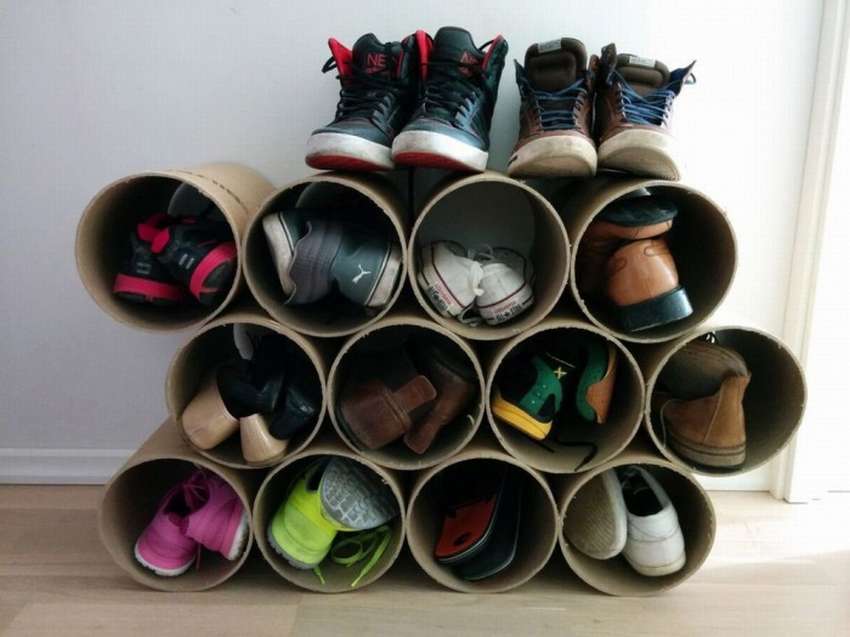
You can fasten the pipes together using glue or liquid nails. If you want the shelf to be colored, then before connecting all the parts, you need to paint them.
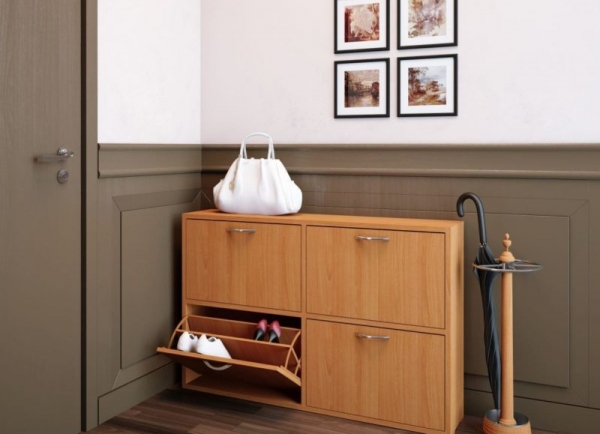
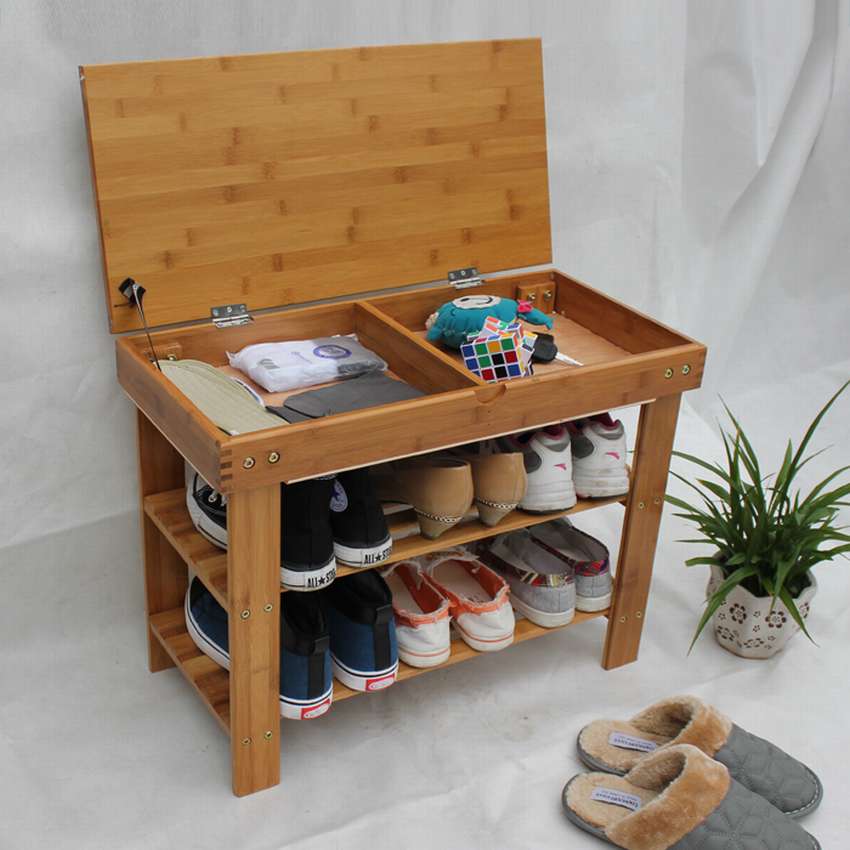
Folding Shoe Rack
To create such a shelf, you will need a small set of tools: a drill, an electric jigsaw, sandpaper and regular door hinges. First of all, you need to make a drawing and then cut out the necessary shape on a board or plywood. The first part is the back wall, it should be the largest and quadrangular in shape. Two smaller parts are attached to it using hinges, which together would form the size of the back part. In them, you need to cut out four rounded cutouts, into which the shelves will then fit like puzzles.
Pallet Shoe Rack
Pallets can be used as shoe racks in different ways. You can simply paint it and put it against the wall, or you can cut the pallet into several parts and, dividing them with bars, connect the entire structure with screws. In this way, you can make several tiers of shelves.
It doesn't take much time or materials to create a shoe rack. A small set is enough to make an interesting thing. And besides, sometimes it's enough to just look around to find something that seems to have been unnecessary for a long time, but from which a unique thing will turn out. All you need is to apply imagination and creative impulse.
VIDEO: DIY Shoe Rack.
50 DIY Shoe Rack Ideas: