Everyone loves warm drinks, such as tea, cocoa or coffee. To get maximum pleasure and not be afraid of spoiling with drops or scratching the tabletop, it is worth using a coaster for a hot cup. You can buy one, but it is much more interesting to make it yourself.
There are many ideas, as well as suitable materials:
- cardboard,
- tree,
- cork,
- pebbles,
- wool,
- clay,
- textile.
You can make something unusual out of everything, use it yourself or give it to friends and family.
Content
Wooden coasters for mugs
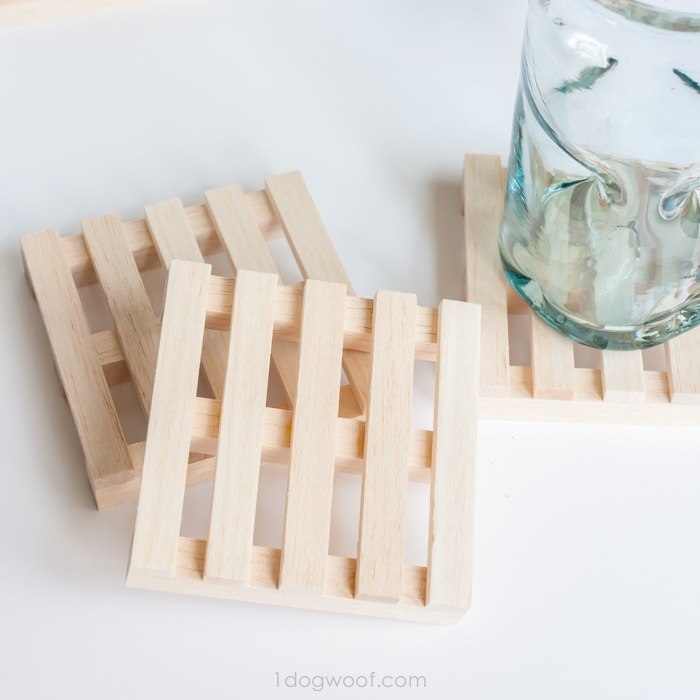
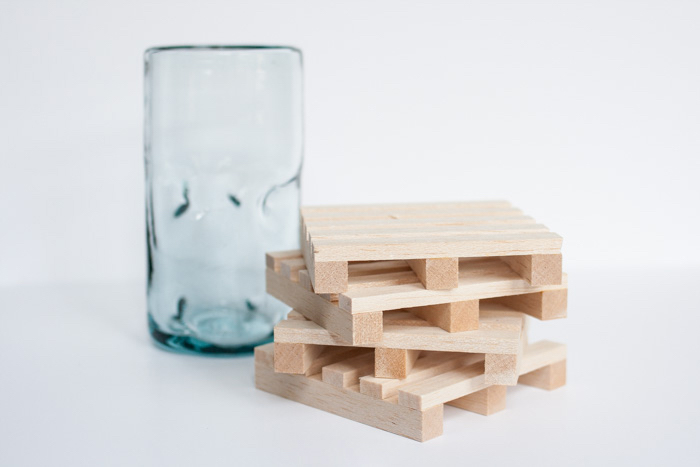
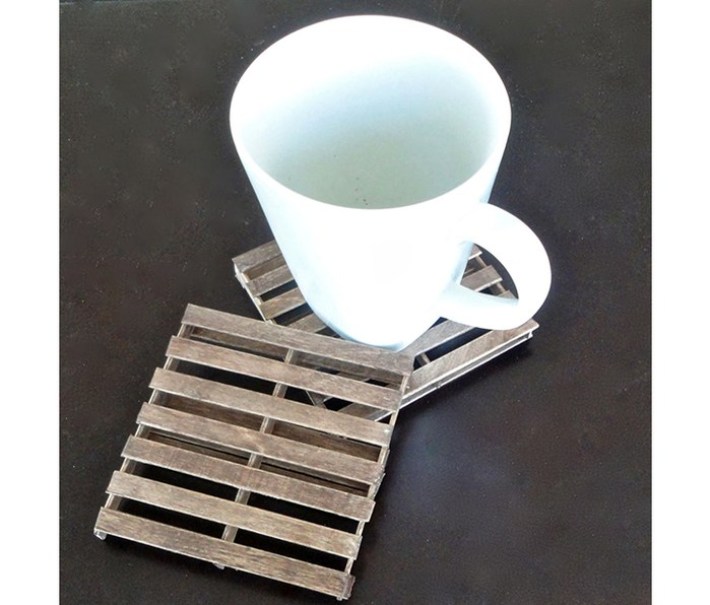
In the form of pallets
Square or rectangular planks + PVA glue. That's all you need to create a product that looks like miniature industrial pallets. For additional moisture protection, apply varnish.
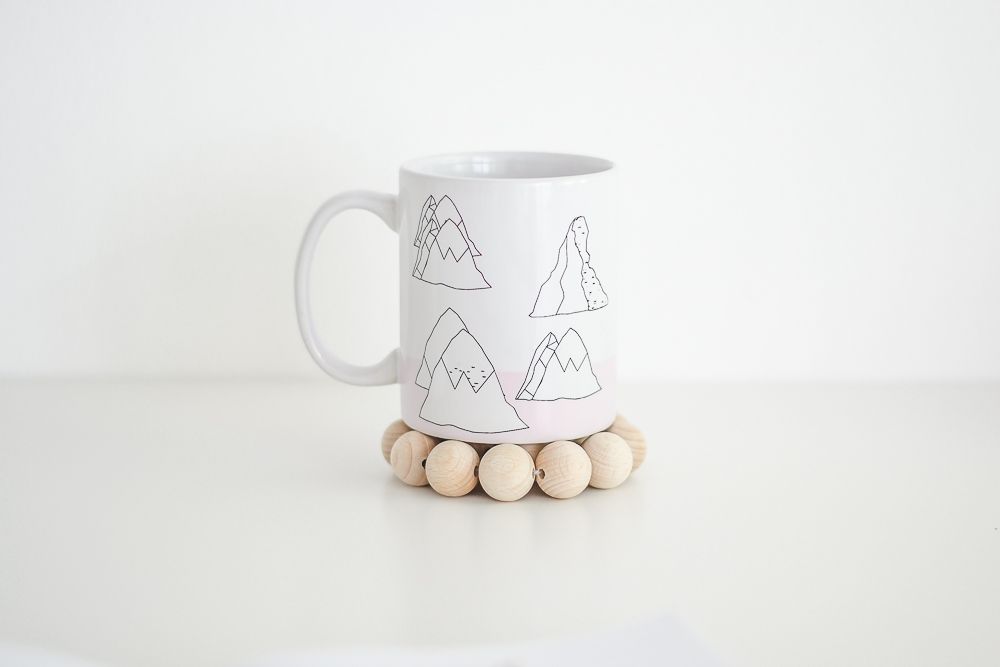
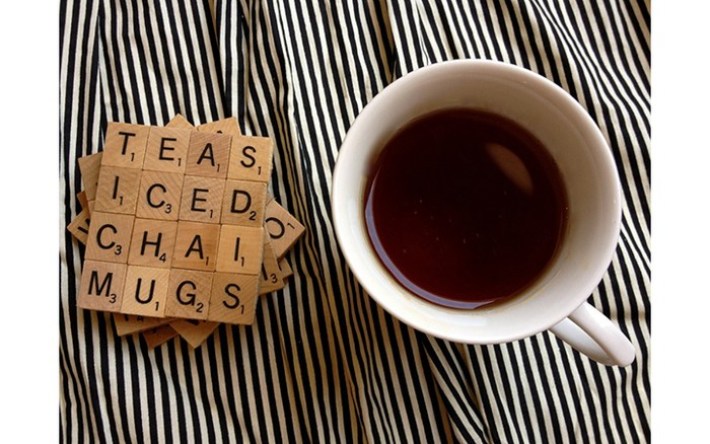
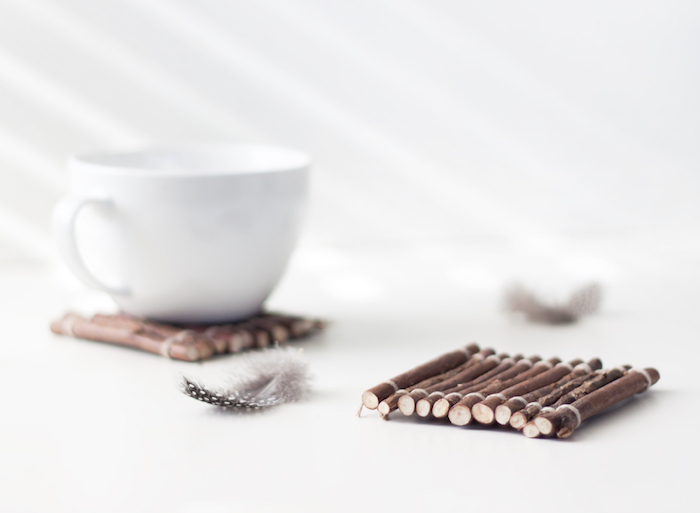
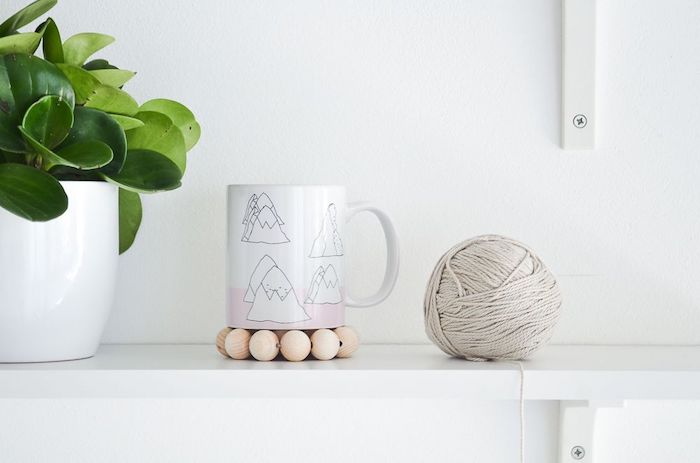
Wooden beads
Beads, colored thread and scissors. Thread the thread through the holes, carefully fasten the rows together. Everything is ready, you can put the hot dishes.
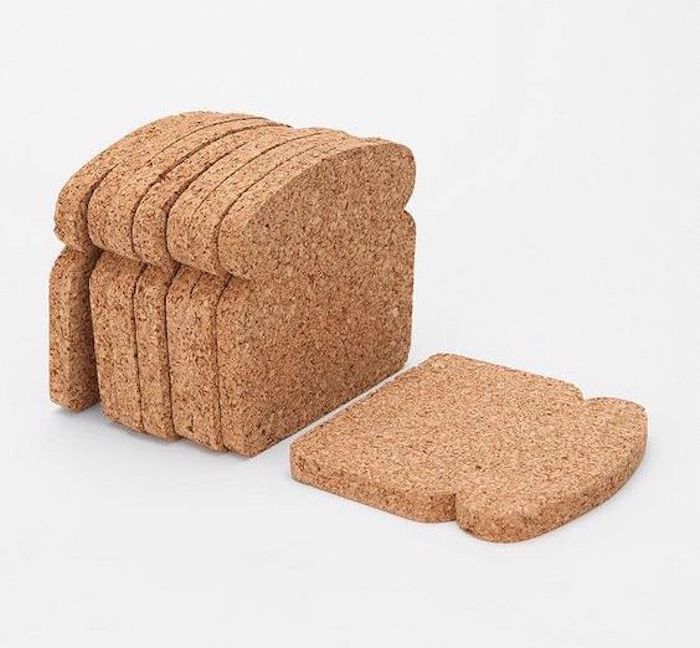
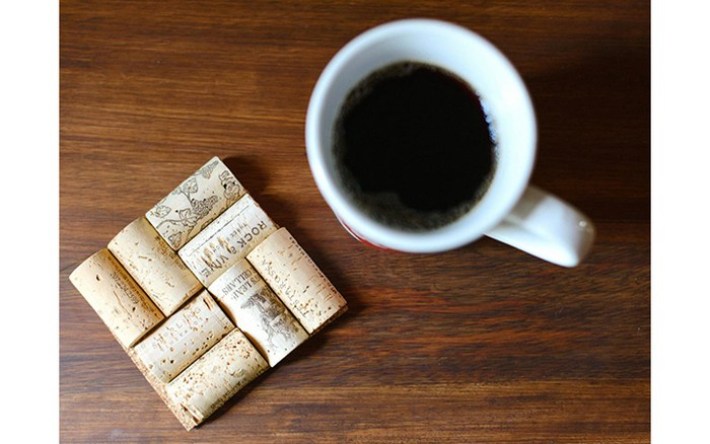
Cork tree
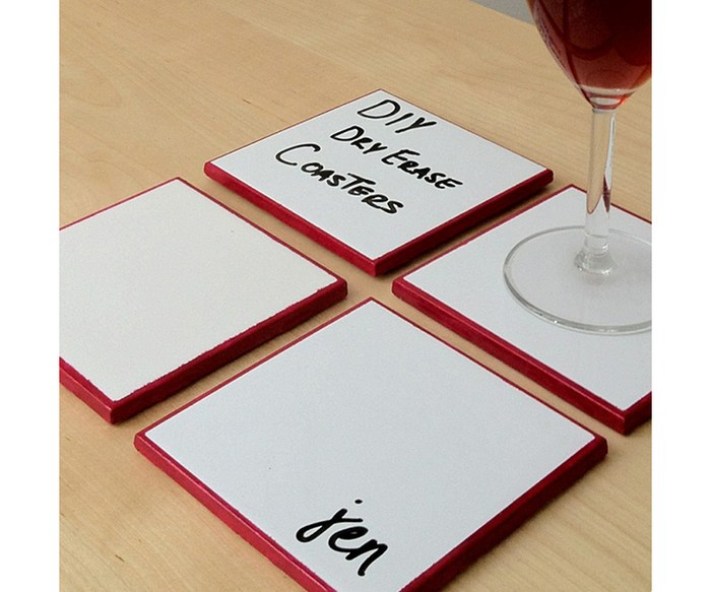
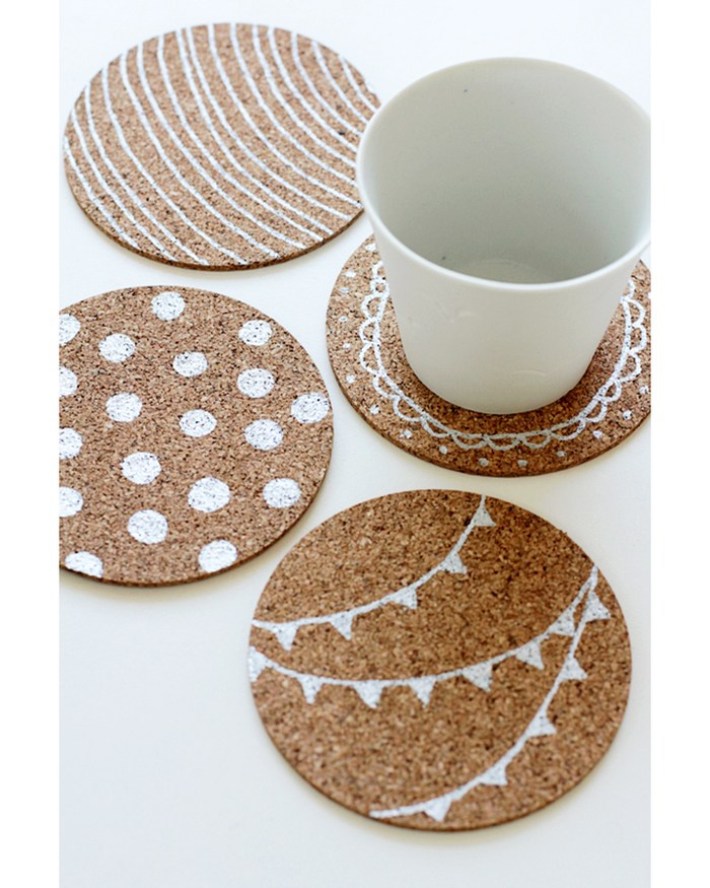
Cork sheets are a very interesting material. You can cut out details from it, stylized as pieces of bread for toast. You can simply paint with an acrylic marker, glue letters or any symbols, make funny inscriptions.
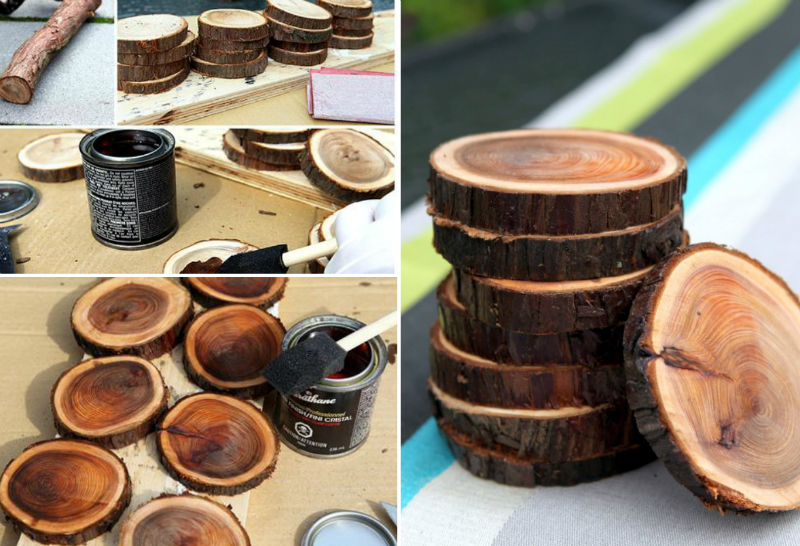
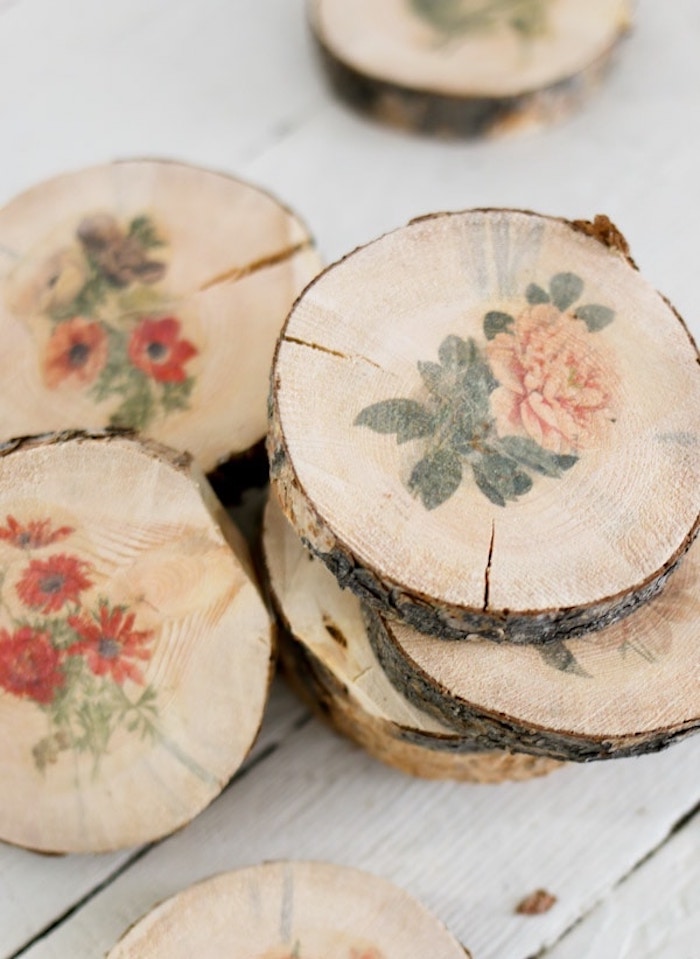
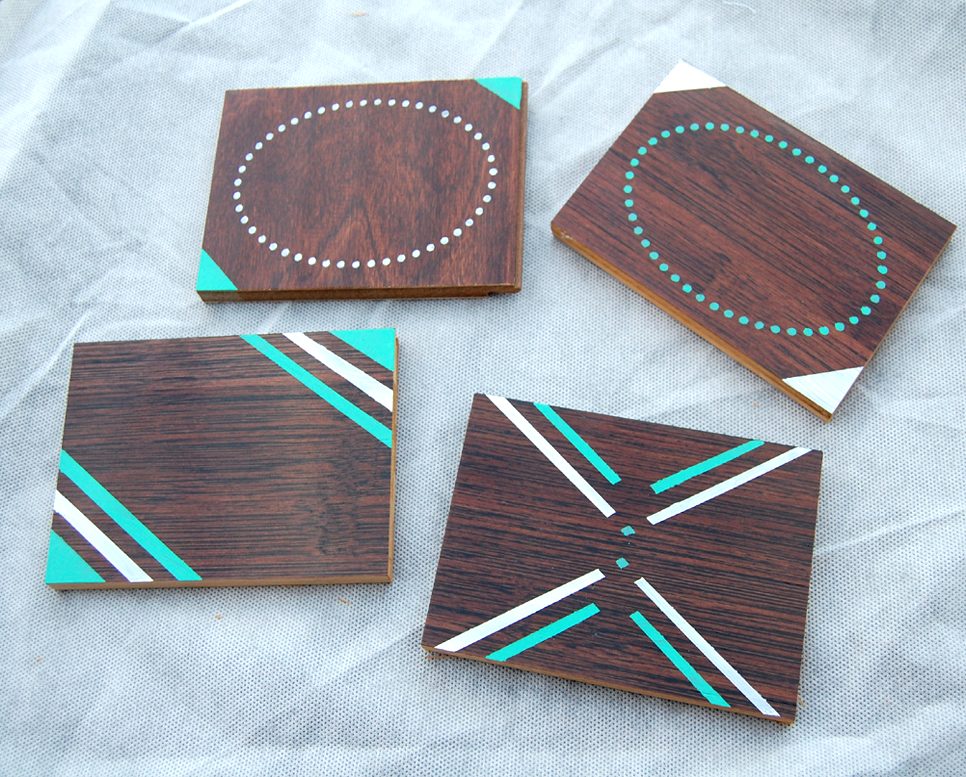
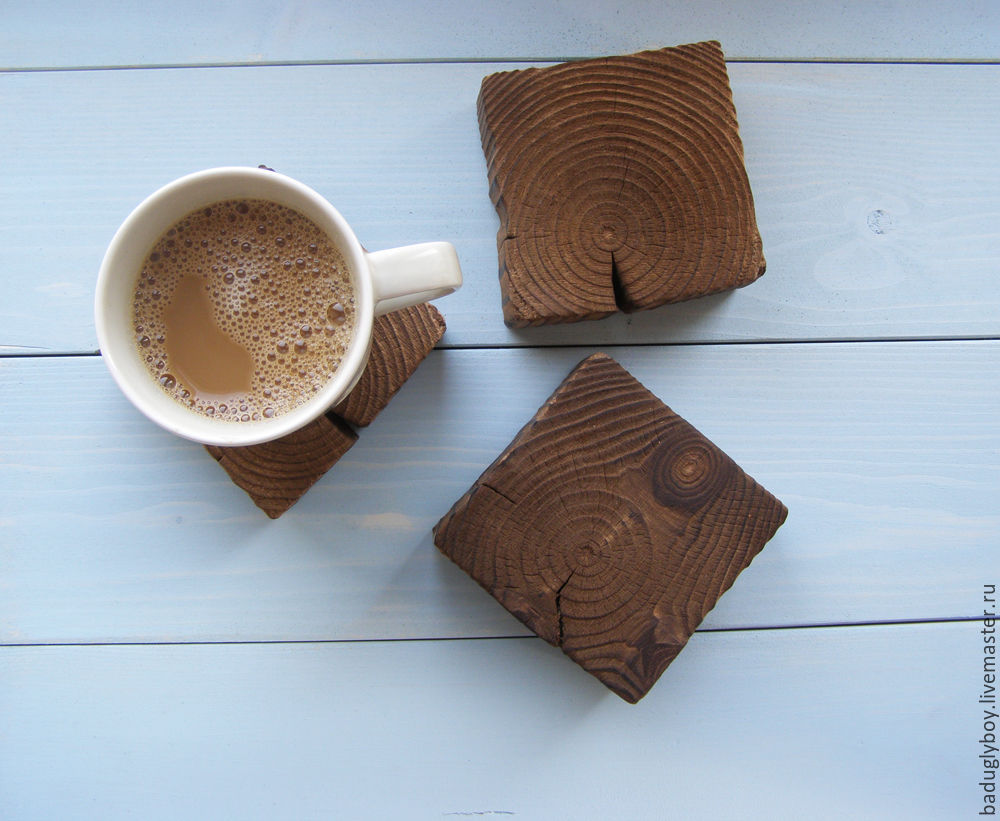
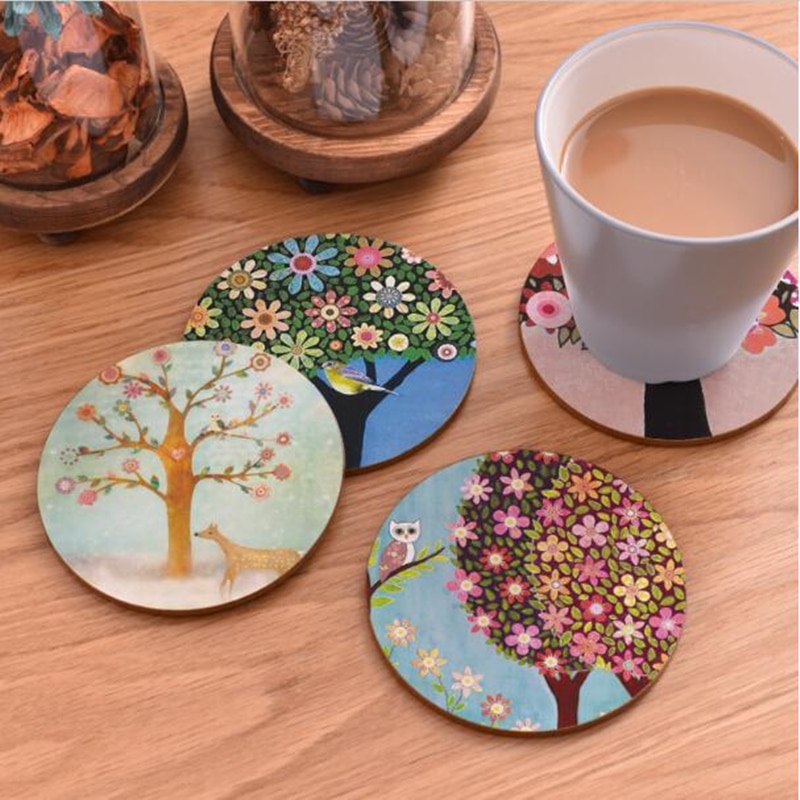
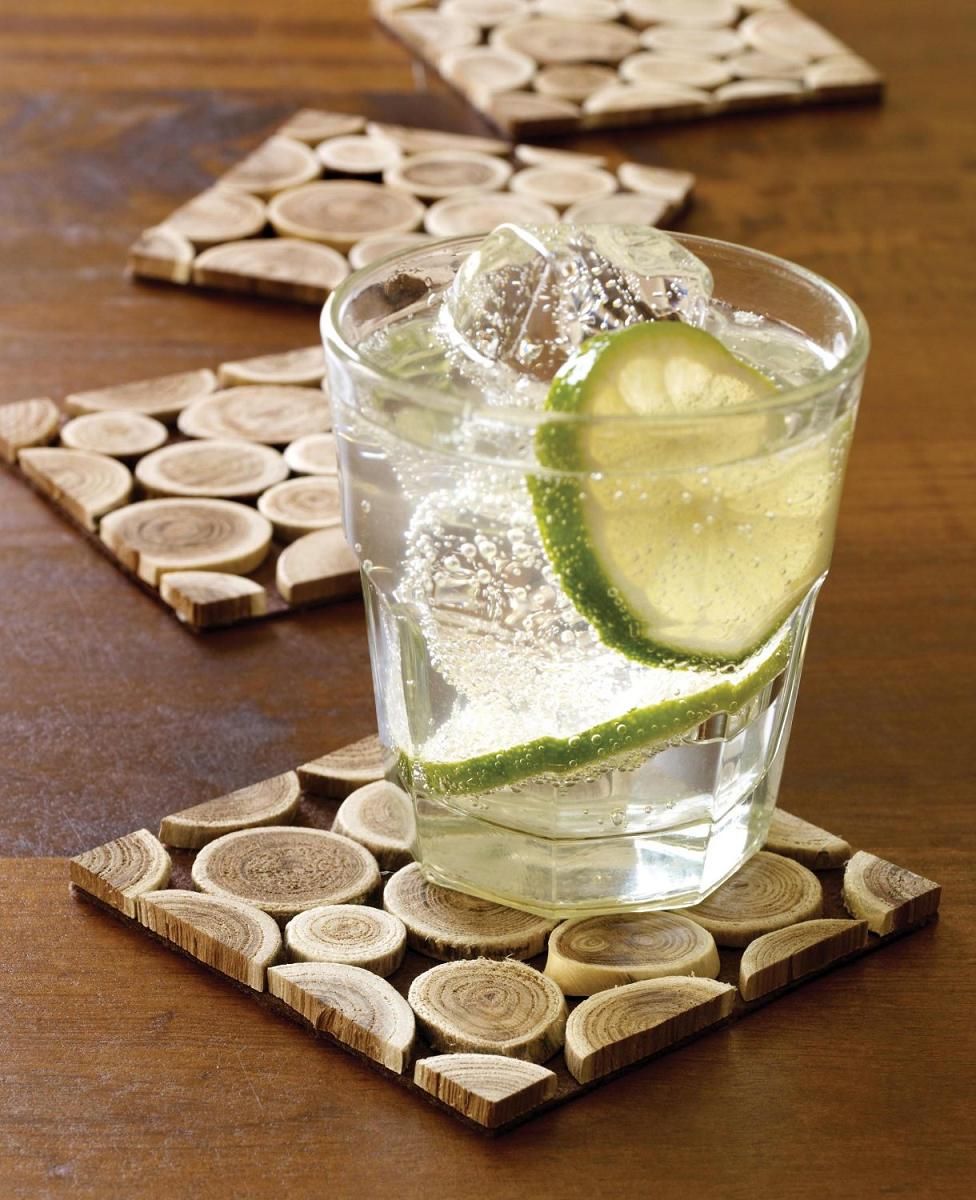
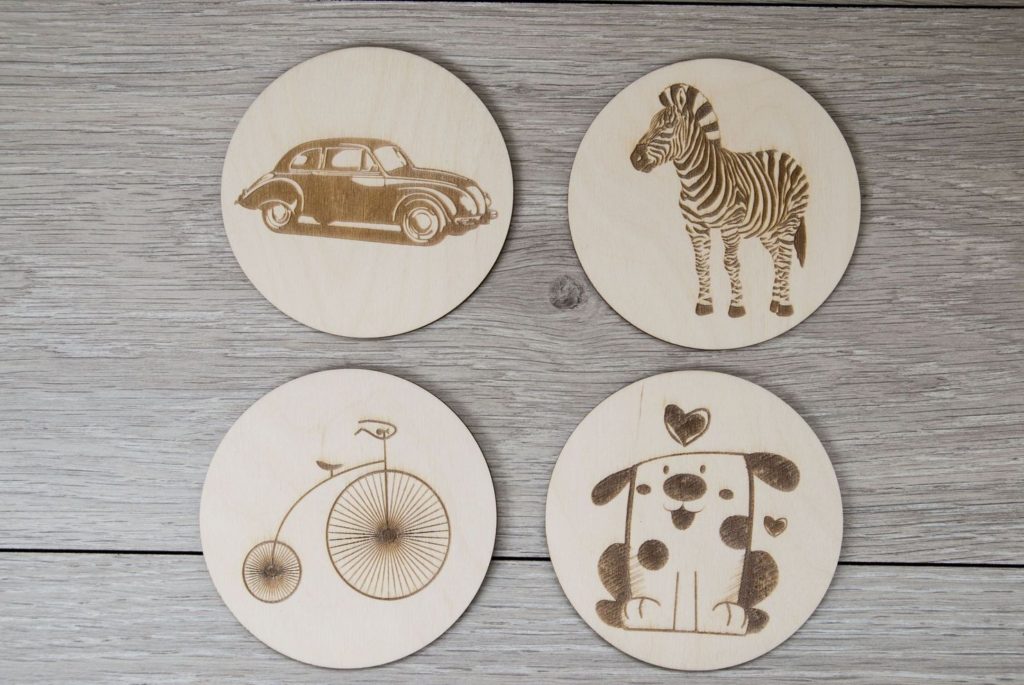
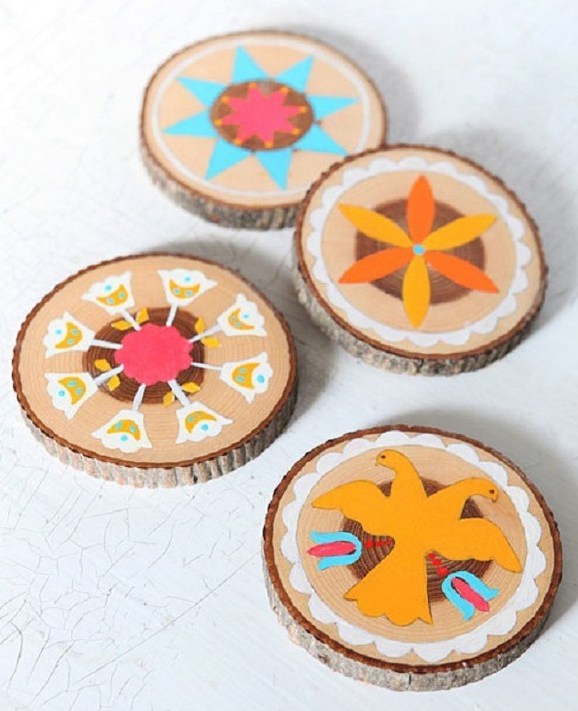
From a tree cut
We will need a hacksaw to make an even cut. Annual rings create a unique pattern. Sand the surface with sandpaper, cover with transparent varnish. You can make a botanical print beforehand.
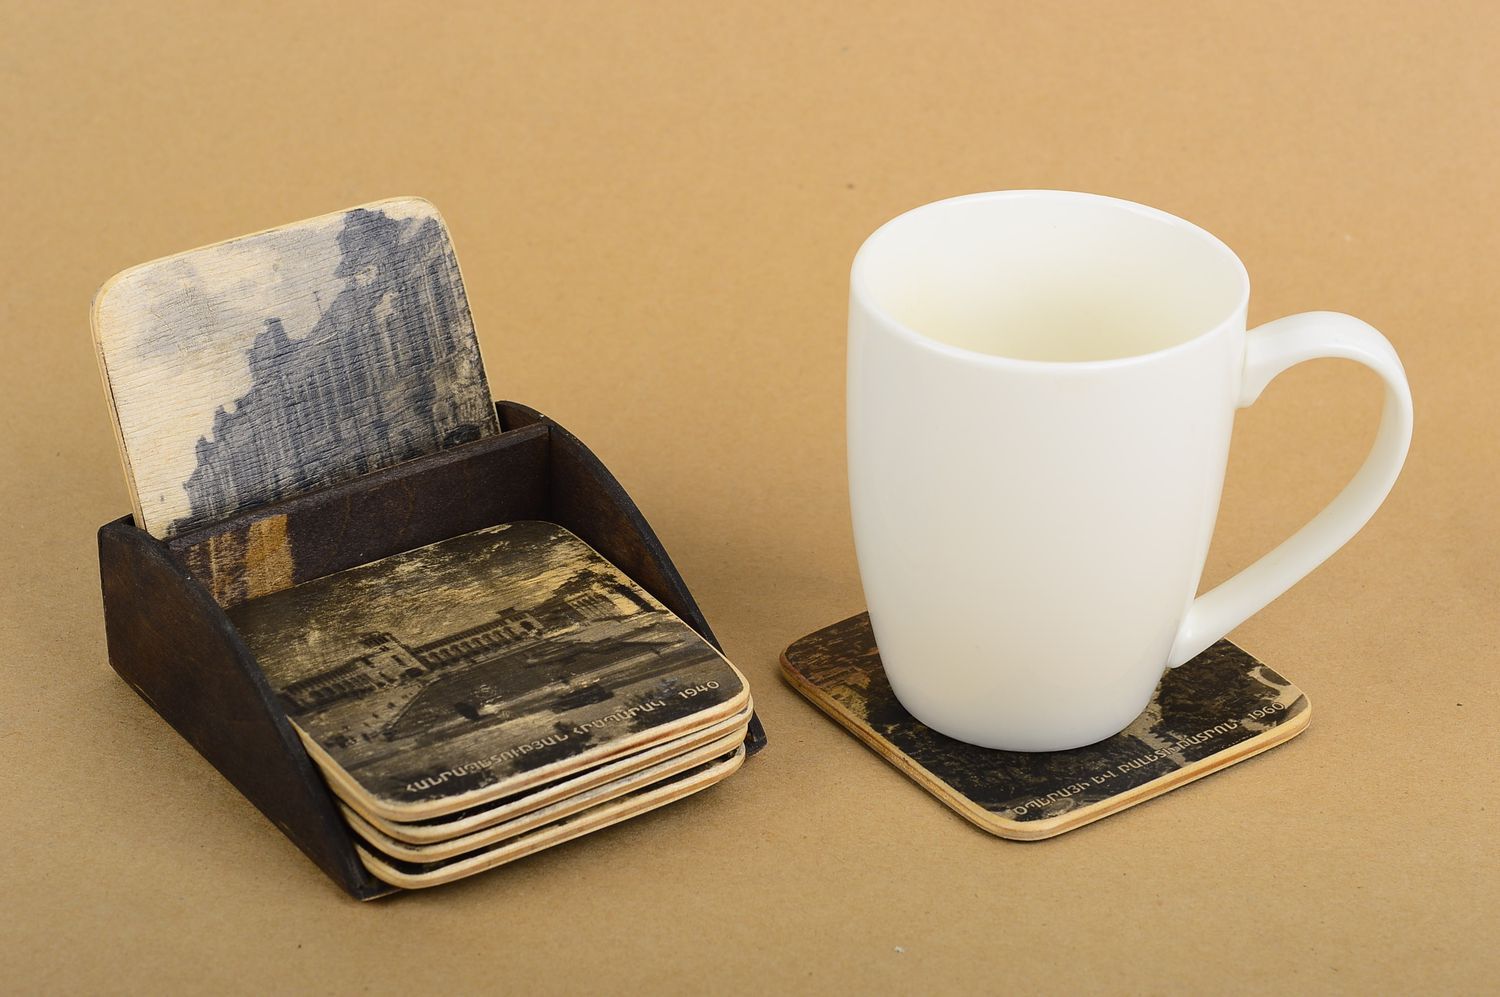
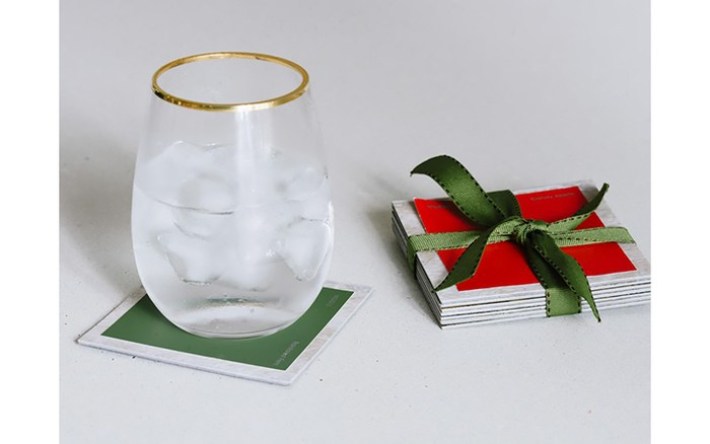
Paper or cardboard coasters
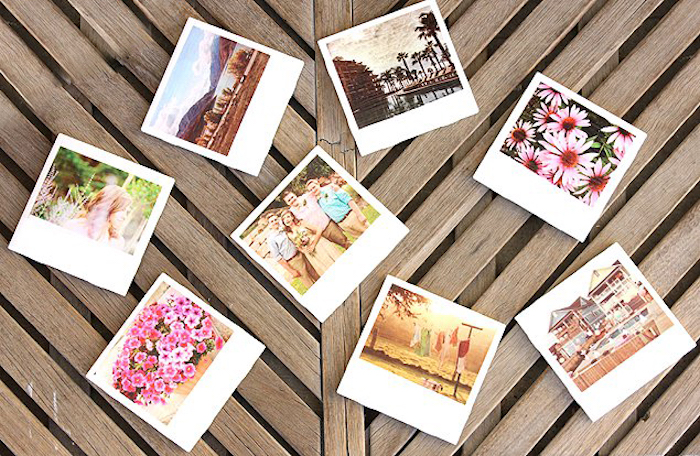
Polaroid photos
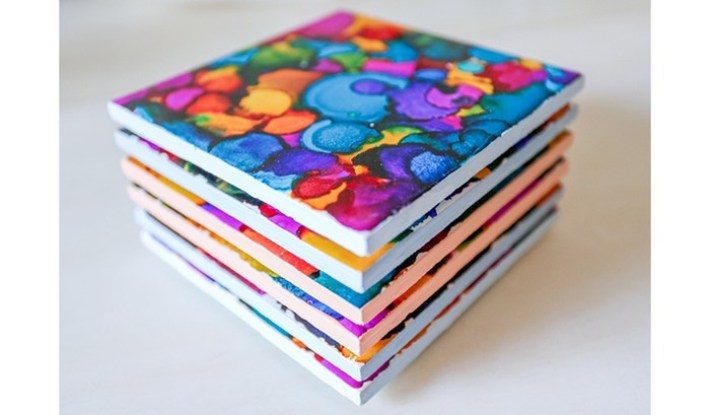
Capture bright moments with one click, print. To give the product strength, we will need ceramic tiles. Glue rubber or felt legs for better stability. Family photos are also a great idea to please yourself. Do not forget to make a protective varnish coating in two layers. An aerosol can of hairspray is suitable for this.
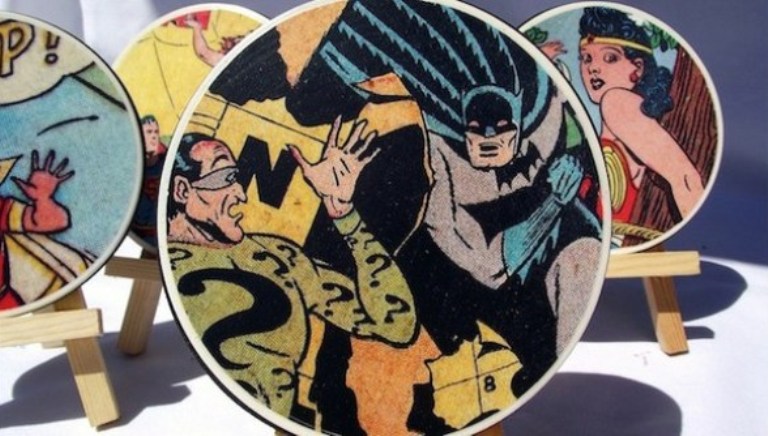
With frames from comics
It is better to start the morning with a smile. Make a base from thick cardboard or plywood. Stick funny scenes, varnish in several layers. Put on a hot drink and rejoice.
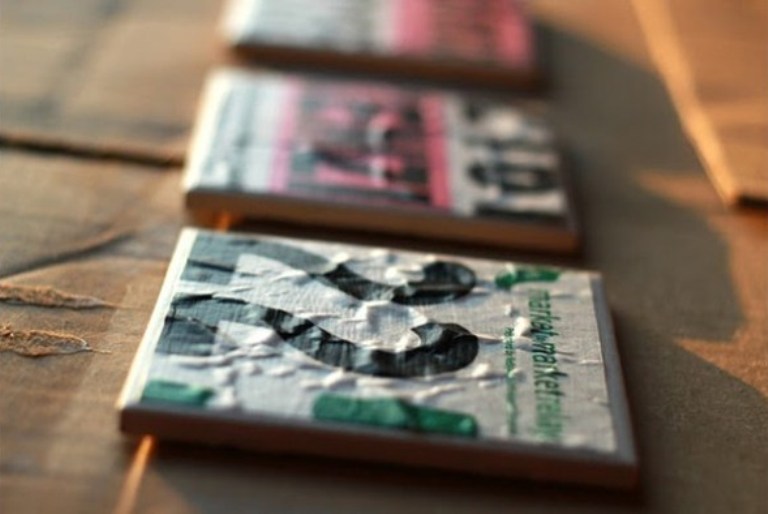
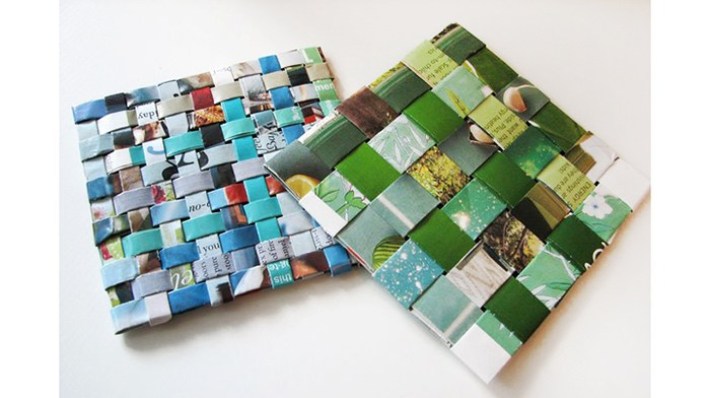
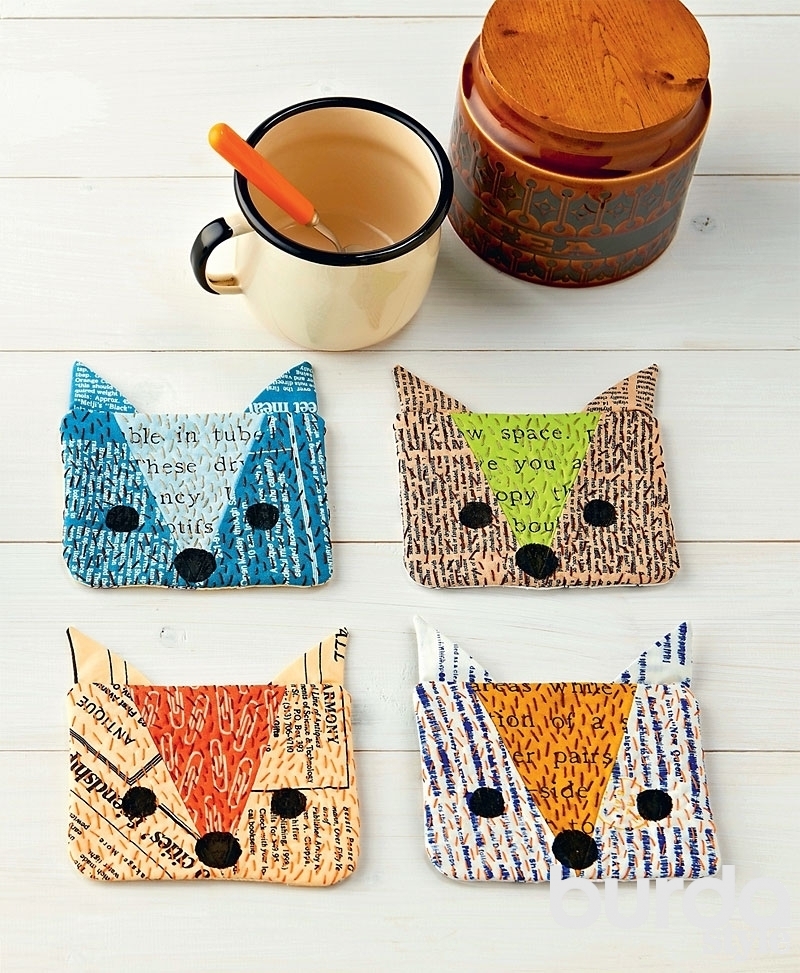
From magazine pages
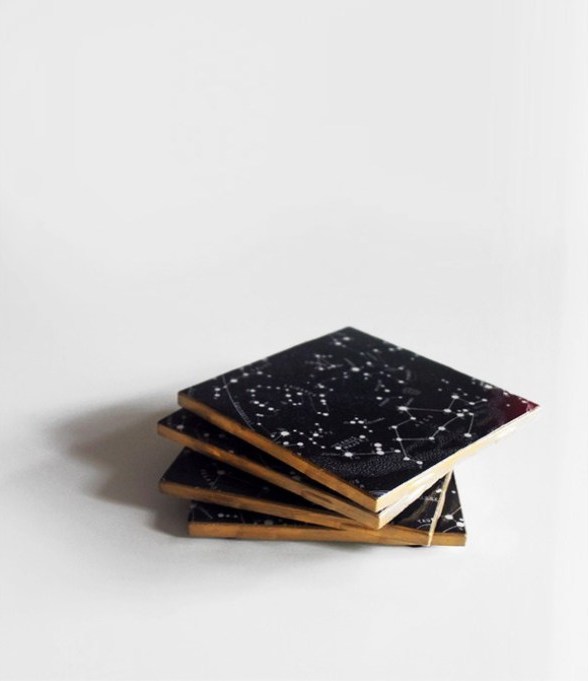
They look stylish and are appropriate for any interior. Use glue to attach pages or newspaper sheets to a solid base and protect with yacht varnish. Geographical maps or starry skies also look great.
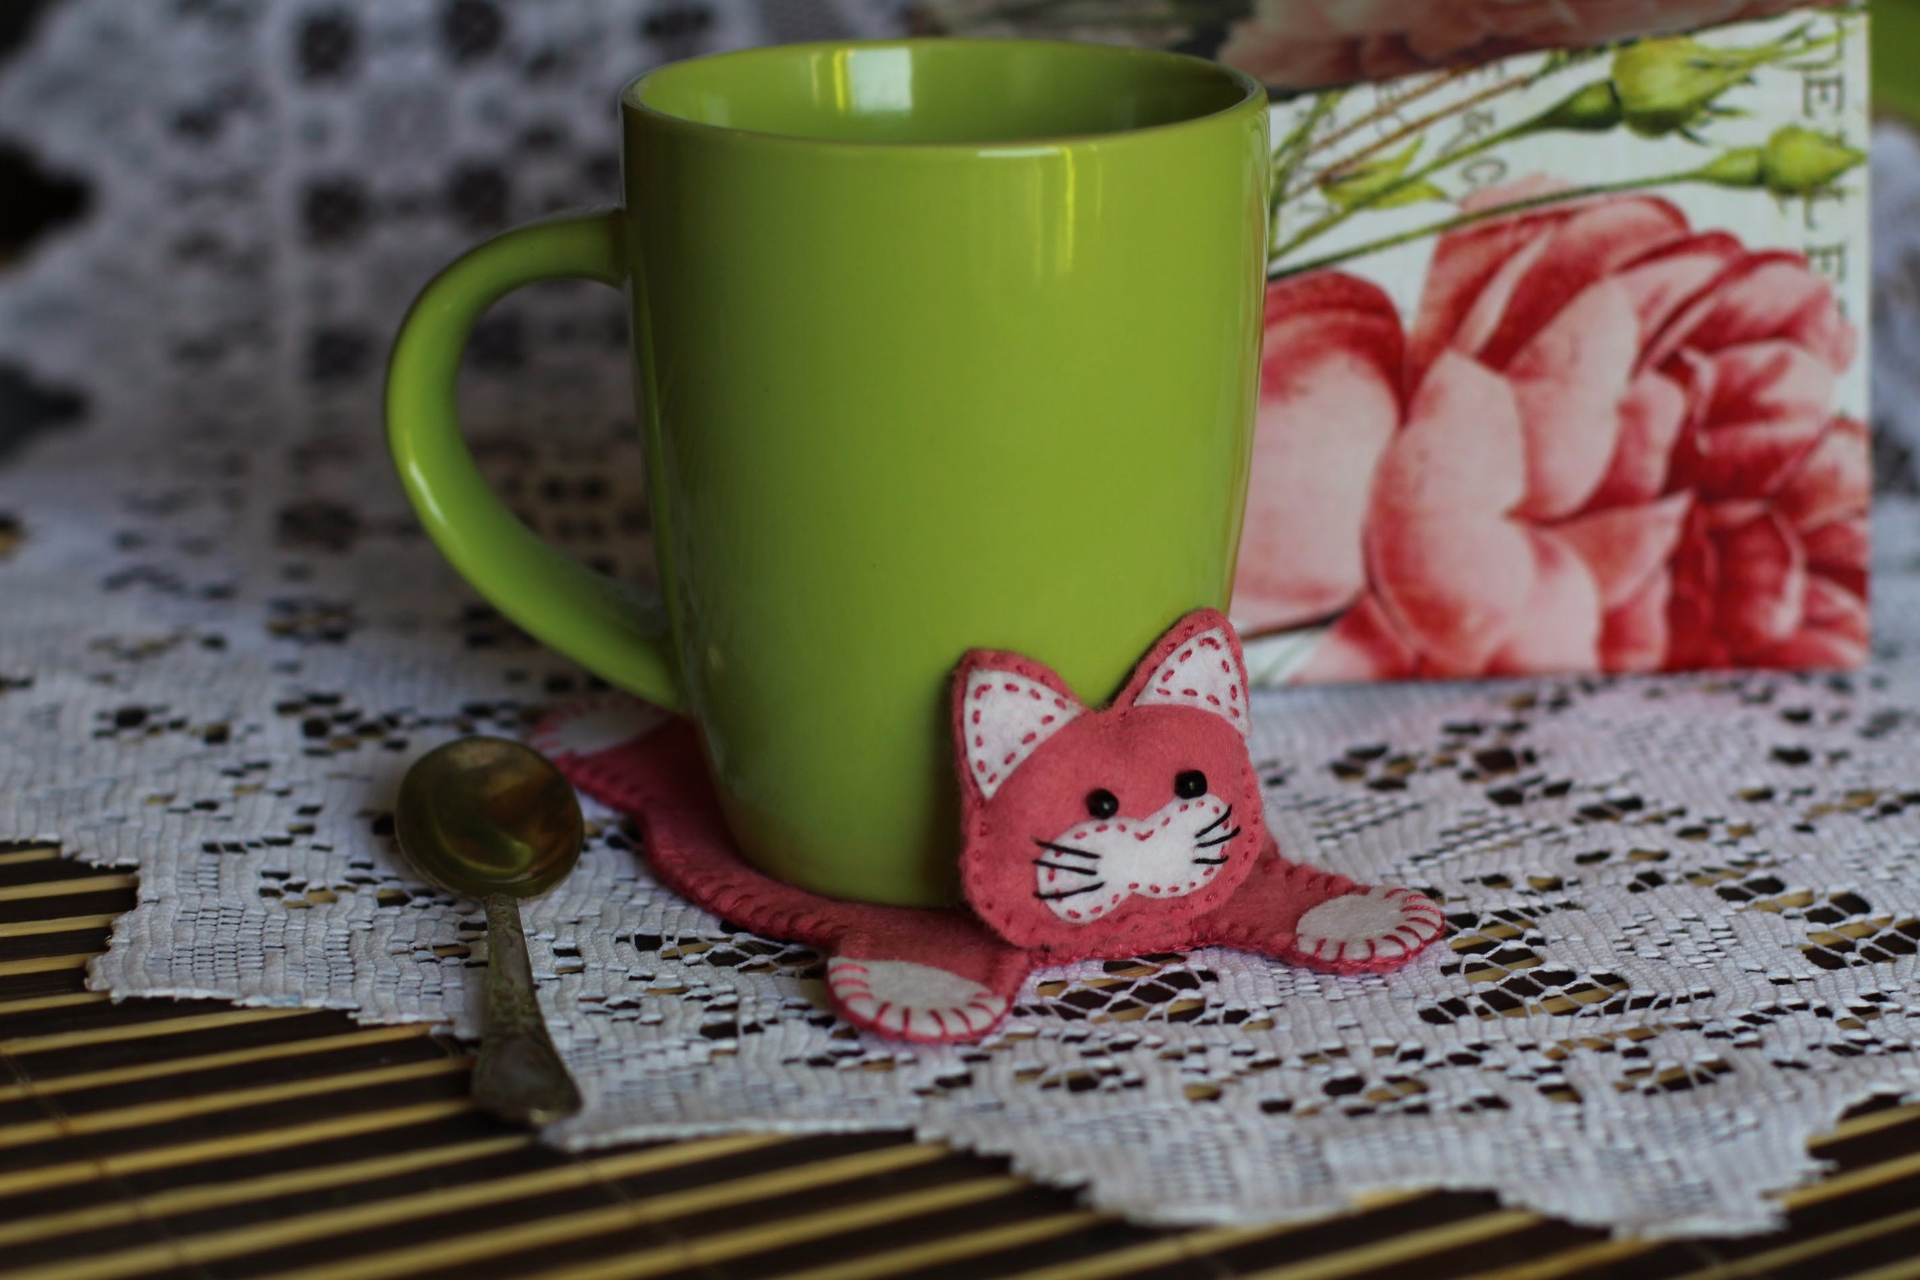
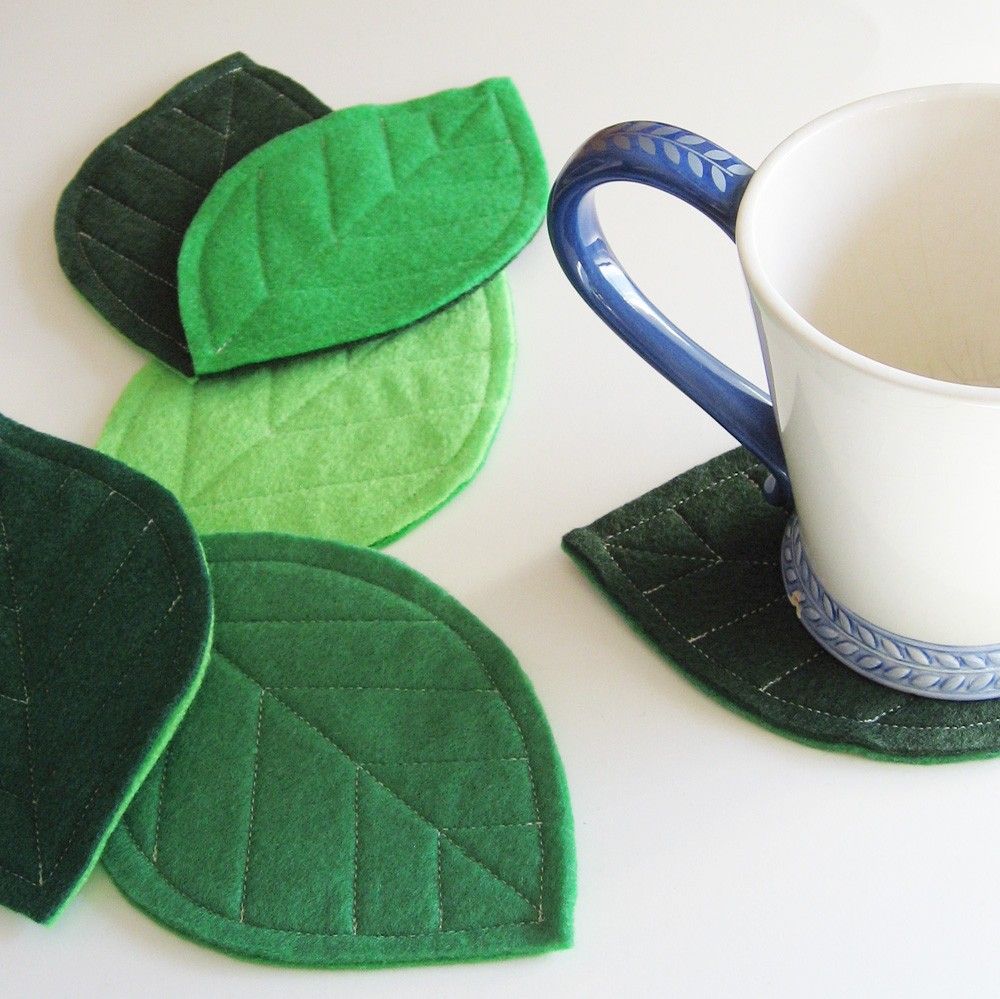
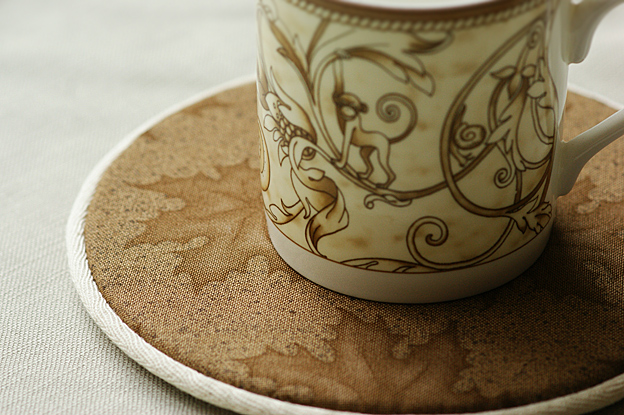
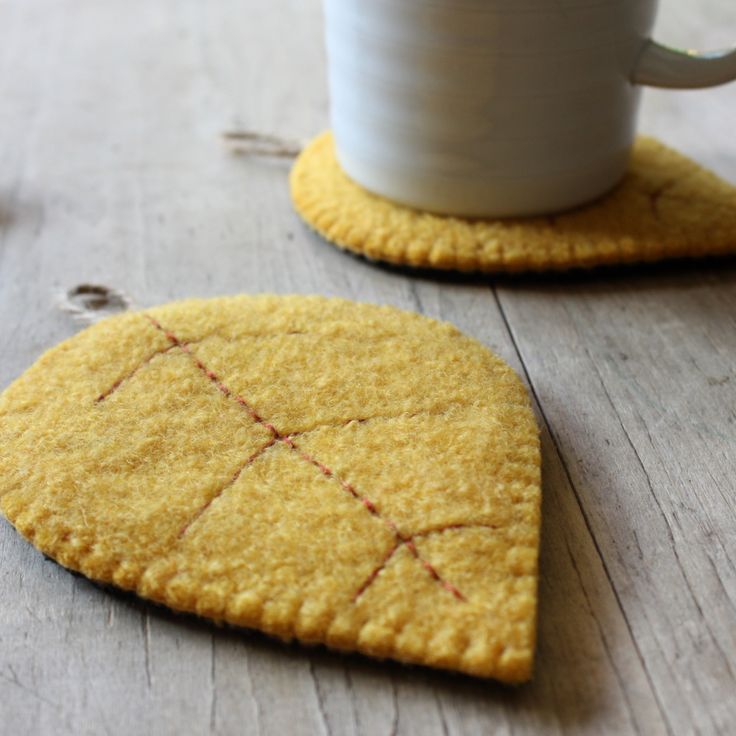
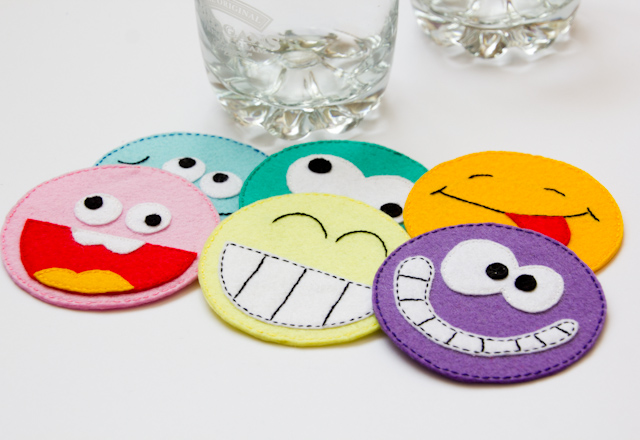
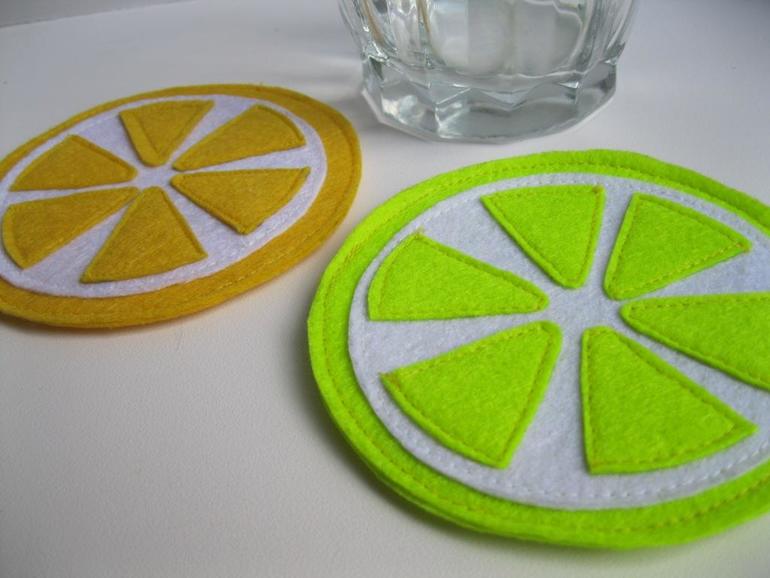
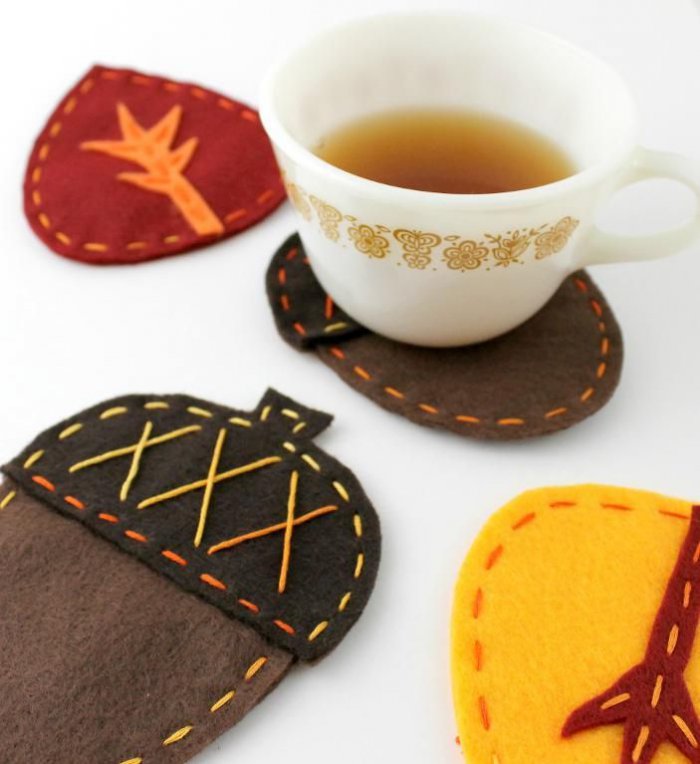
Coasters made of fabric and threads
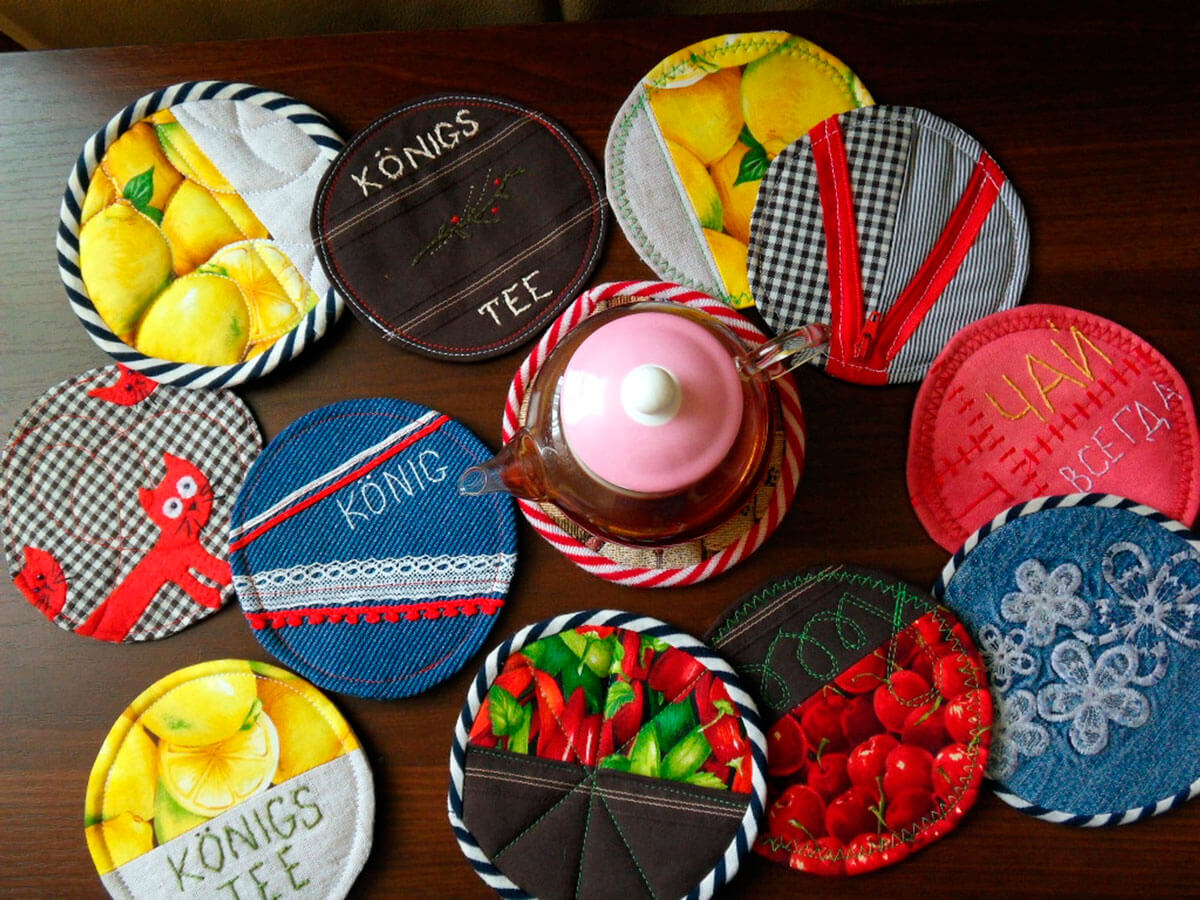
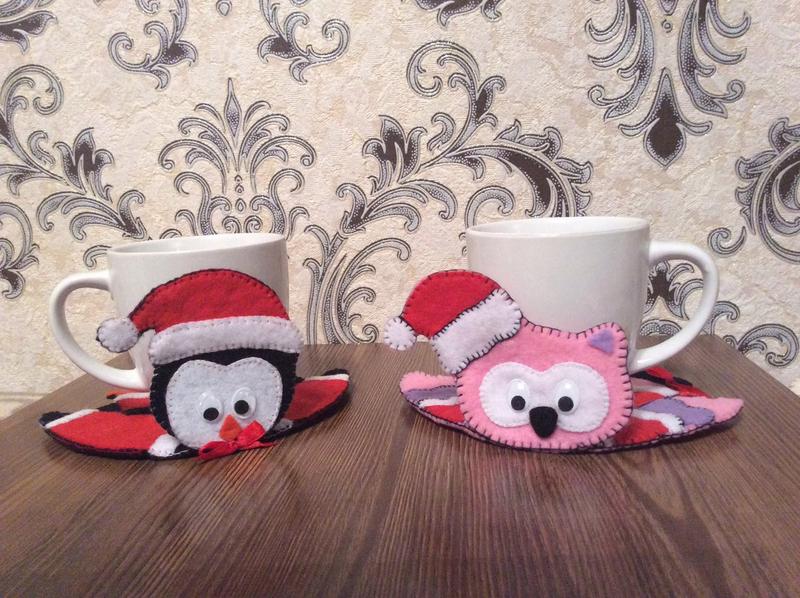
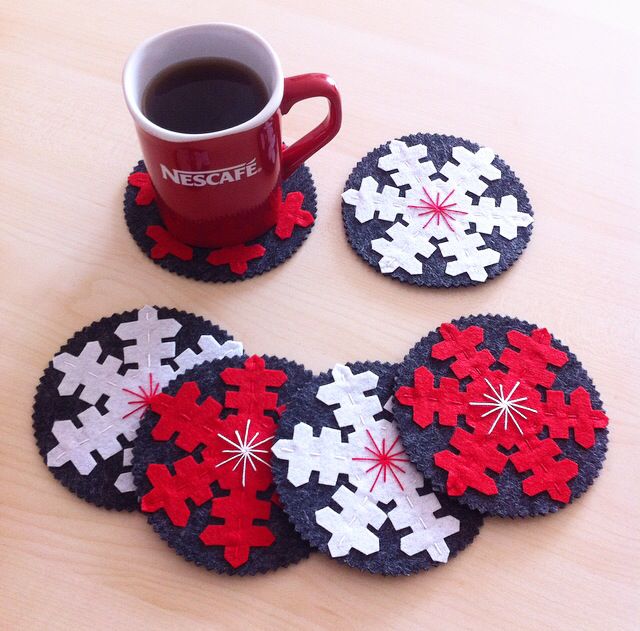
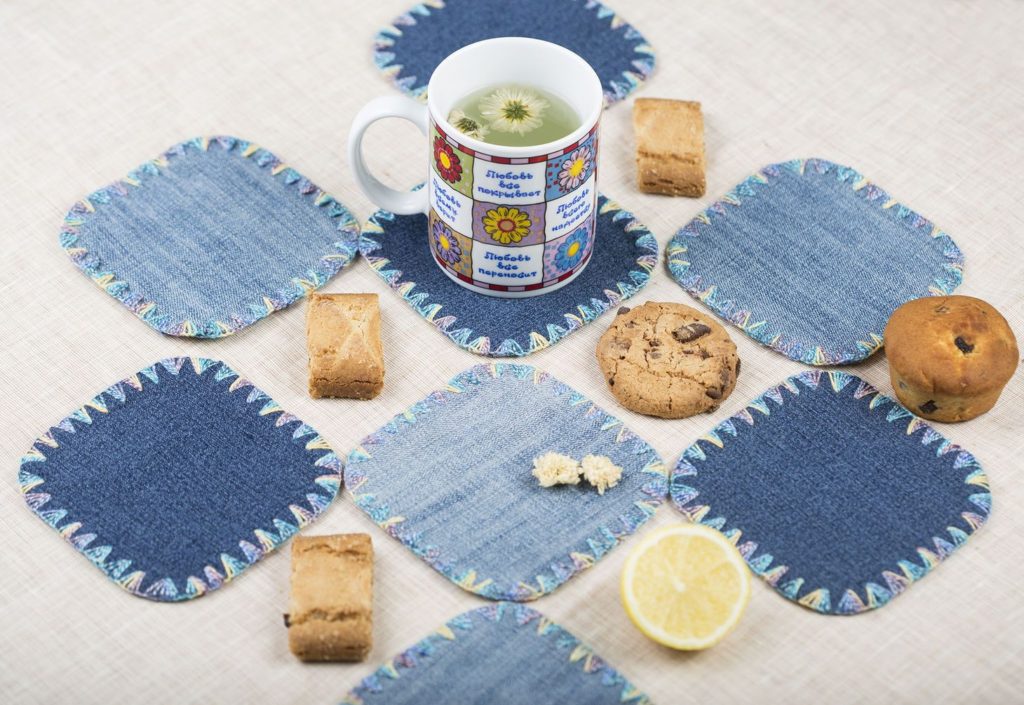
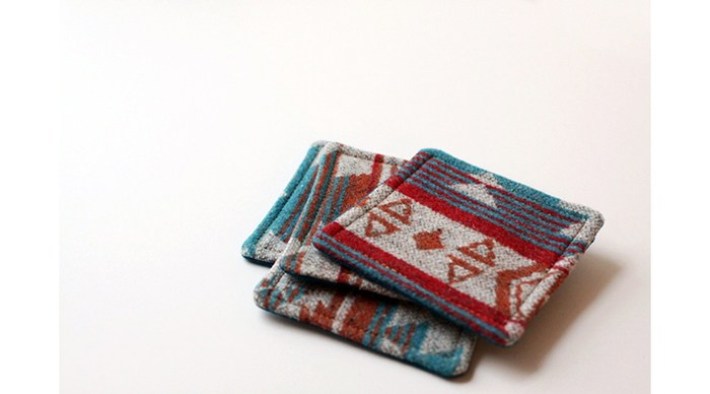
Embroidery and applique
For more experienced craftswomen who have sewing skills.
Tools:
- main fabric,
- foam pad,
- threads,
- braid,
- needle,
- scissors.
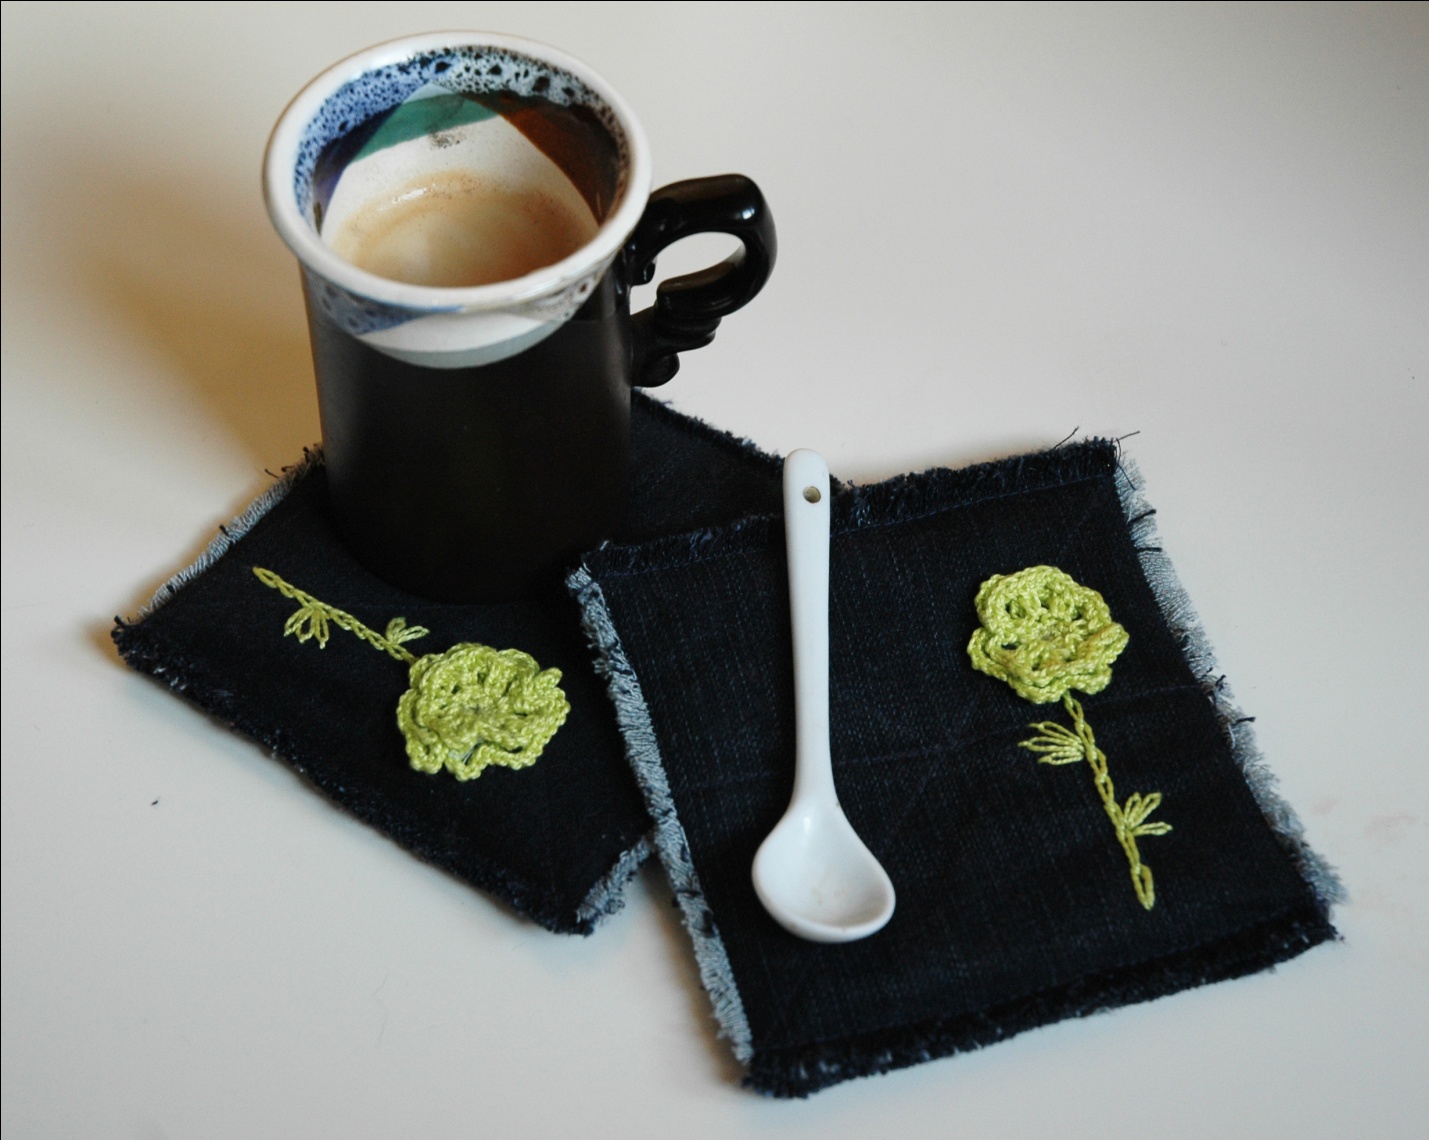
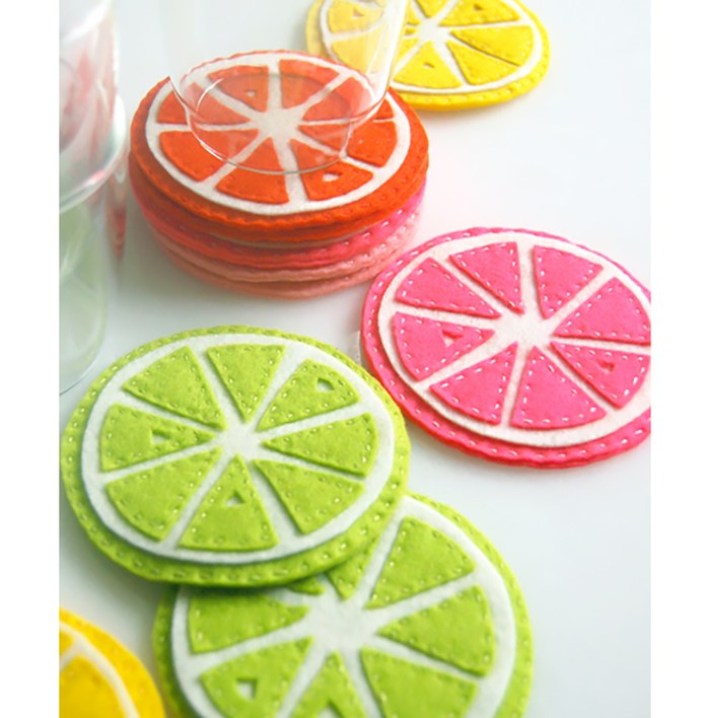
Cut out all the details. A dense material, such as denim or felt, would be appropriate here. You can insert cardboard inside to give it some rigidity. If you are planning a round product, an old CD will hold its shape perfectly. On the front side, do the embroidery or sew on an applique. Put all the parts together and sew them together.
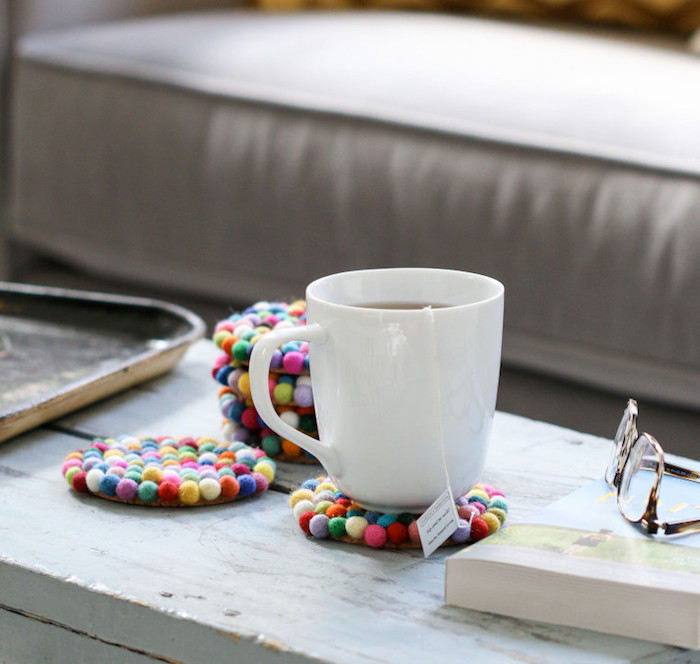
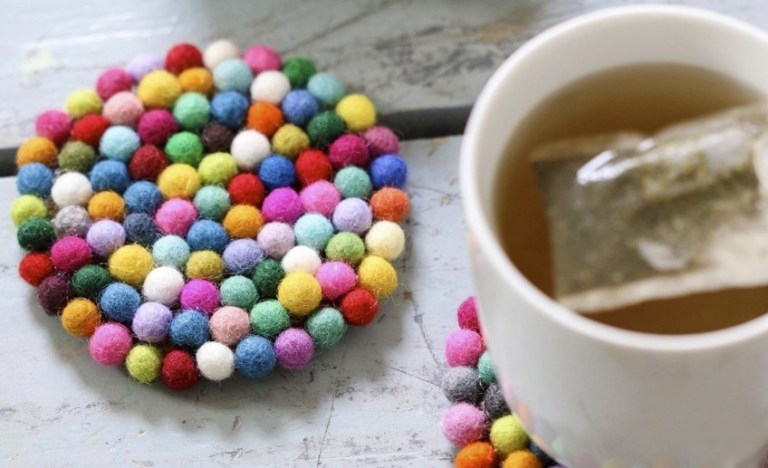
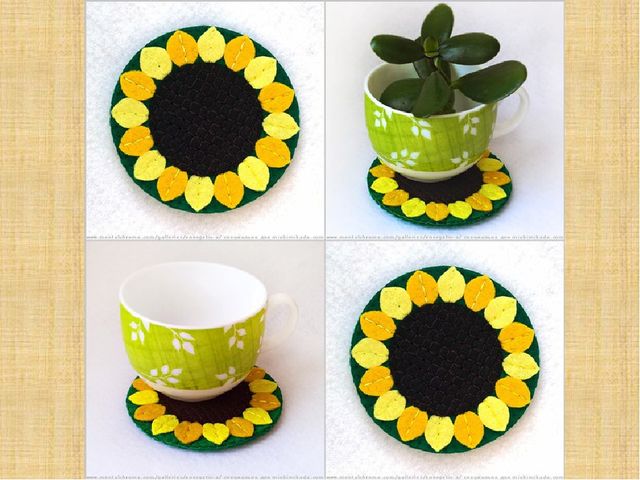
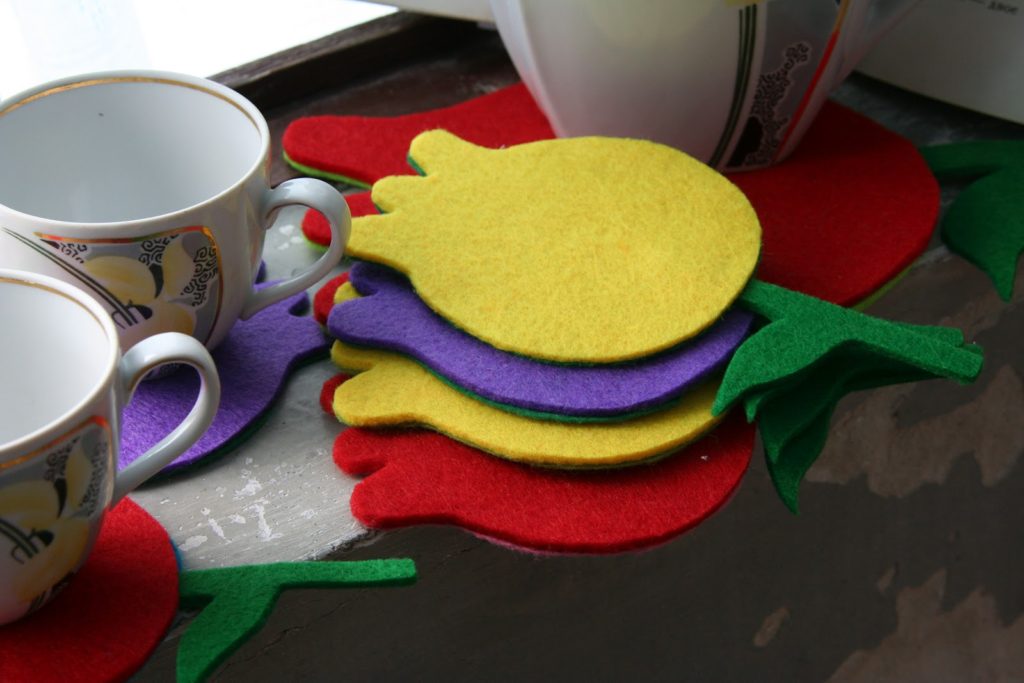
Miniature colored wool balls
Let's buy ready-made felt balls. You can simply glue them to a solid base. Or string them on a thread and sew them together, in this case we will do without a backing.
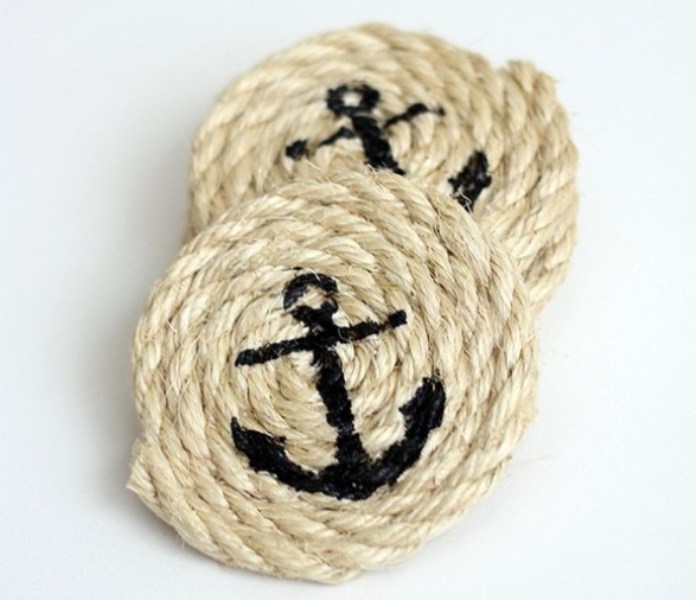
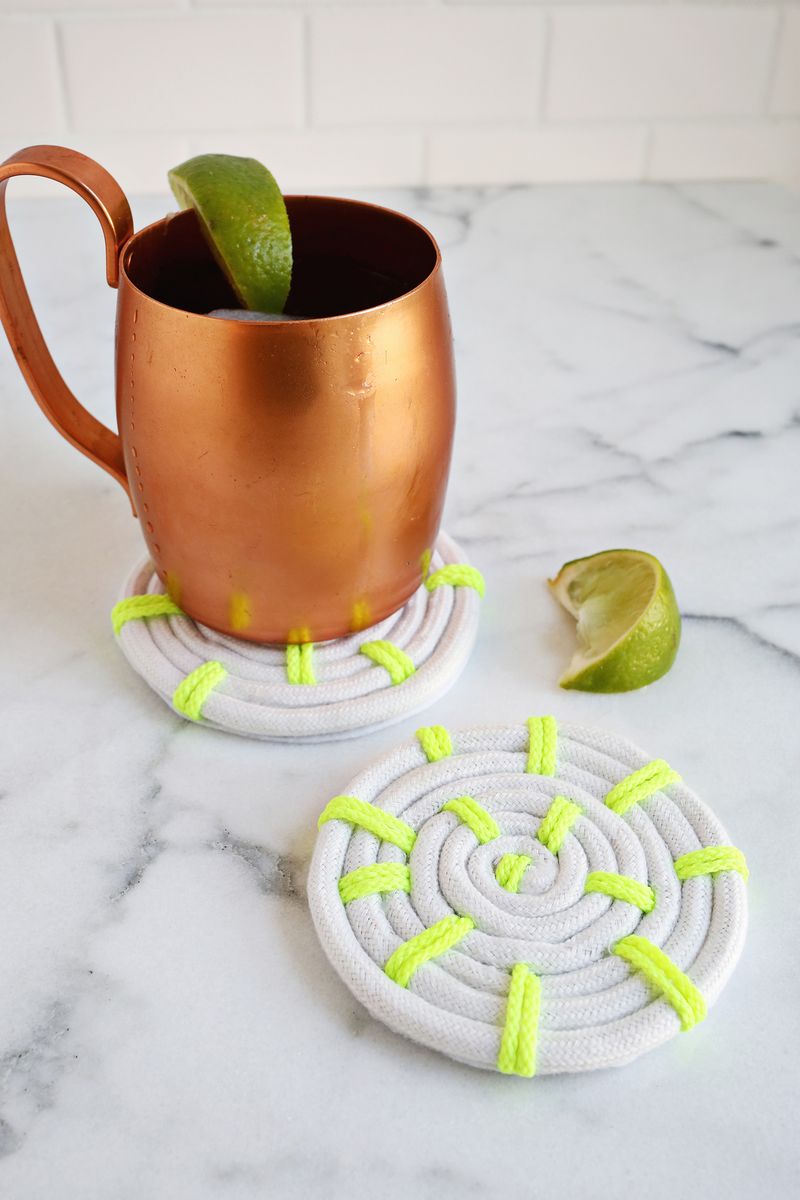
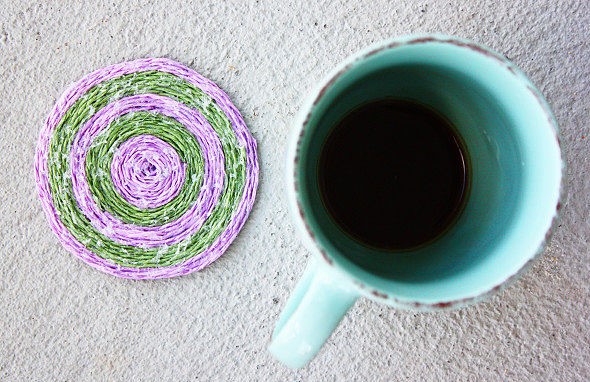
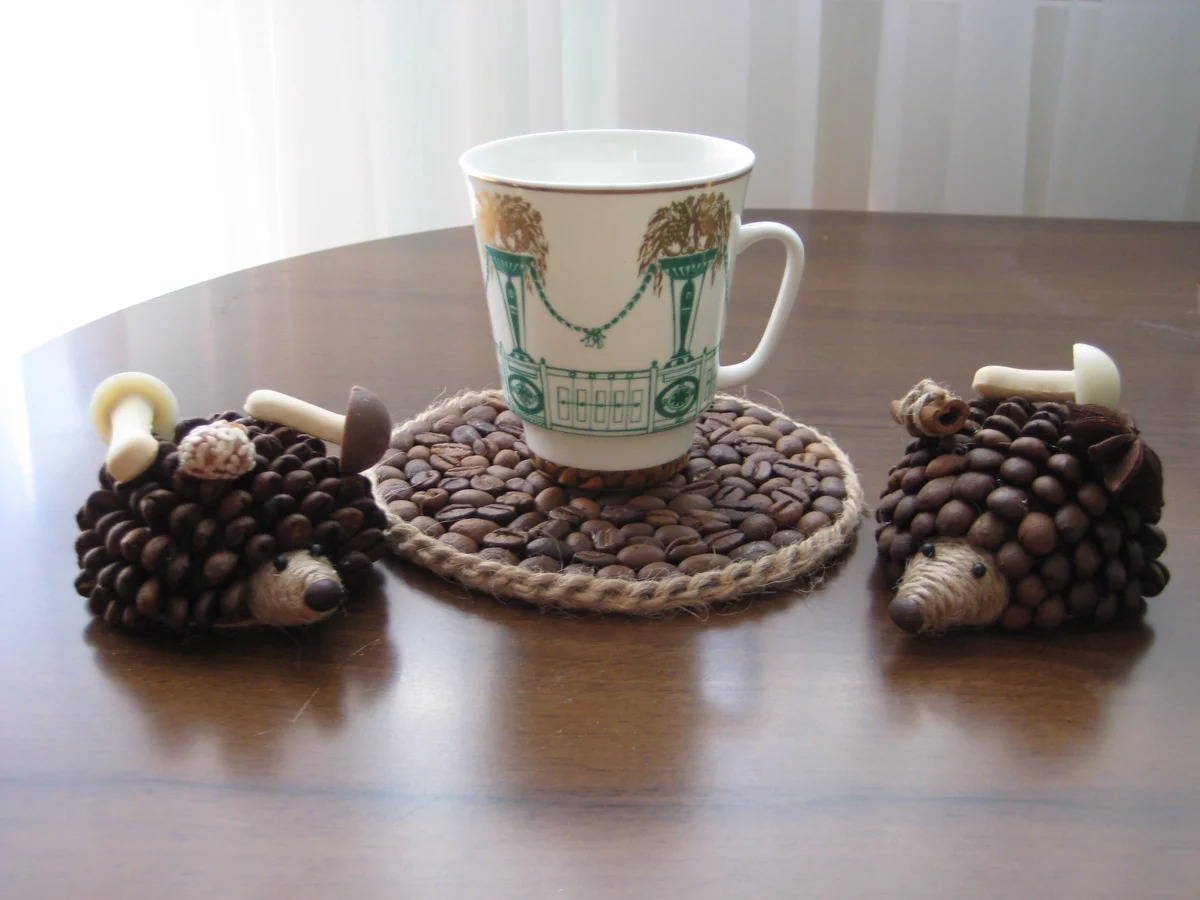
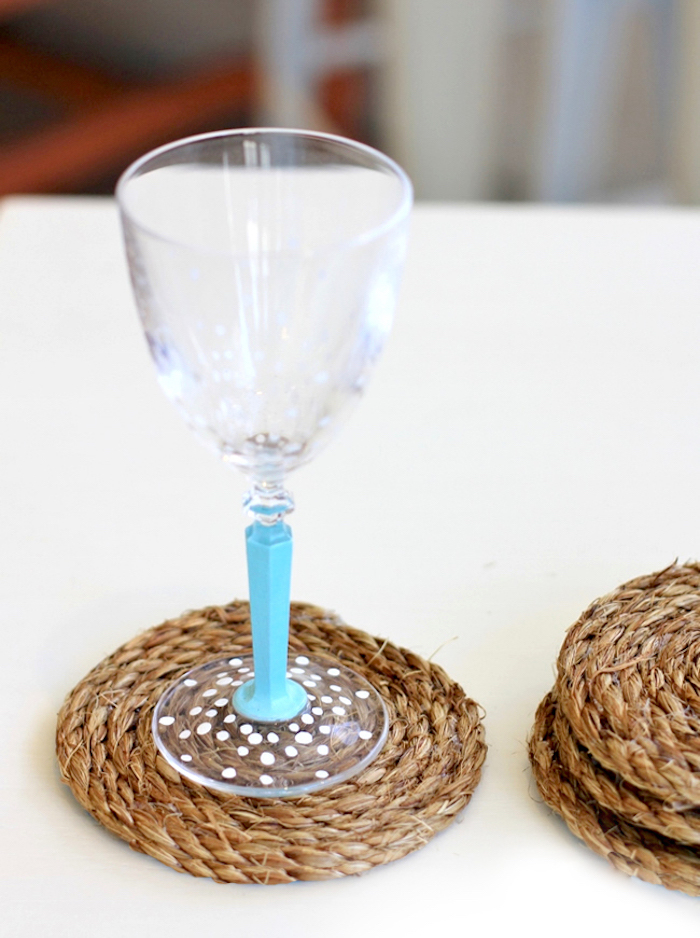
Jute Rope Coasters
A glue gun will make the job much easier. Prepare a base in the form of a circle made of cardboard or cork. Secure the rope in the center and begin laying it in a spiral, carefully applying glue and tightly fitting the turns to each other. You can take multi-colored skeins and alternate the colors.
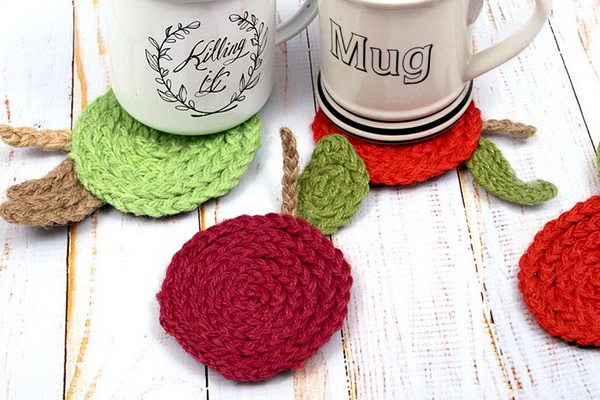
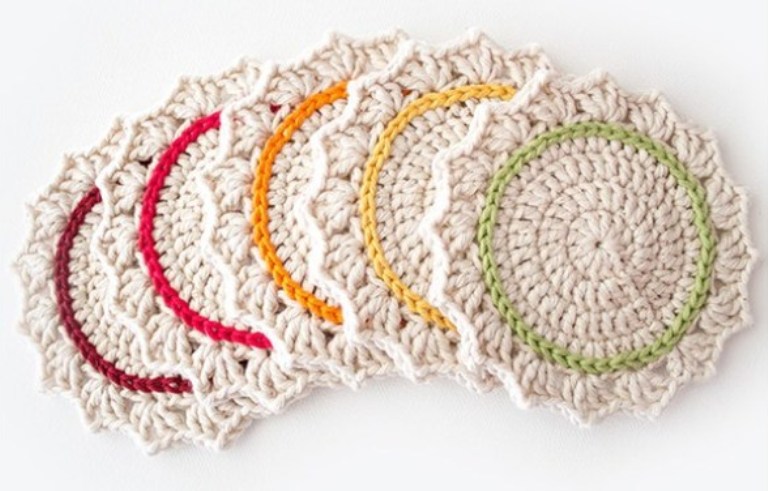
Knitted goods
A colored ball, a hook or knitting needles, scissors. A little patience and skill, a stand for a mug made with your own hands is ready. It can be in the form of a circle or a square, colored or plain.
Stands made from molds and lids
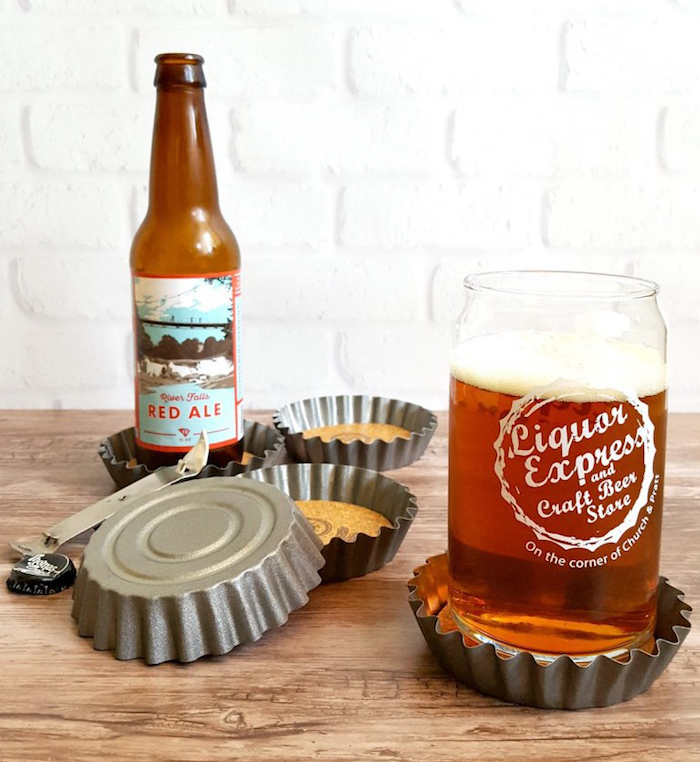
Cake pans
Cut out the bottom of the part from a cork sheet. Use the stamps you like and apply the drawing. Glue it inside and fill it with transparent resin. After a few days, it will harden and become as hard as glass.
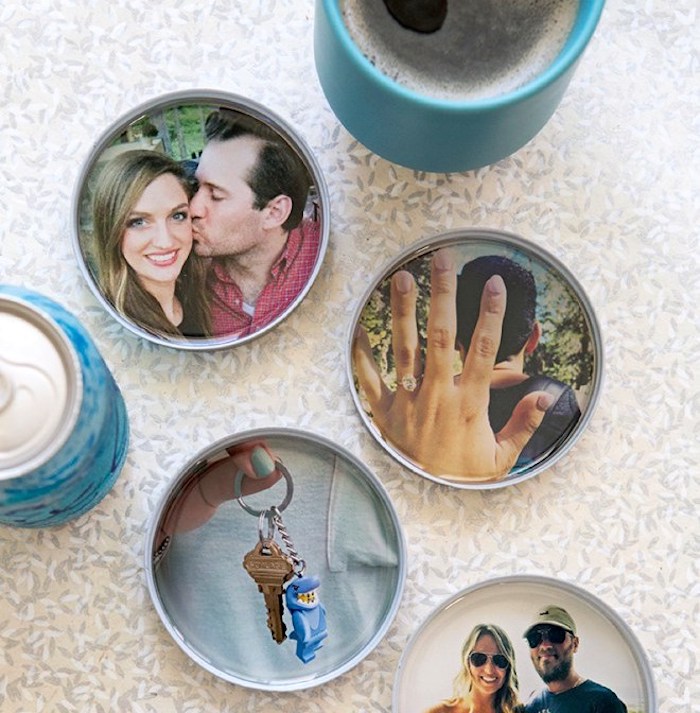
Lids and photos
Let's print out photos of our favorite people. Cut them into a circle and stick them on the lid. As in the previous example, prepare epoxy resin and fill our blanks. A little patience, wait a couple of days until it hardens completely. Now you can not be afraid of drops.
Coasters made of clay and stone
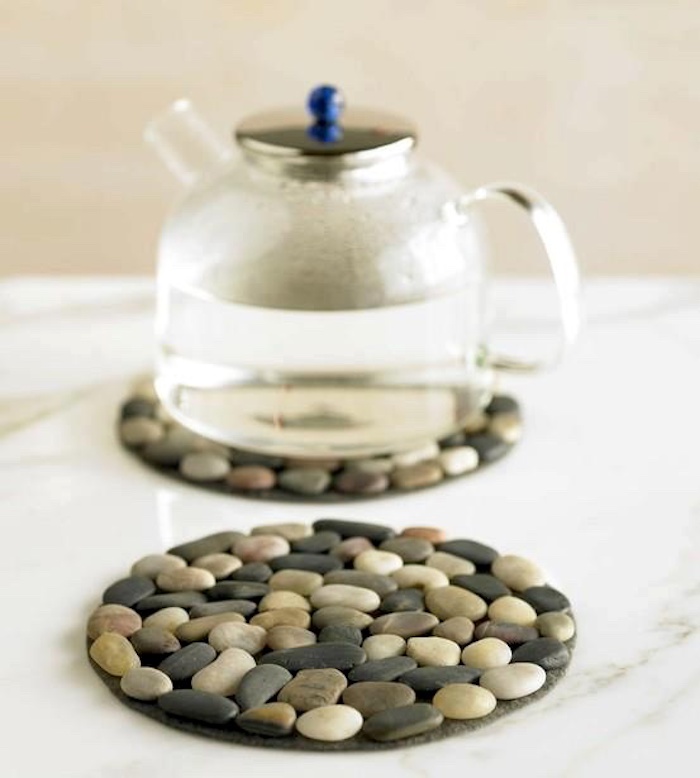
Sea pebbles
This thing will be a wonderful reminder of a beach holiday. Choose flat stones of approximately the same size. Prepare a solid base. Pre-lay out the elements so that they fit tightly to each other. Then firmly glue them in place.
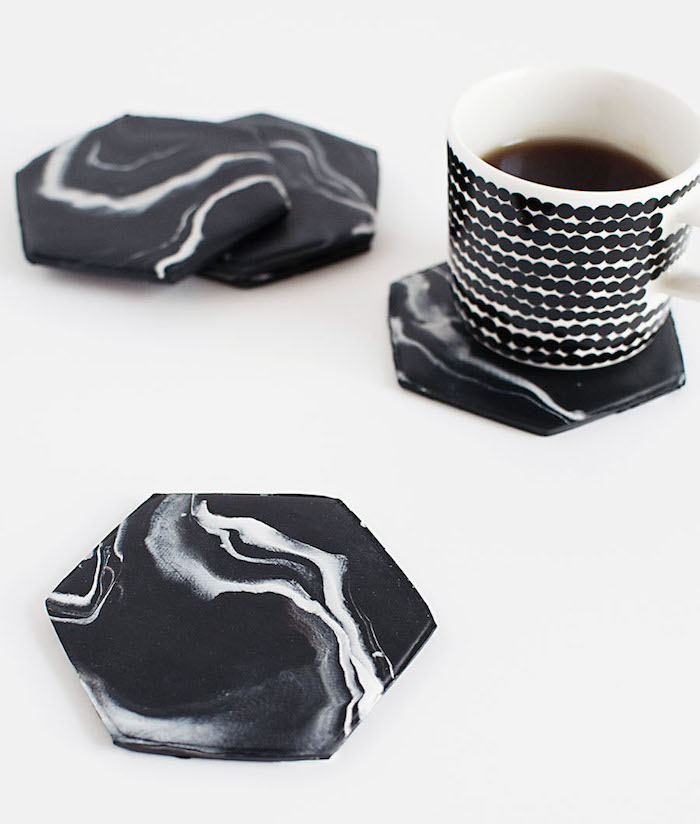
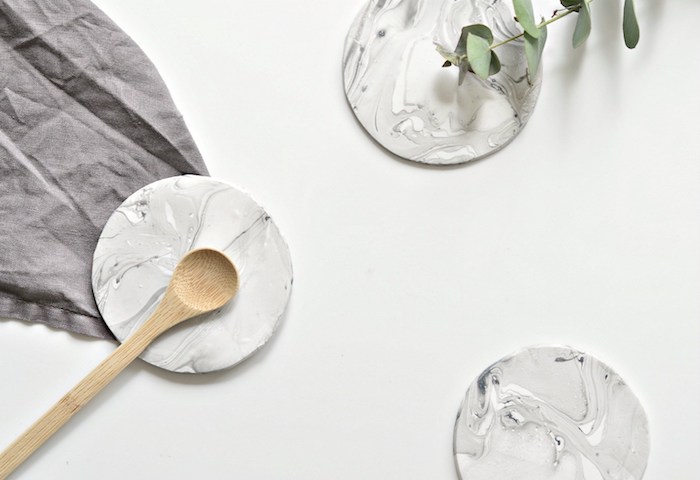
Made of white clay
We will need clay of two contrasting colors. For example, black and white. Knead the dark base, attach light pieces in random order. Make a “sausage”, then knead it into a ball again. Divide into parts. Prepare a template in the form of a polygon. Roll out each piece separately and cut off the excess.
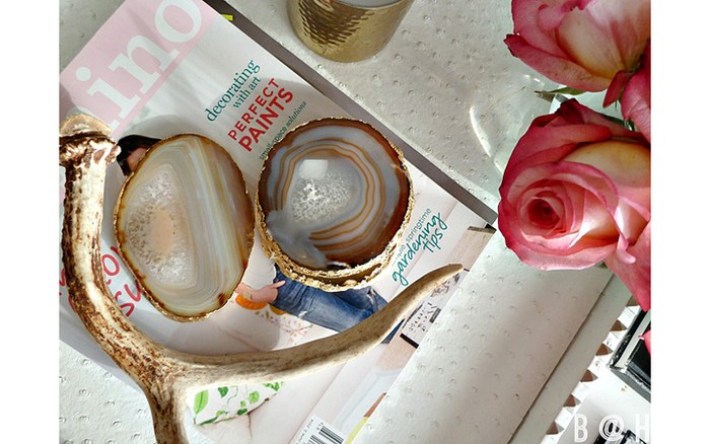
From agates
The easiest way is to order blanks of the required size and shape in an online store. Take a small brush and apply gold paint to the edge in a circle. Glue the legs to our stand for stability.

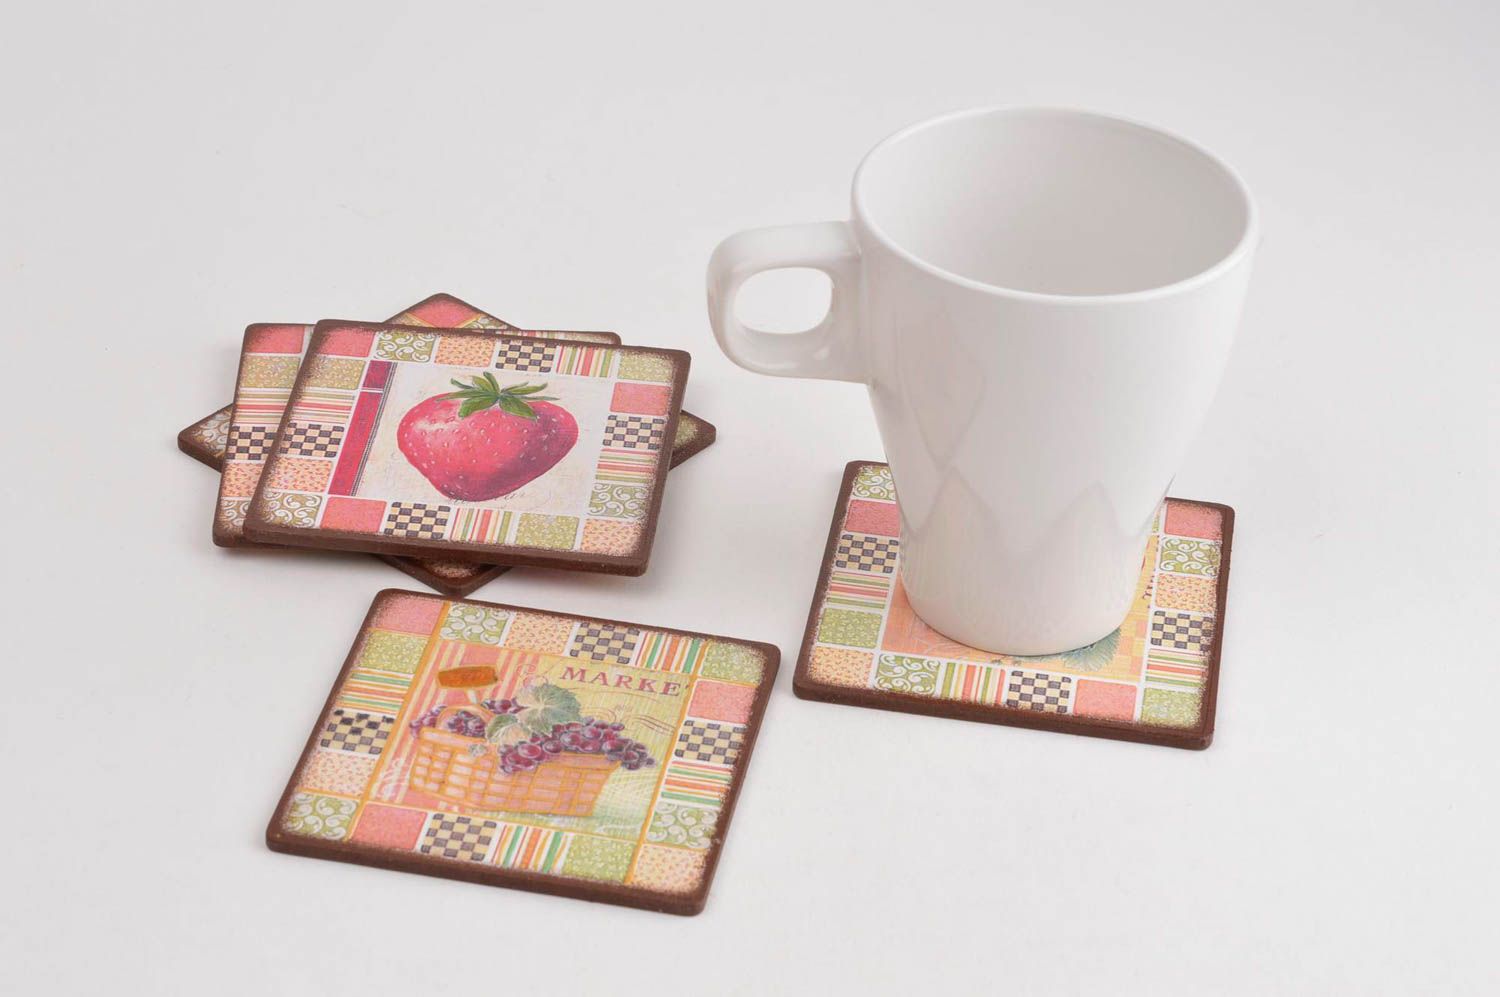
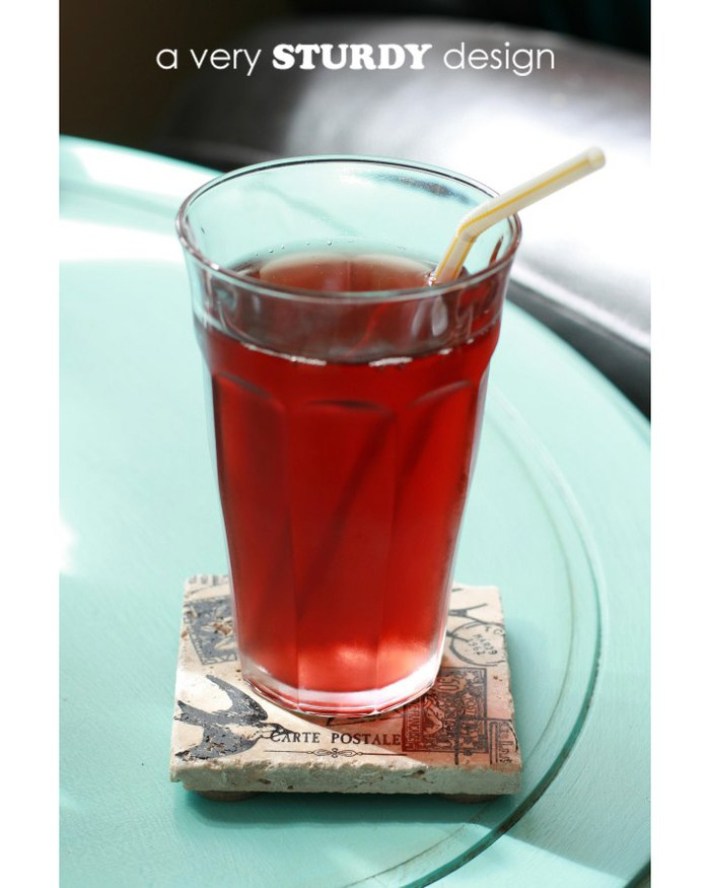
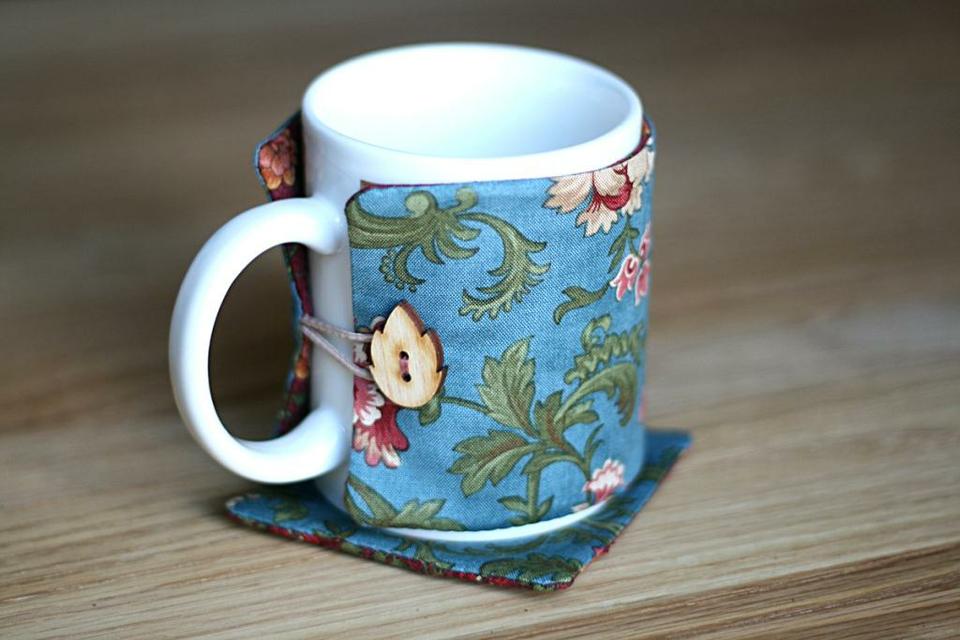
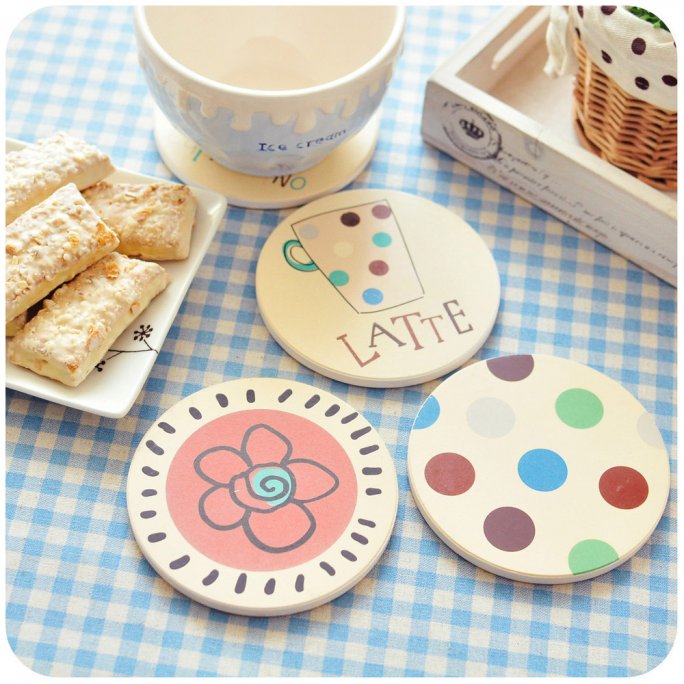
In decoupage technique
We will need:
- napkin with a pattern,
- blanks for the platform,
- acrylic paint white,
- acrylic gloss decoupage varnish,
- PVA glue,
- brush,
- scissors,
- sponge.
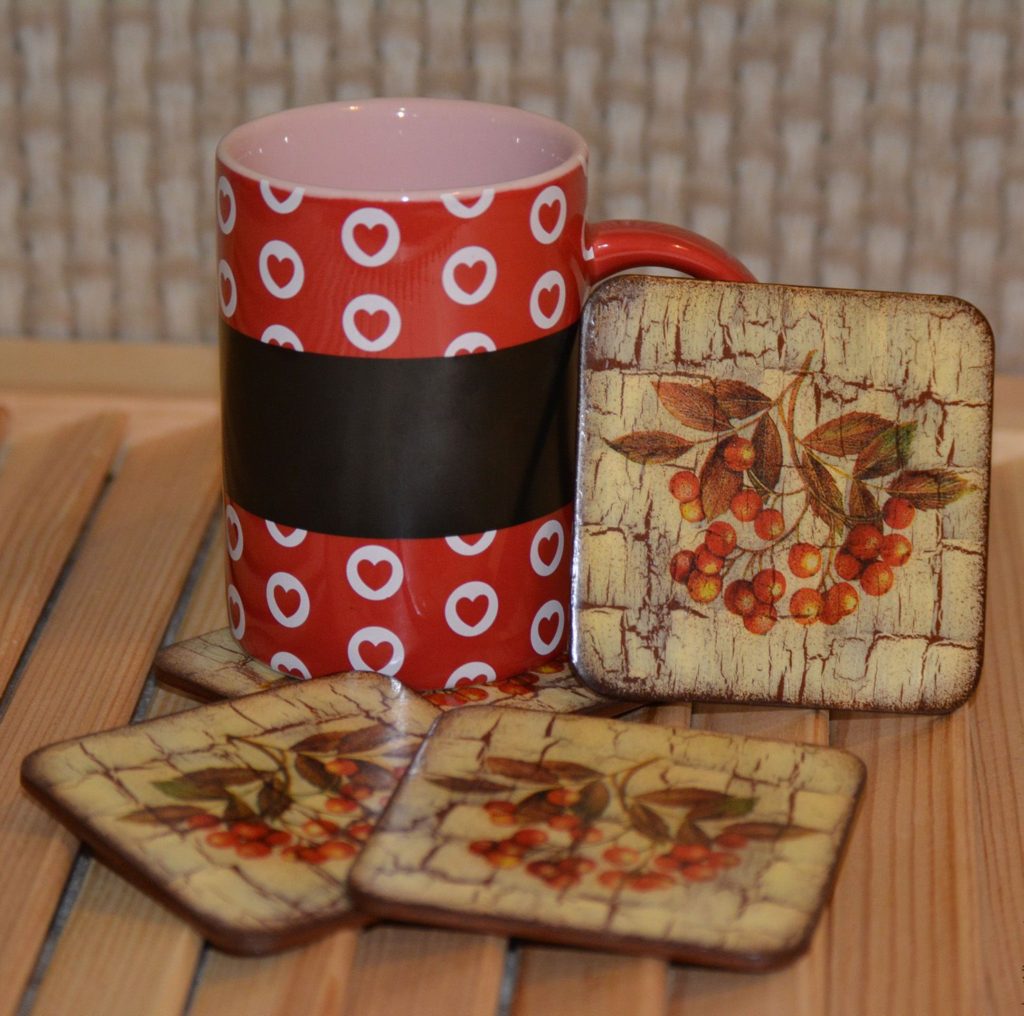
Let's paint our base white on both sides. Use a sponge for this, applying layers until we completely cover the entire area. Wait until the workpiece is completely dry. Separate the top layer with the pattern from the napkin. Glue it carefully to the platform, applying the adhesive layer first to the base, and then to the surface of the napkin. Also close and glue the edges of the workpiece. Wait until it dries completely. Cover in two layers of glossy varnish. It is better to use an aerosol can for this.
A DIY cup coaster is a great gift. It's a necessary household item that's fun to use.

50 original options for coasters for mugs:


I did it easier, took two non-working CDs, glued them together and, lo and behold, the cup stand is ready.
PS: I liked the idea of a stand made from a cut tree.
?