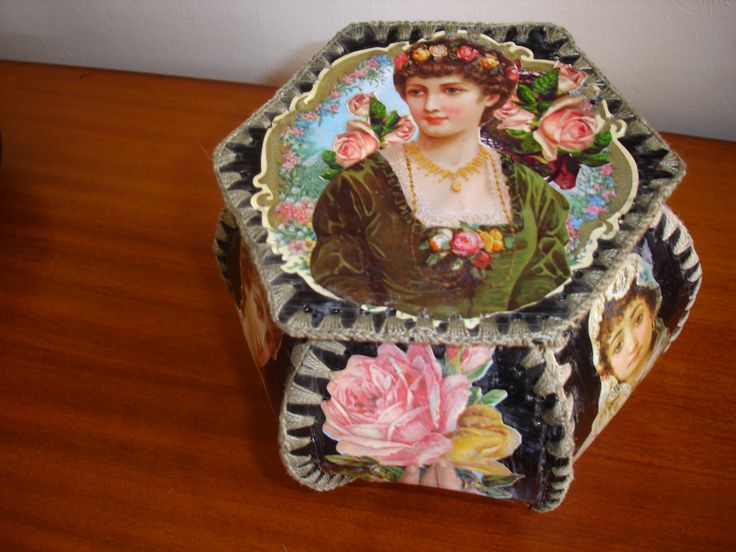
Our grandmothers and mothers found the pleasure of home creativity in making boxes from scrap materials. Especially since the materials for such crafts are simple, and they are in every home. And the finished products can be used as a gift made with your own hands or simply to store various necessary little things in them.
Therefore, they can be made not only for a special occasion, but also as an interior detail, choosing materials and decor accordingly. How to make boxes from postcards with your own hands with step-by-step instructions will be interesting to many.
Content
How to Make DIY Postcard Boxes
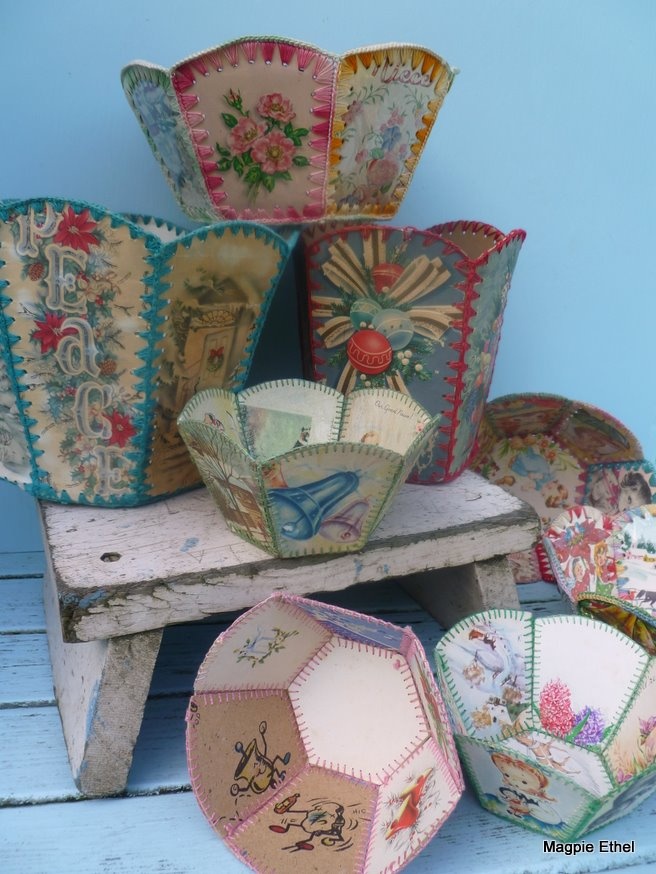
Open your pantry and you will definitely find materials for a postcard box. These beautiful, bright, multi-colored cardboard masterpieces of printing that accumulate in the household are no longer needed, but you can’t bring yourself to just throw them away.
With a reasonable approach, they can still serve. And they will become the basis for boxes made of postcards made with your own hands. Fans of home crafts will especially appreciate this opportunity for home creativity. Craftswomen can make, using ready-made patterns, exquisite boxes or beautiful boxes for gifts.
The postcards should be selected to be approximately the same size and the subject matter of the images on them should be similar to each other. You will need scissors, regular sewing needles and different types of thread depending on the options for the future product.
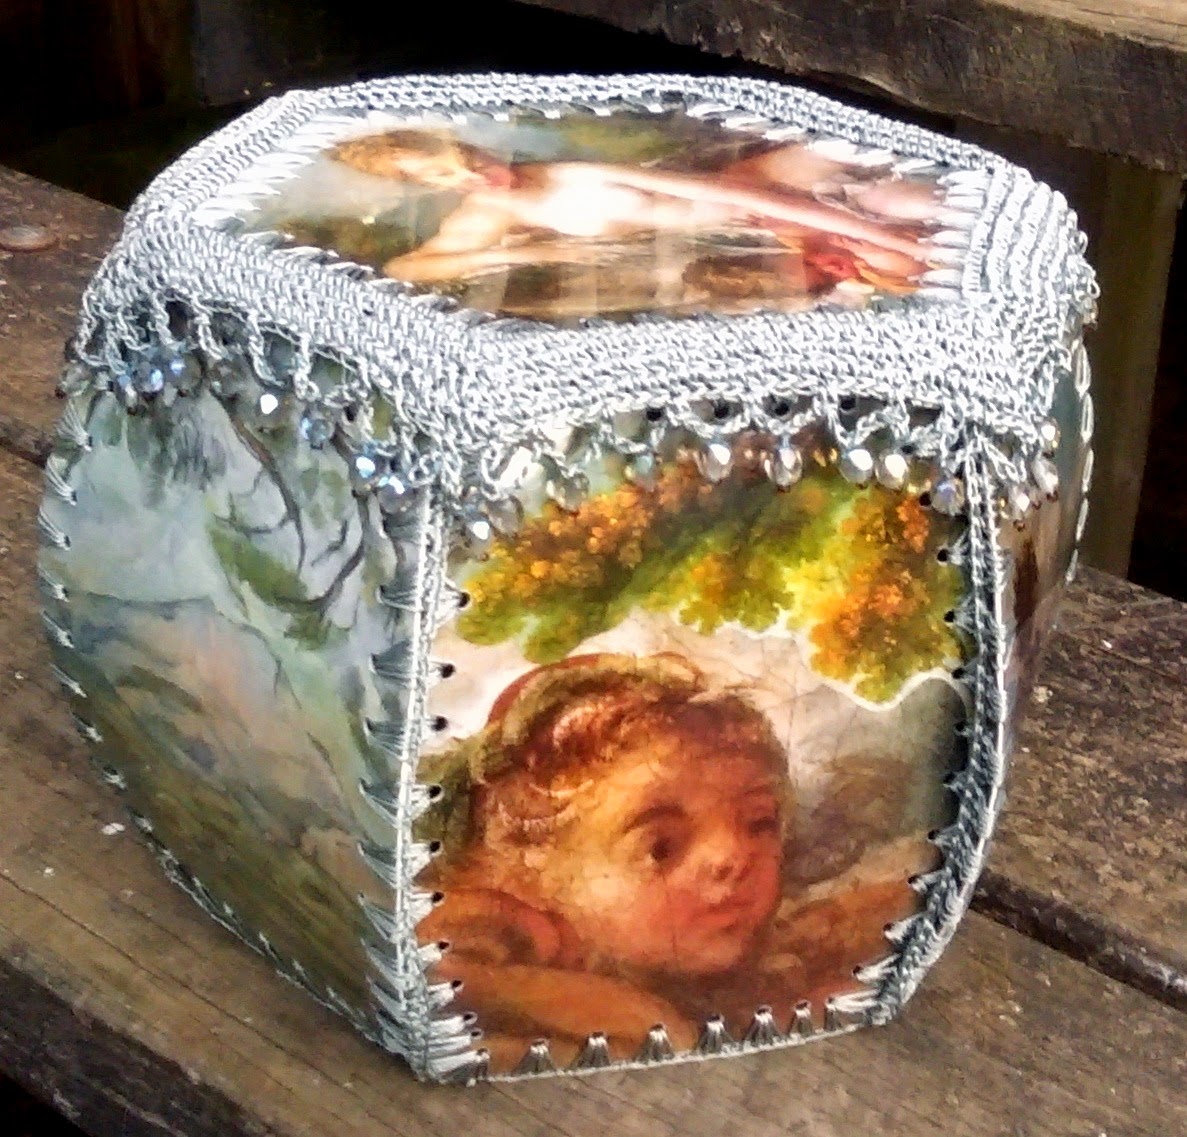
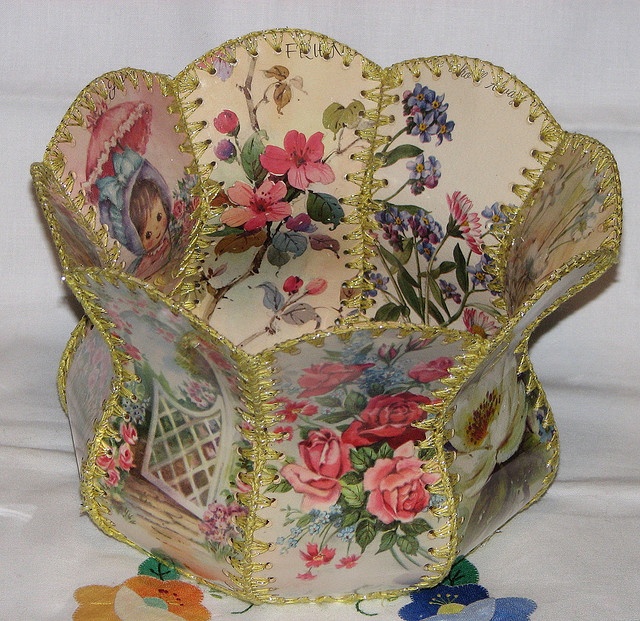
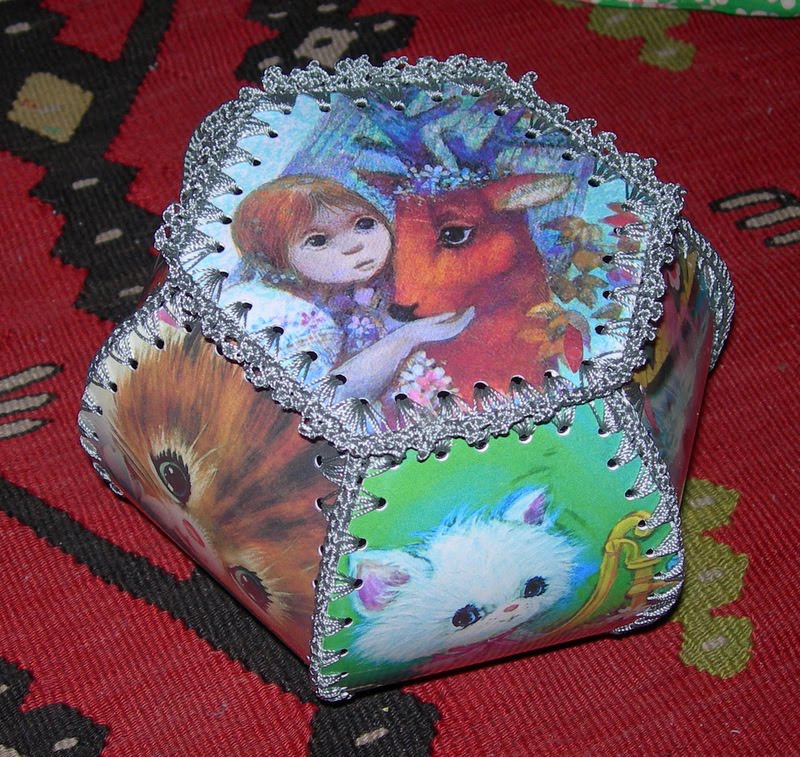
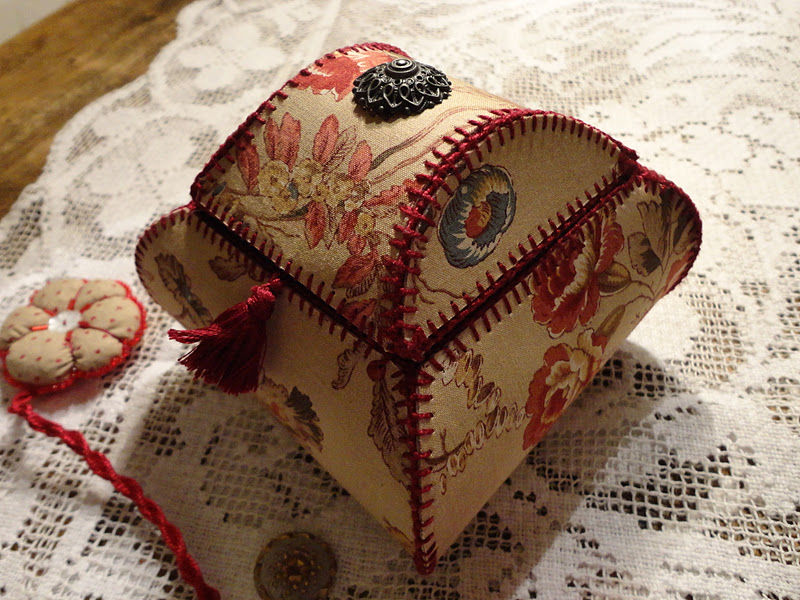
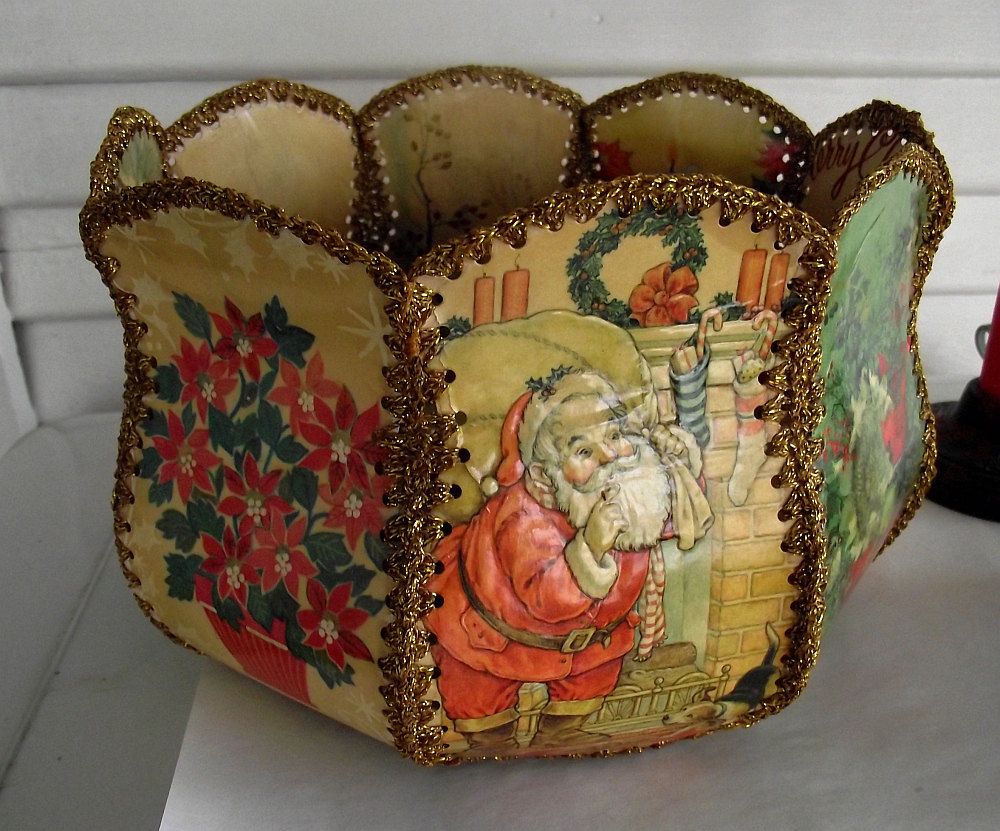
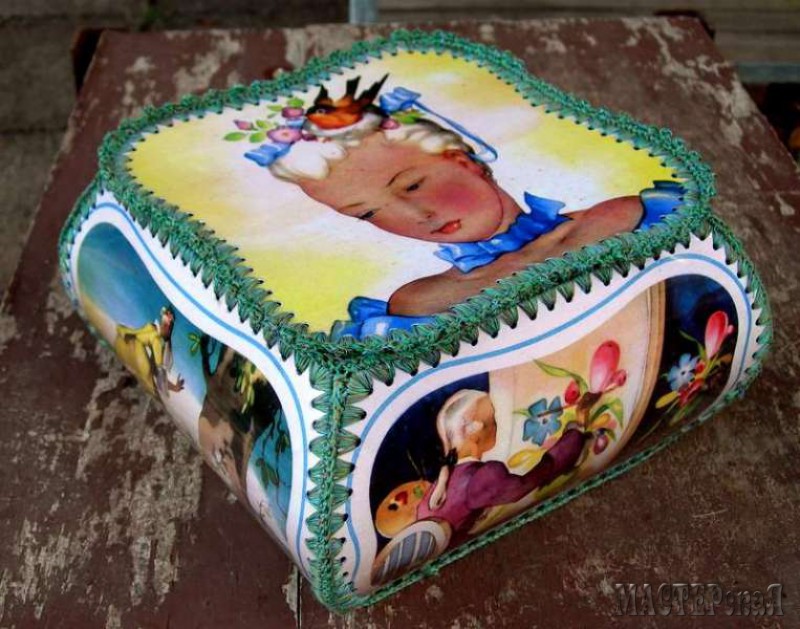
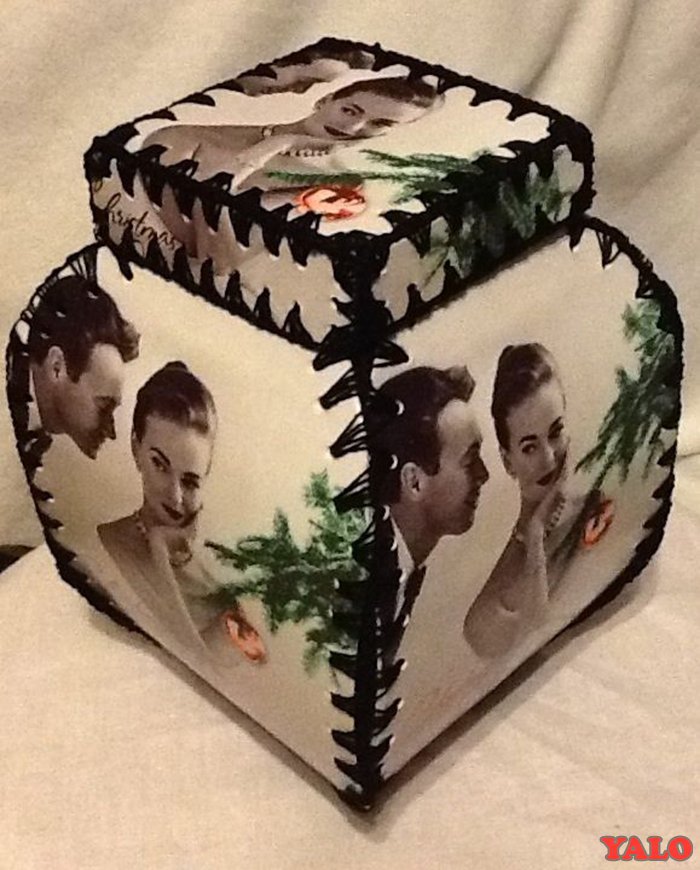
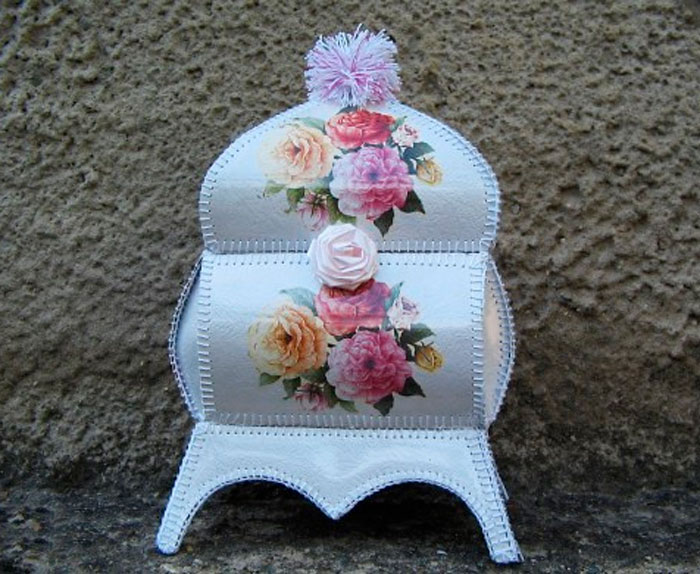
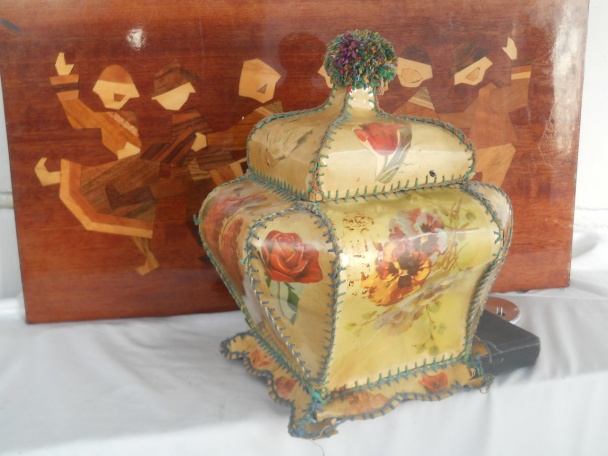
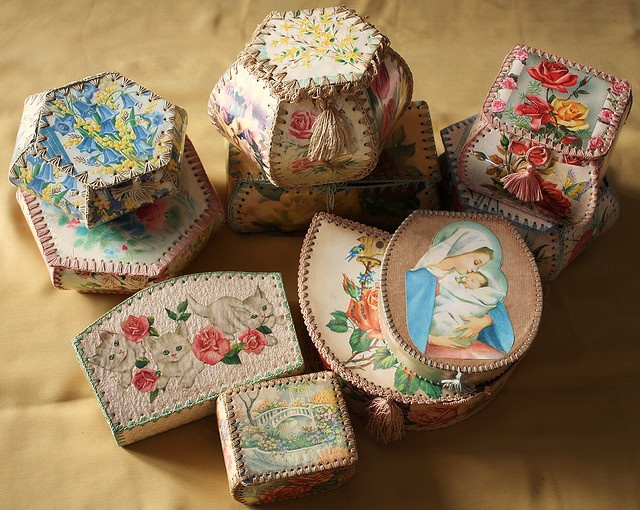
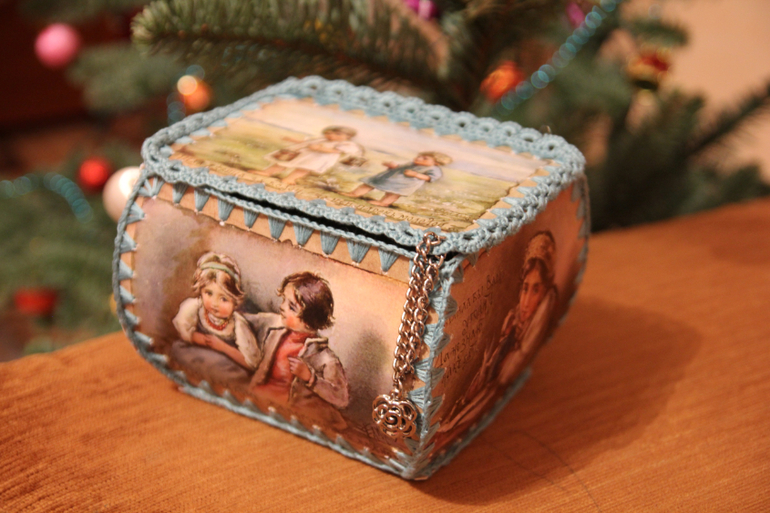
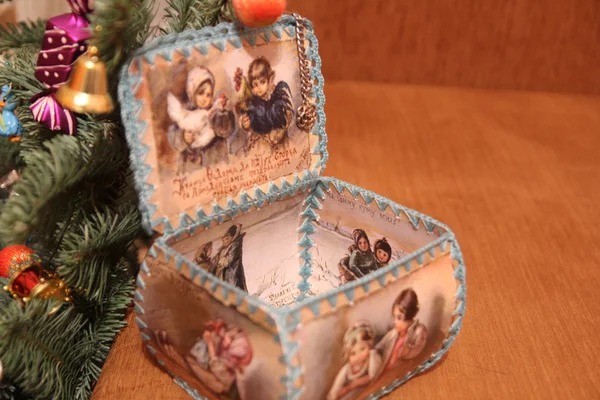
A simple version of a DIY box
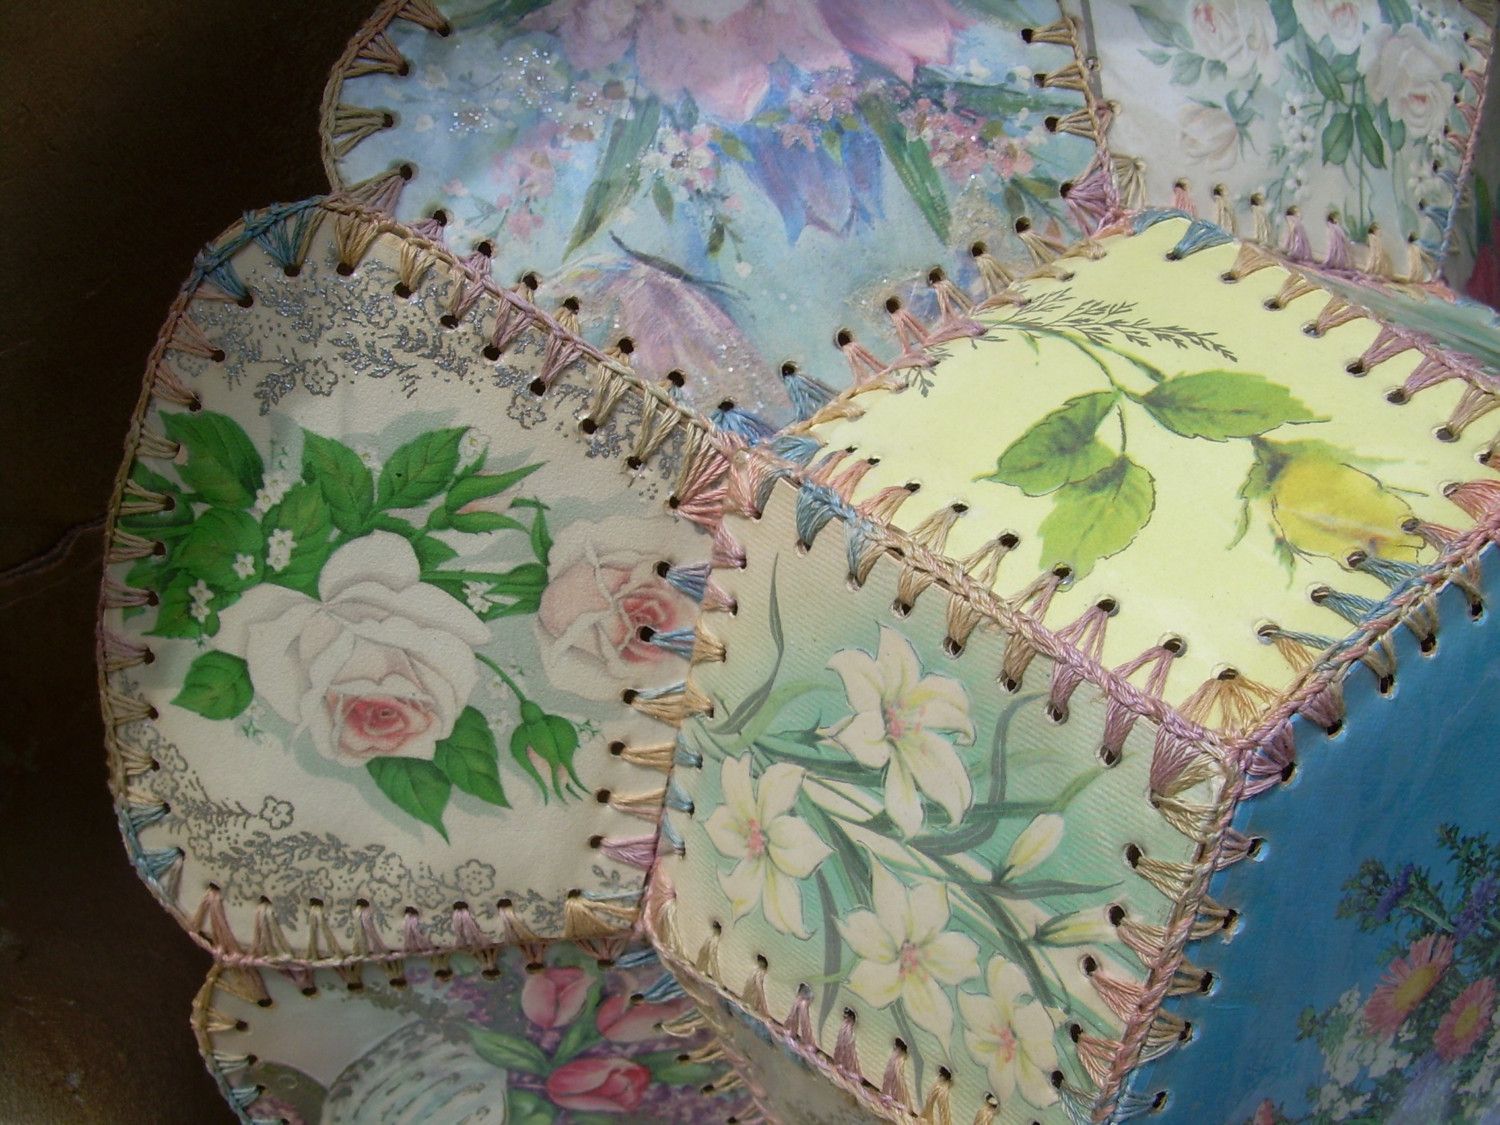
The eye of the selected needle should be wide. Choose the motifs of the drawings at your discretion. Choose threads in the tone of the drawings on the postcards, or, on the contrary, in contrasting colors.

Please note! Instead of regular threads, use cotton floss, which is hand or machine spun specifically for needlework.
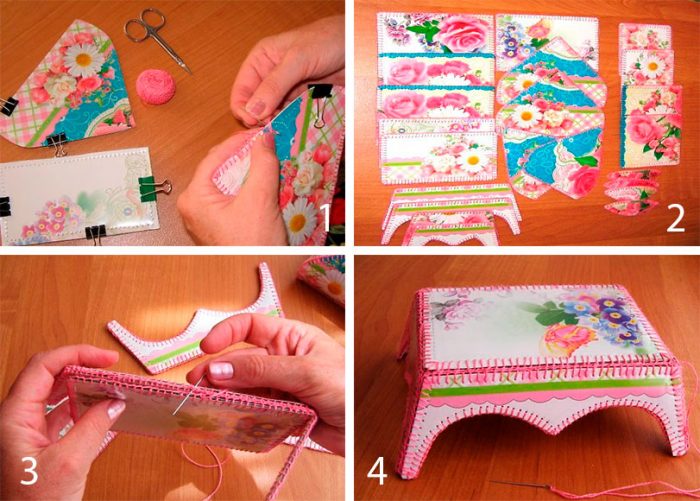
Let's get started step by step.
- First, let's decide on the sizes.
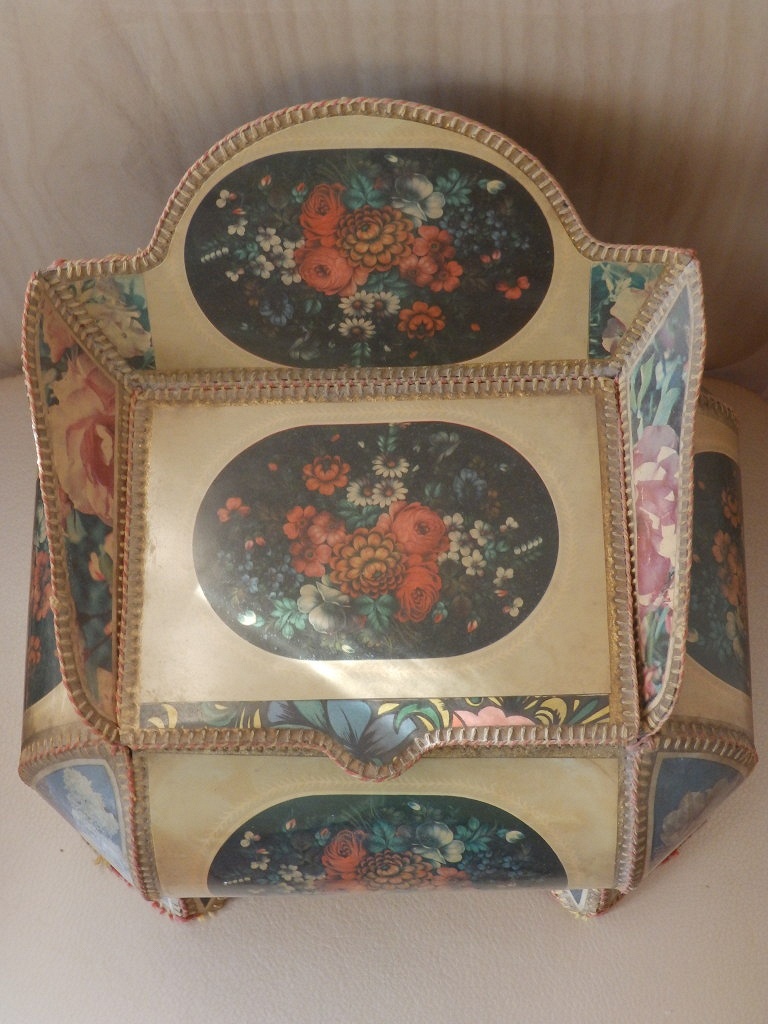
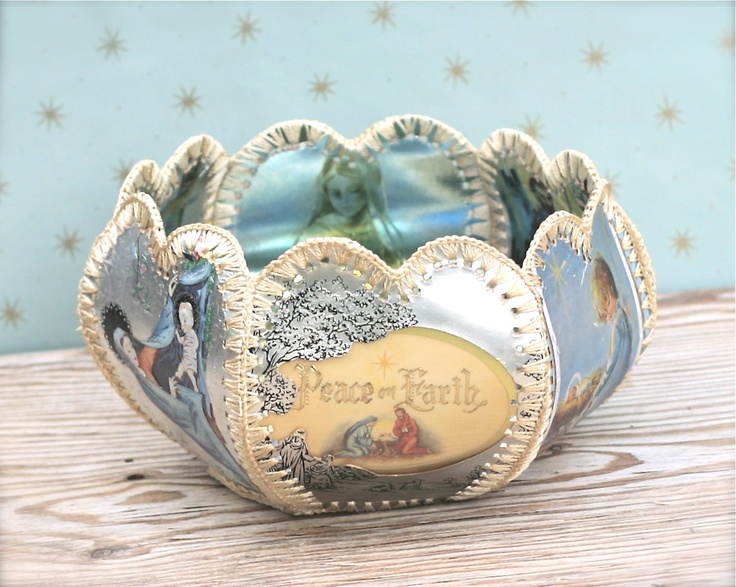
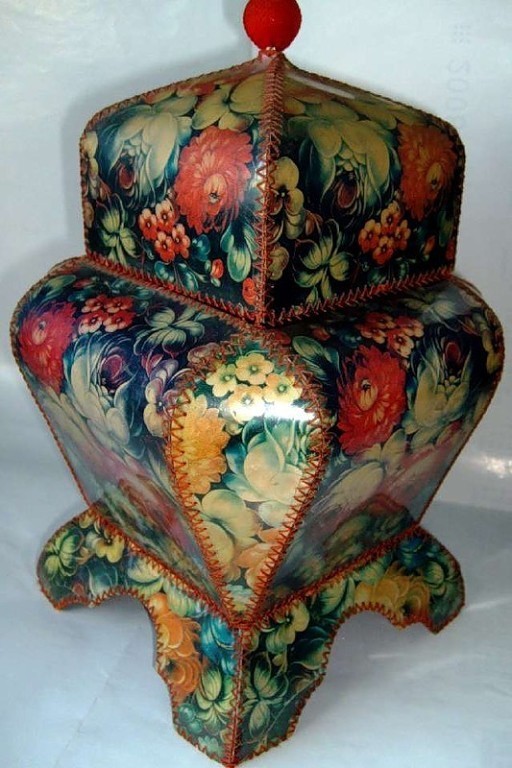
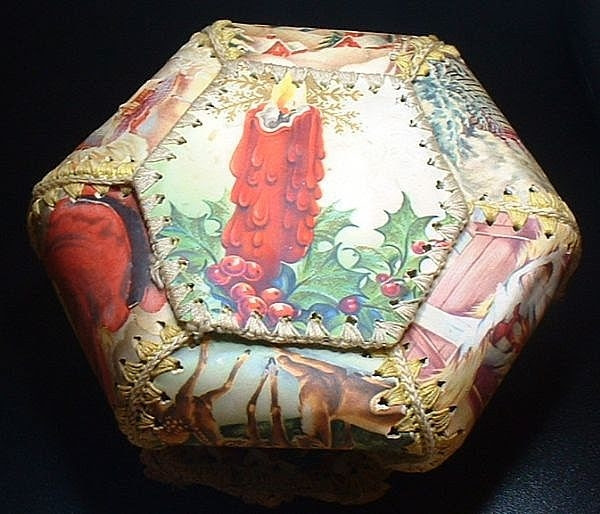
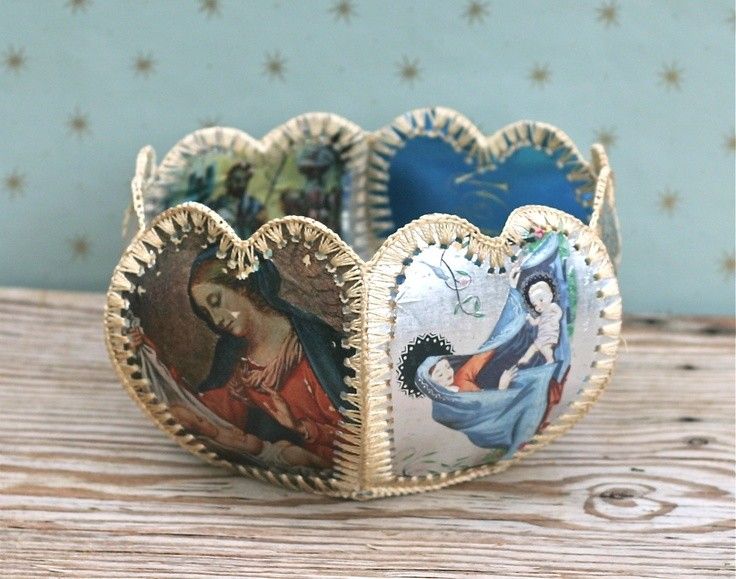
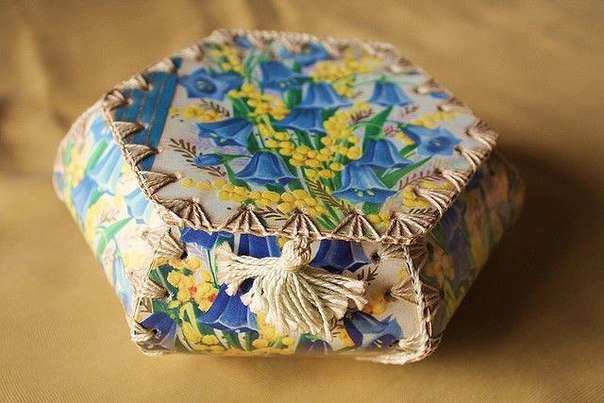
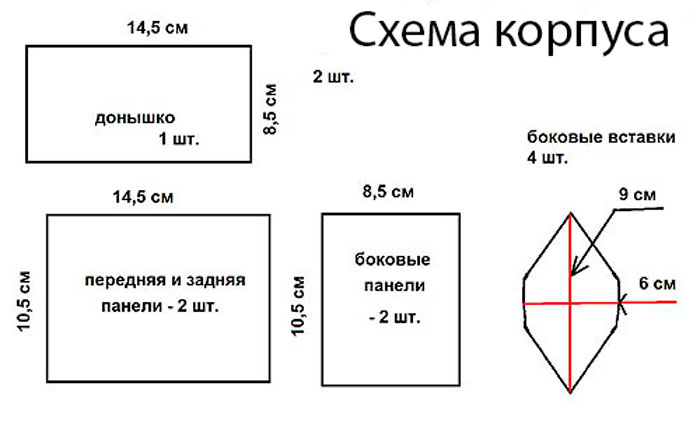
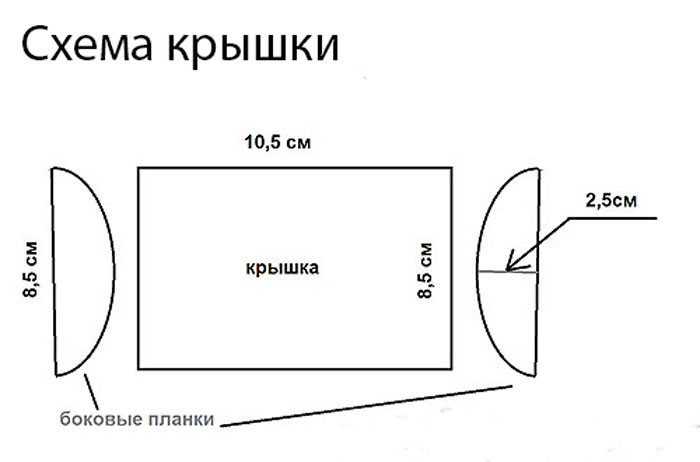
- Making a box with your own hands will require a diagram. It will allow you to clearly see the order of work. All panels, the bottom, side inserts in the form of diamonds, the upper component of the lid with side lobes are shown schematically.
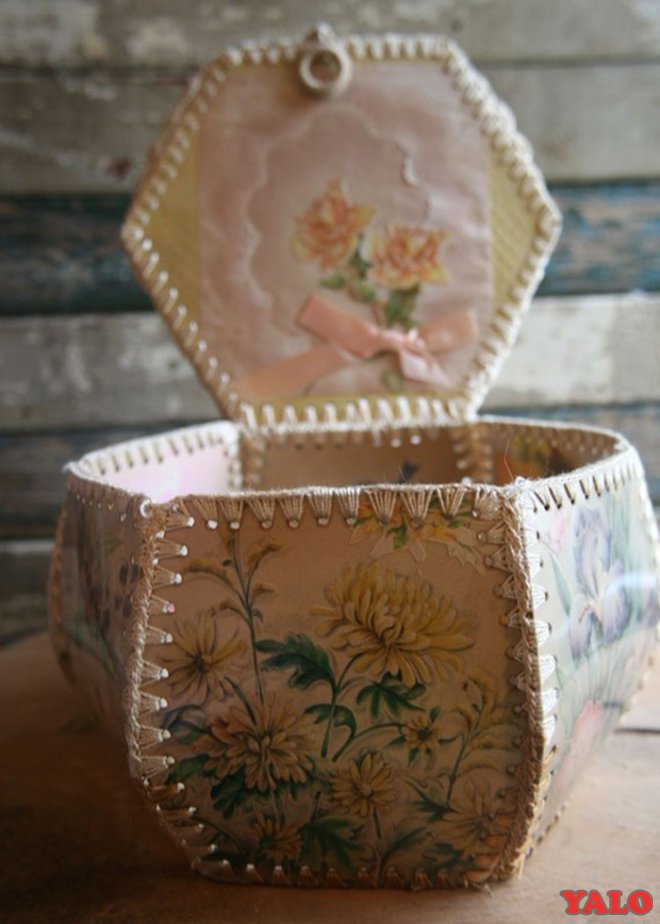
- After cutting out the two bottoms, they should be joined back to back.
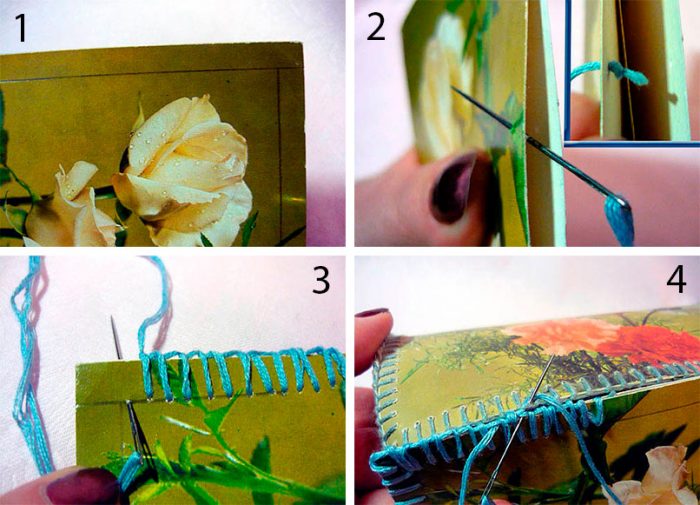
- Lines are drawn around the perimeter of the card inside the box, stepping back from the edges by a centimeter. With these actions we mark the line.
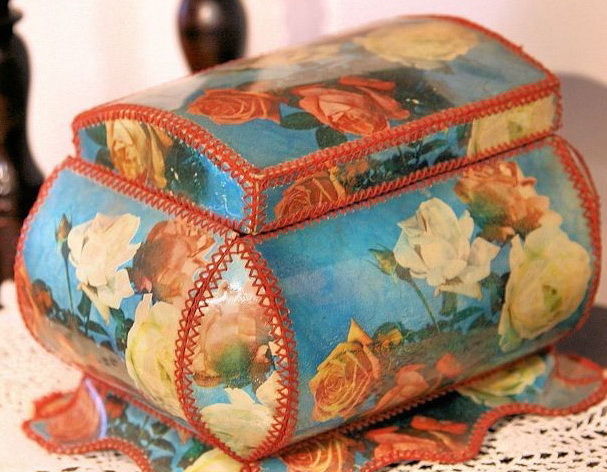
- Using decorative stitches, we sew the resulting two-layer piece along the edges. For this, we use floss threads folded several times. To avoid knots sticking out from the outside, we start the sewing process from the side that will be inside the finished product.
- We use the same technique to connect the remaining parts with a double layer.
- At the end of the process, we stitch the blanks by hand and sew them together.
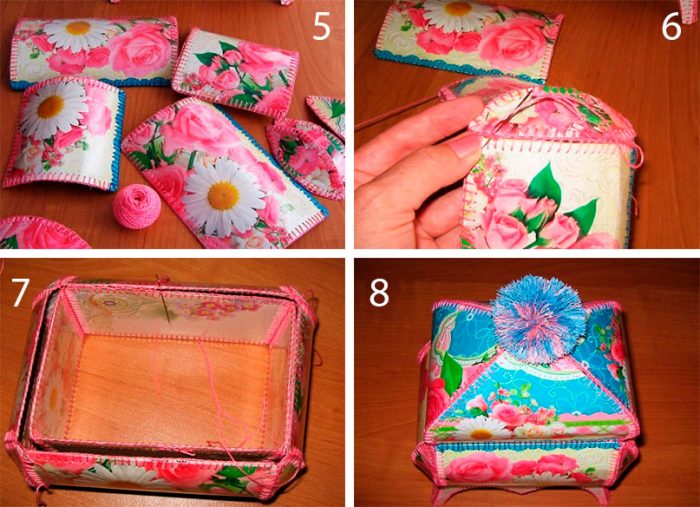
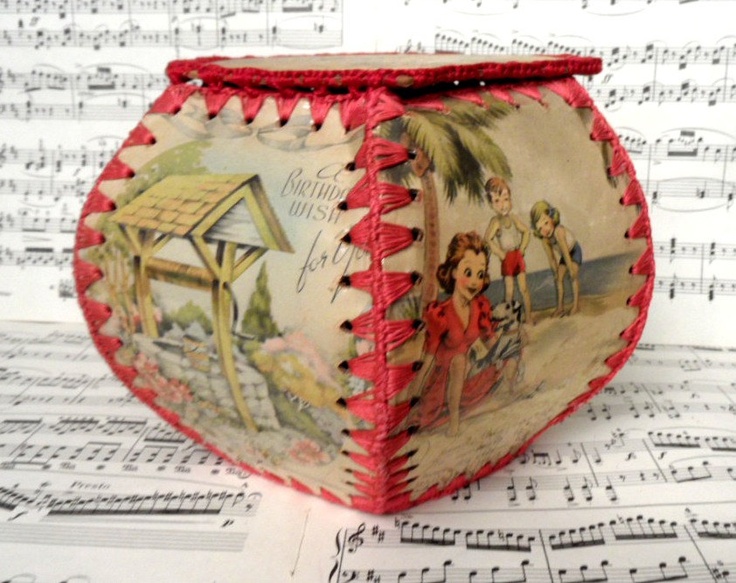
Here's how you can make a box with your own hands quickly and easily.
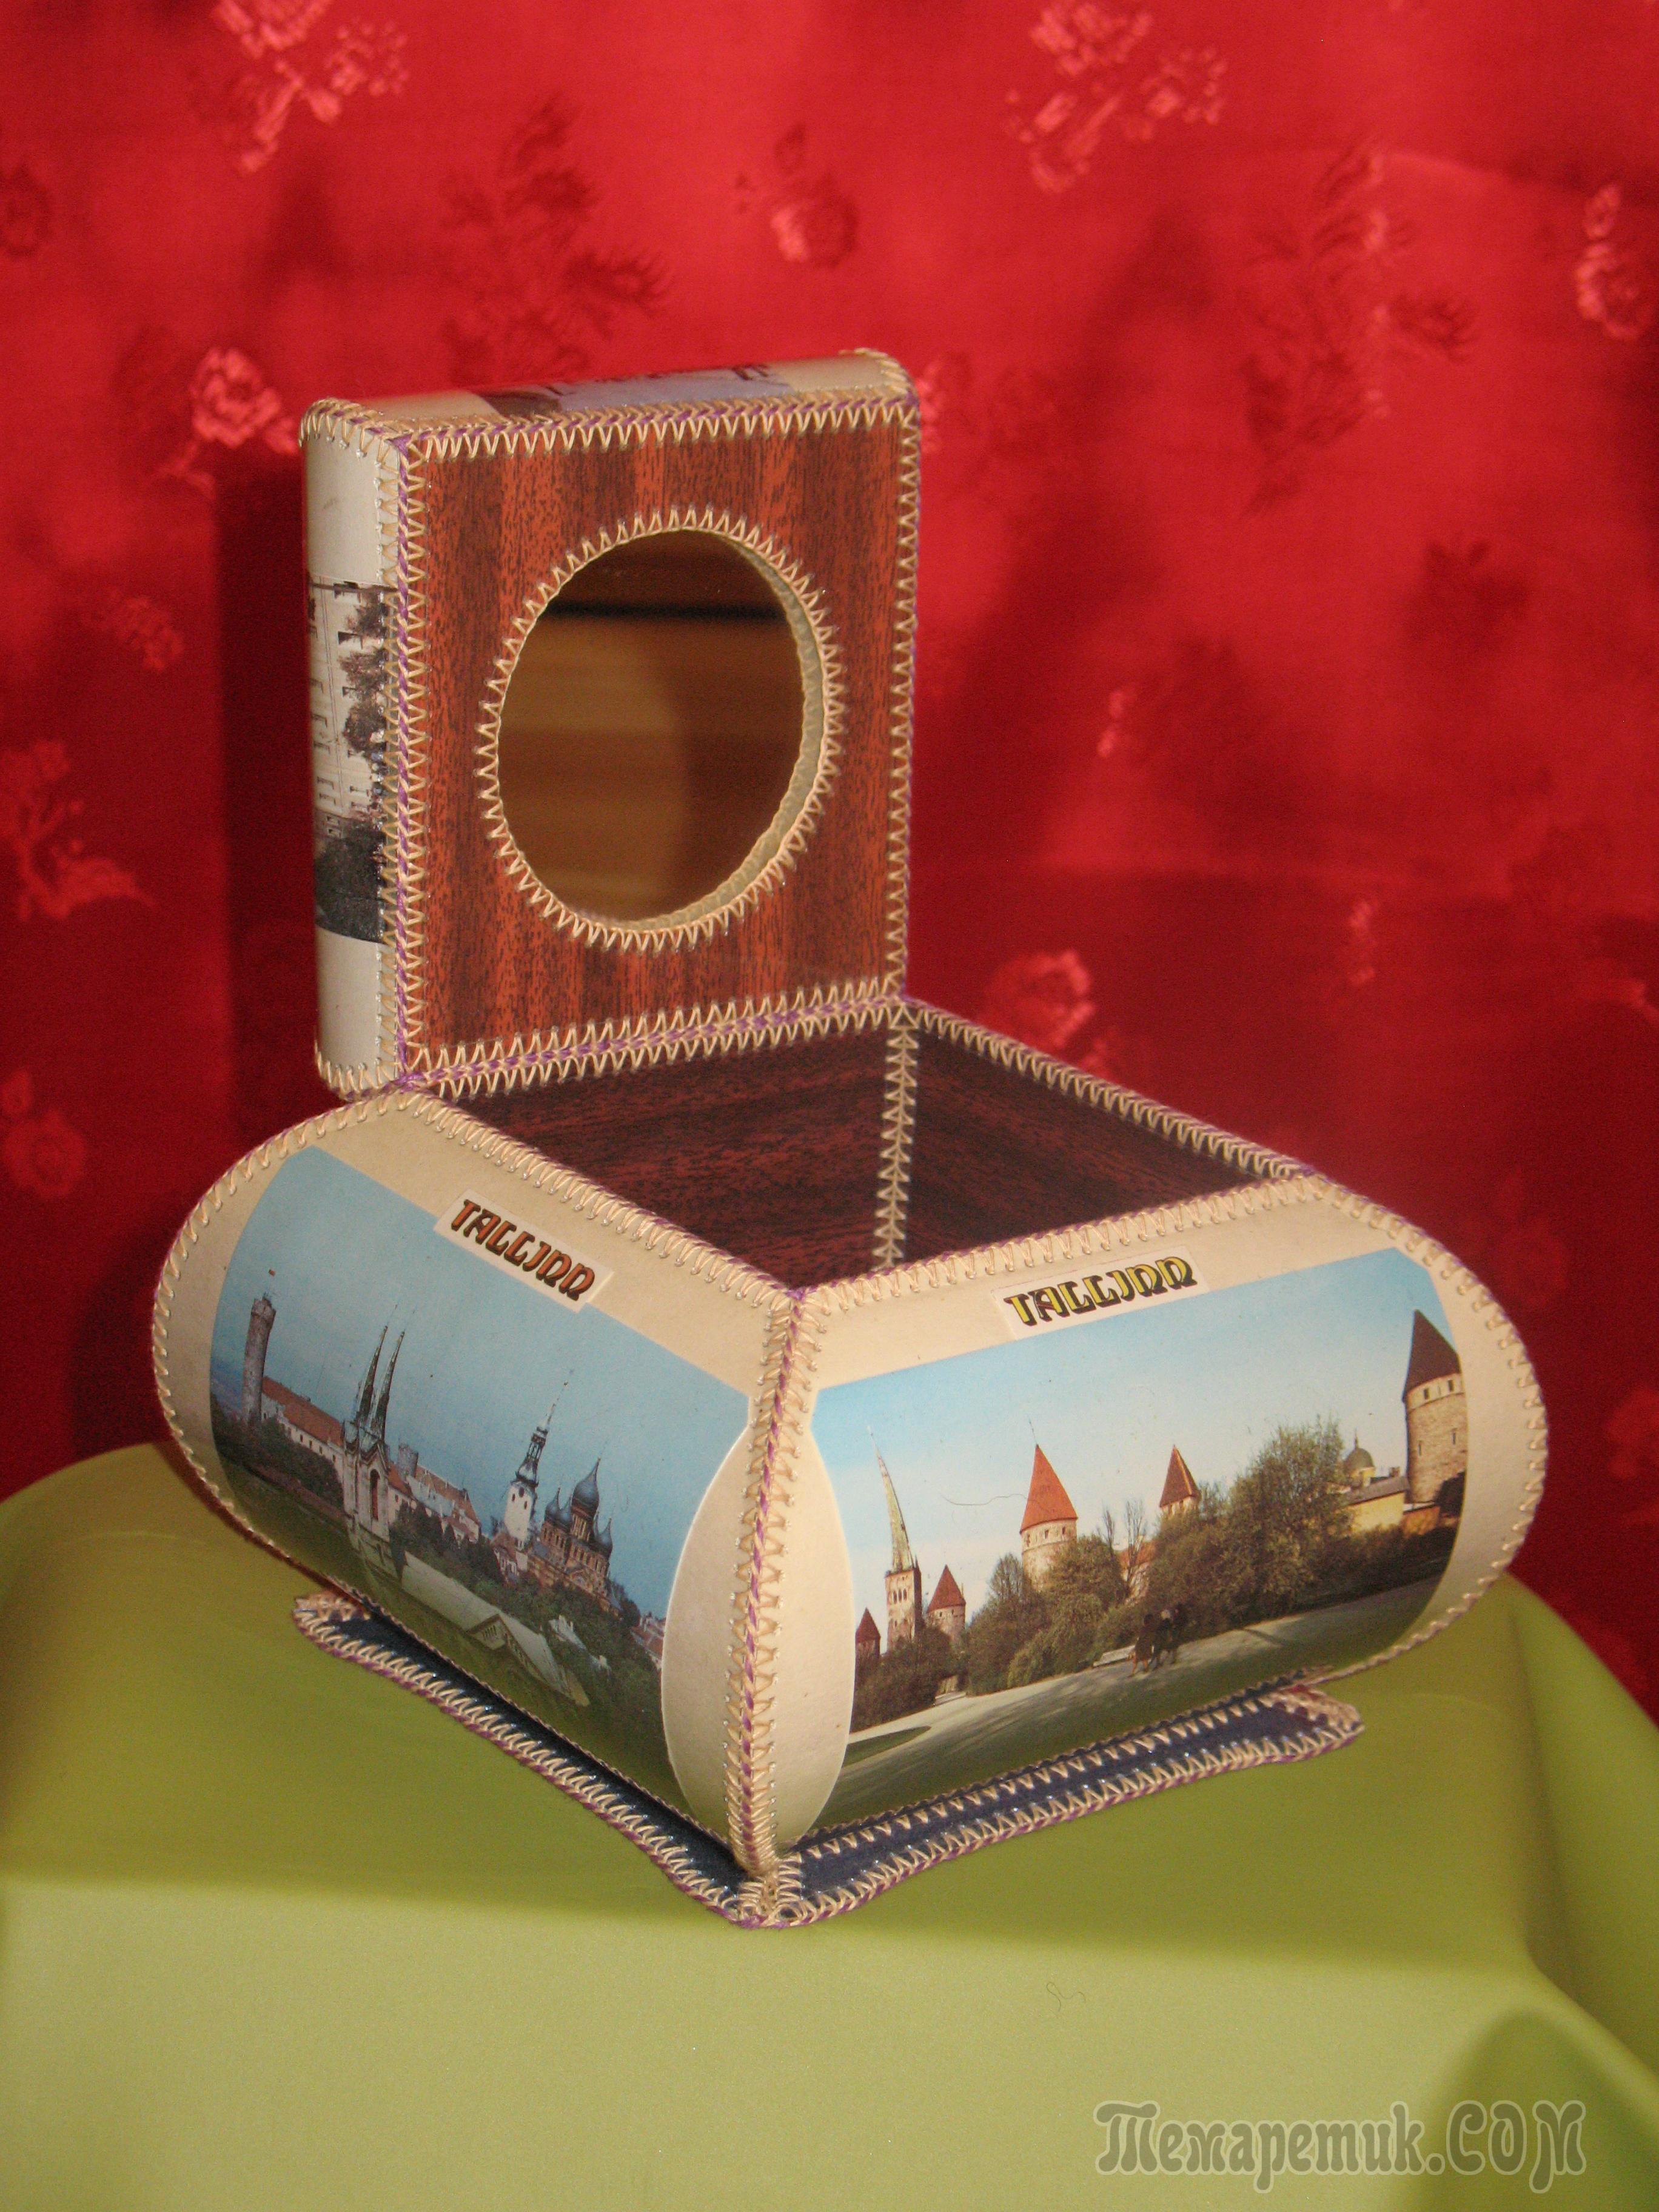
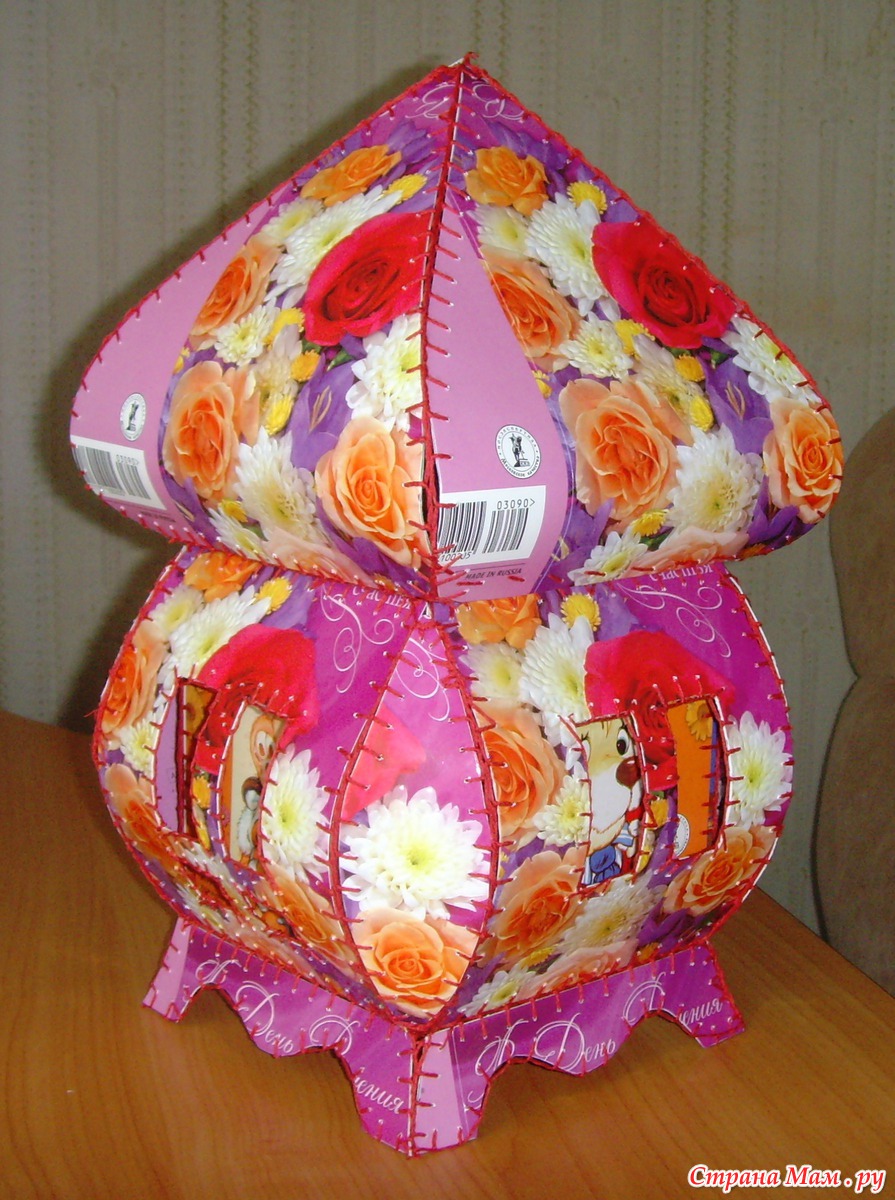
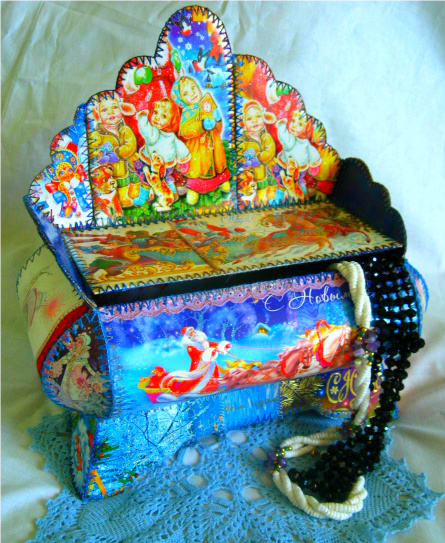
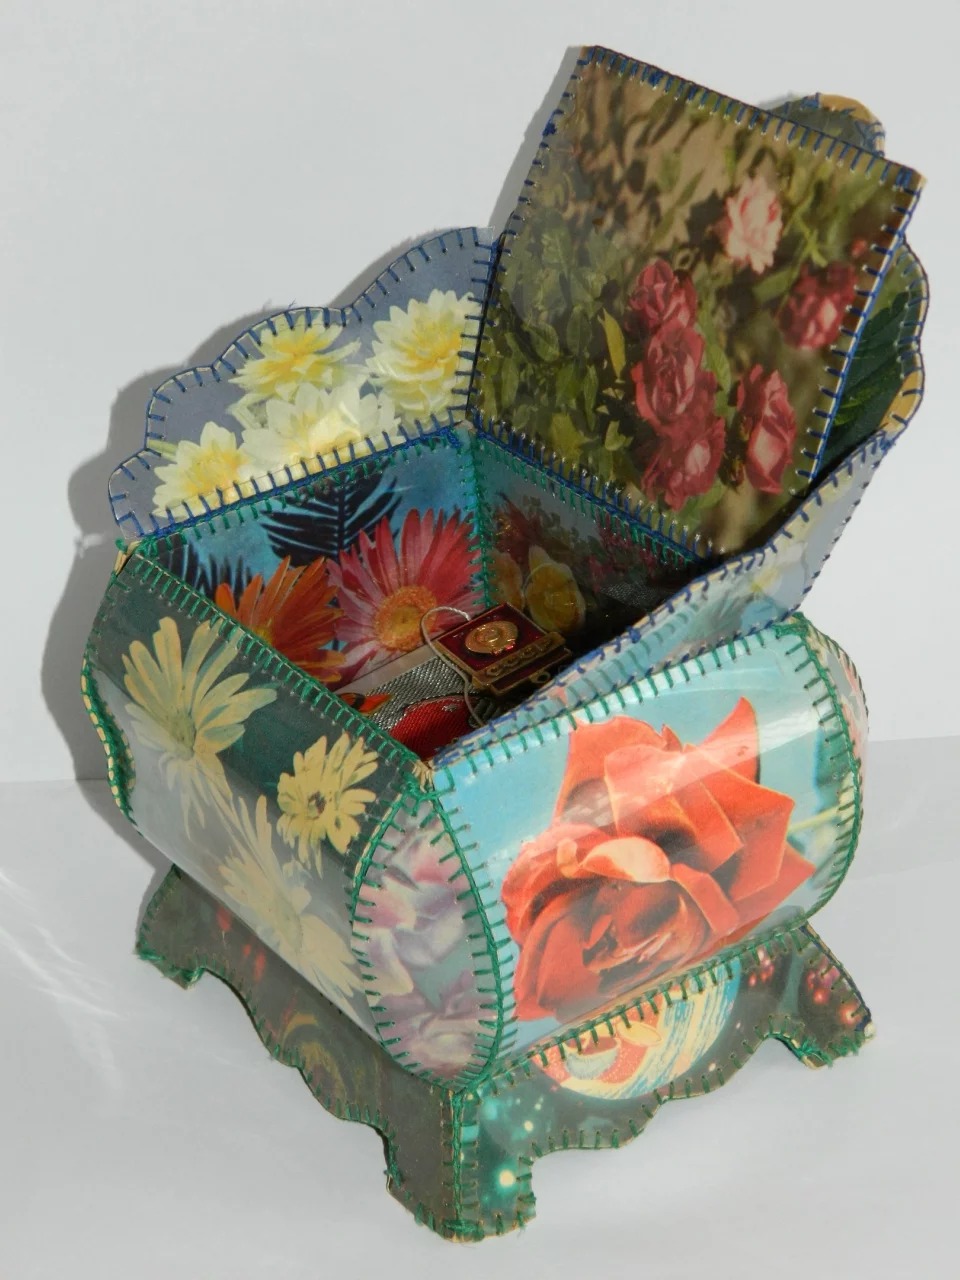
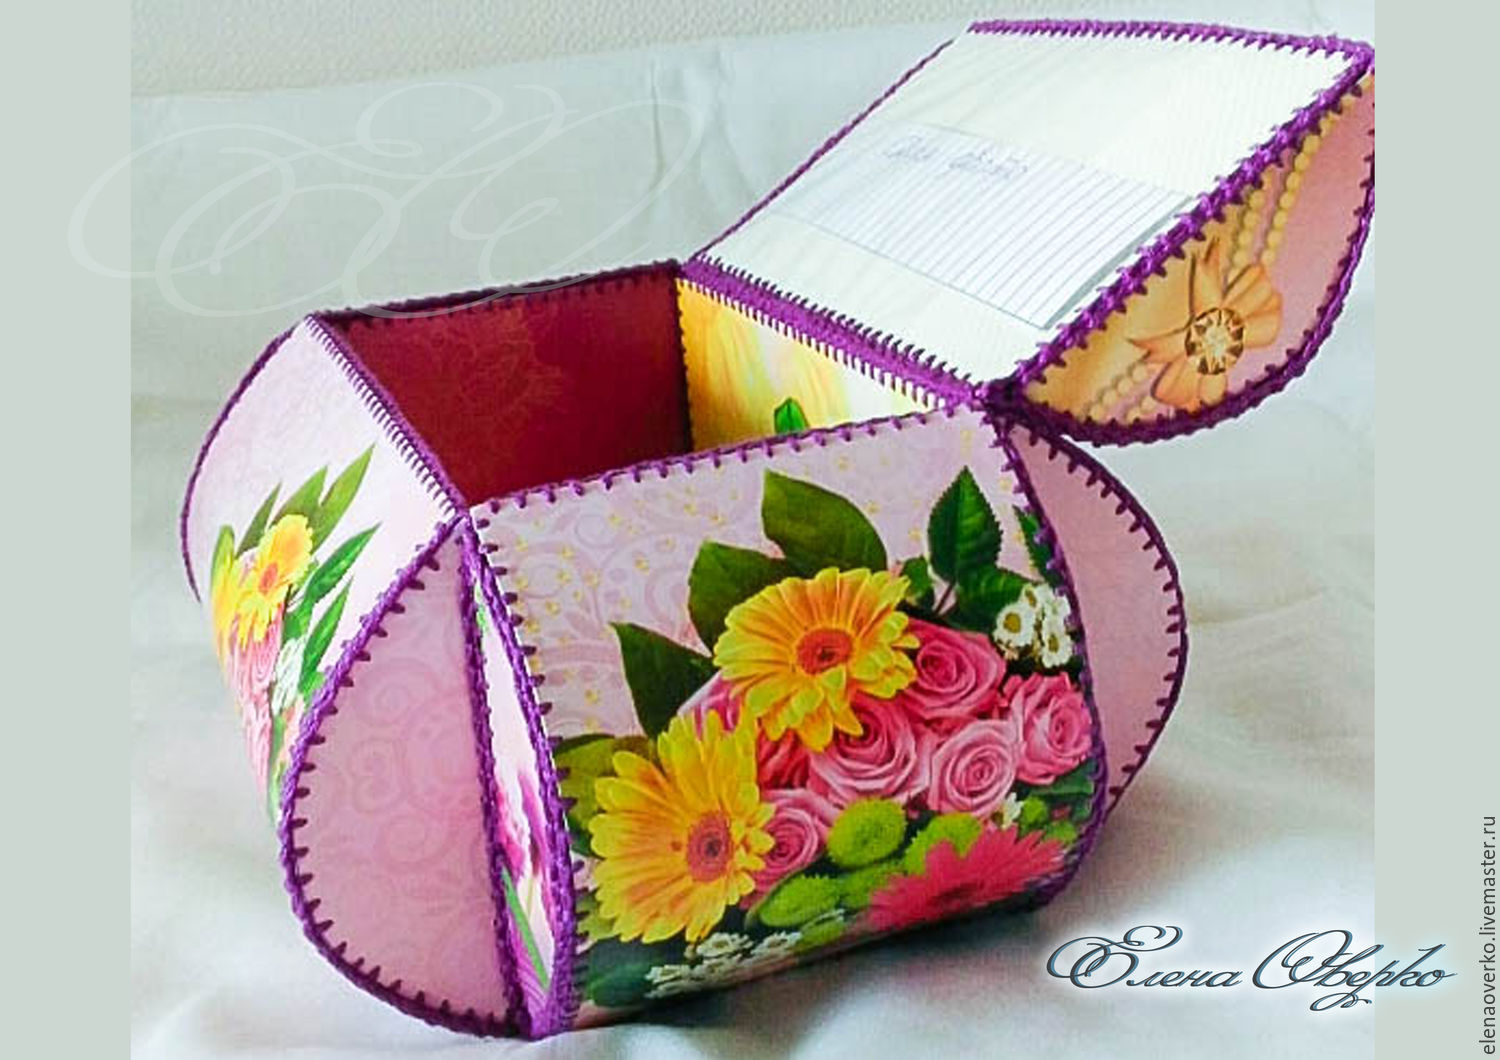
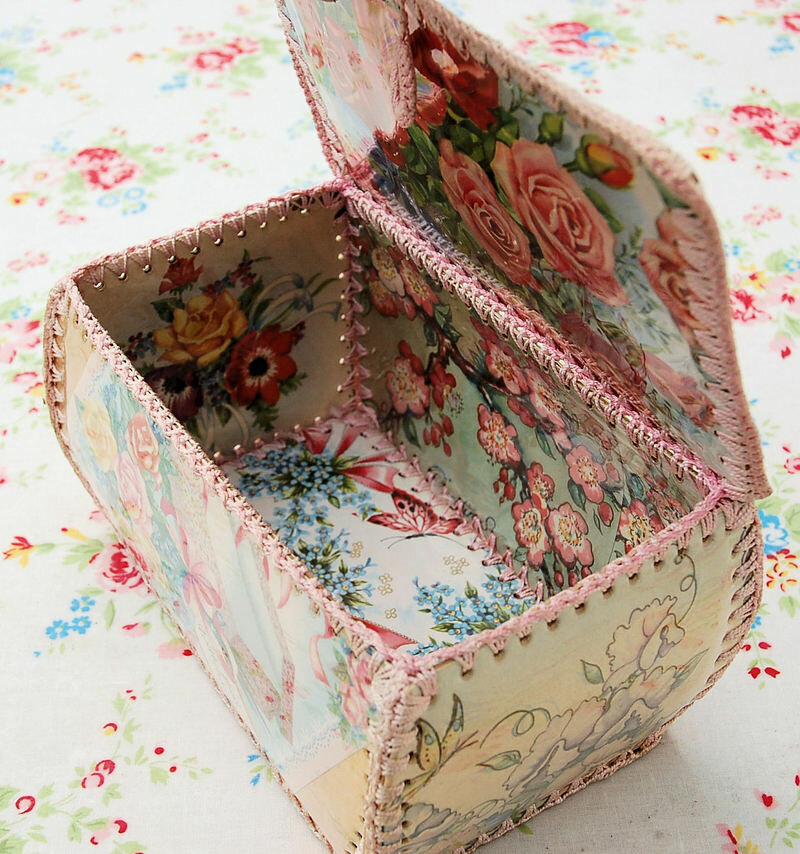
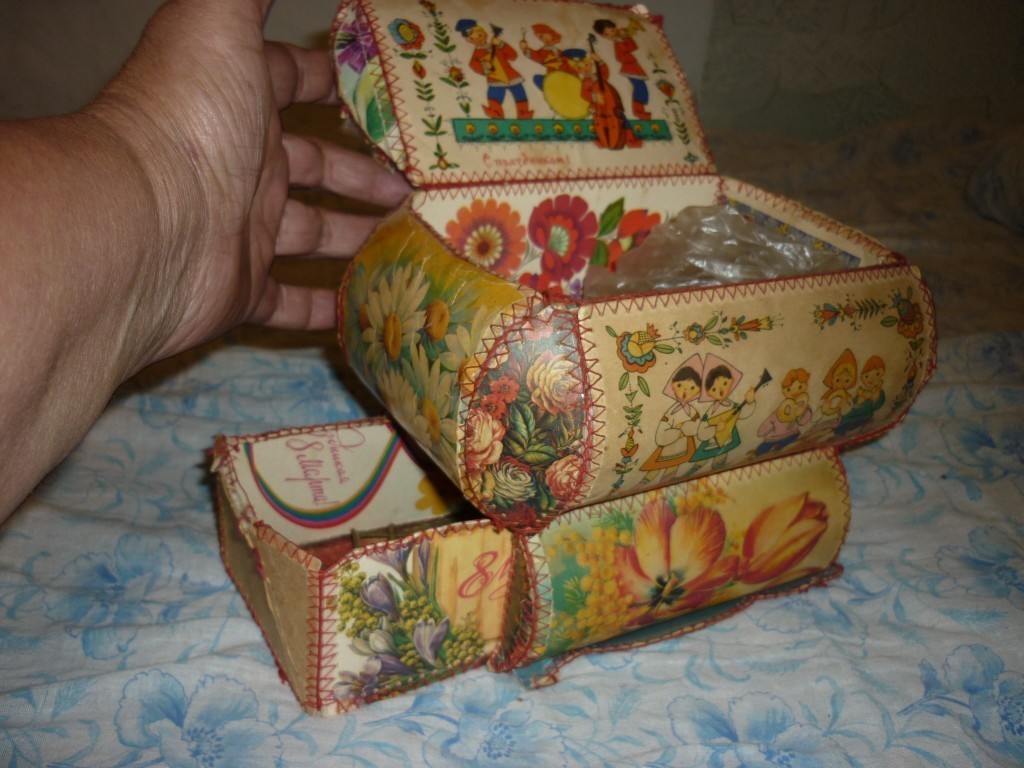
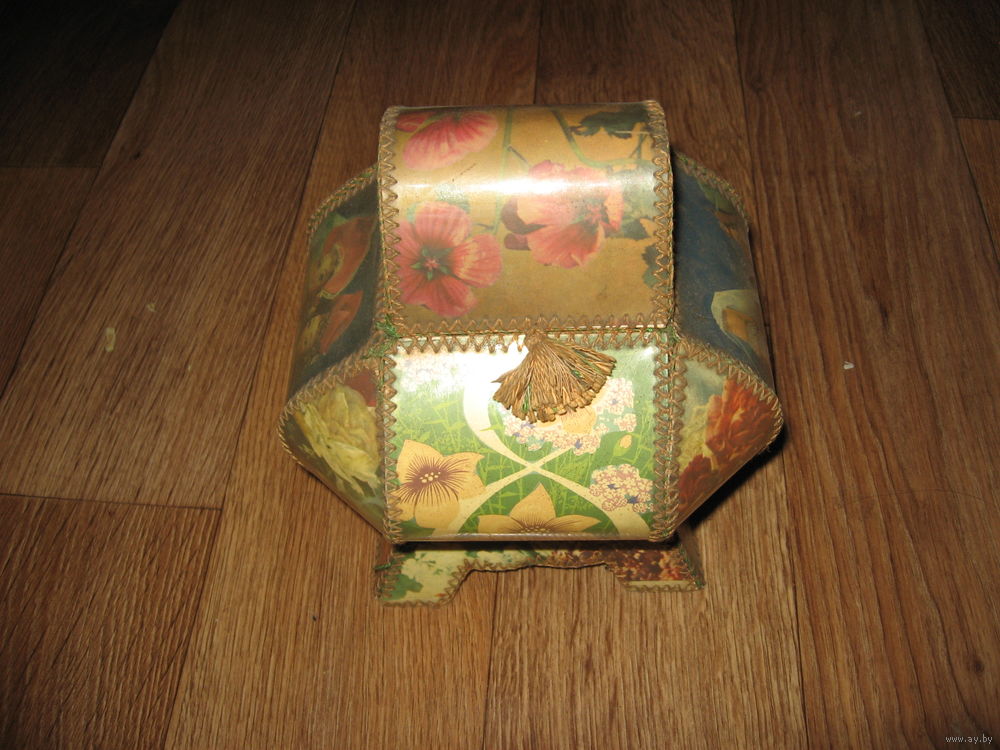
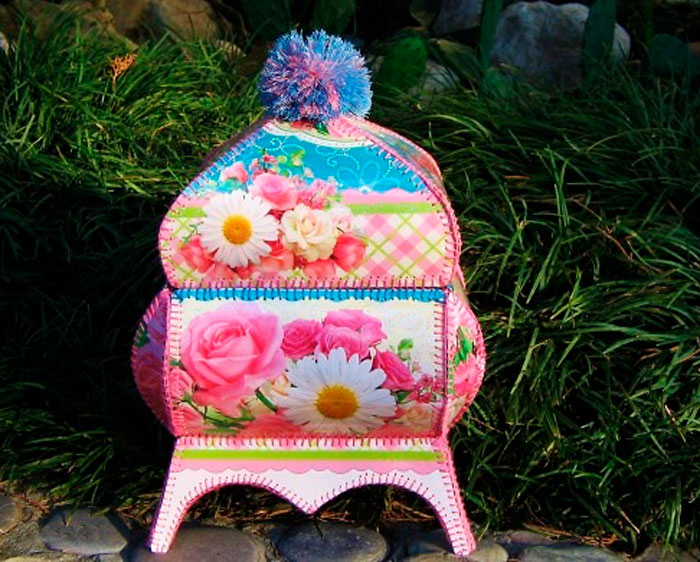
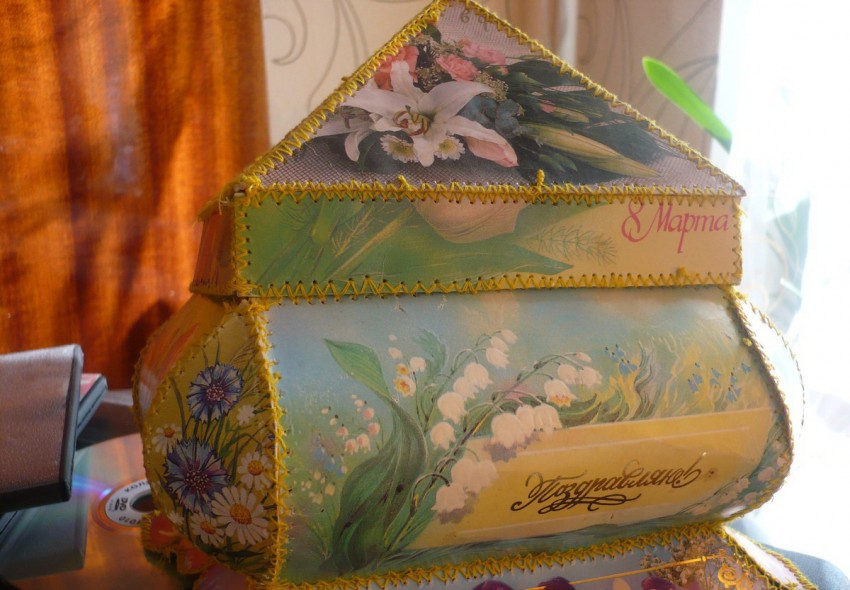
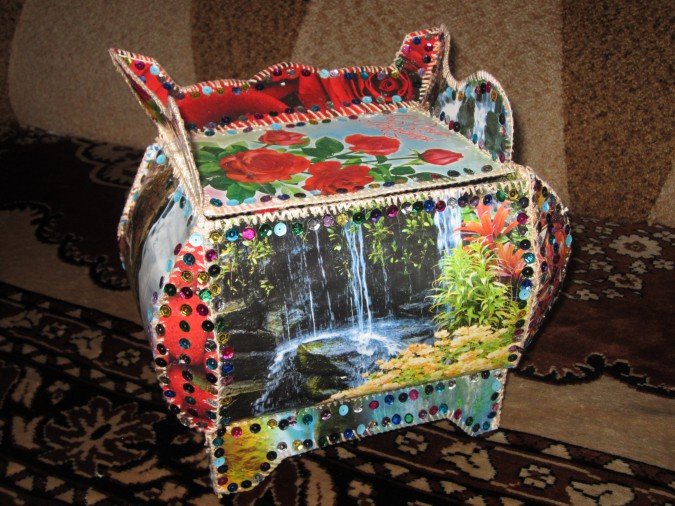
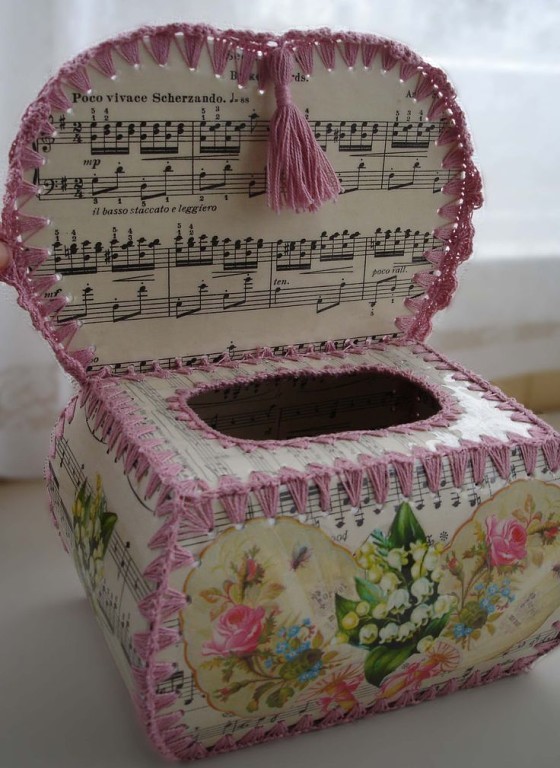
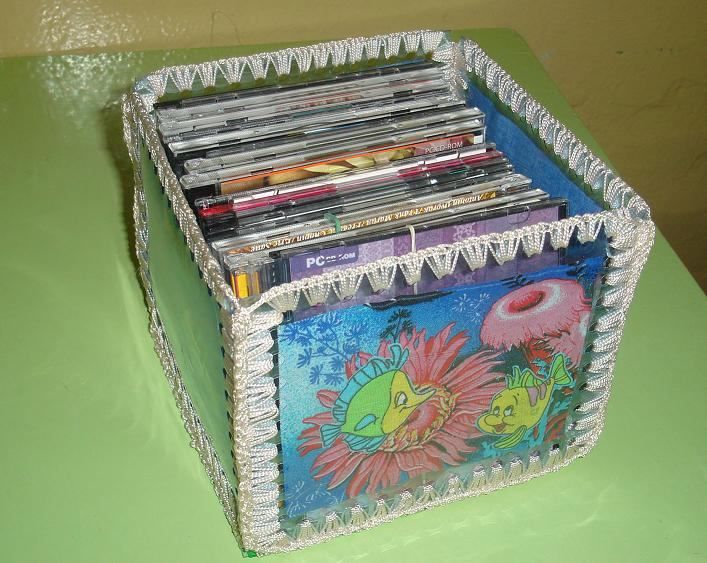
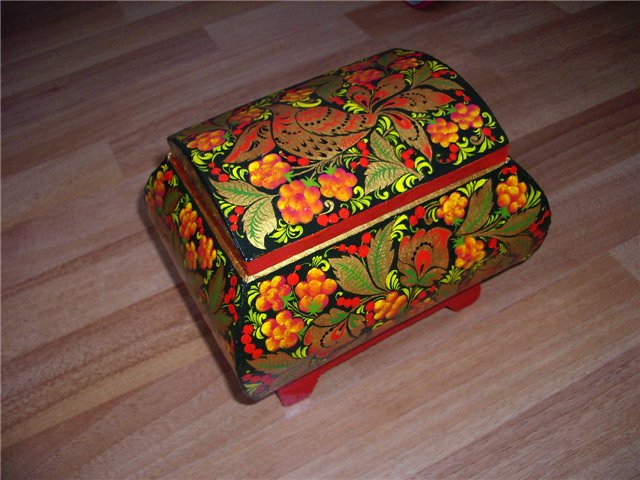
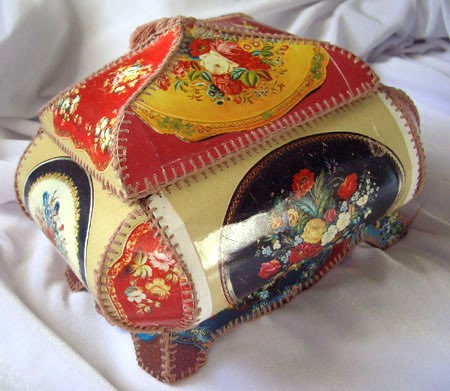
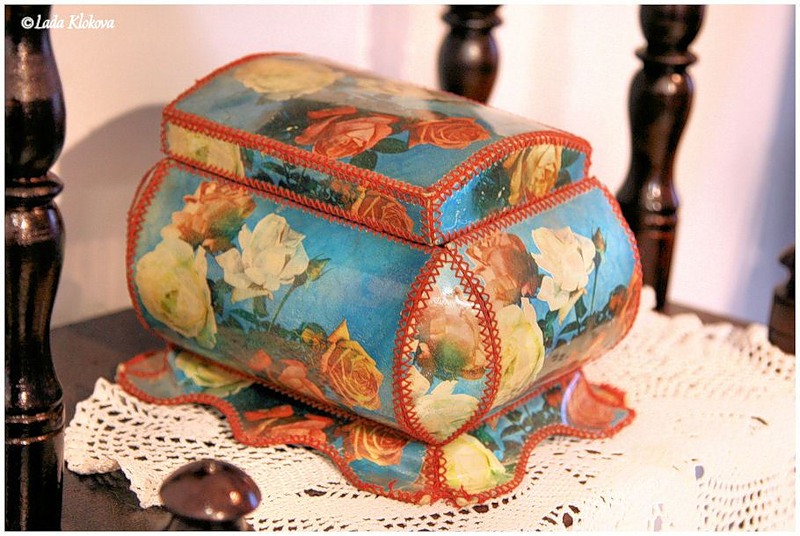
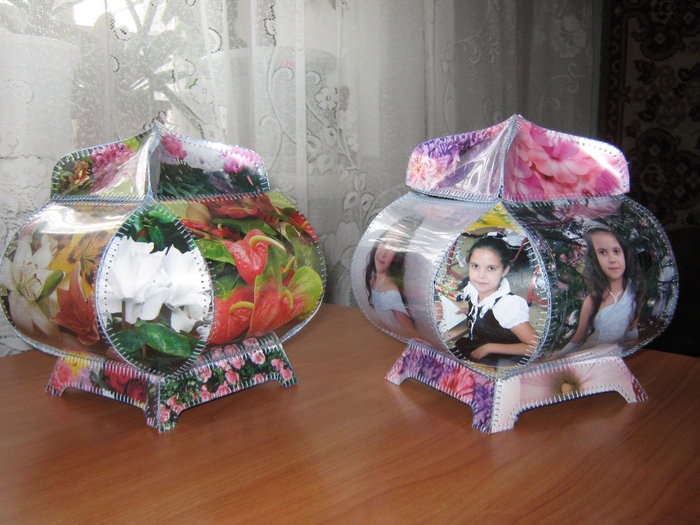
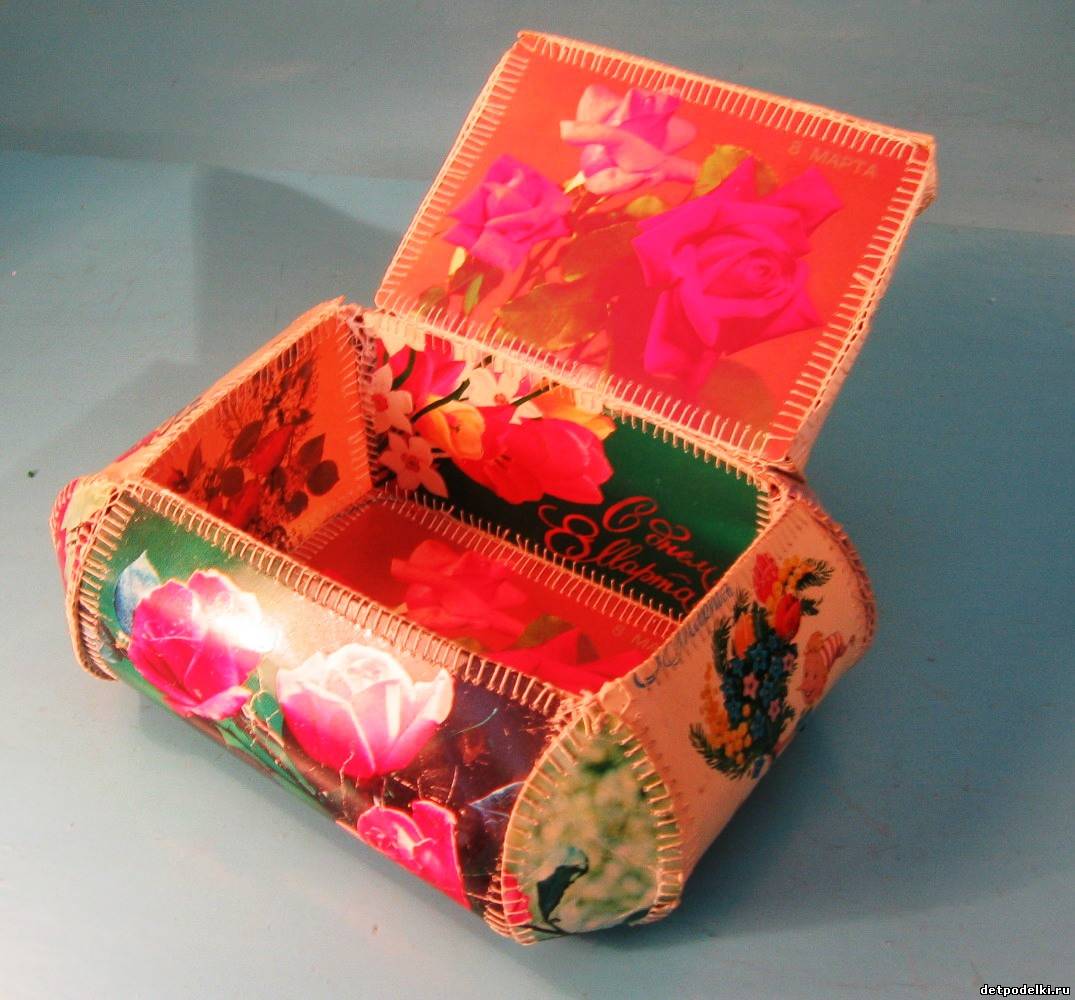
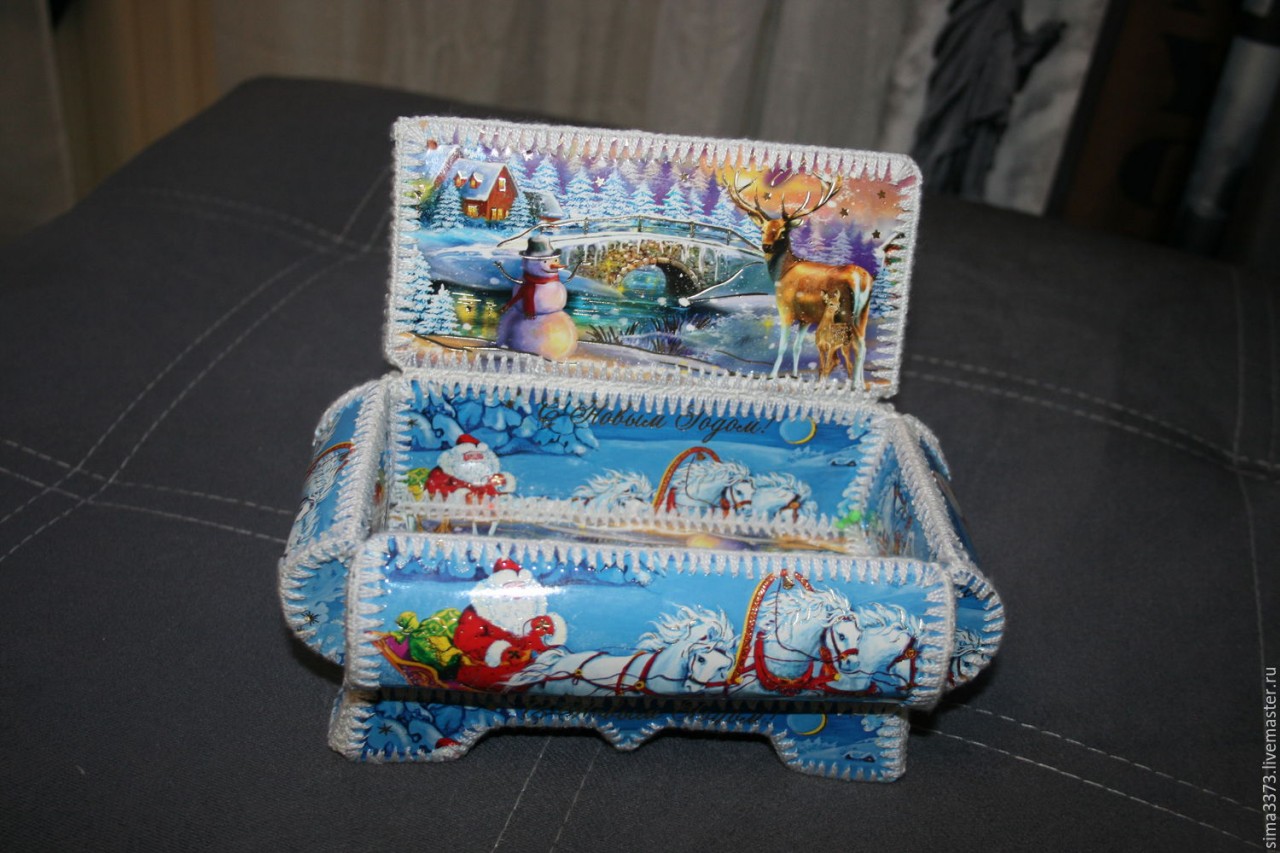
How to make an oblong box
In this case, you can decide on the size and theme yourself. We use fairly thick threads. For a DIY postcard box, we develop a pattern with dimensions of 80x165x55 (standard in millimeters).

We cut out three 80x165 blanks, two of which are needed for the bottom. We use the remaining one together with another 165x100 rectangle for the lid. Next, we prepare 2 parts for the inner box (50x80 and 50x165) and 2 for the outer one (80x70 and 165x70).
We proceed to marking with a pencil and a ruler and then cut out the parts. For the base and for the lid, we will cut out 8 and 2 side flaps, respectively. We will duplicate all the postcard parts with cardboard to give the future product strength.
Now it's time for the technique. Using a sewing machine without a thread, we go along the edges of all the cut out parts, putting together the postcard and cardboard ones to make holes. Now we sew everything together by hand, using an overcast stitch. You can experiment with the shape of the seam.
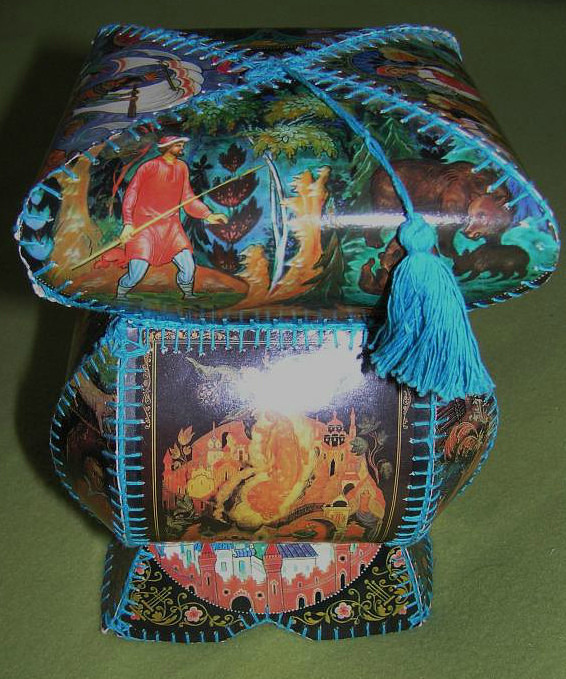
We connect the sewn parts. We use a simple seam for the two parts of the bottom. We sew the short and long sides, bend them into an arch and sew them, fixing them with a flap. We process the straight and semicircular sides alternately.
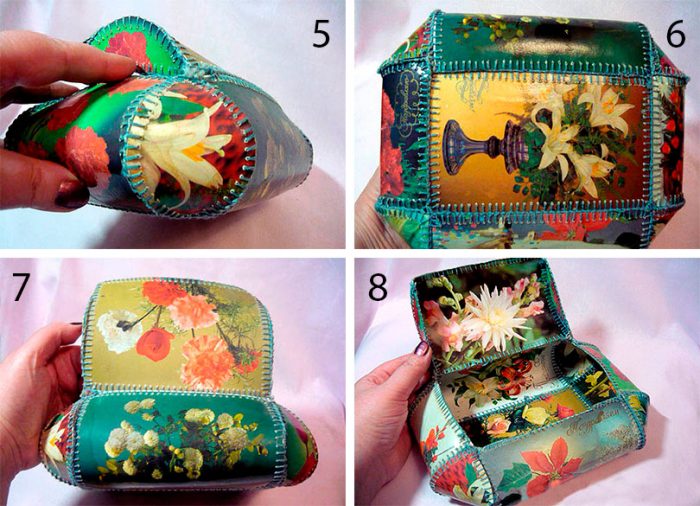
After the frame has been drawn, we sew in the bottom and tighten the corners. The lid is sewn to one of the chosen sides. If desired, you can add legs.
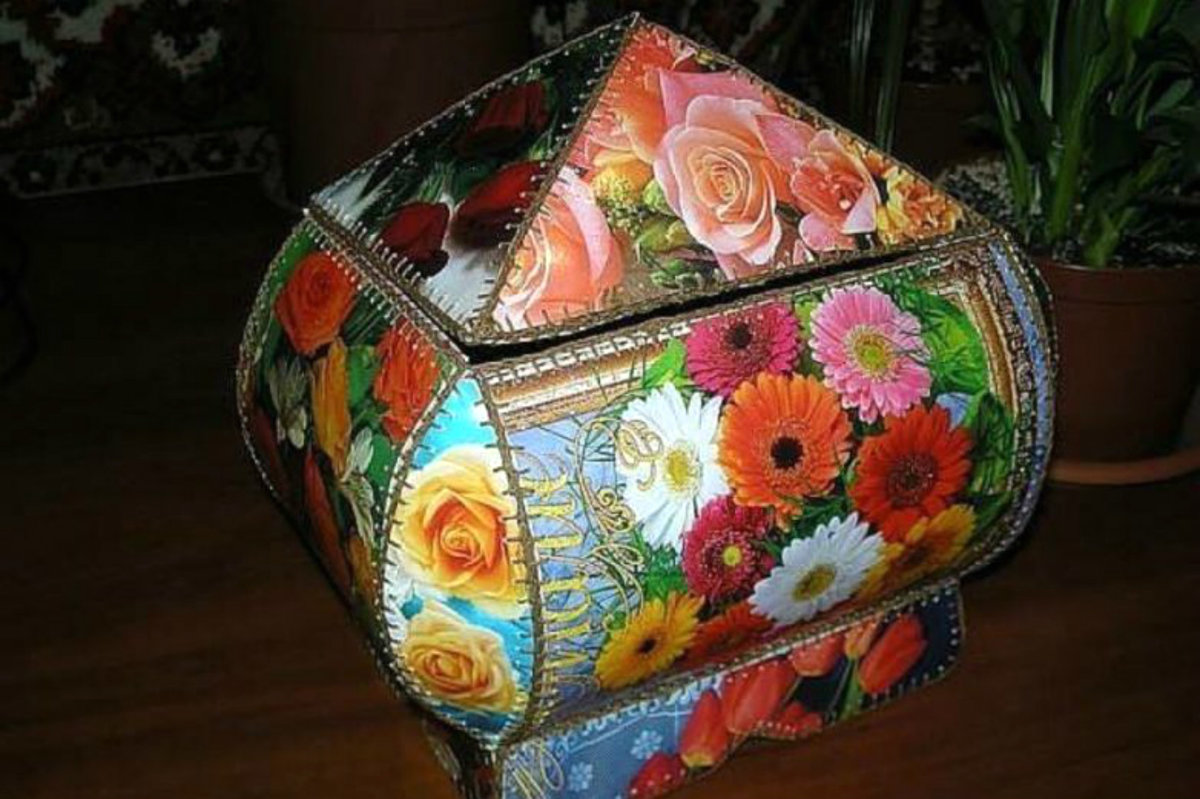
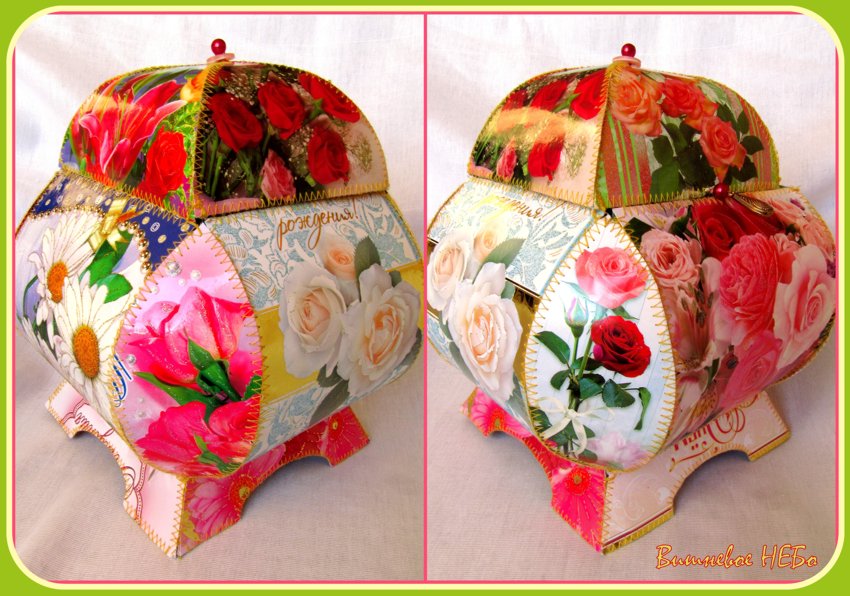
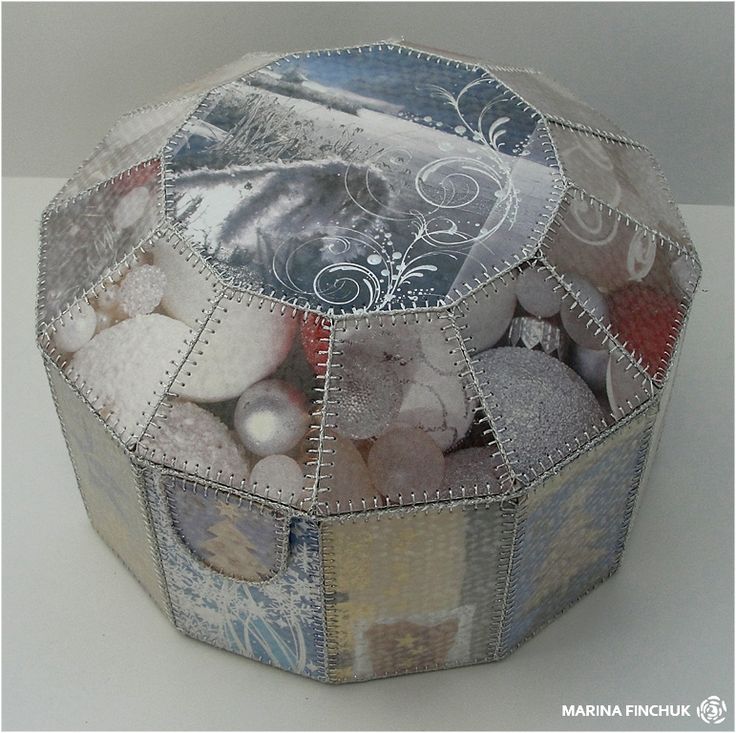
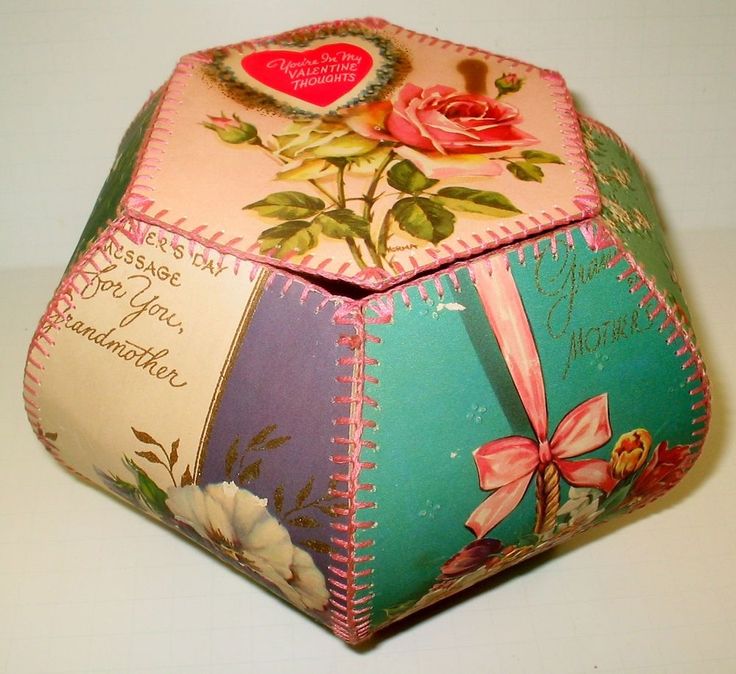
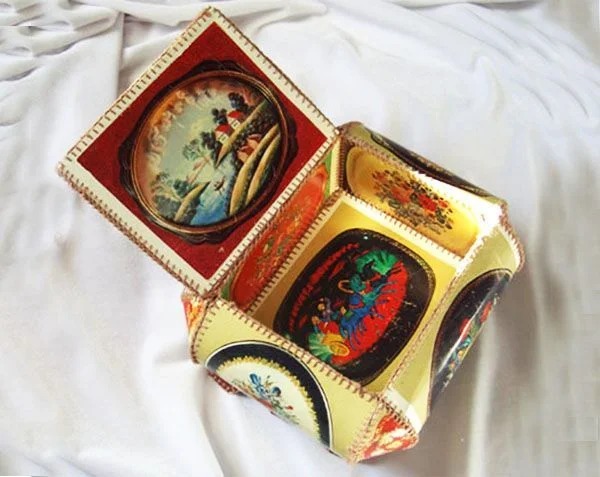
How to Make Surprise Boxes
Despite the simplicity of the manufacturing process, this product will contain cute surprises. We will need sheets of colored cardboard, made by yourself or purchased paper butterflies. You will need scrapbooking paper, double-sided tape, transparent colorless plastic.
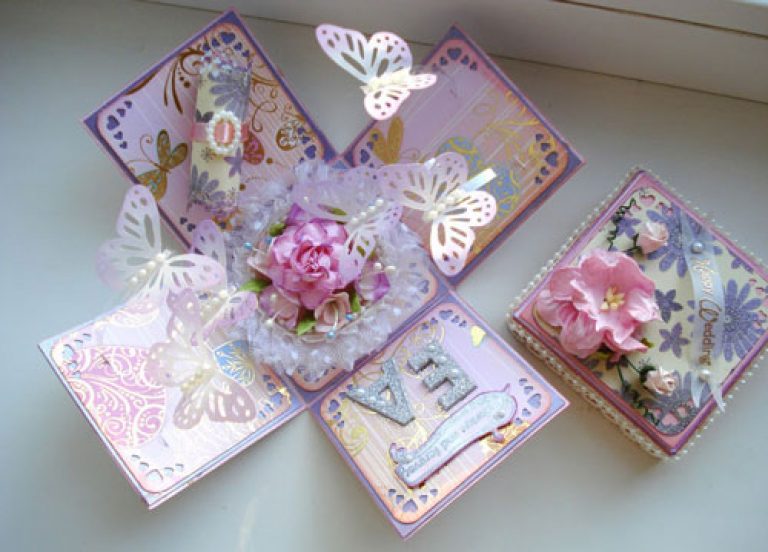
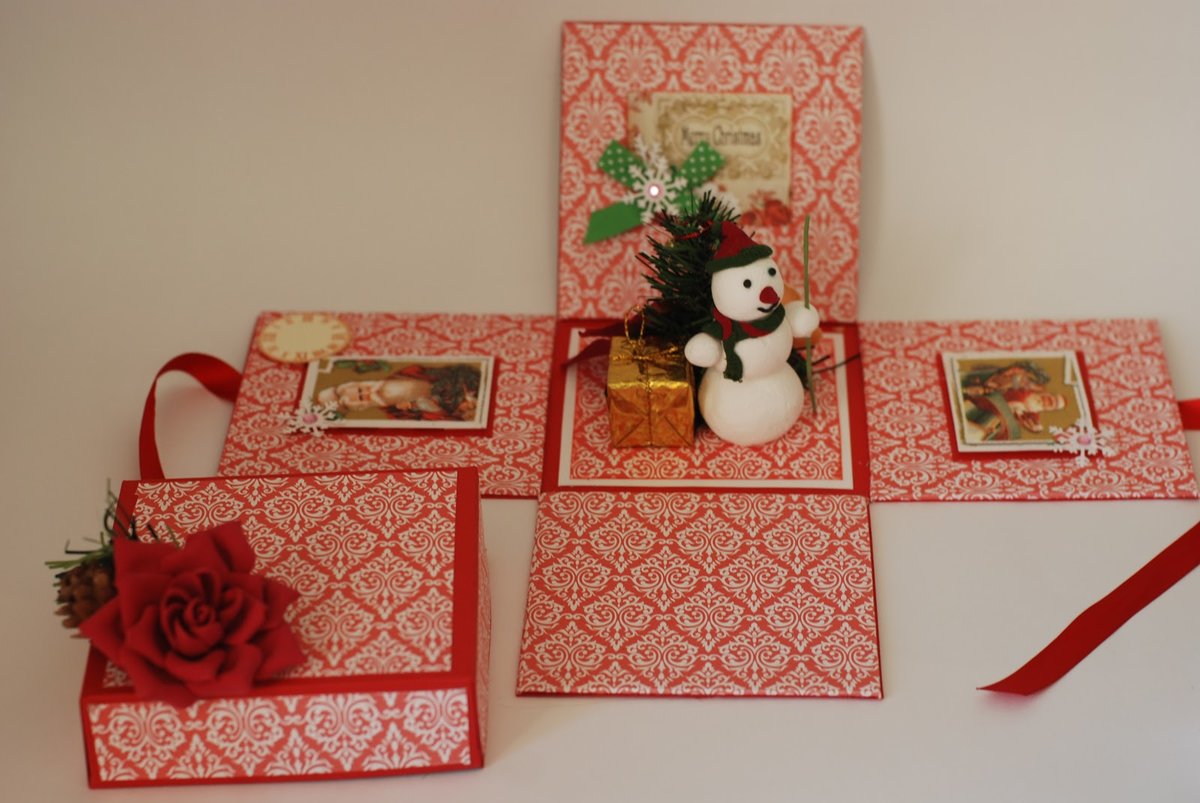
The pattern is simple. Take a square sheet of cardboard according to the dimensions of the box. Step back from each edge and draw parallel lines. Cut out squares at the corners to form a cross. Bend the structure along the sides of the central square to form a box. Draw the lid according to the dimensions of the bottom (plus a few millimeters), adding two centimeters to each side. Bend along the lines and glue.
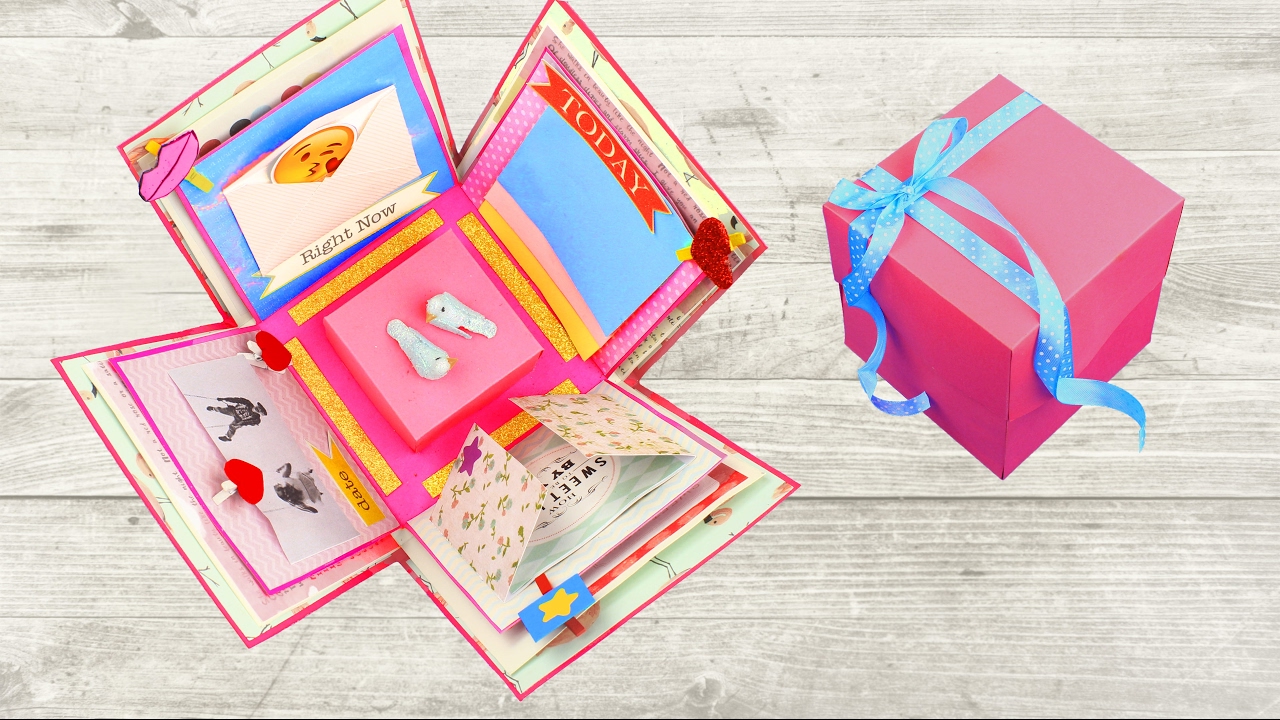
The outer sides can be decorated with anything you like (pictures, cutouts, glitter, etc.). We attach butterflies to the ends of strips of clear plastic with tape, and glue the other end to the bottom of the box.
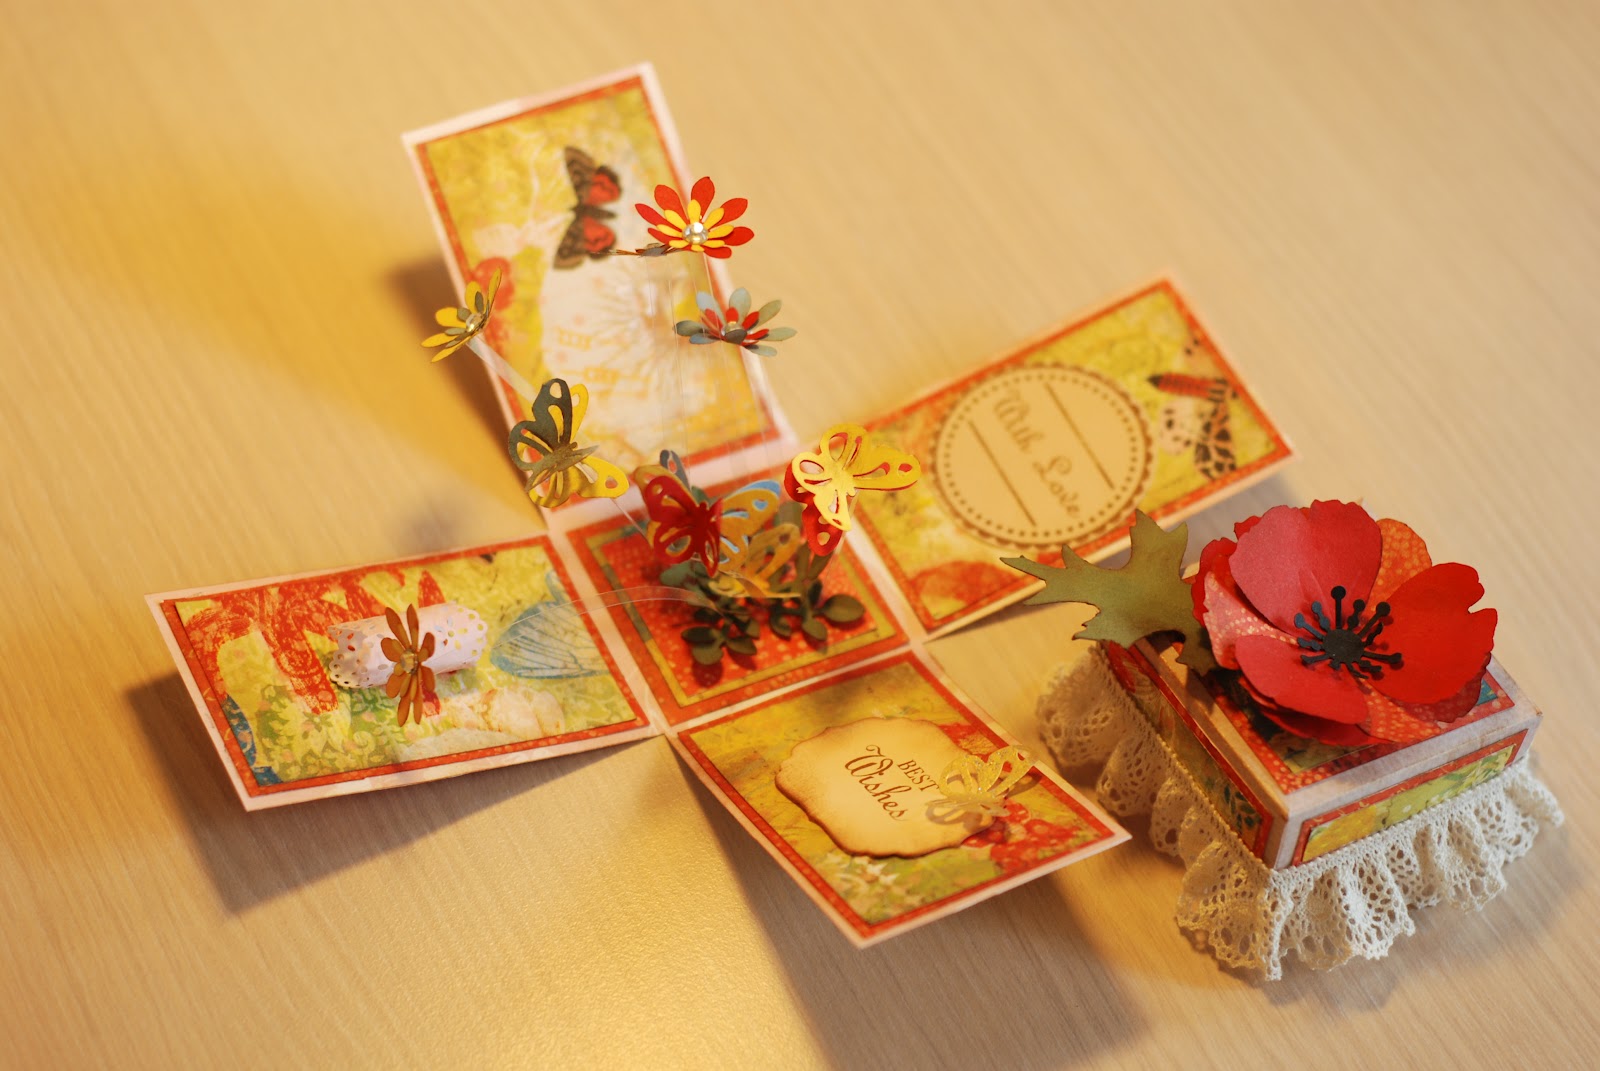
Please note! The surprise may also be other insects, plants or mythical creatures.
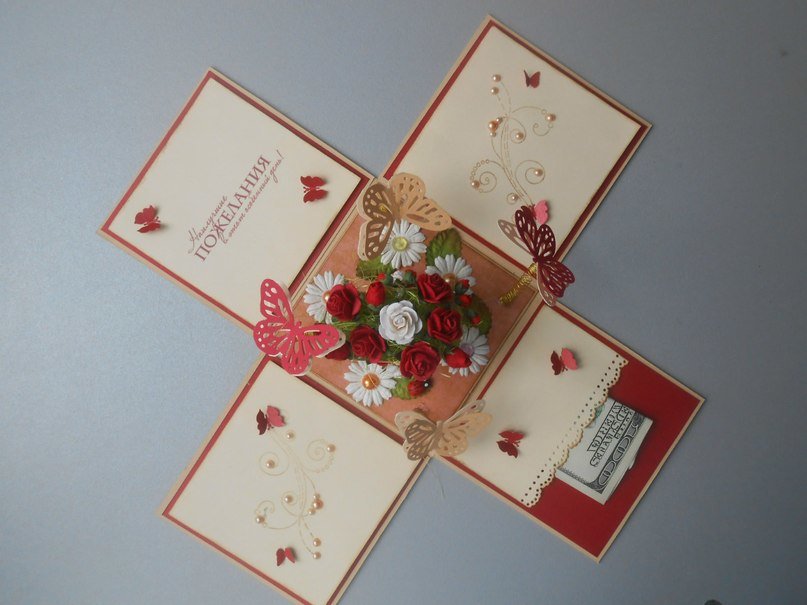
When the lid is opened, the box splits into four parts, releasing the creatures hidden inside.
Conclusion
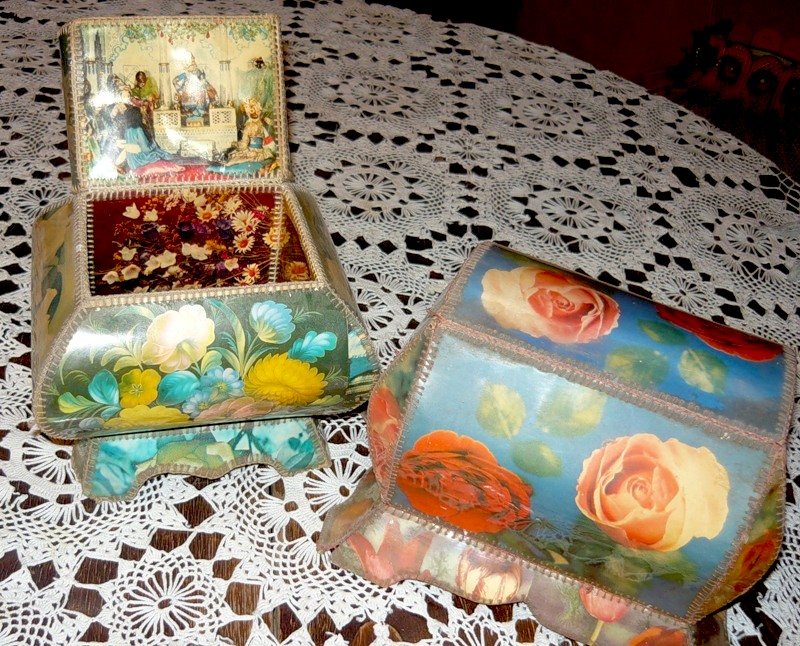
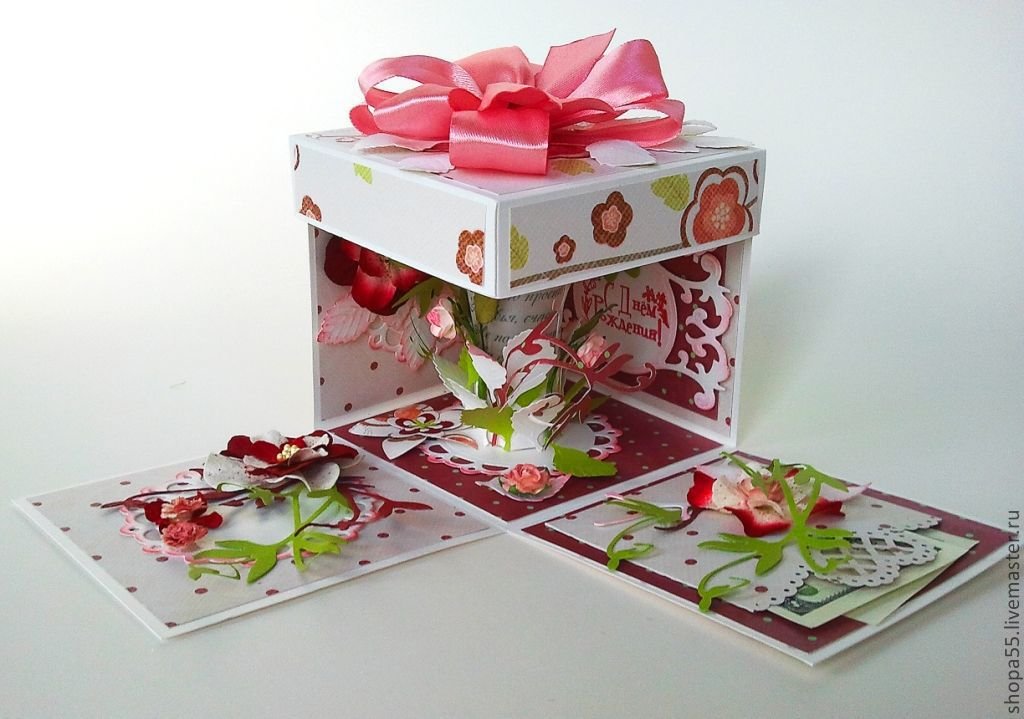
Colorful cards that can be found in any home can be used to create wonderful crafts that can be used as gift wrapping, as a gift itself, or as a wonderful thing for storing necessary little things.

VIDEO: Book-shaped box made from cardboard postcards.
50 original options for boxes made from postcards: