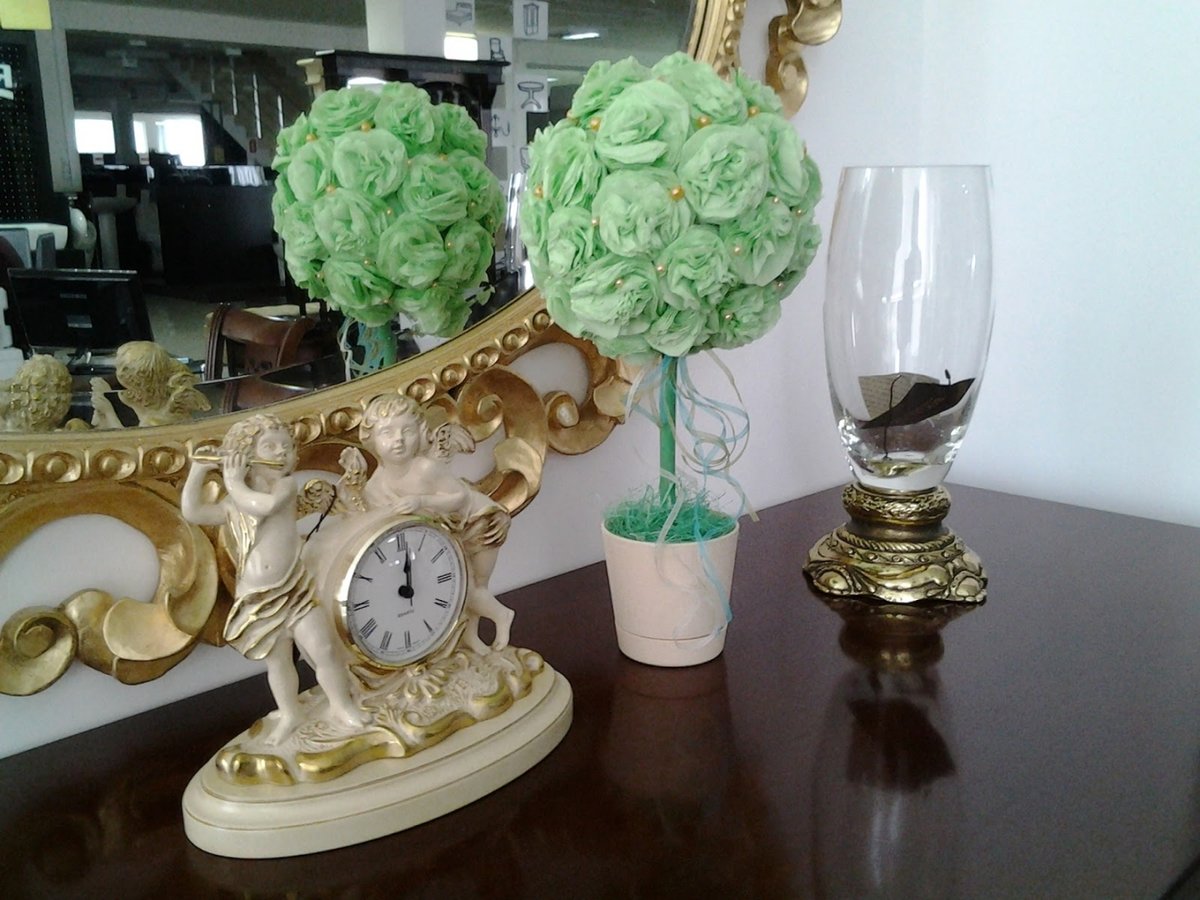
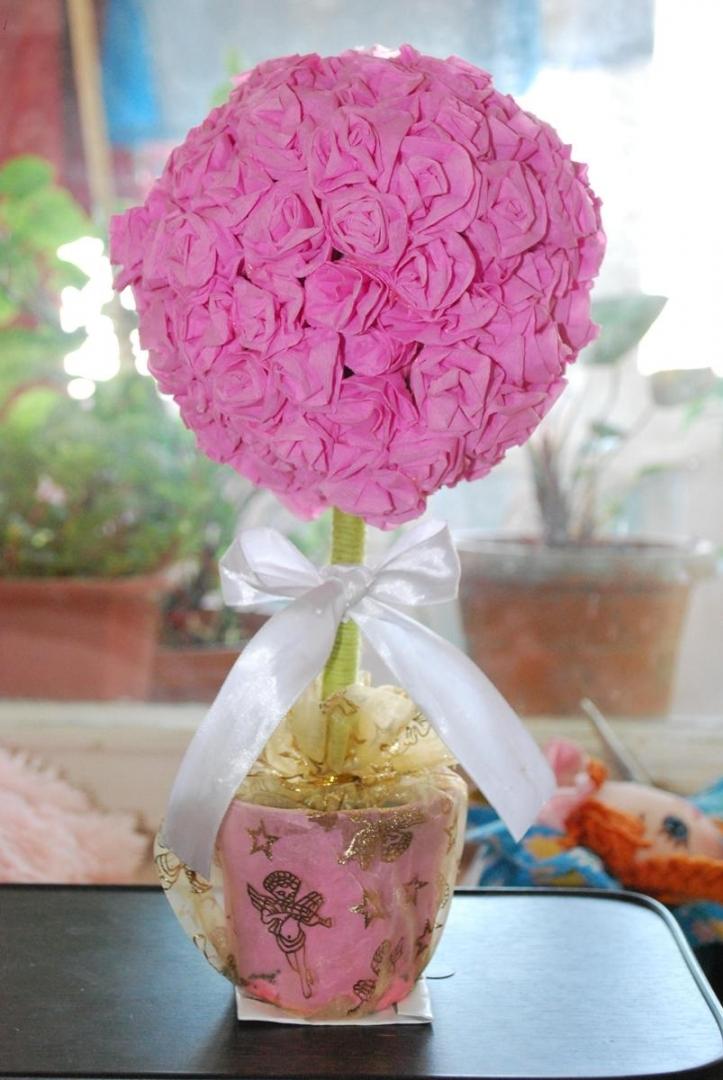
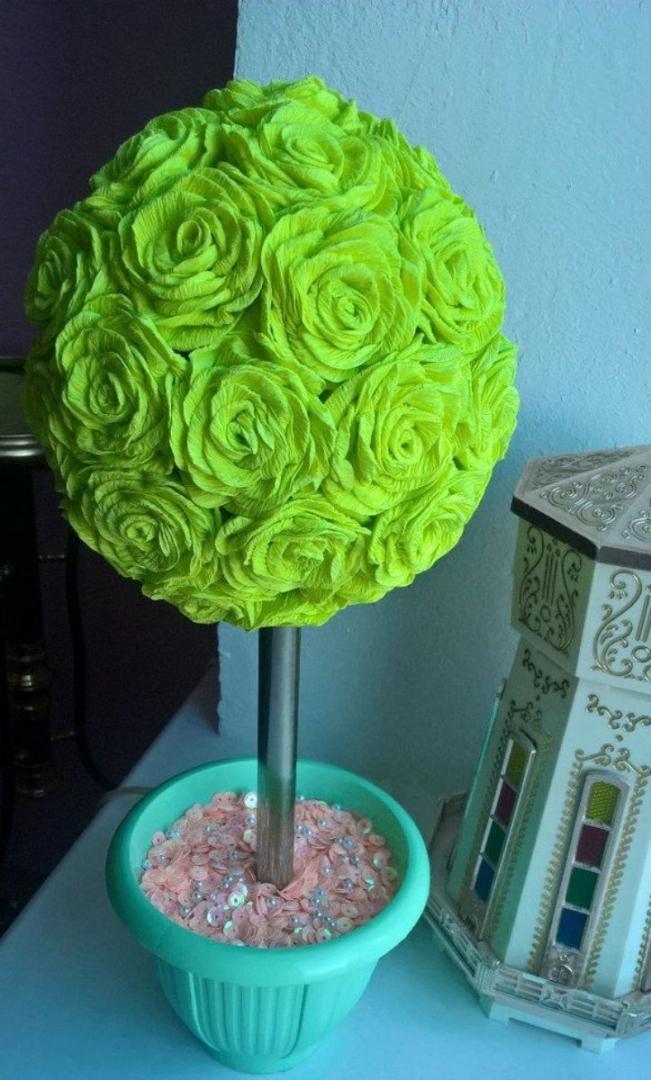
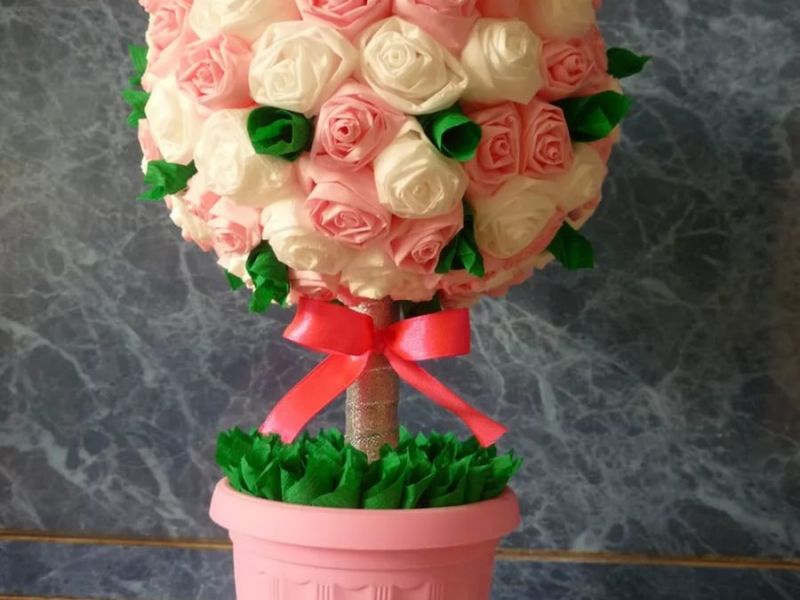
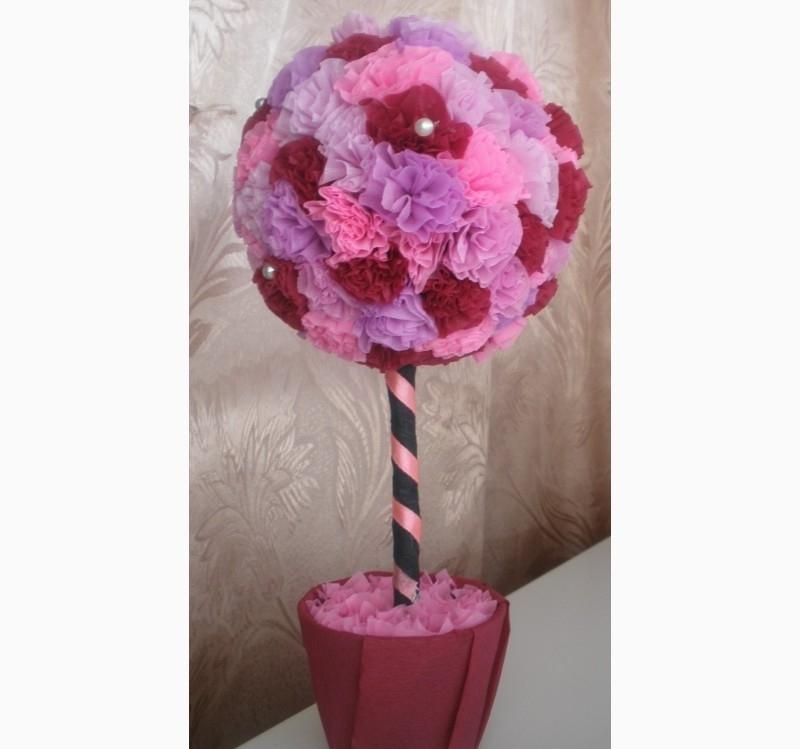
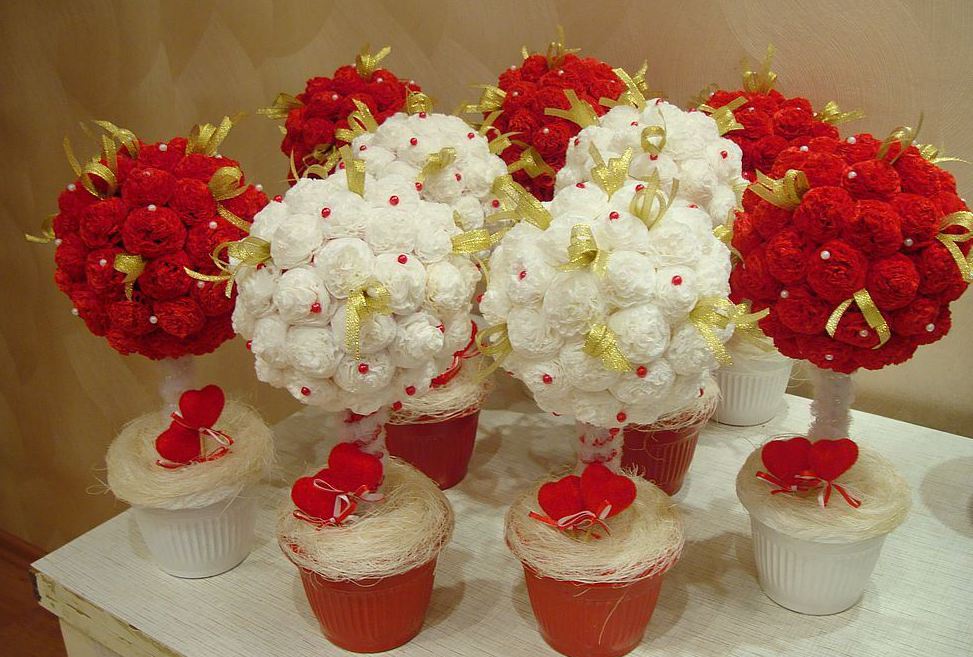
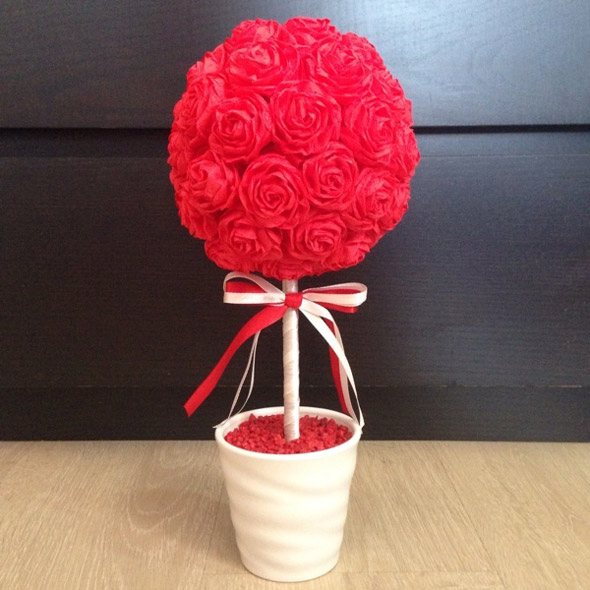
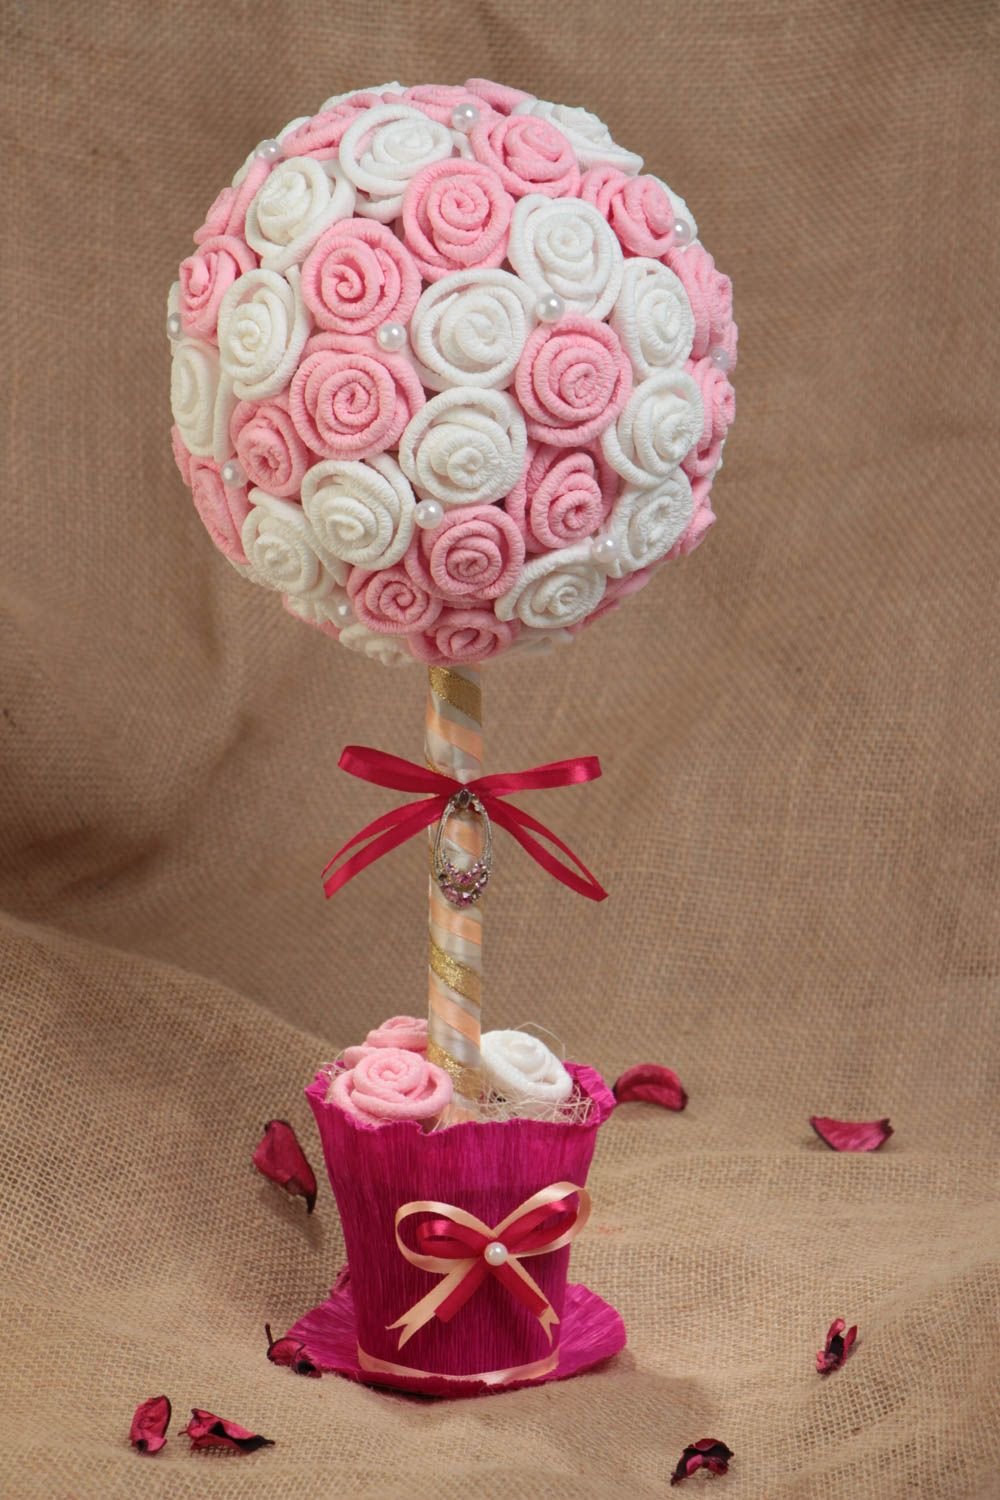
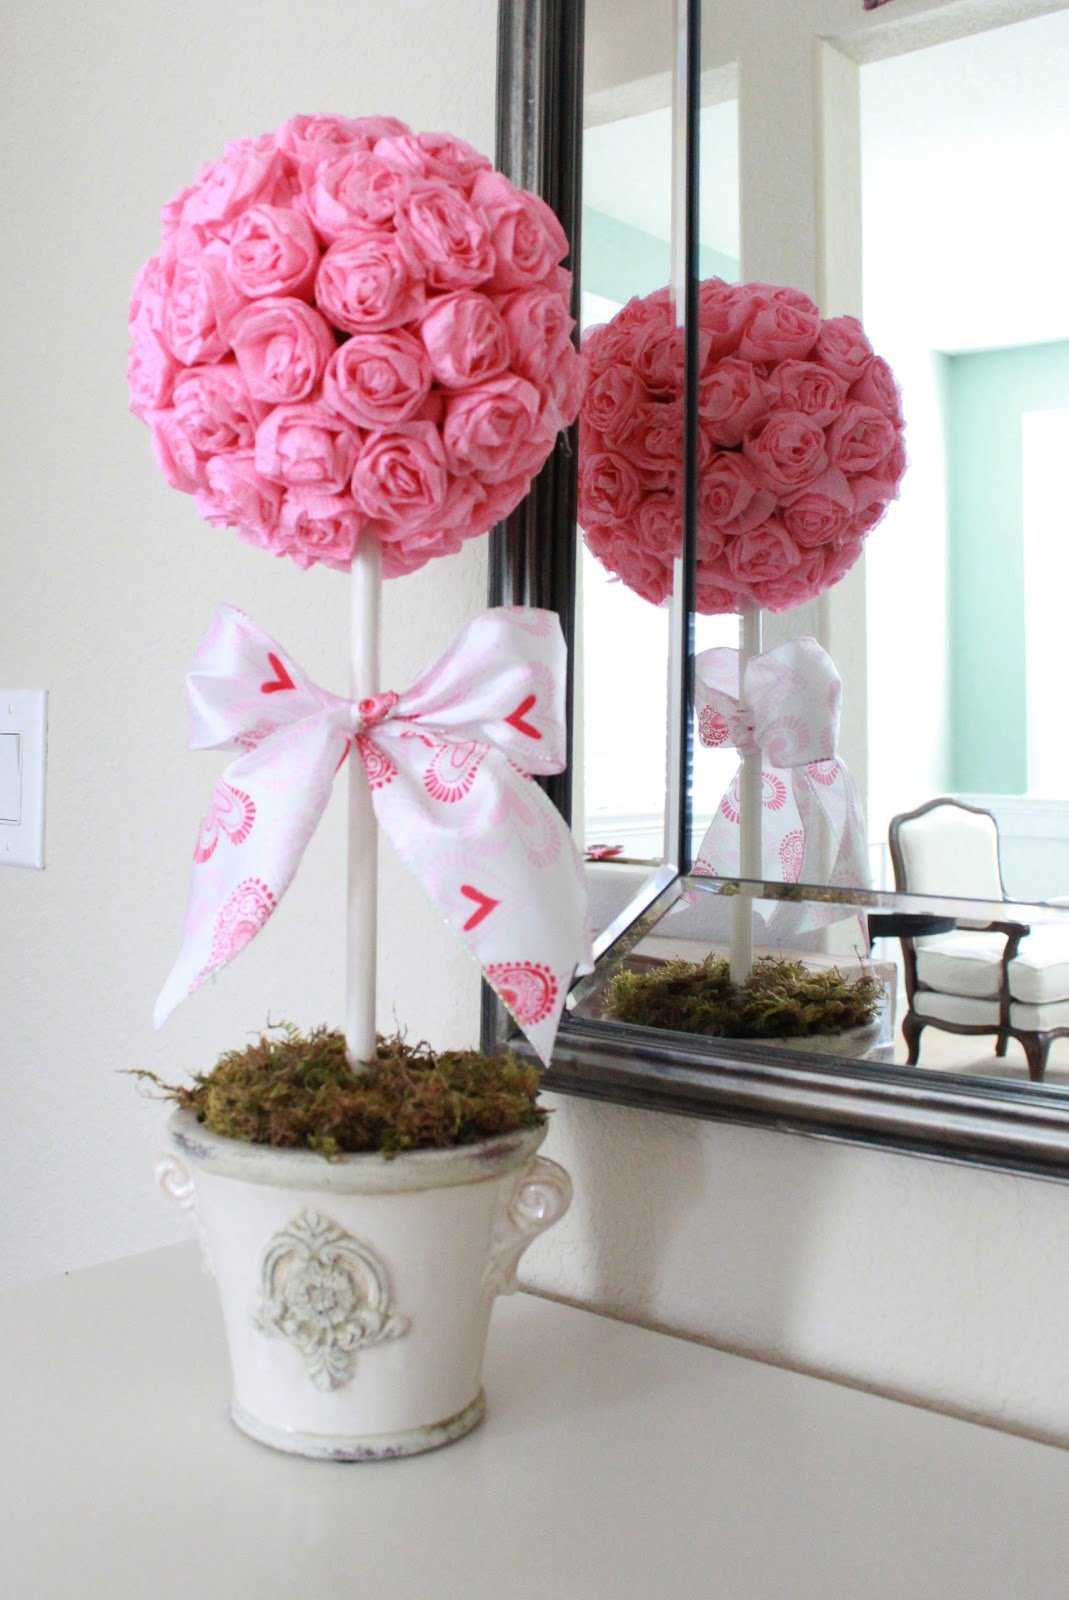
Topiary is a small tree with a lush, neat crown. Previously, it was a type of topiary for garden plants. Today, topiary or May tree is one of the popular areas of handicrafts. It is used to decorate the interior. The easiest way is to make a decorative tree from paper napkins. This option is suitable even for beginners in handicrafts.

Content
- DIY Napkin Topiary: Materials and Step-by-Step Description
- How to make a heart tree from napkins with your own hands?
- May tree made of napkins on a base of rosebuds
- How to make a topiary from napkins with lush flowers with your own hands?
- Rules for caring for topiary
- VIDEO: Topiary with flowers made of corrugated paper.
- 50 ideas for creating a topiary with your own hands:
DIY Napkin Topiary: Materials and Step-by-Step Description
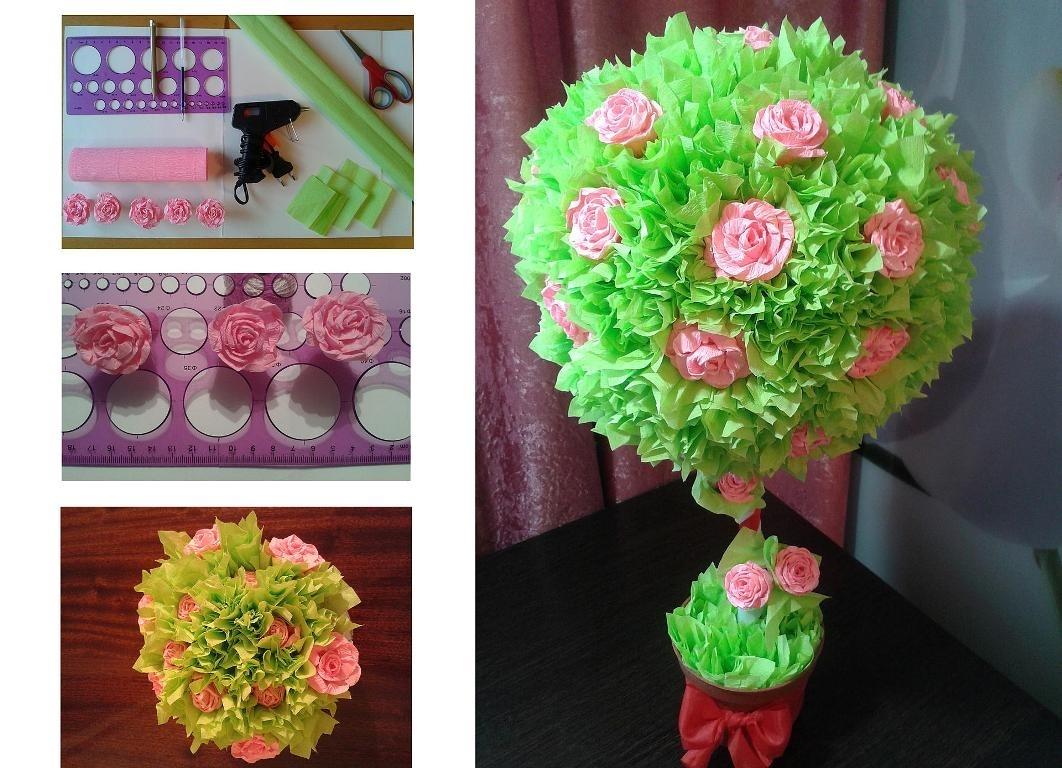
Step-by-step instructions for beginners on making a topiary from napkins with your own hands are one of the simplest. MK consists of only 6 steps. Even a schoolchild can handle them. To make a topiary from napkins with your own hands, you will need a simple set of tools and materials.
- Scissors.
- Stapler.
- Threads.
- Scotch.
- Glue.
- A mixture of sand and cement or alabaster.
- Paper napkins (green/pink) or corrugated paper.
- Thin satin ribbons of 2 colors.
- Styrofoam ball
- A small pot.
- Wooden stick.
- Decorative beads or stones.
Important! Before making a topiary from napkins, you need to make sure that the diameter of the pot does not exceed the size of the ball. Otherwise, the craft will not look very aesthetically pleasing.


Let's start making a flower tree from napkins with our own hands.
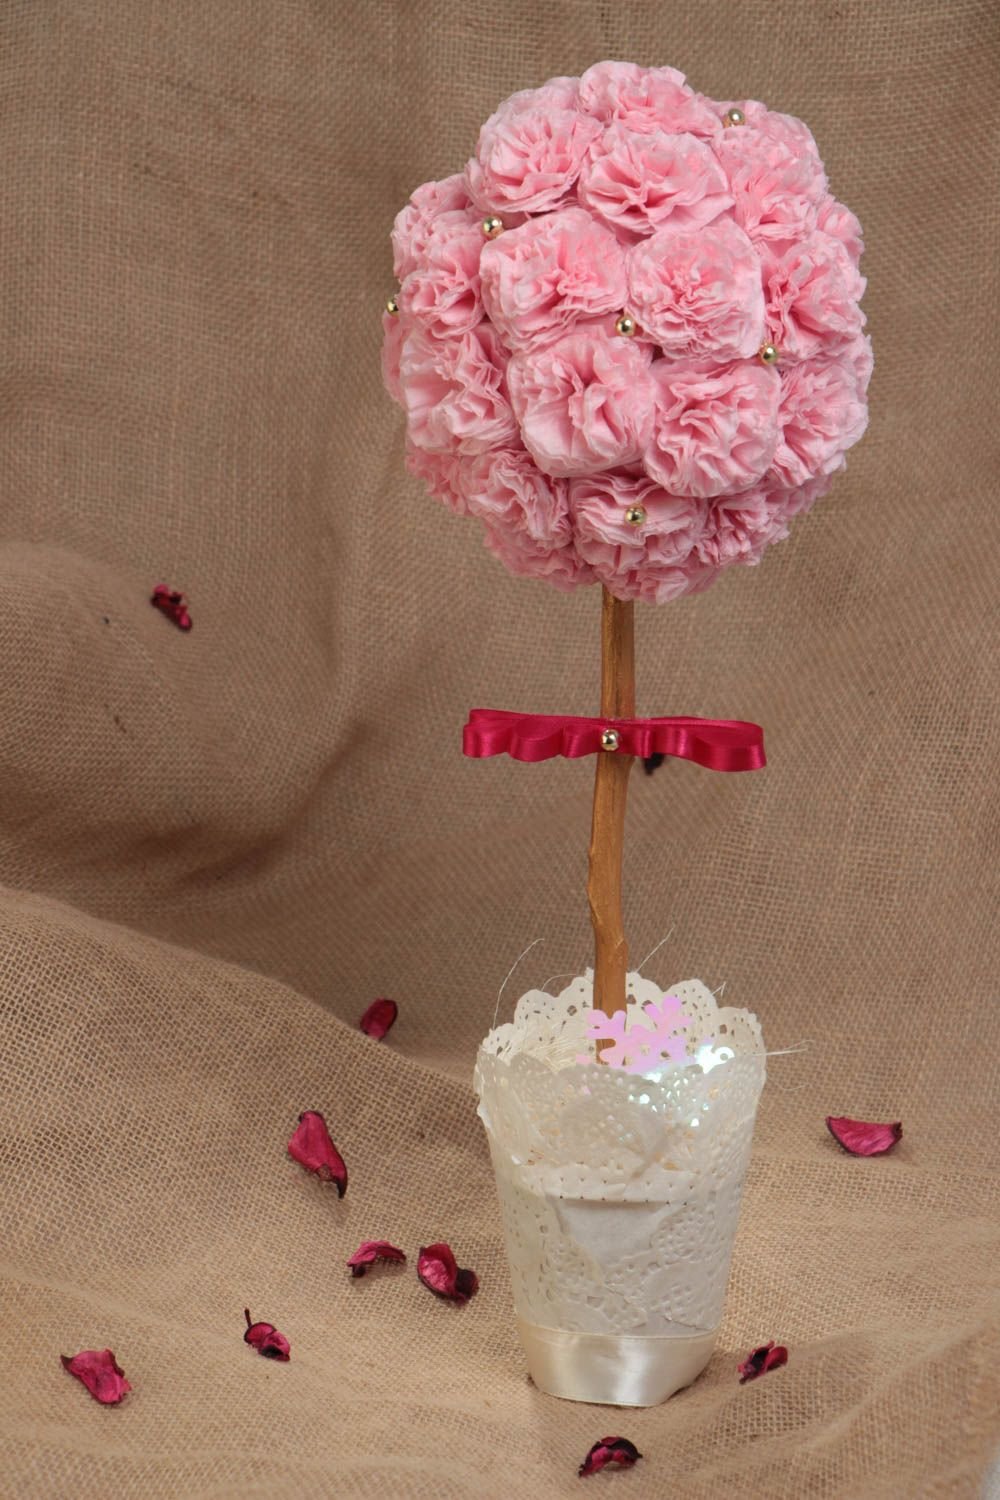
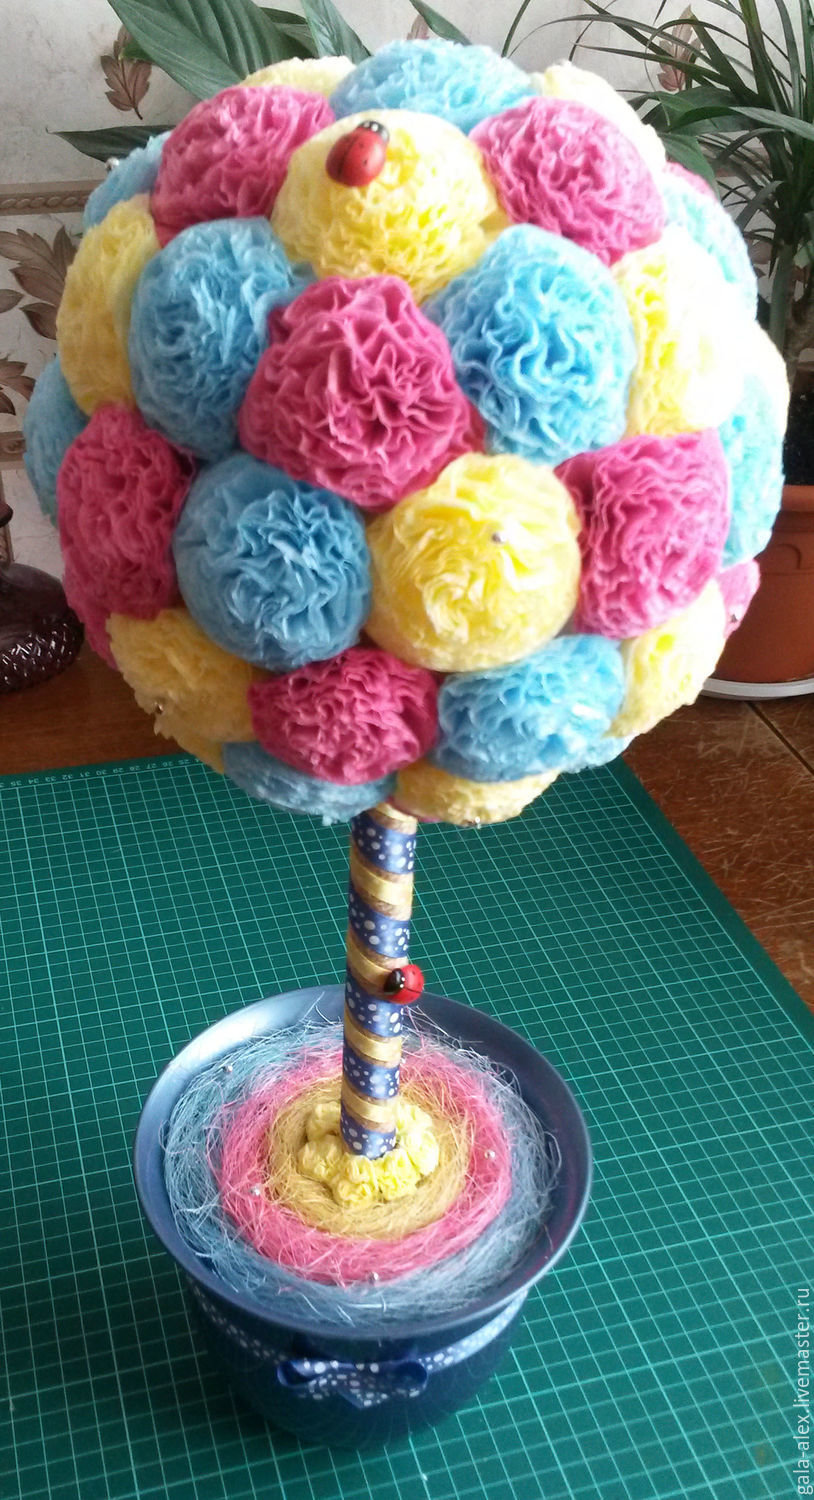
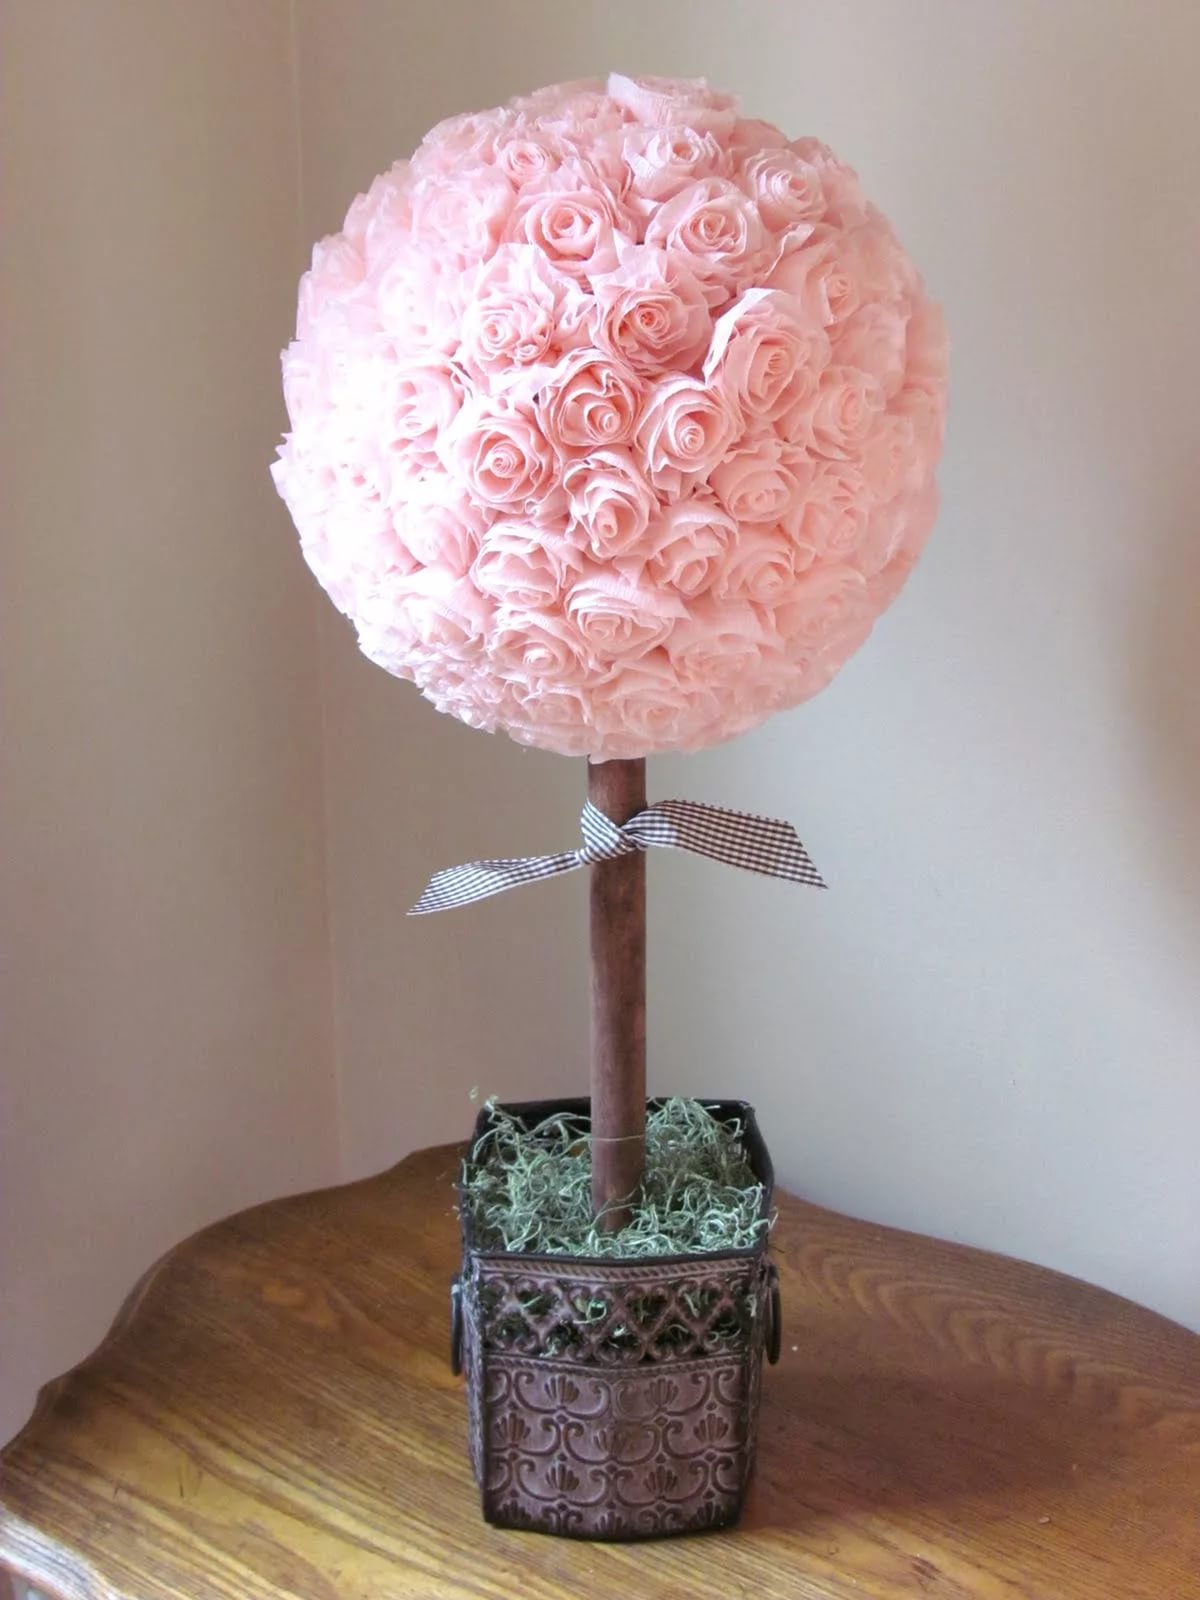
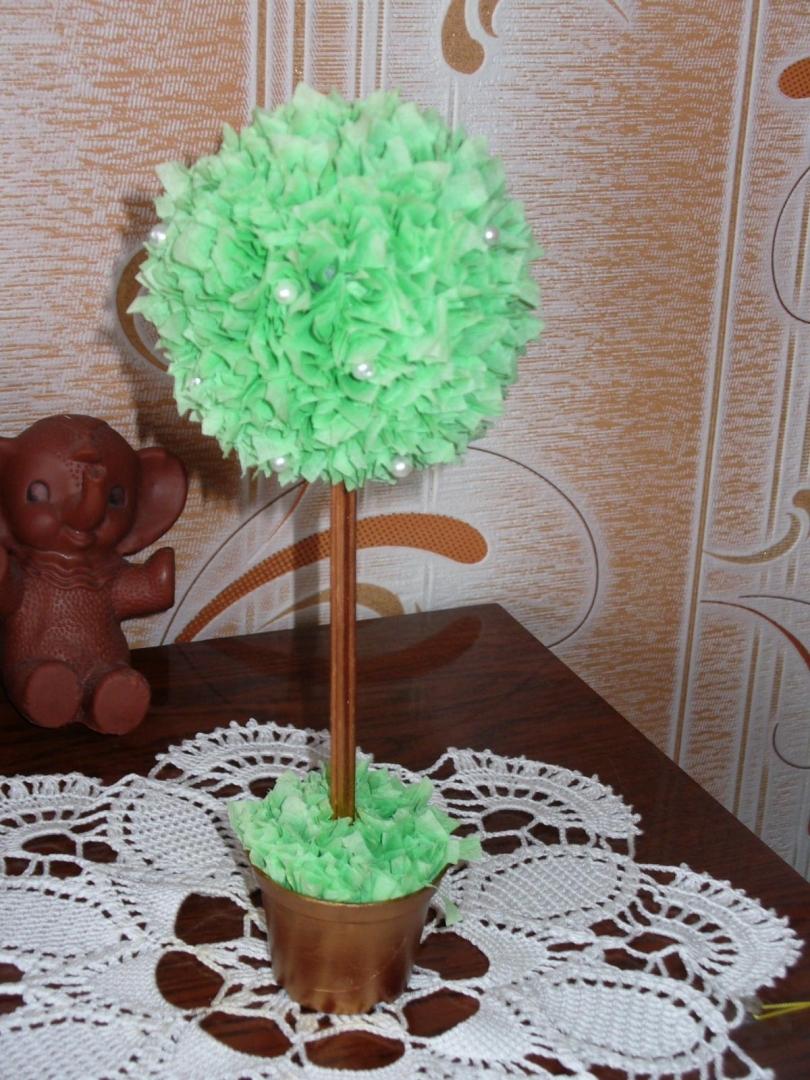
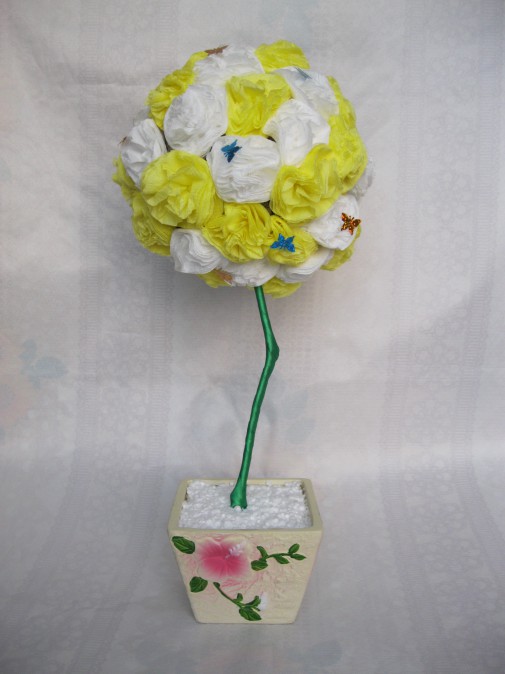
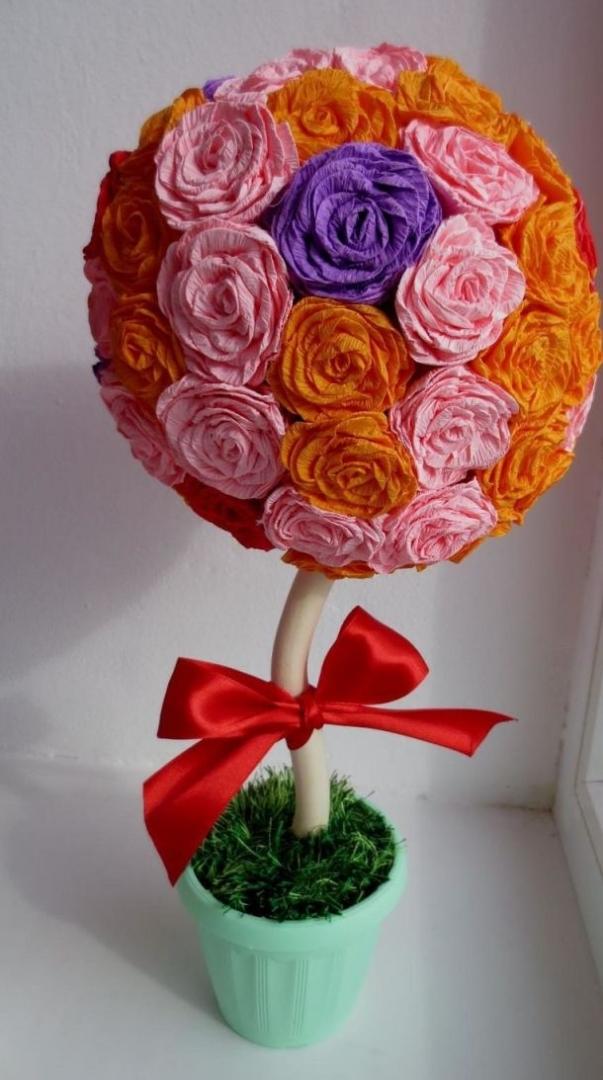
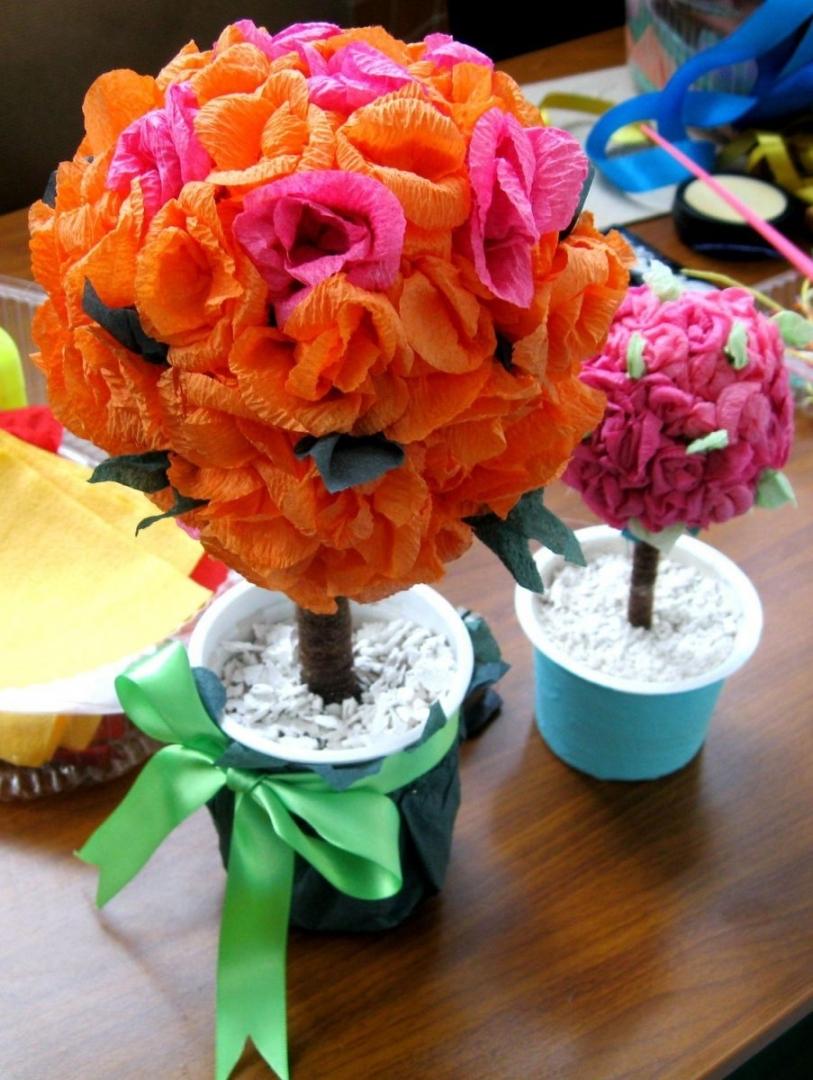
Step 1. Decorate the trunk. The stick can be painted green or brown. The tree trunk made of napkins can be wrapped with satin ribbons (glued). It can be covered with corrugated paper or wrapped with twine. Beads, shells, and colored glitter are glued to the branches.
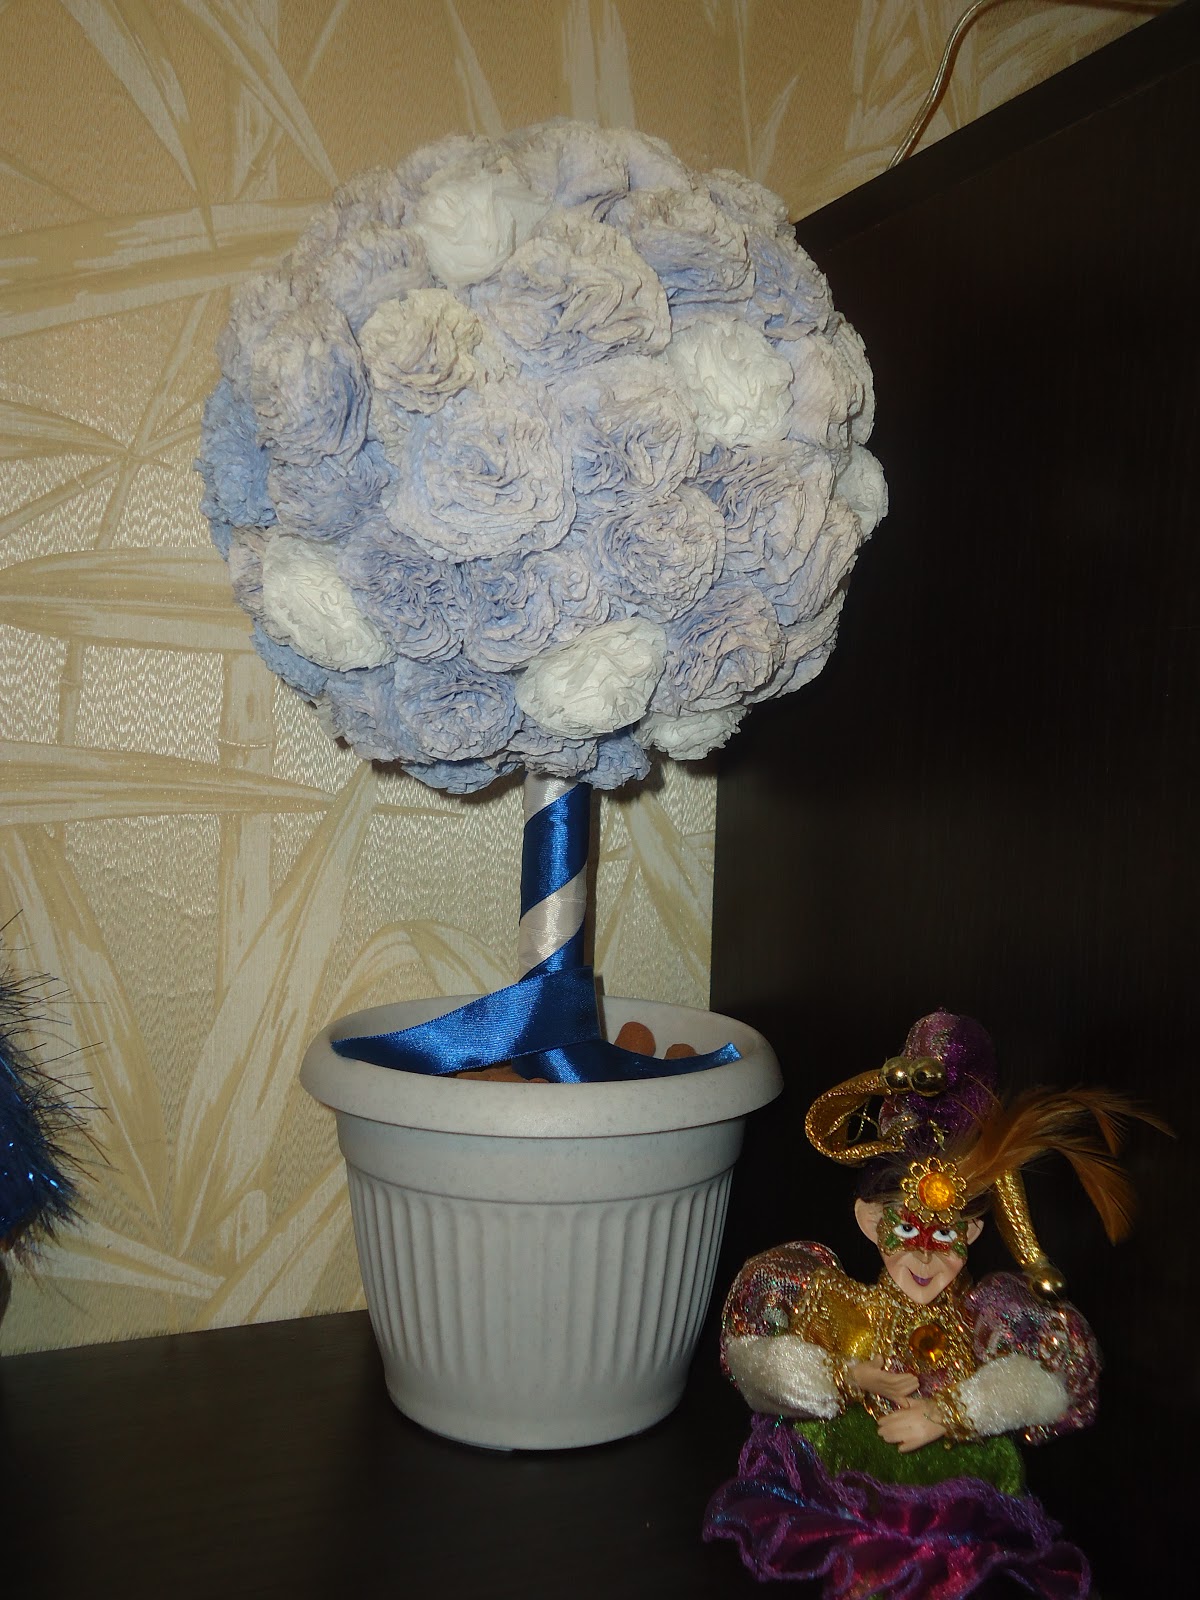
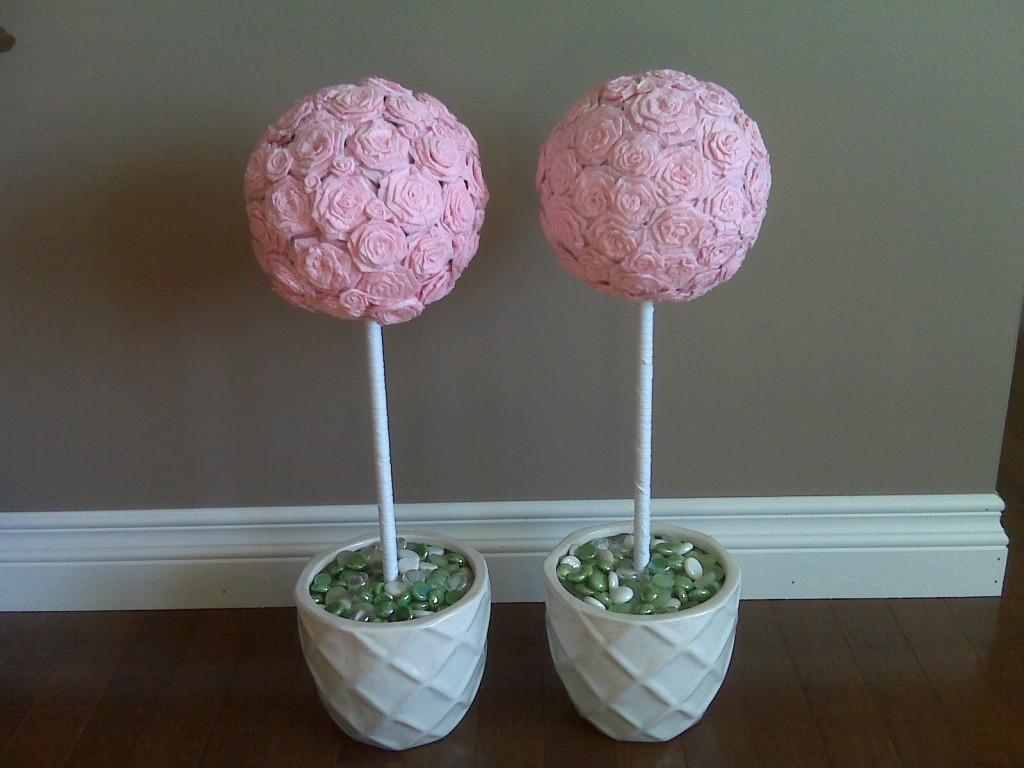
Step 2. Make the "soil". Fill the flowerpot with sand and cement mixture or alabaster. Add water and stir. Wipe the edges of the pot. Place the tree "trunk" in the center and fix it so that it hardens evenly. Sprinkle the top of the "soil" with pebbles or lay decorative moss.

Attention! You need to "plant" the trunk in the flowerpot quickly. Alabaster and similar mixtures dry out very quickly.
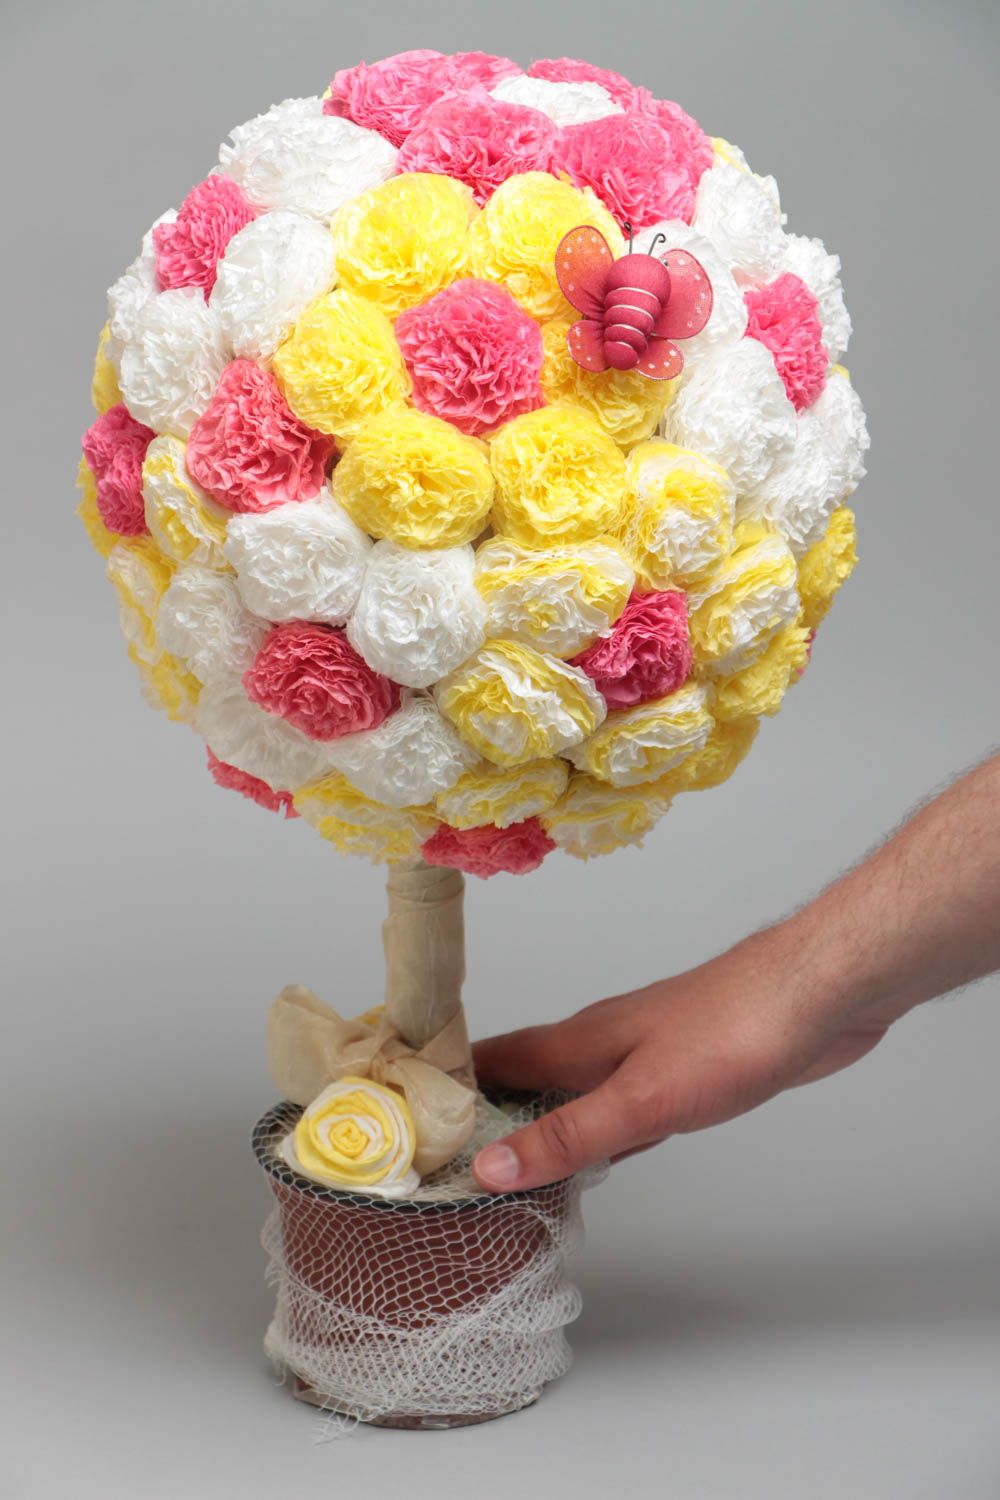
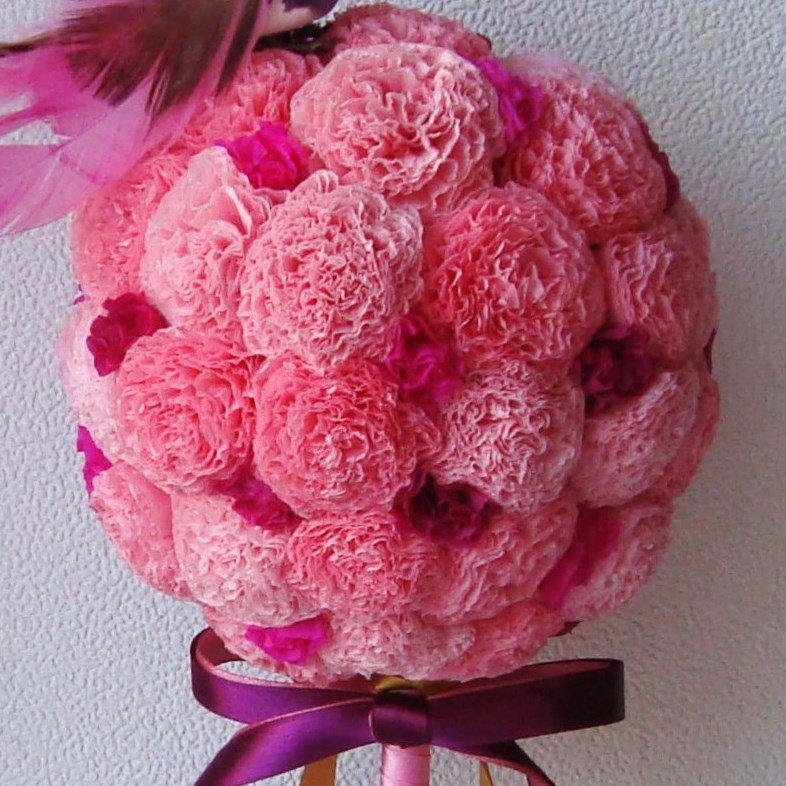
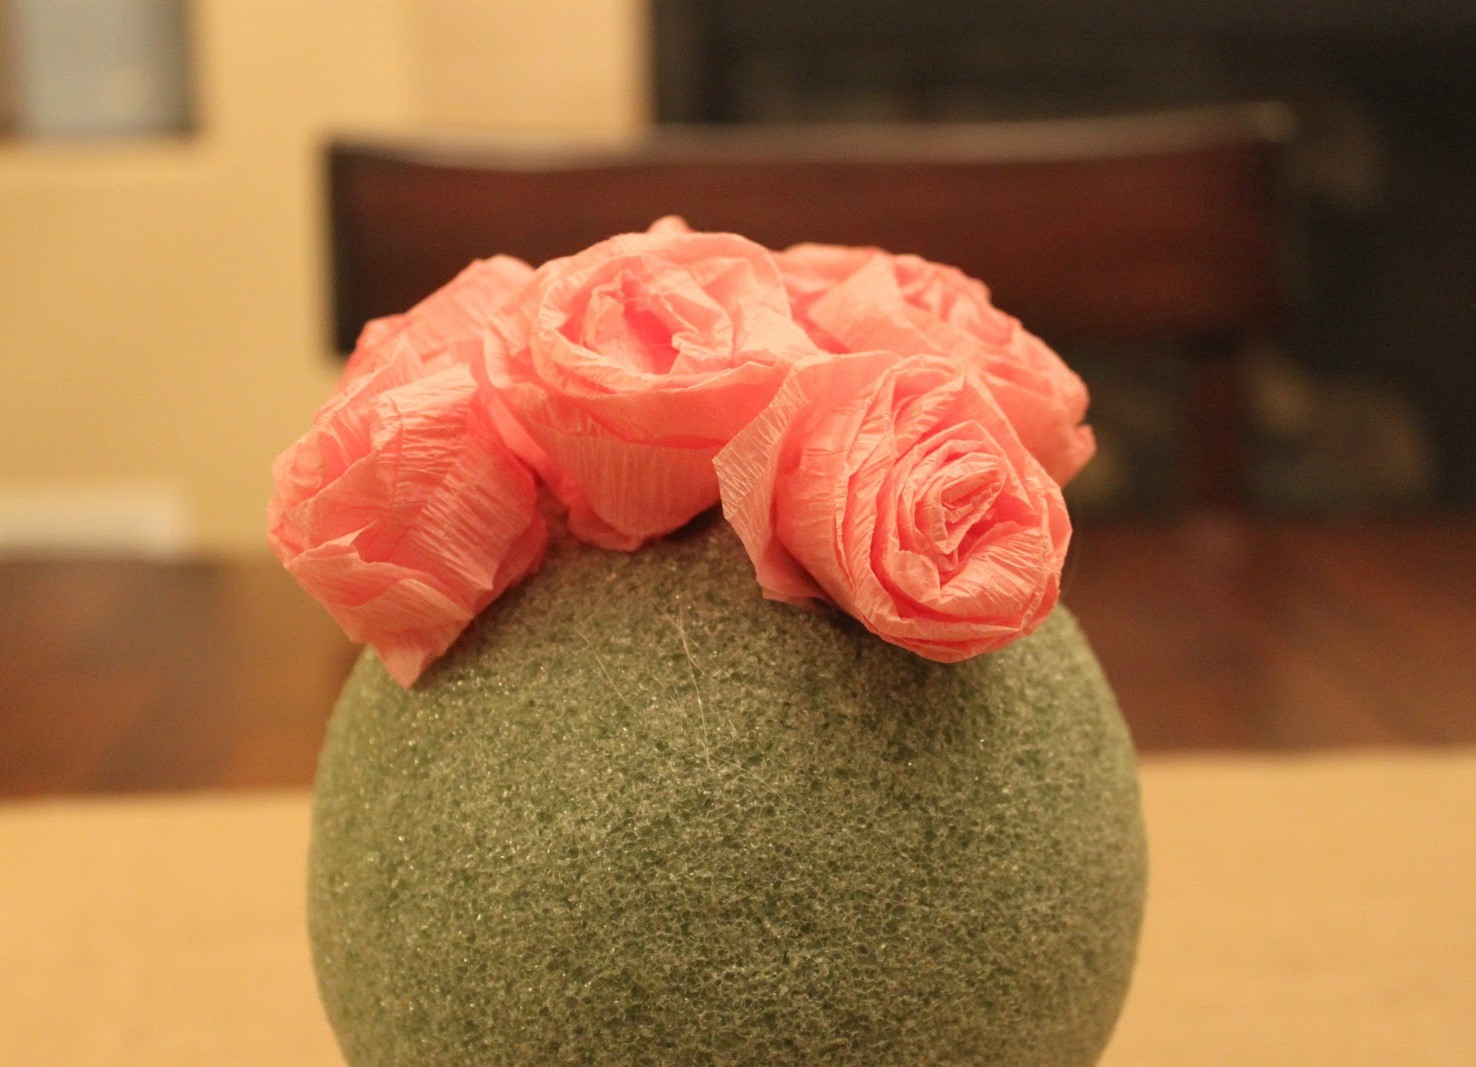
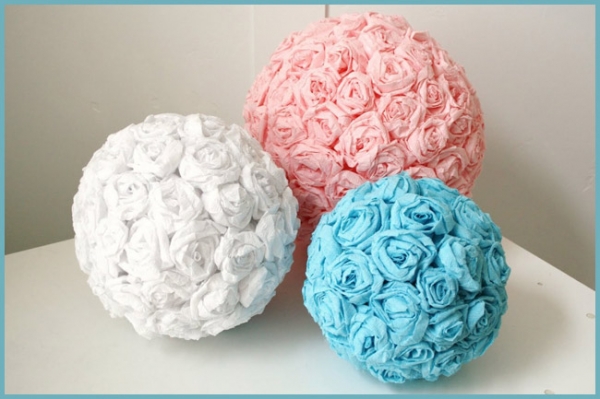
Step 3. Create flowers. To make flowers from napkins on tree branches, fold the napkin in half. Then fold it in half again. You get a square folded in 4. Secure it in the center with a stapler or stitch it with thread. Then trim the edges of the quadrangle to get an even circle. After that, form a flower. To do this, lift the edges of the first layer of the circle, squeeze in the center. You get voluminous petals. Do the same with the remaining layers of the flower.

Step 4. Make a base for the crown. You can buy a ready-made ball-base for a tree made of napkins. Such foam blanks are sold in craft stores. There are several options for making a ball yourself.

A papier-mâché balloon. It's easy to make. You need to inflate a regular balloon. Cut paper napkins into pieces. Glue each of them with PVA glue. Glue the balloon with the first layer of napkins. Leave the place where the balloon is tied free. Let it dry completely. Then glue the second layer of napkins, let it dry again. There should be 5 layers in total. After the glue has completely dried, pierce the balloon and take it out.

Important! Before puncturing the balloon, make sure that the glued layers of napkins are completely dry. Otherwise, the balloon will be deformed.
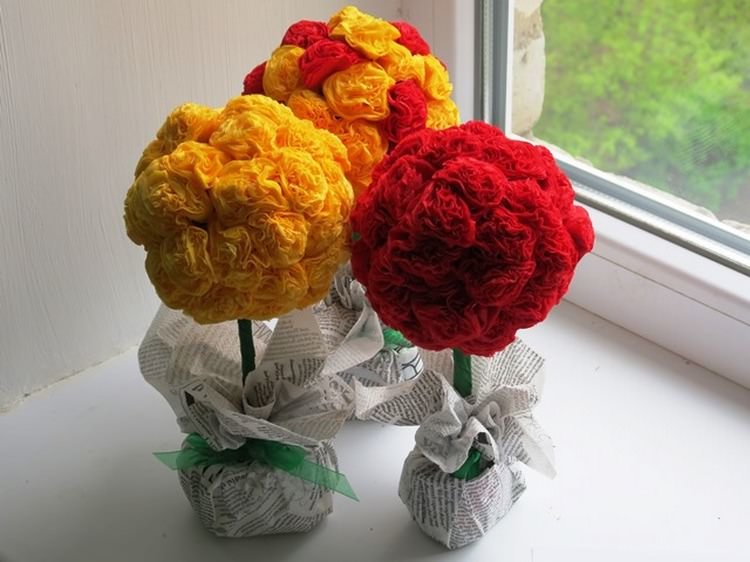
A ball of newspapers. It is the easiest to make. To do this, newspapers, magazine sheets or any paper must be compressed into a ball. Then we string the paper ball on the trunk and form an even ball. We wrap it on all sides with threads or tape so that it does not lose its shape.
Advice: Before making a tree from colored napkins, you need to cover the newspaper ball with paper napkins or corrugated paper. Otherwise, newspaper prints will be visible through the "crown".
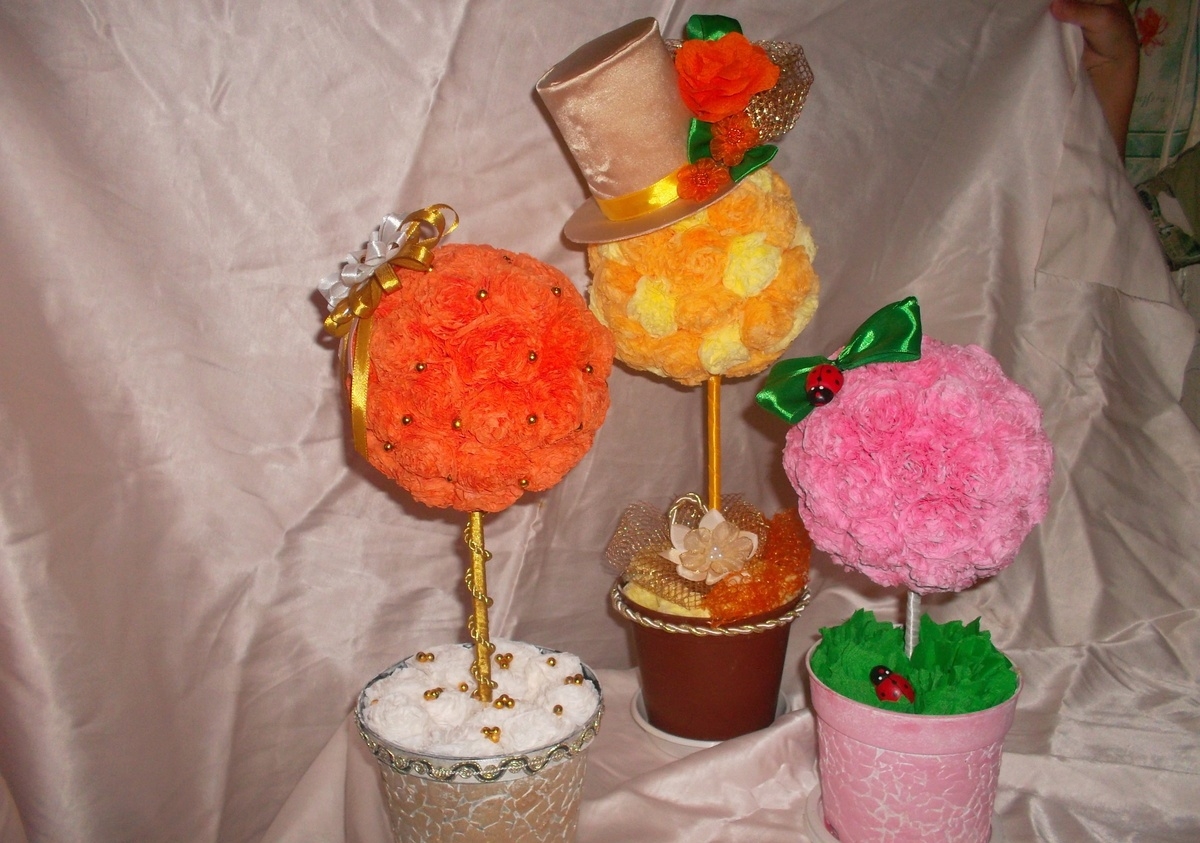
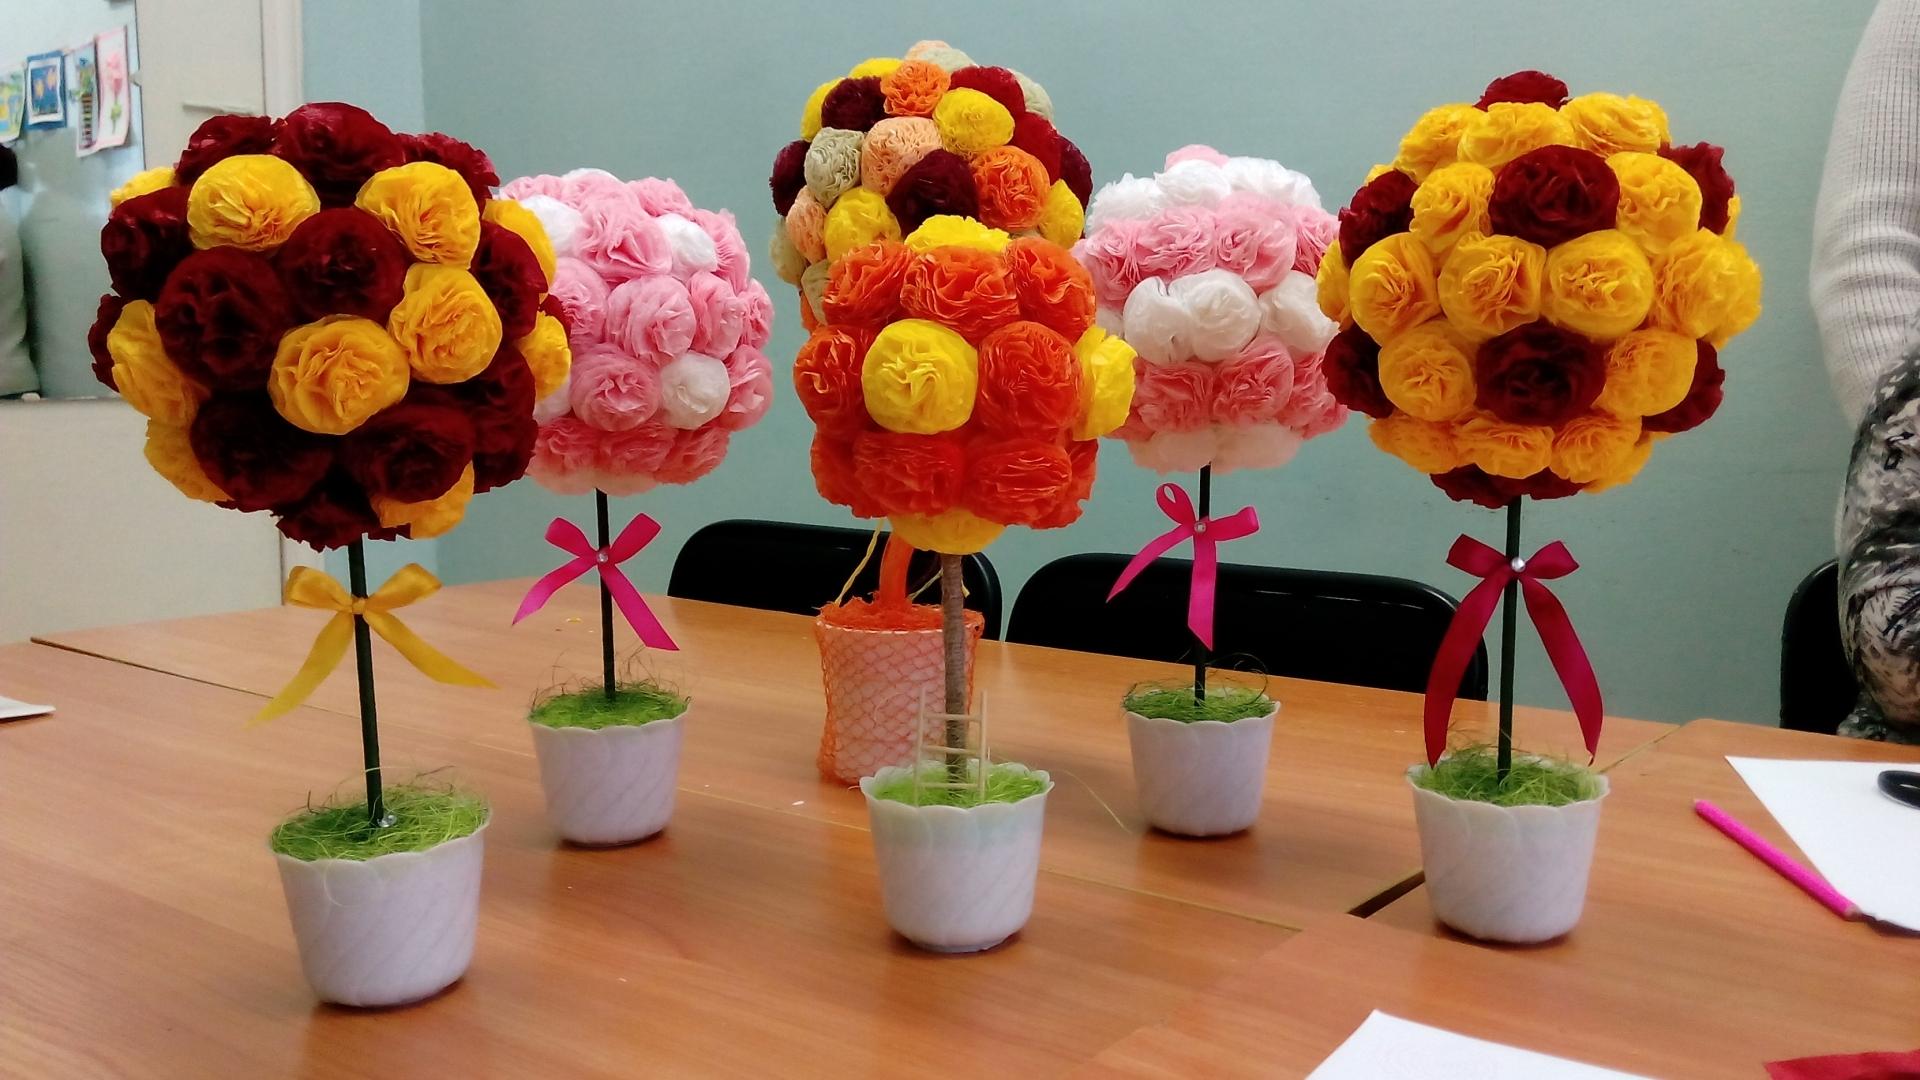
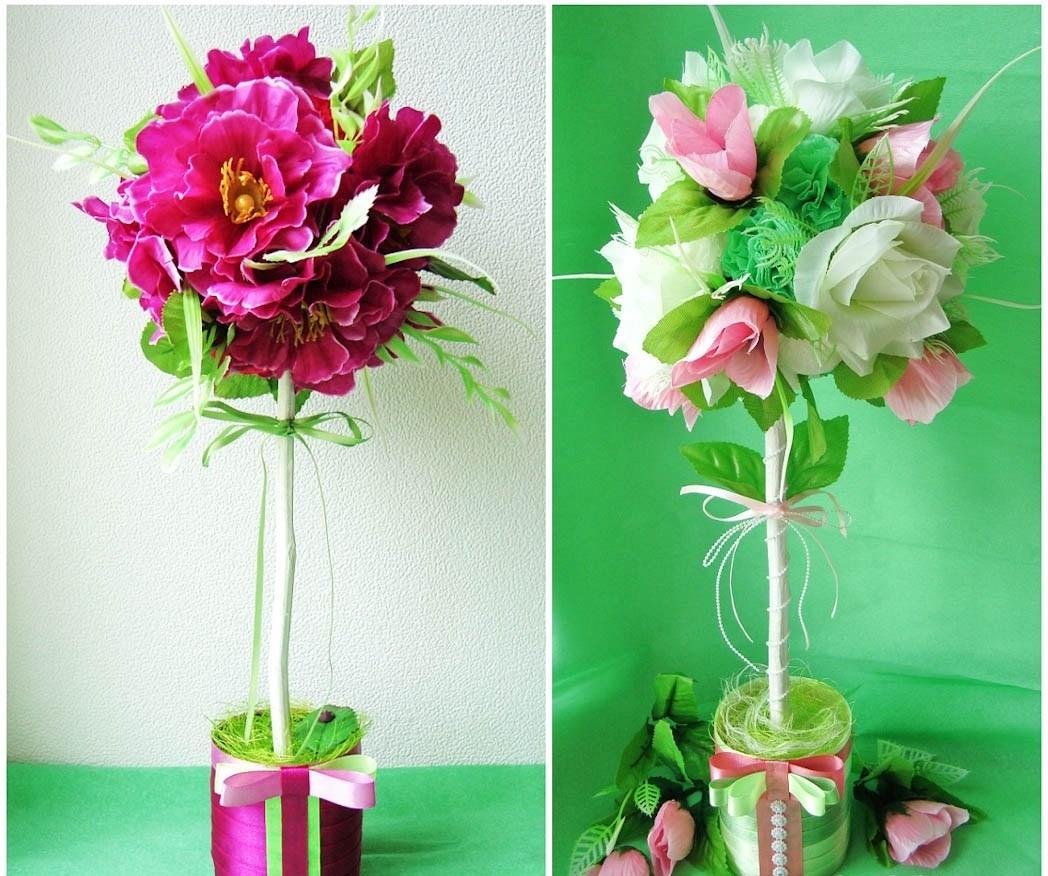
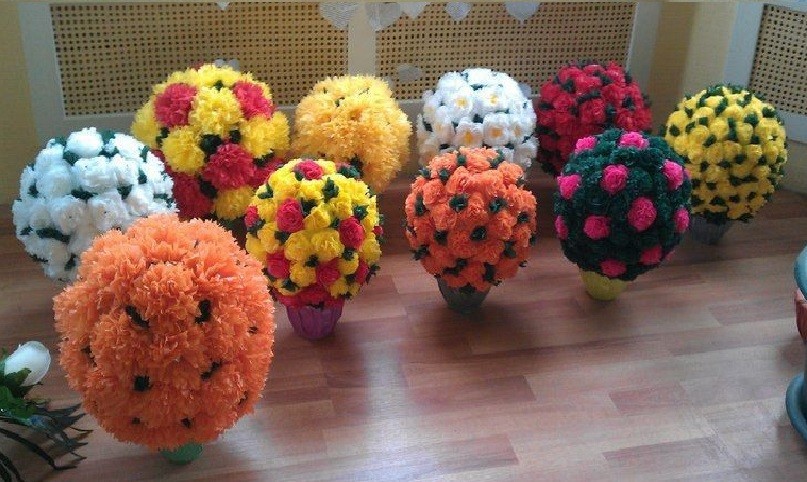
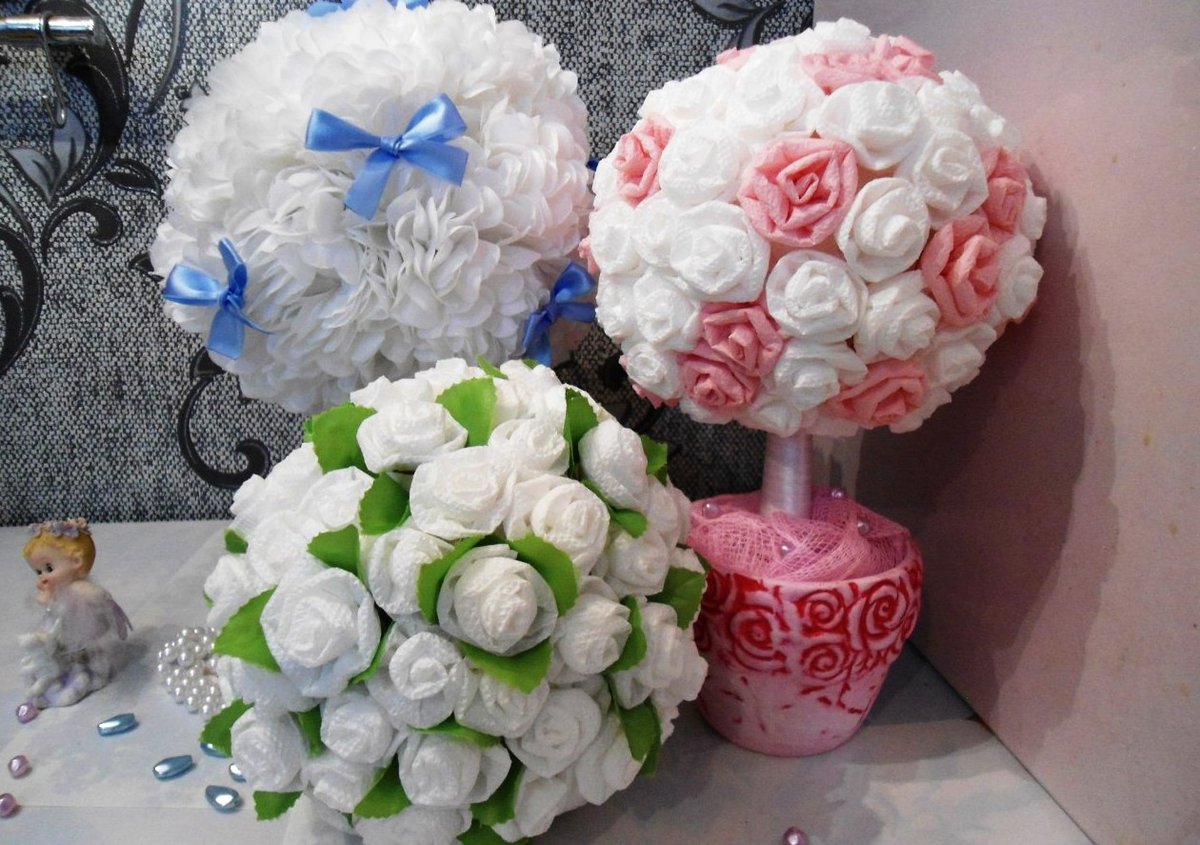
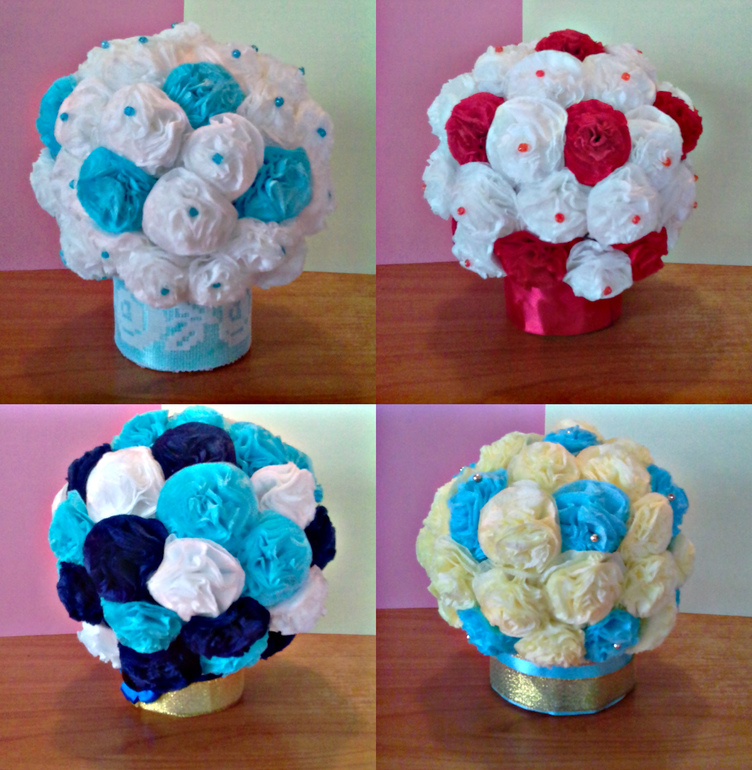
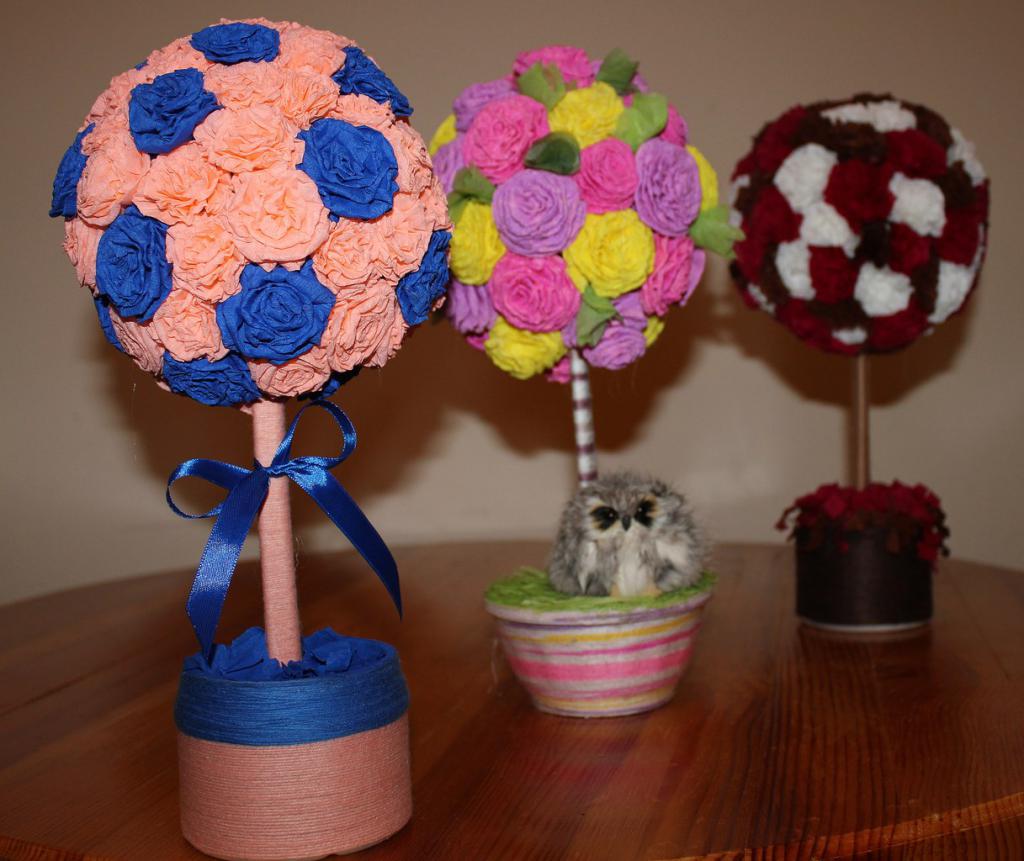
Step 5. We design the crown. We attach a ball to the trunk. Using a glue gun, we glue flowers all over the surface.
Step 6. Decorate the topiary from paper napkins. Glue beads, butterflies, hearts and other planned decor to the crown. At the bottom, under the crown, tie satin ribbons of two colors.
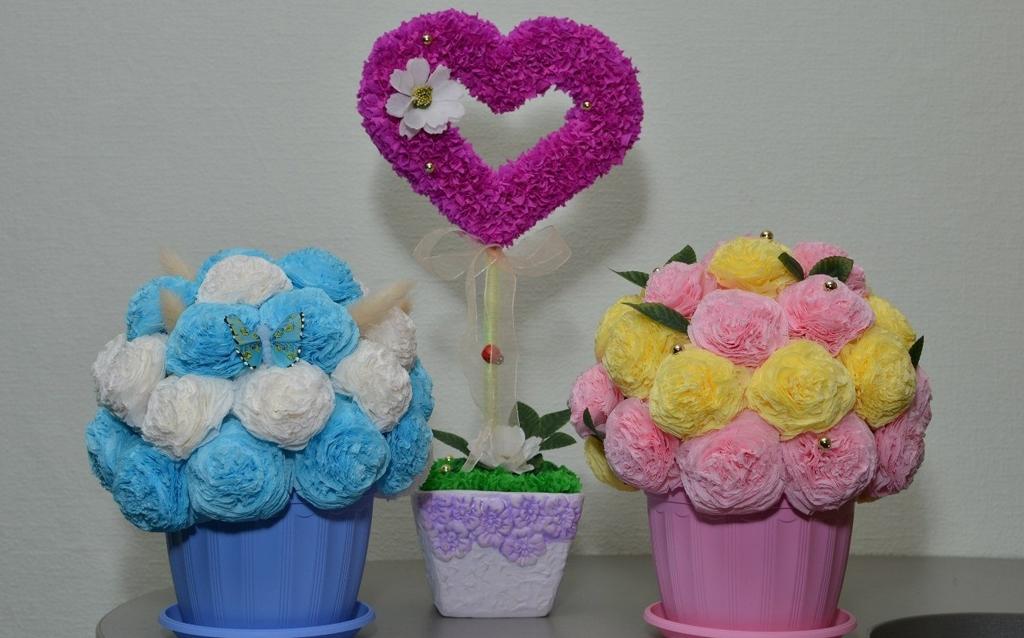
How to make a heart tree from napkins with your own hands?
Do-it-yourself May trees-hearts made of napkins look very impressive. Such a gift will definitely not go unnoticed. The step-by-step MK of a "heart" topiary made of napkins is the same as the previous one. Only the step of creating the crown differs. There are 2 options for making a heart-shaped crown.

- Flat heart. Cut out a heart-shaped base from thick cardboard. Paste paper flowers on it. You can make a hollow piece out of paper, in the form of a heart-shaped rim.
- Volumetric heart. Any volumetric object in the shape of a heart (tea packaging, candy, powder box) is pasted over using the papier-mâché technique. The result is a volumetric blank onto which flowers are glued.
Next, the May tree made from paper napkins is made in the same way as the classic version of the craft.
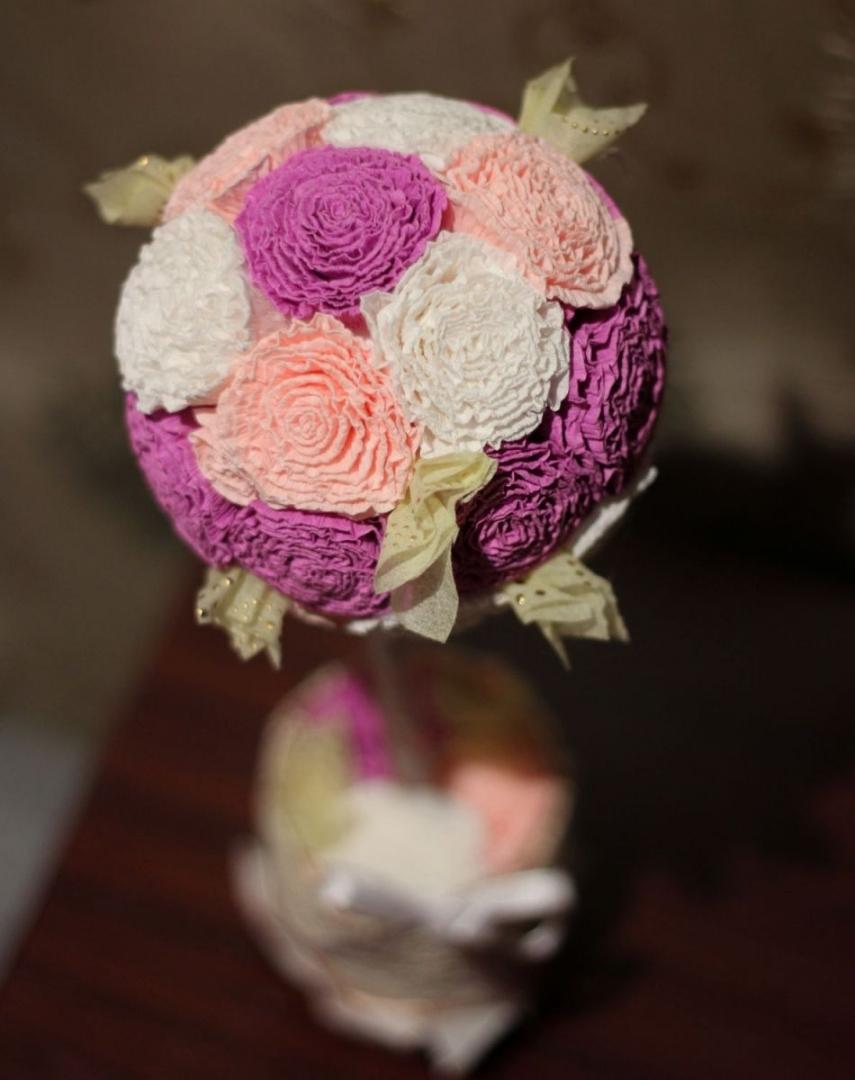
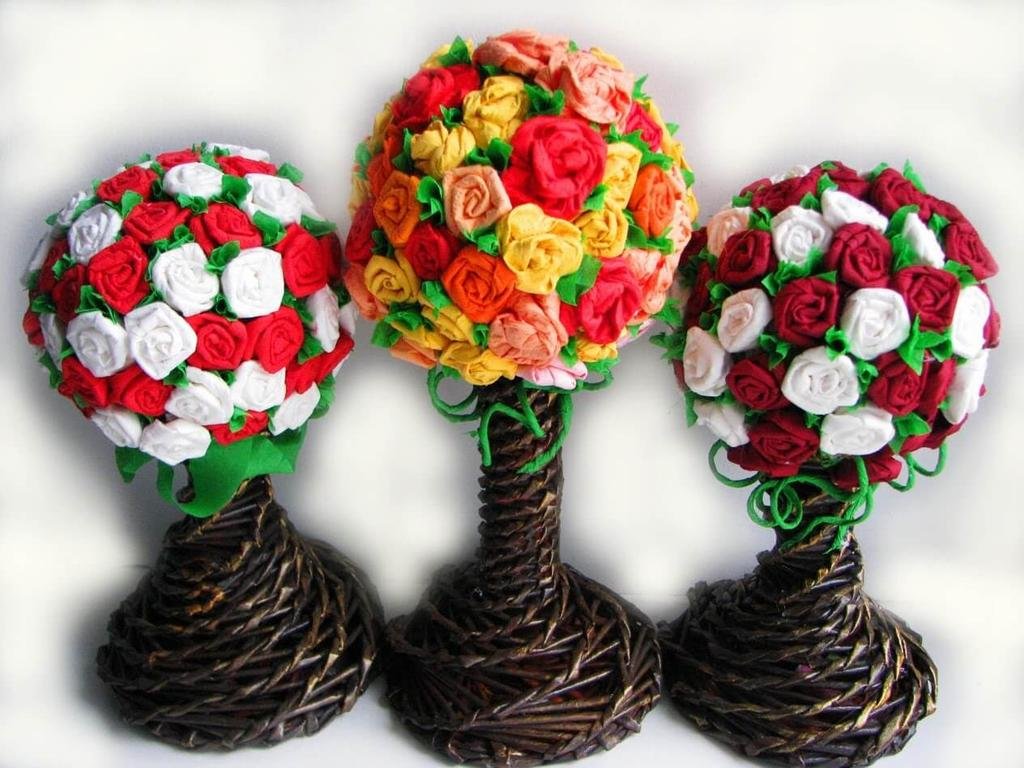
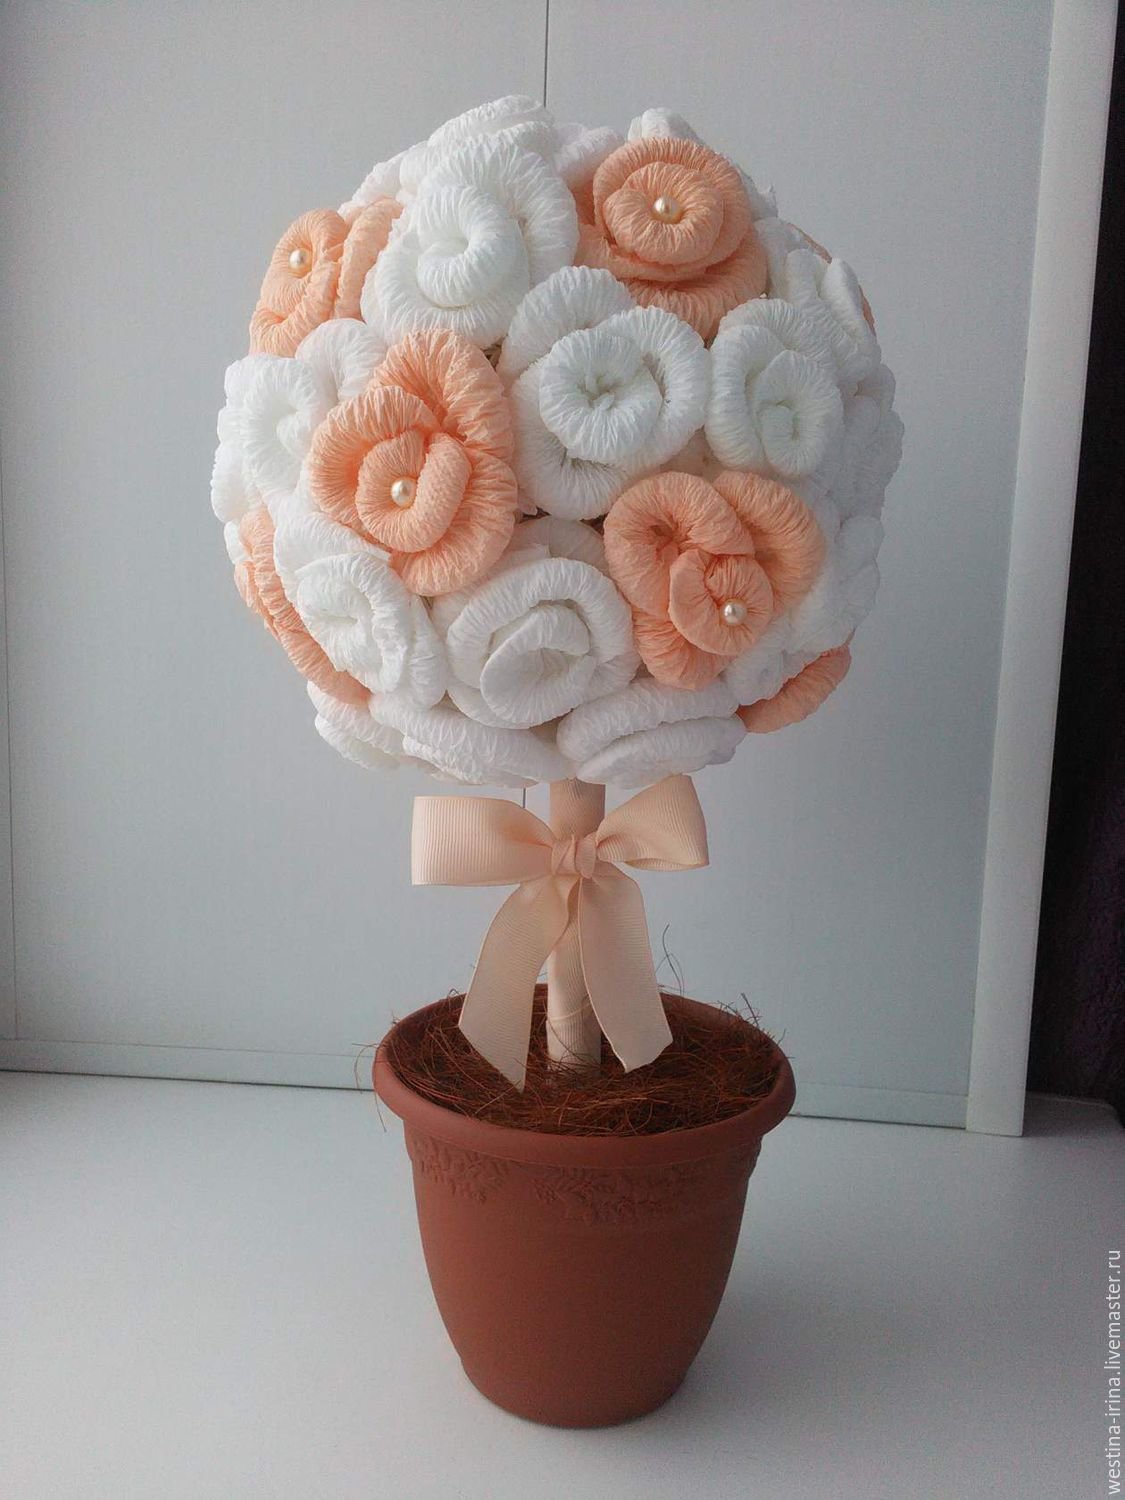
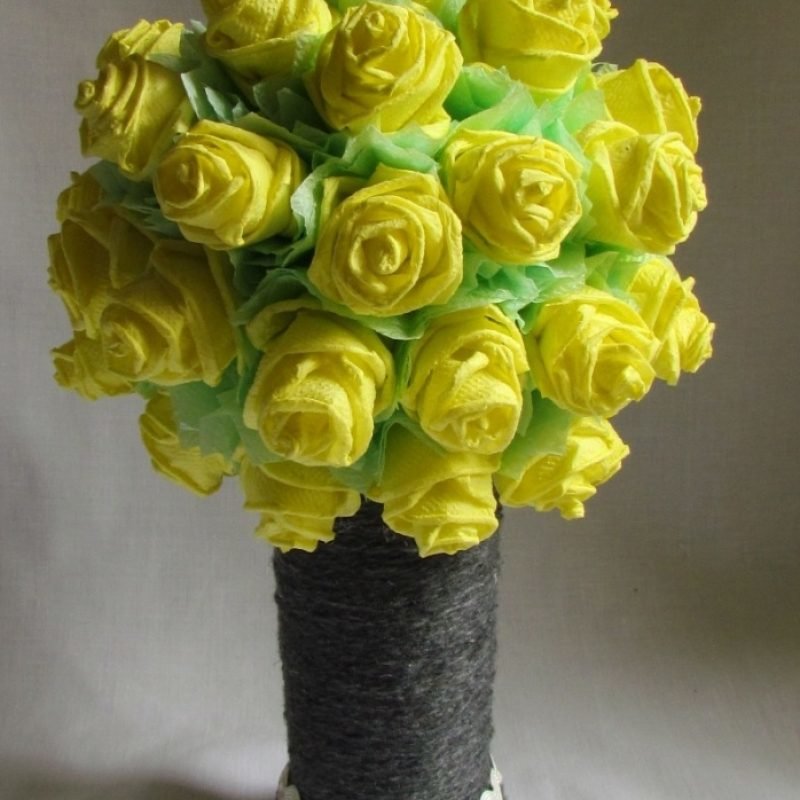
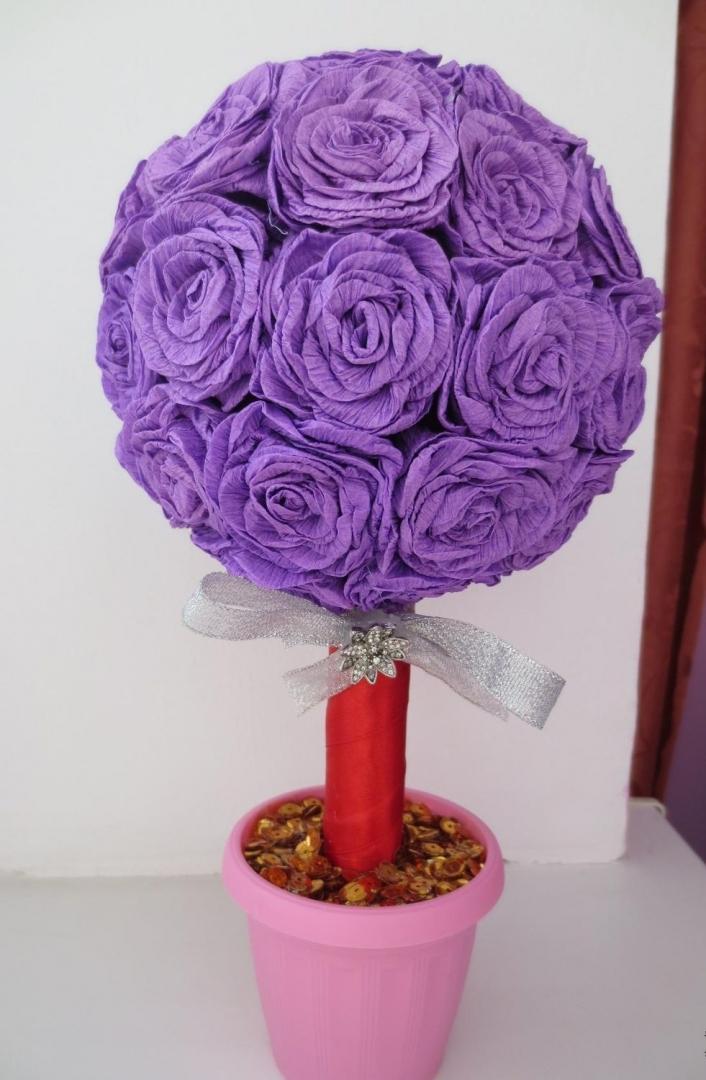
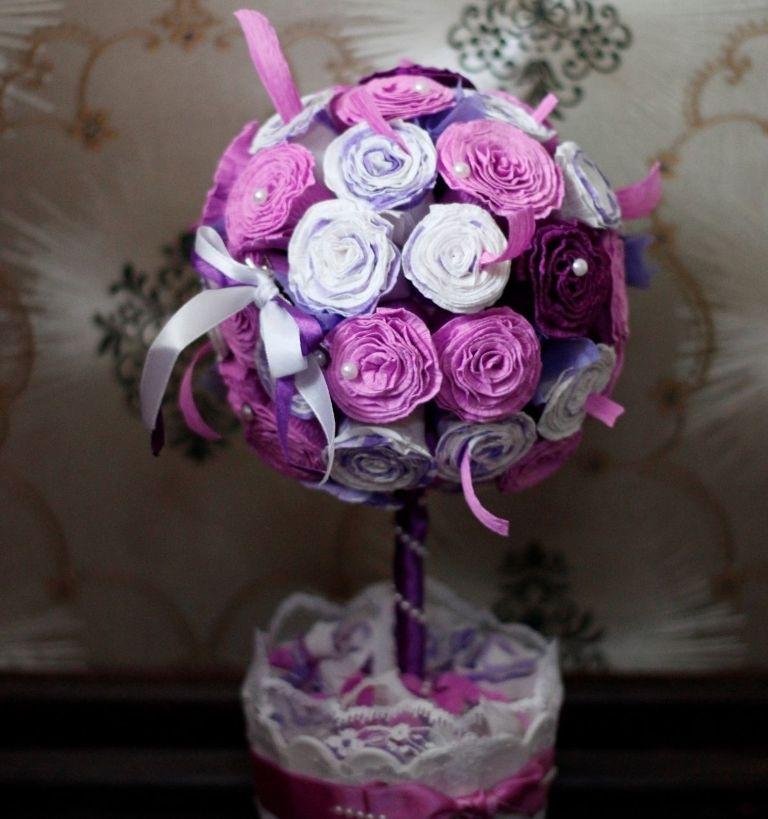
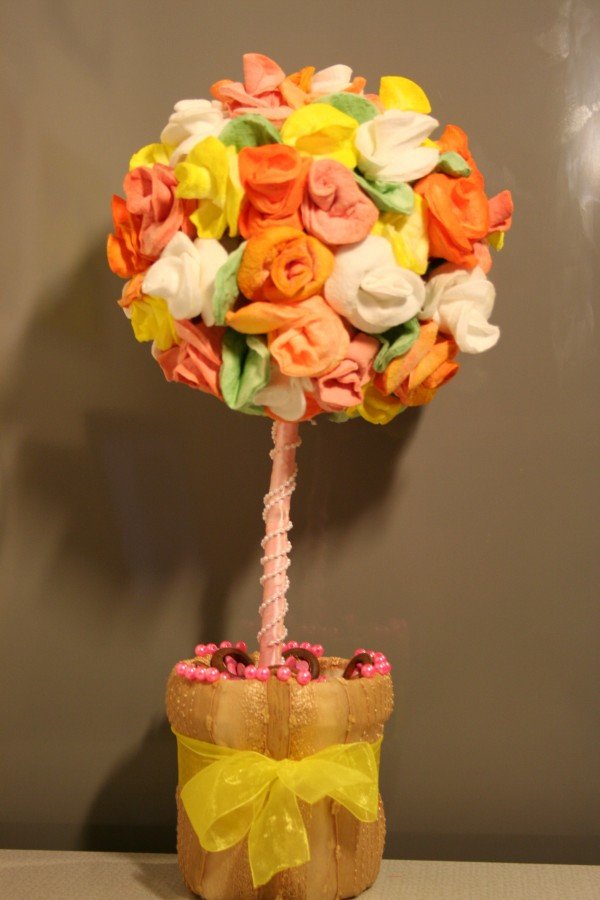
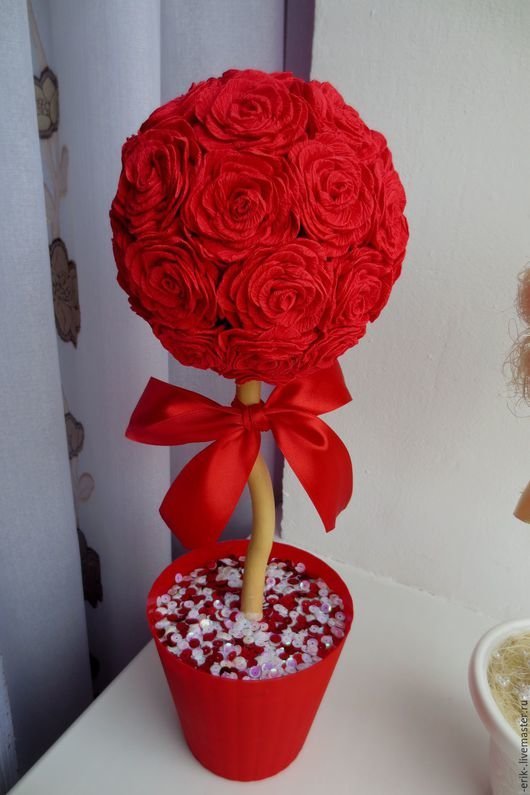
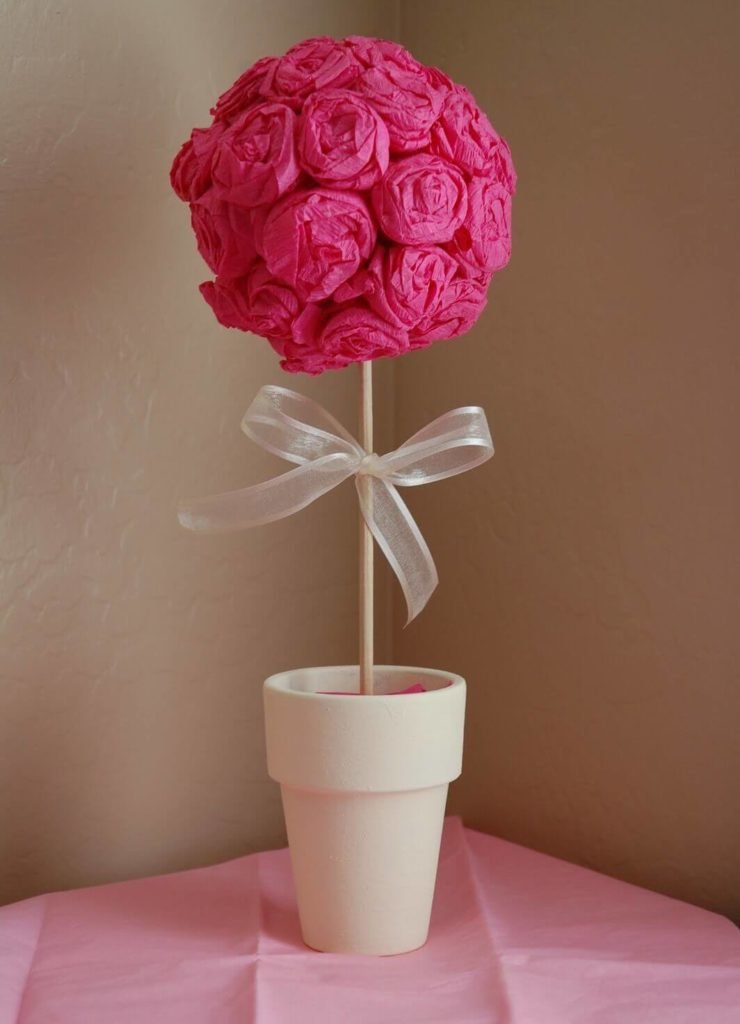
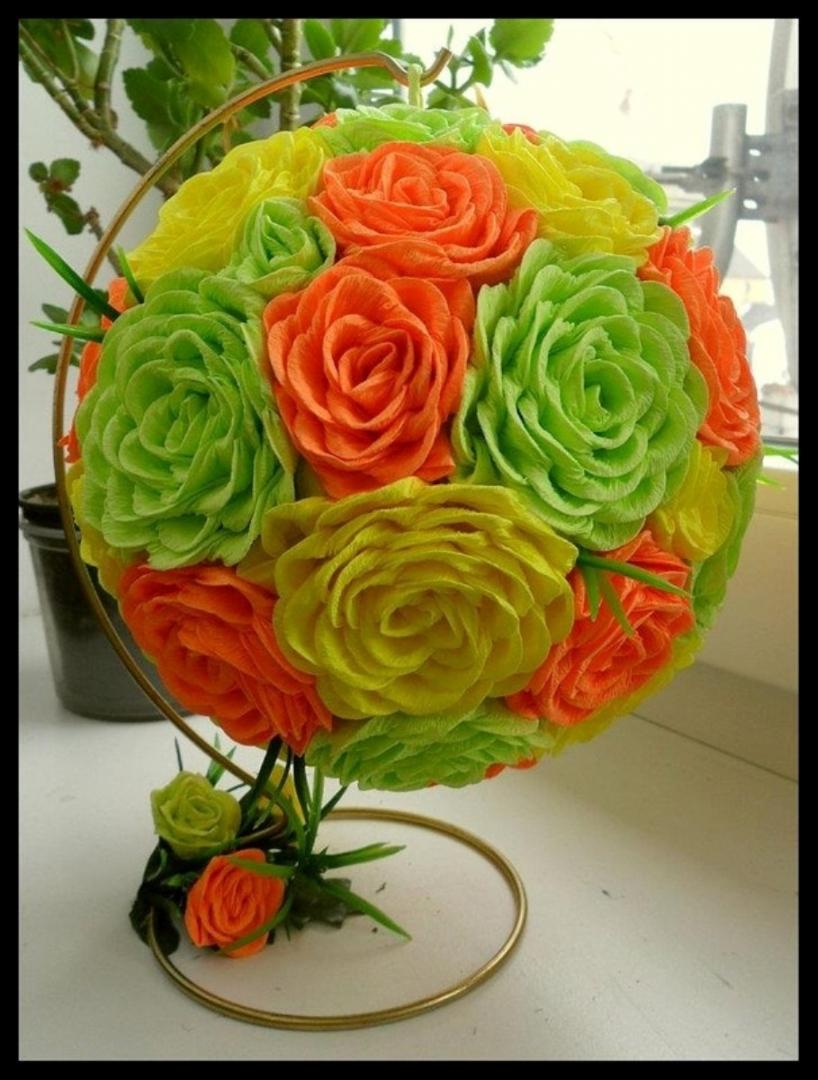
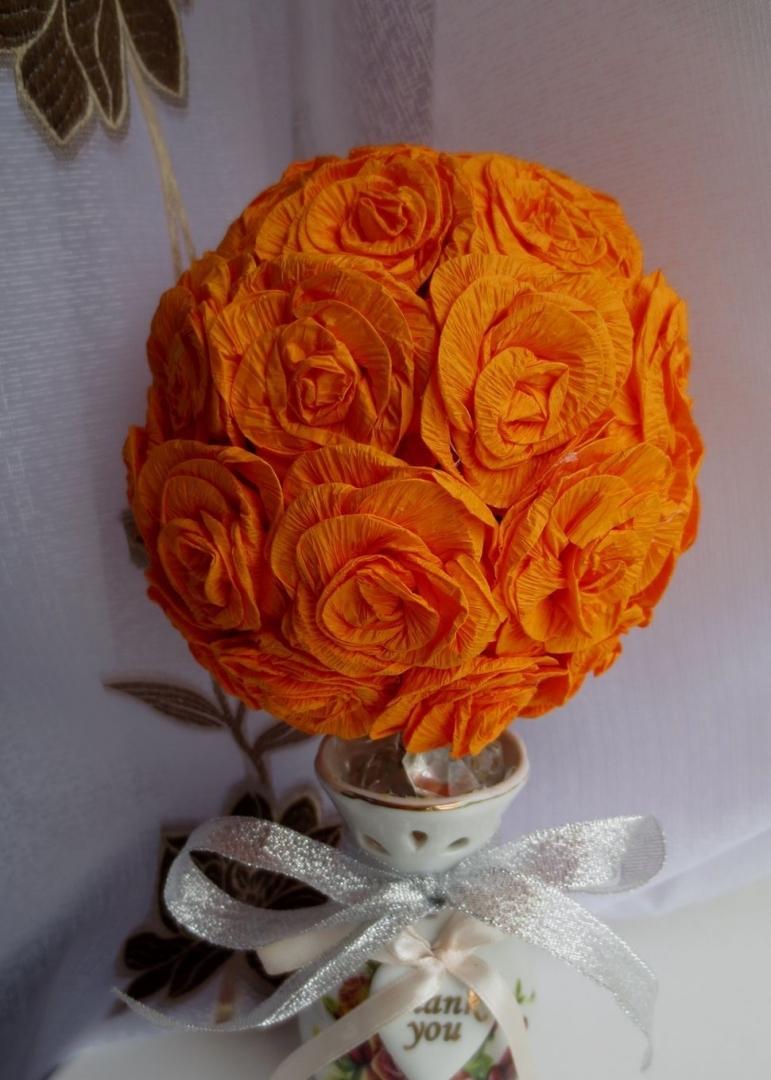
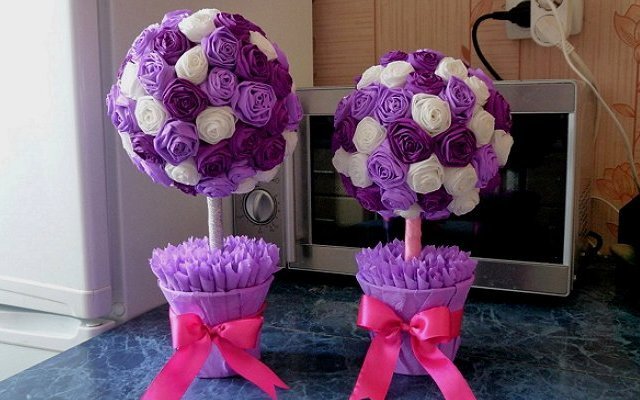
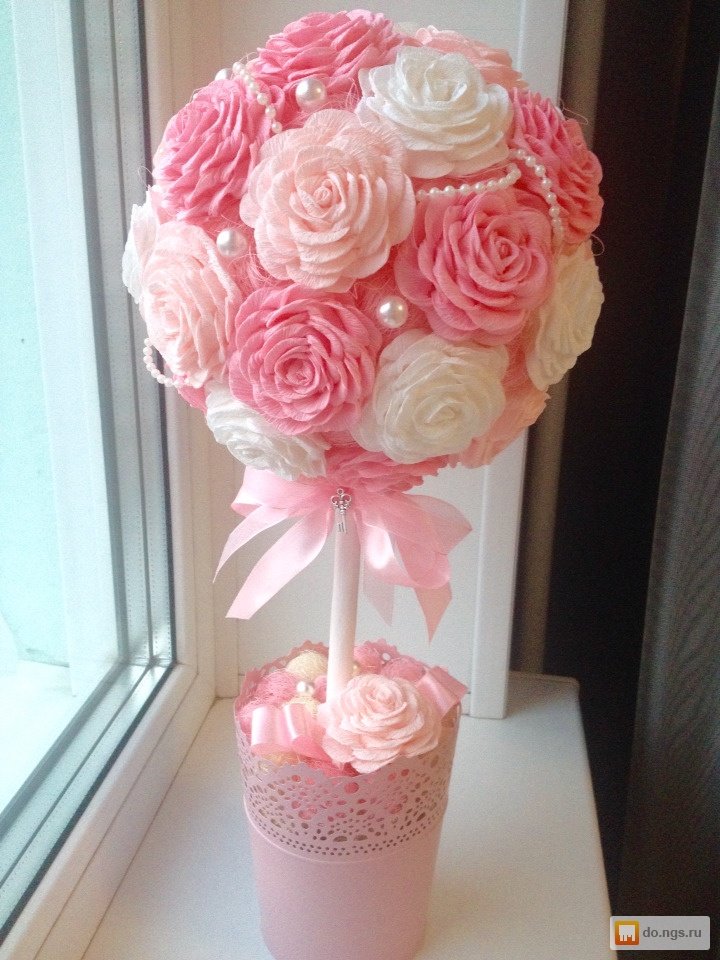
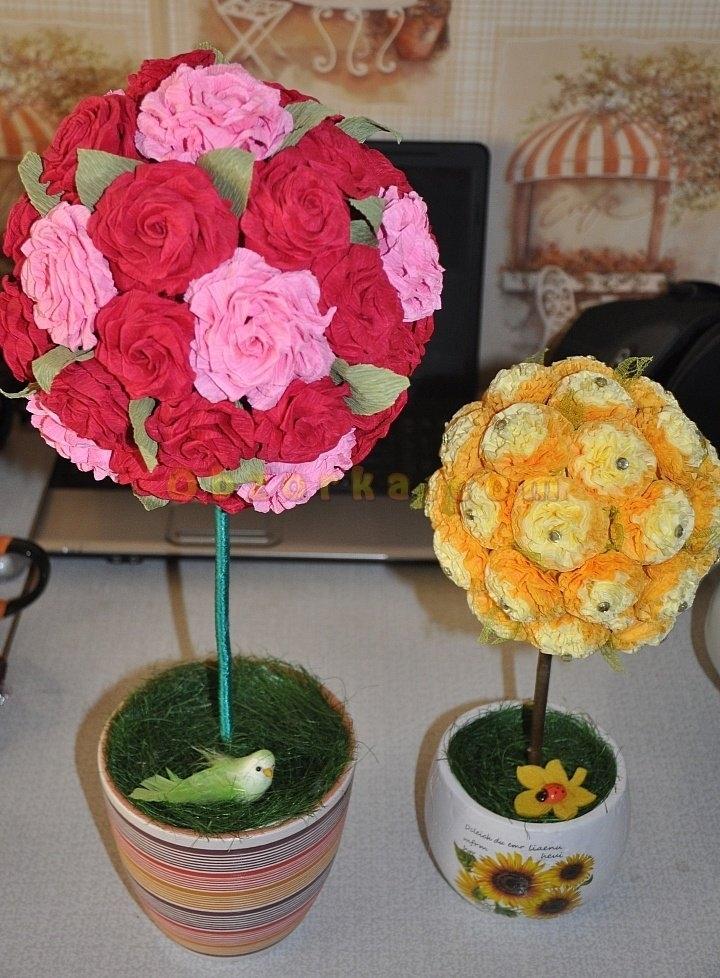
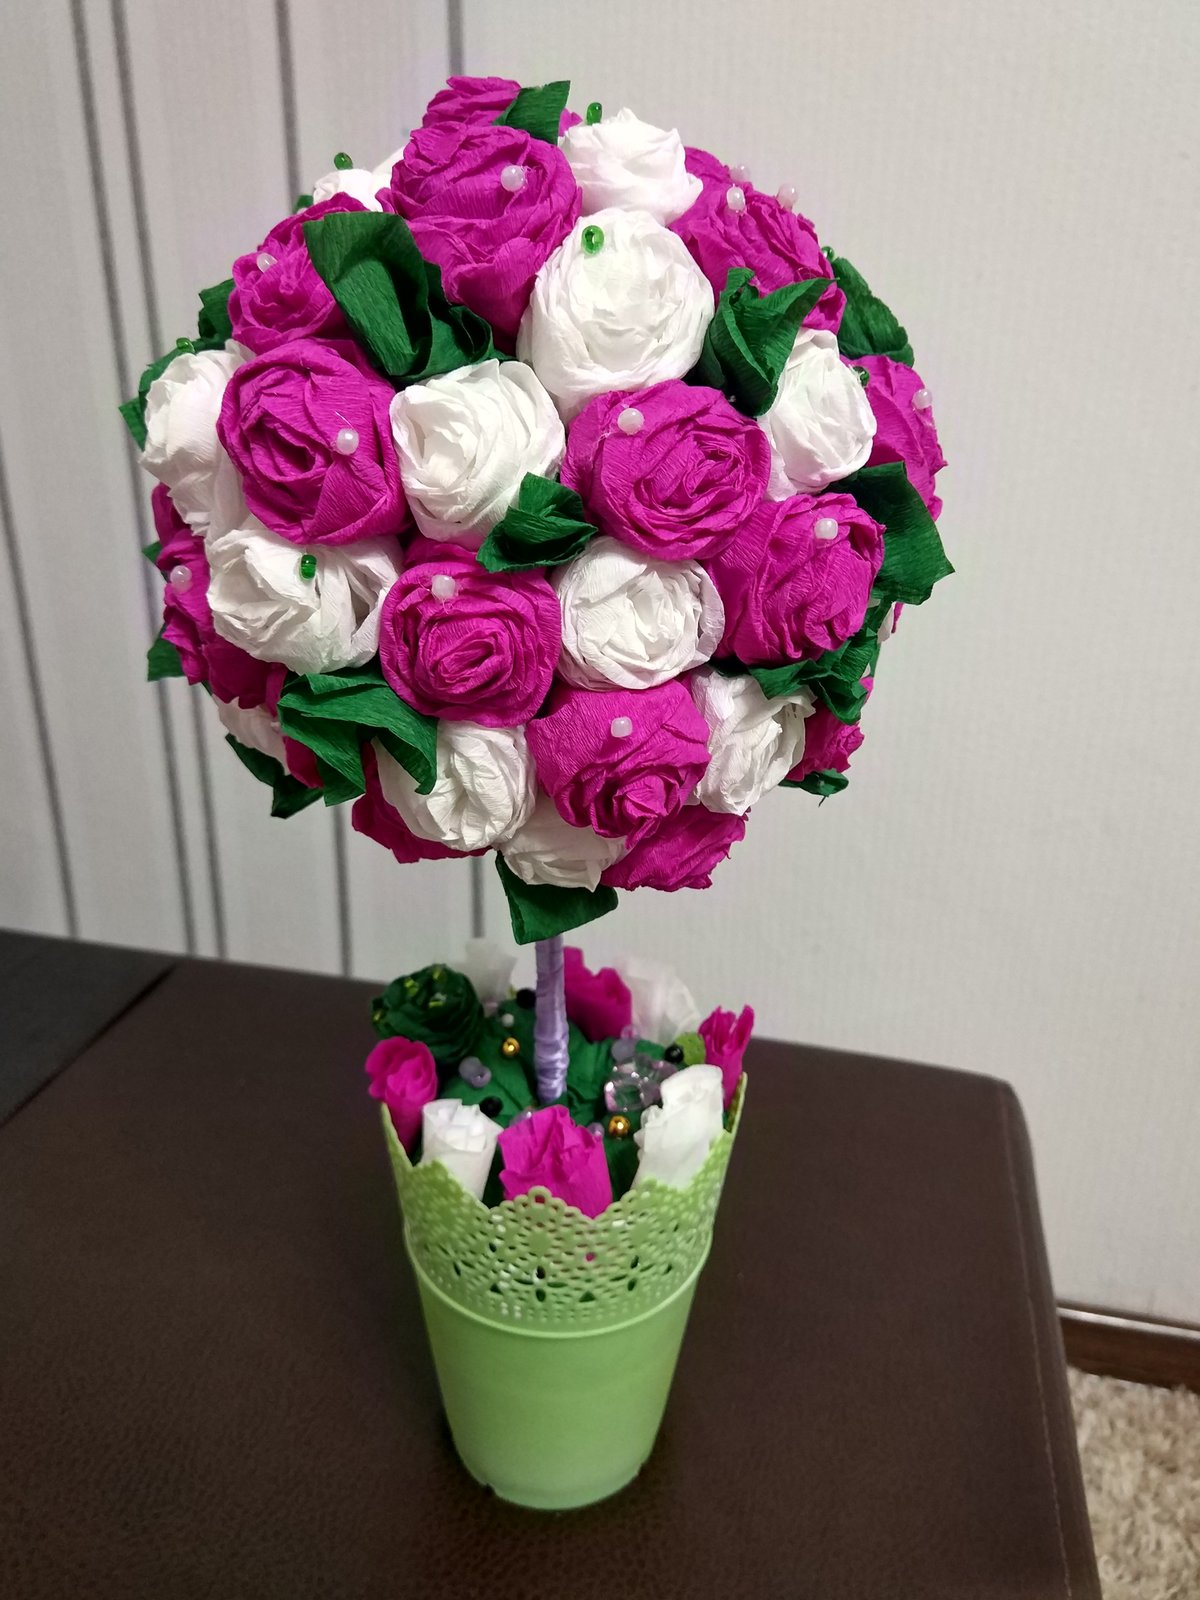
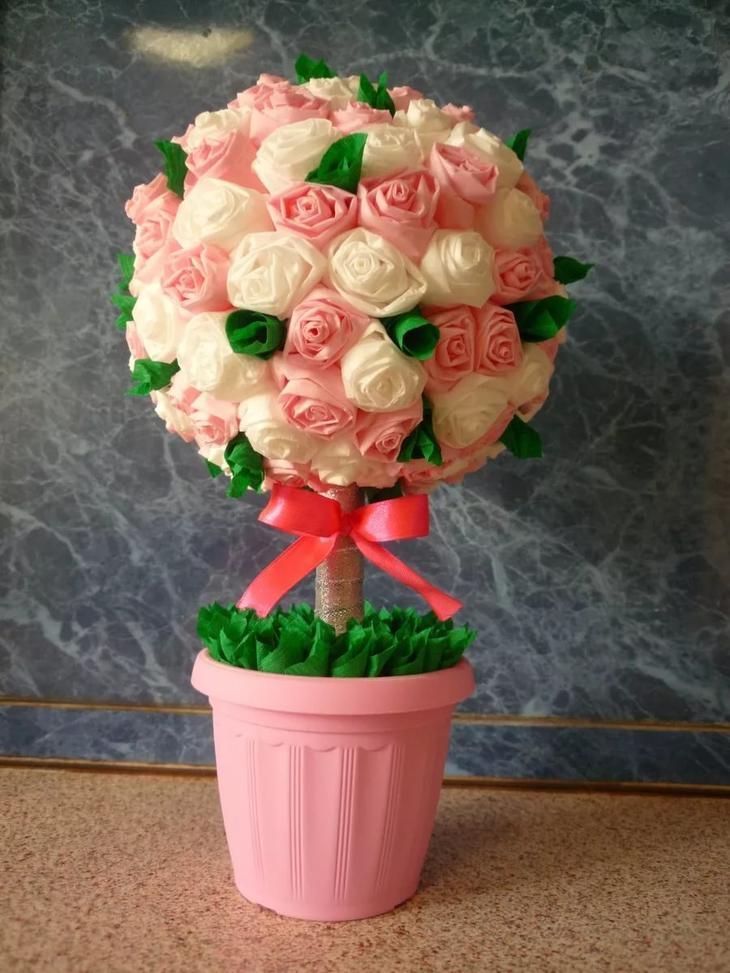
May tree made of napkins on a base of rosebuds
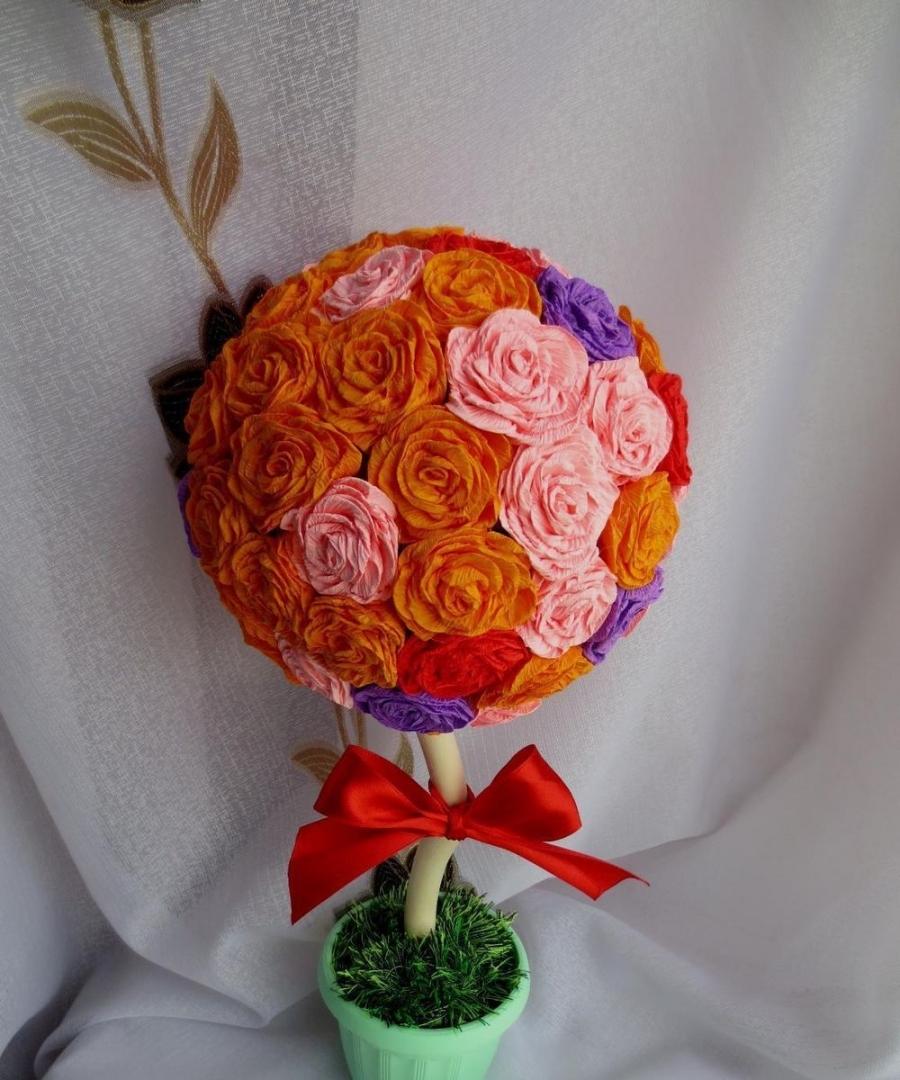
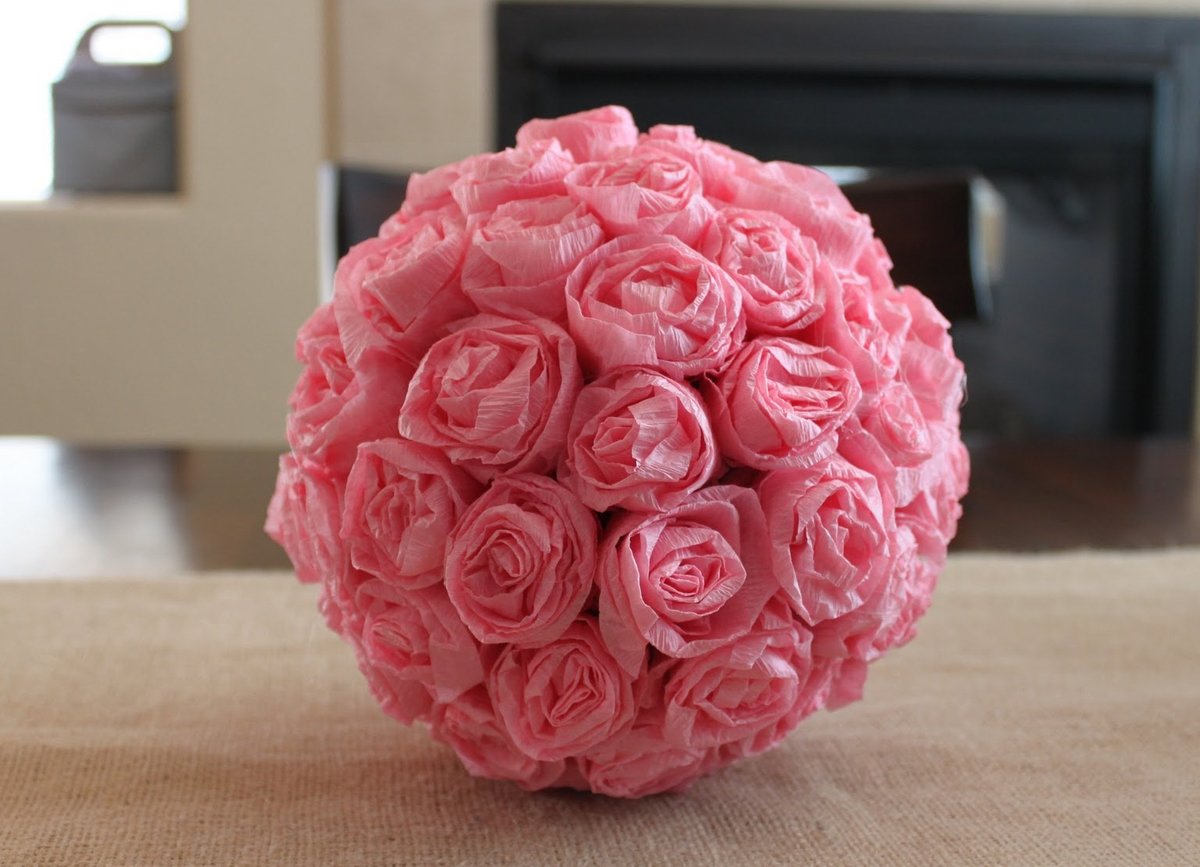
A simple step-by-step master class will help you make a topiary for beginners in the form of a lush bouquet of roses with your own hands. The tree is made according to the classic scheme. But instead of ordinary paper flowers, roses are twisted. To make roses from napkins for topiary, you will need napkins of two or three colors: pink, burgundy, green.
- Cut the napkin (pink or burgundy) into 4 parts.
- Fold each one in half. Fold the corner on the left.
- We fold the strip from right to left. We fix the “bud” at the bottom with a thread.
- The second color of the napkin is folded diagonally. It turns out to be a triangle. The upper fold is once again folded with a thin strip of 0.5 mm to the outer side. On top of the resulting triangle we put our bud and roll it loosely.
- We roll up new layers of petals using the same principle.
Attention! The size of the triangles should be increased with each new layer of the rose.
The petals are made from green napkins. They are cut into 4 parts. They are folded crosswise. A hole is made in the middle. The bud is put on a wire and threaded through the hole in the "petals". The rose is ready.

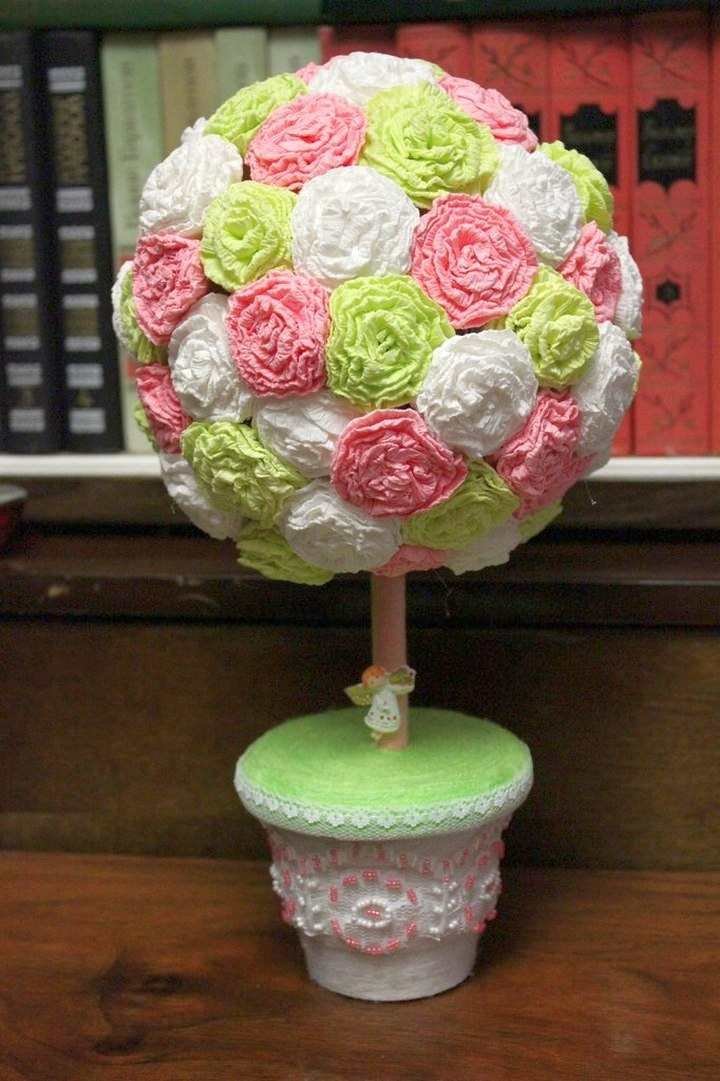
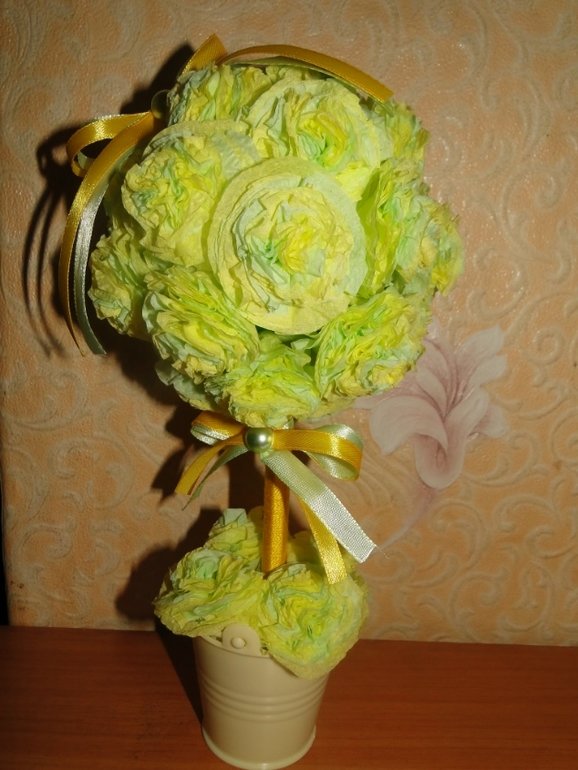
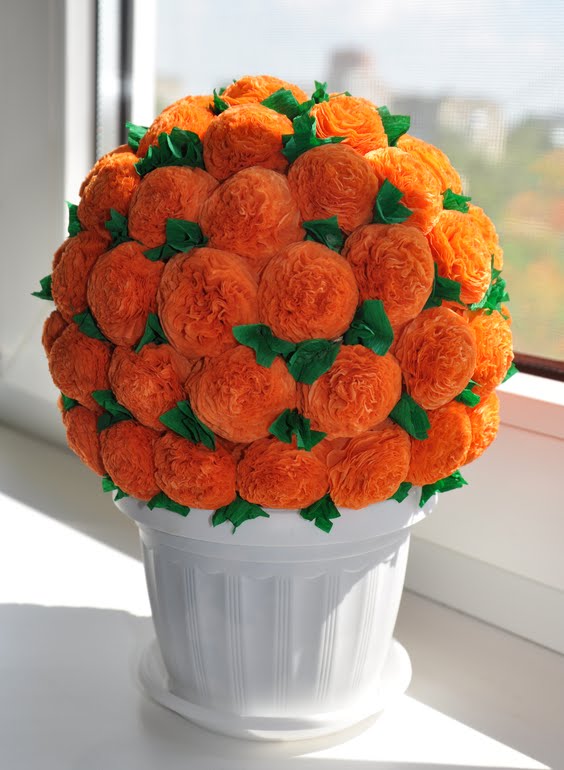
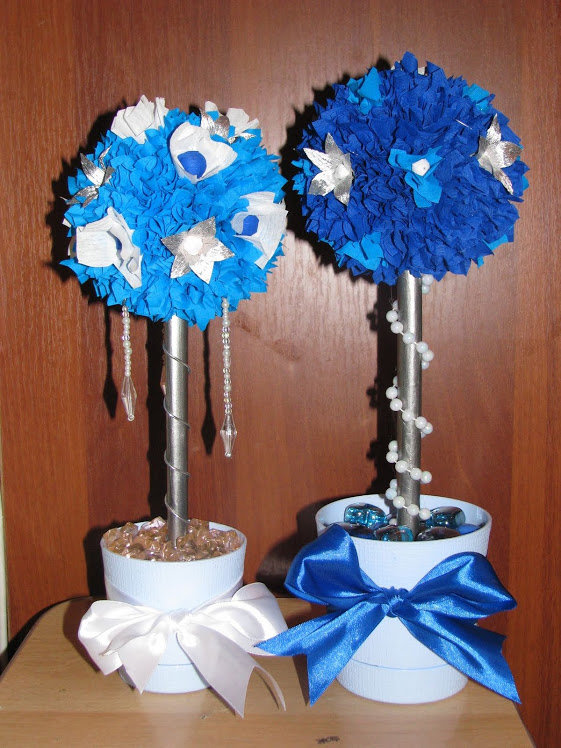
How to make a topiary from napkins with lush flowers with your own hands?
The potted composition can be made more lush, give it a rich texture and large volume. To do this, take 2-3 napkins at once. Cut into 4 parts into equal squares. Fasten 8-10 pieces. Fix in the center with threads or a stapler. Then cut a circle from the square blank and, pressing it to the center layer by layer, form lush flowers.
Rules for caring for topiary
A napkin tree will last longer if you follow simple rules for caring for the decorative craft.
- Avoid exposure to direct sunlight.
- Do not let the craft get wet.
- Clean from dust.
To prevent dust from spoiling the appearance of the product, it should be "blown" from time to time with a hair dryer. But the temperature should not be hot. You can use a vacuum cleaner (at minimum speed) to remove dirt and dust. Or carefully go over the crown with a special brush to remove dust.
Topiary is called the "tree of happiness". In the East, it is a symbol of luck, well-being and prosperity. A lush miniature tree will be a wonderful gift for any holiday.

VIDEO: Topiary with flowers made of corrugated paper.
50 ideas for creating a topiary with your own hands: