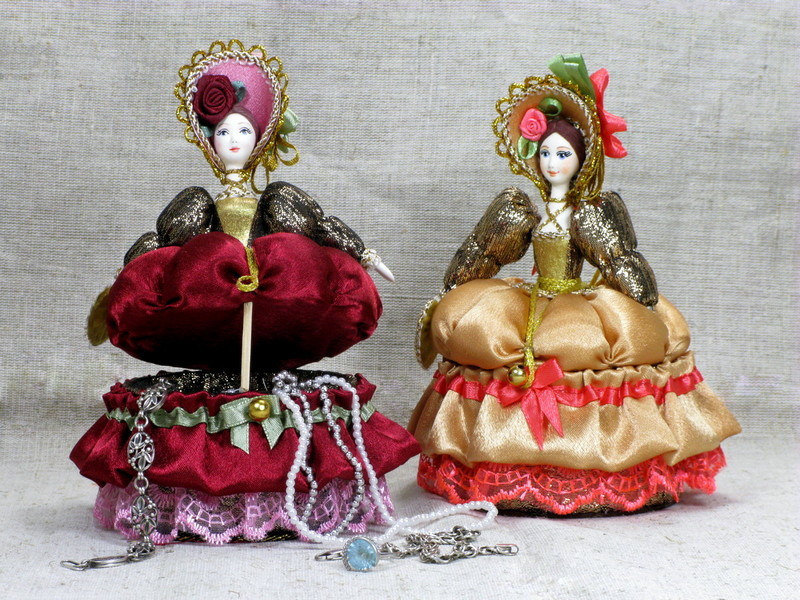
Boxes are an ideal solution for storing jewelry or cosmetics. To make it unusual, we will conduct a small master class on making a doll-box from various materials with your own hands.
Content
Features of the box
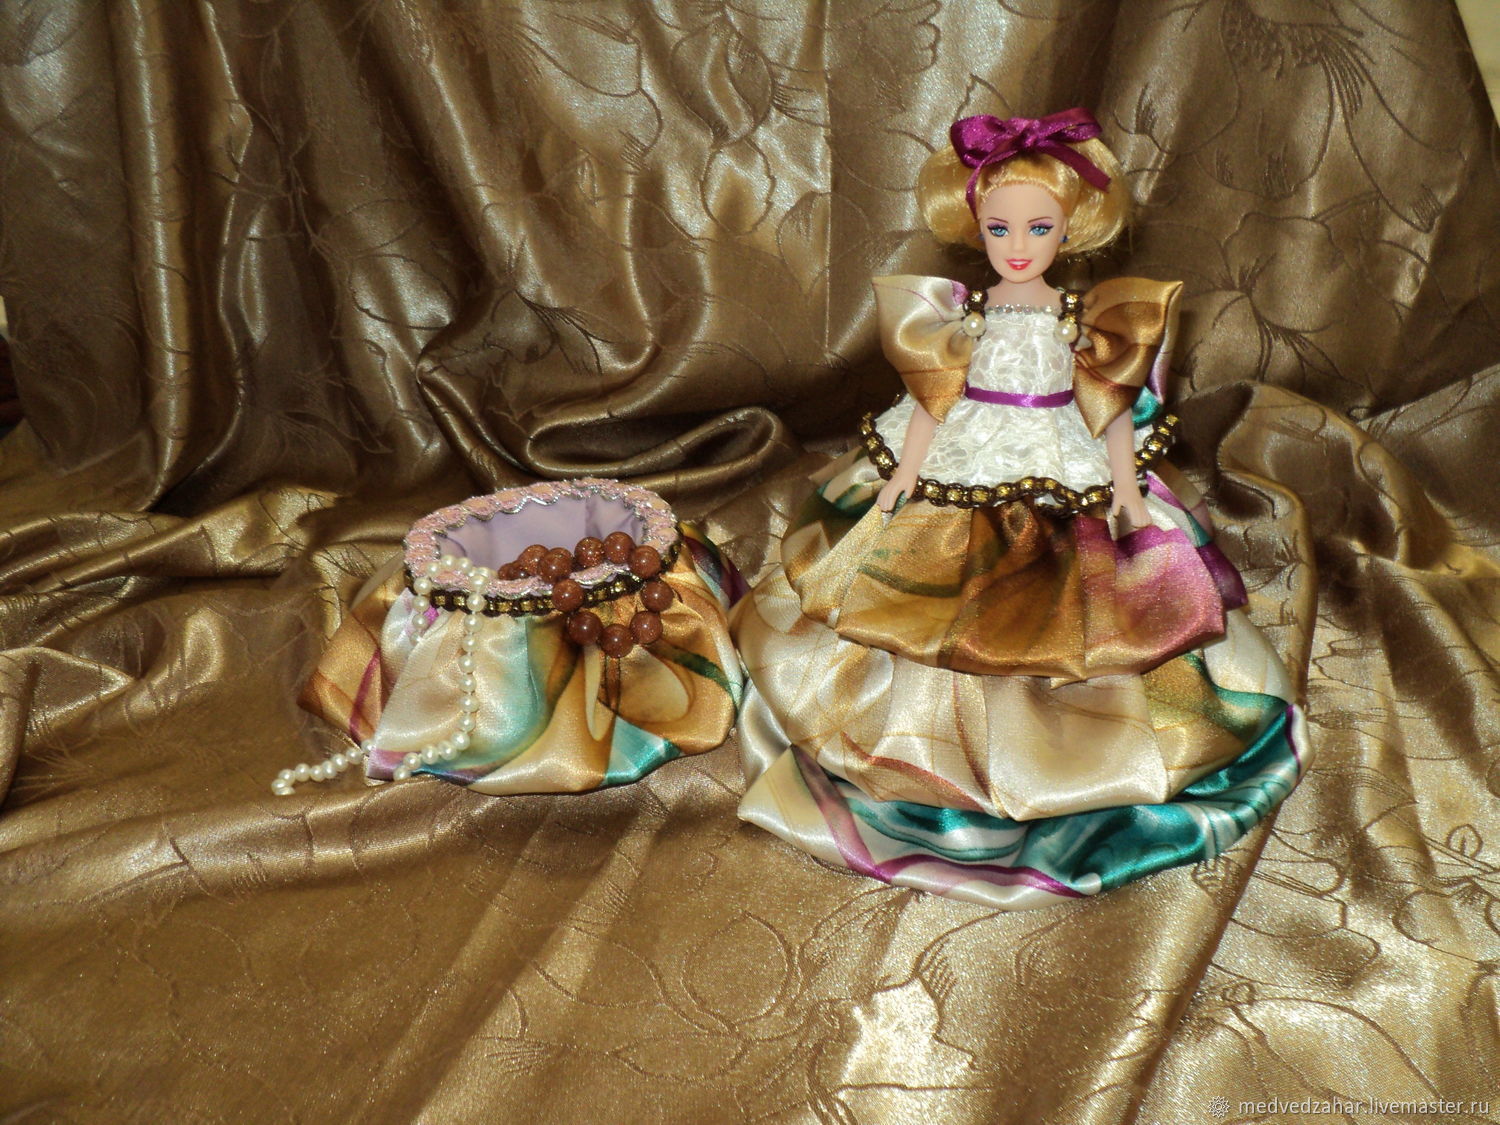
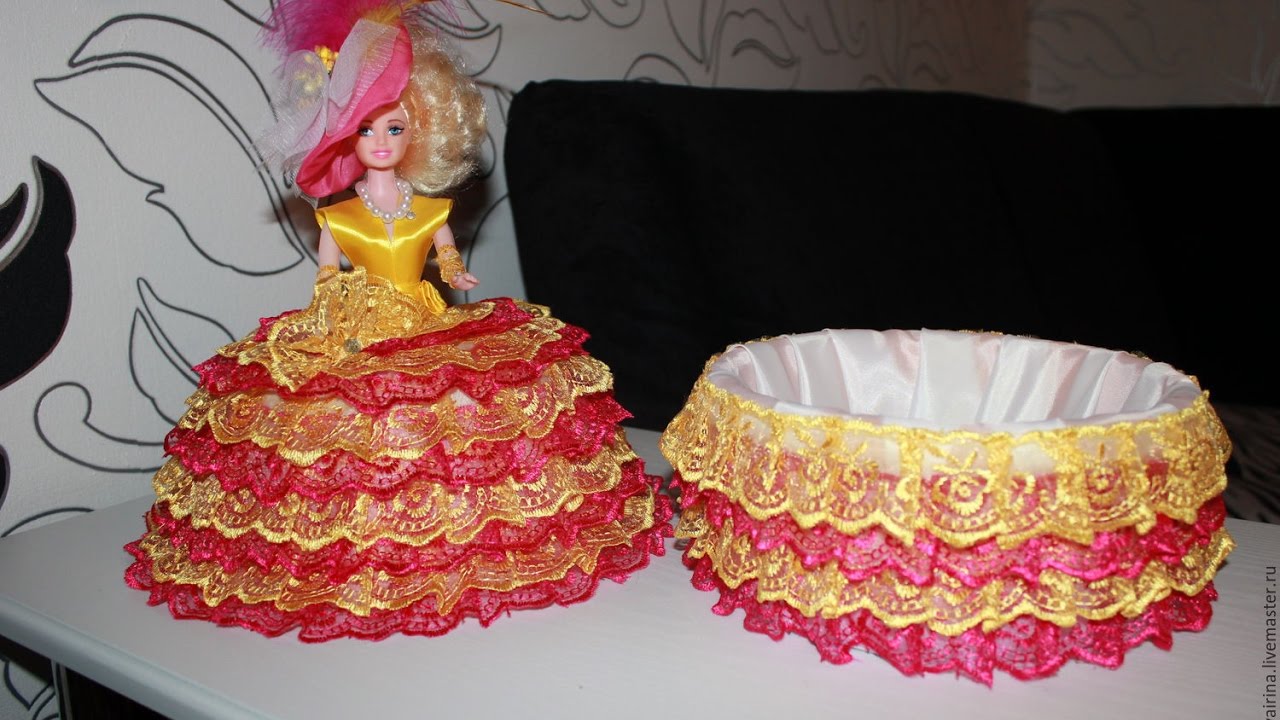
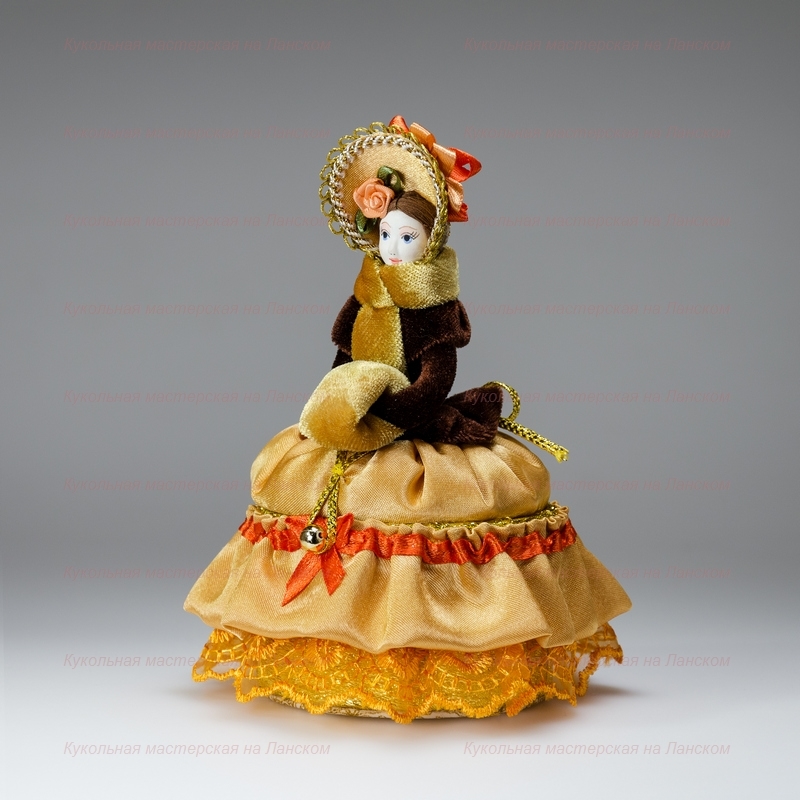
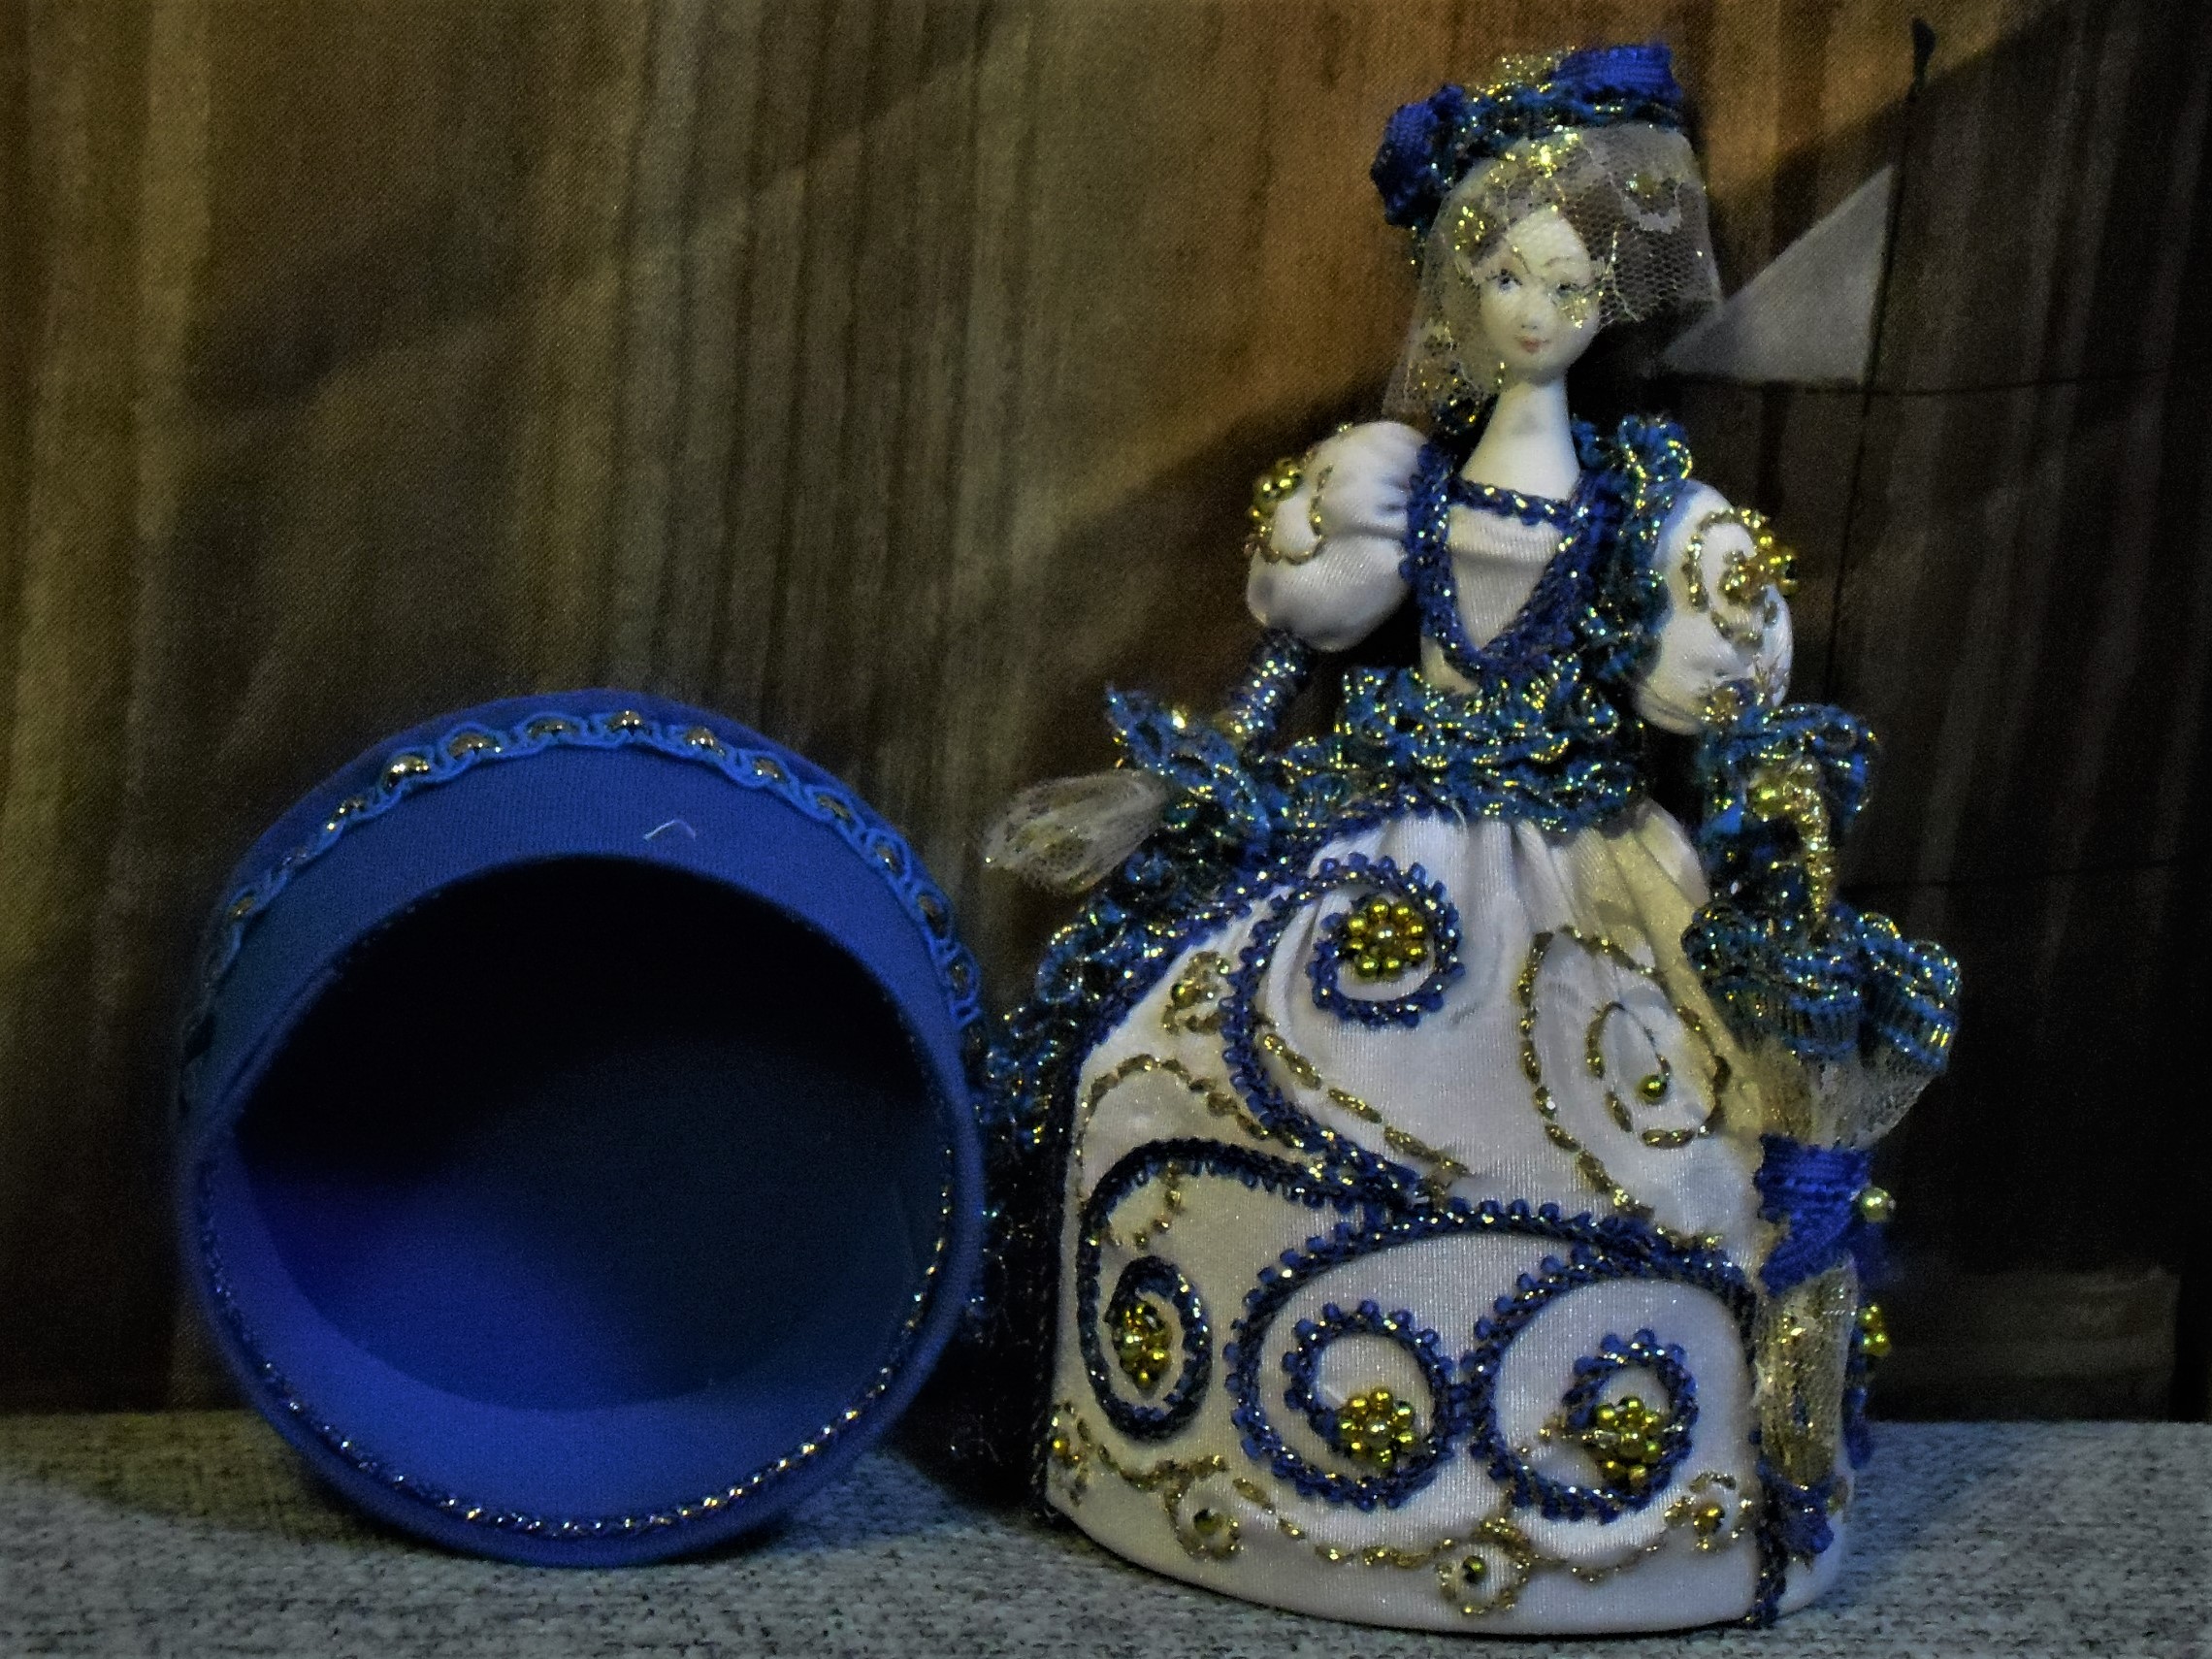
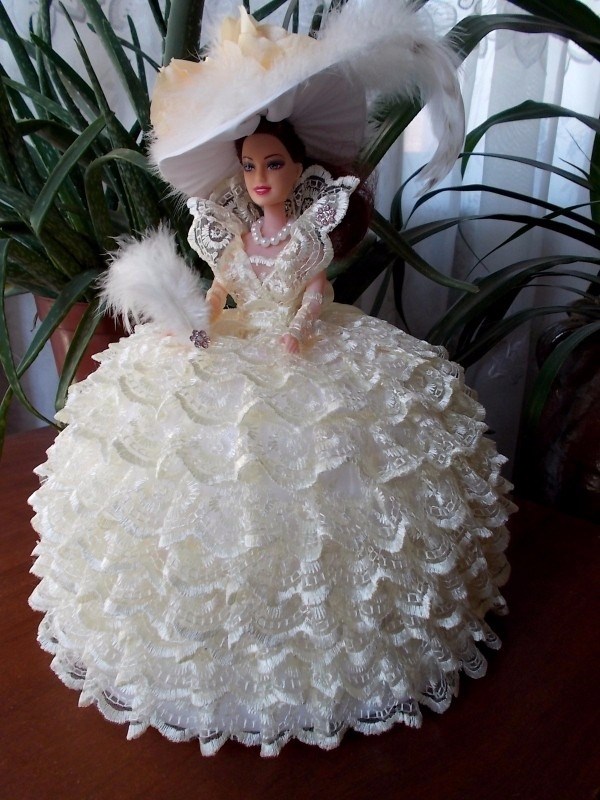
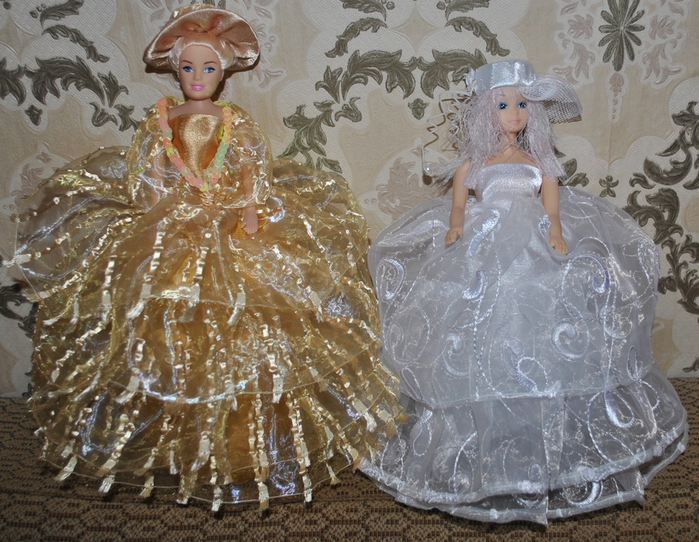
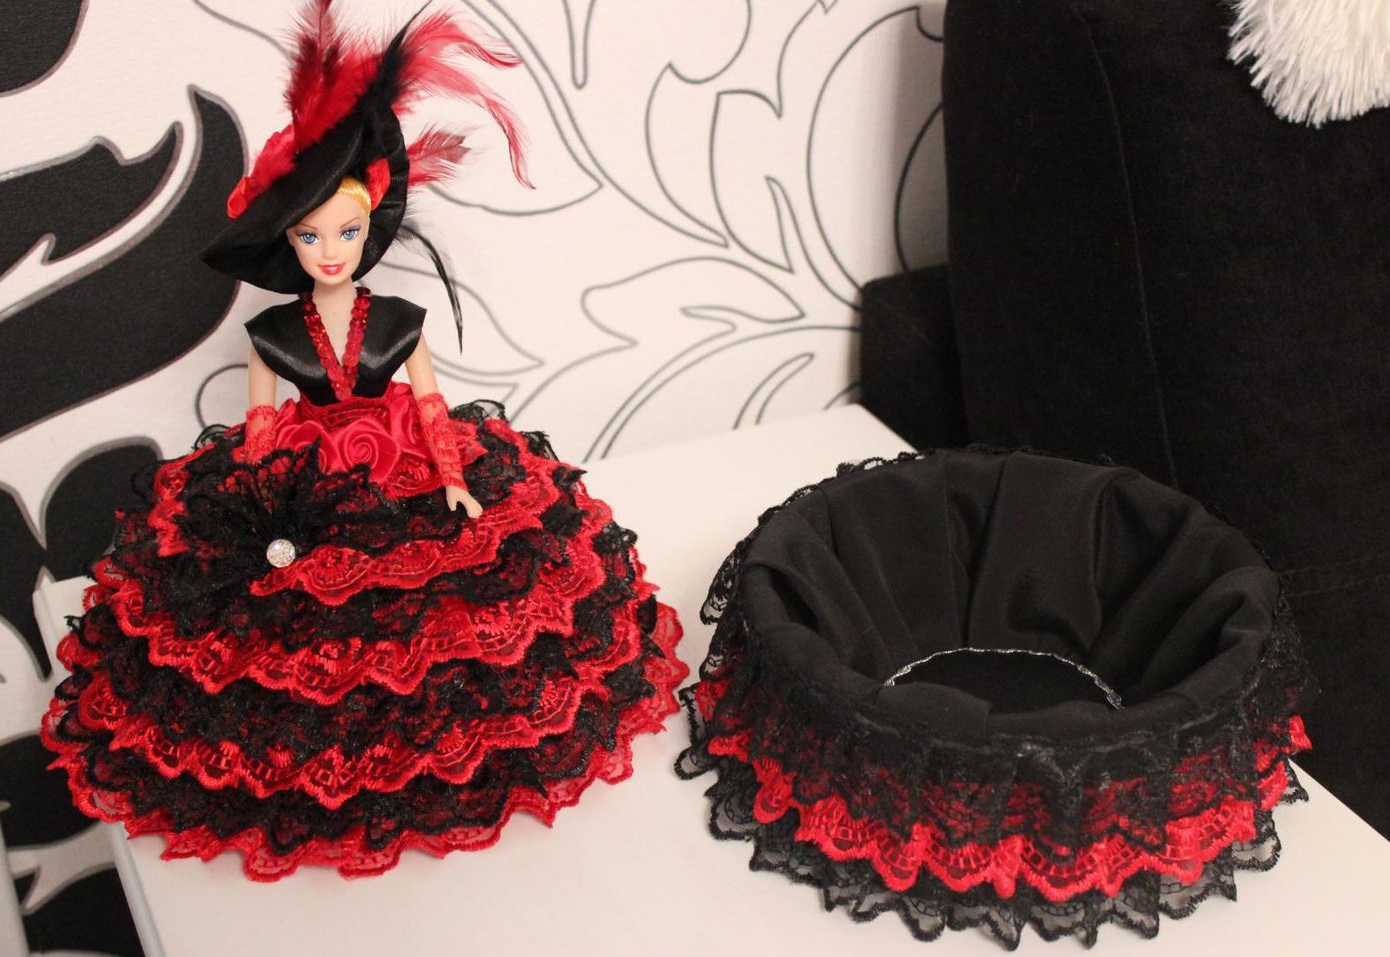
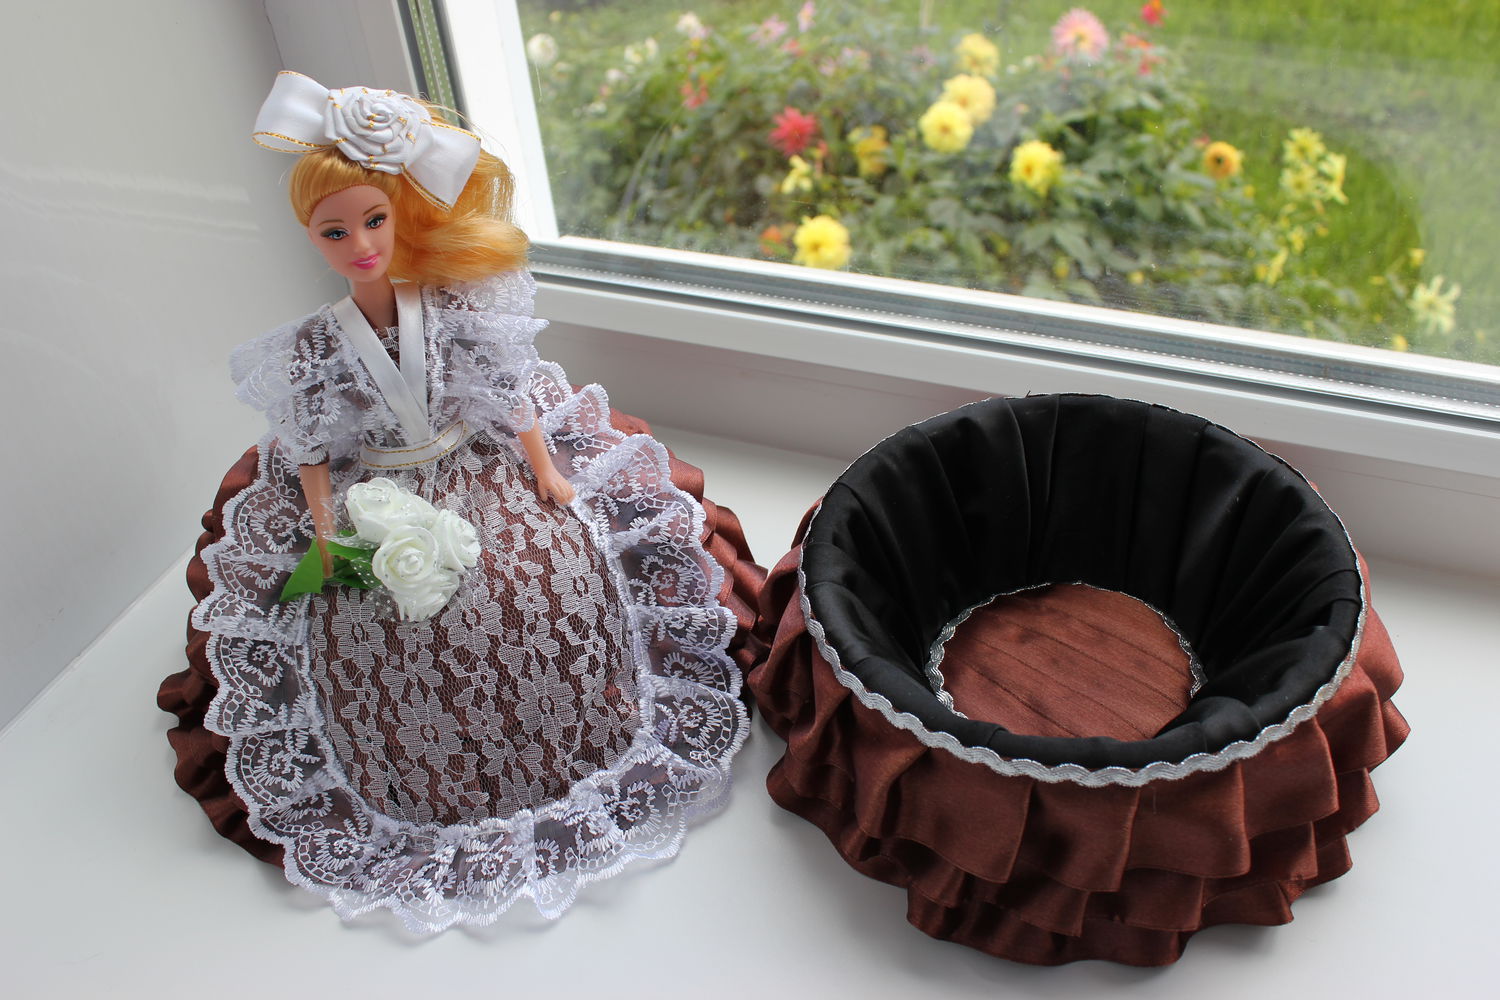
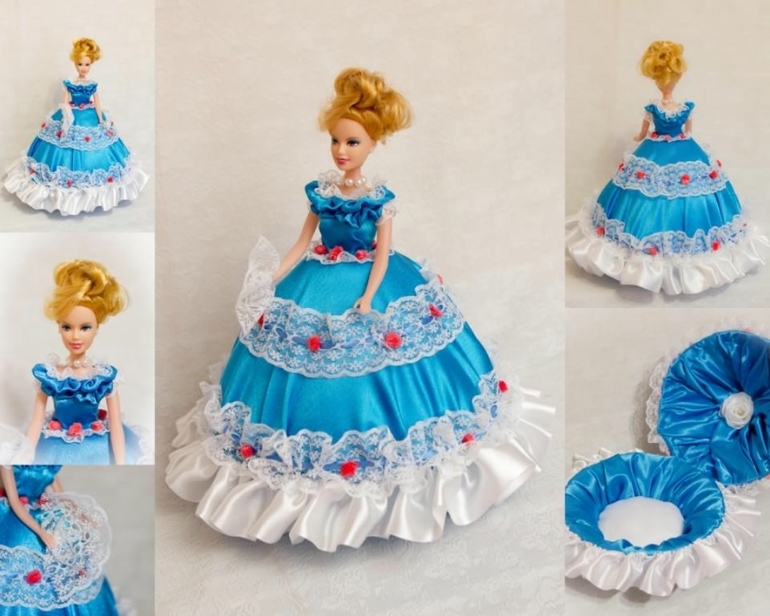
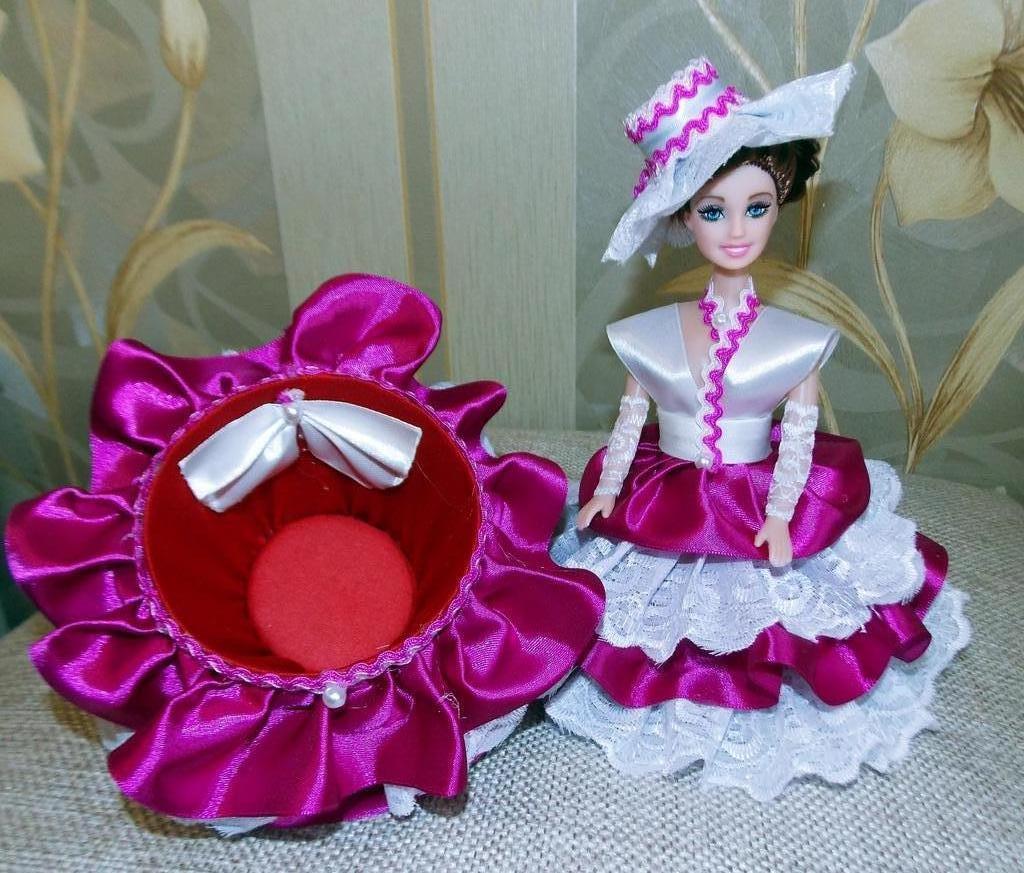
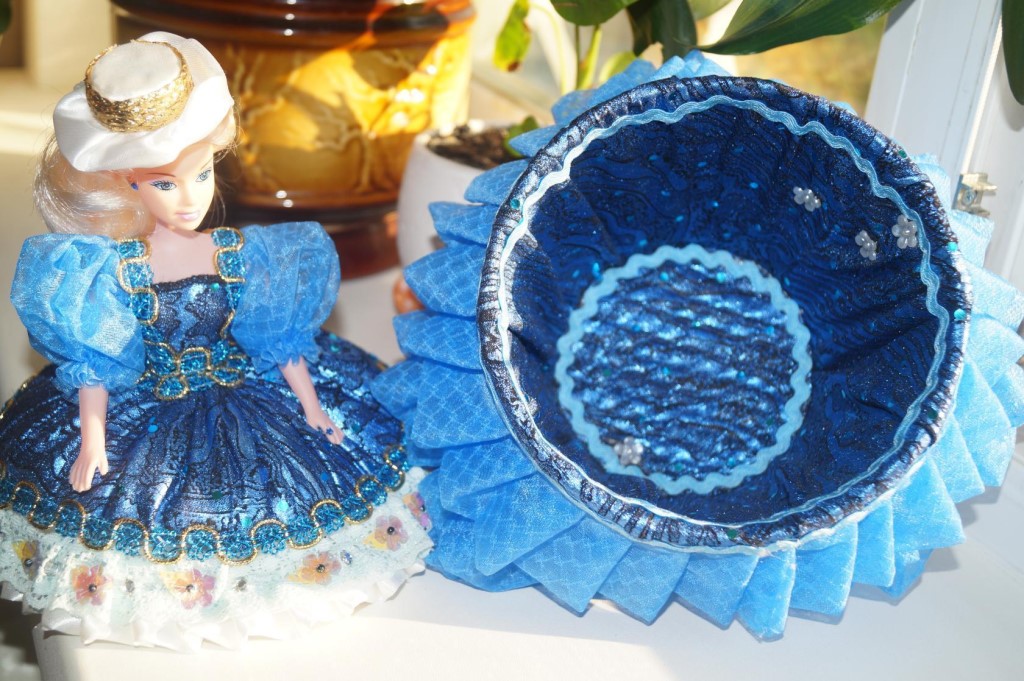
It is not difficult to make a Barbie box with your own hands. The principle is to make a storage container - a box. It is made from any materials that can be glued together. They are then covered with fabrics: velvet, chiffon, lace, ribbons and much more. The finished shell is decorated with various elements: beads, buttons, rhinestones and glitter.
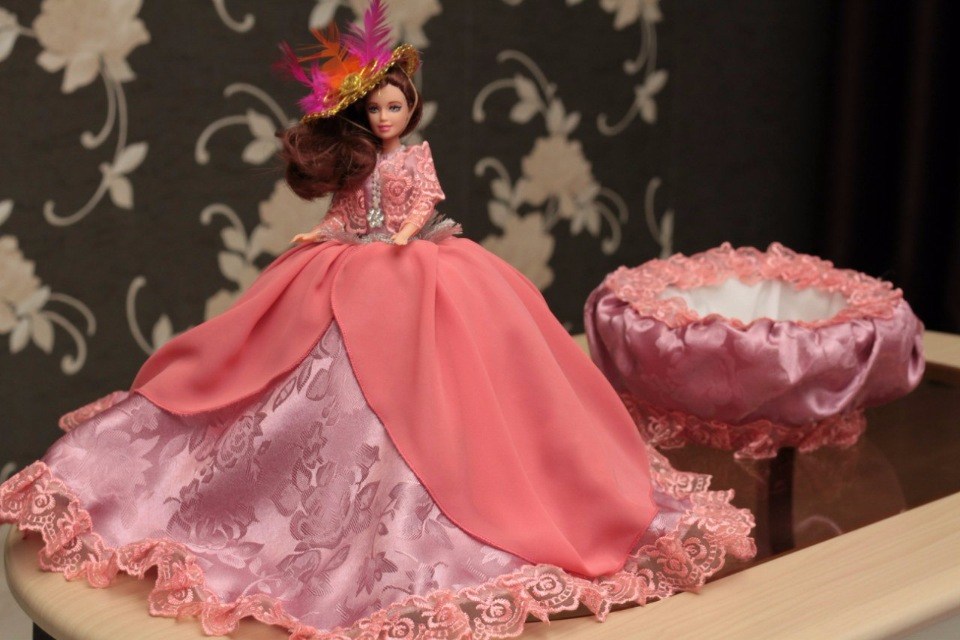
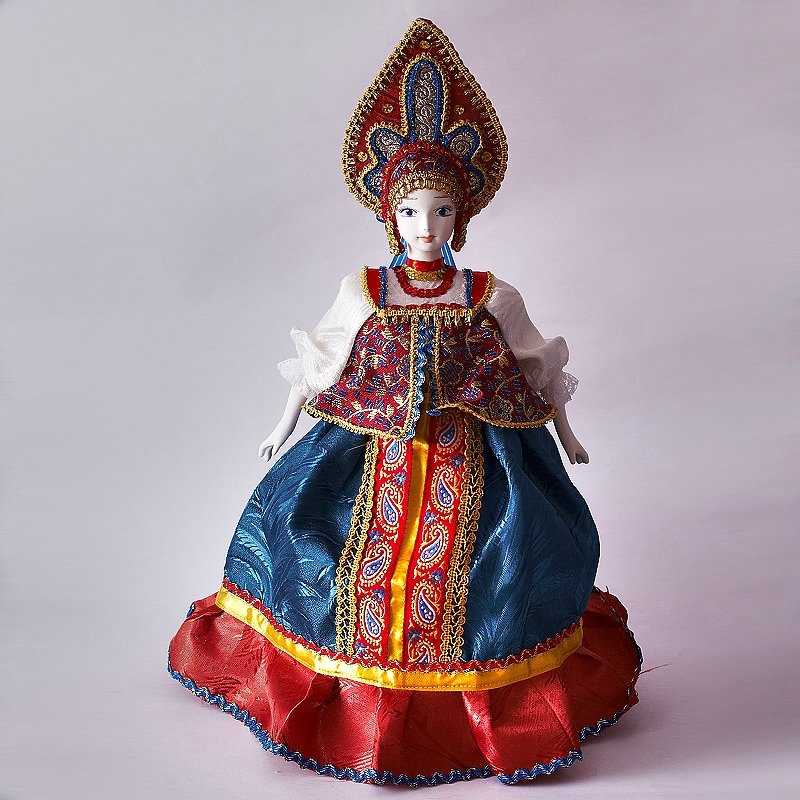
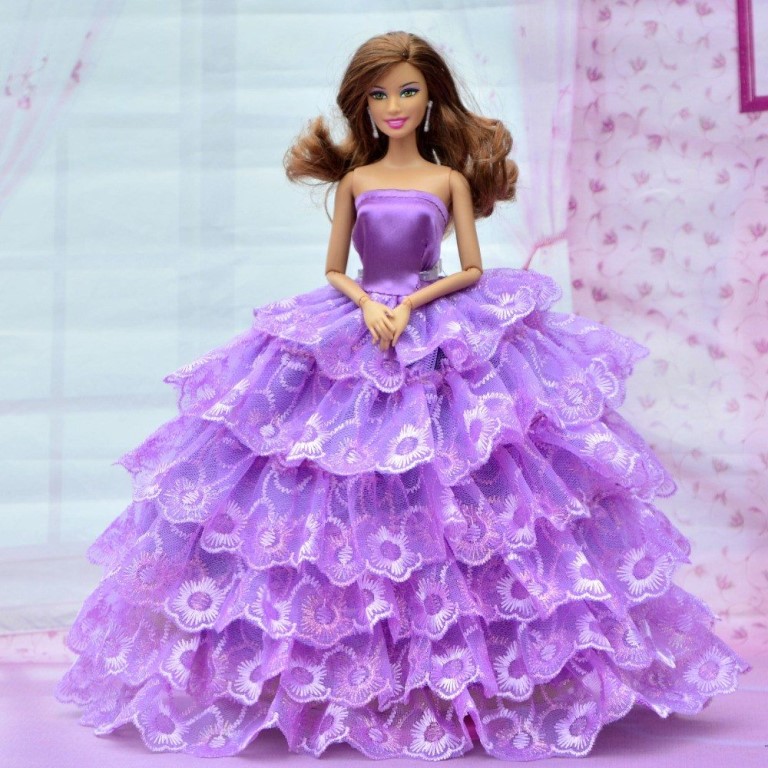
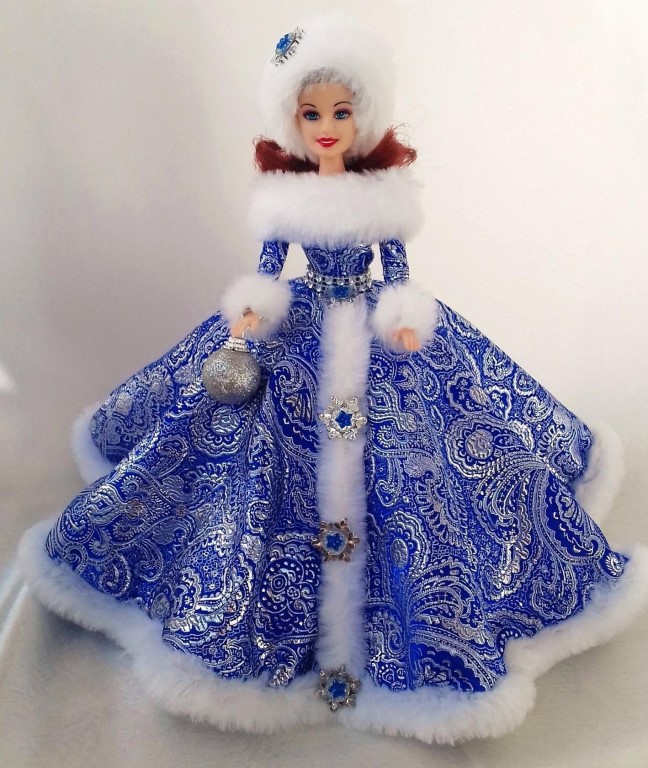
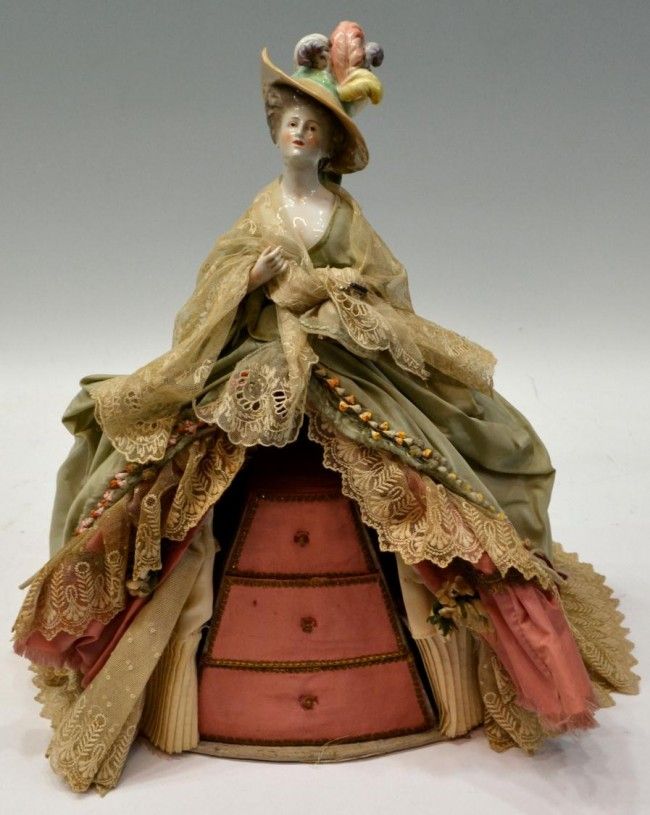
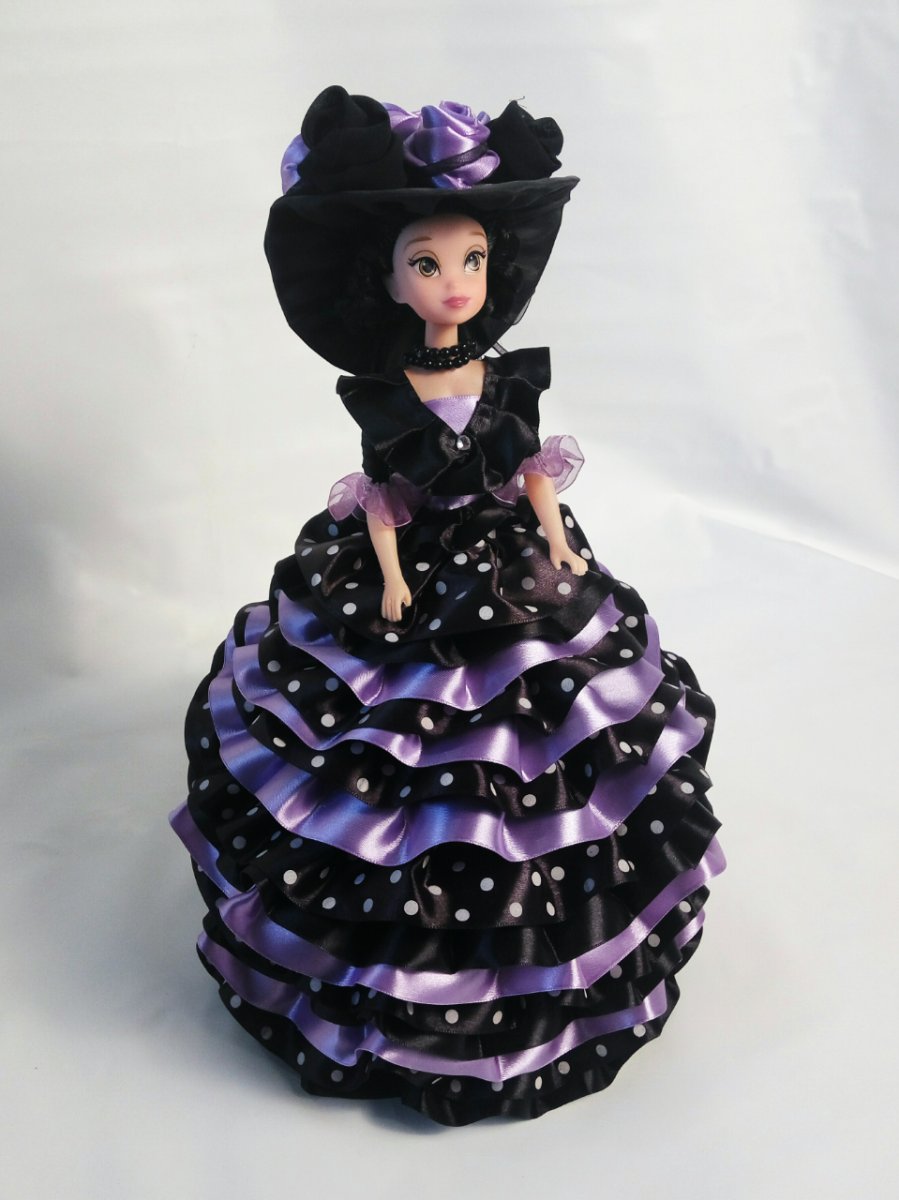
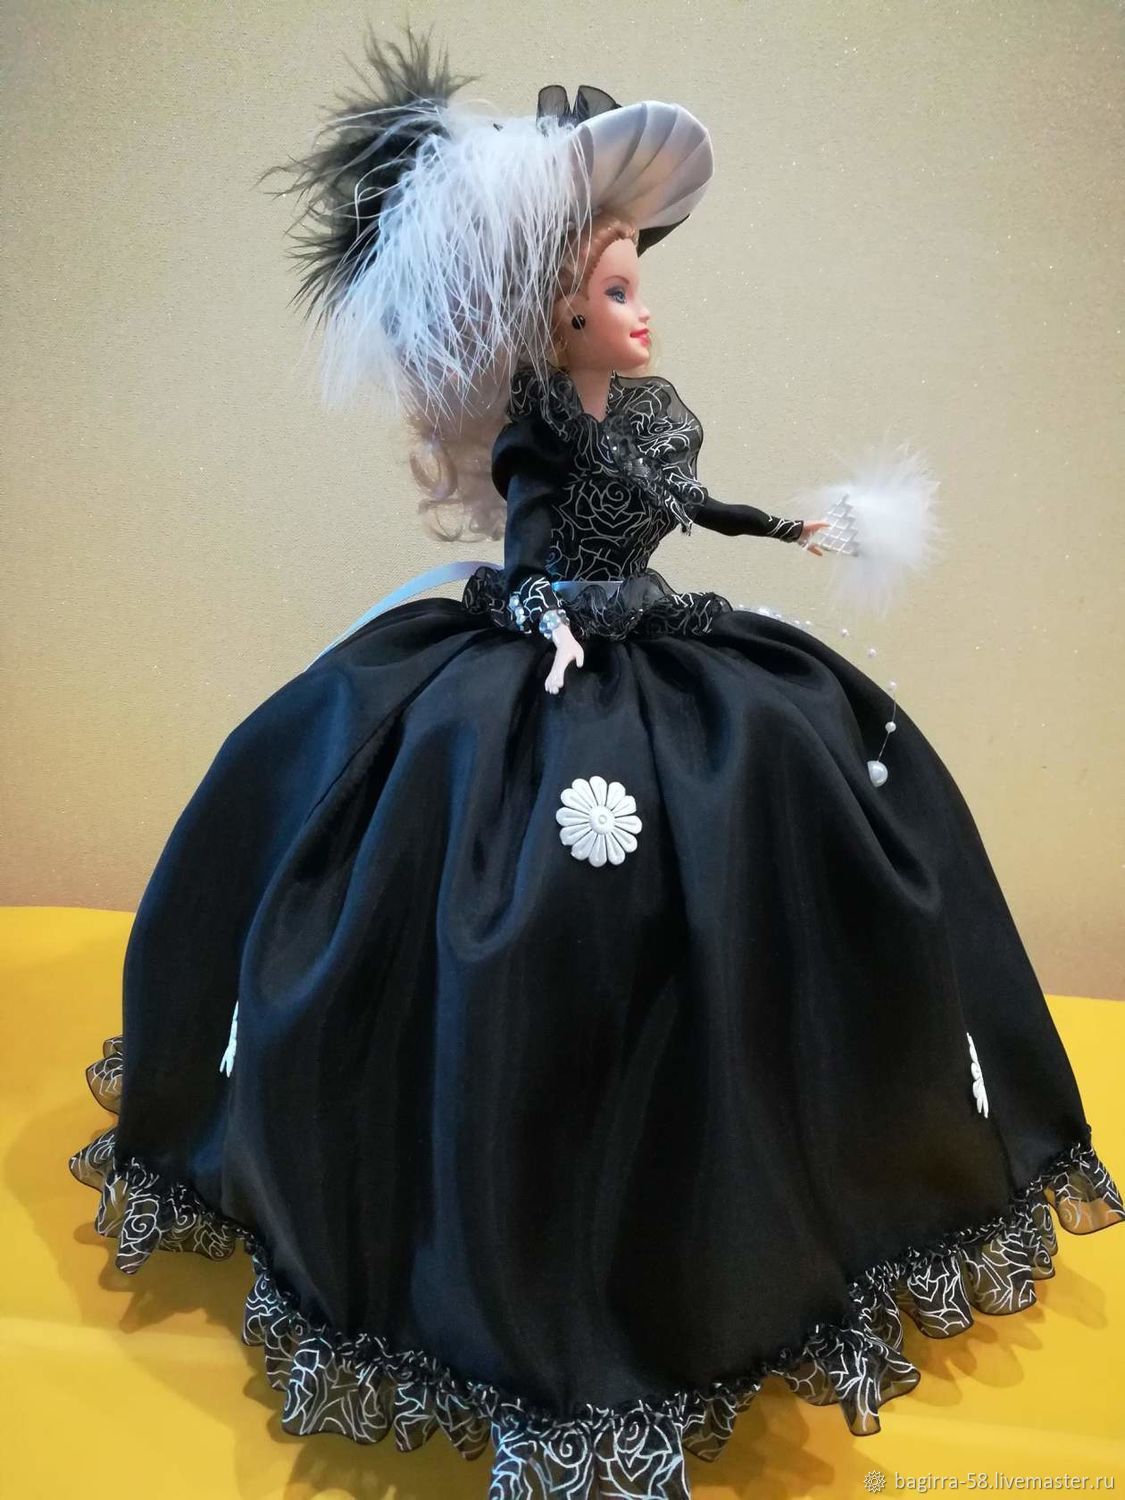
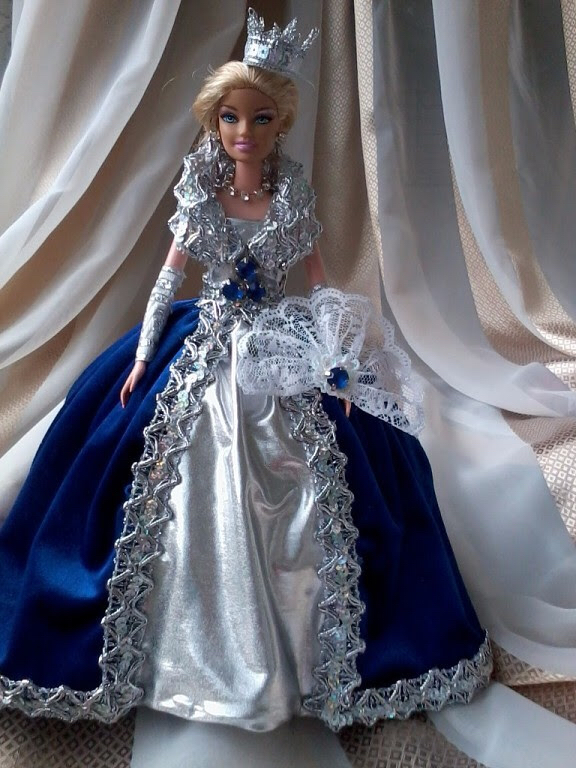
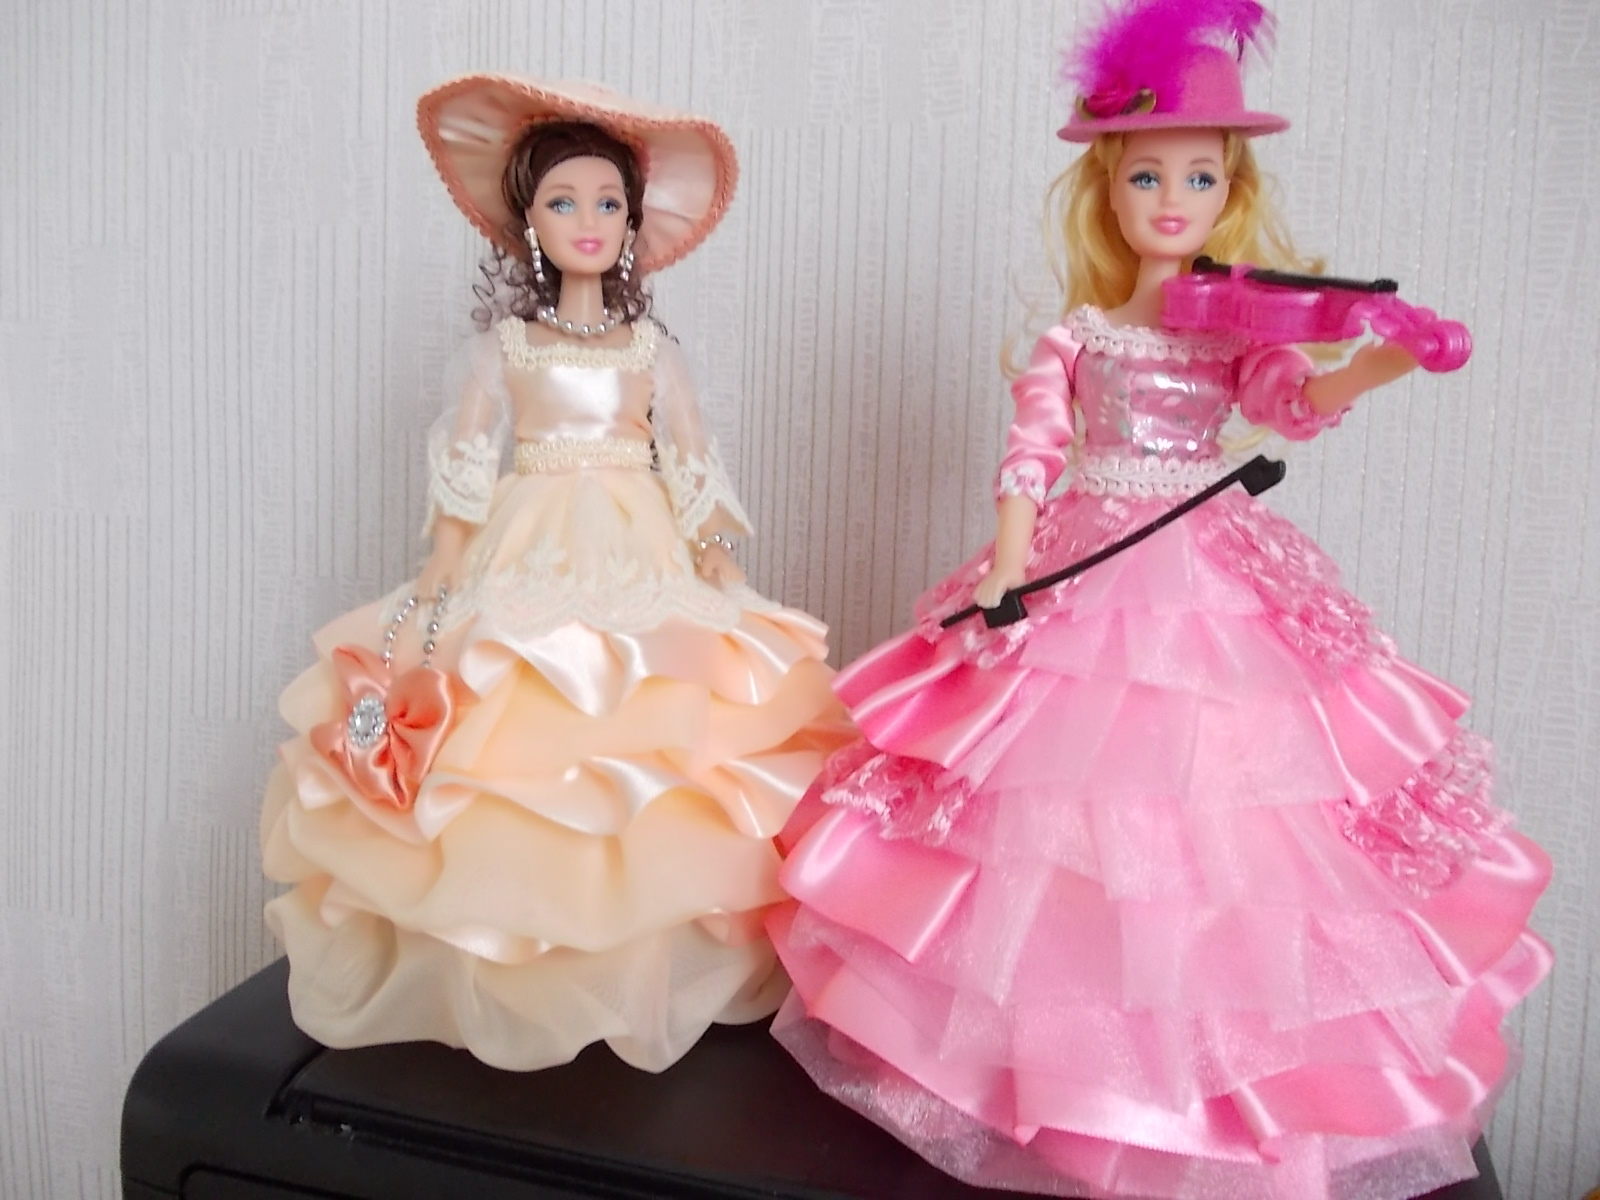
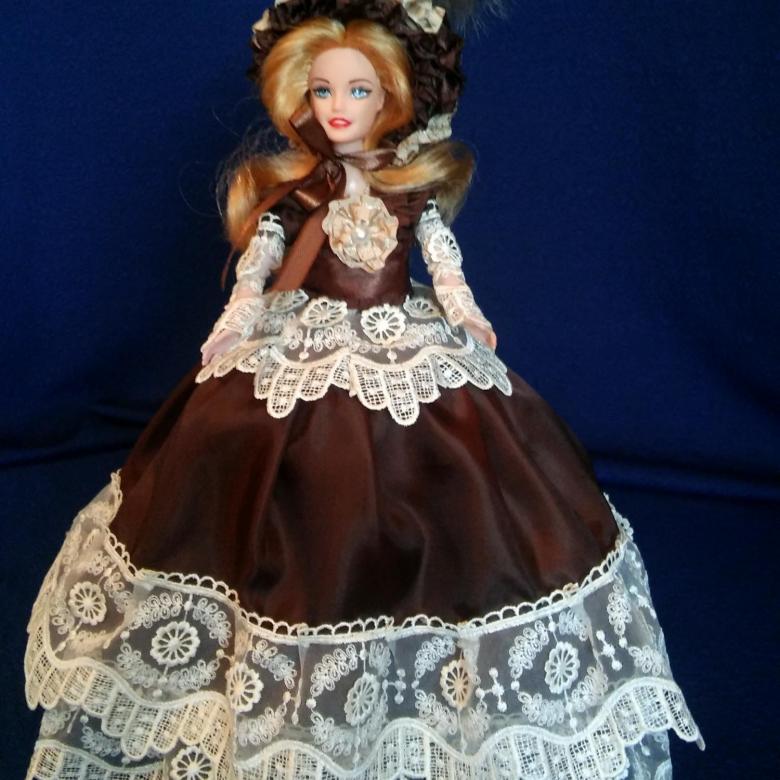
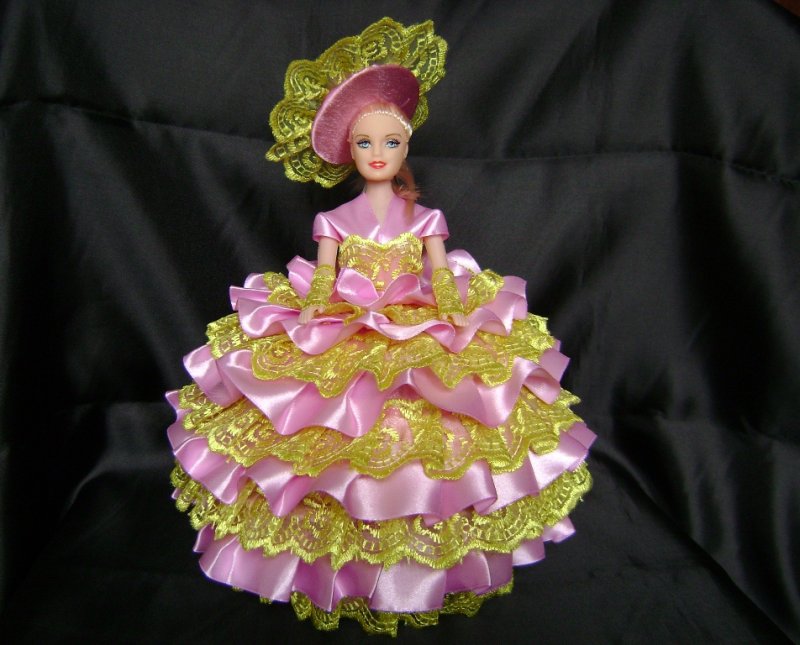
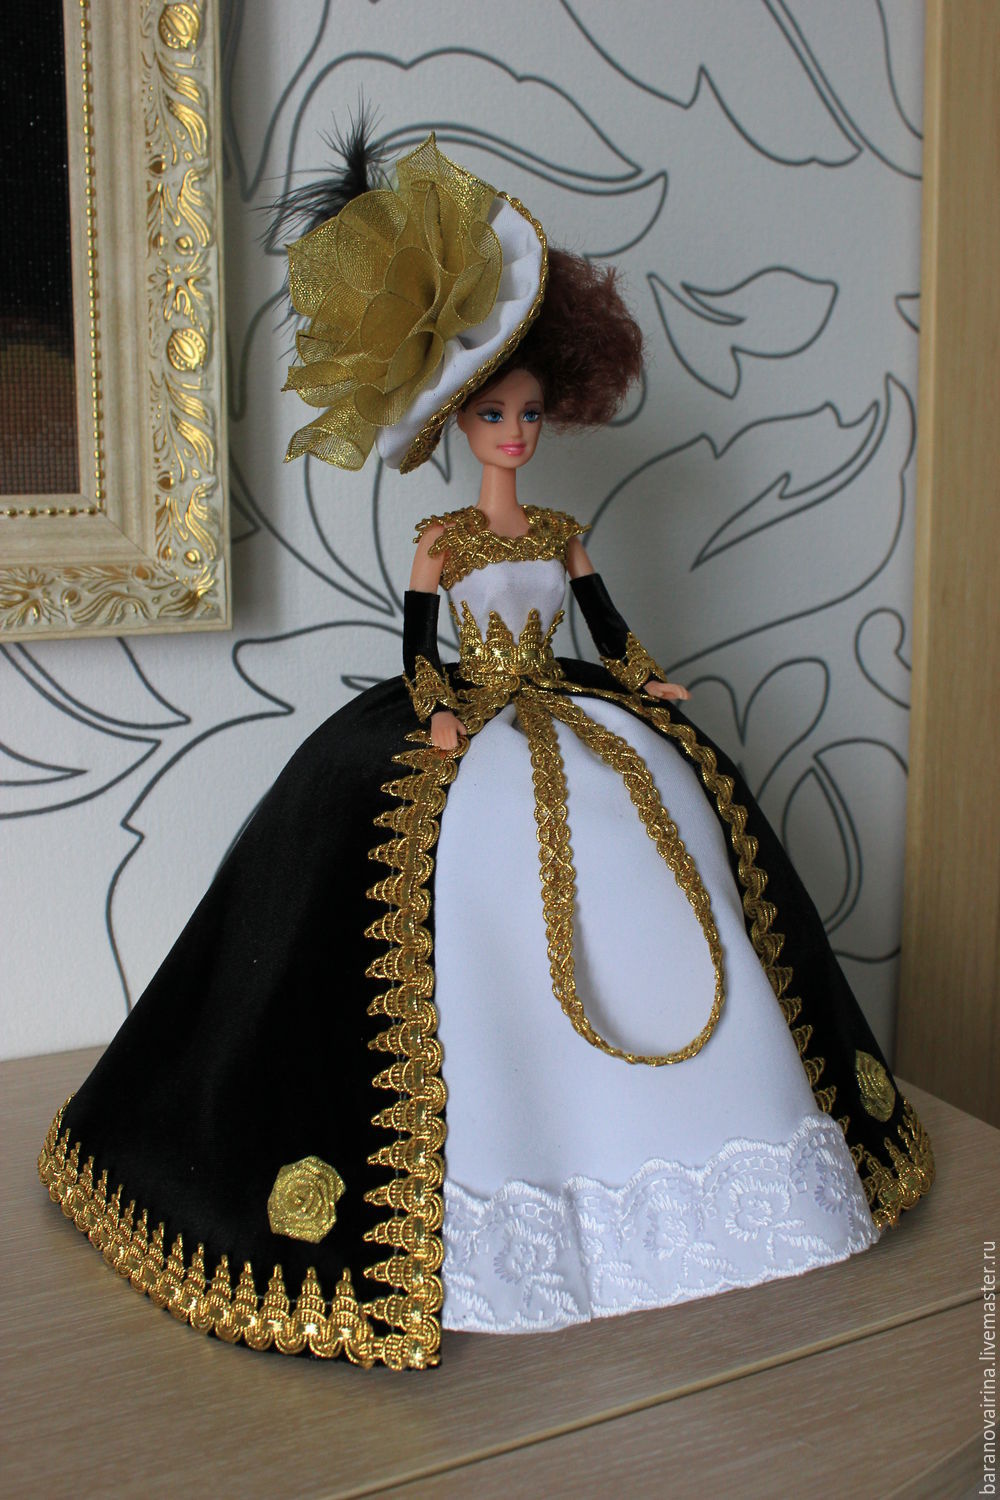
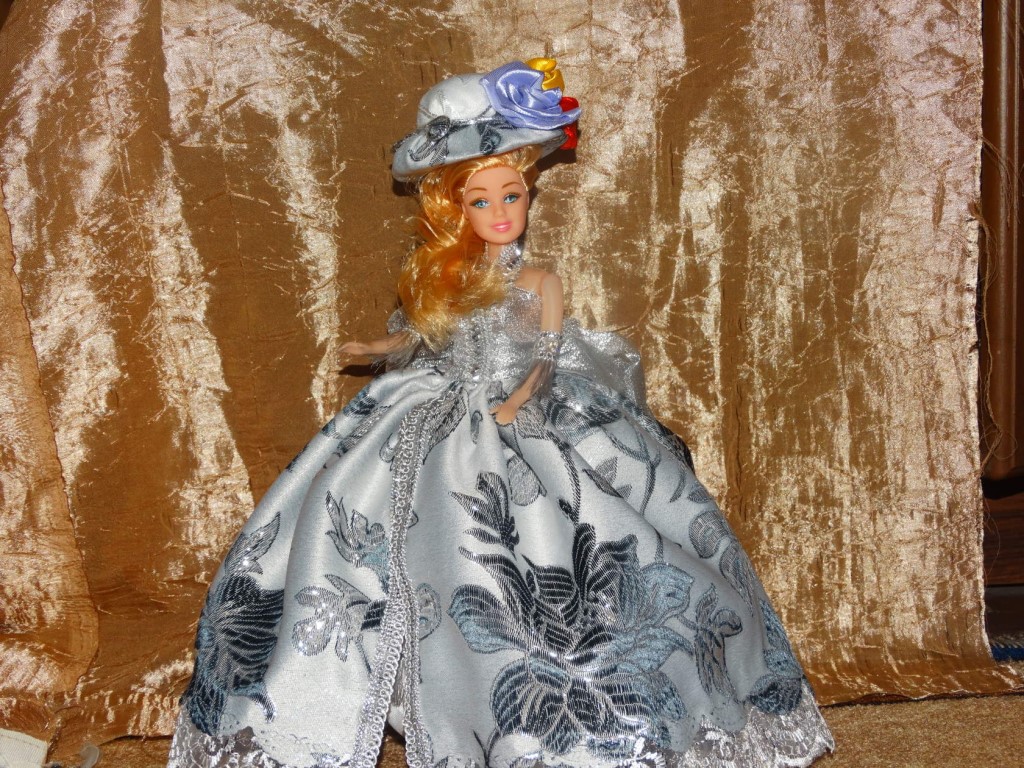
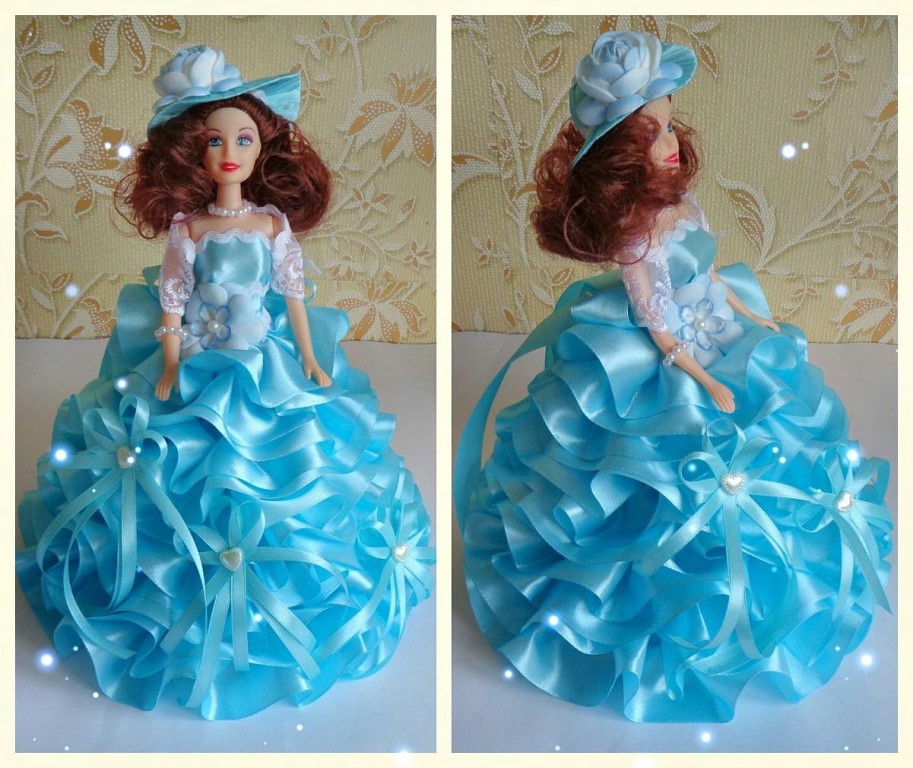
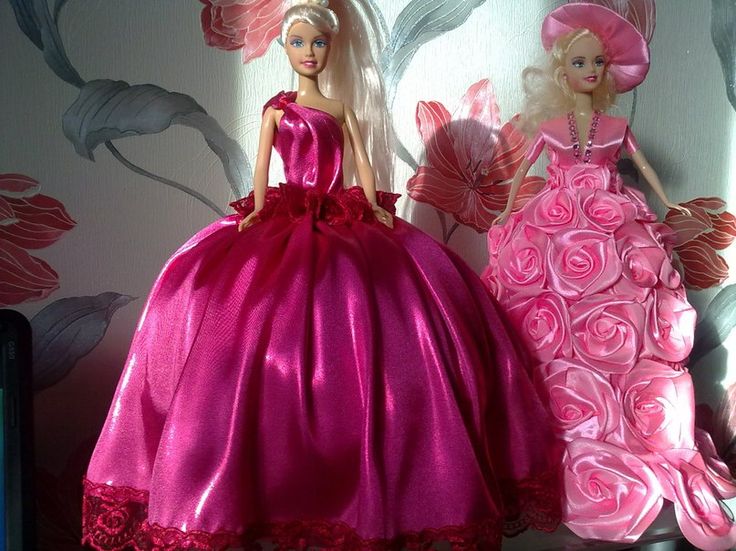
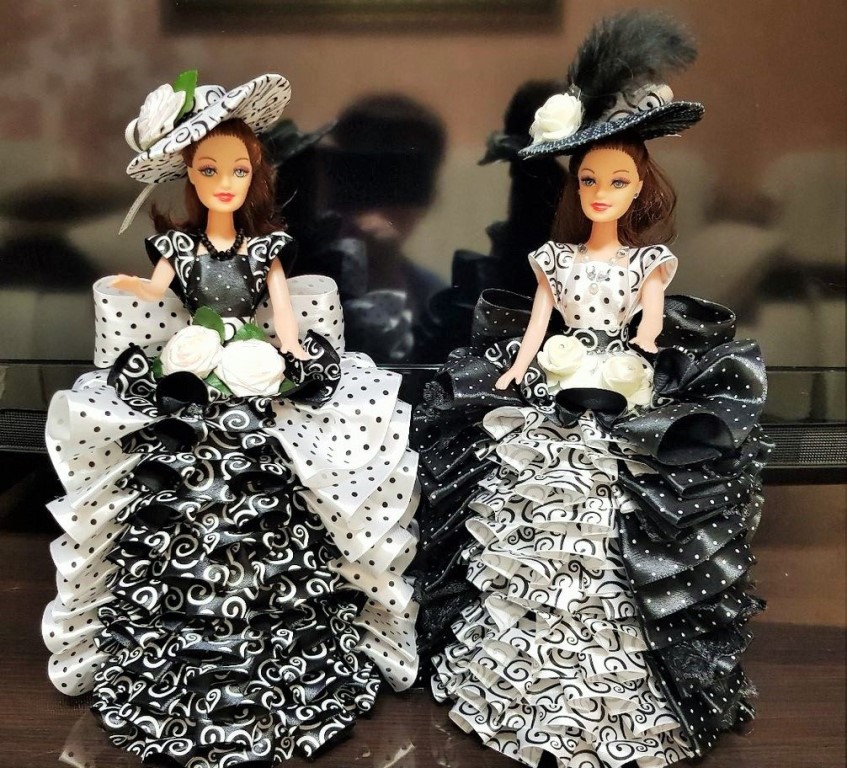
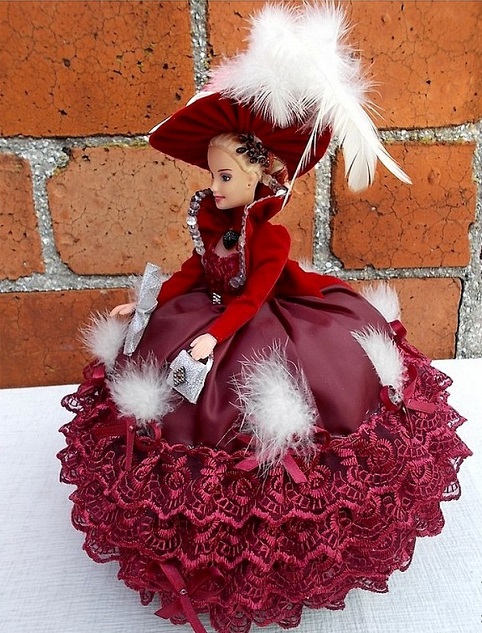
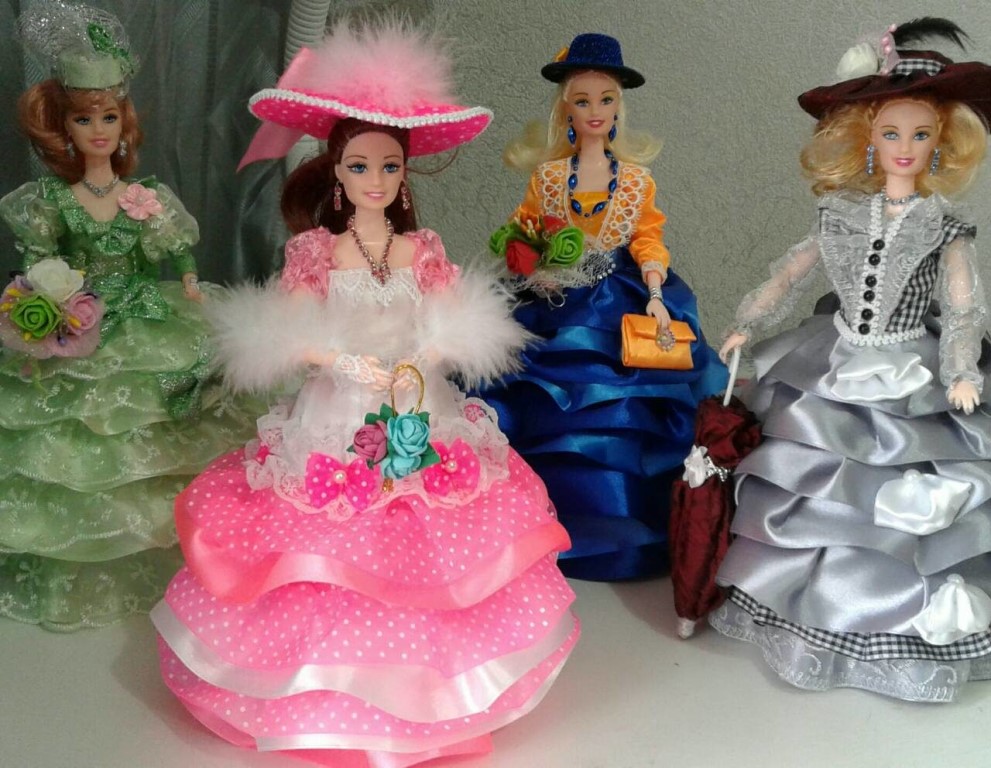
The lid will be attached to Barbie herself, but without legs. Her skirt is the box that is made first. Options with clothes from different eras look beautiful and elegant. These are fluffy skirts, lace, corsets, hats and jewelry.
Important! You don't need to buy a ready-made dress for your doll. When making boxes, you make clothes for Barbie yourself.
What do you need to take to work?
The main material for a DIY kanzashi-style box is a doll. You can take a Barbie with broken legs, but you will have to remove them during the sewing process anyway. It will be more convenient to work with a plastic toy. This way you can remove the arms and body to pay attention to the details during production.
For the base of the box, take a mayonnaise bucket, a bottle or other containers. The size of the future product will depend on them. To tightly fasten the parts together, select high-quality glue. It is better to take glue sticks with a gun. The result will be a strong and durable box.
Also take scissors, a needle and thread, a knife and markers for marking the sizes. As for decorating the box, everything depends on the master's ideas. These can be the following materials:
- ribbons;
- lace;
- synthetic padding;
- various fabrics, such as satin;
- organza;
- decorative elements (sequins, beads, buttons, etc.).
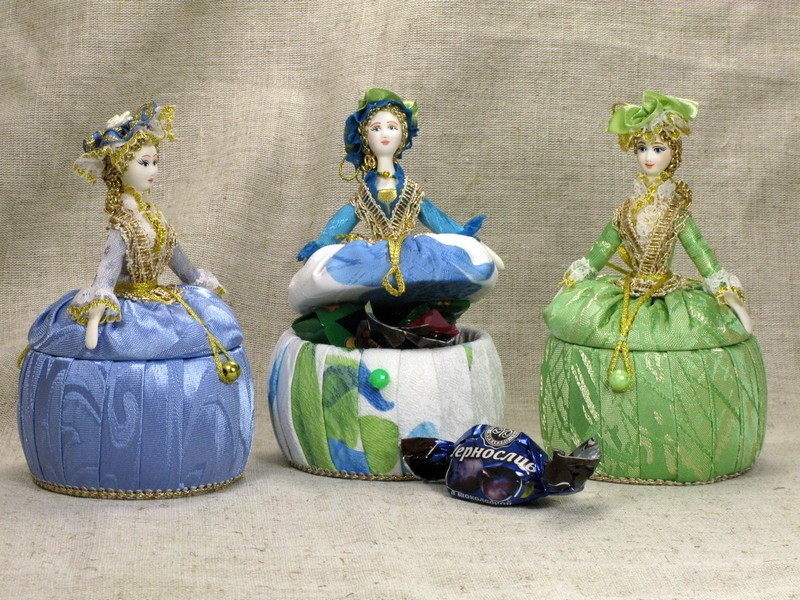
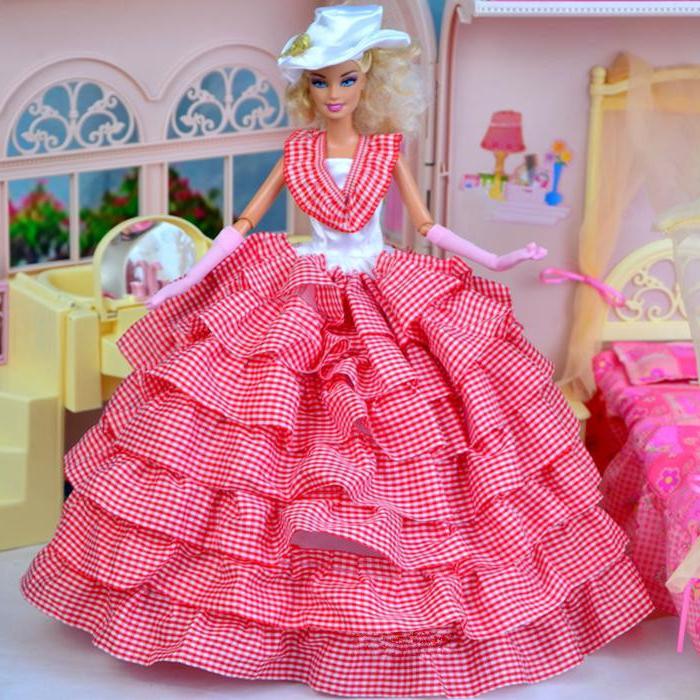
A box made from scrap materials
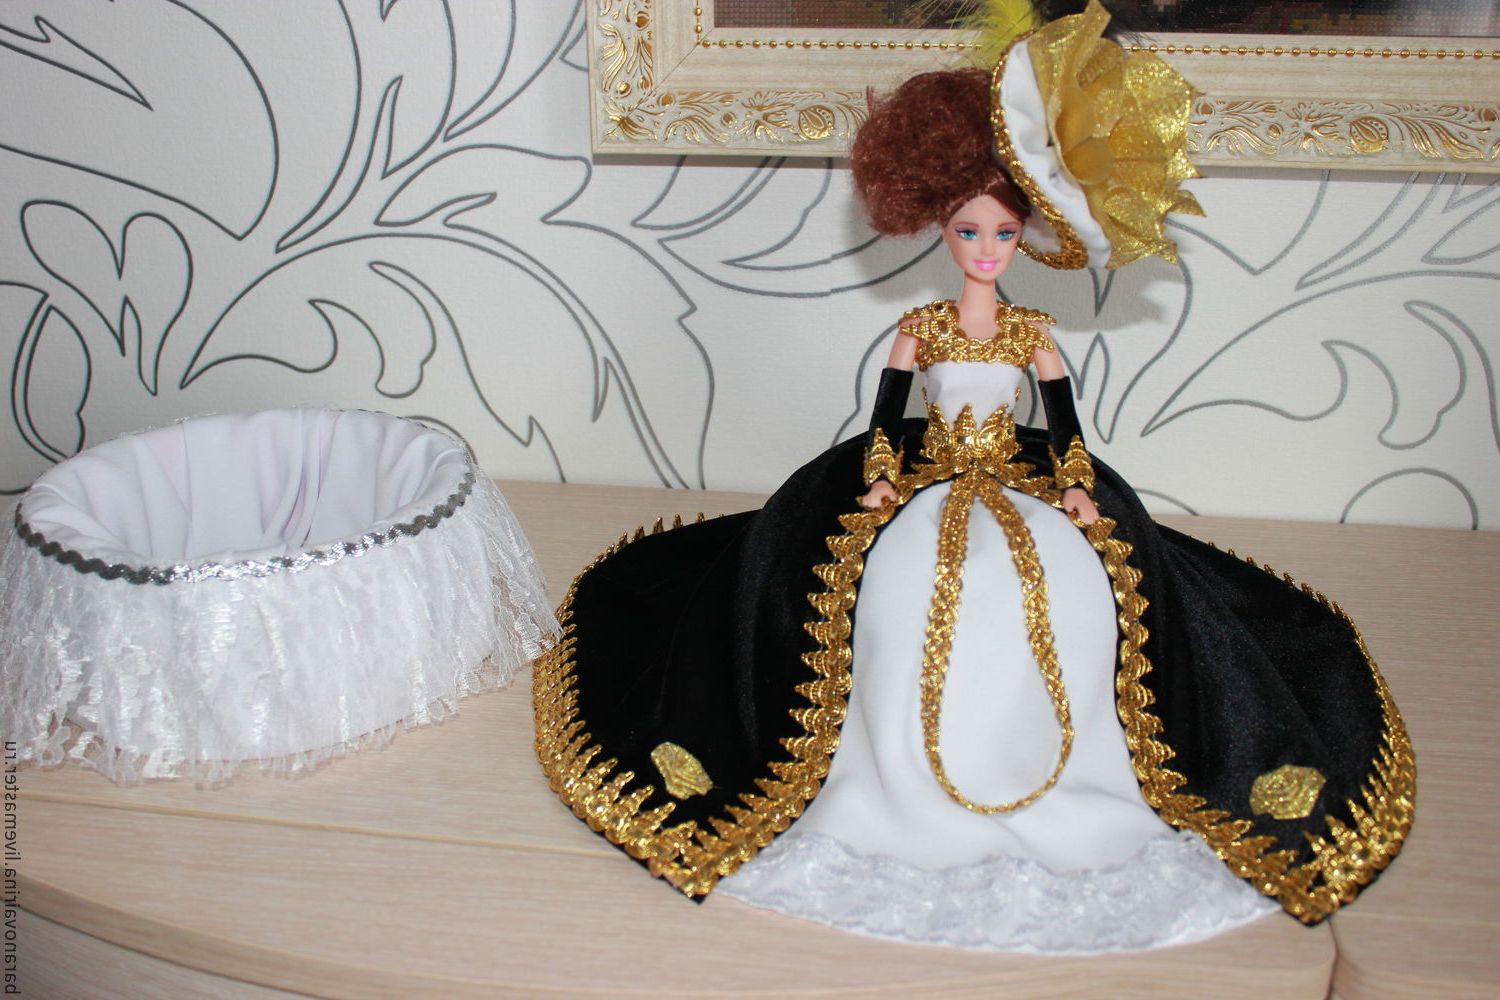
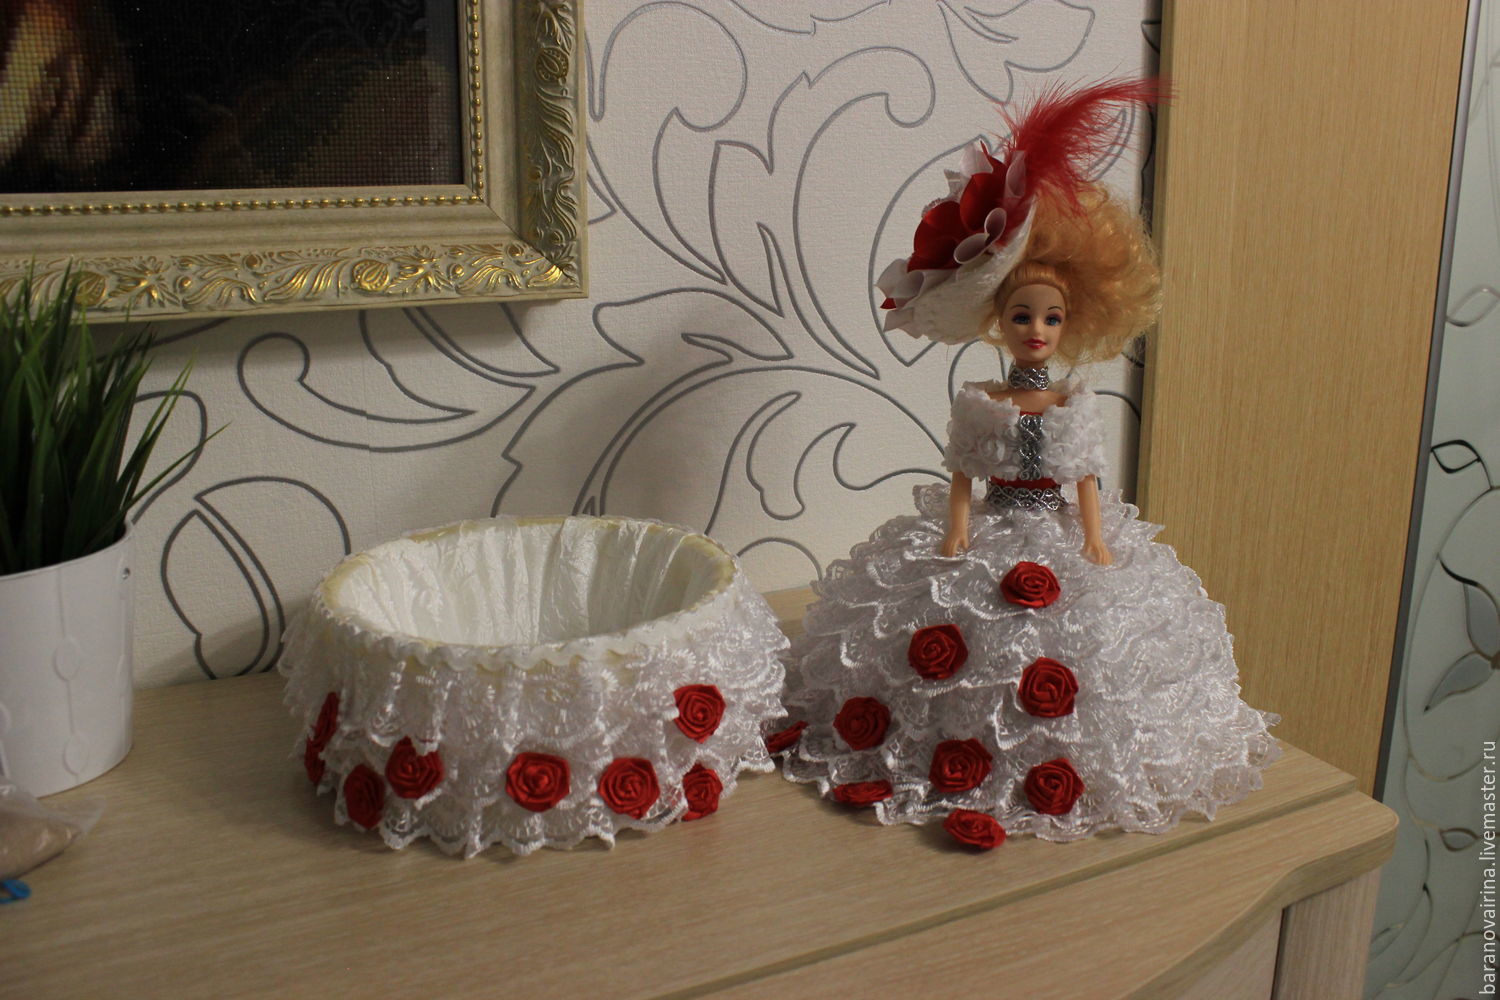
To make a beautiful box from a Barbie doll, you need to prepare a workplace. Allocate a table for work and provide yourself with all the necessary materials. Now let's look at the step-by-step algorithm for creating a box from a bucket.
- Take any medium-sized bucket, for example, from under mayonnaise. Paste the inside with soft cloth or cotton pads so as not to spoil the future contents. Cover the outside with a fabric of the chosen color.
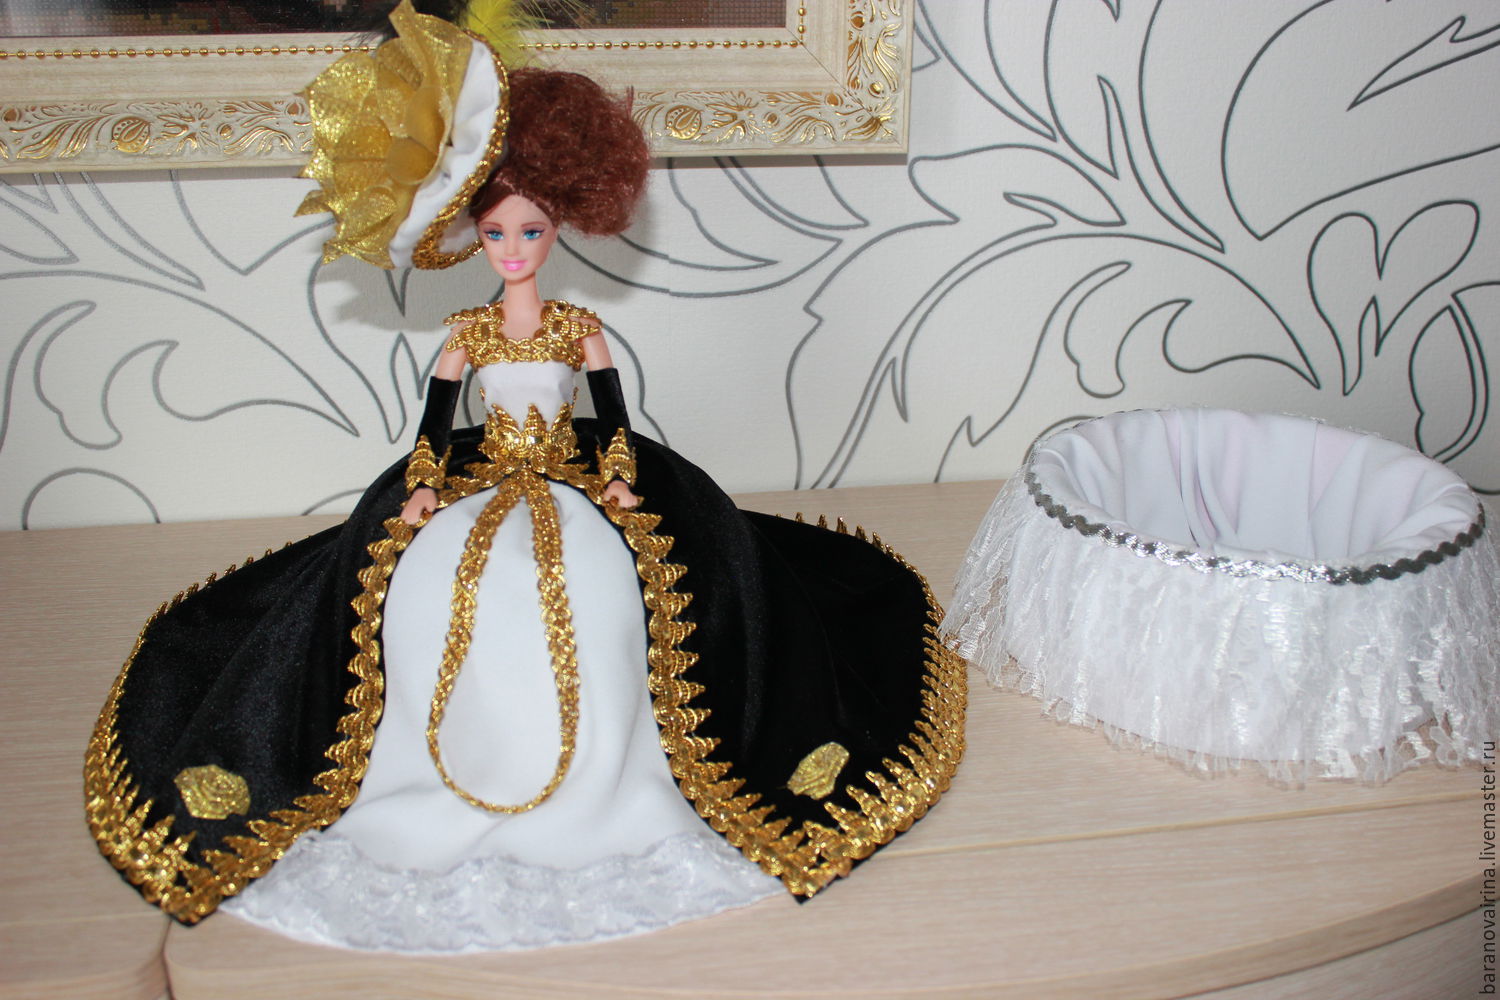
- The bucket lid is used to attach the doll to it. The legs are cut off from the Barbie and glued to the lid with a glue gun.
- The skirt is made of foam rubber, the length of which is the circumference of the lid. The upper part of the foam rubber is attached to the doll's waist, forming the top of the dress. The required amount of fabric is cut off and sewn onto the blank.
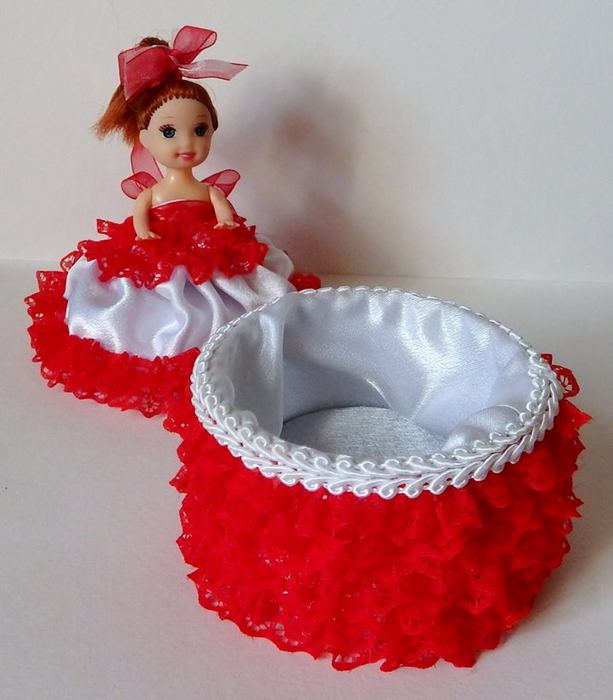
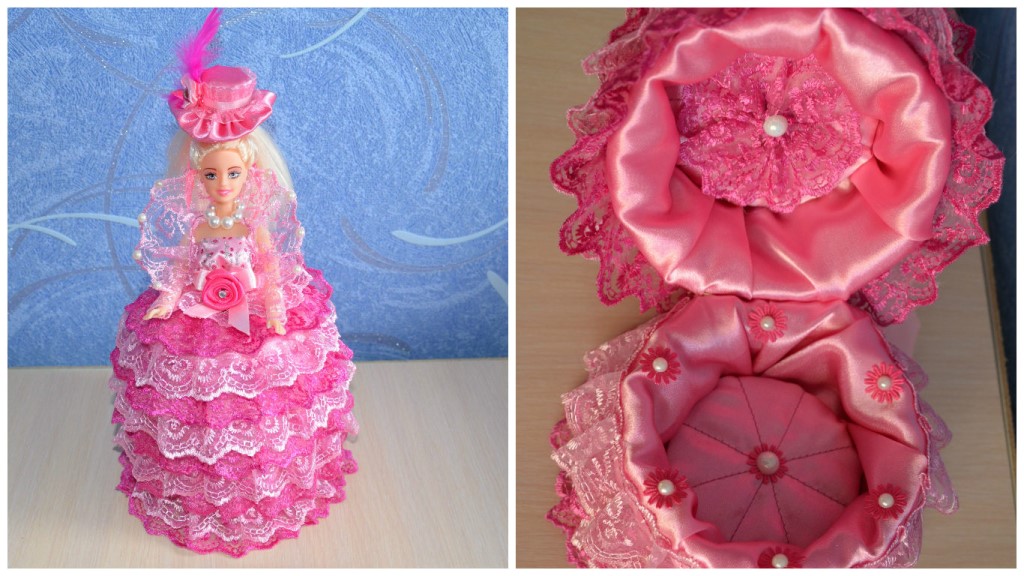
- To close the hole under the doll, take a small piece of cardboard and wrap it with the same fabric as the girl's skirt. Then attach the finished element to the bottom of the finished lid.
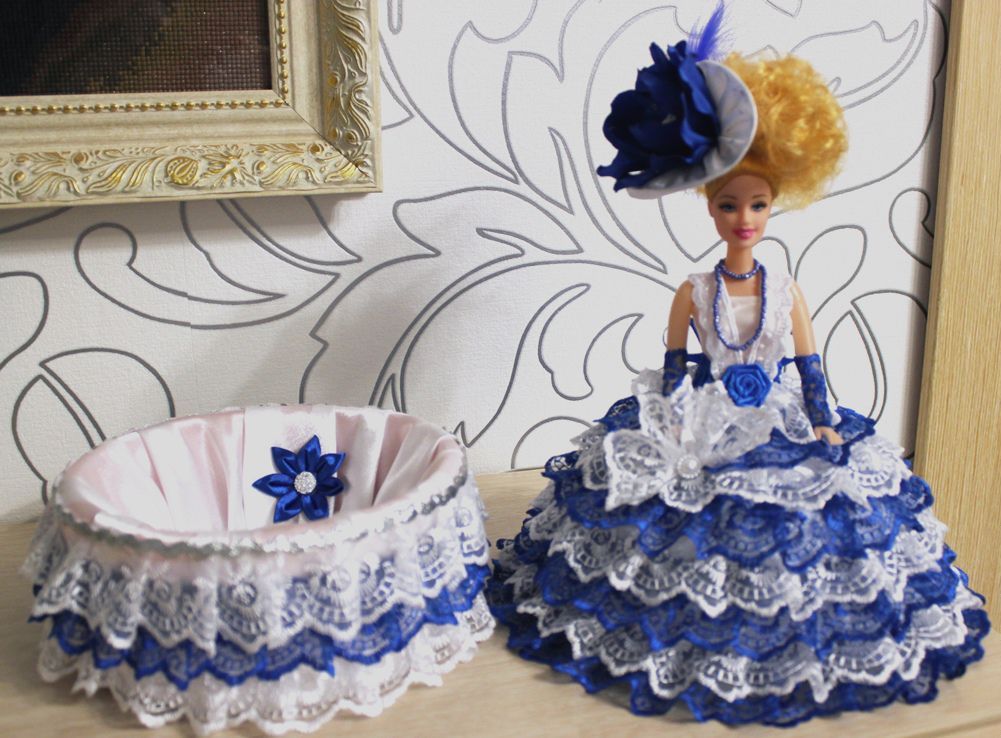
- The final stage involves attaching the lid to the base of the box. They can be sewn with single-color threads, and the seams can be decorated with beads.
Please note! If the doll is made with a rotating waist, it must be fixed. This will make the box more practical and last longer.
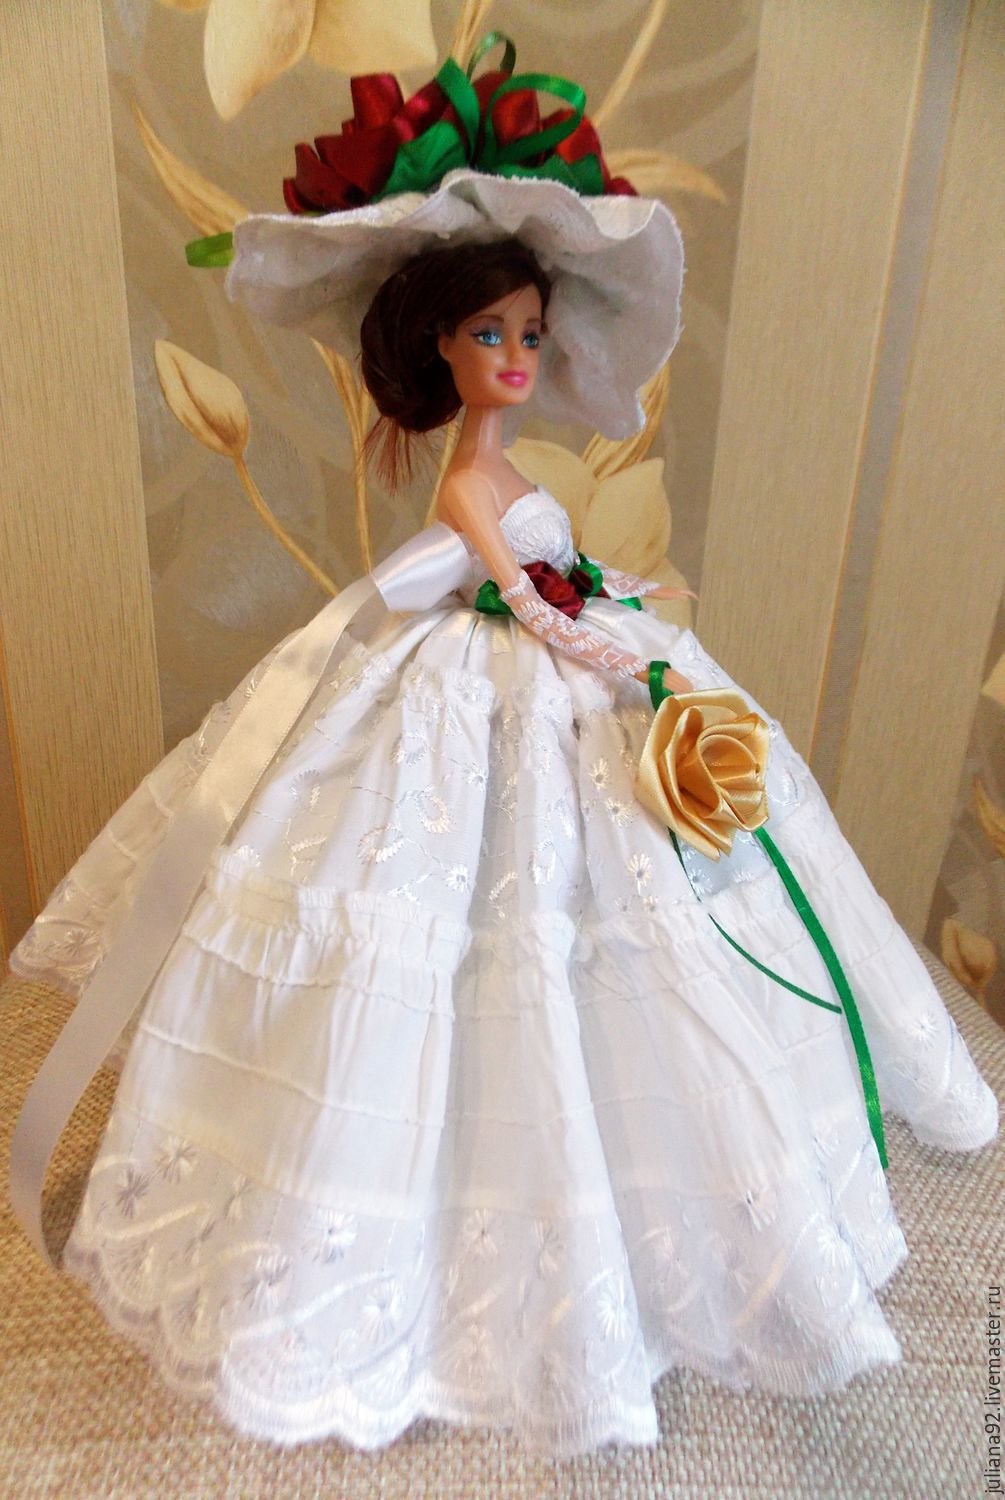
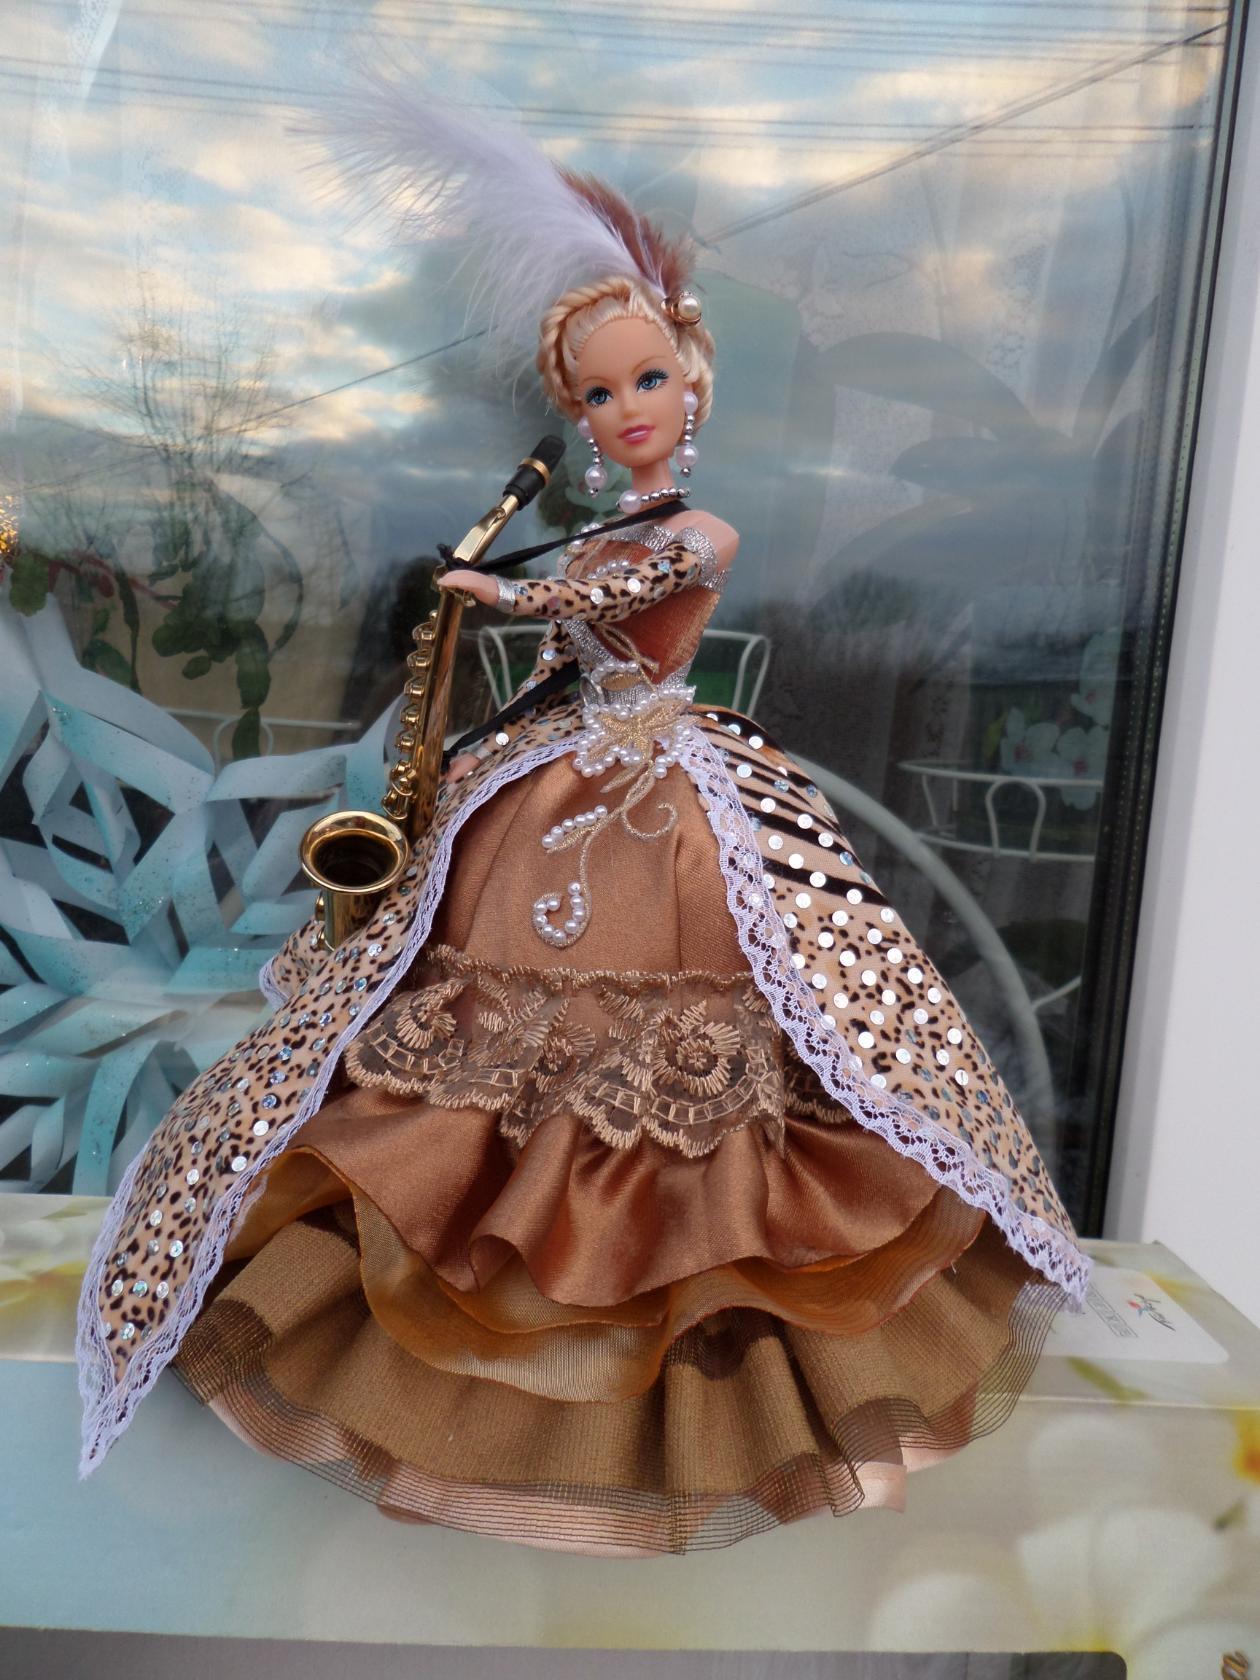
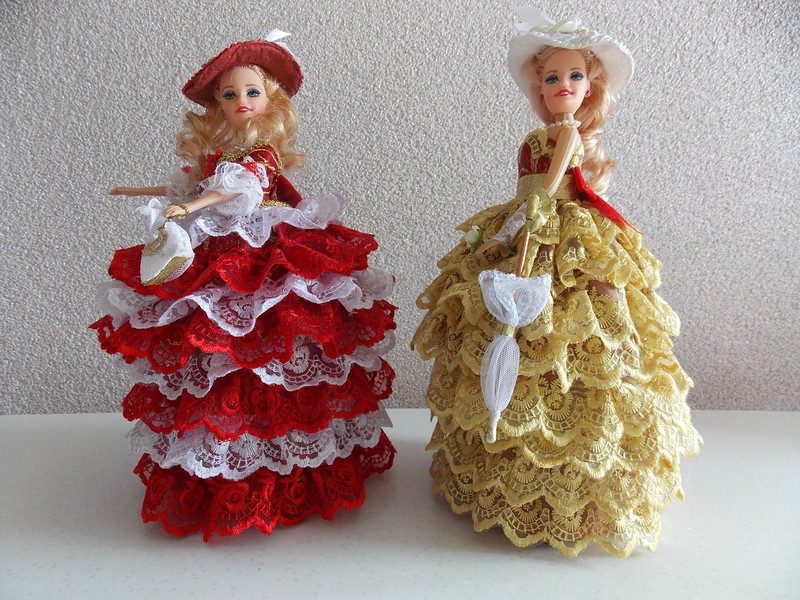
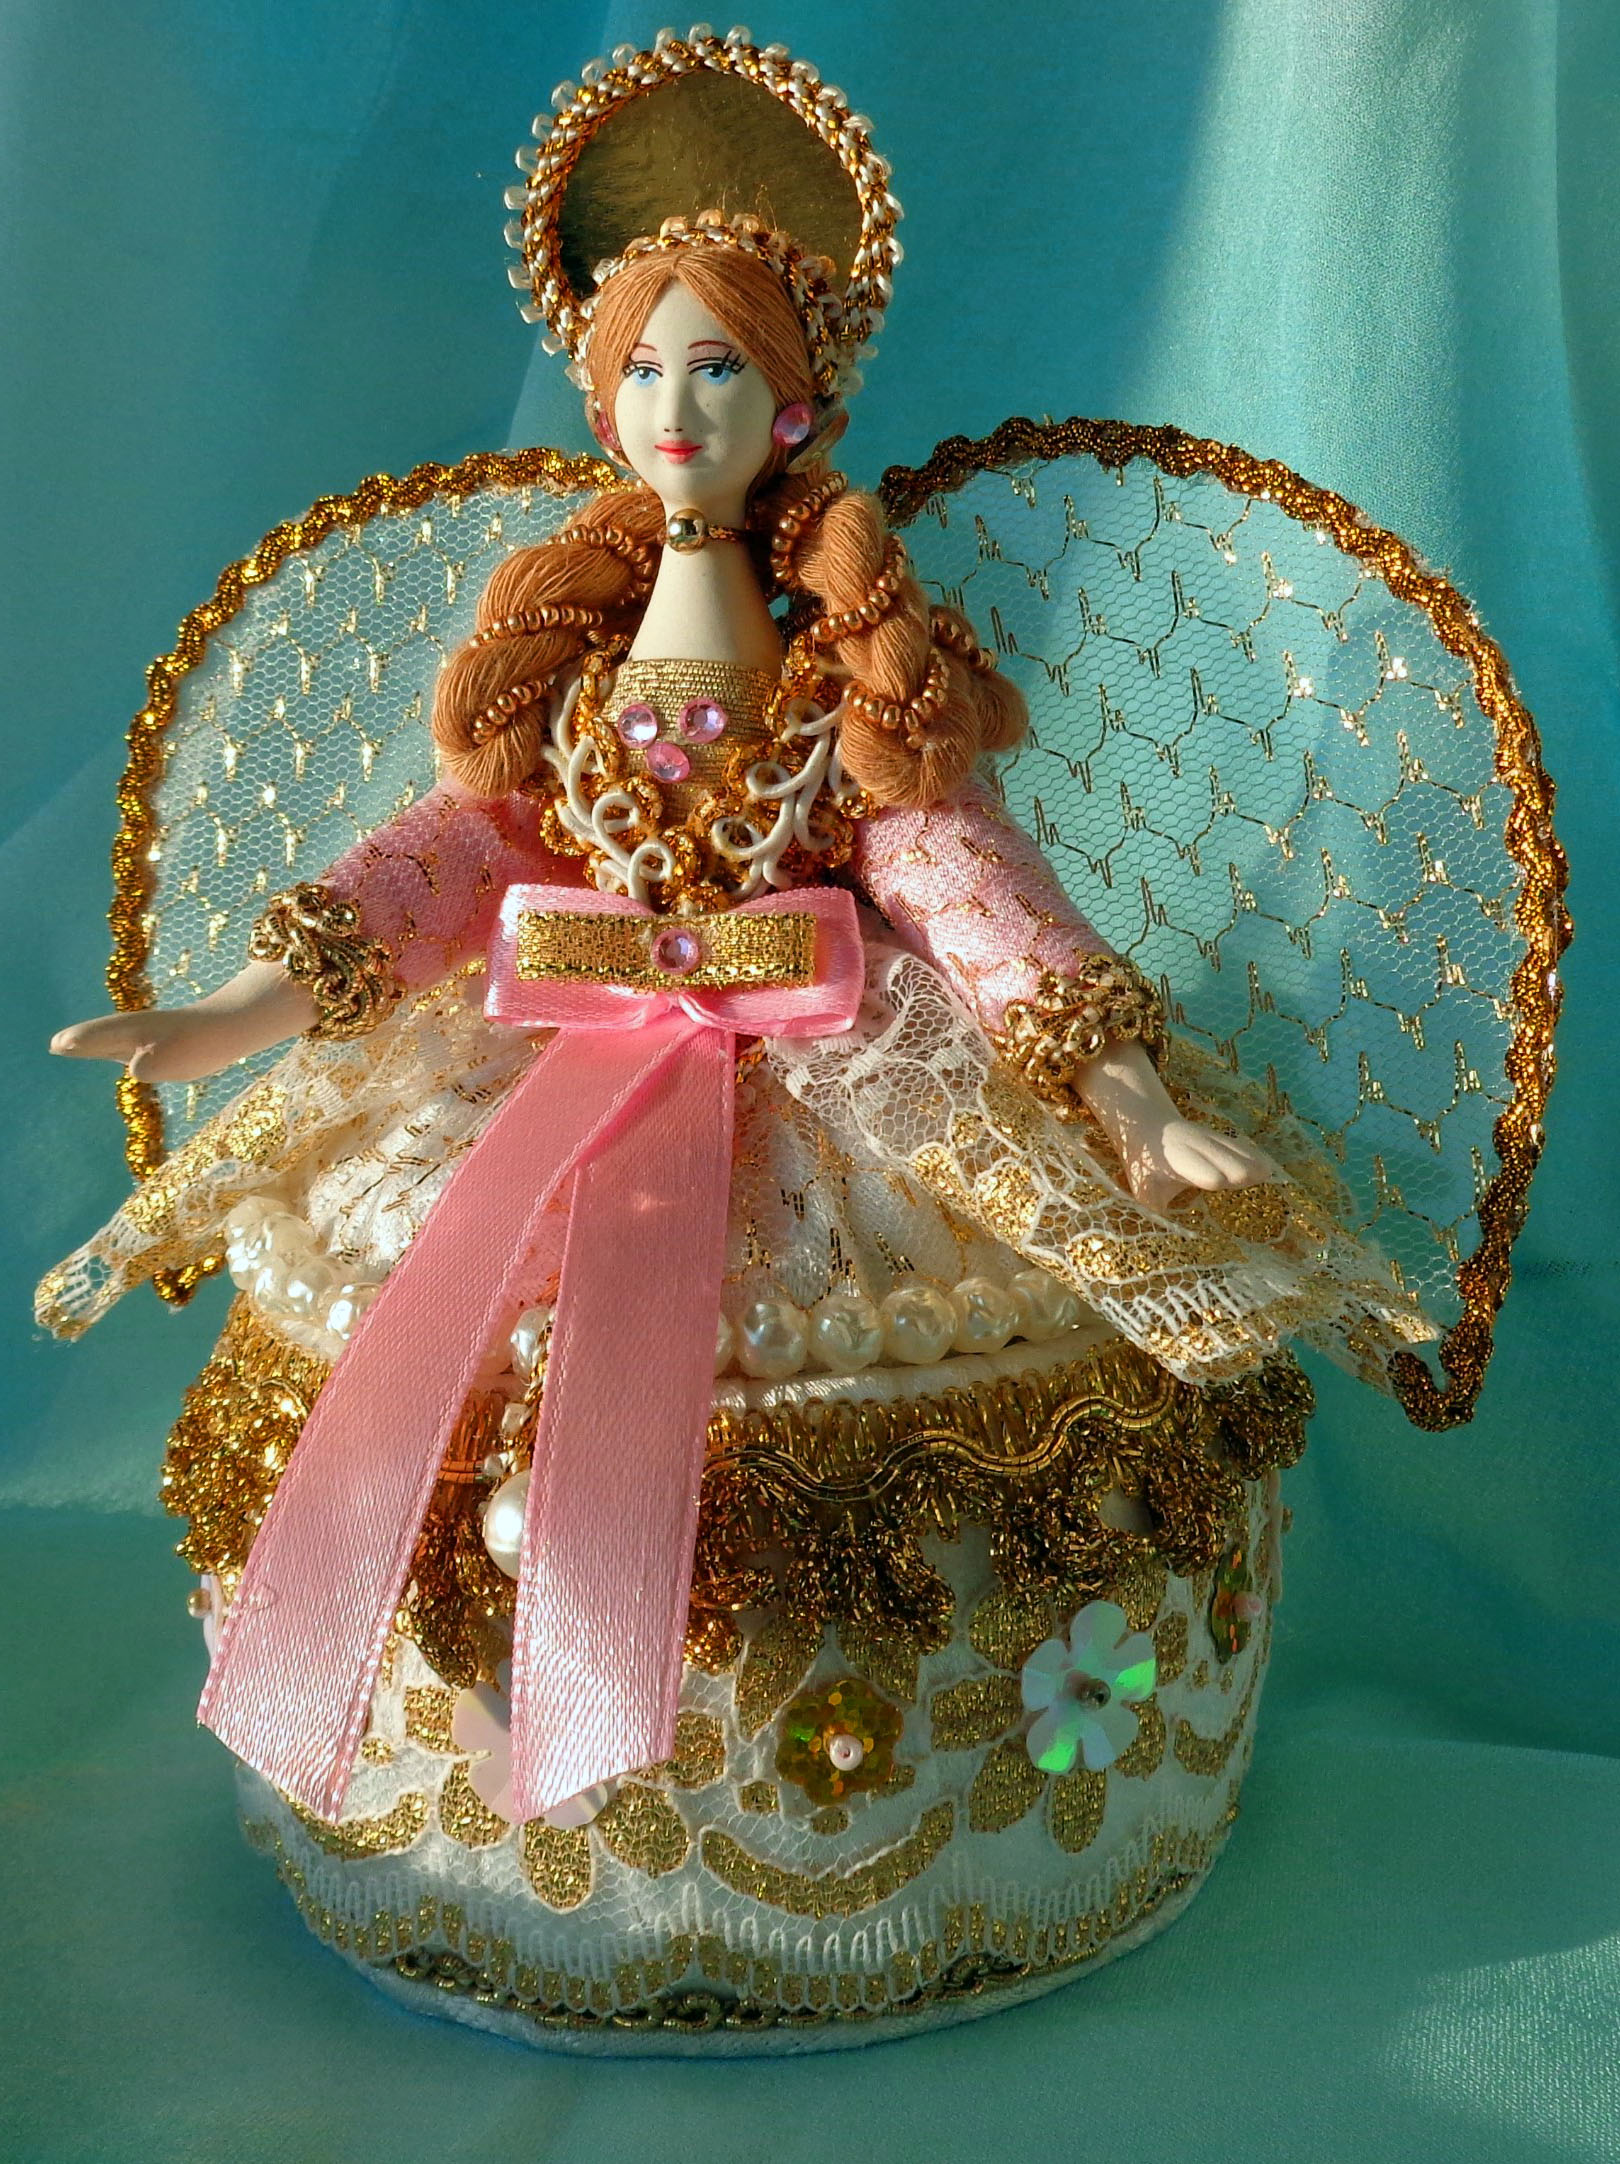
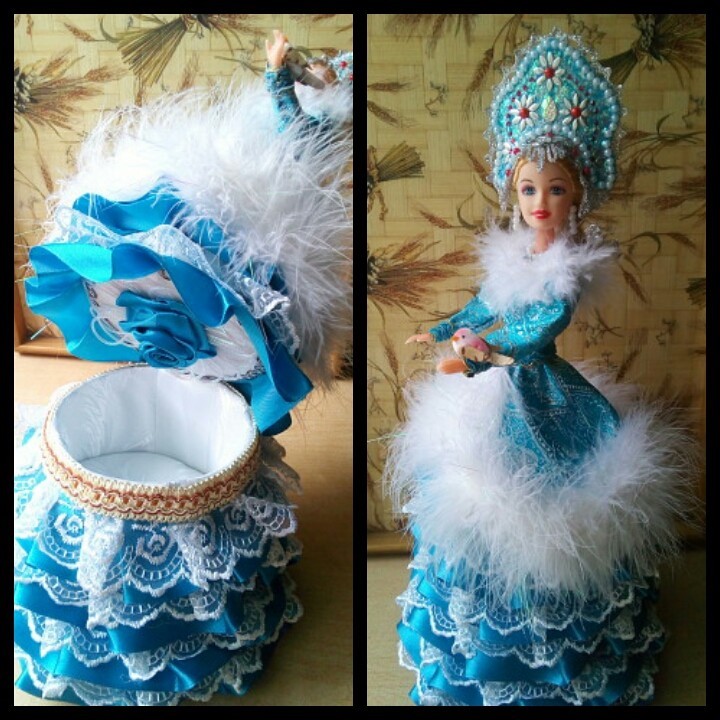
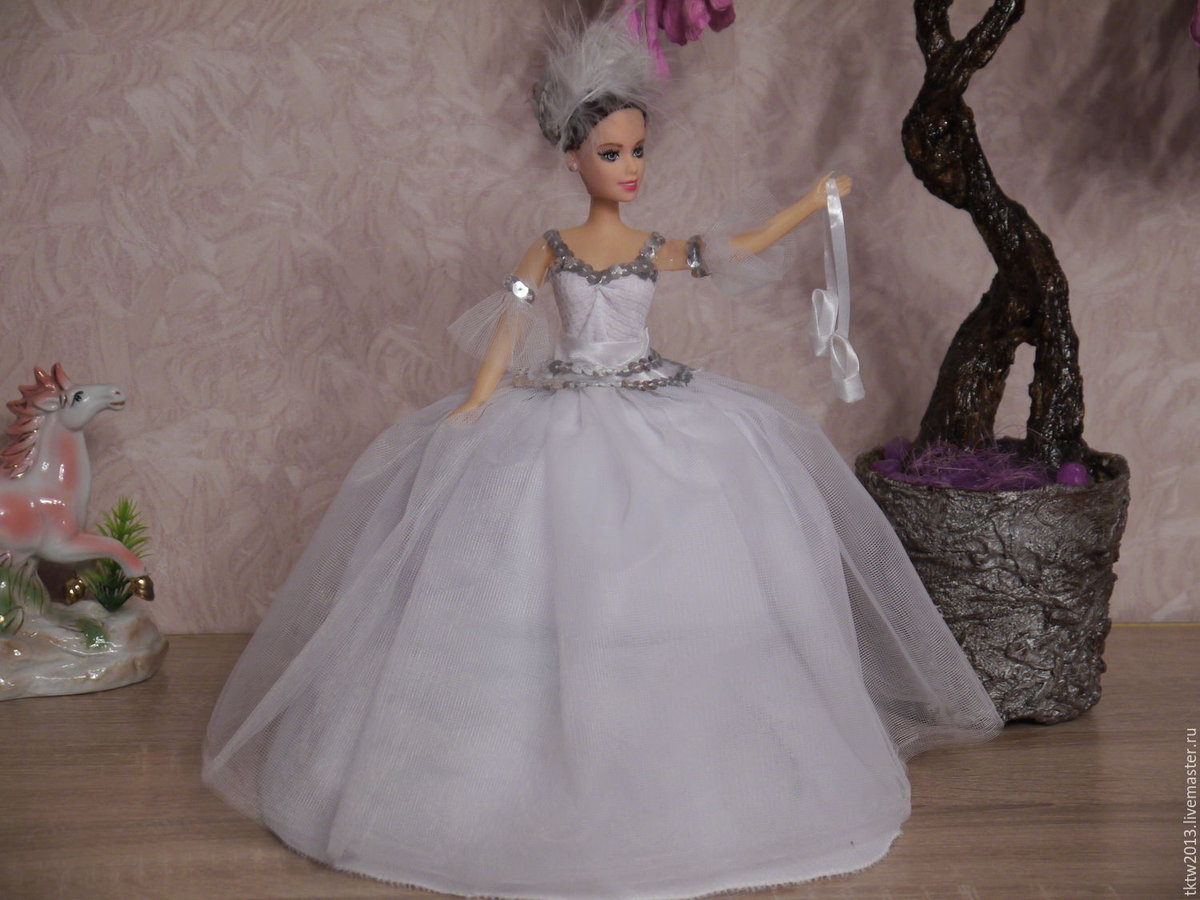
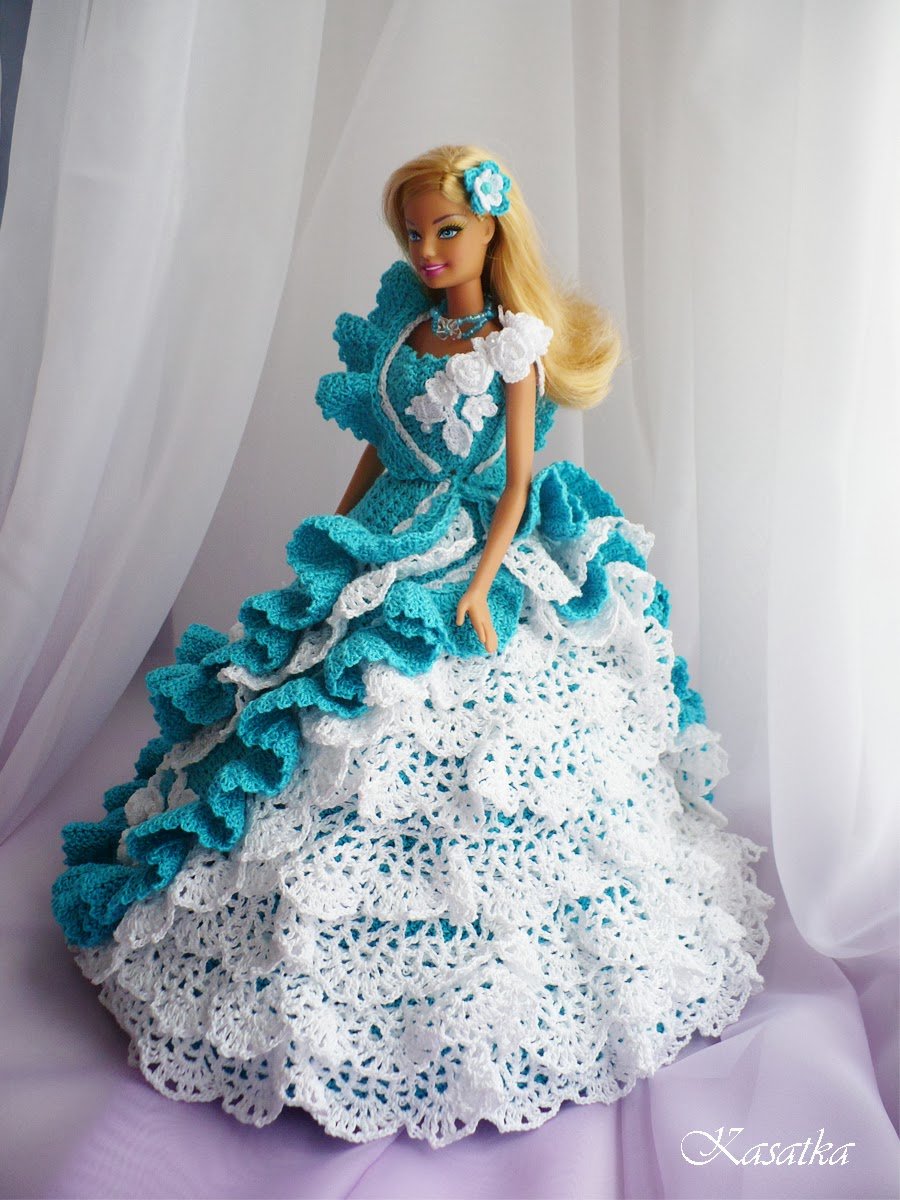
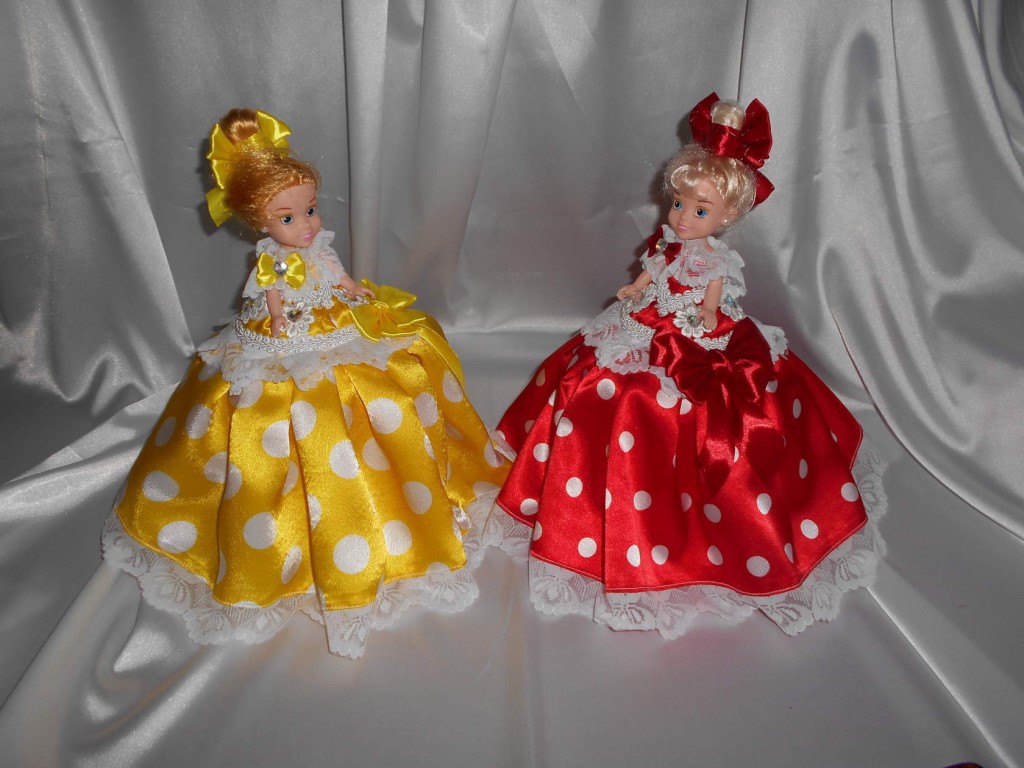
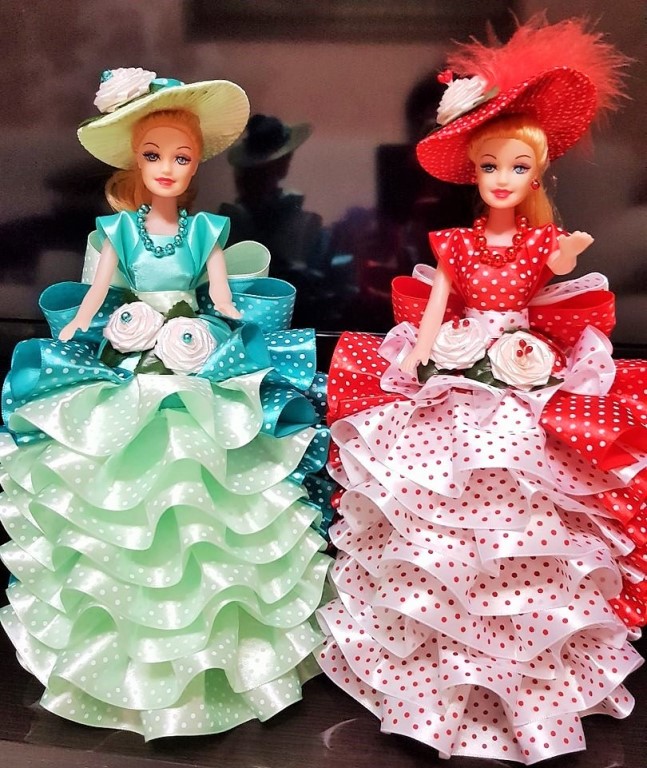
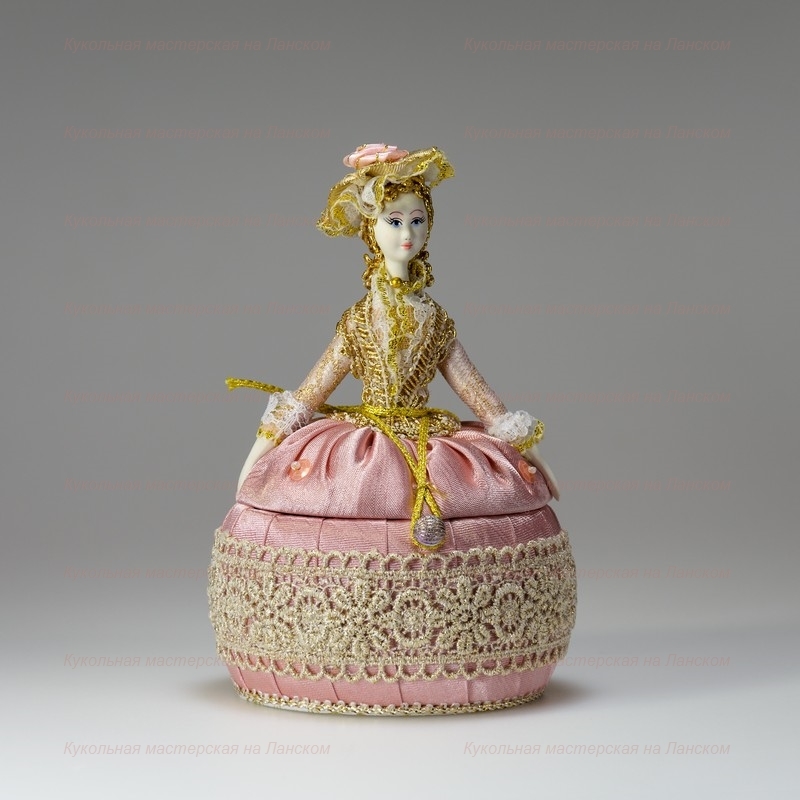
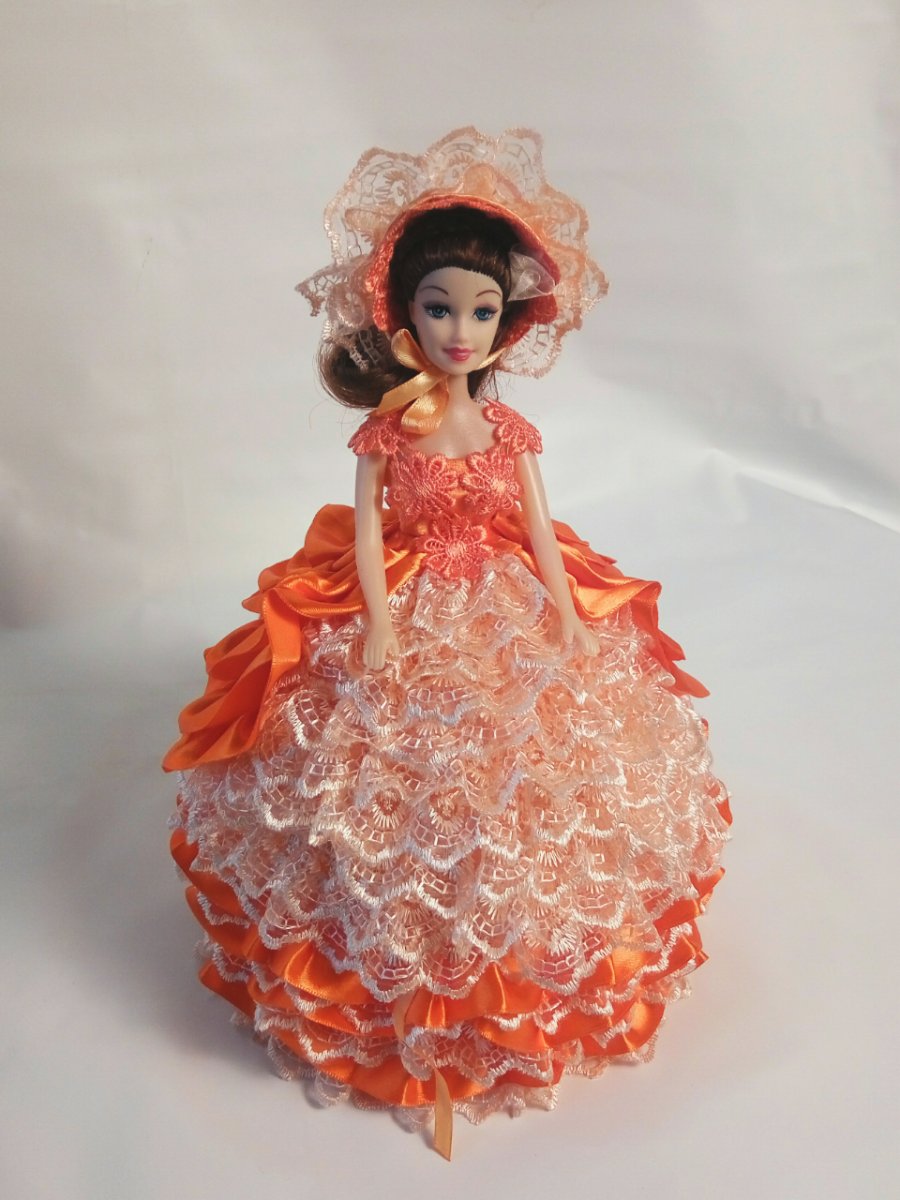
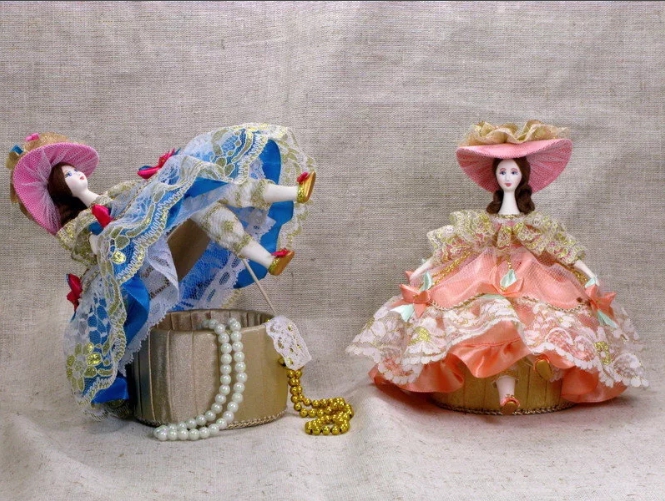
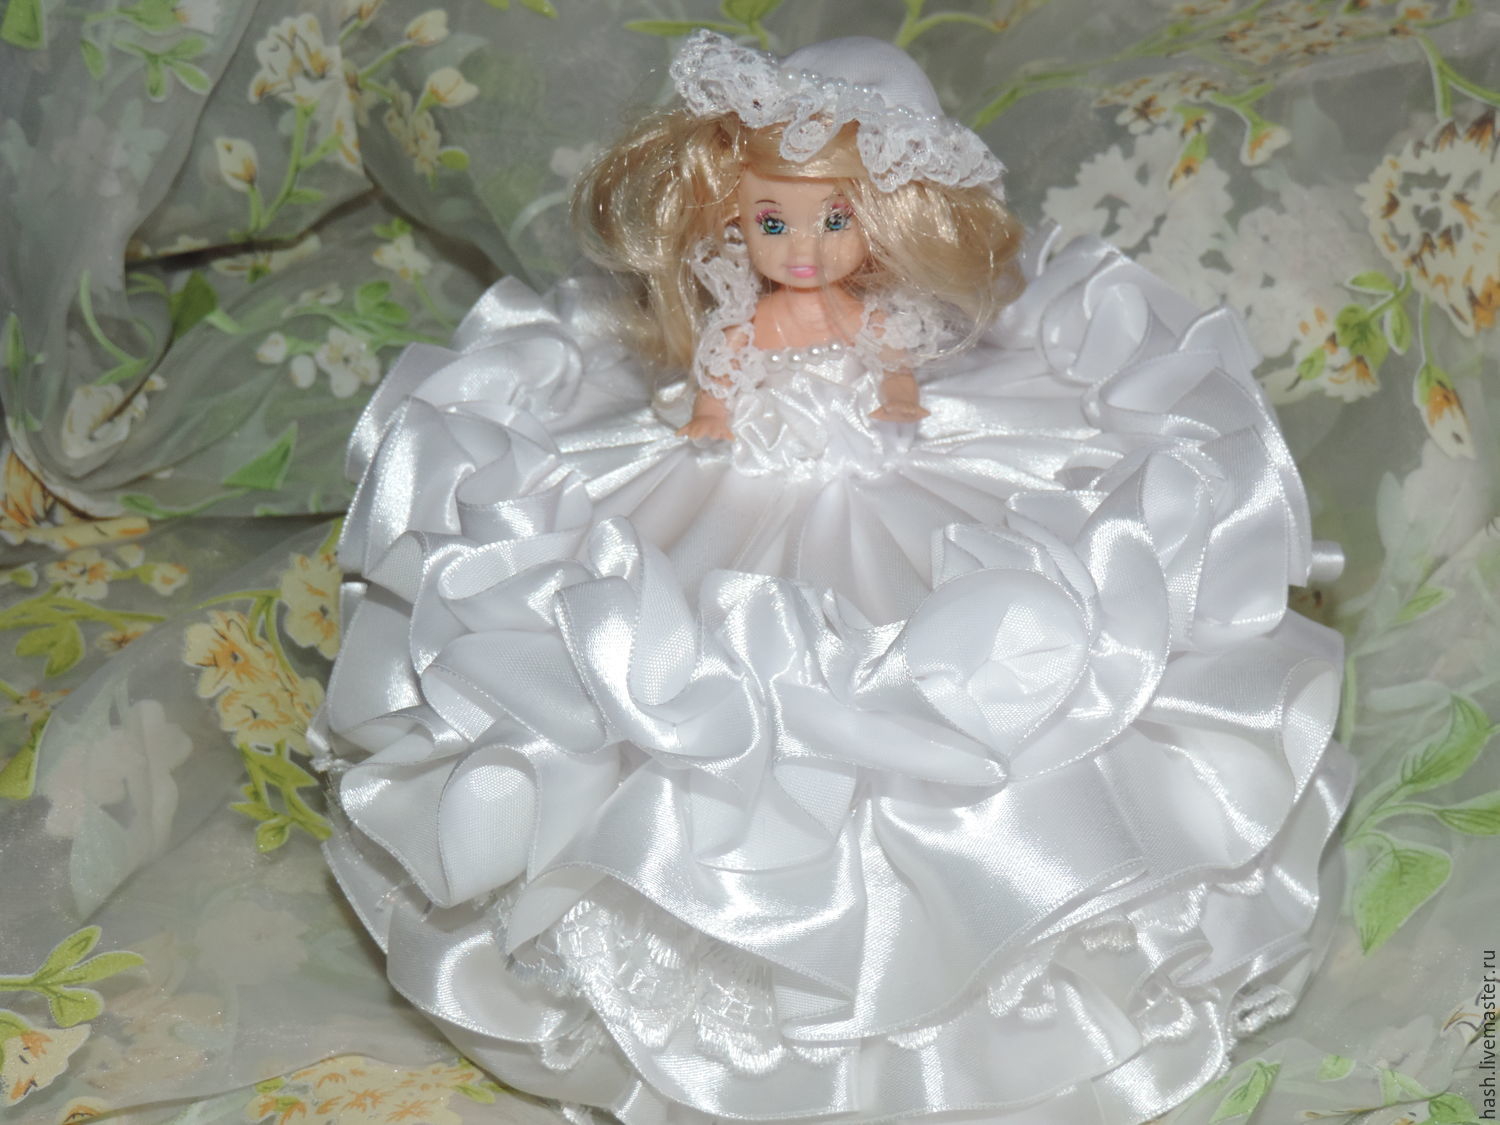
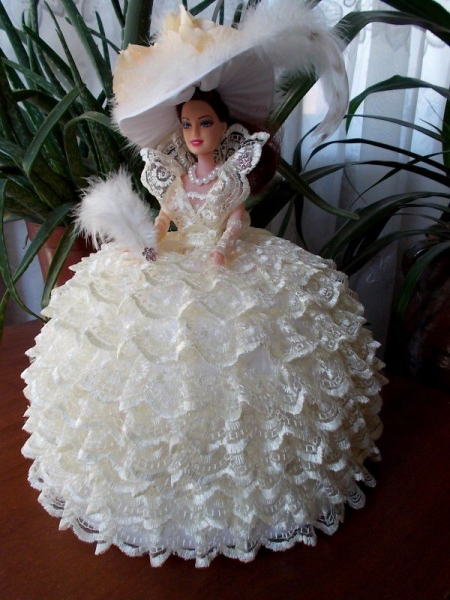
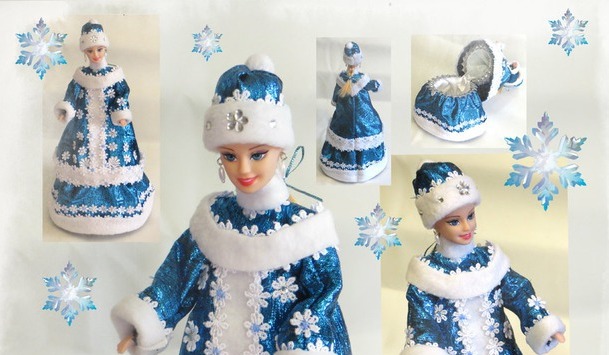
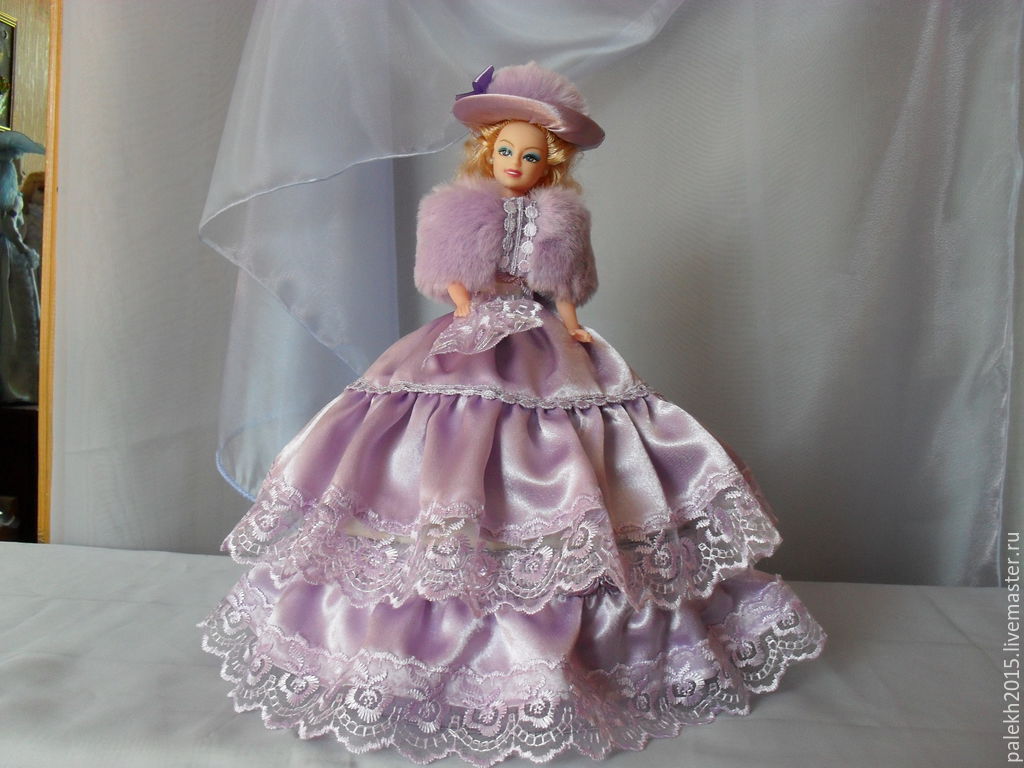
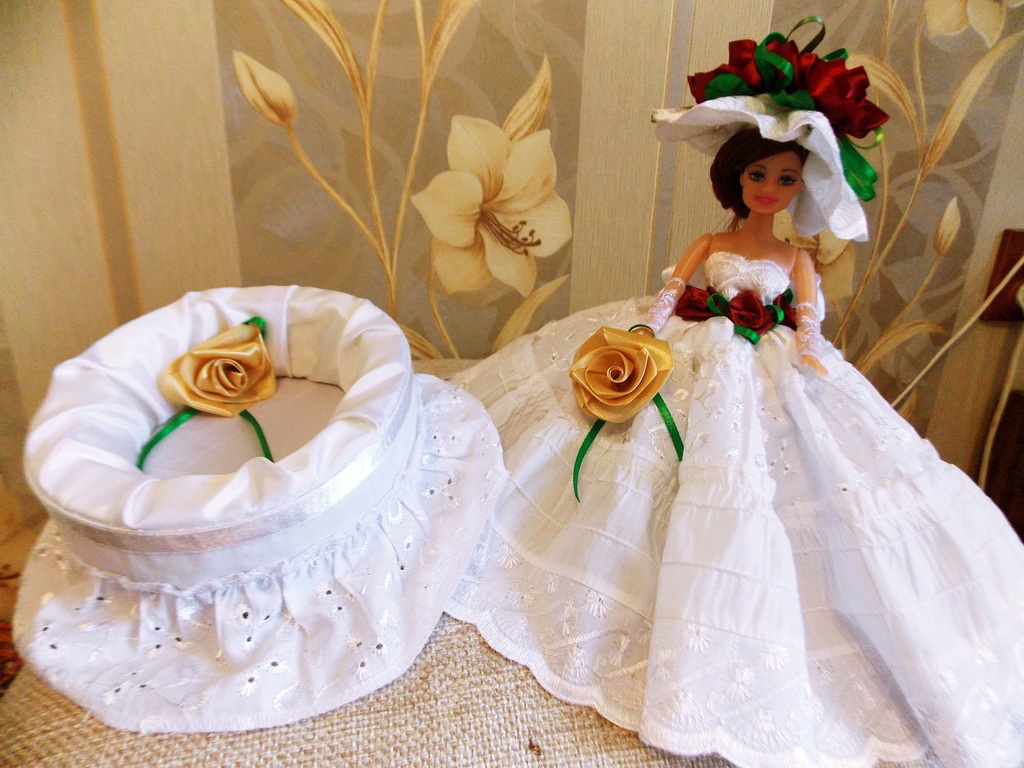
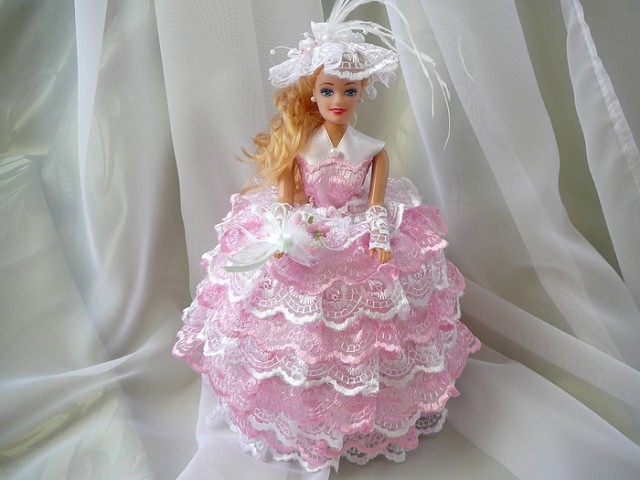
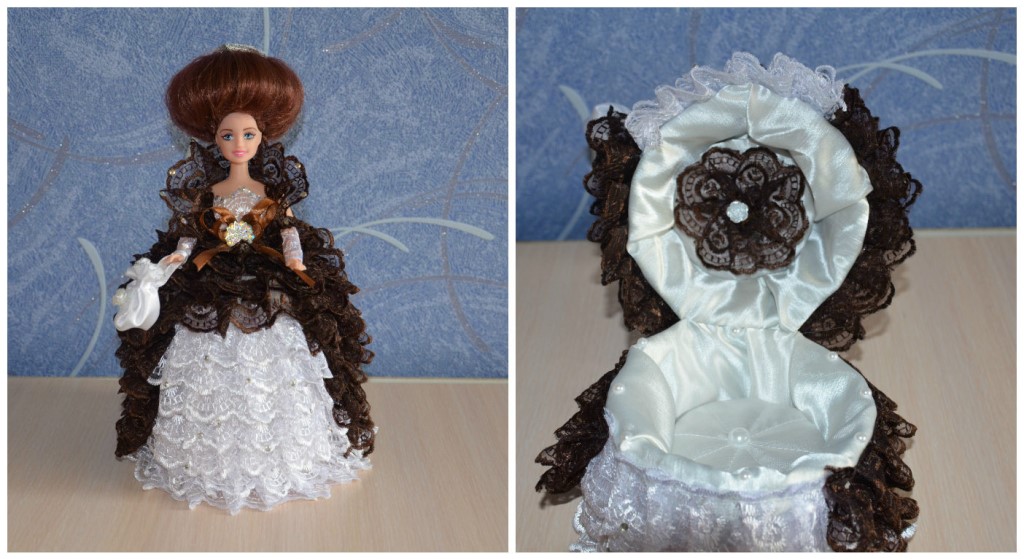
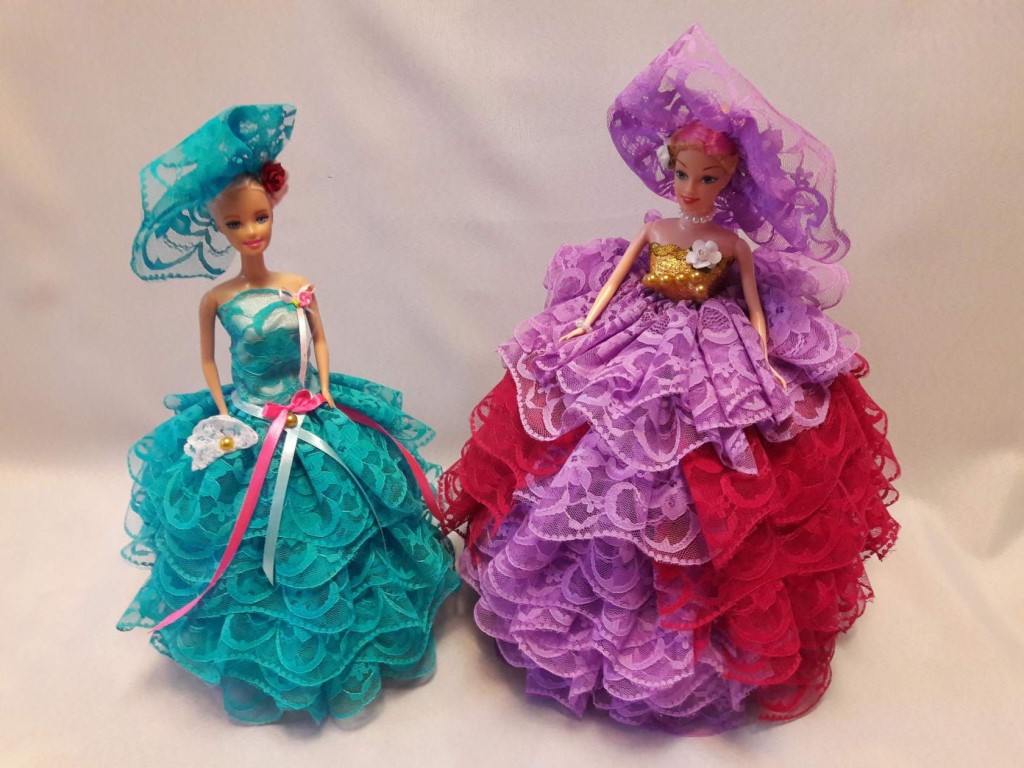
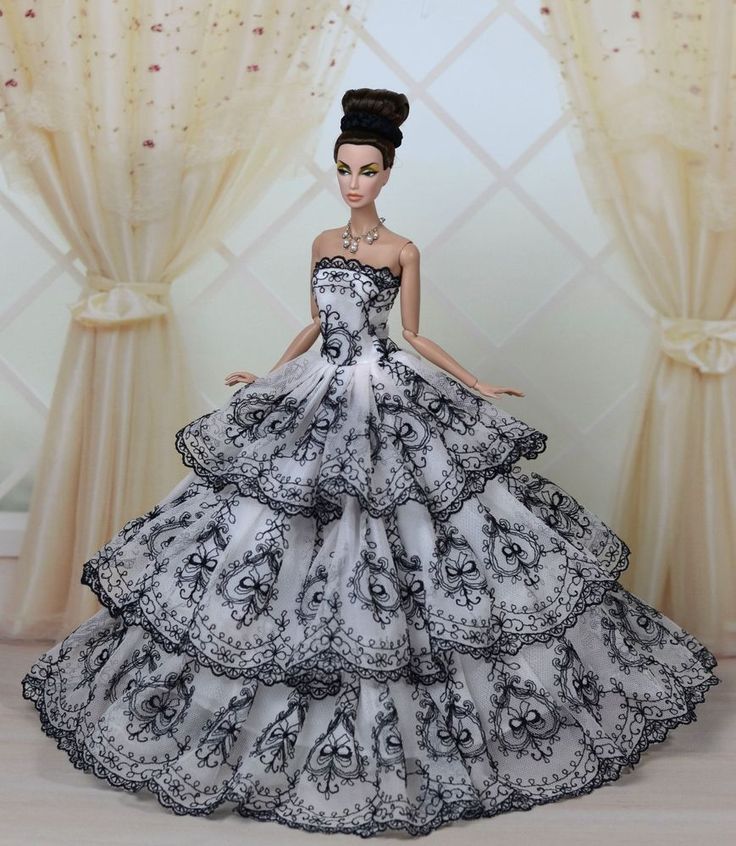
Now you can safely start decorating. The base of the product is decorated with lace, complementing the princess's skirt. You can sew gloves to match the color of the dress on the girl's hands, and add a small bow at the back. The craftsmen weave elegant hairstyles for Barbie and put on hand-made hats. This is how a beautiful jewelry box is created.
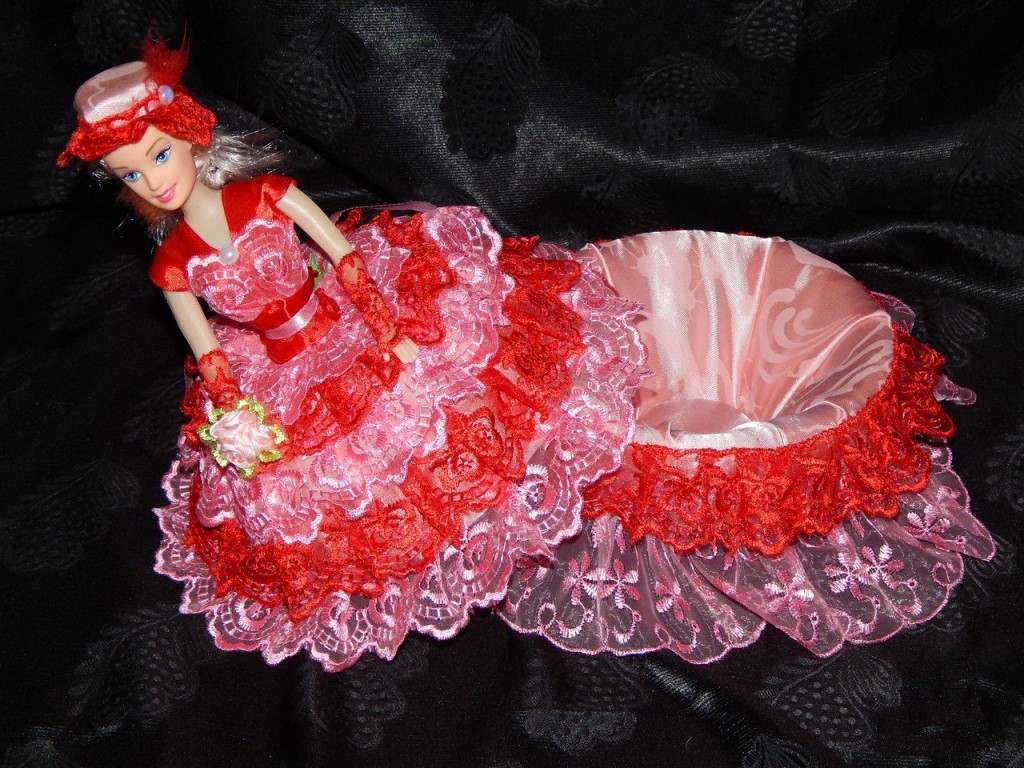
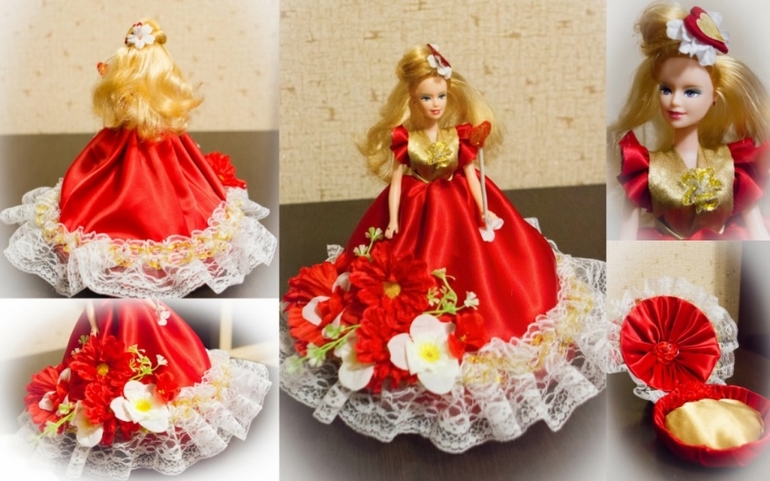
Making a doll-box from a bottle
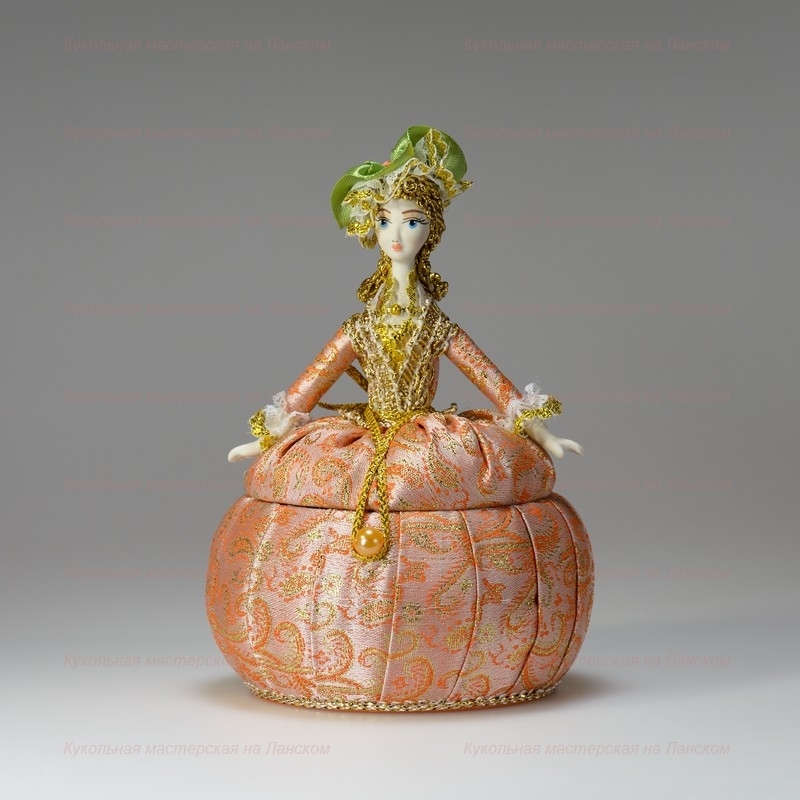
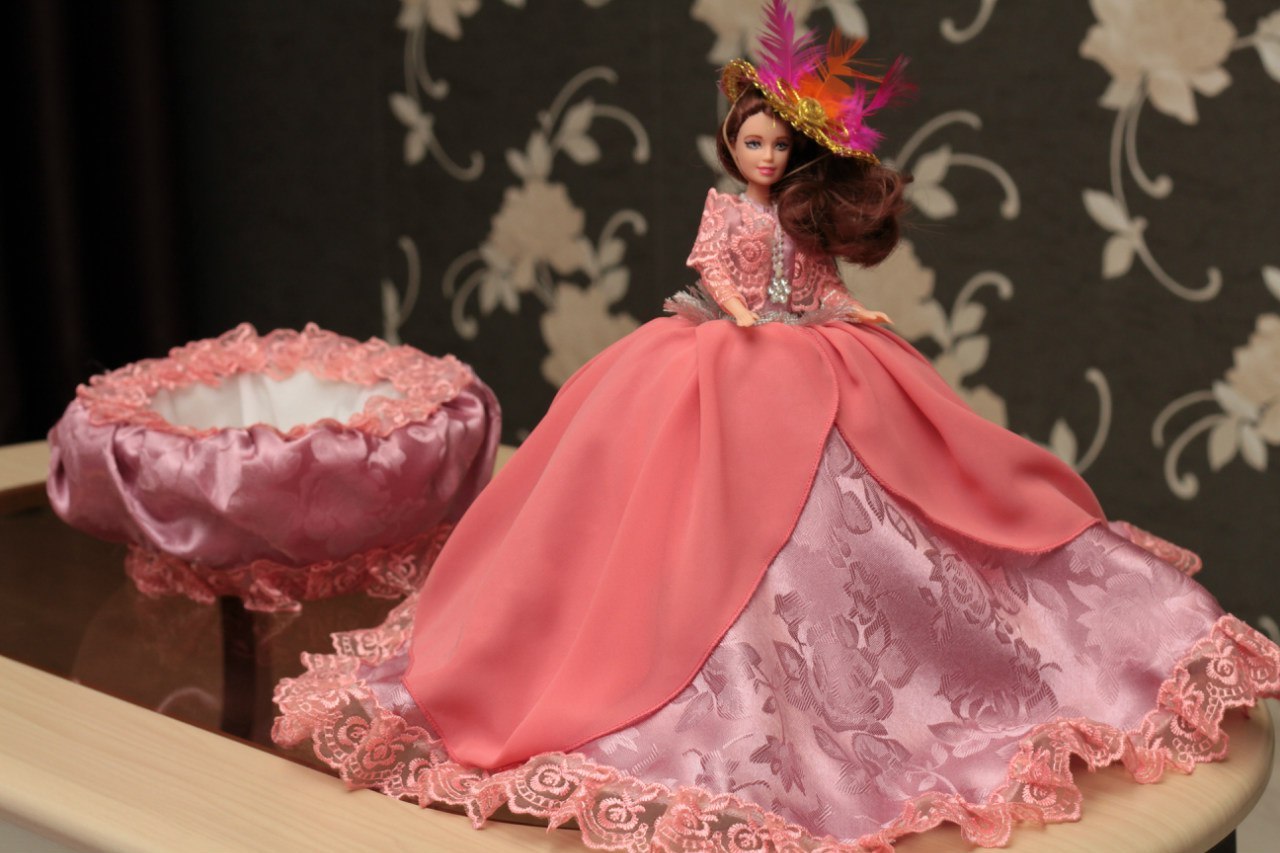
In order not to throw away used bottles, you can make a box for your home from a Barbie doll with your own hands. This idea for handicrafts is even easier than working with a bucket. Take a bottle and cut it into two parts. The lower one is the base for the container, and the upper one is the lid to which the doll will be attached.
A Barbie without legs is glued to the neck of the bottle, fixing the waist with glue. The bottle itself is covered with a piece of fabric, which will be the beginning of the dress. The capacity of the box is refined inside with foam rubber or cotton wool, so that the inside is soft. The outside should also be covered with fabric.
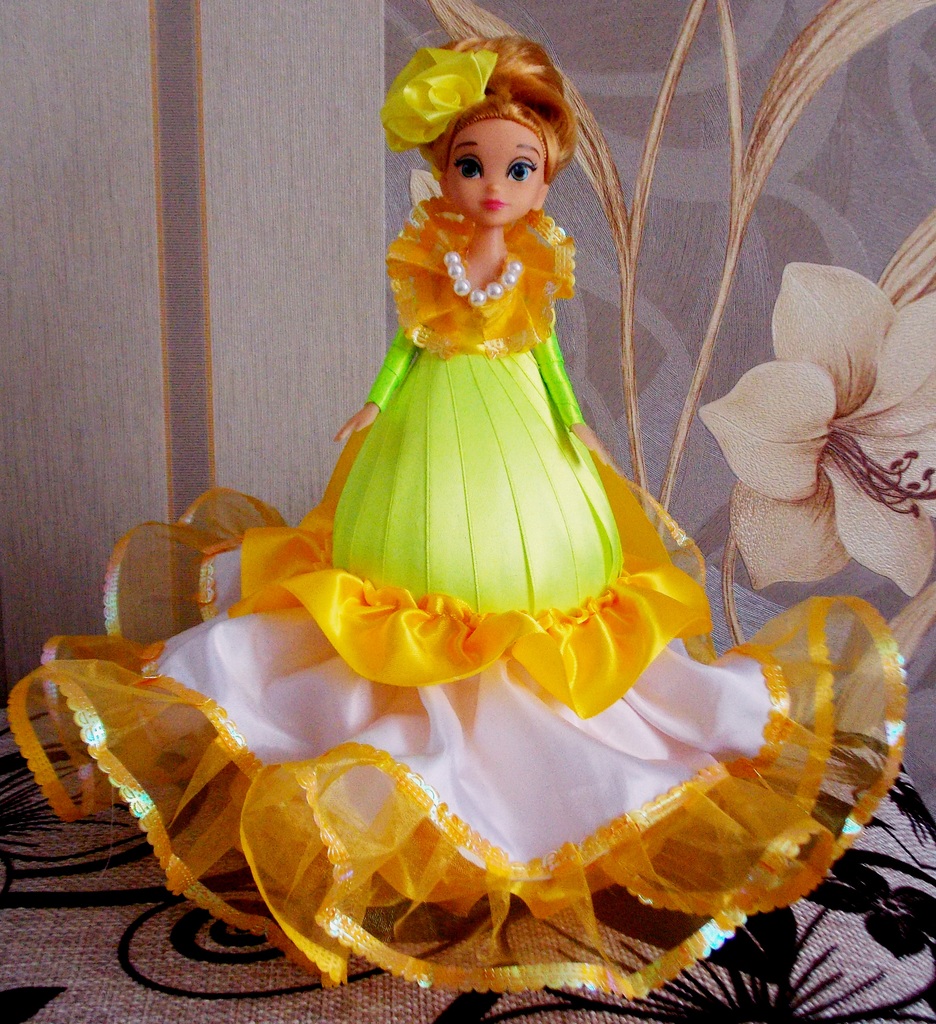
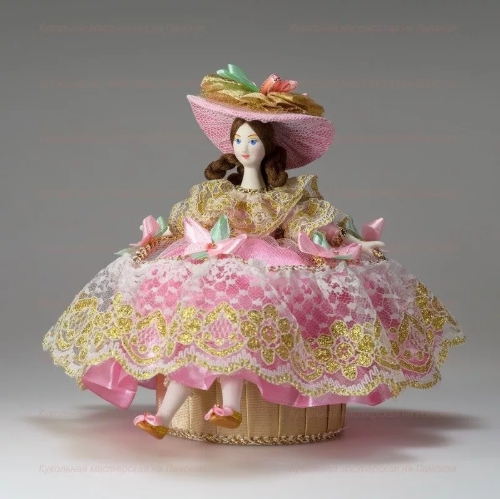
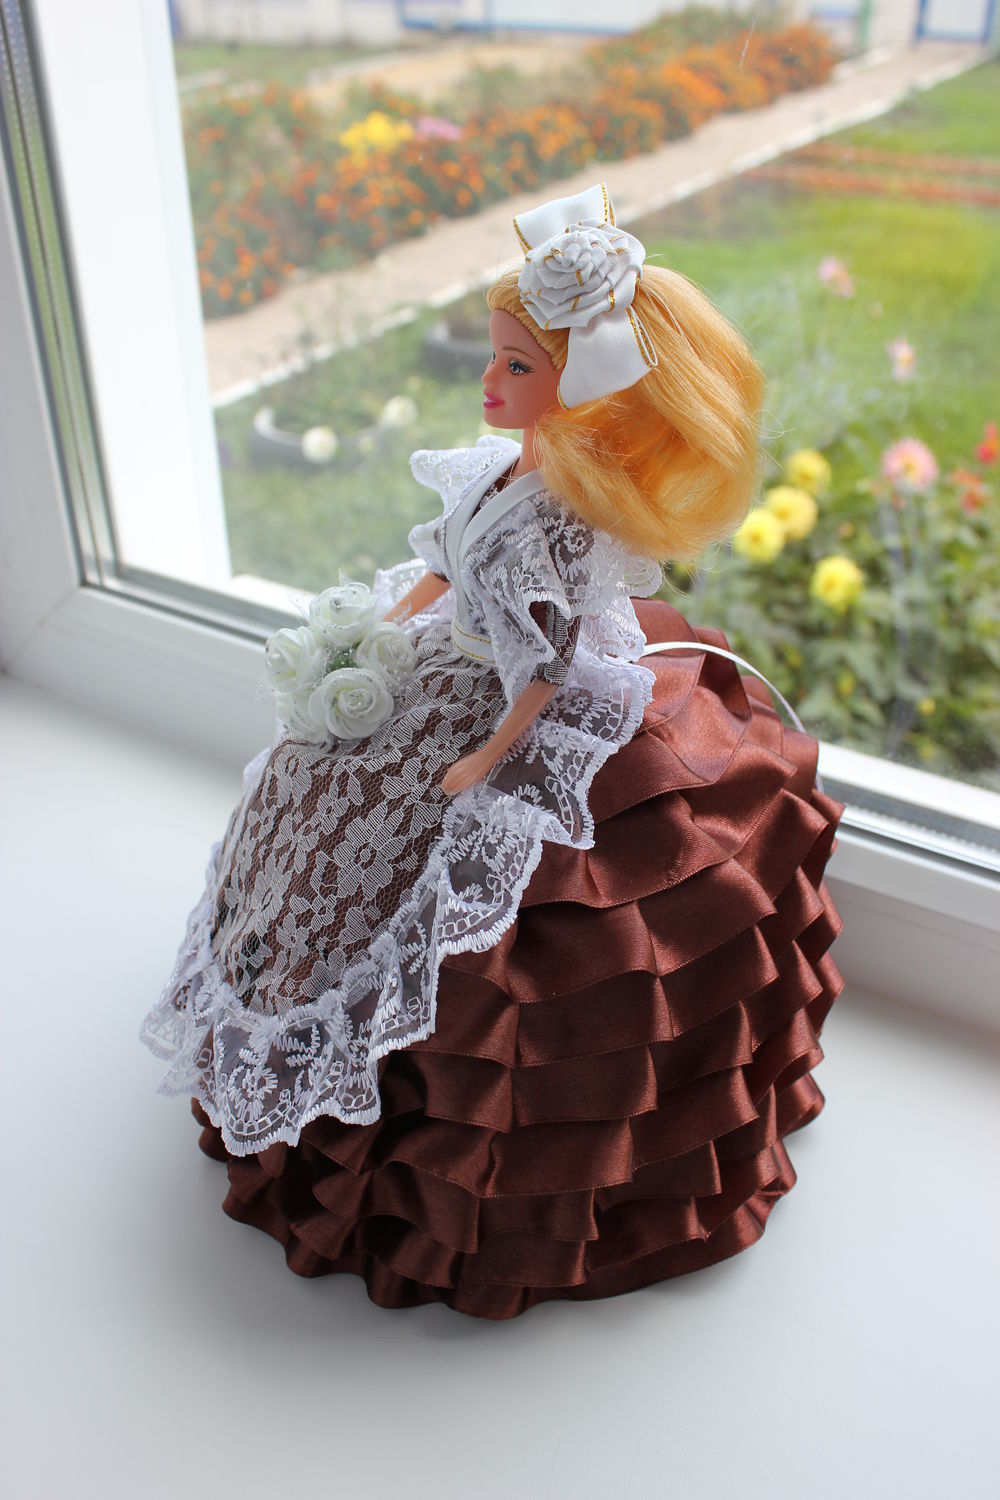
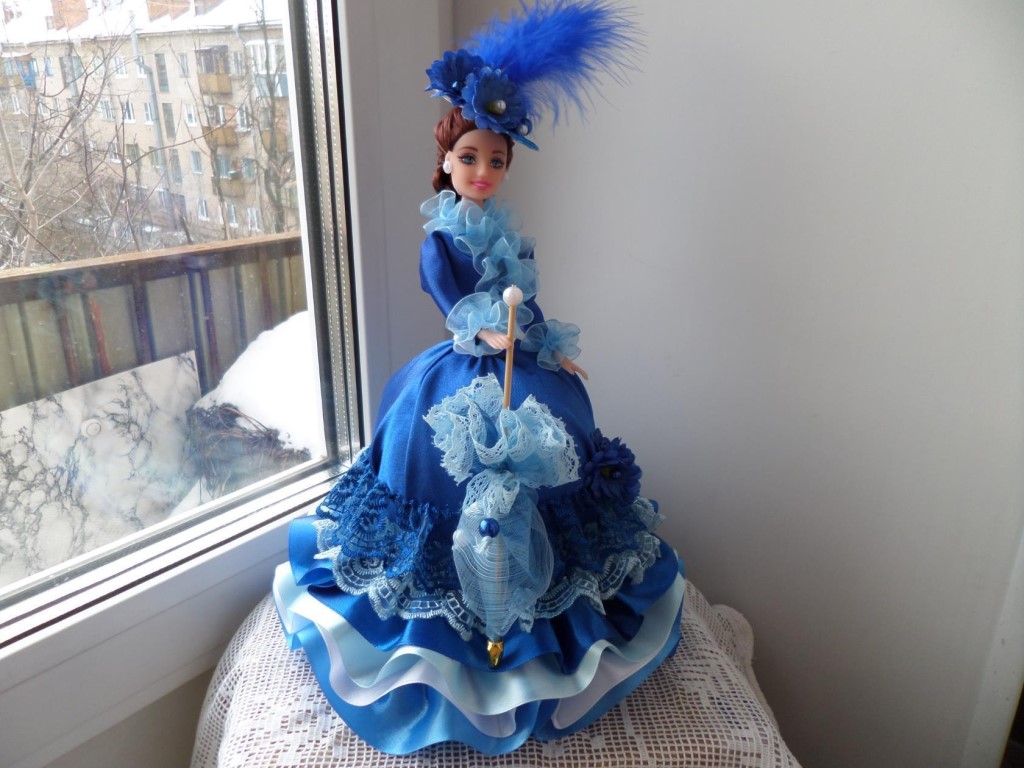
Now we move on to the decoration stage. Here you can turn on your imagination and use all sorts of decorative elements. Lace is glued to the bottom of the skirt. To beautifully play up the waist, a bow is tied with a small ribbon. Separately sew a hat, perhaps adding a small decorative feather.
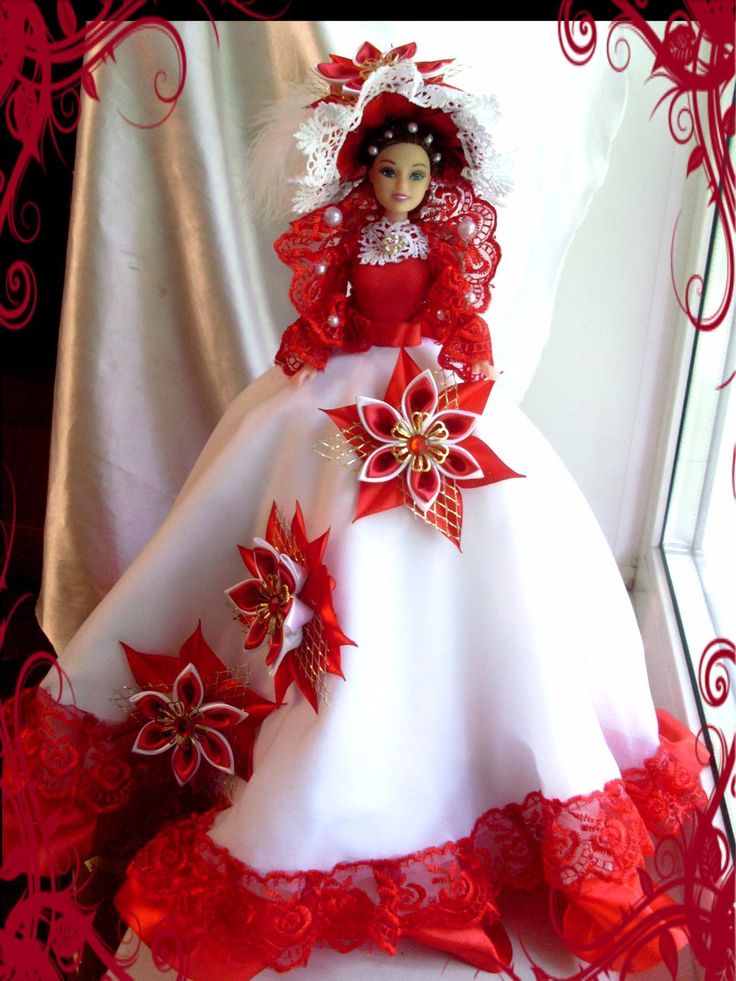
Kanzashi technique for creating jewelry
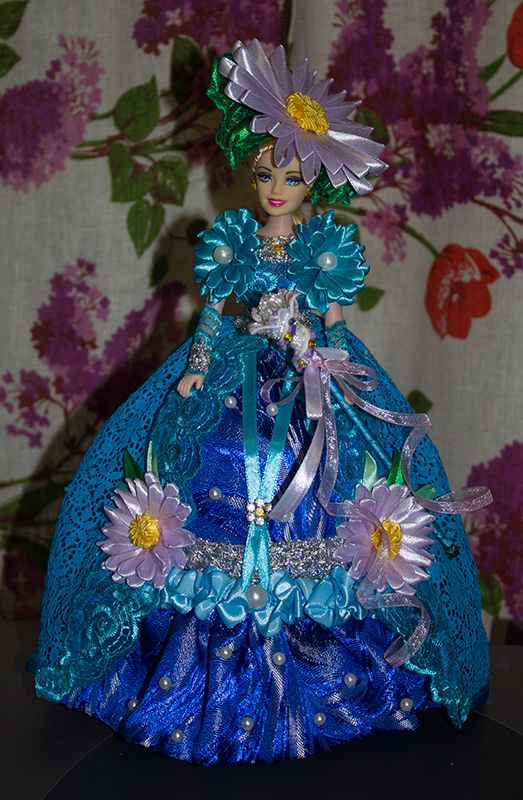
The Kanzashi technique is a whole art that was invented in Japan. It involves the process of origami, but using silk. The basis of this technique is folding triangles from separate fabric cutouts. Dolls-boxes using the Kanzashi style will gain a new life.
To make decorative elements for Barbie using the kanzashi technique, you will need a small amount of fabric, scissors, glue and threads with a needle. Silk flowers will look best. As an example, we will conduct a master class on making a flower with round petals.
Fold the square piece of fabric in half. Bend the corners to the bottom vertex to form a rhombus. Turn the blank over with the smooth side up, and the corners to the center of the rhombus. Fold it in half. Then straighten the petal, holding on to the bend.
We process the back side with glue, connecting the corners to each other. Excess fabric should be cut off so that the flower looks neat. Several such petals are made. The last stage is connecting the petals into a whole flower.
Conclusion
The doll-box will become a real decoration of the house and an indispensable assistant for storing jewelry. The kanzashi technique allows you to make unusual jewelry for the Barbie box at home with your own hands.
VIDEO: Doll - box. Design ideas.
50 DIY Doll Box Options: