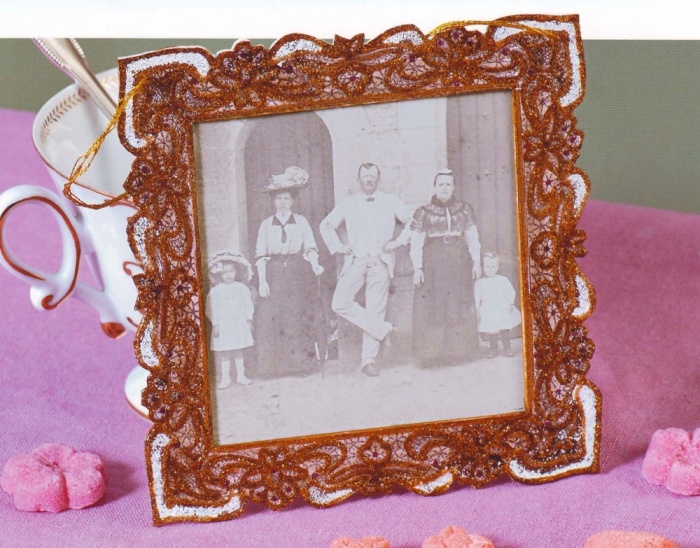
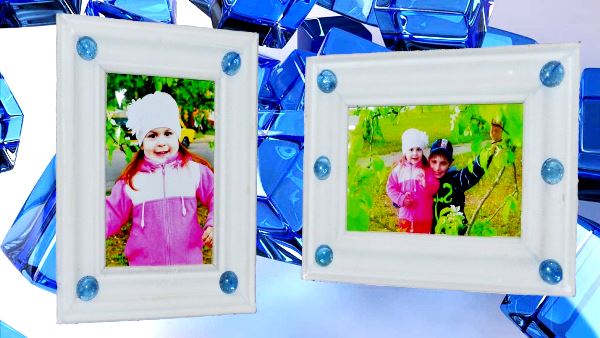
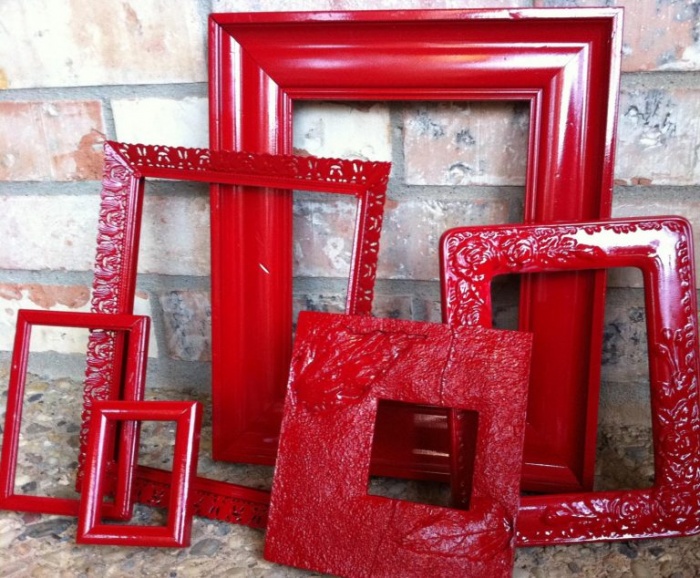
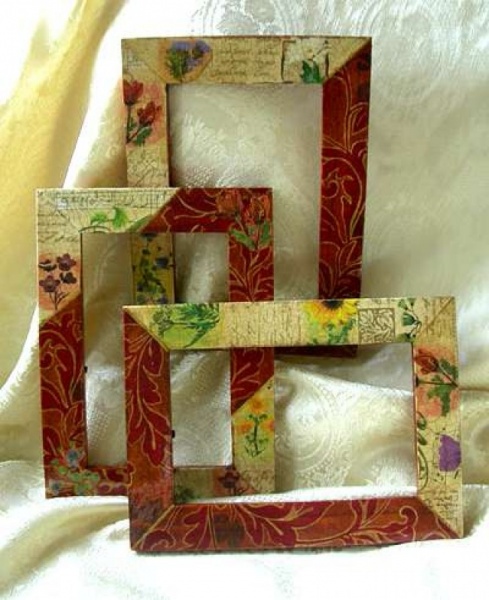
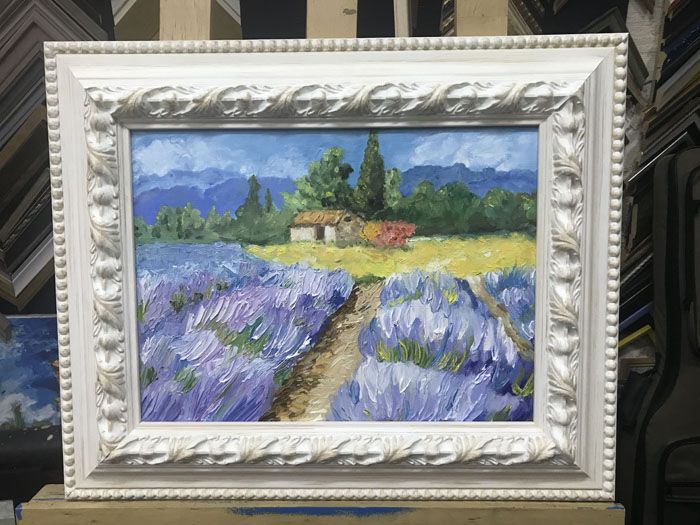
Beautiful paintings and memorable photographs can be a wonderful addition to the interior of any apartment or house. For decoration, you can use a frame made with your own hands. They should emphasize the advantages of the canvas and the photo, shade them and become a continuation of the composition. Below we will tell you in detail how to make a frame for a painting or photos with your own hands.
Content
Design features
The main aspect that must be observed when making a frame with your own hands is the design and intended purpose of the room where the product will be placed. When choosing a color scheme, it is important not to overdo it. Since too bright and saturated shades will be uncomfortable for visual perception, the finished frame will also not be able to fit into the interior.
Additional information! Try to focus on the content of the photo or painting, as well as their parameters, in the design. The more colorful the picture, the smaller and less noticeable the frame should be in the end.
If this has already happened, don't be upset, you can make adjustments to the shape, color, and design at any time. This possibility is the main advantage of making a frame with your own hands. Using various improvised means, design options can be achieved by transforming the picture that was planned to decorate the room.
Another method is to place the canvas at an unusual angle, changing the lighting, or near certain furniture to create a unified picture. Allowing and correcting mistakes or trying different placements, you will achieve an excellent effect.
What elements can be used to make a frame?
You can make a picture frame yourself from the following materials at hand:
- tree;
- textile;
- thick paper or various types of cardboard;
- plastic and polyurethane elements;
- gypsum.
The options presented are not the entire list of resources that can be used to design a picture frame and stand for it with your own hands. Based on the selected resource, you may need the following tools:
- jigsaw, hacksaw, scissors;
- measuring instruments;
- markers, pen, pencils;
- elements for connection – small nails, specialized glue;
- miter box;
- varnish, stain, paint;
- finishing accessories.
IMPORTANT! It is important to maintain harmony in the combination of framing materials with the image. This creates a single whole that will turn into an excellent designer piece for decorating the room.
Below is more detailed information about the manufacturing process depending on the chosen base.
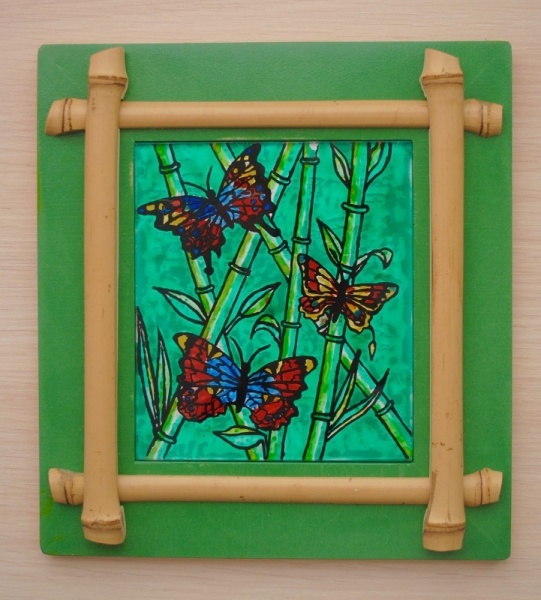
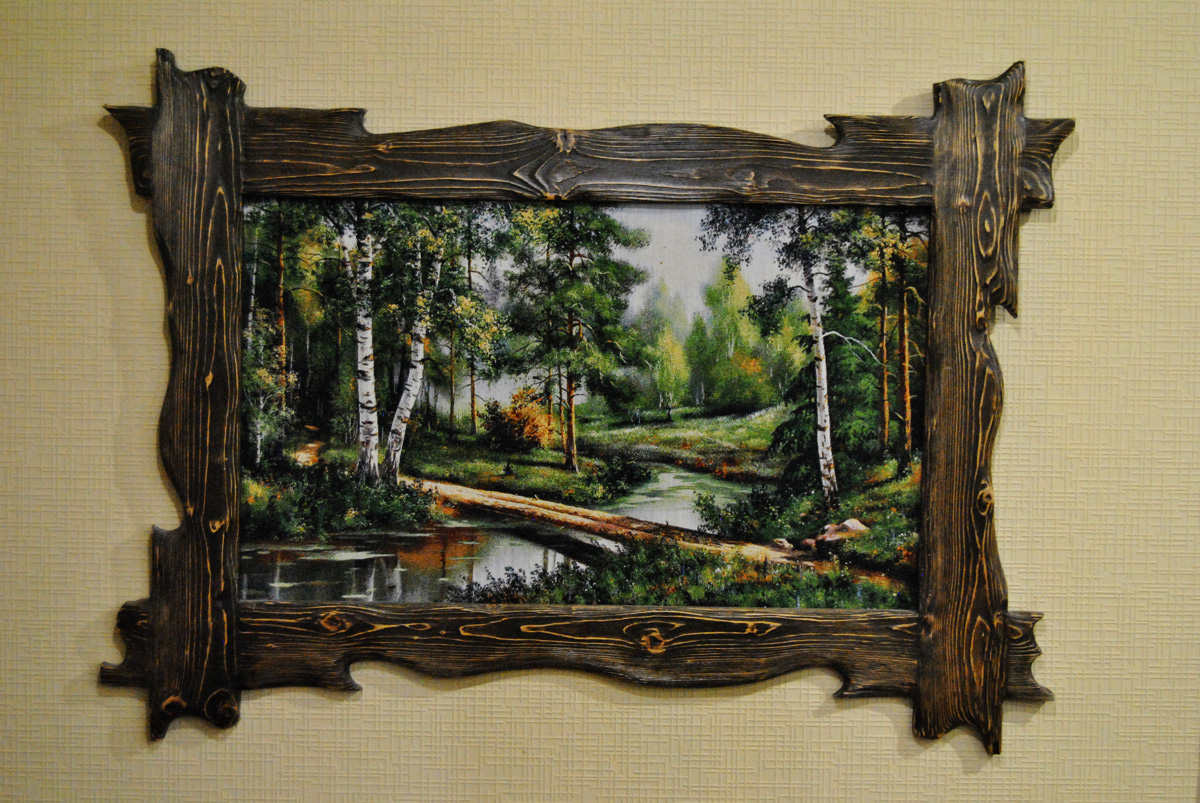
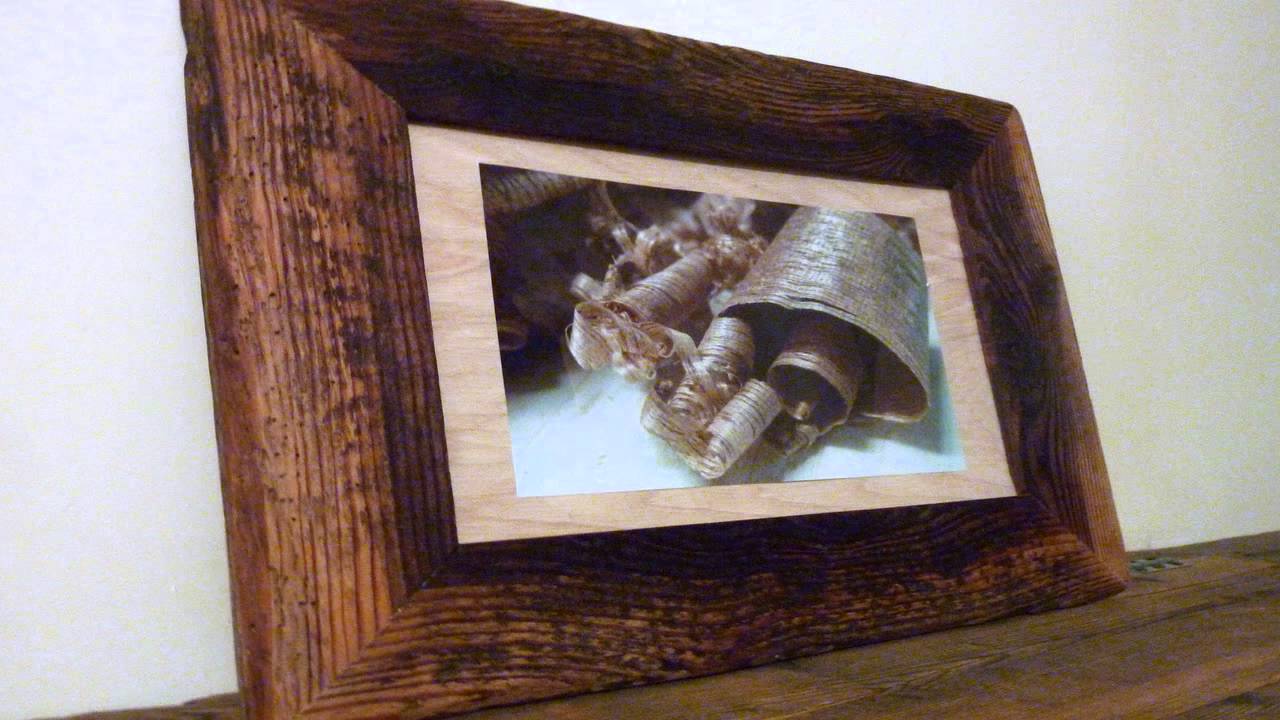
Tree
This material is rightfully considered a traditional option for framing art works. In most cases, wooden framing is made in neutral shades. The shape is simple, without complex additional structures, but still, this process requires certain knowledge and skills.
The easiest way is to use wooden slats of the required dimensions. According to the dimensions of the image, four blanks are prepared, which are equal in pairs.
A more labor-intensive project is a DIY photo or canvas frame equipped with glass. For this option, you will additionally need to make a back wall using thin plywood. The external dimensions of the finished product must necessarily be slightly larger than the glass and the photo itself. If you do not have the necessary knowledge to work with glass elements, we recommend ordering a ready-made sheet from a workshop.
Having calculated the thickness of the glass and the painting, you should deepen the inner part of the blanks by this value. Most often, this figure is 2-5 millimeters. Next, you need to cut the planks at the correct angle, for this, use a square and a miter box. Be sure to process the resulting cuts with sandpaper, then connect them with glue in the form of a square or rectangle. The glue will need about 4-5 hours to dry completely.
TIP! We recommend reinforcing the connection of the blanks from the inside with a wood stapler.
After final drying, you can begin decorating. Paint or varnish are suitable for this.
In a hand-made wooden frame, first place the glass, then turn it over with the main part down and then lay the canvas on the glass. Thick cardboard and plywood are necessarily placed on top of the painting. If the calculations were made correctly, then the back is glued along the entire perimeter of the product. To improve the connection, you can nail small nails in the corners of the frame element.
Polyurethane ceiling plinth
If you have polyurethane ceiling plinth, you can make a white frame with your own hands from these materials. First, take measurements of the blanks. Next, cut the plinth into 4 parts with a hacksaw at an acute angle (45 degrees).
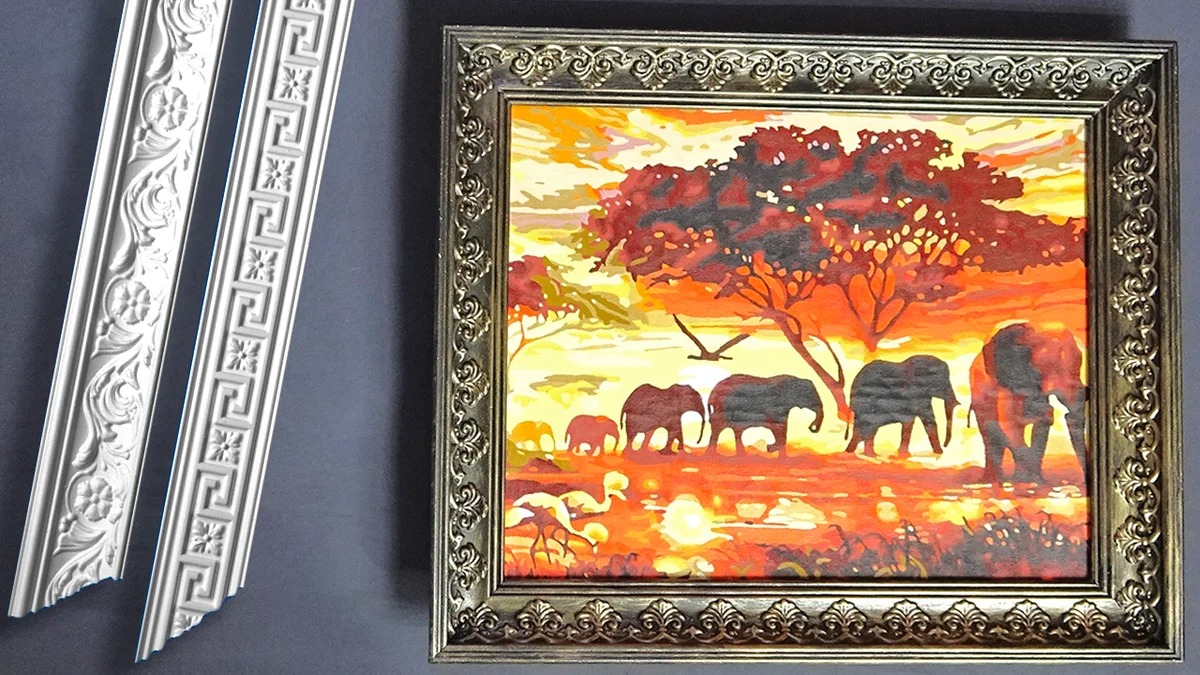
Place special Titan glue on each side of the cut and connect. The clamp will help make the connection stronger and more durable. Treat the upper surface of the joint with acrylic paint.
Cardboard
The most accessible and budget-friendly material for framing is considered to be cardboard. The process with such a base takes little time and effort, and children and teenagers can handle it.
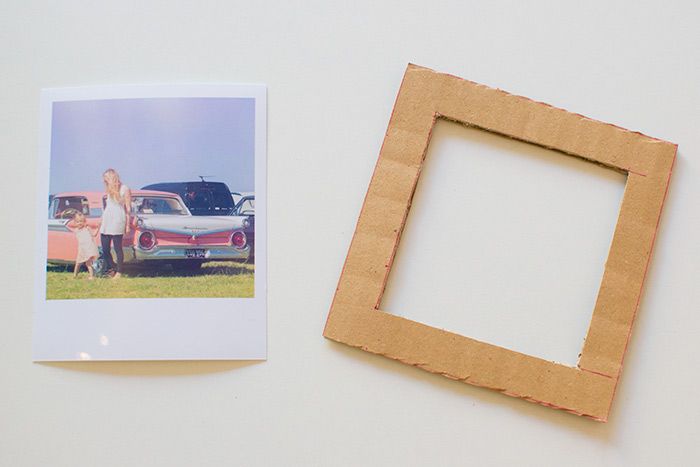
First, cut out a cardboard base (rectangular or square), inside which there should be a window for the picture. The dimensions are determined based on the size of the photo or painting. In most cases, the width of the frame is more than 4 centimeters. Next, prepare the back element of the product, which is similar in parameters to the base.
Additionally, you will need a stand if you plan to place the DIY cardboard picture frame on a bookshelf. To do this, cut out a rectangular leg measuring 7*17 centimeters, sharpen it at the end, and bend about 2 centimeters on the other side.

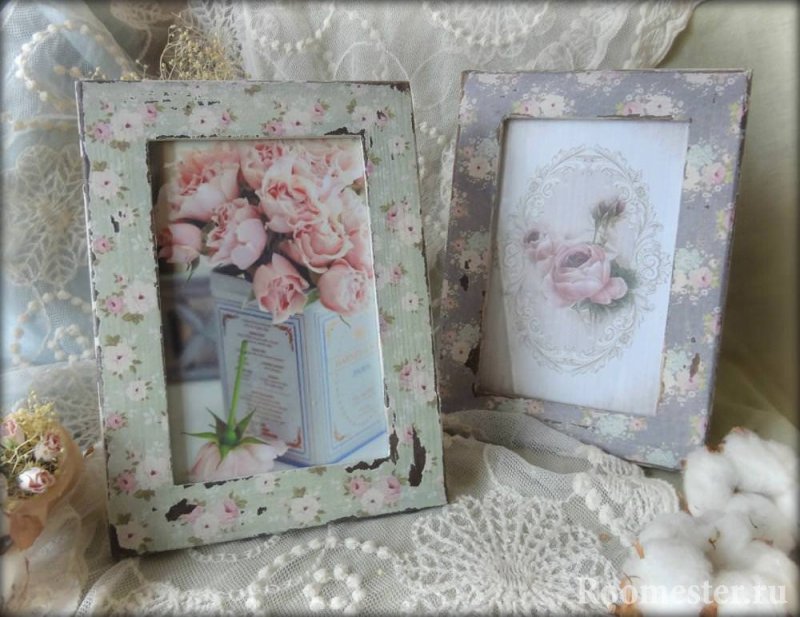
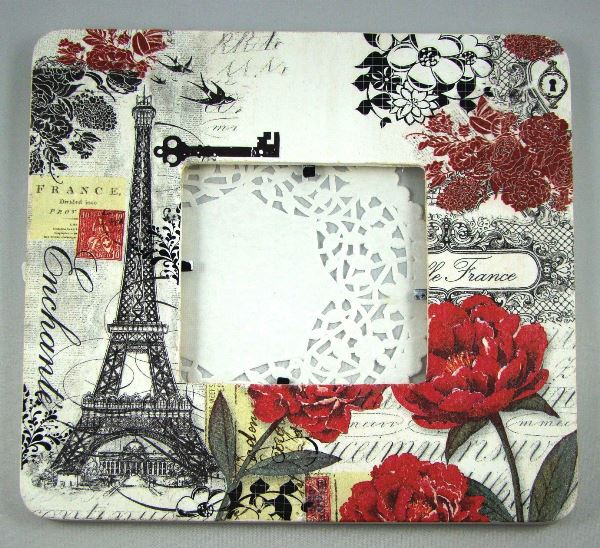
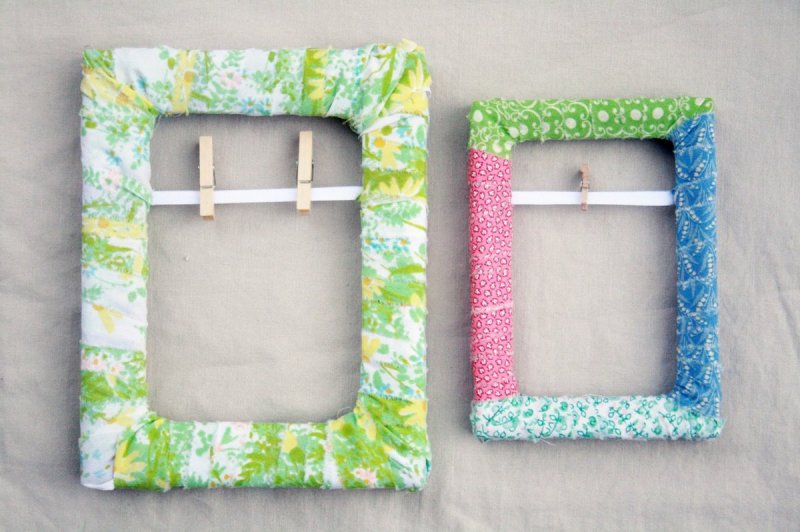
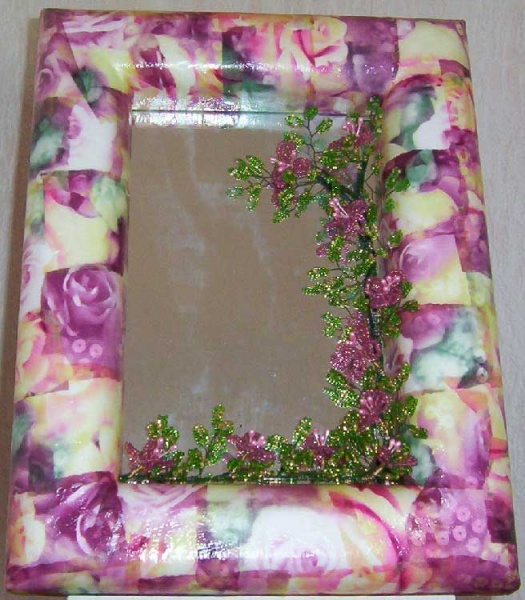
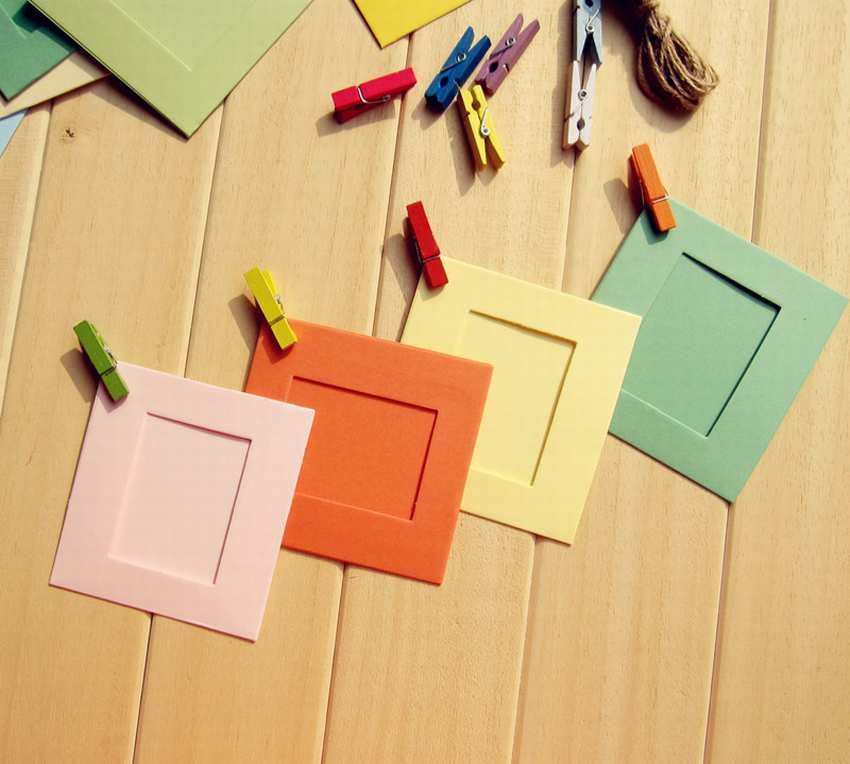
Paper
If you have wallpaper scraps or plain colored sheets, you can make a frame out of paper or cardboard yourself. The process is similar to using corrugated cardboard.
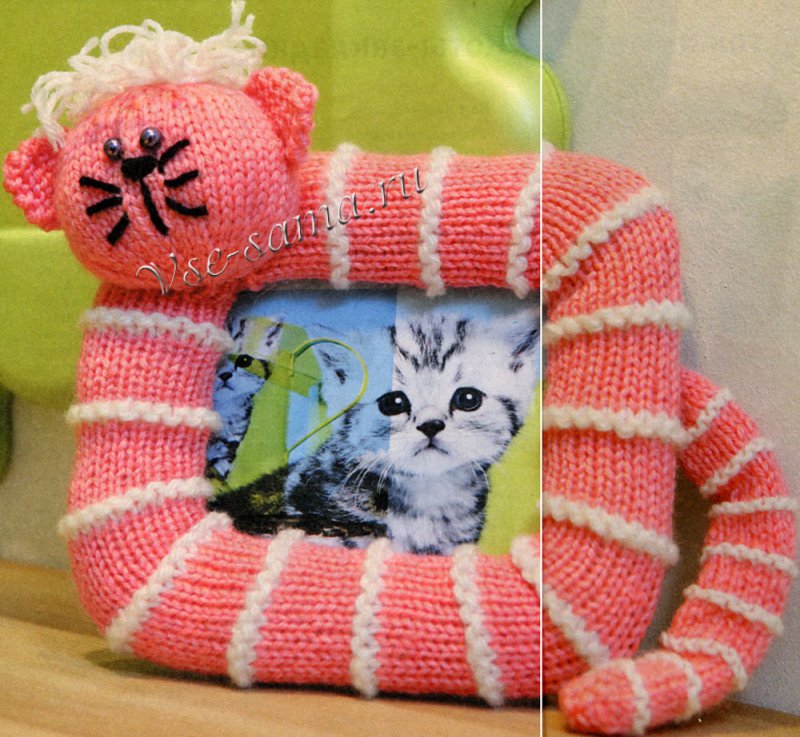
How to make a picture frame yourself from improvised means?
Making home decor is not an easy process, but it is fascinating and allows you to add your own unique twist to the interior of any room. After the first successful experiment, any craftsman will not want to stop there.
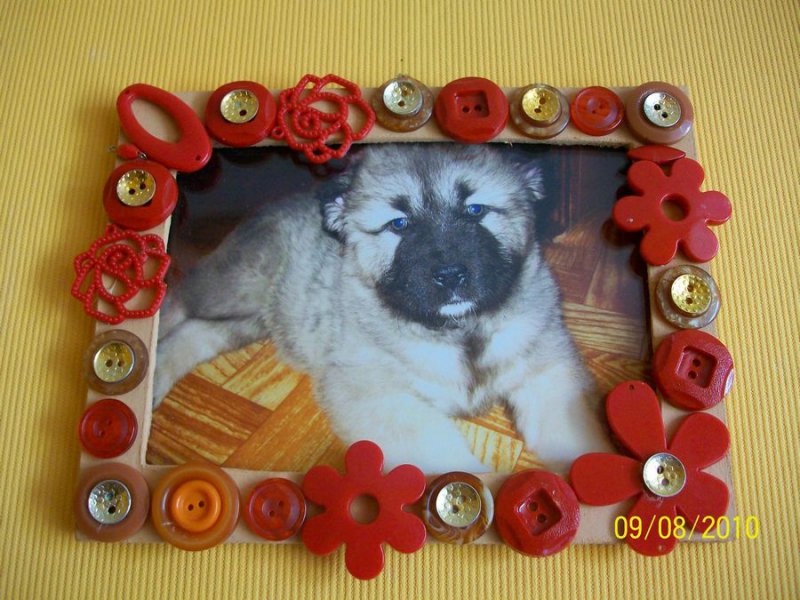
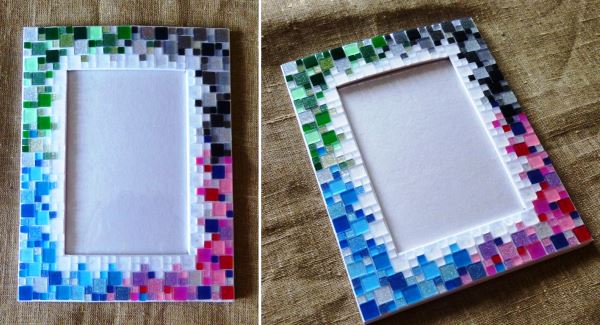
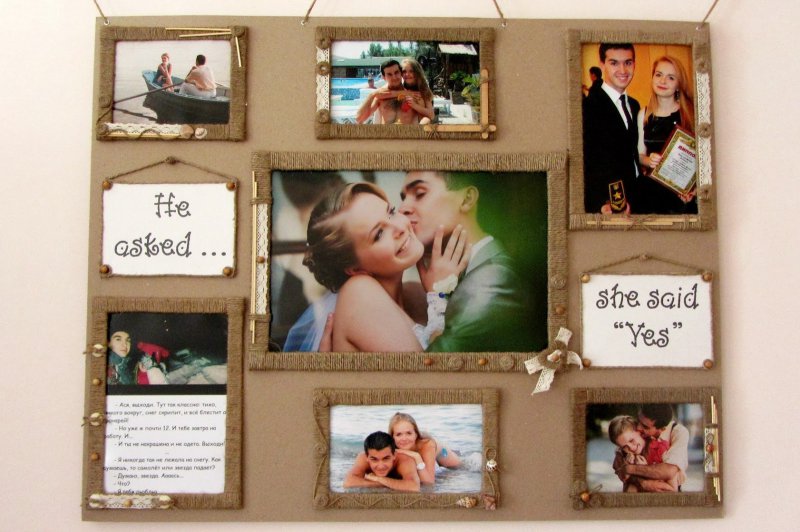
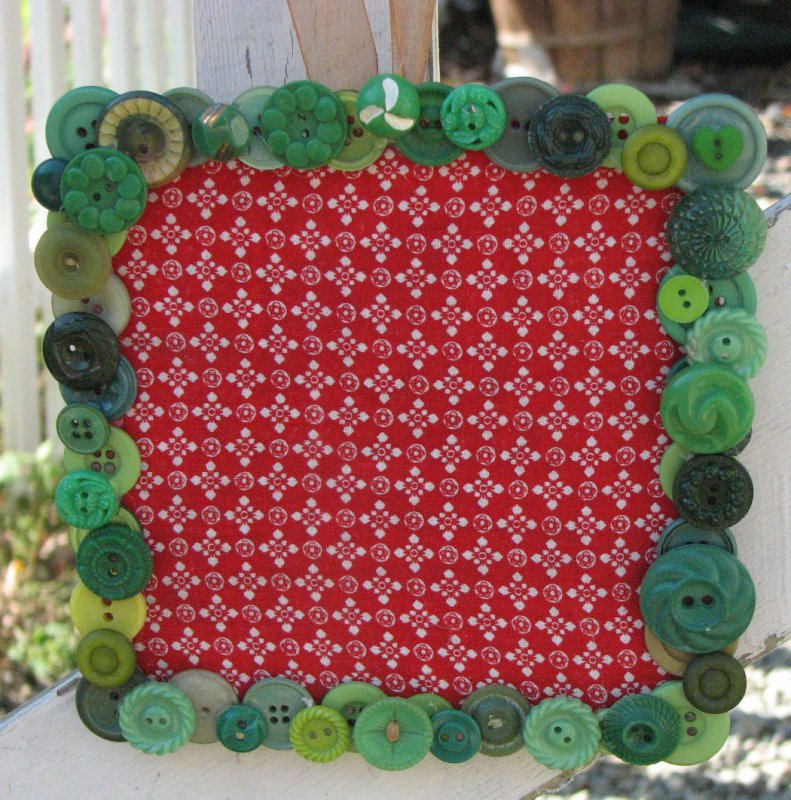
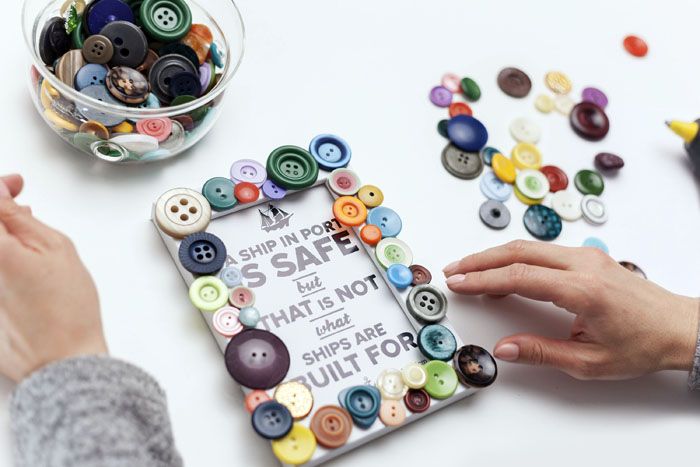
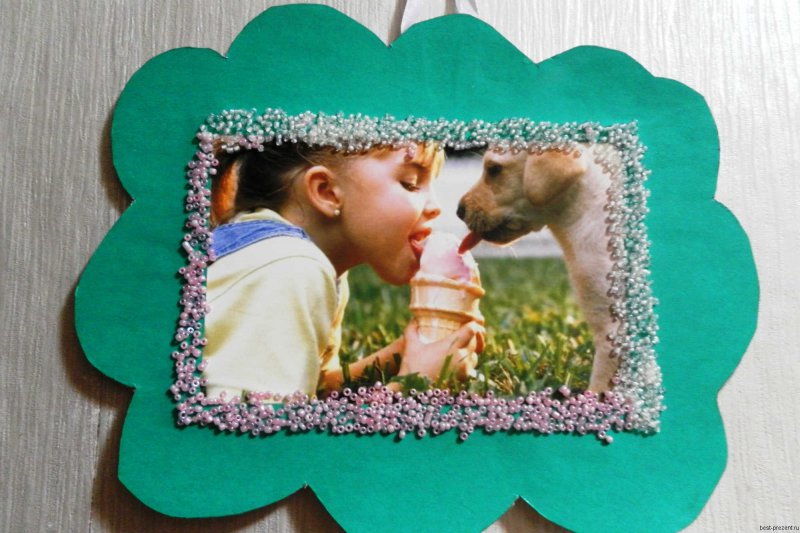
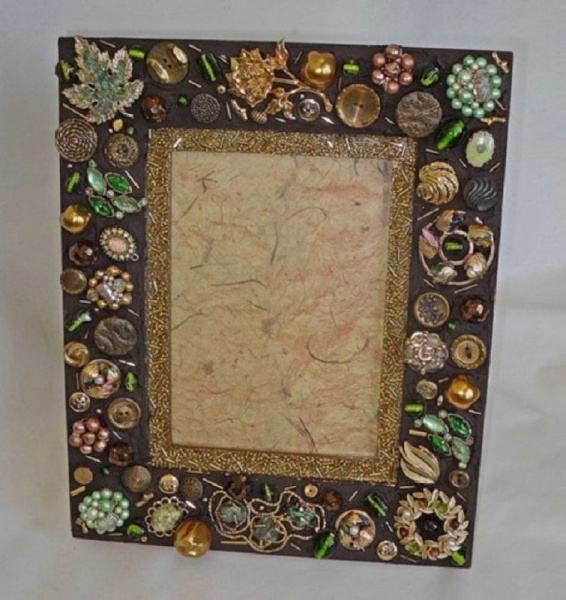
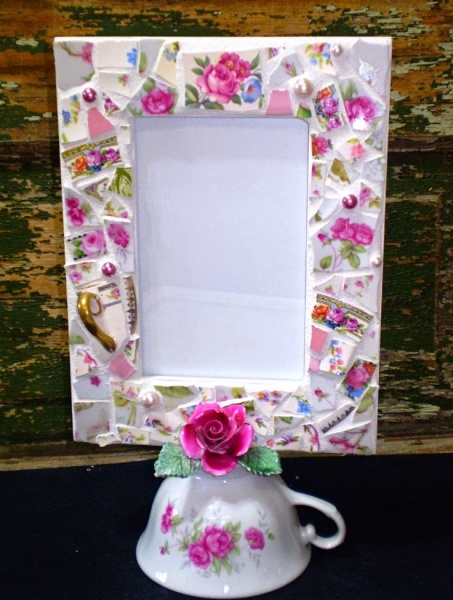
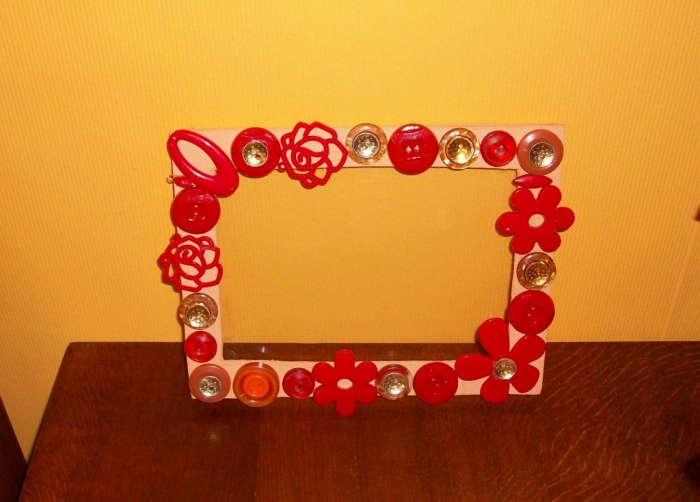
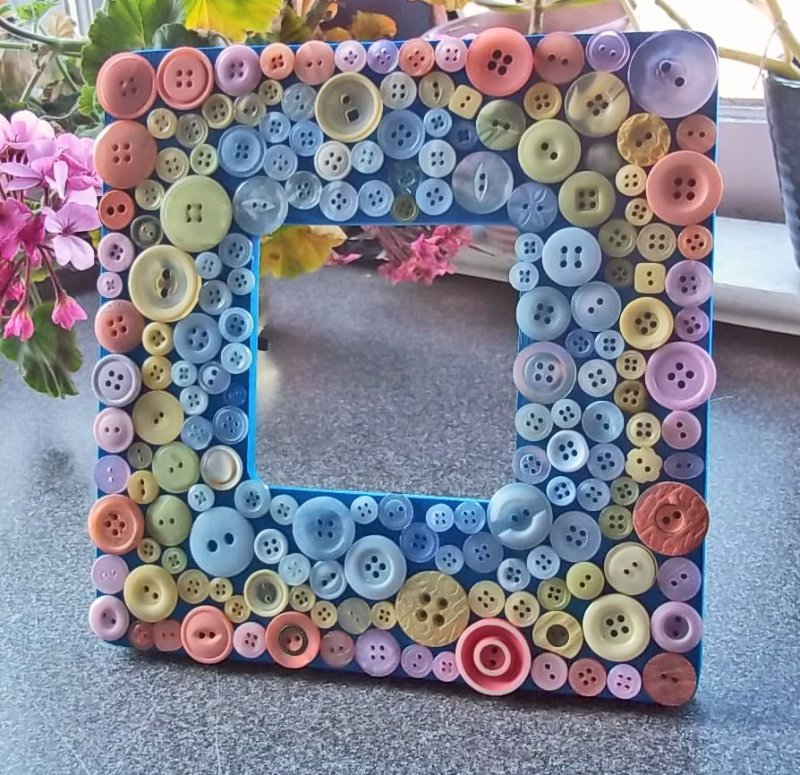
From buttons
Many needlewomen are interested in how to make photo frames with their own hands using buttons. These accessories add brightness and zest to the finished product. You can decorate a paper or cardboard base with buttons, for this they need to be additionally covered with fabric or painted. Then you start gluing the multi-colored mosaic.
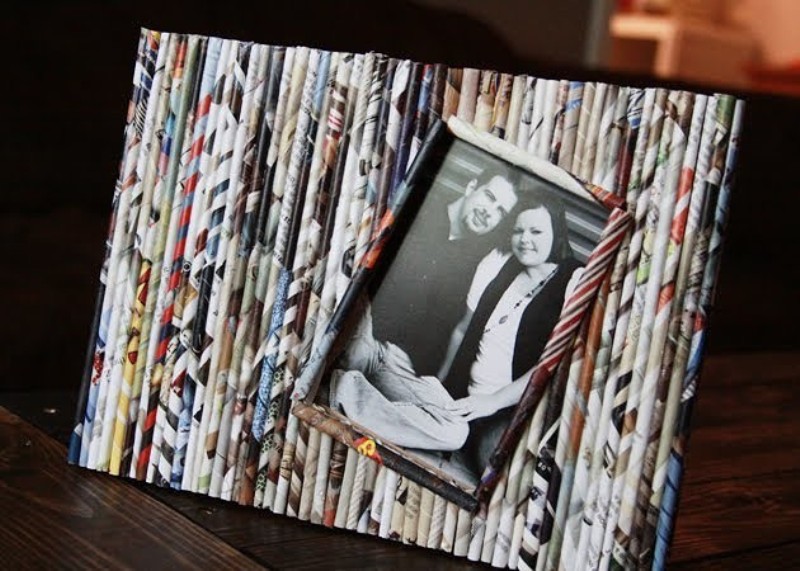
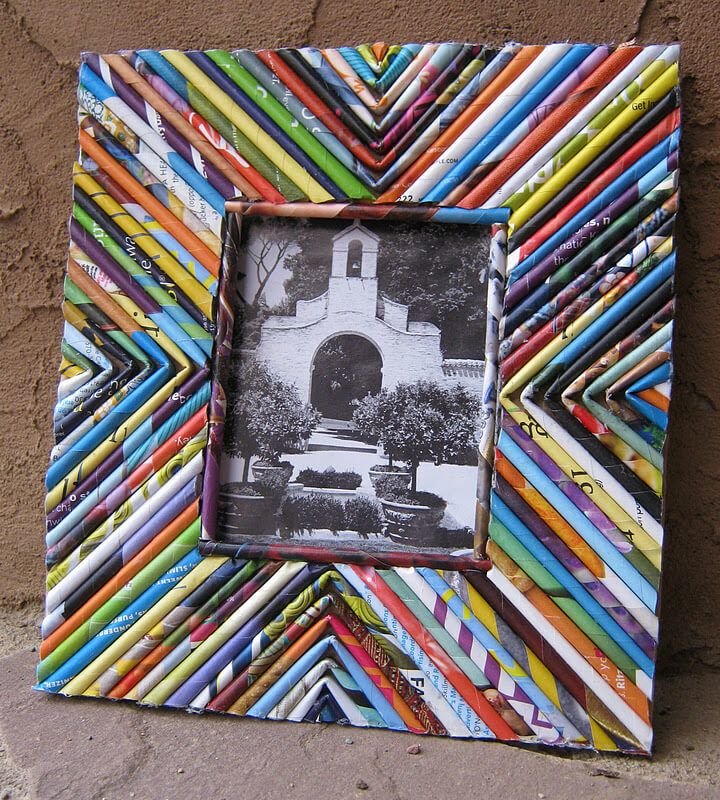
From old newspapers
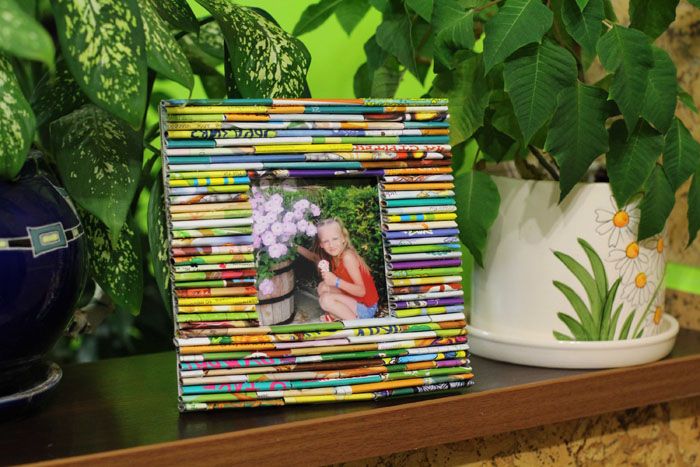
Newspaper baguettes are used for the base. To add colorful shades, the ideal option would be to use colored printed publications.
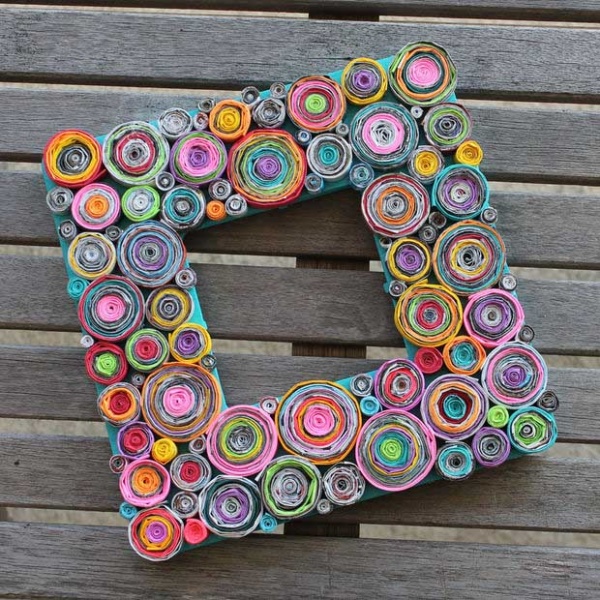
ATTENTION! Try to roll all the parts similarly in density. This will make it easier to connect them.
For each side of the frame, you need to prepare about nine blanks. The number depends on the selected width of the baguette. After 24 hours, the adhesive will dry and you can start trimming at the correct angle (45 degrees) on both sides. For a more correct procedure, use a protractor or miter box.
The parts should be connected at right angles using glue and a tongue-and-groove system. Use toothpicks for the tongue, and an awl for the groove.
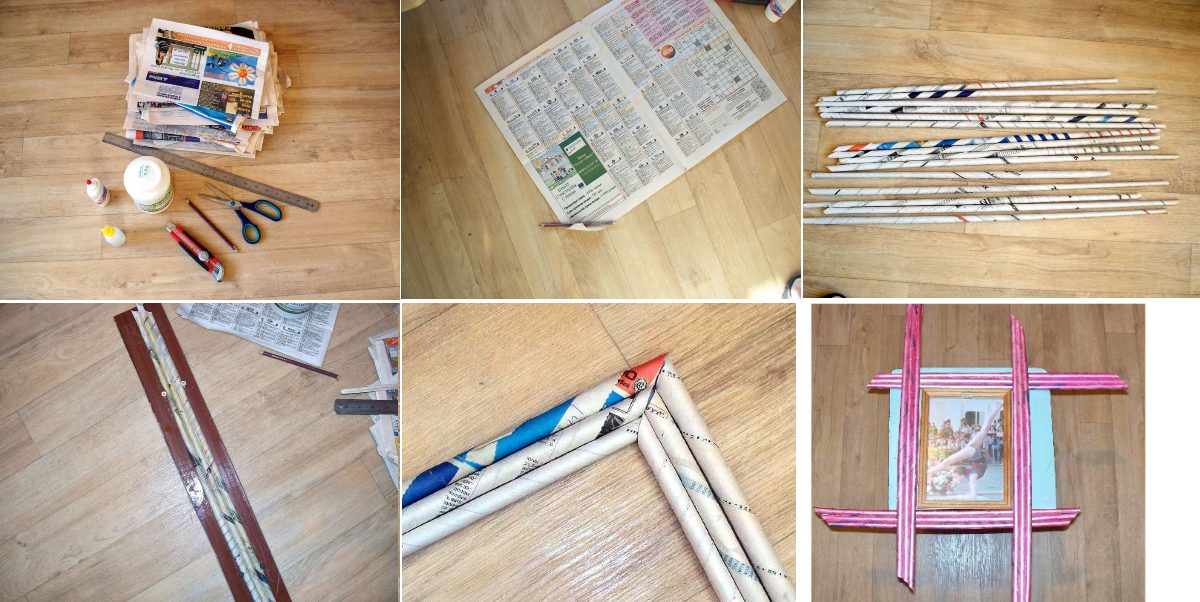
The finished product must be primed with a mixture consisting of 1 part water and 2 parts PVA and white paint (water-based or acrylic). All components are carefully mixed with the gradual addition of water. The final result should be a mixture with the consistency of liquid sour cream. This solution is applied in 2-4 layers and dried.
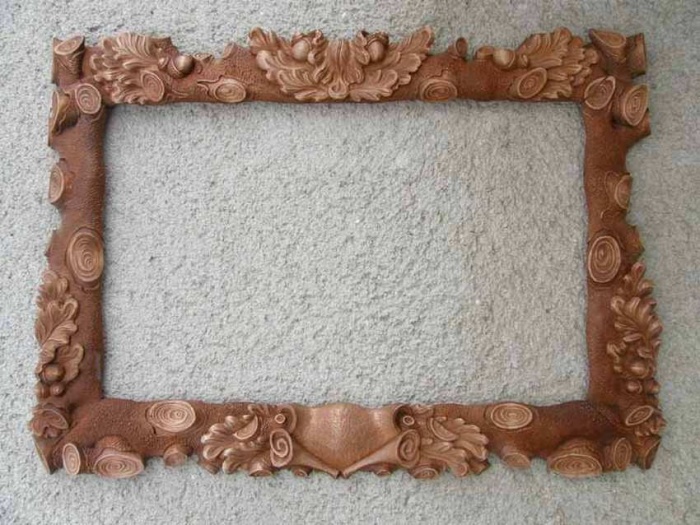
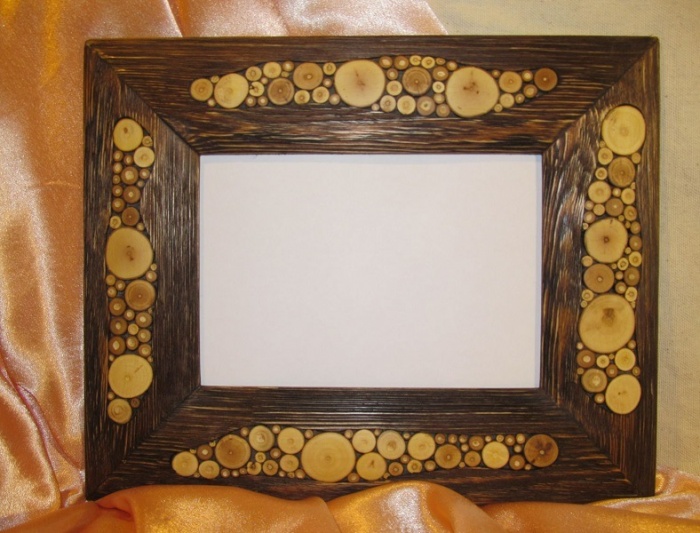
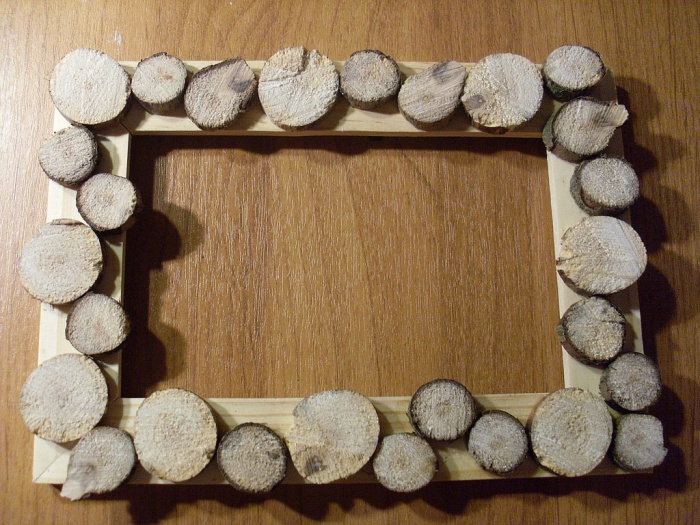
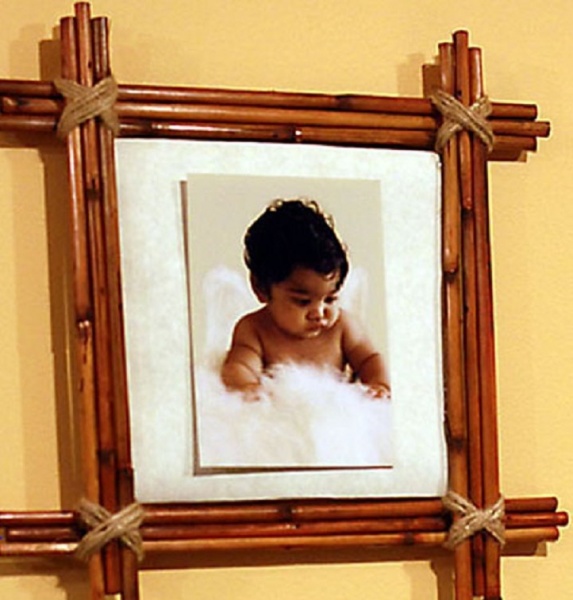
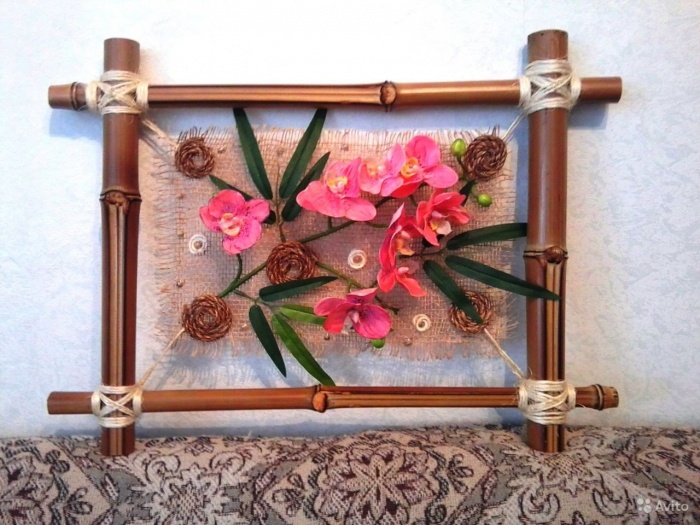
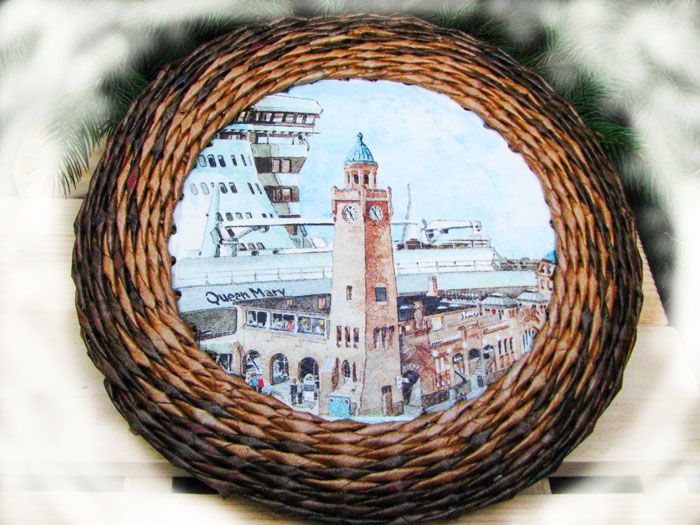
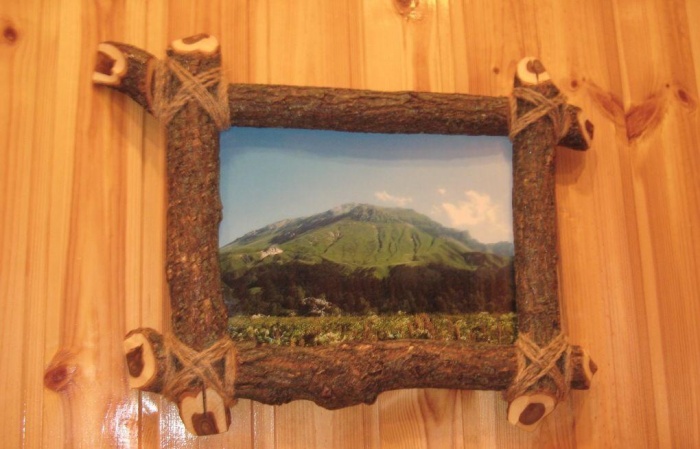
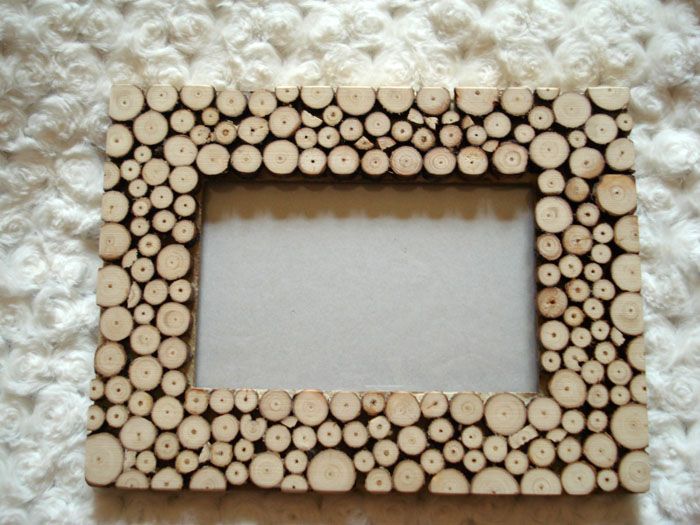
Made from natural materials
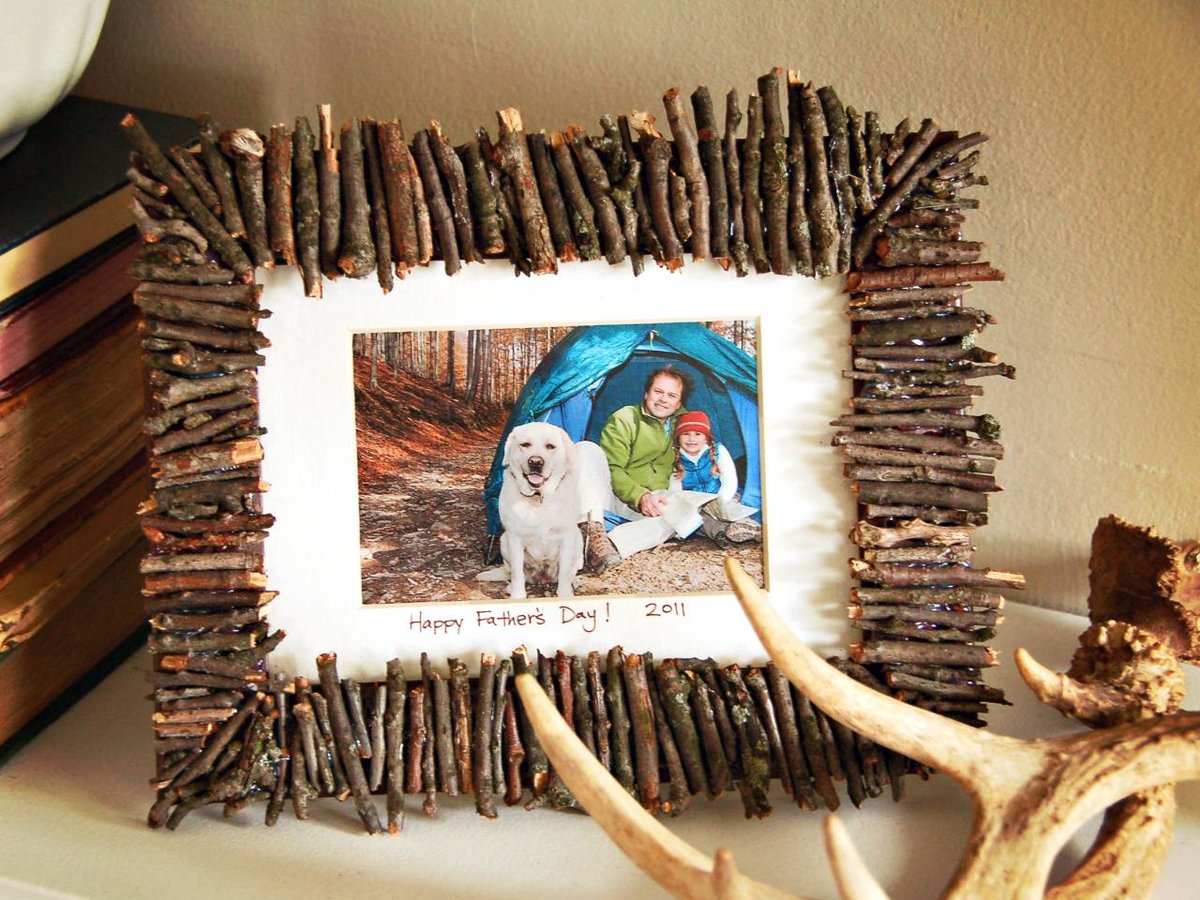
An excellent product will be obtained if you use twigs or thin branches of a tree. For reliable fixation, organza or a thin rope is used.
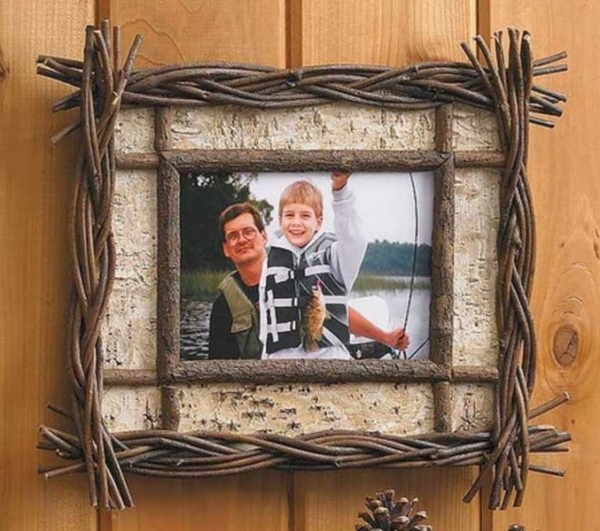
First of all, you need to take 4 bunches of twigs of the same thickness, place them perpendicularly and tie them with organza. You can preserve the natural texture of the twigs and branches by covering all the elements with colorless varnish.
Another way is to decorate the base of the wooden picture frames with your own hands, namely dry wooden branches. To do this, take a frame with wide fields, well-dried sticks and a hot glue gun. First, break the branches into elements with a length equal to the width of the base. Then grease the frame with hot glue and place wooden blanks over its entire area.
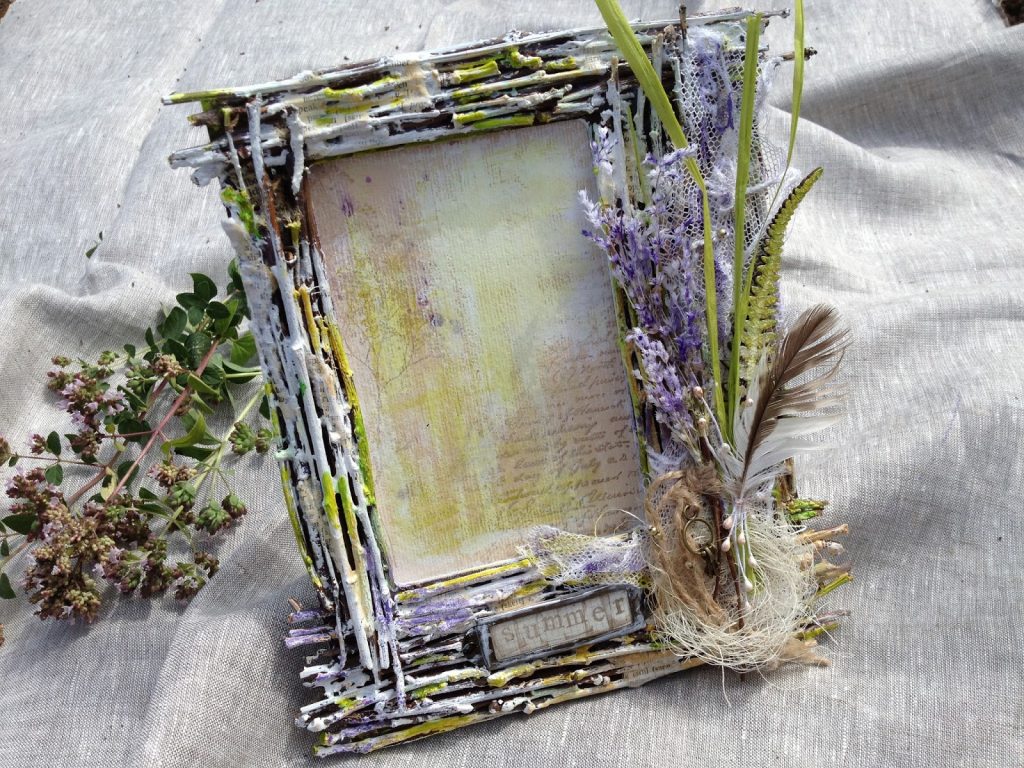
For lovers of green decor, the ideal option would be to use dry moss. The process of decorating with it will take a little time, and the result will please with its color. Moss is placed over the entire area with glue, so you can give a second life to the old base for photos and canvas.
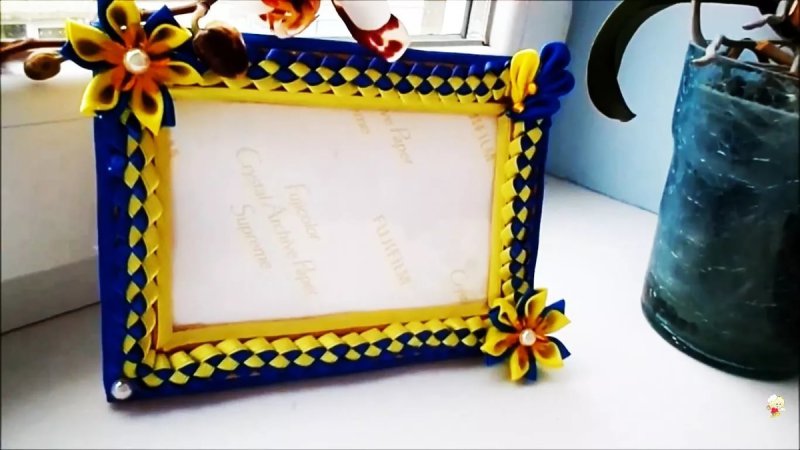
Using decorative tape
Decorative tape is an easy and affordable way to modify an old frame or one you made yourself from cardboard parts. To do this, gradually apply strips of tape in the order suggested by your imagination. Excess elements are cut off with scissors.
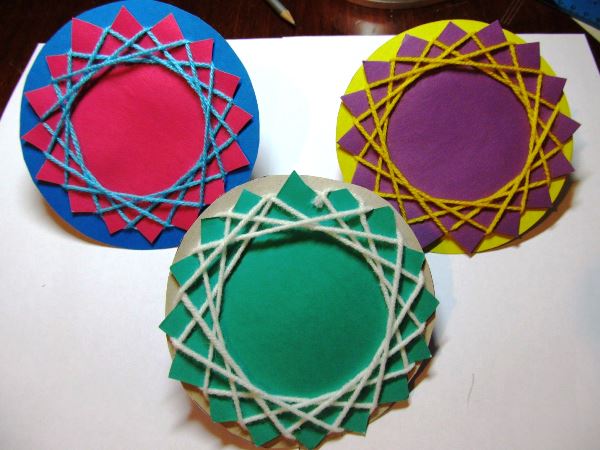
3D Yarn Frame
To decorate your own wall frames from scrap materials, for example, yarn, you will need a base with smooth edges, PVA, multi-colored threads and scissors.
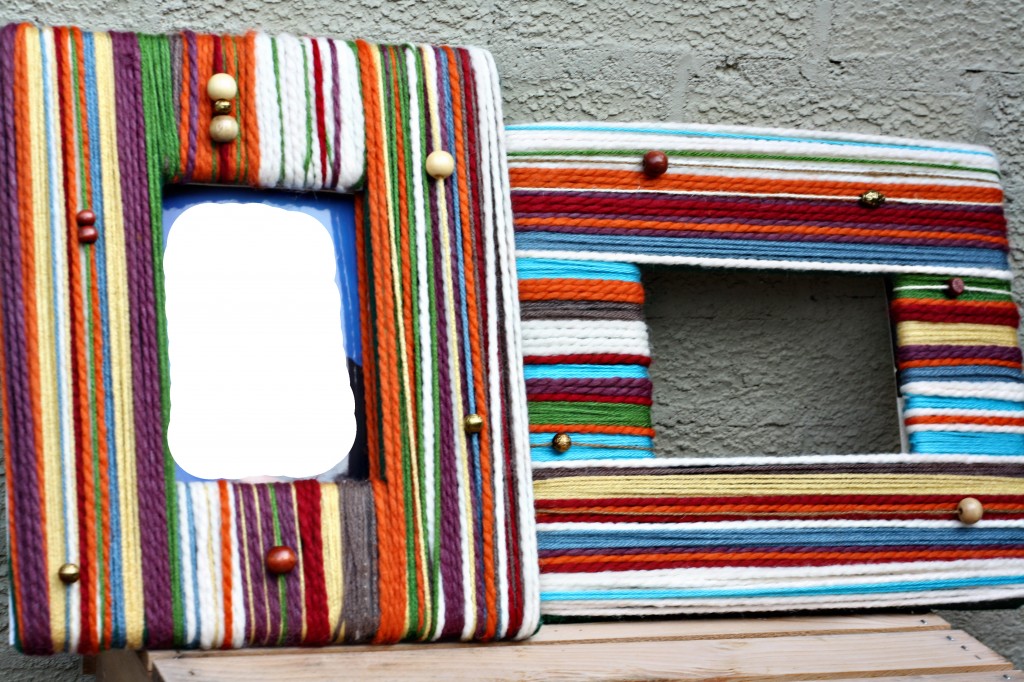
Gradual decoration will ultimately result in a higher quality product.
TIP! For a creative approach, you can string beads and rhinestones onto the thread.
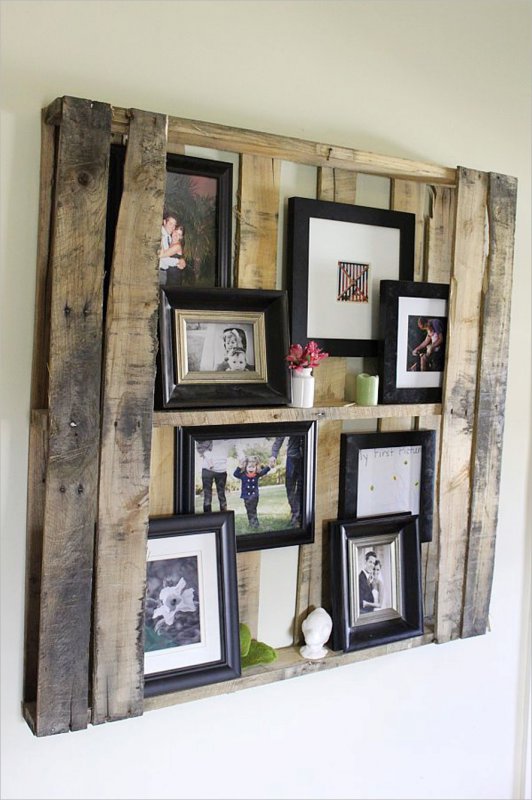
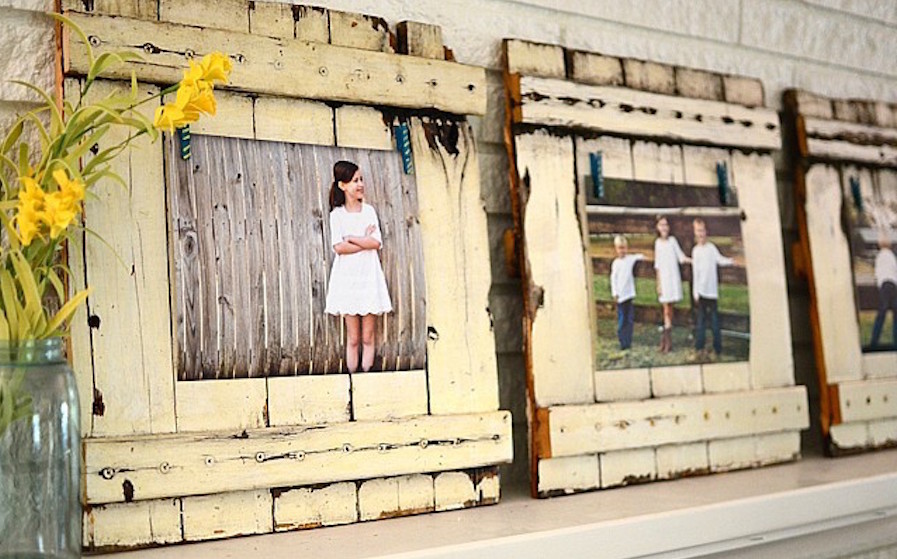
From pallets
Wooden pallets are the easiest way to make a frame with your own hands. All parts are available to everyone, regardless of income. The number of pallets is calculated based on the desired frame size. You can fasten the elements with small nails, a wood stapler or special glue.
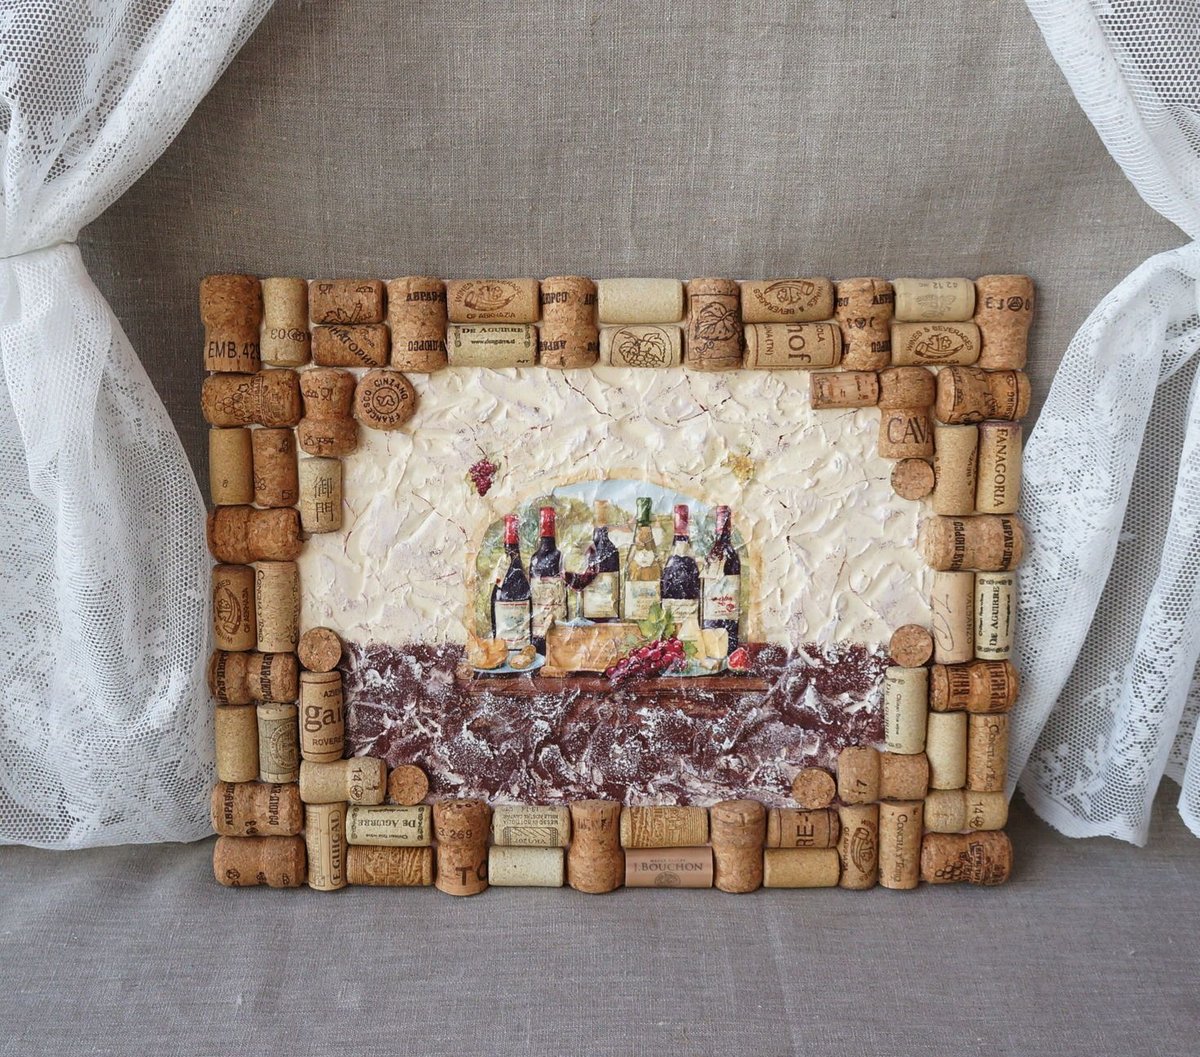
Using wine corks
How can you decorate picture frames with wine corks with your own hands? It's pretty simple. The material needs to be cut into small rings up to a centimeter in height, then paint them in any shades and attach them to the base with a glue gun.
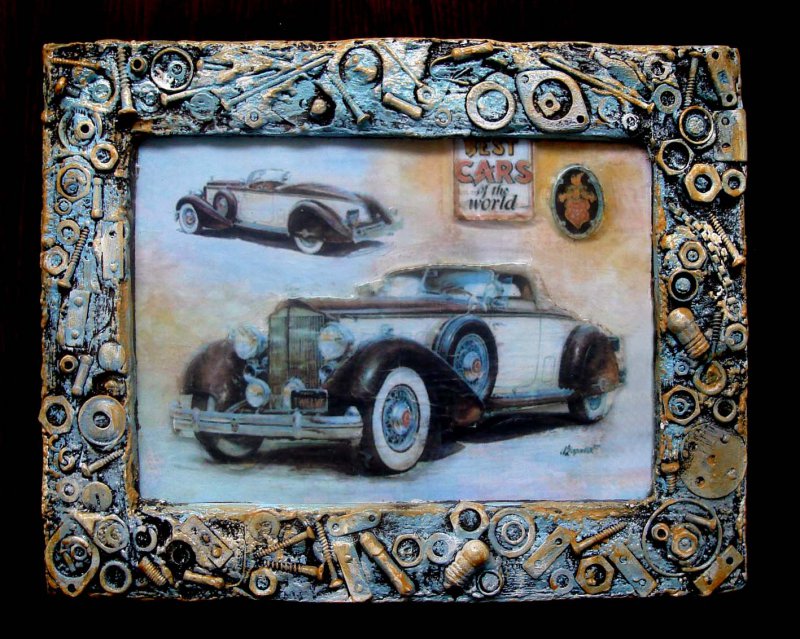
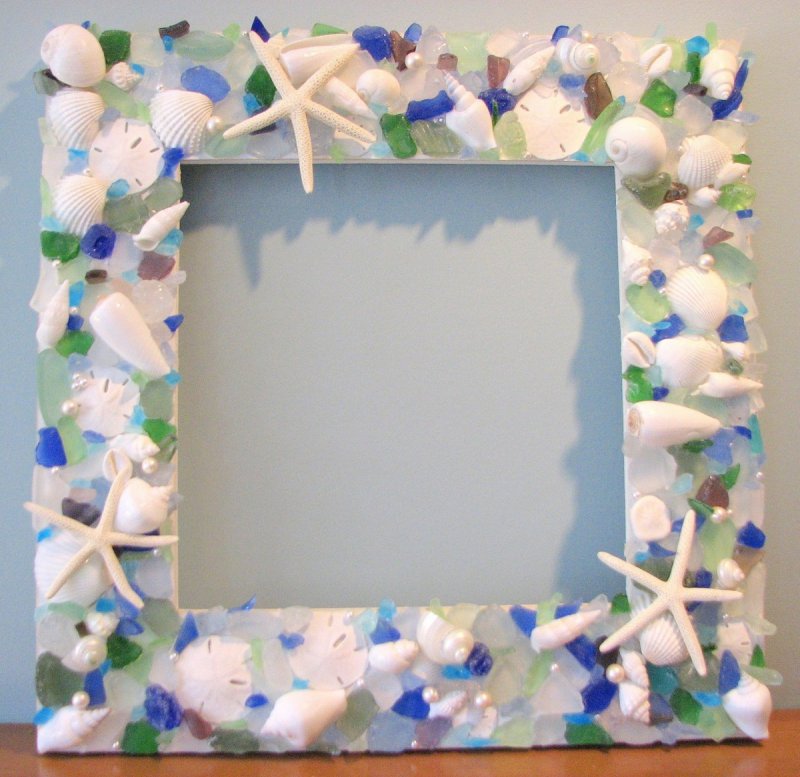
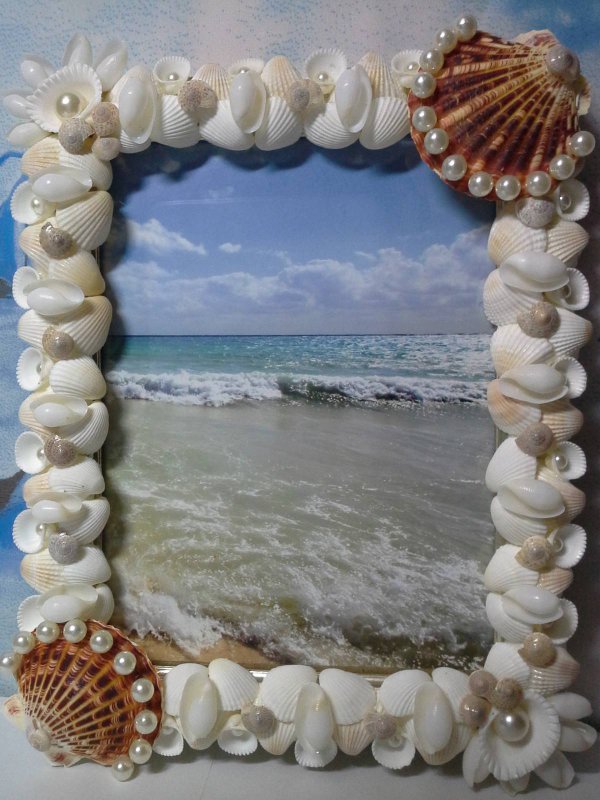
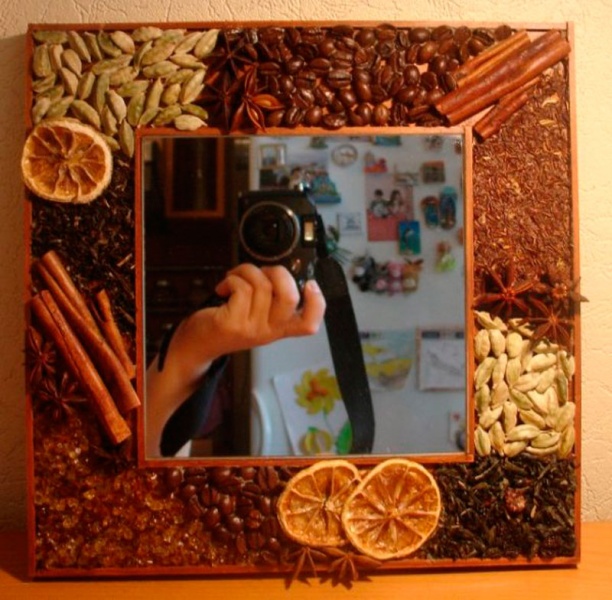
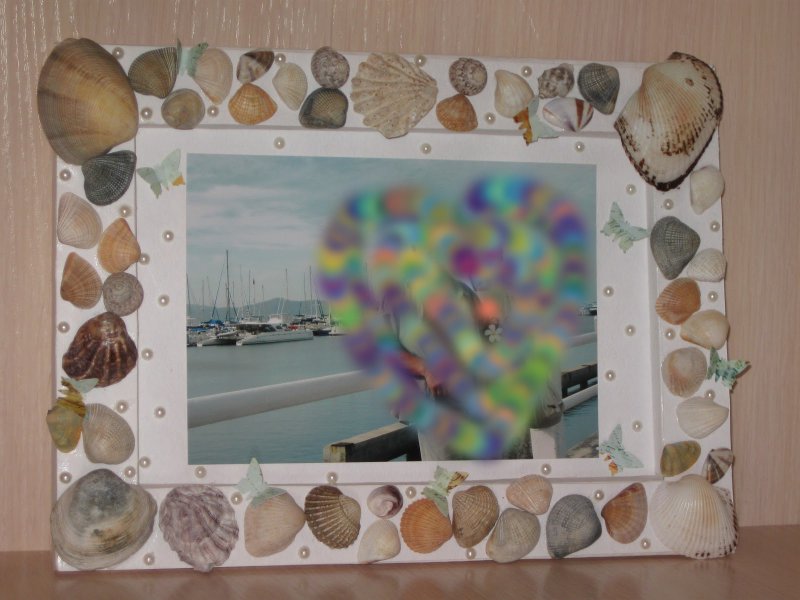
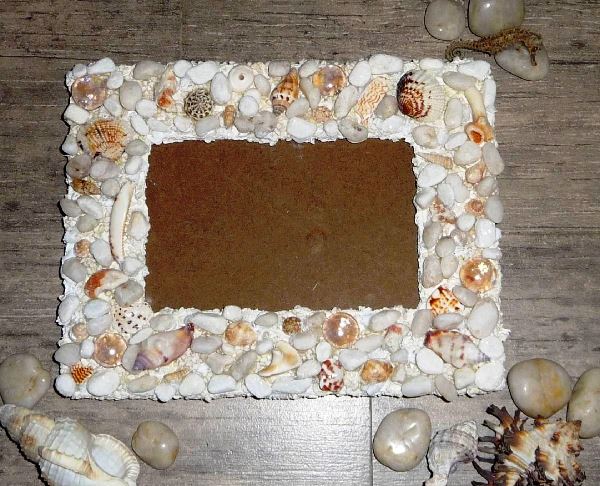
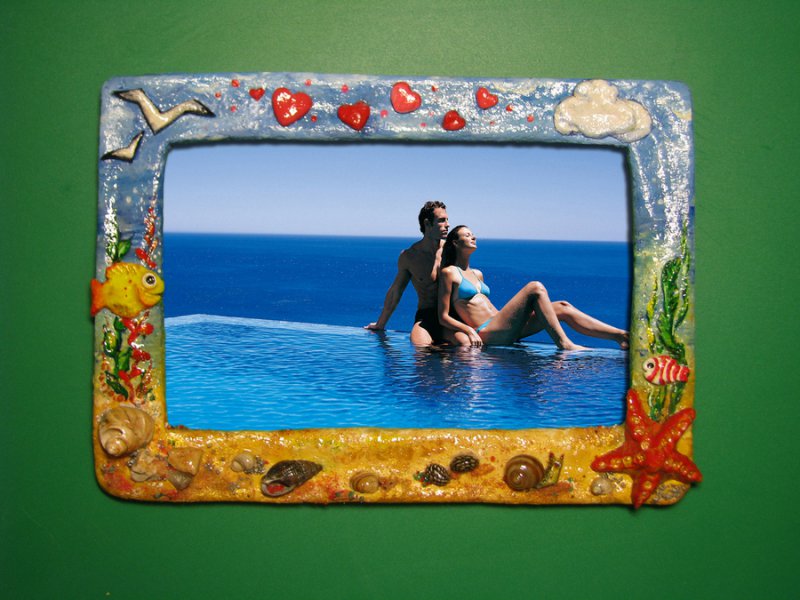
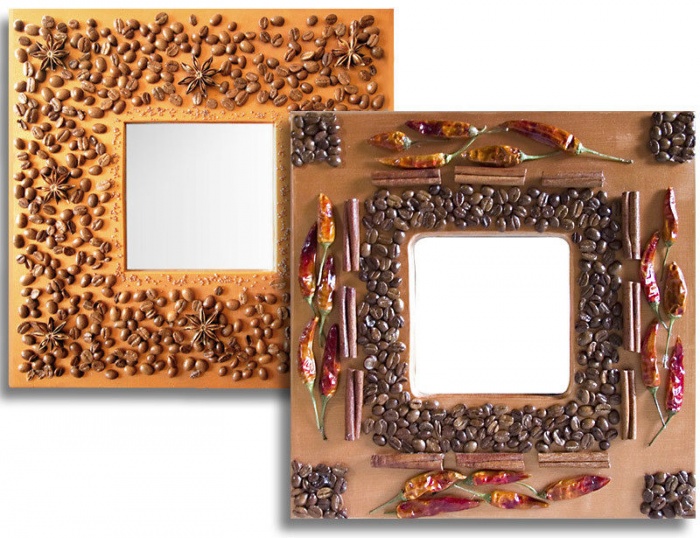
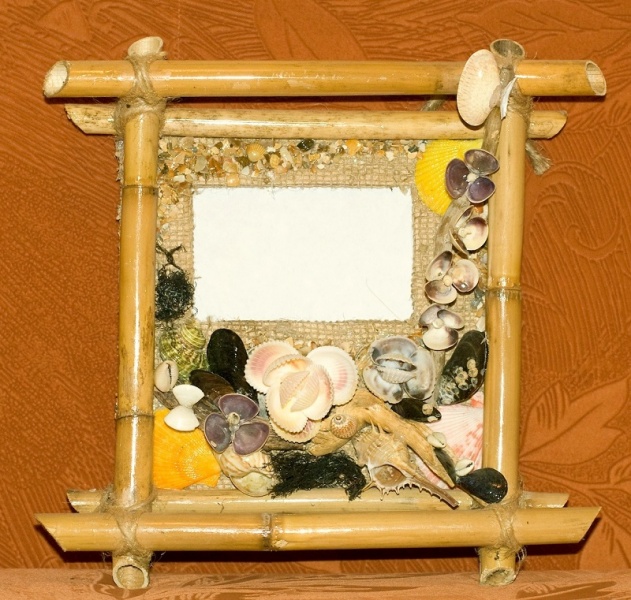
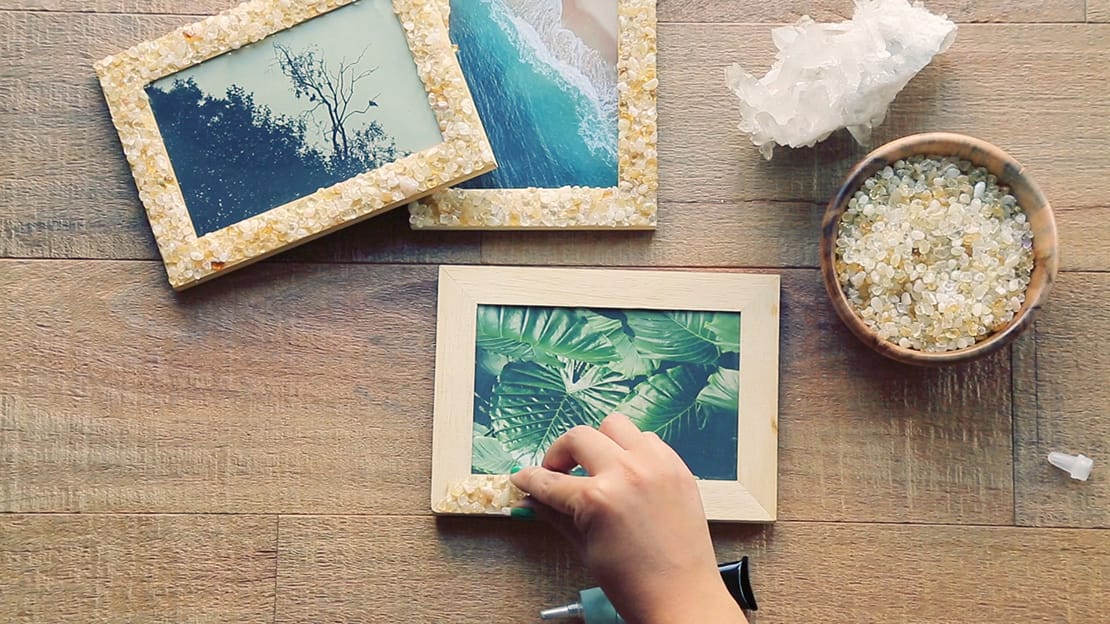
Eco-frame made of cereals and grains
To decorate the finished bases, numerous eco-elements are used – cereals, grains, shells, sea pebbles.
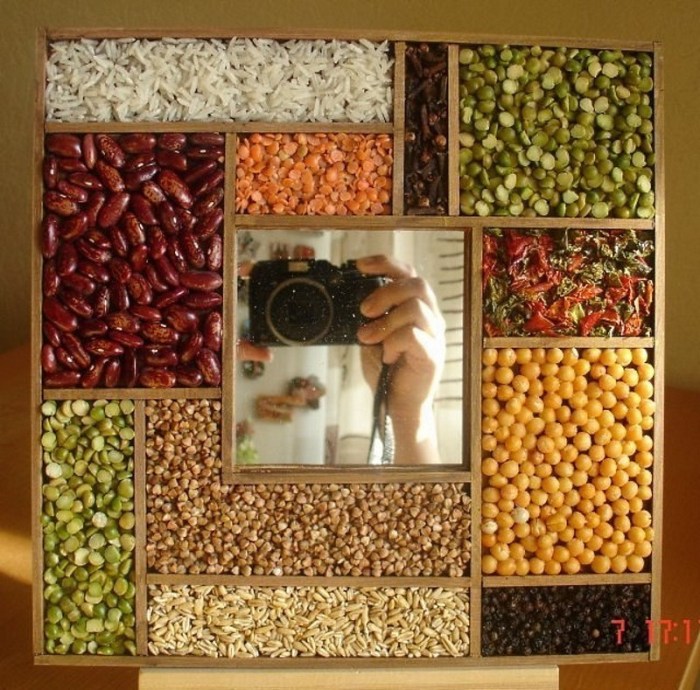
All elements are placed on the adhesive base in random order, sorted in a certain way or creating a pattern.
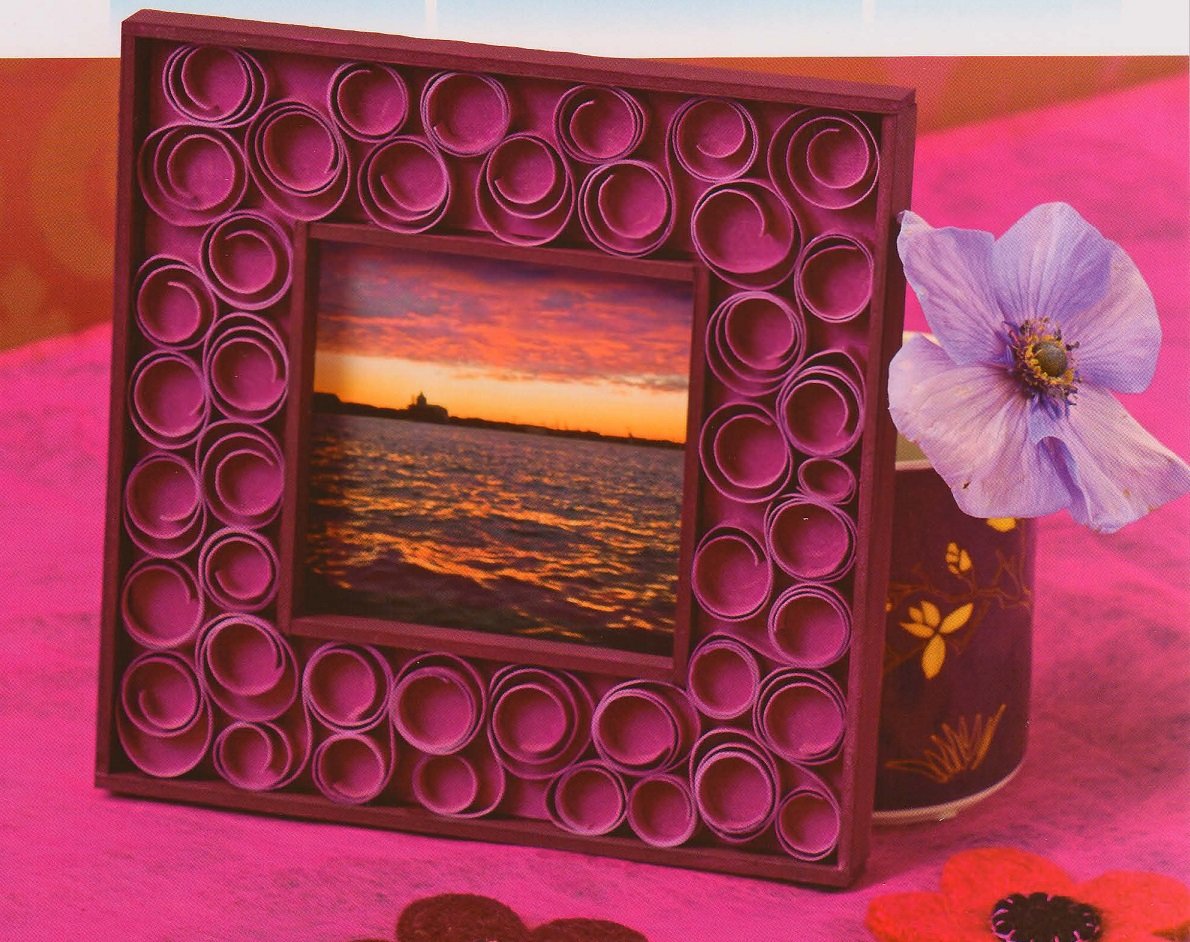
From magazines and newspapers
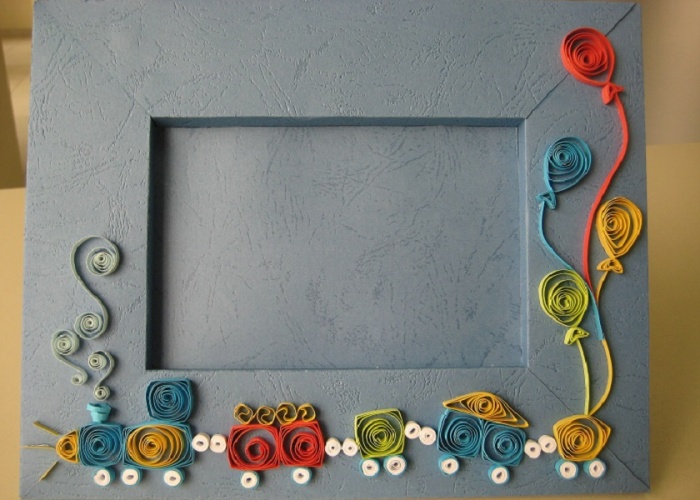
Multi-colored magazine and newspaper cutouts can be used as quilling components. Small blanks are glued and twisted in a circle.
With their help, it is possible to make a stand for frames. Let's figure out how to make this stand for a frame? It is important to choose a thicker magazine sheet and cut out a rectangular leg. On one side, it is sharpened for placement on a flat surface. The second part is folded to apply glue and connect to the frame.
Summing up
Making a frame for a photo and canvases with your own hands from cardboard, as well as other improvised means, is an exciting and fascinating process. Here we have described in detail how to make a frame and stand for paintings and photos with your own hands from cardboard, ceiling plinth, wooden parts and popular methods for improving such projects.
VIDEO: DIY Eco-style frame decor.
50 original frames from scrap materials: