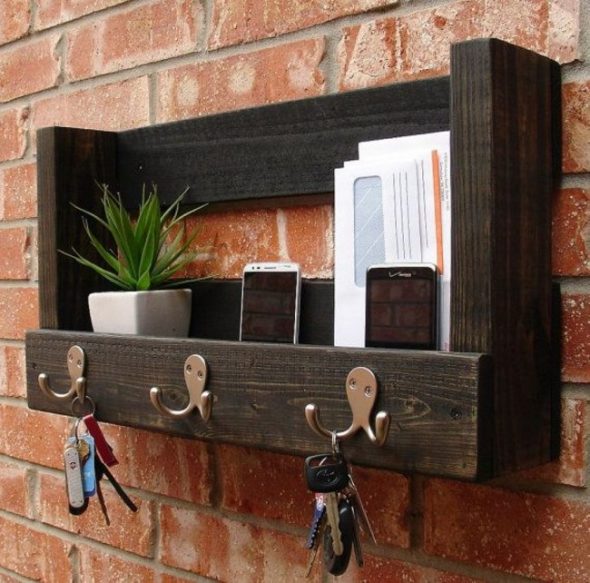
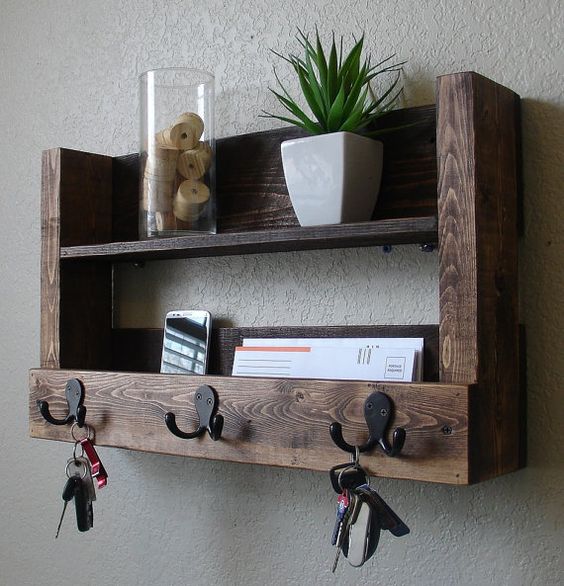
How to ruin your mood without leaving home? It's very simple, just forget where you put your keys! It's especially annoying to be late for an important meeting because of such a trifle.
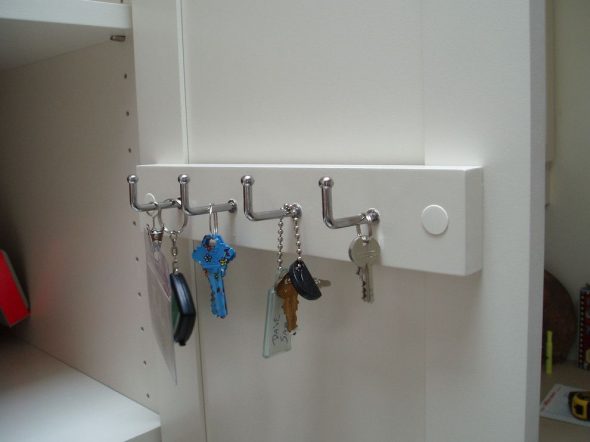
If you are tired of wasting time looking for keys to your apartment, car, office, garage, basement - there is a simple solution that will allow you to forget about this problem once and for all.When you have a key holder in your hallway, your home will be more tidy.
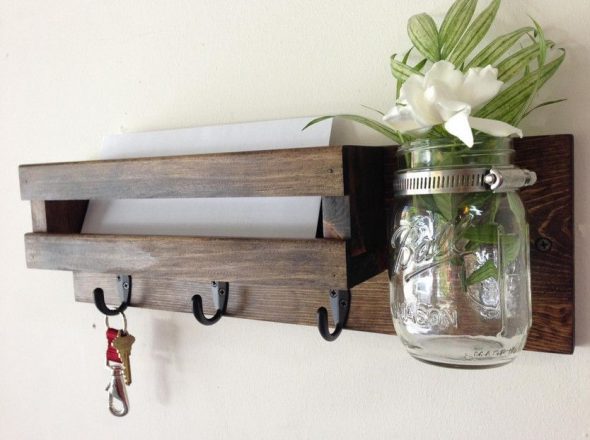
A wall key holder will not only become a permanent meeting place for all your keys, but will also decorate the hallway: there are many design options for this essential item in every home.You don't have to look for your dream key holder in a store: you can make it yourself! This article has several accessible master classes where you will find ideas for making it.
Content
- Benefits of making a key holder with your own hands
- We decide on the design and construction
- Master class #1: key holder from a cut of wood
- Master class #2: key holder from a branch
- Master class #3: key holder from a picture frame
- Master class #4: key holder made of plywood or chipboard
- Master class #5: leather key holder
- Decorating a key holder: ideas and solutions
- VIDEO: DIY wall key holders.
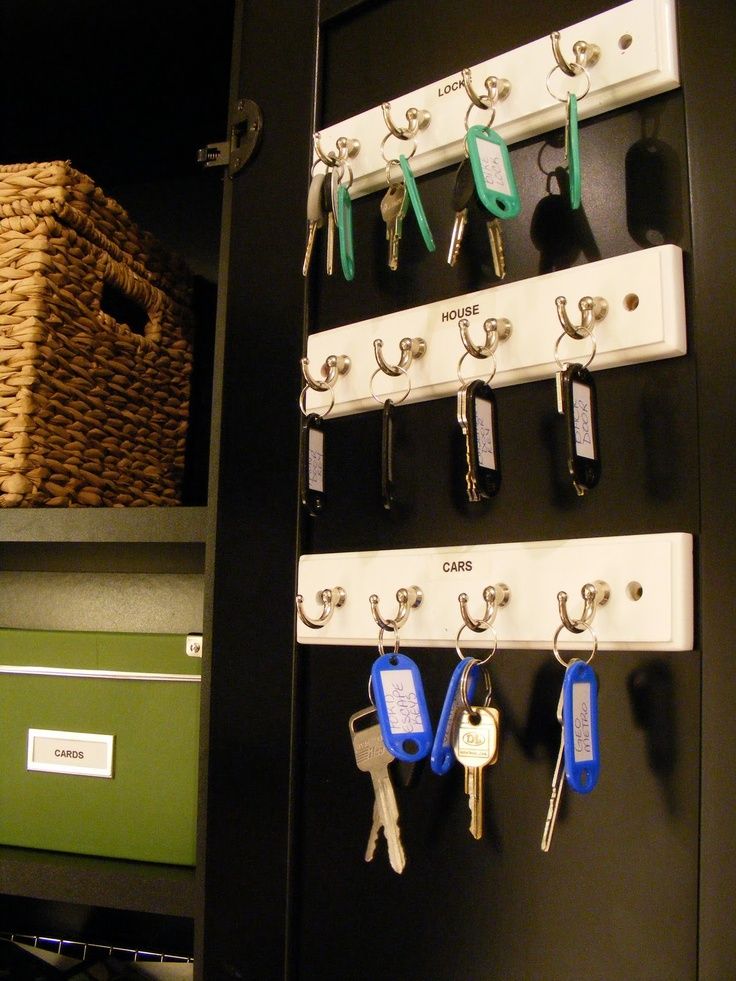
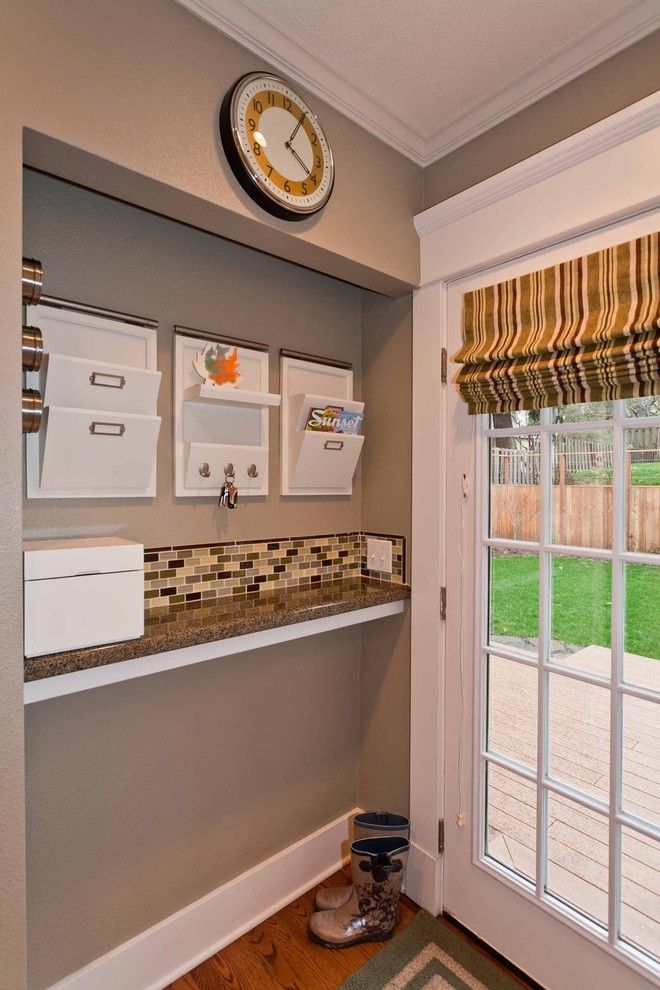
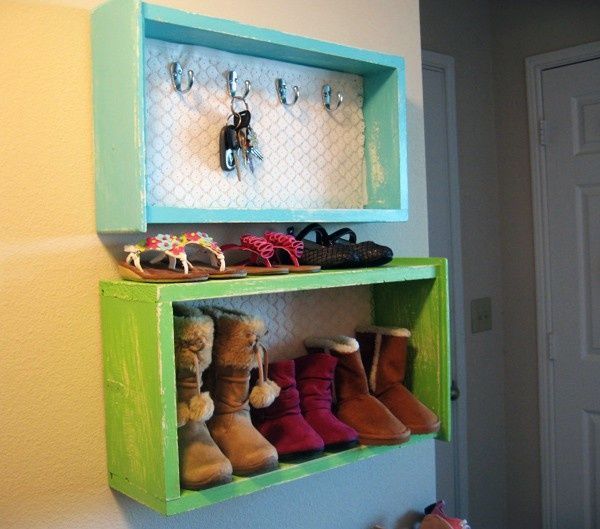
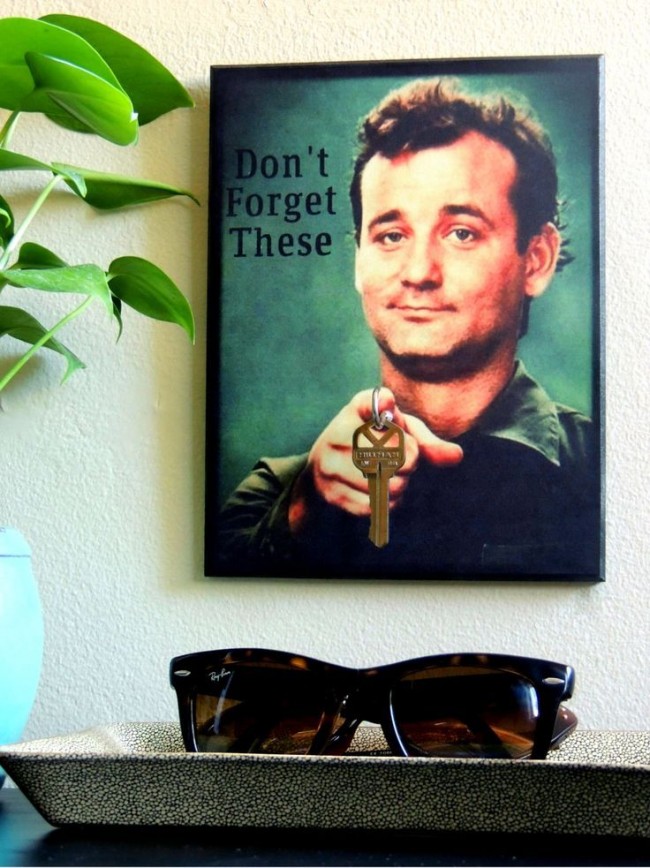
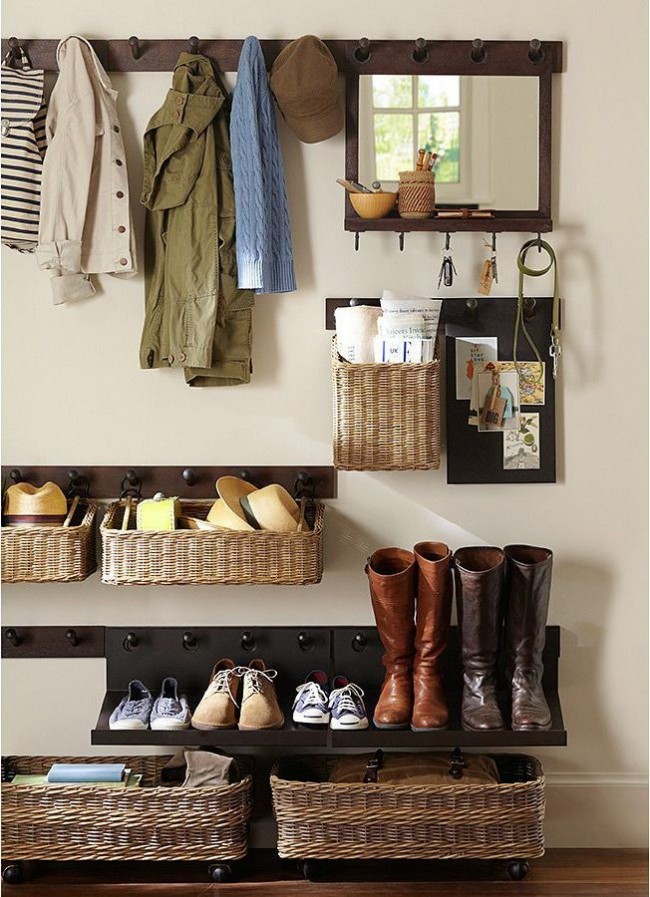
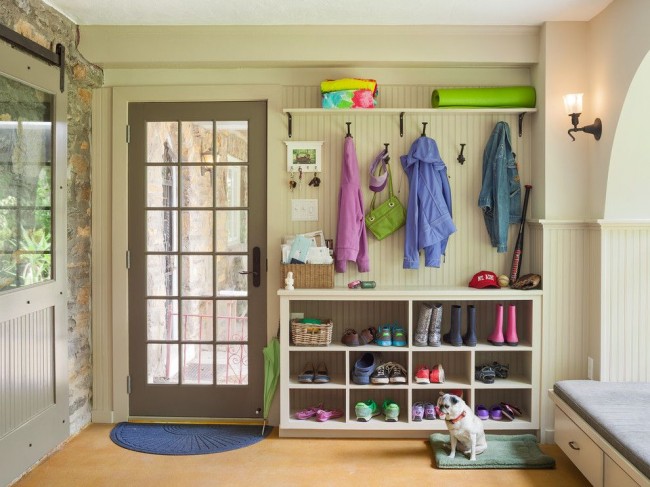
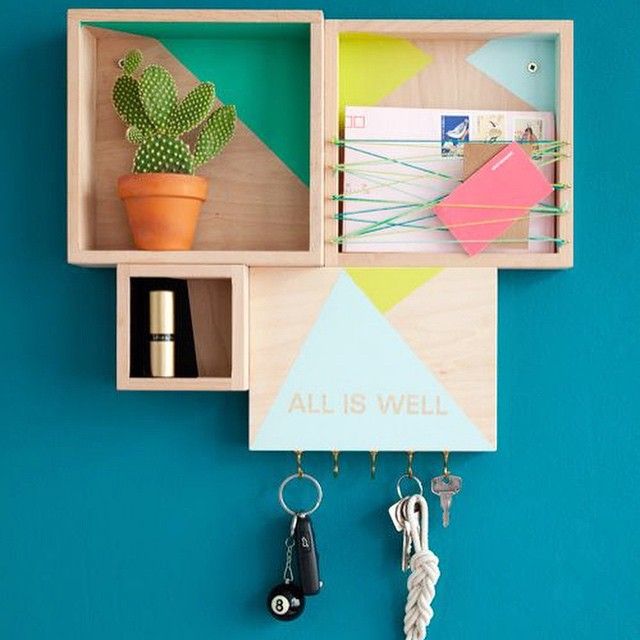
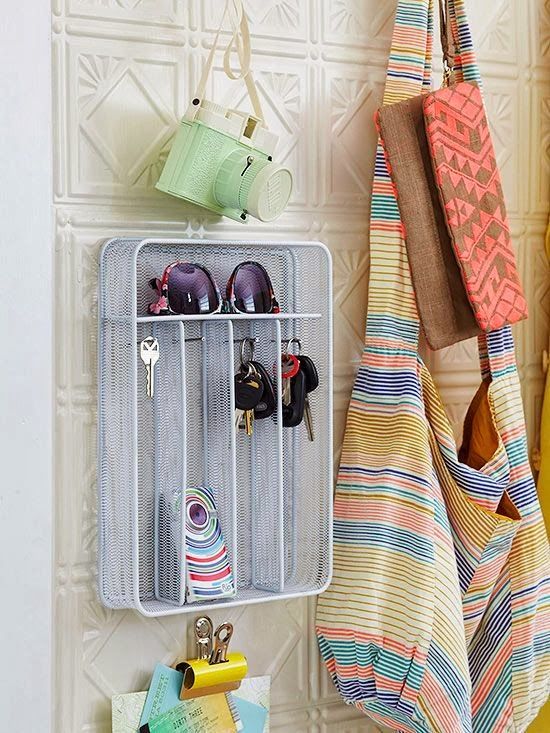
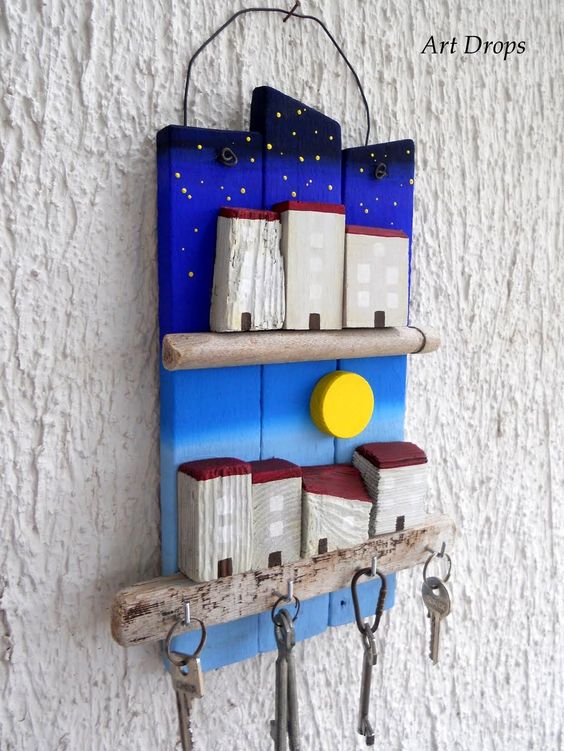
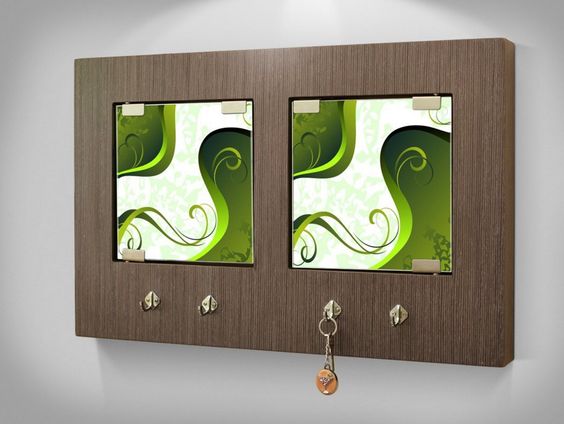
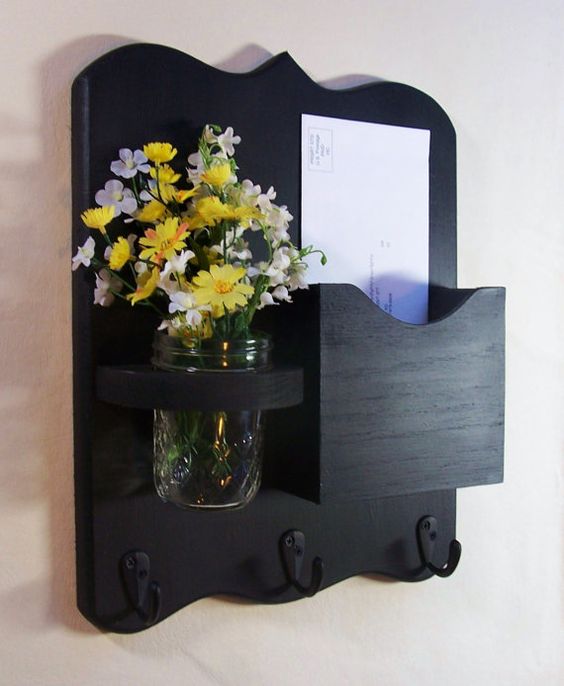
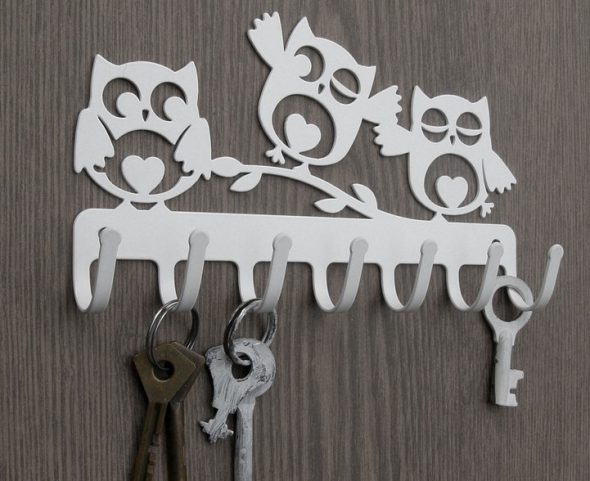
- Wall key holders for the hallway – 50 photo ideas:
Benefits of making a key holder with your own hands
- A key holder that matches your interior style, size and color is a great rarity. You only need to go looking for it once to see for yourself. You will save time if you make it yourself.
- Only a key holder created for your home with your own hands can become the embodiment of your individuality and love for your loved ones.
- You will be sure that your wall key holder is made of durable and high-quality materials, because you chose them yourself.
- You will not only enjoy creativity, but also surprise your guests with a beautiful and unusual thing in the hallway.
- Finally, a key holder made with your own hands from scrap materials will cost less!
We decide on the design and construction
How to make a key holder for your home? It's very simple! We have selected design solutions that will save you from spending money on expensive materials: almost every apartment has everything you need for the job.
Materials and tools:
- Plywood, piece of chipboard, leather, frame;
- Acrylic paints, stain;
- Hooks and hangers;
- Drill, jigsaw and pressure roller;
- Screwdriver, spatula, awl and needle;
- Sandpaper;
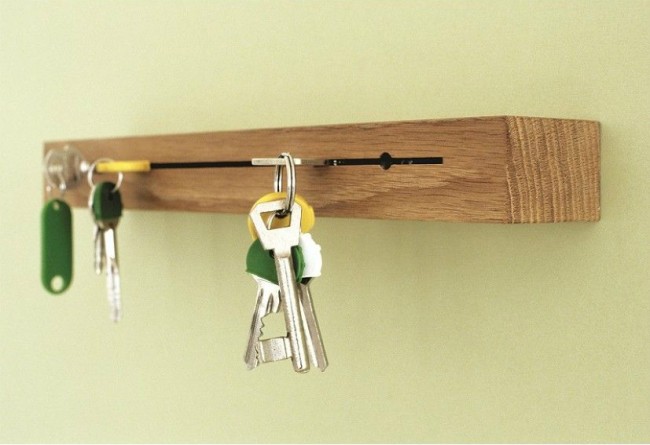
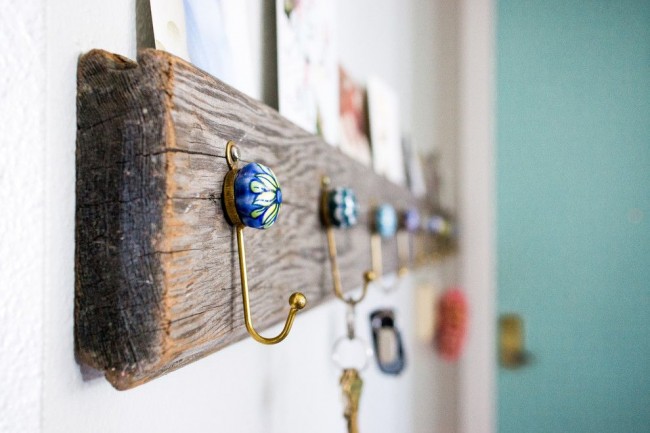
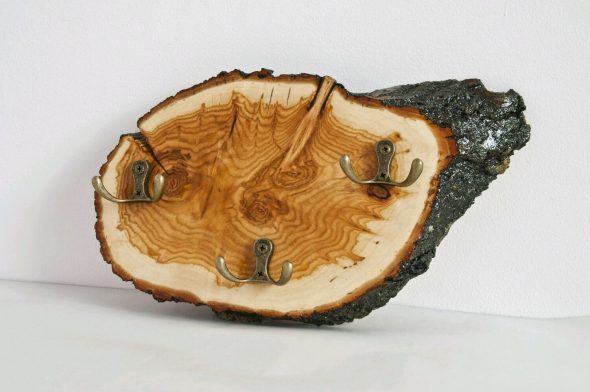
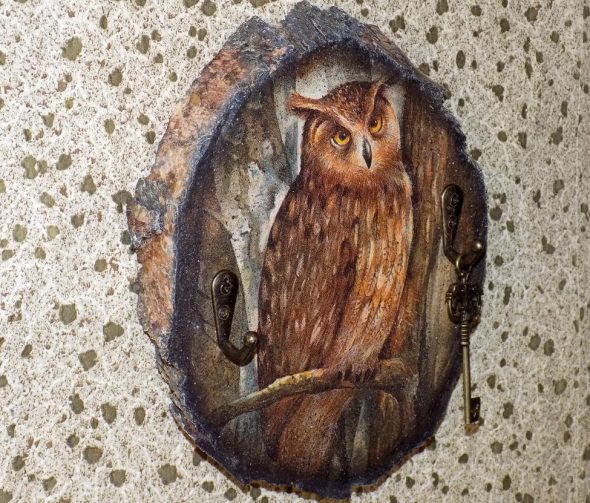
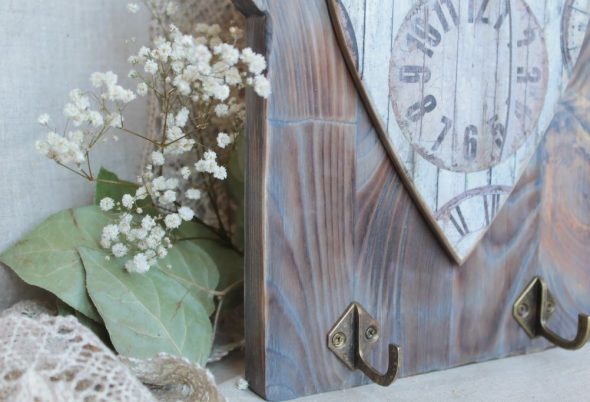
Master class #1: key holder from a cut of wood
Want your hallway key holder to look stylish? This master class describes everything you need for this in a simple and accessible way.
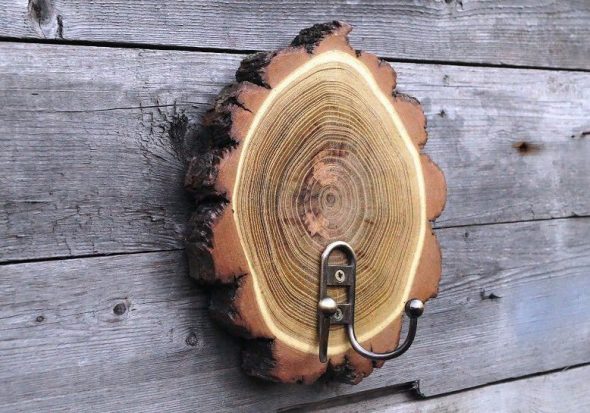
What you will need:
- Saw cut,
- Alcohol or water stain,
- Abrasive sponges or sandpaper of medium or fine grain,
- Acrylic varnish,
- Printing a mirrored image,
- Wide synthetic brush,
- Pressure roller,
- Hooks,
- Hangers – 2 pieces,
- Drill,
- Phillips screwdriver.
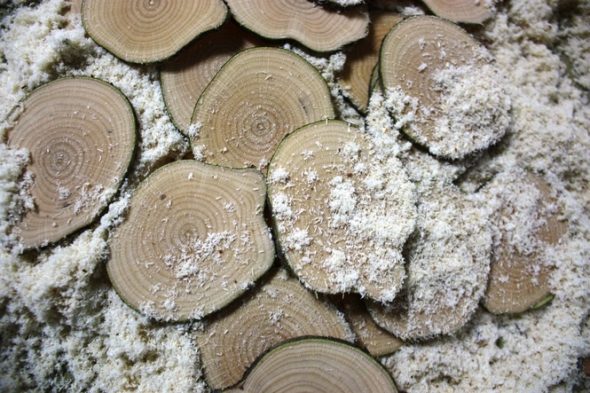
A key holder made from a cut is a suitable option for those who like to work with wood. You can use a cut of any tree species, but it is better if it is pine.
- We will process both sides of the cut with medium and then fine-grain sandpaper. To avoid unnecessary scratches on the surface, we will do this strictly along the wood grain. Shake off the resulting dust, wet the surface with water to raise the wood fibers. Wait for the cut to dry and process it again with sandpaper.

Don't forget to dust off! - Now the cut can be stained. If you are new to this, it is advisable to use water stain instead of alcohol stain: it dries longer, which means you can avoid smudges by blotting off excess stain with a dry cloth. We stain with a wide synthetic brush along the wood grain. To achieve deep and even coloring, we blot 2-3 times. After each layer of stain, the cut must dry.

Finally, we simply go over the grain with fine sandpaper. - Now we will implant the drawing into the wood. We will take a printout of a previously selected and mirrored image. Glue will not be needed: we will cover the cut and the printout with acrylic varnish, then put the printout on the cut face down and carefully smooth it out with a pressure roller, after which we will leave it to dry for 2-3 hours.

If you don't know how to make a mirror image of a picture yourself, you can find decoupage cards in many craft stores. - Magic moment! Lightly wet the paper and start rolling it. You will see how the picture gradually appears on the surface. Roll the paper until the whiteness completely disappears.
- To ensure that the key holder fits snugly against the wall, use a drill to make holes for the fasteners on the back side and screw them in place.

All that's left is to attach hooks for keys to the front side - and your DIY wall key holder is ready!
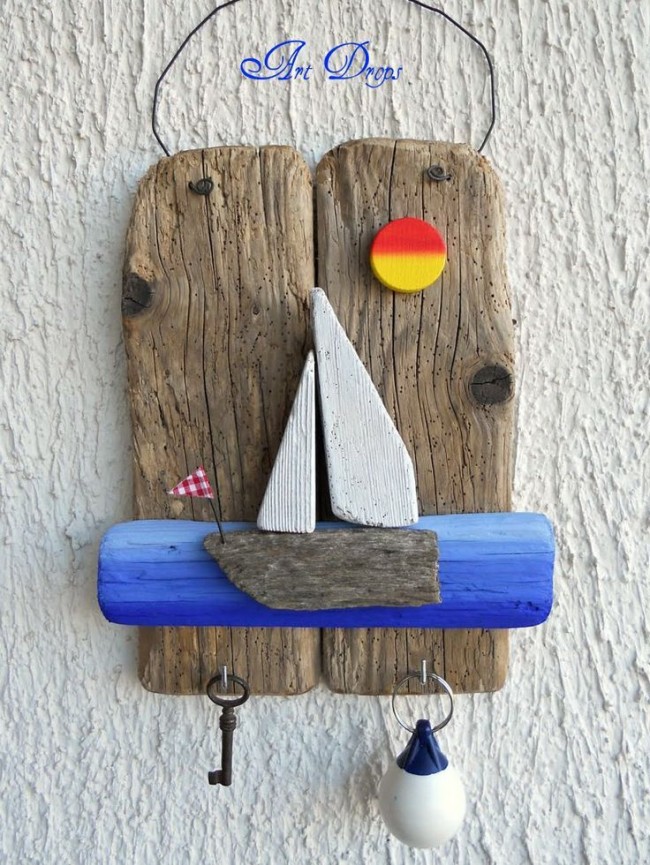
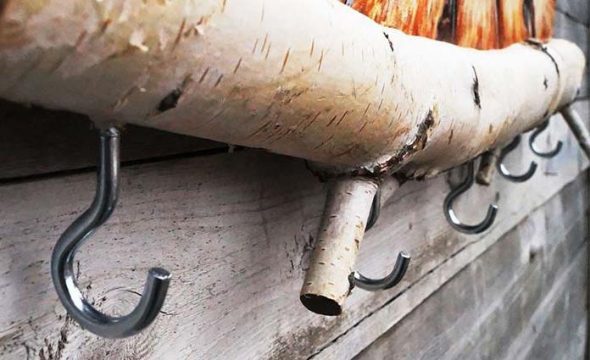
Master class #2: key holder from a branch
This master class is for those who often go outdoors and simply adore eco-style in the interior! You don't need a lot of materials, the main thing is to find a suitable branch.
What you will need:
- Dry tree branch,
- Stain,
- Acrylic paints (optional),
- Jigsaw,
- Drill,
- Pendants.
There are no two identical branches, which means your key holder will certainly be special!
- Take a tree branch you like, wash it, dry it, and saw off all the excess. Now you need to decide whether you want to keep the bark. Option A: remove the bark, using sandpaper if necessary. Option B: leave the bark, remove only the damaged areas.
- Using a jigsaw, we will make a cut on the side where the hangers will be and use a drill to make recesses for the screws.
- Apply stain to the key holder with a wide brush: it will not only shade the wood, but also serve as an antiseptic. After that, leave the branch to dry for about an hour.
- If we have a variant without bark, we simply cover the branch with acrylic varnish. If you have chosen the variant with bark, first we soak the branch with varnish diluted with water in a 1:1 ratio, and after drying – undiluted.
- If desired, you can go over the surface with a dry brush using acrylic paint of a suitable shade. The result should be fixed with a finishing layer of varnish.
- The knots will serve as hooks for the keys. All that's left is to screw on the hangers.
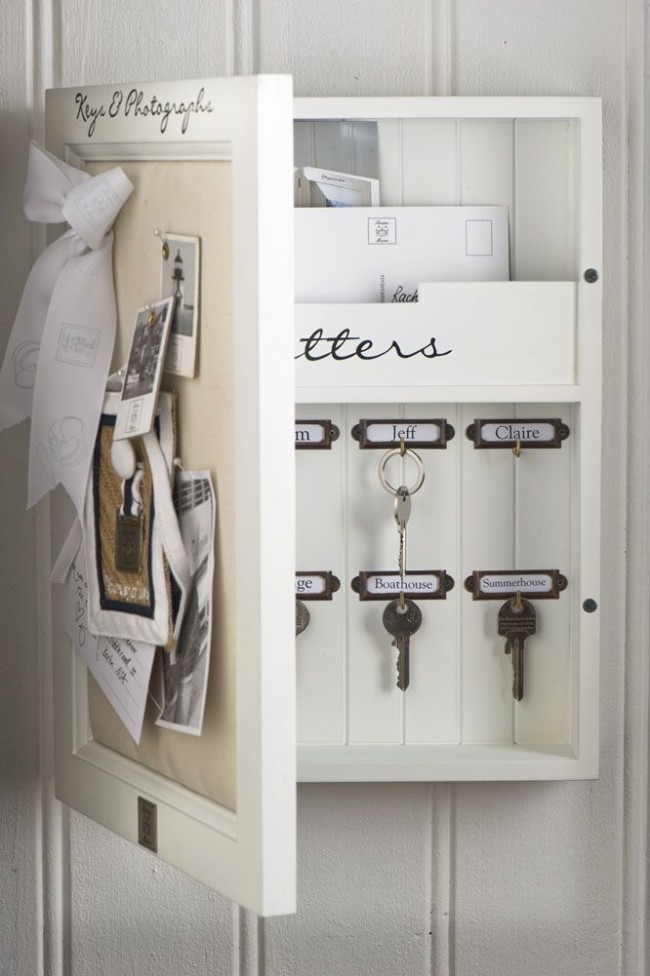
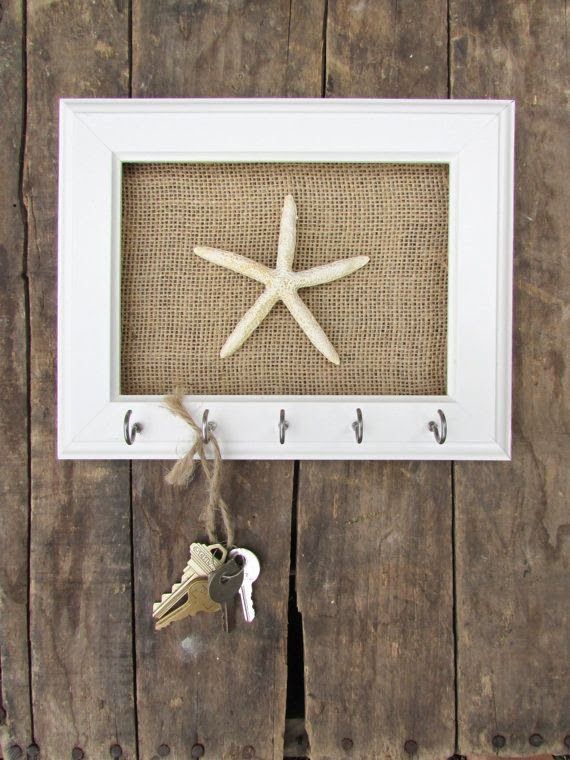
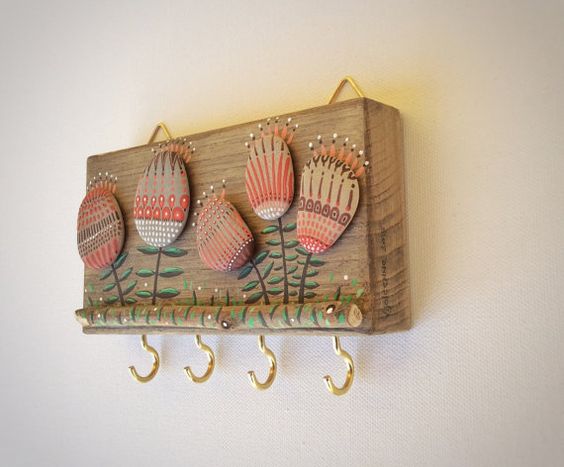
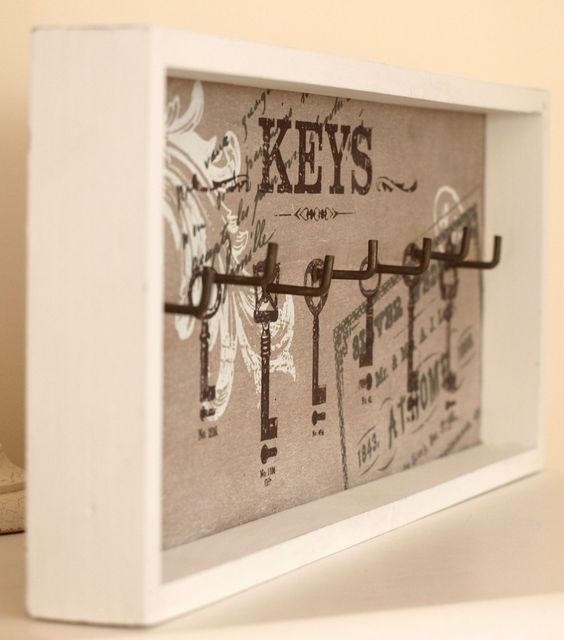
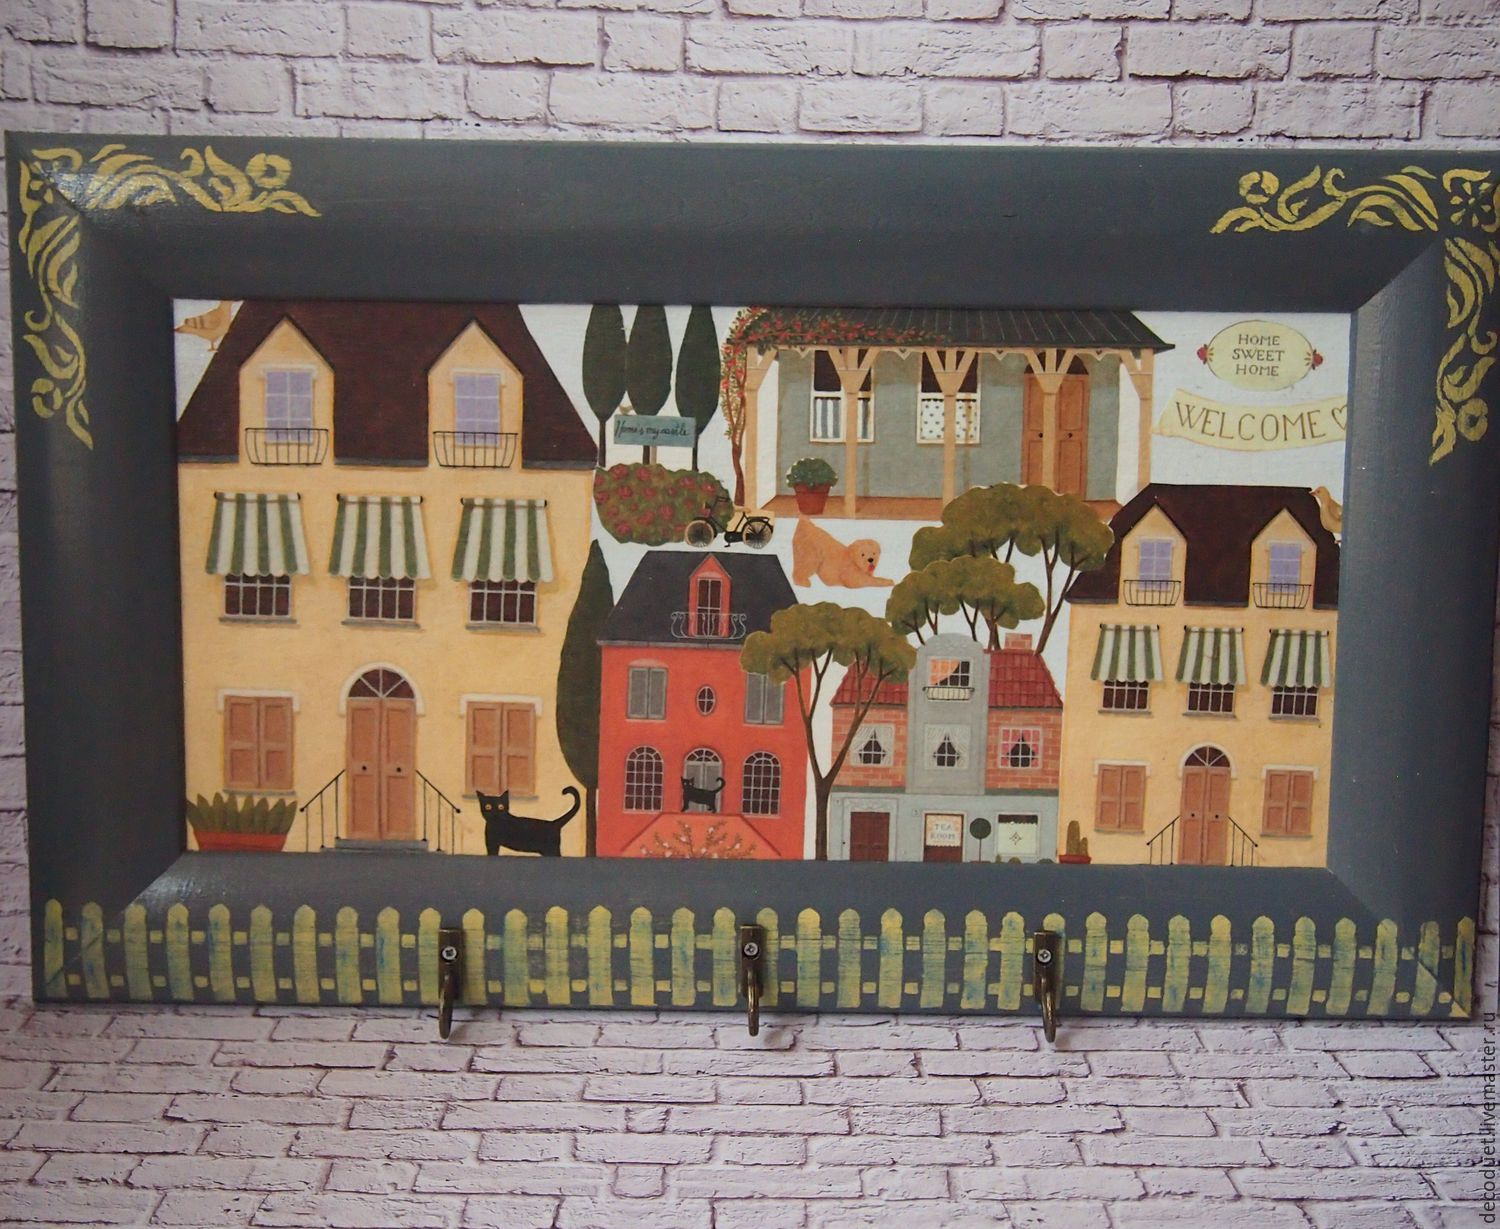
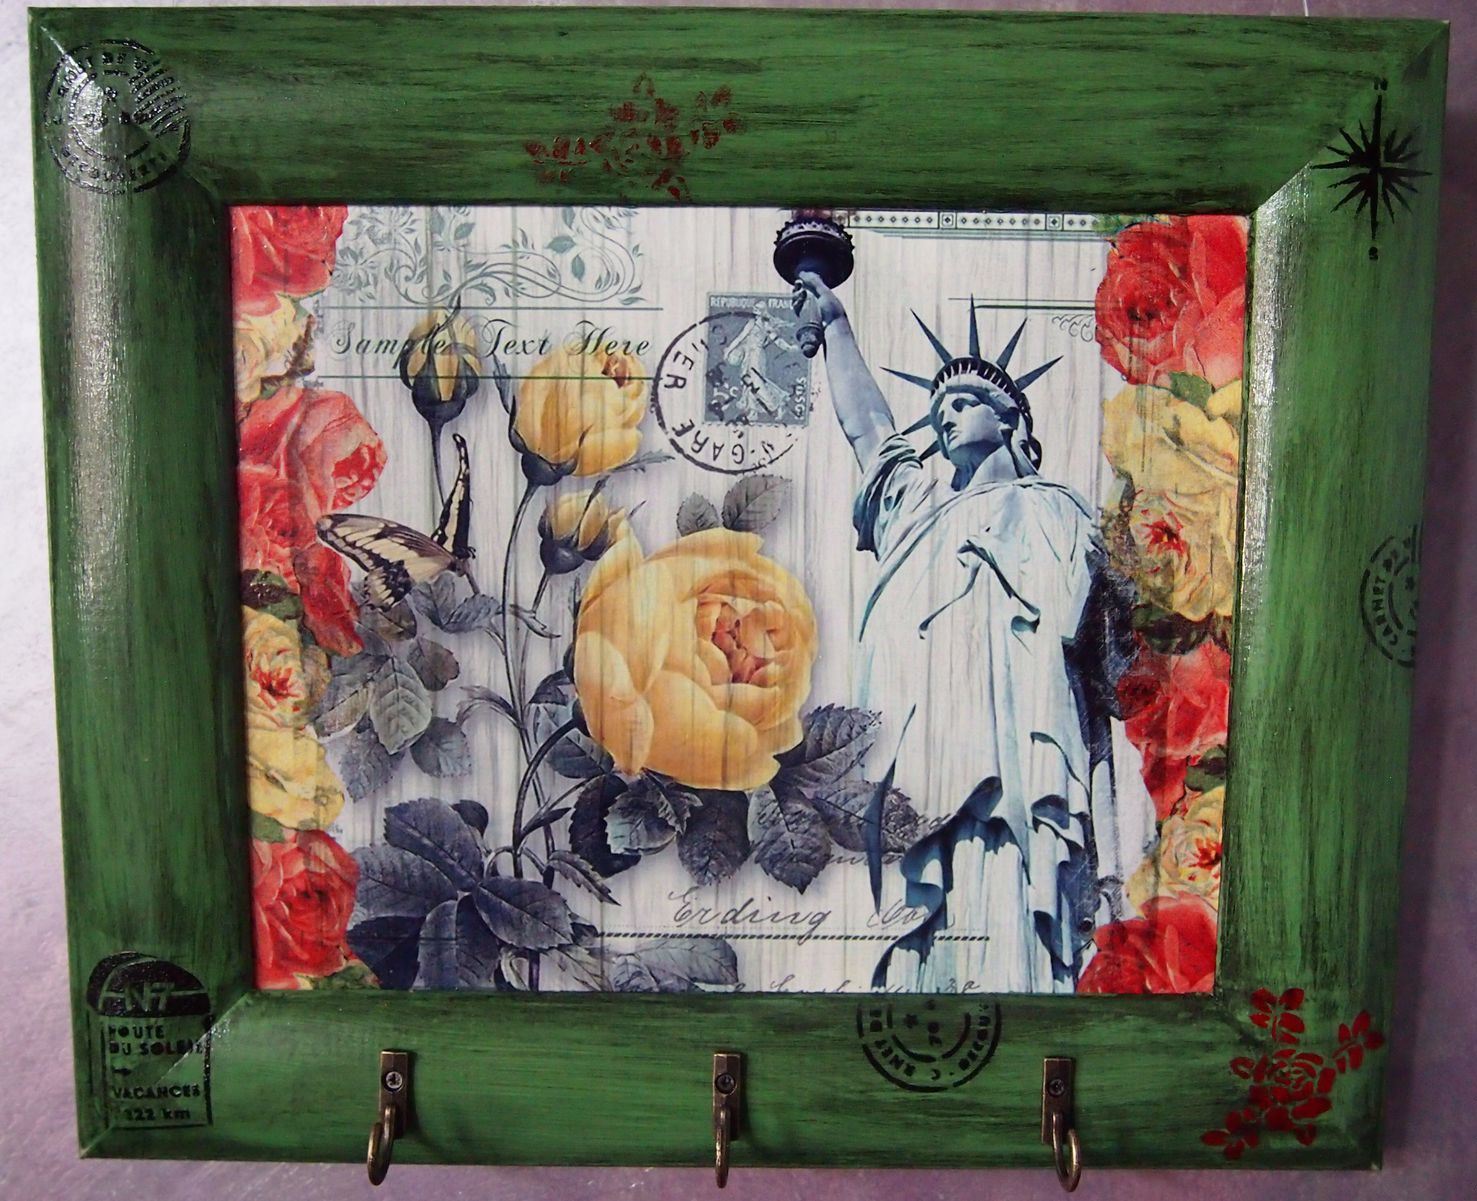
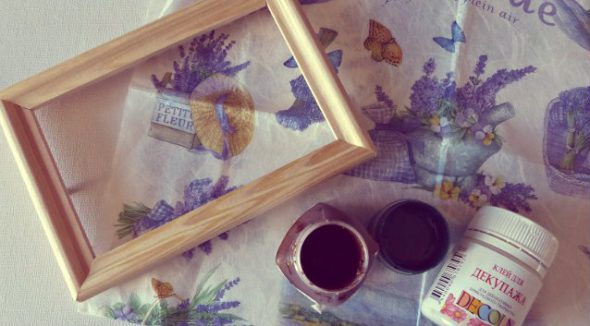
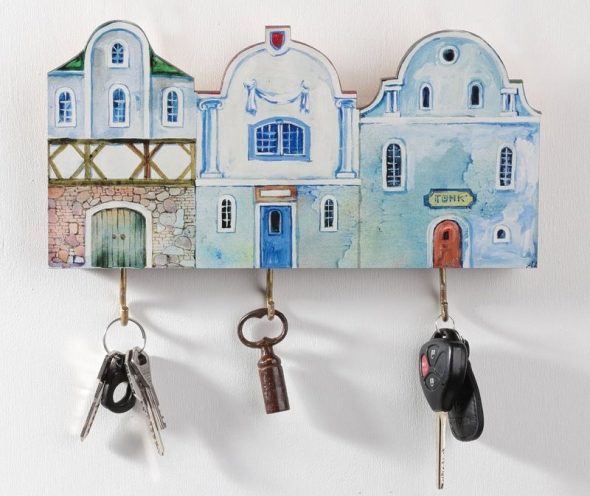
Master class #3: key holder from a picture frame
Do you have an old picture or photo frame at home? Don't rush to throw it away: a key holder made from a frame is a great way to decorate a wall and find a permanent place for keys!

What you will need:
- Frame,
- A piece of plywood of a suitable size,
- Acrylic primer,
- Acrylic paints,
- Wide synthetic brush,
- Medium and fine grit sandpaper or abrasive sponges,
- Decoupage card,
- Transparent file,
- Decoupage glue (or stationery PVA),
- Acrylic varnish.
- Key hooks and hangers,
- Drill,
- Phillips screwdriver,
- Jigsaw.
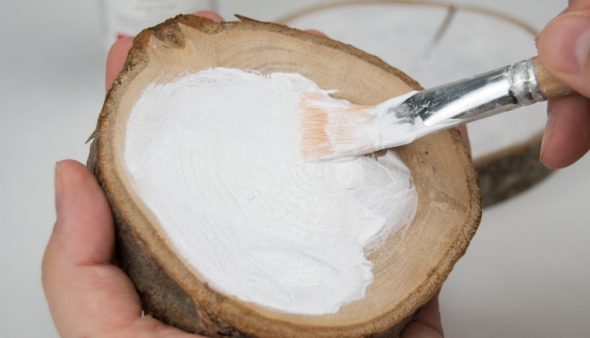
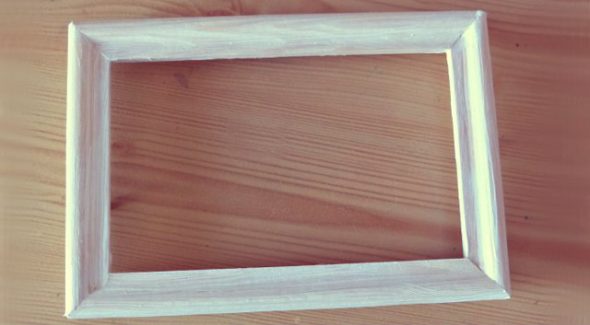
To start work, we need to know the internal dimensions of the frame. Using a jigsaw, cut out a rectangle of the required size from a piece of plywood.We take a thin drill (1-2 mm smaller in diameter than the screws on which we will attach the fittings) and drill all the necessary holes.Cover the plywood with acrylic primer or white paint. When the primer dries, sand it with medium-grain sandpaper (No. 600-800) and wipe it with a damp cloth.
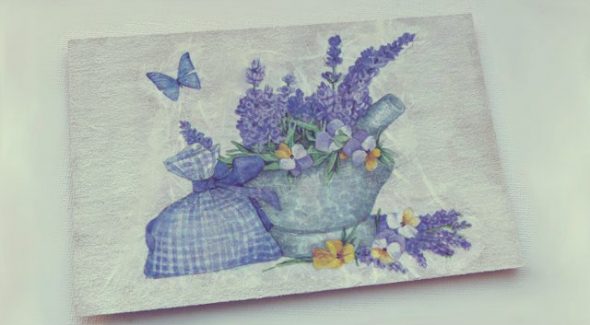
Now we will decorate our product using decoupage technique. Place the image face down on a stationery file and wet it well with water, smoothing out the bubbles that form on the surface from the center to the edges.Apply glue to the primed plywood base and immediately apply the file with the decoupage card. Smooth the card again from the center to the edges (it is convenient to use a pressure roller). Now the file can be removed.
Now you can tint the frame with diluted acrylic paint. Apply acrylic varnish with a synthetic brush.We will insert the plywood into the frame and screw on the hangers and hooks.
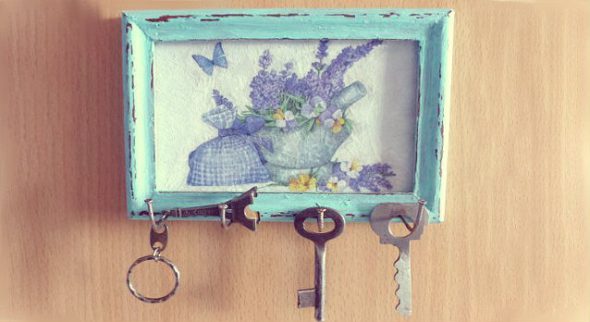
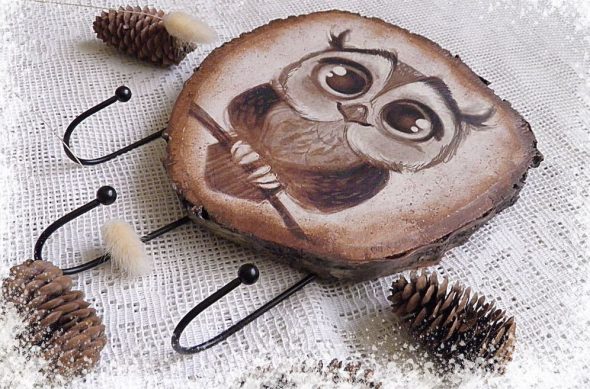
Additionally, you can hang tags with numbers. And to make it easier to navigate, it is enough to stick signs under each of the keys with the inscriptions "From the basement", "From the dacha", etc.
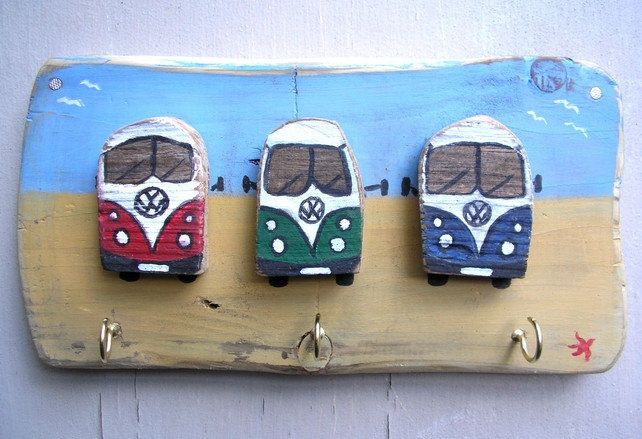
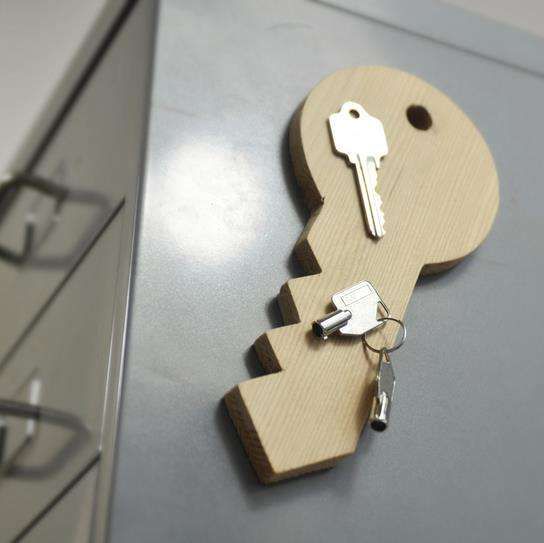
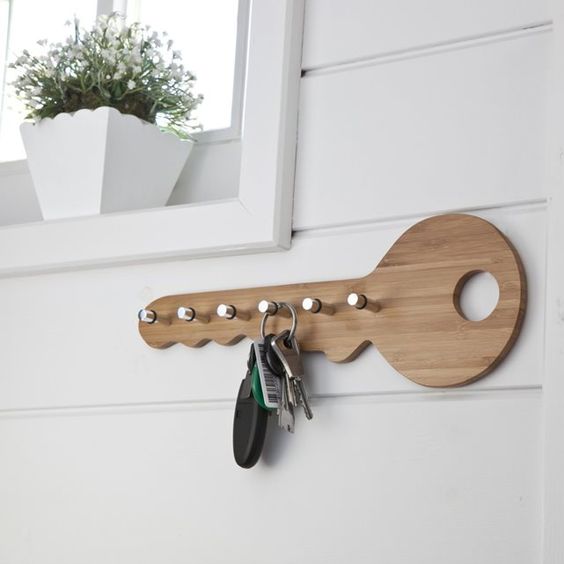
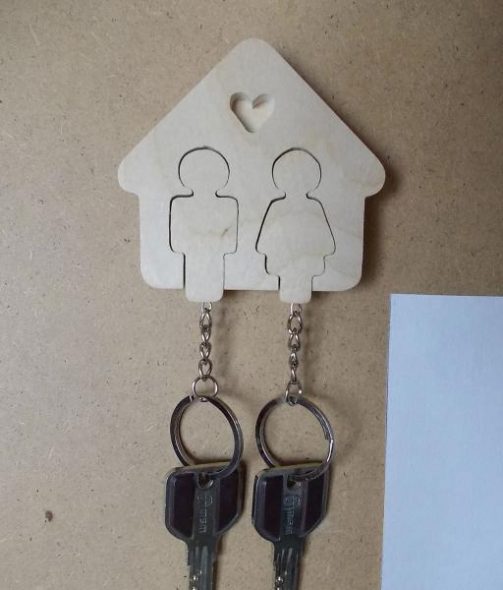
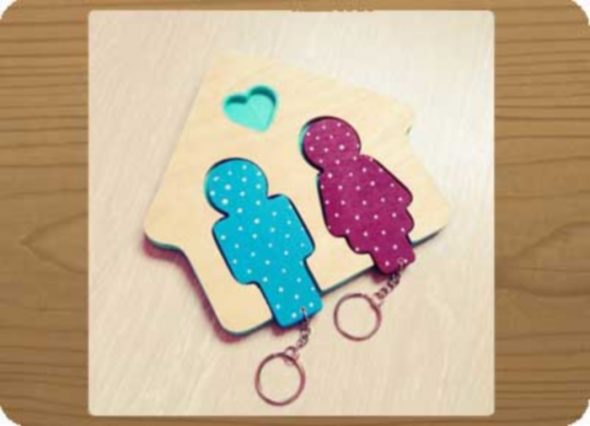
Master class #4: key holder made of plywood or chipboard
Do you have 6-10 mm thick plywood or a piece of chipboard? Are there shelves left from an old nightstand? Arm yourself with a jigsaw, and you will have an exclusive wall key holder made from materials you never even hoped to use!
What you will need:
- Pattern,
- Jigsaw,
- Drill,
- Wood putty,
- Spatula,
- Key hooks and hangers.
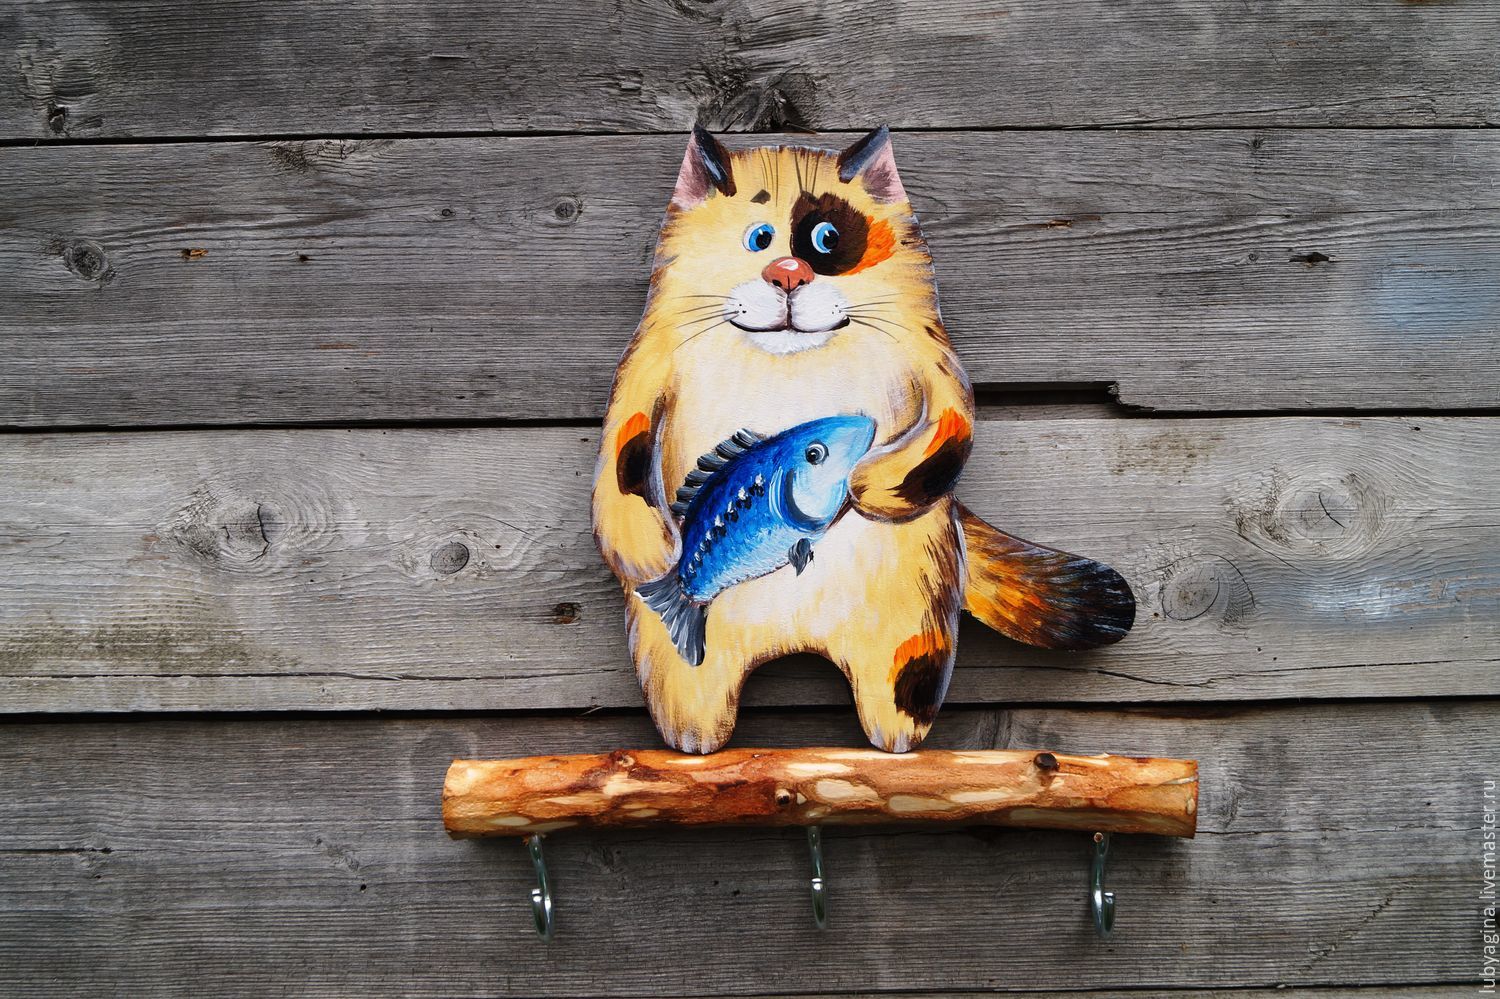
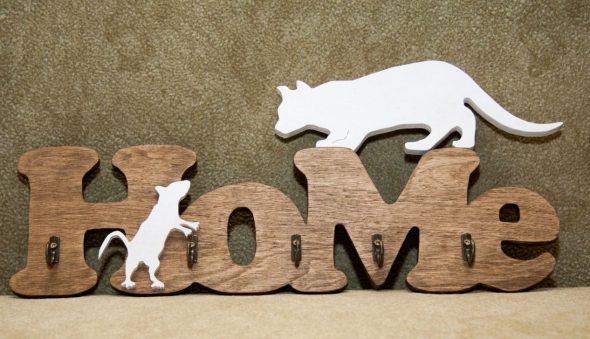
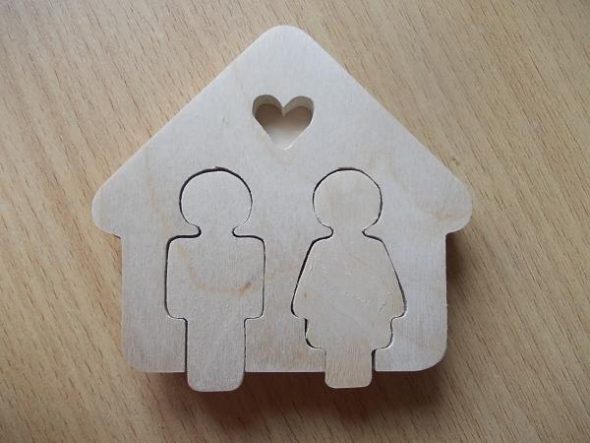
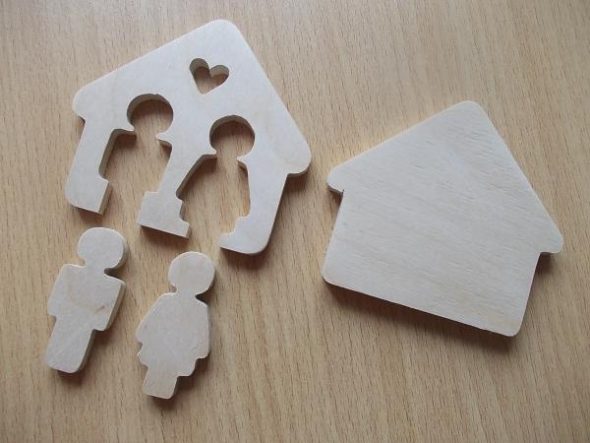
We find a suitable picture on the Internet, set the required dimensions and print it out. Simple generalized forms look impressive: a fish, a key, a leaf, the outline of a flying bird, a cat...
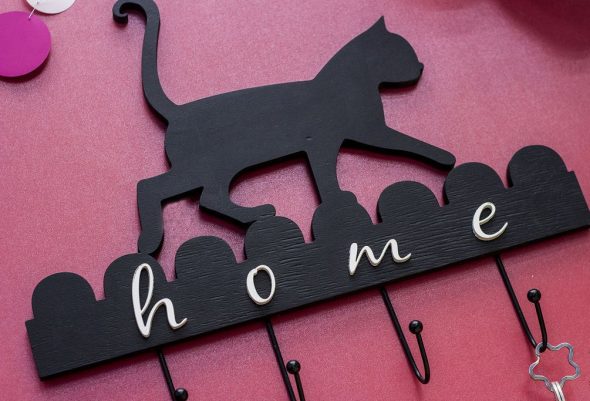
A pentagon can easily be turned into a key house. Even a regular circle can be played up if, by adding a few details, you construct something like a hot air balloon out of it. Cut out the shape along the contour and outline the resulting pattern with chalk or a simple pencil.Now you will need a jigsaw.
It happens that chips form on the plywood when working in this technique, especially if the plywood is not in its first youth. We can make the surface and even the ends of the key holder smooth. Arm yourself with a spatula or palette knife and apply wood putty to the problem areas. Wait until it dries completely.
Using a drill, we make recesses for the hangers and drill holes for the screws that will hold the hooks.
A key holder can be made with your own hands using the decoupage technique, as described in the previous master class (in this case, we will additionally need glue and a suitable drawing).
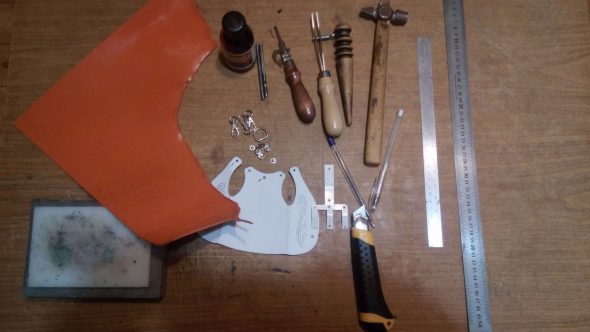
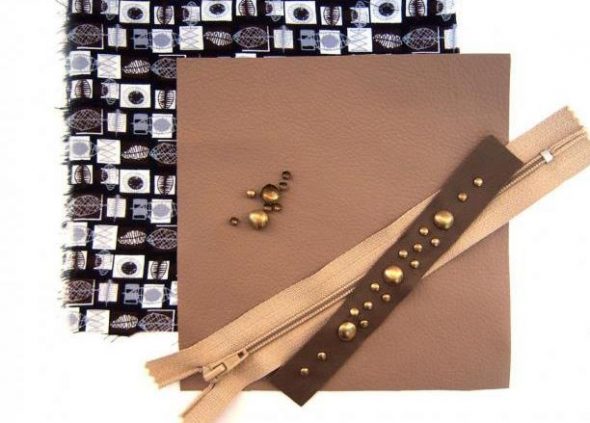
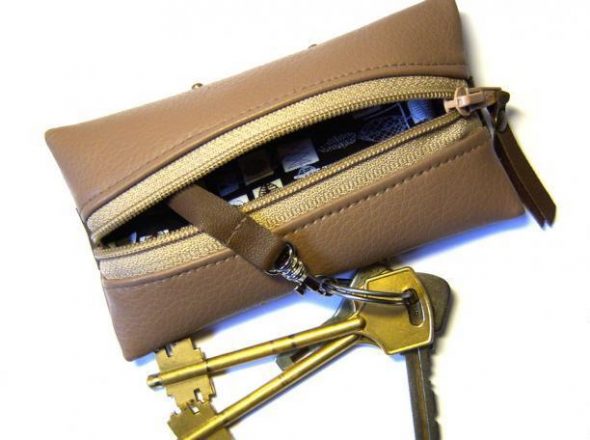
Master class #5: leather key holder
How else can you make a key holder? If you think that the best place for keys is a pocket, our master class is for you.
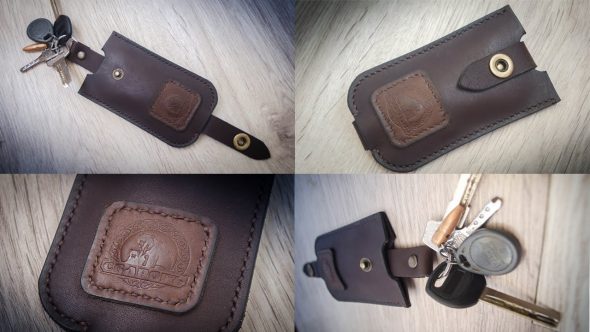
What you will need:
- Pattern,
- Thick leather (an old bag will do),
- Lining,
- Lightning,
- Strong threads,
- Thick needle,
- Awl,
- Buttons,
- Keychain,
- Scissors.
The more keys you have, the larger the pattern should be. Cut out all the details from leather and suede exactly according to the pattern. Connectouter and lining parts.

All that's left is to turn our key holder inside out and admire the result. Attachcarabiner - and a leather key holder in your pocket!
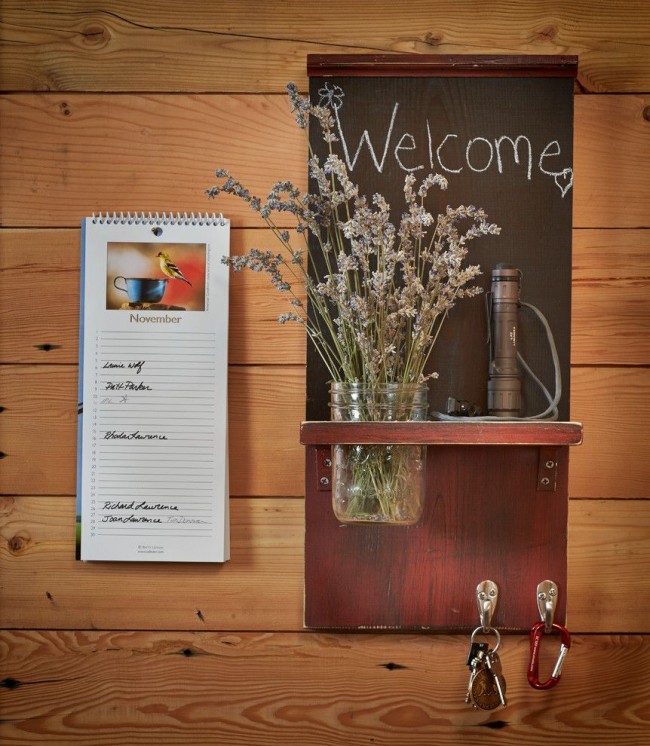
Decorating a key holder: ideas and solutions
Your key holder is almost ready. It's time to add some more charm to it! Shabby chic or Provence, cyberpunk or country, ethnic or retro, painting or embossing... It's up to you to decide what technique and style the key holder will be decorated in.
If your old clock is broken, you can use a few gears, 5-6 unnecessary keys and some glue – and your steampunk key holder is already decorating your hallway! If you are into decoupage, you may have some craquelure varnish and wax patina.
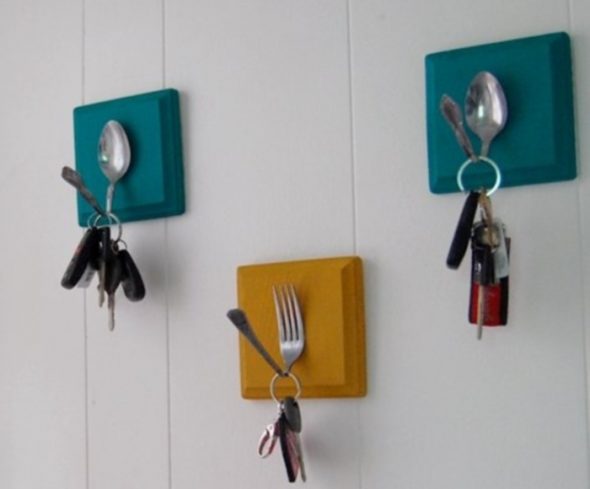
Stencil and putty – and the key holder is covered with a three-dimensional pattern. Do you have small nails and threads? Take a hammer, draw a few lines on the board, hammer in the nails and wrap them with threads – your key holder-panel will be super stylish! If you have old forks or spoons, bend them and nail them to a wooden base – the key holder is ready to take its place on the wall.
Twine scraps, buttons, chains, beads, plaster or self-hardening plastic castings, cardboard cutouts, popsicle sticks, ceramic tile fragments – any little thing that’s lying around the house can become the finishing touch for something you’ll be proud of.
VIDEO: DIY wall key holders.
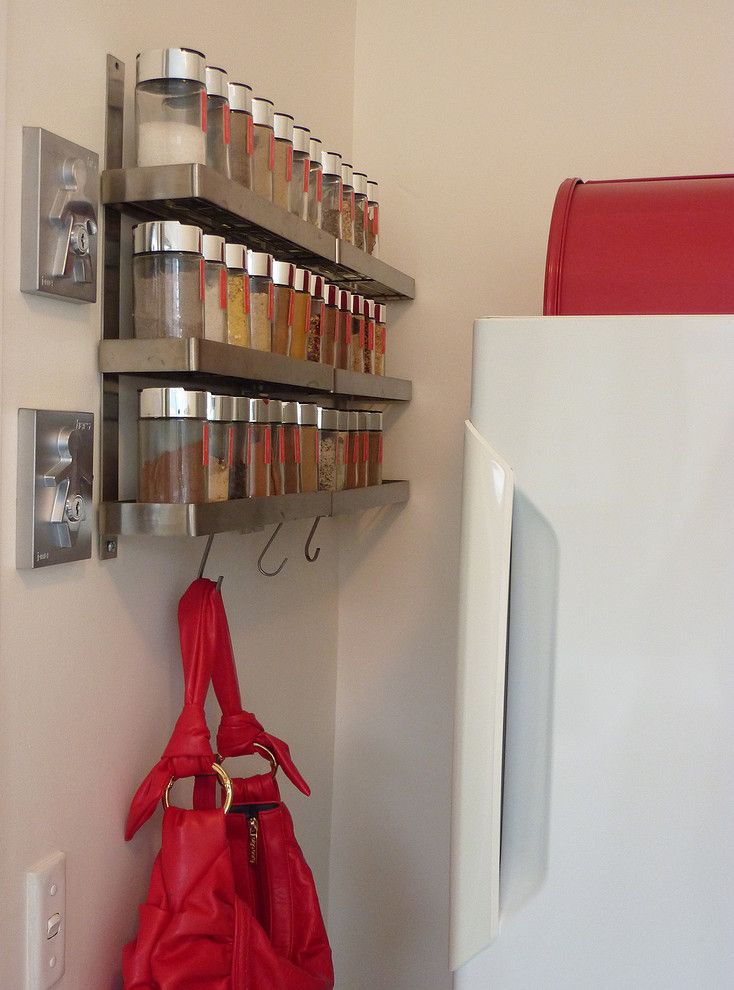
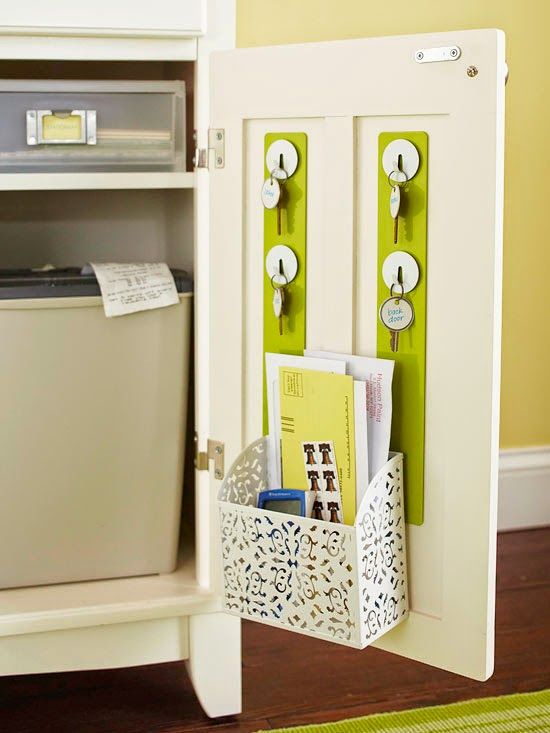
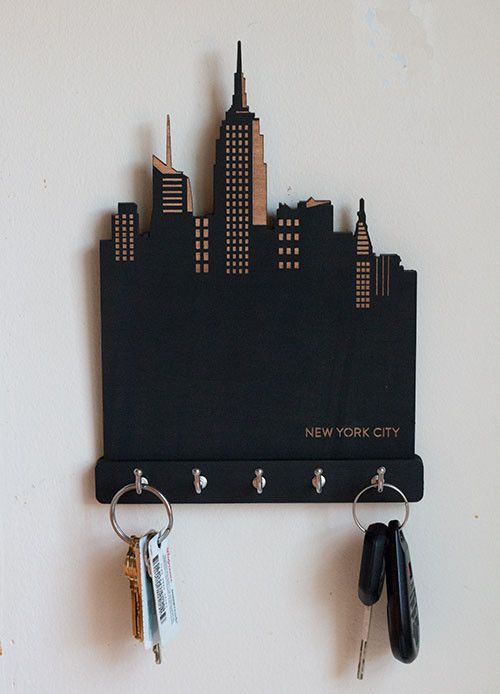
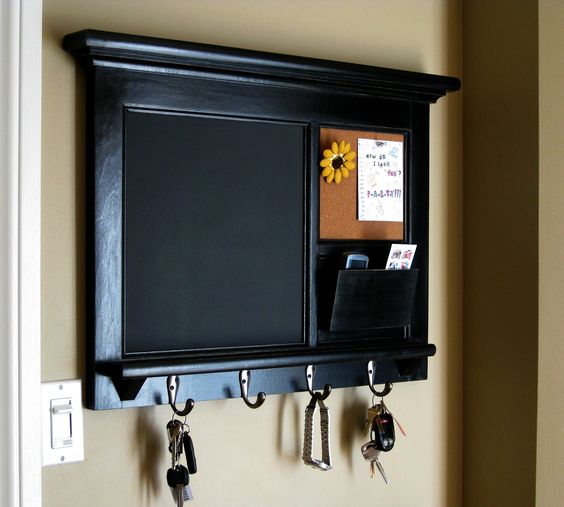
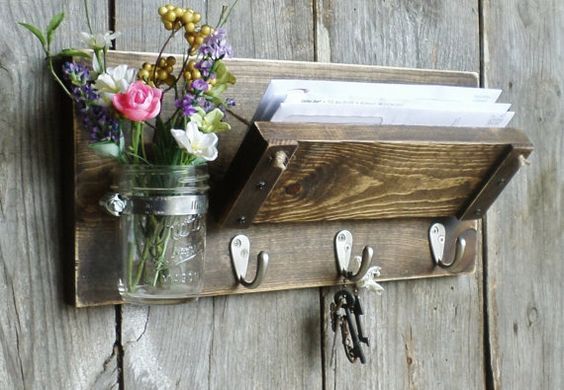
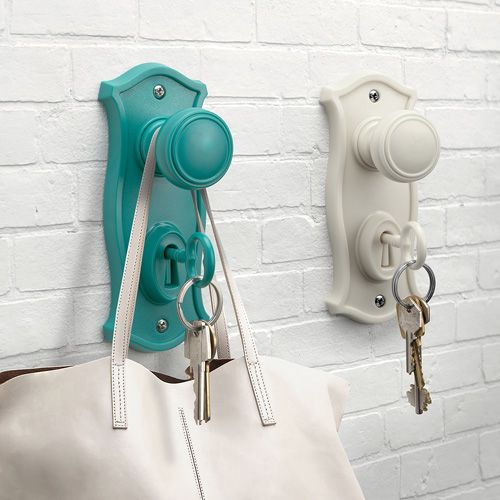
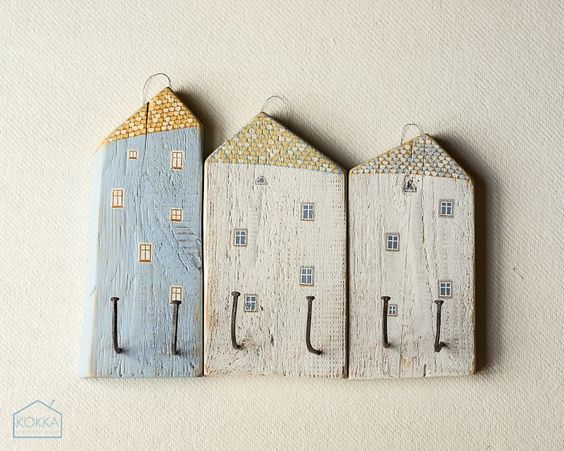
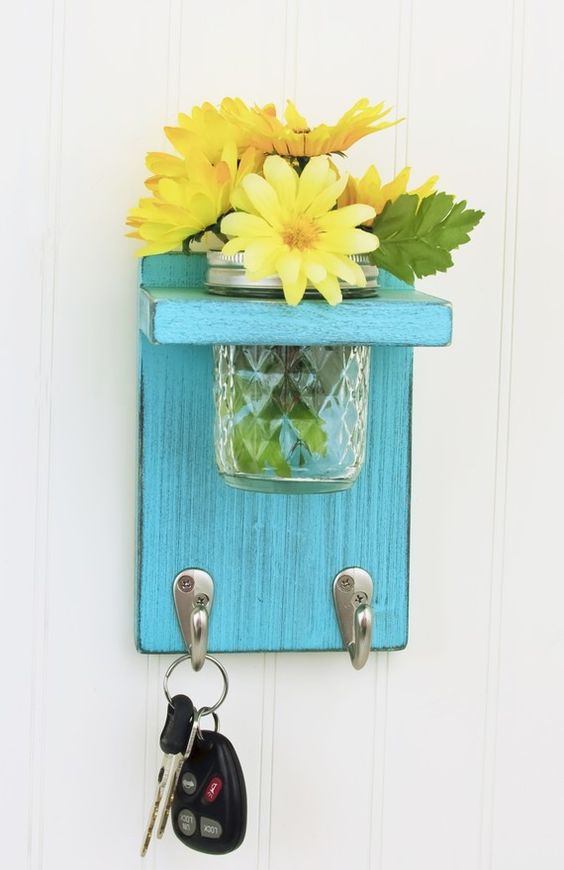
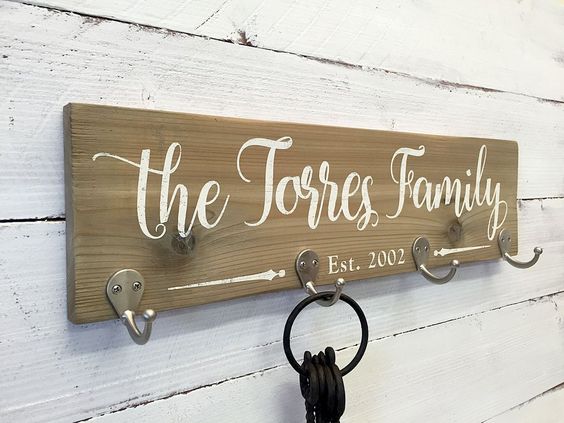
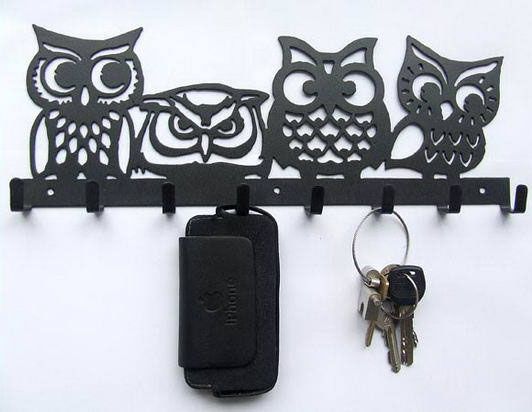
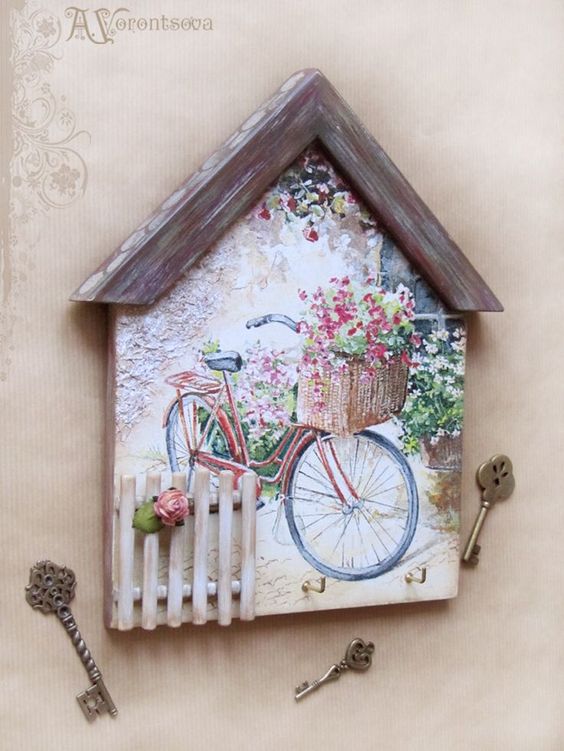
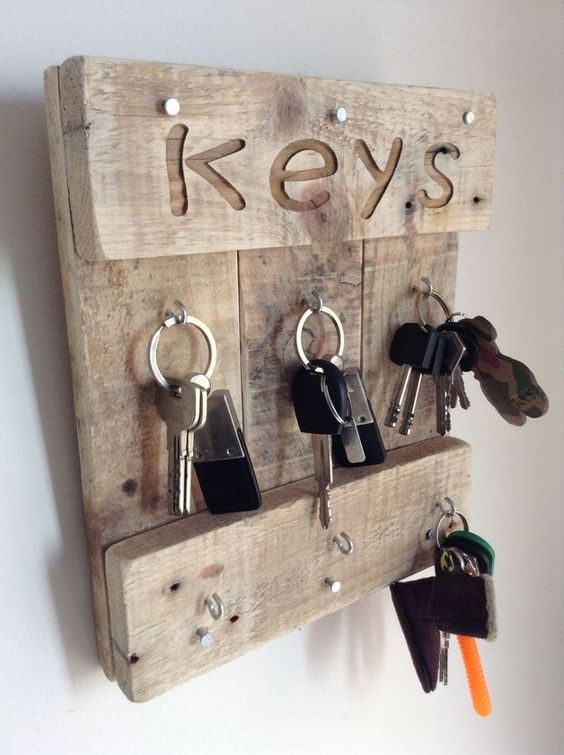
Wall key holders for the hallway – 50 photo ideas: