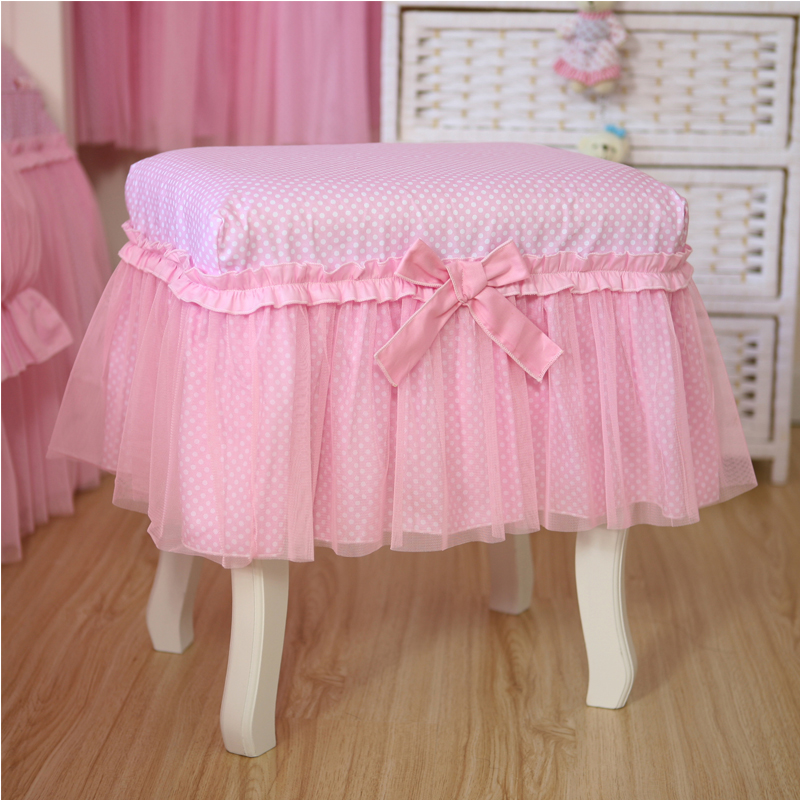
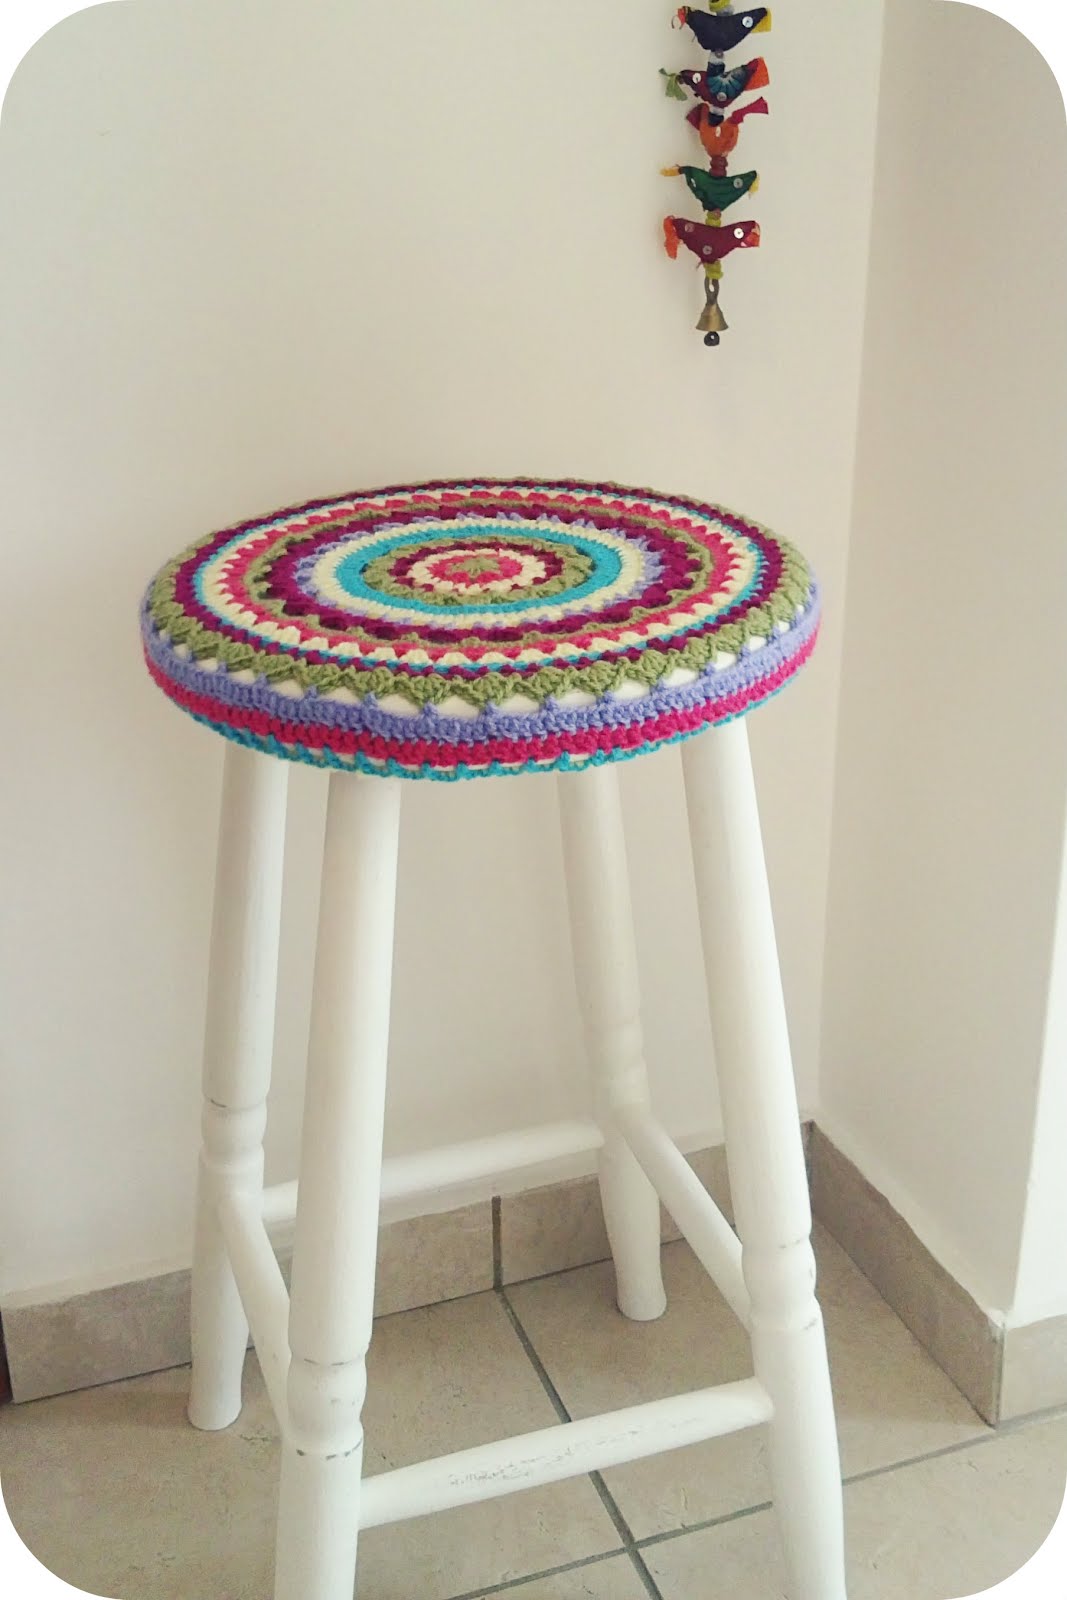
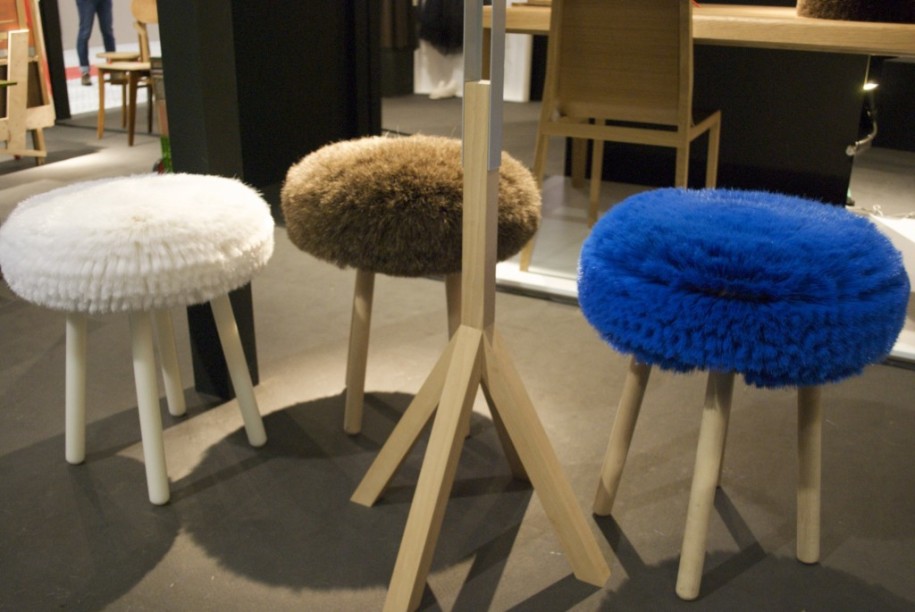
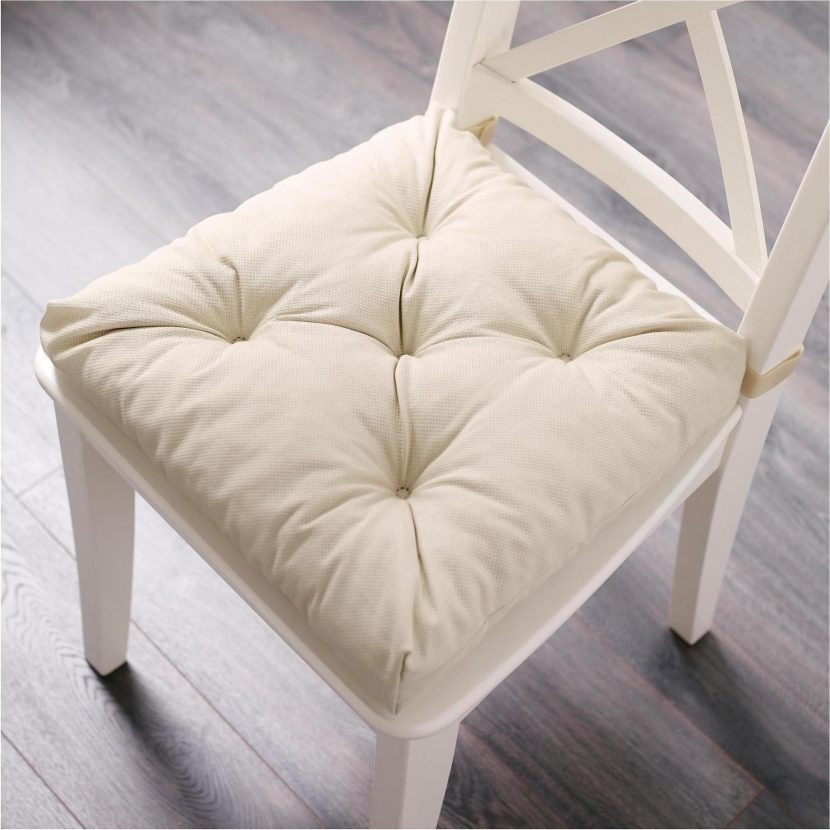
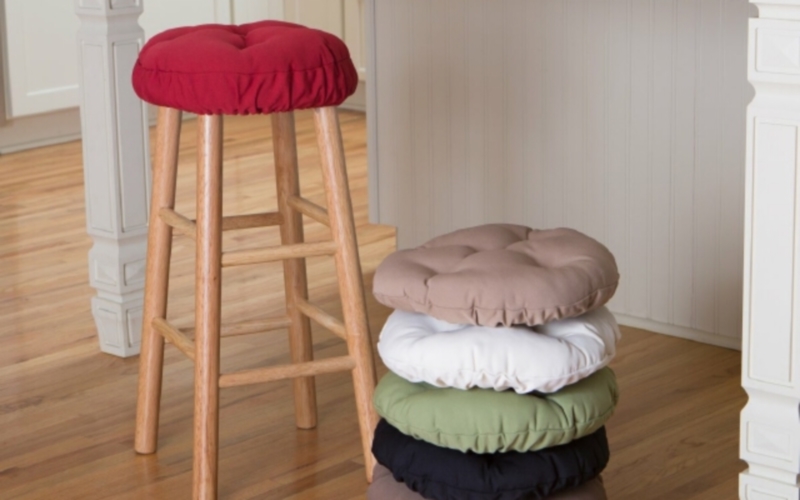
Hard seats Not everyone likes chairs and stools - it is uncomfortable to rest on them for a long time. Therefore, many try to make either pillows or special covers with soft filling, they do not slide off the surface, but they can be removed at any time to use the piece of furniture as a stand for household work (screwing in light bulbs, whitewashing the ceiling, etc.).
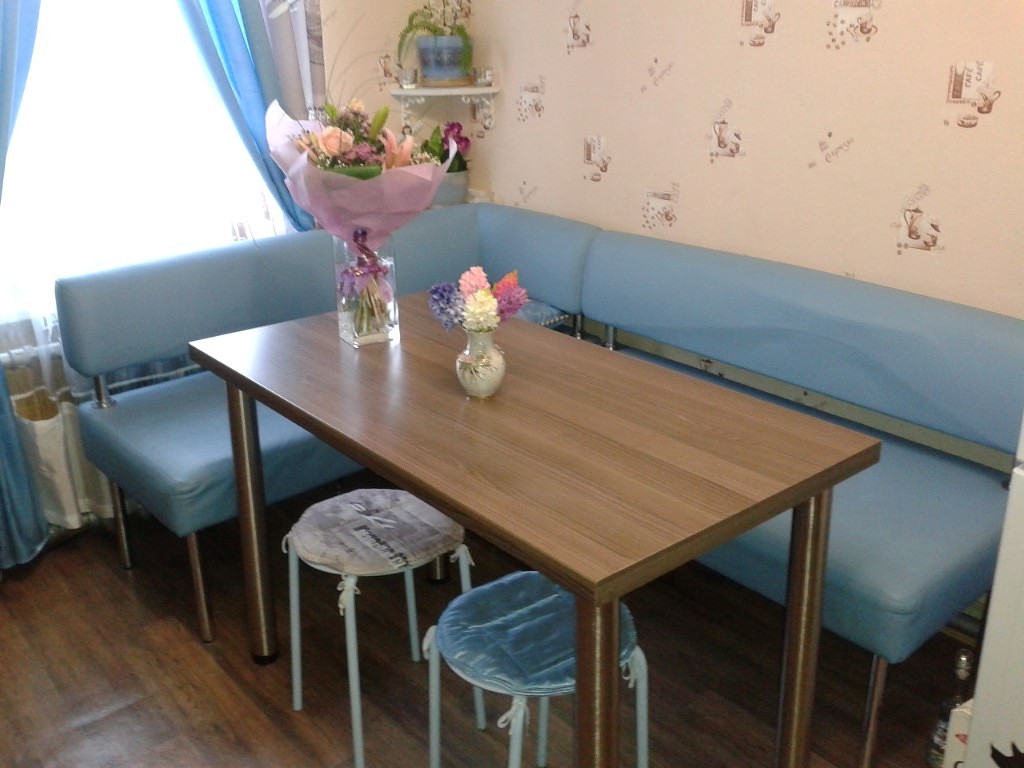
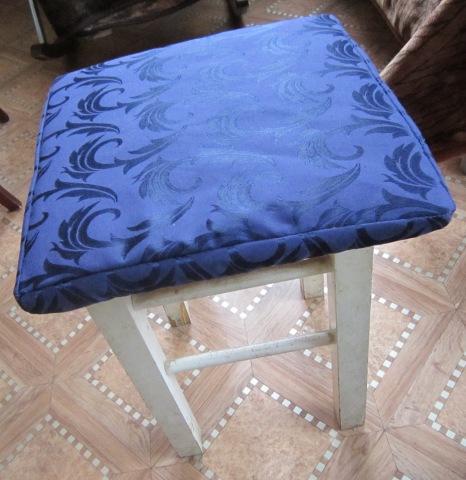
Stool cover, madewith your own hands, significantly increases the comfort of using the kitchen attribute. You can spend more time over evening tea or family dinner. Space kitchens will benefit significantly if you complement the furniture with similar decor.
Content
The benefits of DIY
Created by with your own hands The items fully meet the style preferences of the apartment owners. Stools with removable “upholstery” are also practical and protect the surface of kitchen furniture from premature wear.
If you sew DIY Stool Cover, then it will cost a minimum of money or free of charge when all the materials are at home.
On stools It will take little fabric and filling, but the appearance of the furniture will change for the better.
Improved by cladding seats - comfortable and durable. The "upholstery" is easy to remove and wash if necessary.
Design and construction
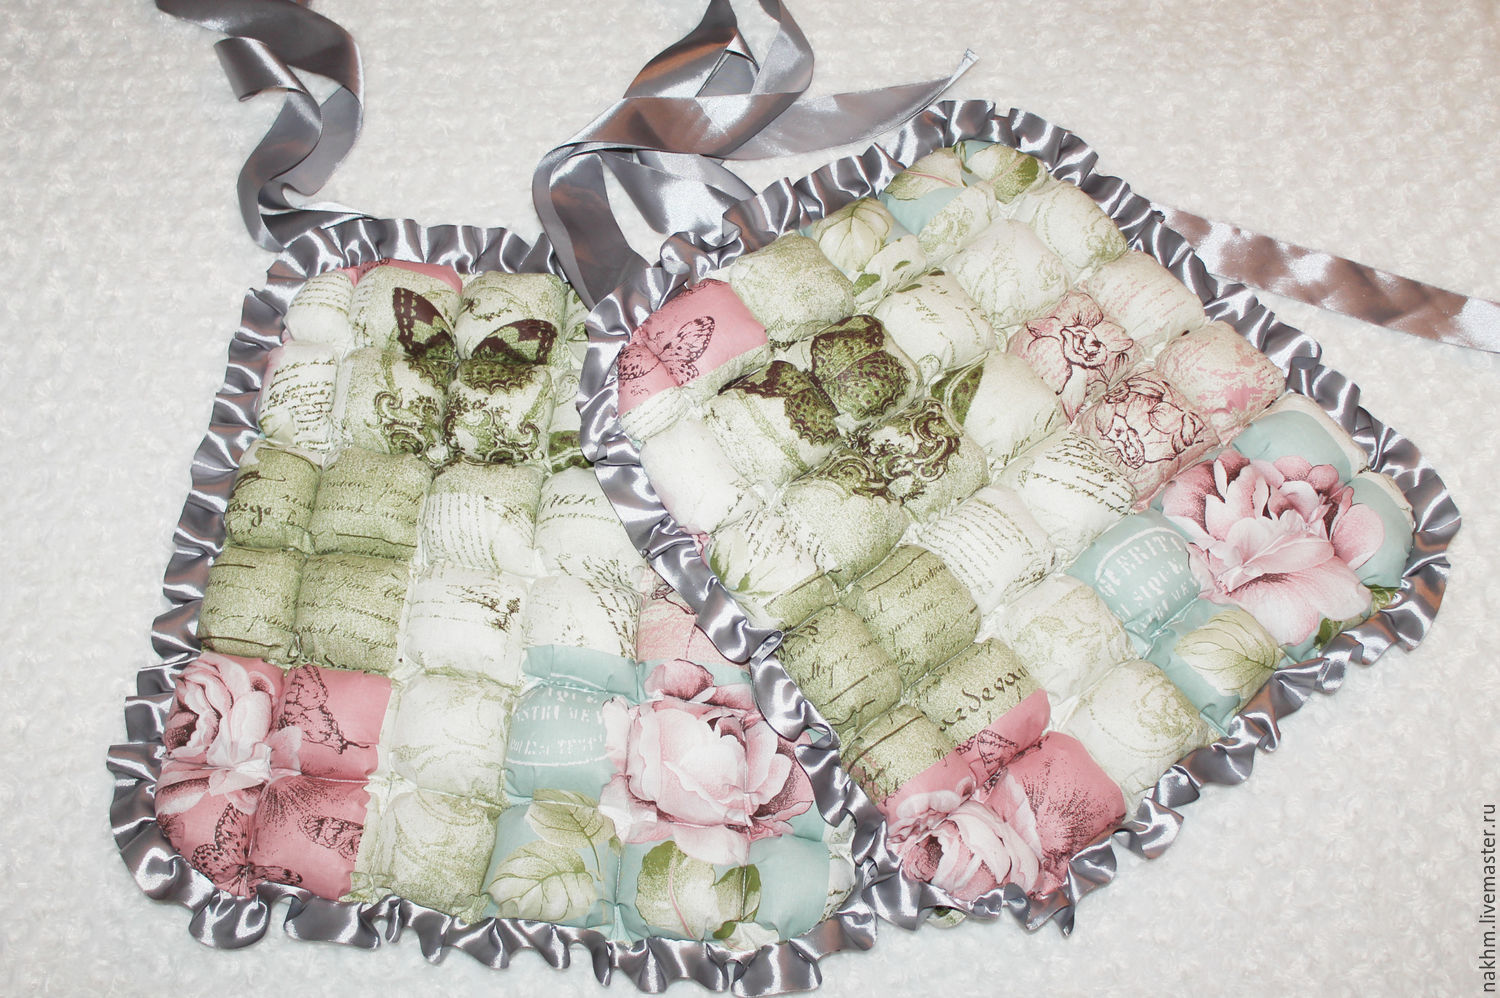
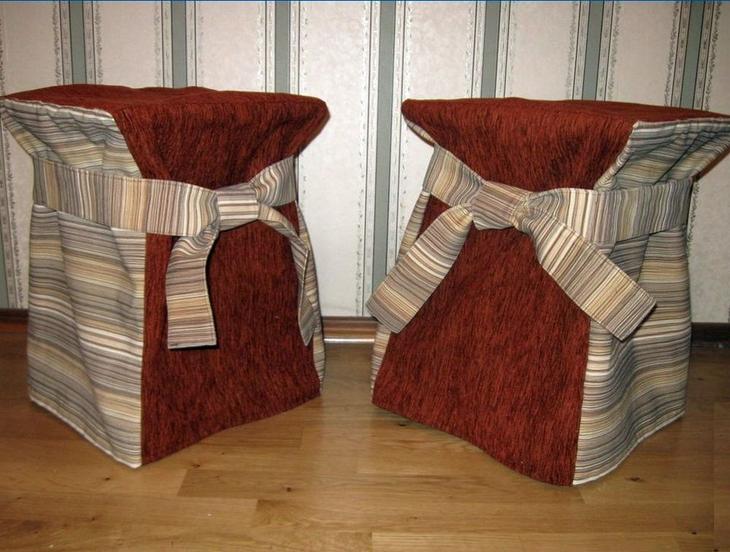
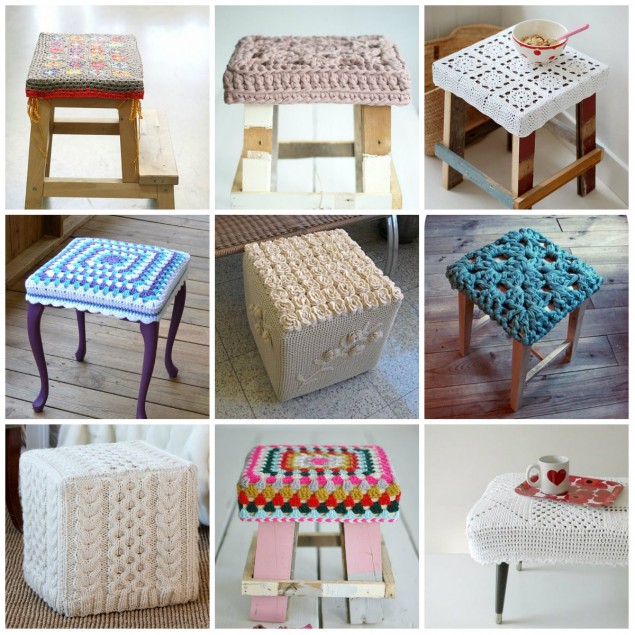
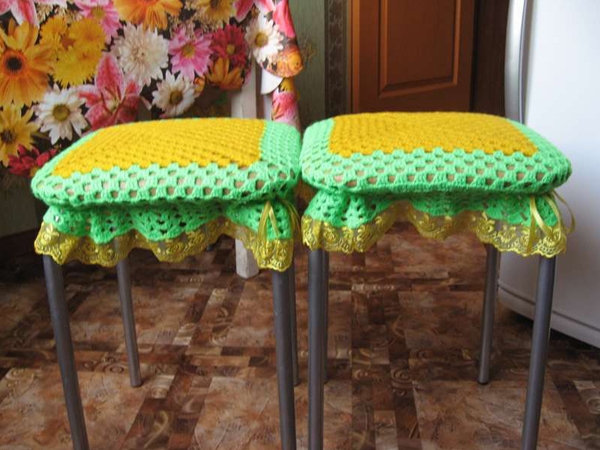
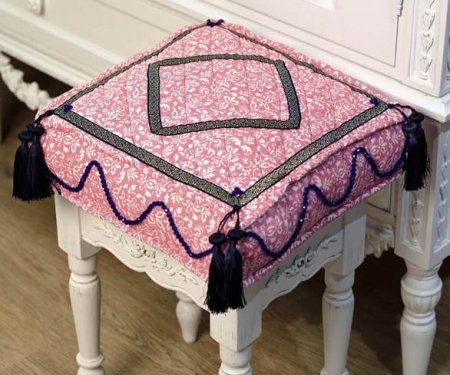
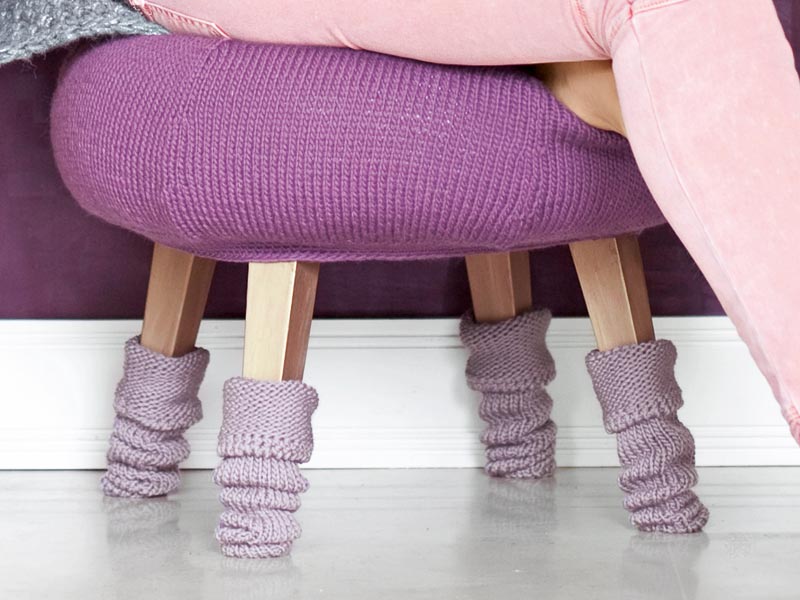
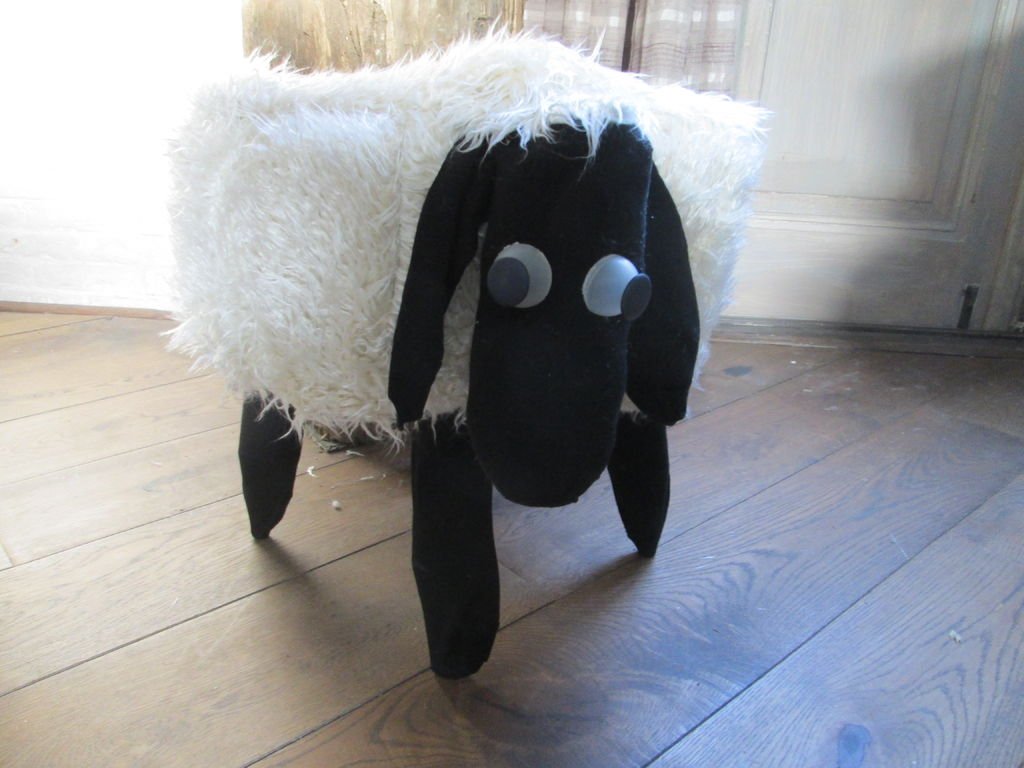
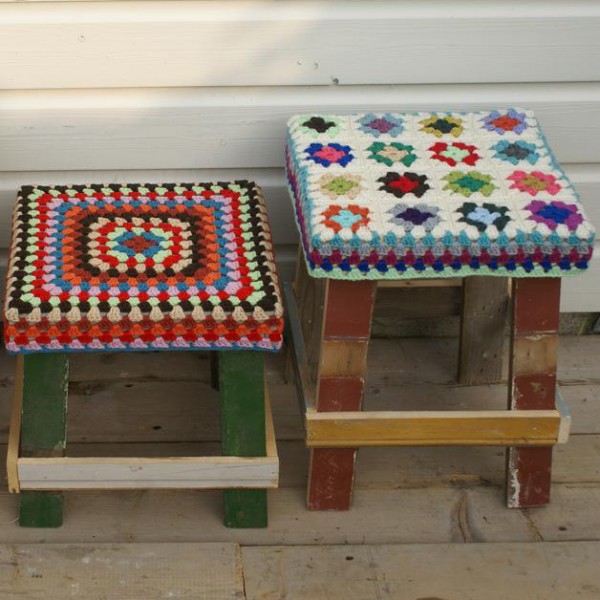
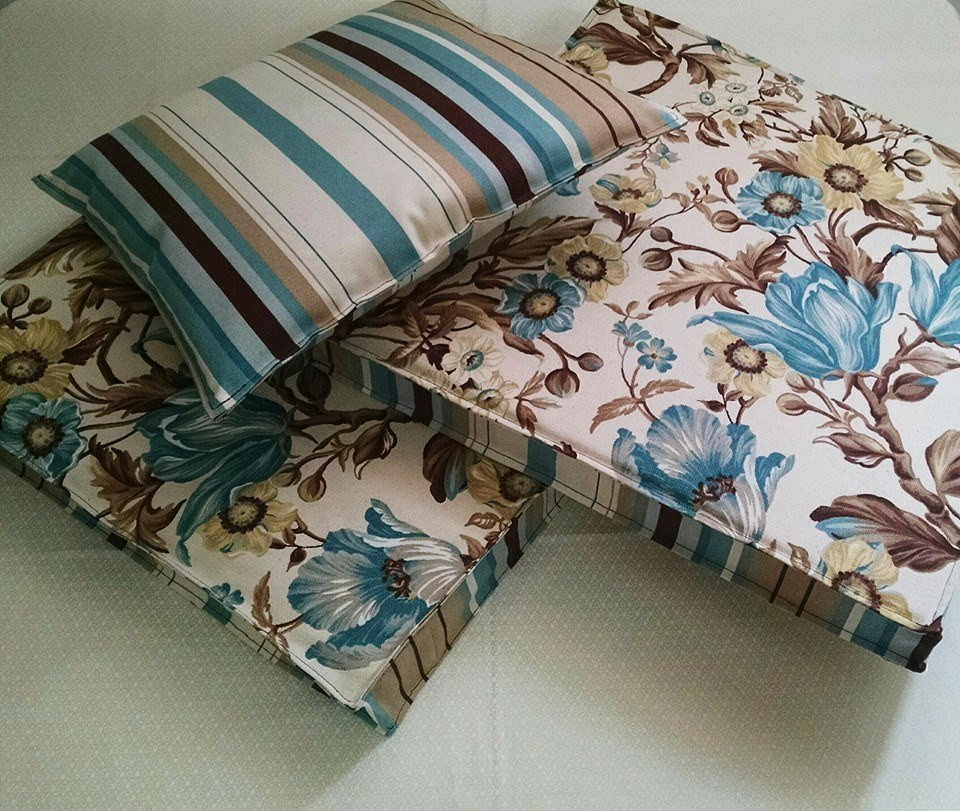
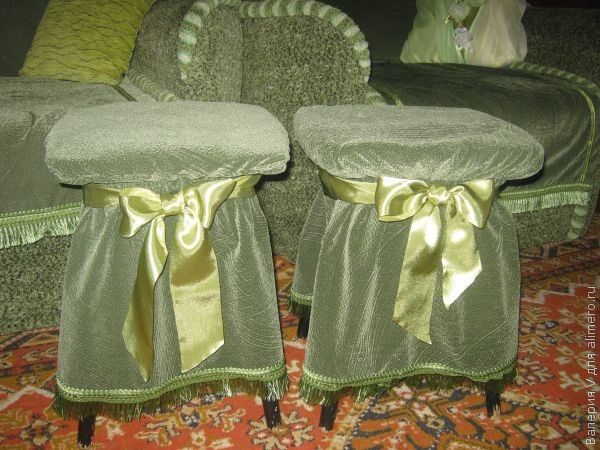
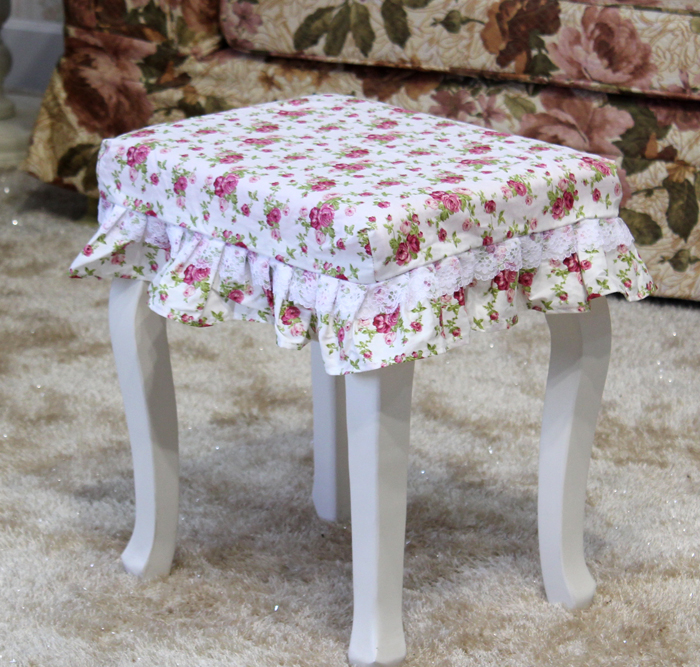
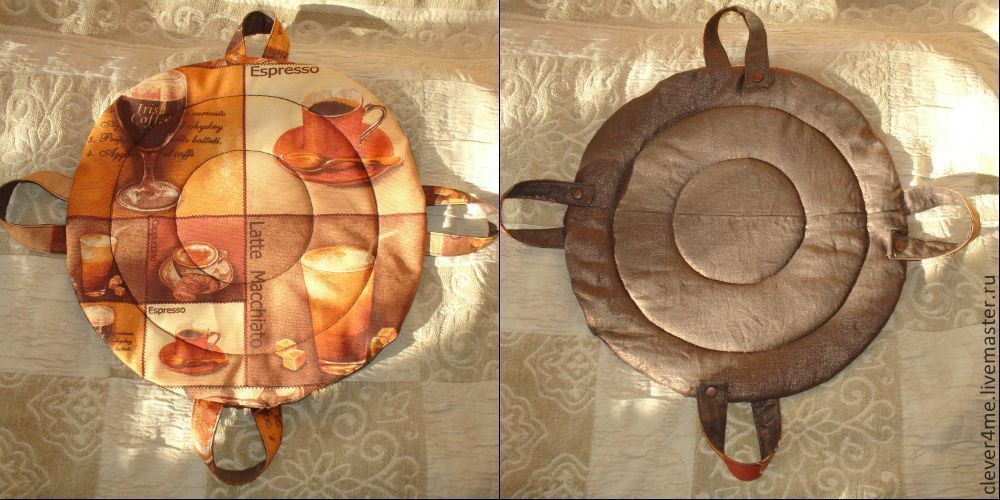
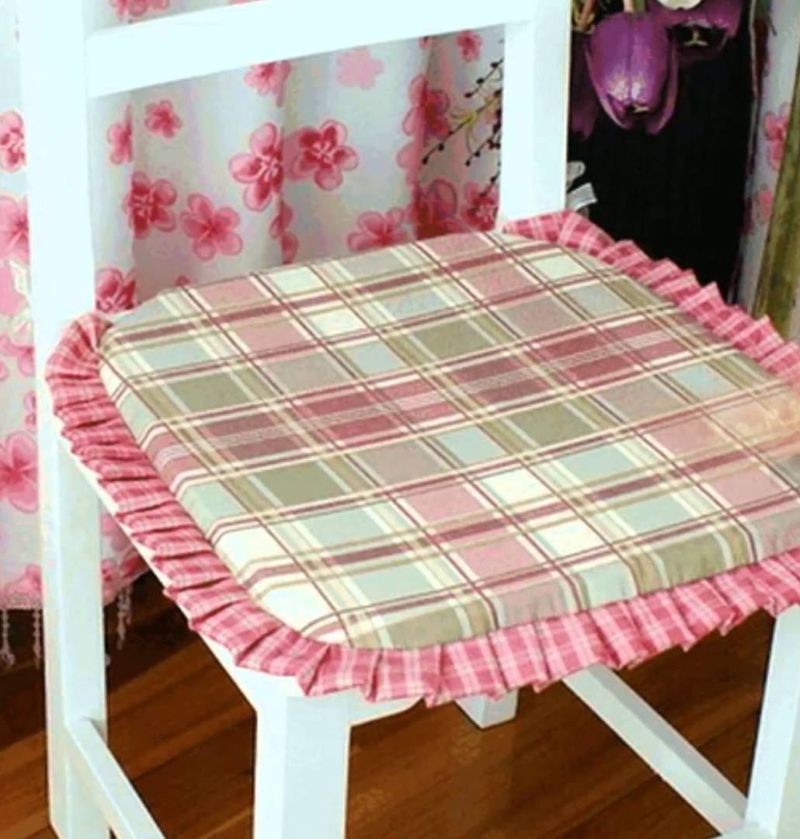
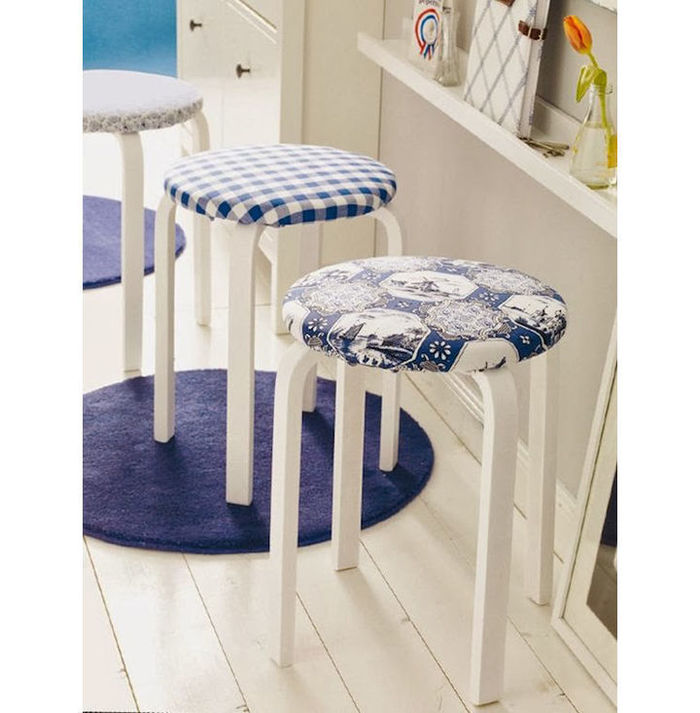
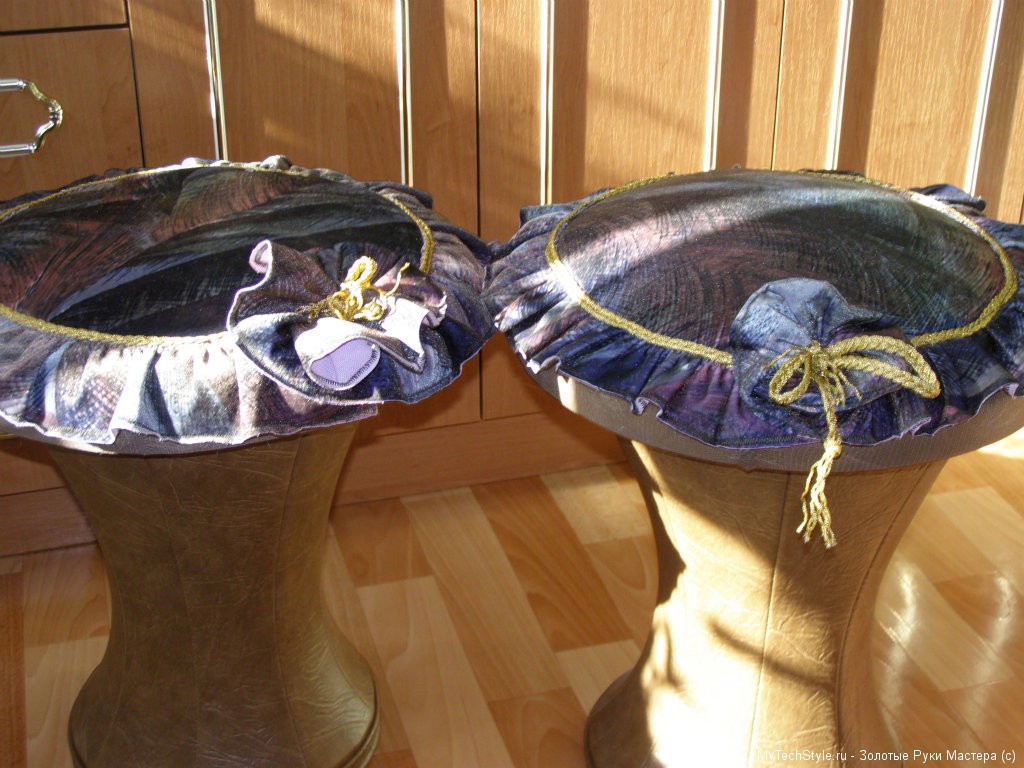
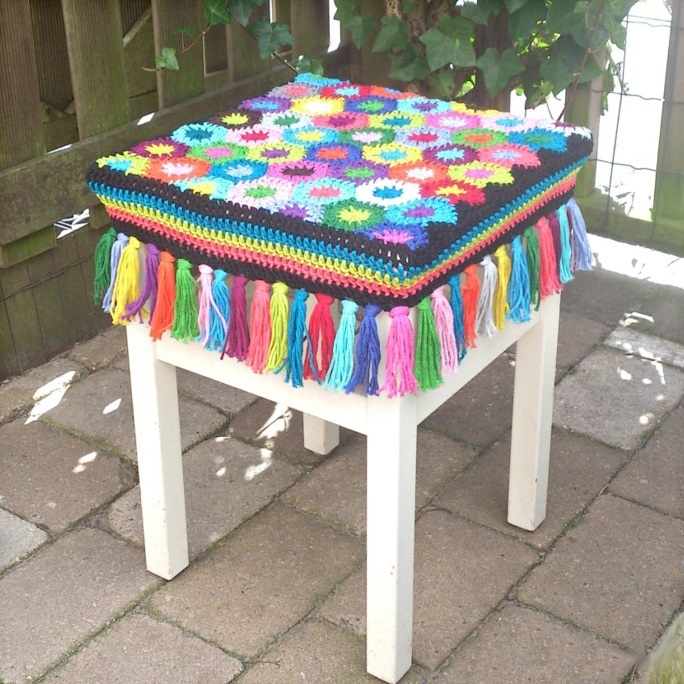
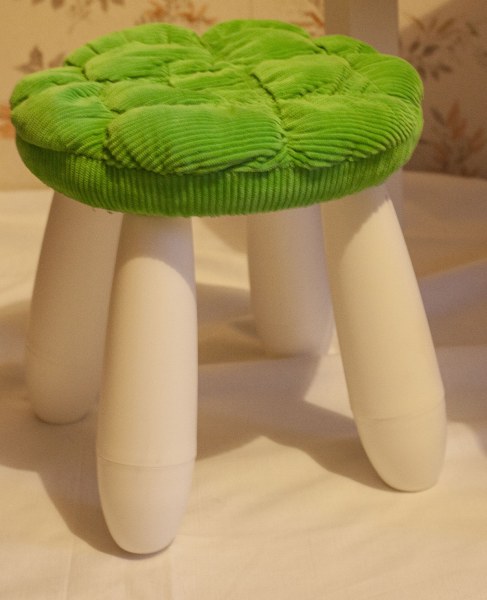
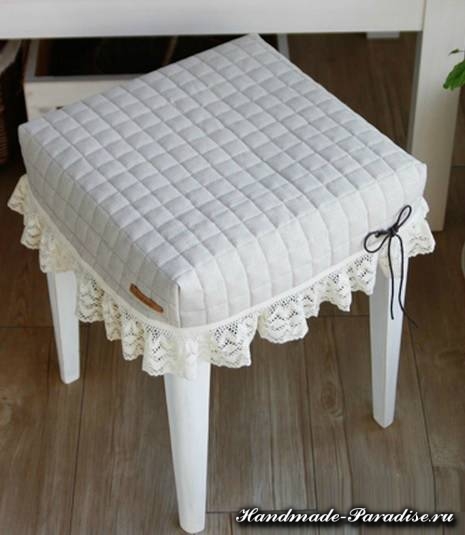
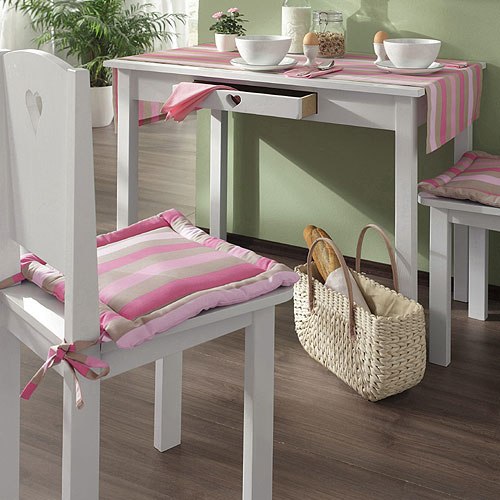
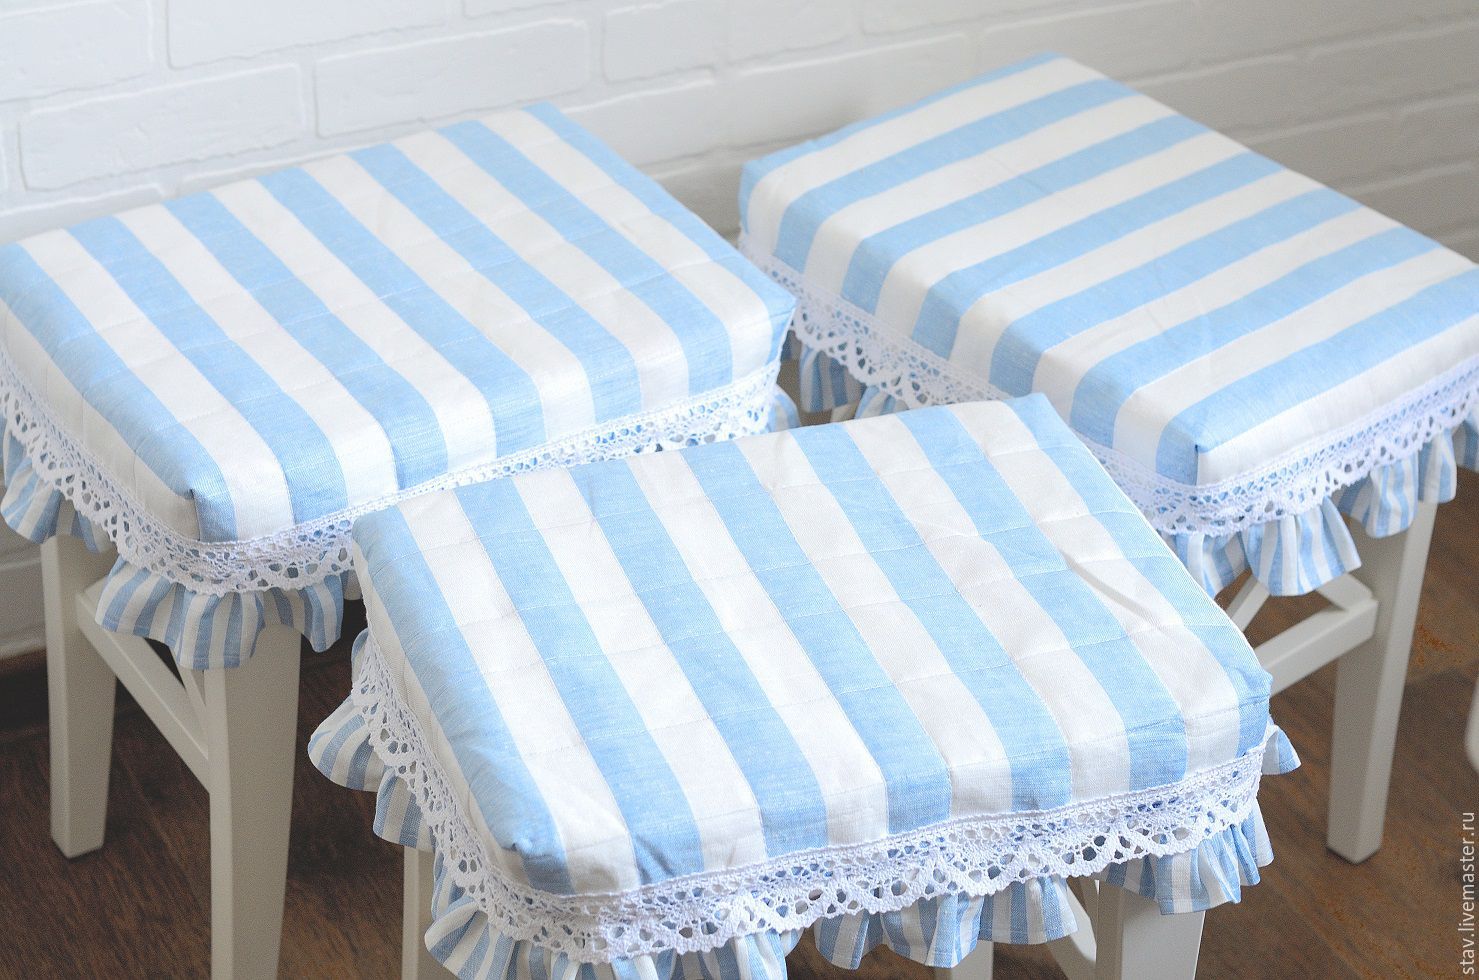
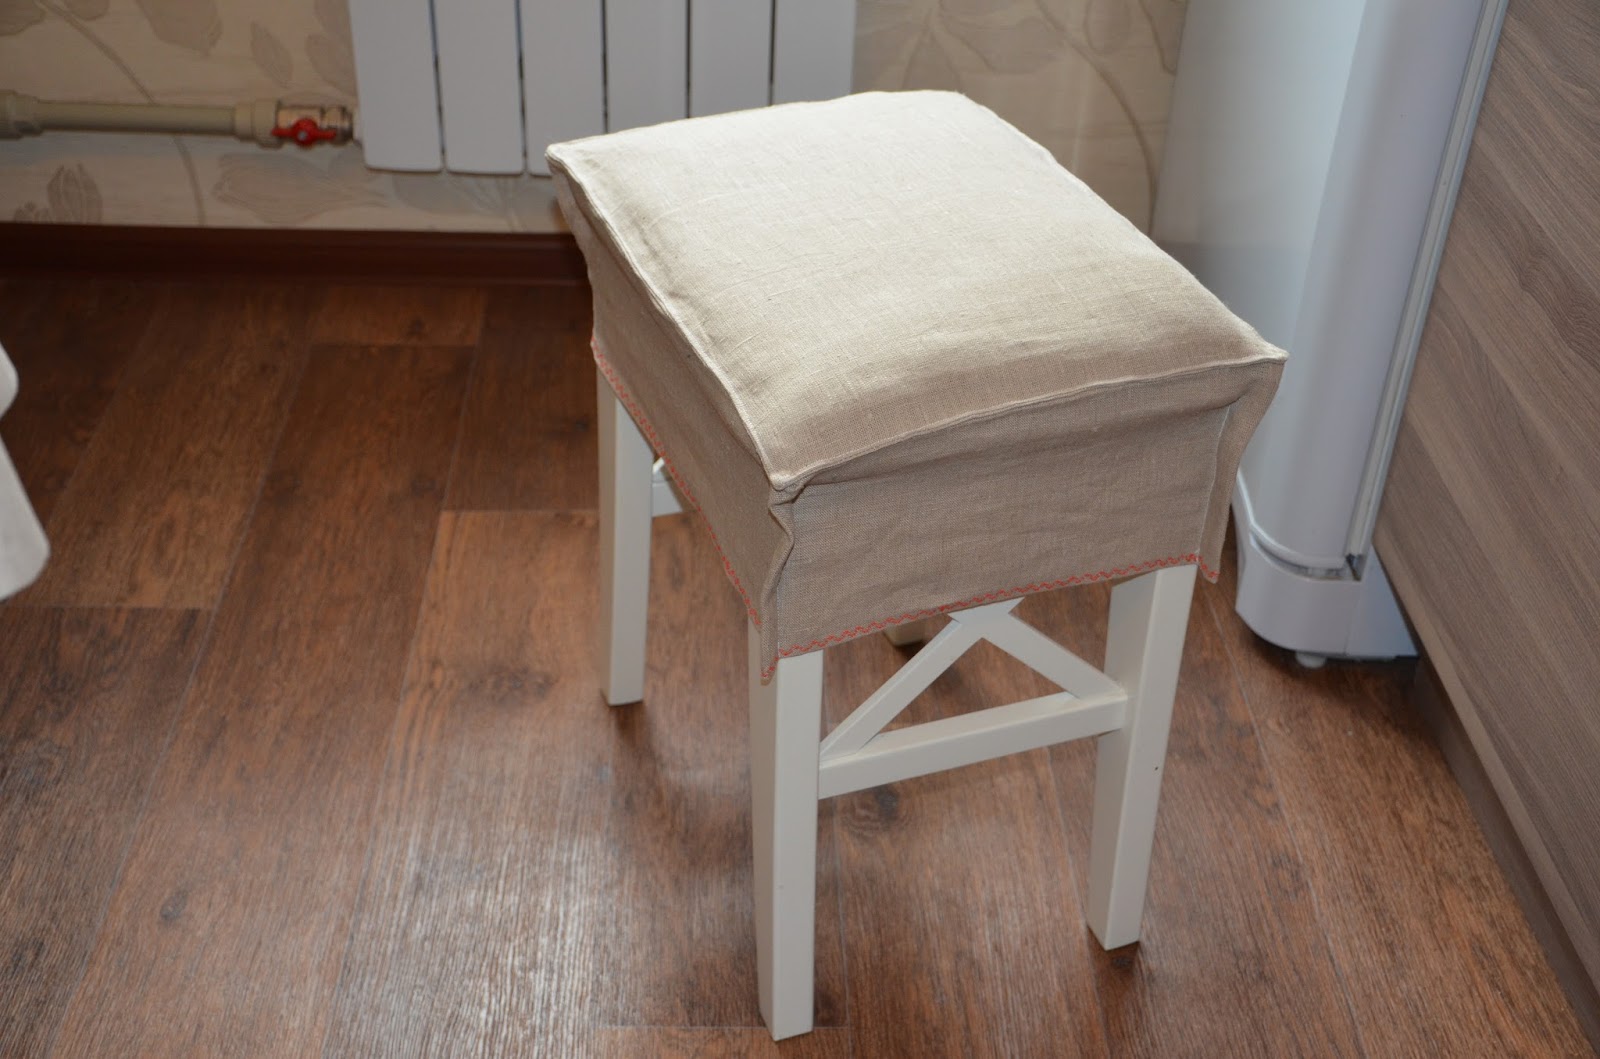
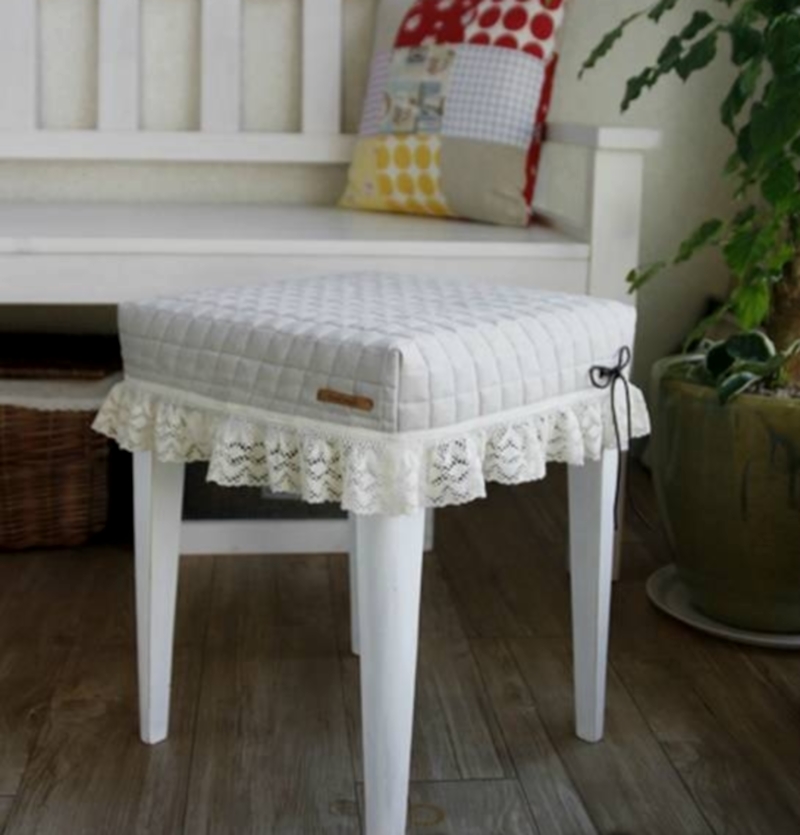
Your products will repeat in shape seats. If this stools, intended for kitchens, then it is better to sew not pillows, but capes with elastic bands that can be easily removed for washing.
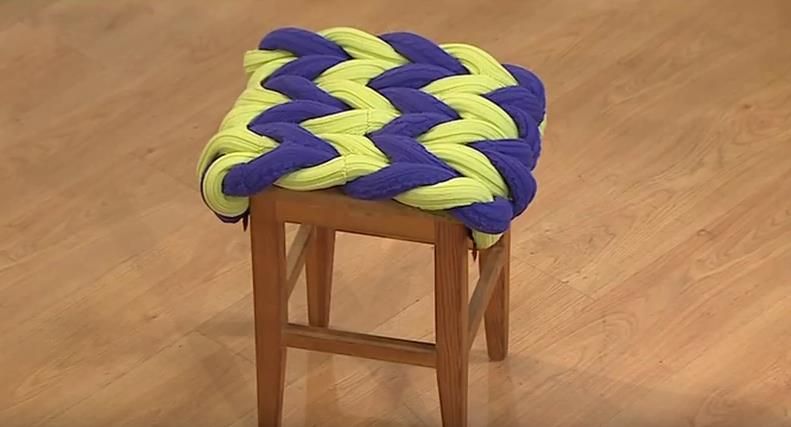
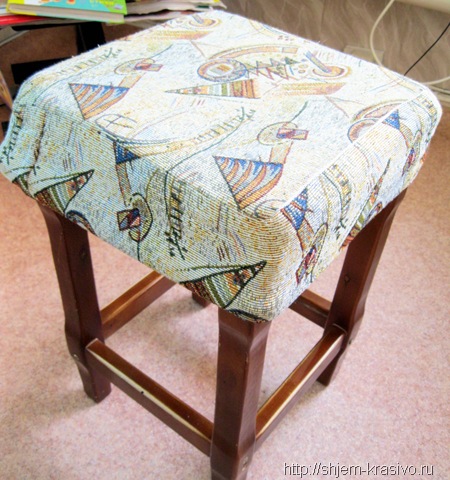
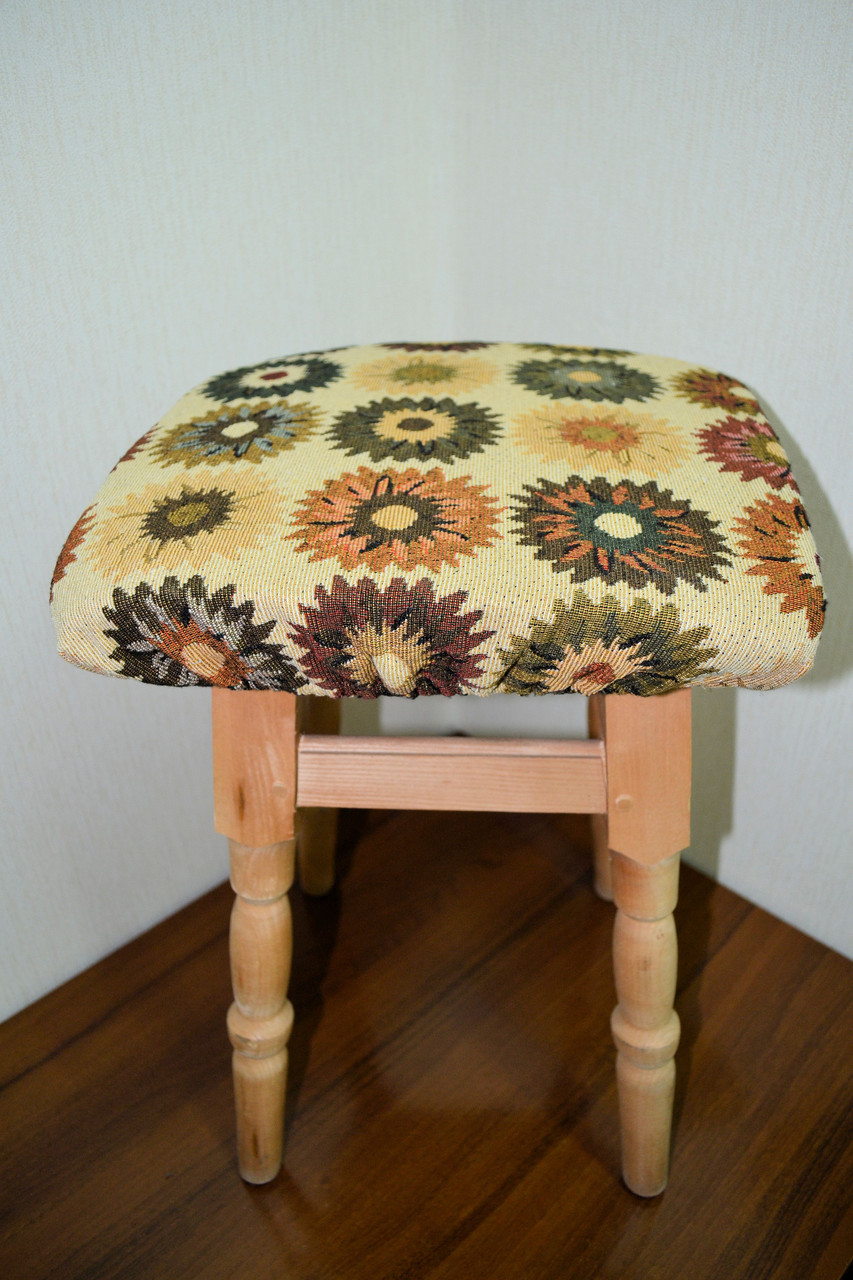
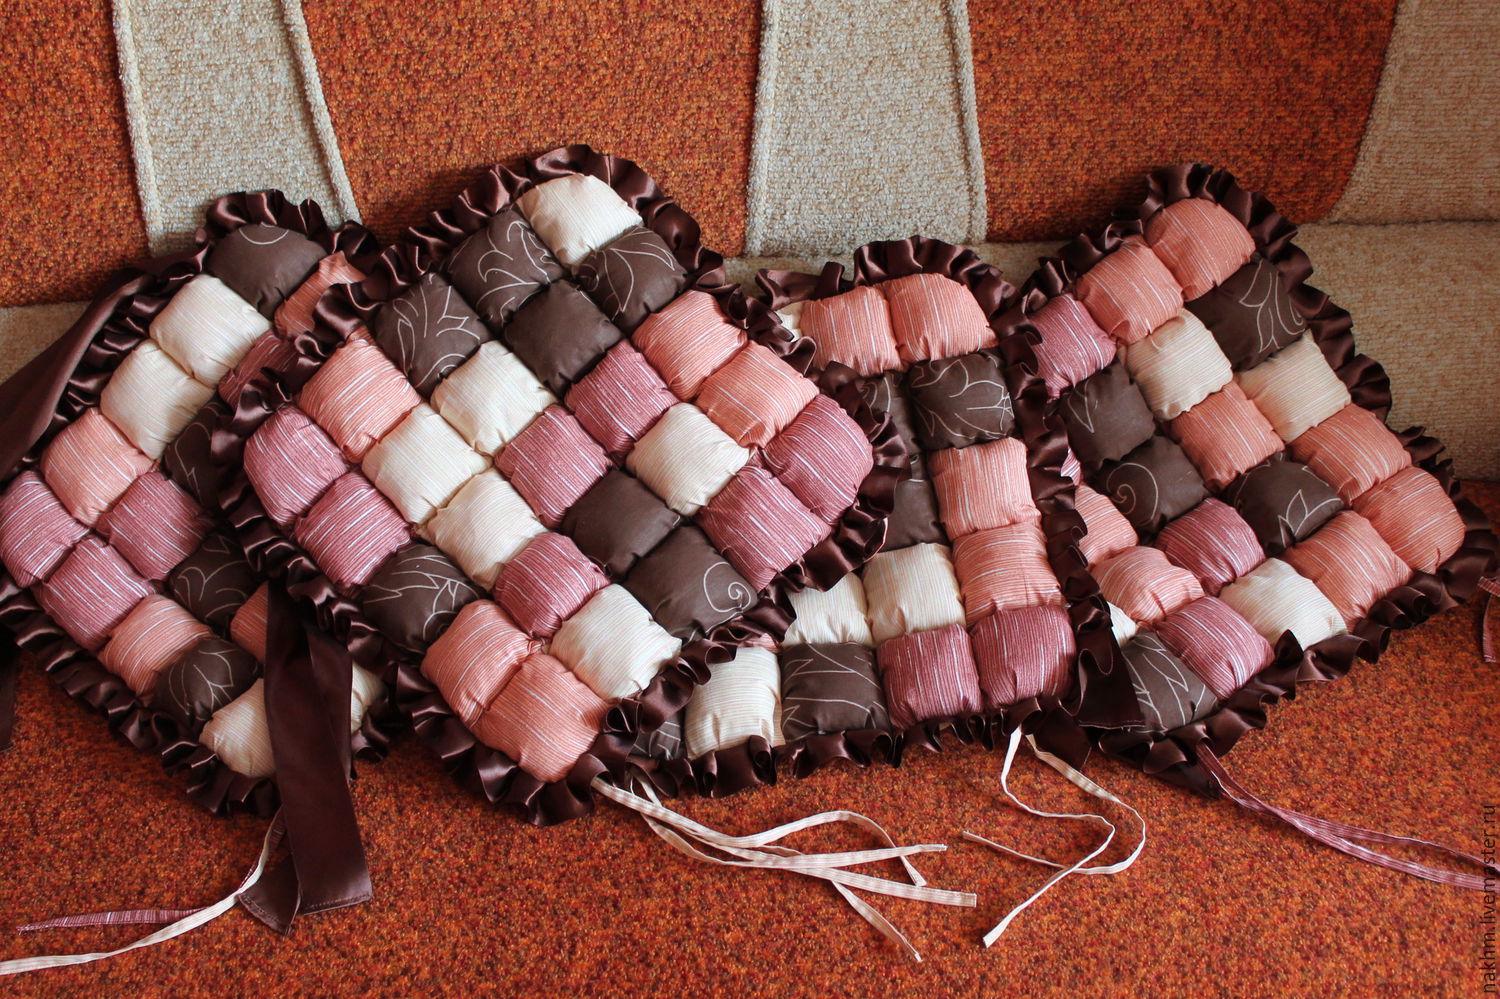
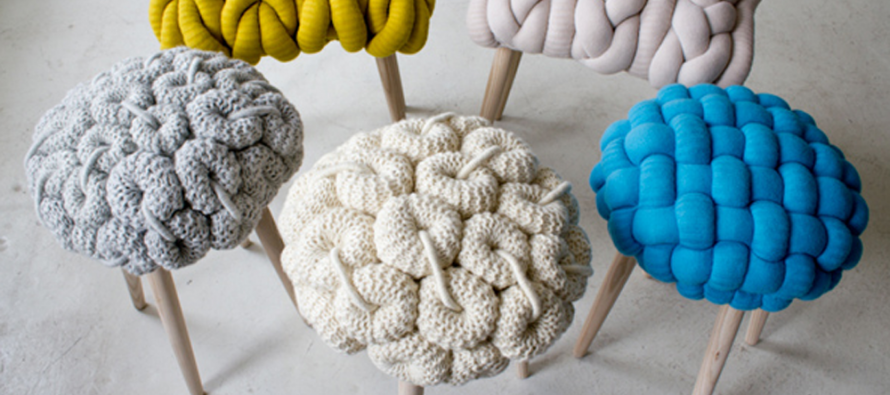
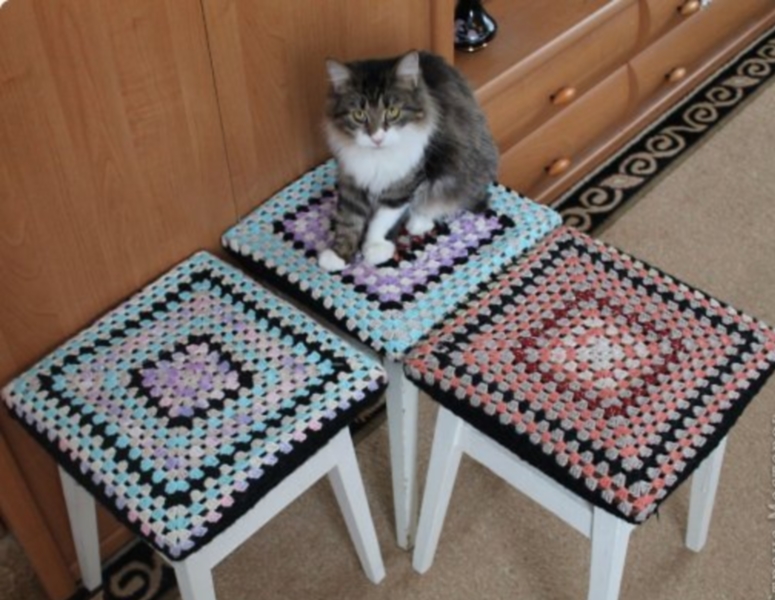
If the seats are made with your own hands, then you can choose any textile and filler. These are unnecessary scraps, foam rubber, tapestry with a large pattern and other materials.

The latter looks quite stylish and interesting if the color scheme matches the interior.
Necessary materials and tools
For making a soft base for seats you will need:
- Fabric (dimensions are calculated as follows: surface area plus 10 cm);
- Elastic band made of textile of medium width (2-3 cm);
- Strong threads to match the background color of the fabric;
- Chalk or a piece of soap for marking;
- Ruler;
- Pin;
- Sewing machine.
It is best to make a lining from a softer textile that will repeat the shape of the top of the stool.
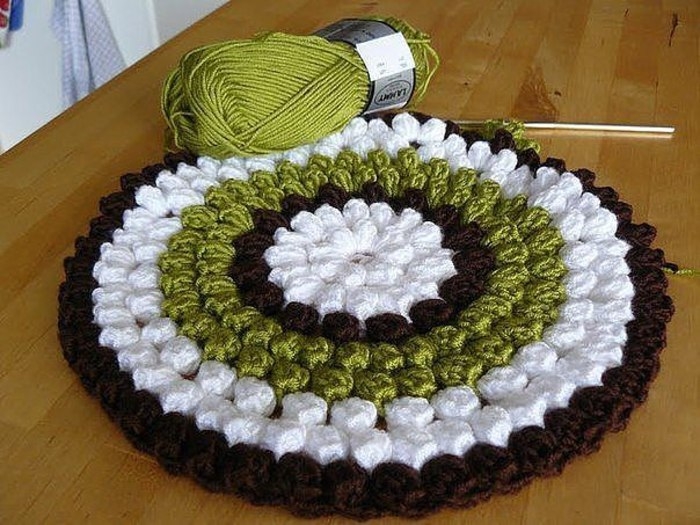
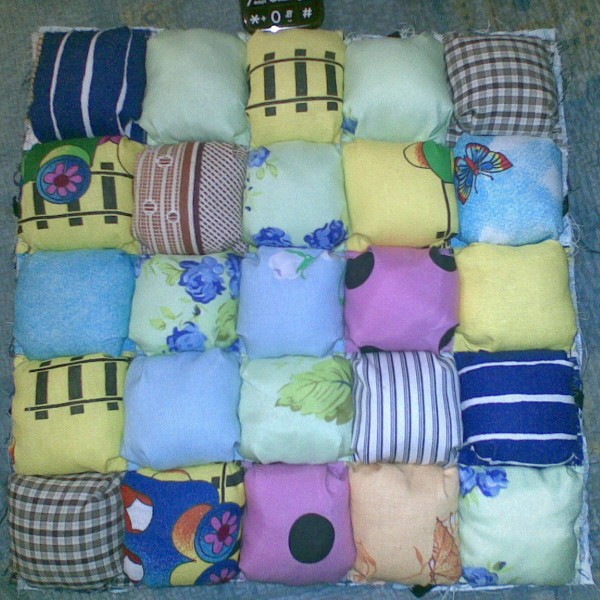
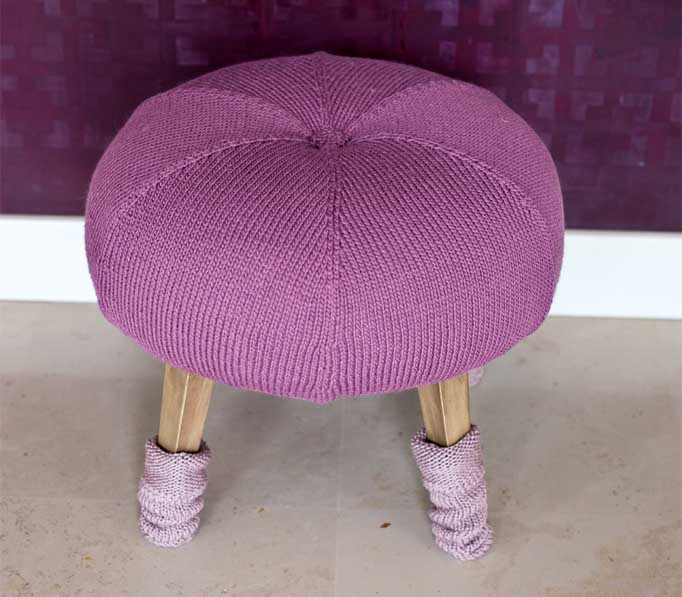
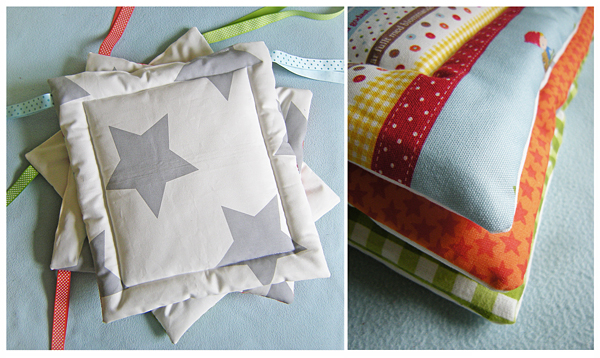
The ideal filler is dense foam rubber 3-4 cm high, no more, otherwise the seat will deform and will slide off the stool. For chairs, the filler should be 6-7 cm thick. If you don’t have any foam rubber at hand, then thin or thick felt, woolen fabric, synthetic padding, and even unnecessary scraps will do.
It is recommended that the filler made from scraps not be mixed; the pieces of fabric should be sewn together, since after washing they may bunch up in the corners.
Manufacturing process: step-by-step instructions
The example below of the upholstery process concerns the design of the seats for stools only. For chairs, everything will look a little different due to the design features.
Before starting work, draw the patterns from the textile with a piece of soap, with an overlap of about 10 cm on all sides. Carefully check all the dimensions - the correct calculation of the seat circumference depends on this.
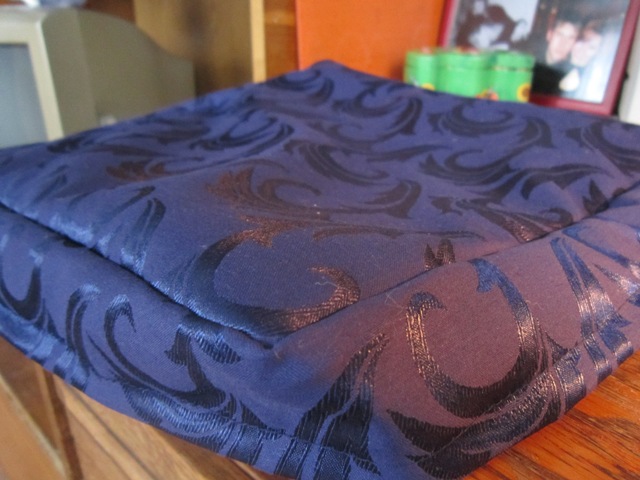
- Cut out a blank from fabric and filler. Remember that the fabric will cover the foam rubber from the inside and outside.

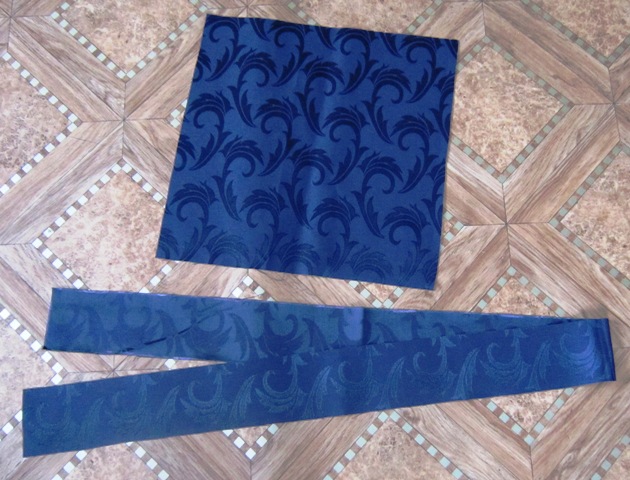
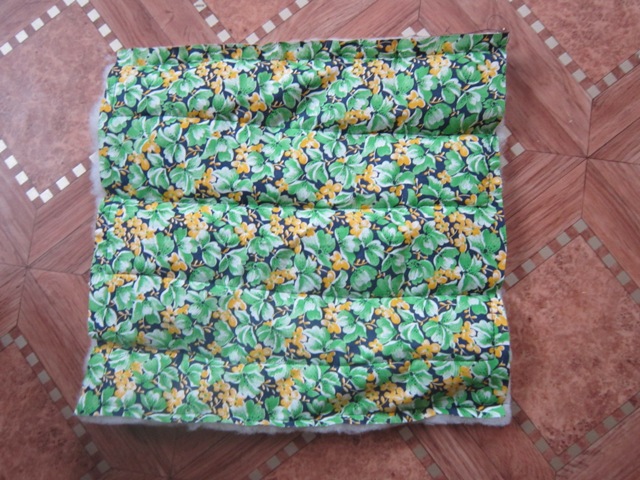
Cut out a 35x35 cm square from the main fabric + a 7x135 cm strip (all photos enlarge when clicked). 
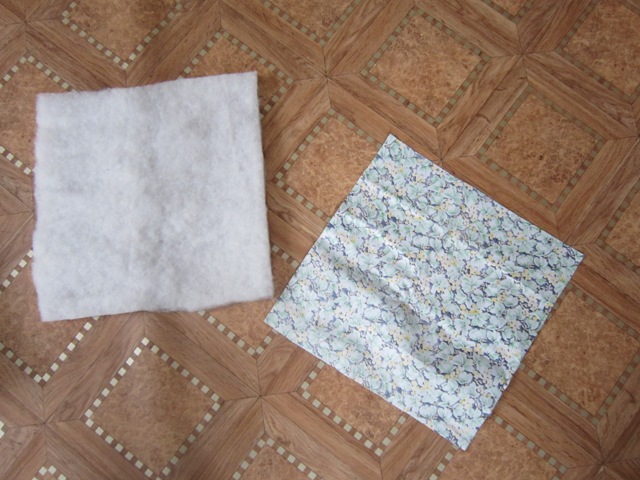
We also cut out 35x35 cm squares from the synthetic padding and lining fabric. 
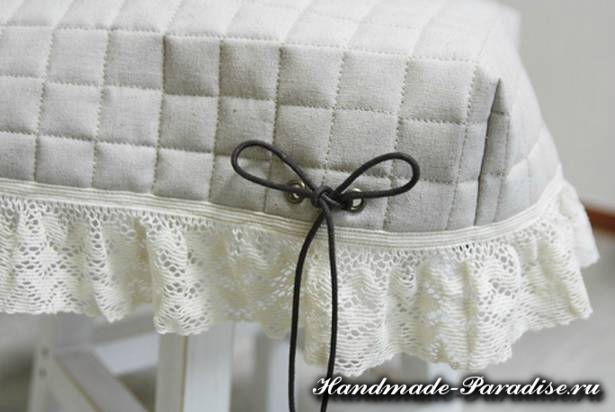
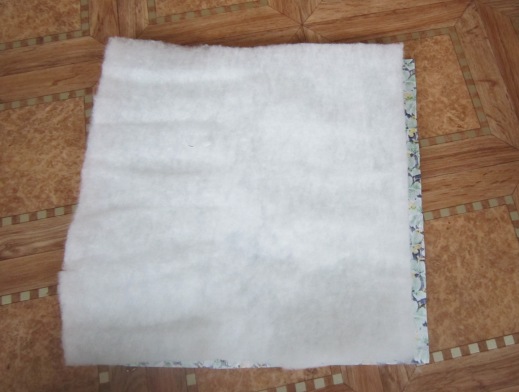
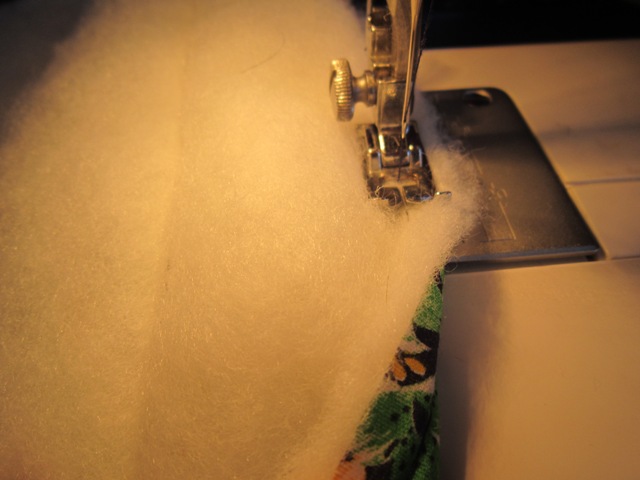
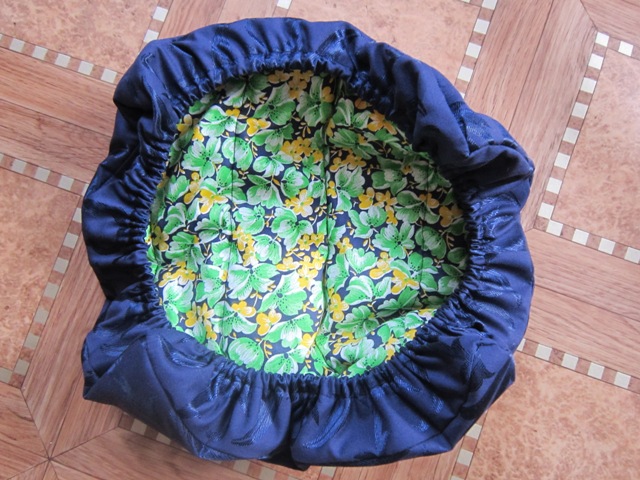
We combine the synthetic padding and lining fabric and stitch it in strips every 9 centimeters. - At the edges of the upper part of the workpiece, make a groove around the perimeter, sweeping the folds, and then wrapping and sewing the overlapping section 1-2 cm wider than the elastic.
Leave a small area open for it to be pulled in. You should get something like this “mattress”. - Apply the foam to the top part and sew the bottom part along the perimeter.
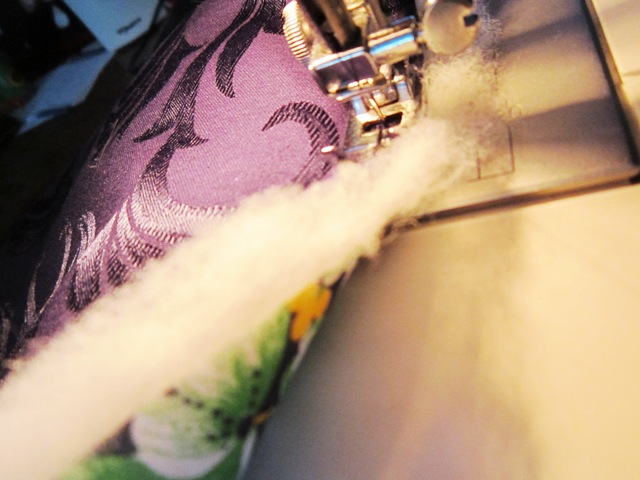
Now we sew our main square to this “mattress”. We apply the main fabric to the synthetic padding and sew ONLY around the perimeter. - Pinch the resulting product at the corners and sew with a blind stitch only on the outside so that you can insert the elastic. Cut it to size.
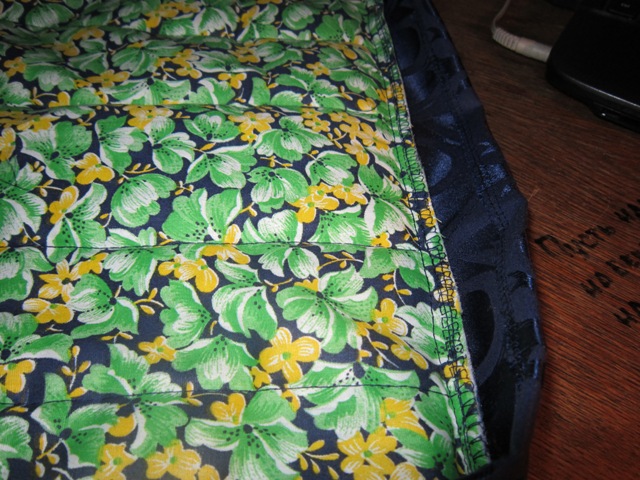
Next, we process the edges with an overlock stitch or a zigzag stitch. And we fold the second edge of our strip, leaving openings to insert the elastic. - Insert the elastic: holding one end, thread the other into the groove using a fastened pin. Connect the elastic and sew. The "entrance" into the groove should be stitched.
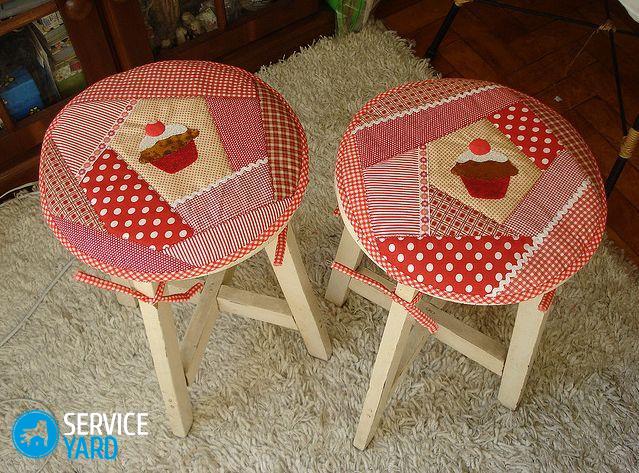
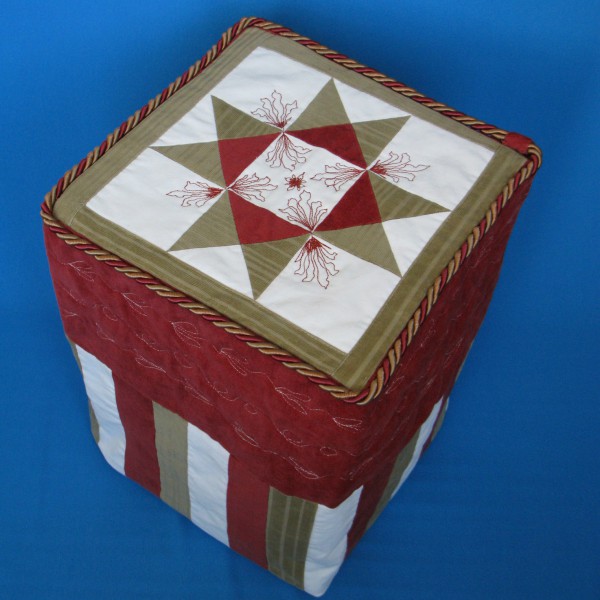
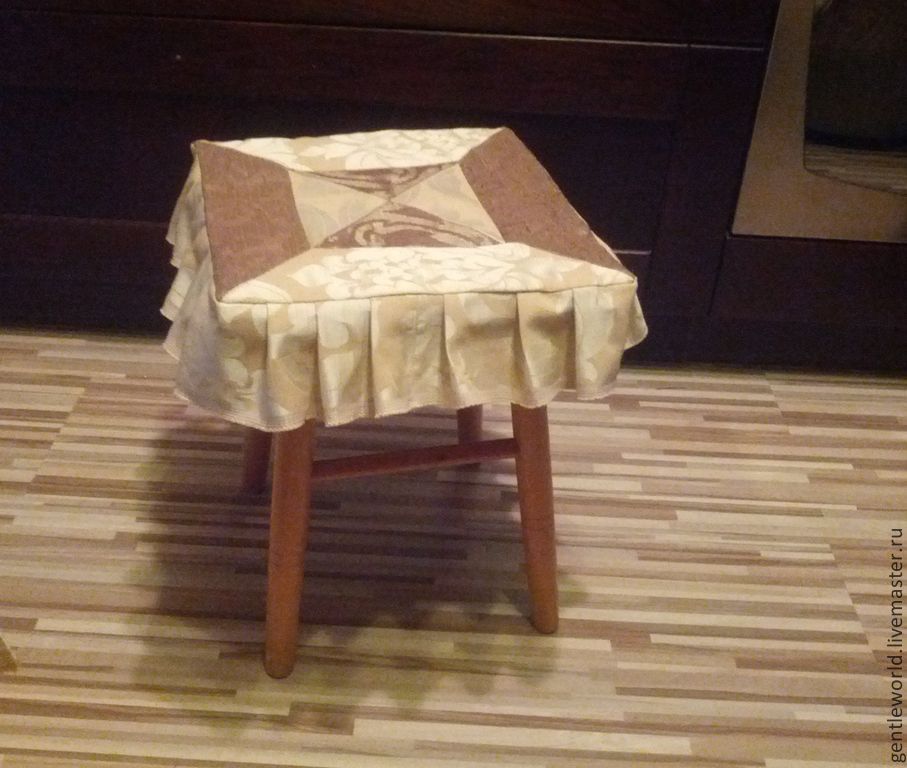
We thread the elastic band and VOILA! Our “pillow” is READY! - If for stool covers If you are planning to use a tapestry applique, you will need to sew it on before shaping the groove. Make sure it fits the intended position.
The elastic bands should be slightly shorter than the length of the perimeter of the seats, so that they tightly cover the base from below - then the product will not fall off during use.

After finishing the work, check the ease of use. stools – it is important that the corners of the cape are symmetrical and the surface is even. If the product “sits” on the chair too loosely, sew it up from the inside at the corners.
The final stage is decoration
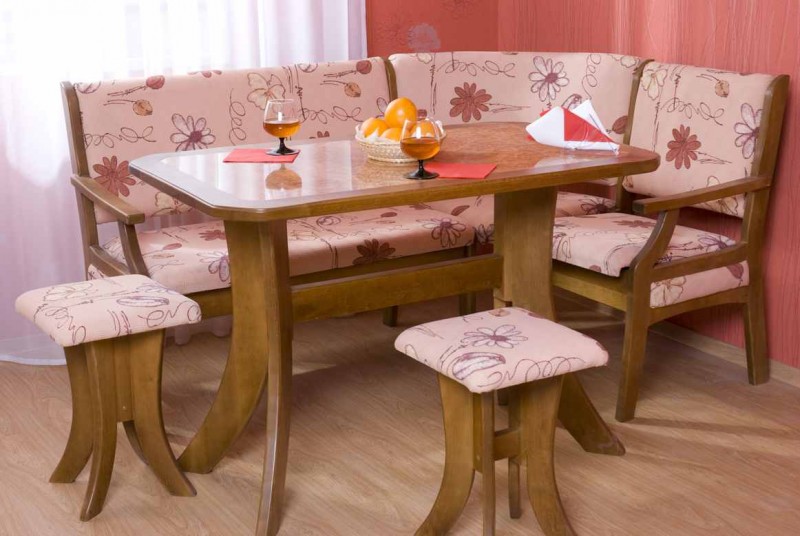
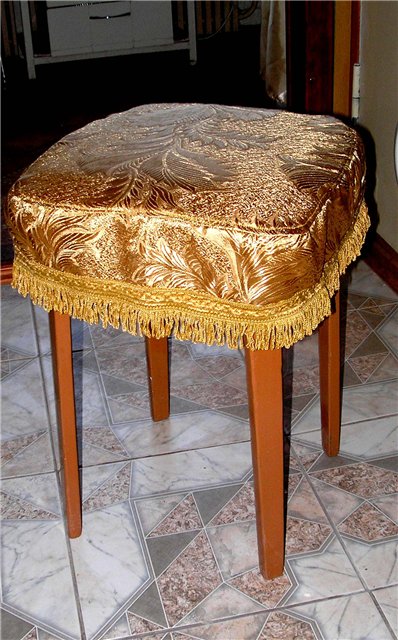
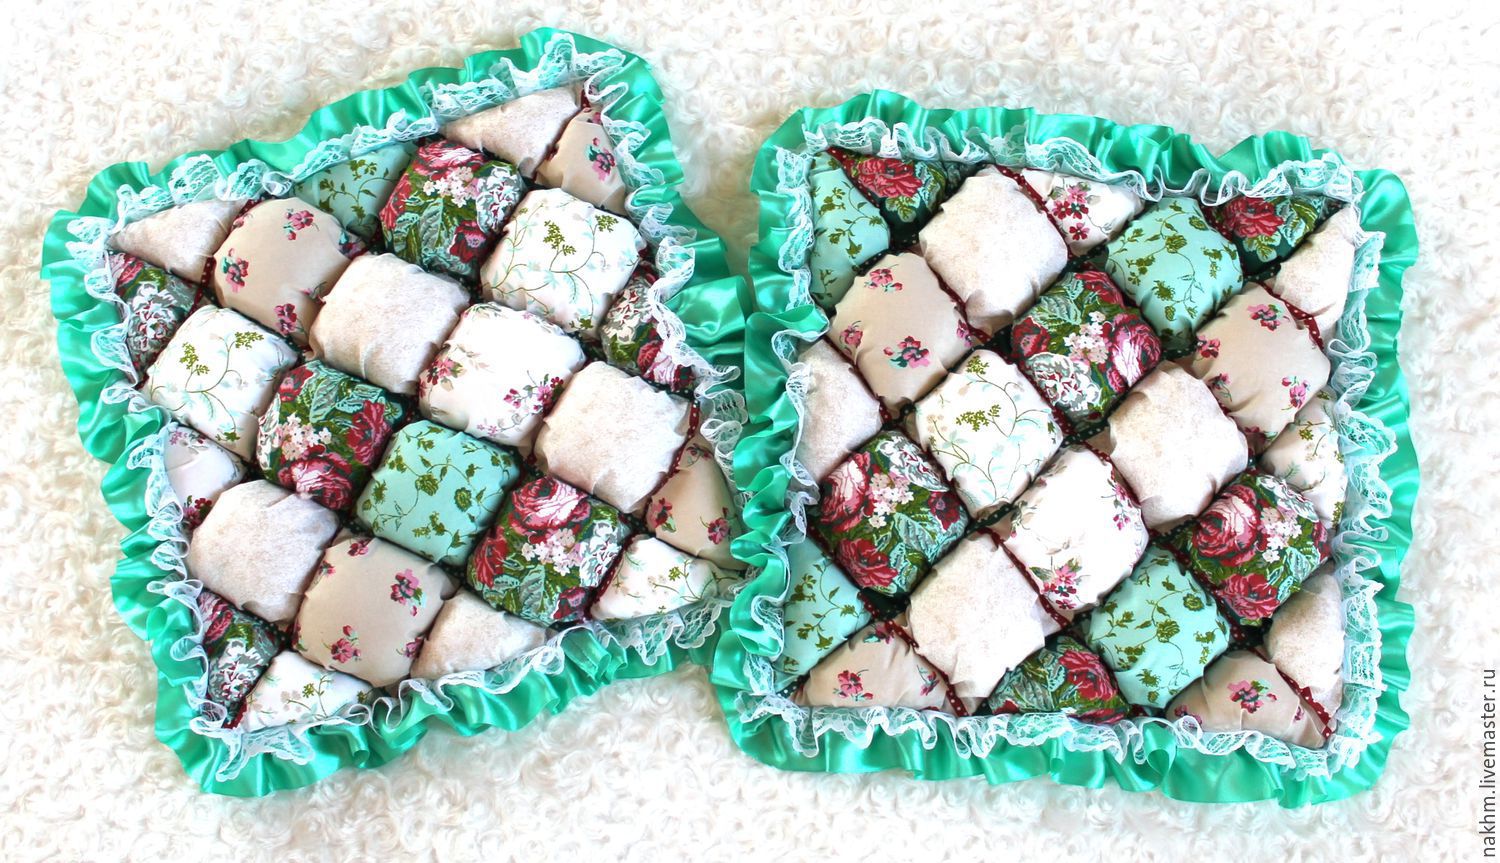
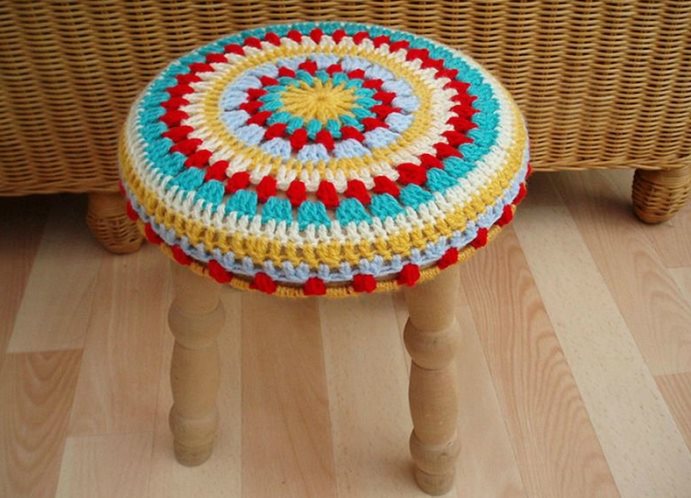
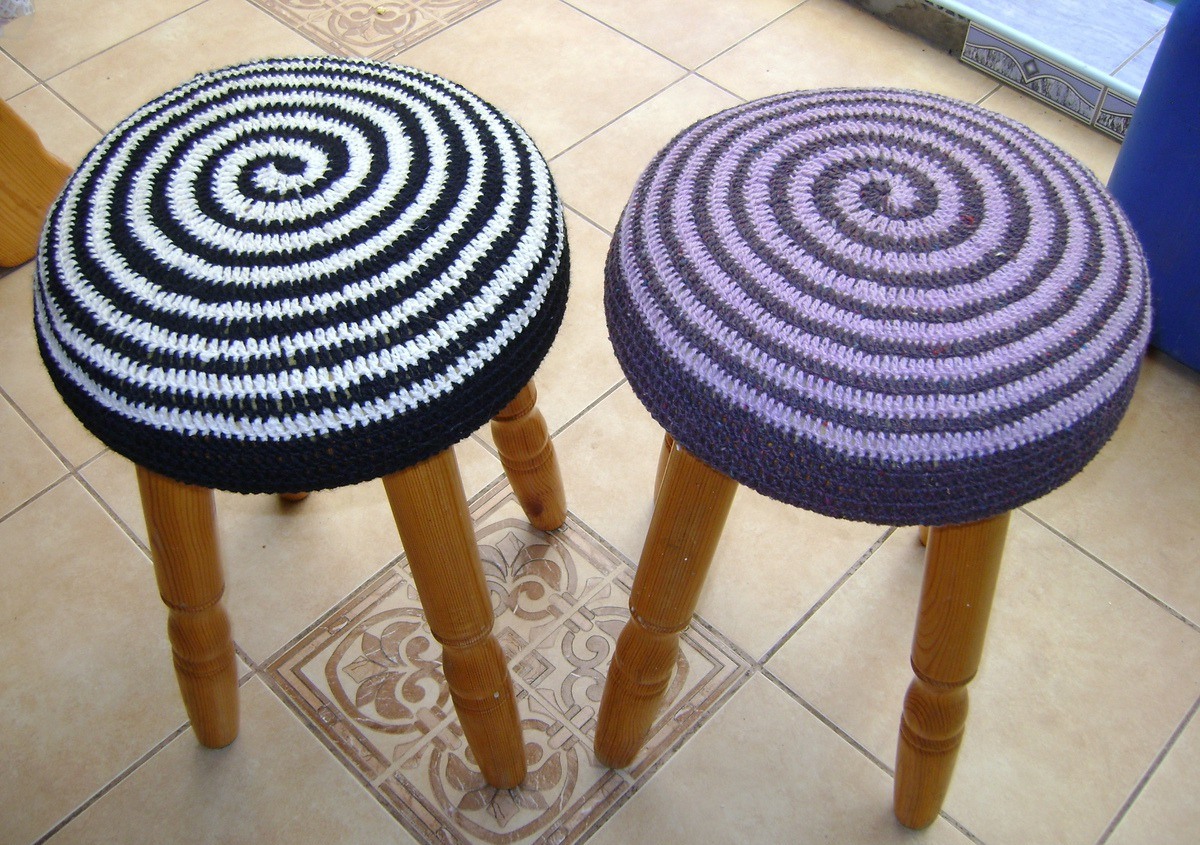
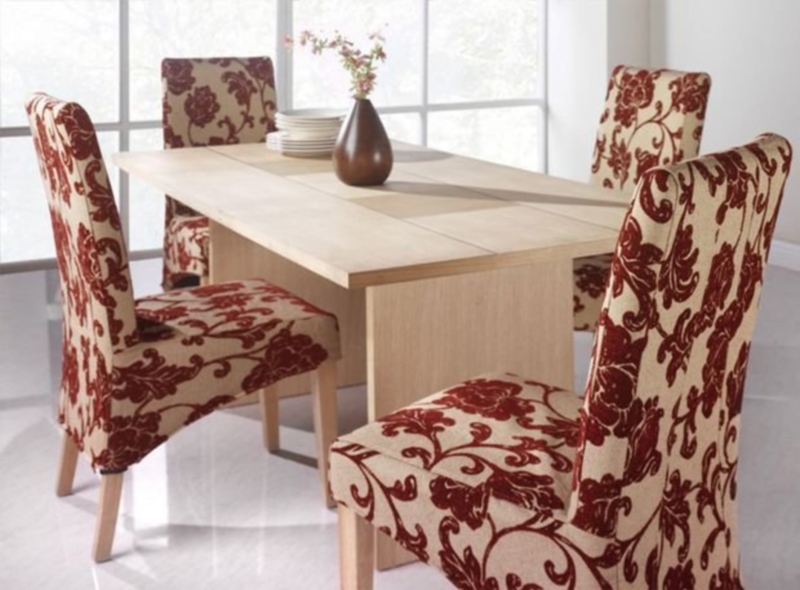
For the seat stools, createdwith your own hands, appearance is important. If a tapestry with a pattern is used, a large plant pattern with a flower in the center looks great. Due to the muted combinations of shades, it does not look pretentious, but rather stylish.
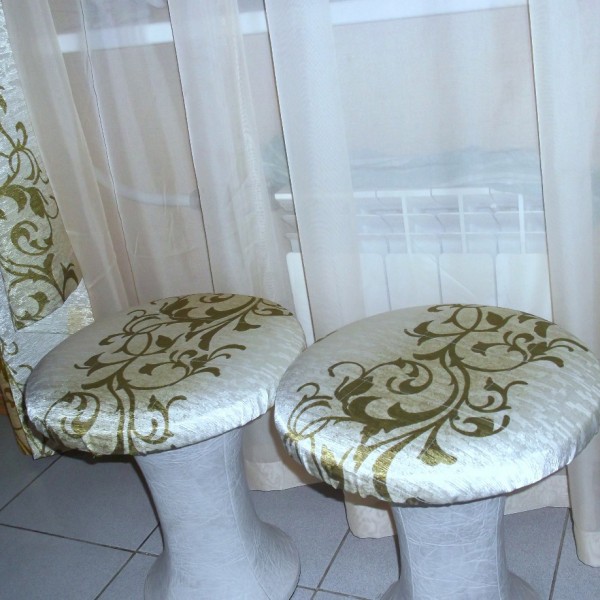
Decorate seats you can also use embroidery on your soft product. A large flower made using the satin stitch technique will look good like a tapestry with a central pattern. An ornament along the perimeter or an abstract image will also look great. Use strong threads with stable colors for embroidery, which will not wear out from frequent use of the cape and its washing.
Stools For kitchens can be varnished or painted to match the seats. It is better to do this before sewing to allow the entire thing to dry evenly. Considering that the furniture will be used frequently, it is recommended to apply two coats of paint or varnish to reduce wear.
Seat care
The soft removable part of the stools should be washed periodically, as it tends to get dirty regularly. This is especially true for kitchen stools.
It is recommended to dry the product in a straightened form, in a place where there is no direct sunlight, otherwise the pattern will fade.
VIDEO: DIY Stool Cover.
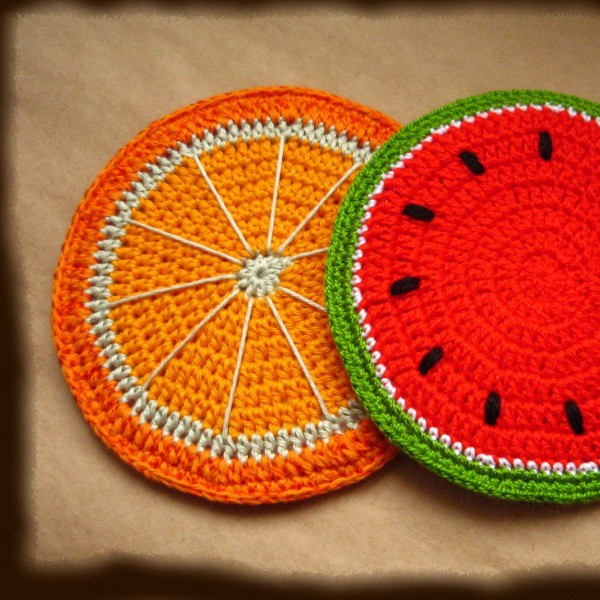
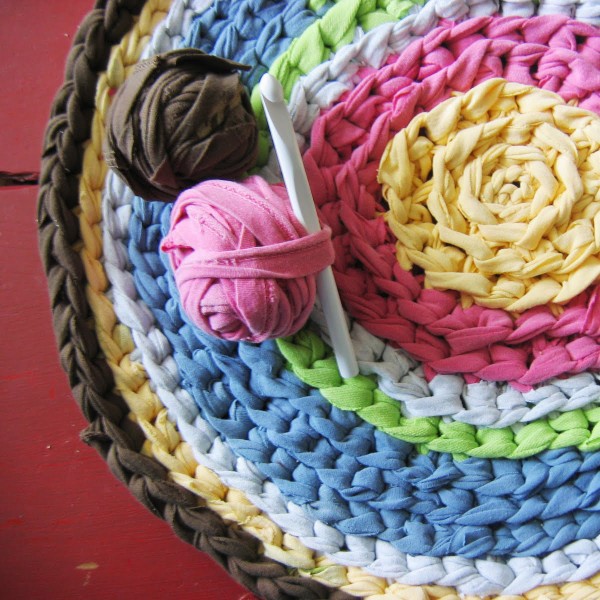
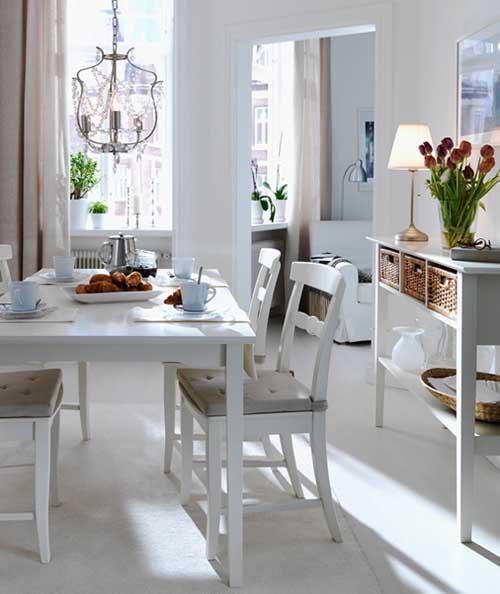
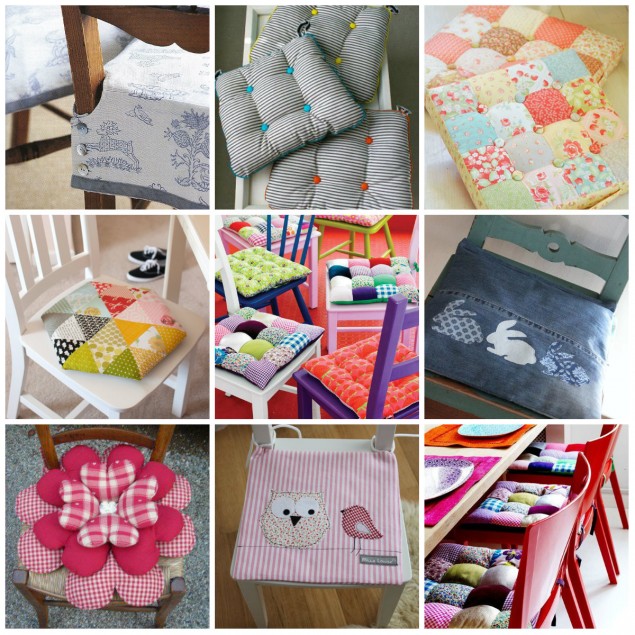
50 Soft Chair and Stool Cover Design Ideas: