However, when starting to build a partition yourself, it is important not to miss anything. After all, only in this case can you achieve proper quality and durability, avoid unnecessary worries during the installation process and save money.
Content
- Where to start?
- Calculation of required materials
- Preparing the tool
- The key to success: correct marking and installation
- Working with metal profiles
- Communications
- How to avoid mistakes?
- Single layer sheathing
- Double layer sheathing
- Arch
- Heat and sound insulation
- Finishing
- What to look out for
- VIDEO: Plasterboard partition. Video tutorial. Do it yourself. All stages
- 50 DIY Photo Ideas for a Partition (Wall) Made of Plasterboard
Where to start?
Having decided on the place for erecting a plasterboard wall with your own hands, you can begin to form a list of materials and tools. At this stage, you will need to make a number of measurements that will be needed for further calculations. Not only the height and width of the room at the place of erection of the partition are important, but also the dimensions of the doorway and, if any, windows. After all the dimensions have been recorded by you, you can arm yourself with a calculator and begin to compile a list of the necessary materials.
Calculation of required materials
The basic list of materials is as follows:
- guide and rack profile;
- sealing tape;
- self-tapping screws and dowels for fastening the profile;
- plasterboard;
- self-tapping screws for fastening plasterboard;
- wooden beam to strengthen the profile around the doorway;
- heat-insulating material;
- sleeve for insulating electrical wiring.
In order to avoid unnecessary expenses or buying an insufficient amount of material, it is advisable to make preliminary calculations. With plasterboard, everything is very simple: you need to determine the area of the future partition. To do this, multiply the height of the room by its width at the place where the plasterboard wall is installed and subtract the area of the doorway from the resulting number. If a single-layer plasterboard sheathing is planned, then the result must be multiplied by 2, in the case of a two-layer - by 4. For the wall, it is best to take standard sheets with a thickness of 12.5 mm. Depending on the features of the room, you will have to choose between simple and moisture-resistant plasterboard.
The guide profile is needed to connect the supporting part of the structure with the floor and ceiling. Based on this, we simply multiply the length of the future wall by 2 and get the required amount of profile. With the rack profile, it is a little more complicated. The recommended distance between the racks is 60 cm, so first you need to divide the room width measured in cm by 60, thus finding out the required number of racks. Then the resulting number is multiplied by the height of the room. To the resulting number, add two more wall lengths - these are lintels to strengthen the structure.
If there is a door in the plans, then the posts adjacent to the door should be reinforced with a wooden beam of the appropriate thickness. An alternative to the beam can be a reinforced thick-walled AU profile. The quantity is simple: the length of two posts adjacent to the door plus the width of the doorway.
Preparing the tool
In order to avoid problems during the process of erecting a plasterboard wall with your own hands, it is necessary to prepare the necessary tools for the work in advance. You will need:
- roulette;
- plumb line and level;
- metal shears;
- construction knife;
- plane;
- screwdriver;
- grater.

The key to success: correct marking and installation
The most important and responsible moment in assembling the frame of the future partition is marking. It is better to start from the floor. Then, using a plumb line, mark the walls and ceiling. It is very important not to forget about several nuances:
- When marking a plasterboard wall, it is necessary to tie it to two walls perpendicular to it and average the values. Without doing this, you can get a room with a visual curvature, because right angles are very rare in buildings and the wall opposite the partition can be oblique in relation to the other two.
- The line you have drawn is a guide for laying the guide profile, and accordingly, the partition will protrude beyond this line by the thickness of the sheets of drywall, plaster and finishing material.
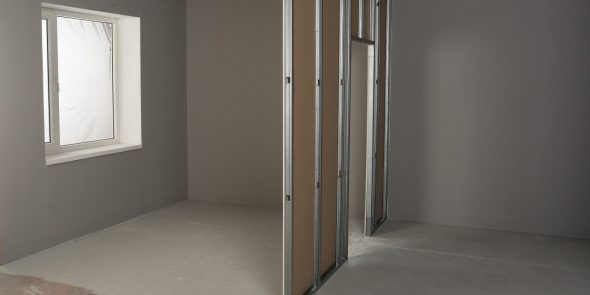
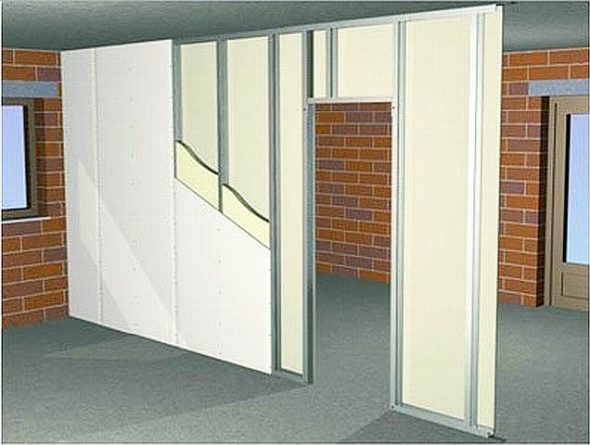
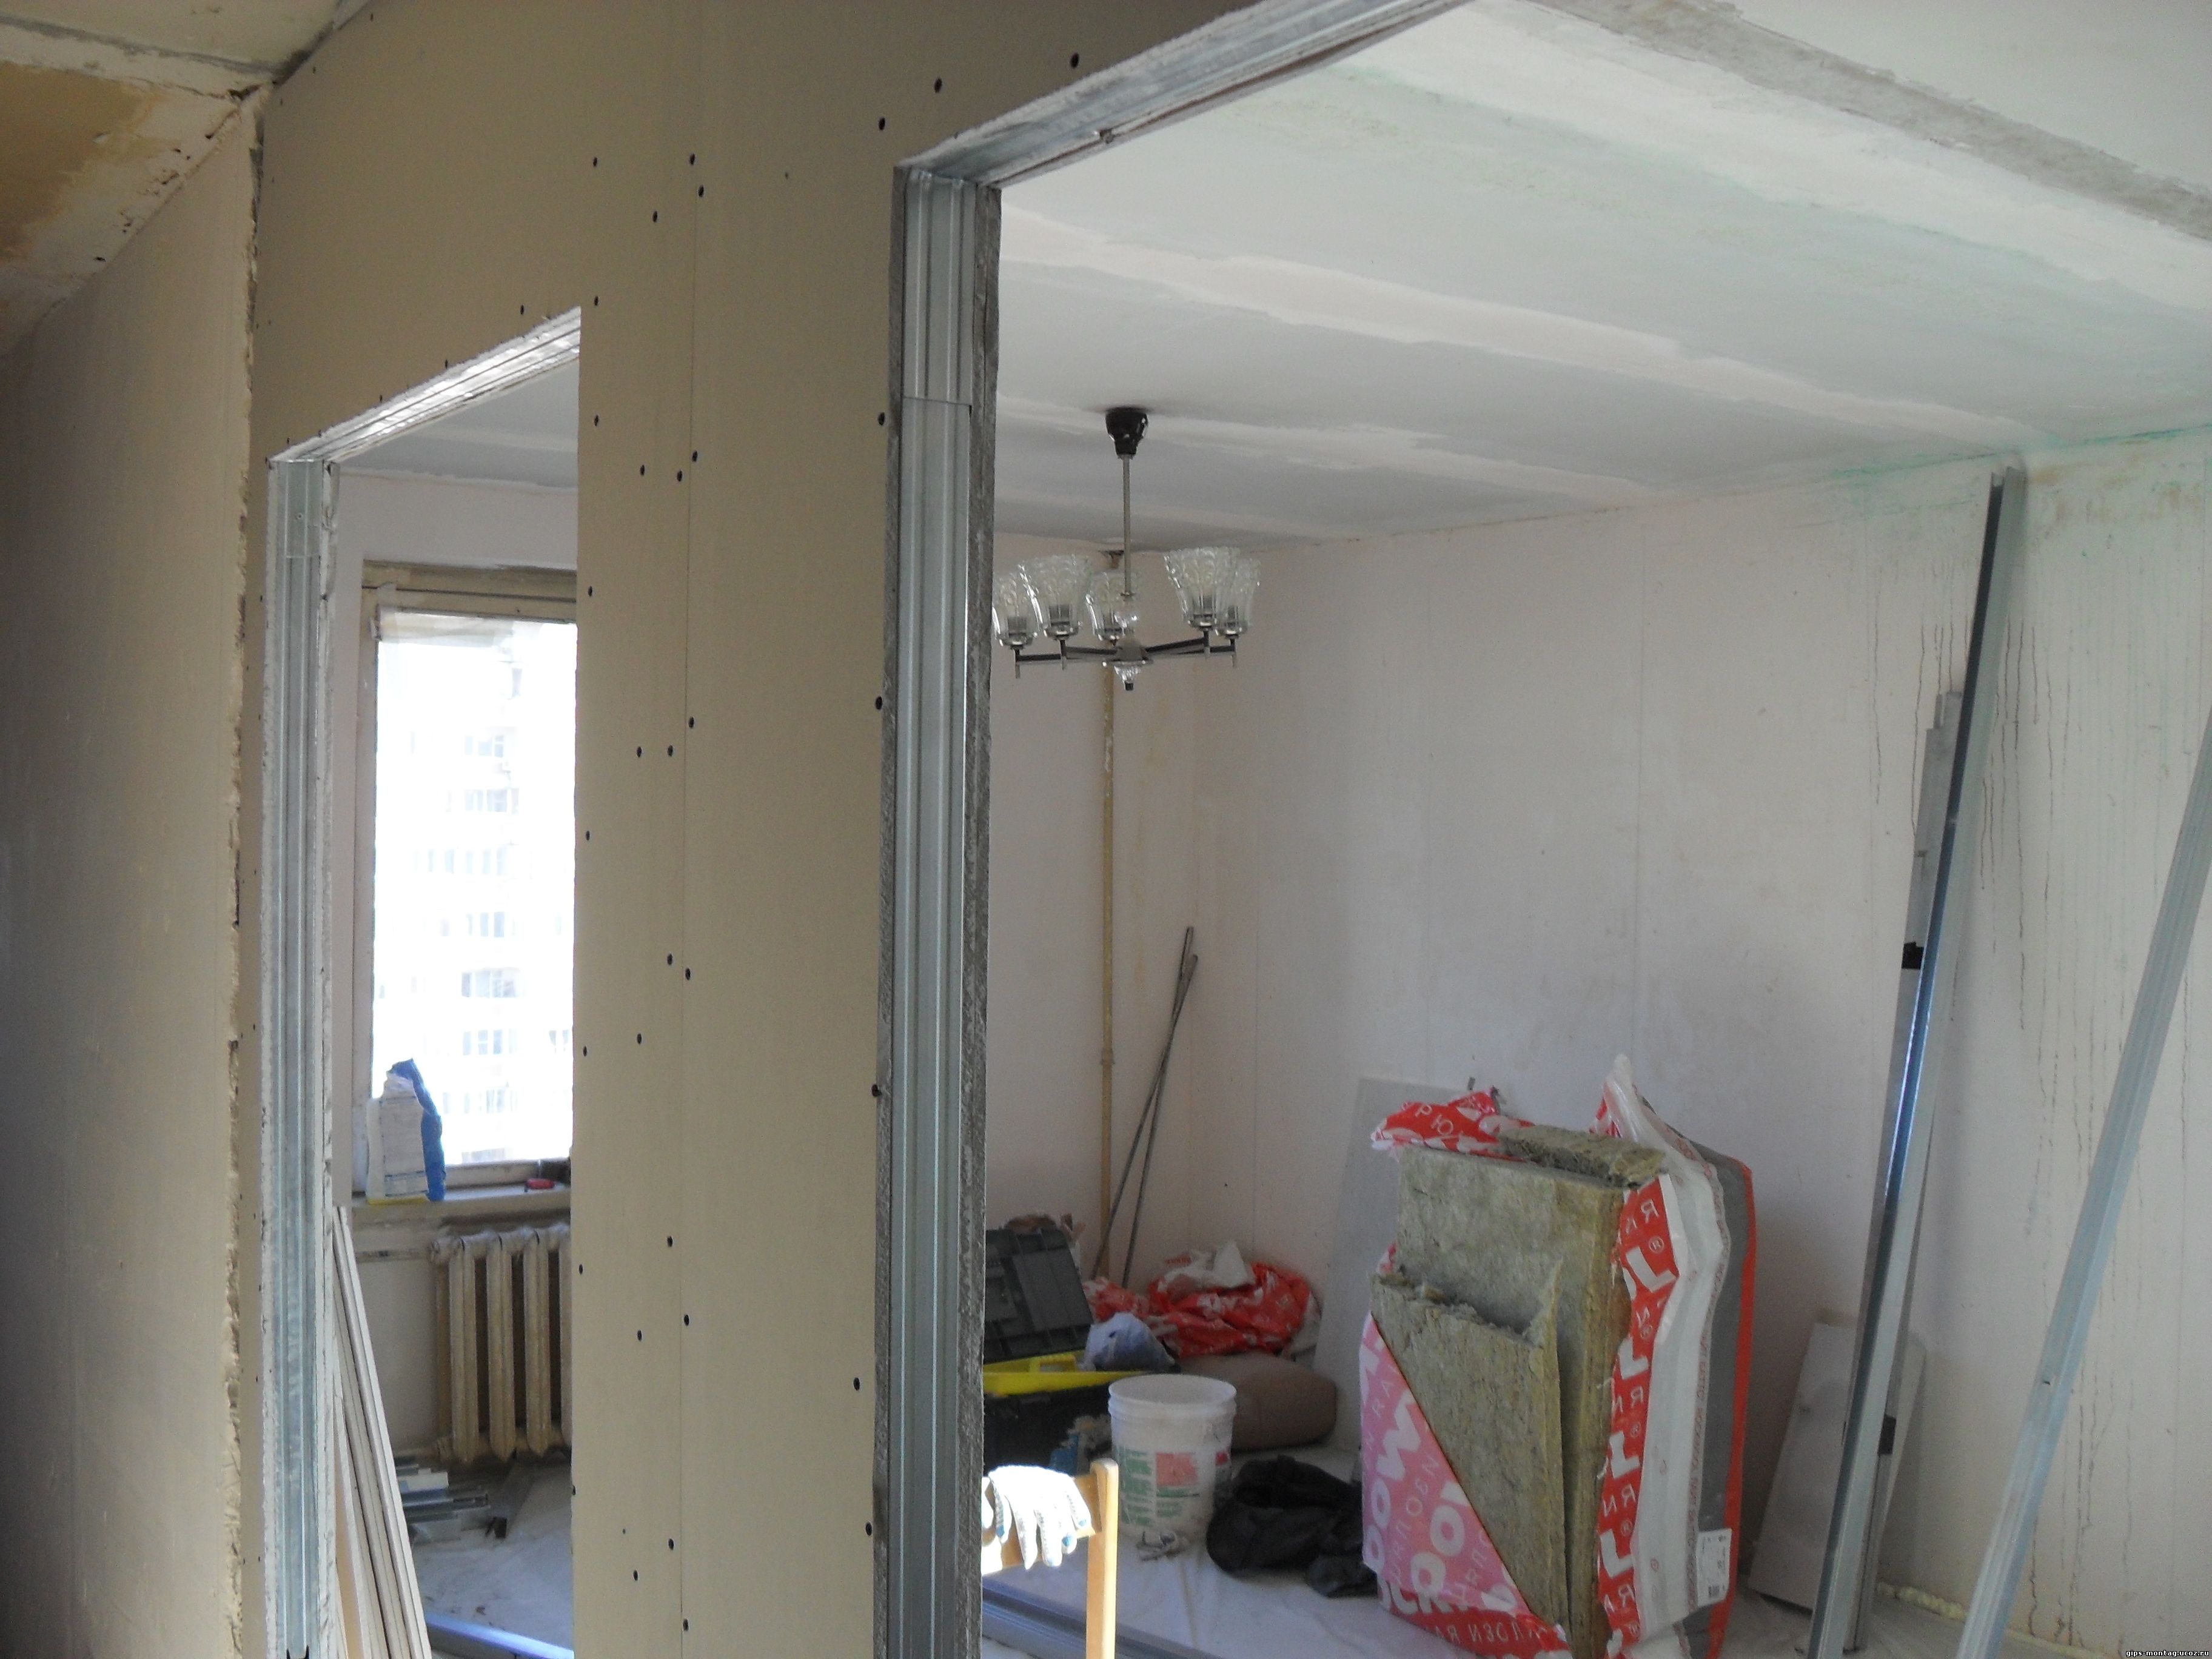
Working with metal profiles
Once you have finished with the marking, you can start fastening the guide profile. It is laid using a sealing tape. The guide profile is fixed with dowels and screws. There should be a gap of no more than 50 cm between the fasteners. The edges of the guide profile must be fixed without fail.
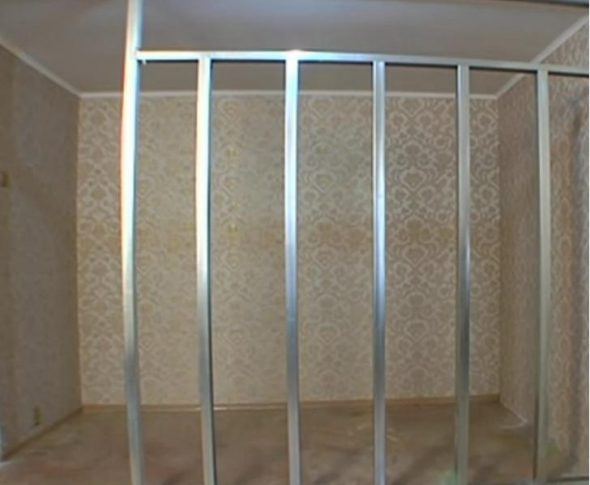
The next stage of the frame assembly is the installation and fixation of the rack profile along the edges of the guide. Then the doorway racks are installed face to face. The distance between them should be taking into account the upcoming plasterboard sheathing. Then the remaining racks are installed, with the first of them located at a distance of 55 cm from the wall, the subsequent ones are placed at intervals of 60 cm.
The distance between the posts is measured from their centers. It is recommended to first insert the bearing profile into the lower guide, then into the upper one. The posts are fixed only after checking their position with a plumb line or level. If there is a living space on the floor above, it is advisable to use construction film when laying the profile. Laying it at the point of contact of two profiles will help to avoid the characteristic creaking that occurs with a short-term increase in load.
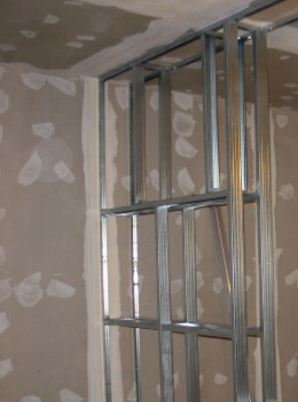
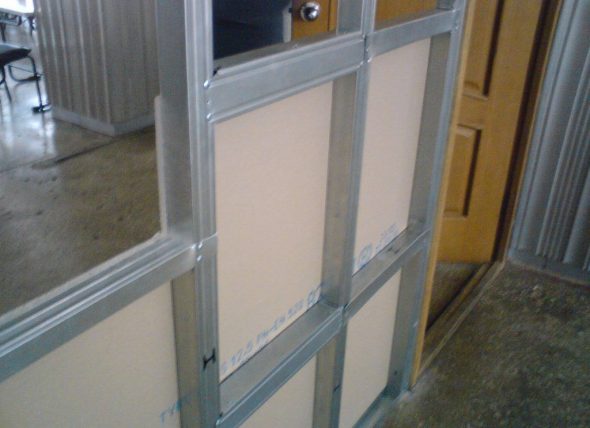
The next step is to install horizontal struts designed to strengthen the structure. To do this, you need to cut the profile to the desired length, which is equal to the interval between the posts plus 30 cm. Then, on the base of the cut, marks are made on each side 15 cm from the cut line. After that, the side of the profile is cut at an angle of 45 degrees, with a slope from the edge to the mark, and given a U-shape. The workpiece is placed between the posts and fixed. The resulting ears are attached to the outside of the supporting profile.
The horizontal lintels of door and window openings are installed in a similar manner. However, if they are planned to be rounded, then it is necessary to secure an additional spacer between the post and the lintel at the required angle.
Communications
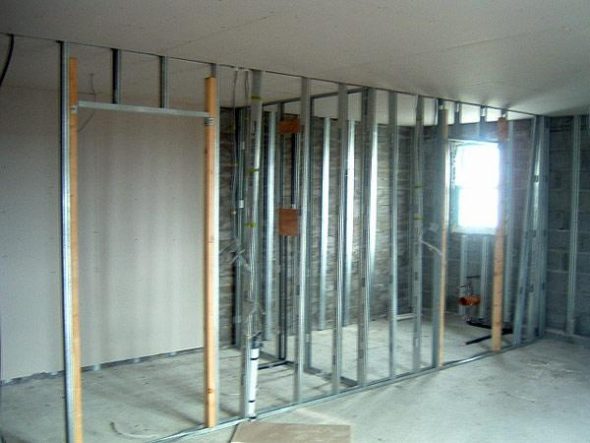
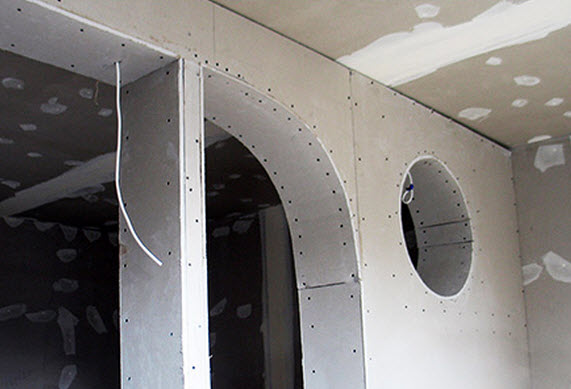
An important point when creating a wall from plasterboard is the installation of electrical wiring. First, it is threaded into a protective metal or non-flammable plastic corrugated sleeve. Then, holes of the appropriate diameter are made in the supporting profile in the right places. It is important to bend the edges of the hole to one side and bend them to prevent damage to the wiring. Then the wires are pulled to the necessary points of the structure.
How to avoid mistakes?
Sheathing with plasterboard is not a difficult task, but it requires following certain rules. Thus, in order to avoid cracks due to subsidence, it is recommended to leave a 10-15 mm gap at the junction of the plasterboard sheets and the floor along the lower edge of the wall. And the screws are screwed into the plasterboard with a depth of 1 mm so that the head does not break through the top layer of cardboard.
The density of the sheets at the joint depends on the correctness of the cutting. The best result will be with the following procedure. After placing the sheet on a flat surface, measurements are taken, the border is marked with a pencil. A layer of cardboard is cut along the outlined line with a construction knife, then the edge of the support is brought under the cut line, and the plaster is carefully broken off. Then the sheet is turned over and again placed with the cut line on the edge of the support. The second layer of cardboard is cut, but not through, and carefully chipped off.
Single layer sheathing
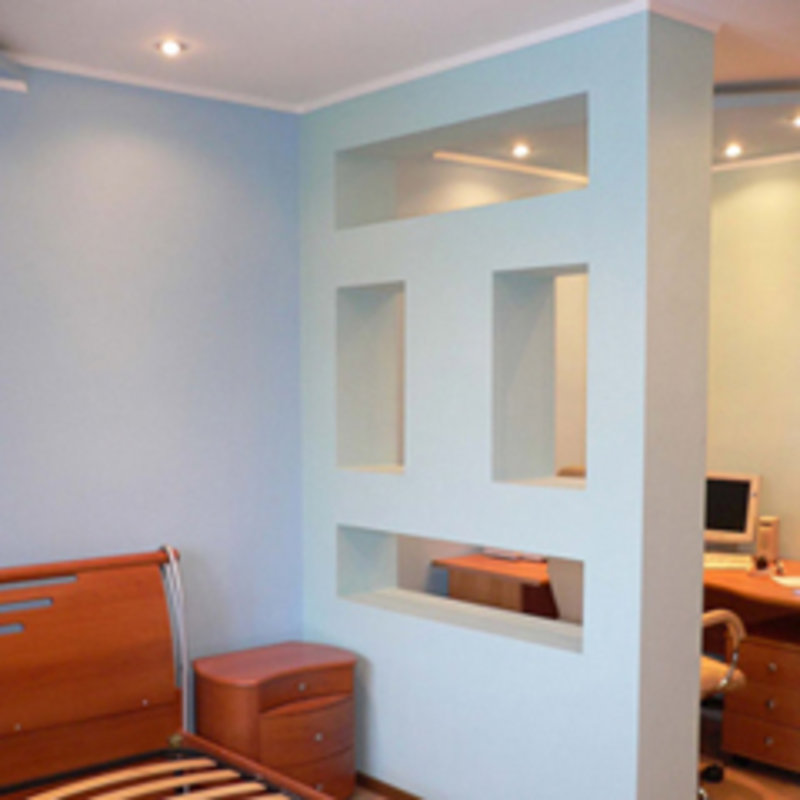
This is the best option if you do not plan to mount heavy interior items on the walls. At possible mounting points for wall lighting fixtures, you need to reinforce the plasterboard with plywood or build an additional spacer into the frame.
If you only have access to gypsum boards that are shorter than the height of your apartment, this can be easily fixed without compromising the strength of the wall. It is simply necessary to use the experience of professionals when creating a wall with your own hands. The space not covered by the sheet is covered with fragments of the required size. In this case, it is necessary to avoid matching seams at the same level, so throughout the wall you need to alternate whole sheets and their fragments. That is, if in the first row a sheet is sewn on the bottom, and a fragment is sewn on top, then in the next row there should be a fragment on the bottom, and a whole sheet on top.
All joints of the plasterboard should have a chamfer. If there is no thinning of the sheet towards the edge, it must be formed using a plane. The edge of the sheet is thinned at an angle of approximately 22 degrees, but in such a way that the thickness decreases by no more than 4 mm at the cut line. The edges of the plasterboard adjacent to the wall borders, on the contrary, must be devoid of a chamfer.
Double layer sheathing
Double-layer plasterboard wall sheathing is used when it is necessary to install a high-strength partition. The sheathing rules are not much different from single-layer, with one exception: the joints of the plasterboard sheets in the lower layer of the sheathing do not necessarily need to be processed by forming a chamfer. It will only be needed on the sheets of the upper layer.
When covering the frame, it is also important to ensure that the seams do not coincide. To do this, the top layer is sewn with an offset of half the width of the sheet. In addition, it is important to increase the number of fixation points. Therefore, if with a single-layer sheathing it is enough to fasten with self-tapping screws at intervals of 25-40 cm, then with a two-layer sheathing, fixation on the profile at intervals of 15-20 cm is needed.
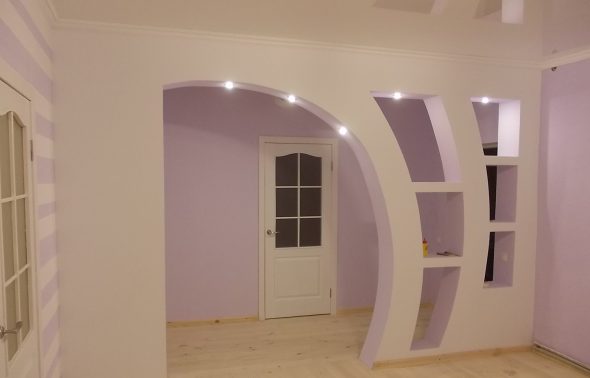
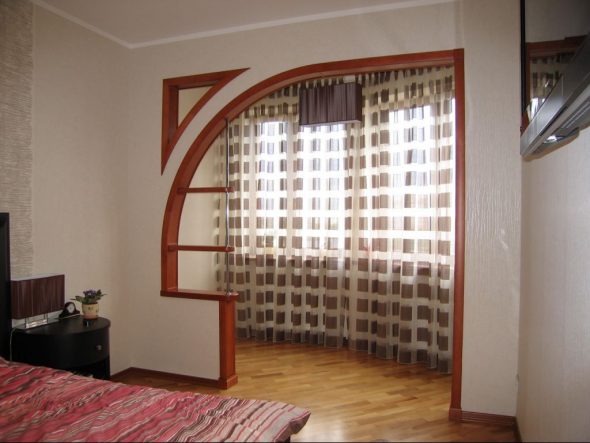
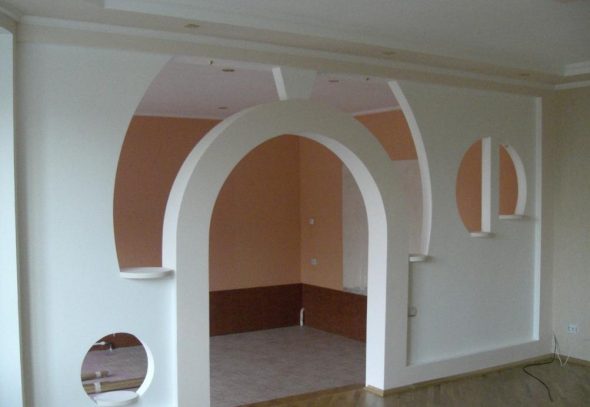
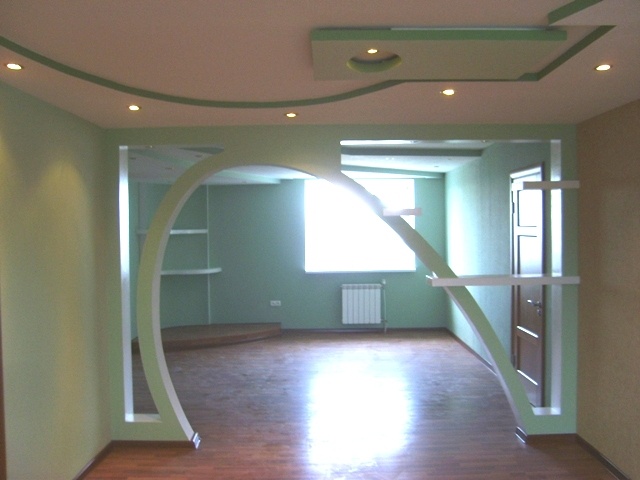
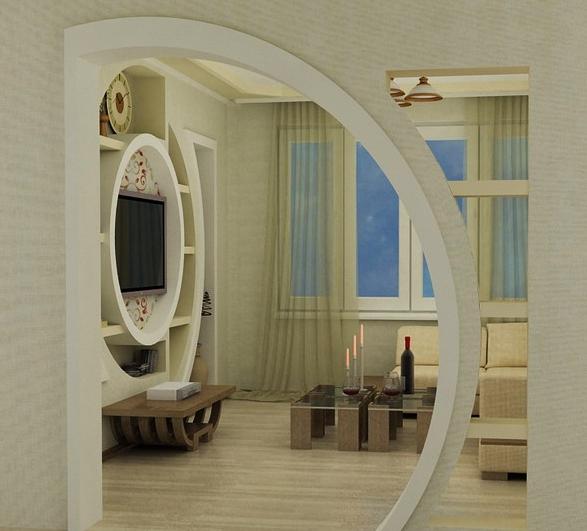
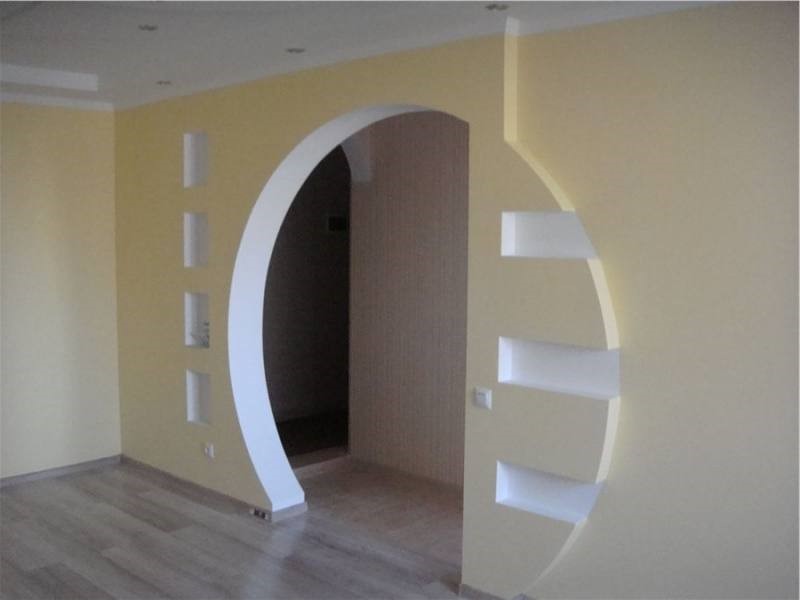
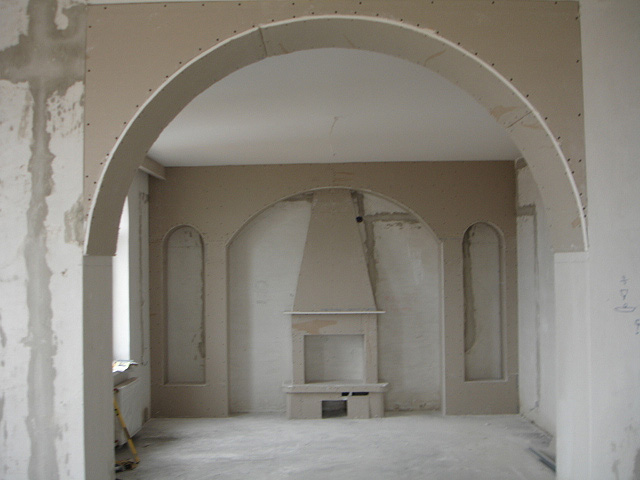
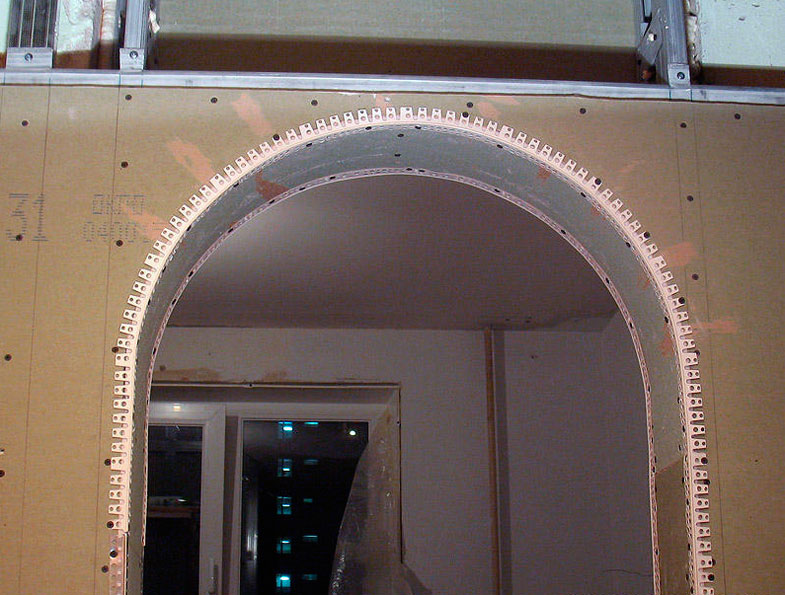
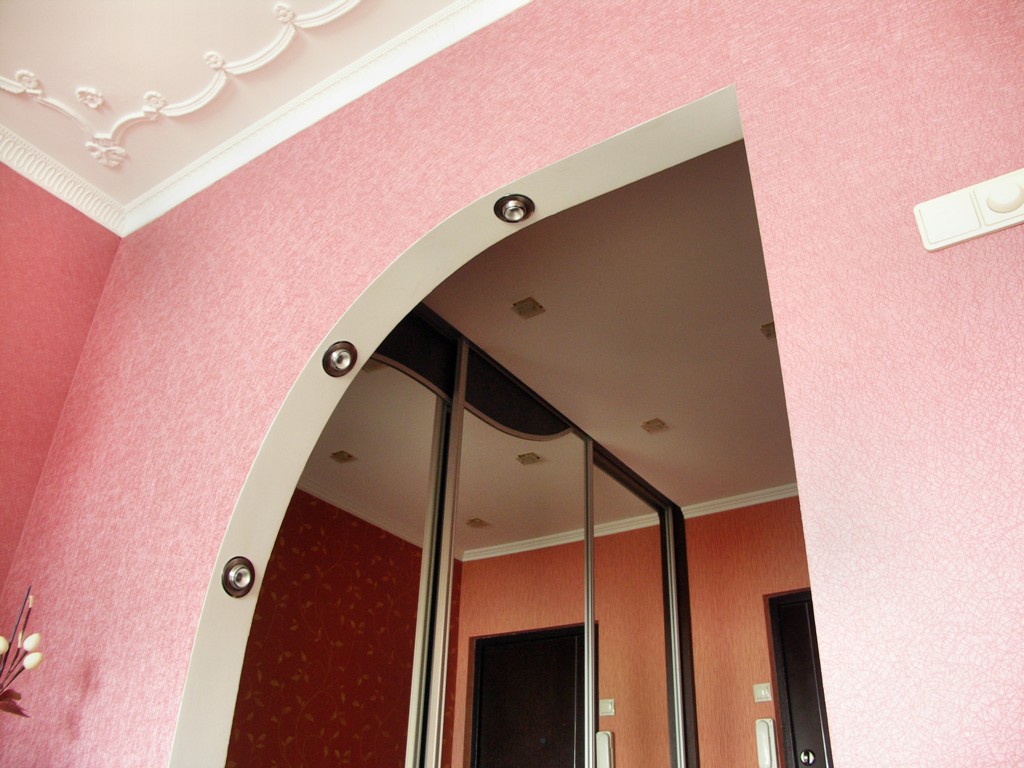
Arch
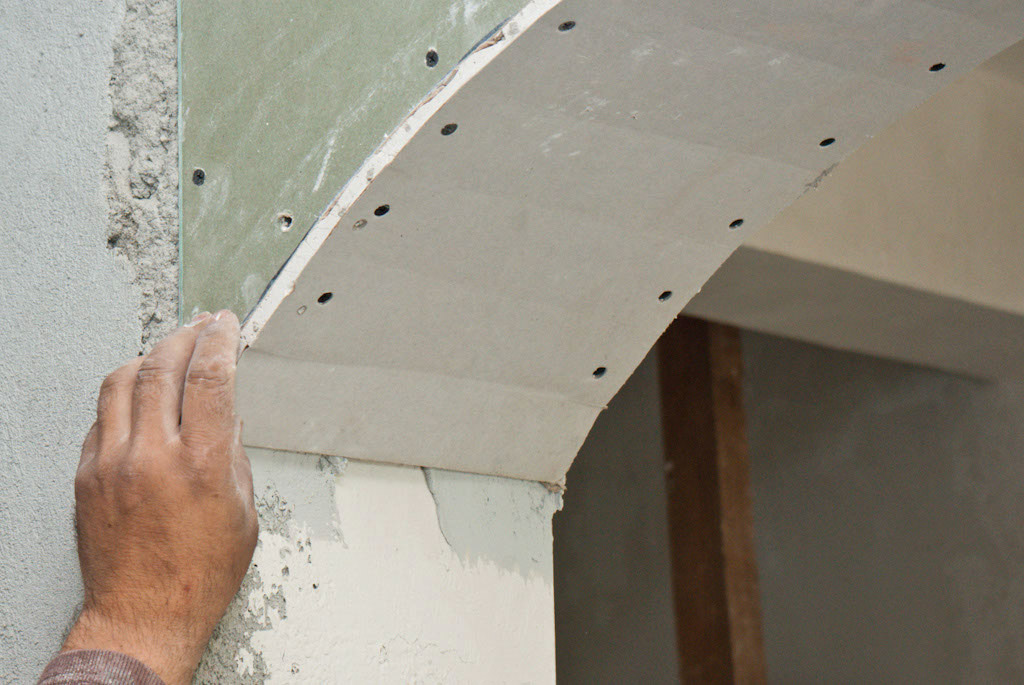
If you want to make a door or window opening semicircular, you can bend a piece of the required size yourself. To do this, you will need a frame of the required radius, which can be made from scraps of the same plasterboard and bars.
Having prepared everything necessary, a piece of gypsum board of the required size is cut off. Then one of its sides must be perforated with a needle roller and moistened with a sponge until a water mirror is formed. After this, the workpiece is moved to a previously prepared frame and smoothly bent. The edges are fixed and left in this position until dry. After an hour, you can remove the clamps and, if the workpiece does not seem loose to the touch, proceed with installation.

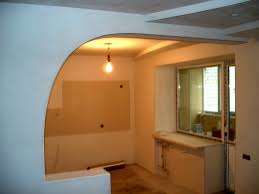
First, the plasterboard arch is fixed in the center and edges, then screws are screwed in at all points of contact between the plasterboard and the frame. When initially fixing the sheet, it is important not to tighten the screws, leaving the cap 1-2 mm above the surface. The caps are deepened after the sheet has completely dried.

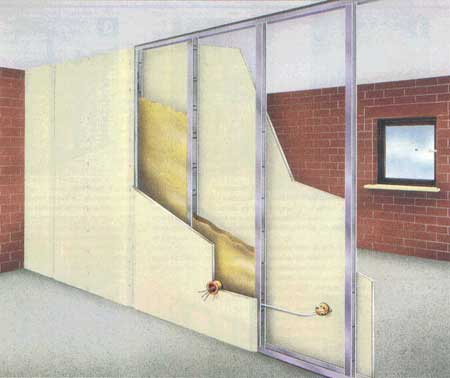
Heat and sound insulation
An empty plasterboard wall is like a drum that does not store heat. Therefore, immediately take care of heat and sound insulation. The required amount of material is calculated based on the area of the wall and the thickness of the profile. The choice of material depends entirely on your preferences and financial capabilities. A comparative description of the most common materials can help you navigate.
| Material | Advantages | Flaws |
| Mineral wool | Durability
It doesn't burn Doesn't rot | When laying, precautions must be taken
Requires vapor and waterproofing |
| Rock wool | It doesn't burn
Doesn't rot | High cost
|
| Styrofoam | Affordable price
Ease of installation | It's on fire
Requires waterproofing |
| Polystyrene | Strength
Ease of installation | It's on fire
The cost is higher than that of polystyrene foam |
The soundproofing material is laid before the second side of the wall is sheathed. It is important to compact the material, avoiding gaps between the frame and the layers of thermal insulation. Also, before laying, make sure that the electrical wiring is connected to all designated points of the wall.
Finishing
First, you need to lay a mounting grid along the joints of the drywall and level the depression formed by the chamfers with the general level of the wall with starting putty.
It is recommended to reinforce the corner of the doorway using a construction angle. It is placed on the starting putty and pressed tightly to the surface. Then, the excess putty is removed with a spatula, simultaneously leveling it according to the general level of the partition. It is advisable to process the corner between the walls using a serpyanka.
The final stage is to remove any unevenness and roughness. To do this, you need to apply finishing putty to all the places where the screws are fixed, simultaneously applying it to all the cracks and chips that appeared during the work. When the putty dries, it is important to level the surface using an abrasive mesh and graters. If you plan to paint the wall or cover it with thin wallpaper in the future, you should definitely treat it with a primer.
What to look out for
It is important to carry out all work at a room temperature of no more than 15 degrees. Even if you are working with waterproof plasterboard, take care to impregnate the surface with a waterproofing compound at least in the area of the joints. When working with gypsum board, avoid sudden movements. This is a fairly durable material and even large sheets can be laid independently, the main thing is to do it without jerking.

VIDEO: Plasterboard partition. Video tutorial. Do it yourself. All stages
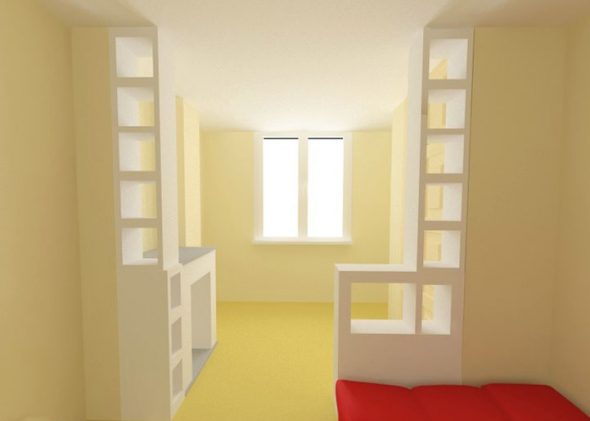
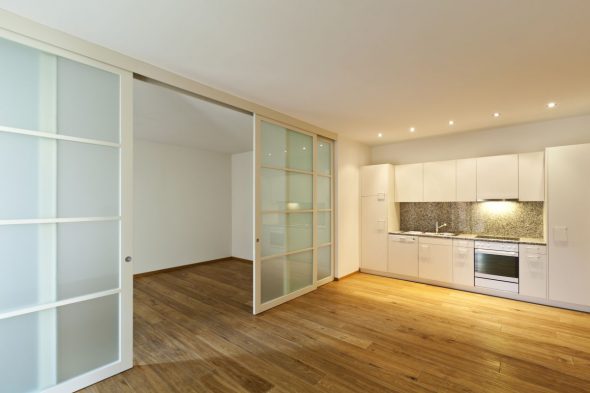
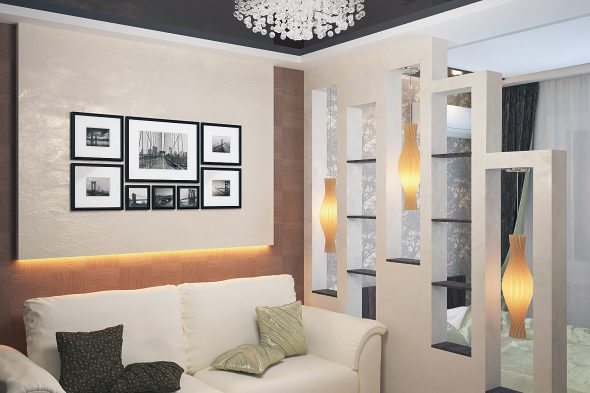
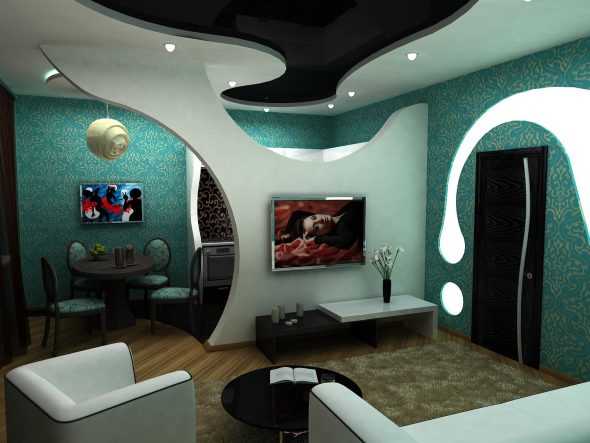
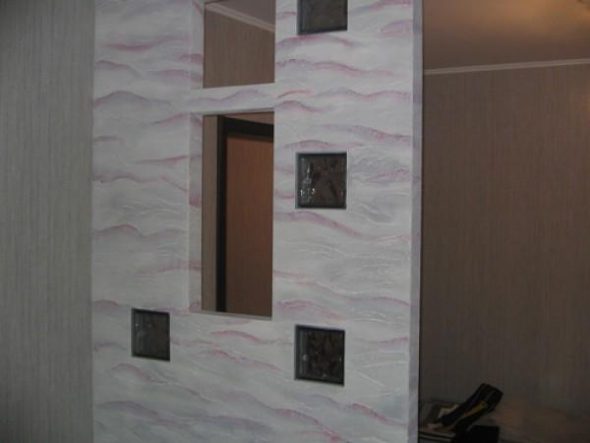
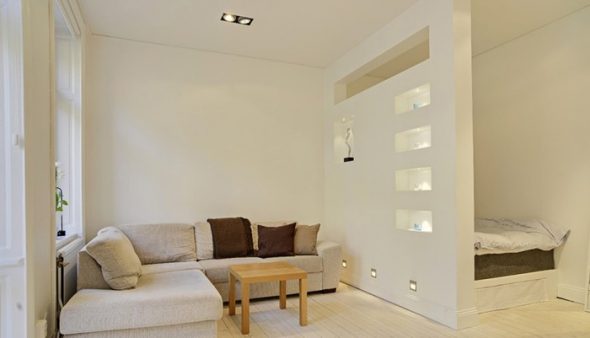
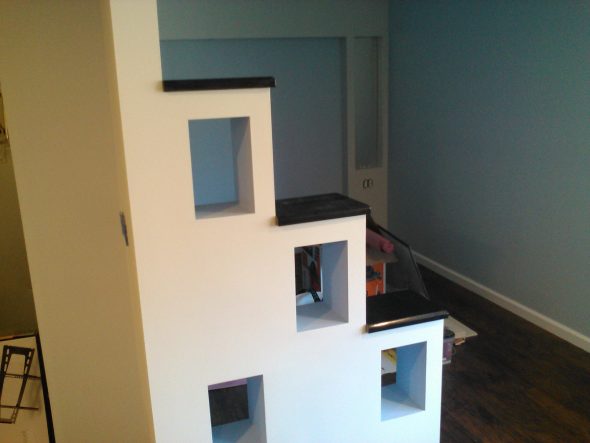
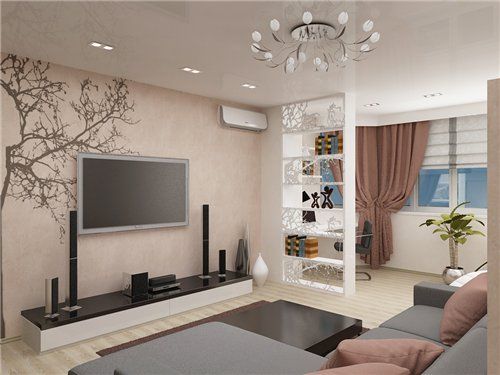
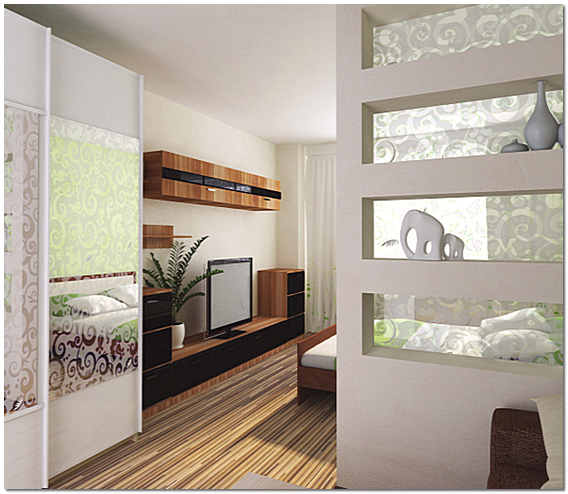
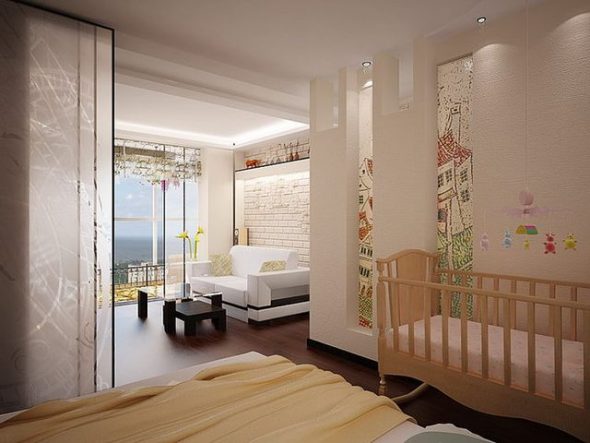
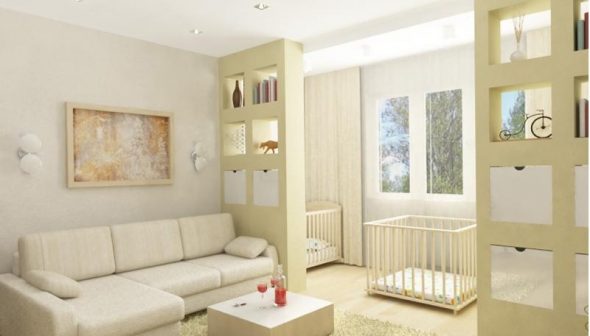
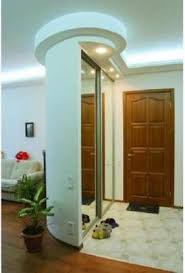
50 DIY Photo Ideas for a Partition (Wall) Made of Plasterboard

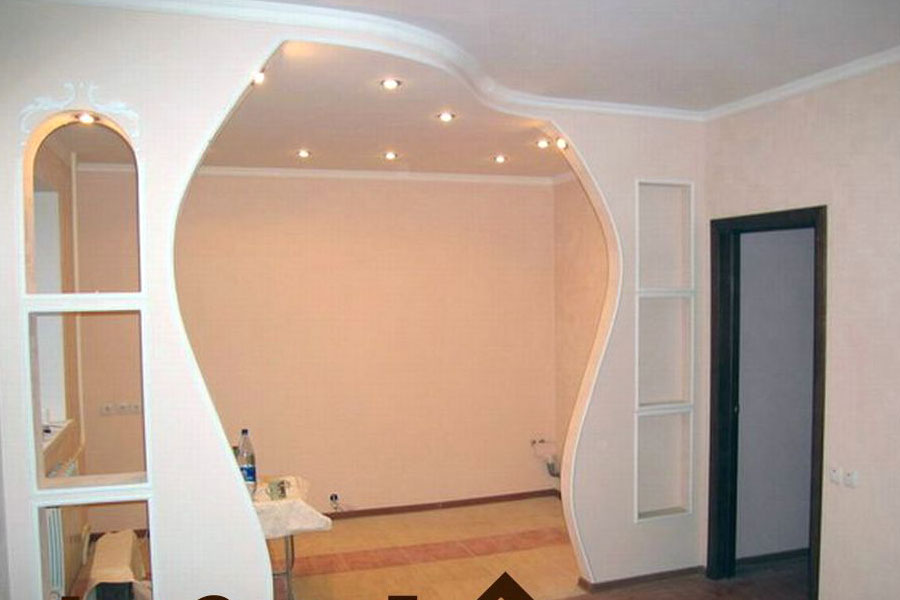
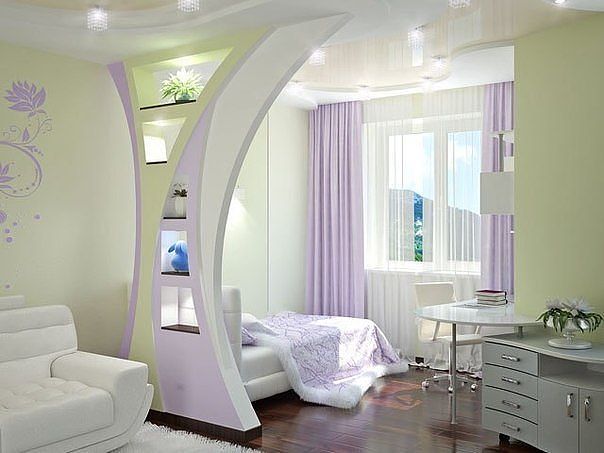
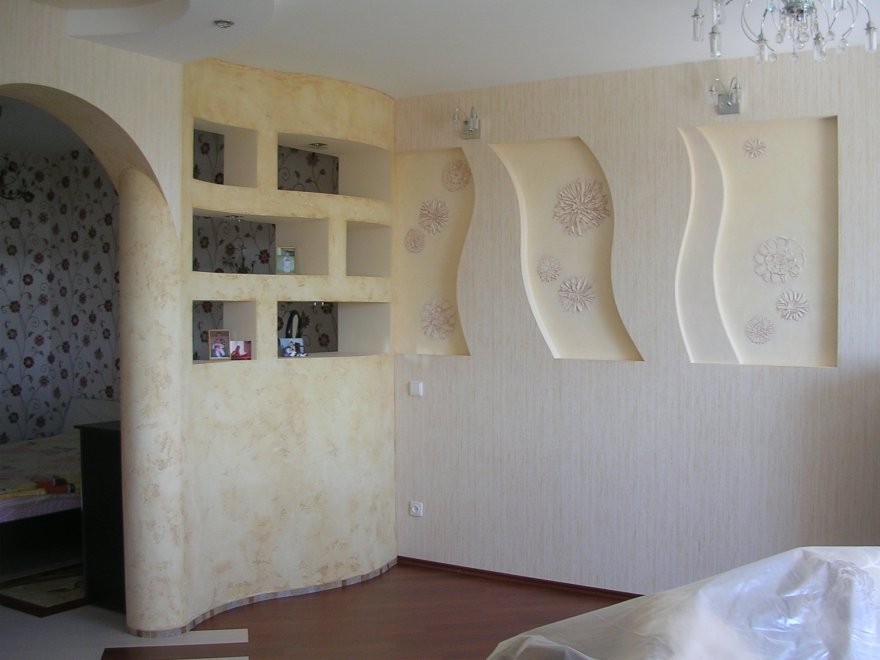
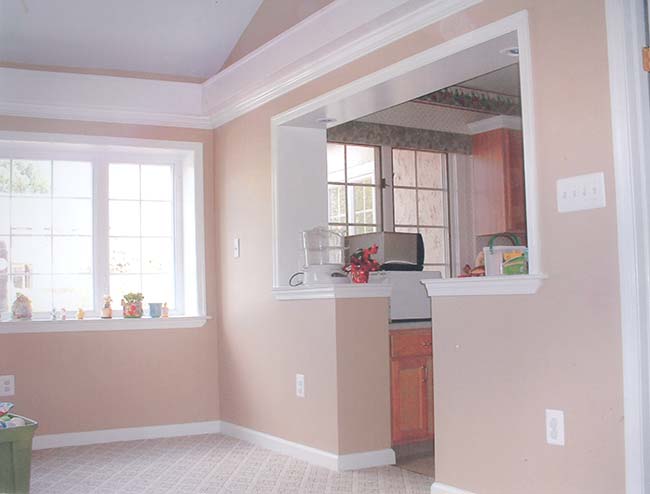
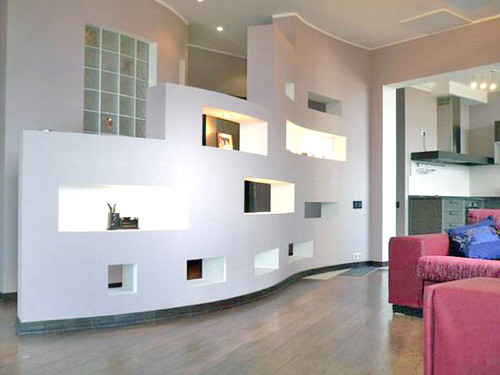
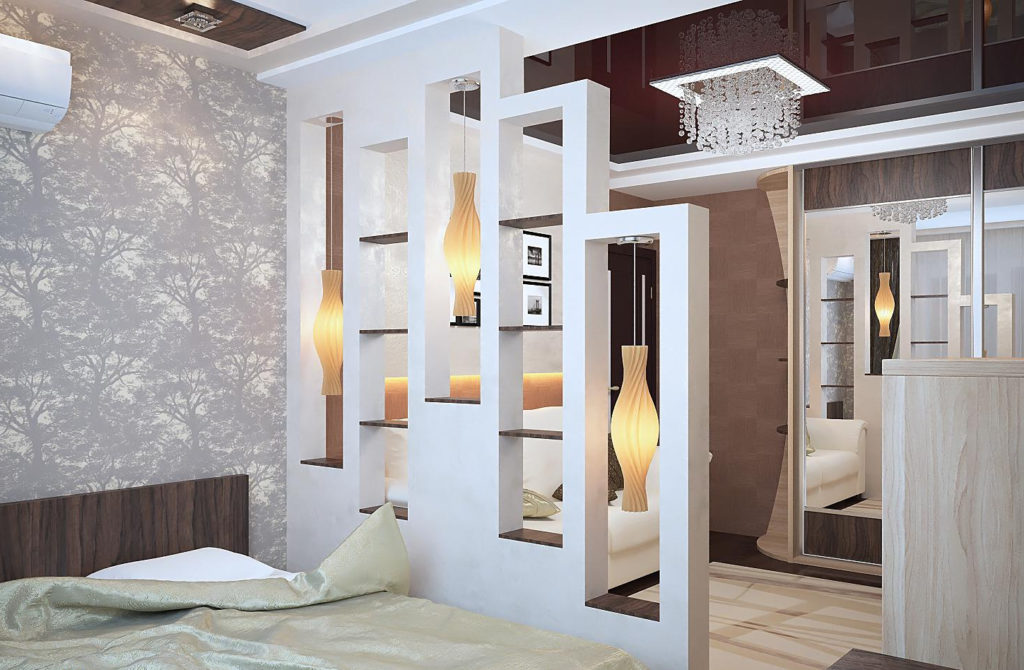
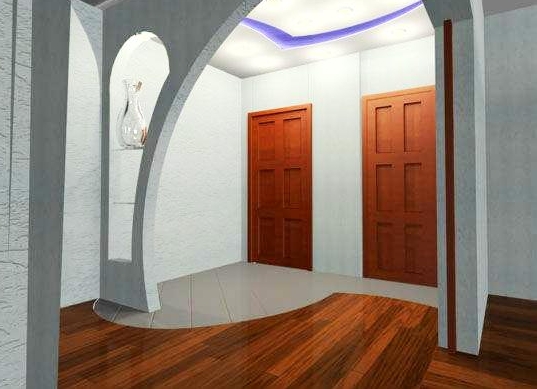
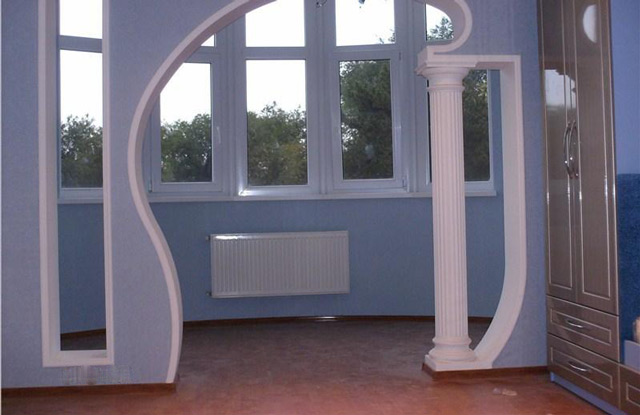
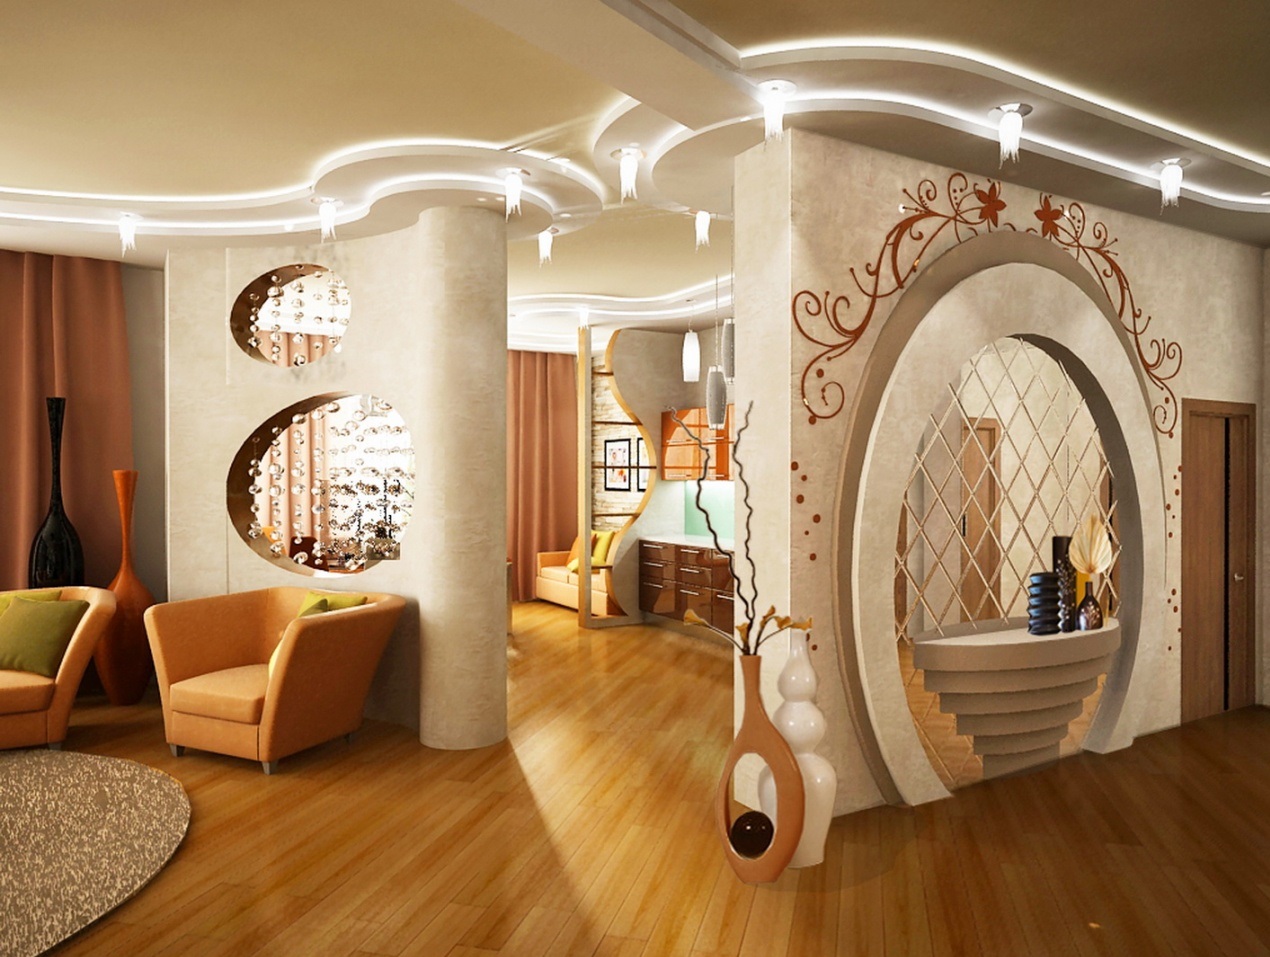

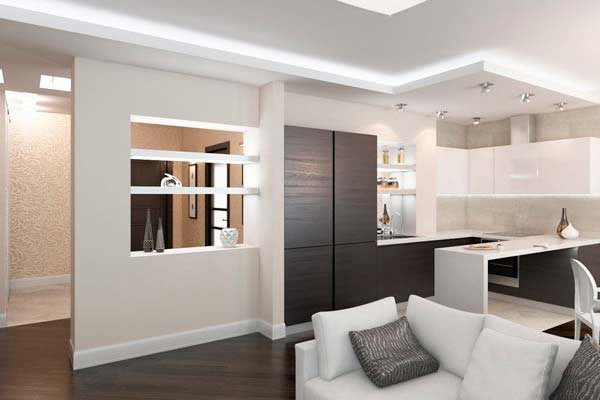

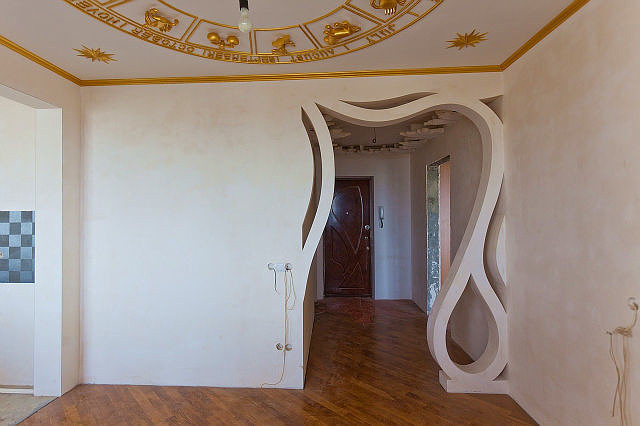

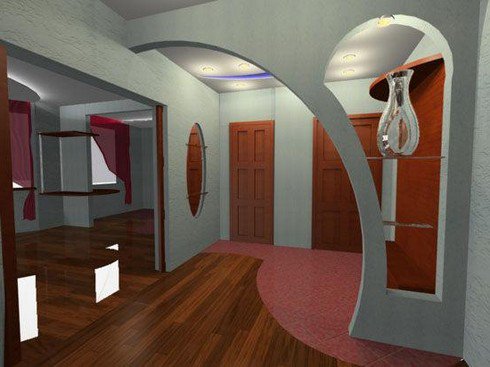
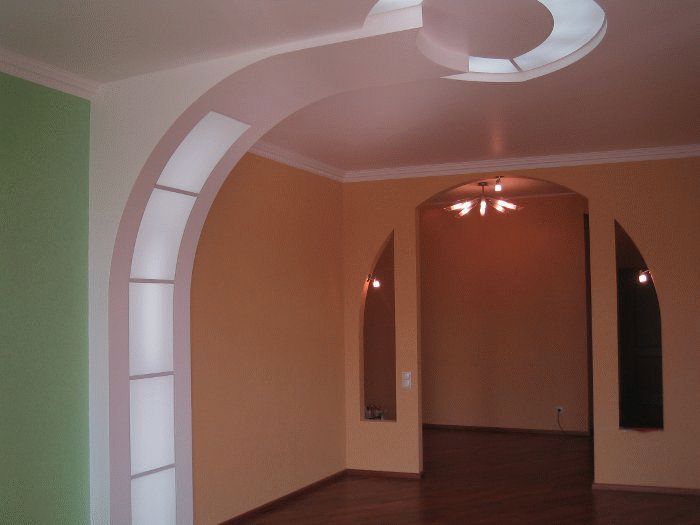
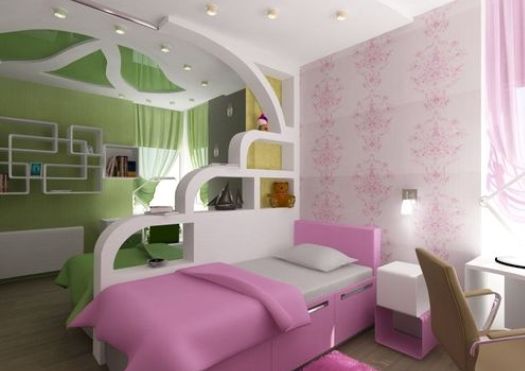
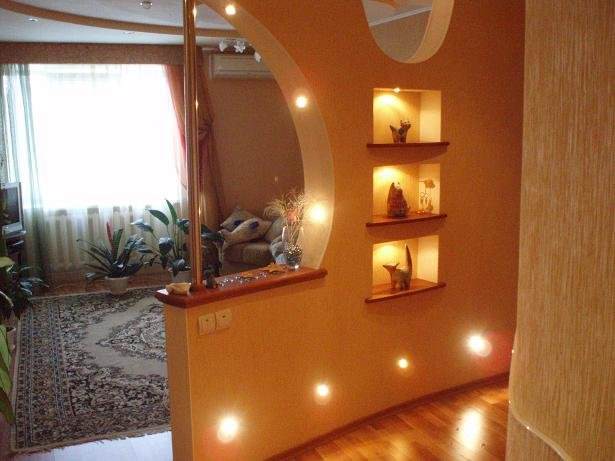
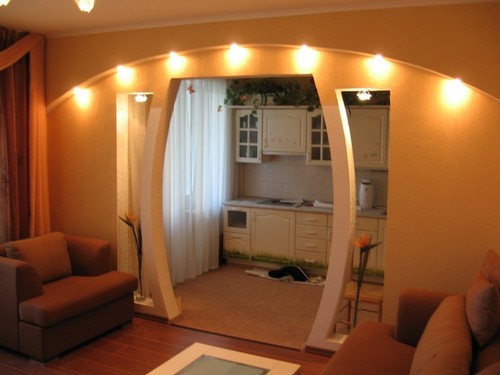
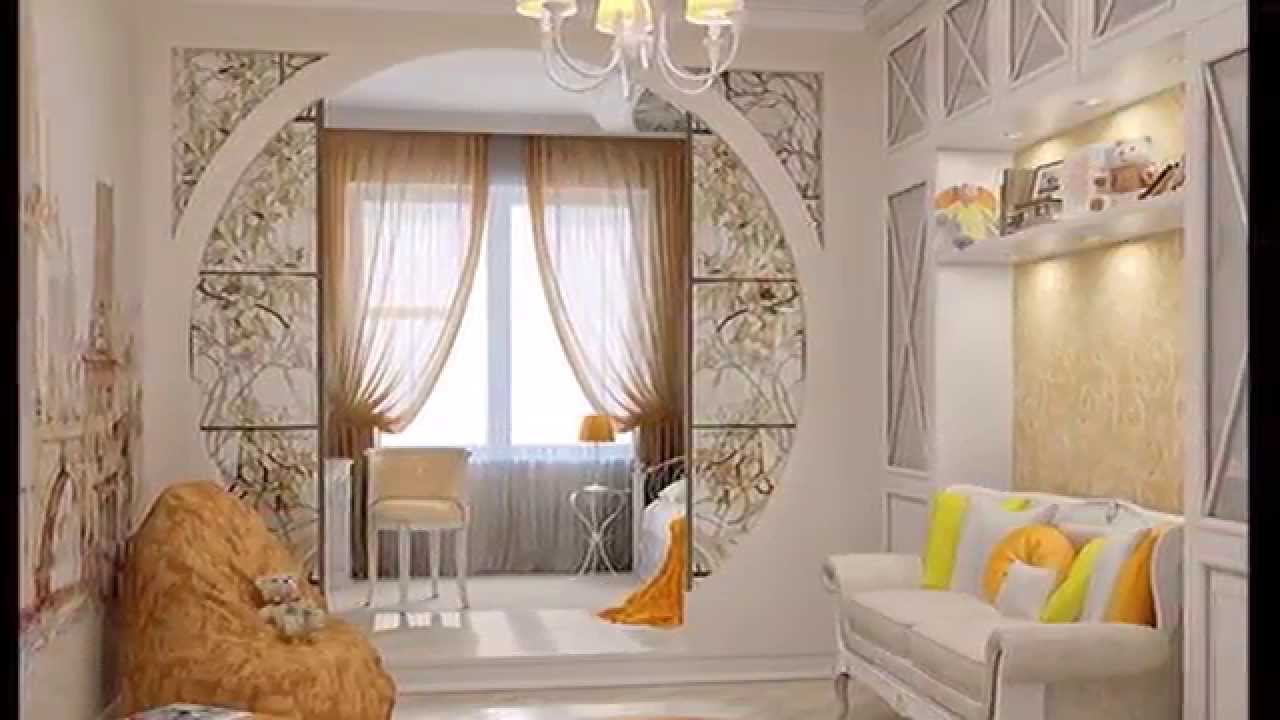
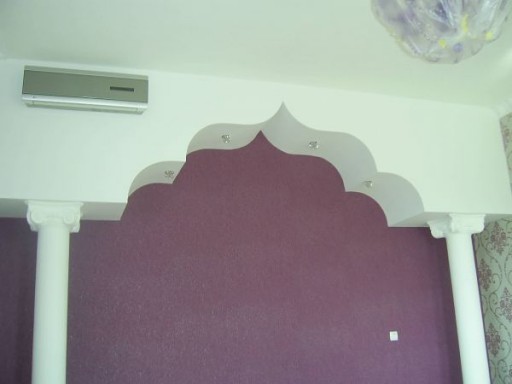
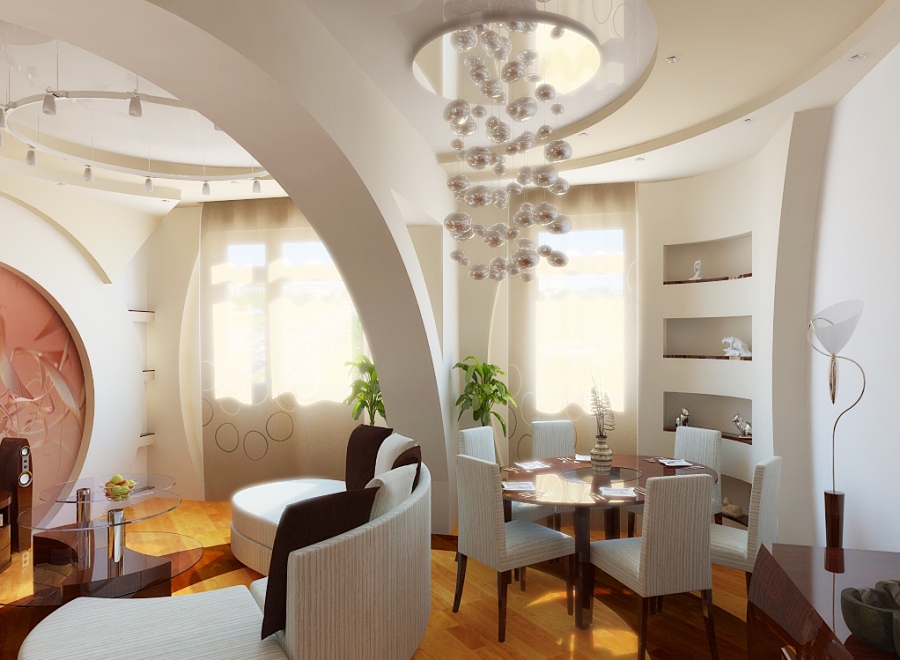
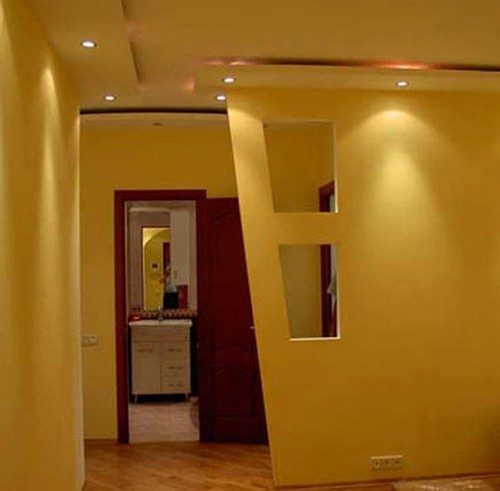
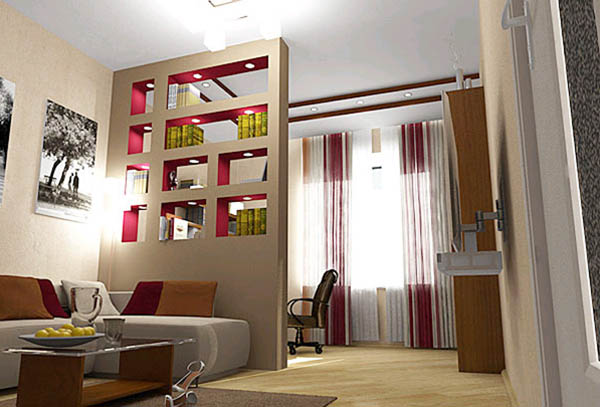
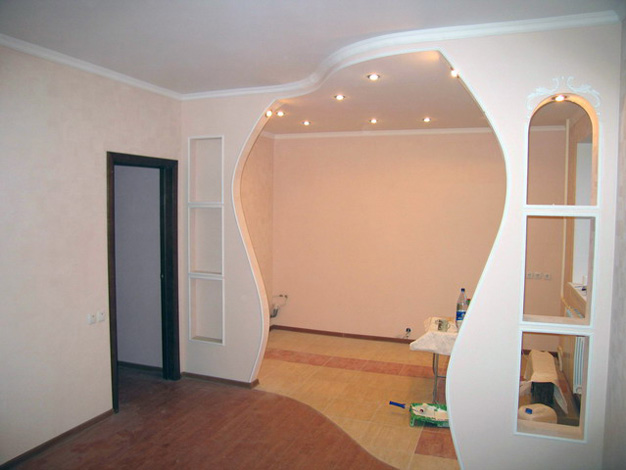
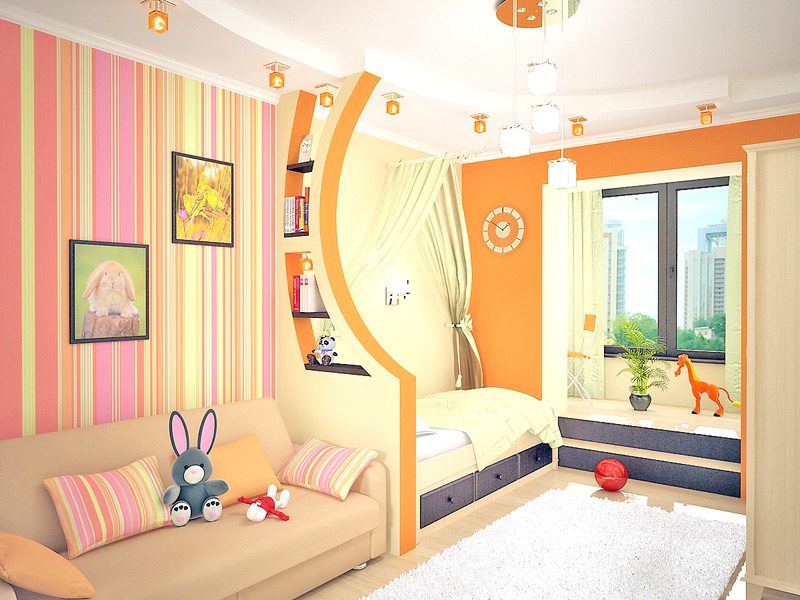
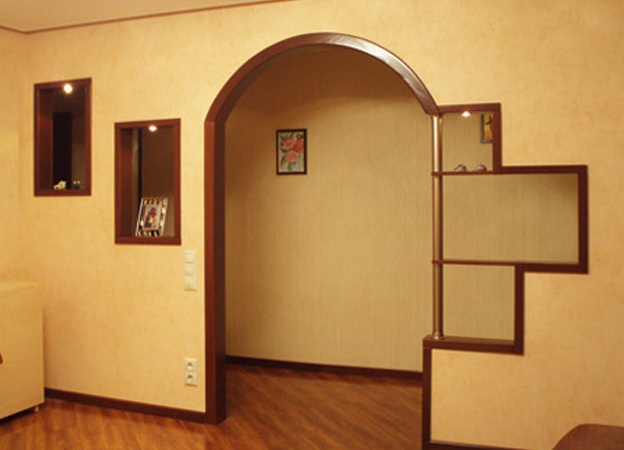
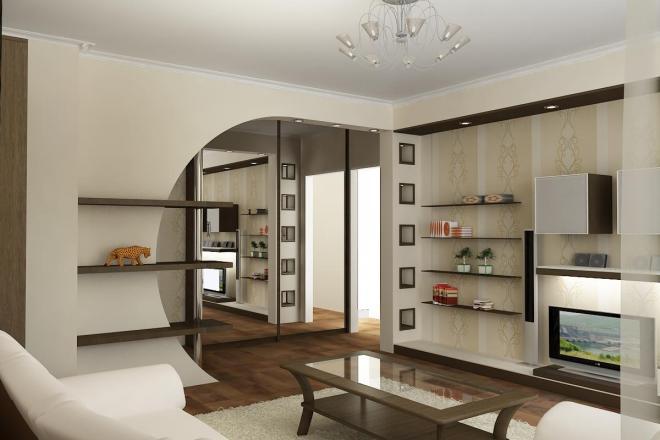
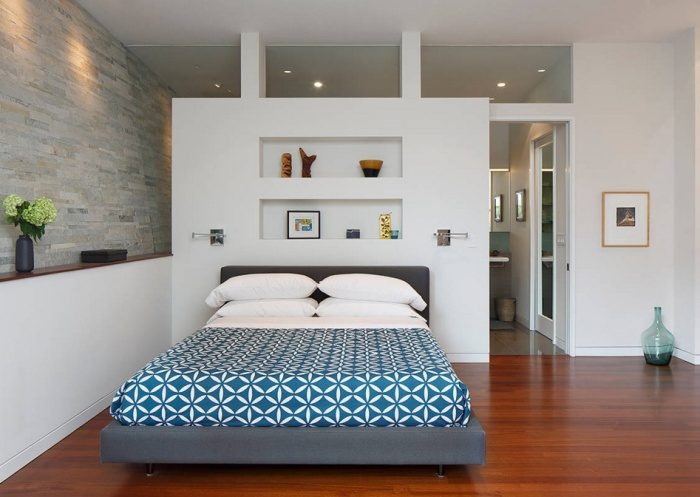
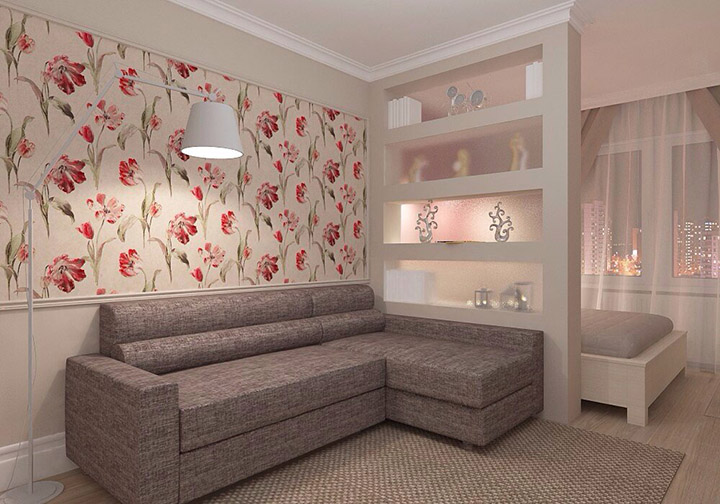
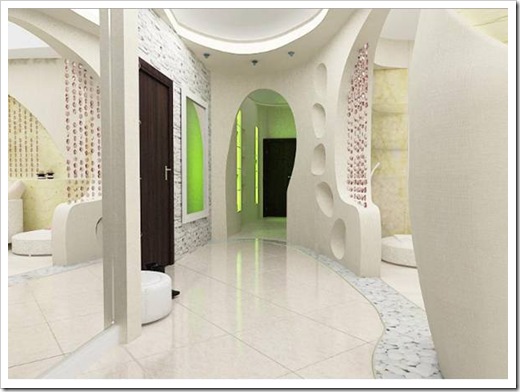
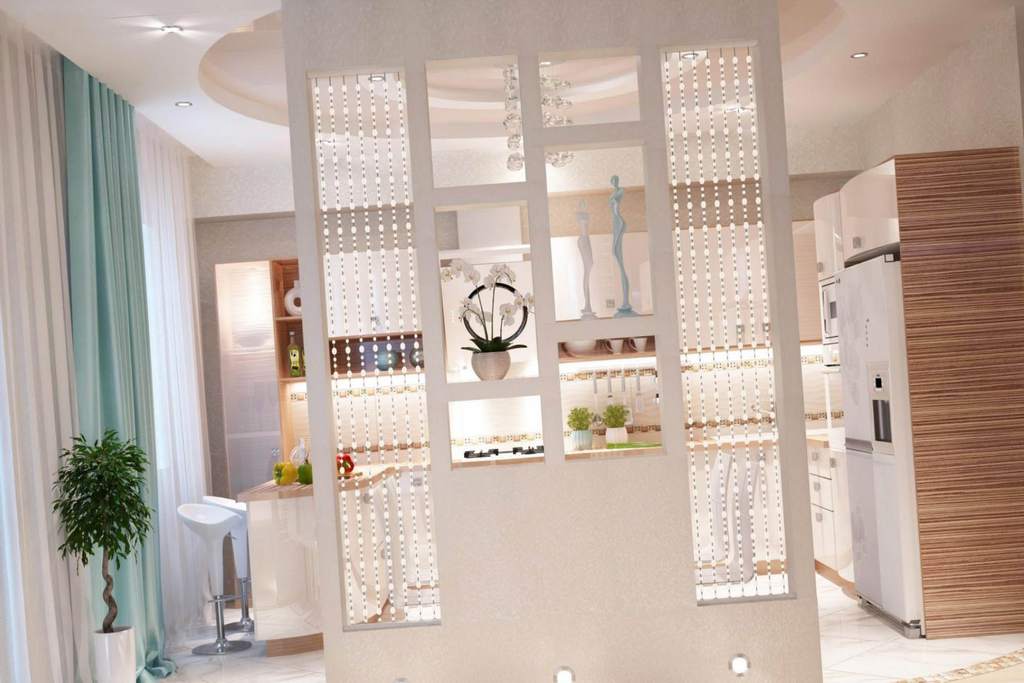
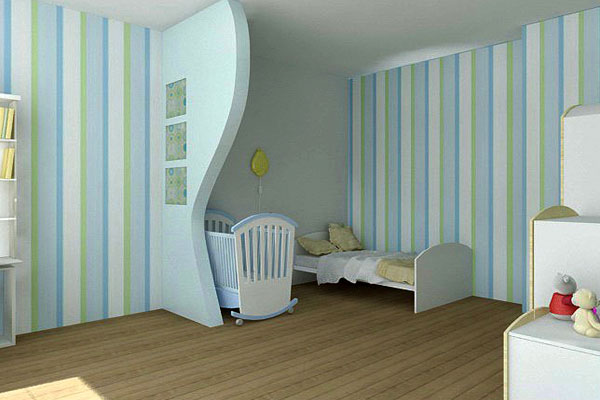
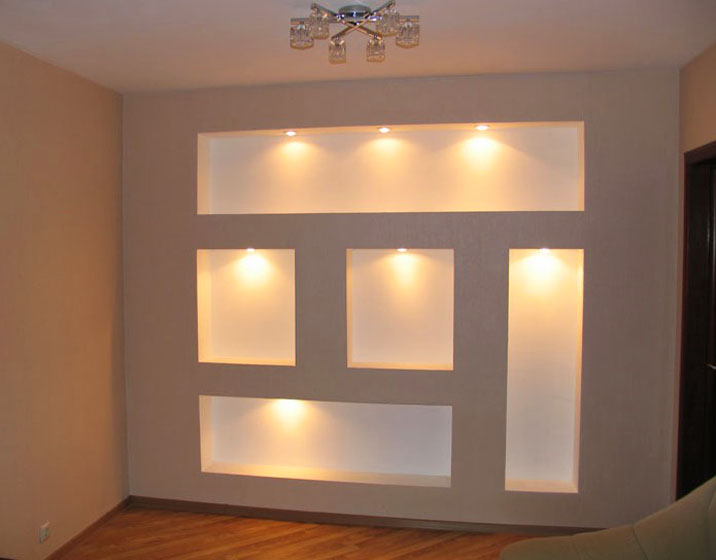
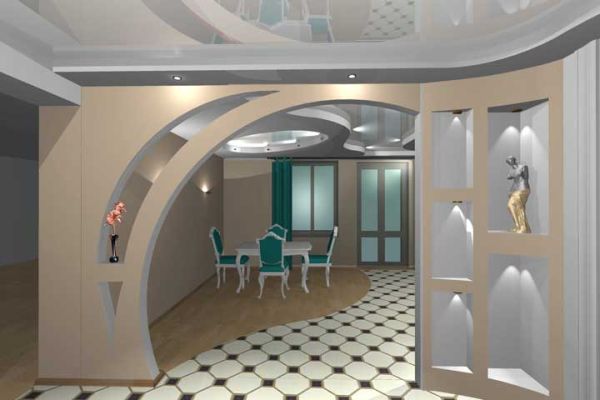


What bad taste in the photos at the end, just f*ck. The style is “rural pathos”