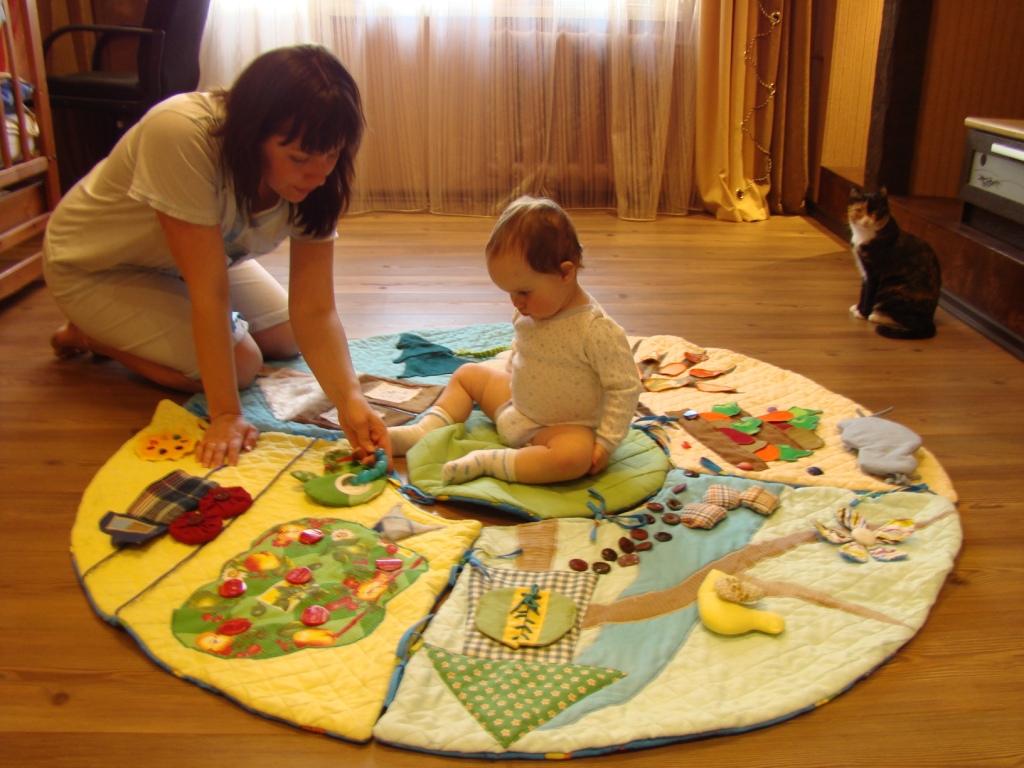
Parents aim to develop their baby in all directions, starting from birth. A crawling mat can help with this. You can buy the device in a children's store. But it is much more interesting to make it yourself.
Content
- What is a development mat?
- Basic requirements for developmental mats
- Materials for manufacturing
- Ideas for decoration
- Making a developmental mat for children with your own hands
- Interesting ideas
- Do-it-yourself rug with arcs
- Developmental activities with a mat
- VIDEO: DIY developmental mat for children.
- 50 options for children's developmental mats:
What is a development mat?
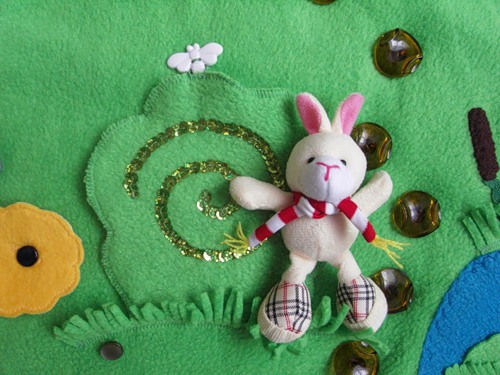
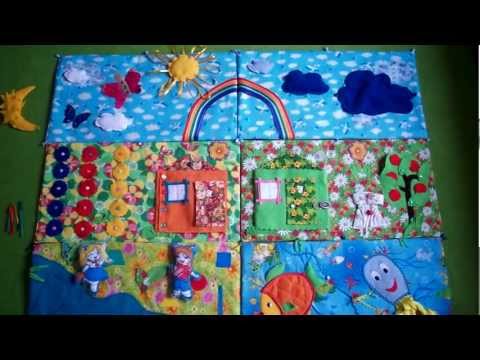
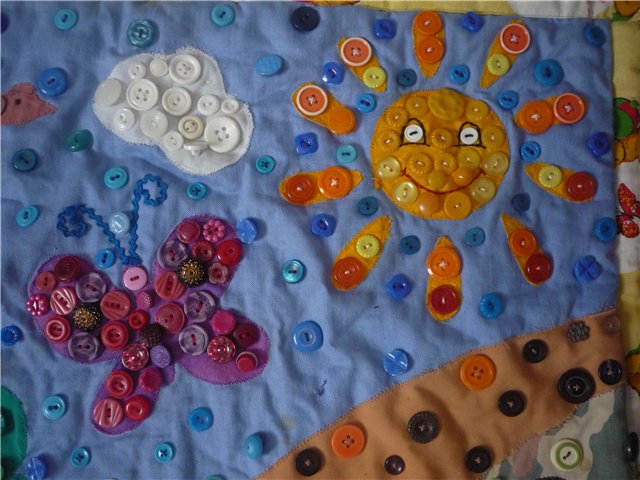
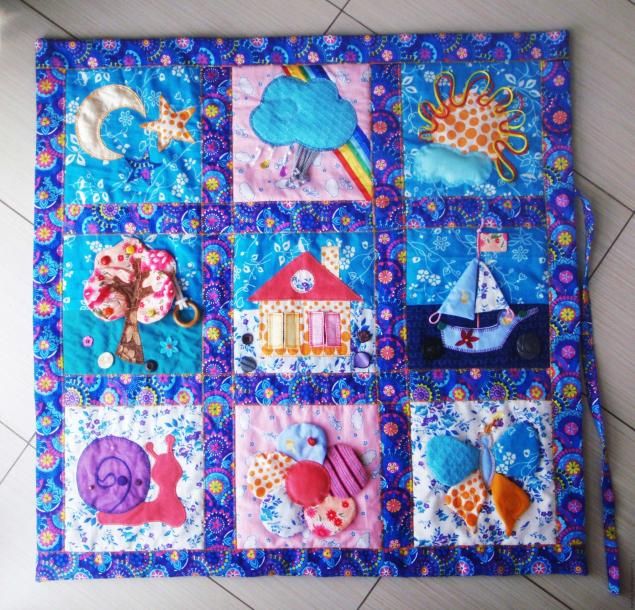
The rug is a piece of fabric made of yarn or thick cloth. It can have different shapes. The main idea when creating a DIY development rug is to make it bright and colorful to interest the baby. It should consist of different textures with colorful appliques, complemented by buttons, rattles, and musical details.
Functions of the mats:
- Development of fantasy and imagination.
- Training concentration, memory and fine motor skills.
- Development of logical thinking.
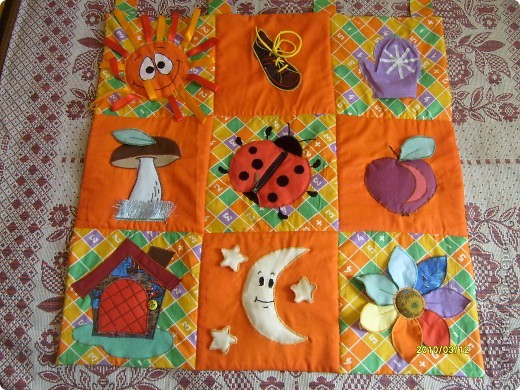
- Basic study of the alphabet, numbers, objects, geometric figures.
- Recognition of colors, shades.
Basic requirements for developmental mats
When making a children's rug with your own hands, it is important to adhere to certain requirements.
- The quality of materials and components used in assembly must be the highest. They must not cause allergies in the child.
- All seams and connecting elements must be tightly stitched and fastened together. This is especially true for small fittings that a child can put in their mouth or nose.
- The touch mat must contain only working components.
- When making the canvas, it is necessary to take into account versatility. After a few months, the child's interests will change. It will be necessary to replace some of the parts or supplement the existing ones. You can make a children's crawling mat with your own hands, equipping it with folding sides, allowing you to expand the playing area over time.
- The toy should be mobile and compact, so that it can be easily transported and folded if desired.
- When choosing or creating a sensory mat for children, it is important to take into account age characteristics. It is not recommended to equip a baby's mat with many toys and musical elements, since at this age the baby does not yet perceive complex structures and mechanisms.
- All plastic parts should be easily detachable for ease of washing.
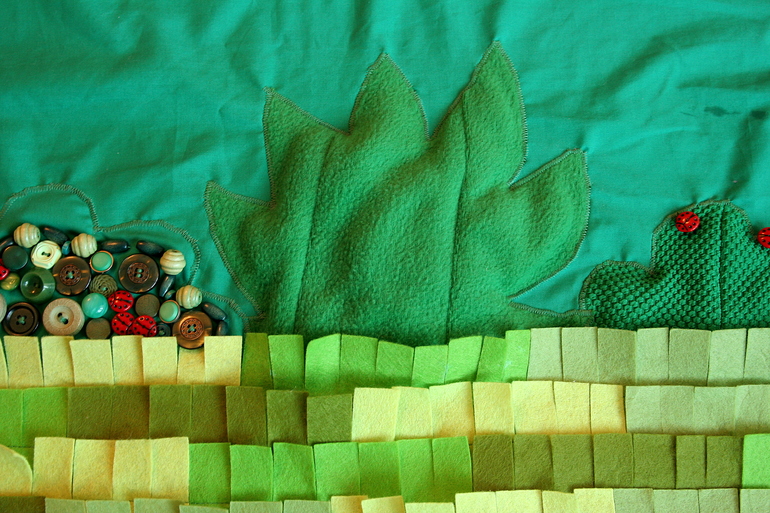
- When making a developmental mat for children with your own hands, it is advisable to use different colors and textures, many interactive, noisy elements.
Materials for manufacturing
To make a rug for a child's room with your own hands, you will need the following materials.
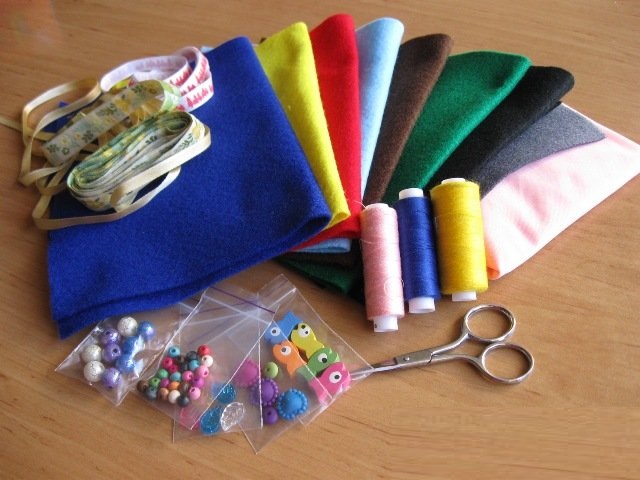
- It is best to use foam rubber or synthetic padding as a base.
- Considering that the child will spend a lot of time on the rug, the finishing materials should be natural. They do not cause allergic reactions and irritations. Please note! The fabric should not accumulate static electricity.
- The color palette of the toy should be varied. However, it should be taken into account that too bright, contrasting combinations will have a negative impact on the child's psyche, tiring and boring him.
- For decoration you can use large buttons of different colors, elastic bands, thick threads and ribbons, ropes and Velcro.
- To make a play mat with your own hands, you will need to purchase high-quality plastic and mechanical parts.
Ideas for decoration
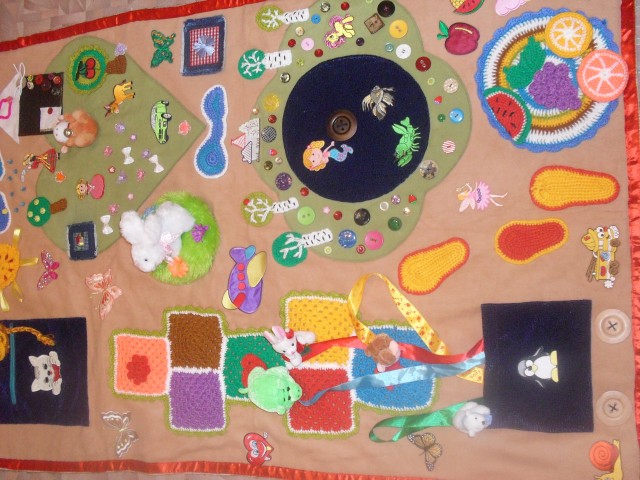
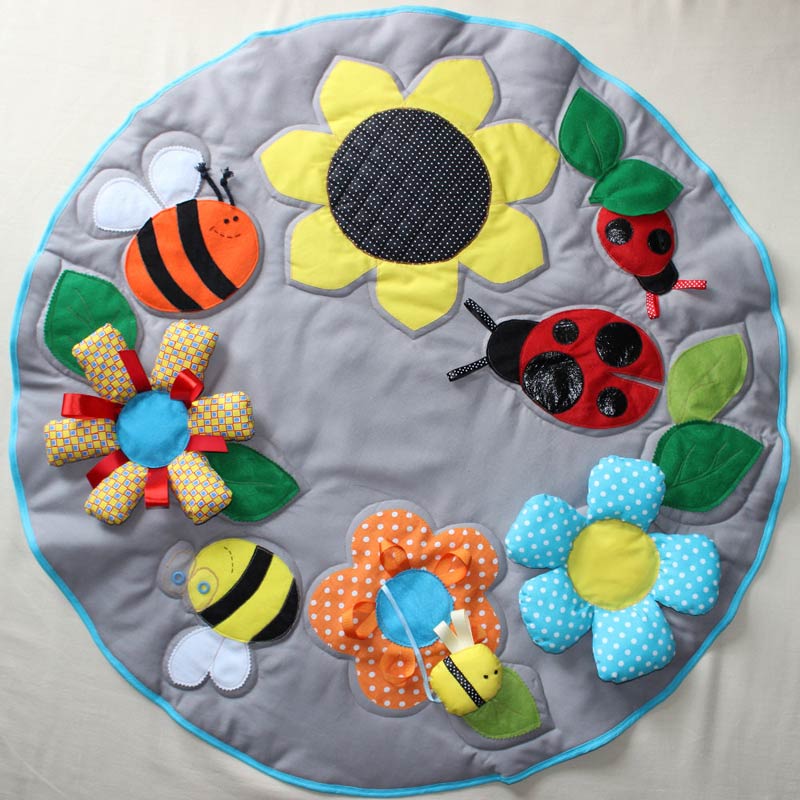
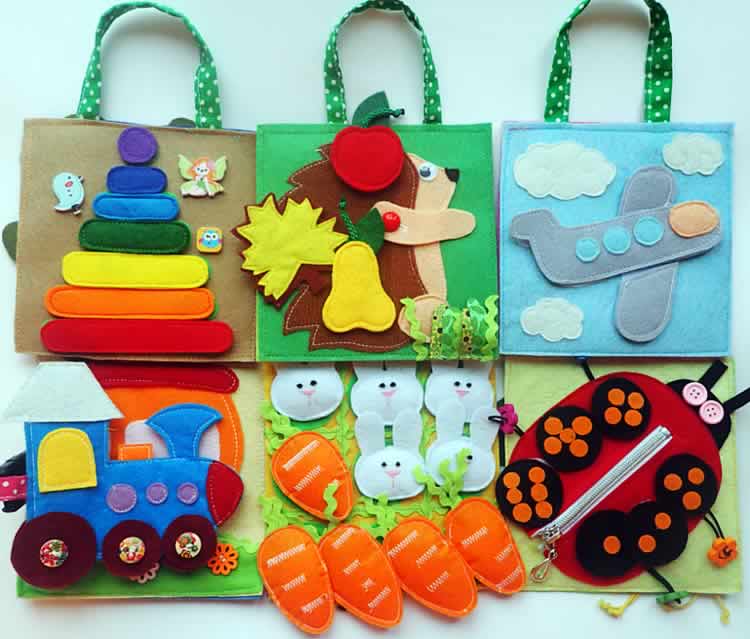
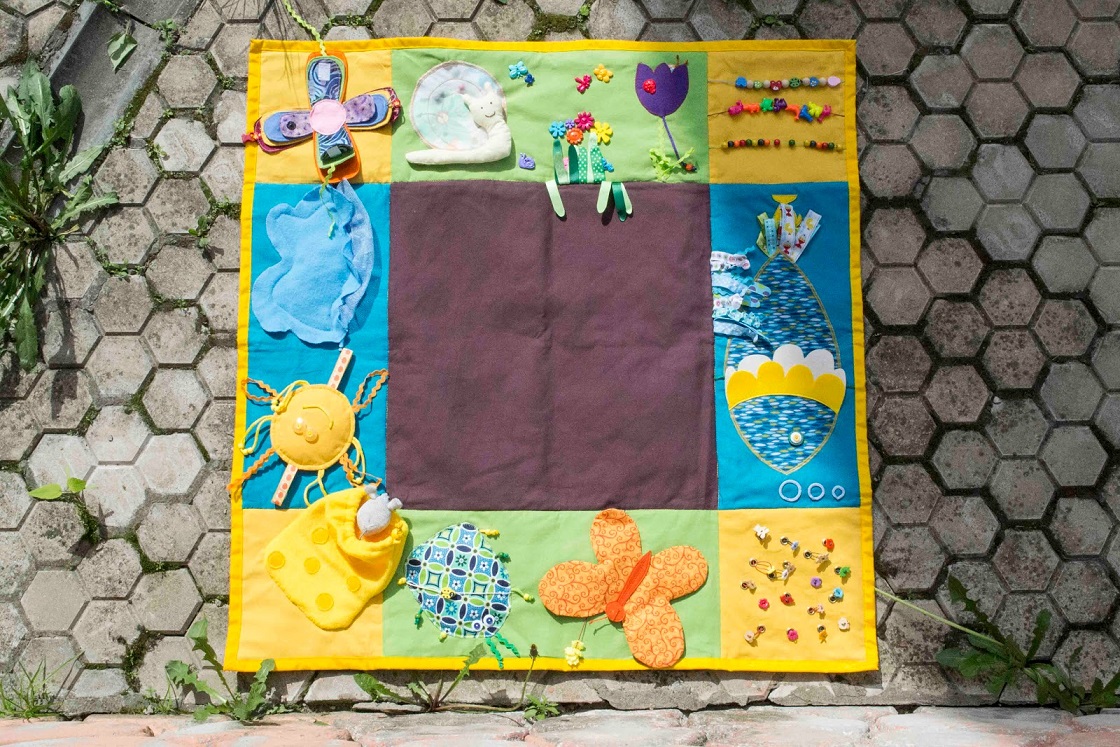
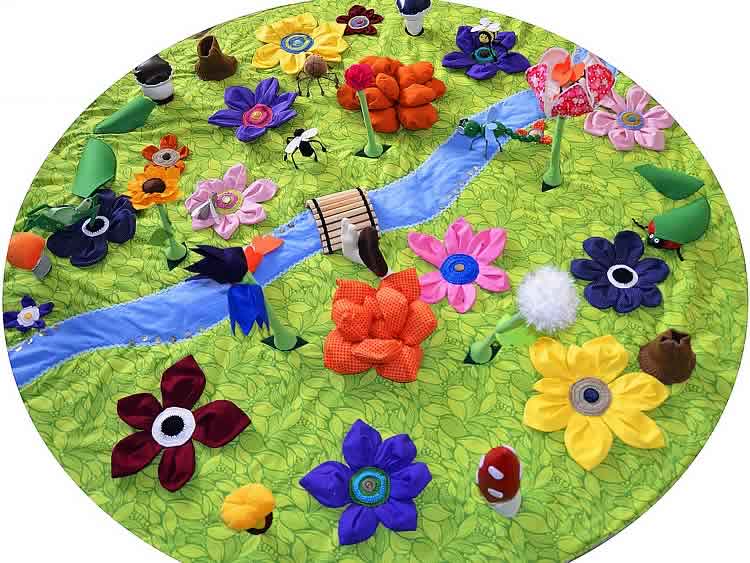
Before you start working, you need to decide on the shape and decorative elements. For convenience, it is advisable to draw a sketch of the canvas on paper. Having looked at the ideas for decorating educational rugs for children from 0 to 3 years old with your own hands in advance, it will be much easier to come up with an interesting and engaging design. For a very early age, sensory, didactic canvases, or those made of soft pompons are suitable.
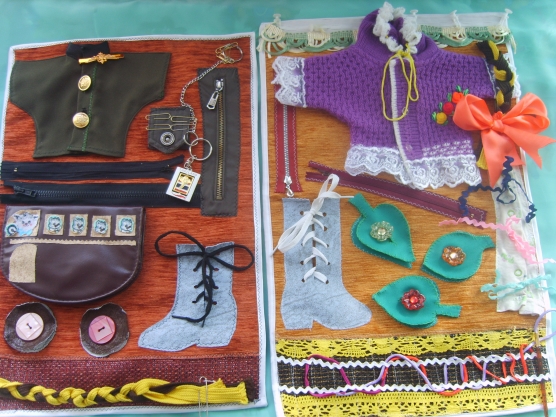
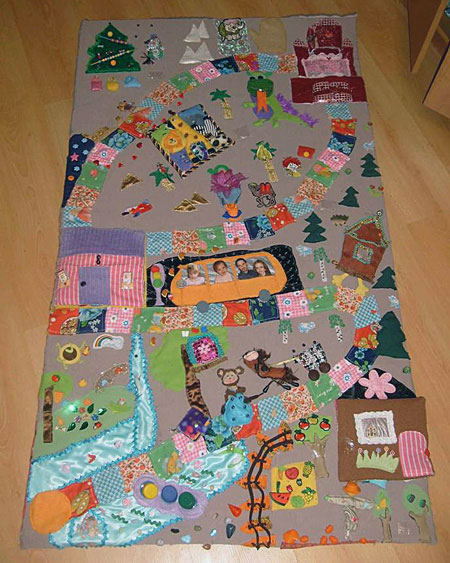
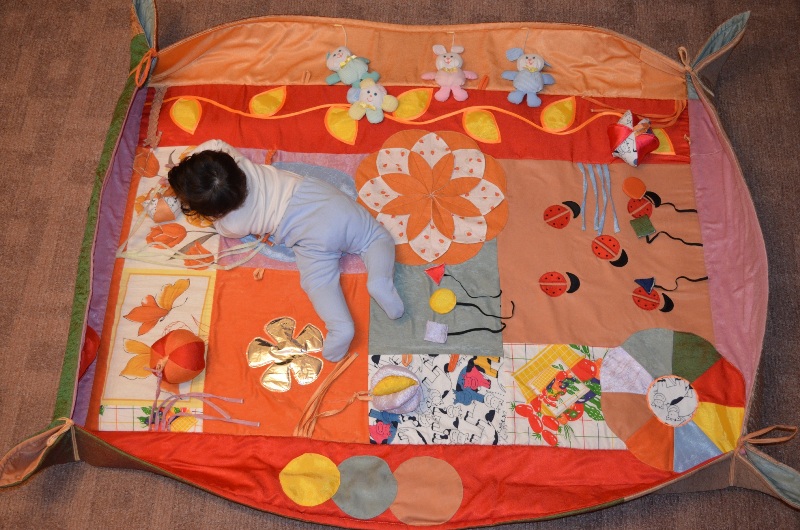
Mats for girls deserve a special mention – they are usually round or oval, with several zones reflecting the daughter’s interests. You can add flaps and pockets. Pink shades predominate. Car themes are most often used for boys. The older the child, the more detailed the drawing should be. Popular colors are blue, light blue, and green. It is recommended that active, restless children make a mat with soft sides. You can use not only filler, but also an additional layer of pompoms as a barrier.
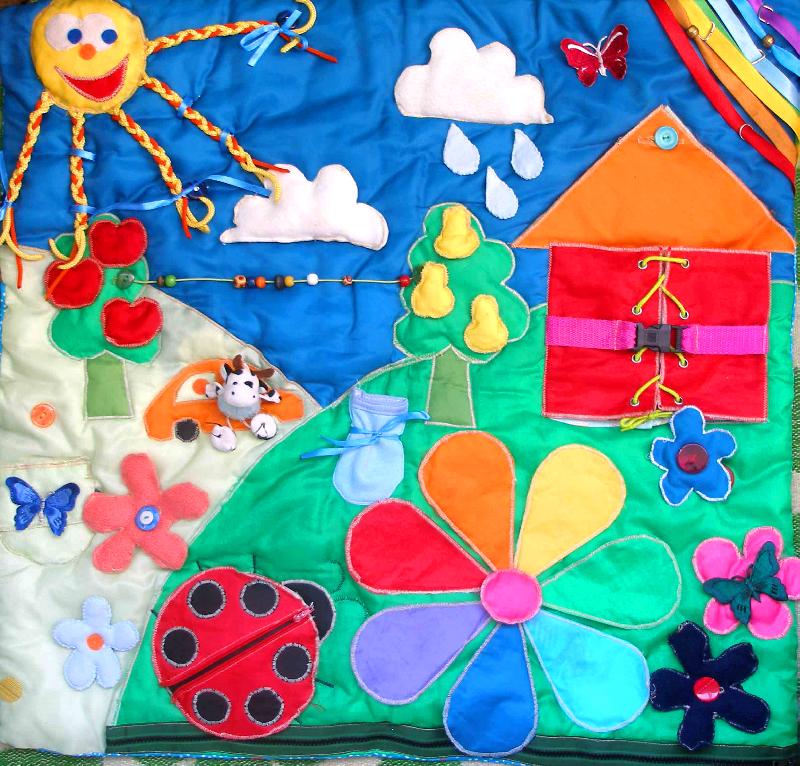
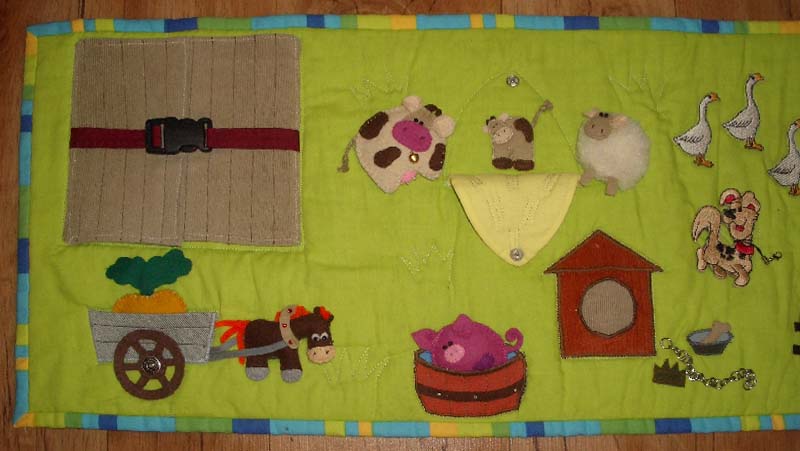
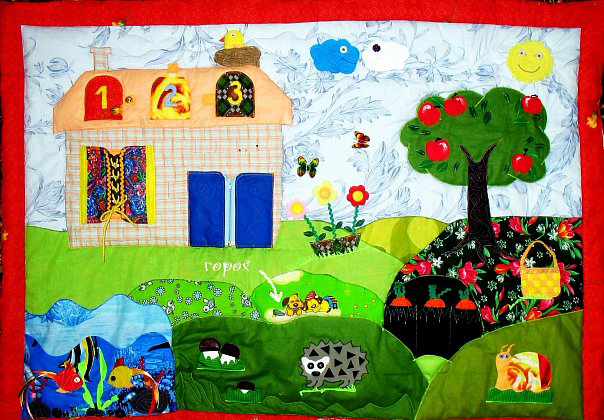
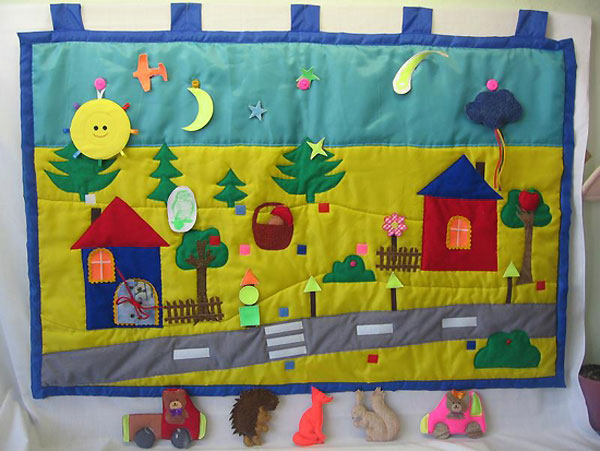
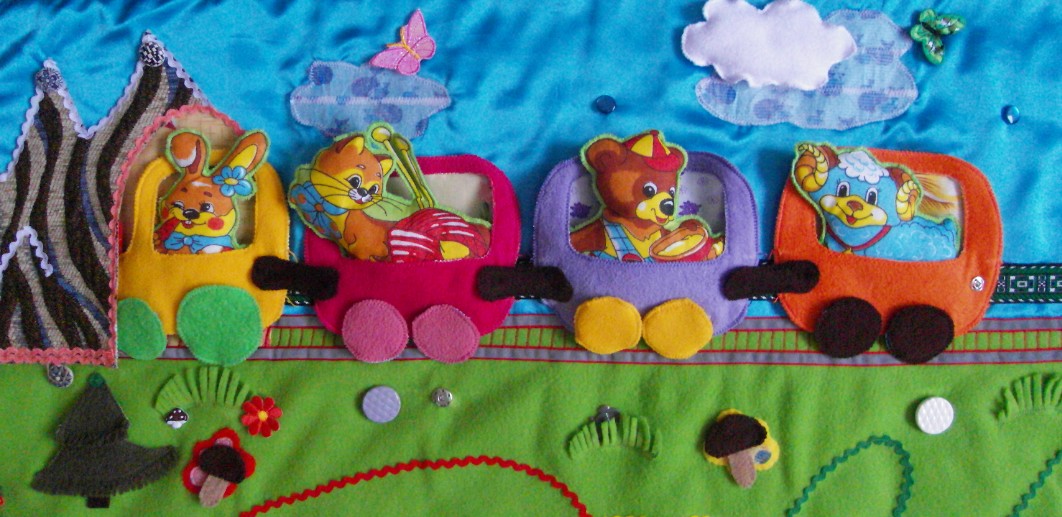
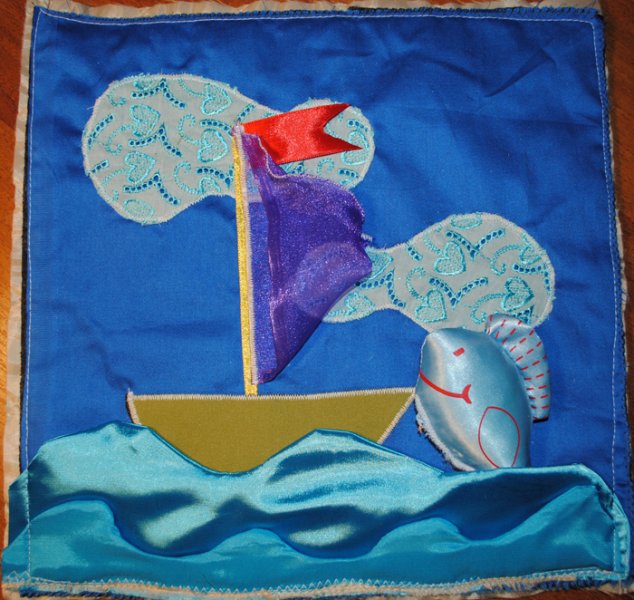
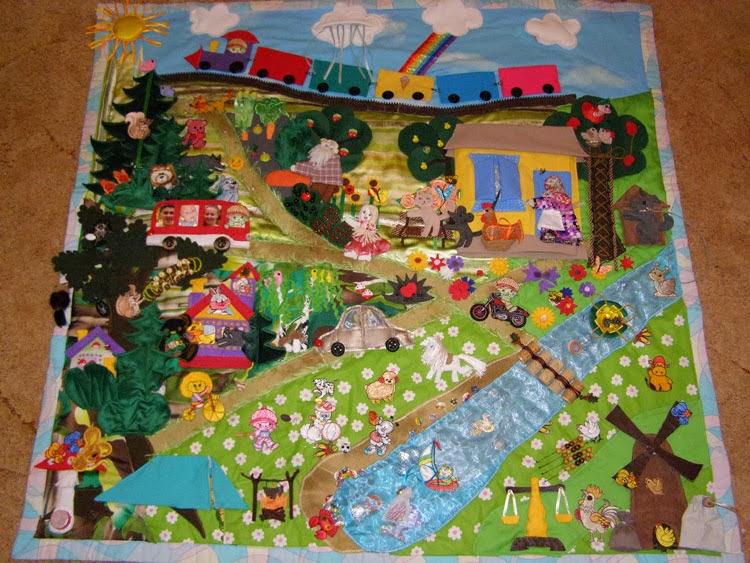
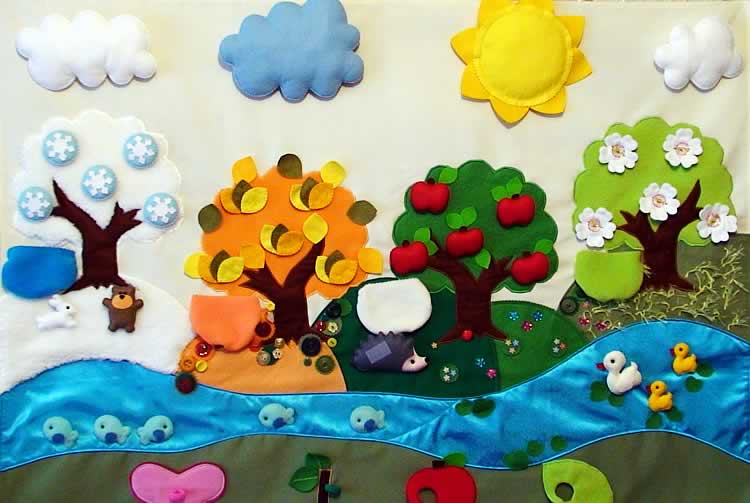
To make educational rugs for children with your own hands, you will need fabric patterns. With their help, various figures for decoration and applique are sewn. These can be animals, trees, plants, windows, cars, clouds, fairy-tale and cartoon characters.
Making a developmental mat for children with your own hands
The process of creating a children's developmental mat with your own hands is not complicated. And the main thing is that the product will be individual, taking into account all the needs of the baby.
You should start working with a sketch. You can draw a diagram on Whatman paper. Then you need to follow the instructions, which describe in detail how to make developmental rugs for a child with your own hands.
Preparing the fittings
First of all, you should buy all the necessary accessories - buttons, ribbons, fasteners, beads, Velcro, threads, fasteners. Of the tools, you will need scissors, a needle, a stationery knife, invisible pins. At this stage, it is also advisable to draw patterns for future appliques and cut them out.
Preparing the base
This stage involves creating a pattern for the finished fabric. You also need to select materials. It is recommended to give preference to natural, non-slip compositions with antistatic properties. These include calico, flannel, felt, cotton. If you plan to create knitted elements, you need to choose cotton yarn.
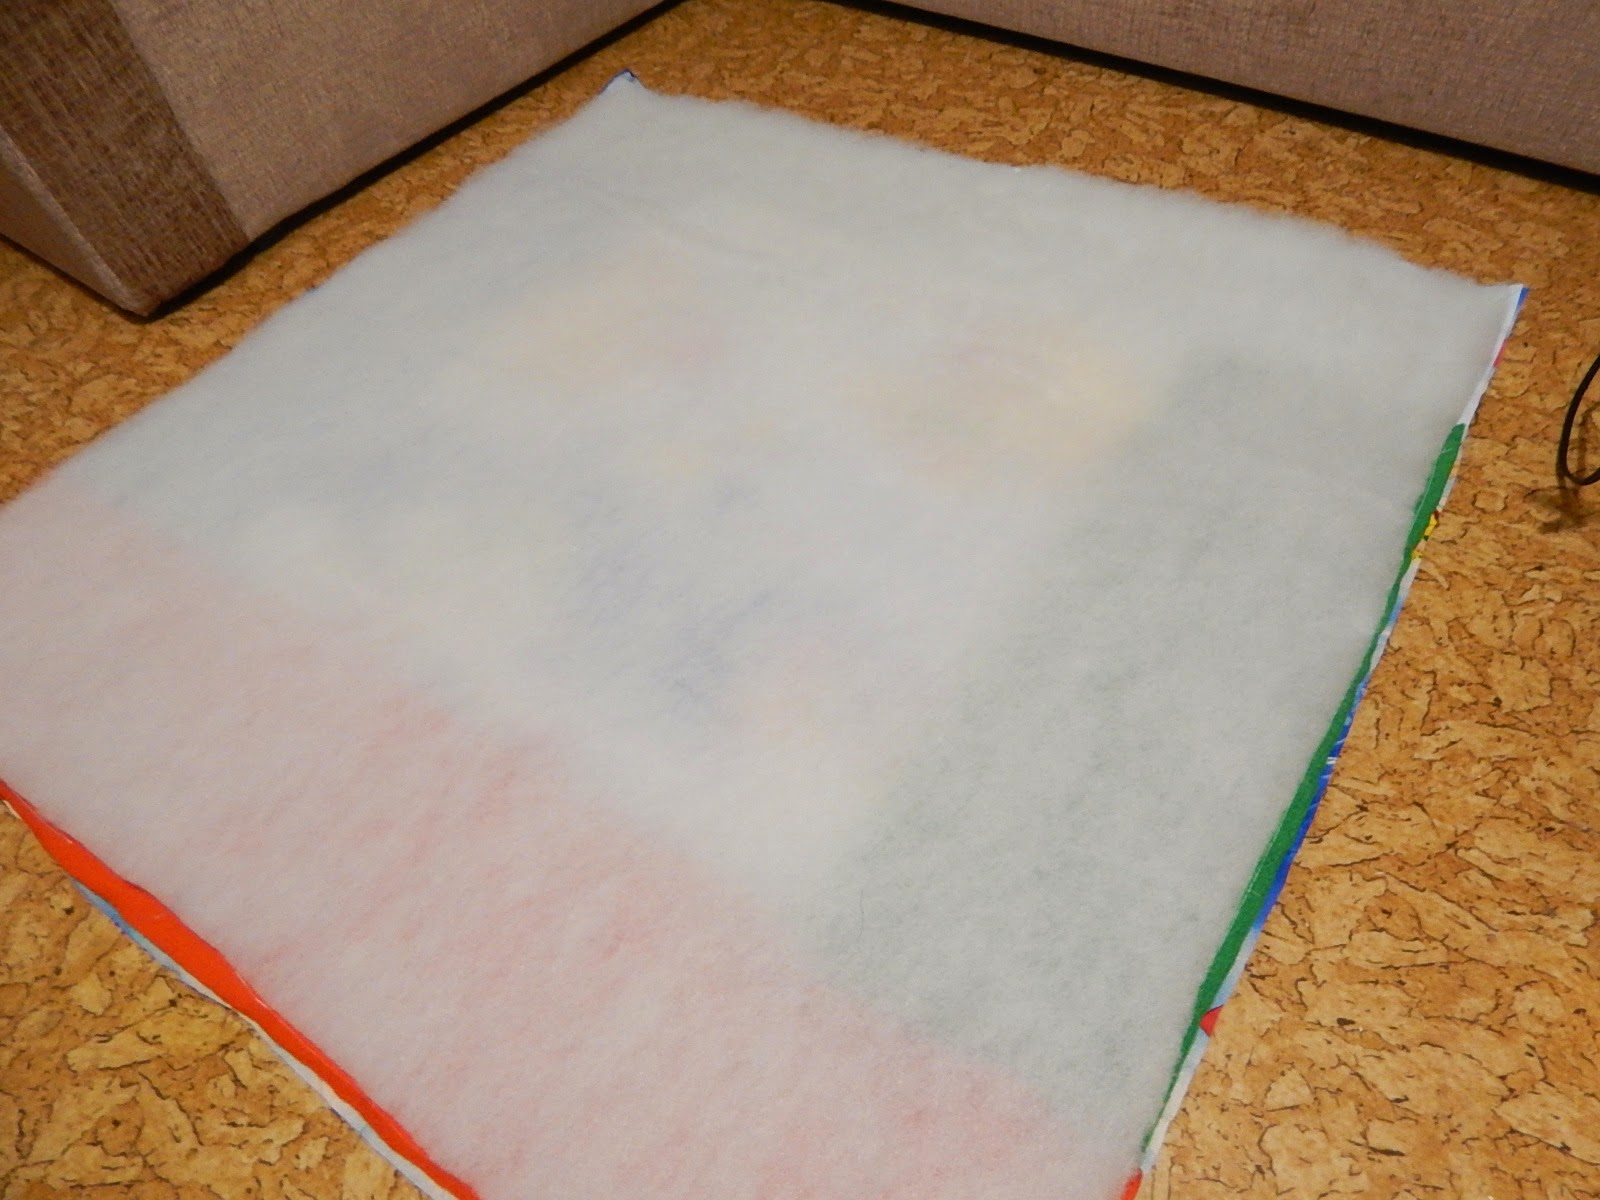
Important! It is necessary to take care of high-quality internal filling. The baby mat is intended for crawling and is most often placed on the floor. It should be well insulated. It is recommended to use synthetic padding or foam rubber.
Before sewing the parts of the developmental rug for the baby with your own hands, you need to decide on the front and back sides. After that, you can start cutting out the top and bottom parts, the filler. Be sure to leave indents for the seams on all sides. Then you need to overcast the edges, without missing any protruding threads.
Creation of a playing field, production of playing elements
At this stage, you will need to sew on all the previously prepared appliqués and drawings. Then you should firmly attach the fittings, mechanical and musical elements, rattles. Particular attention should be paid to the quality of fastening of small parts, such as buttons and beads. The child should not be able to tear them off. It is recommended not to use glue, replacing it with thick threads.
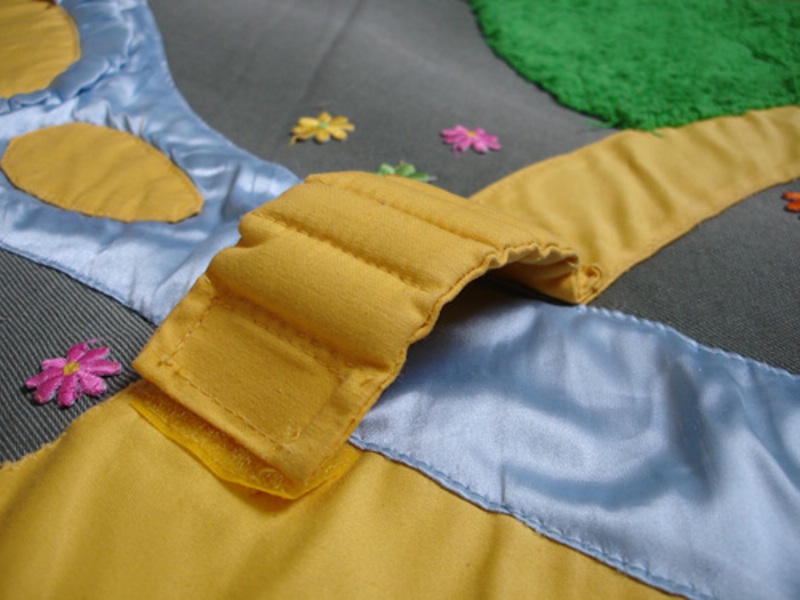
Securing elements to the mat
Large fittings can be made either firmly attached to the base or movable. Safe soft parts can be attached using buttons and Velcro.
After completing the preparatory work, you can proceed to combining all the parts. To do this, you will need to tightly sew all the components from the inside and turn them out to the front.
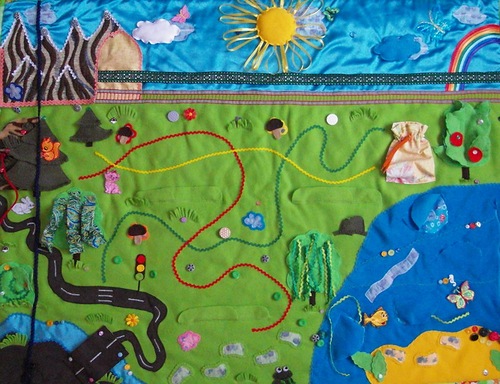
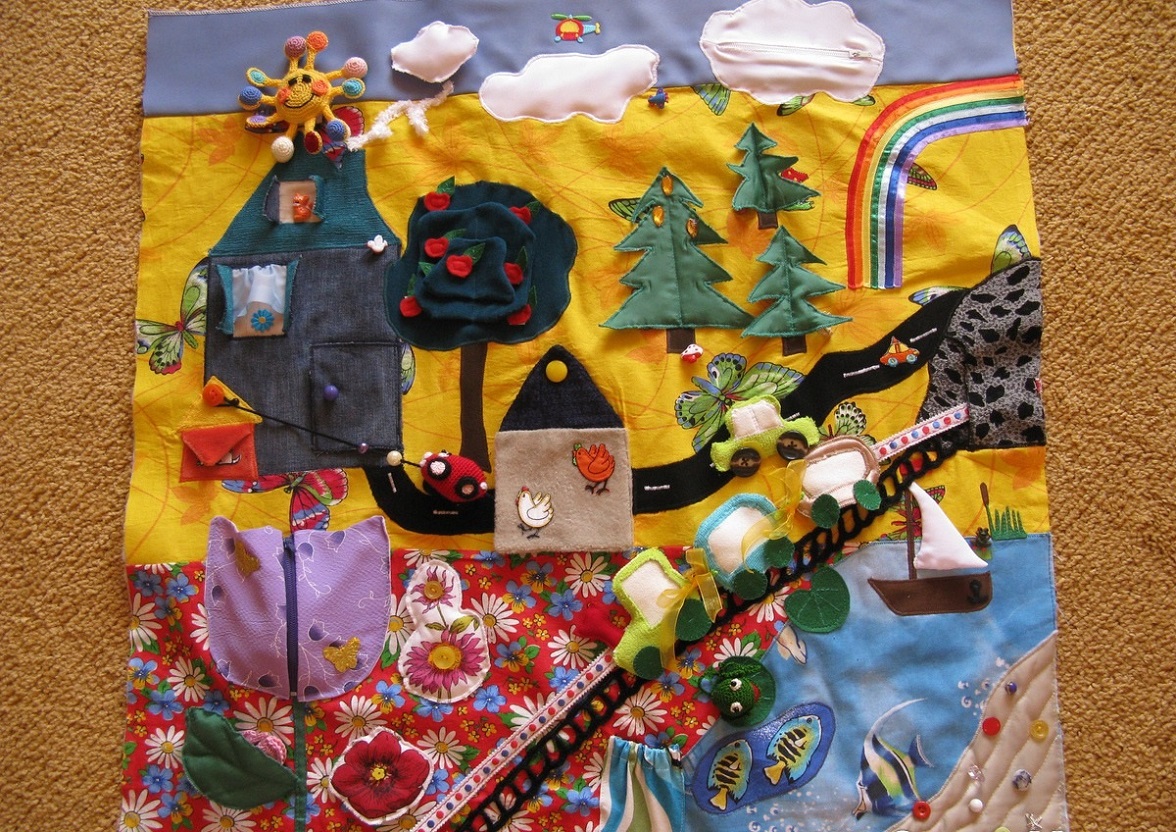
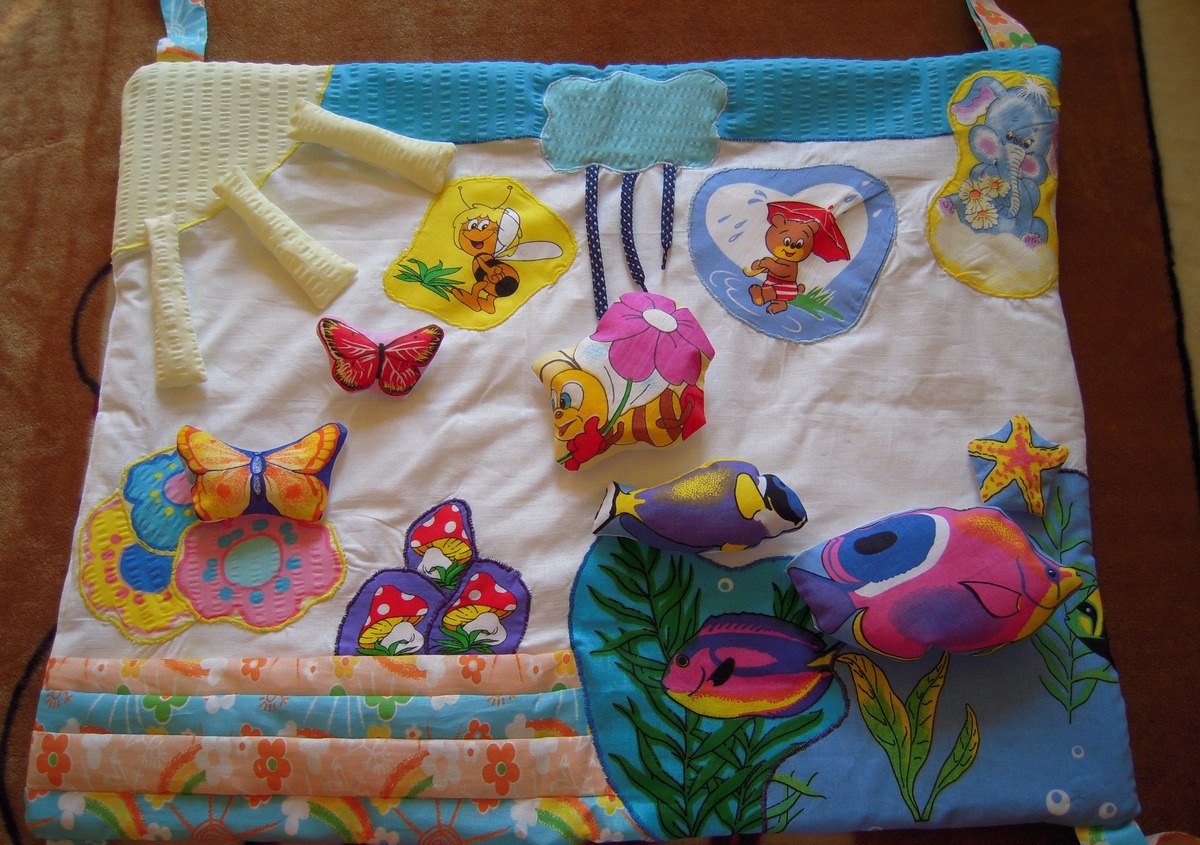
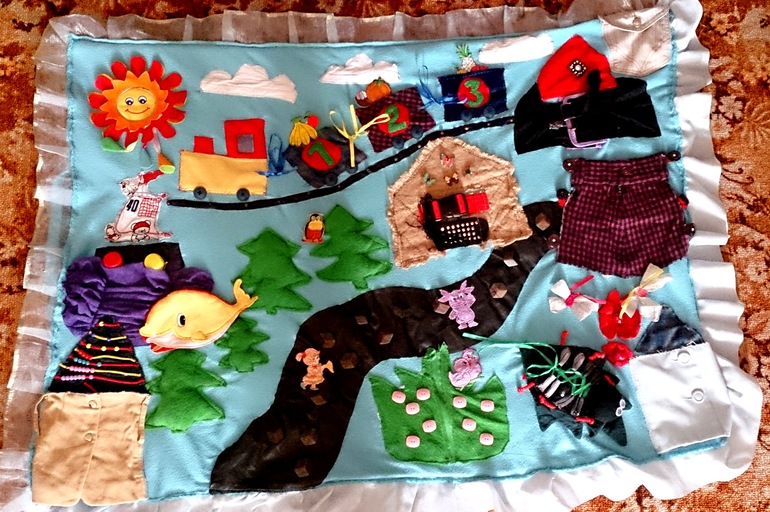
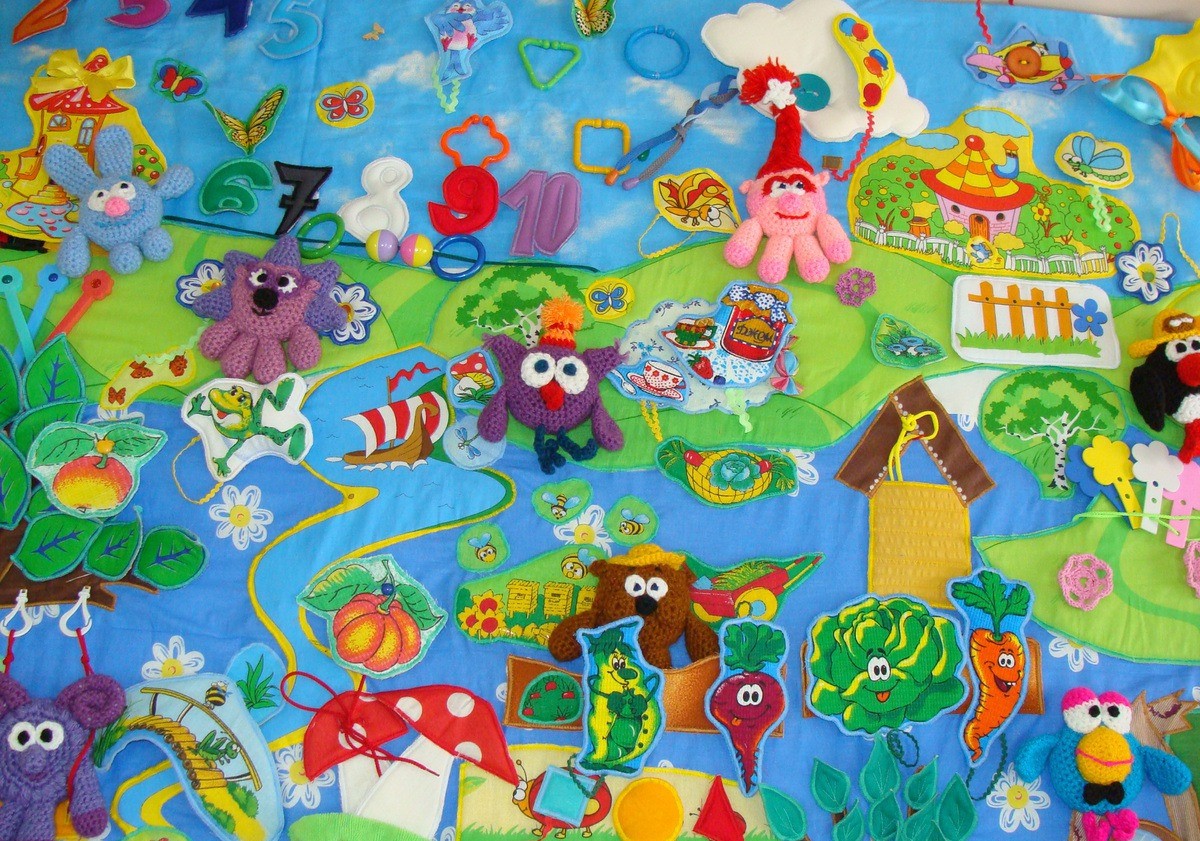
Interesting ideas
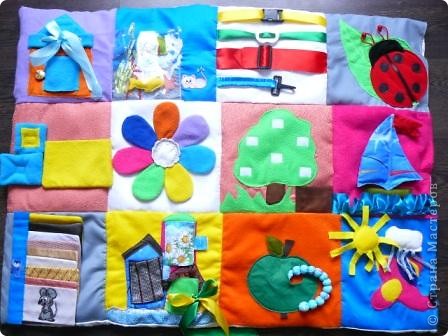
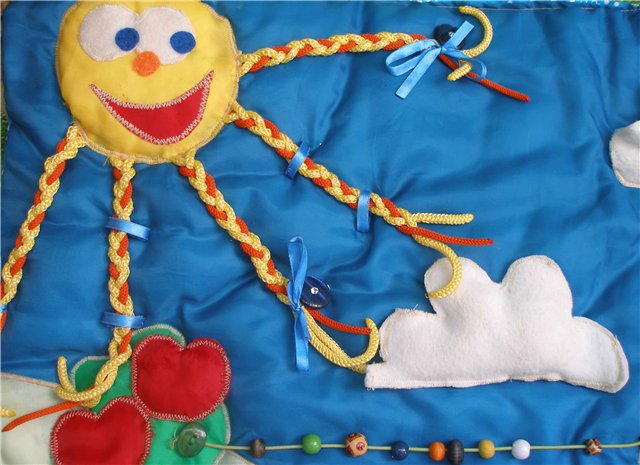
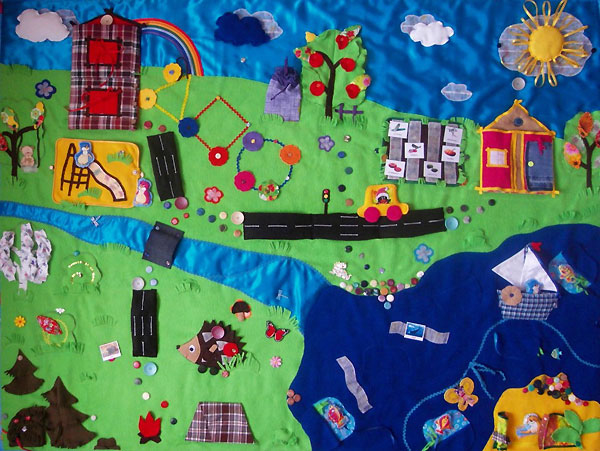
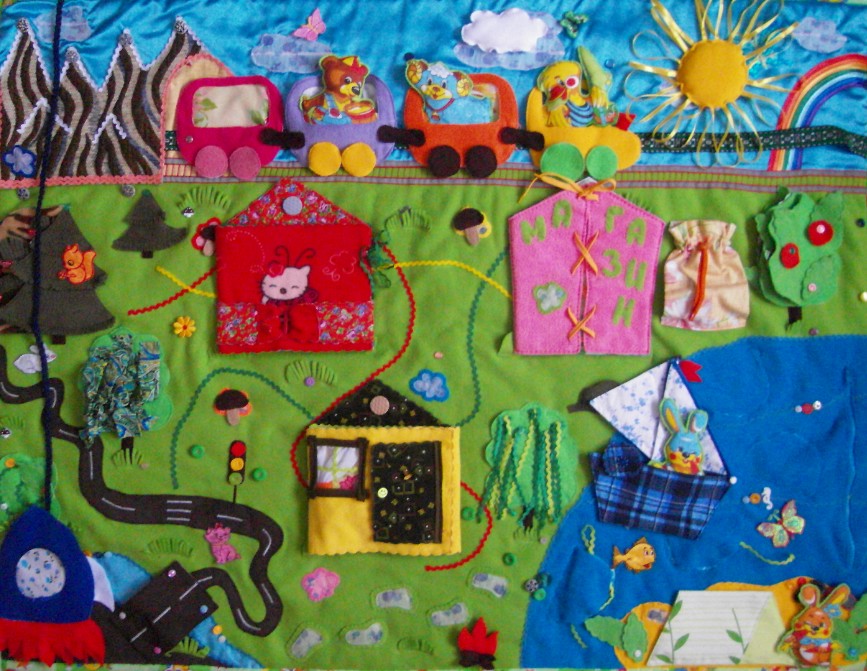
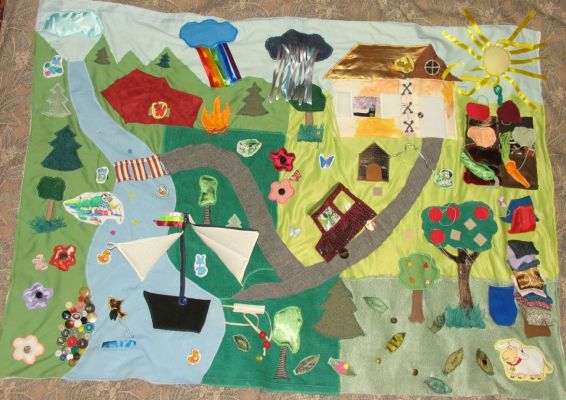
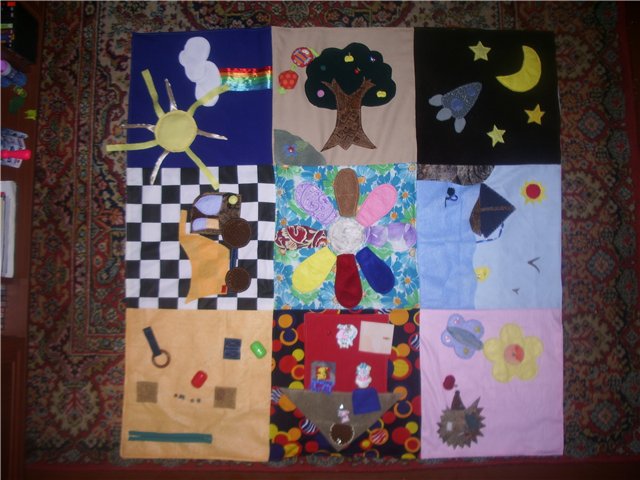
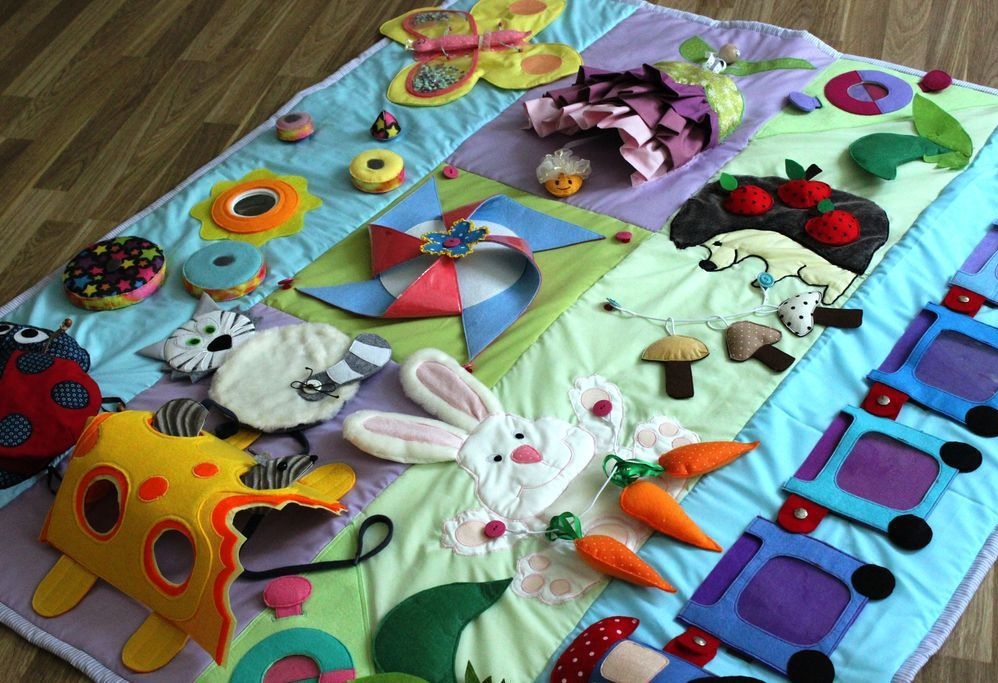
The advantage of a handmade rug for children is its uniqueness. When creating it, it is possible to take into account all the features and interests of the baby. Below are several ideas that will help parents decide on the plot of the playing field for children from 0 to 3 years old.

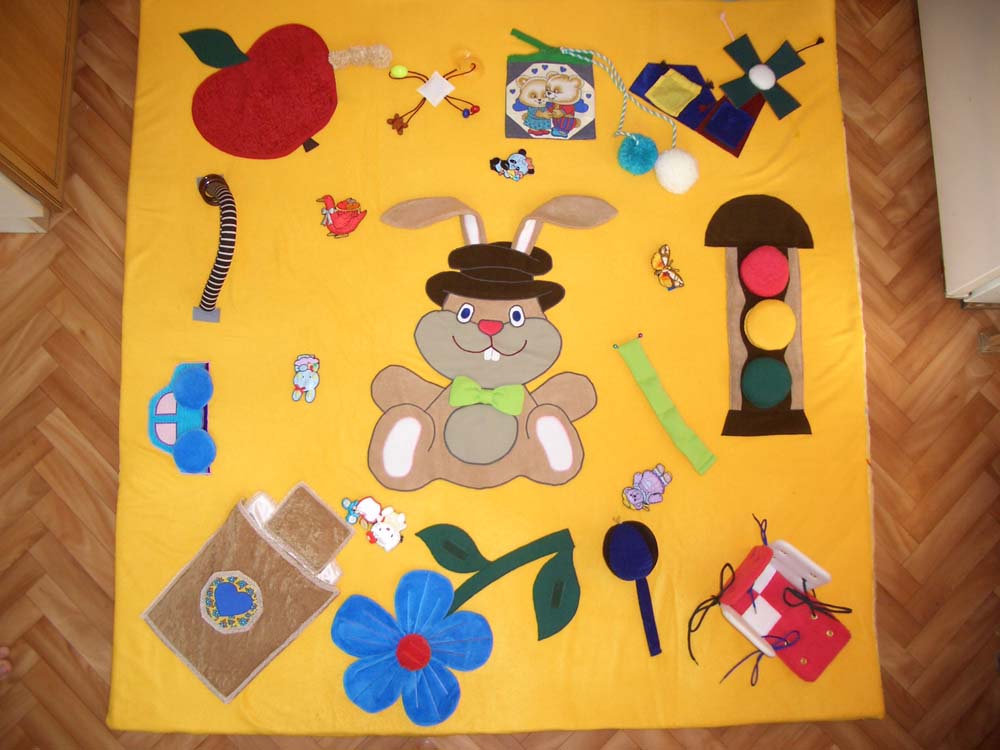
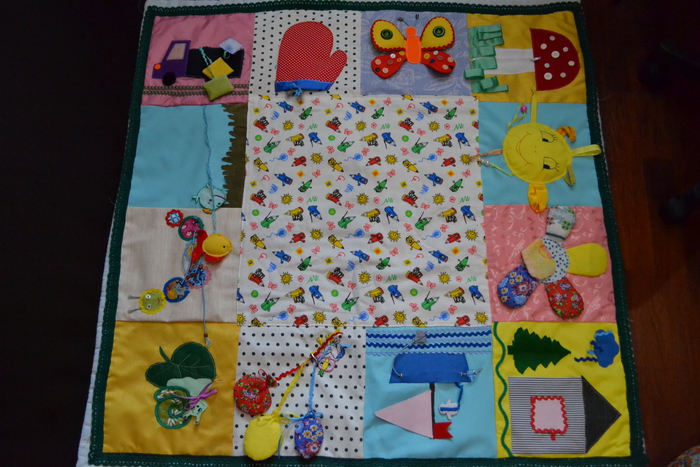
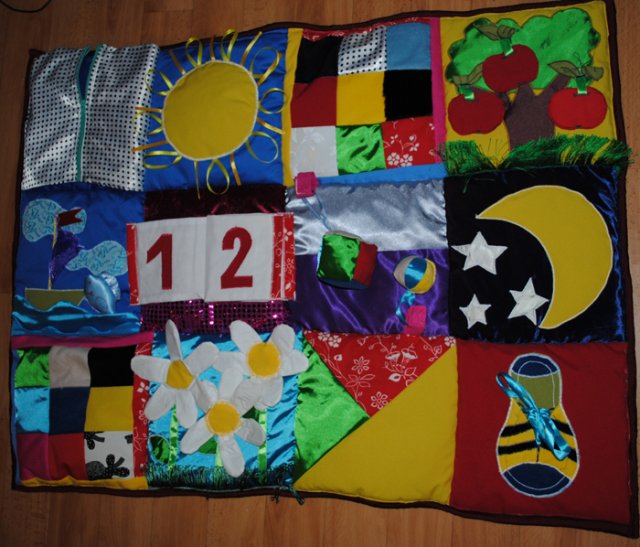
- A bee hiding in a bright flower.
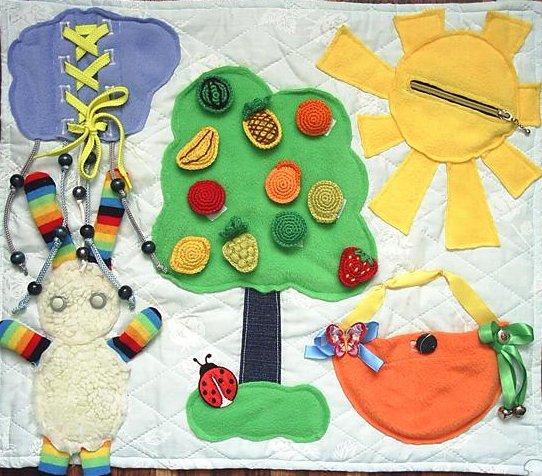
- Christmas tree with buttons for attaching toys.
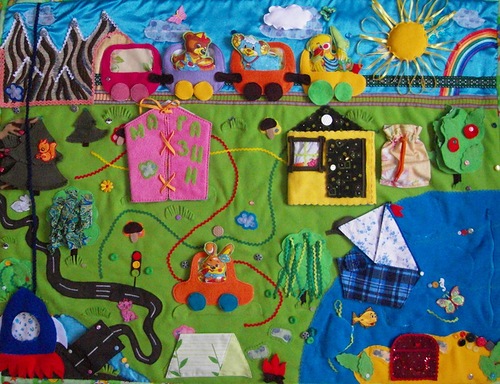
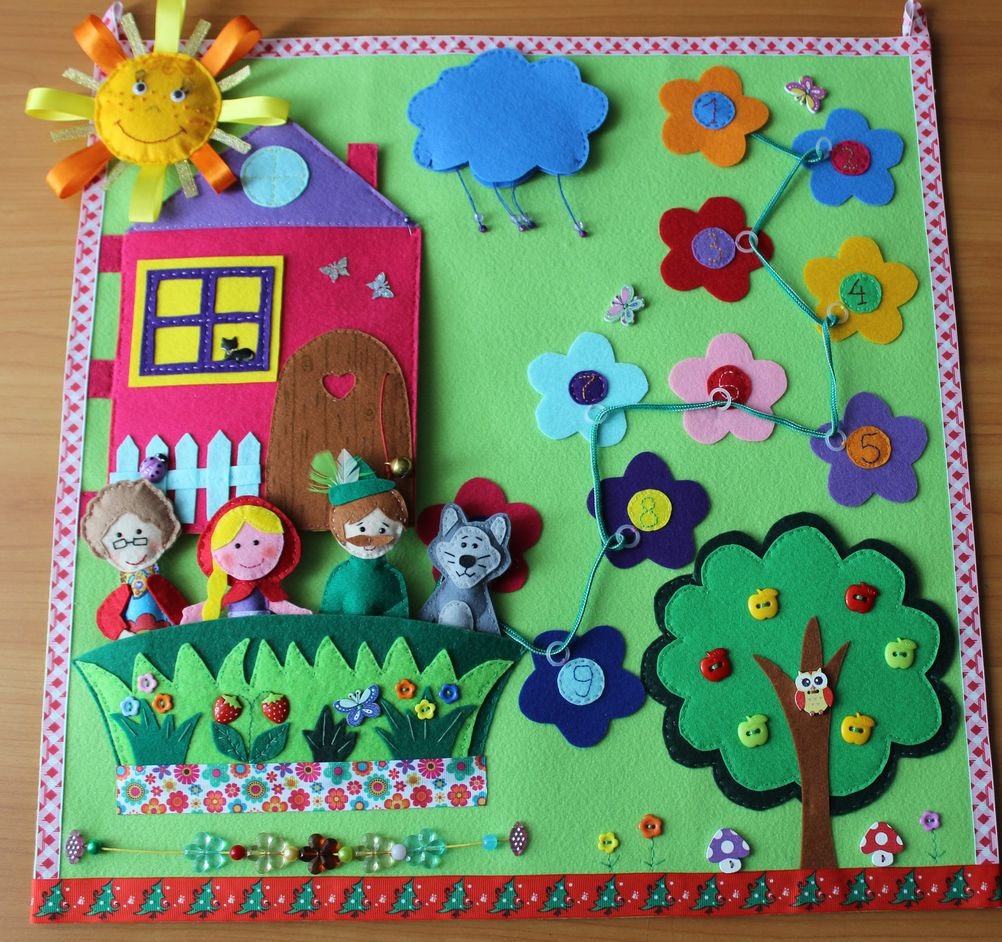
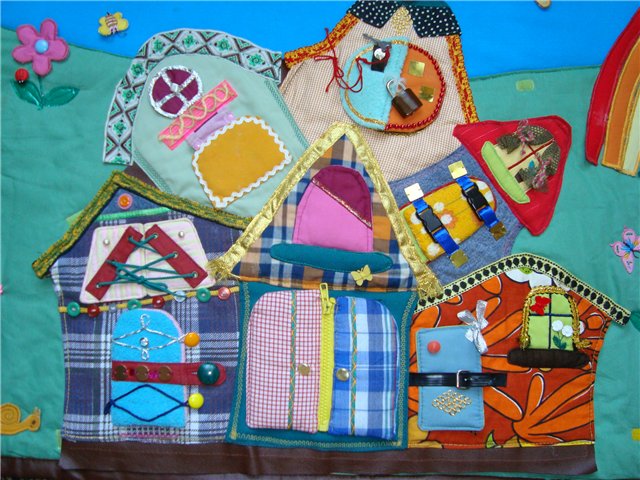
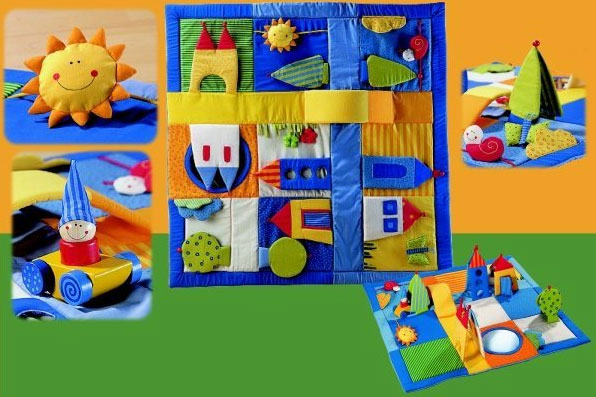
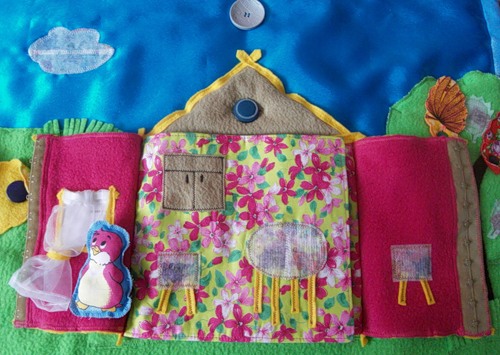
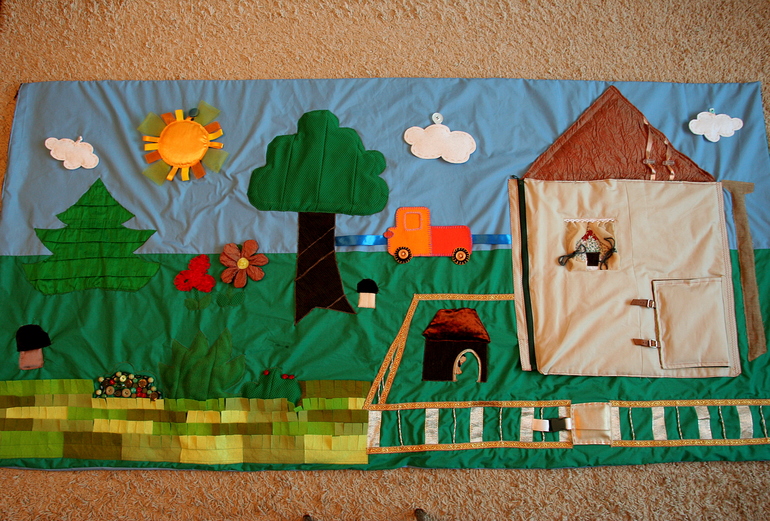
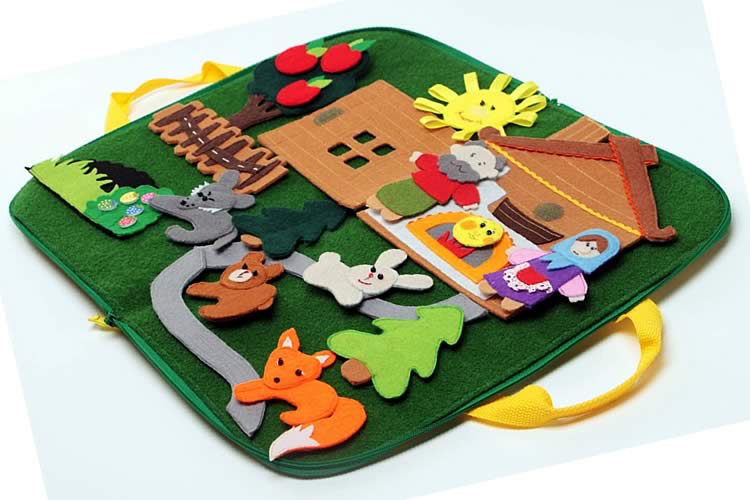
- A castle for cartoon characters, equipped with opening doors and windows.
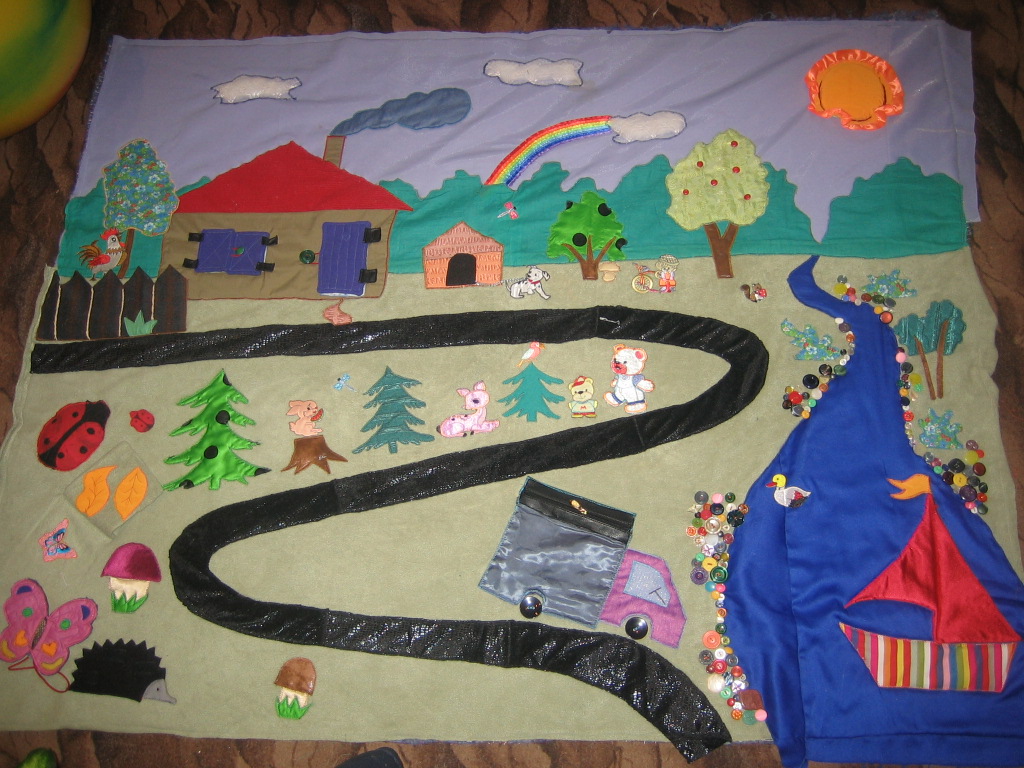
- Ships, boats, cars, attached with a tape in a movable way. In this way, the baby will be able to move objects independently.
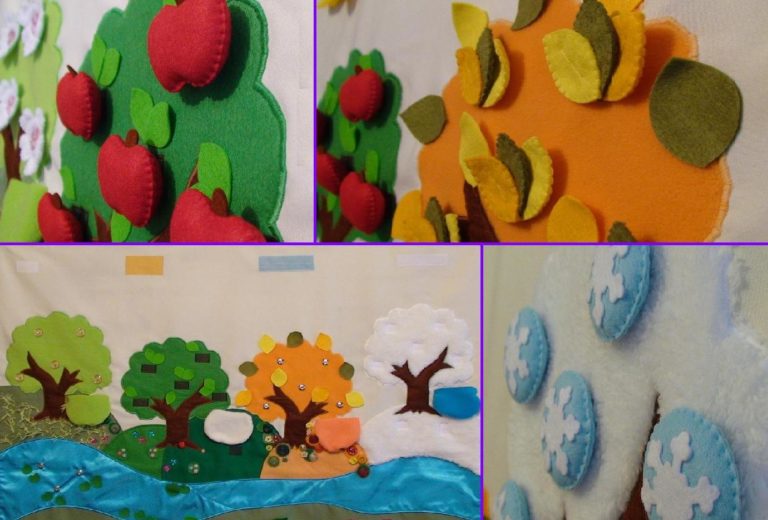
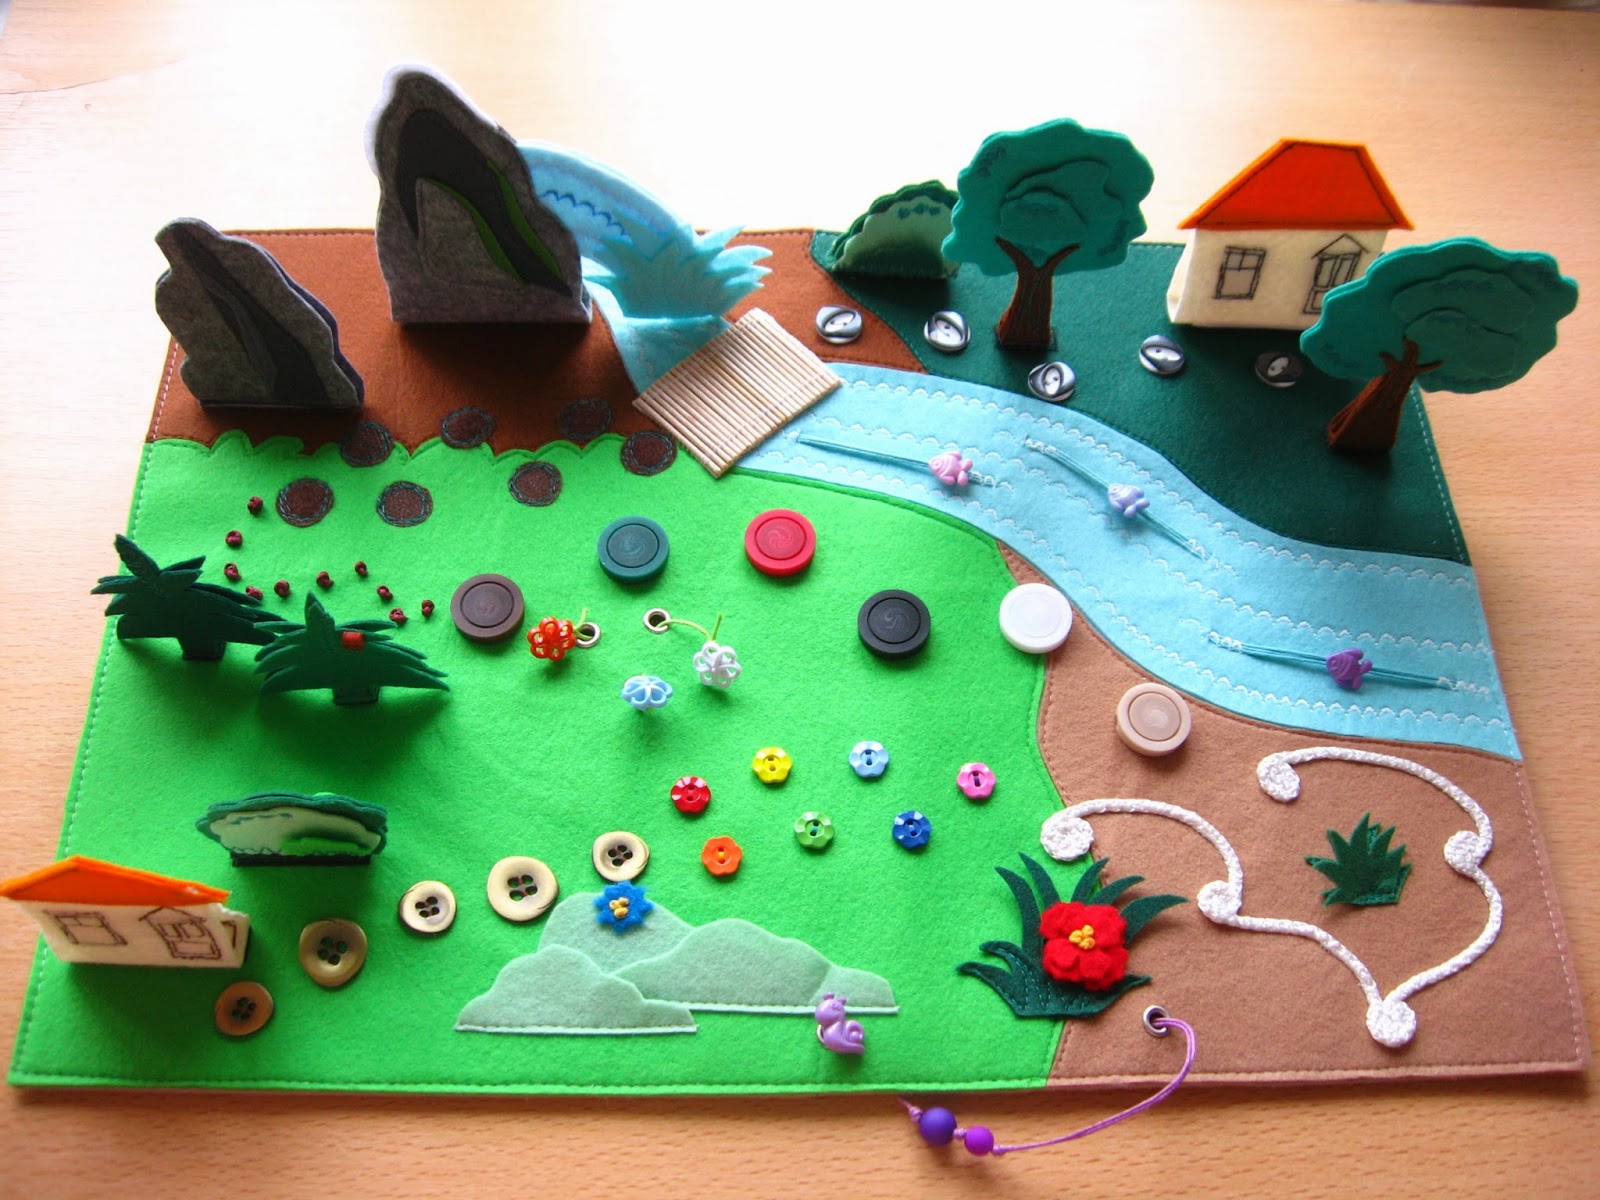
- Multicolored trees, clouds, plants.
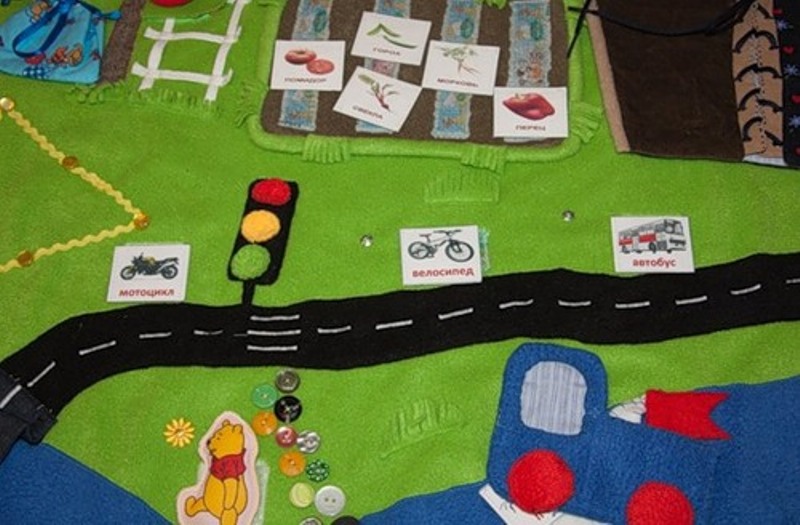
- For older children, you can choose more complex applications - road traffic, scenes from fairy tales.
- It is recommended to equip the rugs with pockets in which the child can put his favorite toys.
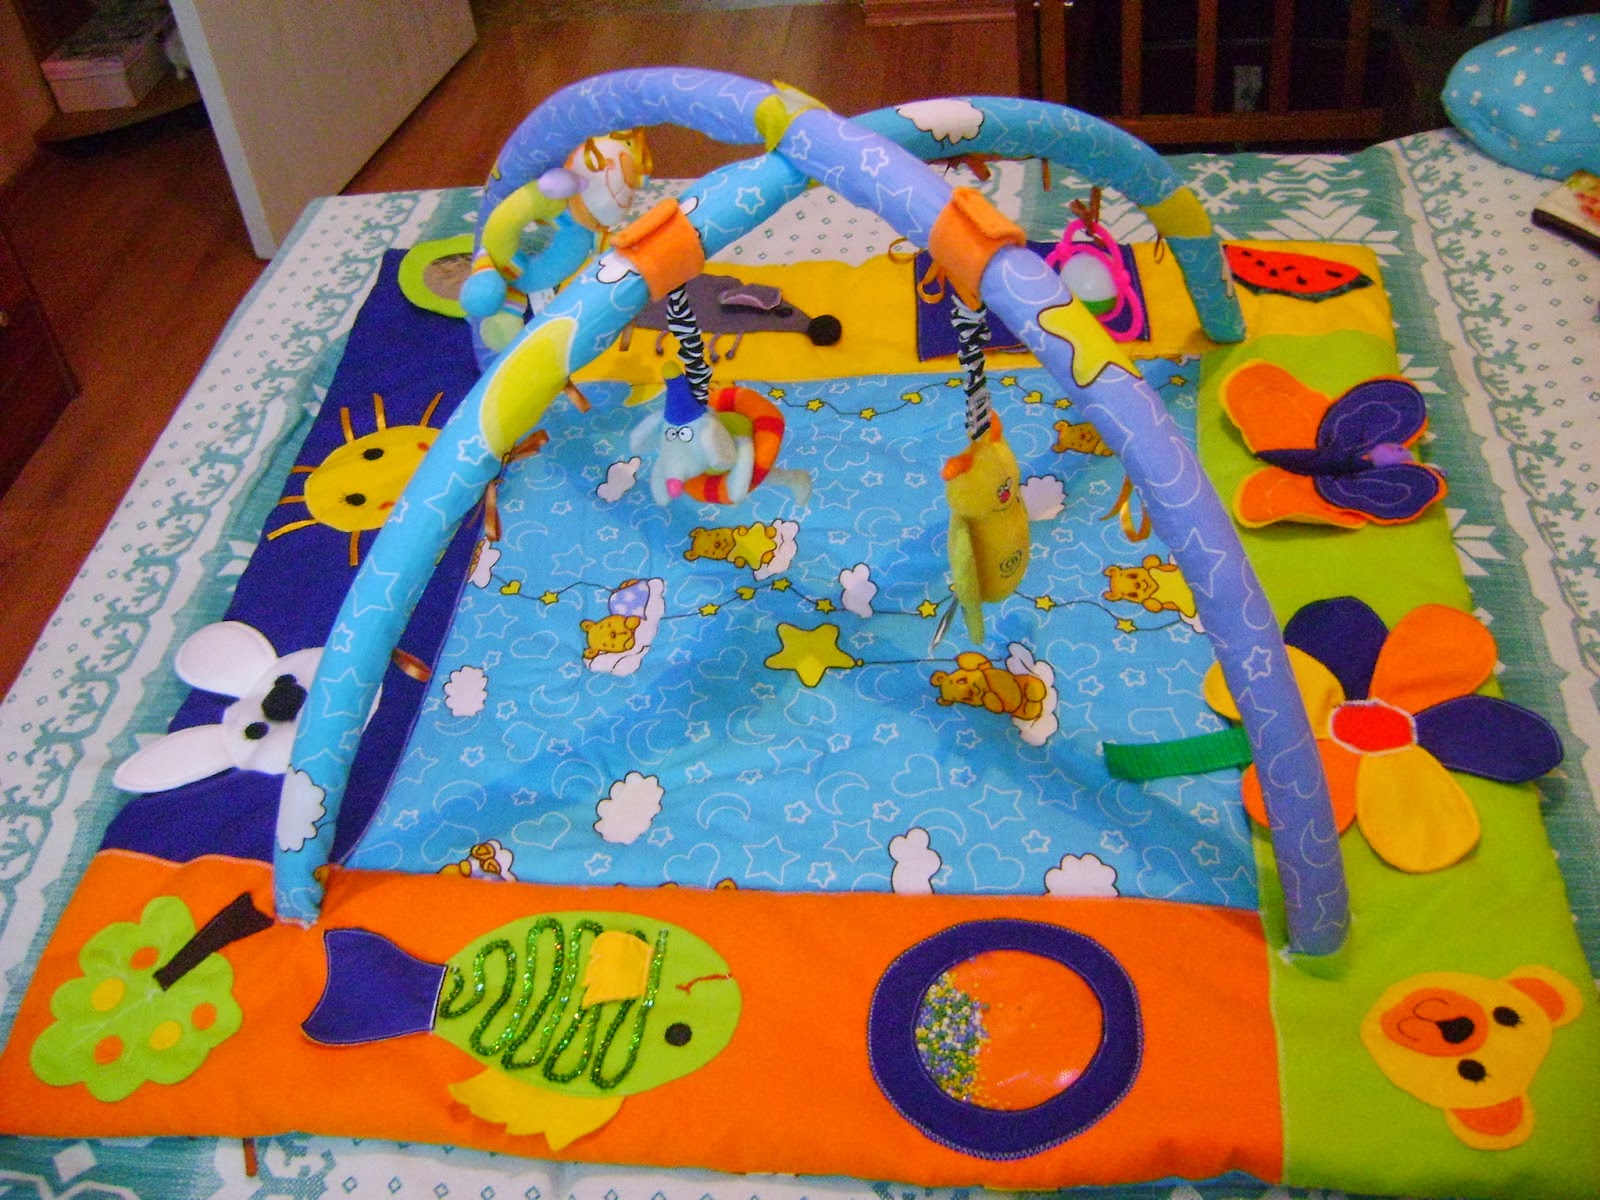
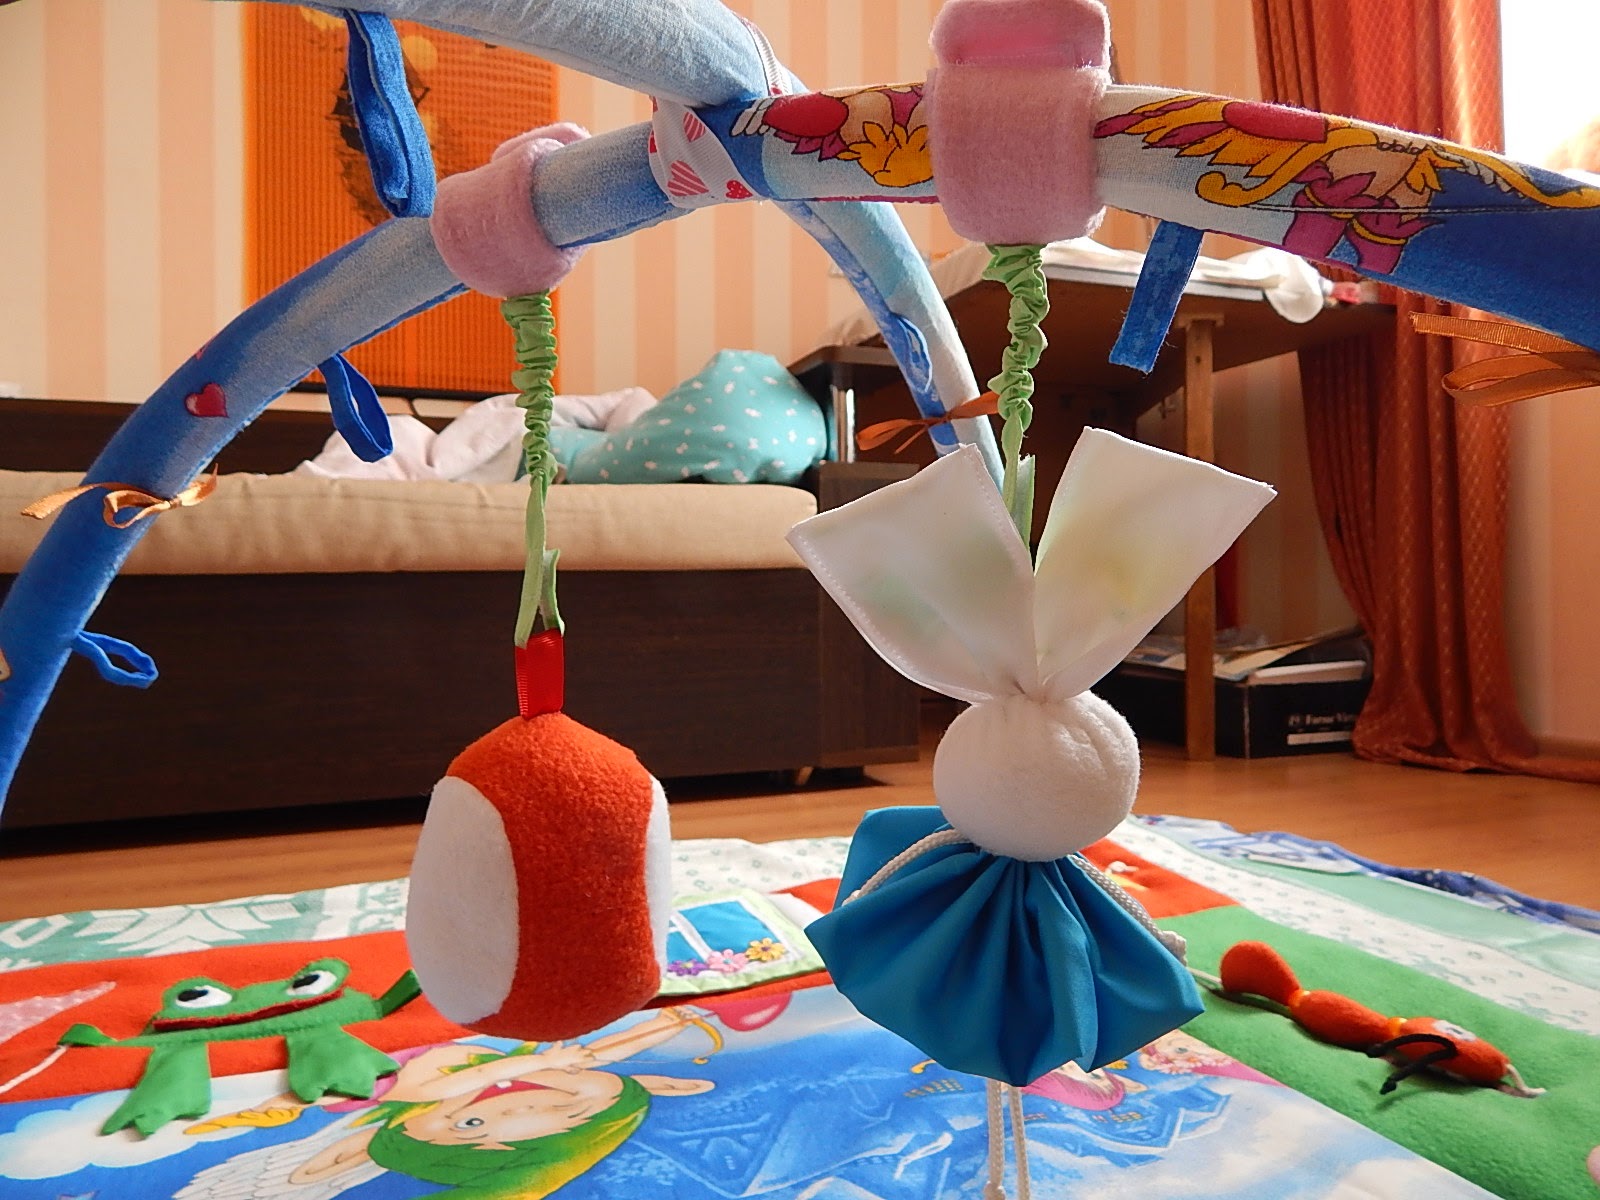
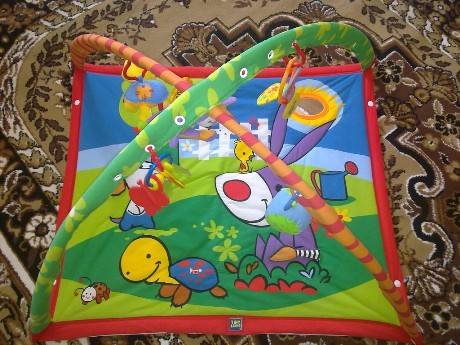
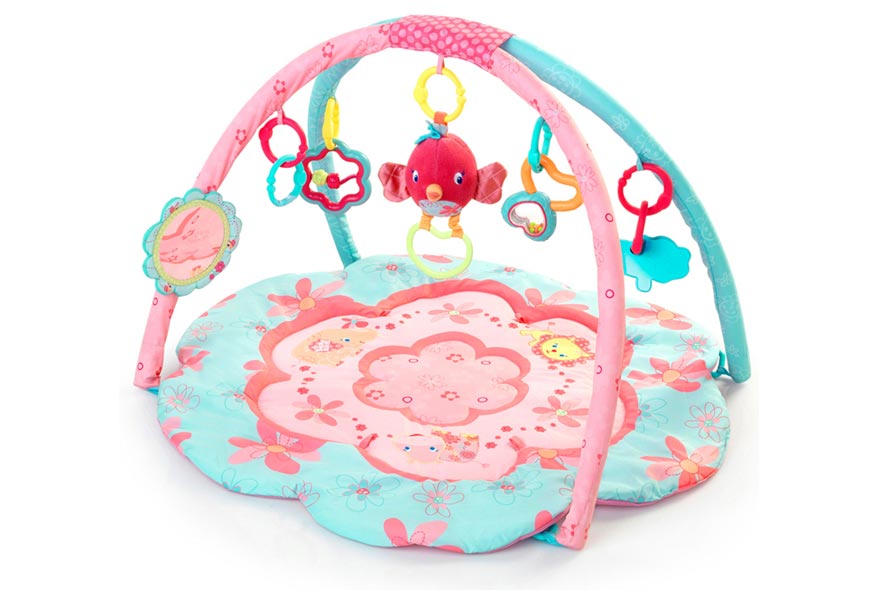
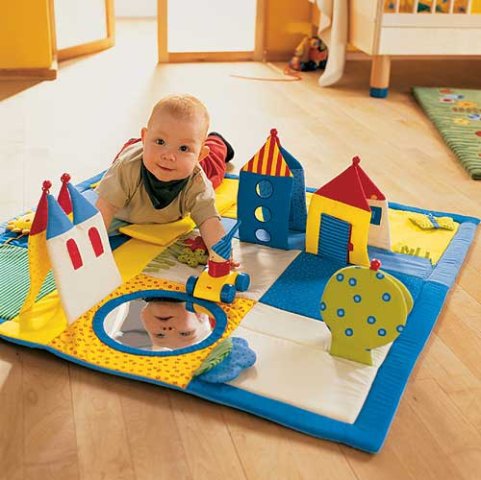
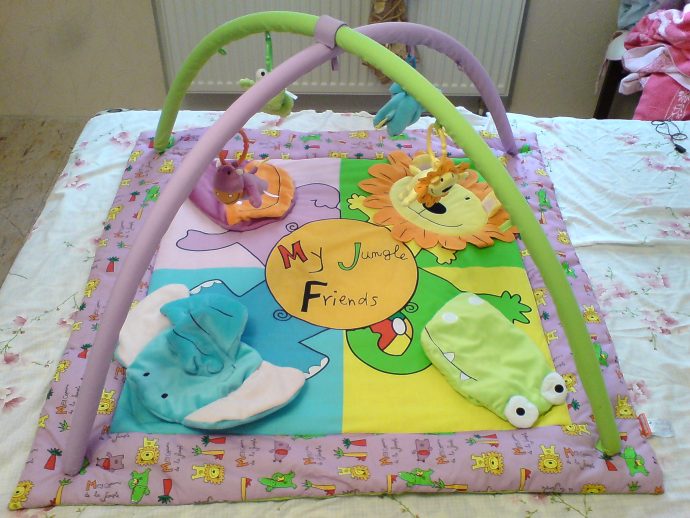
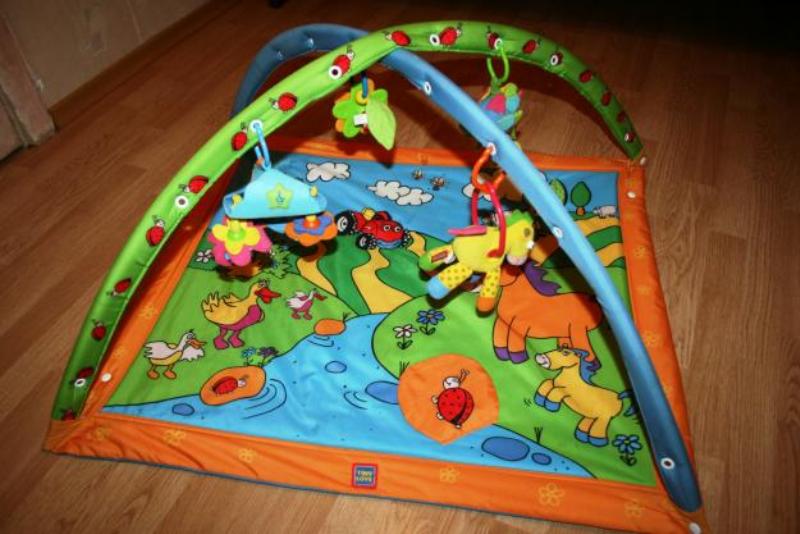
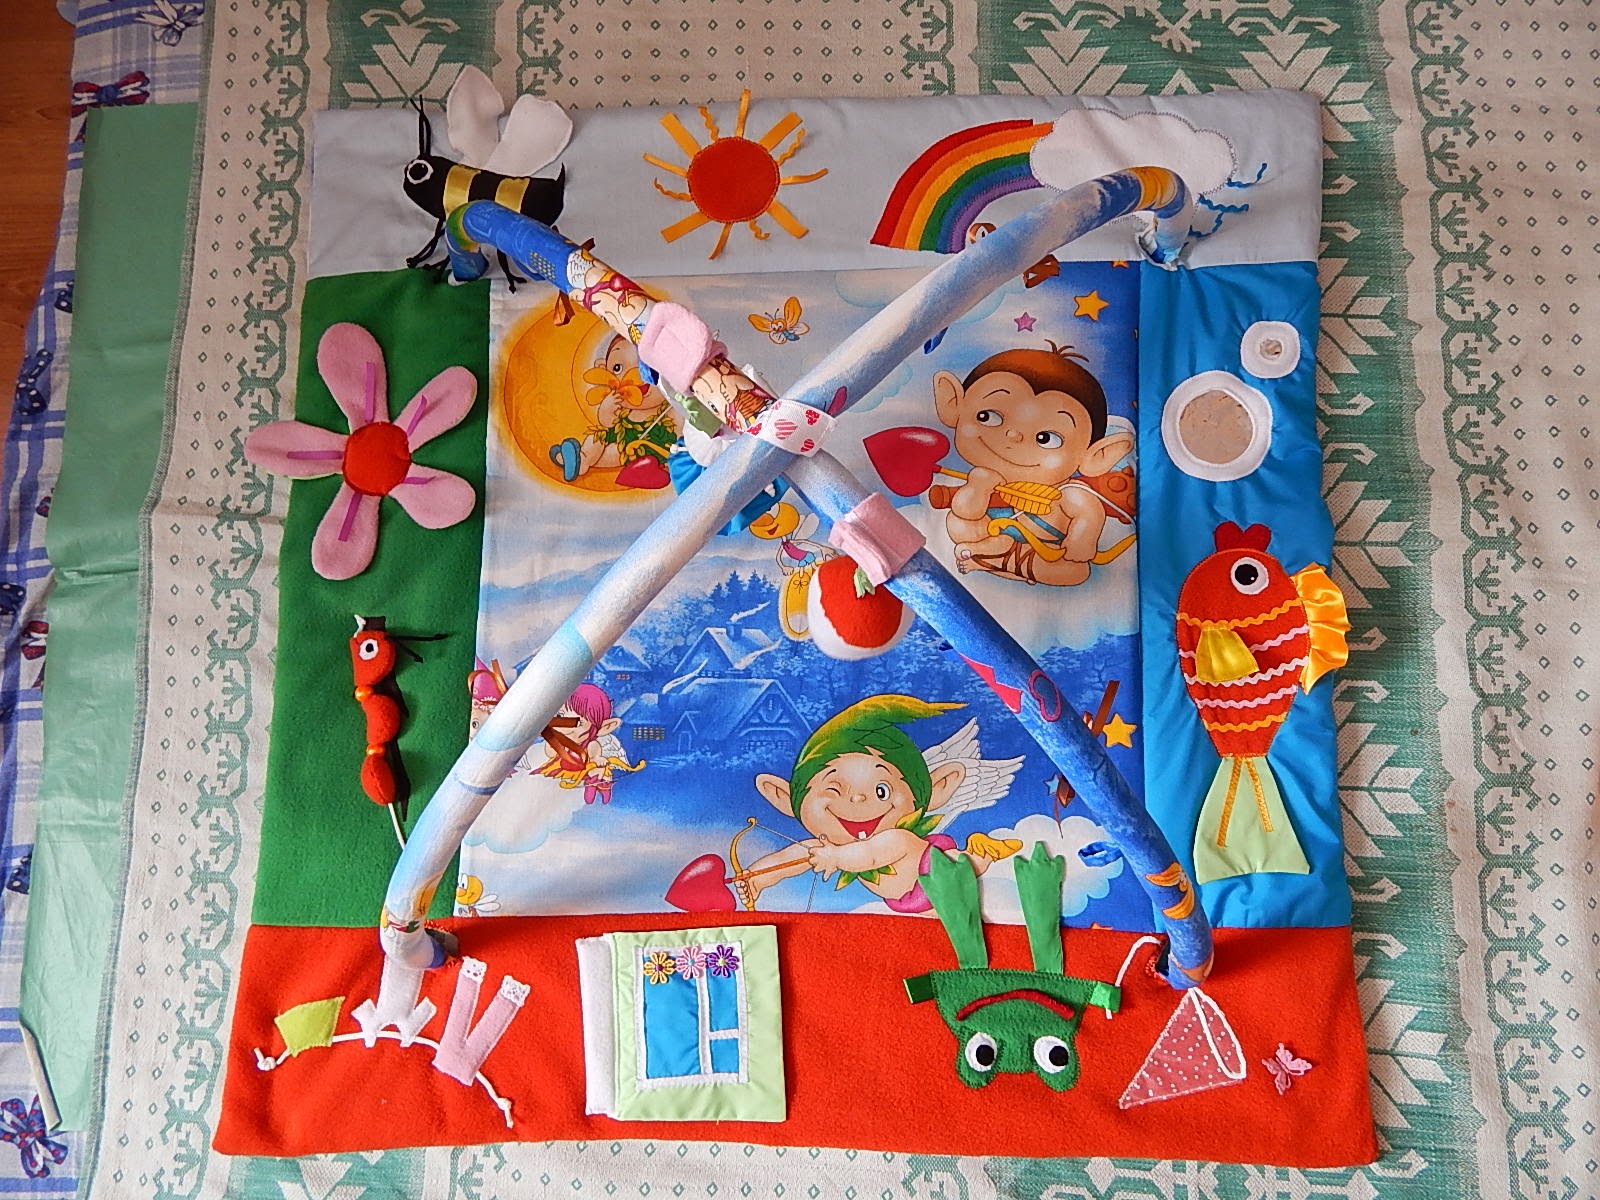
Do-it-yourself rug with arcs
A good idea for creating a rug for children with your own hands is to equip it with special arches. Toys, musical mechanisms, rattles can be attached to them.
The process of creating a canvas for a children's room consists of the stages listed below. To sew elements of a developmental rug for children from 0 to 3 years old, you need to adhere to the following sequence.
Base of the rug
To make a sensory mat for children with your own hands, equipped with arcs, you will need several meters of natural fabric and a material that serves as a sealant - synthetic padding or foam rubber. If you do not want to create patterns for appliques from fabric, you can buy one that is already decorated with children's patterns.
To create a rug for children with your own hands, measuring 1 sq. m., you will need:
- Main fabric with printed pattern – 2 m.;
- Plastic hoop with a diameter of 90 cm.;
- Background fabric without patterns – 4 colors, 30 sq. cm.;
- Foam rubber – 1.5 sq. m.;
- Ribbons, Velcro, colored ropes, pom-poms;
- Sticky tape, preferably in different colors;
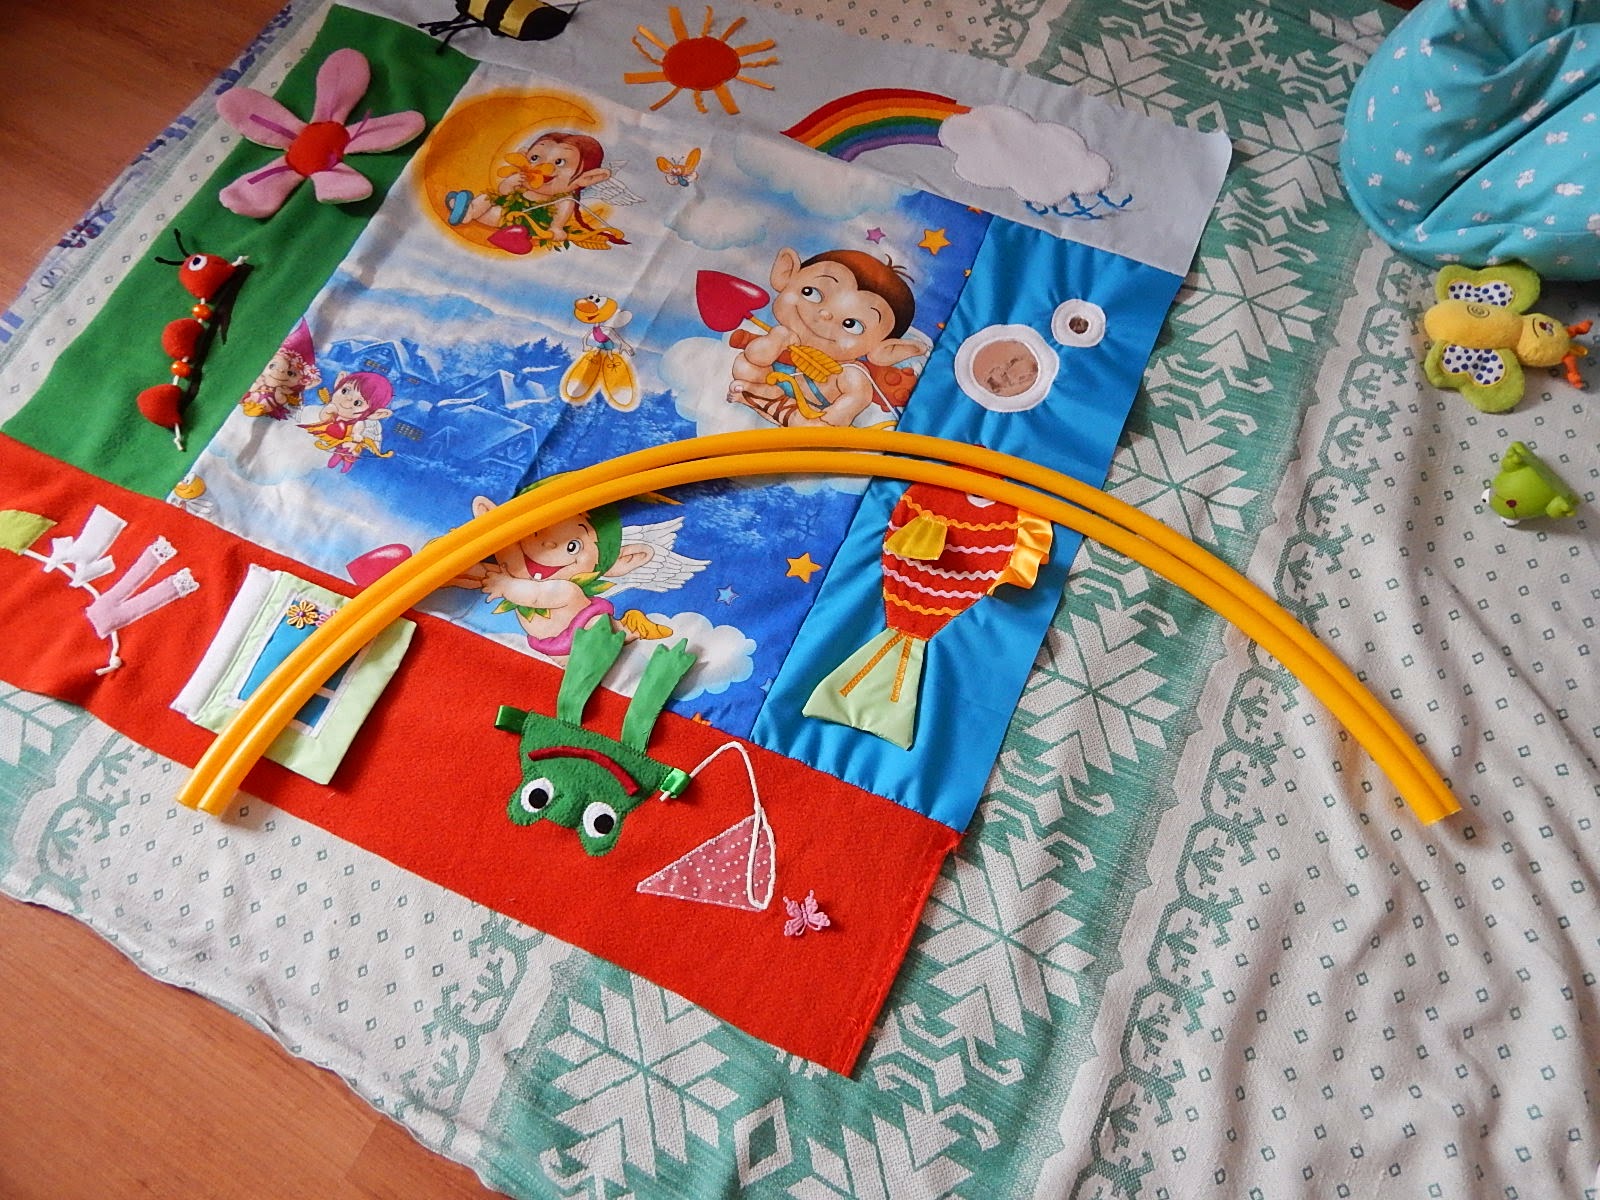
After choosing the fabrics for the base, you need to start cutting:
- The lower part is cut out first. A pre-prepared paper pattern is applied to the selected base and carefully traced with soap or a pencil. It is essential to leave gaps for the seams. After applying the markings, you can cut out the fabric.
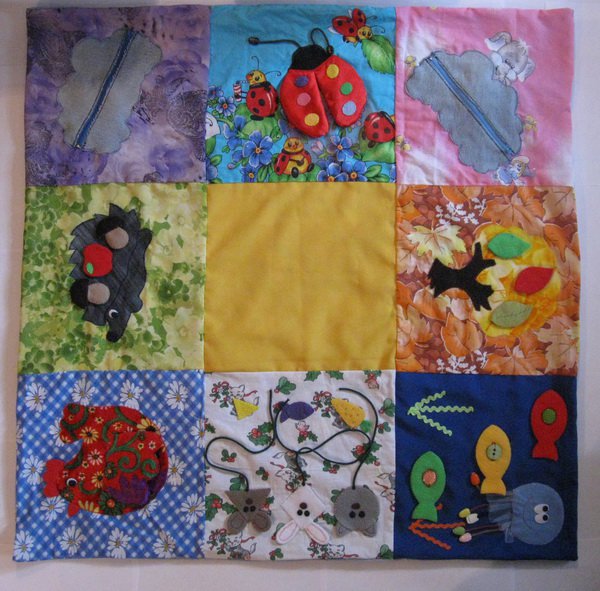
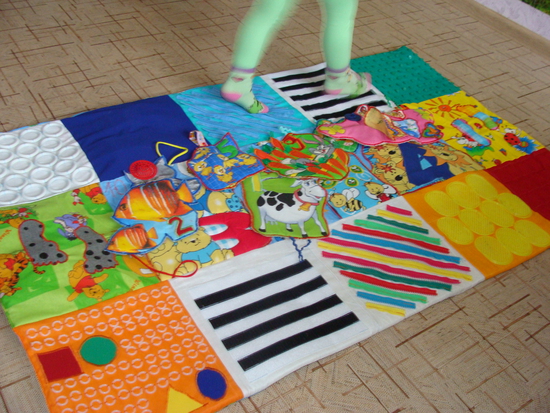
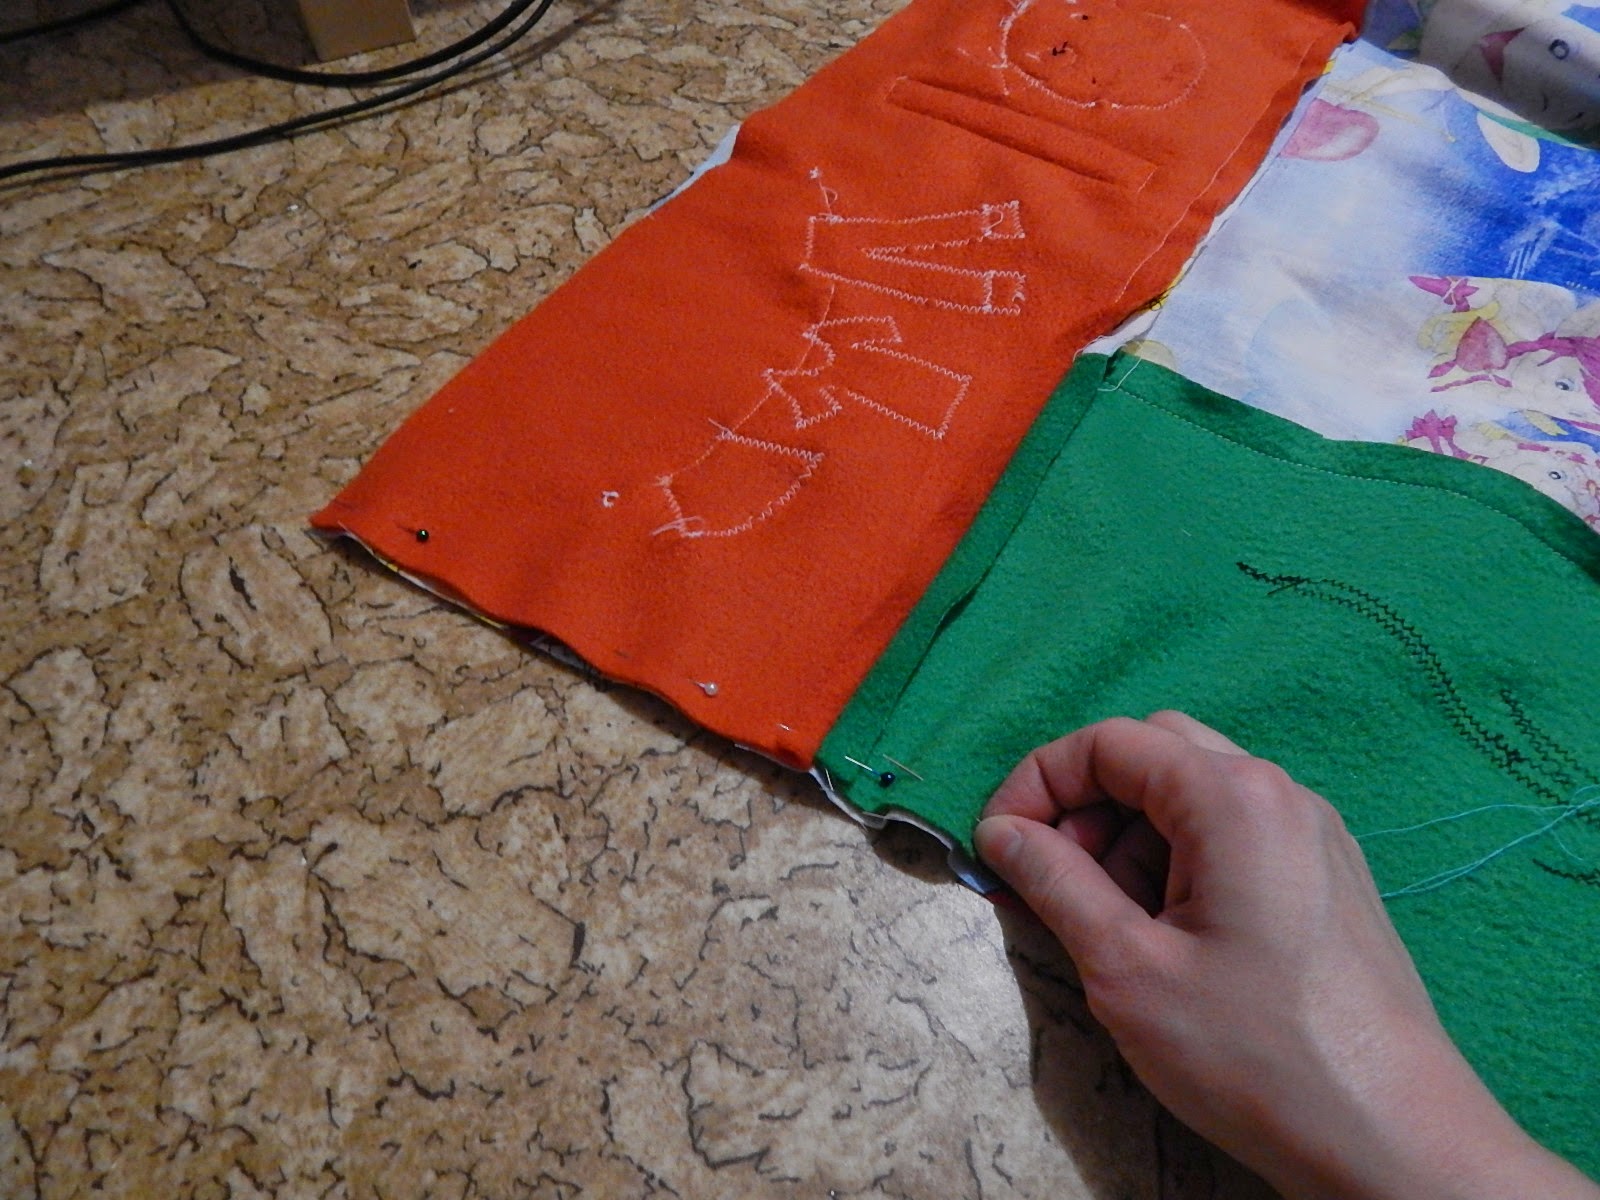
- Next, cut out even squares from the background fabric, which are sewn together one by one. You should get a contrasting pattern. It is important to make all the seams tightly and qualitatively, leaving them on the inside of the product.
- Educational toys are sewn onto the top.
- After this, the front side can be sewn to the sealant - foam rubber or synthetic padding.
Arcs
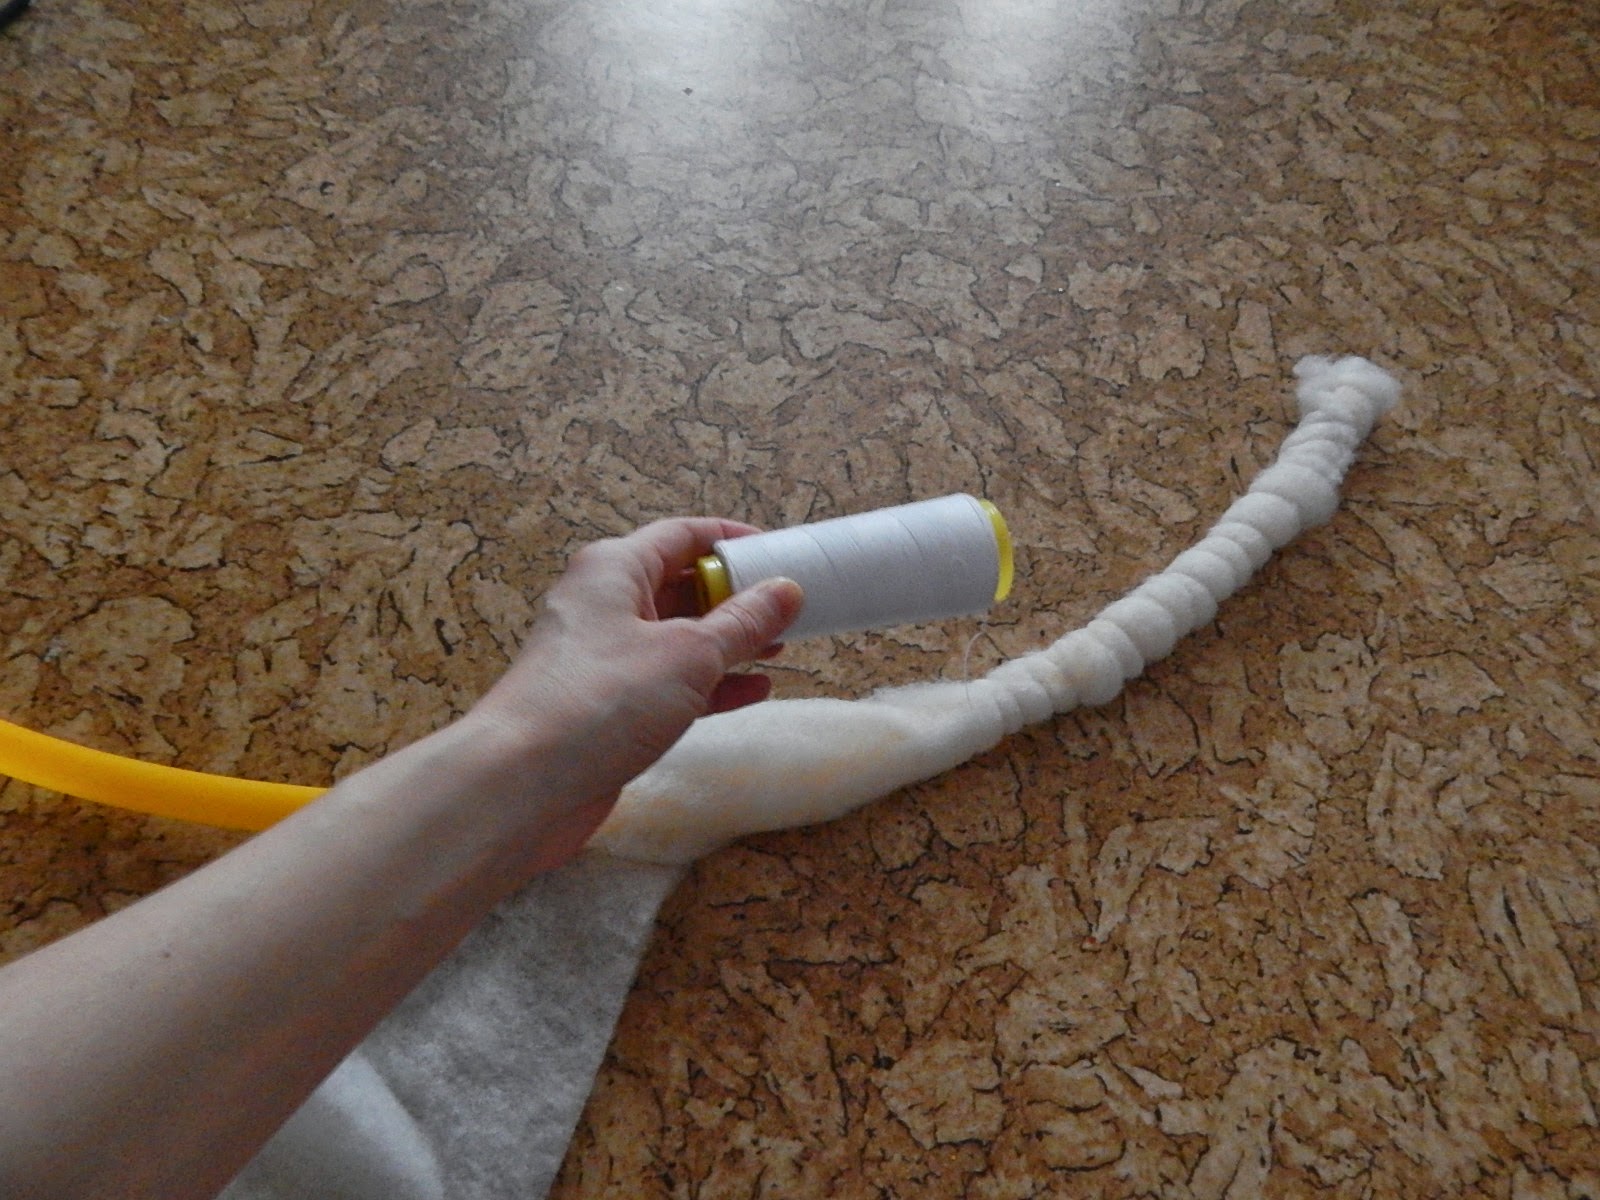
- The hoop is divided into parts - 125 cm and 132 cm.
- To make the resulting arches softer, it is recommended to wrap them tightly with synthetic padding, securing it with threads.
- After this, the arches need to be decorated with colored fabric.
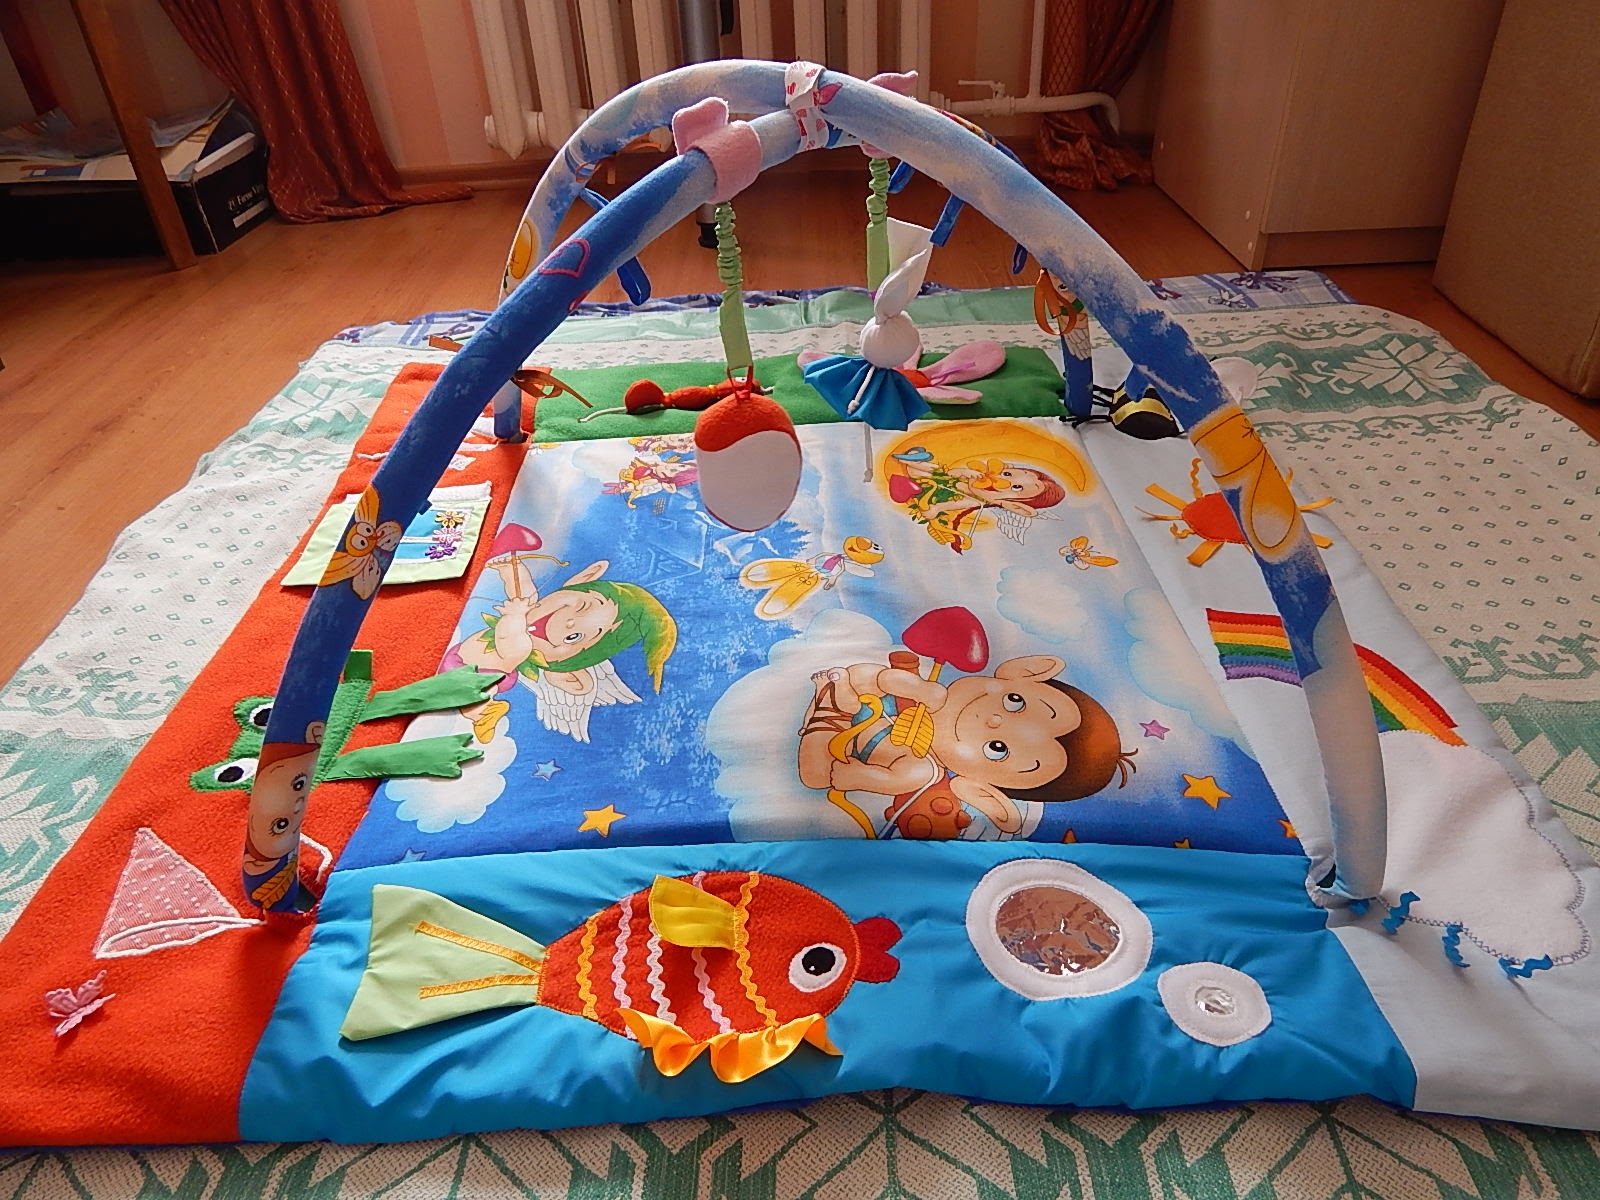
Connecting the arcs and the base of the rug
The best option is to thread the arcs through the holes and secure them with wide Velcro on the inside.
- Through-cuts should be made near the places where the background and the center are connected.
- Then it is recommended to sweep them.
- Velcro is sewn onto the bottom (closer to the outer corners).
- The second halves of the Velcro are attached to the arcs on the front surface.
- The arches are folded crosswise, and a thick tape is attached to the bottom one to secure the structure.
- The sensory mat is ready.
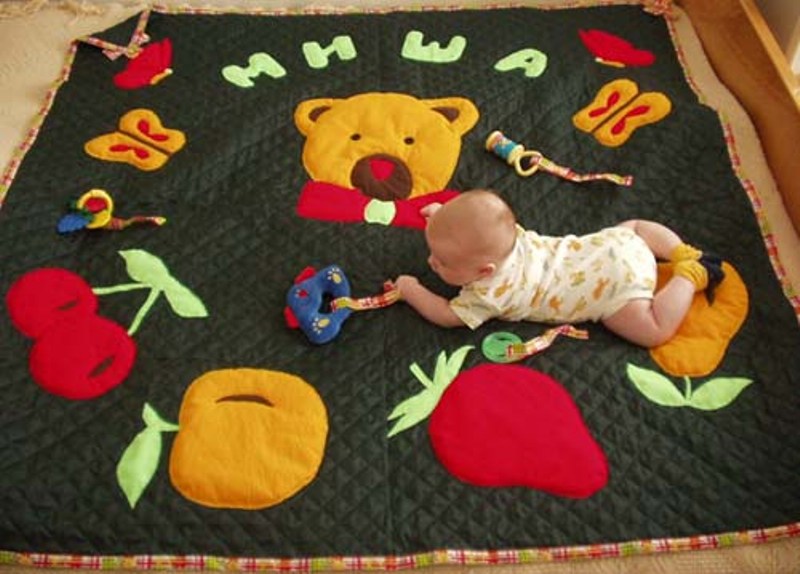
Developmental activities with a mat
The functions of a homemade sensory mat are very diverse.
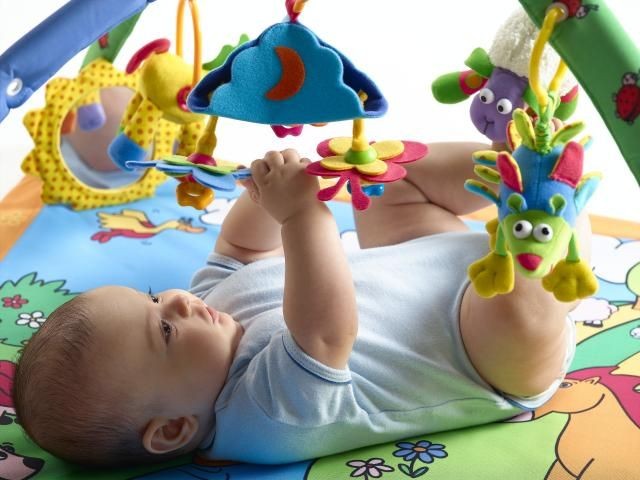
- Babies can be placed on their stomachs. In this position, they can look at colorful pictures, trying to reach them with their hands. This develops concentration and tactile sensations.
- Once your child has learned to sit, you can place the canvas on the floor and join in, showing in a playful way what can be done with different toys.
- Older children can zip up buttons and zippers on their own and move elements. These actions develop fine motor skills.
- As your baby grows, you can customize your homemade developmental mat for newborns with letters and numbers.
- It is important to pronounce all actions and names of objects during the game. This way the child will train attention and memory.
A handmade rug for a child's room will delight the child for several years. And it will help parents free up some time by keeping the child occupied. Made with love, it will bring joy and fun to the child, leaving only warm memories.
VIDEO: DIY developmental mat for children.
50 options for children's developmental mats: