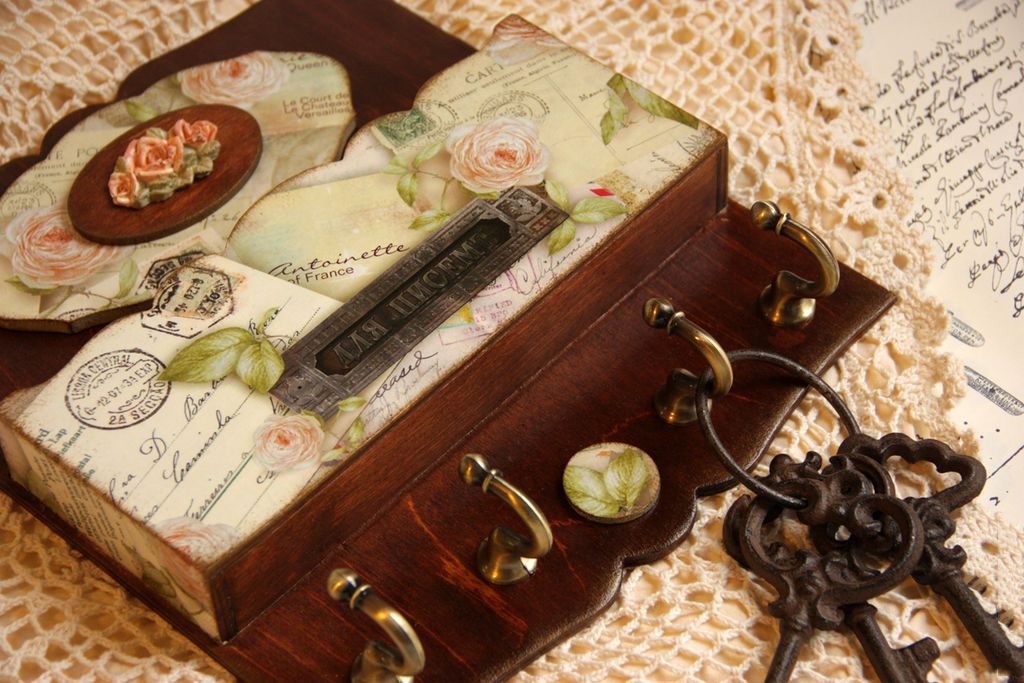
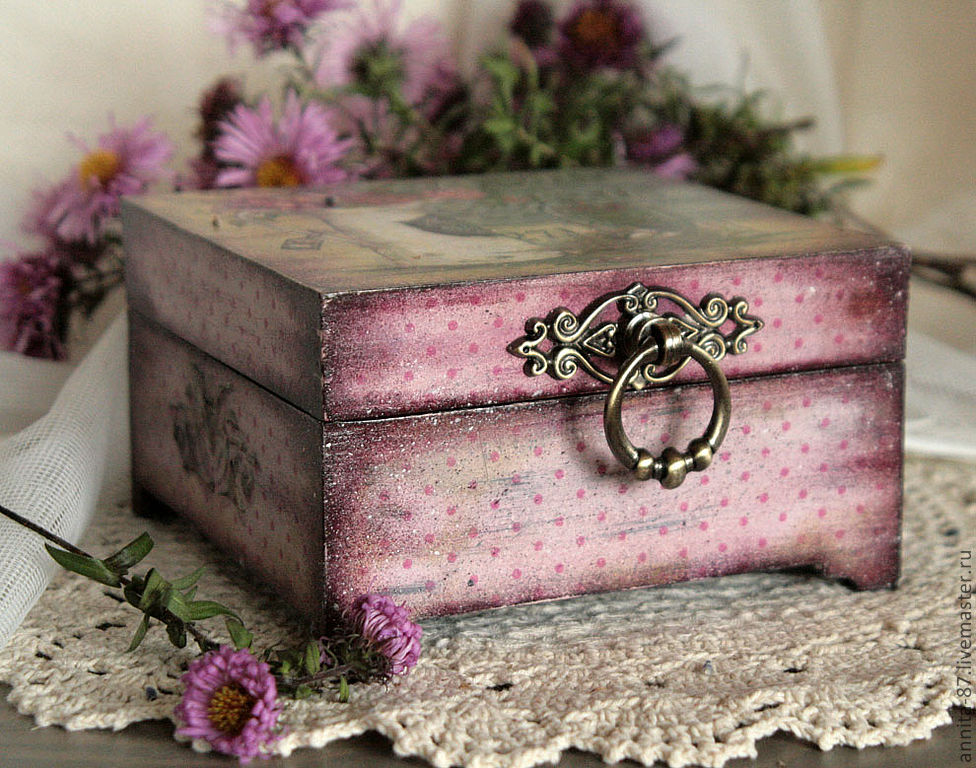
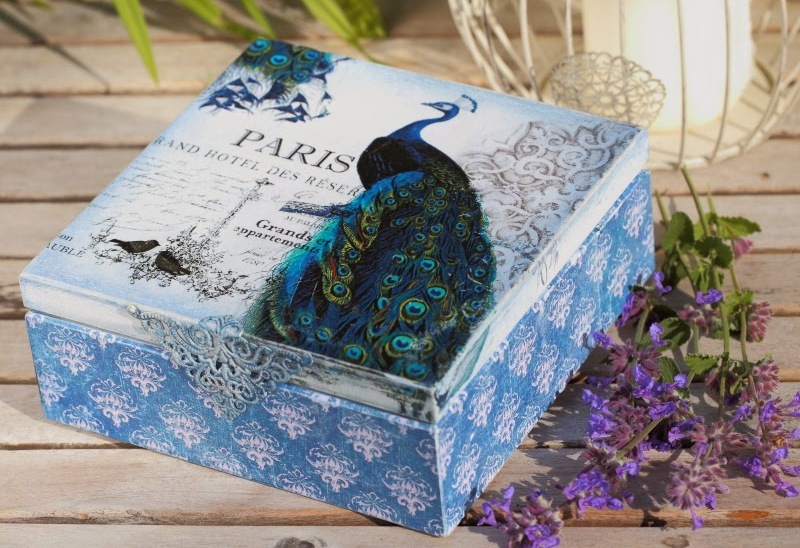
In today's fast-paced world, hand-made items have become highly valued, whether they are clothes, dishes, furniture or other decorative elements. This is because the market is oversaturated with machine-made products. There are many types of creativity in the world, but this article will immerse you in the world of decoupage.
Content
- What is decoupage
- Tools and consumables
- Decoupage napkins: what are they
- Pros and cons of decoupage napkins
- How to make decoupage from napkins: master class
- Preparatory work
- Methods of gluing napkins
- We eliminate the flaws
- Varnishing
- Nuances and secrets of technology
- Conclusion
- VIDEO: Decoupage – ideas for creativity.
- 50 unusual DIY decoupage options:
What is decoupage
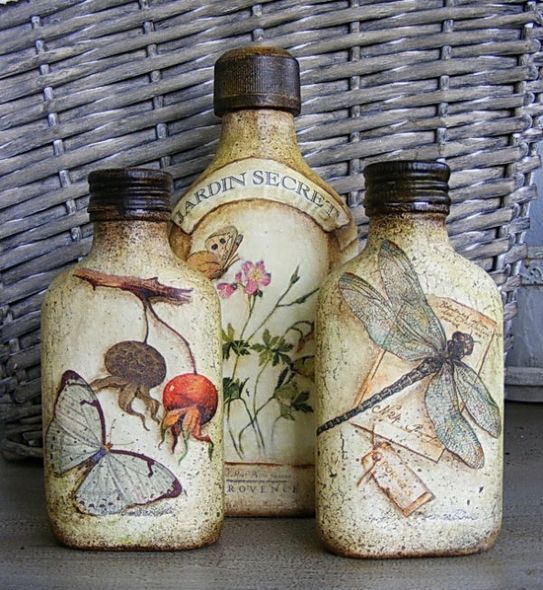
Decoupage is a word that came to us from the French language and literally translates as "to cut out". This very simple technique is the application of a ready-made paper drawing to any surface. Most often it is glass, less often metal and plastic.
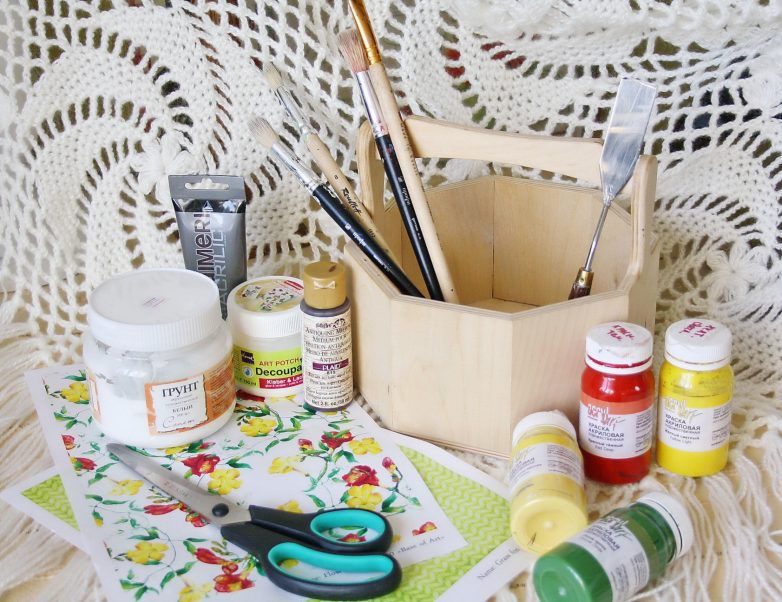
Tools and consumables
Decoupage is a type of decorative and applied art that allows each person to create something truly beautiful using the simplest and most accessible materials. You may not believe it, but most of the necessary tools are already at home!

Let's figure out what you need before starting work.
Tools
- Sharp manicure or medical scissors of a size convenient for cutting out small details.
- You may also need a utility knife.
- Several types of brushes. If you plan to work with small details, you will need small flat brushes with thin artificial bristles. For applying acrylic paint or primer, a regular dishwashing sponge may be useful, but it is worth considering that it creates a rough texture, which is not necessary for every job. To create a smooth surface, a large synthetic brush is needed. Thin brushes made of synthetic bristles are suitable for drawing small details on the finished work. It is worth remembering that separate brushes are needed for applying glue, paint and varnish.
- Sandpaper for sanding the surface during preparatory work or to correct minor errors. Choose paper with fine and medium grain in several gradations.
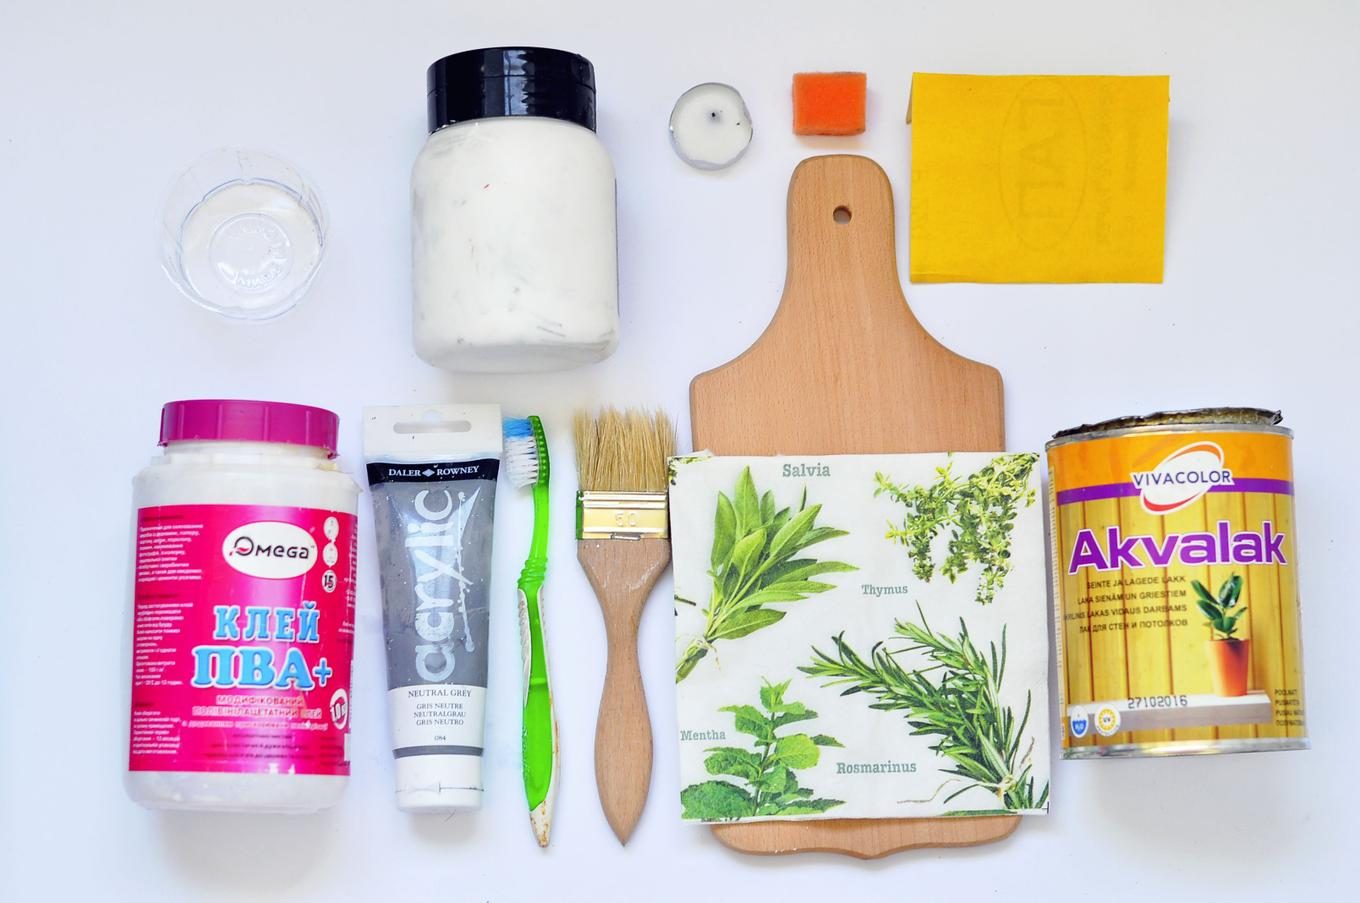
Consumables
- Acrylic varnish. There are many varieties on the market. There are water-based and glue-based ones, with different effects (antique, glitter, cracks) and finishes (matte, glossy, semi-matte, semi-gloss). Choose a water-based varnish, but the effect and finish should be chosen based on the desired result. Both regular construction varnish and special decoupage varnish are suitable for the job, but this is a more expensive option for advanced craftsmen.
- Acrylic paints, watercolors and pastels for drawing small details or creating additional effects.
- Glue. Craft stores sell jars of special glue for decoupage, but again, beginners who just want to try themselves in a new technique don't need it. PVA glue from the middle price category (don't take the simplest children's glue) diluted with water in equal proportions will do.
- Primer. Serves to improve adhesion between layers of glue and napkins.
- Printouts. Thin paper with a pattern printed on it using a laser printer is also suitable for decoupage.
- Napkins. Their varieties are described in more detail in the next section.
Decoupage napkins: what are they
If we talk about the popularity of materials for decoupage, then napkins are the absolute leader. Napkins are the basis of the entire technique, which is why it is so important to take into account all the nuances when choosing napkins.
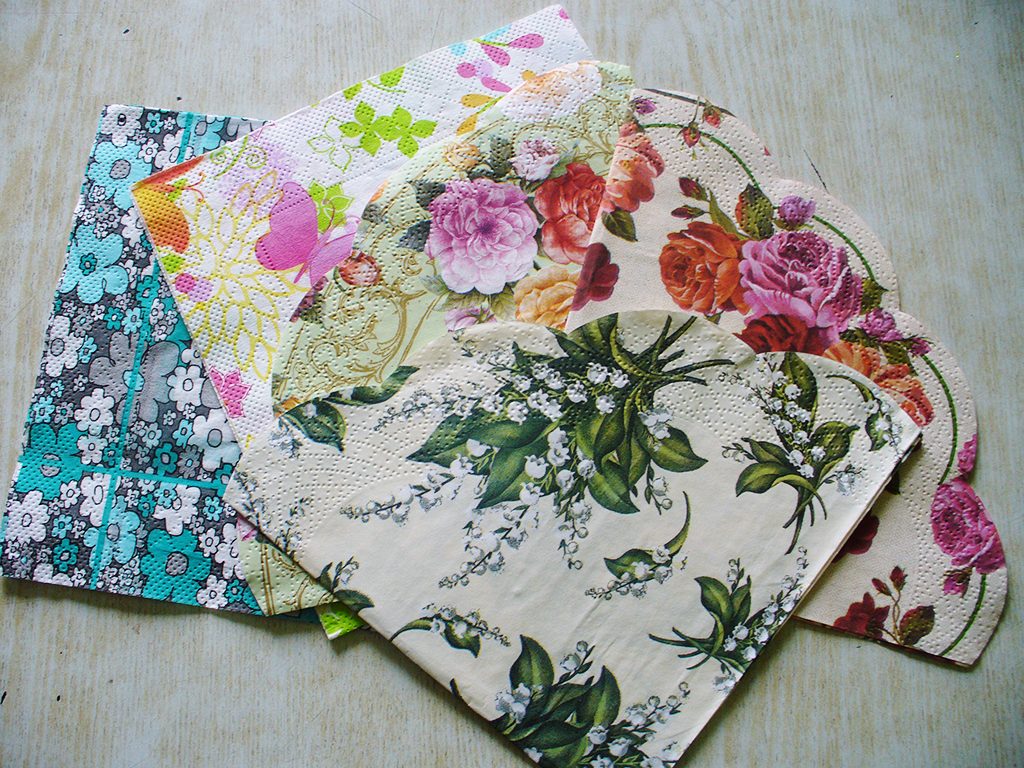
Of course, at the first creative stages, a novice master can use simple serving napkins, but with the help of such napkins it is not always possible to achieve the desired result, because some napkins are too thin and do not have good quality, while others, on the contrary, are too thick. Do not chase cheap materials, buy special napkins for decoupage in a specialized store.
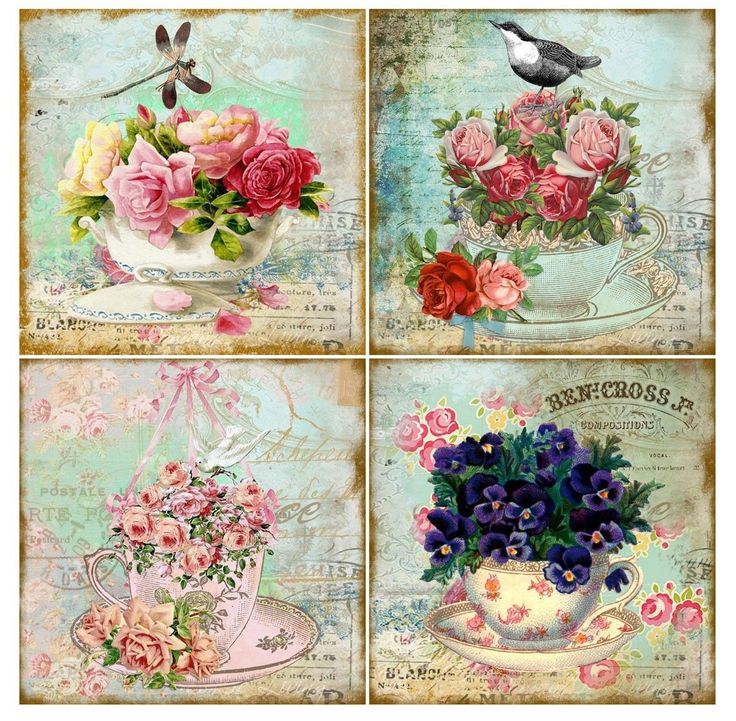
Decoupage napkins differ from each other in the number of layers (but in the work only the top layer, on which the picture is depicted, will still be used), size (21X21 cm, 25X25 cm, 33X33 cm, 40X40 cm) and shape (square, round, rectangular). Also, the arrangement of motifs can vary from napkin to napkin. There are five main arrangements: four identical motifs, two identical motifs arranged in pairs on the napkin, four different motifs, two different motifs and, finally, one motif occupying the entire area of the napkin.
When choosing napkins, you should also pay close attention to their properties.
- Most often, the top working layer of the napkin is very thin, translucent. Working with it can be difficult, but it is precisely because of this property that the finished work will resemble a watercolor painting, due to the merging of the picture and the surface.
- The ability of paper to stretch and form folds. To avoid this, you should prepare for decoupage carefully.
- Also, due to the transparency of the napkin, approach the choice of color for the background more thoroughly.
Pros and cons of decoupage napkins
Like any creative material, napkins have their advantages and disadvantages.
Let's consider the main advantages of this material.
- There are many different types of napkins on the market. Every craftsman will find a color, texture, and pattern that suits his work.
- Availability. Decoupage napkins can be purchased at almost any craft store or ordered online.
- Cheapness of the material.
The disadvantages include the limited size of the finished work. But this drawback can be easily eliminated if you use your imagination.
Compared to other materials for decoupage, a napkin is the best solution, considering all its positive aspects and minor disadvantages.
How to make decoupage from napkins: master class
The main idea of decoupage is to decorate the surface of an object with a pattern or ornament. The process is creative, and, as in any creativity, there are no concepts of "correct" or "incorrect".
If you want your work to be smooth, without cracks, abrasions, bubbles, then this step-by-step instruction for beginners will help to avoid such mistakes.
Preparatory work
Remember that beautiful decoupage with napkins will be achieved if the base on which the napkins are glued is well prepared. It should be as smooth as possible, without bumps, pits, cracks, or crevices.
- Before work, remove knots and branches from the tree, treat the surface with rough sandpaper and fix the effect with soft. Prime the workpiece. This is necessary so that the ornament you have chosen lies evenly and does not bubble.
- To prevent the design from slipping, glass or plastic should be thoroughly degreased with alcohol or dishwashing liquid.
- Preparation for decoupage of a metal surface is similar to glass or plastic. More thorough preparation is carried out in cases where corrosion, also known as rust, has formed on the metal. It will definitely need to be removed, otherwise disgusting dirty yellow spots will appear on the ornament.
Please note! No matter what material you choose as a base, be sure to paint the workpiece with white paint after priming, then the pattern will appear brighter.
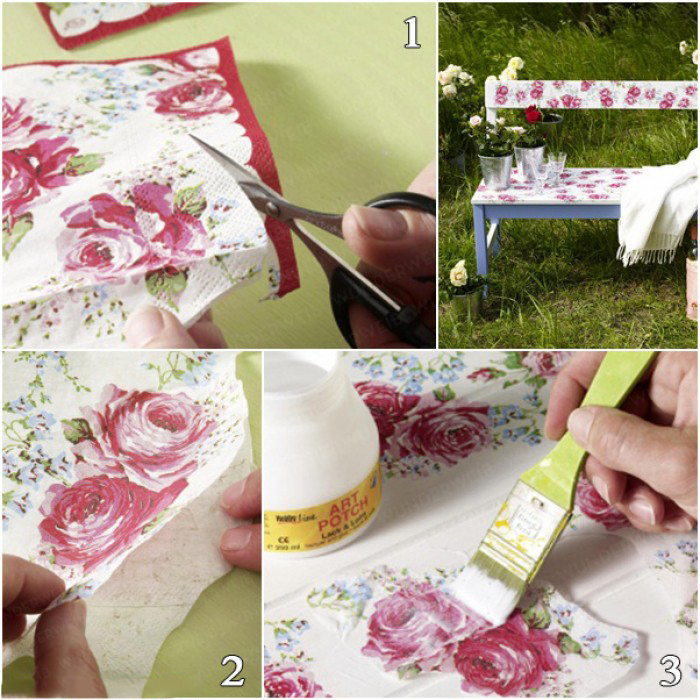
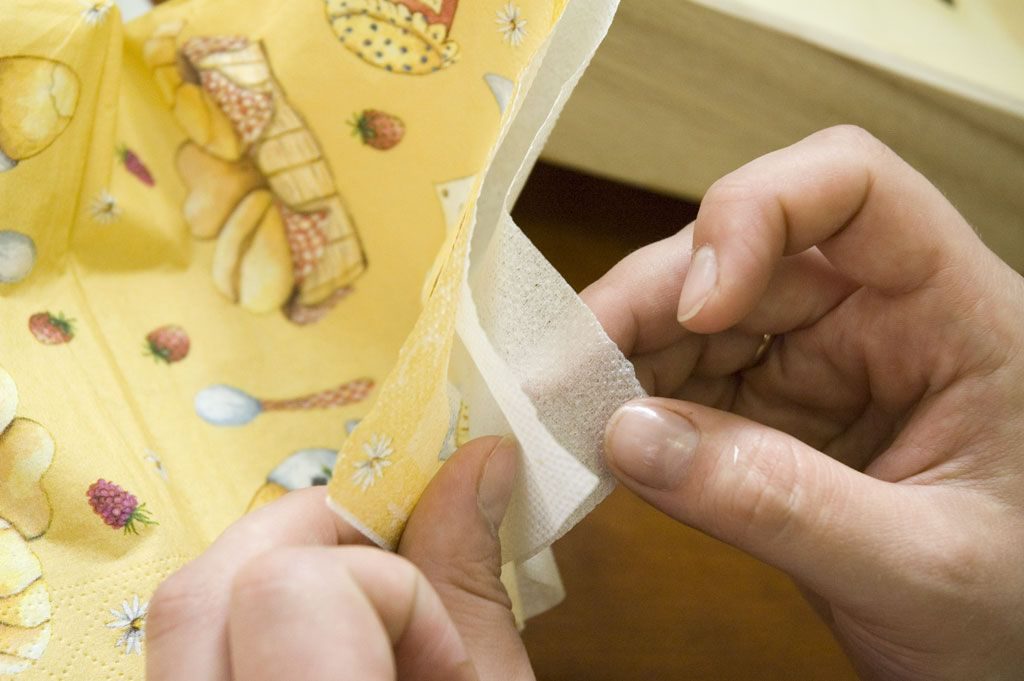
Methods of gluing napkins
There is a single rule for all methods and techniques of gluing napkins: use only the top layer of the napkin, which is easily separated from the other layers. This article presents three of the simplest and most common decoupage methods. Each of them is effective in its own way and is suitable for decorating different items. This section will tell you how to properly do decoupage from napkins. The choice of method is up to you.
Using a file
Before you start, prepare:
- water;
- plastic file for storing documents;
- glue;
- varnish.
Algorithm of actions:
- pour water into the center of the file;
- Place the desired ornament in water, face down;
- straighten the design and drain the water;
- We apply the file with the glued design to the surface to be decorated and slowly remove the film;
- fix the still damp piece of the napkin with glue;
- After the adhesive layer has dried, apply a layer of varnish.

It is suitable for transferring a napkin fragment to a surface of any shape. For example, round, flat, or with adjacent edges.
With an iron
Here we will need the same materials as in the previous method, with the only addition being an iron.
Algorithm of actions:
- Apply a generous amount of glue over the primed surface;
- using a hair dryer or in the air, thoroughly dry the workpiece;
- carefully lay out the drawing on a dry surface, smoothing it out and avoiding folds;
- iron the workpiece through a cloth or baking paper, moving from the edges to the center;
- We coat everything with glue again, and after it dries, we cover it with varnish.
The method is quite simple, even a beginner can handle it.
Using a fan brush
Materials required:
- glue;
- ornament;
- brush;
- water.
Algorithm of actions:
- apply the selected pattern to the work surface;
- pour water on it;
- Using a fan brush, gently smooth out the folds with water;
- Cover the dried design with glue and secure the result with varnish.
We eliminate the flaws
Even experienced craftswomen sometimes make mistakes, but don’t worry, they are easy to fix or prevent. If you are decorating a piece with small fragments of torn napkins, smooth the still damp paper with your fingers or a wet brush, this will help prevent creases when drying. Noticed an uneven color on the background? No problem! Feel free to dilute the paint with water to the desired shade and correct this error. Are there any bumps or unevenness on the dried work? Carefully sand the work with a fine abrasive and cover with several layers of varnish.
The next step is to decorate the edges of the finished product. Some people prefer to paint them with paint that matches the background color, others with a dark contrasting color, and bold needlewomen fold the edges of the napkin onto the sides.
After this, it is worth thoroughly drying the product; the process can be slightly accelerated using a hair dryer, but keep the unit at a large distance from the work, constantly change the direction of the air flow so that the product dries from all sides.
Important! Remember that half of the mistakes can be prevented with the right technique and preparation of the work surface.
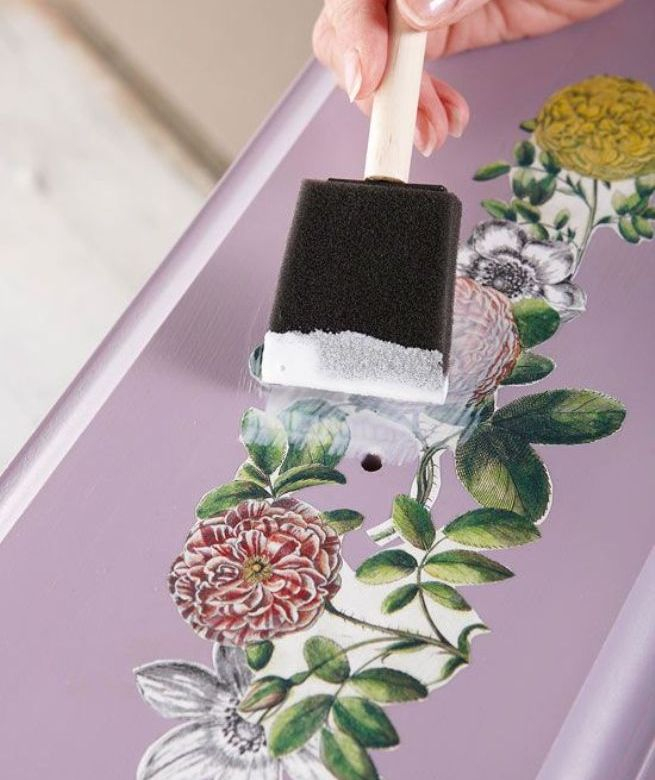
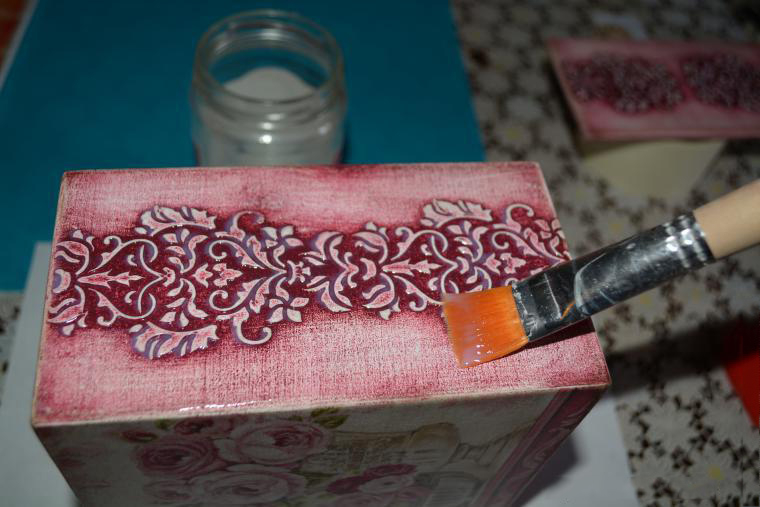
Varnishing
When the piece is completely dry, it should be coated with water-based acrylic varnish in several layers. Some works are coated with varnish in 100 layers! But when decorating small areas of the work, you can do it in three or four layers until you are sure that there is no step between the background and the drawing.
This will help to avoid peeling, air bubbles and cracks. The varnish should be applied with a wide synthetic brush that does not leave obvious marks. Also, make the varnishing process safe for your health, work in a well-ventilated room!
Nuances and secrets of technology
Here are some additional tips to make napkin decoupage easier for beginners.
Before starting work, moisten the cut out fragments of the design with water from a spray bottle.
If you still get folds, don't despair. Try spraying a dry napkin with acrylic varnish in the form of an aerosol. But remember that then the pattern will not let the glue through, so it is worth applying the ornament to the workpiece already greased with glue.
Conclusion
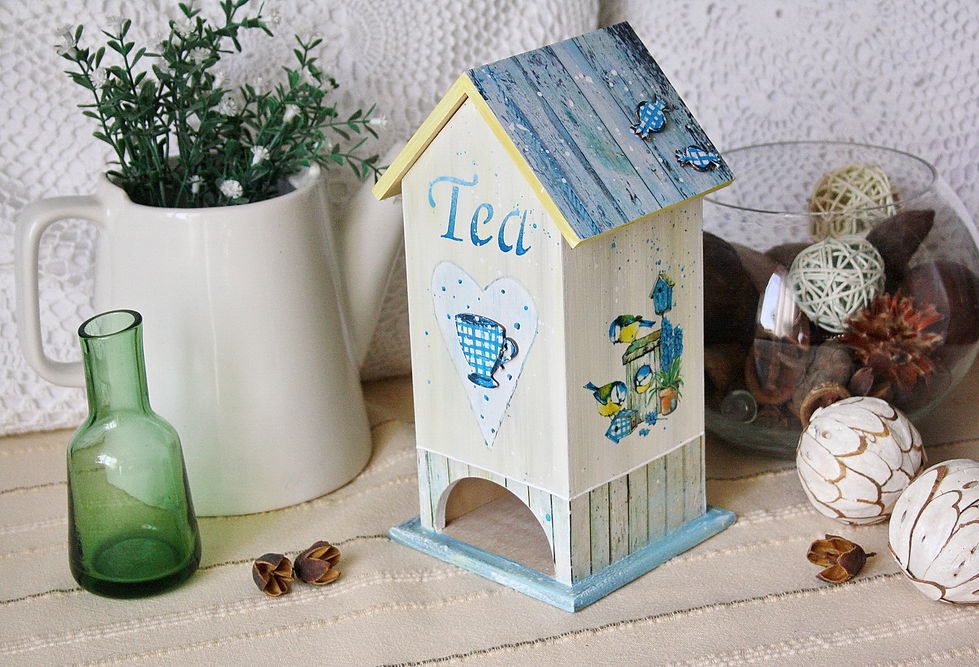
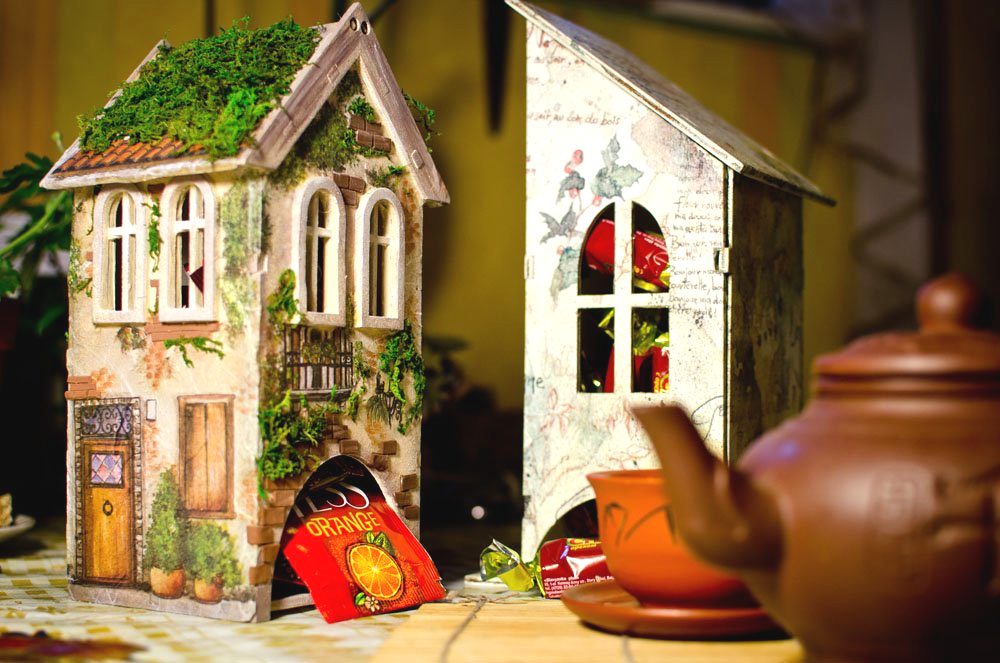
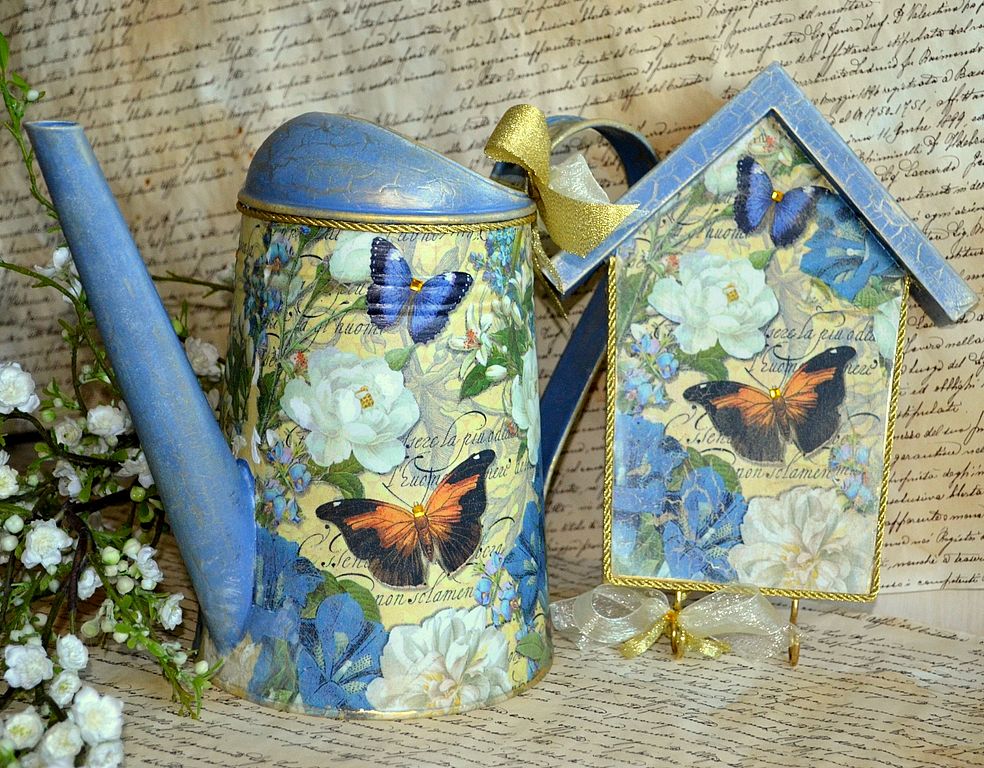
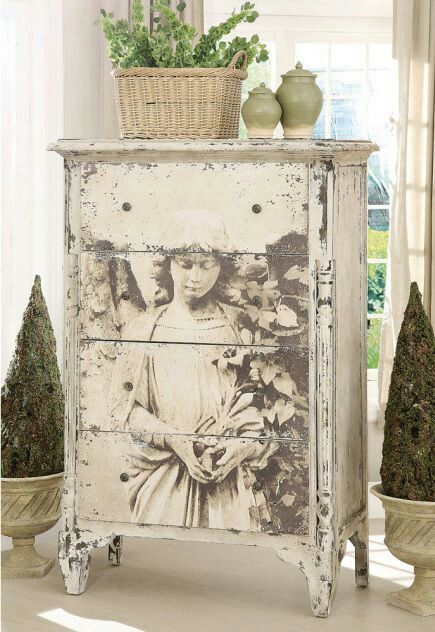
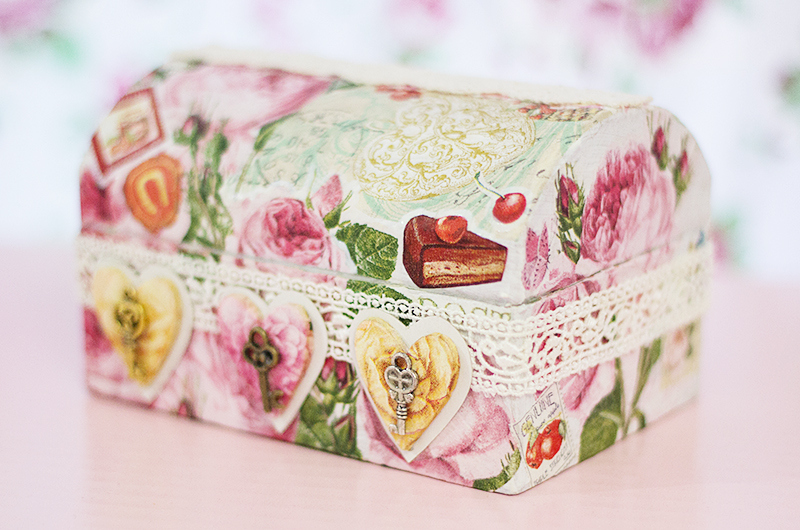
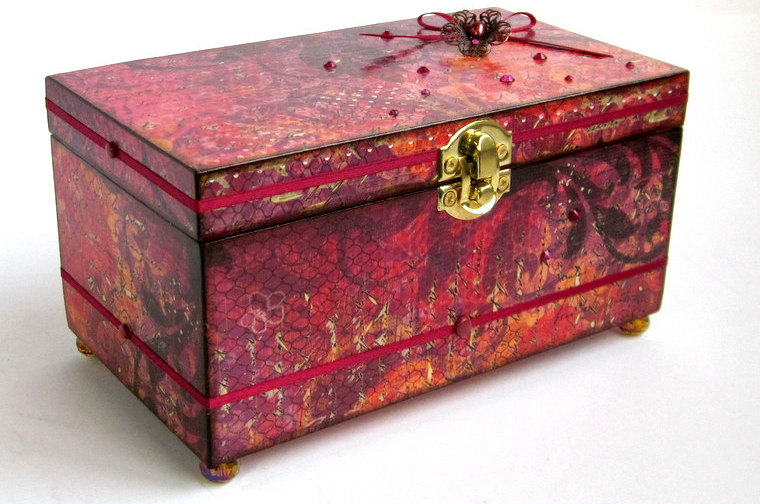
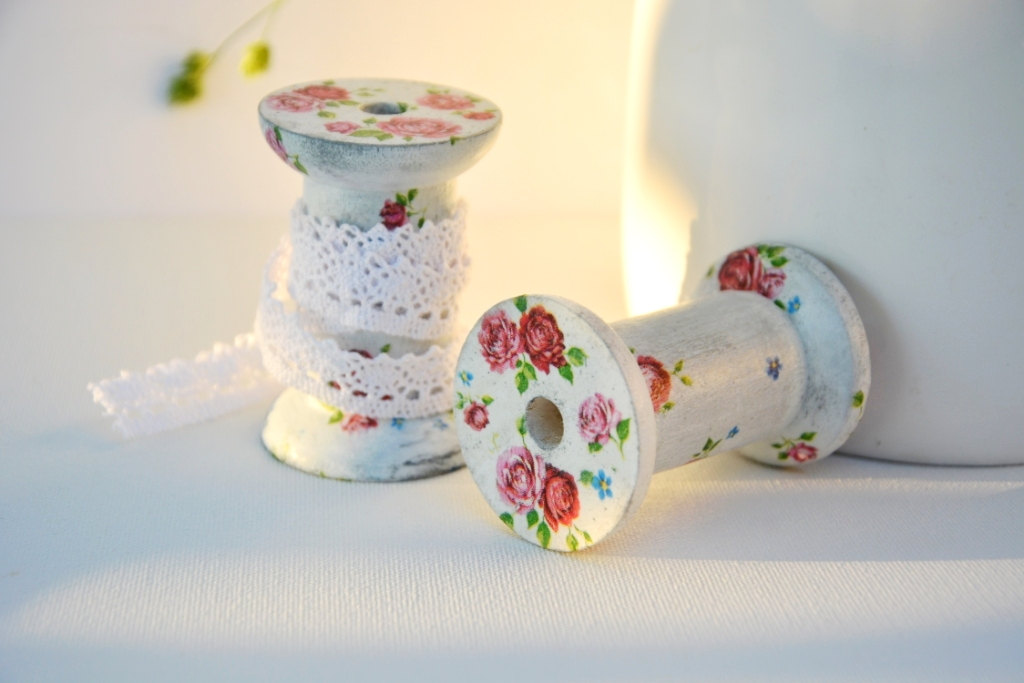
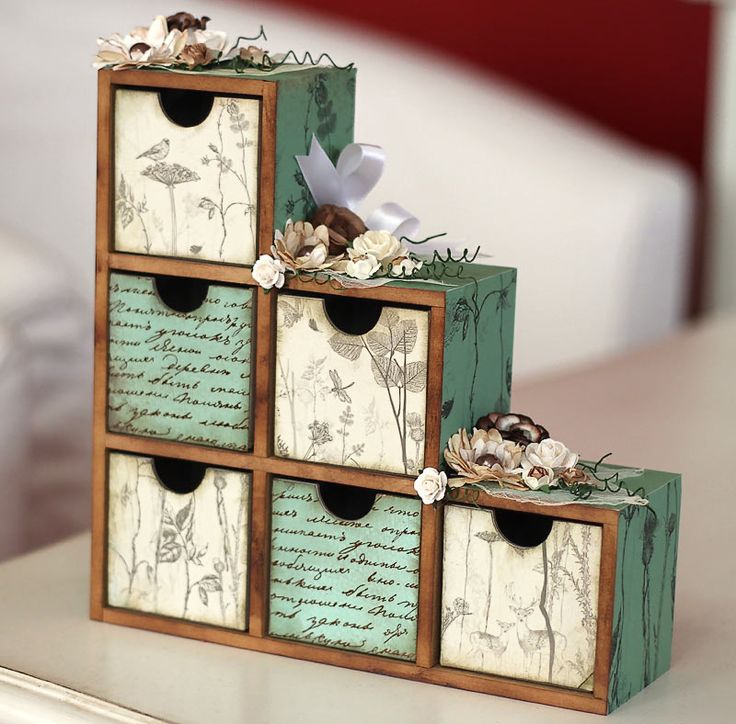
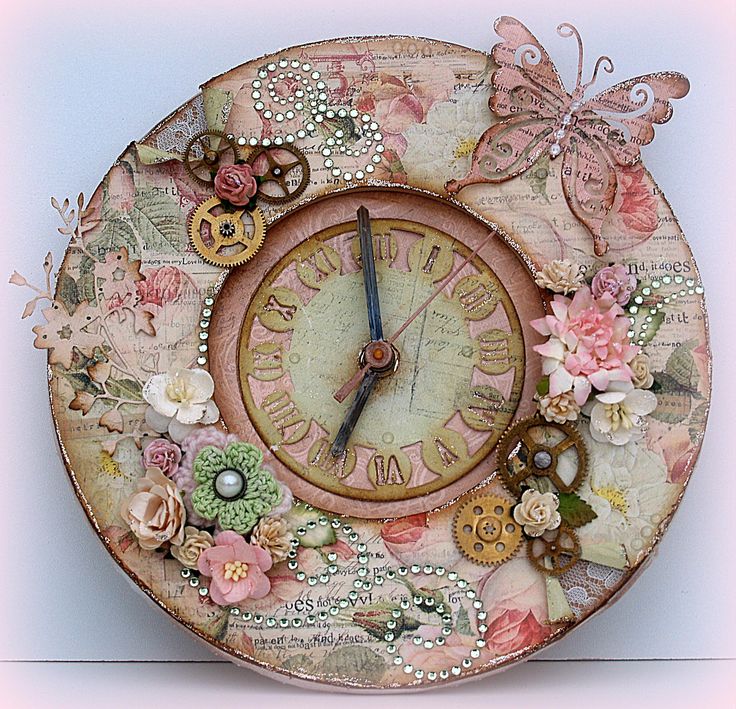
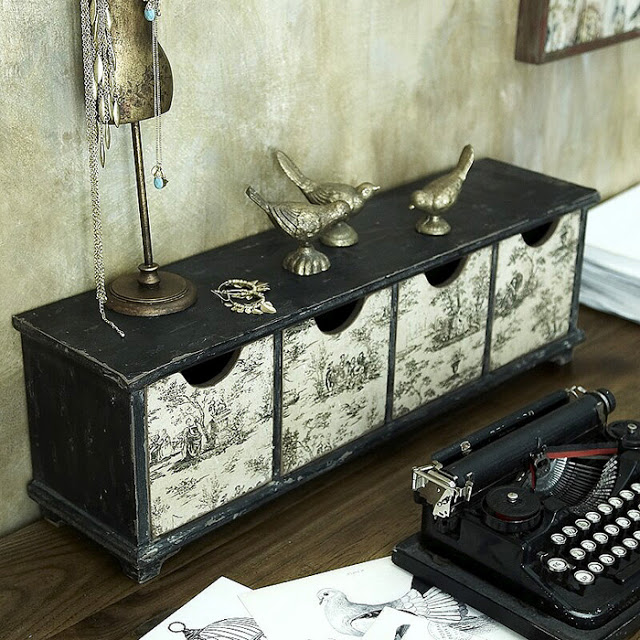
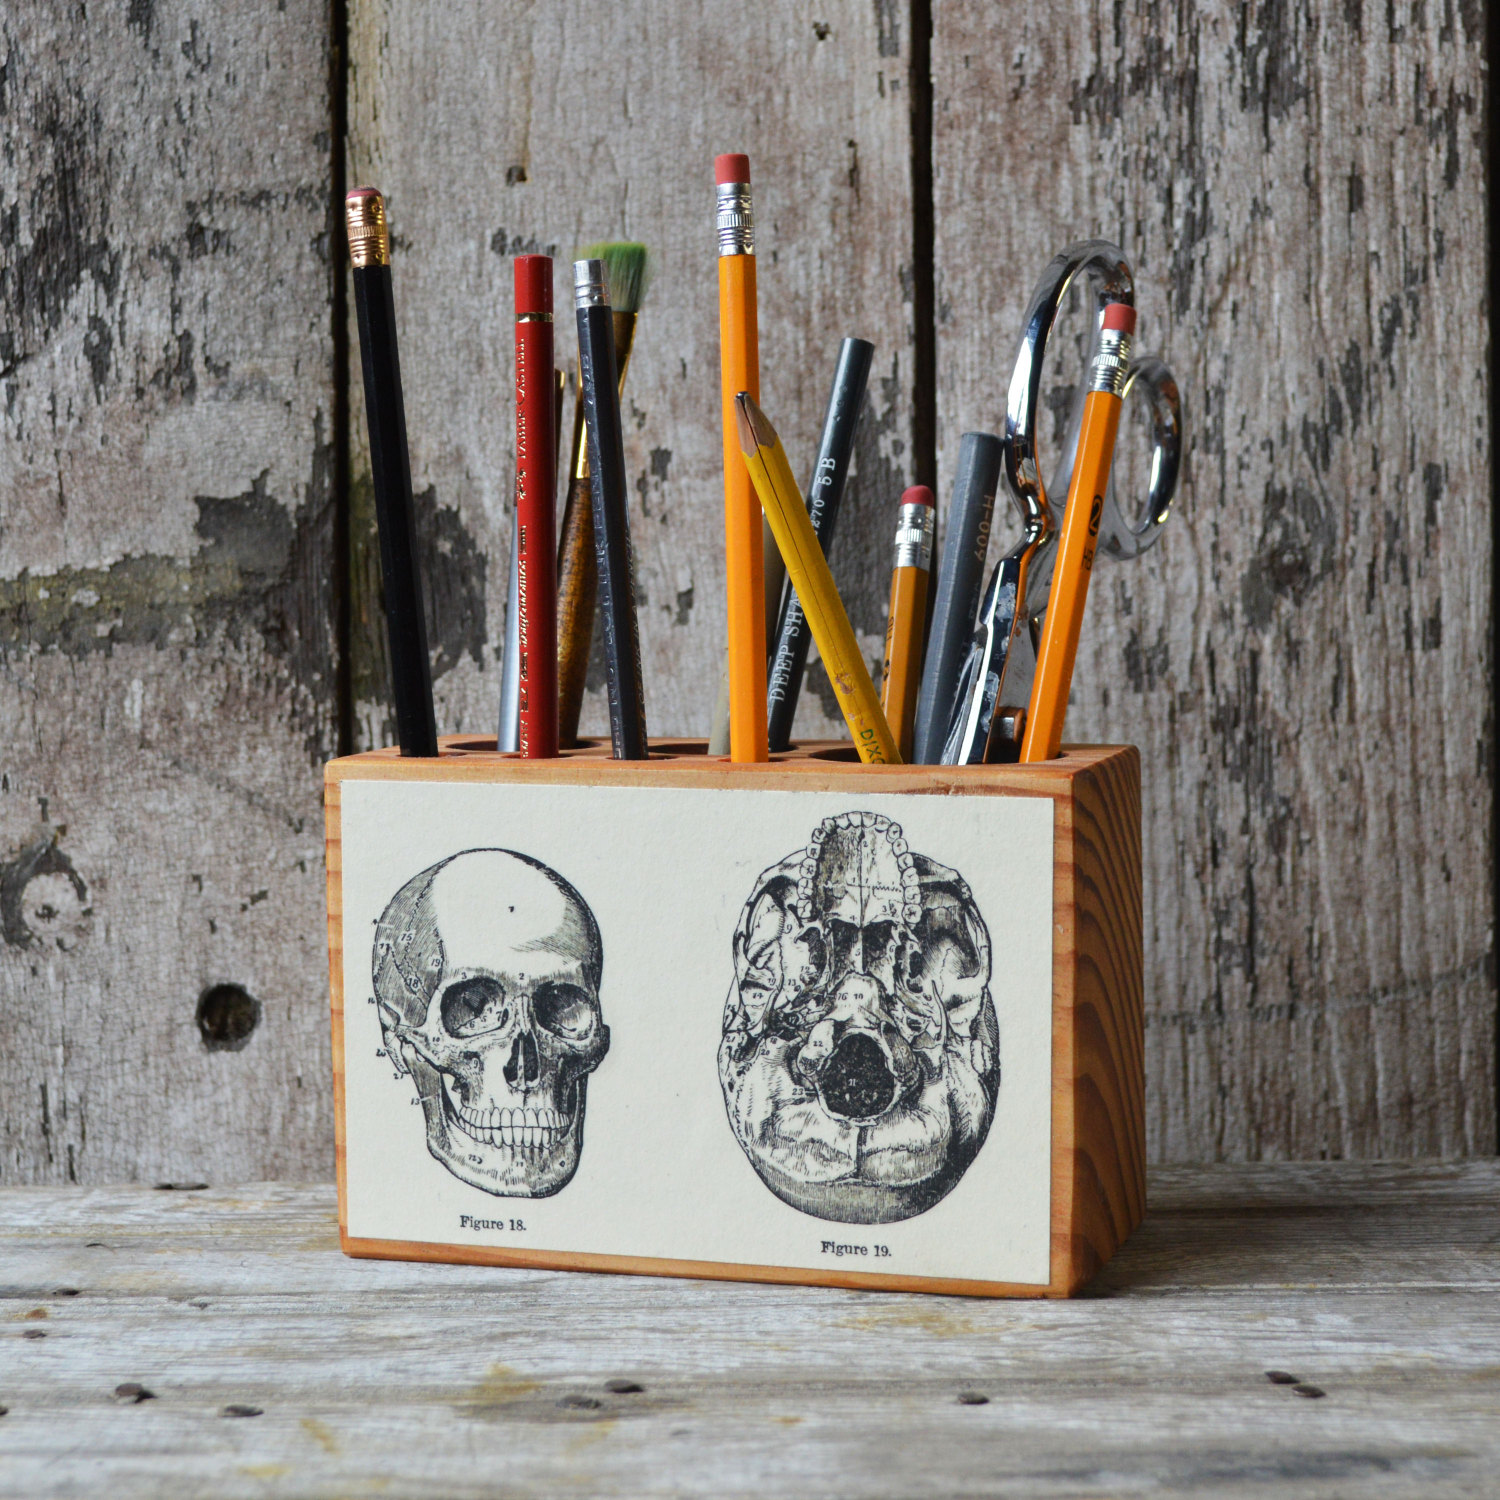
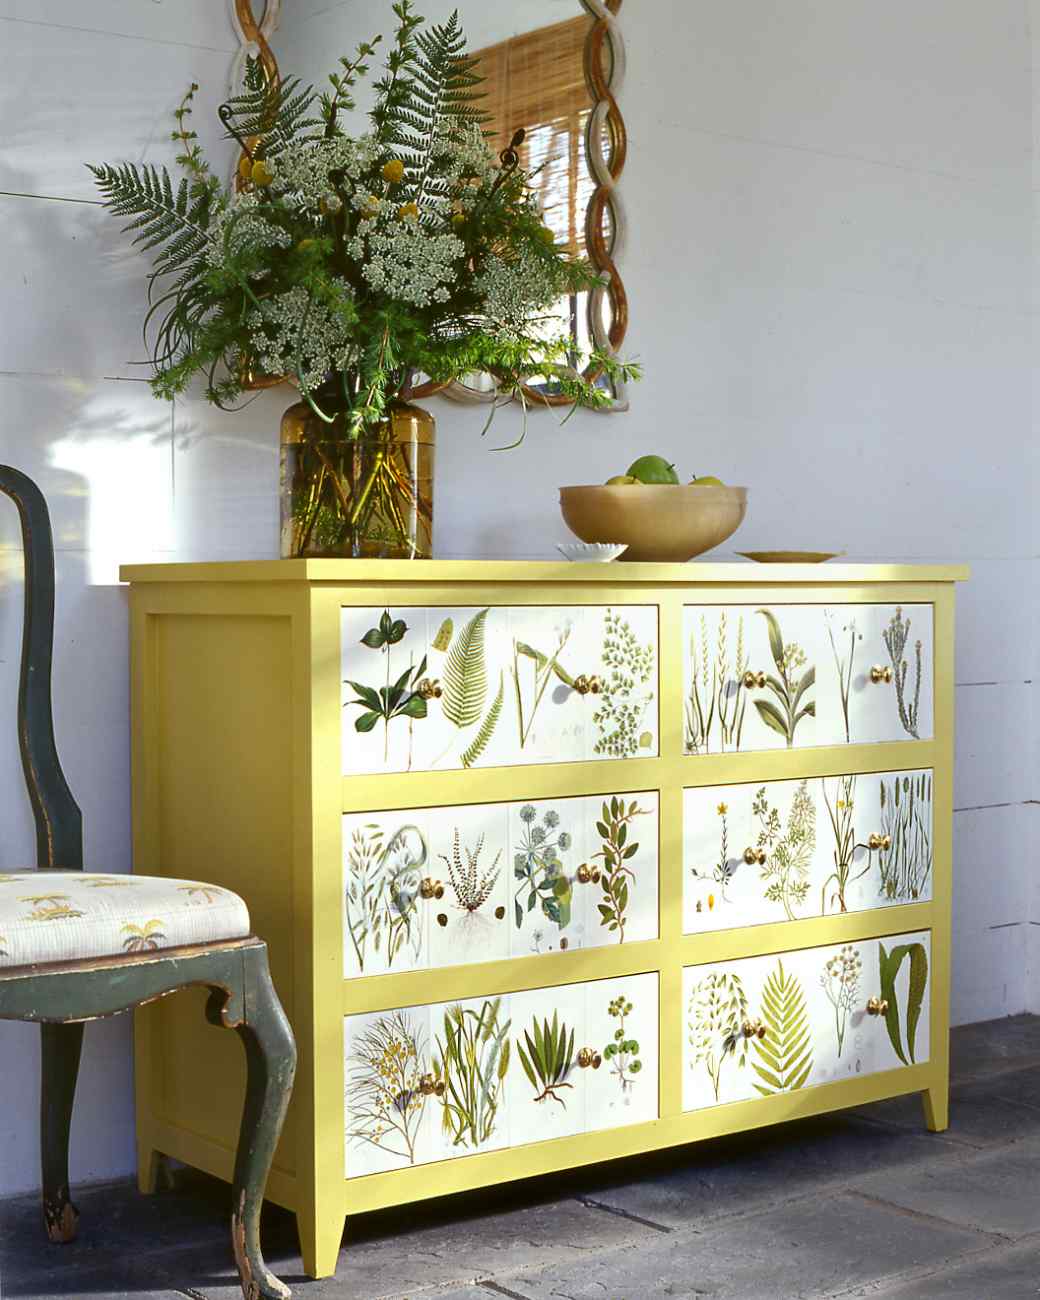
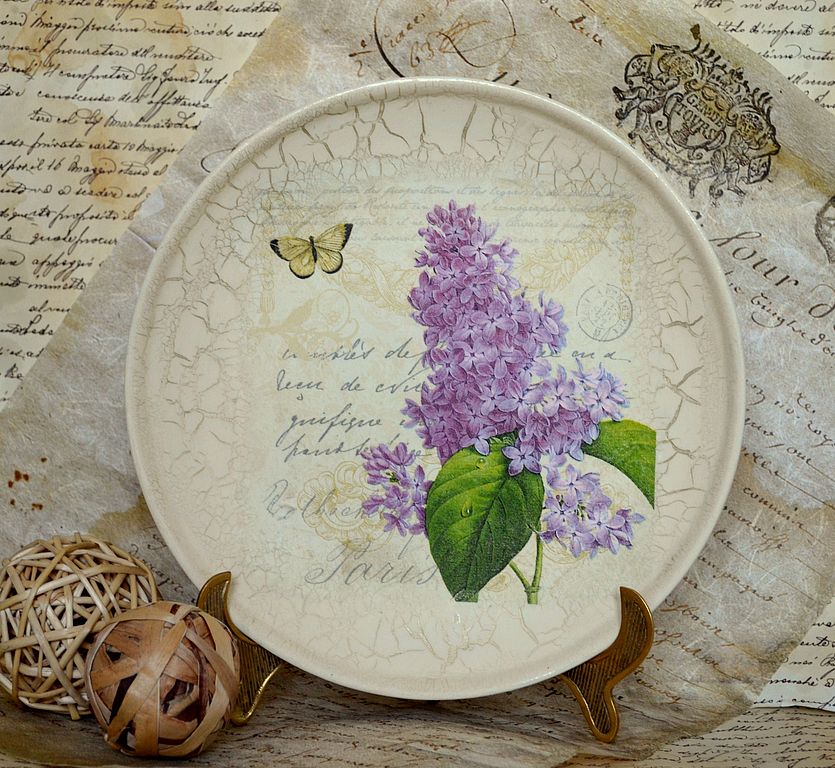
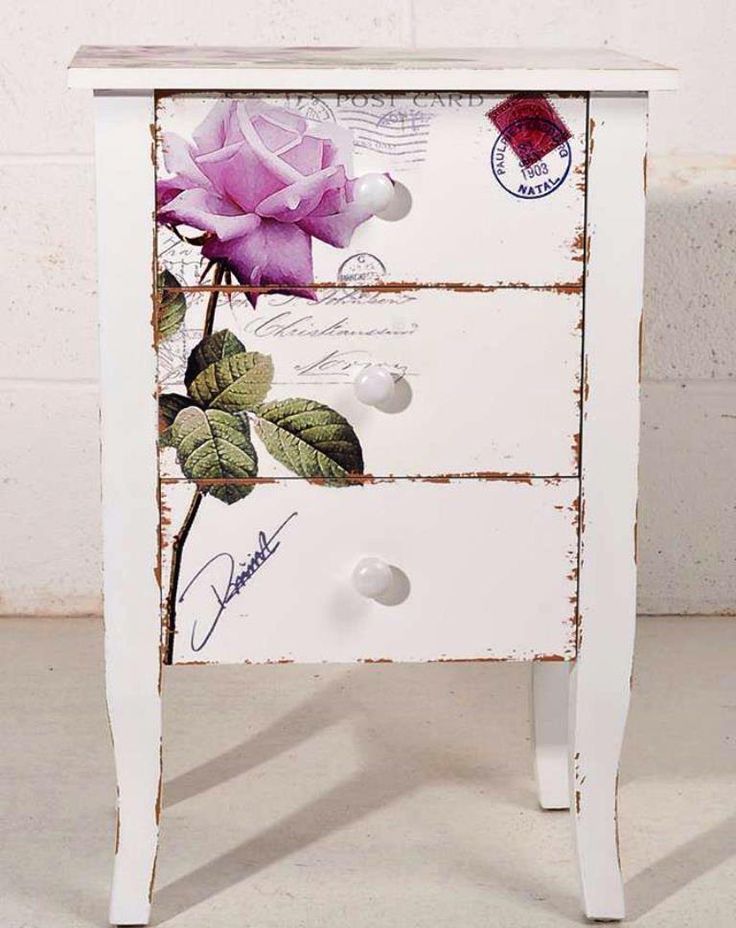
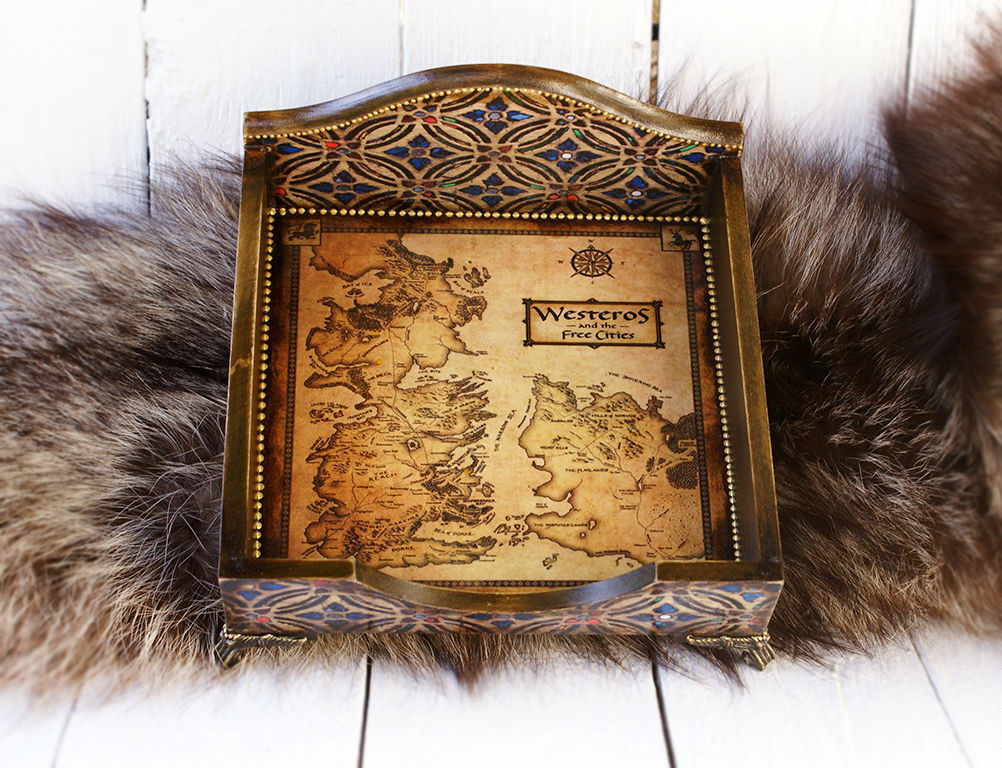
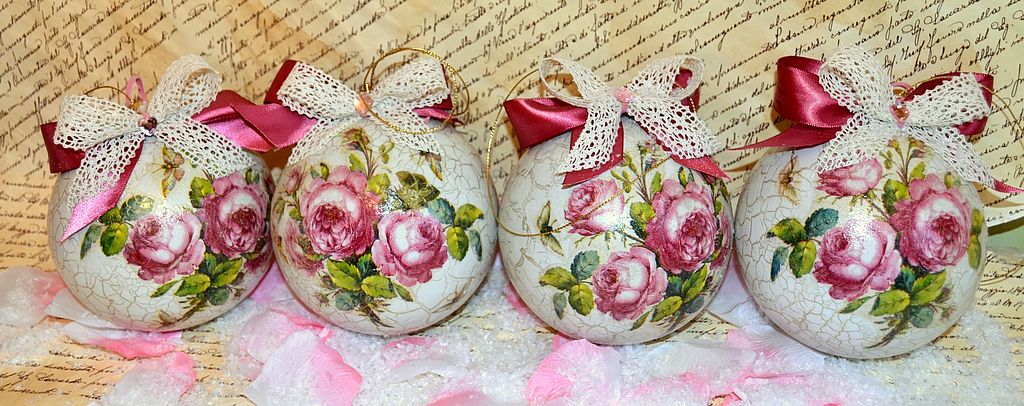
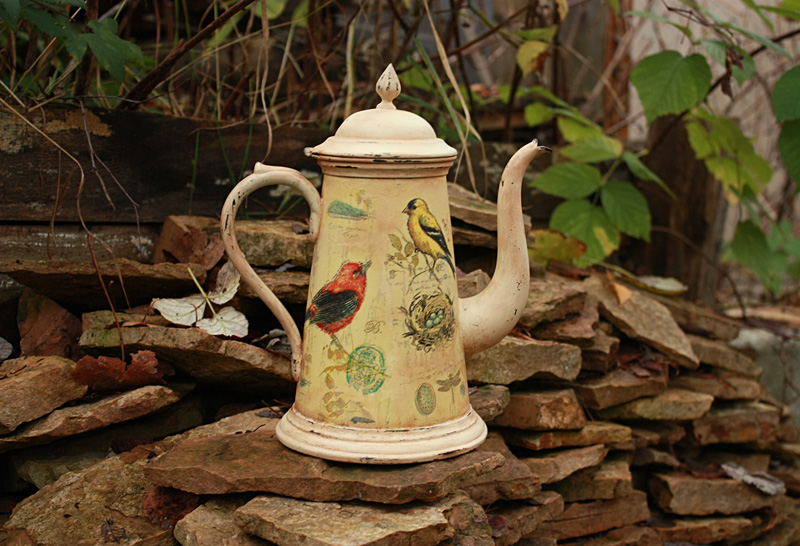
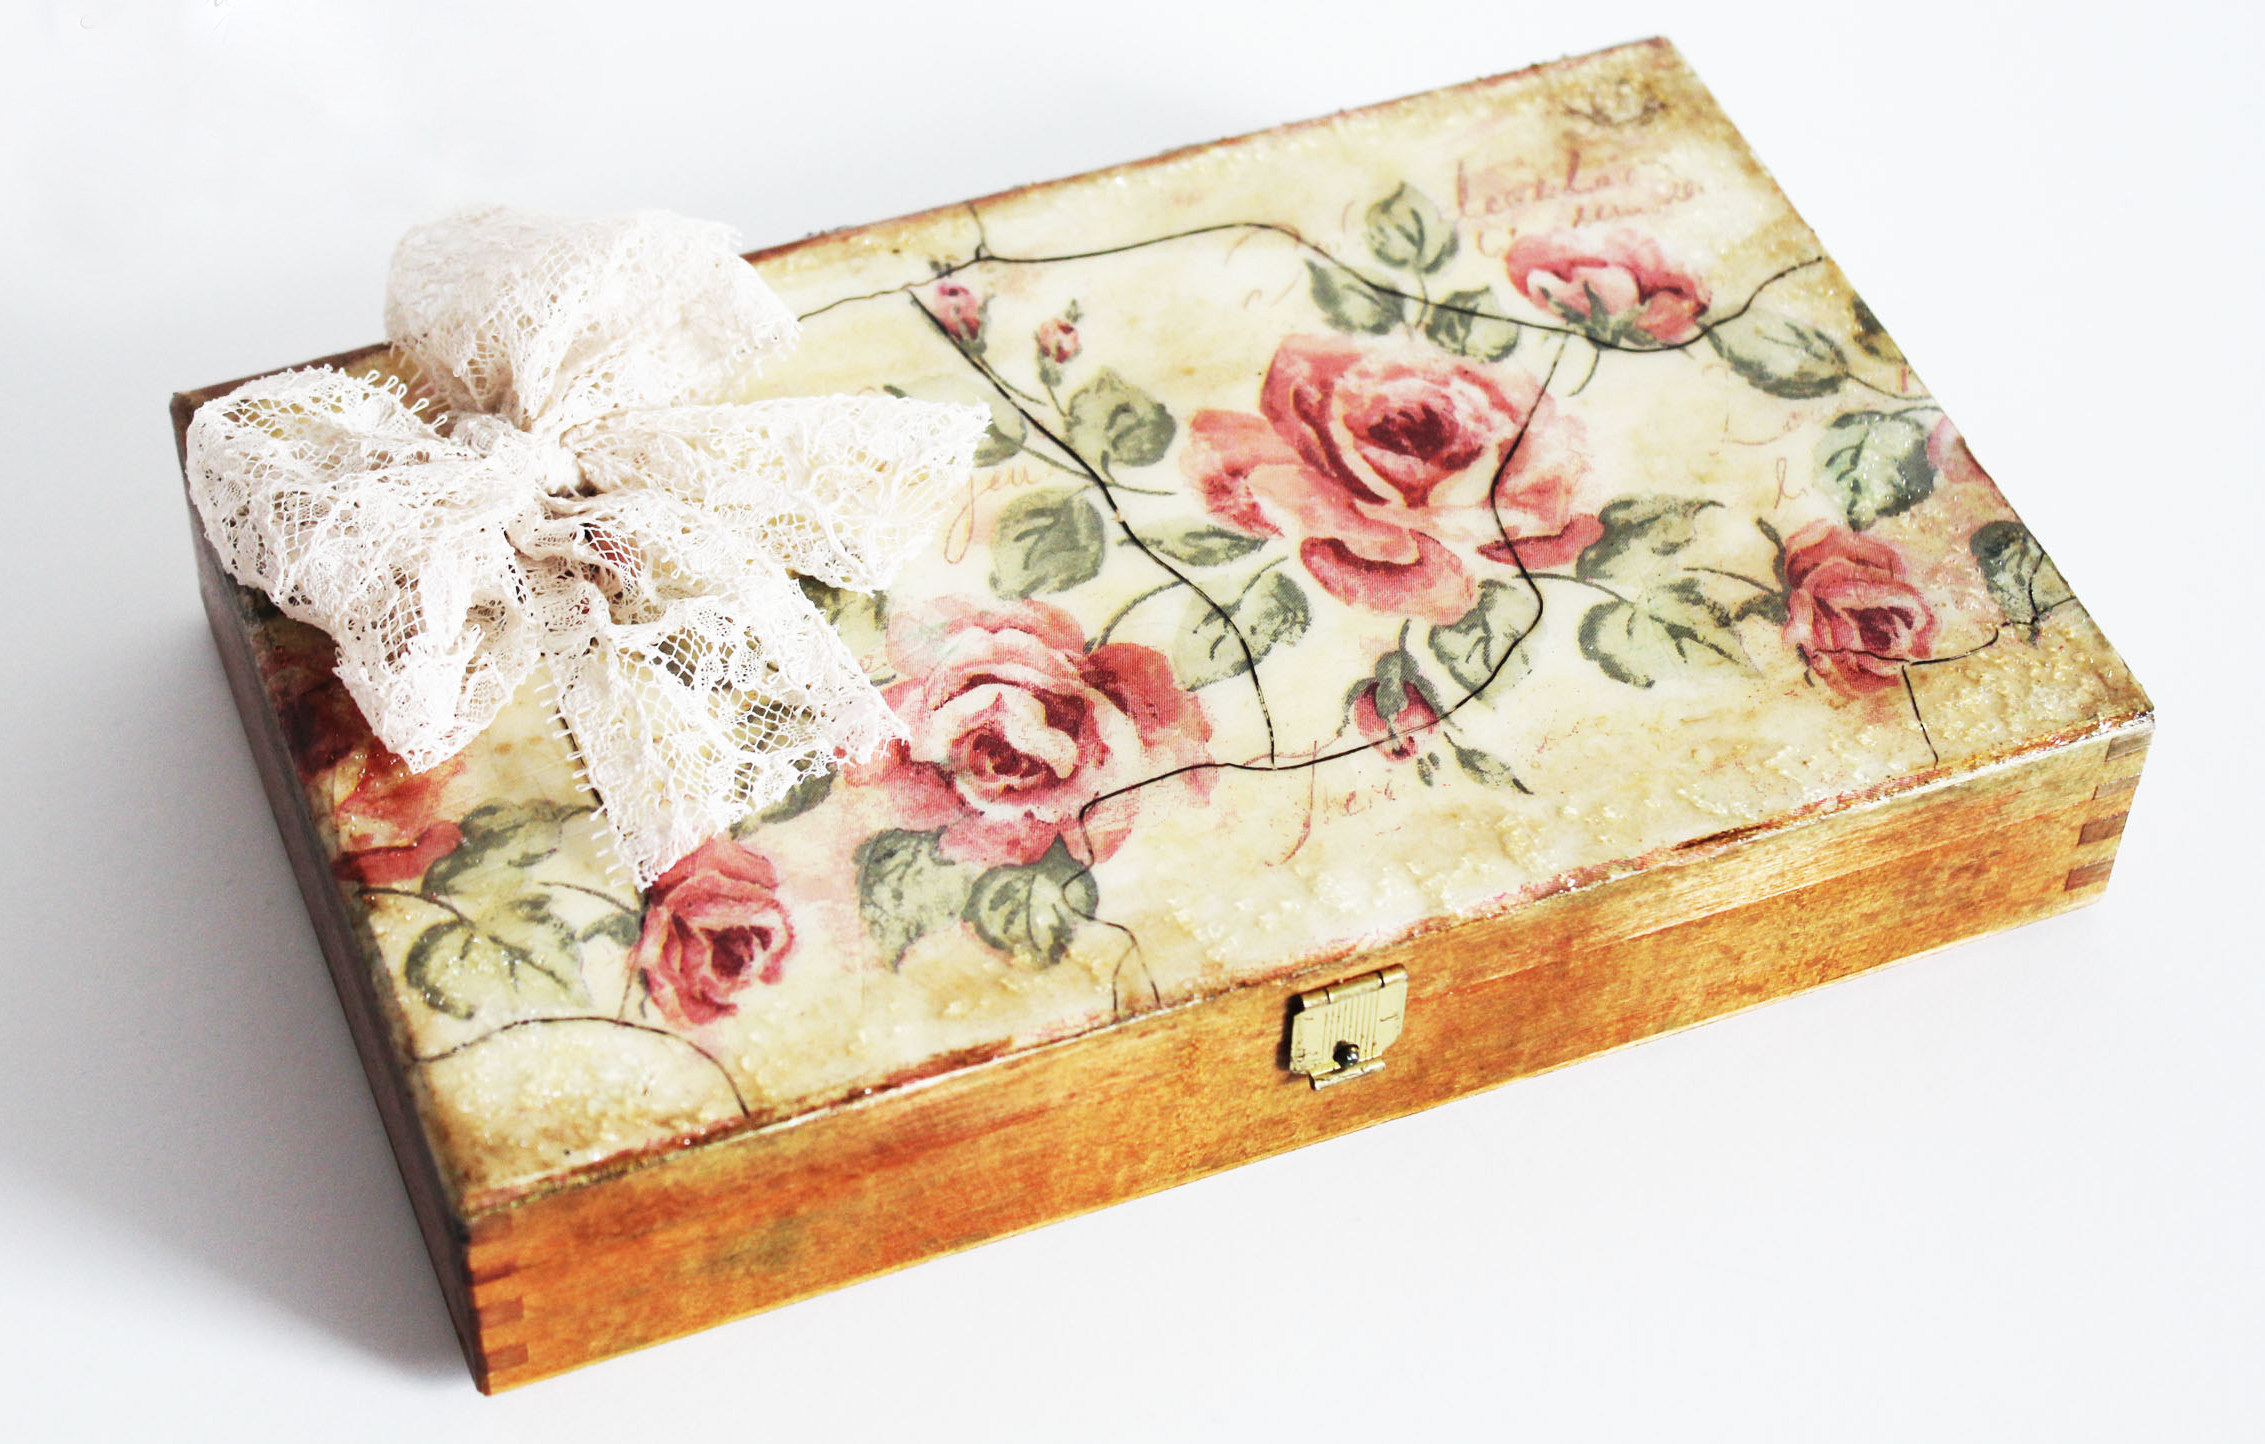
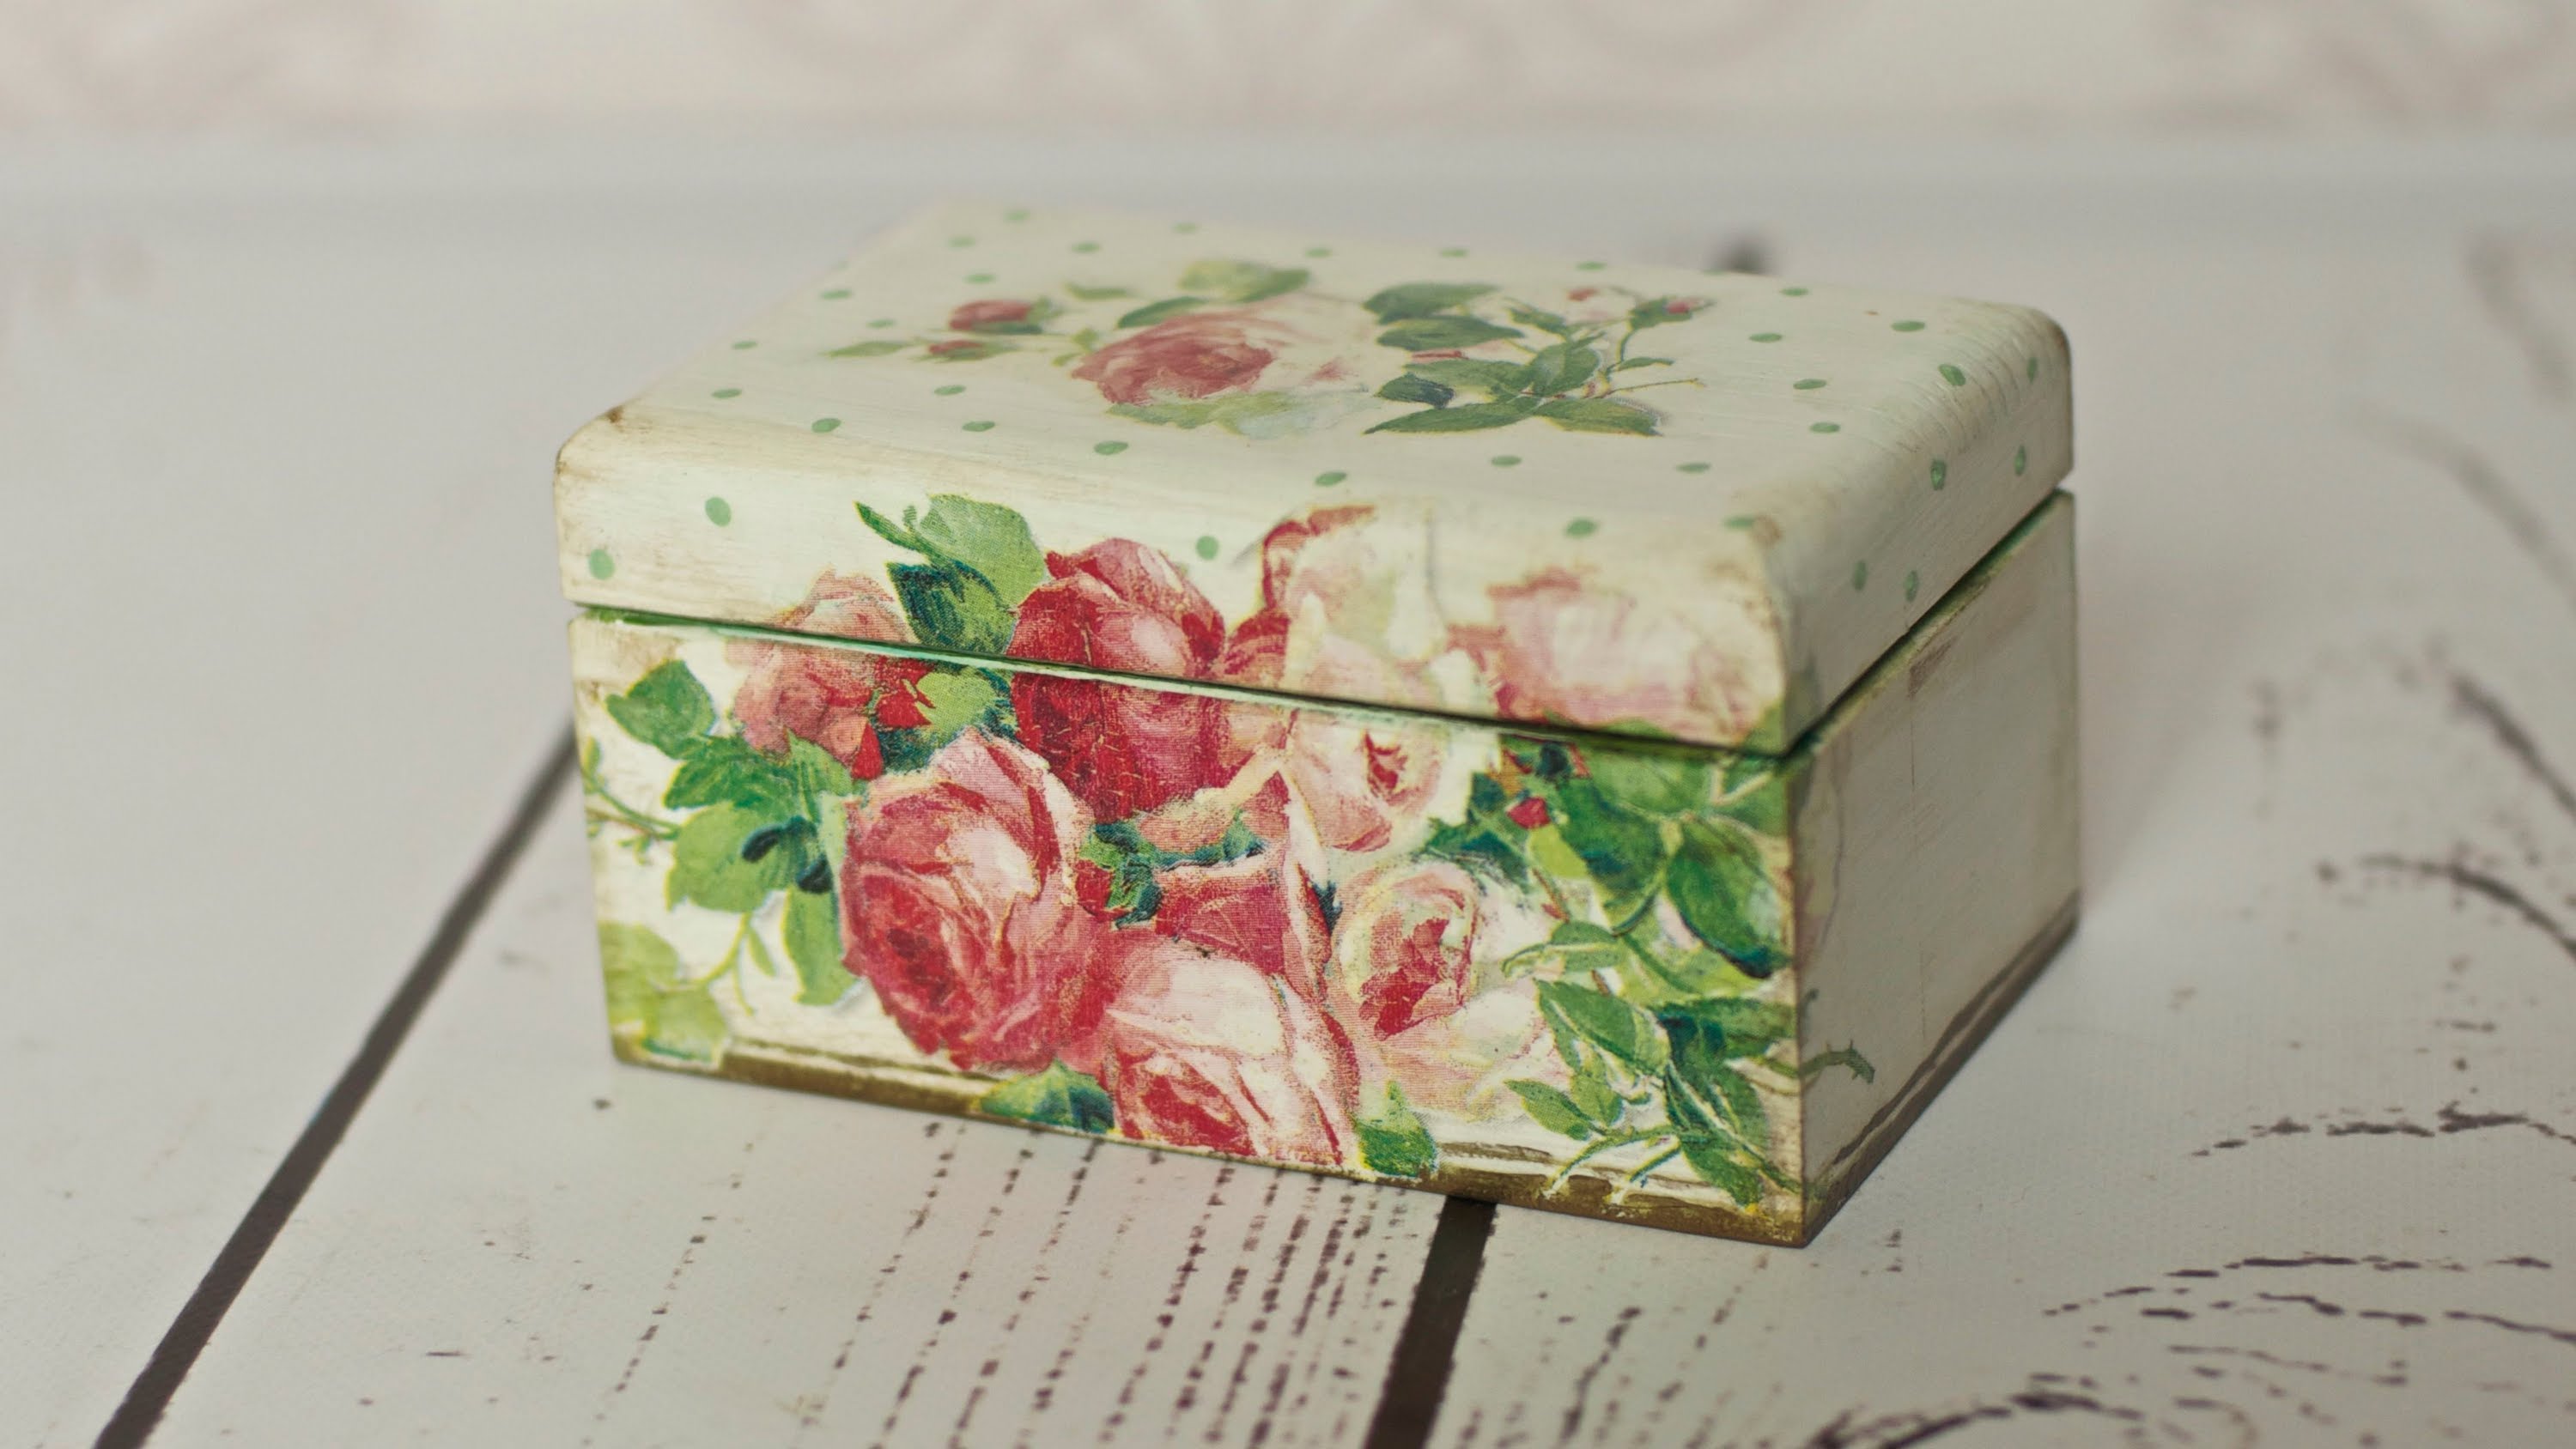
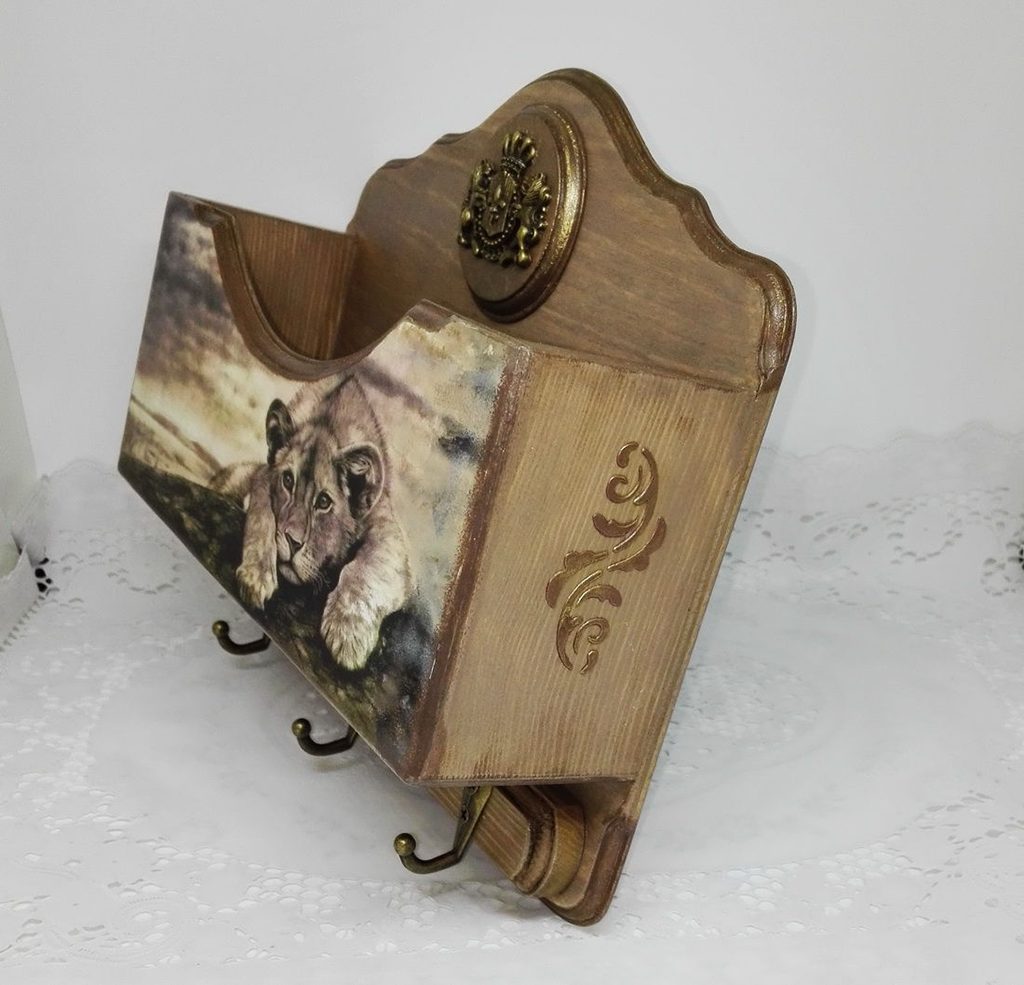
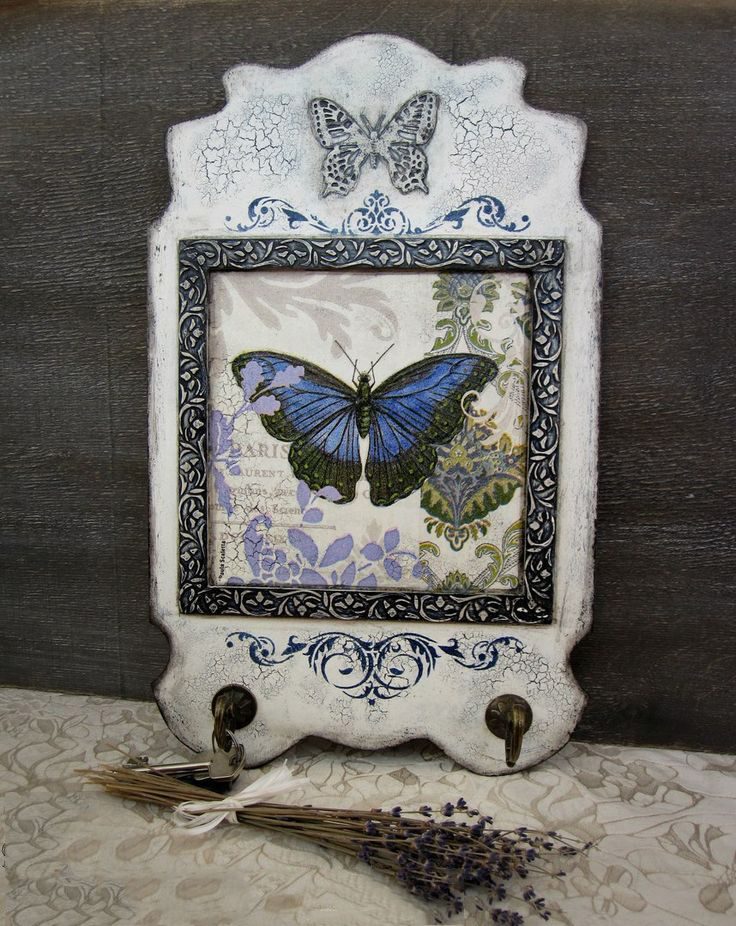
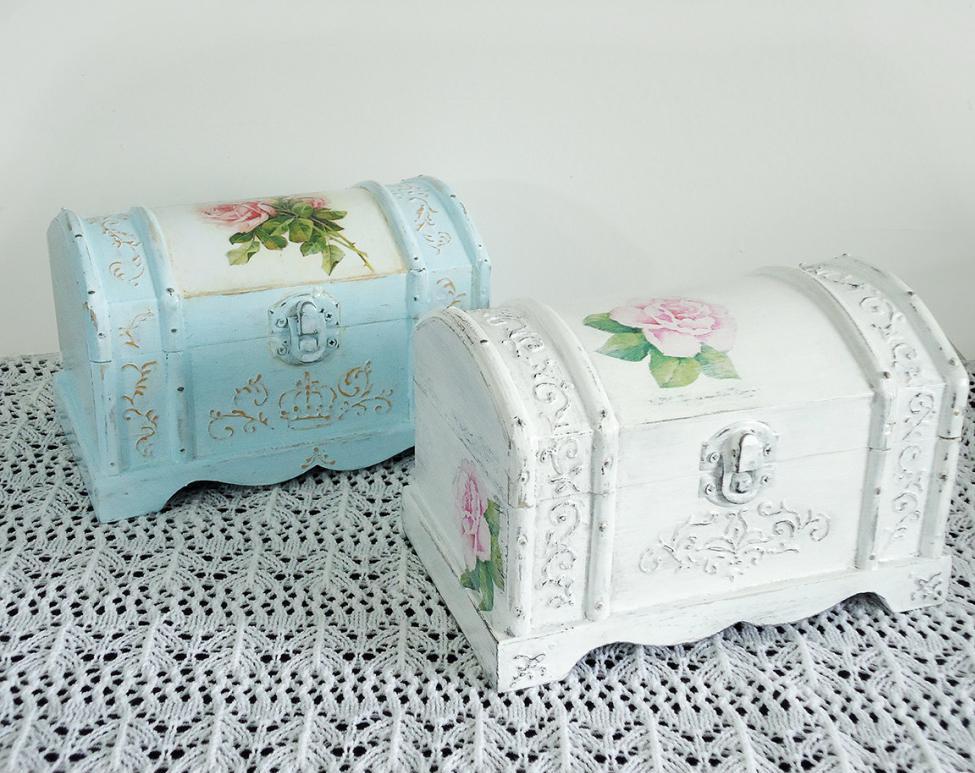
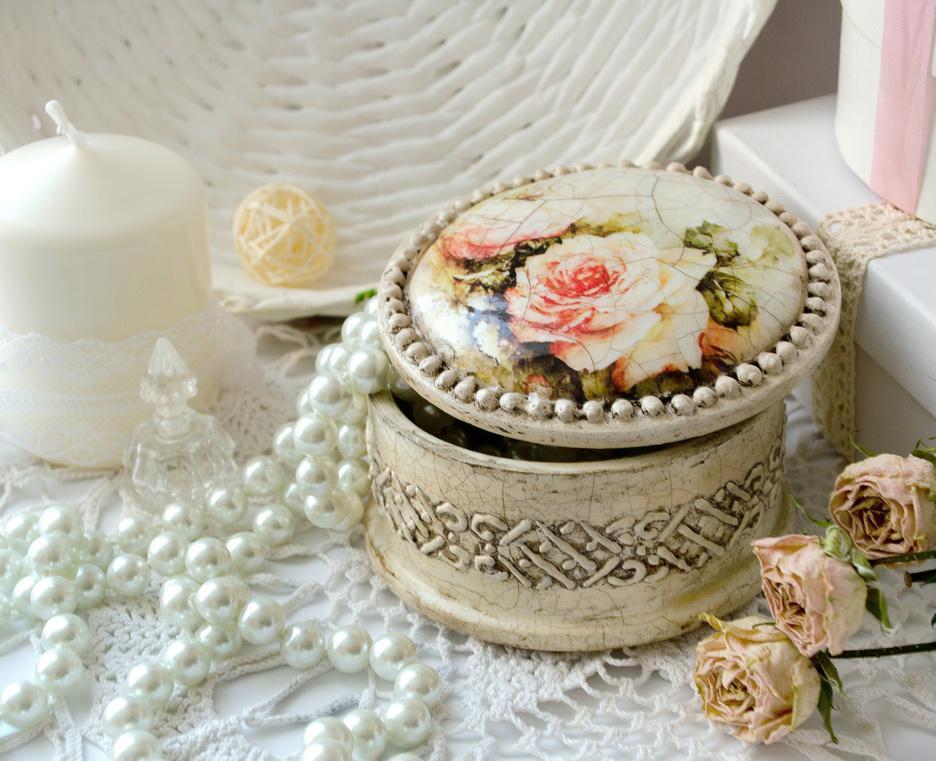
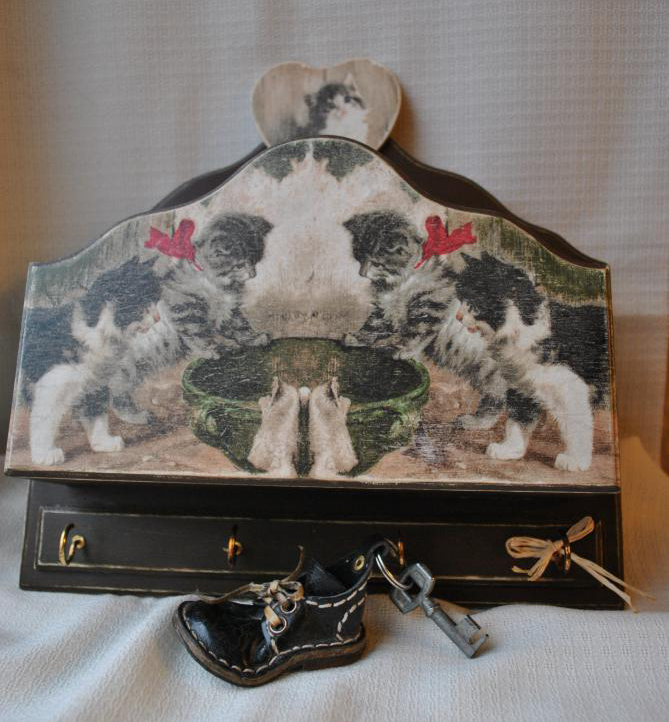
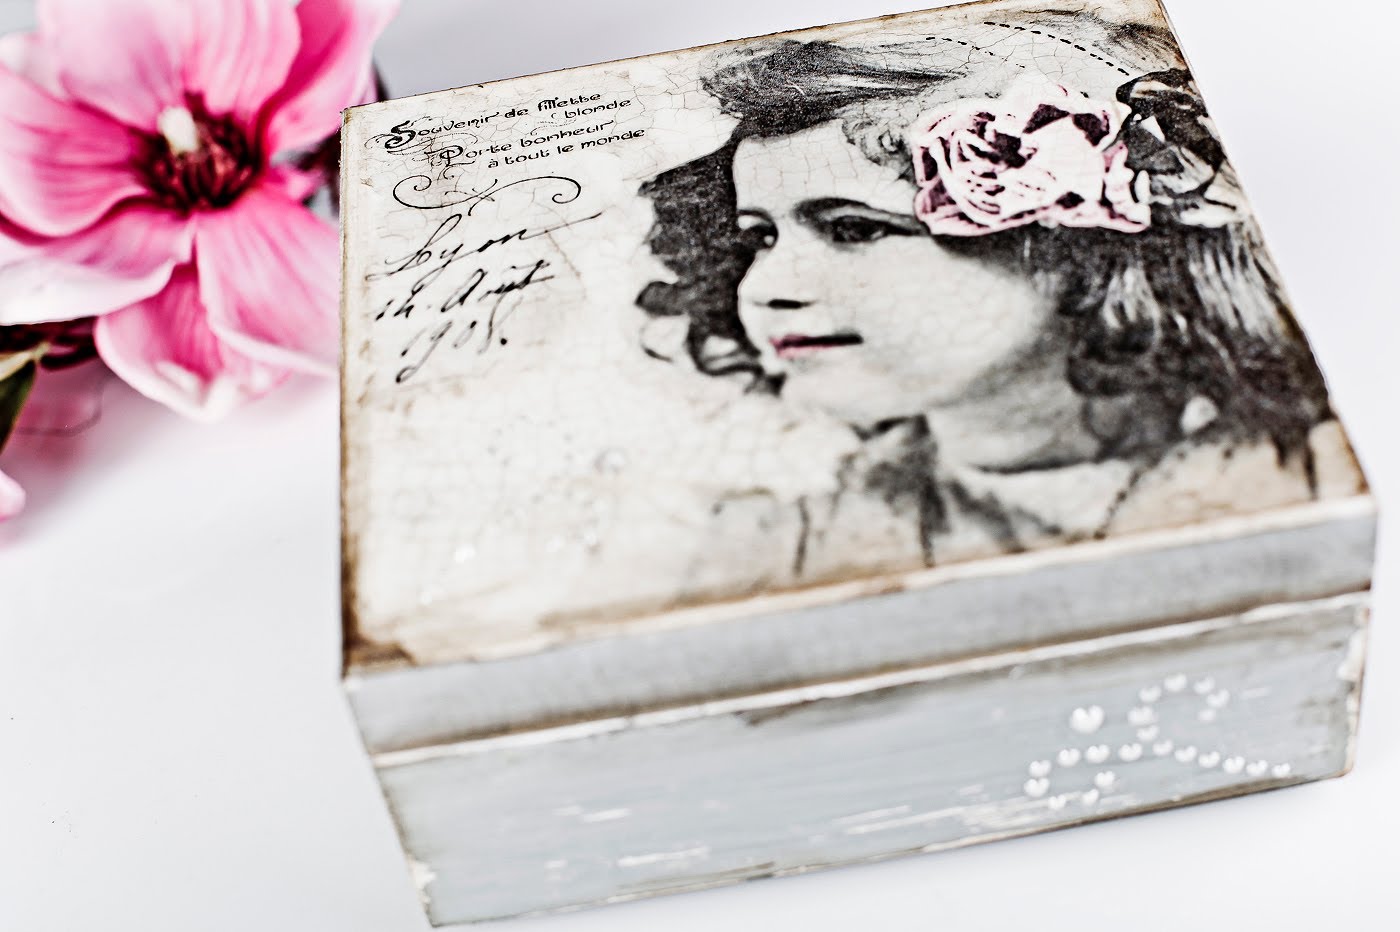
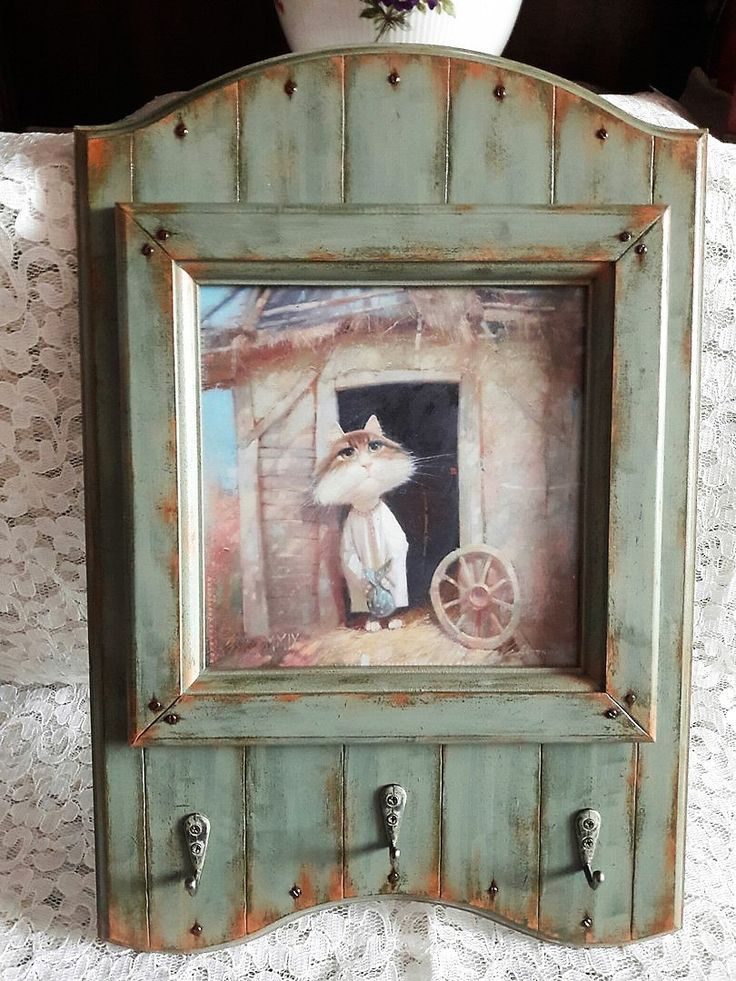
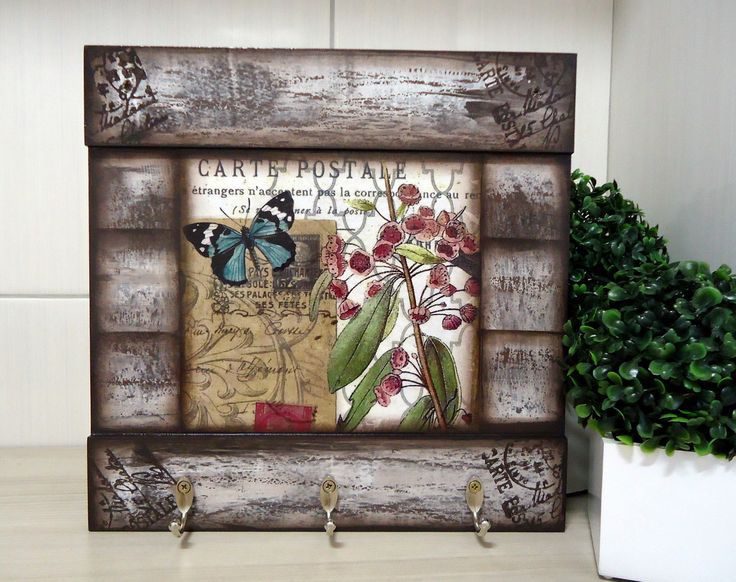
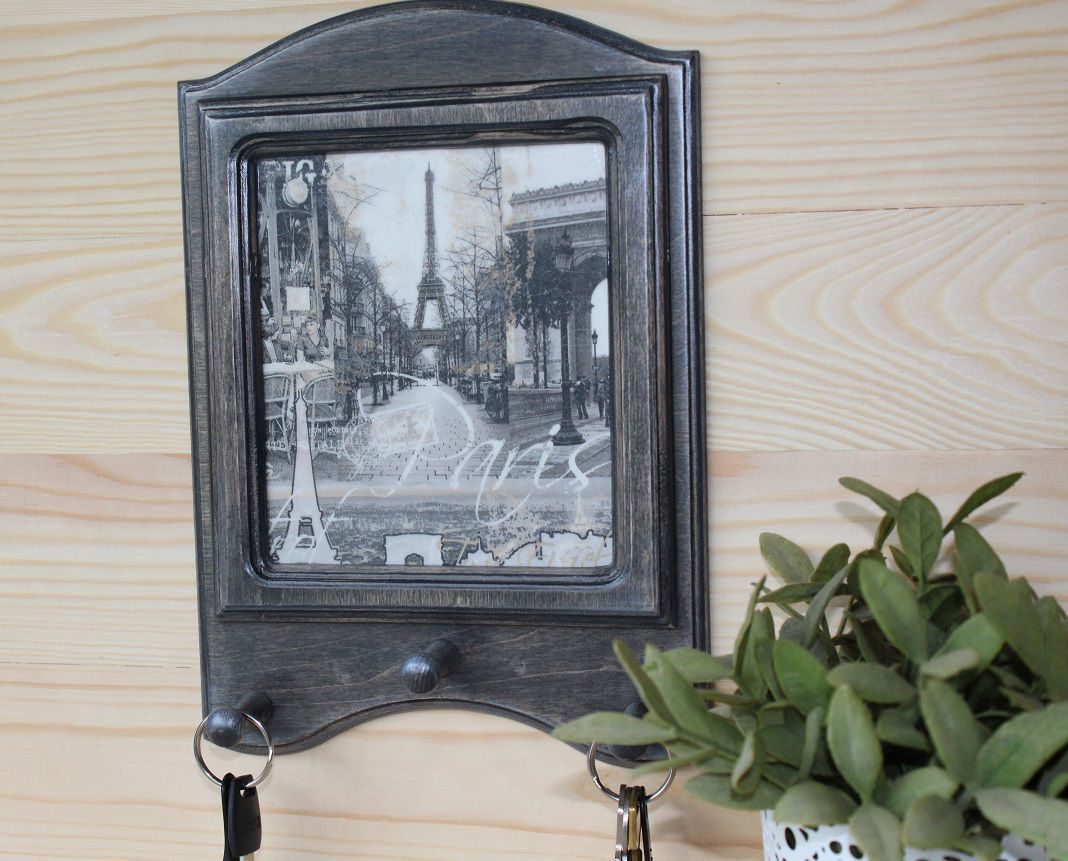
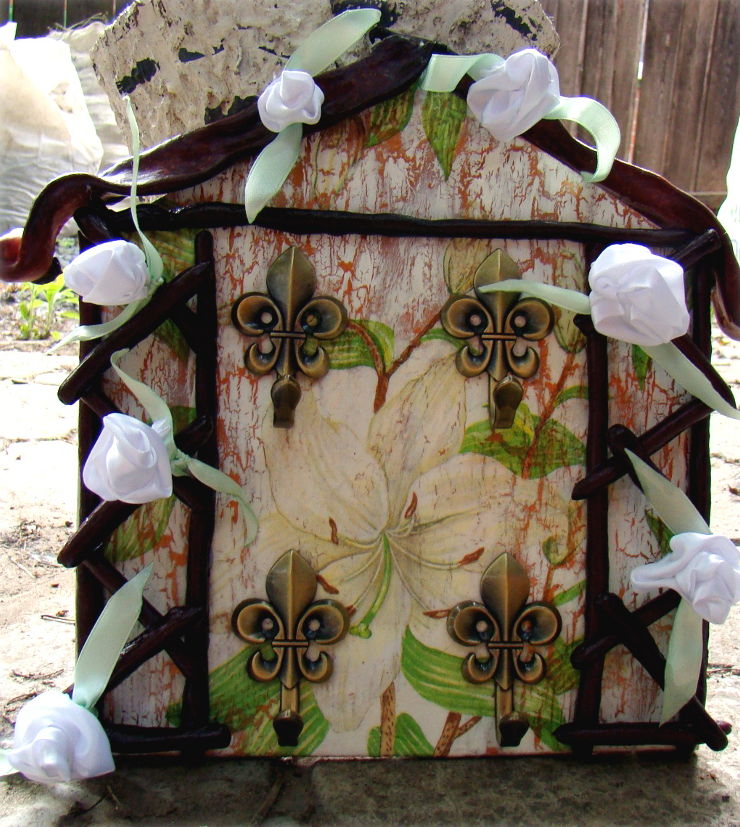
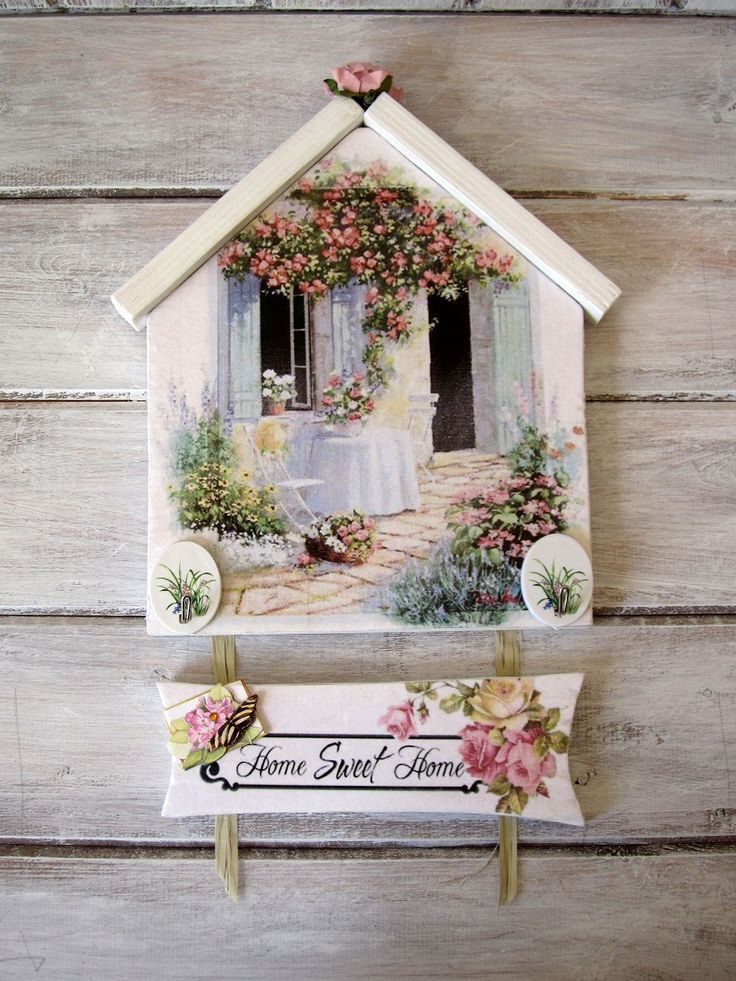
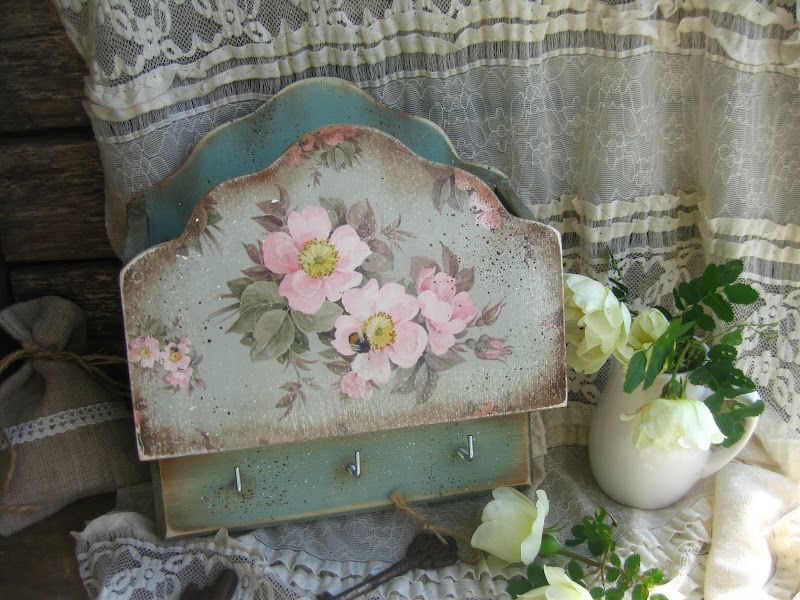
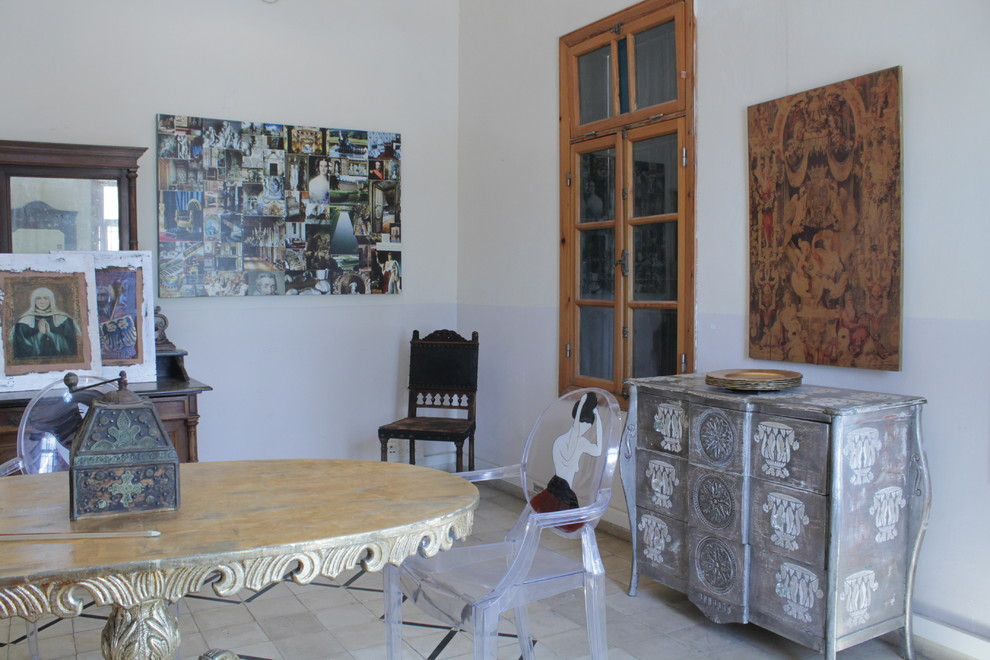
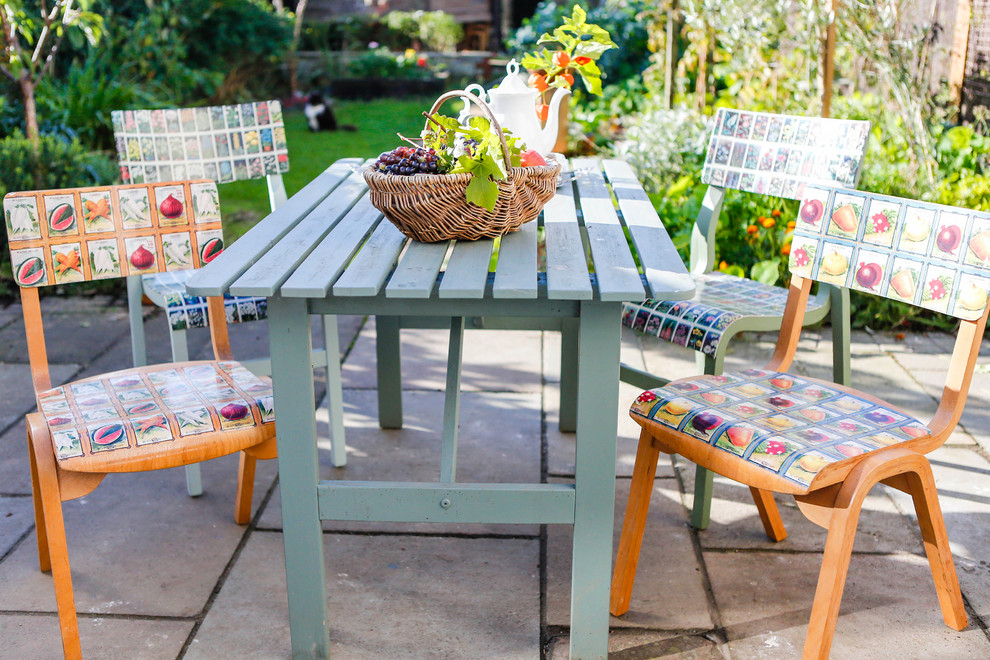
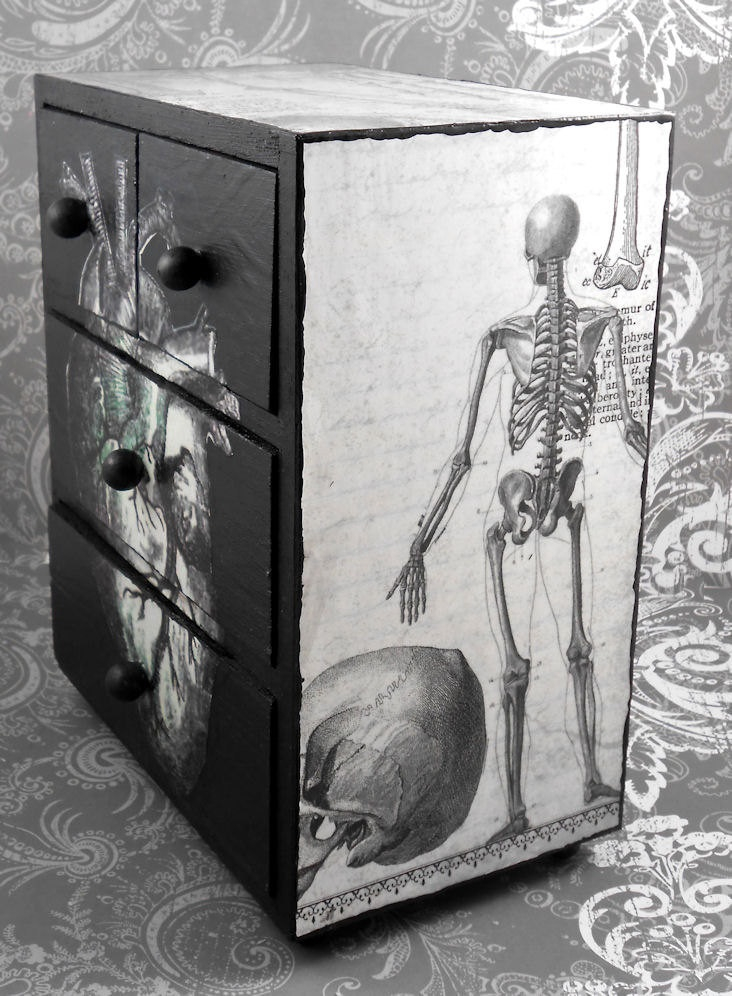
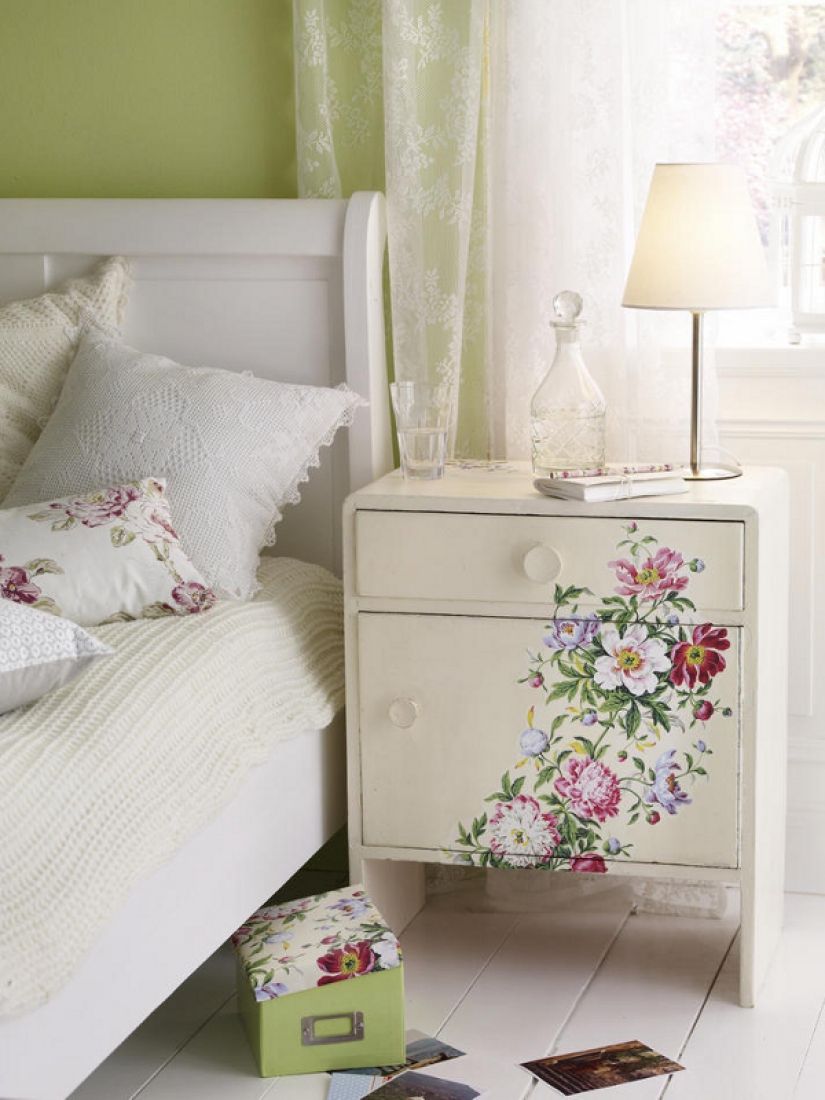
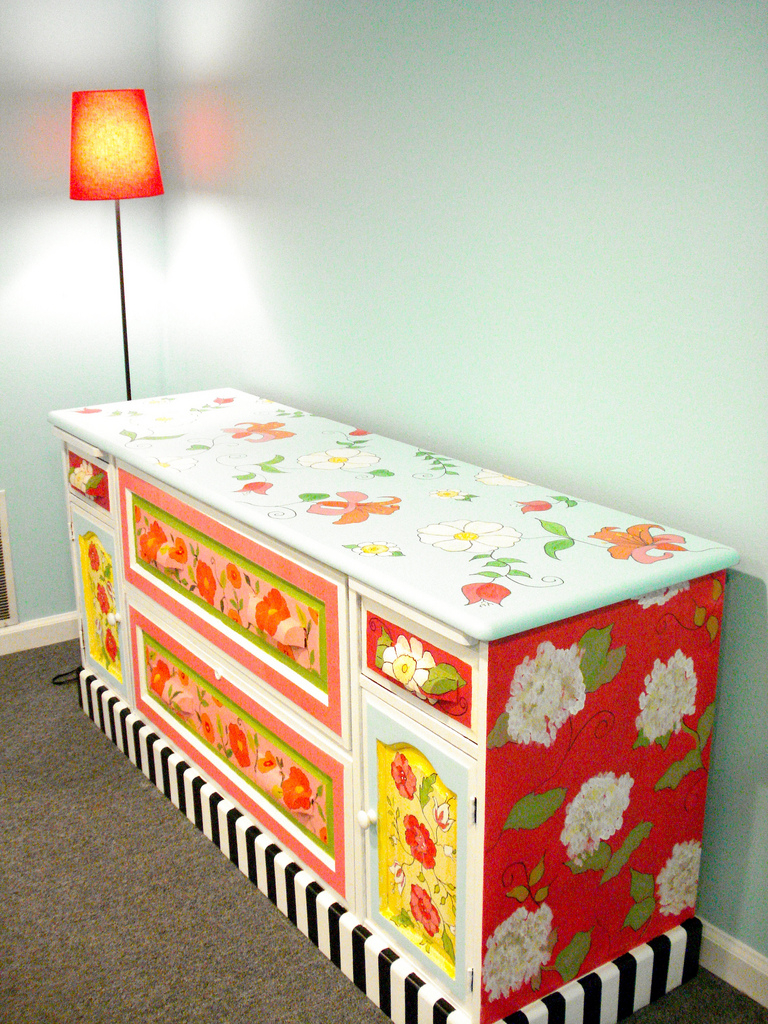
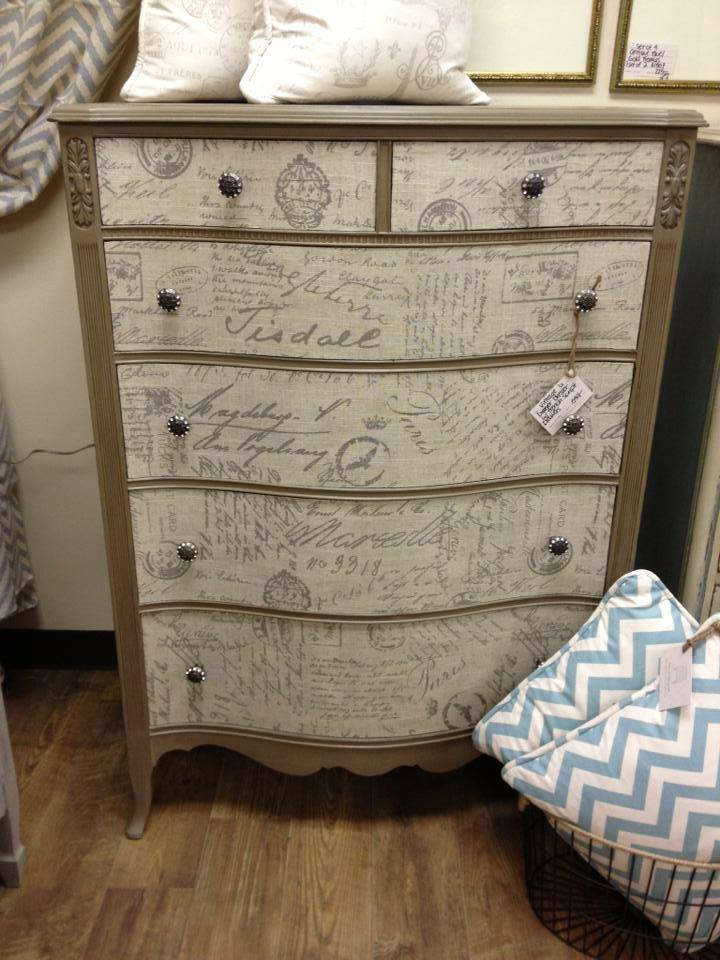
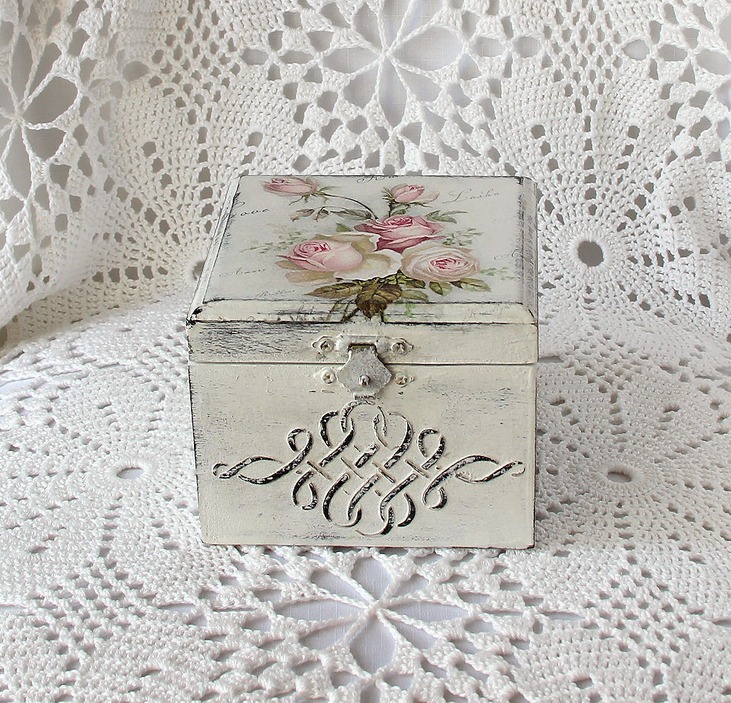
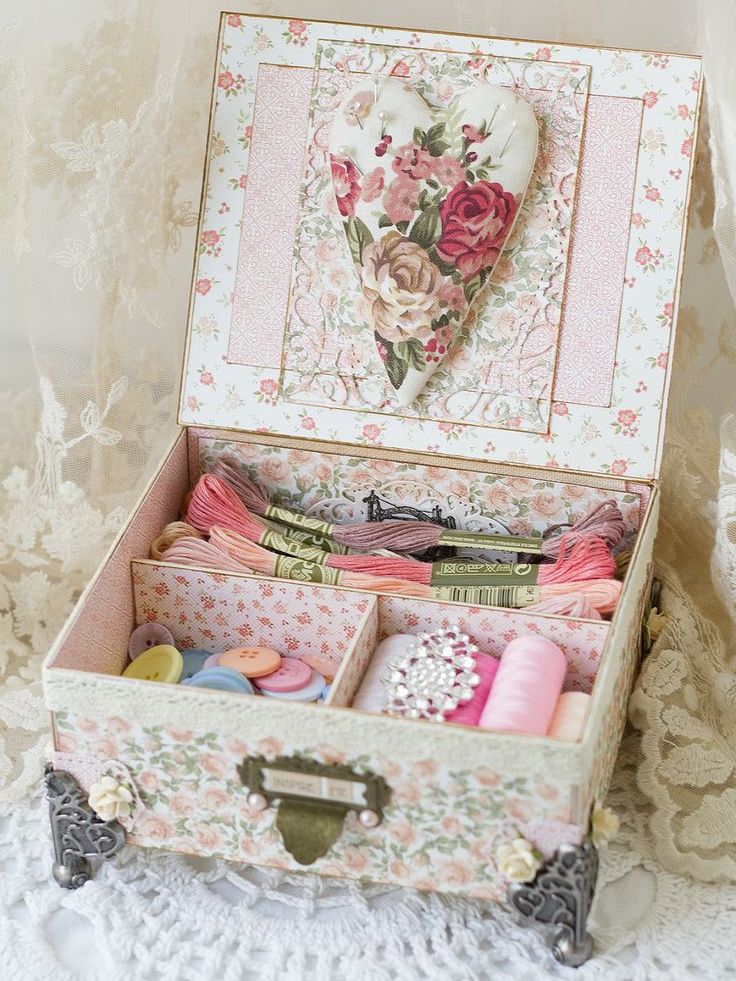
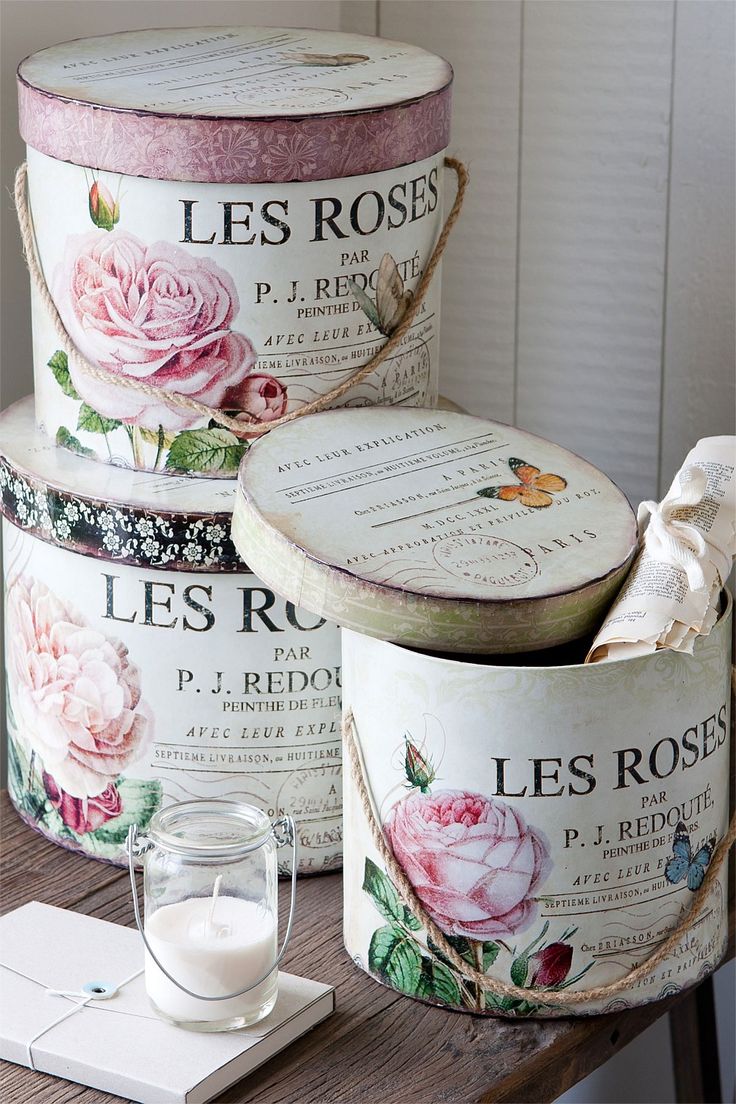
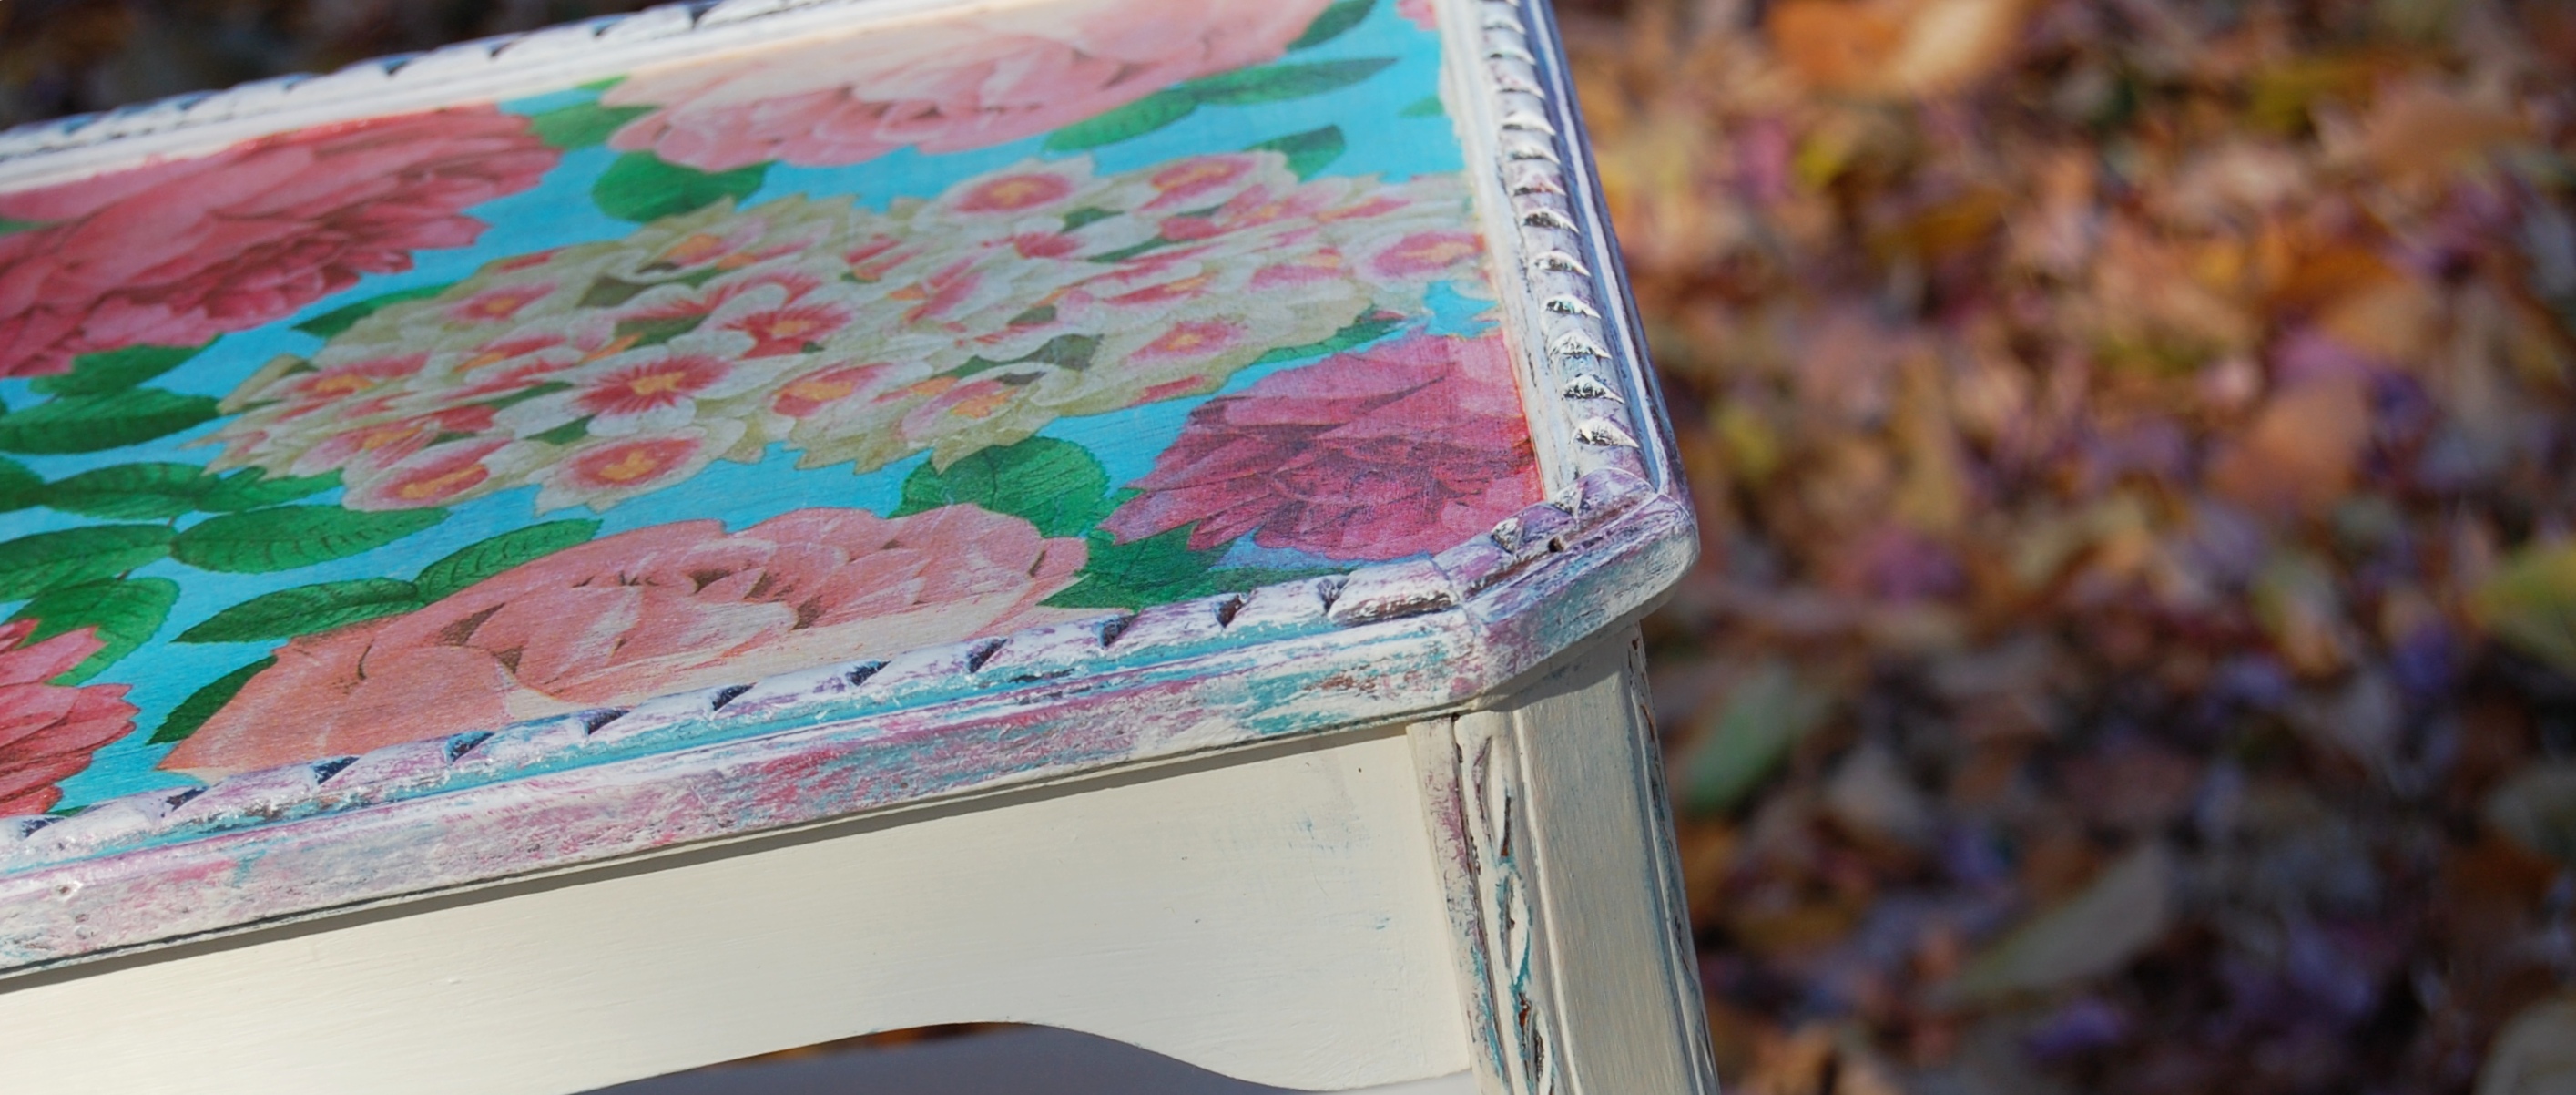
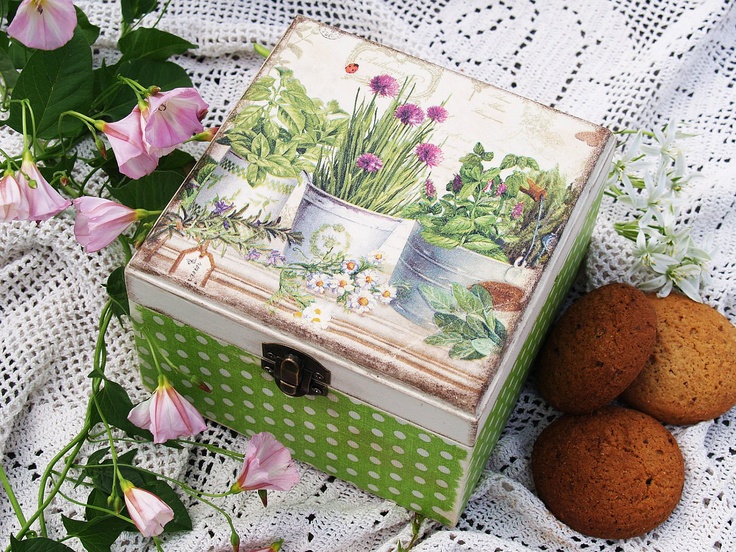
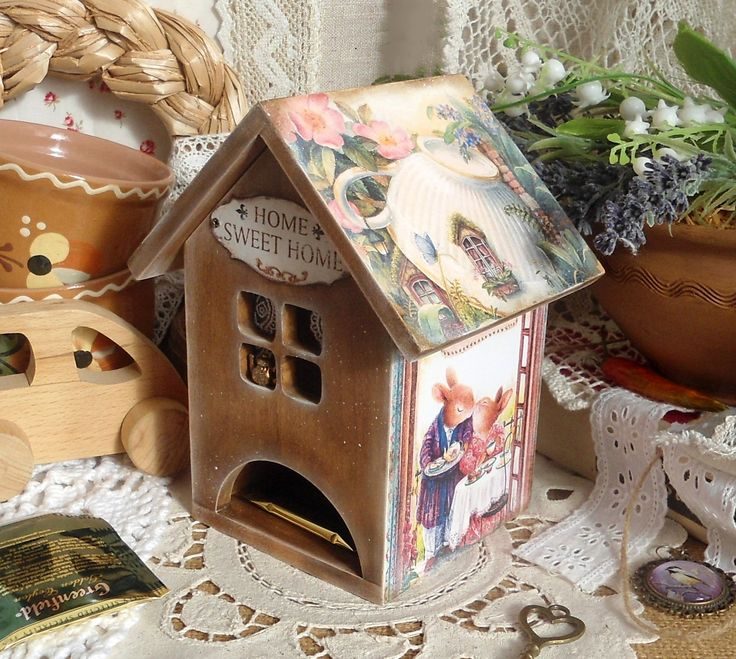
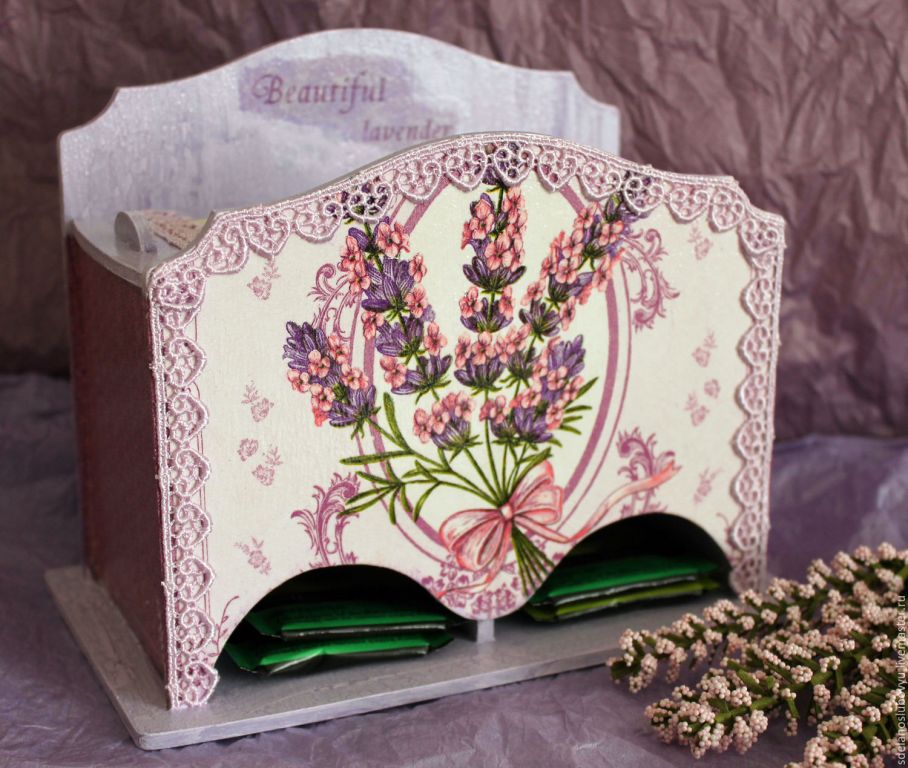
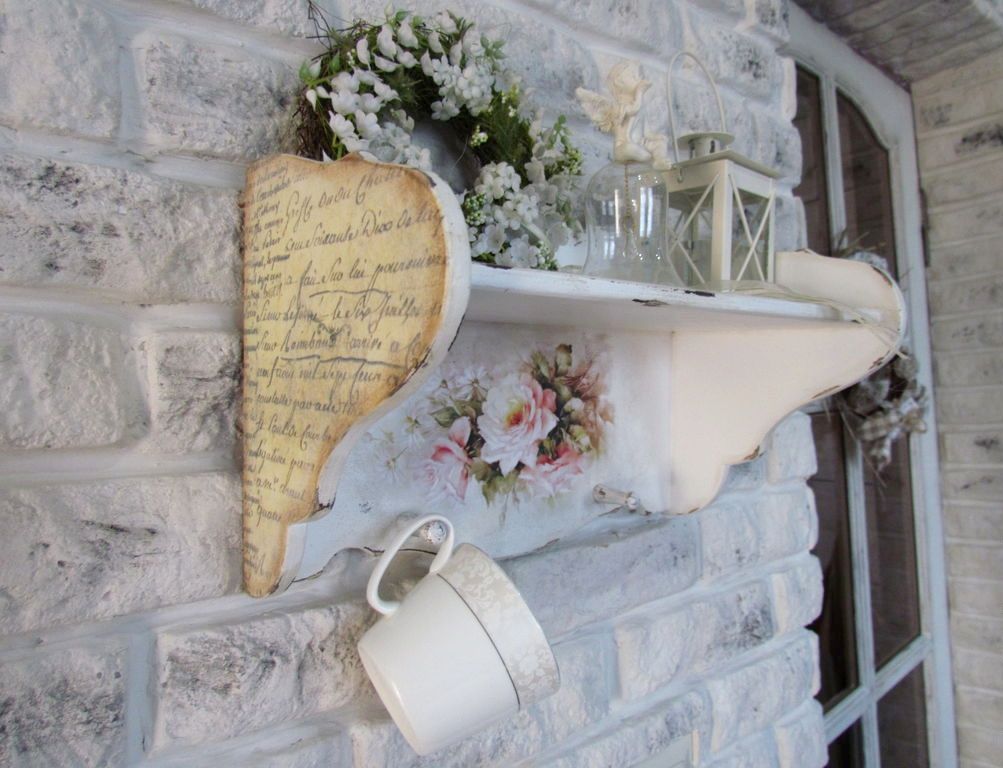
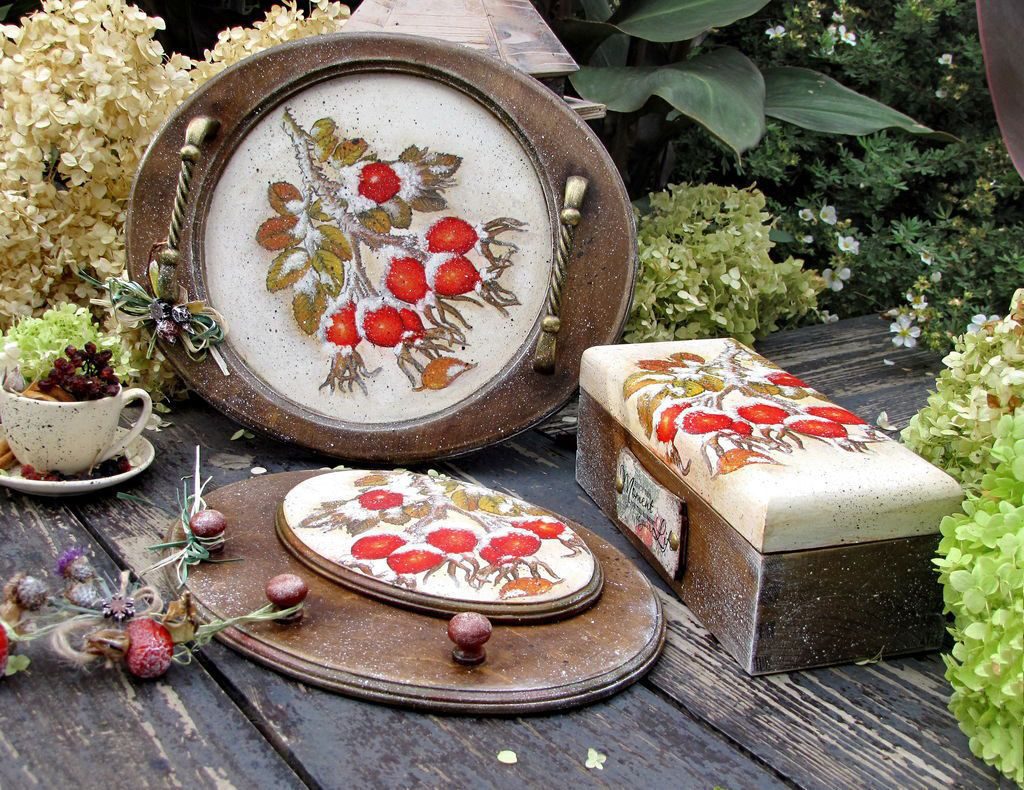
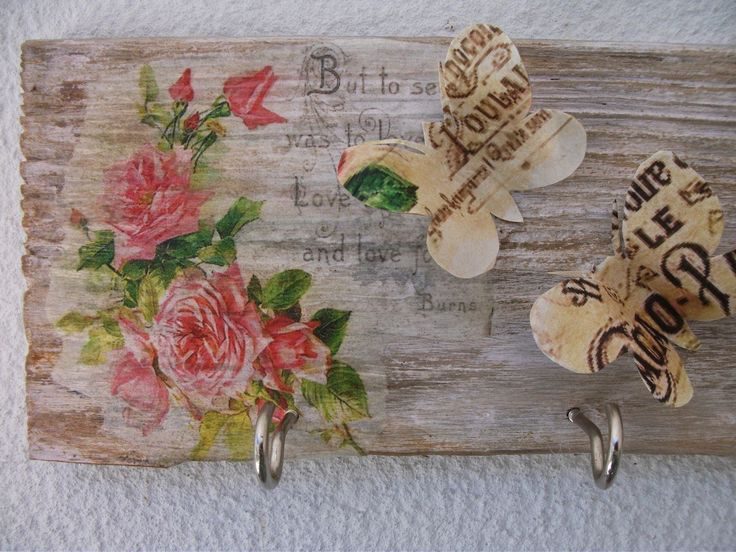
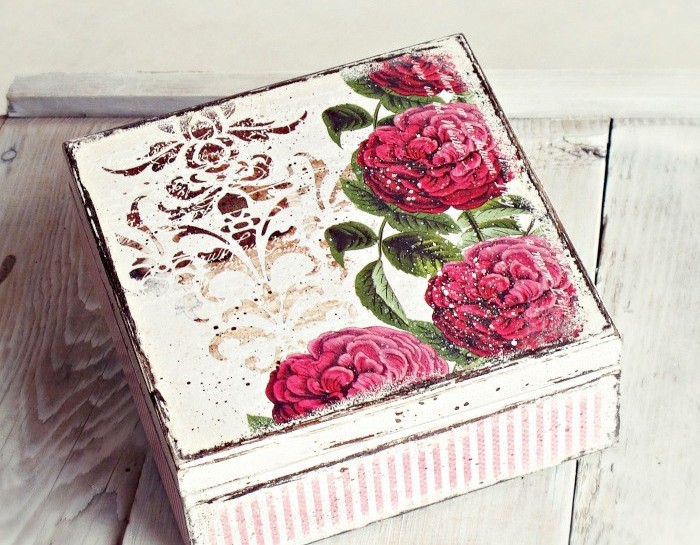
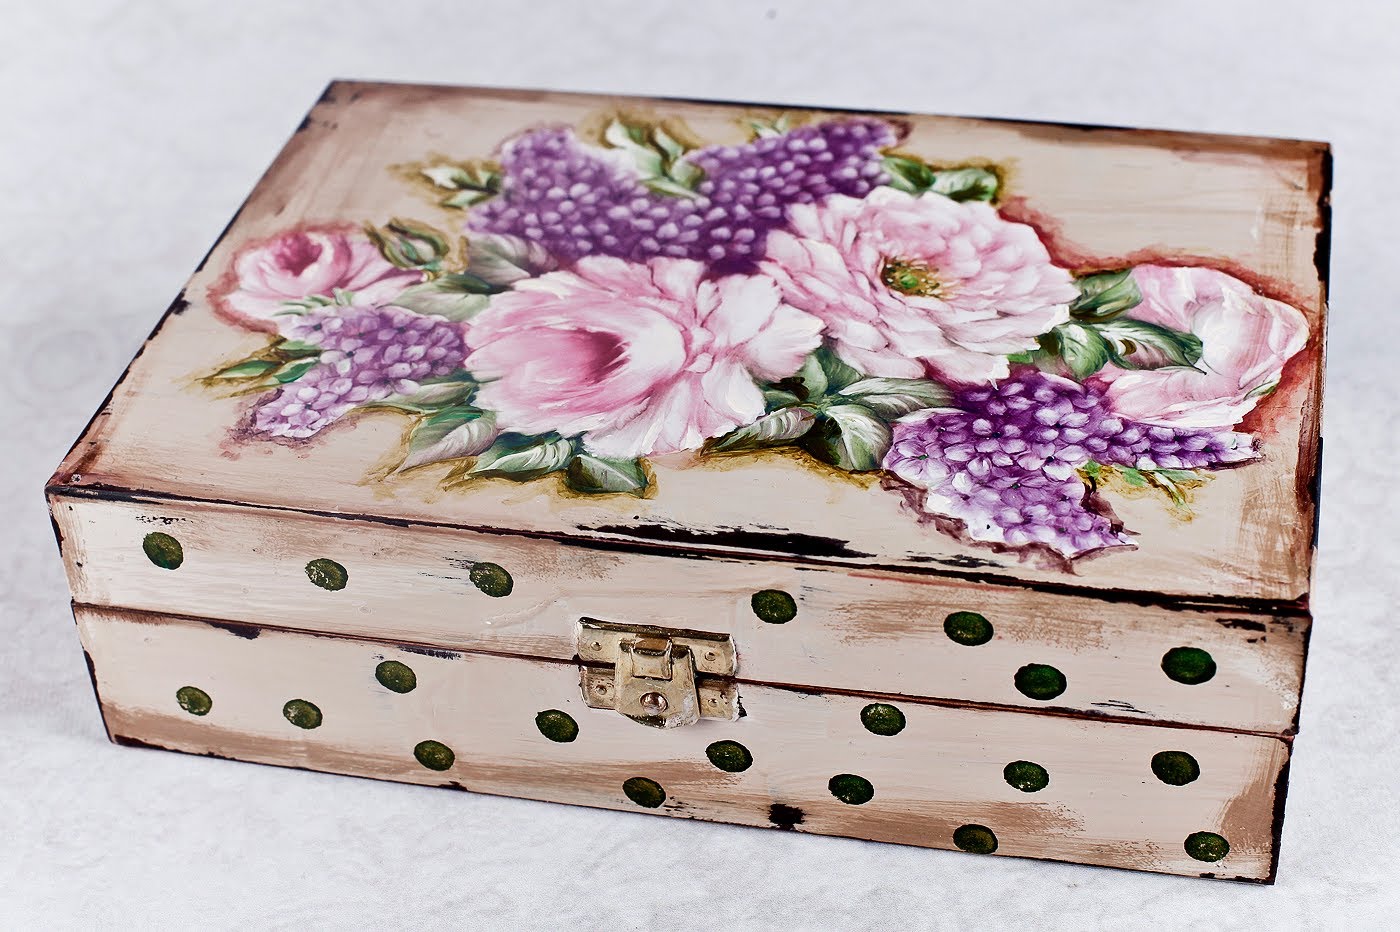
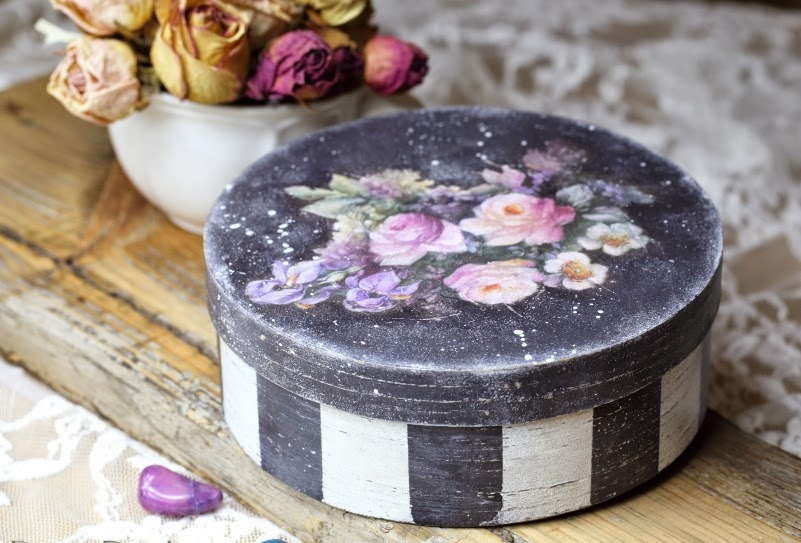
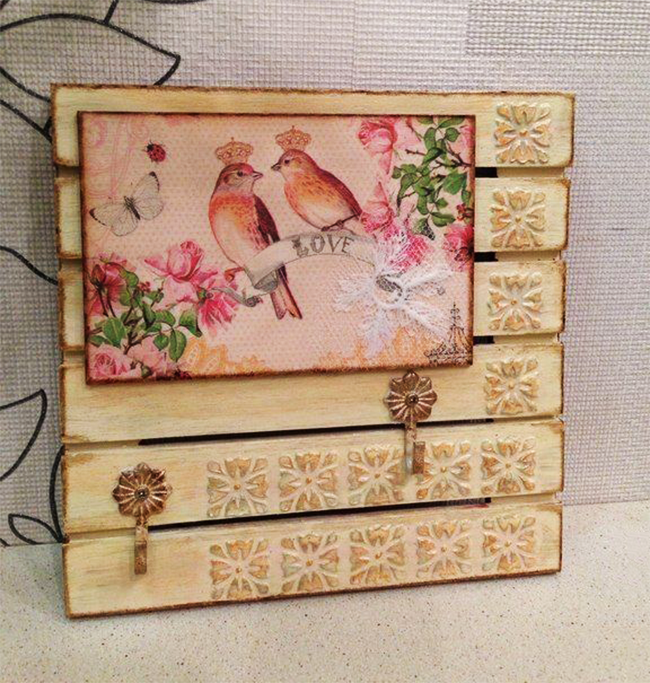
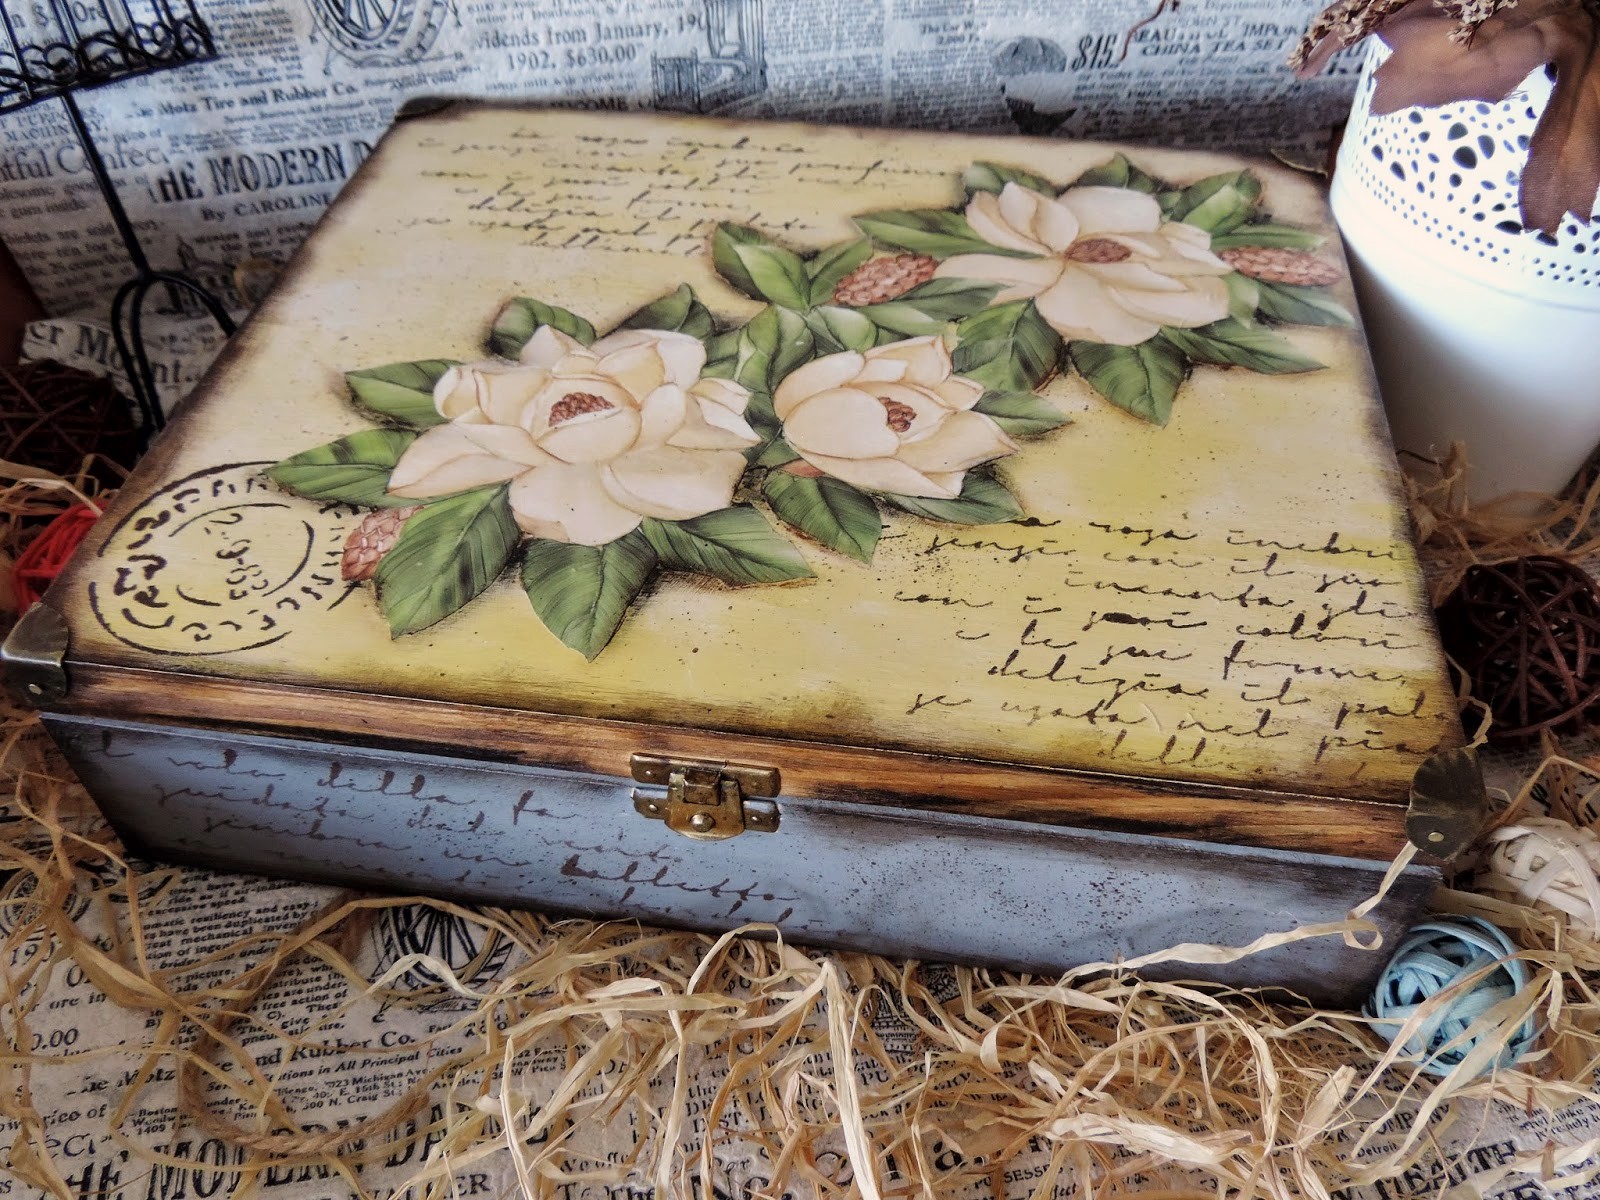
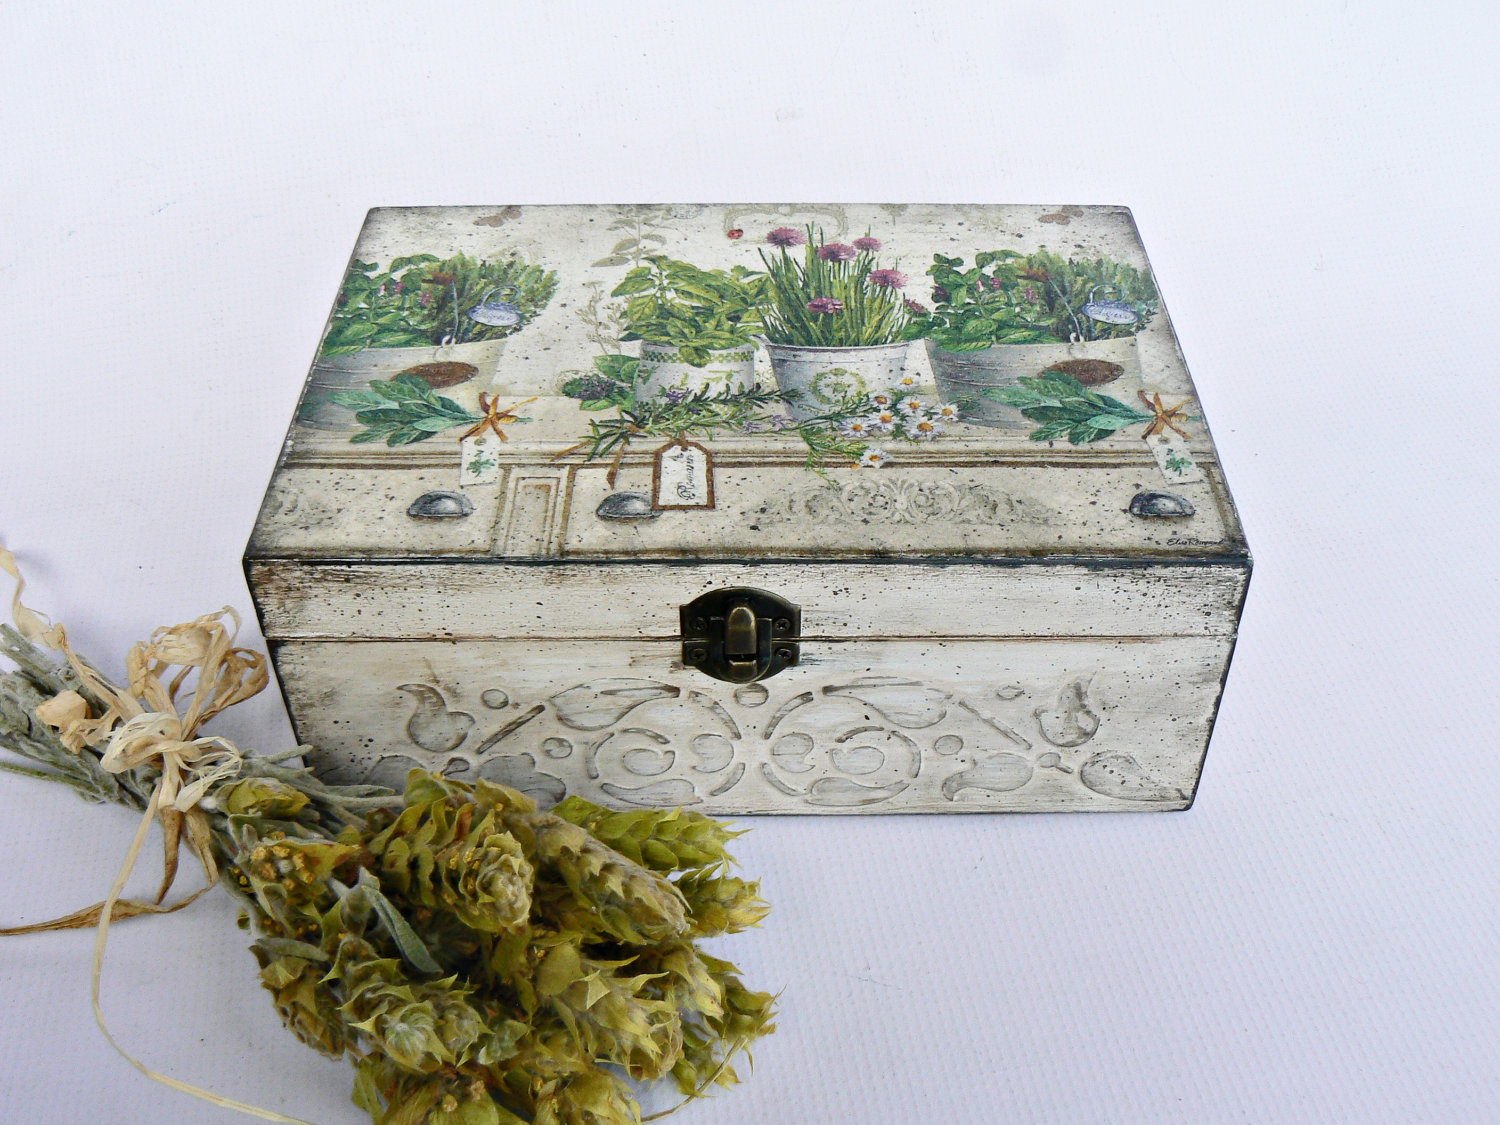
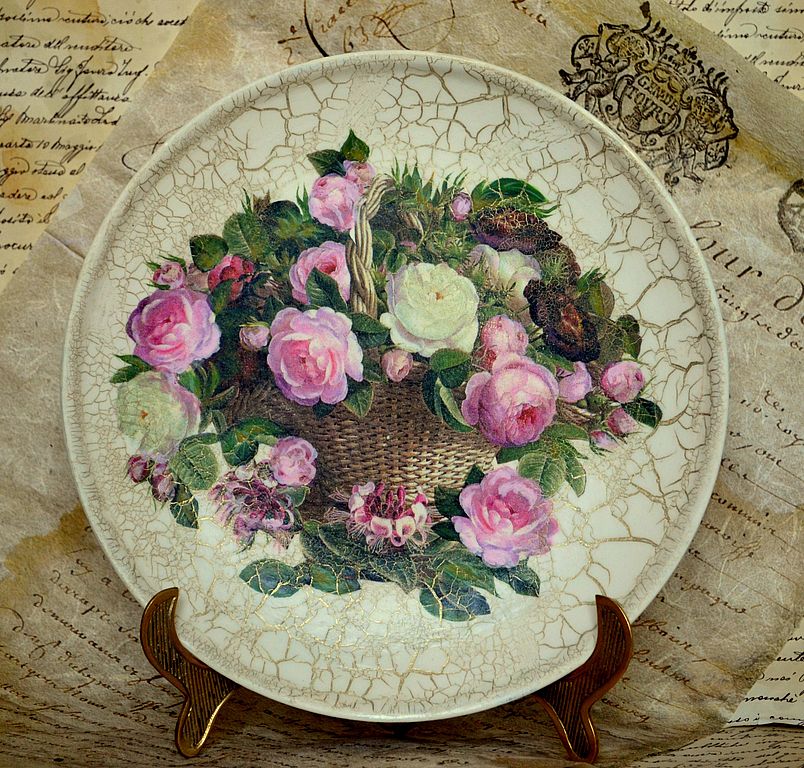
There are many styles in this technique, every needlewoman will find something to her liking. With the help of decoupage, you can turn completely unremarkable furniture, dishes, vases, into a real work of art.
VIDEO: Decoupage – ideas for creativity.
50 unusual DIY decoupage options: