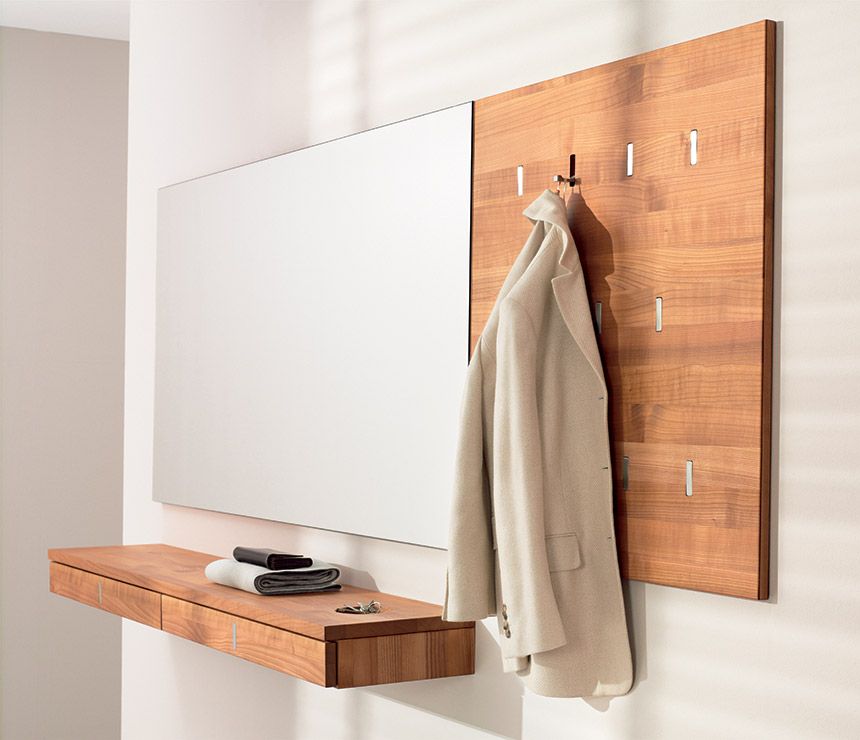
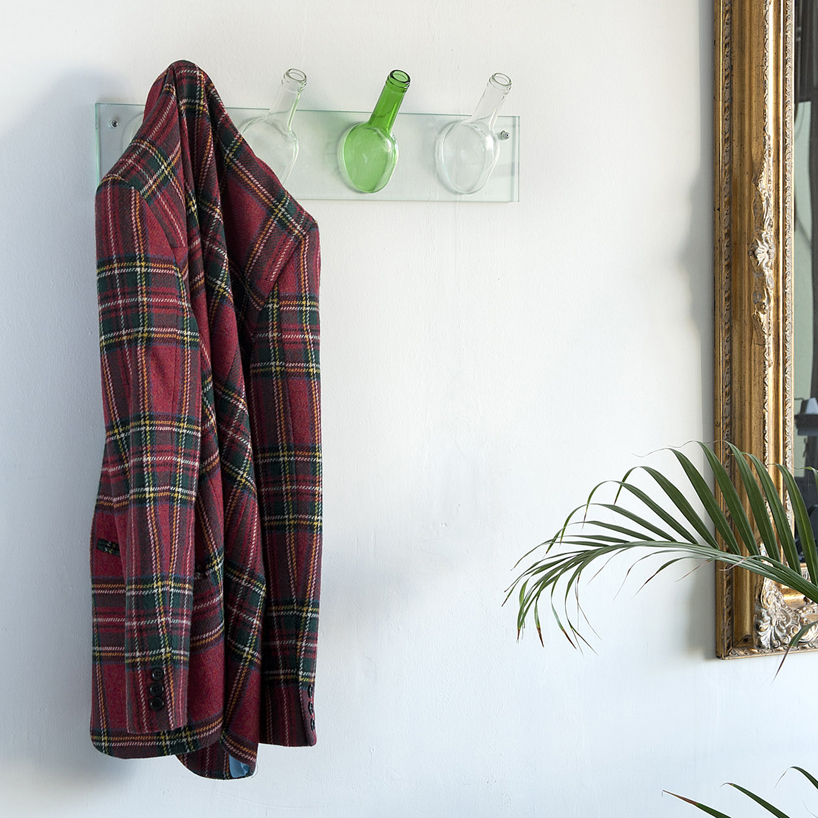
When we come home, the first thing we do is take off our outerwear and hang it in the closet or on a hanger. The latter option has some significant advantages: it takes up little space, provides quick access to things, is easy to install, and is suitable for hallways of various shapes and sizes.
Advantages of self-production:
- Nlow cost of the product;
- INthe ability to achieve the best combination with the interior;
- ANDindividuality of the hanger: your friends and acquaintances will not have the same one;
- RScientific work is highly valued.
Content
Types of design and construction
Before you start making it, you need to analyze the shape of the hallway. If it is quite elongated, it is better to give preference to a long hanger with compact shelves or without them at all. For large rooms, you can choose any model.
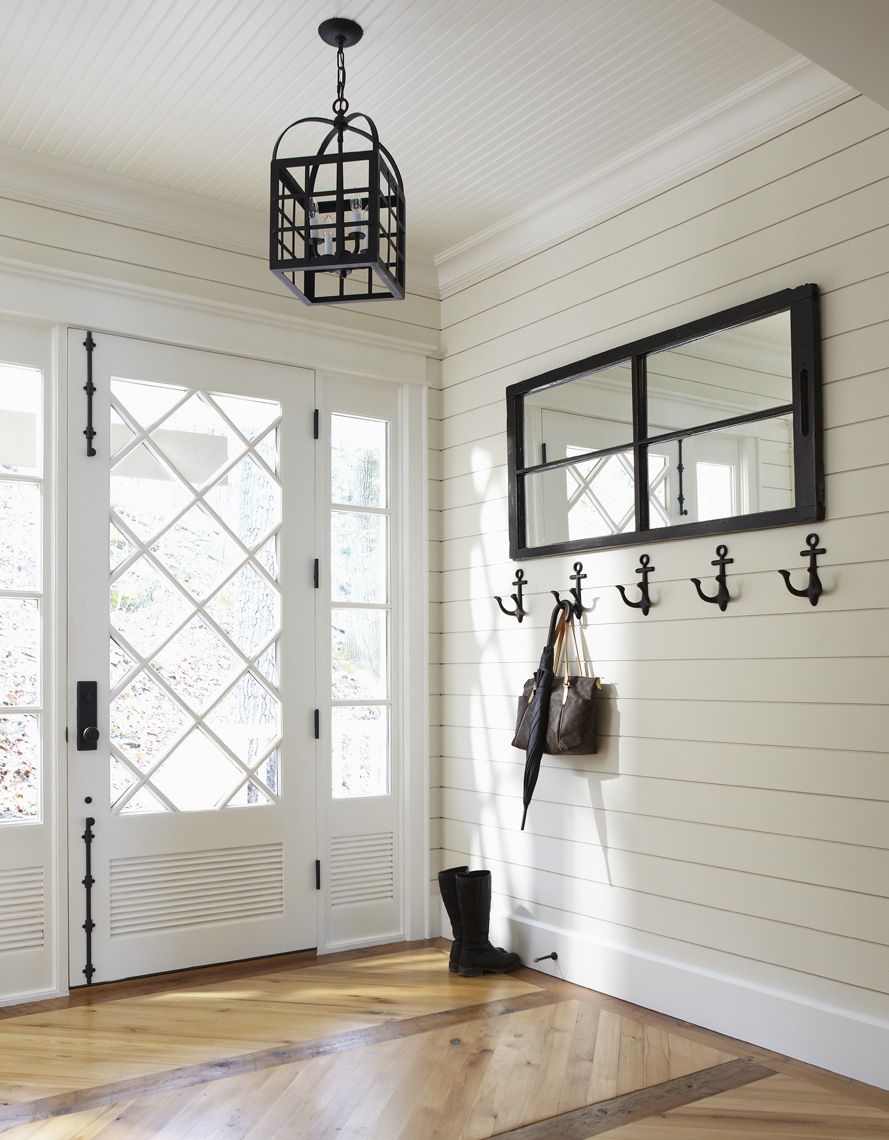
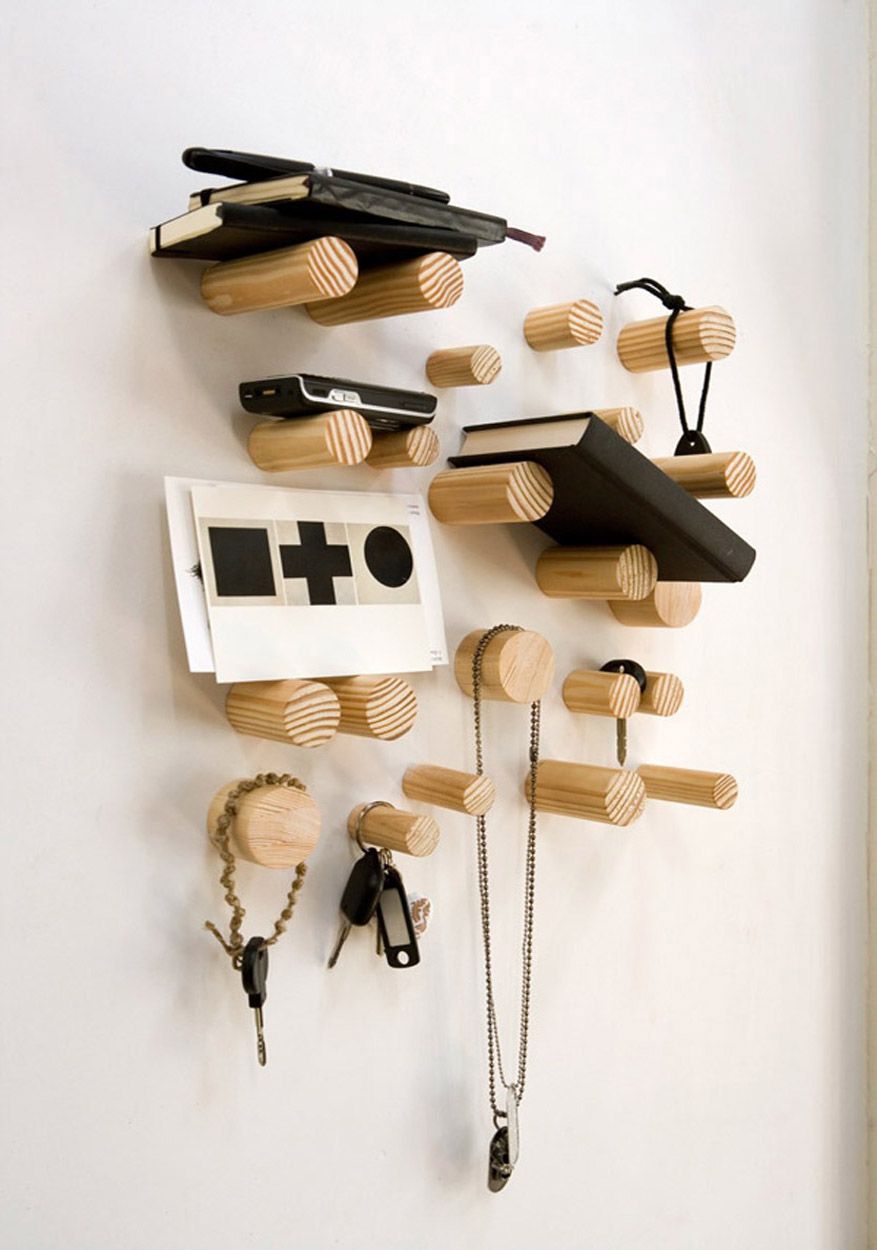
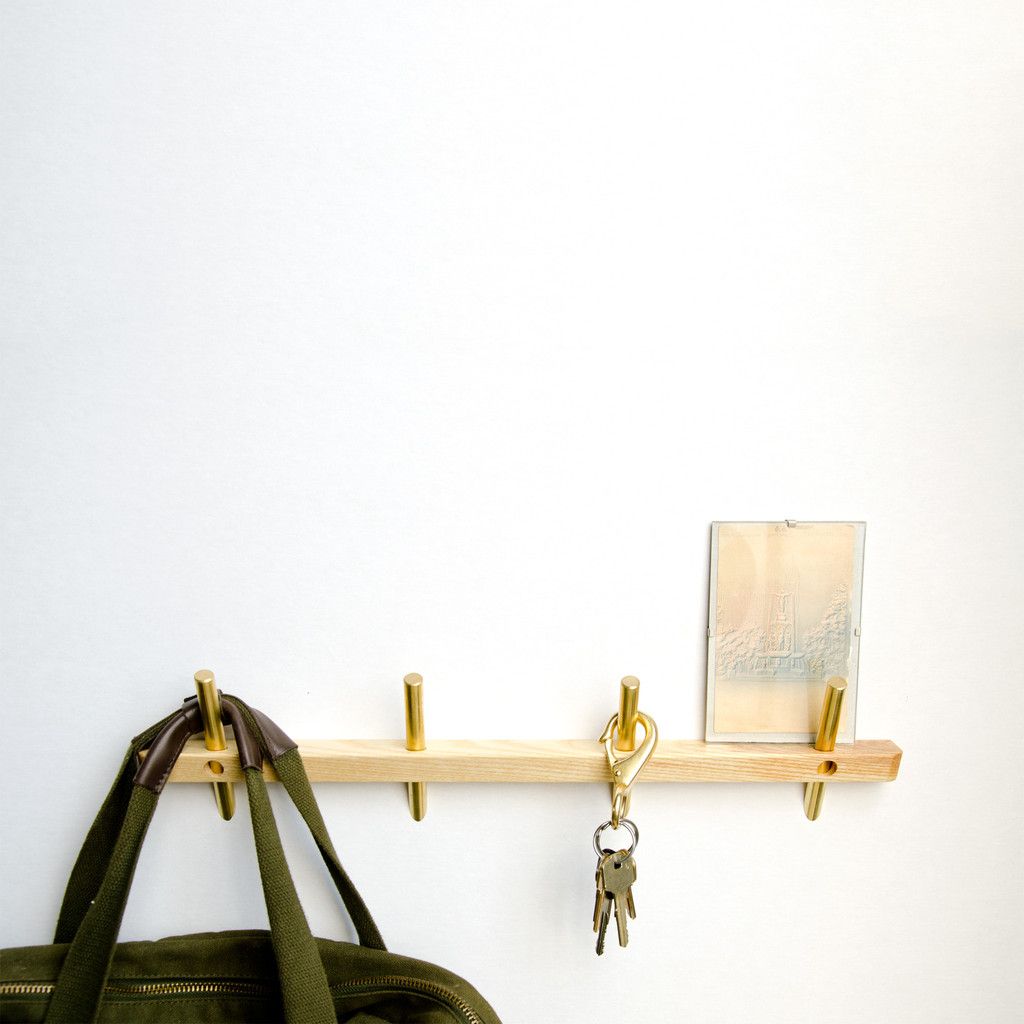
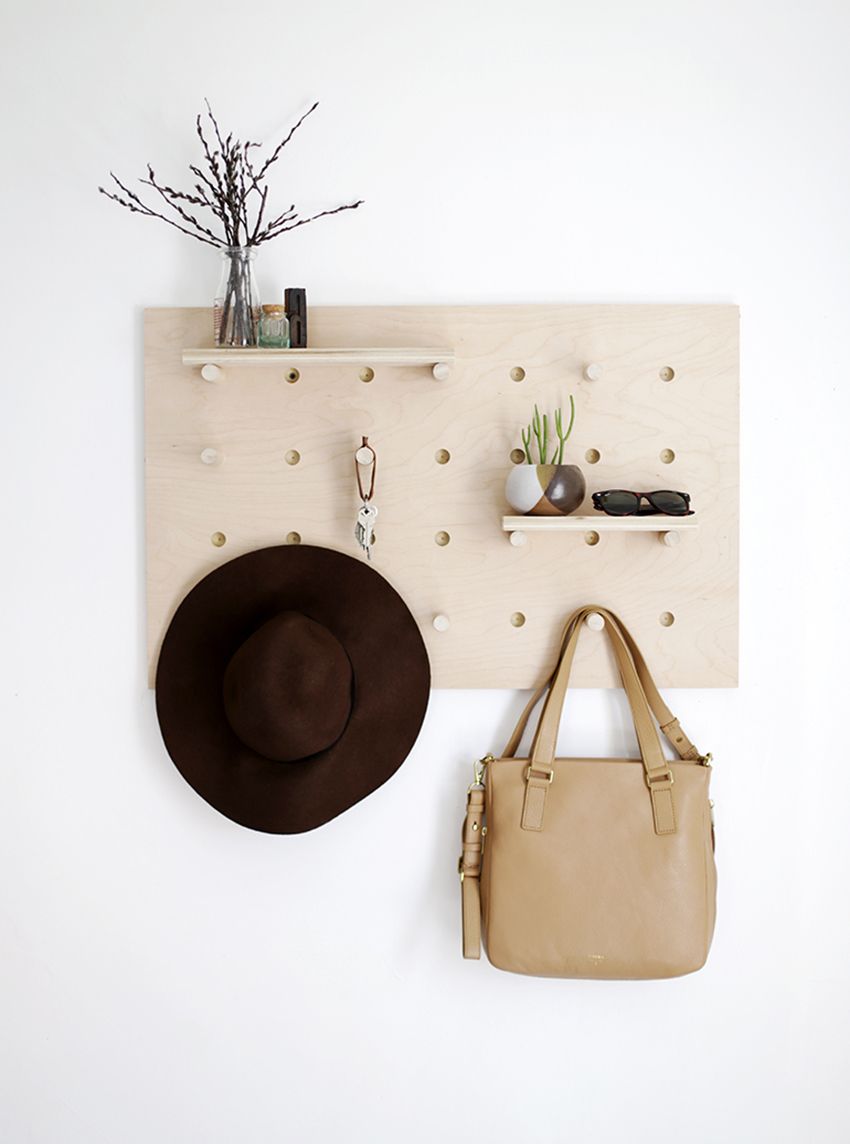
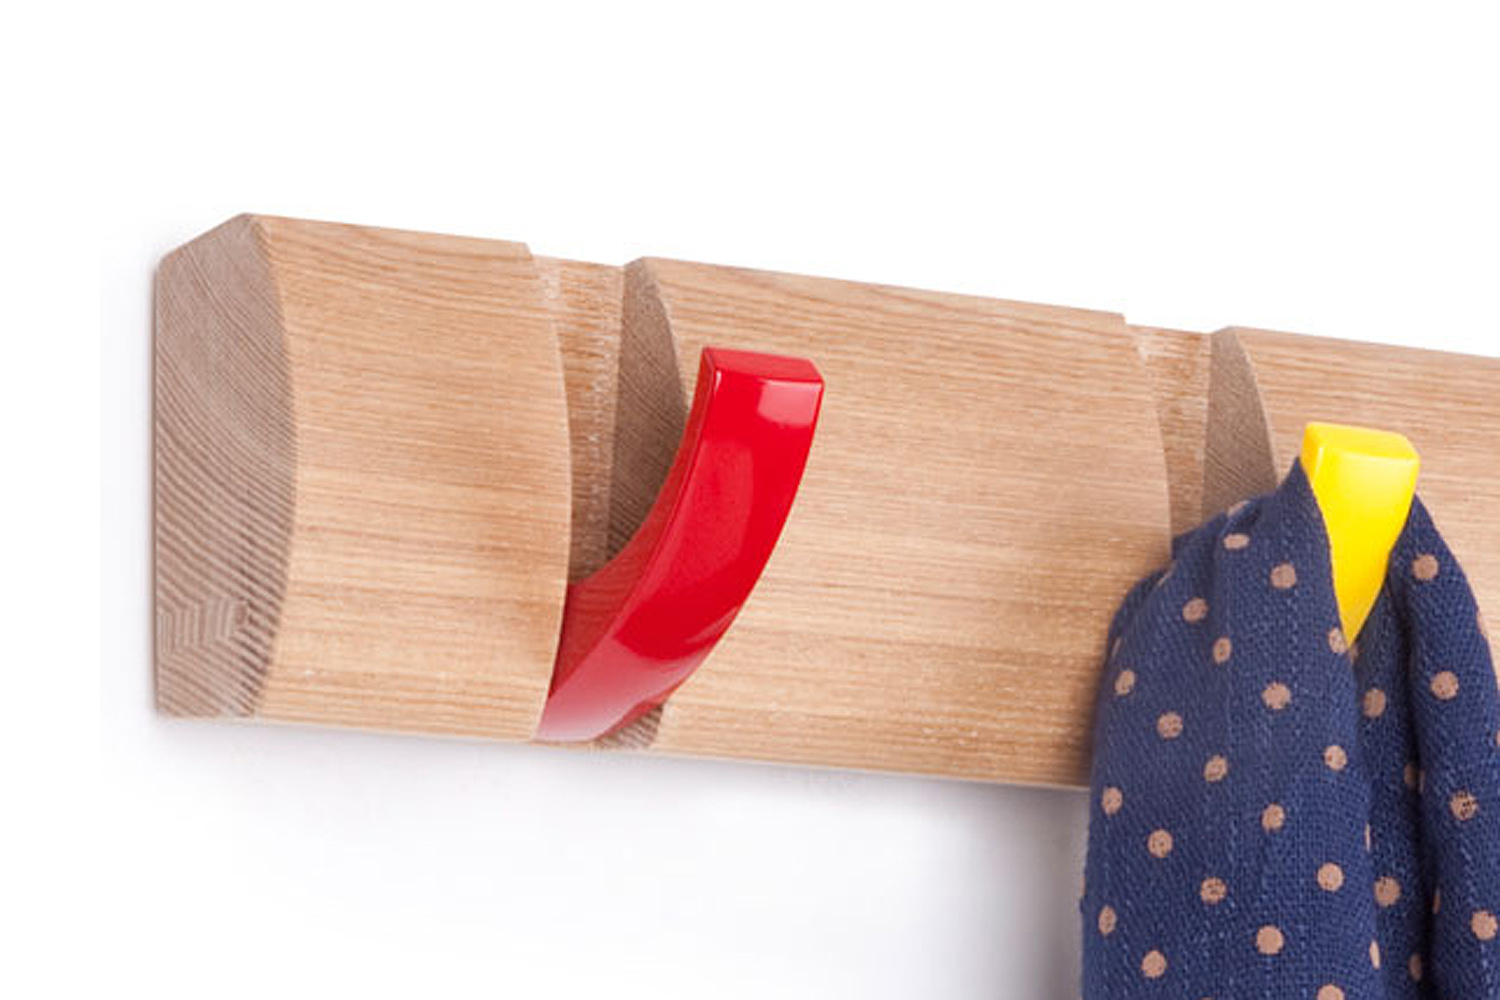
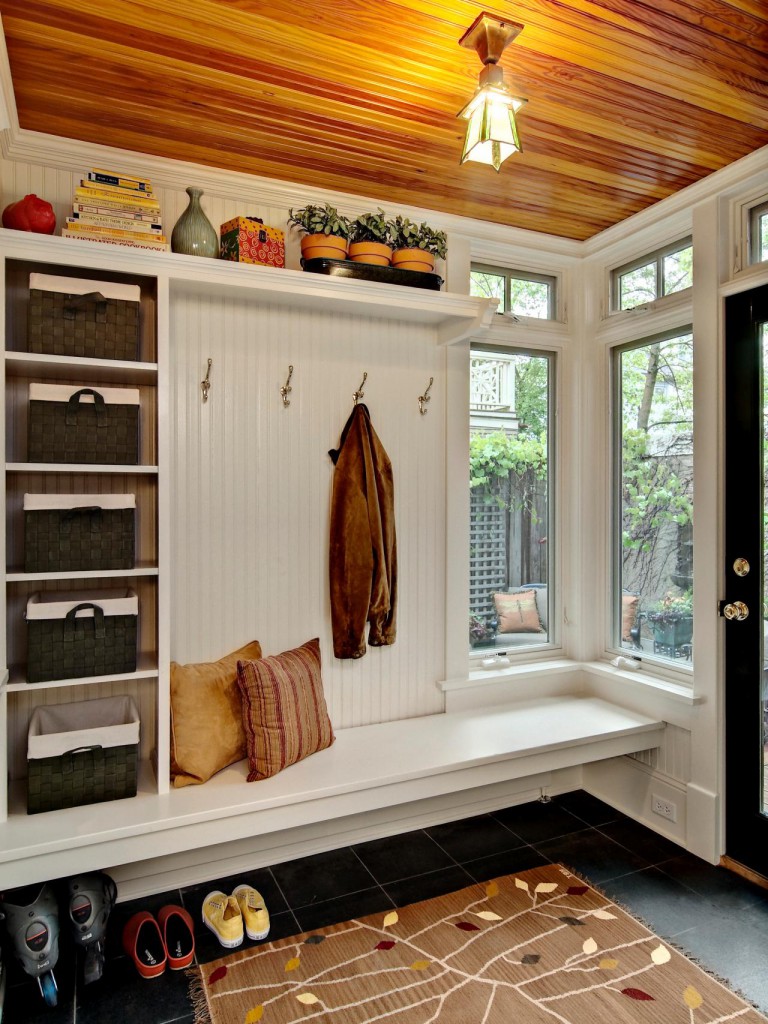
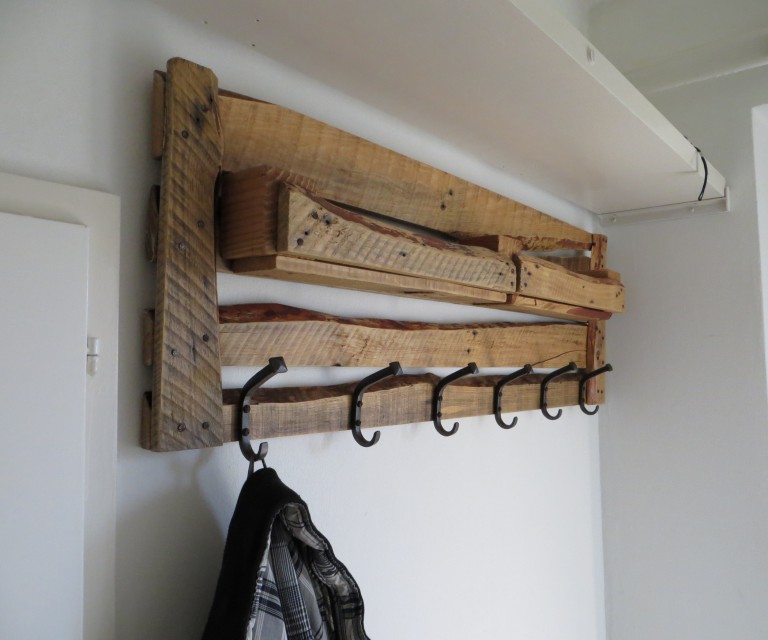
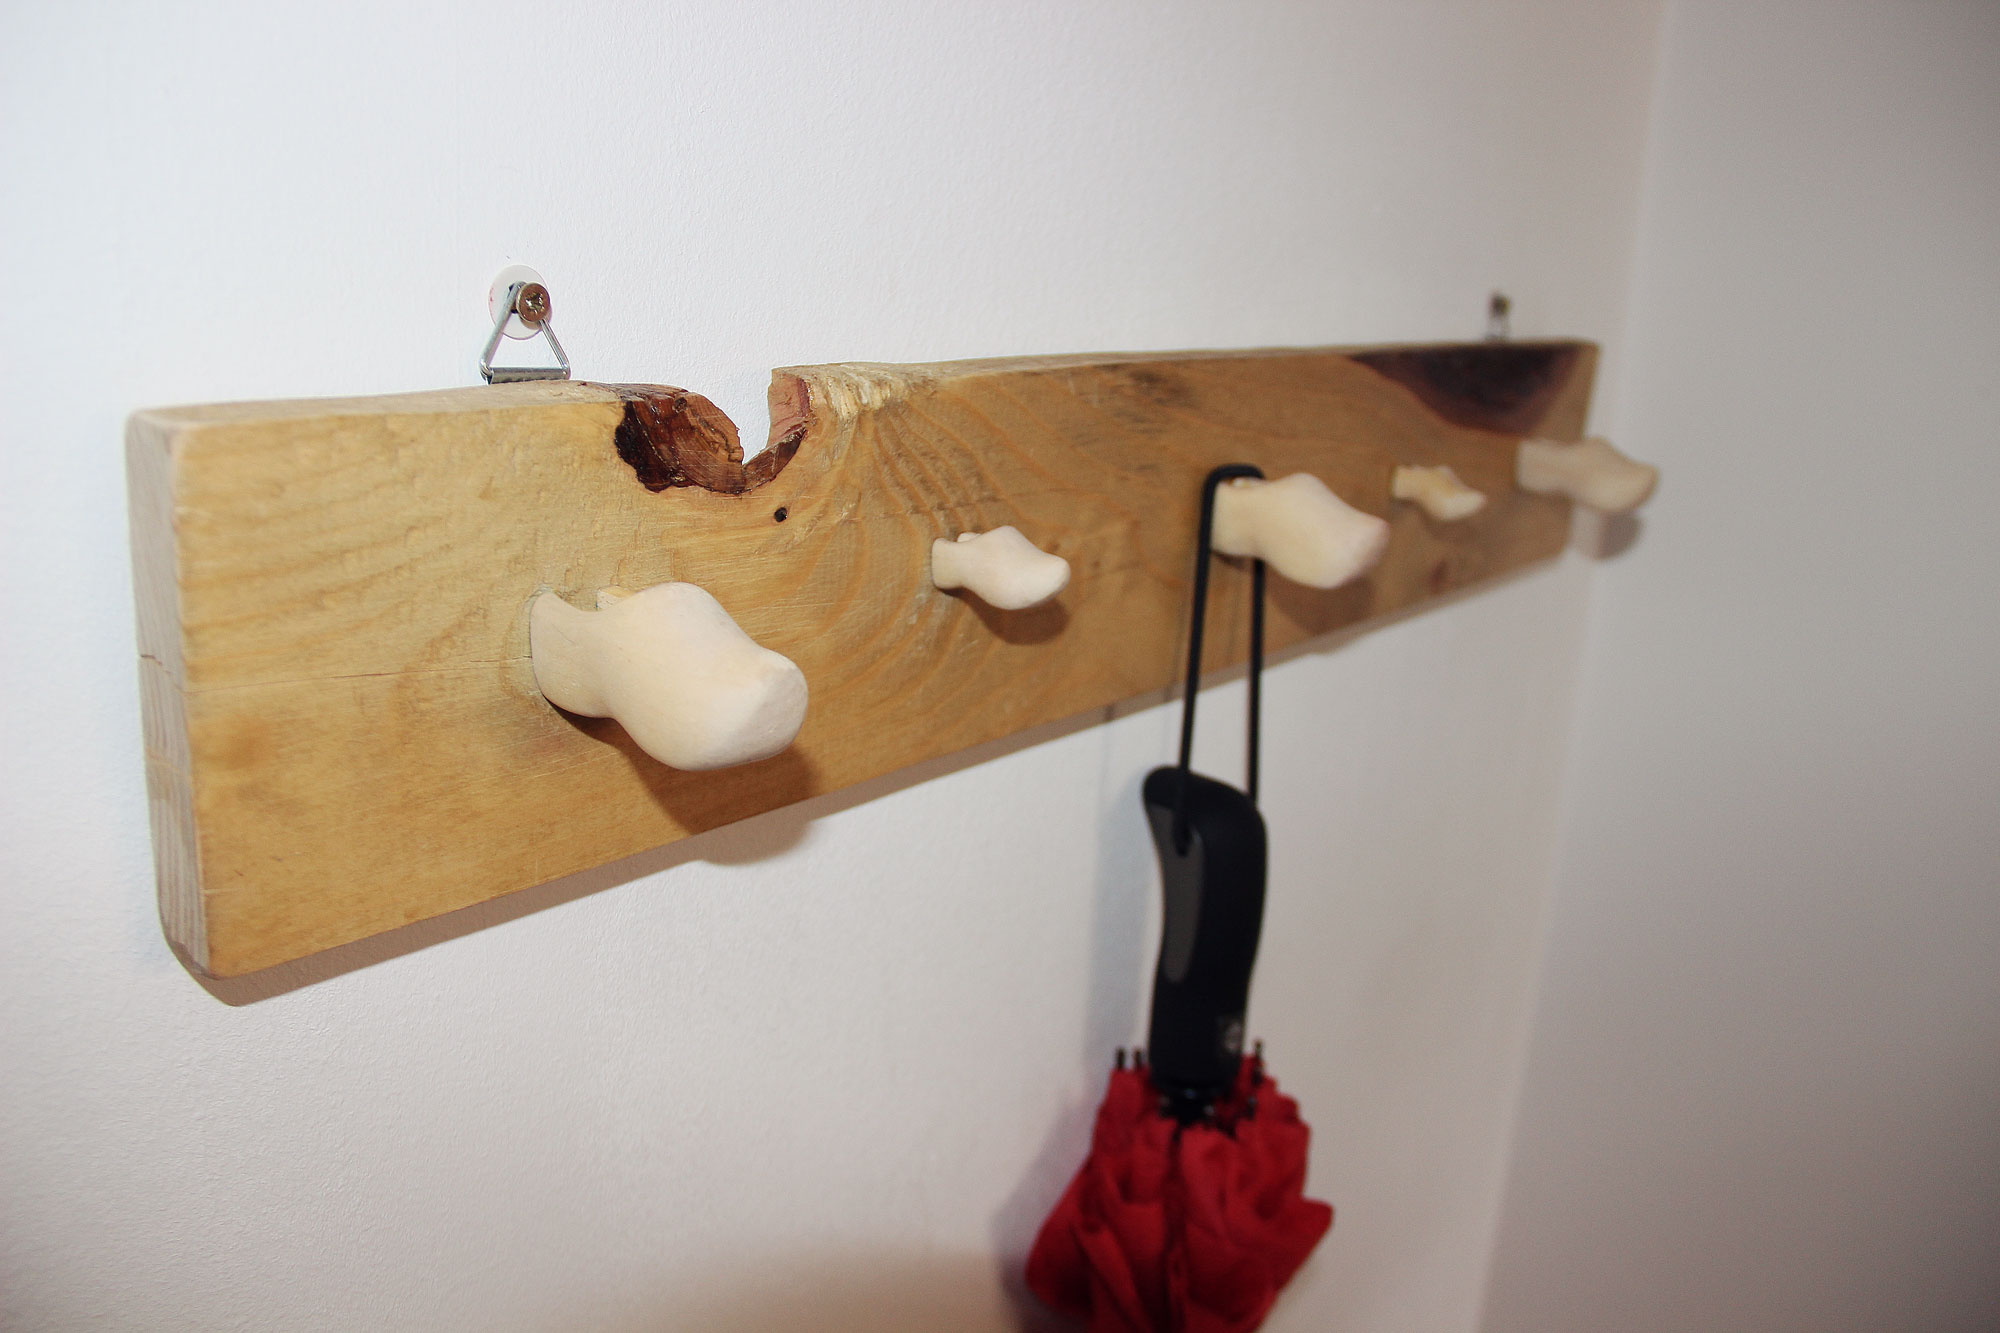
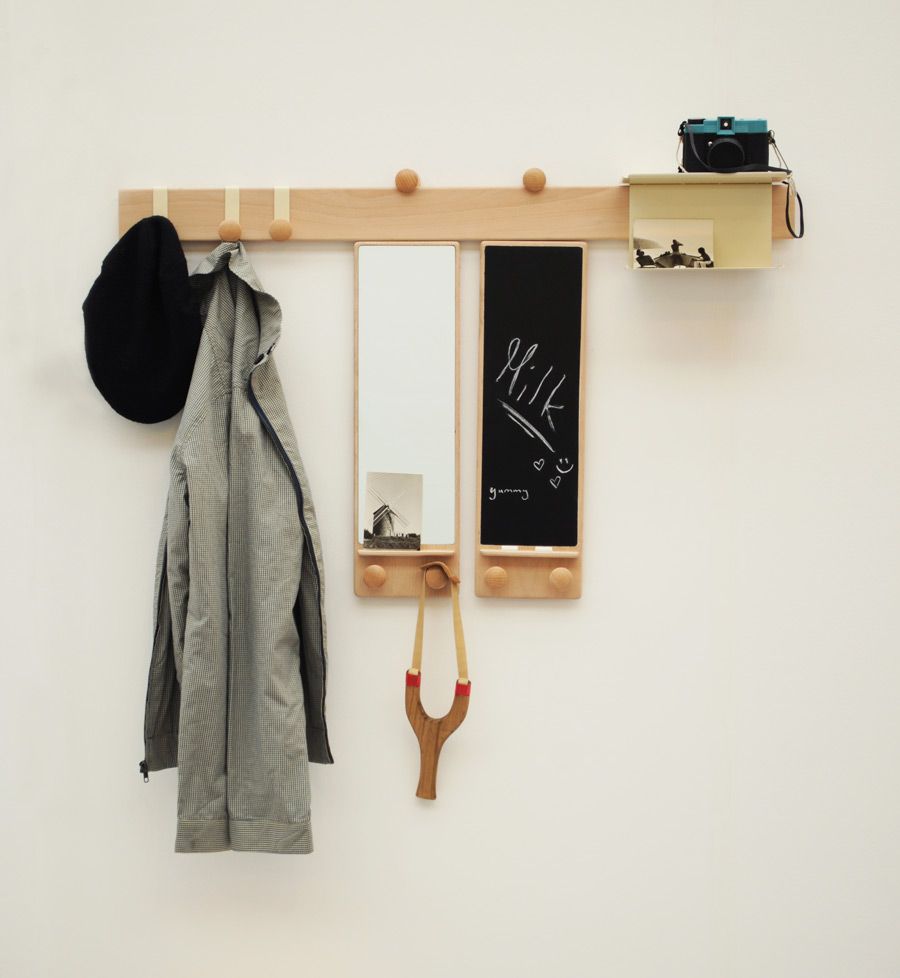
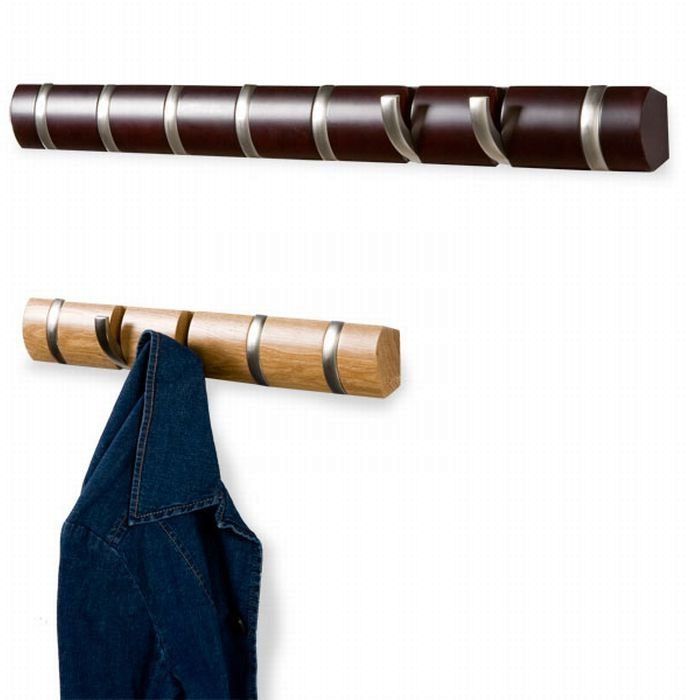
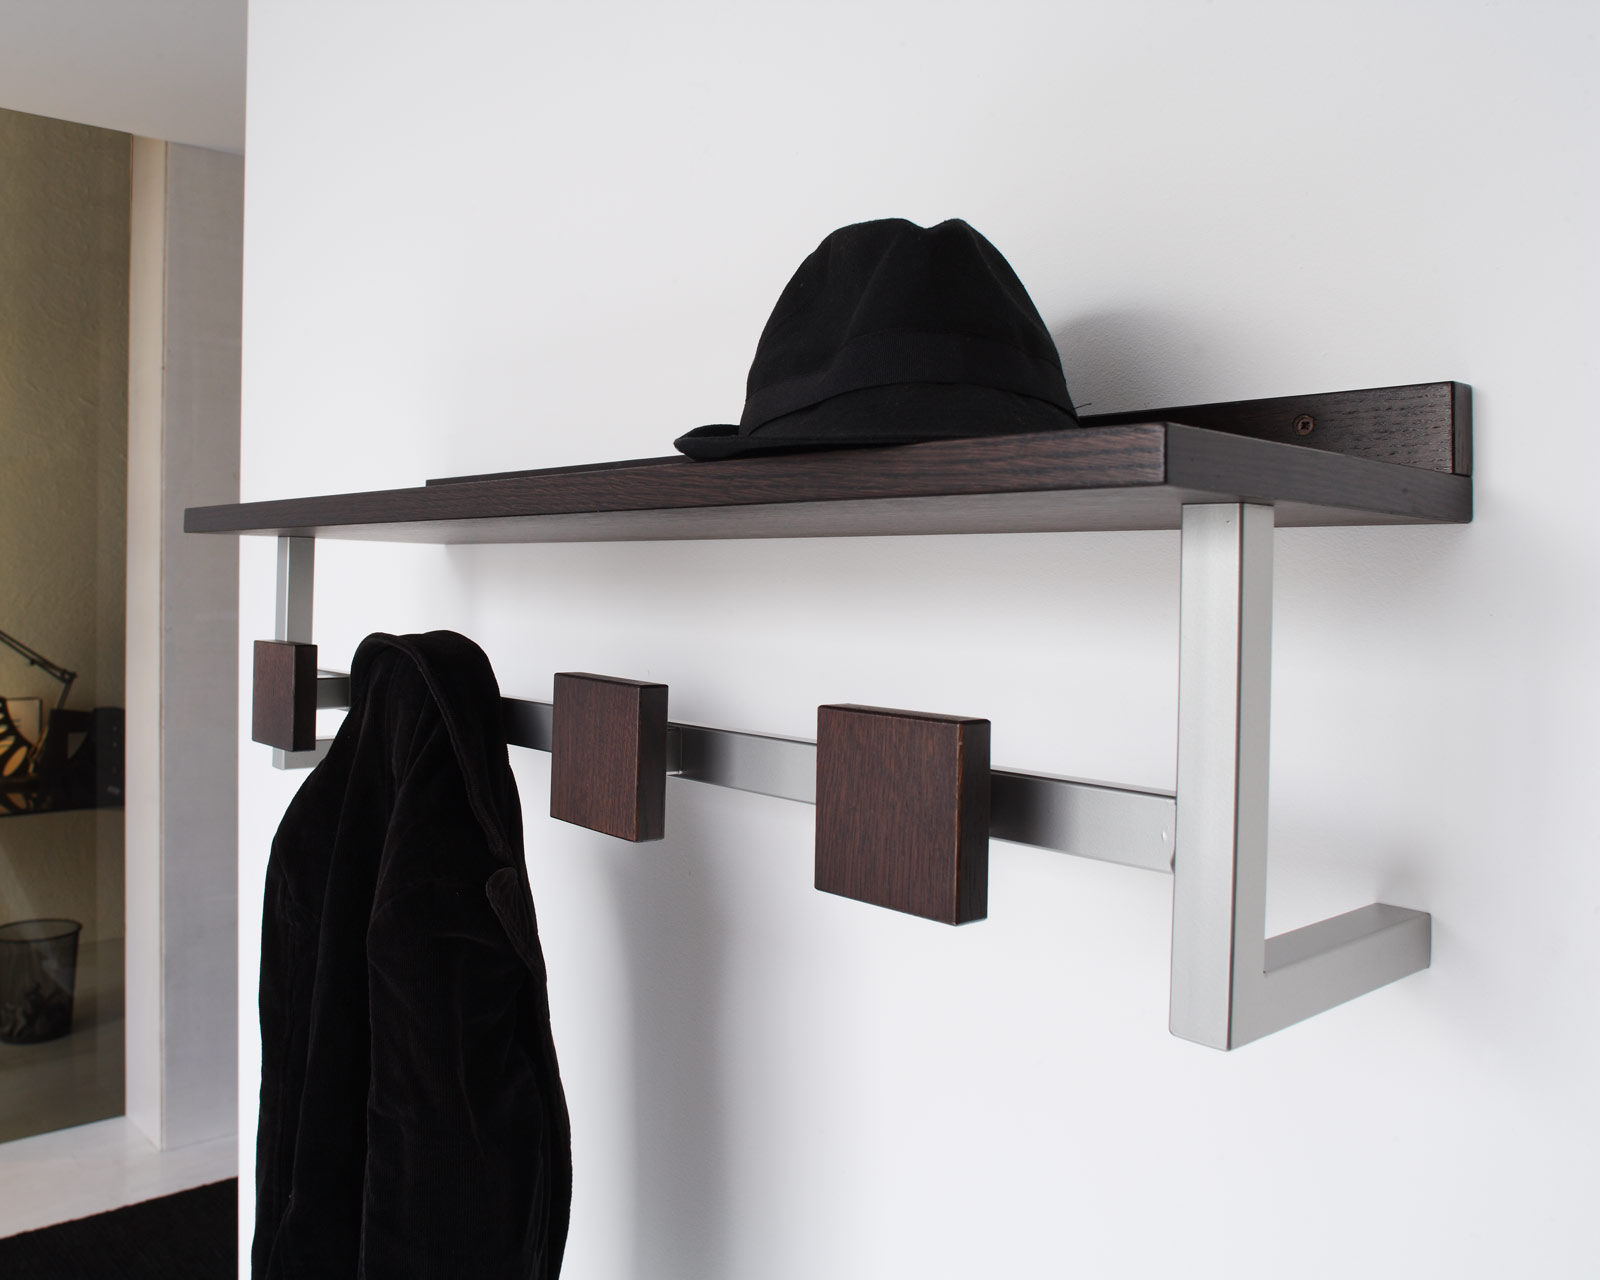
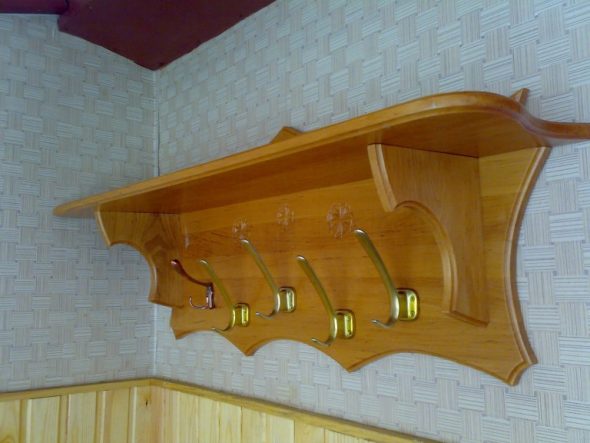
The simplest type of hanger is a wooden board with hooks, attached to the wall. It is allowed to have a shelf for hats, side panels located above or below it. The basis of the design can be either a uniform large wooden board, or several smaller ones, fastened together.
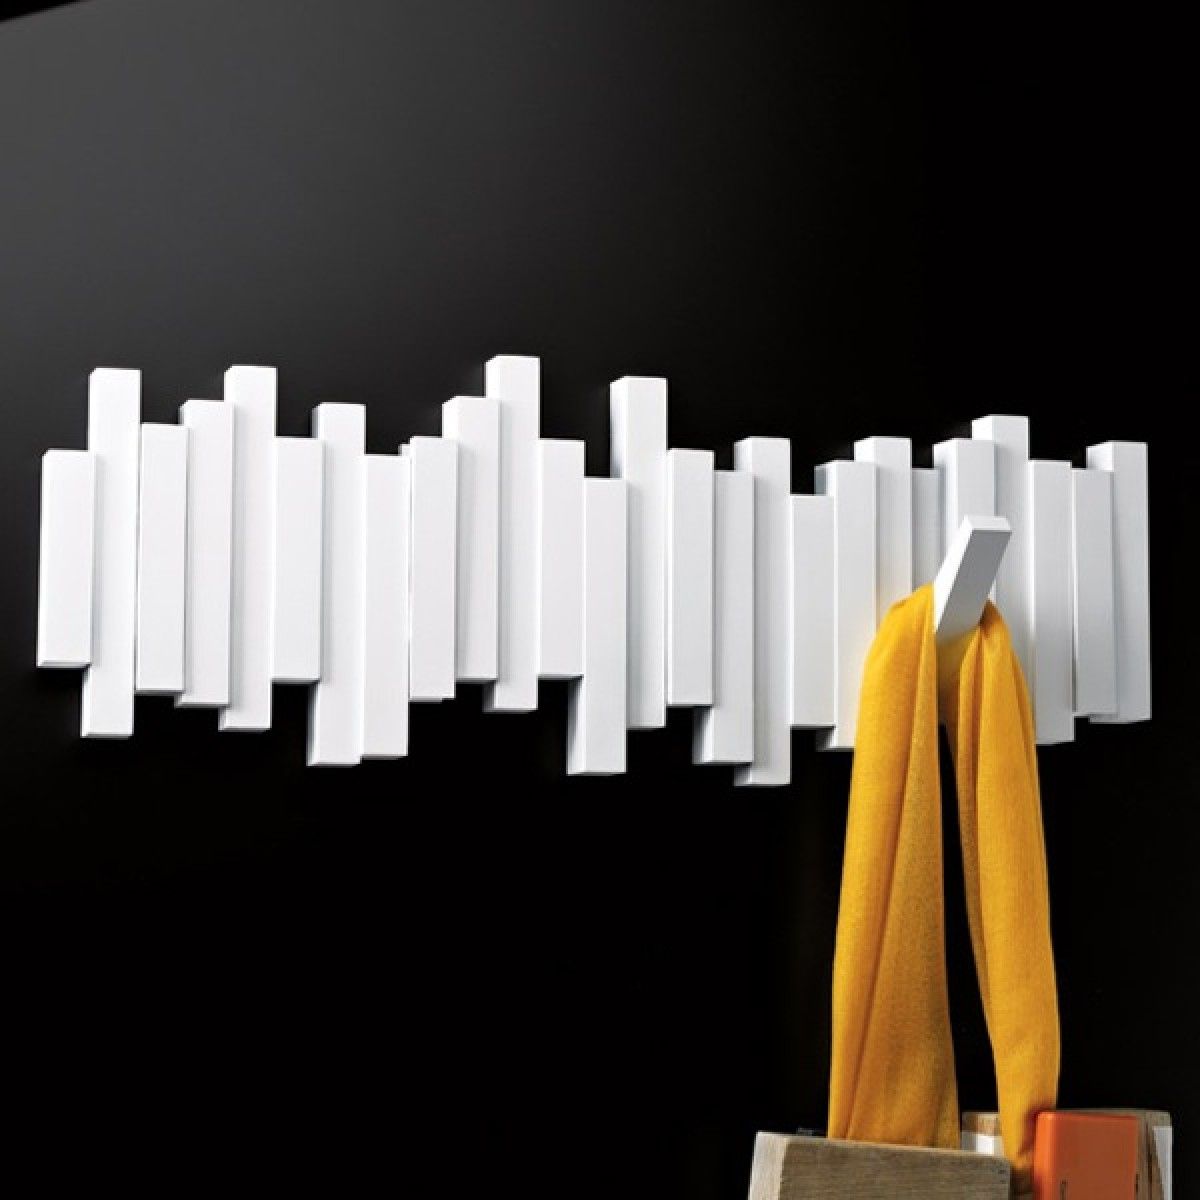
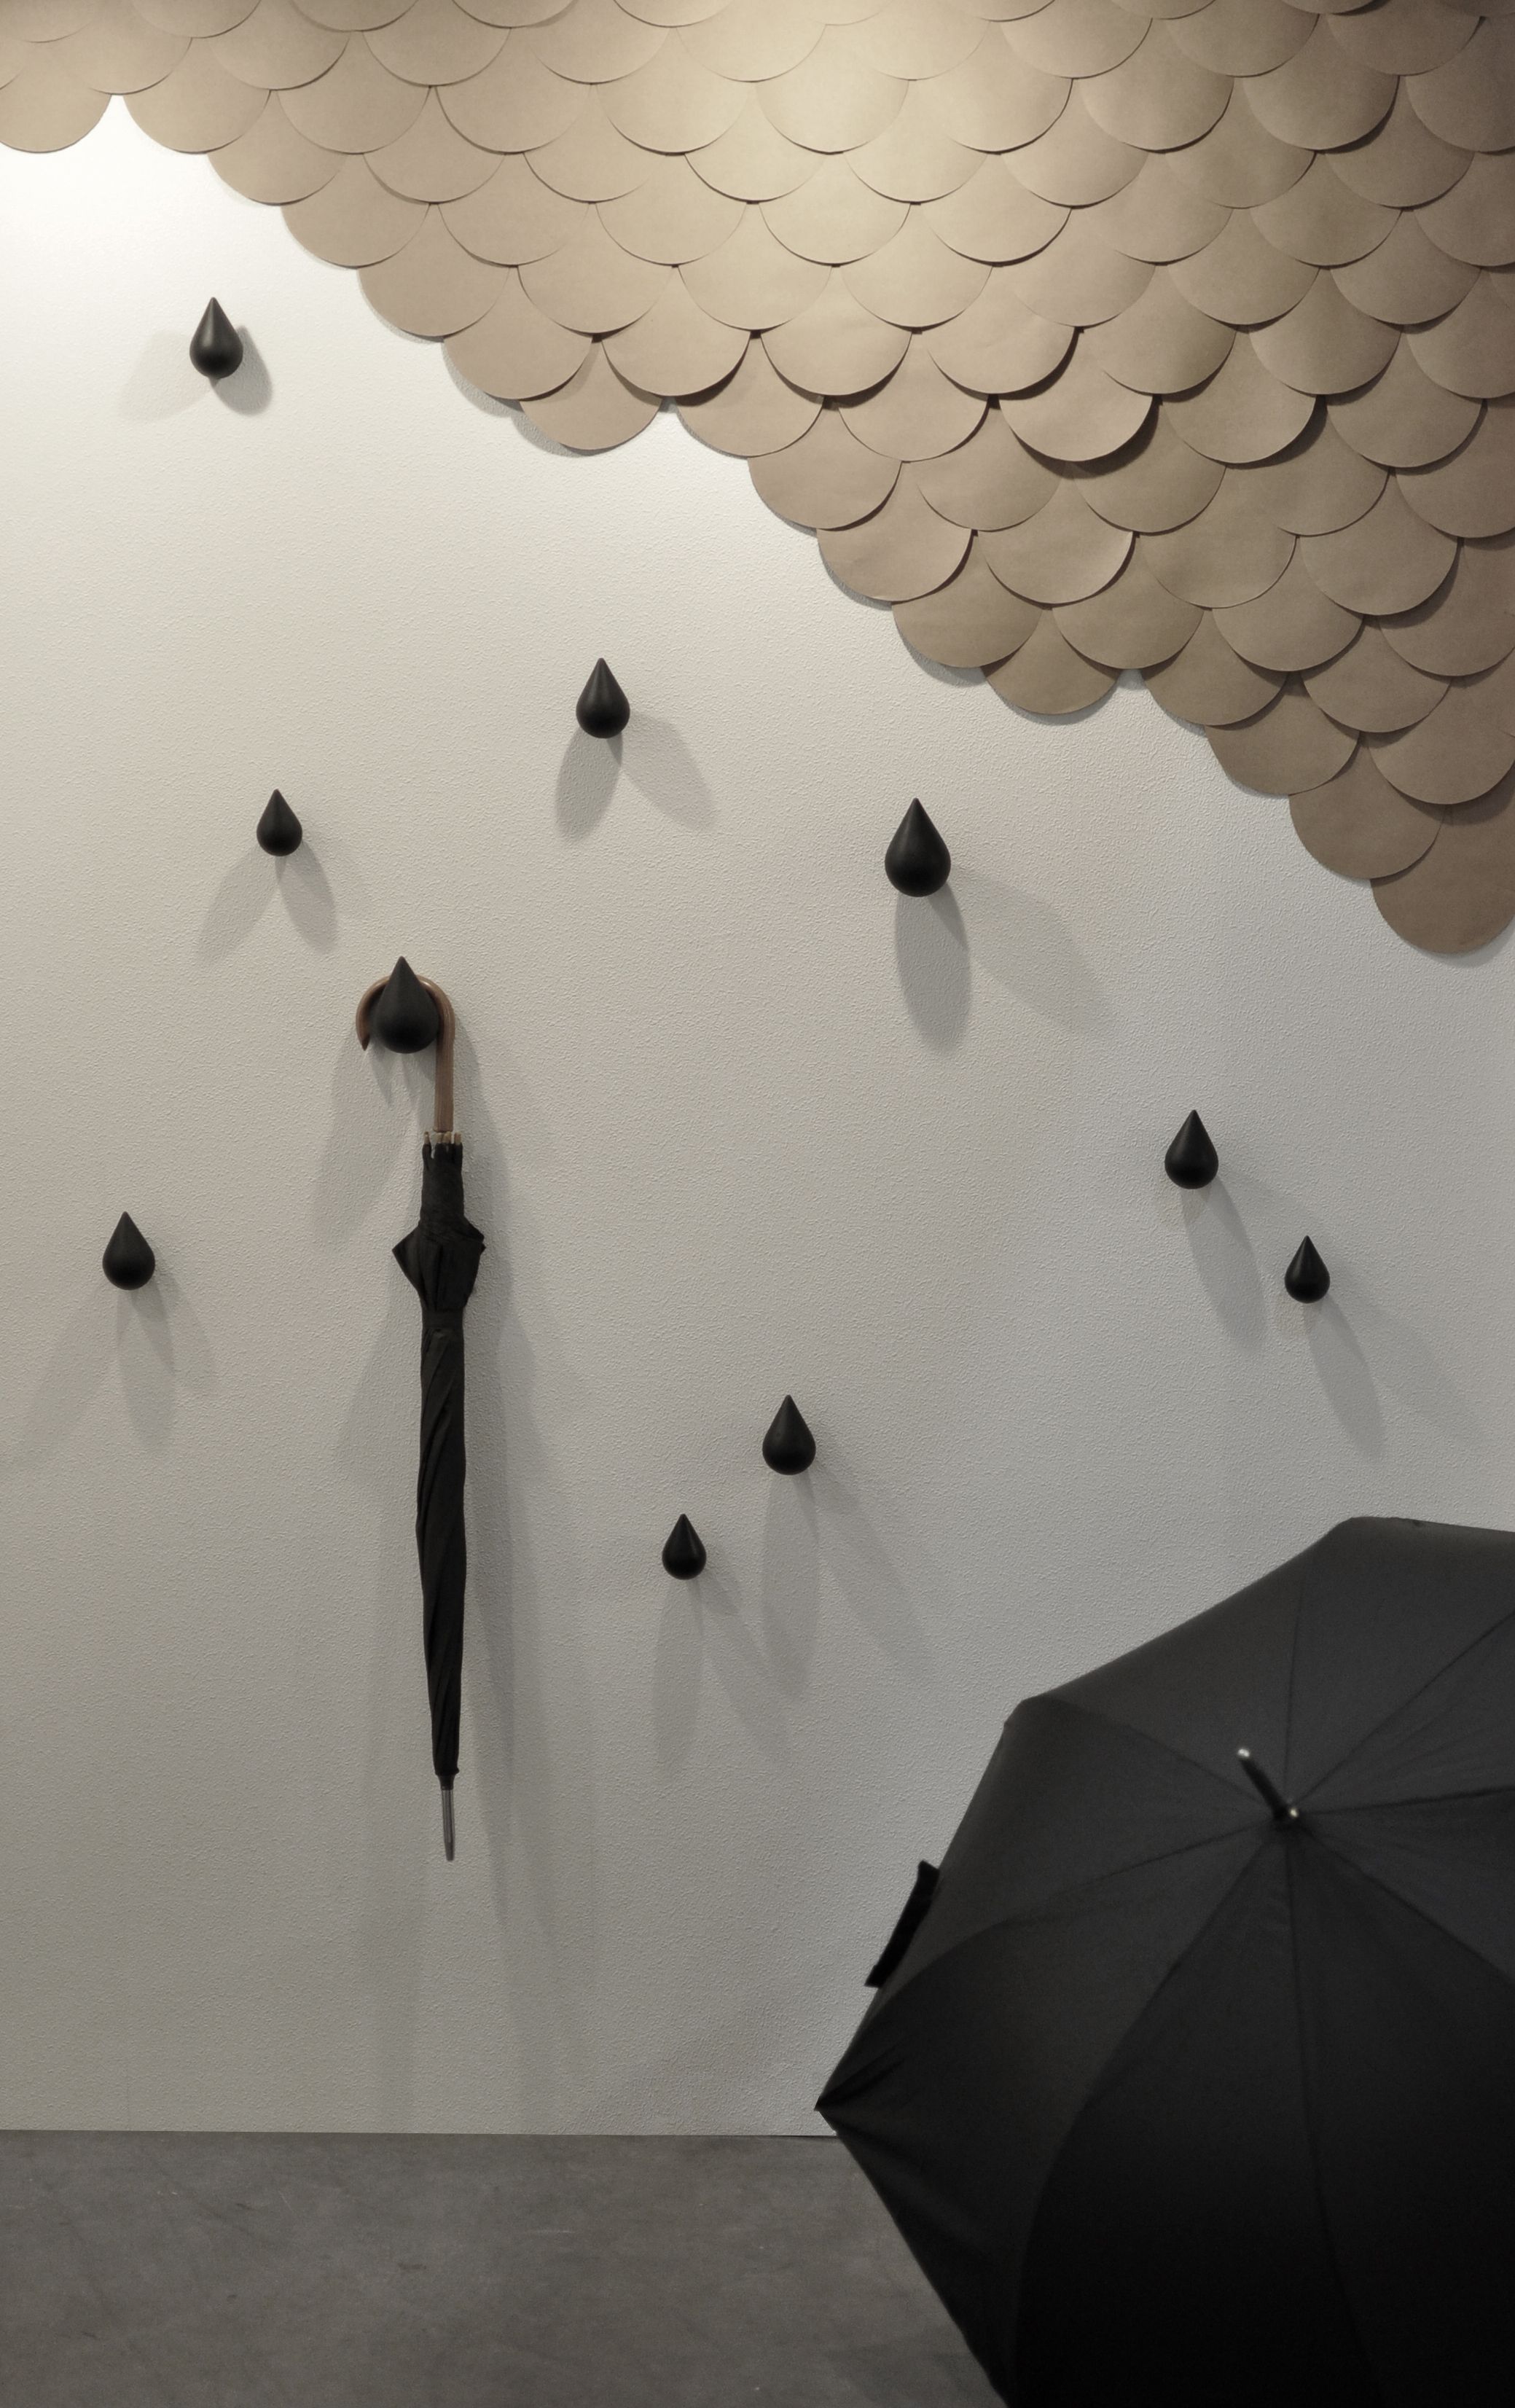
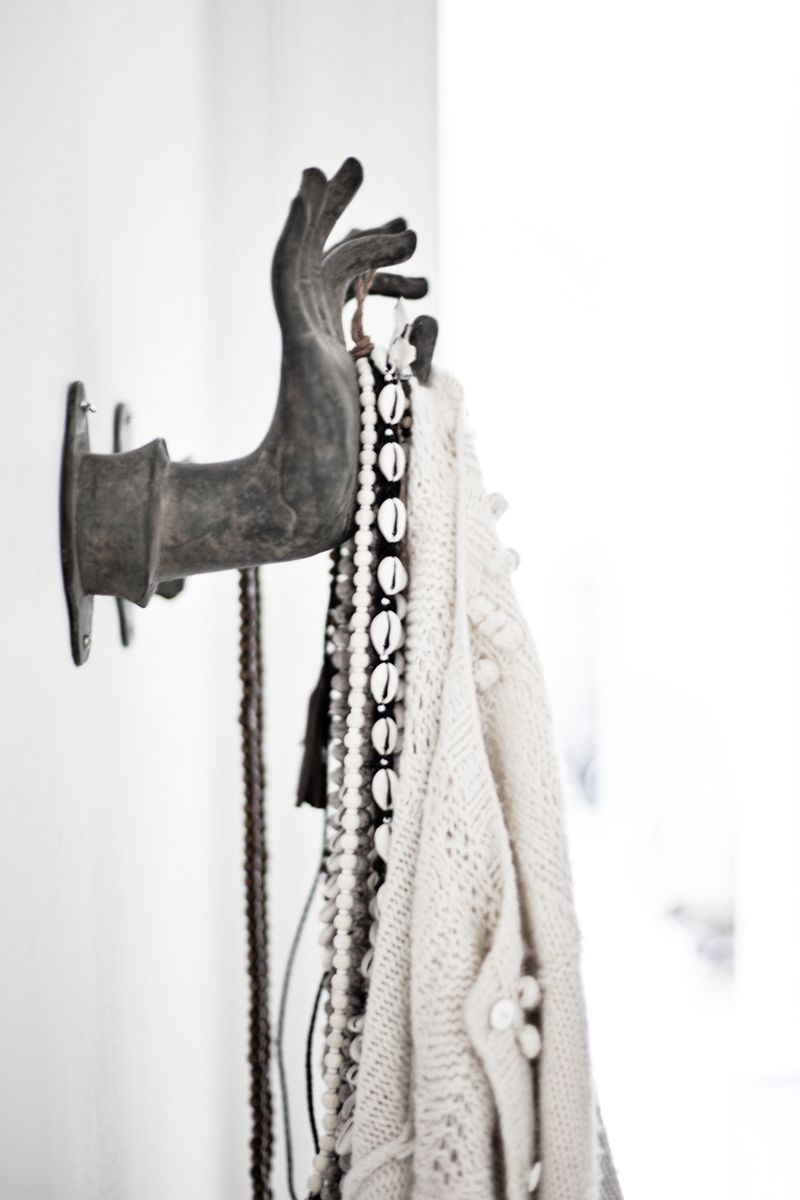
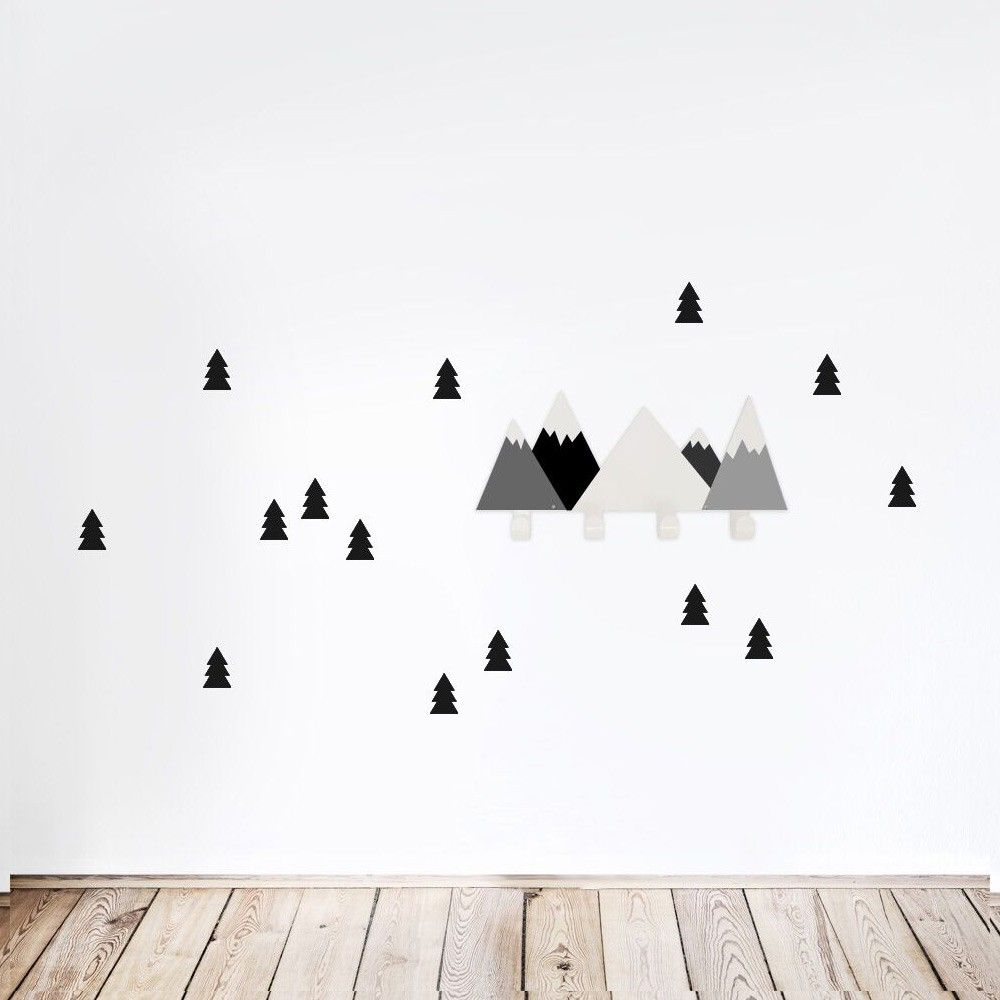
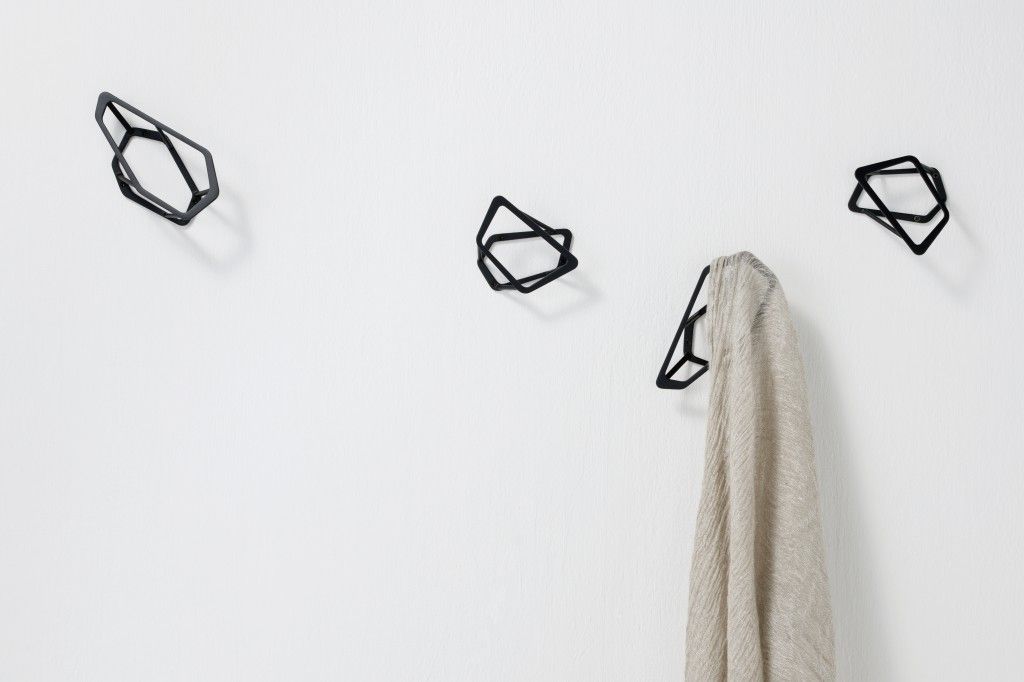
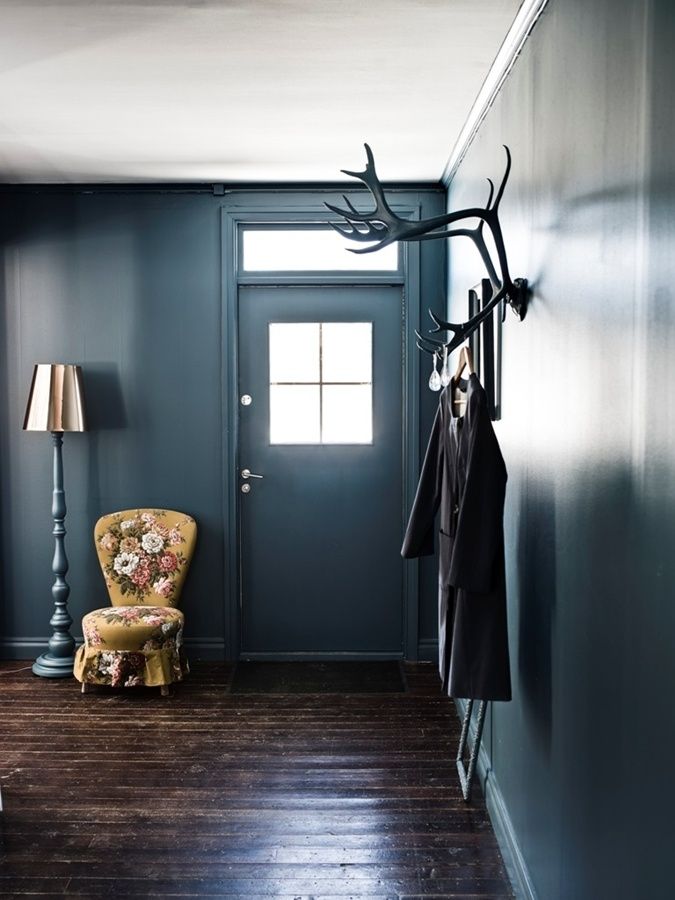
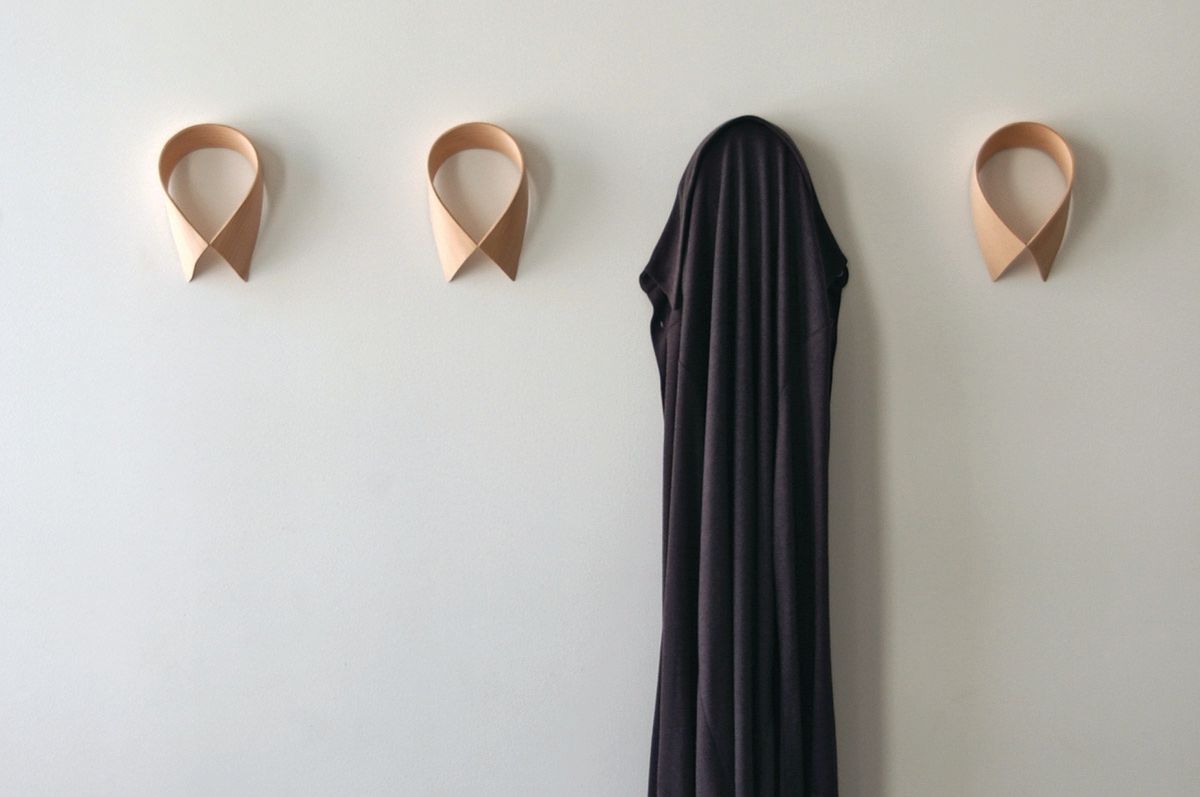
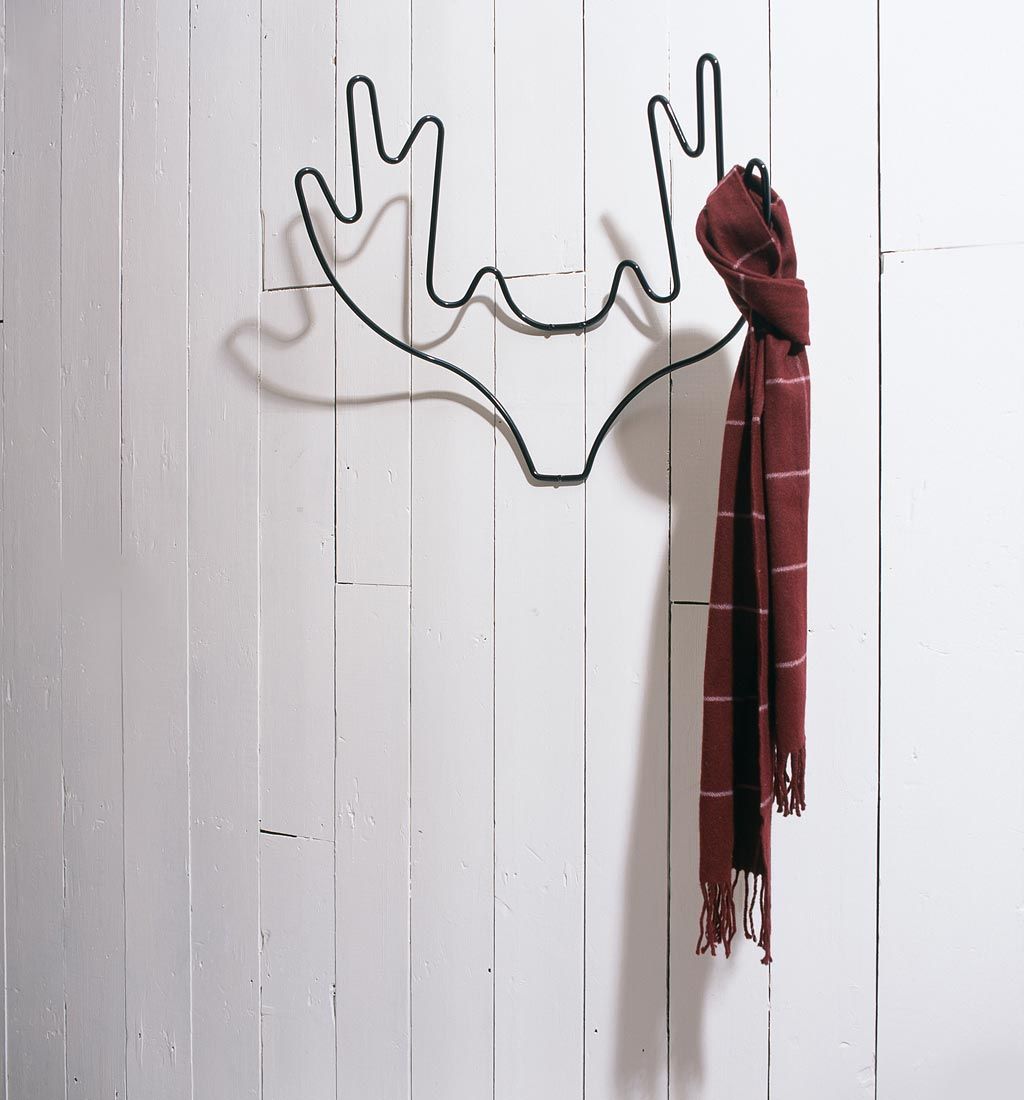
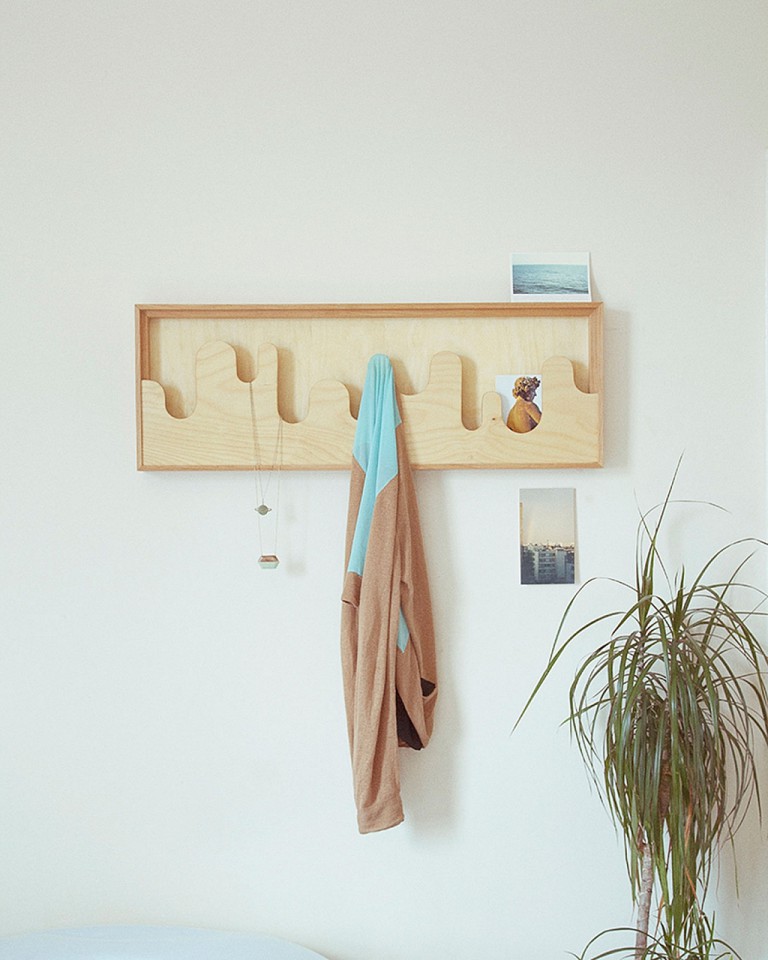
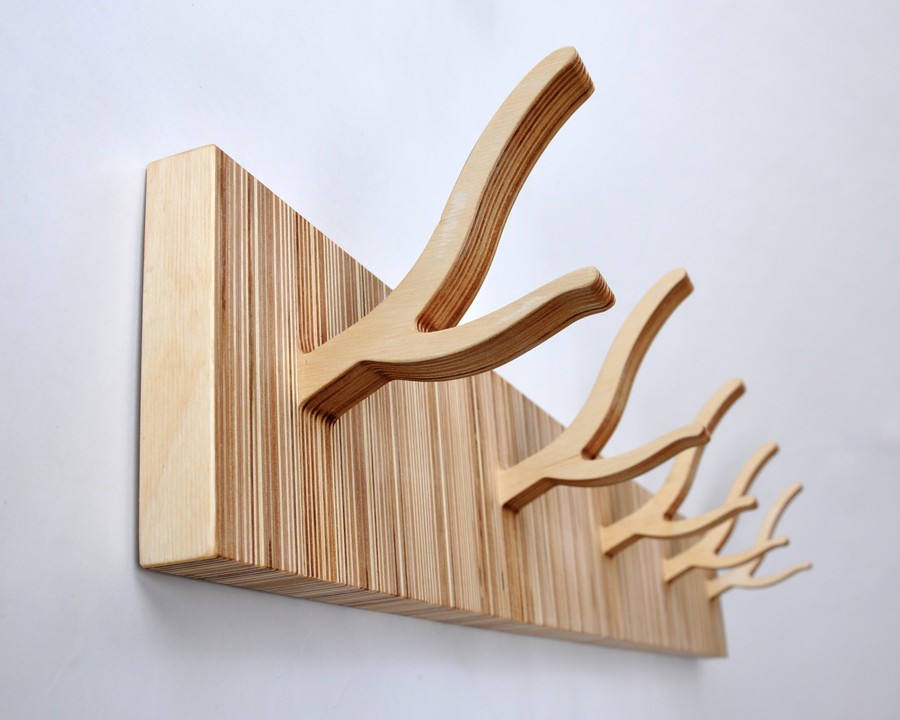
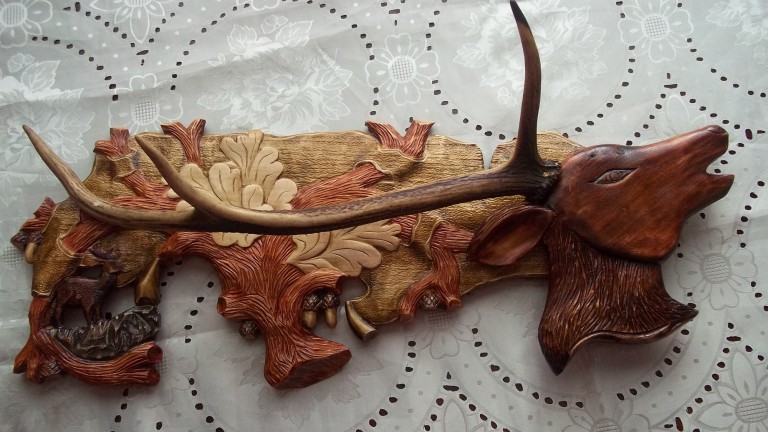
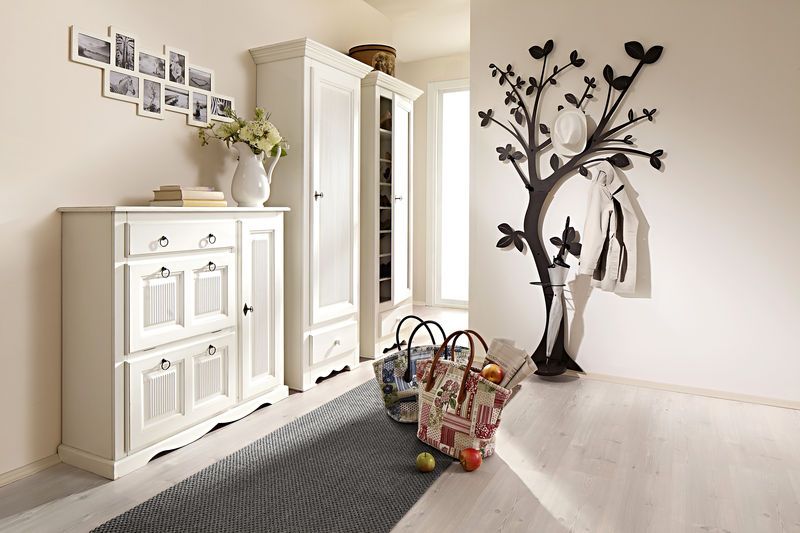
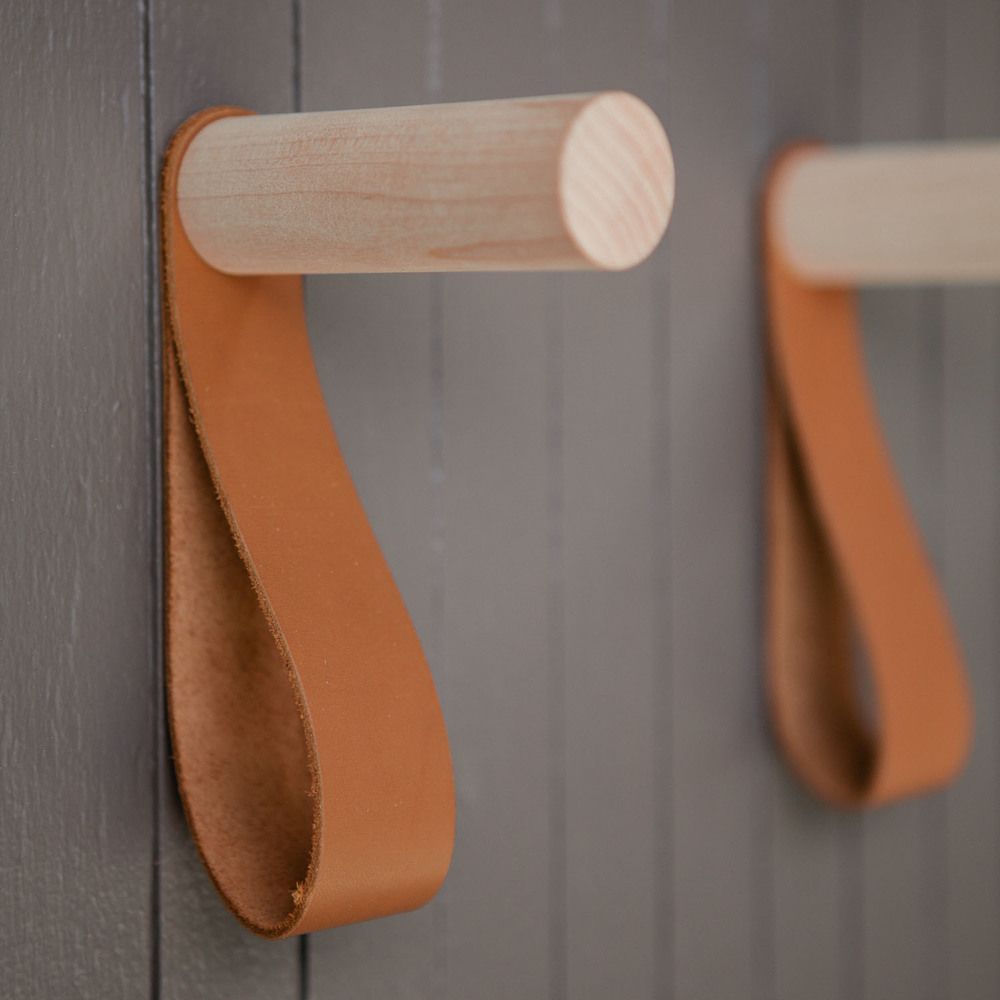
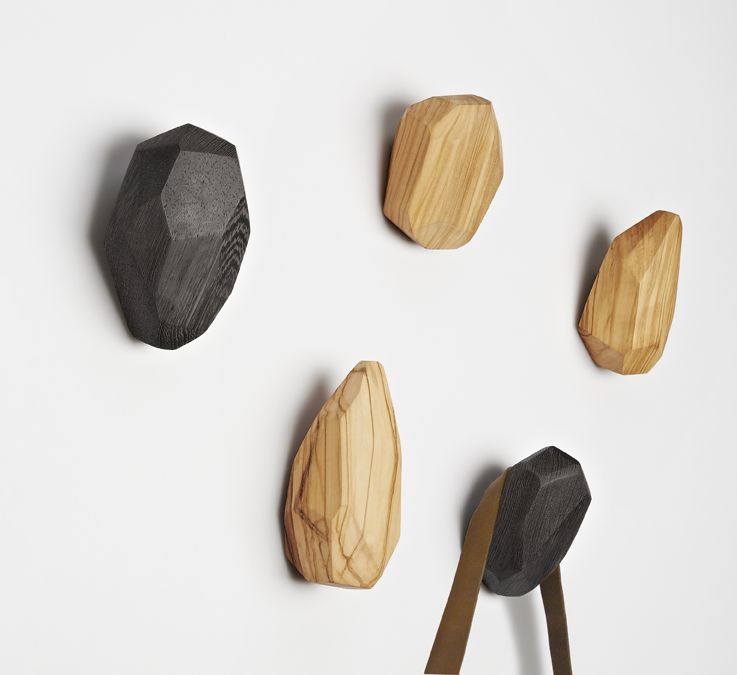
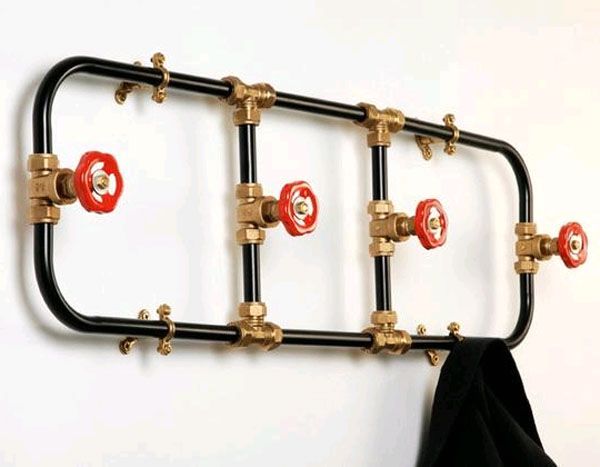
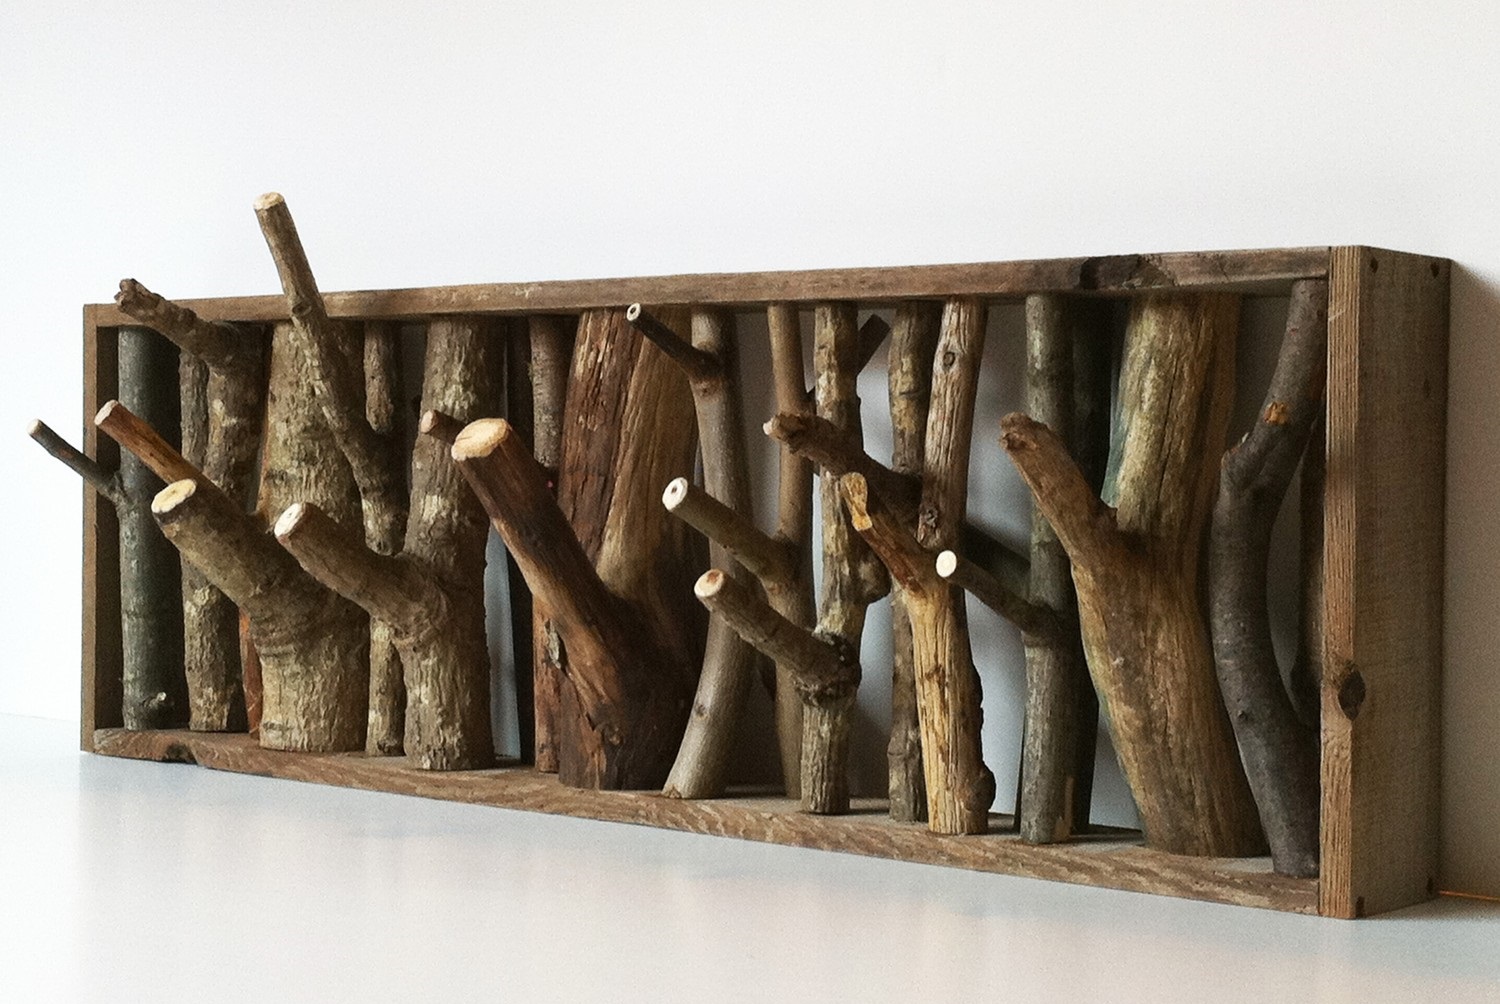
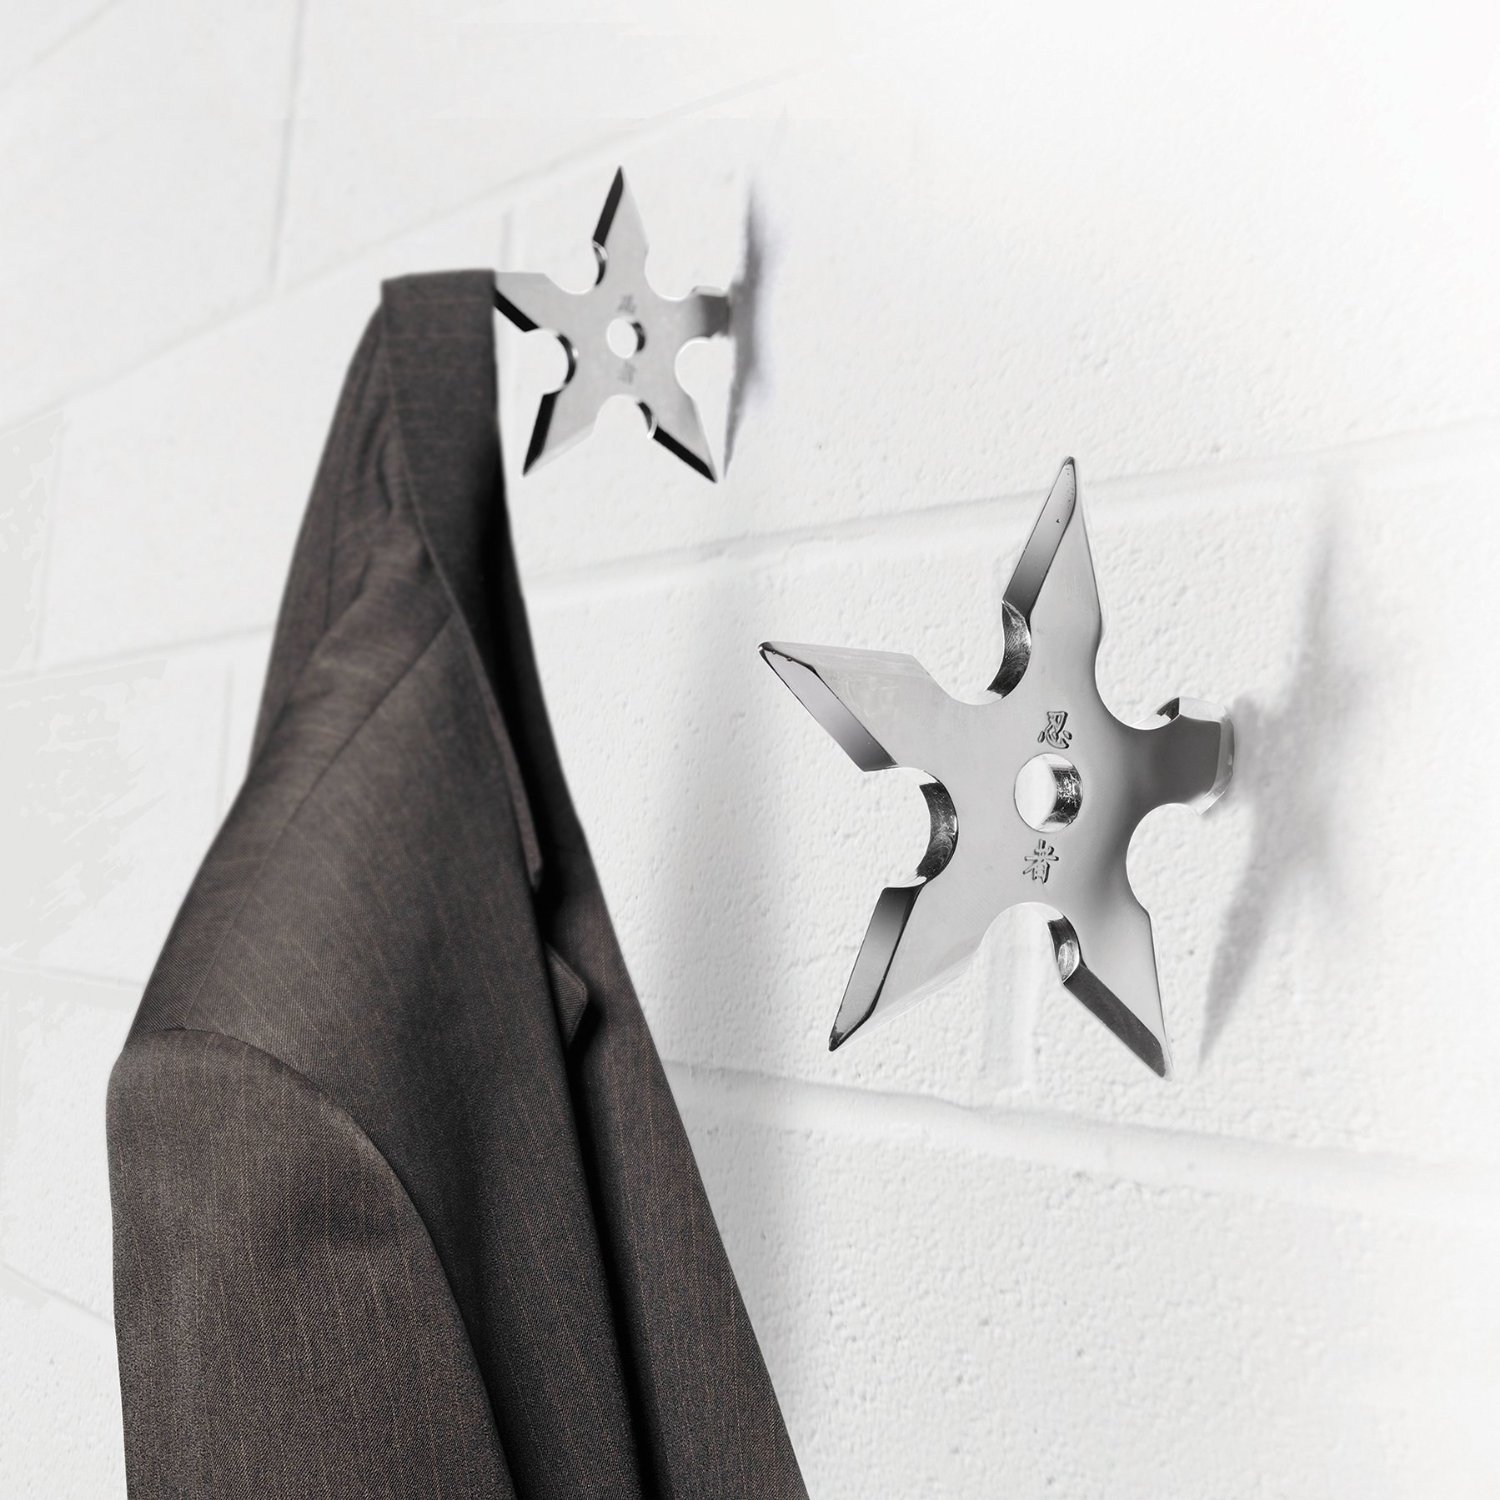
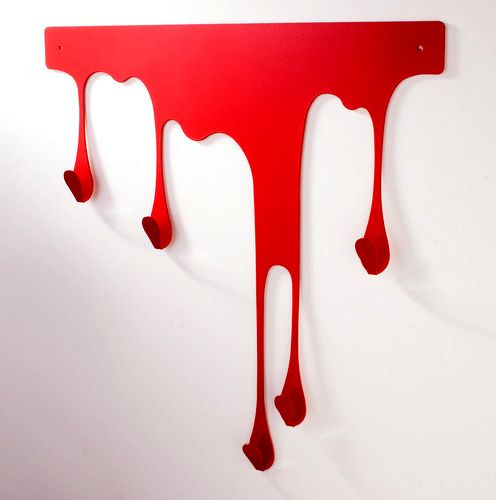
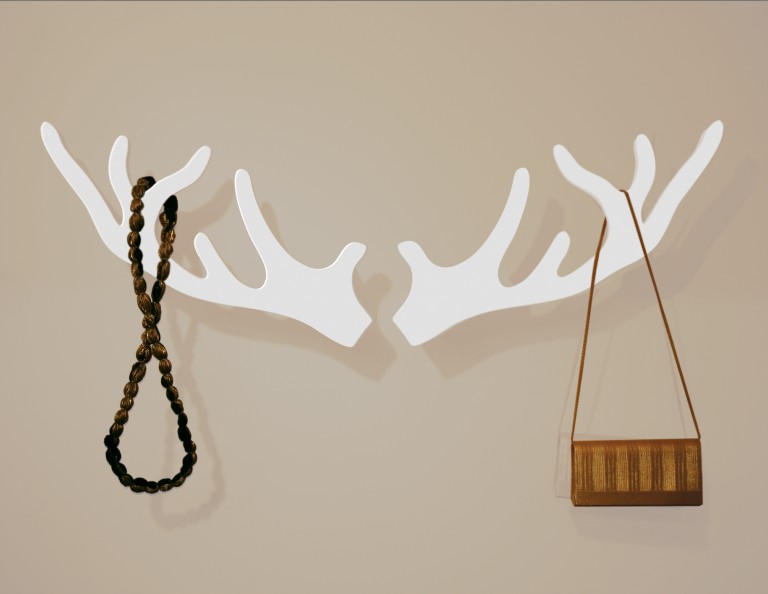
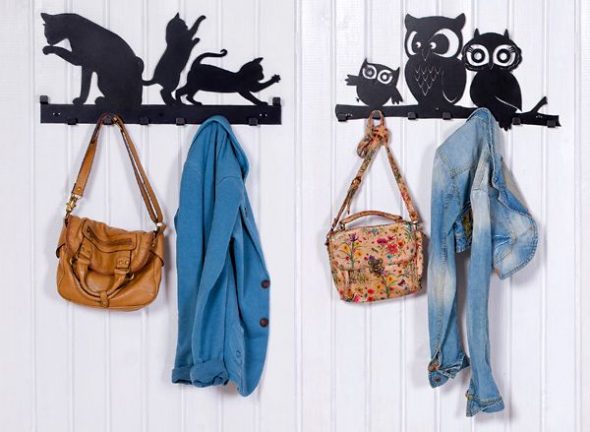
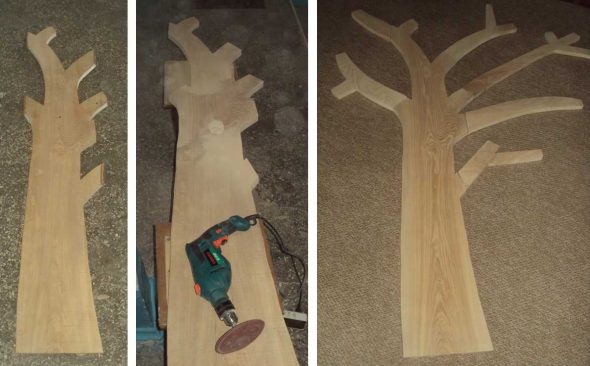
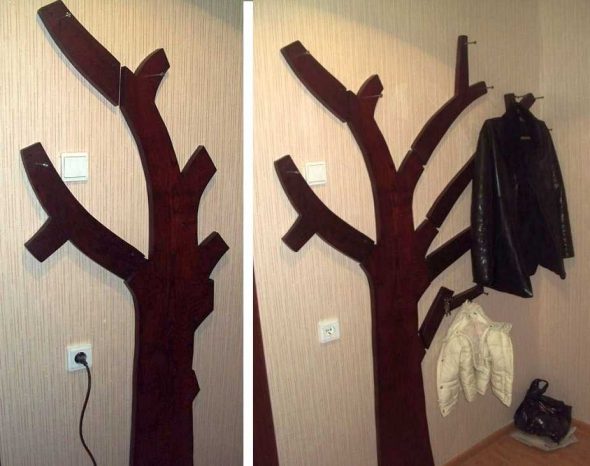
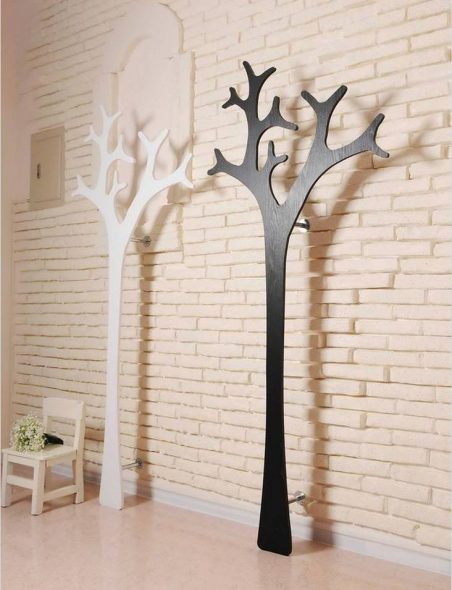
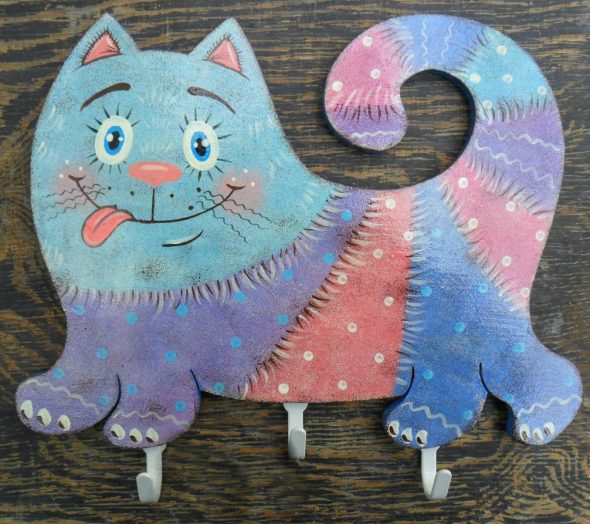
If you want to show your creativity, you can make a non-standard model. For example, you can make a great hanger for a child's room if you create a blank in the shape of a cloud, tree or branch. For a hallway, it would be better to cut out something else: horns, a fence or an inscription.
Materials and tools
Nowadays, almost every hardware store offers the buyer such a wide range of products that it will not be difficult to purchase everything necessary to create a wooden hanger with your own hands in the shortest possible time.
To do this, you should buy or prepare the appropriate tools:
- Jigsaw
- Hacksaw;
- Blowtorch;
- Sandpaper;
- Screwdriver or hammer;
- Awl;
- Pencil;
- Roulette.
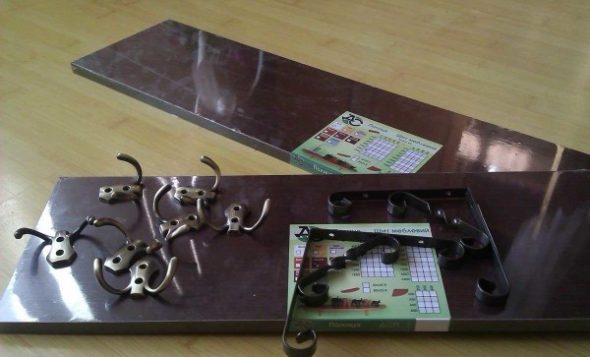
The materials required are:
- A piece of wooden board;
- Screws;
- Hooks.
For decoration:
- Primer;
- Paint brush or roller;
- Varnish or other coating;
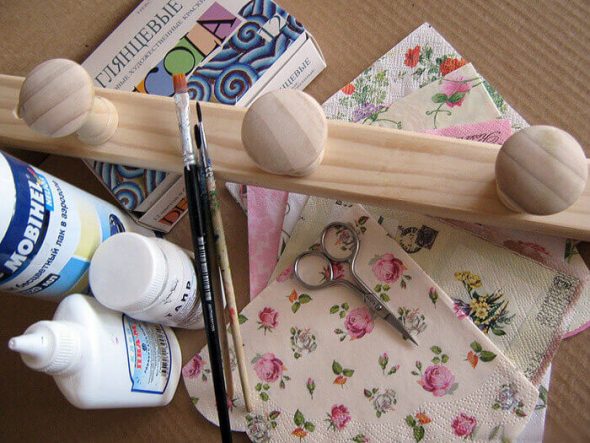
- Blanks for decoupage, scissors, glue, textured sponge.

The process of making a hanger
A classic hanger made with your own hands for the hallway does not require significant efforts. Manufacturing takes a minimum of time. Initially, you need to think through the design in detail, it is recommended to make a drawing on graph paper and calculate the consumption of materials.
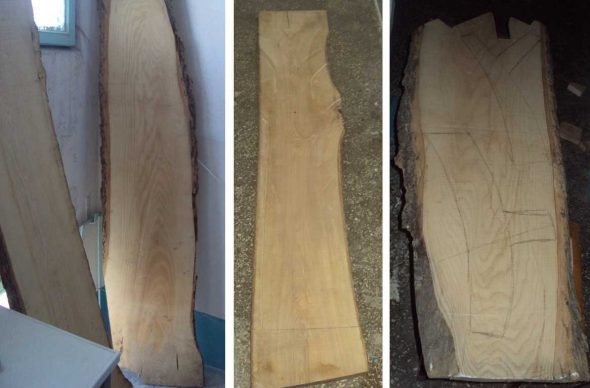
Then you should take out a wooden sheet (or board) and place it on stable supports so that there are a few centimeters between it and the surface of the floor or table. Armed with a jigsaw, cut out the blanks of the required shape, observing the outline. If you want to make the edges relief, you need to go over them with the same tool.
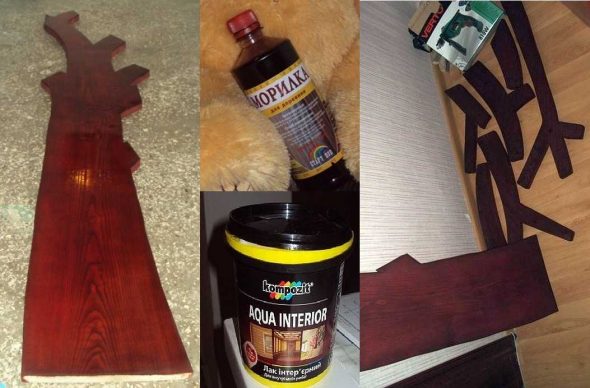
Next step — giving the desired appearance. To burn the boards, you will need a blowtorch, which can be successfully replaced by a gas burner. At this stage, you need to be careful not to injure your fingers or damage the material. Then you need to get paint or varnish and cover all the cut out parts.
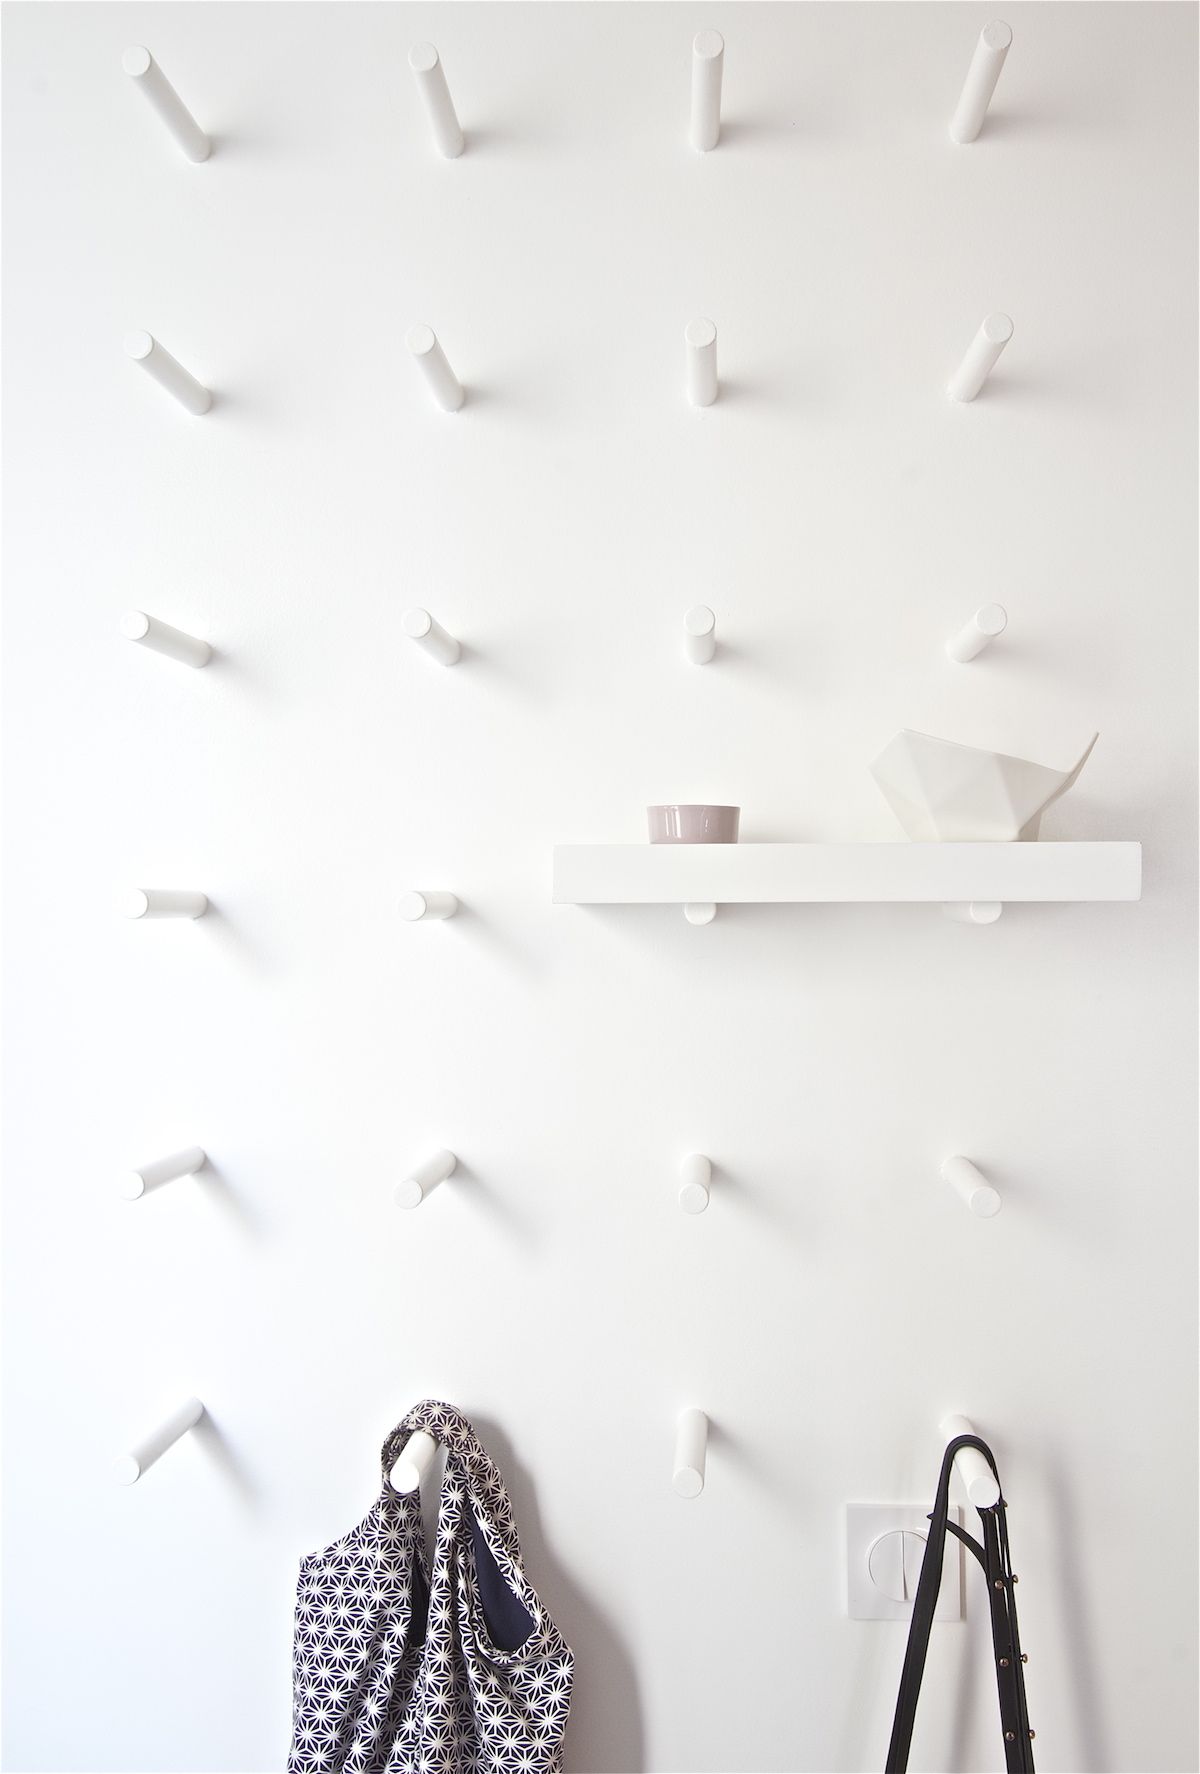
The hanging method involves mounting small round metal strips called "ears". Holes are drilled in them for fastening with dowels and screws. Their reliability is determined by their length.
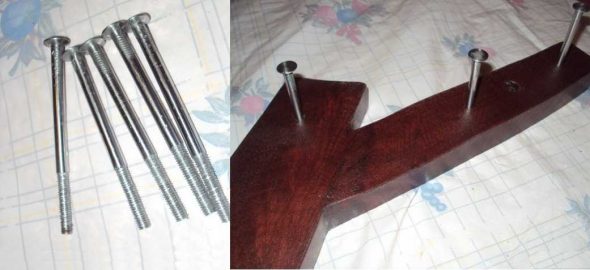
Another, no less popular method is to make through holes. After creating and processing them, screws or nails with a long leg are passed through and the hanger is attached to the wall.
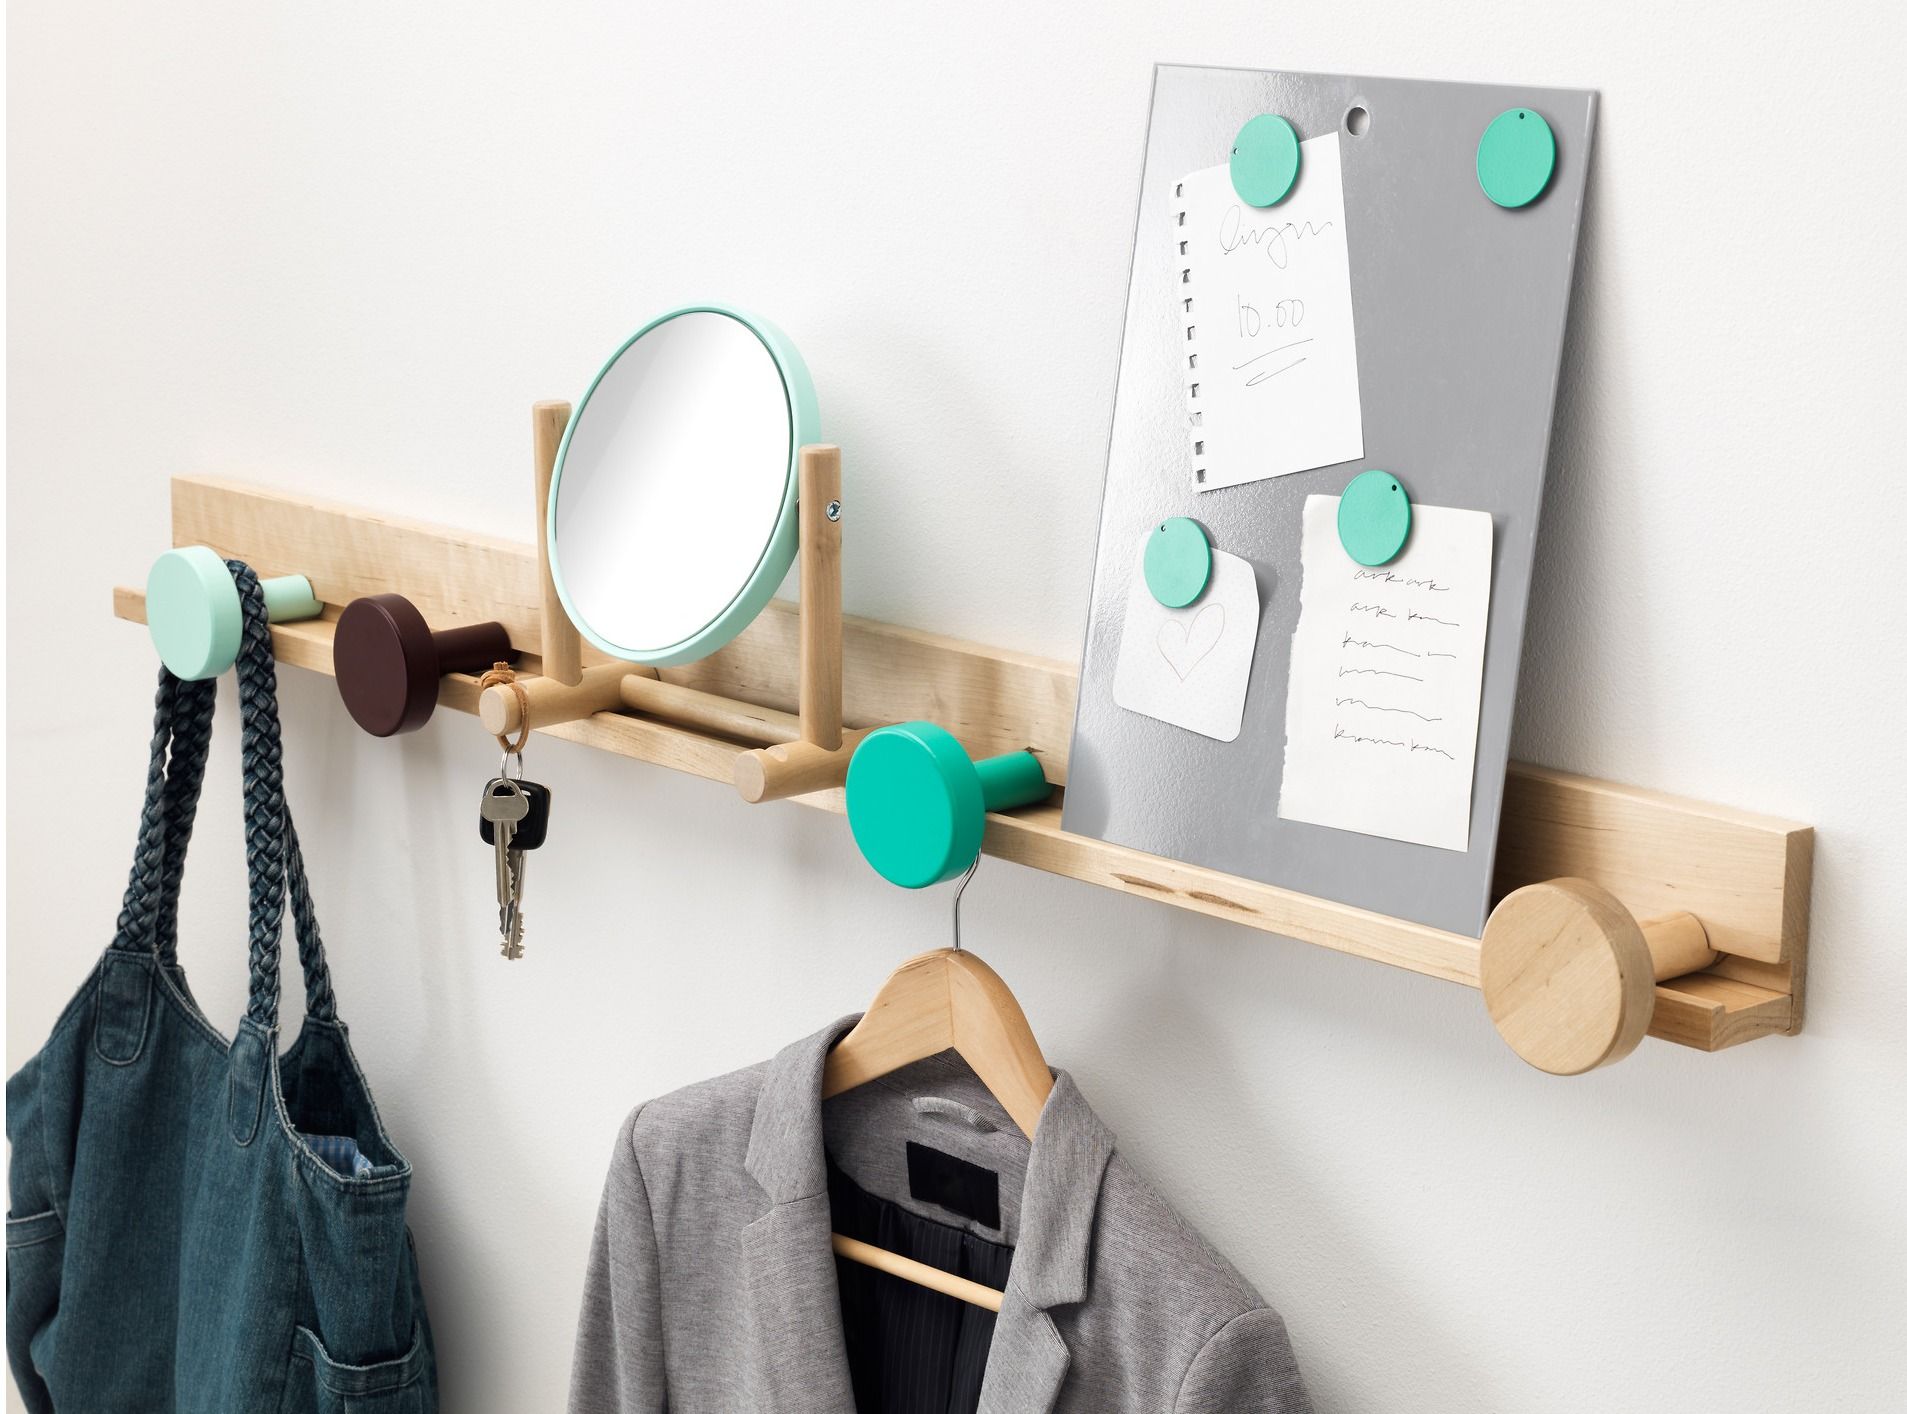
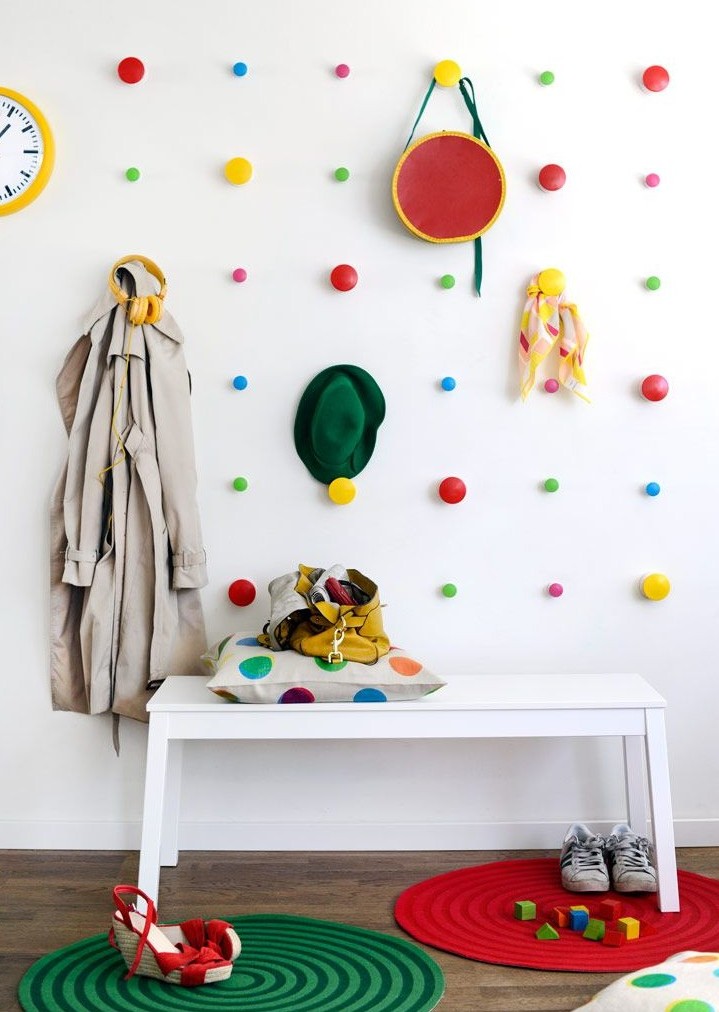
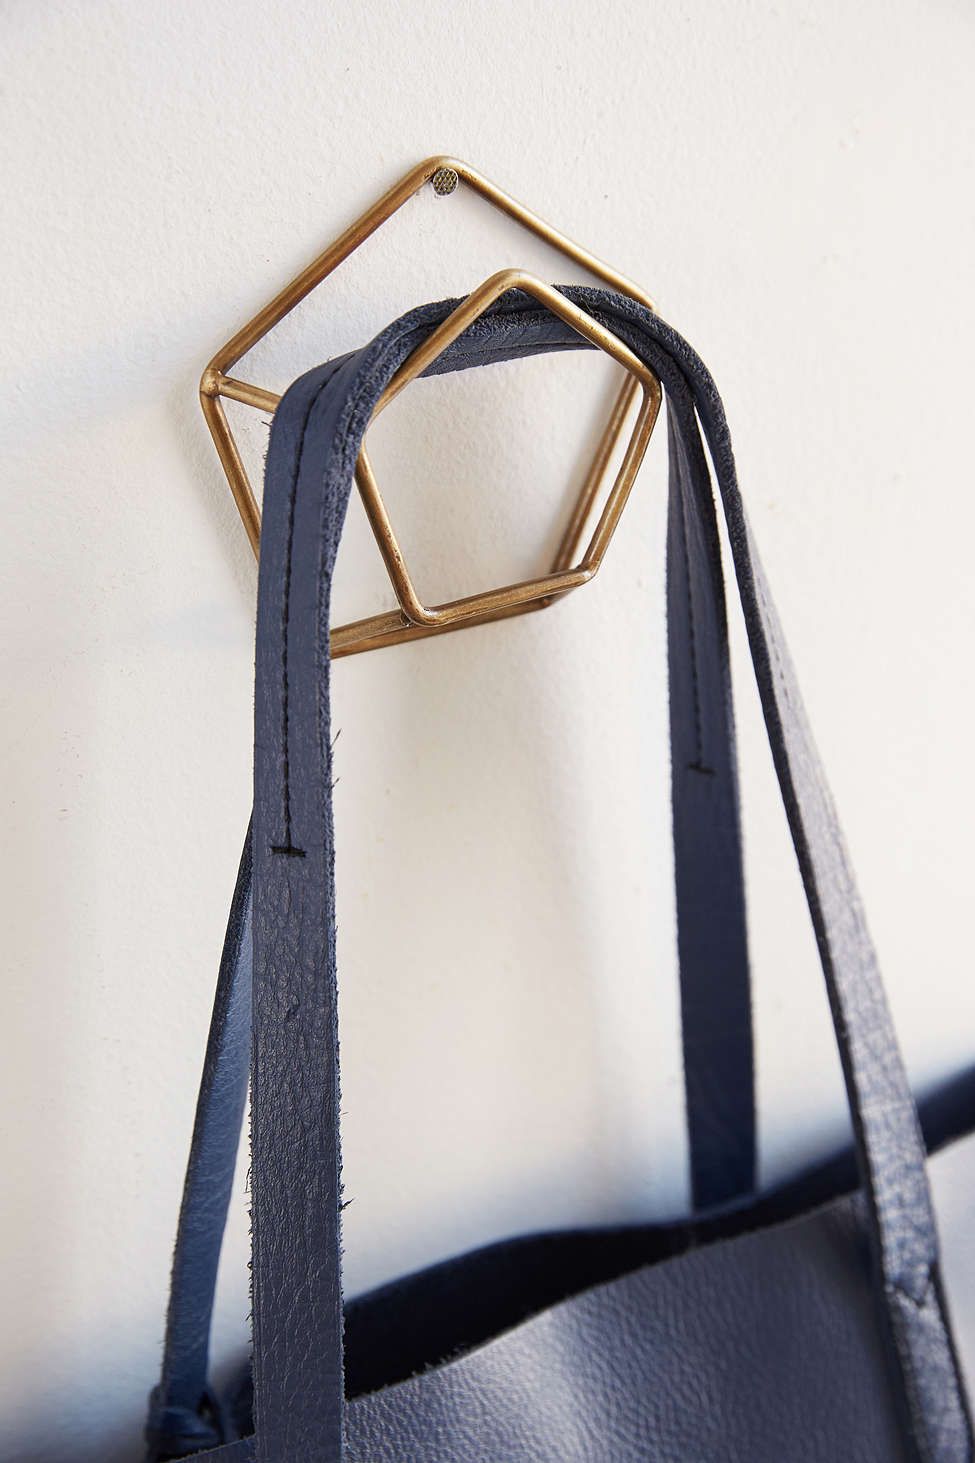
To complete the work, you need to attach metal hangers. They can be placed randomly, in one or several rows.
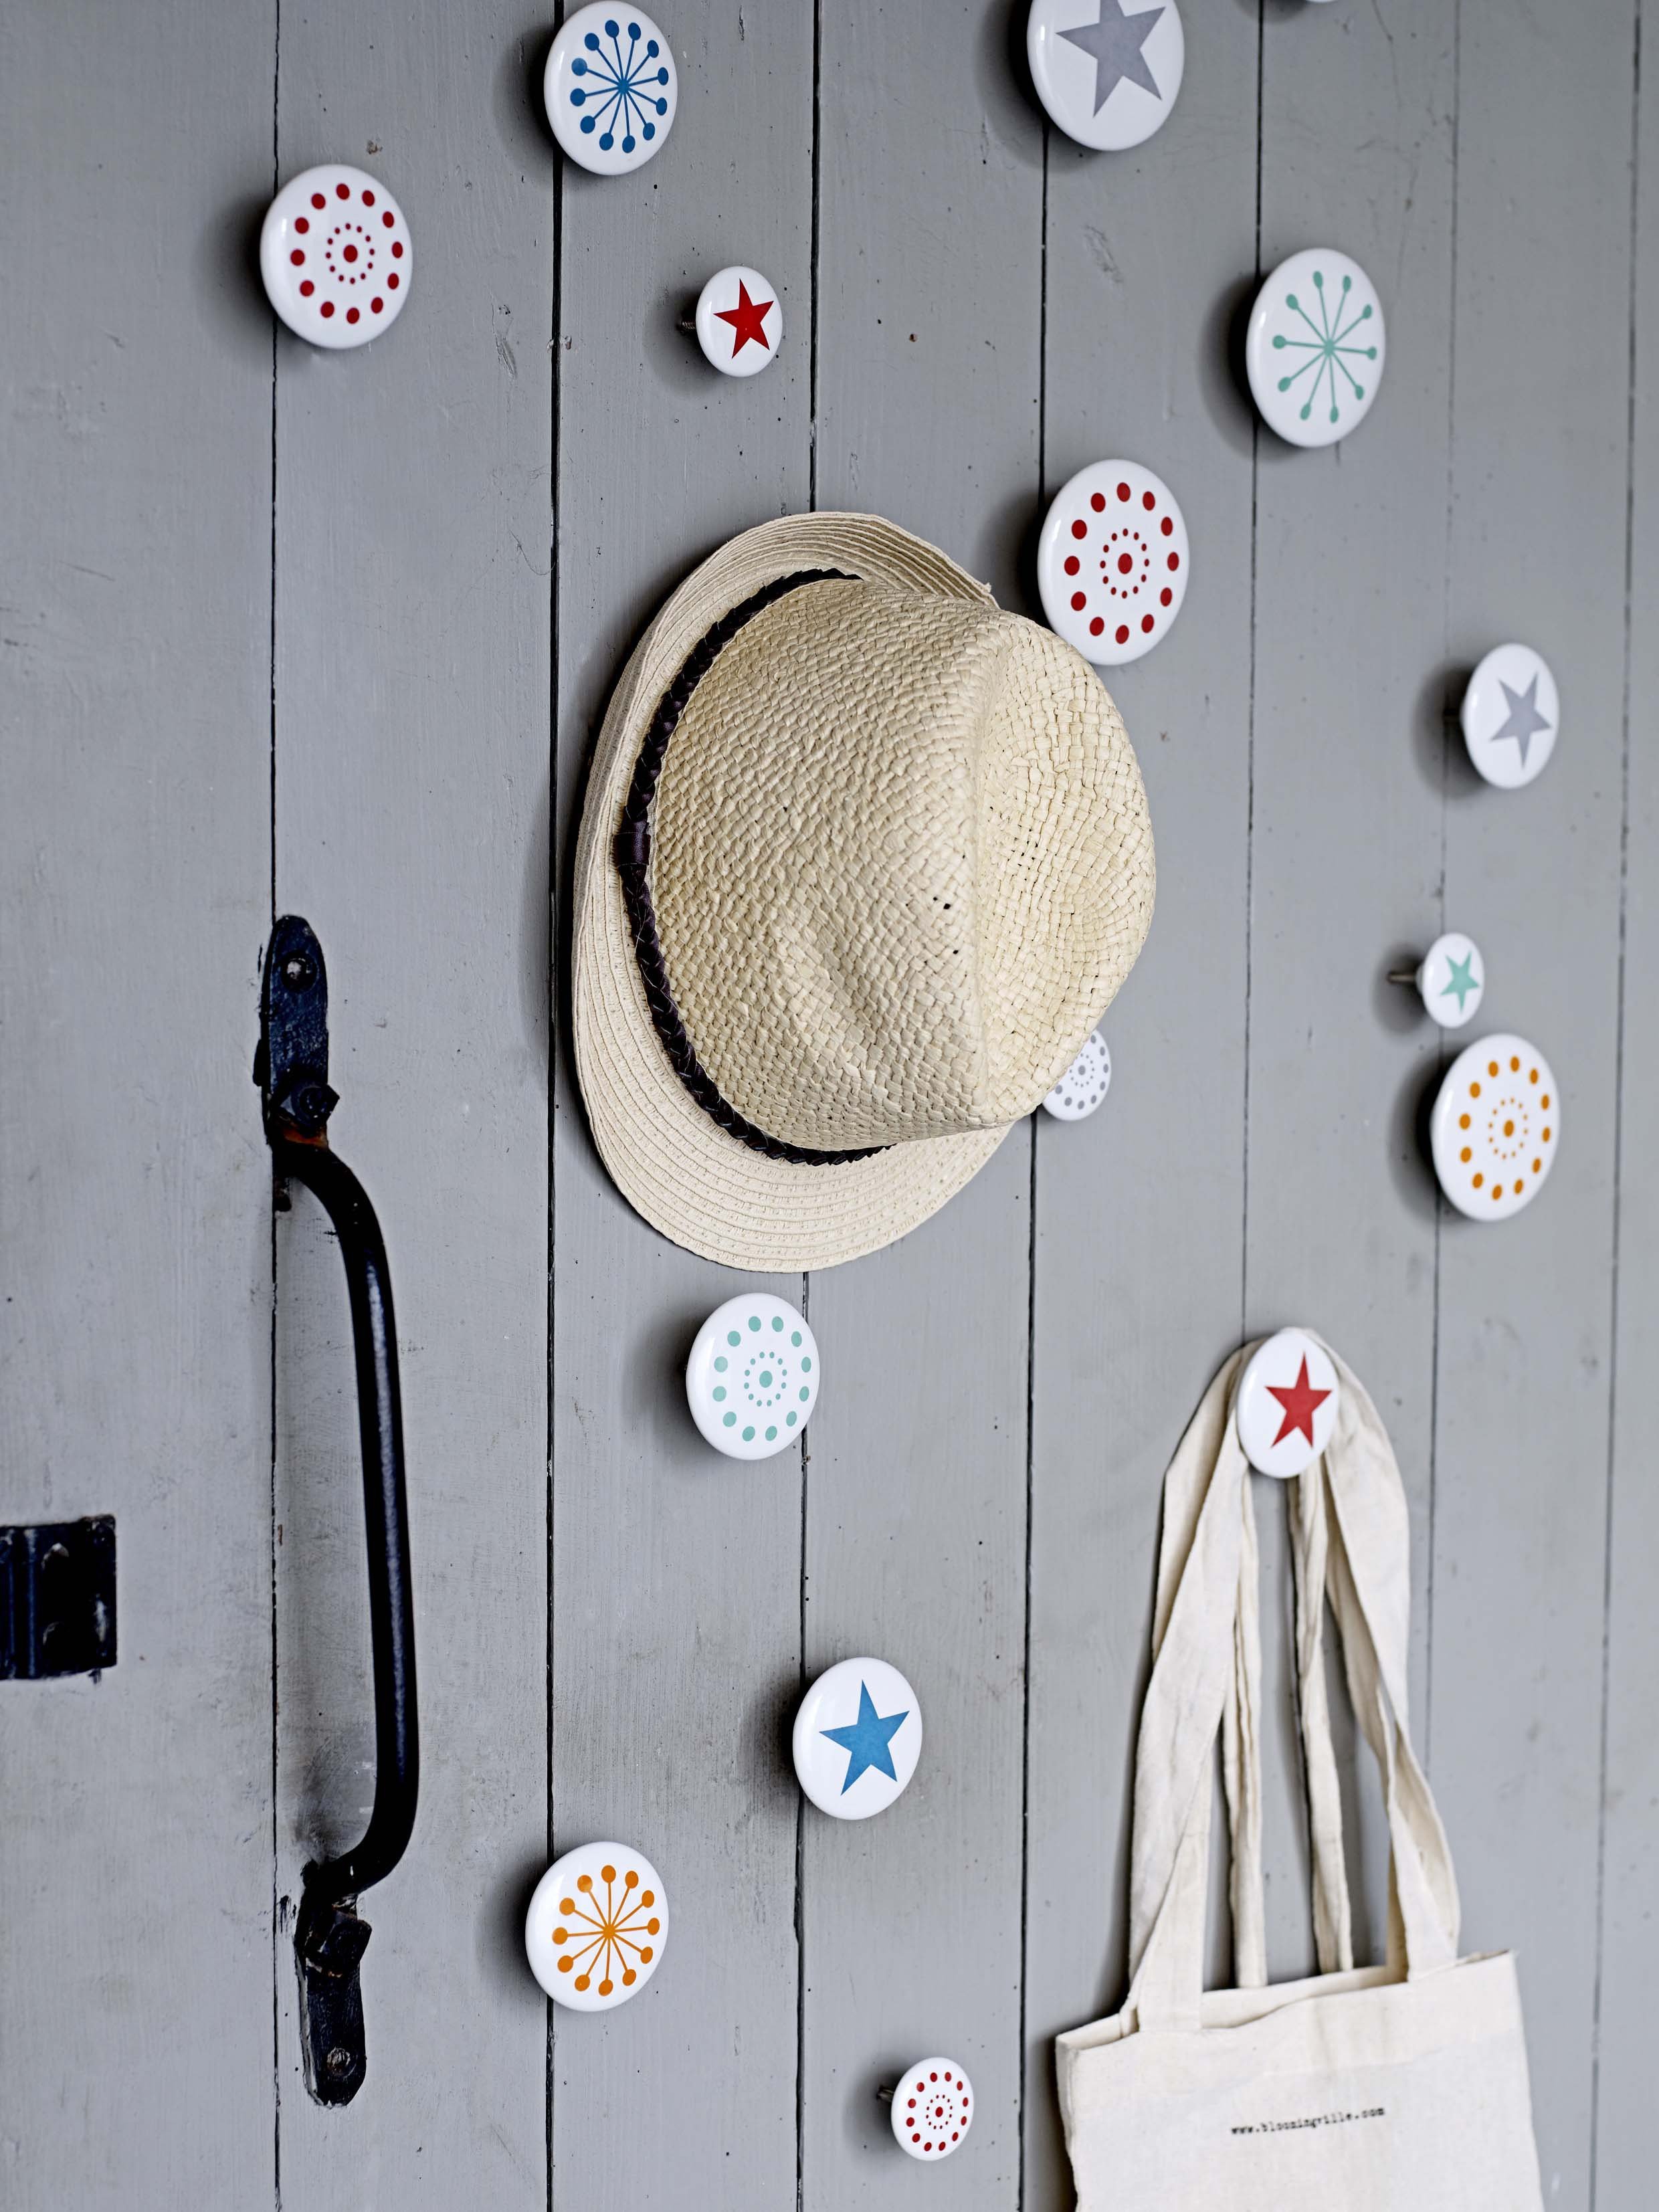
It can be fixed with the following devices:
- "With suction cups";
- Adhesive strip;
- With magnets.
These methods are easy and take little time. However, the fastening is not very reliable and is only suitable for headwear.
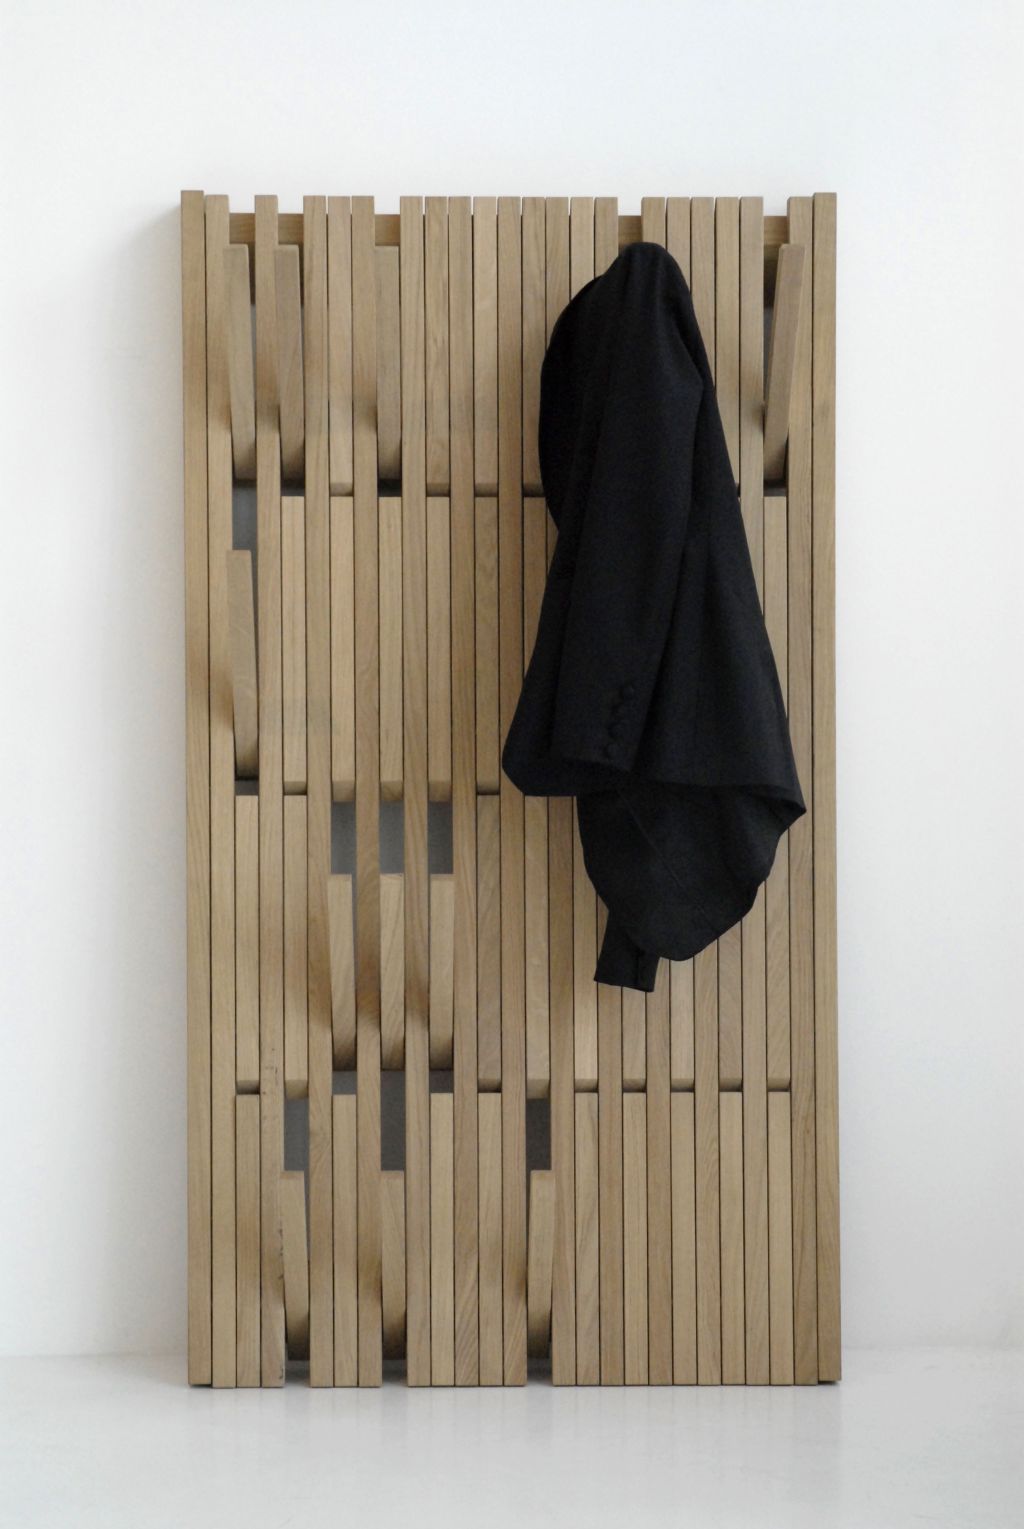
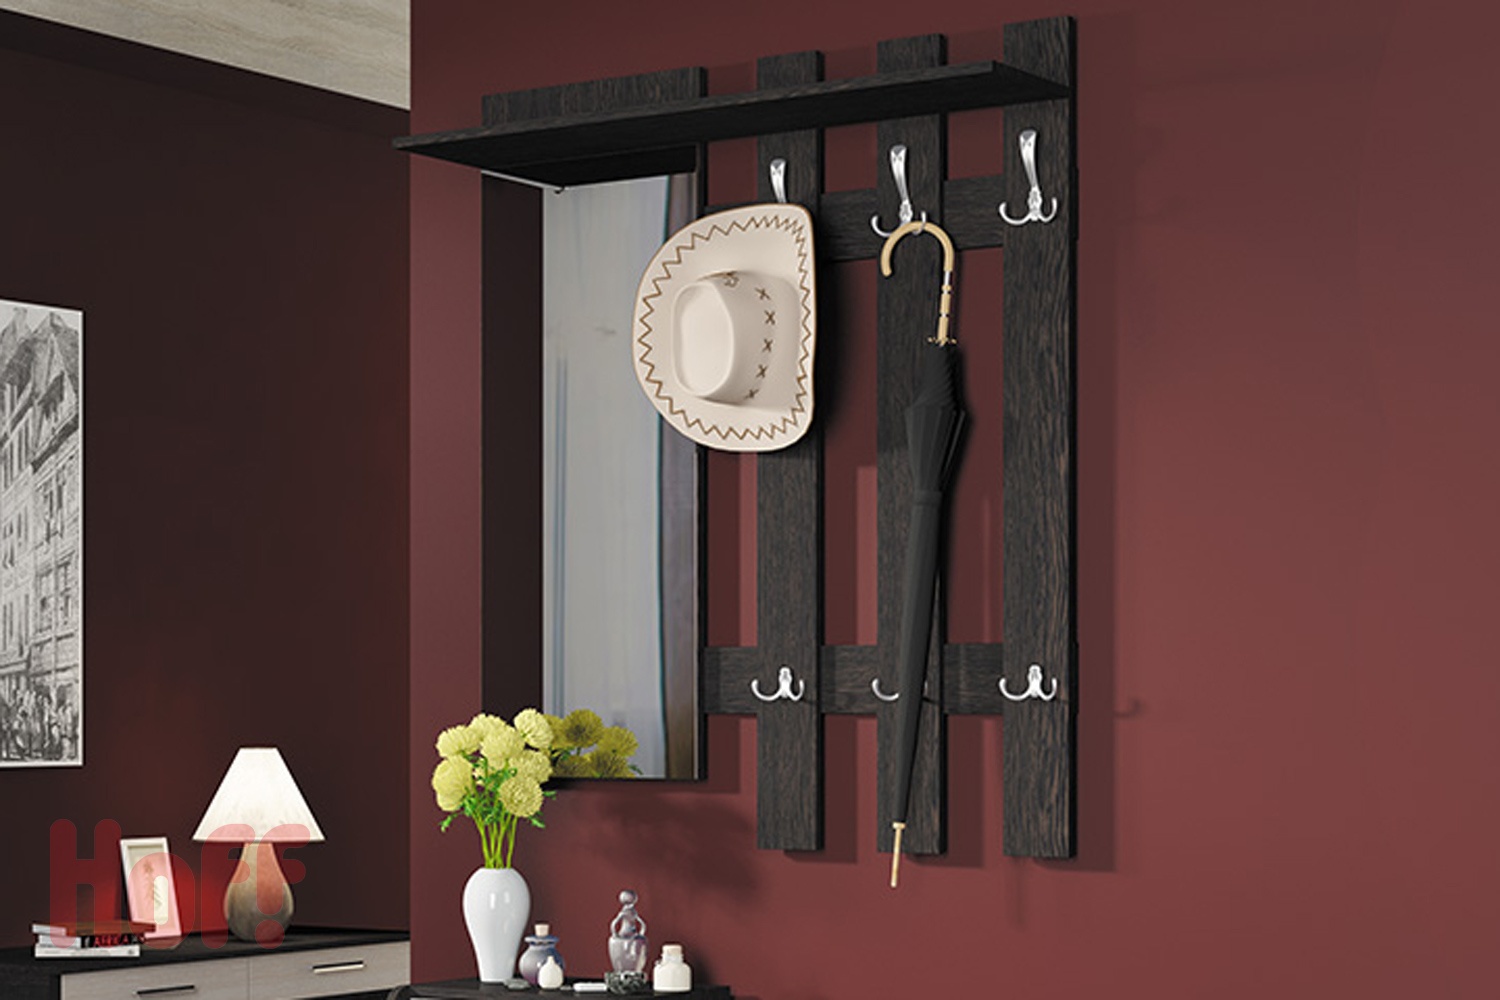
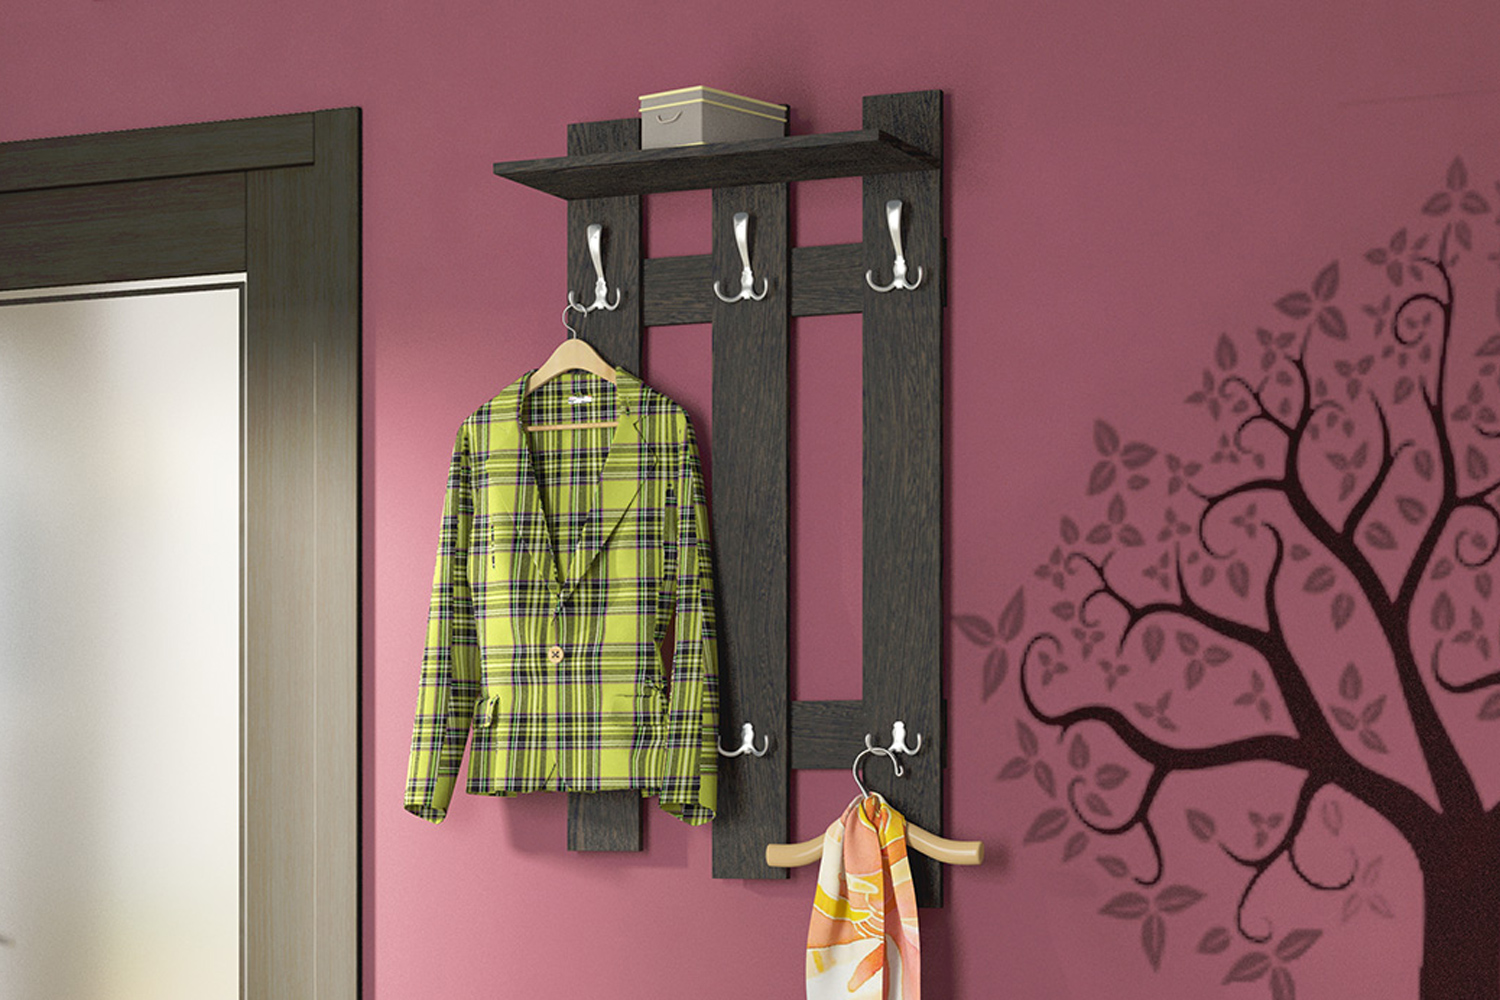
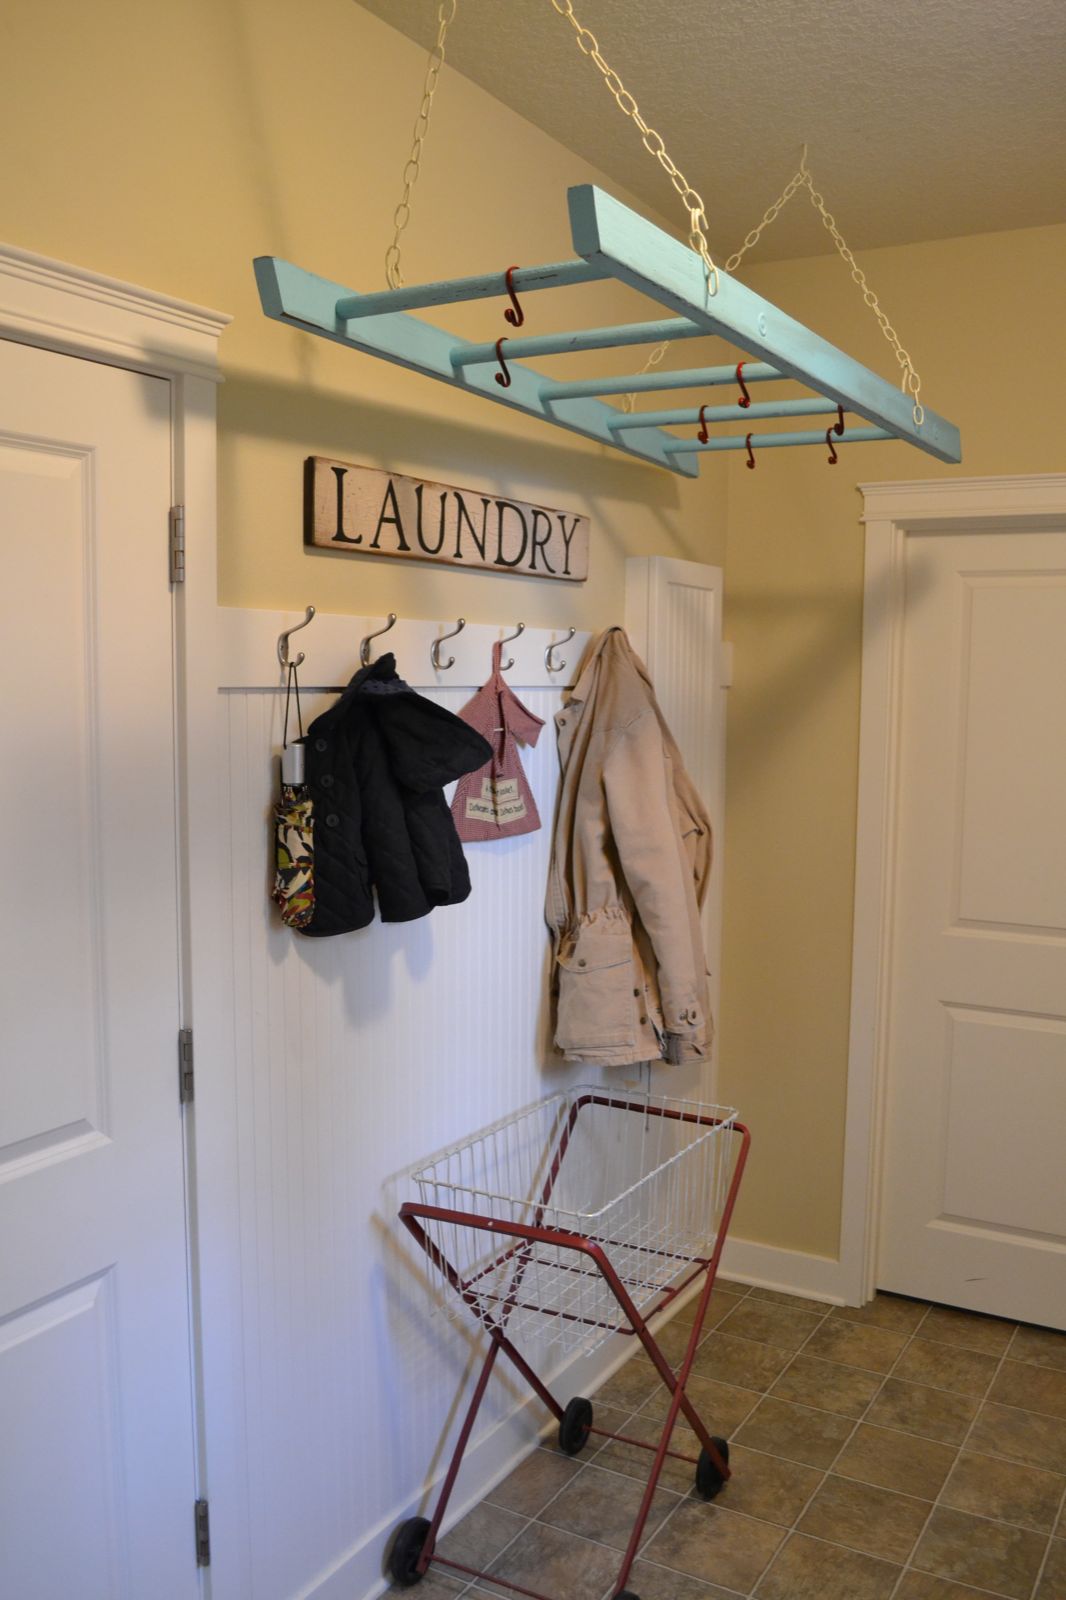
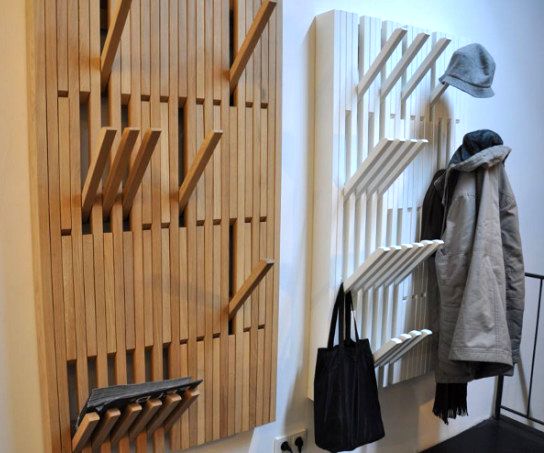
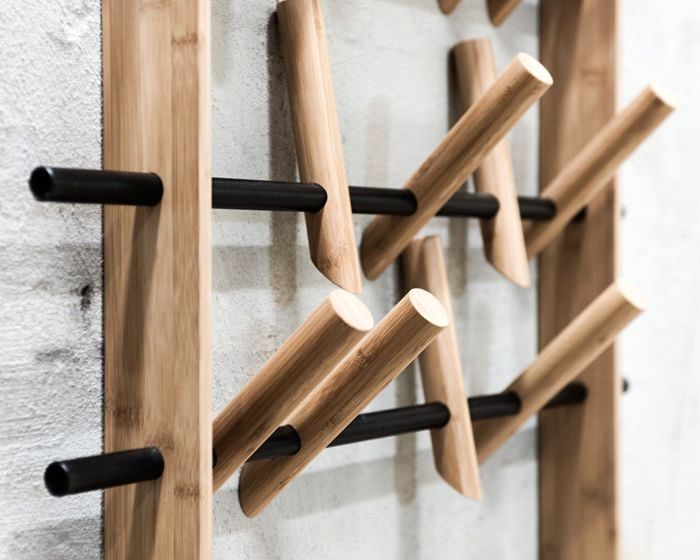
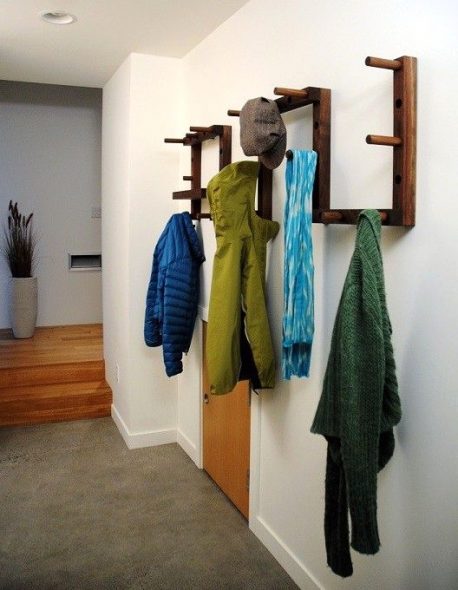
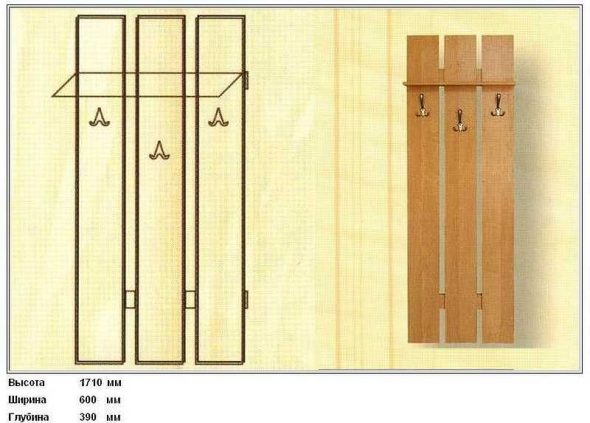
Making a hanger from longitudinal and transverse boards
This design resembles a lattice, it involves the manufacture of a base attached to the wall from horizontally and vertically located elongated boards. In this case, two layers can be conditionally distinguished: the first — transversely arranged, second — with longitudinal.
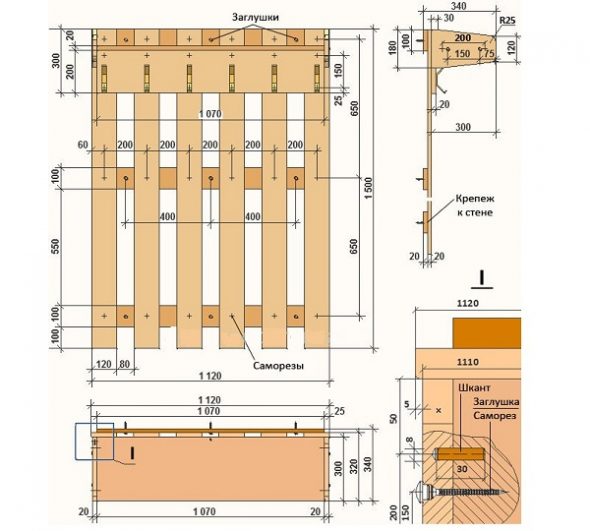
To create a wall hanger with your own hands, you will need to stock up on several long boards. It is better to give preference to lumber 10-20 cm wide and 1 m long. Having decided on the size, you should get the required number of blanks.
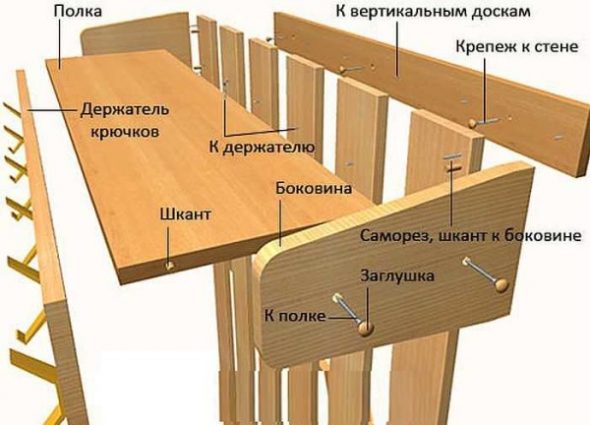
After that, it is necessary to process them so that there are no bulges, chips or roughness, paying special attention to the edges. Then it is necessary to lay out the first layer first, observing parallelism and the same distance between the planks. If everything is fine, it is time to move on to the second level. Armed with a screwdriver (or a hammer if you don’t have one), fix their position at the intersections.
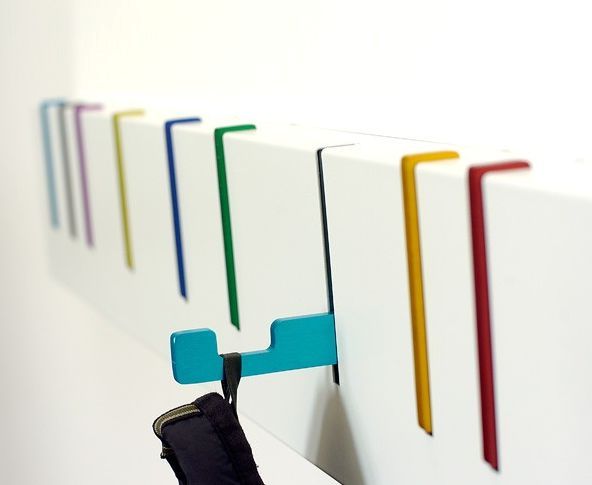
Hooks should be attached to the upper boards. If they are vertical, it is better to place the hooks in the upper part in one row. For a hanger, the outer side of which is formed by vertical boards, you can create several levels by attaching hooks to each of them.

Decorating
You can complete the production by giving the product an original appearance. The surface will be most interesting if:
- Cover with glaze or craquelure;

Craquelure is a technique used to give a painted surface a worn and aged look. - Paint with colors;

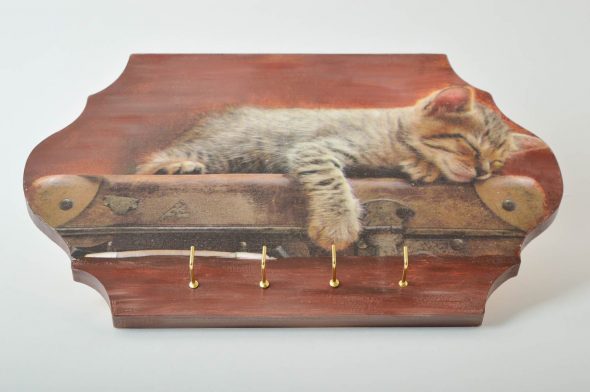
A simple, ordinary wooden hanger can be painted in such a way that all your friends will be delighted. - Decorate with decoupage.

You can decoupage a hanger using decoupage or regular napkins.

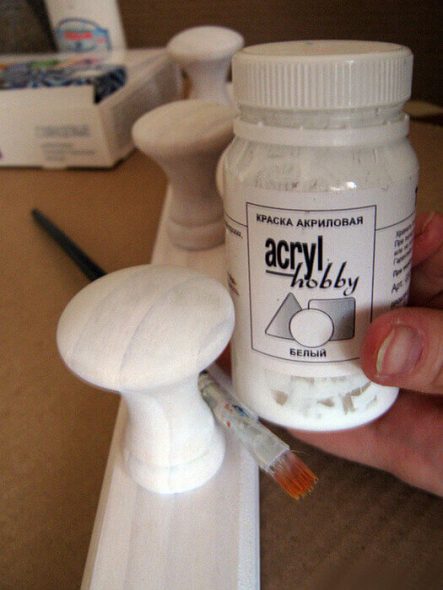
Before applying the coating, the wood should be cleaned of any traces of dust, dirt and grease.
For this purpose, it is recommended to use a metal brush. Then, armed with a paint brush, roller or sprayer, it is necessary to prime the surface, carefully filling all microcracks.
Glizal is a transparent paint that forms a textured surface with a certain amount of effort. Before starting work, dilute the glizal with water, according to the instructions. Then apply the mixture to the prepared workpiece and create a pattern using a textured sponge. You need to act quickly, otherwise the coating will harden in half an hour.To artificially age wood, a type of varnish called craquelure is used.

Decoupage allows you to create wooden items that fit any interior. It is most often used when trying to get furniture with an antique effect and complex patterns. To decorate such a hanger, you will have to arm yourself with scissors and blanks with a pattern.
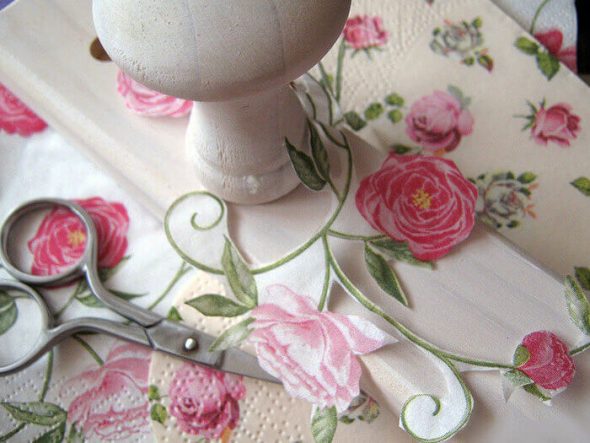
If everything is ok — coat the back side with glue, apply to the wood and level to prevent bubbles from forming later, then cover with furniture varnish and leave until completely dry.
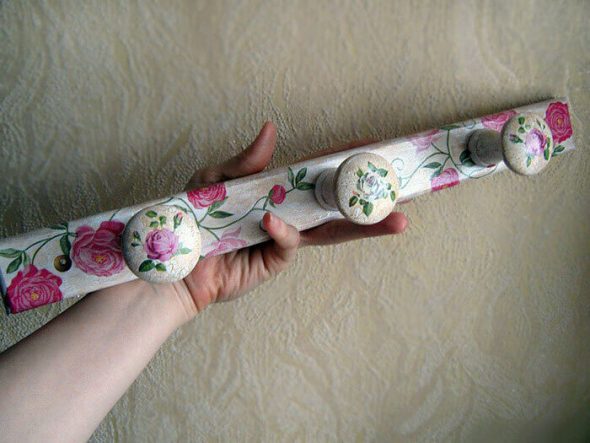
If you have artistic skills, you can apply the drawing with acrylic paints. First, the background and large elements are created, then the details are drawn. It is better to finish the work by applying varnish and craquelure.
VIDEO: Stylish hangers for the hallway.
Wall hangers for the hallway - 50 photo ideas: