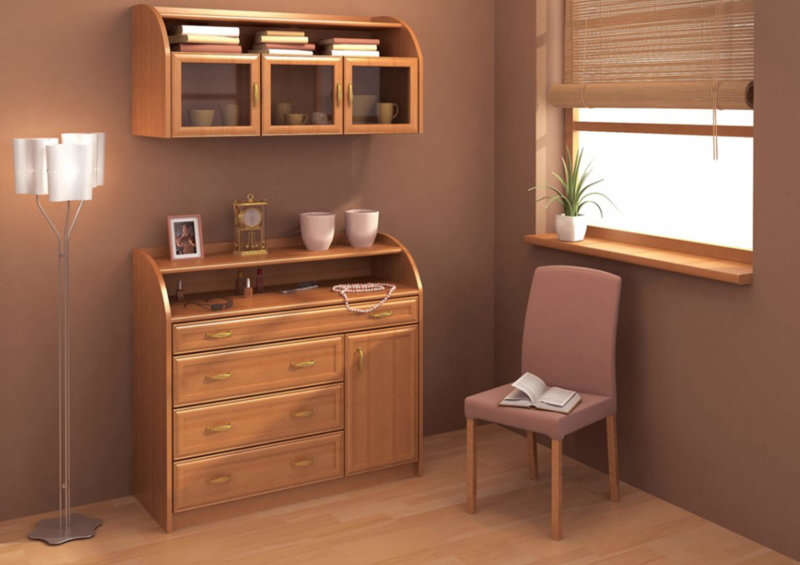
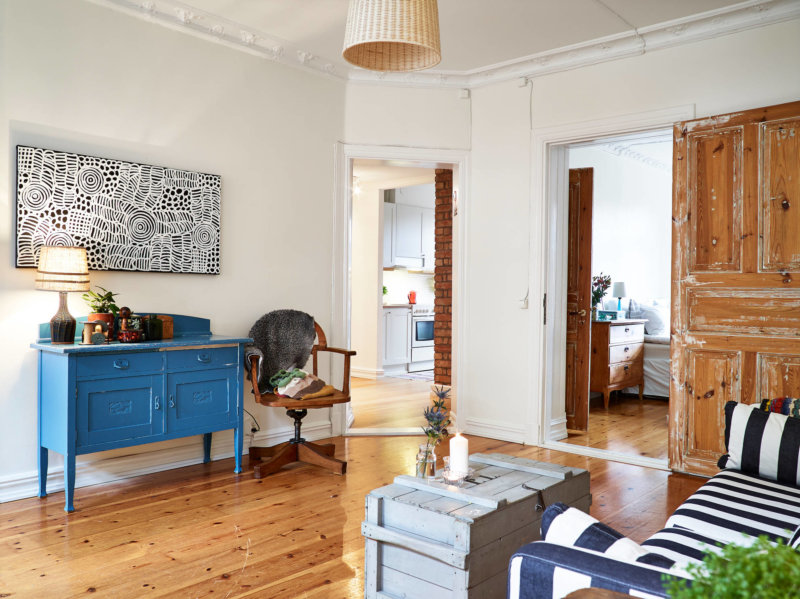
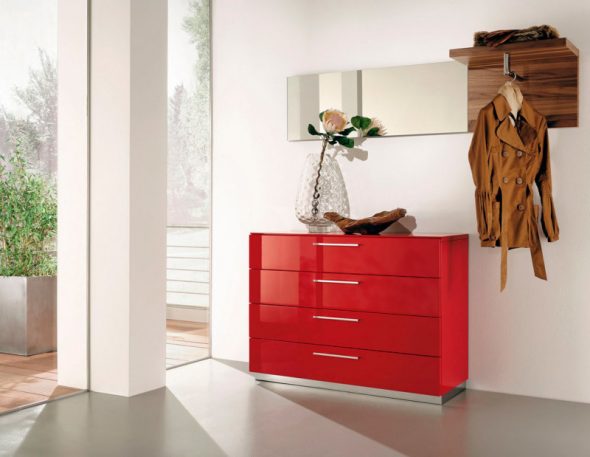
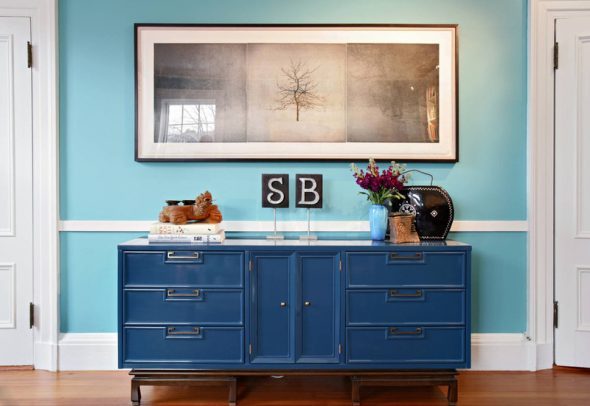
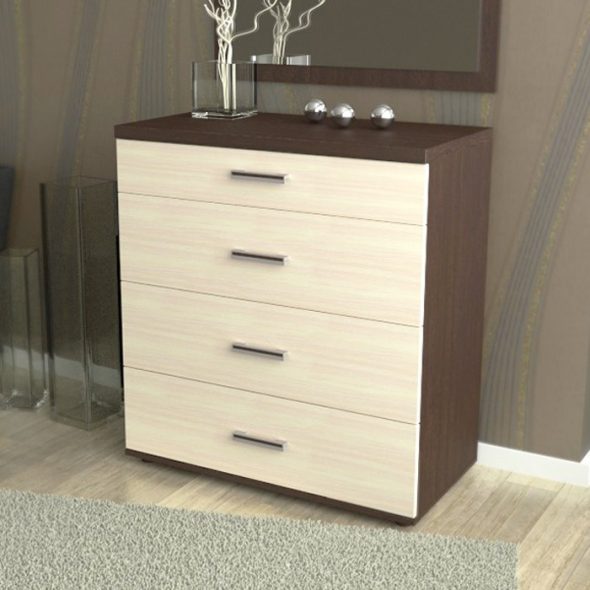
The practicality and convenience of the chest of drawers has been proven by time, it is not for nothing that this piece of furniture has not lost its relevance for centuries. Surely, you will also appreciate all the functional advantages as soon as it appears in your home. Socks, scarves, bed linen will find their permanent place. However, it is quite possible to place the chest of drawers in the hallway, and it will become a storage for umbrellas, gloves, and cosmetics.
Content
Advantages of DIY chests of drawers
Not always, the architectural features of the room and the existing items in the interior allow you to buy a chest of drawers in a store. After all, very often, the standard dimensions of the product are absolutely not suitable for placement in an apartment. In this case, an alternative option would be to make it at home. Making DIY chest of drawers, you get the opportunity to independently develop the design, choose the optimal dimensions, color palette and structure of the material.
In addition, you will be able to save a considerable amount of money. The amount that will be requested for the purchase of a similar chest of drawers at a retail outlet, you will be able to spend on higher-quality fittings (handles, guides) or on more important purchases.
About that, how to make a chest of drawers with your own hands will be discussed in today's article. After all, despite the apparent simplicity, this matter has its own nuances, which you should familiarize yourself with in advance, so that the final result pleases you for many years, and does not become a cause for irritation.
We choose the design and material for production
If you doubt your artistic taste and design abilities, then in search of ideas for creating a chest of drawers with your own hands, you can review the catalogs of famous furniture manufacturers. Surely, among the many samples, you will be able to find a suitable option that will only need to be slightly adapted to individual requests.
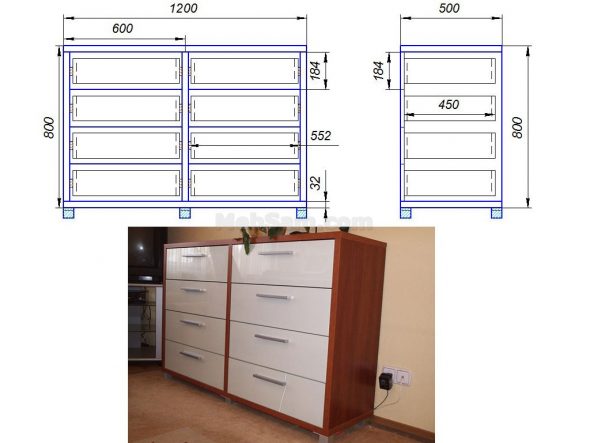
Standard chest of drawers dimensions are as follows:
- INheight 800 mm;
- ShIrina 800 – 1200 mm;
- Gdepth – from 300 mm.
It is recommended to attach taller models of the chest of drawers to the wall of the room so that when pulling out loaded drawers it does not accidentally tip over.
In very wide chests of drawers, it is necessary to provide for reinforcement of the lower part of the drawer. Also consider that under heavy loads during the operation of the drawers, the pull-out system may deform and jam.
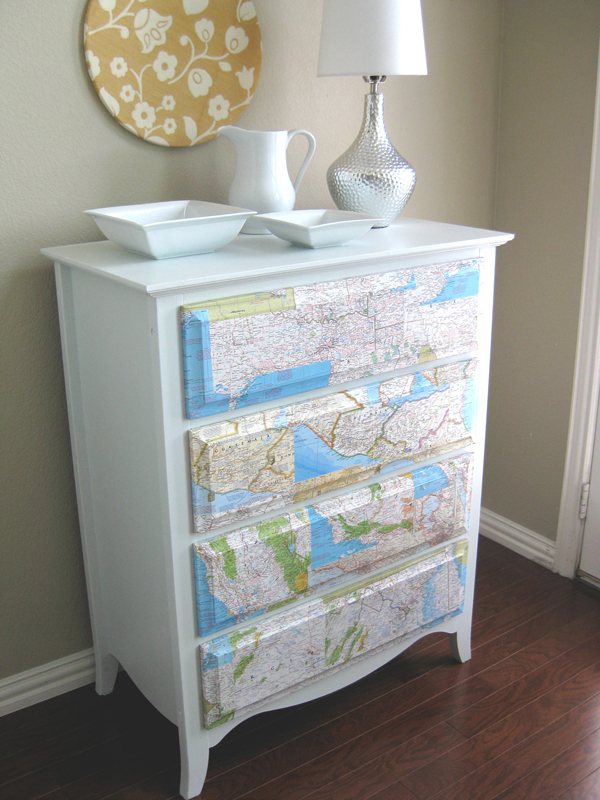
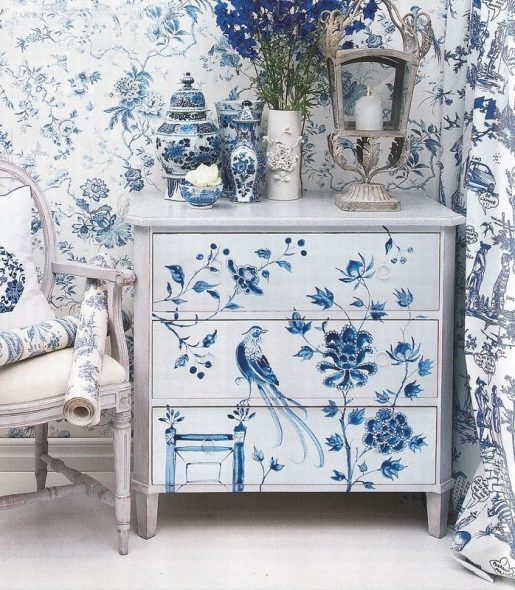
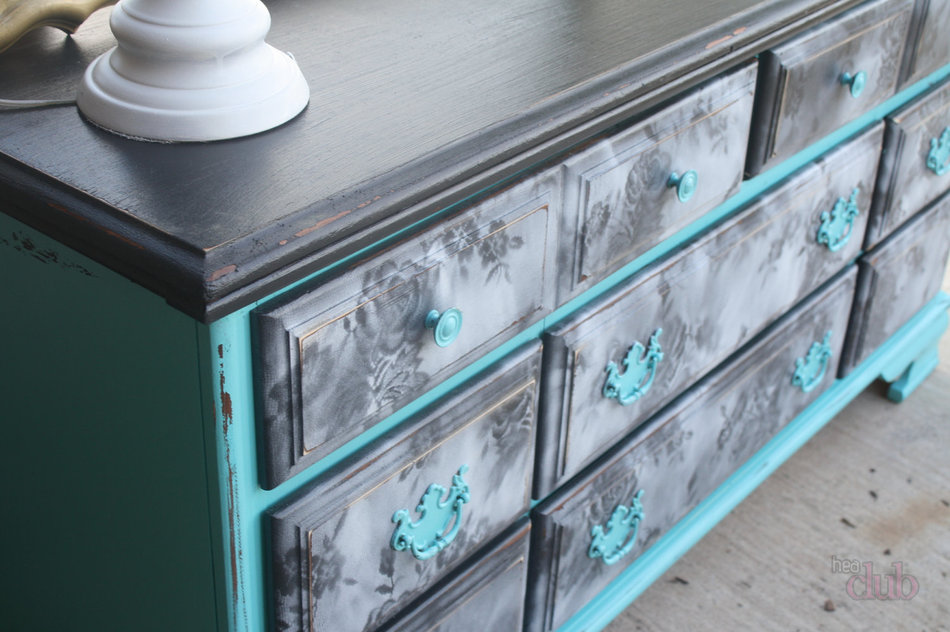
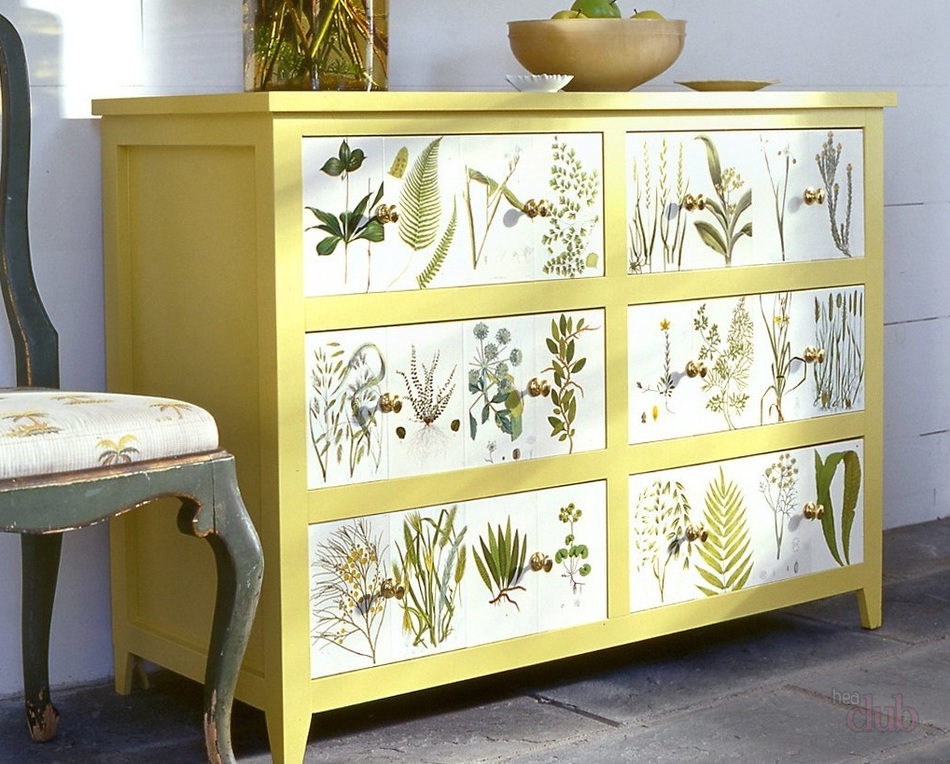
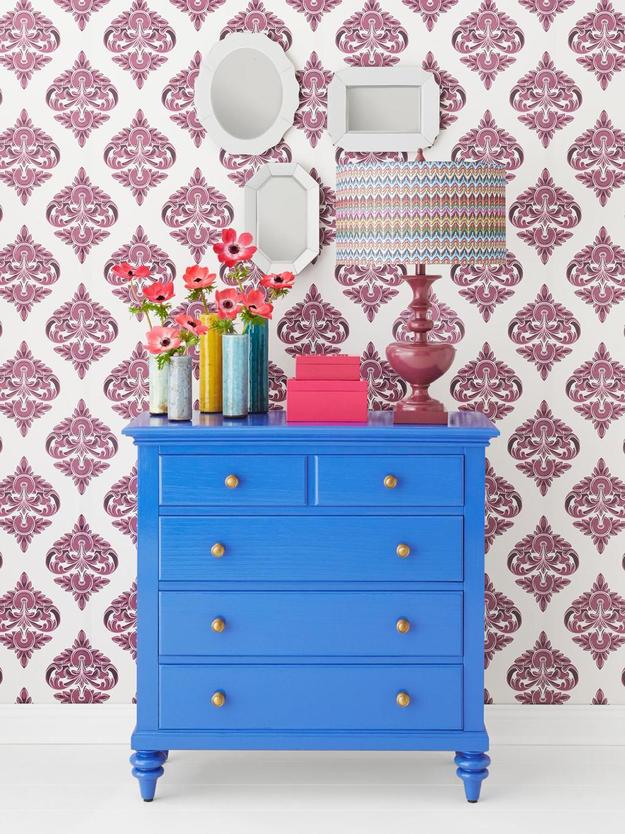
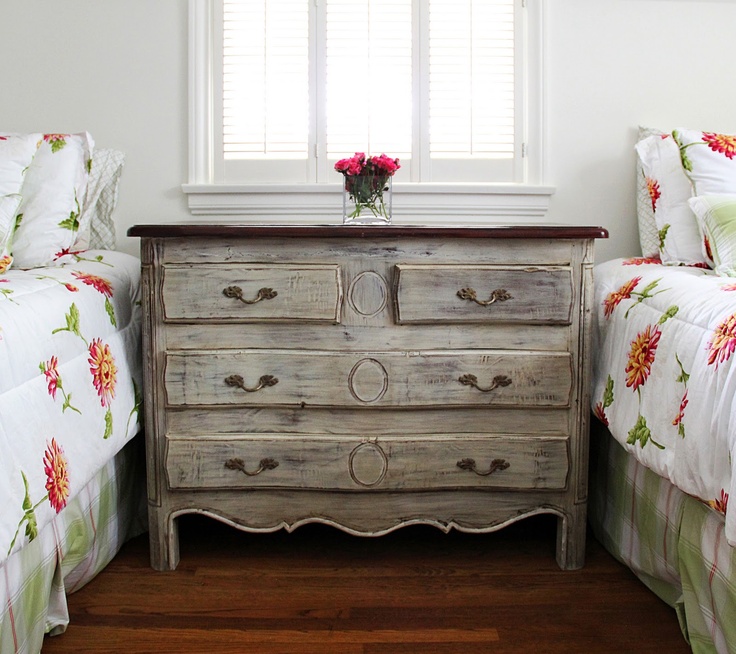
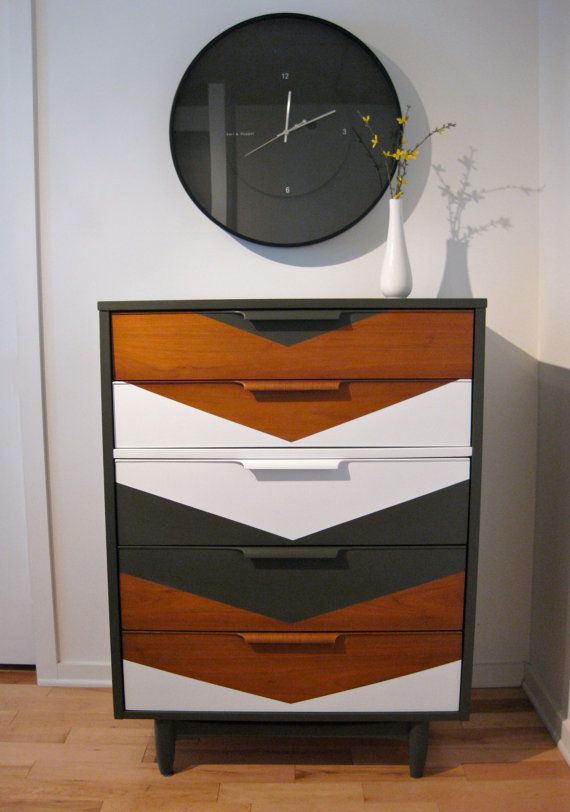
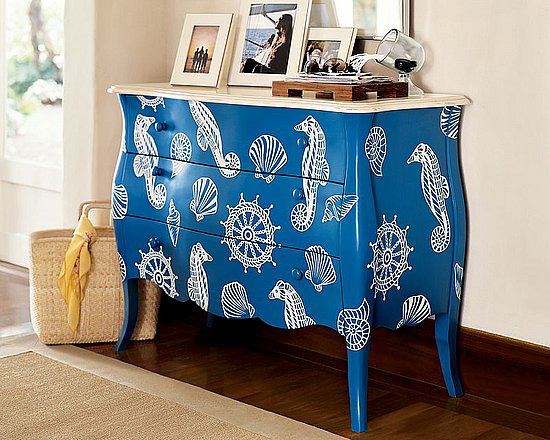
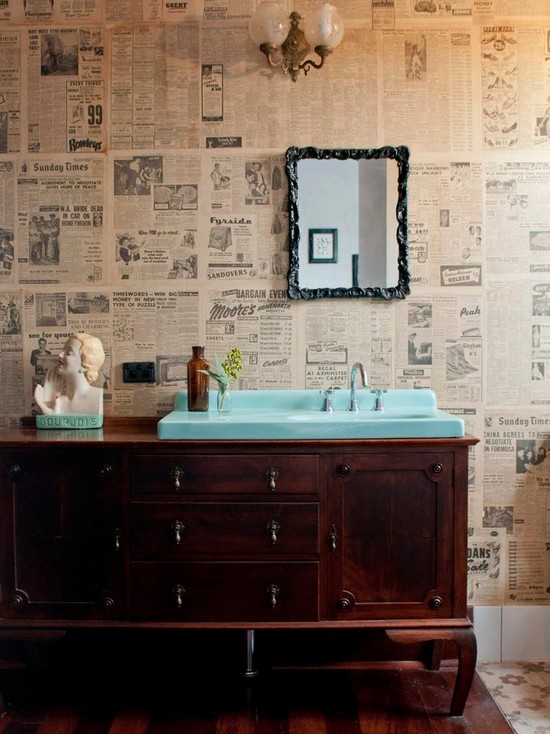
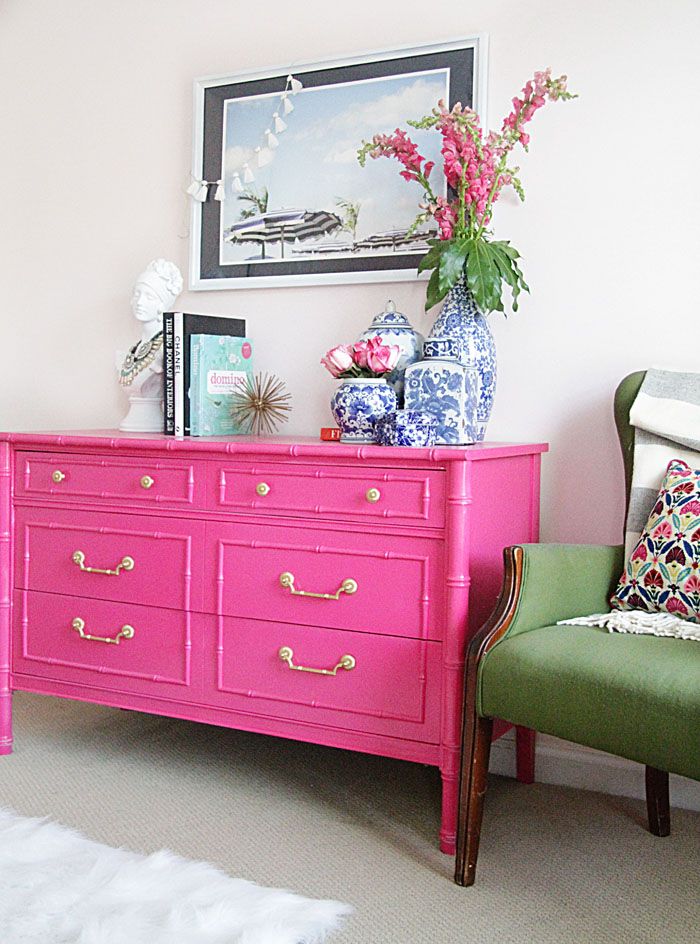
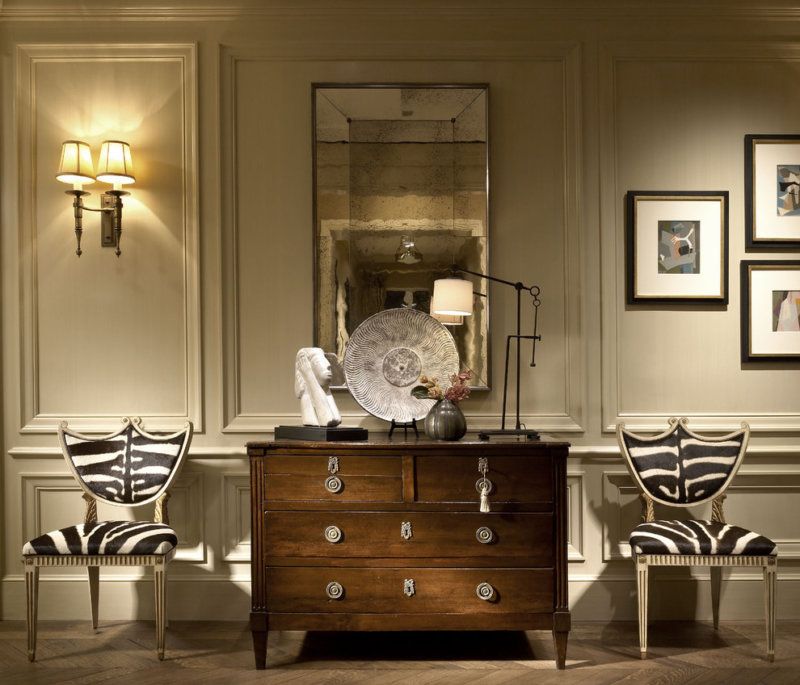
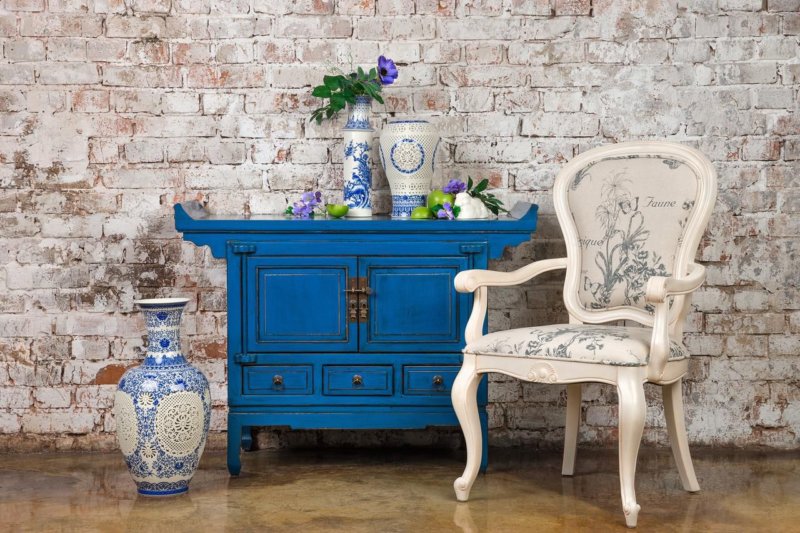
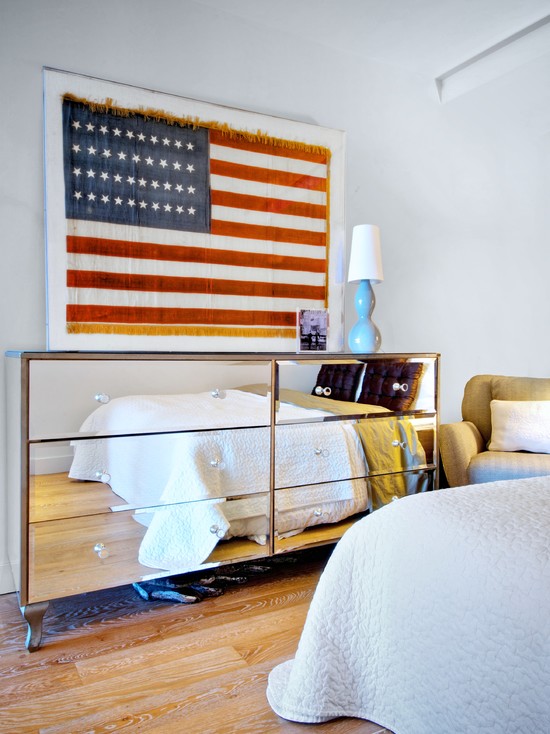
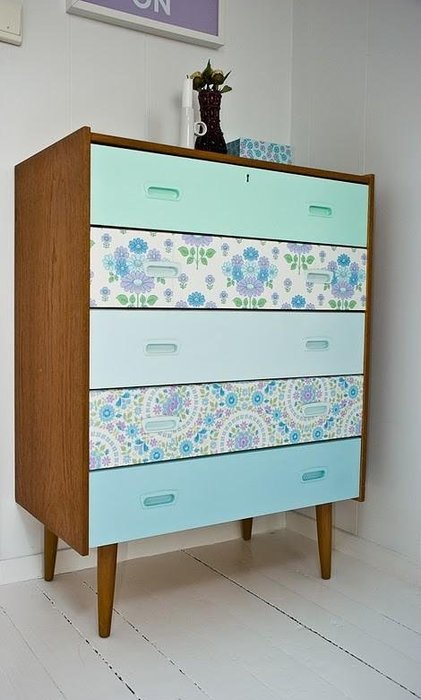
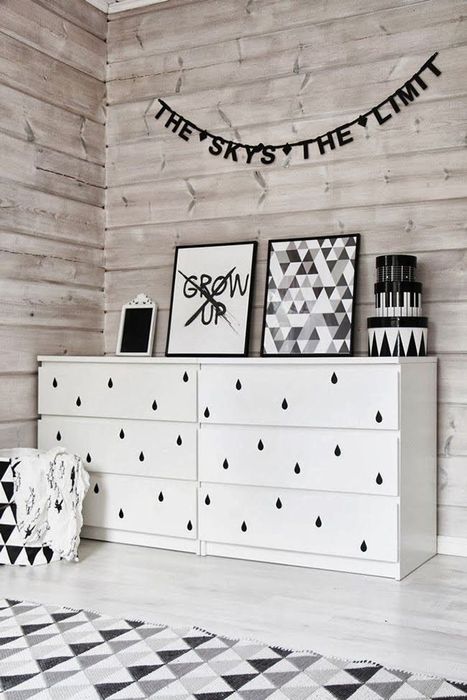
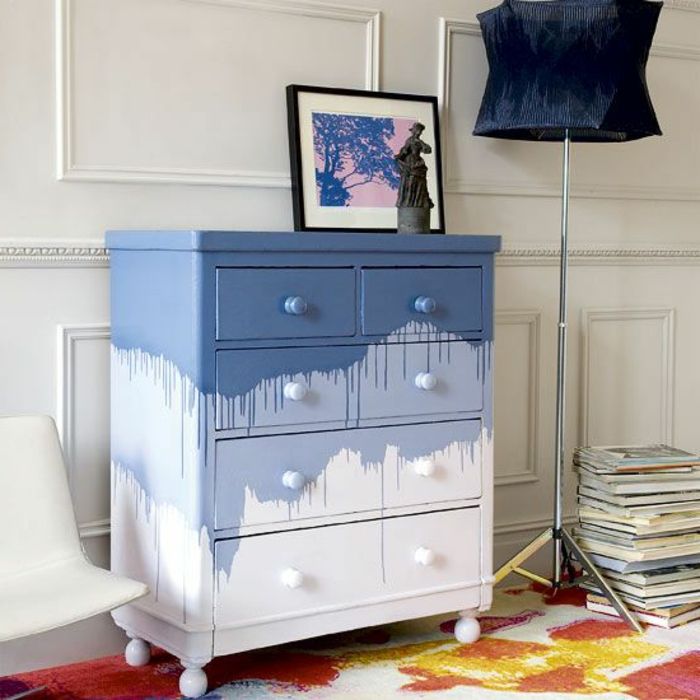
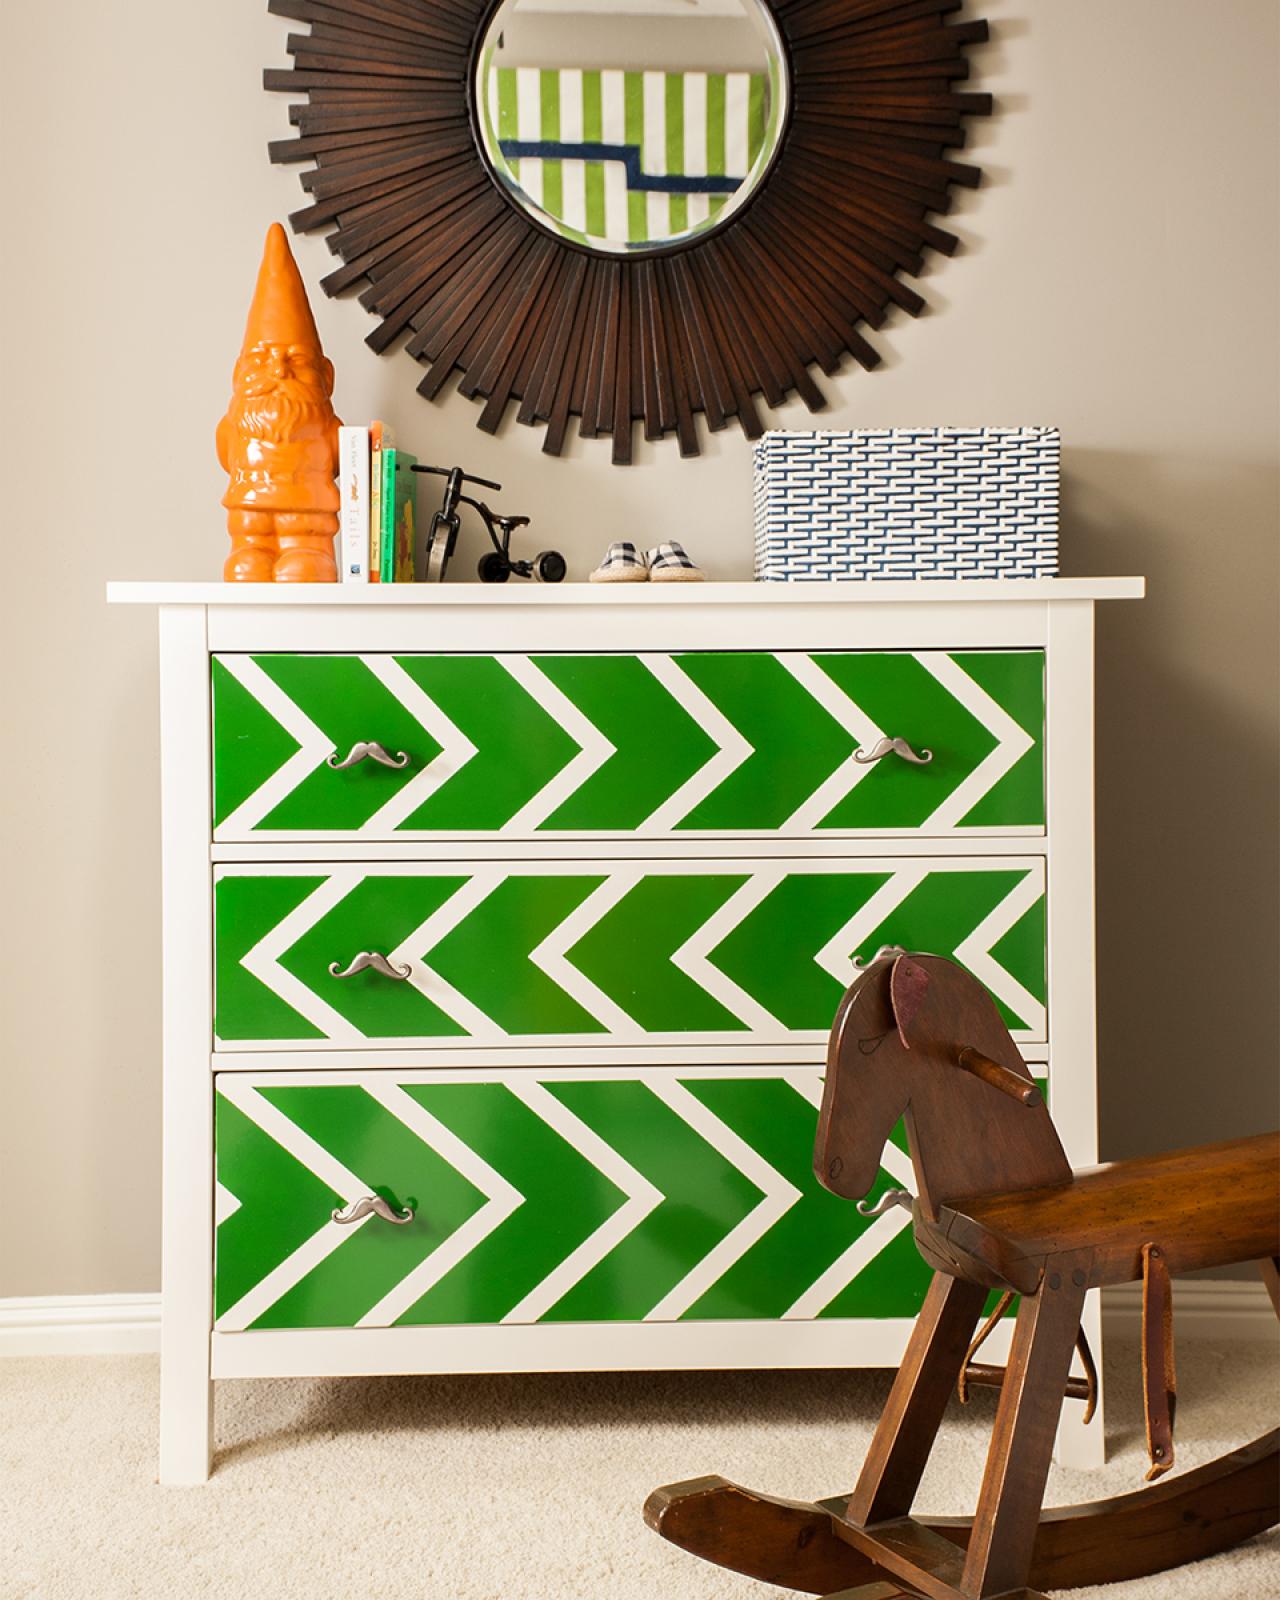
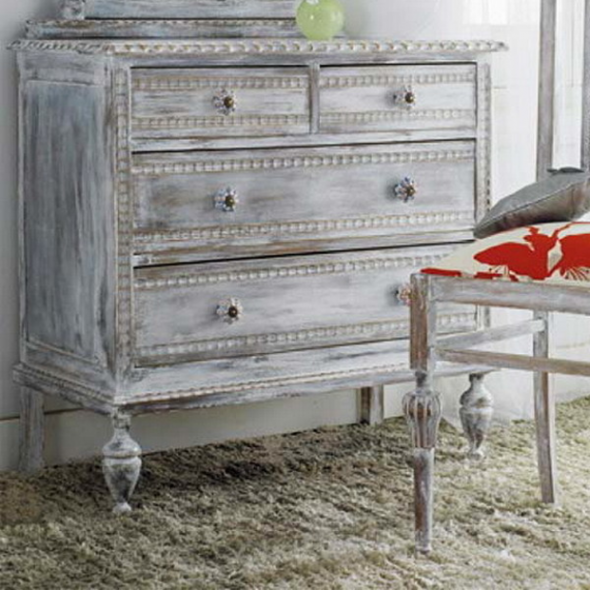
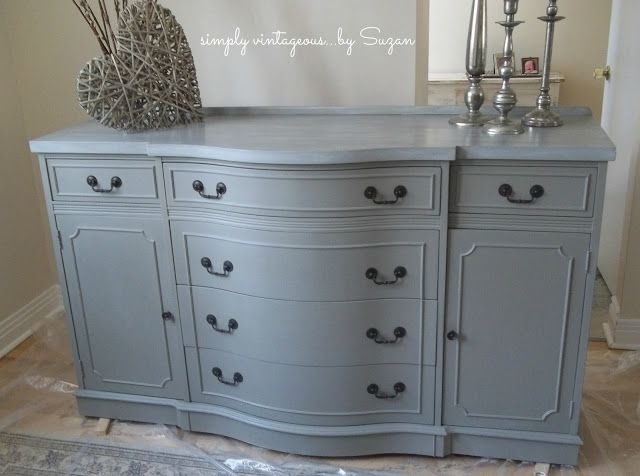
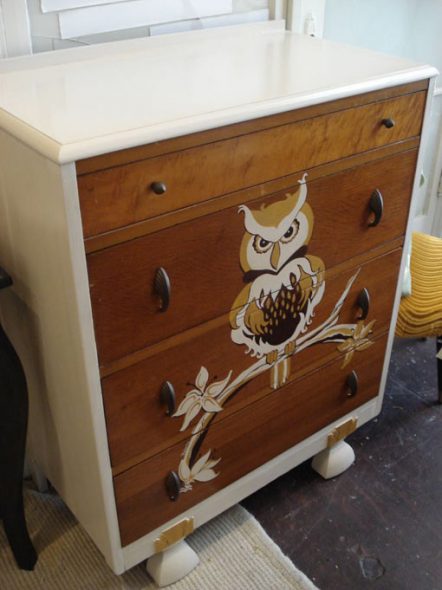
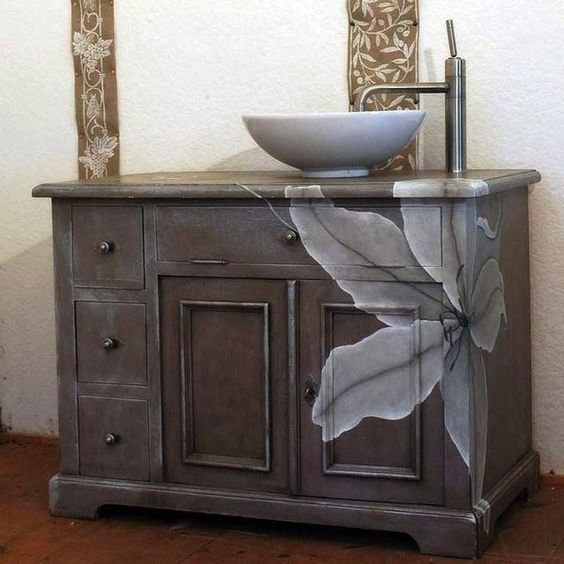
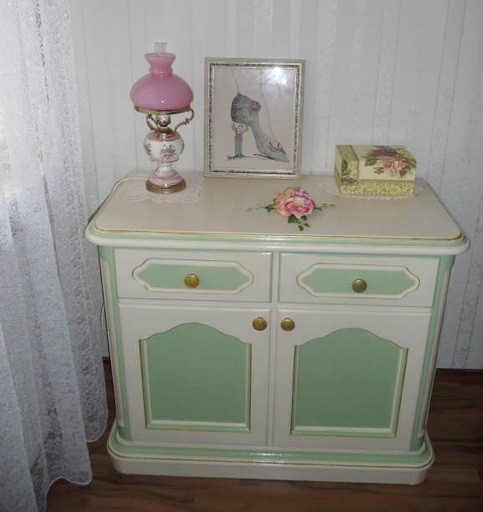
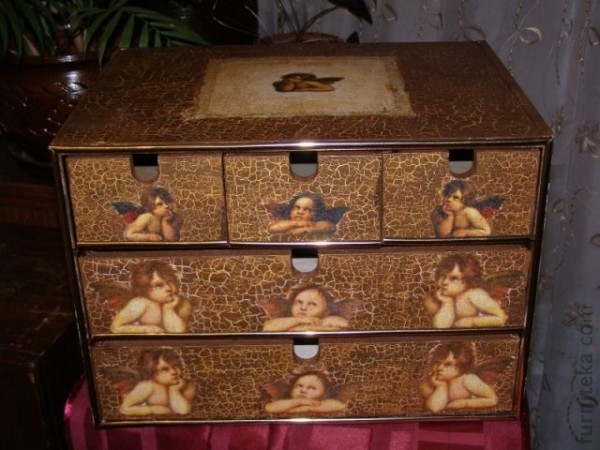
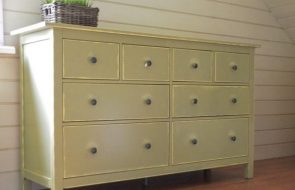
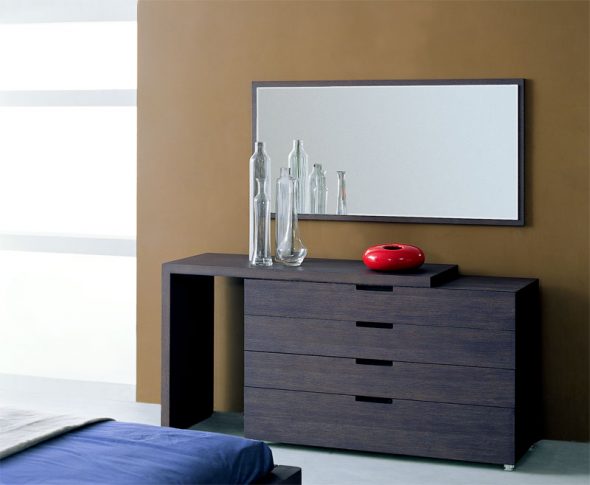
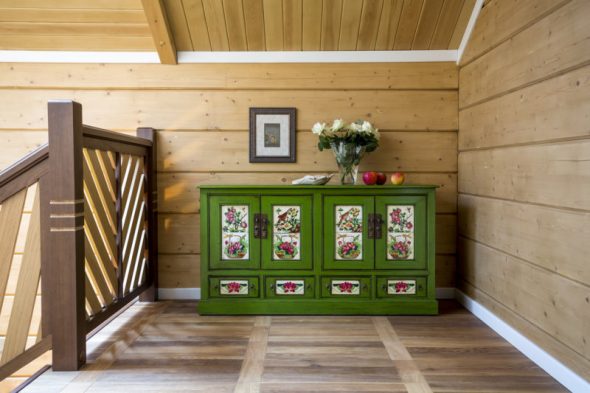
Chests of drawers made of natural wood continue to be favorites. And modern decorative materials allow not only to paint them, but also to decorate them using decoupage or artistic painting techniques.
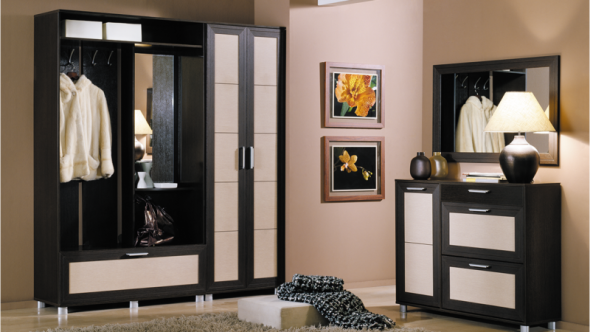
Undoubtedly, wood remains the best material for furniture production, but laminated chipboard has become no less popular in recent years, the advantages of which include:
- Nlow cost,
- Mscarlet weight,
- Sha wide color palette,
- Lease of assembly,
- ABOUTno need for final decoration.
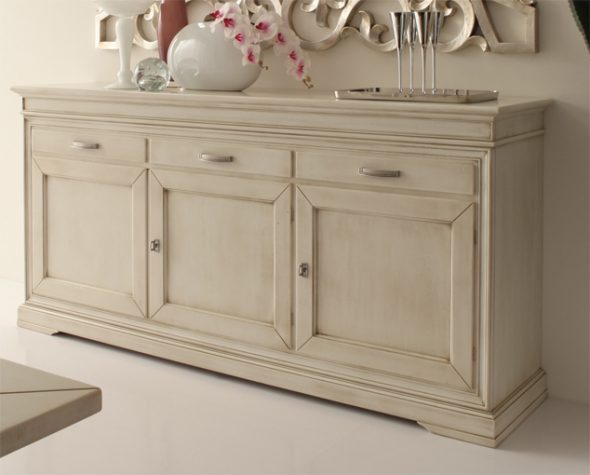
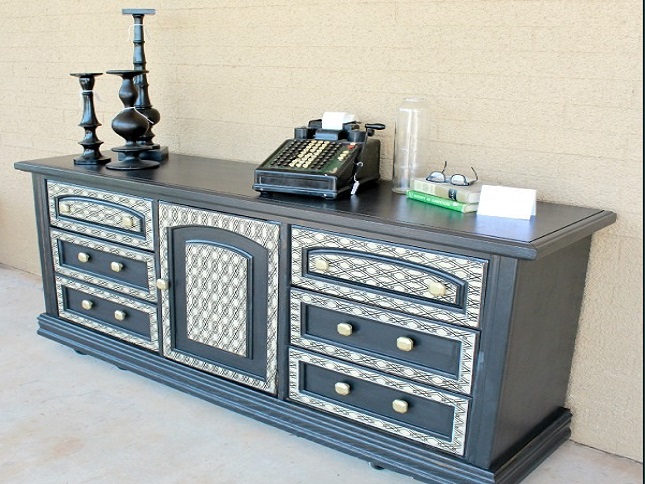
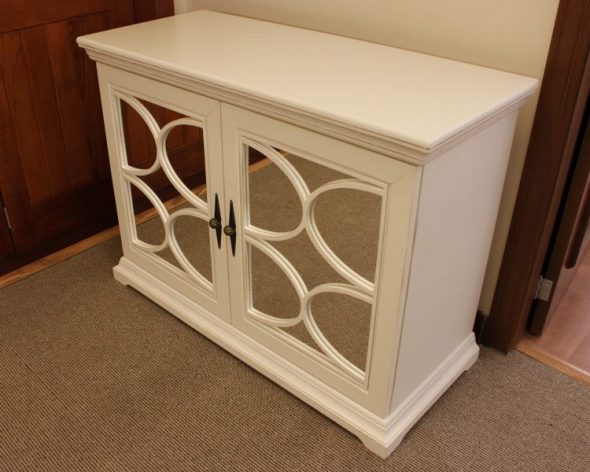
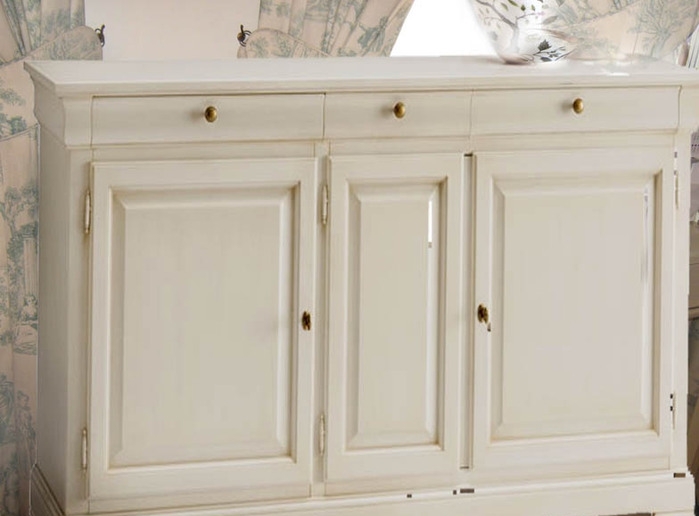
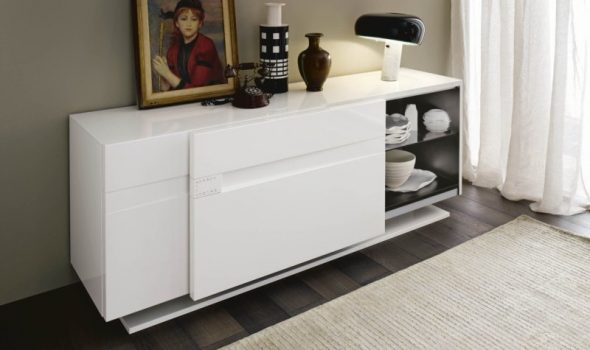
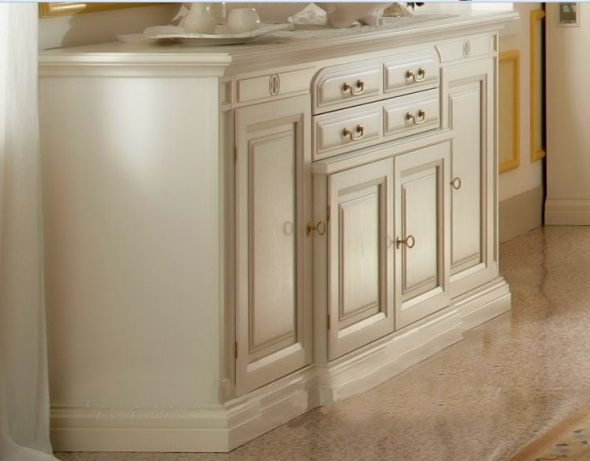
Sometimes, chipboard is used instead of laminated chipboard to make drawer fronts, and the finished product is decorated with MDF overlays. Such a chest of drawers looks much more expensive and presentable.A massive top lid will add solidity to the chest of drawers. When the budget is limited, it can be made from 2 layers of 16 mm laminated chipboard, twisting them together, and sealing the edges with wide edge tape.
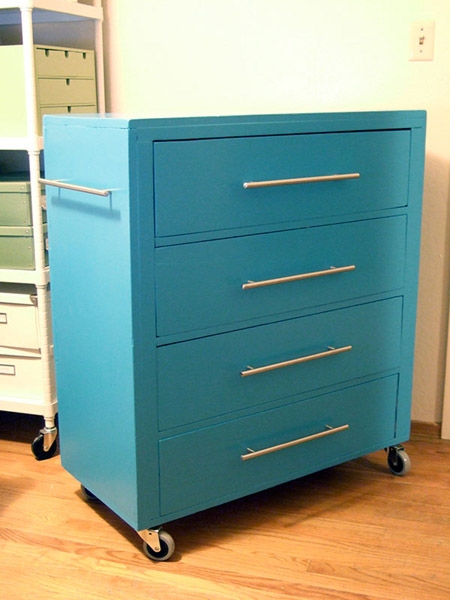
After all, often the floor plinth prevents you from placing furniture right up against the wall. There are several options here:
- Installing a chest of drawers on legs, which can later be covered with decorative strips.
- Installing a table top that will protrude from the back.
- Drank from the bottom of the dresser.
Detailing and cutting
If you know how to use computer programs for furniture design, then your task is much easier. Otherwise, you can resort to the following options:
- Use ready-made drawings and cutting, as close as possible to your requests.
- Make a drawing and calculate the dimensions of each part manually, using a pencil, ruler and graph paper.
- Master the computer program Compass 3D or AutoCAD.
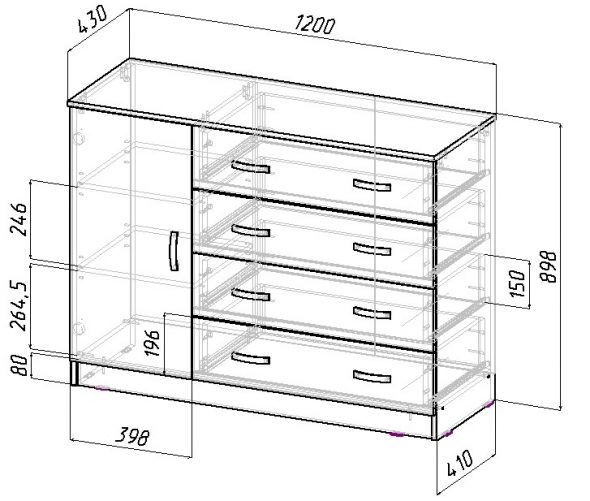
Available in 10, 16, 18, 20 mm variants.The distance from the side walls of the chest of drawers to the side walls of the drawer is 12.5 mm on each side to accommodate the runners.
Be sure to take into account the edge. If its thickness is 1 mm, then this distance must be subtracted from all sides of the parts.When calculating the size of the facades, remember not only about the edge, but also about the gap between the drawers. From the height of the facade, you need to subtract 5 mm (edge thickness at the top and bottom + 3 mm gap).
Fiberboard is used to make the bottom of the drawers and the side of the chest of drawers.
Table 1
| Name of parts | Dimensions mm | Qty pcs | |
| 1 | Chest of drawers table top | 800x500 | 1 |
| 2 | Side stand | 816x475 | 2 |
| 3 | Lower part (bottom) | 800x475 | 1 |
| 4 | Facade | 797x205 | 4 |
| 5 | Tie rod | 768x80 | 2 |
| 6 | Side of the box | 160x450 | 8 |
| 7 | Front of the drawer | 160x709 | 4 |
| 8 | Back wall of the drawer | 160x709 | 4 |
| 9 | Back wall of the chest of drawers | 828x795 | 1 |
| 10 | Bottom of the box | 738x447 | 4 |
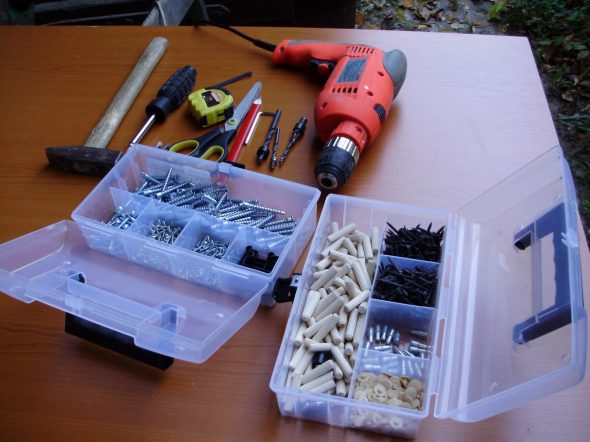
Necessary materials and tools
Let's take a closer look, how to make a chest of drawers with your own hands from LDSM.
During the work you will need:
- Shscrewdriver;
- Drail;
- TOanvil knife;
- Ugolnik;
- Rflyaway or meter;
- TOpencil;
- WITHhair dryer or iron;
- WITHdrill bits 4.5 mm and 8 mm;
- Bita under confirmation.
- Lchipboard ist;
- WITHamortizers;
- Nguides (sold in sets of 2 pieces. Right guide and left guide);
- TOconfirmations 5x70 or 5x50 mm;
- TOedge banding;
- Rdrawer brackets;
- Ddouble-sided tape;
- Gtake it.
Step by step assembly
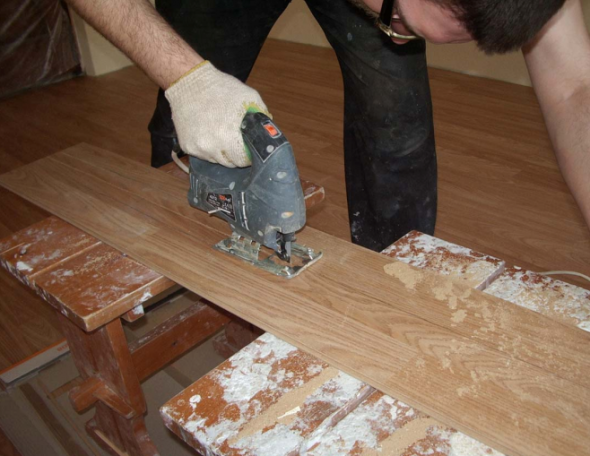
- Despite the fact that chipboard processing is not difficult, you will hardly be able to cut the sheet at home without a sawing machine. Of course, you can use an electric jigsaw, but in this case, be prepared for small chips along the cut (particles of the coating will break off and form an untidy edge). It is much better to use the services of professionals who will quickly and efficiently cut the necessary parts for you.

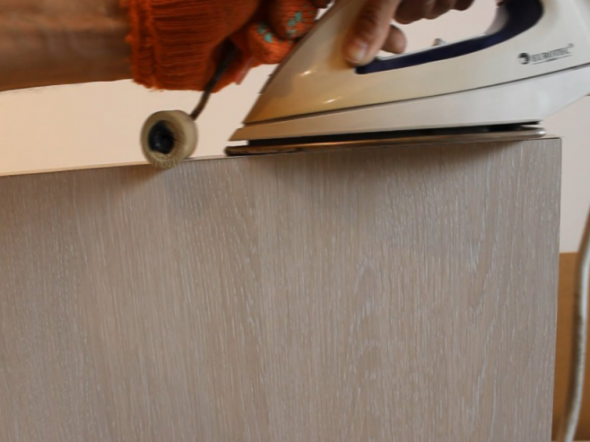
If this is not possible, then leave 1-2 mm of stock on all sides of each part, and then sand off the excess, this will help minimize chipping. - INTreat all open ends with an edge coated with a layer of glue that melts under high temperatures. Apply the tape to the part, align it and iron it with a regular iron without steam or a building hair dryer. Take your time, warm the edge in small sections, and then press it carefully, wiping it with a soft cloth. Cut off the excess edge with a stationery knife or a plane blade, holding it at an angle of 45 degrees to the part.

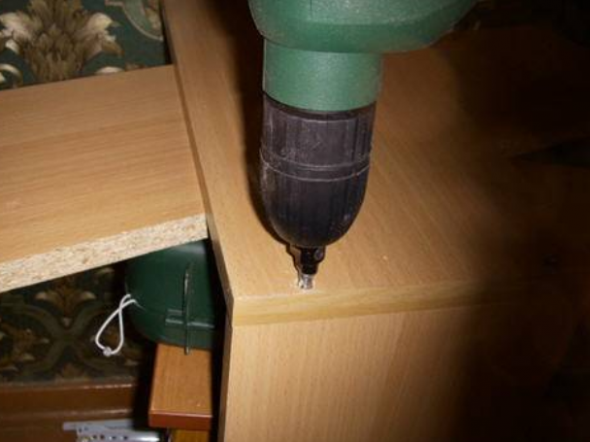
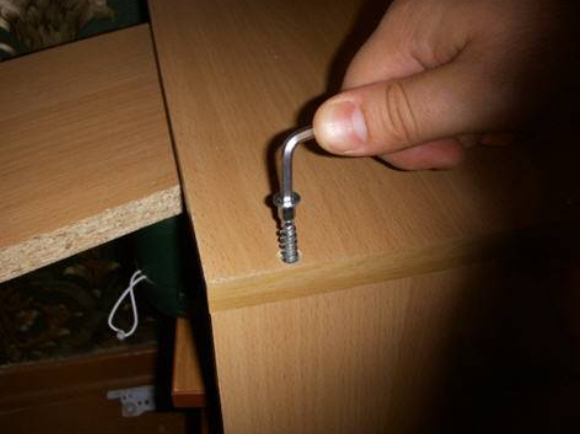
Sand the joints with fine sandpaper. - Mark the places for the confirmats, drill the holes. Despite the fact that the confirmat diameter is 5 mm, it is still better to use a 4.5 drill. There will be no difficulties when screwing in, because the material is quite soft and pliable.
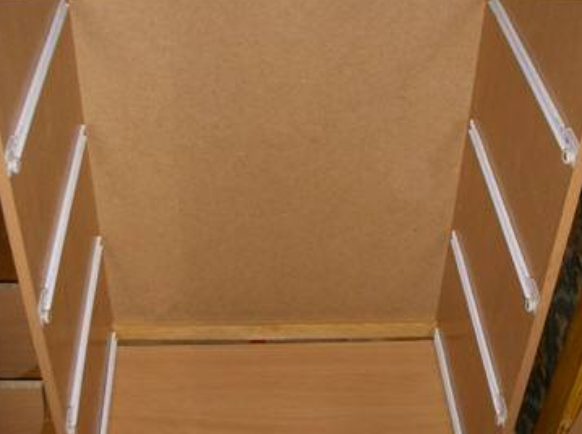
This way the quality of connections will be significantly improved. - Before you start assembling the chest of drawers, mark the axes for attaching the guides. Usually, they start marking from the bottom, stepping back 30 mm from the inner surface of the bottom, and draw the first axis. Subsequent lines are calculated based on the height of the drawer front, adding 3 mm to this value for the gap and subtracting 25 mm. The resulting mark will become the center of the guide bar attachment. If the dimensions of all the drawers are the same in height, then the distances between the axes will be symmetrical.

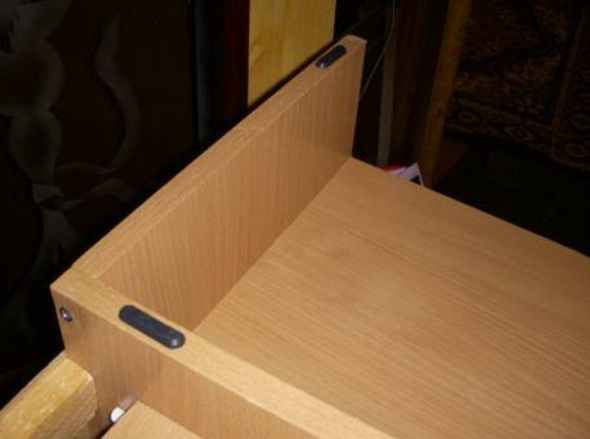
Do a similar procedure on the two side walls, making sure that they are mirrored. - Connect the body parts, tightening them together with confirmats. It is more convenient to start the assembly from the bottom, attaching the side posts to it, and only then the tension strips from above. Before nailing the back wall, be sure to check not only all the corners, which must be right angles, but also the diagonals.

If there are any errors, they must be corrected, and only then the back wall of the chest of drawers is installed. - If the design includes legs, screw them on.

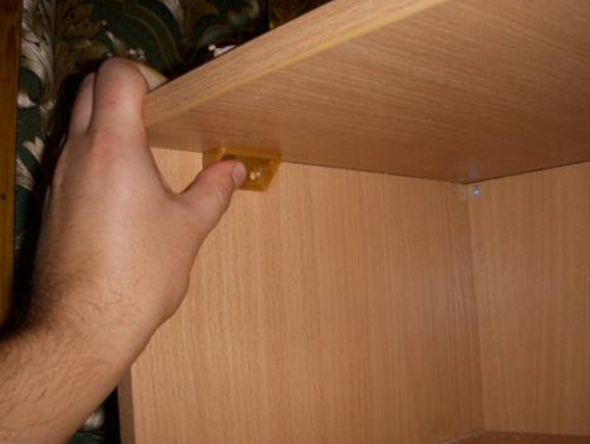
In our case, special heel pads are used. - Install the top cover by attaching it to the inside of the dresser.

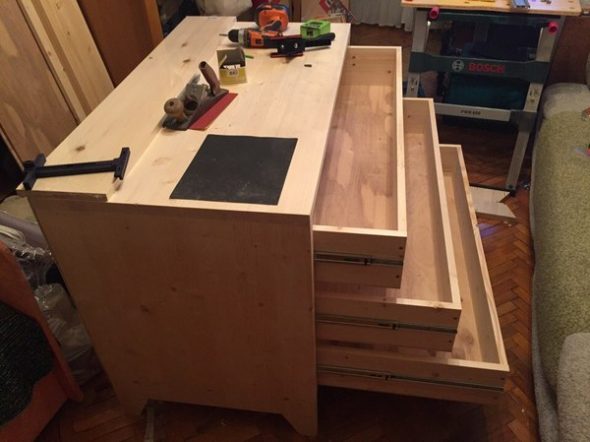
To be on the safe side, we will use ready-made furniture corners. - Assemble the side walls of the boxes into a single structure. Check that the diagonals match and the angles are correct, and then confidently attach the bottom part.

The boxes are arranged in parallel and should be as even and identical as possible. - Insert the drawers into the chest of drawers. It's time to attach the fronts, use double-sided tape for this. First, attach all the front parts to the adhesive tape and only then remove the drawers and screw the fronts onto the screws.
To make an even 3mm gap, start gluing from the bottom, placing 3mm spacers in between. - The final touch will be installing handles on the drawers.
If all calculations during detailing were performed correctly, and the parts were cut without errors, then no difficulties will arise during assembly.
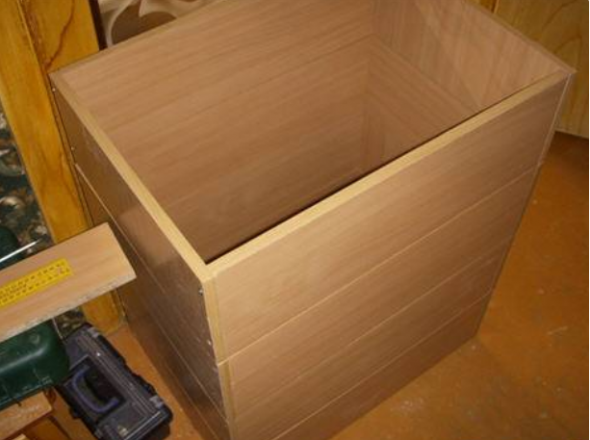
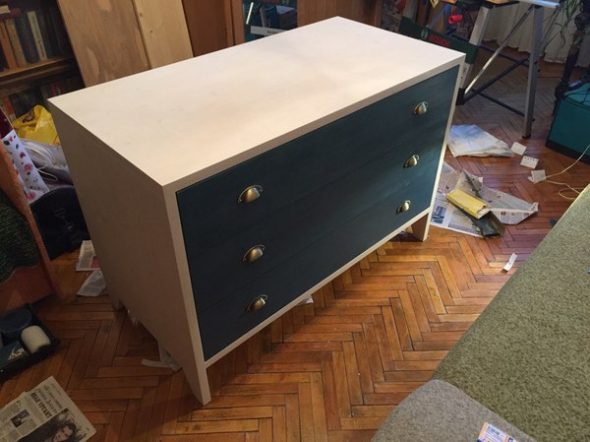
Assembled DIY chest of drawers will surely delight you and your family members for many years to come.
VIDEO: DIY chest of drawers.
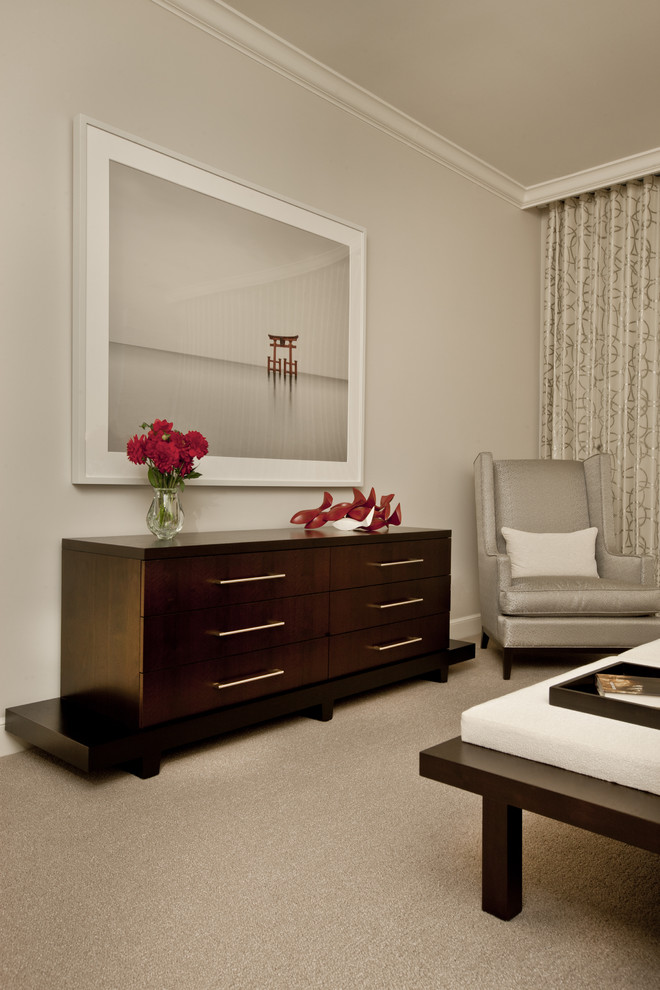
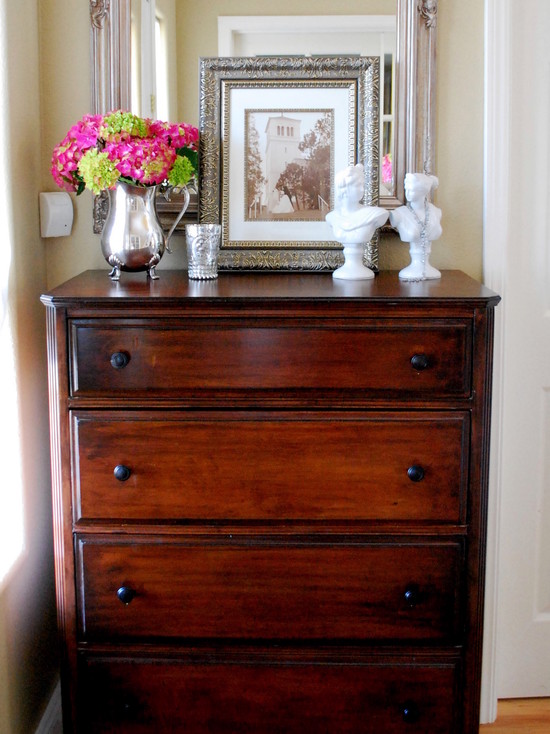
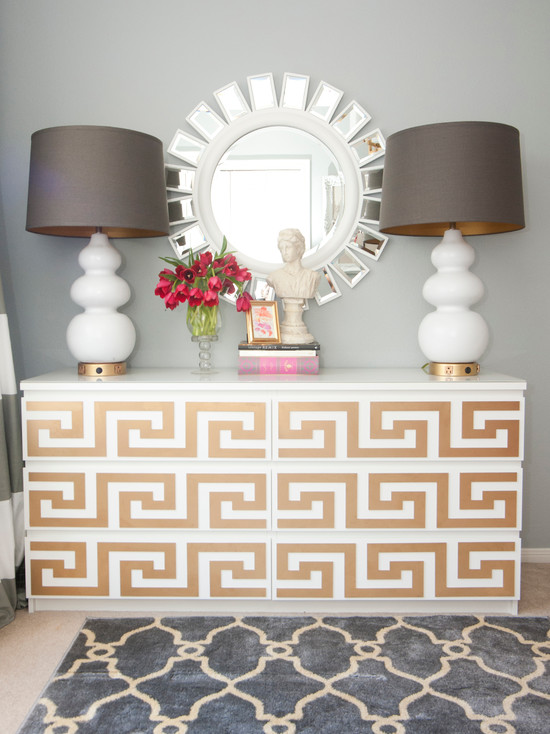
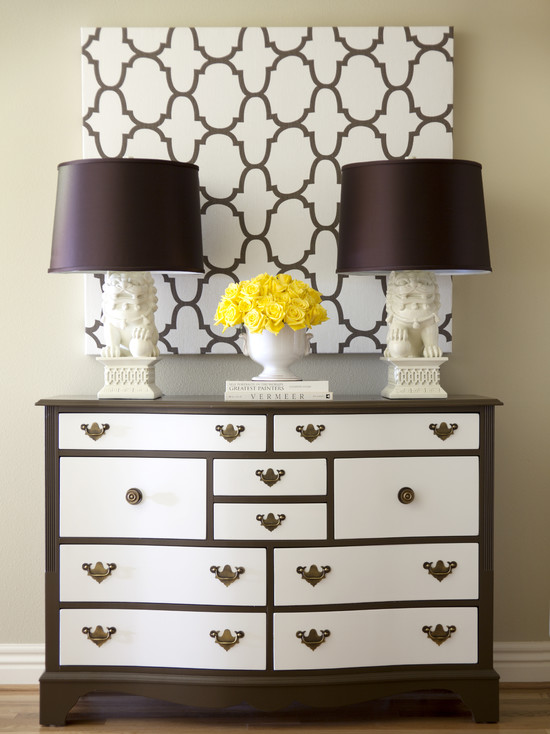
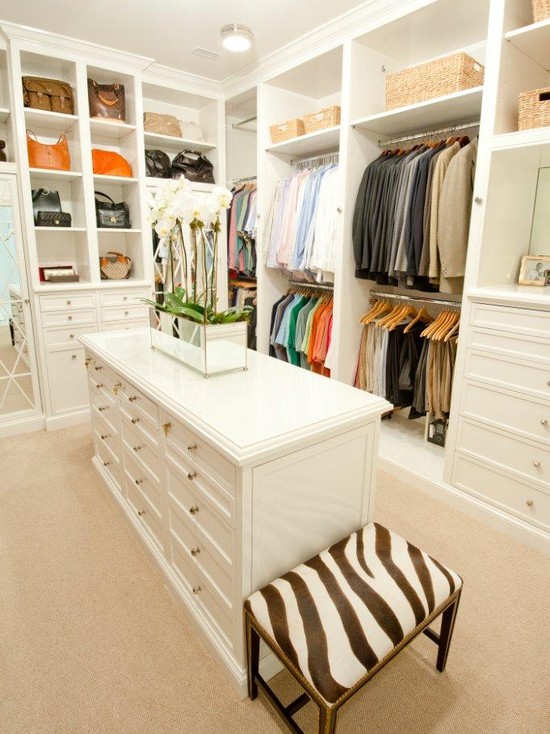
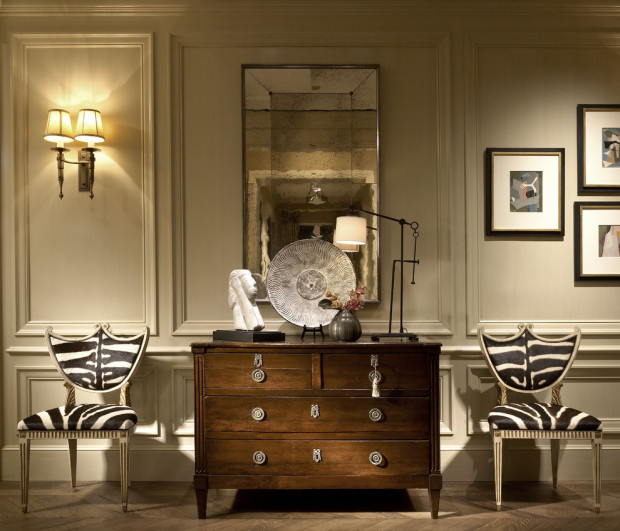
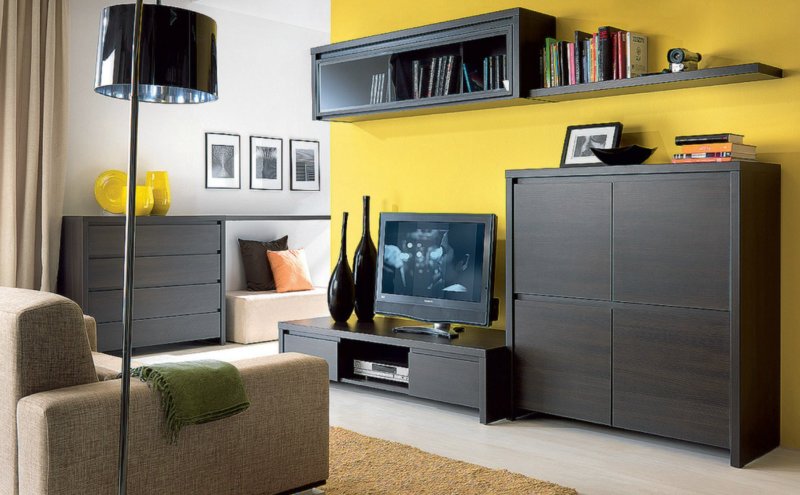
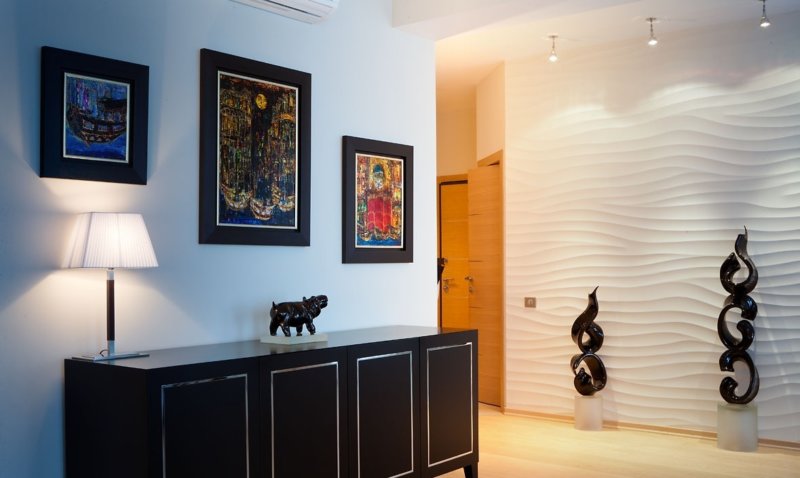
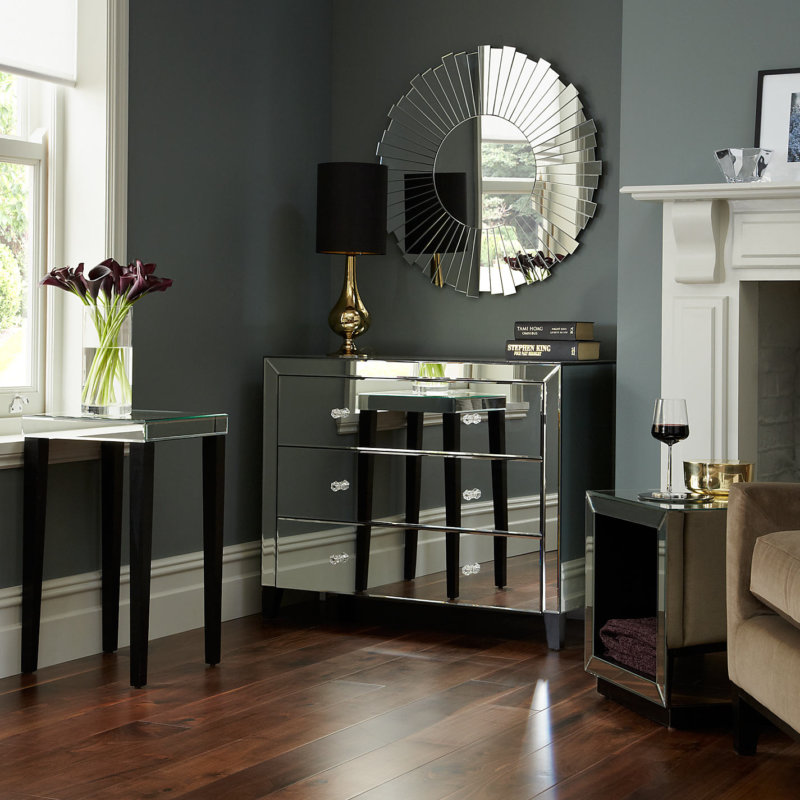
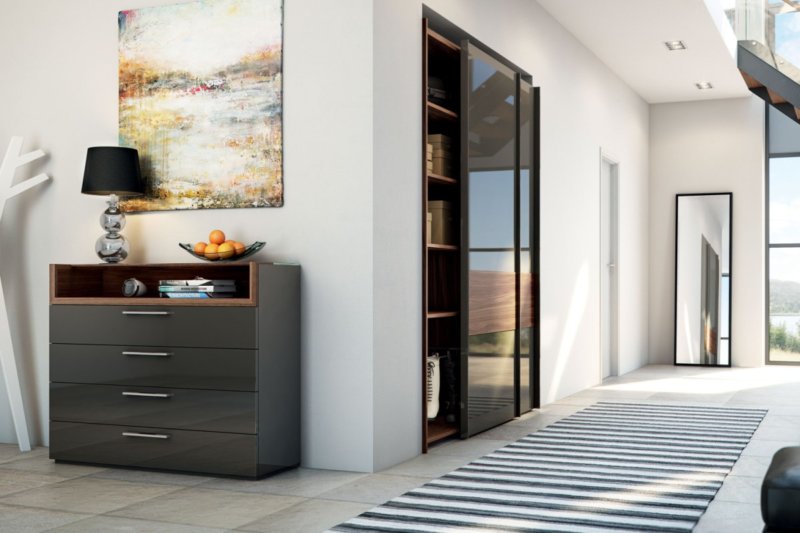
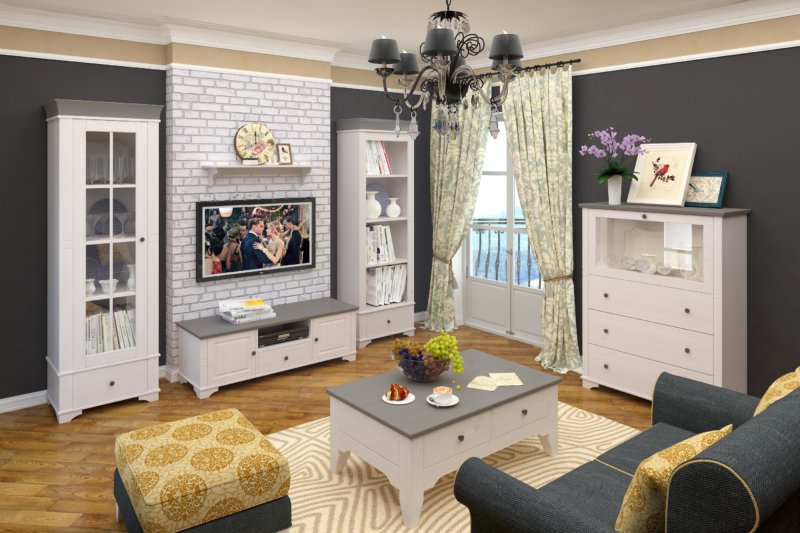
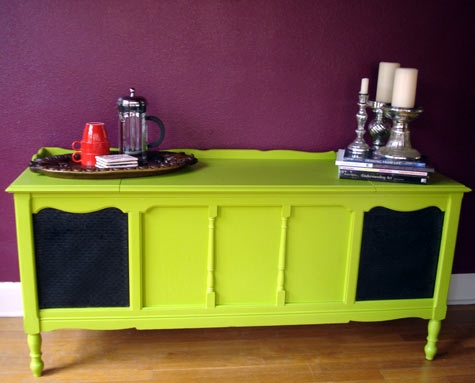
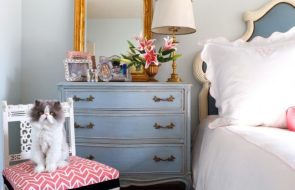
Chests of drawers in a modern interior – 50 photo ideas: