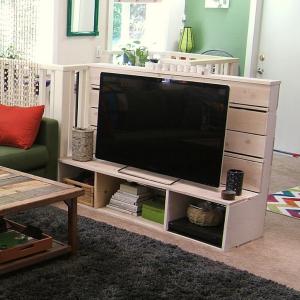
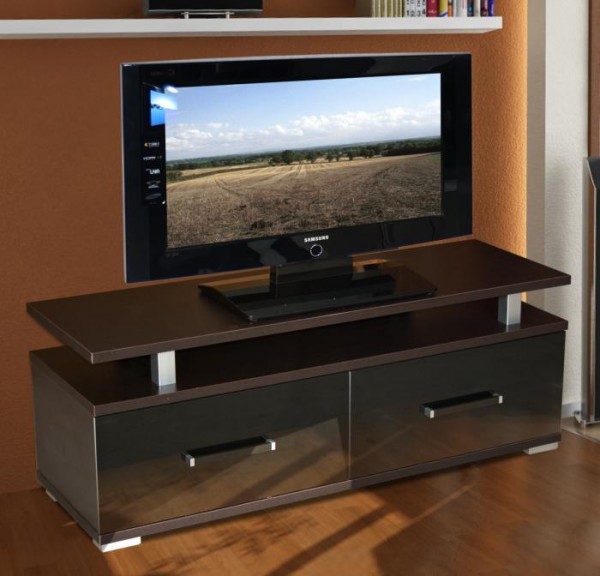
TVs are becoming more compact. TV models allow you to easily mount them on walls, on special brackets. Despite all the newfangled interior solutions, the TV stand does not lose its relevance.
The interior itself does not always facilitate wall mounting. This can be hindered by a window opening or materials from which the walls are made, which do not allow the bracket to be fixed. In addition, the functionality of a TV stand allows you to place a lot of equipment or other items on it.
Content
- Advantages of a DIY nightstand
- We draw a drawing of the future nightstand
- We select the best options of materials for work
- Preparing tools for work
- Step-by-step instructions for making a nightstand
- Making a long TV stand with your own hands
- We customize the cabinet with decor
- VIDEO: DIY TV Stand
- 50 DIY TV Stand Design Photo Ideas
Advantages of a DIY nightstand
Each buyer draws for himself an ideal model that will not only fit into the interior in terms of dimensions, but will also correspond to it in terms of color scheme and style. A wide selection of furniture products, including TV stands, allows you to purchase, it would seem, any model. However, when faced with a specific task of choice, a person often encounters the fact that the size, color, or design do not fit. It is this factor that pushes many people to start making furniture with their own hands.
Making a TV stand with your own hands is quite simple. To do this, you only need to choose the right model, focusing on your professional level. The choice of material for making the structure is also crucial. Some materials allow you to easily and conveniently work with them even for beginners, while others require not only skills, but also special tools for processing. Assembling a TV stand with your own hands requires meticulousness and a correctly constructed step-by-step scheme for mounting parts.
By assembling a TV stand with your own hands, you can not only get a unique design, but also save a lot on buying a ready-made model.
We draw a drawing of the future nightstand
For beginner furniture makers and just amateurs, it is best to use ready-made bedside table drawings. A lot of options can be found on specialized sites. When choosing a drawing, you need to focus not only on the final result, but also on the complexity of production and assembly. An important factor is the material recommended for production.
Some designs require certain materials that may not suit the craftsman in terms of price or durability. For example, models with narrow tabletops and a small cabinet depth can withstand a lot of weight when made from solid wood. Using chipboard in such cases will probably dramatically reduce the permissible load on such a cabinet. Therefore, it is extremely important to evaluate the weight and width of the TV that will stand on it. It is also necessary to remember about additional accessories that will be needed when working with the TV, these can be speakers, a video player, etc.
Often, a TV stand contains CDs, magazines, newspapers, and decorative items. This should also be taken into account before starting to make a drawing with your own hands.

We select the best options of materials for work
The variety of materials allows you to make both very cheap and simple models, and aim for chic. Not every TV stand can be made with your own hands using any available material. Some designs involve only wood or only plywood. There are also more universal designs that can be made with your own hands from existing scraps or leftovers from other furniture.
When making a cabinet you can use:
- MDF.
- Chipboard.
- Plywood.
- Timber.
- Wood, in the form of glued panels.
- Array.
You can also make a cabinet partially from glass or decorative plastic. These materials are most often used for tabletops and furniture doors.
Chipboard is the most unpretentious option for work, it does not require any special tools for cutting or grinding machines. It is easy to cut and process. Its obvious advantage is also the price.
When buying wood, you should pay attention to its quality. An important nuance is the absence of defects and dryness of the purchased material. Wet wood can deform indoors, thereby spoiling the finished product.
Preparing tools for work
You can make a bedside table with your own hands if you only have a jigsaw. Some craftsmen even do without it, ordering sawing according to the drawing when buying the material. Assembling furniture with your own hands still requires the following professional and non-professional tools:
- Pencil, marker or other writing instrument.
- Thick cardboard for making patterns.
- A ruler and a tape measure.
- A compass if some of the pieces will be round or have rounded edges.
- A jigsaw with blades of the required size.
- Clamps when gluing parts.
- Glue.
- Tape for finishing cut edges.
- Screws, self-tapping screws, confirmats.
- Grinding machine.
- Drawer guides for bedside tables.
The list can be shortened or expanded depending on the complexity of the product and the materials selected.
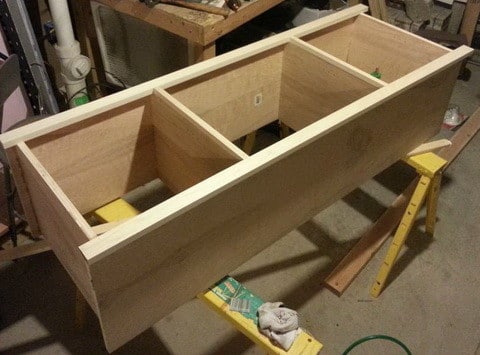
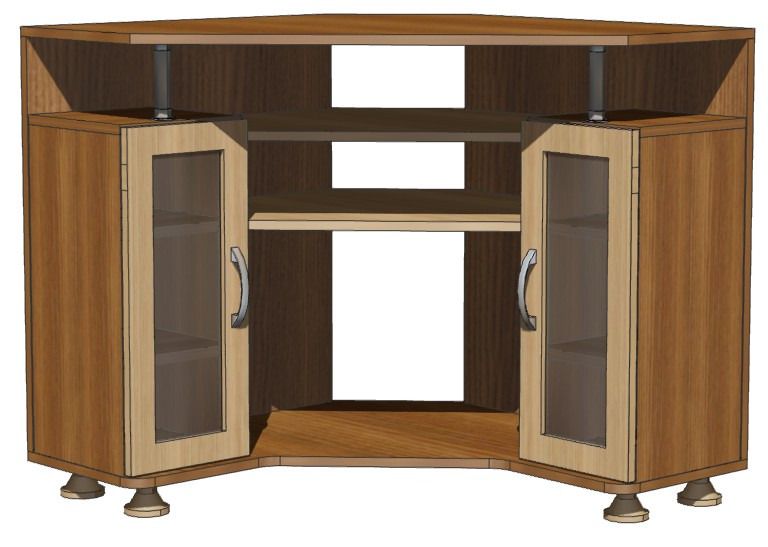
Step-by-step instructions for making a nightstand
- We prepare a drawing. We take a ready and tested drawing, or we develop it ourselves, taking into account the dimensions of the TV and its weight.
- We make patterns of all elements. This stage will allow us to accurately calculate the material consumption and avoid making a fatal mistake.
- We cut out materials.
- Sanding the cut edges. When working with wood, you will have to sand not only the cuts, but also the rest of the surfaces.
- We glue the edges with tape. This step is necessary when using chipboard material. To glue the tape, you will need an iron and a soft cloth.
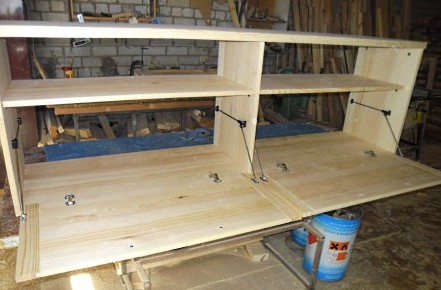
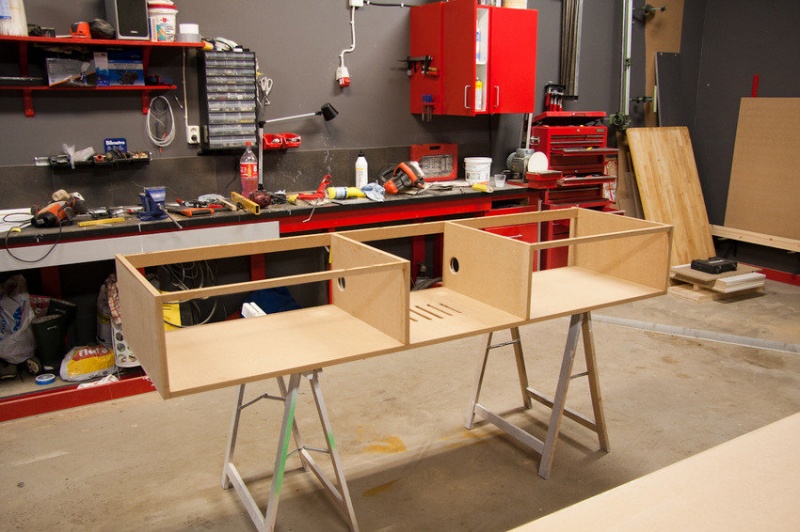
- We assemble the cut-out parts. The assembly is always done according to the same scheme. You should start with the tabletop. The legs or side backs are attached to it. Then the bottom shelf is screwed on. After the general structure is assembled, we fill the cabinet with additional parts - middle shelves. The back and doors are attached in the penultimate turn. If there are drawers, you should provide for preliminary fastening of the guides on the inner sides of the side walls.
- The final stage of assembly is attaching the legs, rollers or heel pads.
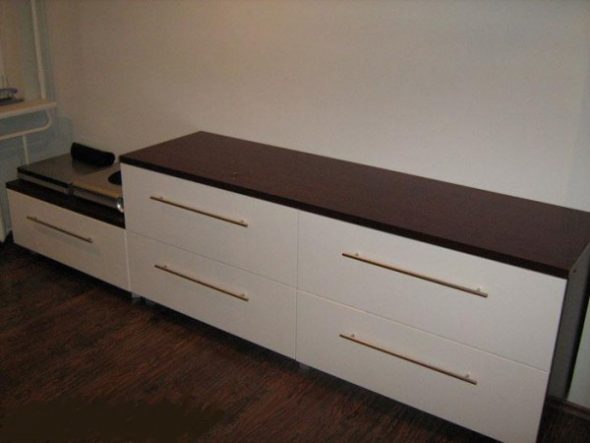
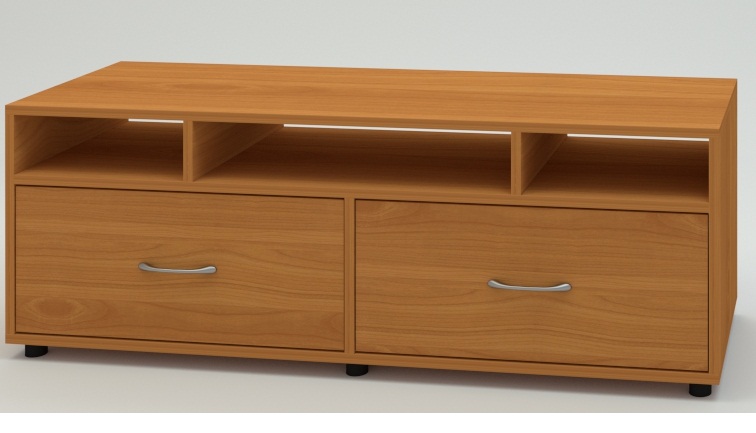
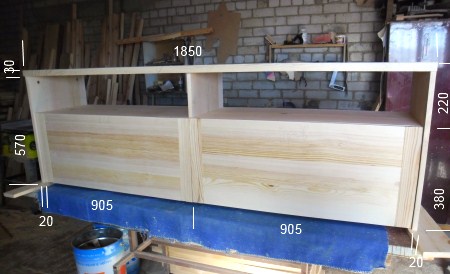
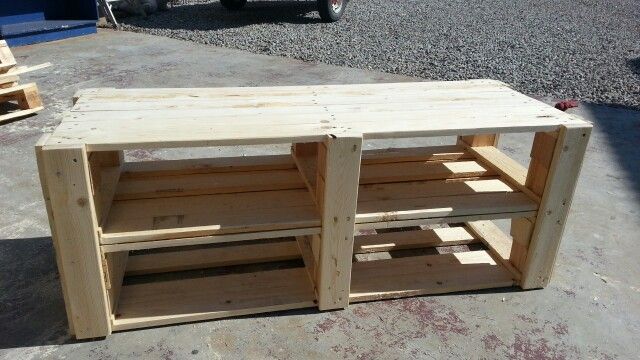
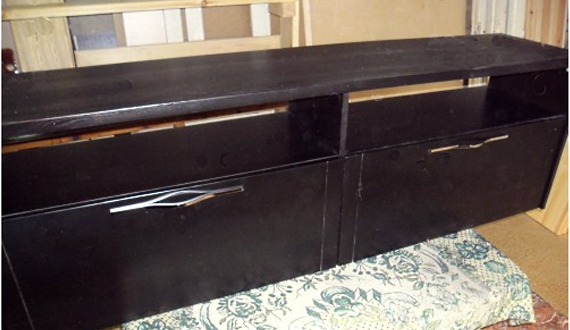
Making a long TV stand with your own hands
To make a cabinet with your own hands, take laminated chipboard of the color you like. Chipboard width 16 mm or 18 mm.
Insert a picture - http://prntscr.com/fit8k0
Necessary details:
- Two sheets measuring 1600x454 mm for the table top and the bottom of the product.
- Three walls 545x454 mm.
- Shelf 767x454 mm.
- Back wall made of MDF 1600x545 mm.
- Two drawers measuring 759x223 mm.
- 4 decorative handles.
- 4 legs.
- 4 heel pads.
In addition, you will need screws, self-tapping screws and four guides for further fastening the manufactured boxes on them. It is advisable to make a shelf from MDF between the boxes, measuring 767x454 mm.
To make the drawers, you will need two pieces of MDF measuring 750x445 mm, which will be used to create the bottom of the drawer. The side walls of the drawers will require four pieces of chipboard measuring 450x220 mm. And two pieces of chipboard measuring 755x220 mm, which will form the back wall of the drawer. Assembly of the drawer begins with connecting the side and back walls. Then the MDF bottom is attached. The last element is screwed on the front part, to which decorative handles are pre-attached.
Making a bedside table with drawers is quite difficult, so this model should only be undertaken by craftsmen who already have certain skills in assembling furniture.
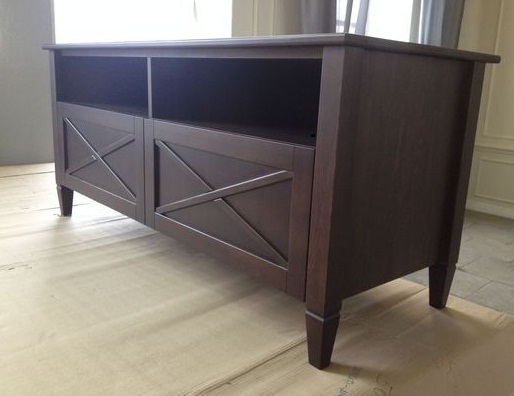
The same model can be assembled without using drawers. The second section can be left without a partition to allow for larger pieces of equipment or decor. Or it can be made identical to the first section. The inner wall should not be removed because it gives the structure additional stability, preventing it from sagging under the weight of the TV.
We customize the cabinet with decor
Not every material requires finishing. Laminated plywood looks quite self-sufficient even without additional decoration. Chipboard has glued decorative surfaces and, except for gluing the cut edges, does not require painting. Solid wood is perhaps the most demanding in this regard. It must be primed and treated with stain. Such a coating helps to emphasize the wood pattern and protect the wood from dullness, dust and moisture. If desired, the wood can be painted or varnished. Wooden elements can also be decorated in the form of artistic carving on the outer walls or tabletop. Any materials can be painted, covered with a decorative film, or stenciled.
Often, the decor of TV stands consists of combining different materials and decorating it with glass parts. The glass used should not be less than 8 millimeters thick. Transparent, dark, mirror glass can be used. Stained glass doors look beautiful, although these structures are more fragile than solid sheets of glass.
VIDEO:tv stand with your own hands
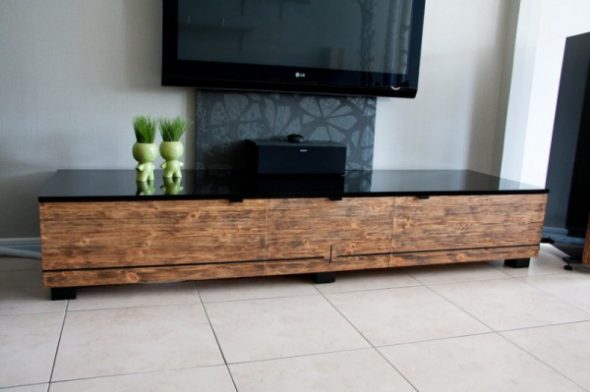
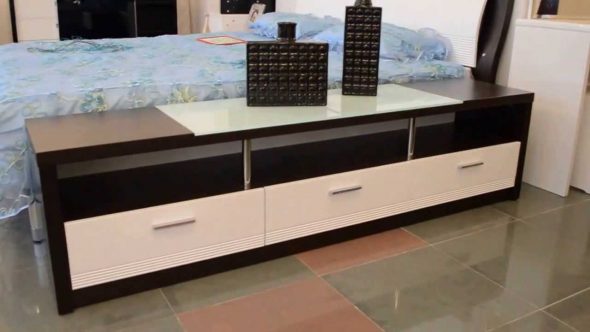
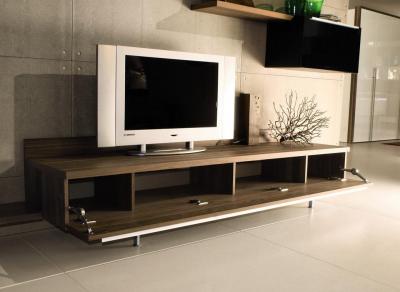
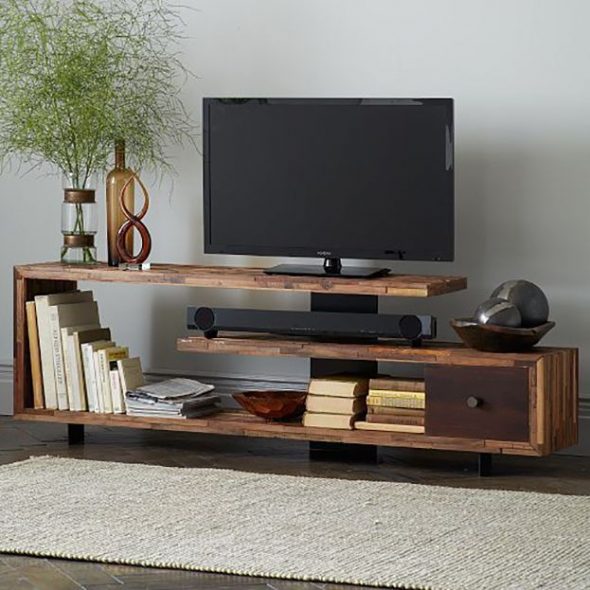
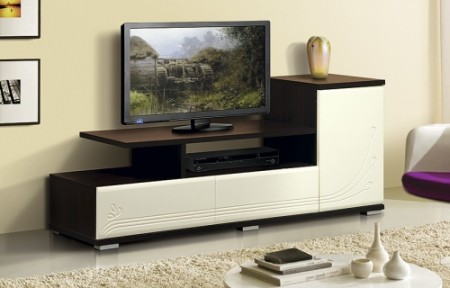
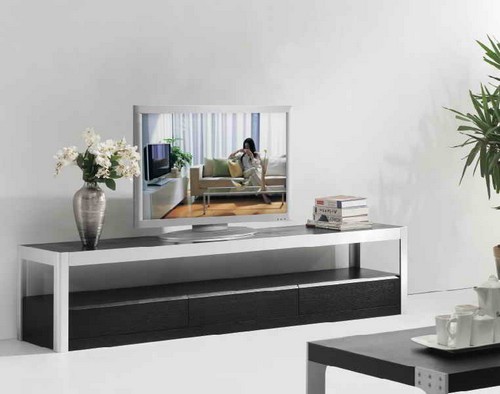
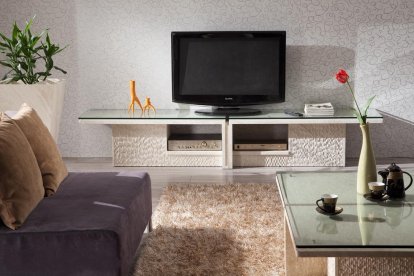
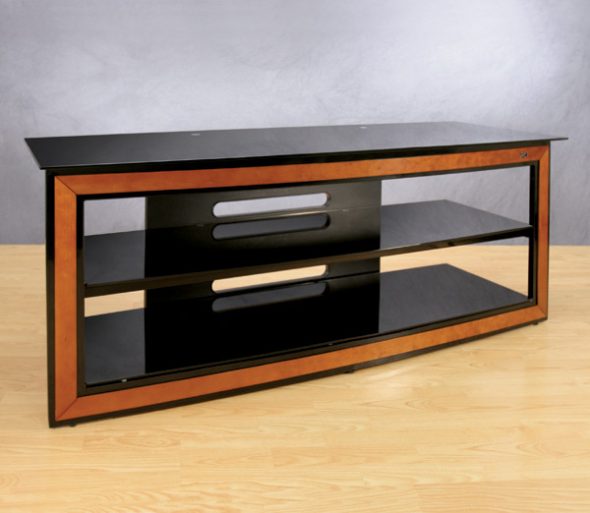
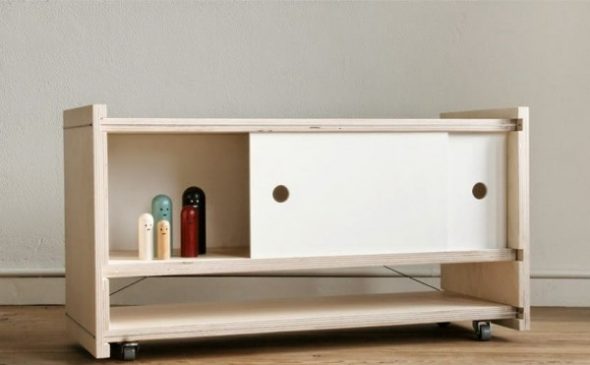
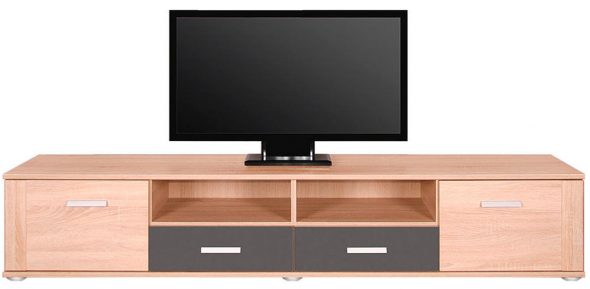
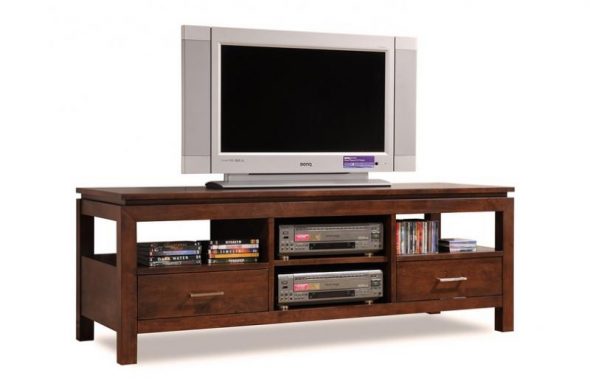
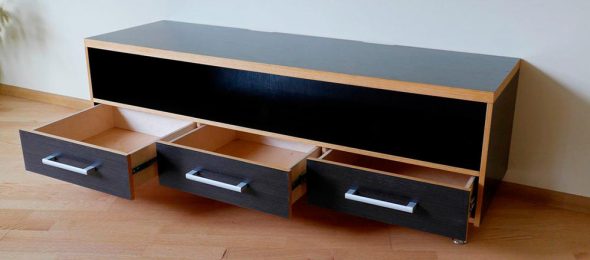
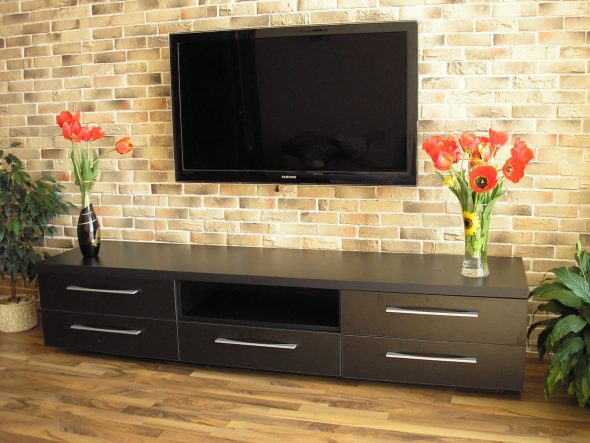
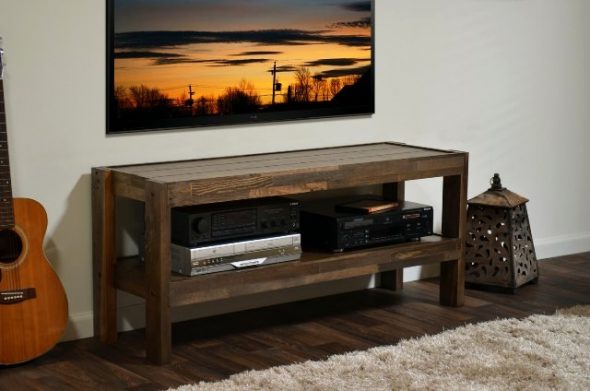
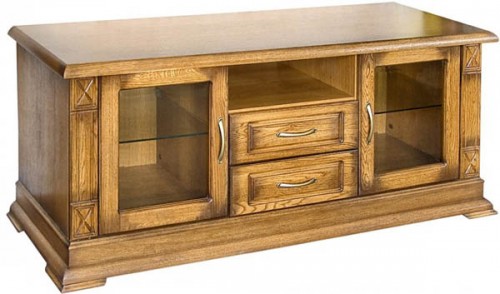
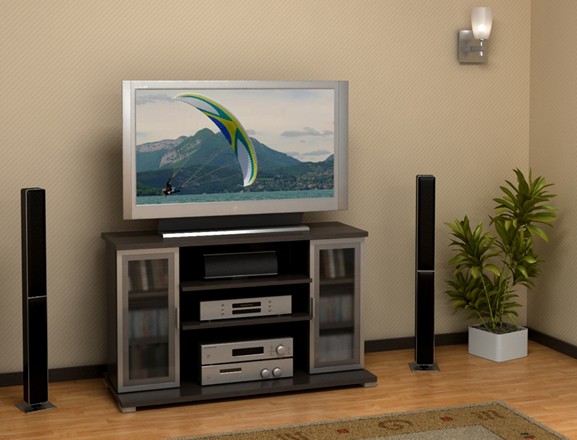
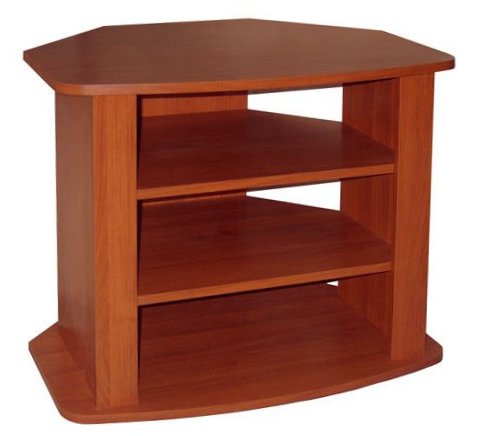
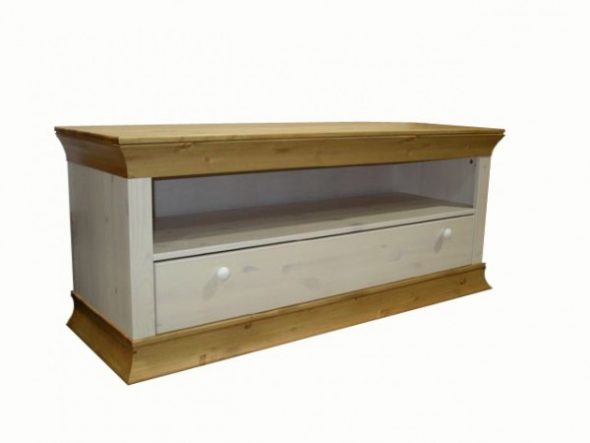
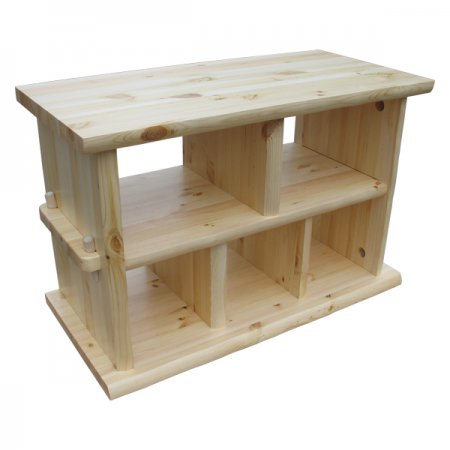
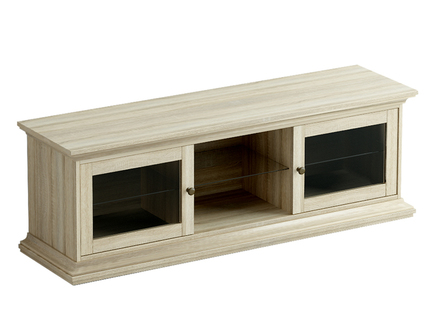
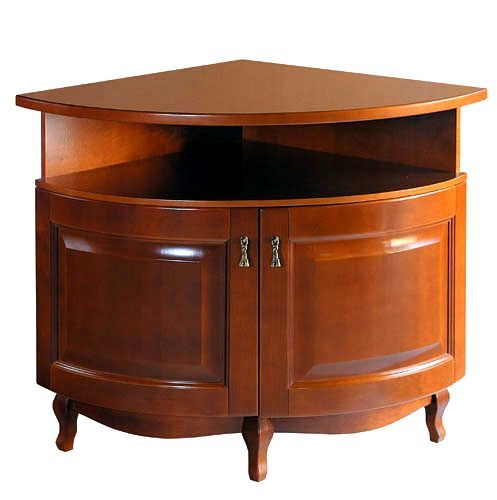
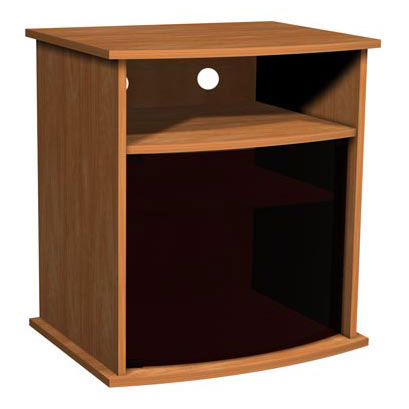
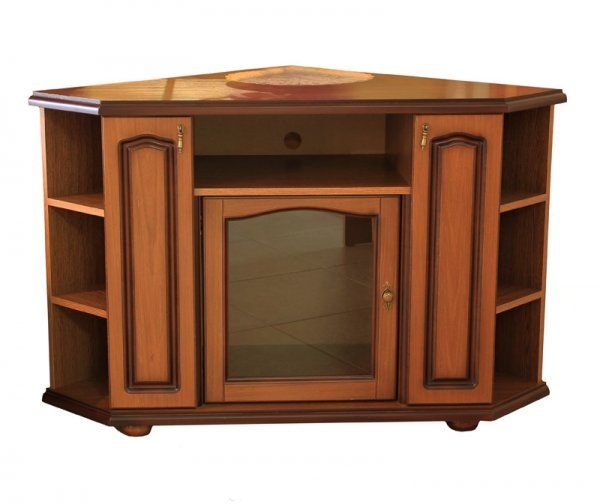
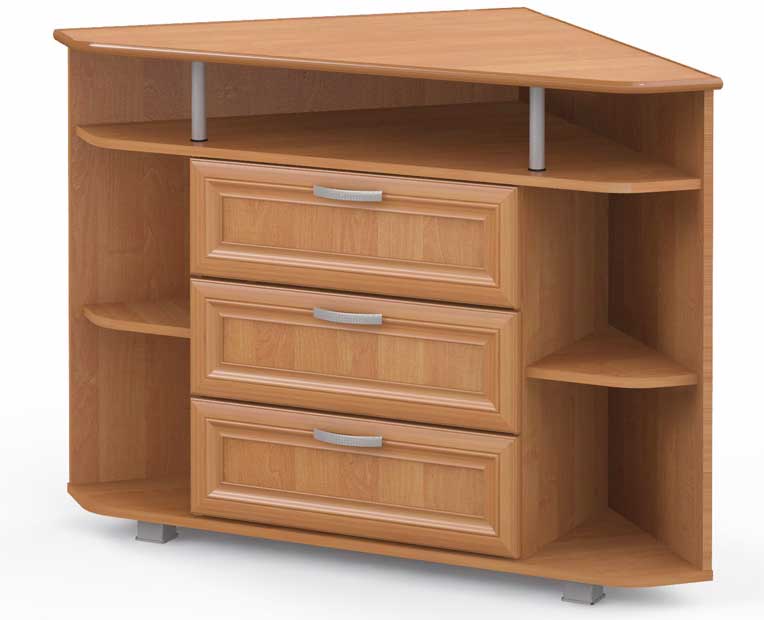
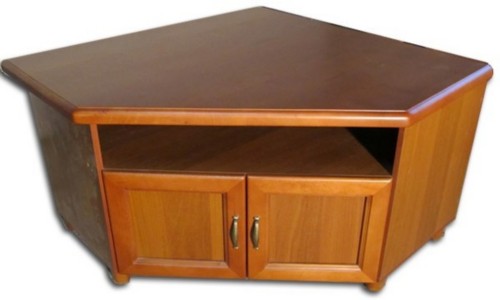
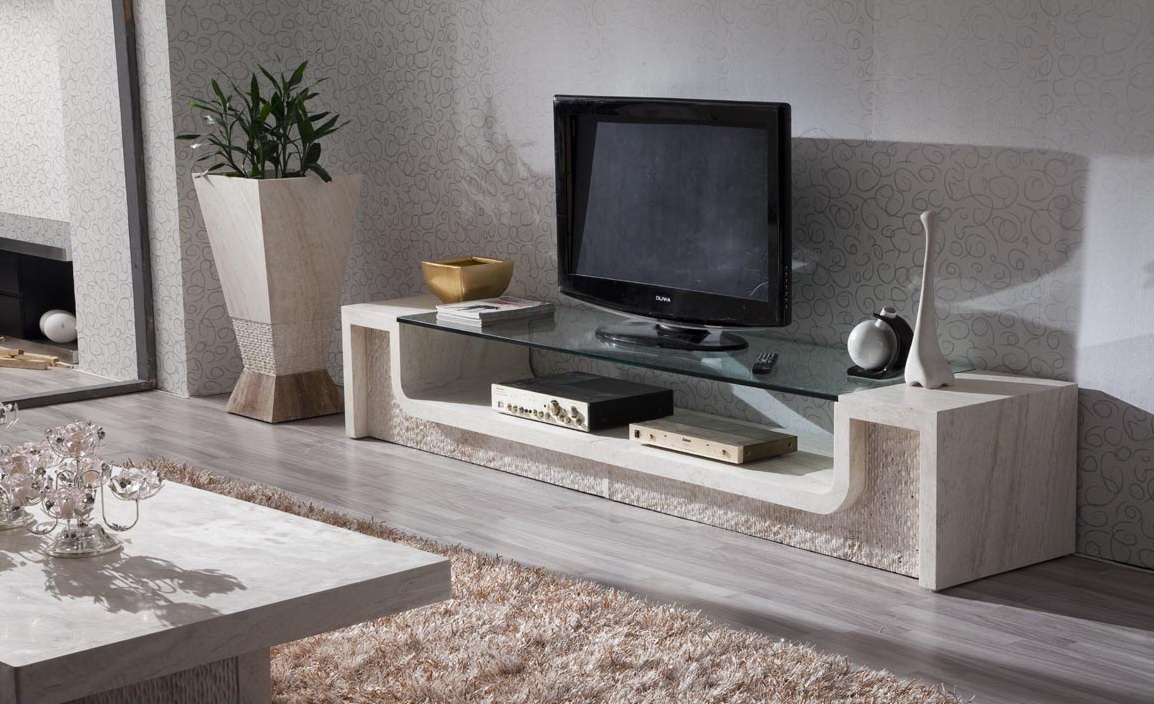
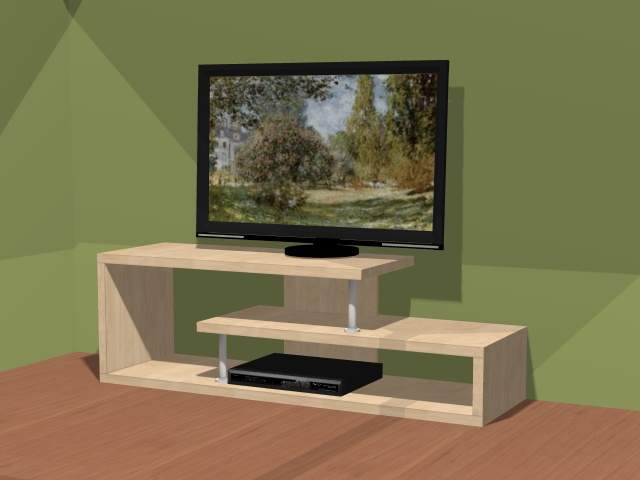
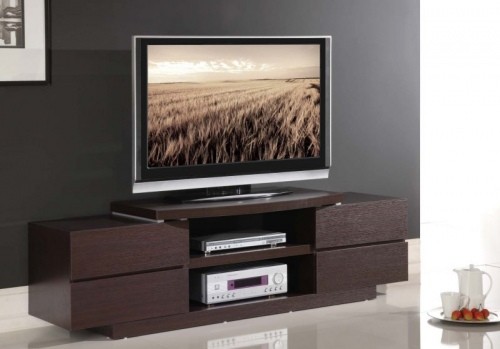
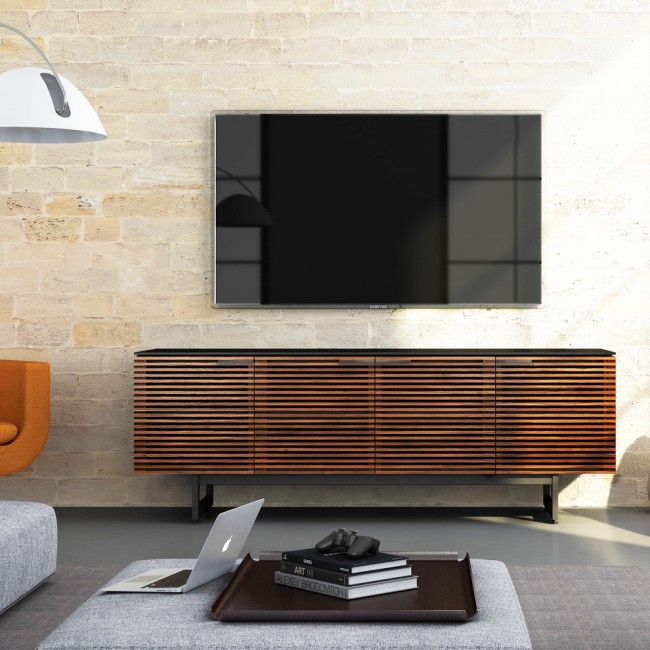
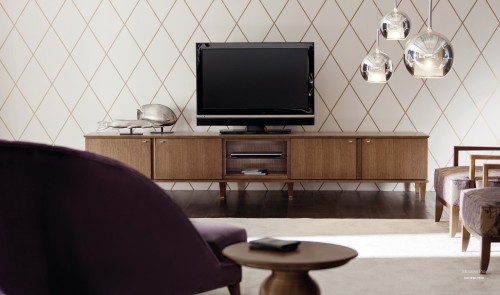
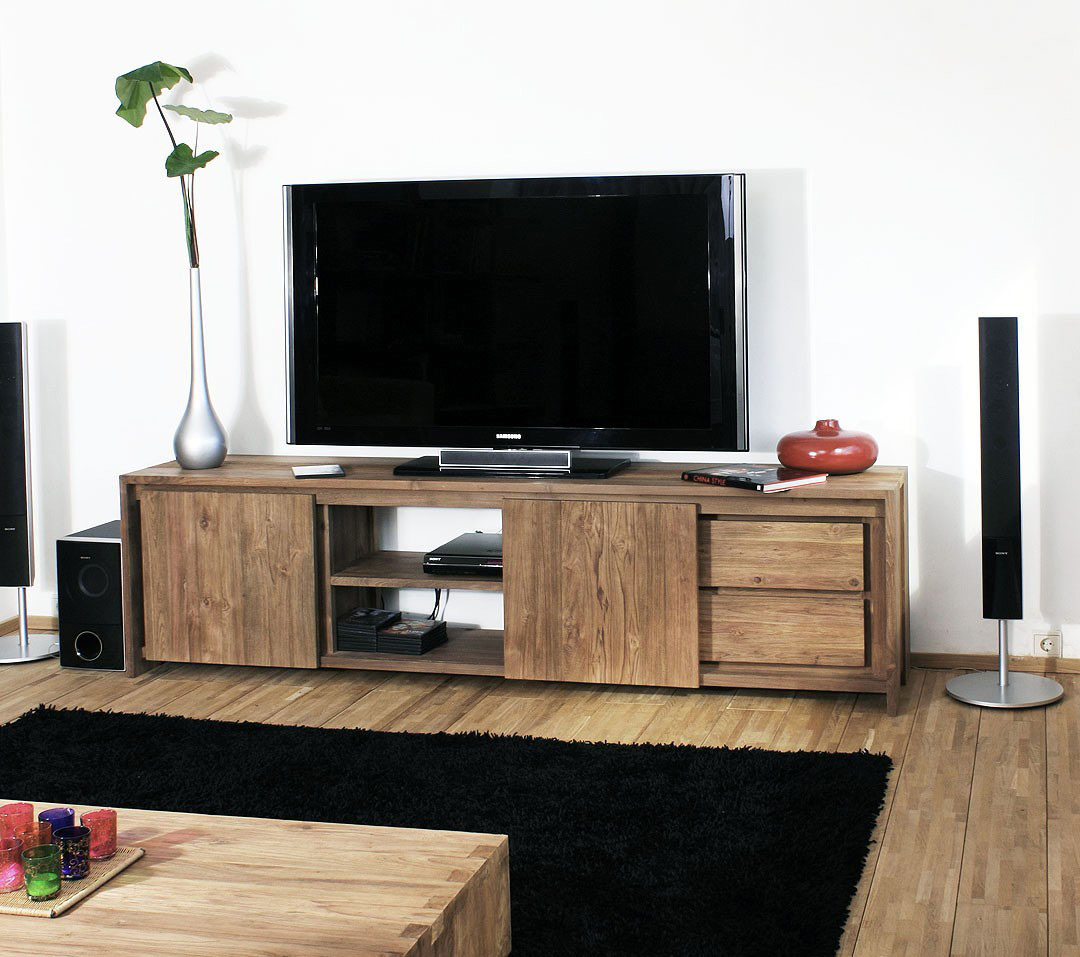
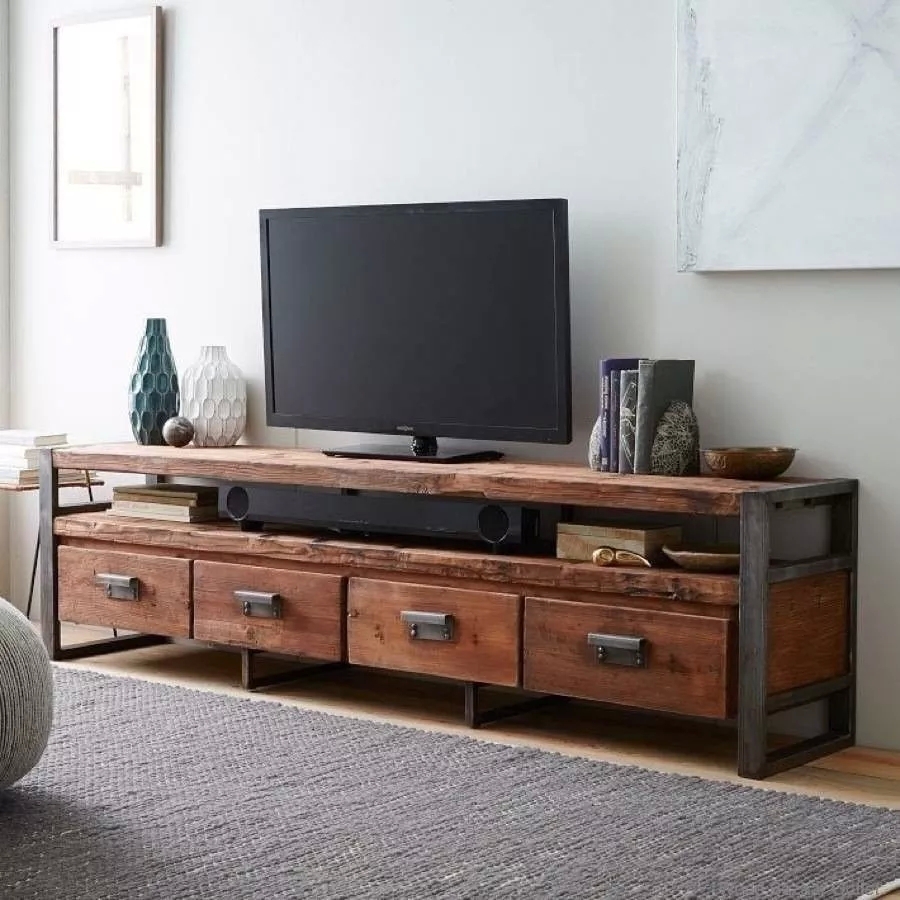
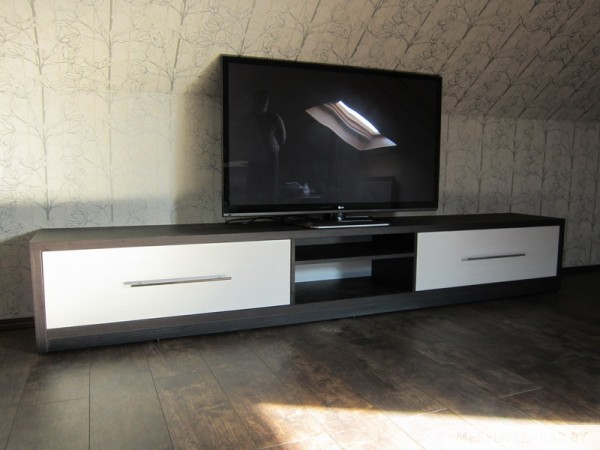
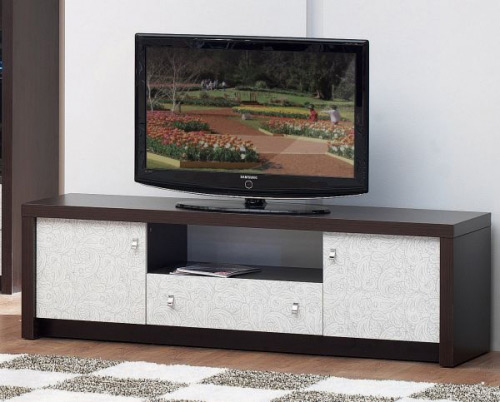
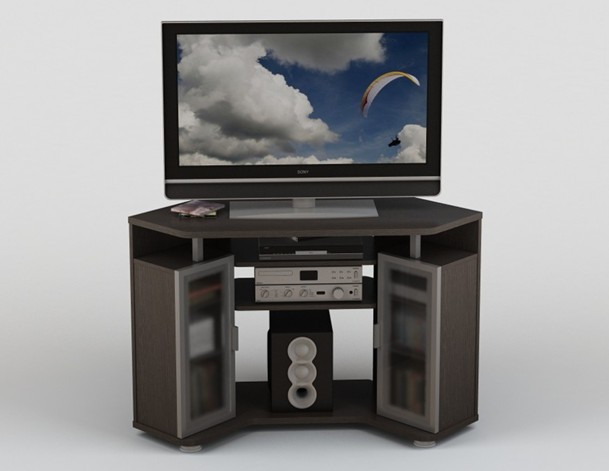
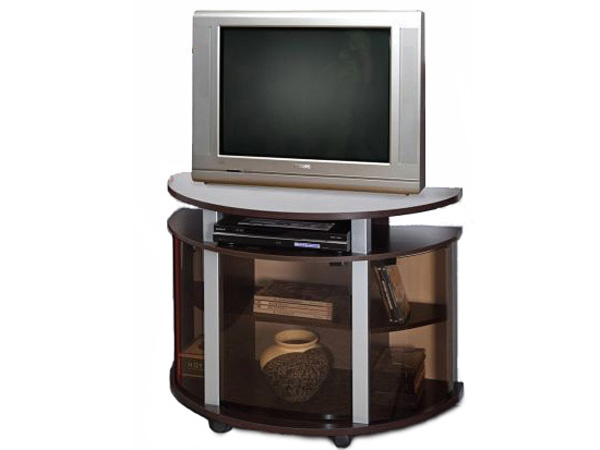
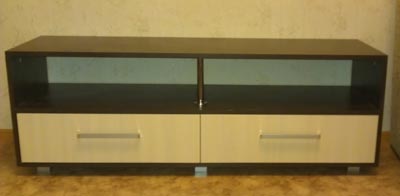
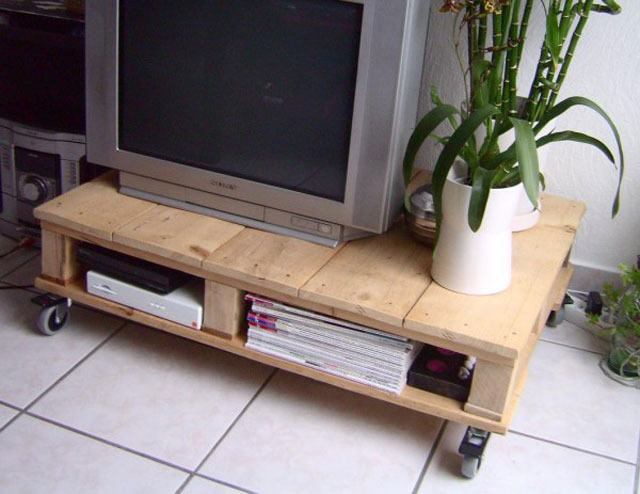
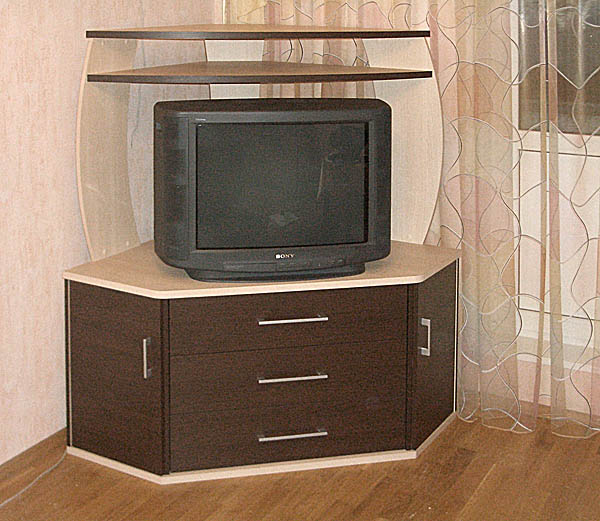
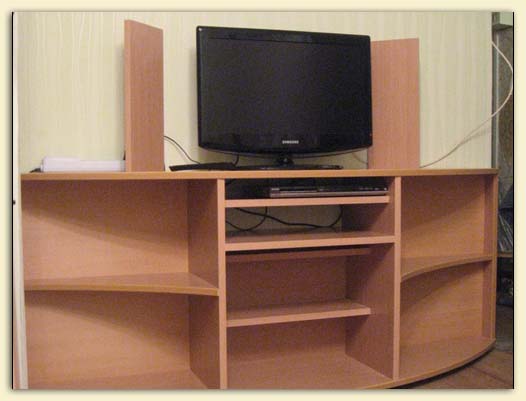
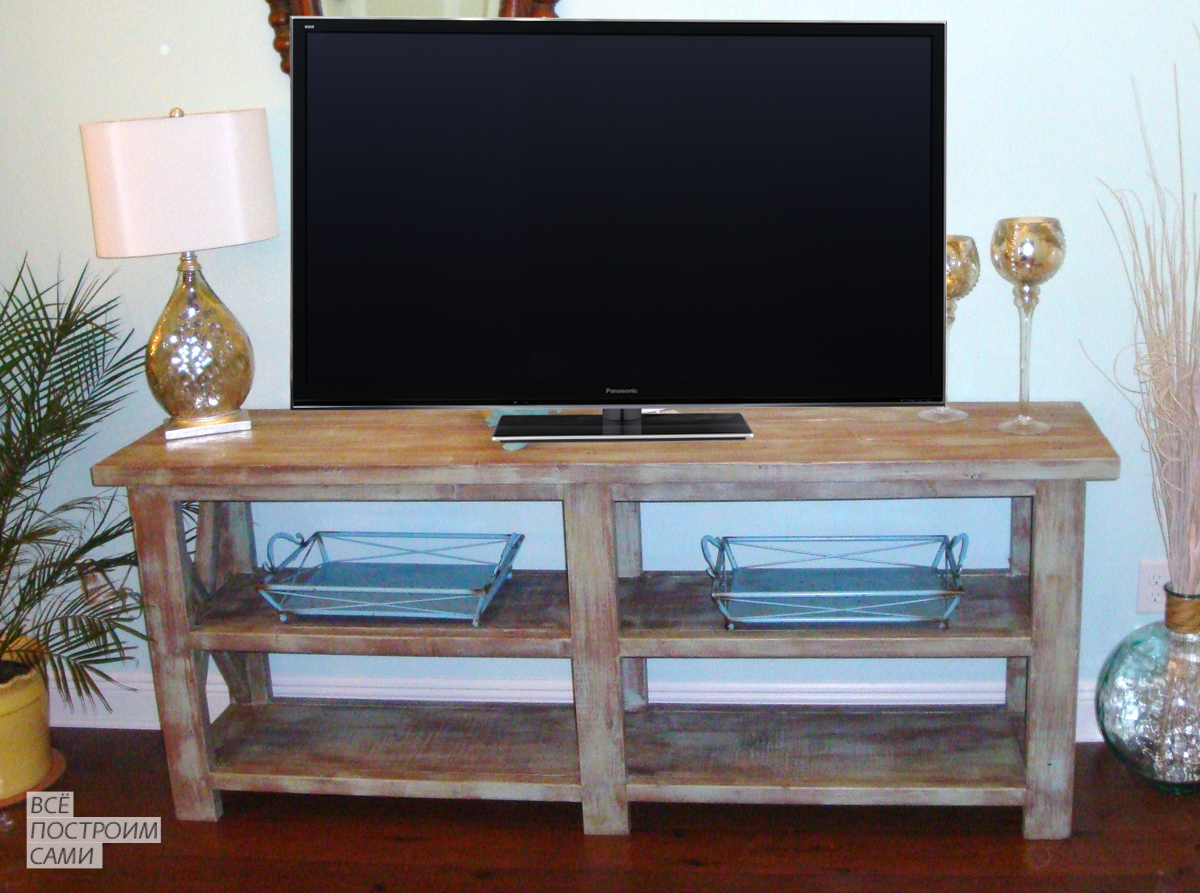
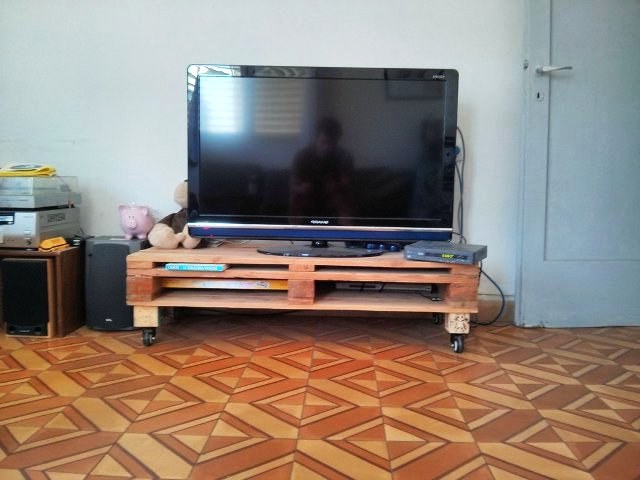
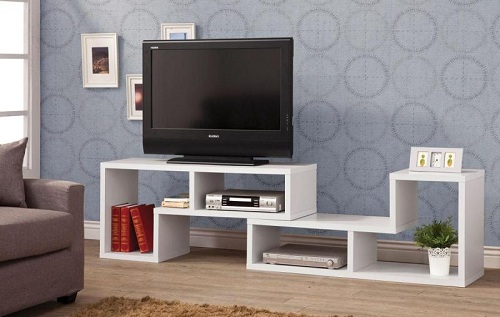
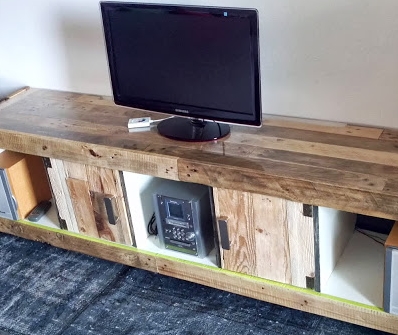
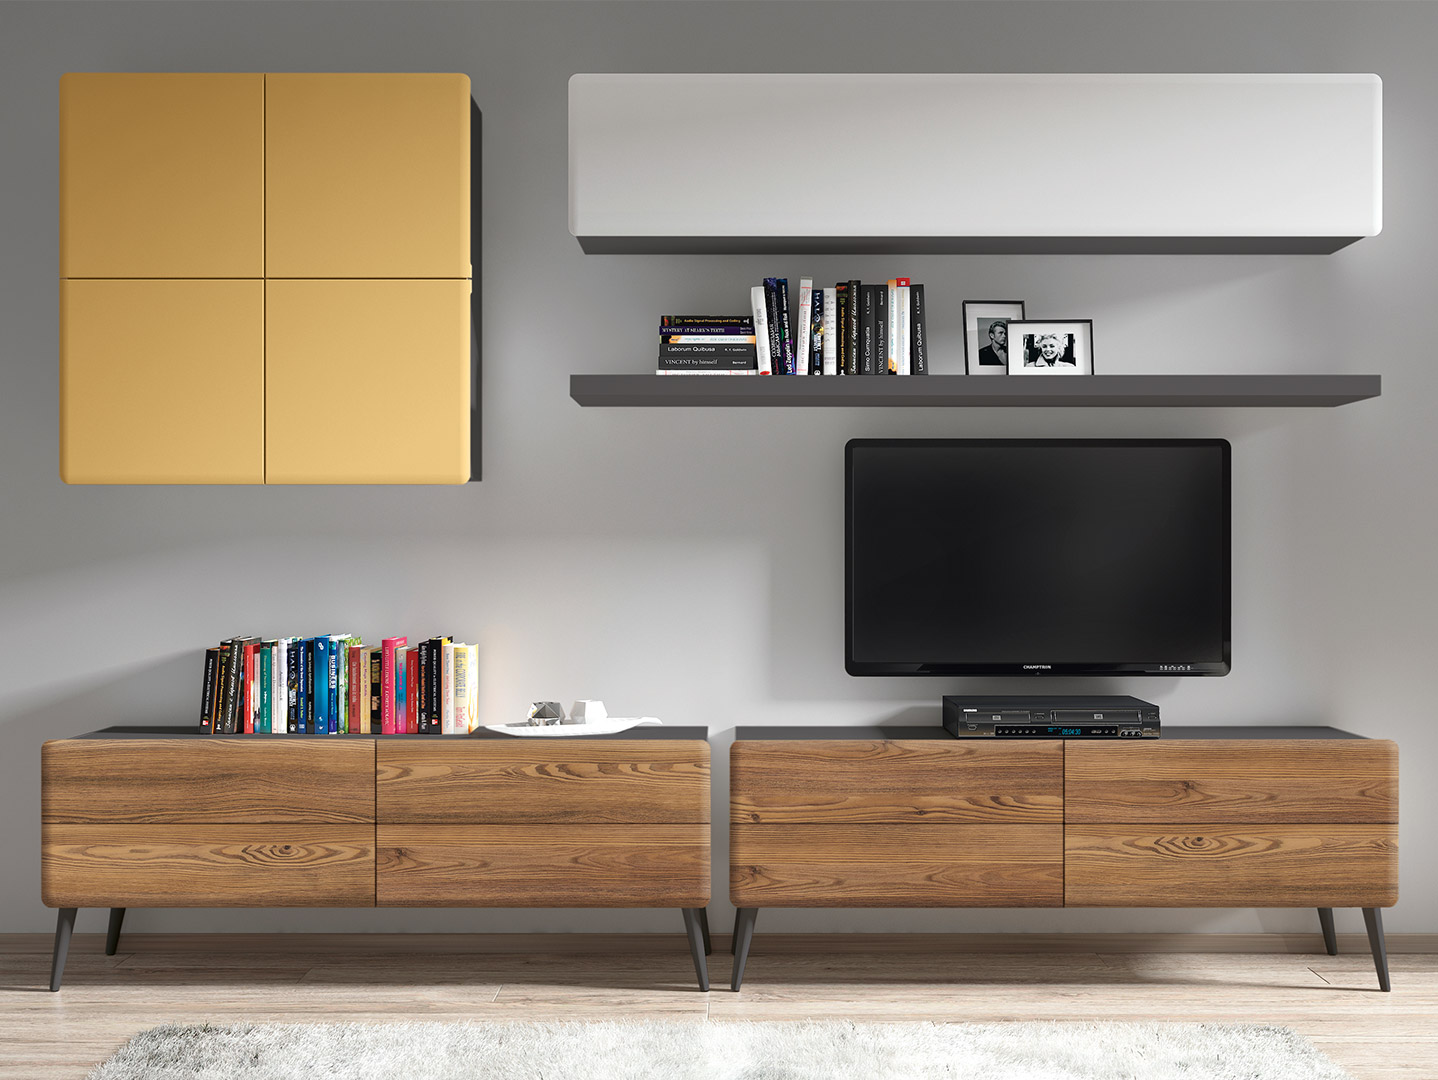
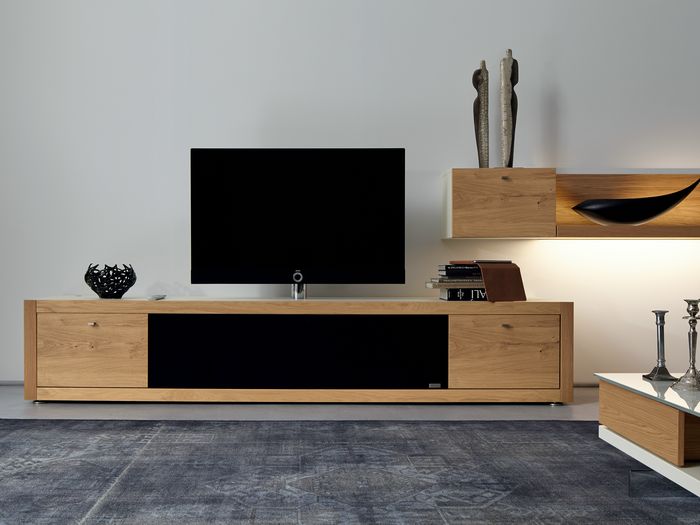
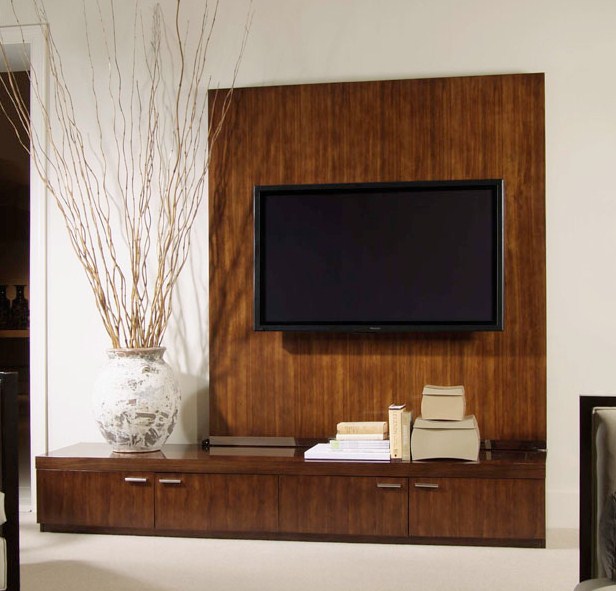
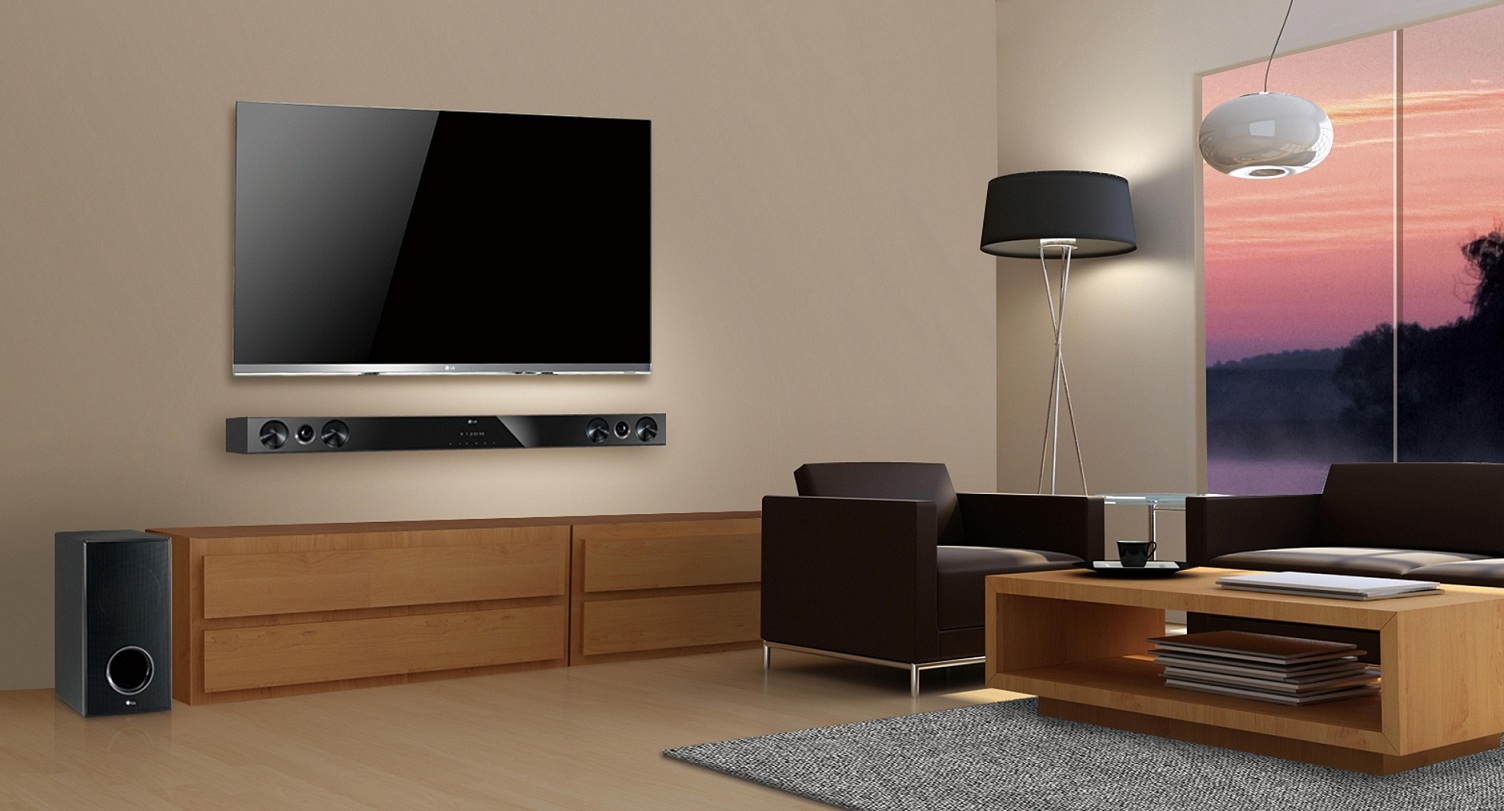
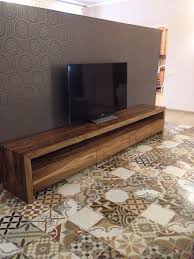
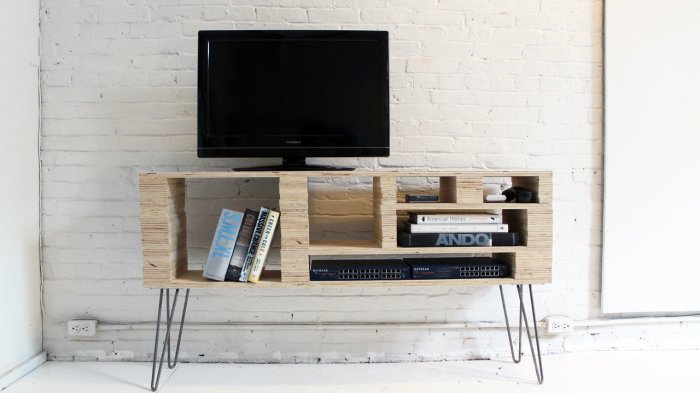
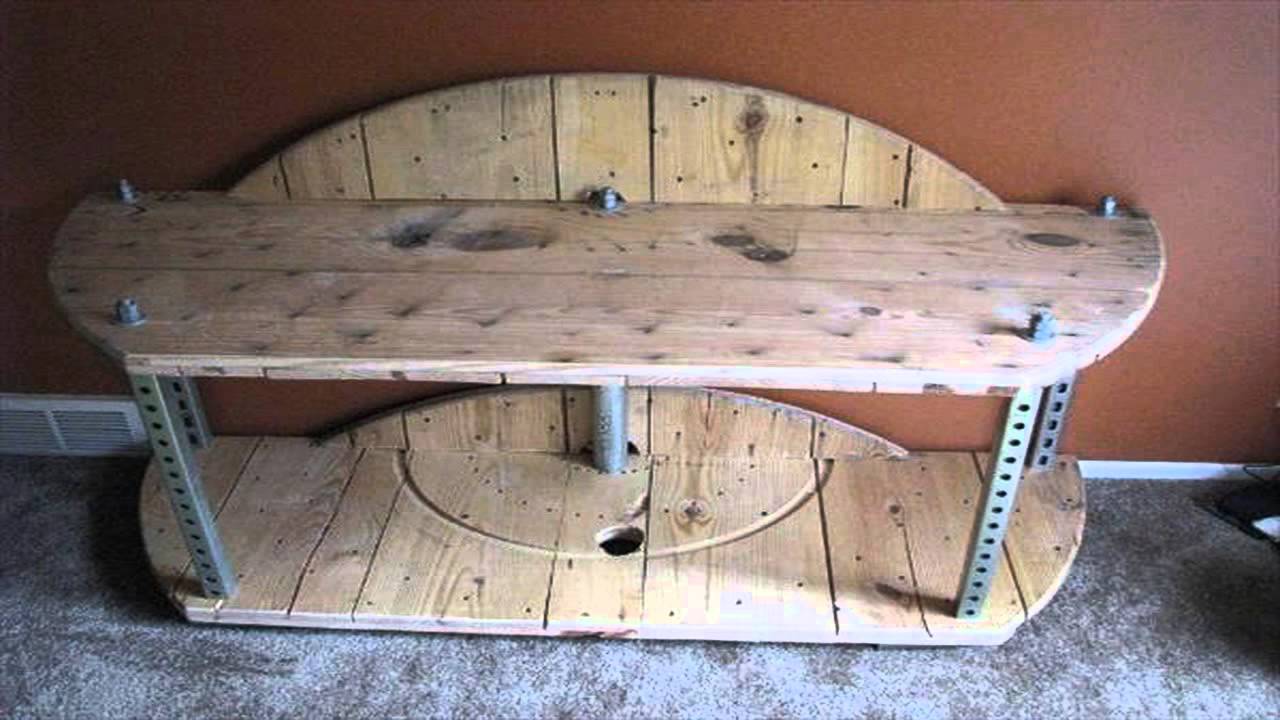
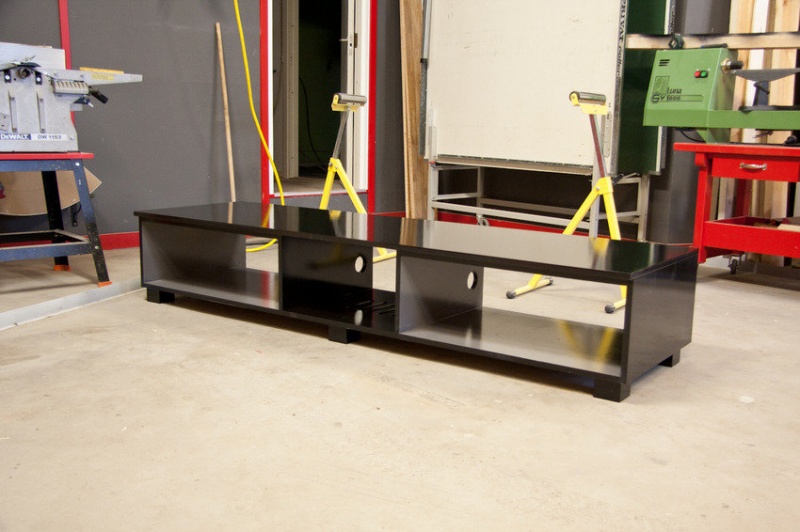
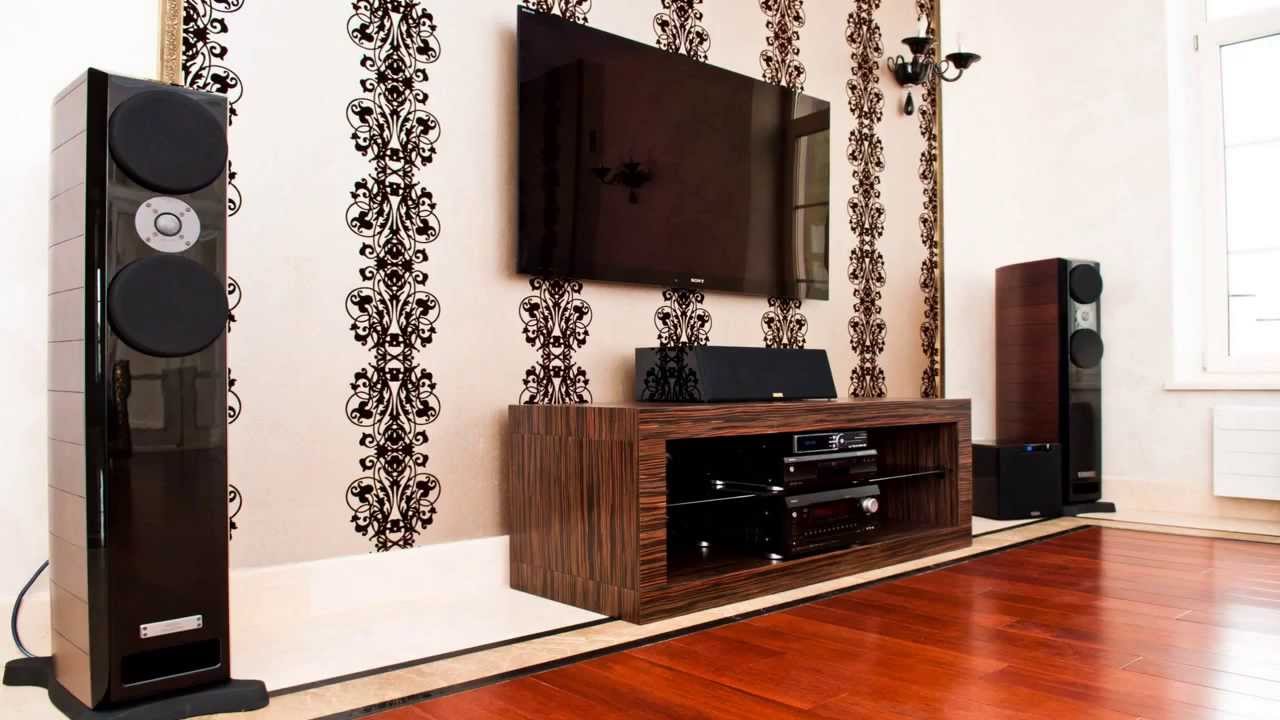
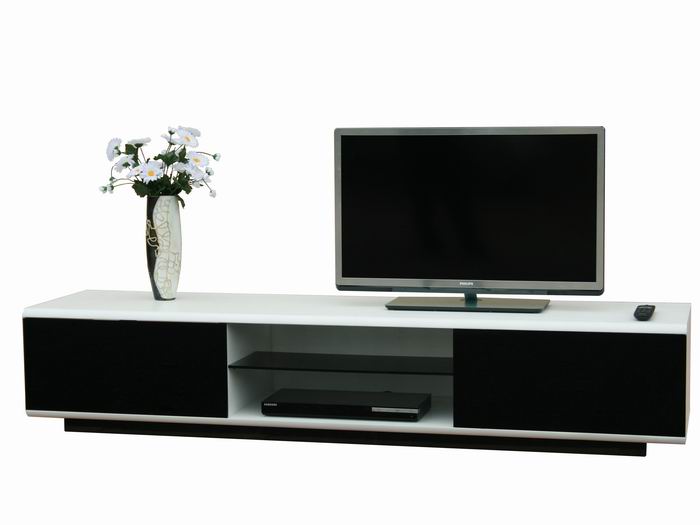
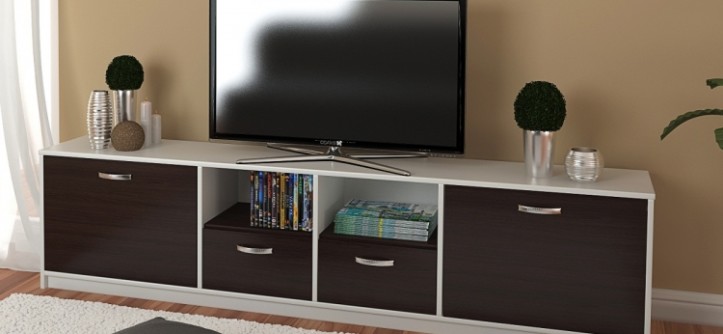
50 DIY TV Stand Design Photo Ideas


Why do it yourself if you can buy a cheap new one? I recently bought it on Avito, people post that it didn't suit them, and I took it)) And there's less suffering))
And you can eat in the canteen. Why cook at home?
yeah, and with our salaries, cooking at home will be cheaper )))
Well, firstly, you will make the furniture yourself according to the size you want, who else but you will assemble your own furniture for yourself better, because the quality of assembly and the models sold is very questionable, thirdly, the choice of materials, colors from which you can assemble a wardrobe or bedside table is varied.
Andrey, I completely agree with you.
Well, cutting out the appendix is not a problem either. Big deal, you can say almost the same thing as you write: “It’s quite easy to make a TV stand (a surgical operation is performed) with your own hands.”
That's what everyone will think: the accountant will run to the store for boards, and the cashier will knock something together from chipboard. Of course, if a person likes and wants to do something with his own hands, go ahead, enjoy it. But saving money is a dubious undertaking.
for some reason no one treats their own teeth. it's more economical
What the hell for?
And why did they write all this? Is this an article about what kind of cabinets there are or about how to make a cabinet with your own hands? It won't help a person who decided to make a cabinet with zero knowledge.