It is impossible to imagine a stylish, modern bathroom without a vanity unit under the sink, which hides communications, expands functionality, and ennobles the interior. Many people buy this item, but there is an opportunity to make it yourself. Then a logical question arises: "How to make a vanity unit yourself?"
Content
Buy or make it yourself?
The bathroom space does not always meet the standards, so it is not so easy to place all the necessary items. It is not easy to select furniture from ready-made options according to individual sizes. Trying to squeeze in what you managed to buy is stupid. Any non-standard situation requires an extraordinary solution. You cannot do without custom-made furniture here.
Not everyone can afford to order custom-made items from professionals. In addition, workshops are often overloaded with orders, and you will have to wait quite a long time for your small cabinet. In this case, a cabinet under the sink with your own hands will be the best solution. You will be able to save time and money.
Making a bedside table yourself is worth it for those who have skills in working with furniture. It is always nice to get an original thing and create a unique interior. Moreover, decorating a sink with your own hands is not particularly difficult.
How to determine the parameters of a pedestal
There are many options for making a bathroom cabinet. It is advisable to select parameters based on financial capabilities, the intended functions of the item, style, dimensions of the bathroom, and personal preferences of the owners. The main selection criteria are: type (location of the cabinet, installation option for the bowl), the material from which it is made.
Types of vanity units
Depending on the location, the pedestals are divided into:
- pendant;
- floor;
- angular.
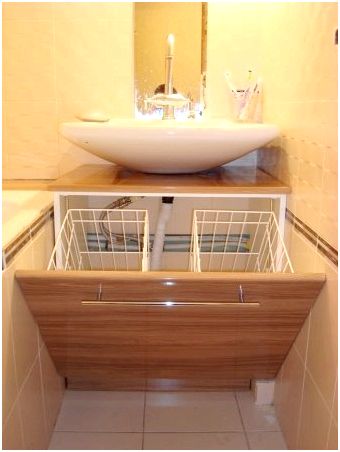
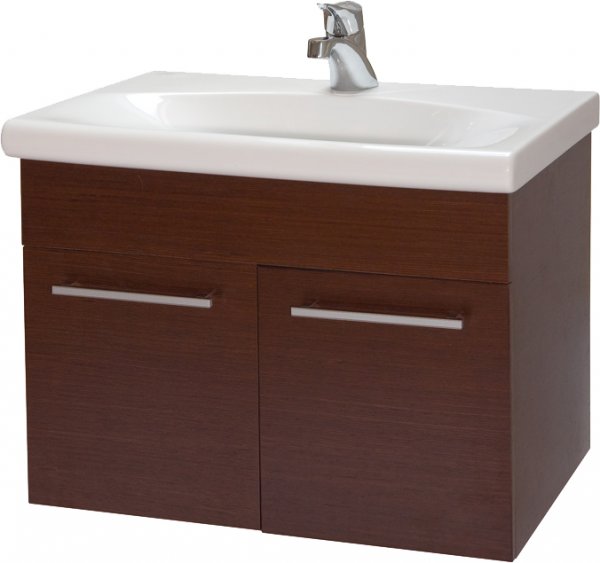
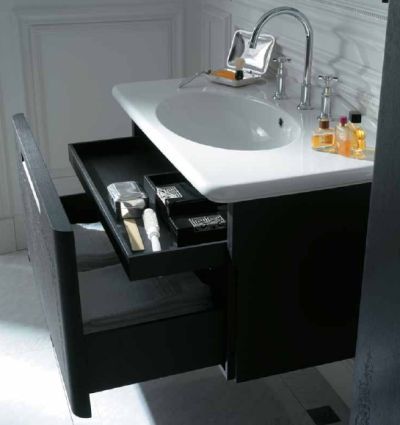
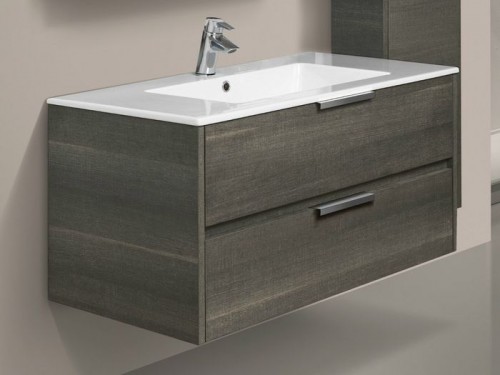
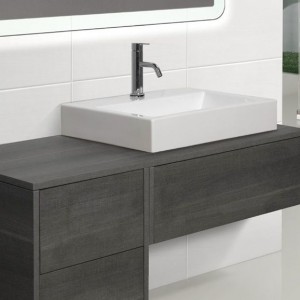
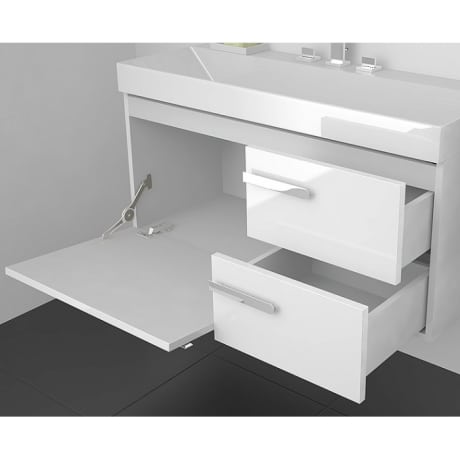
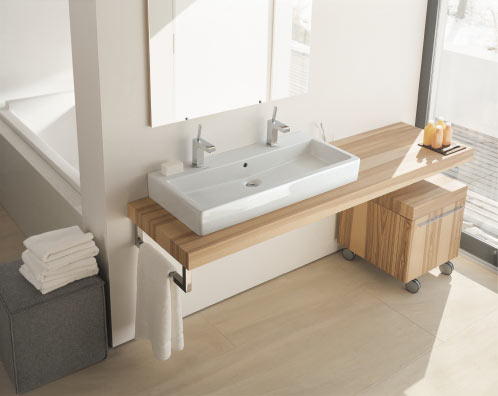
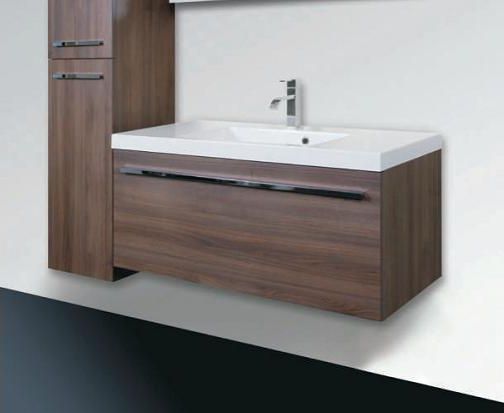
Suspended models look light and do not overload the interior with dimensions. This design is applicable in any situation, even when the location of plumbing boxes does not allow for the installation of large floor-standing furniture options. Suspended cabinets assume that the walls meet increased strength requirements. Installation is more complicated than floor-standing structures. When choosing, you will need to consider the weight of the product and its future contents. Suspended versions do not imply storing heavy items in them. Such cabinets are not afraid of puddles on the floor. If the operating conditions are met (avoiding overweight), they serve for a long time.
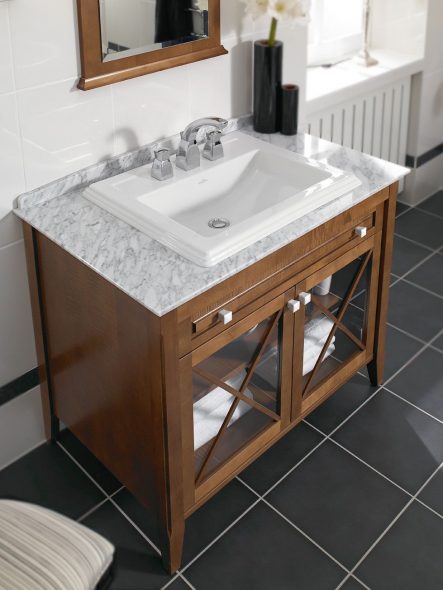
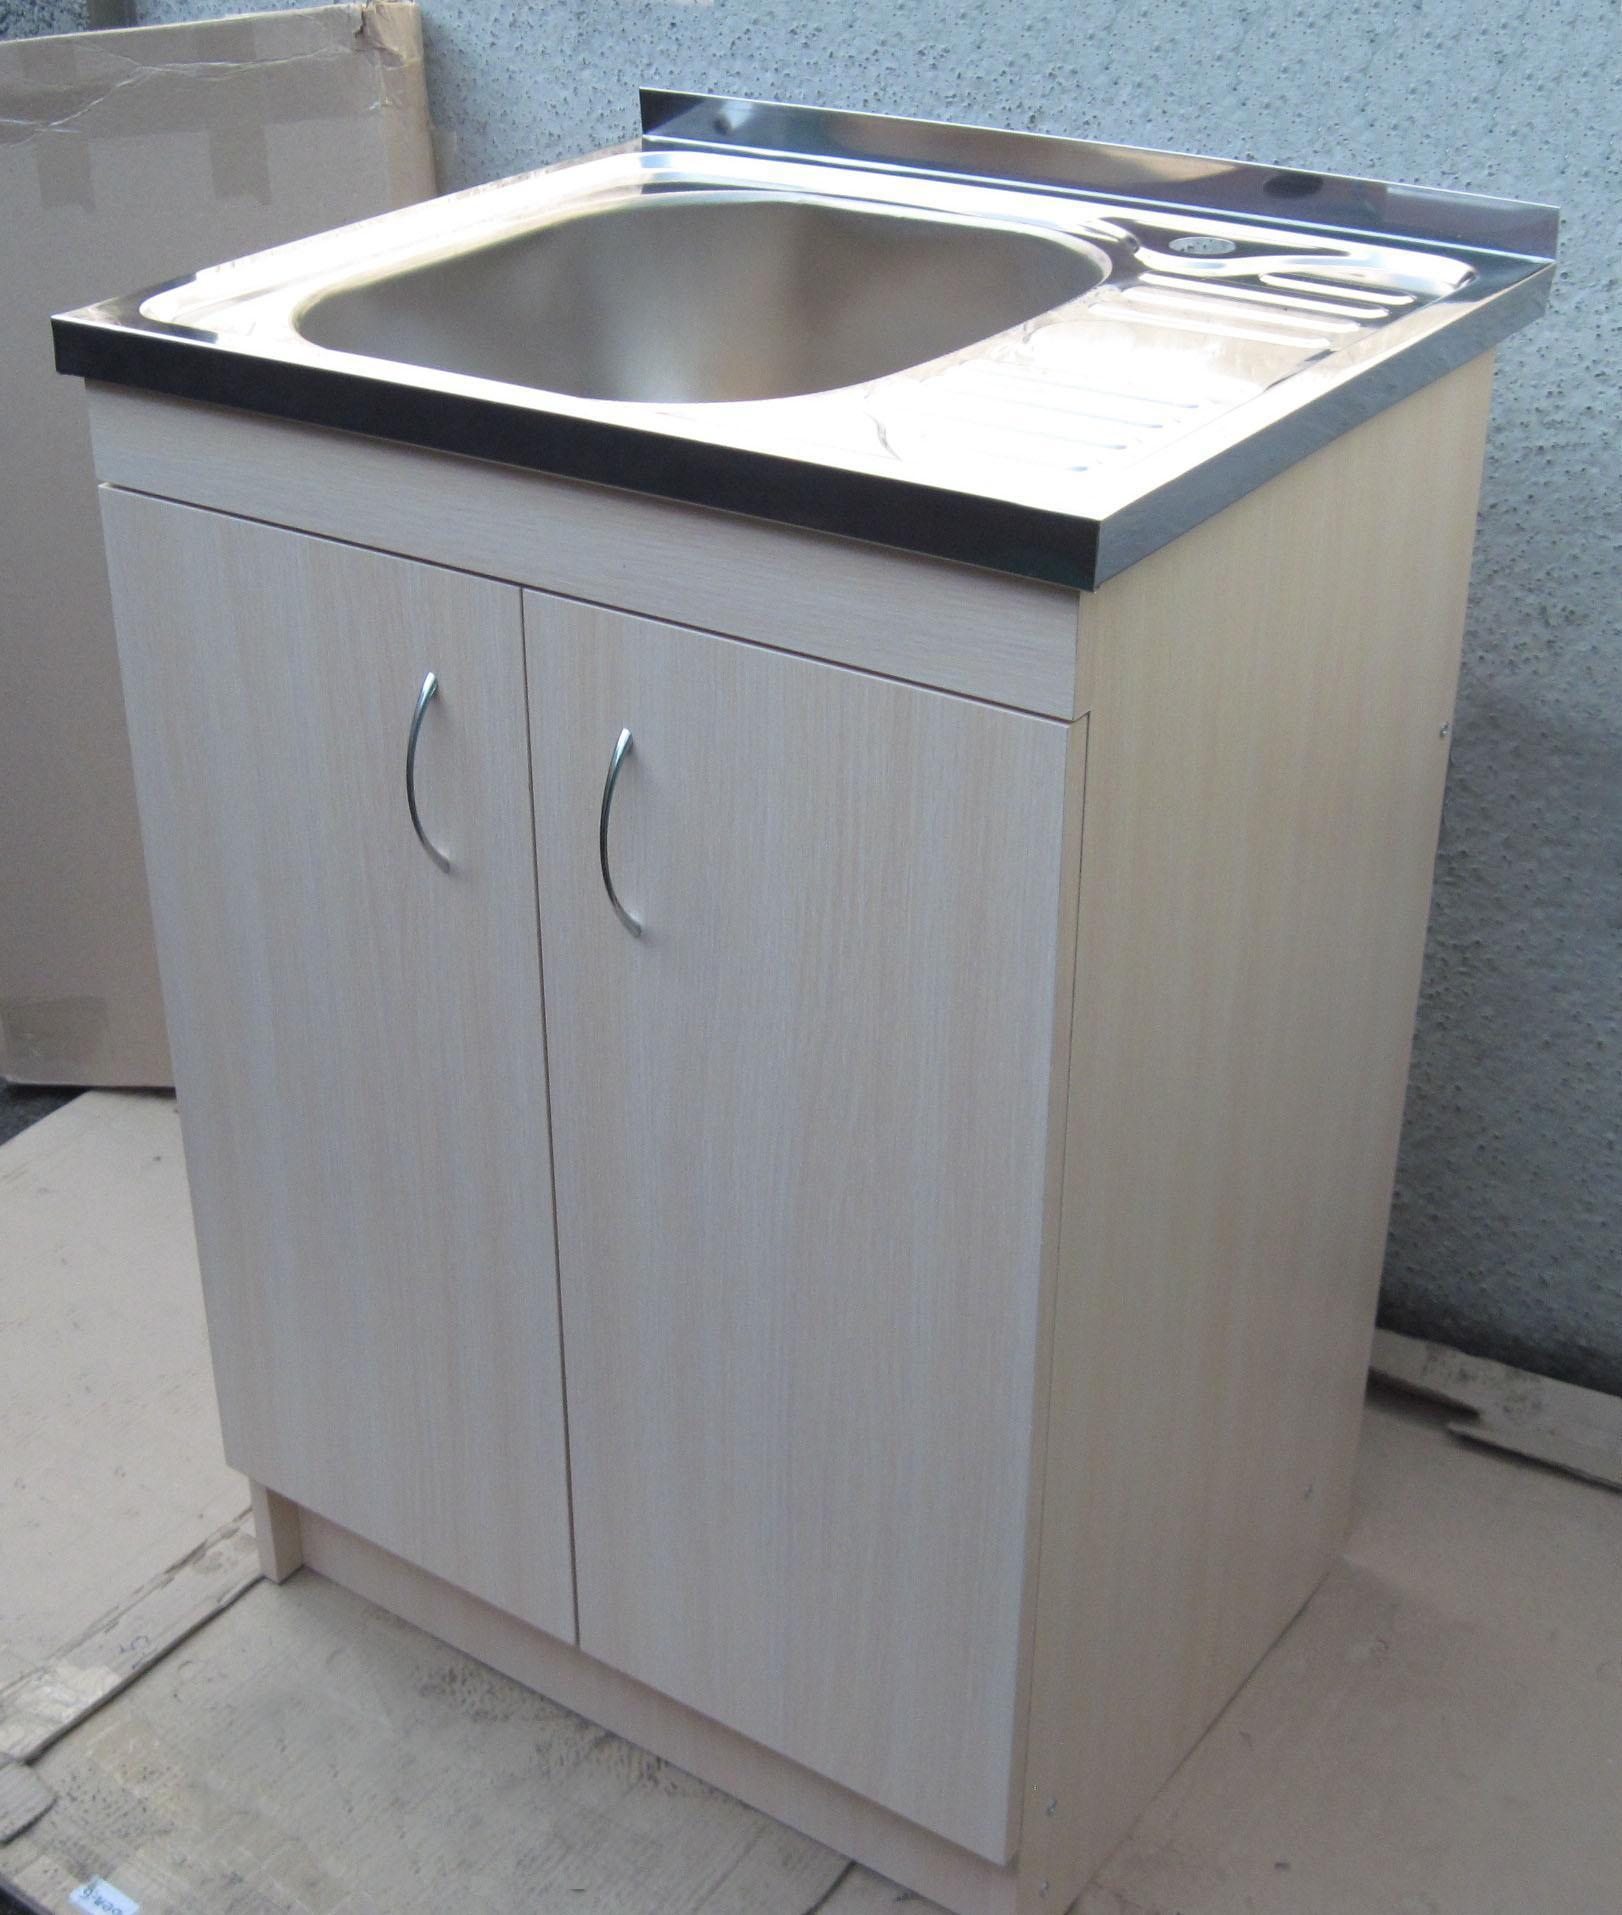
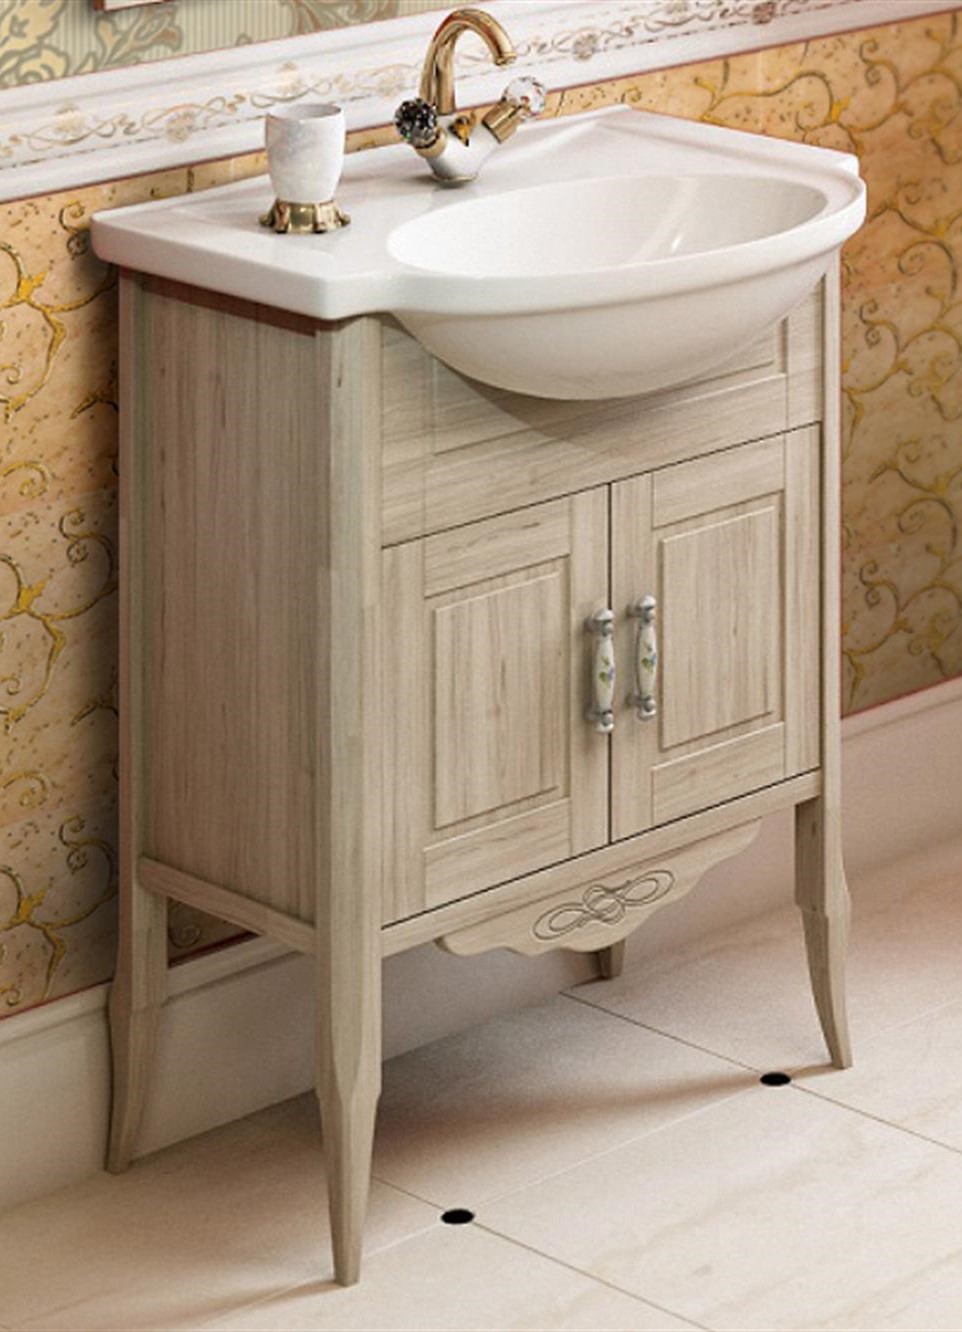
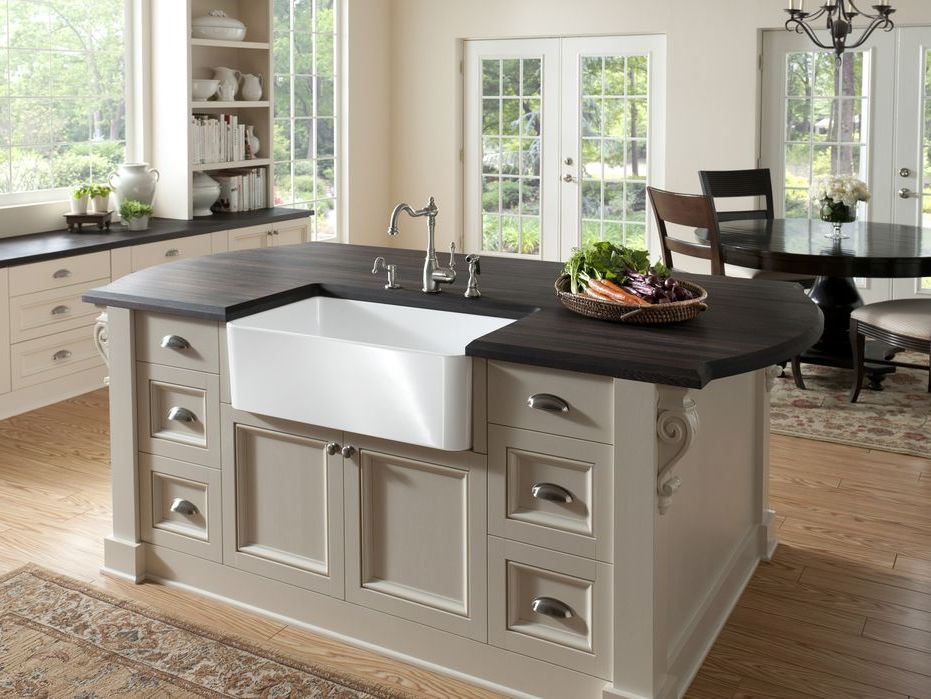
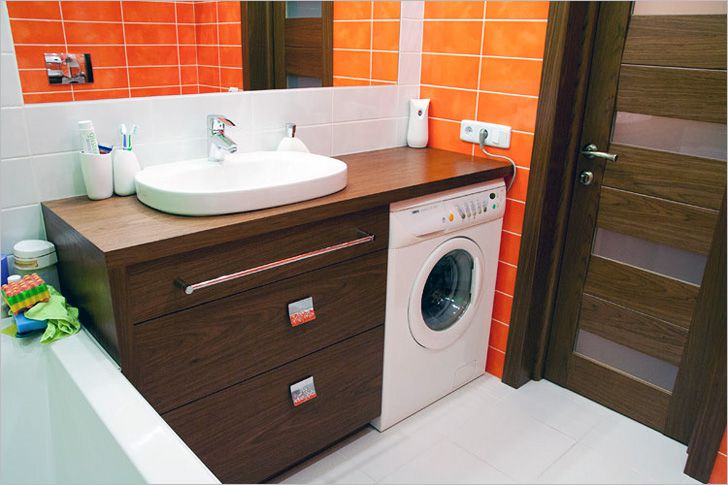
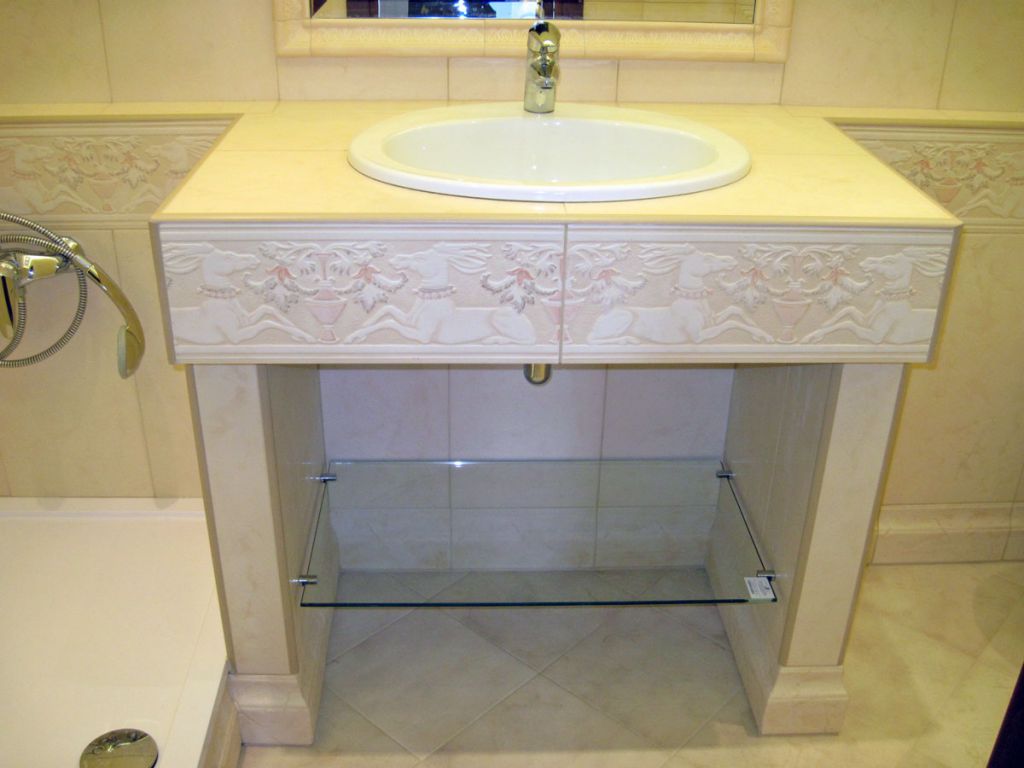
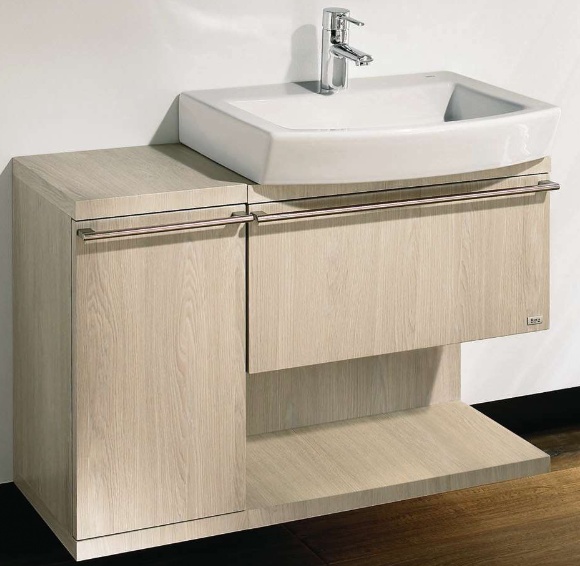
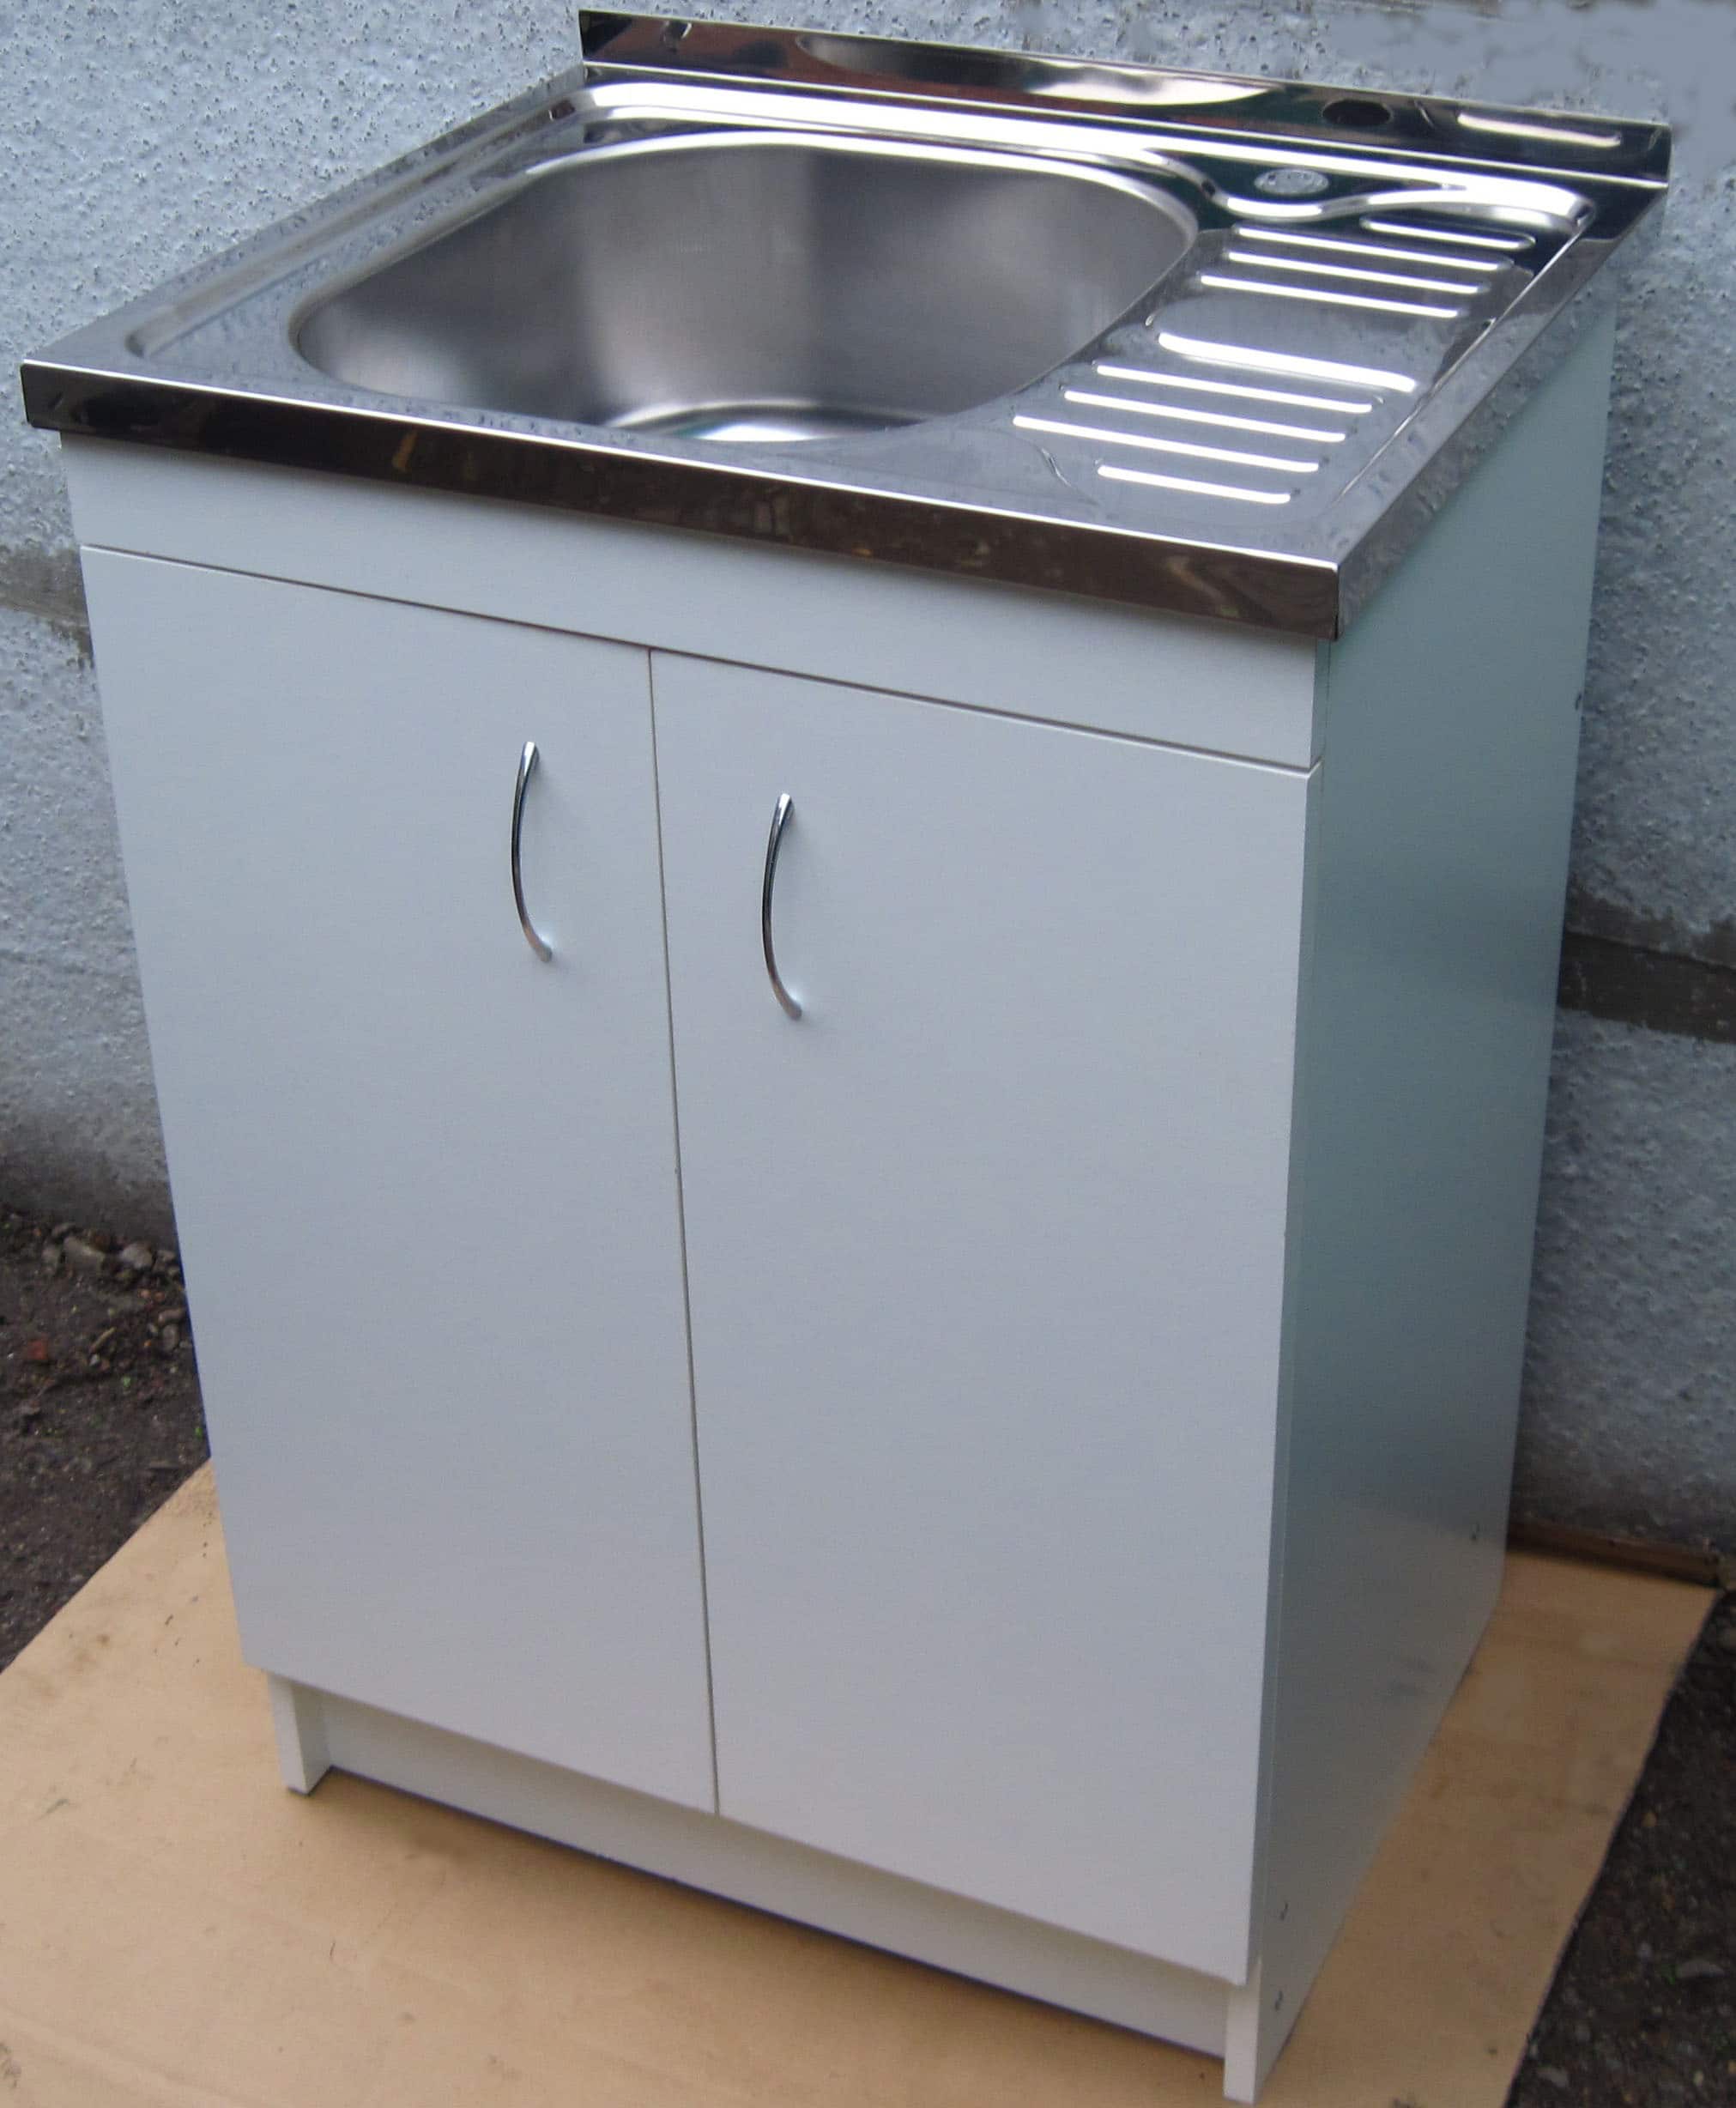
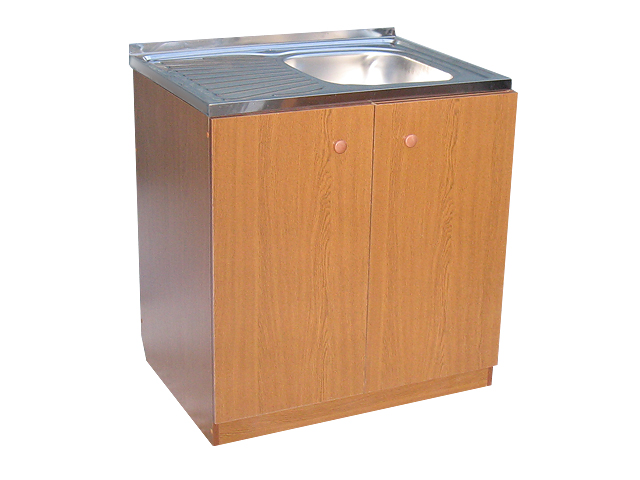
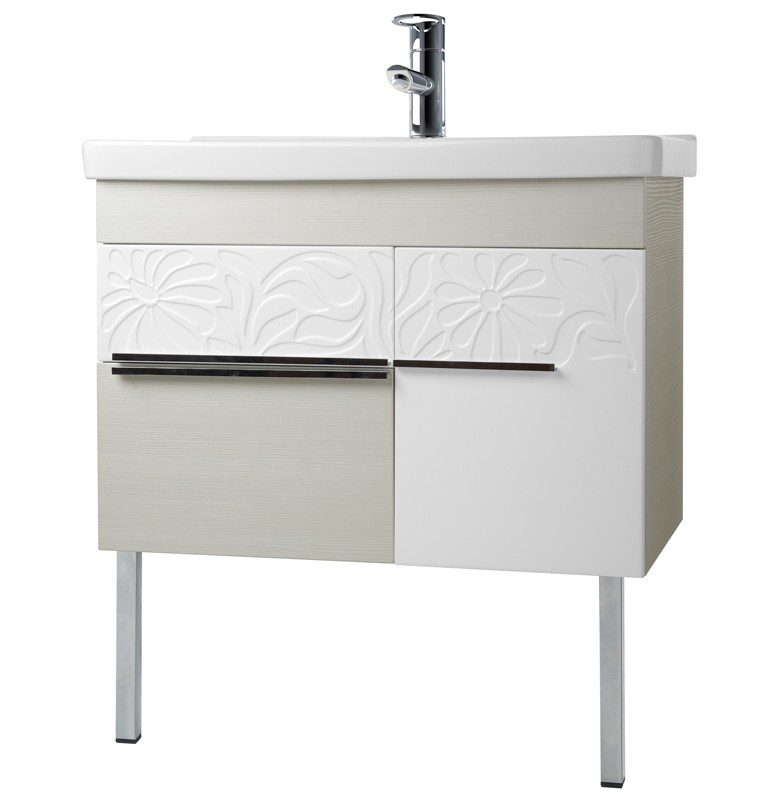
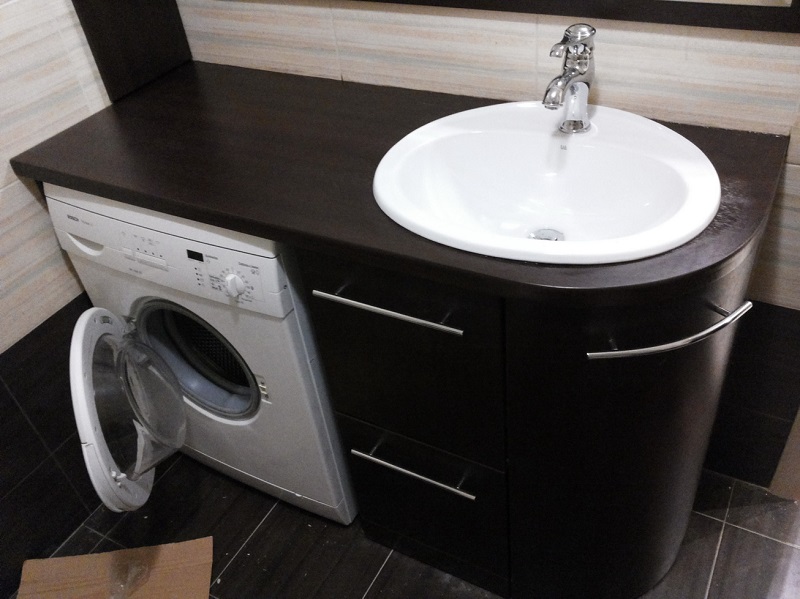
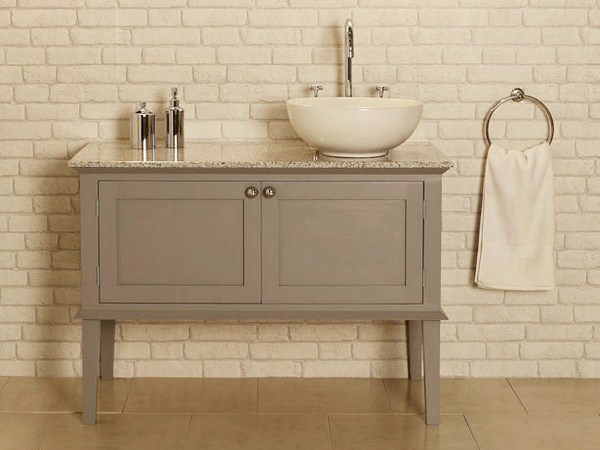
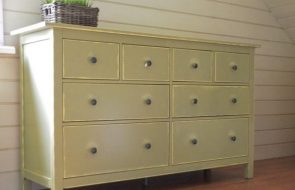
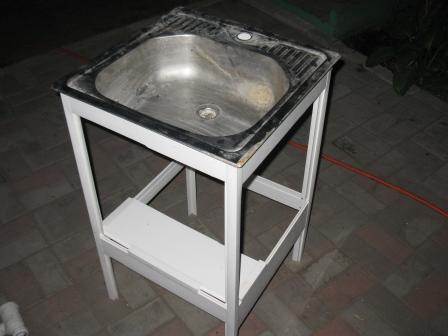
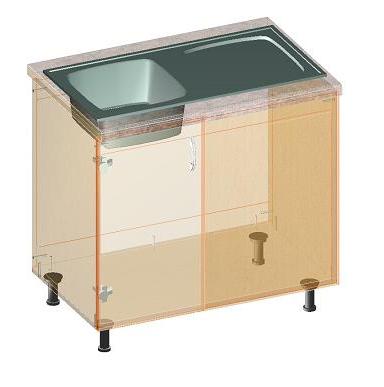
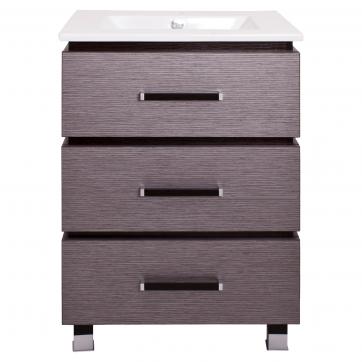
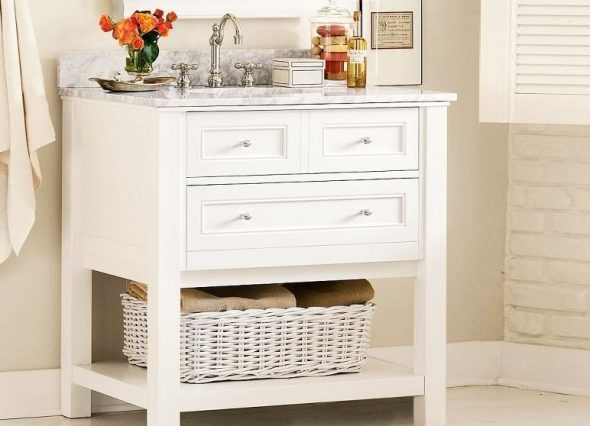
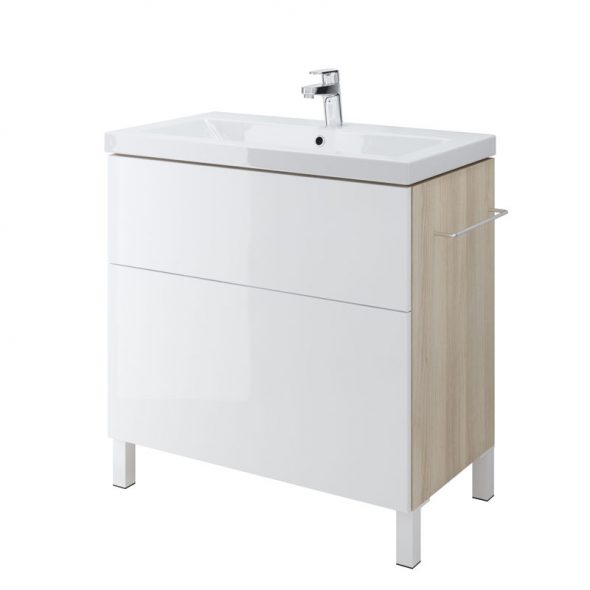
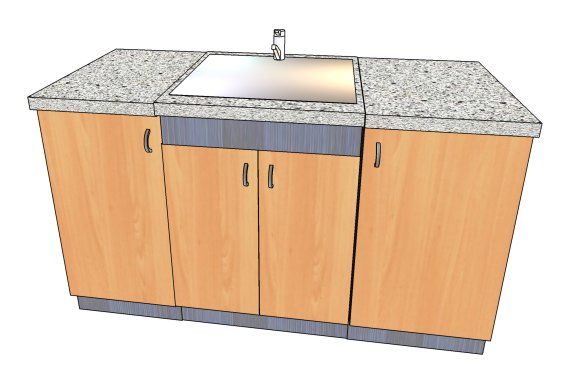
Floor variations are especially popular. They are stable and allow storing quite heavy items (washing powder, household chemicals). Bedside tables are made on legs, monolithic bases. To ensure better stability and safety, additional fixation of the bedside table to the wall is allowed. The multifunctionality of the item determines its demand.
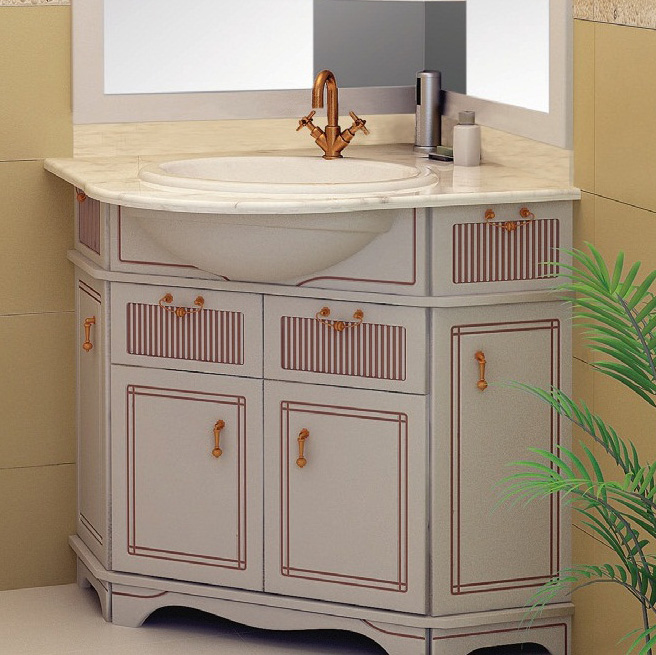
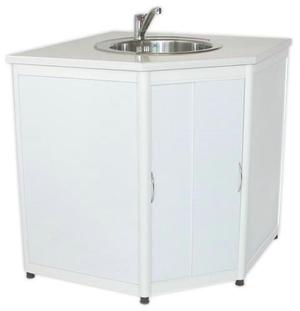
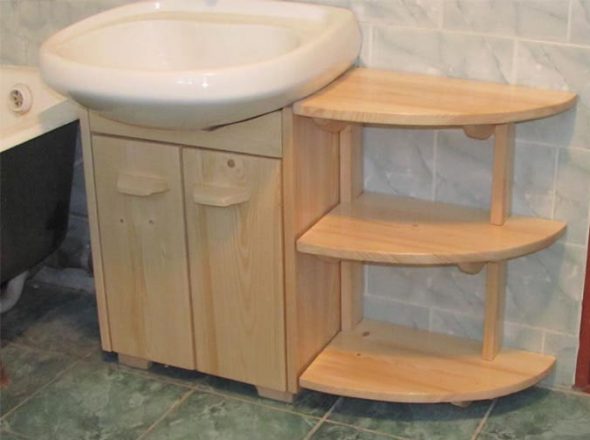
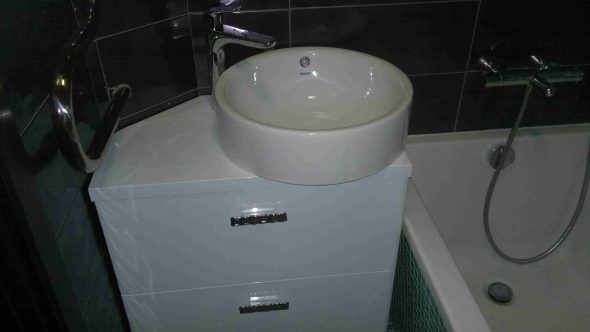
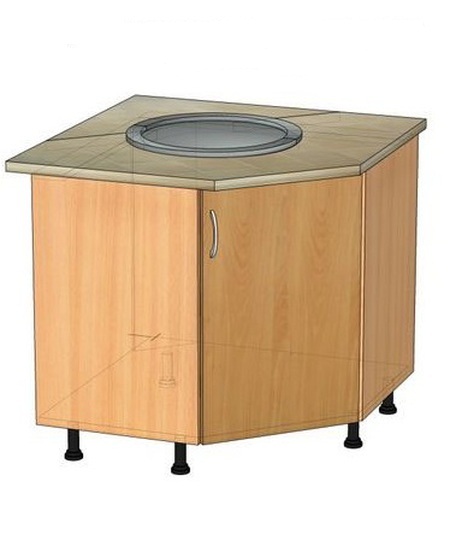
Corner models characterize the location of the cabinet. They are made suspended, floor. Corner models do not "eat up" much space due to the space that is poorly used in any interior. The use of cabinets of corner location is preferable for small areas. The nature of the location allows you to profitably use valuable square meters. The spacious shelves of the cabinet of corner orientation allow you to significantly expand the possibilities of the storage system in the bathroom.
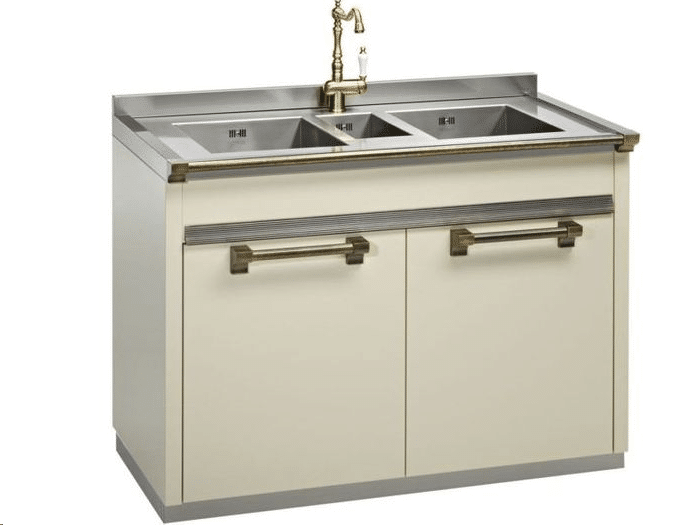
Based on the method of installing the sink, cabinets are divided into the following types.
| Washbasin type | Brief description |
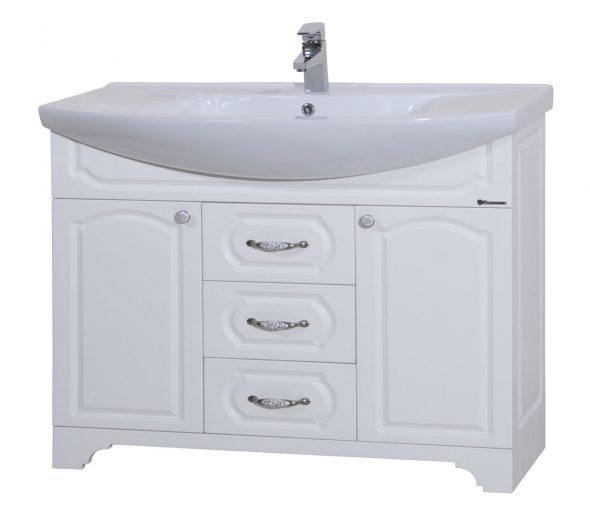
| Consolidated | Consolidated modifications of washbasins are made connected to the body of the cabinet. In most cases, it is impossible to make such a model with your own hands. The tabletop, which is an integral part of the cabinet, initially contains the washbasin. |
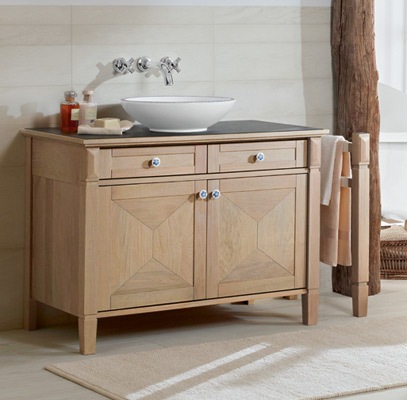
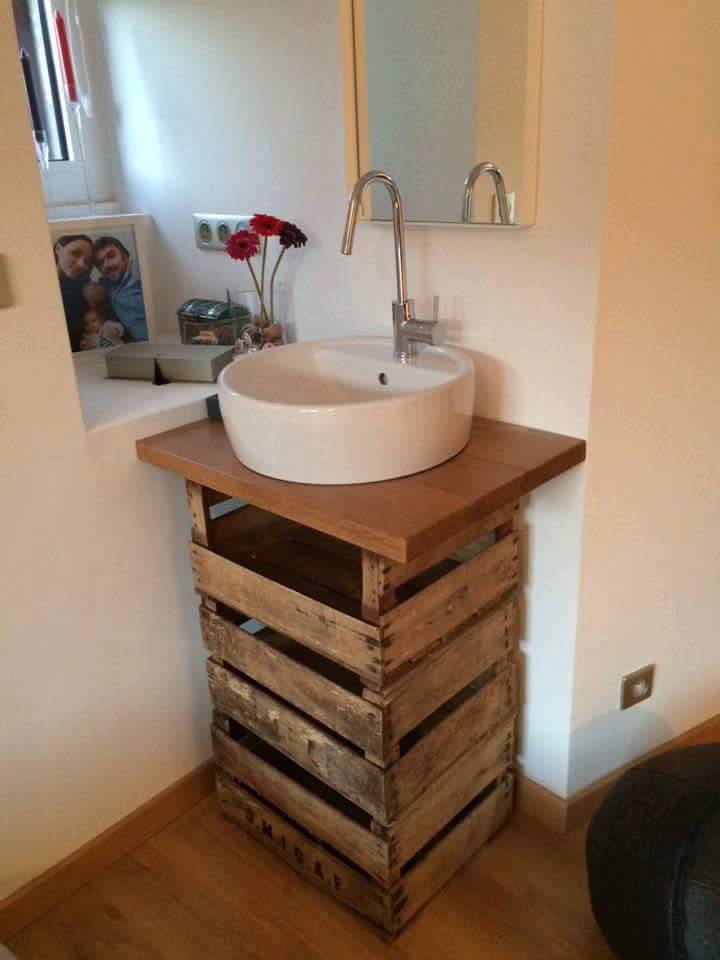
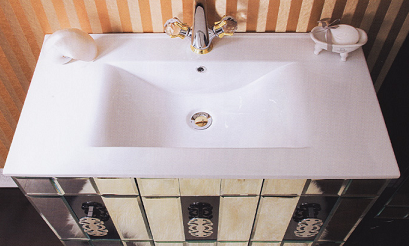
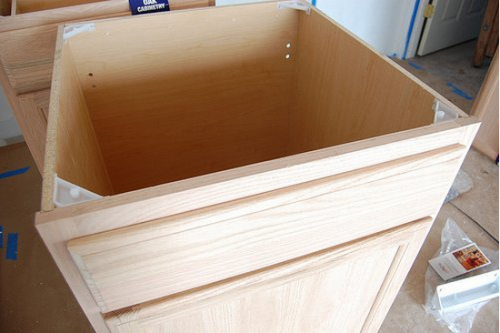
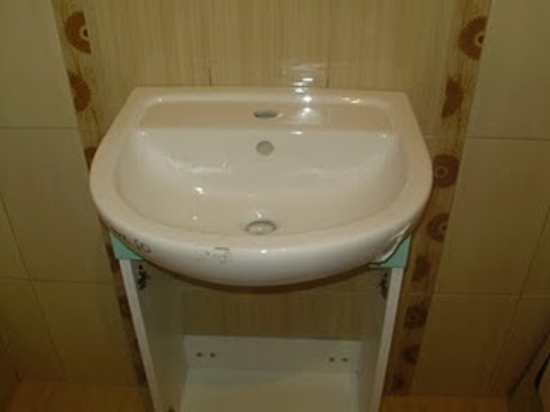
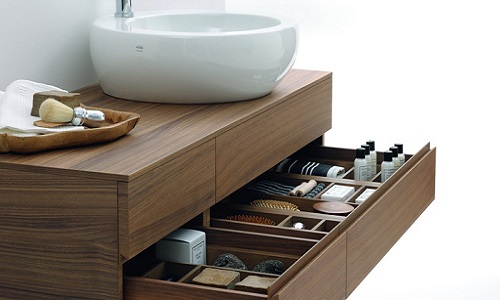
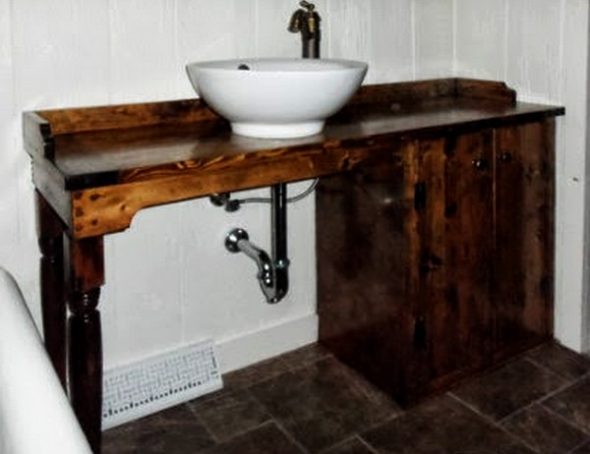
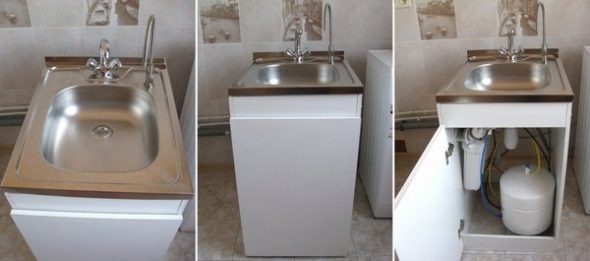
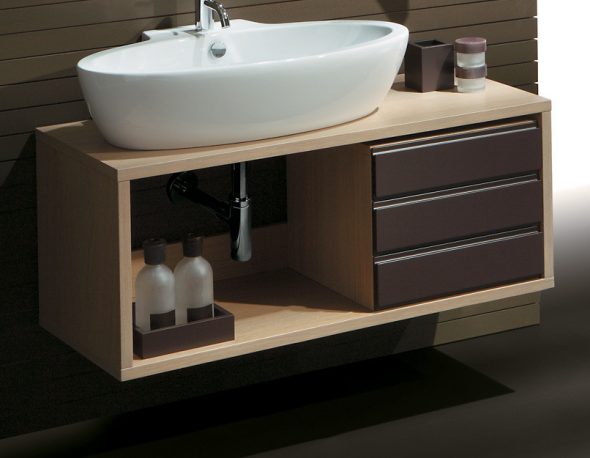
| Overhead | Cabinets with an overhead type of sink mounting are the easiest to make yourself. The bowl is placed on top of the furniture box instead of the countertop, secured, and sealed if necessary. |
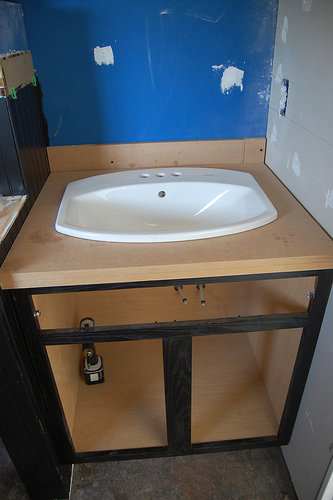
| Mortise | Cabinets with a mortise sink installation method will require skill when made independently. The bowl is placed in a hole cut out for it on the upper wall of the furniture section. The opening must exactly match the parameters of the sink, otherwise the finished cabinet can simply be ruined. |

Materials suitable for a vanity unit
The service life of a do-it-yourself sink cabinet depends not only on the quality of the work performed, but also on the material used.
In the bathroom it is acceptable to use:
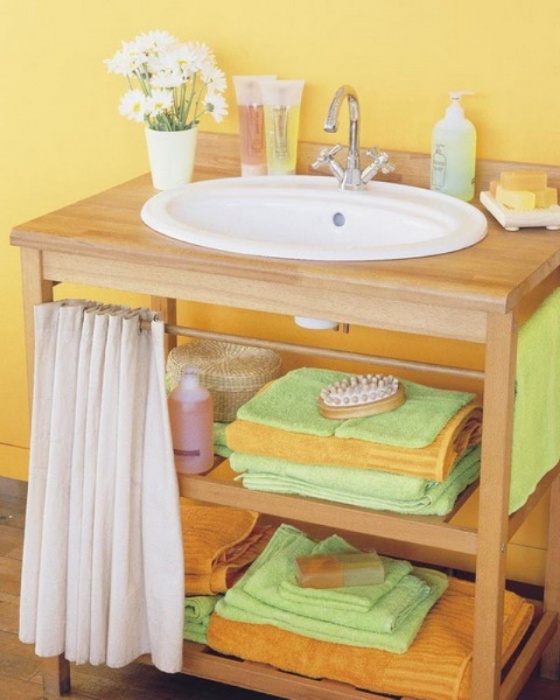
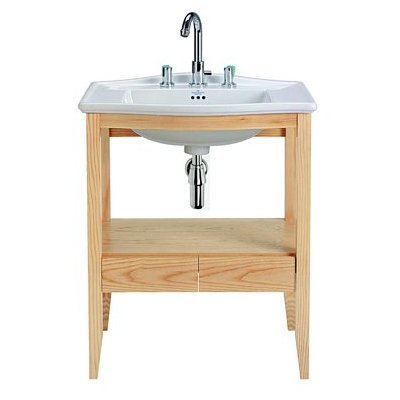
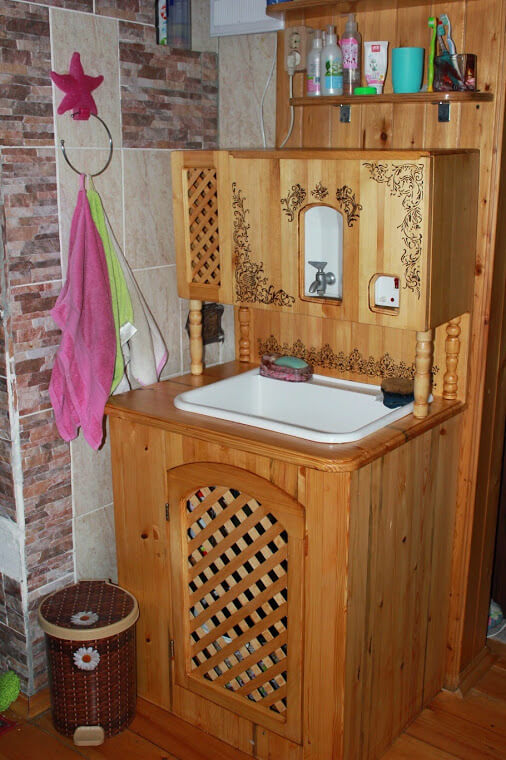
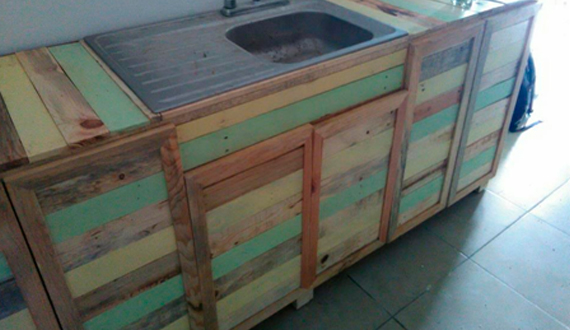
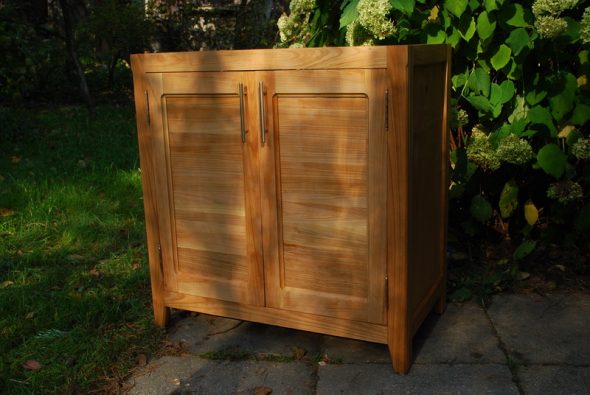
- natural wood;
- MDF;
- glass;
- plastic;
- plasterboard.
The wood is protected with moisture-resistant coatings. It is easy to work with. The finished product is durable, looks stylish, but the price makes you look for alternatives. One of them is MDF, which initially prevents excessive moisture penetration.
Glass is not often used for furniture production, and working with it requires skills. Special reinforced options are used to ensure the strength of the structure. A product made according to all the rules will become a source of pride and will please with its practicality.
Plastic is a great option for a bathroom. It has a full range of necessary qualities. Working with it yourself will not cause any special troubles. To create the necessary strength of the finished product, you will have to take care of reinforcing the structure. The same applies to plasterboard. Waterproof modifications are perfect for a bathroom, but fragility will require modification of the structure.

A stylish, unusual product will be obtained by combining several materials. In this case, it is possible to achieve the optimal combination of practicality, economy, and uniqueness of appearance.
Manufacturing process
Before starting the main work, you should select the necessary tool, materials, components of the future structure. To make a cabinet under the sink for the bathroom with your own hands, you will need:
- hacksaw;
- drill;
- screwdriver;
- jigsaw;
- hammer;
- screwdriver;
- pliers;
- sanding machine;
- pencil;
- roulette;
- chisel.
The following is also required for work:
- parts manufactured according to drawings, from the selected material;
- screws, corners for fastening;
- fittings (door hinges, handles).
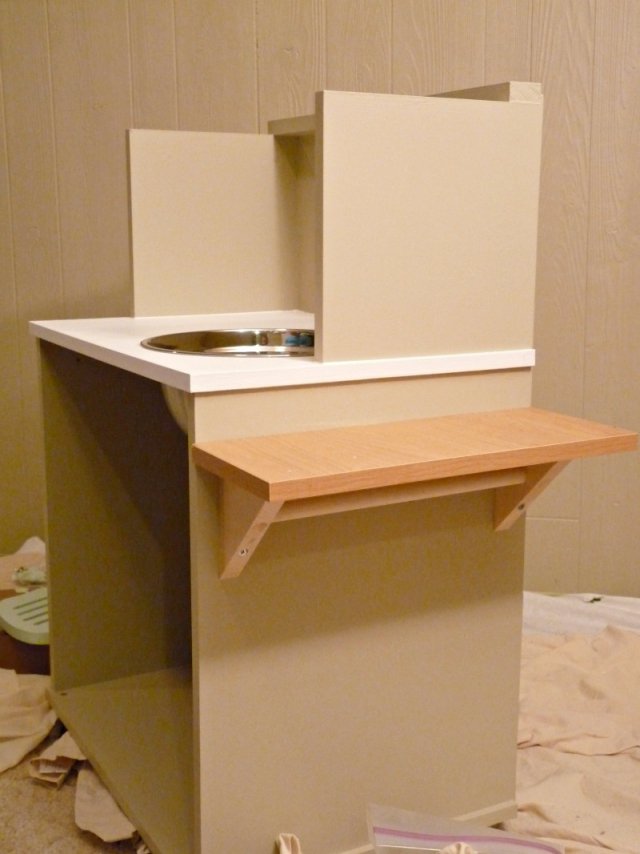
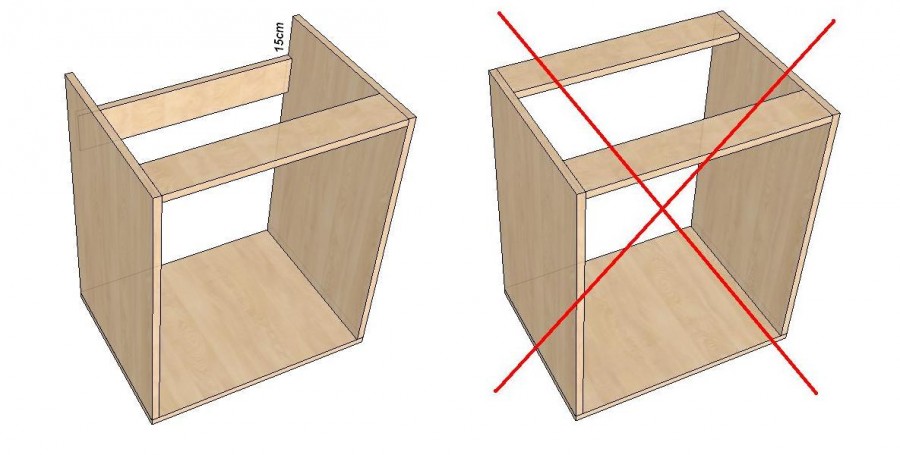
Progress of work
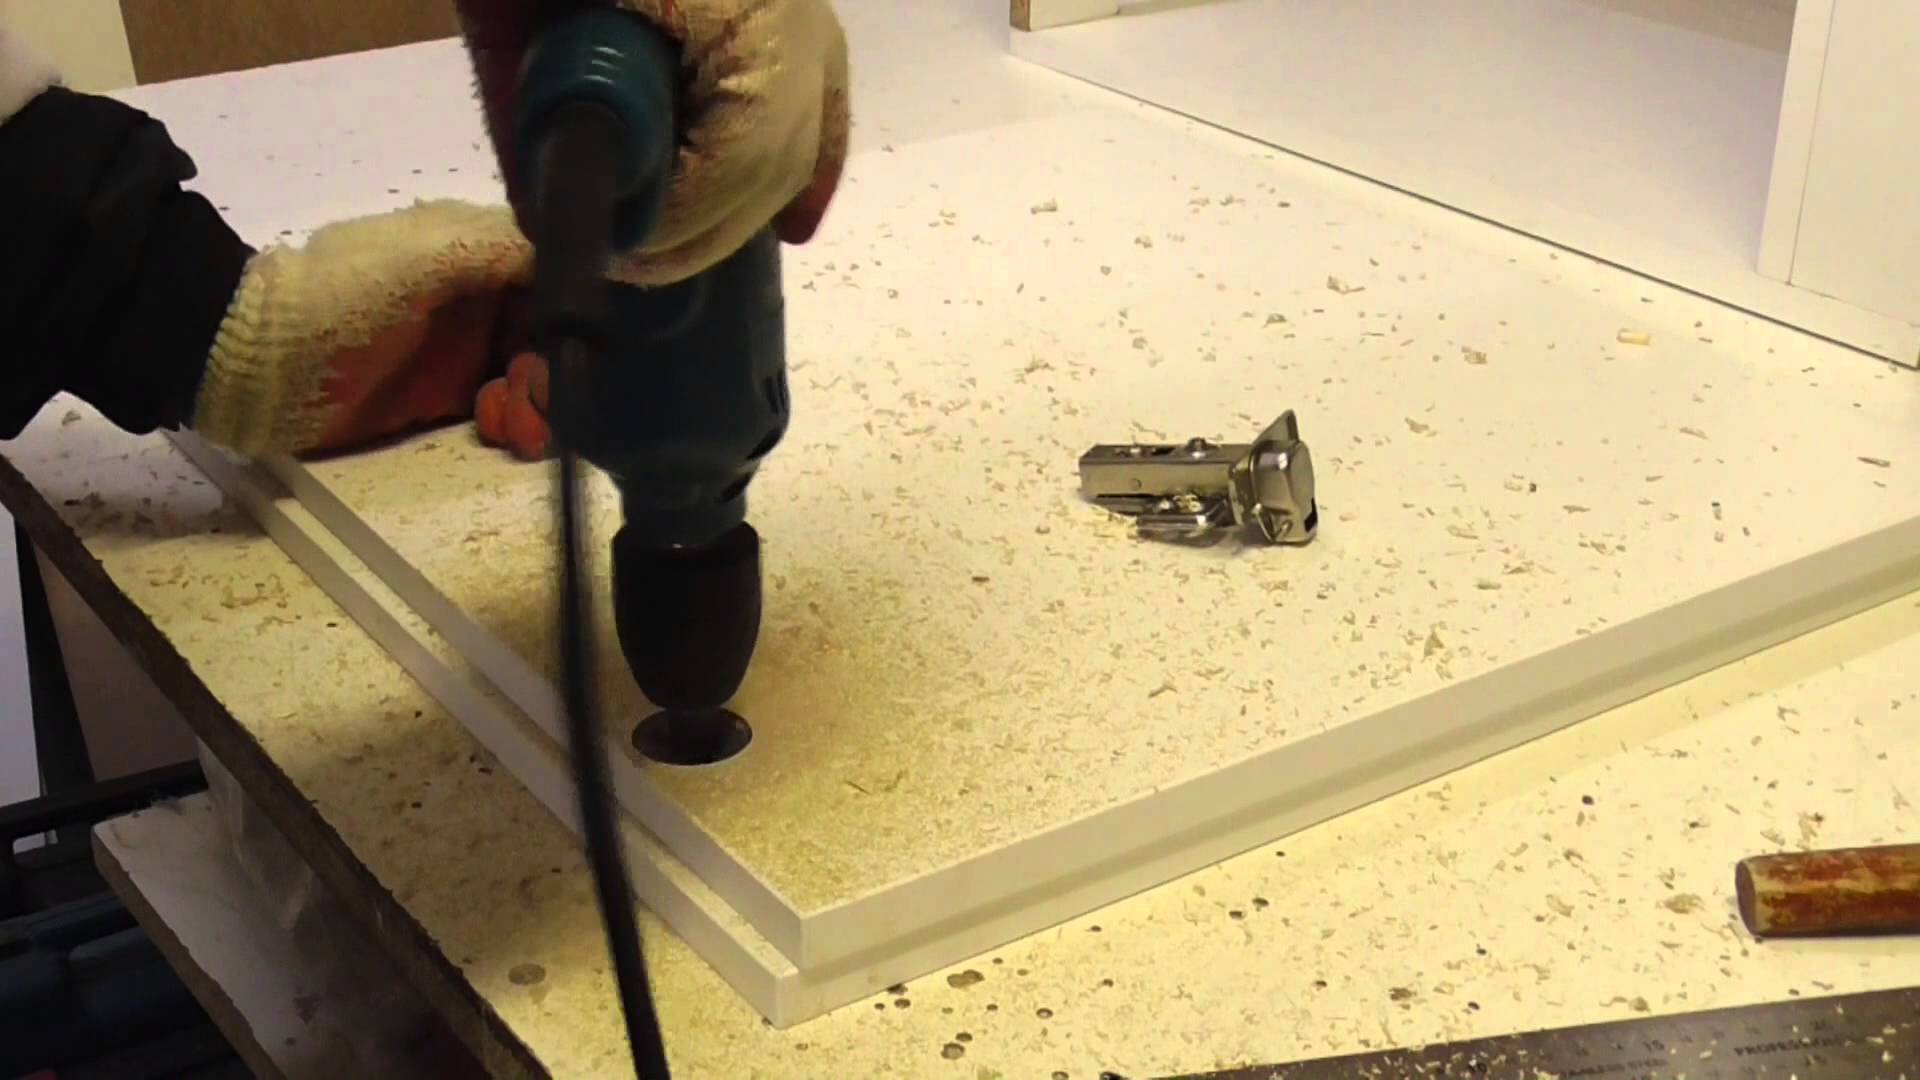
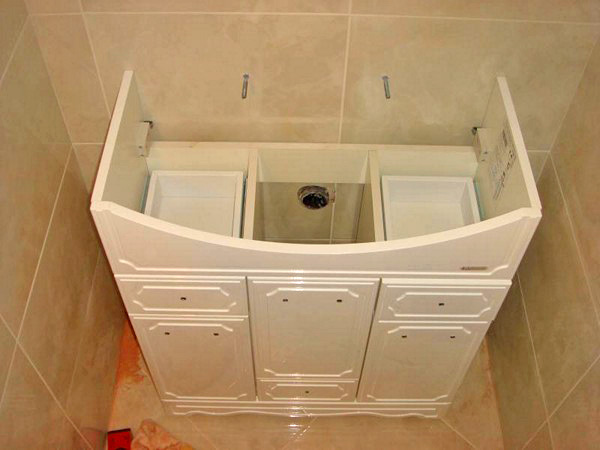
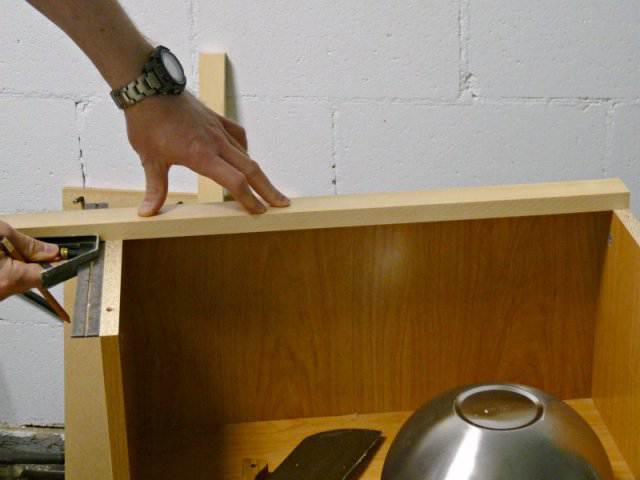
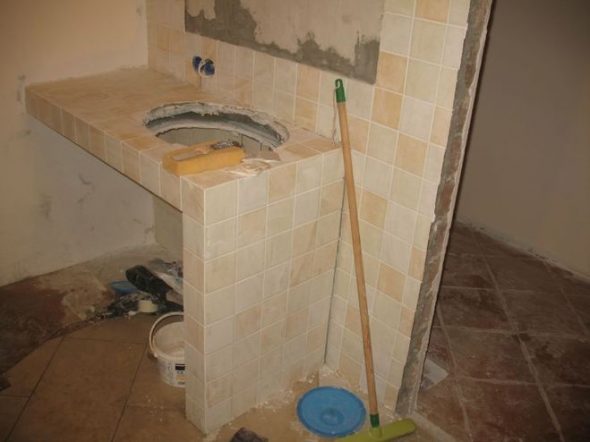
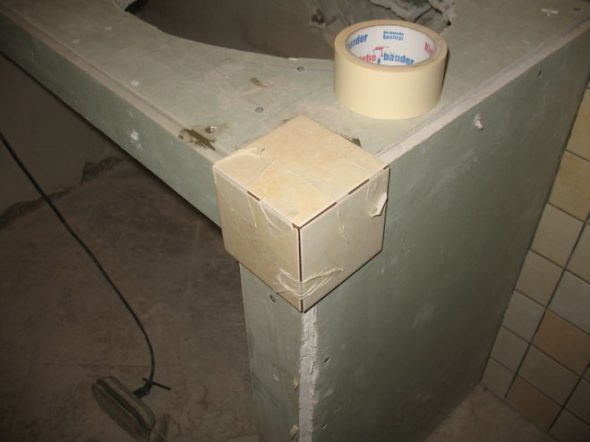
- If the sink is built-in, a hole needs to be made on the upper wall of the future cabinet. To do this, a template corresponding to the diameter of the sink is made, placed on the surface, and a slot is cut out along its contours. Using a drill, a hole is made, a jigsaw is inserted into it - the contour cut is completed.
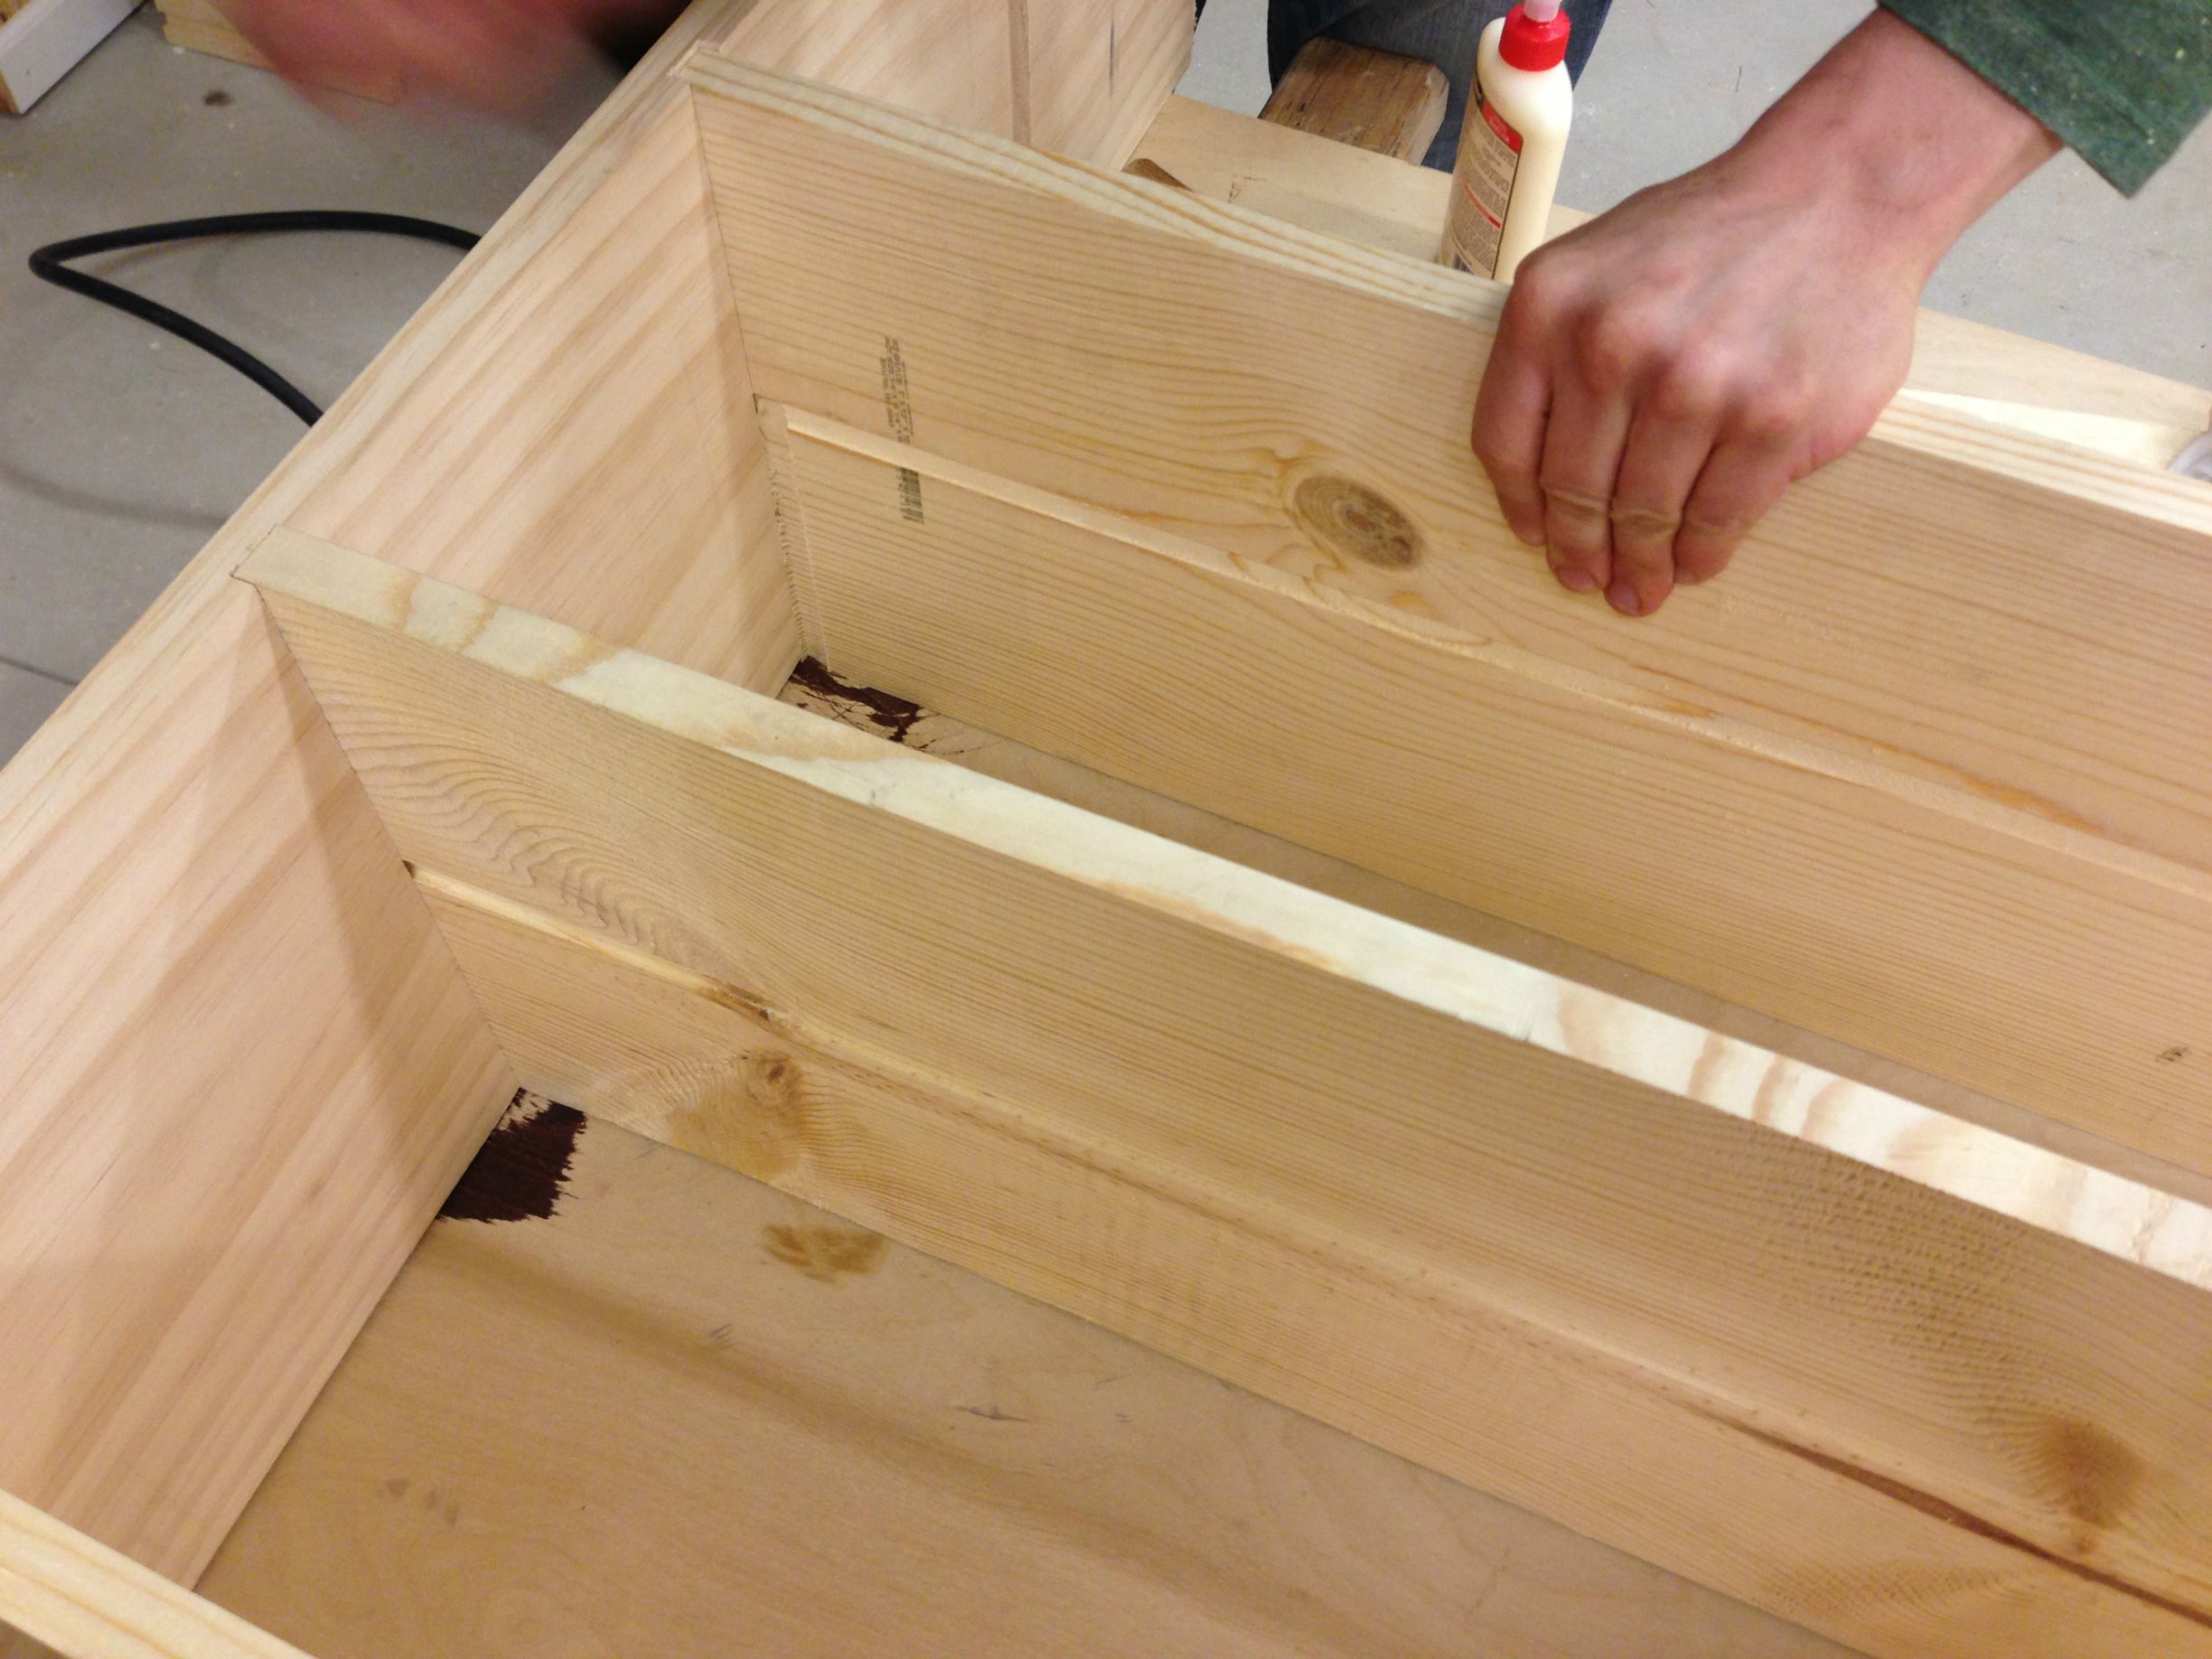
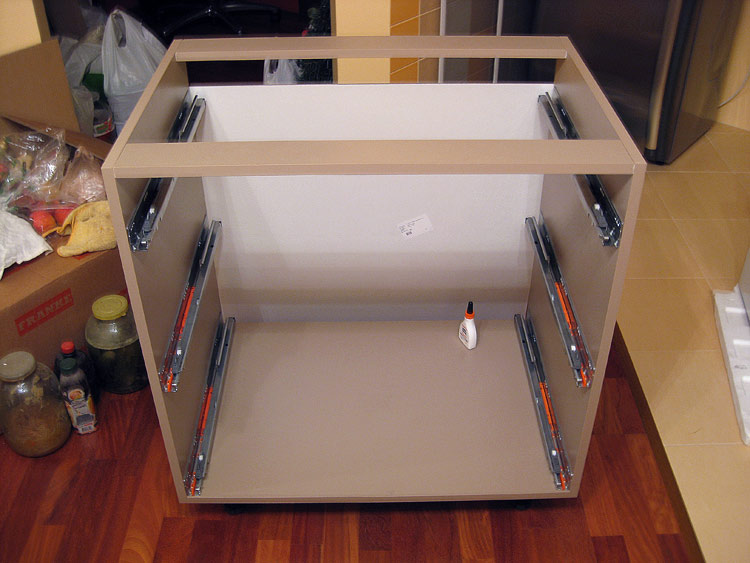
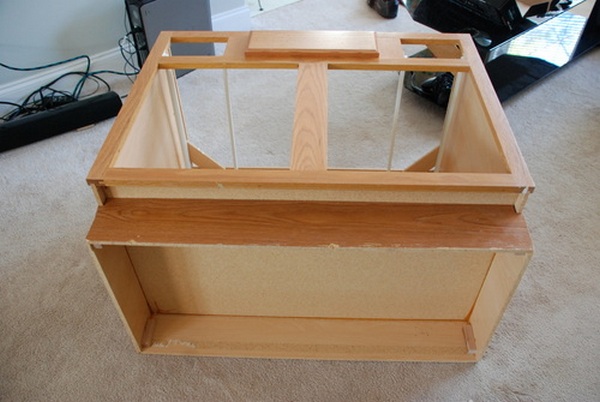
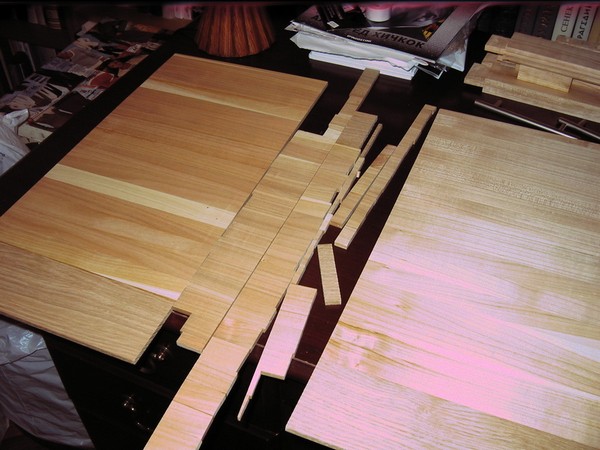
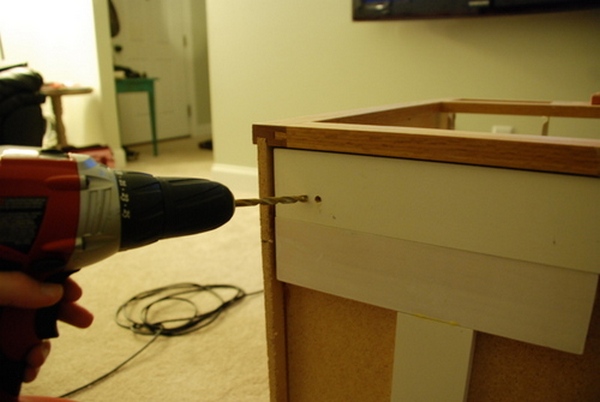
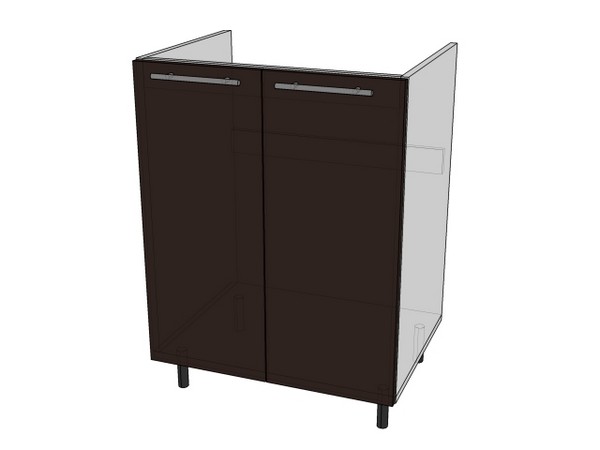
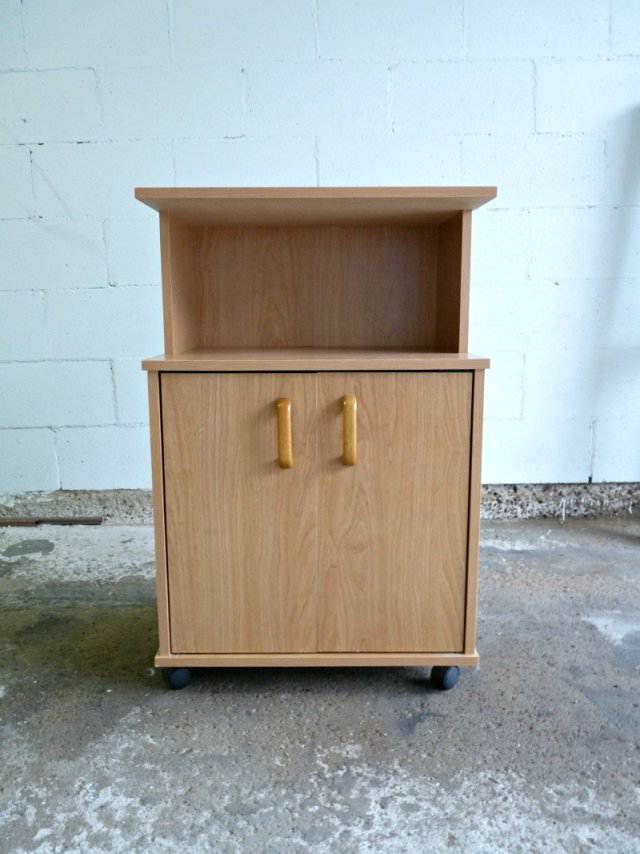
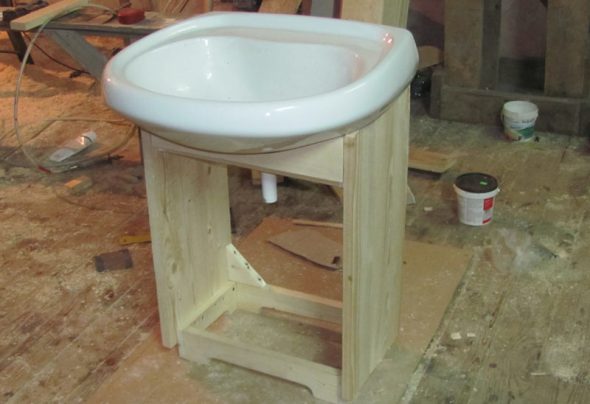
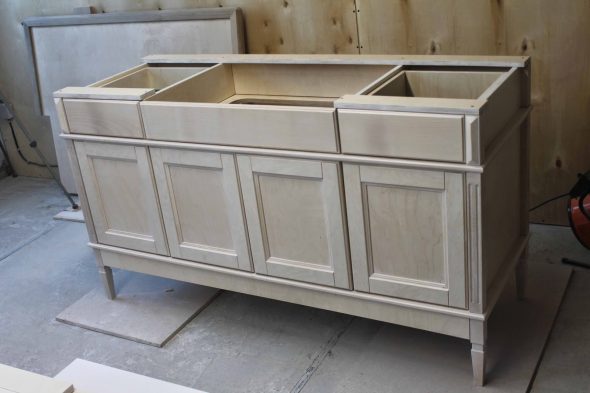
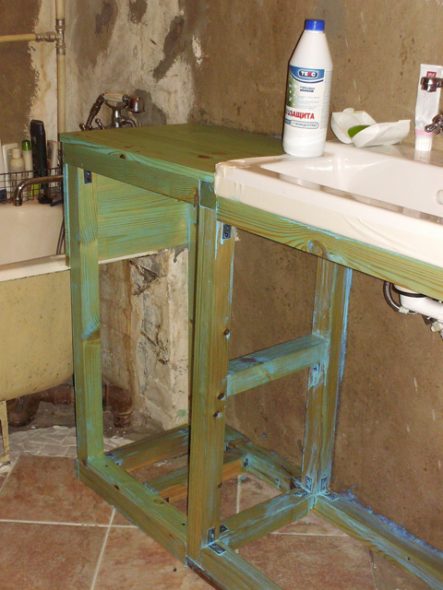
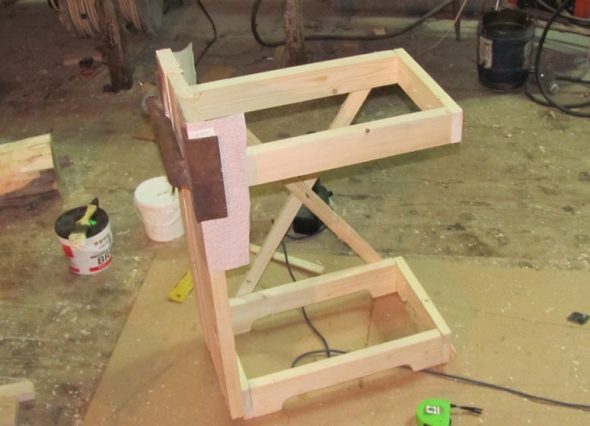
- The frame must be assembled from the parts prepared in advance. All elements are pre-treated with moisture-proofing agents: the cuts are sanded and primed.
- The side walls are attached to the finished frame using screws or glue. Corners will be required at the joints to the frame.
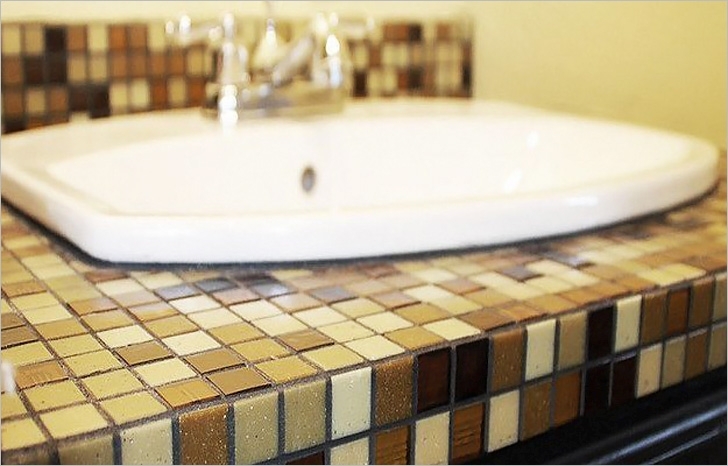
- Depending on the method of fixing the sink, it is necessary to make a countertop: an overhead sink or a panel with a hole for the sink. The seams are carefully sealed.
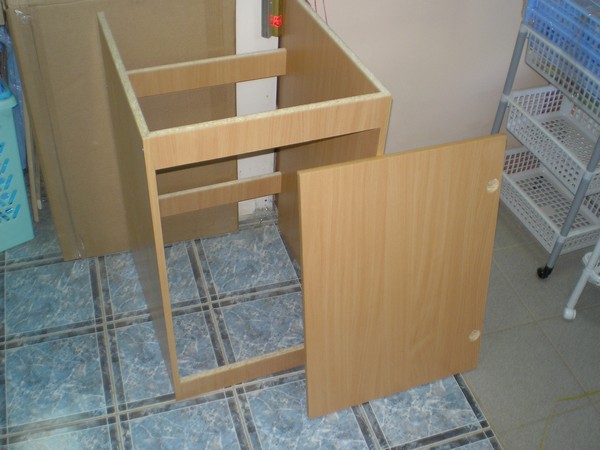
- They install internal fittings (shelves, drawers), fittings (handles, hinges), doors, bottoms, legs (if any).
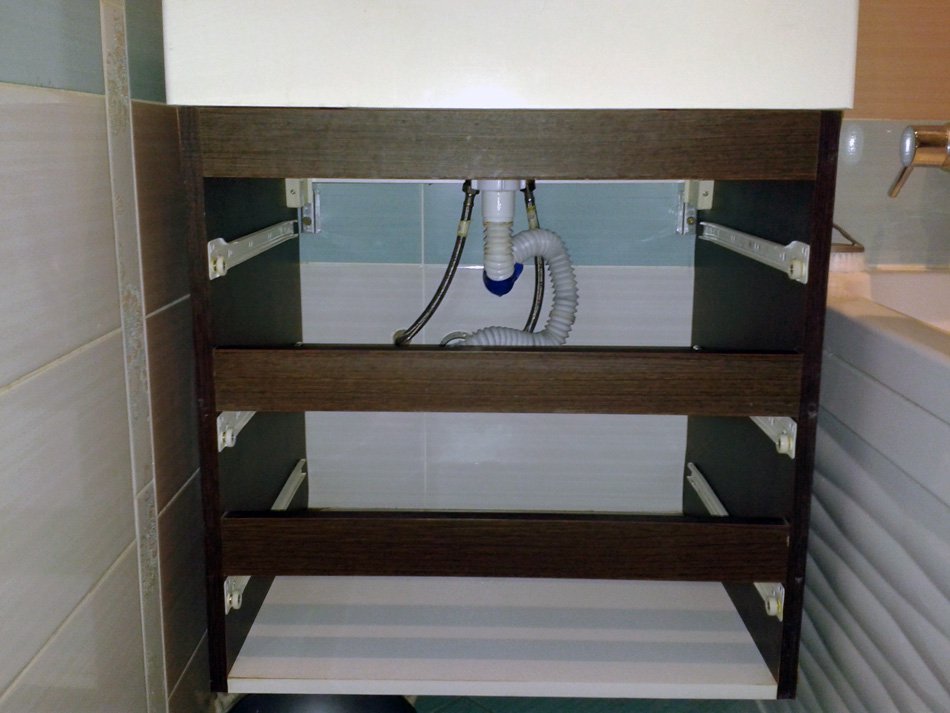
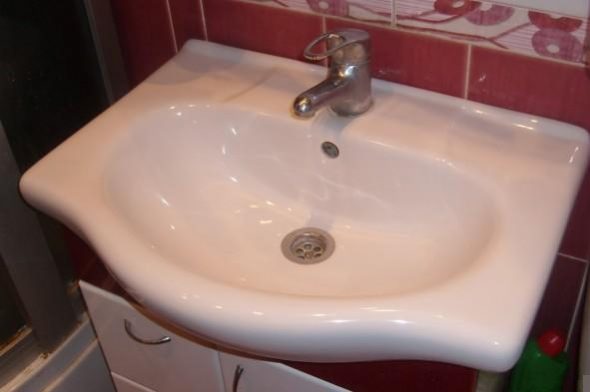
- The flush-mounted sink is placed in the opening. The utilities are connected. All seams are sealed with silicone.
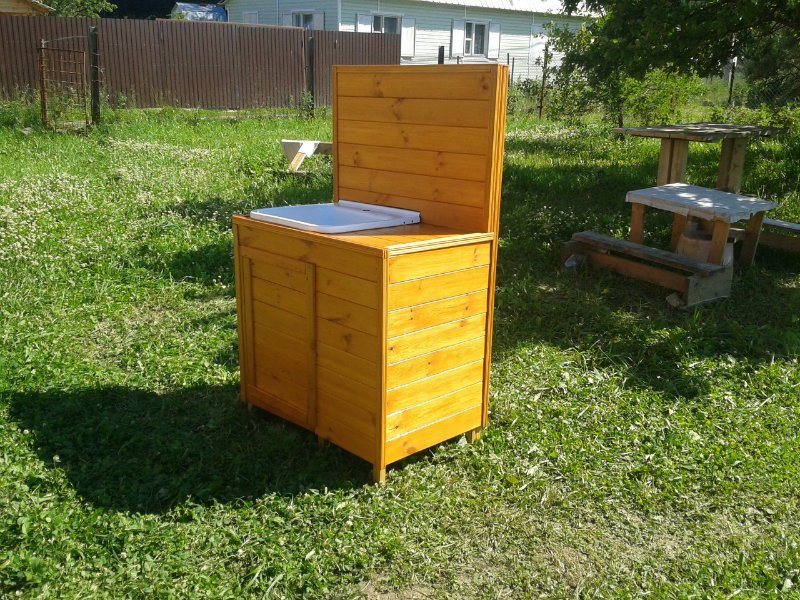
- The finished bathroom cabinet is installed in place and secured if necessary. Finally, the product can be decorated with self-adhesive film, enamel, varnish, or veneer.
It is not difficult to make a bathroom cabinet with your own hands. The main thing is the desire to achieve a result, accuracy, and basic skills in working with tools and selected materials.
VIDEO:Pedestal under the washbasin with chipboard with your own hands
50 photo ideas on how to make a cabinet under the sink with your own hands