Thumband under shellsy - a comfortable, functional piece of furniture for bathroom. This is an additional storage space for bath accessories, household items, cleaning products or linen. Facade pedestalsIt perfectly hides technical connections shellse, sewer drain.
How to choose the right one pedestalsat for shellsy? Where and how to install it? What tools and materials are required for installation? How to avoid possible problems during installation? Is it possible to make such a base yourself, what is required for this?
Content
- Choosing a vanity unit for a bathroom sink
- Choosing a Place to Install a Vanity Unit with a Sink in the Bathroom
- Installing a Sink Cabinet, Tools and Materials
- Installation steps
- Possible problems and their solutions
- Making a homemade cabinet and installing it
- Manufacturing stages
- VIDEO: Installing a washbasin with a cabinet in the bathroom.
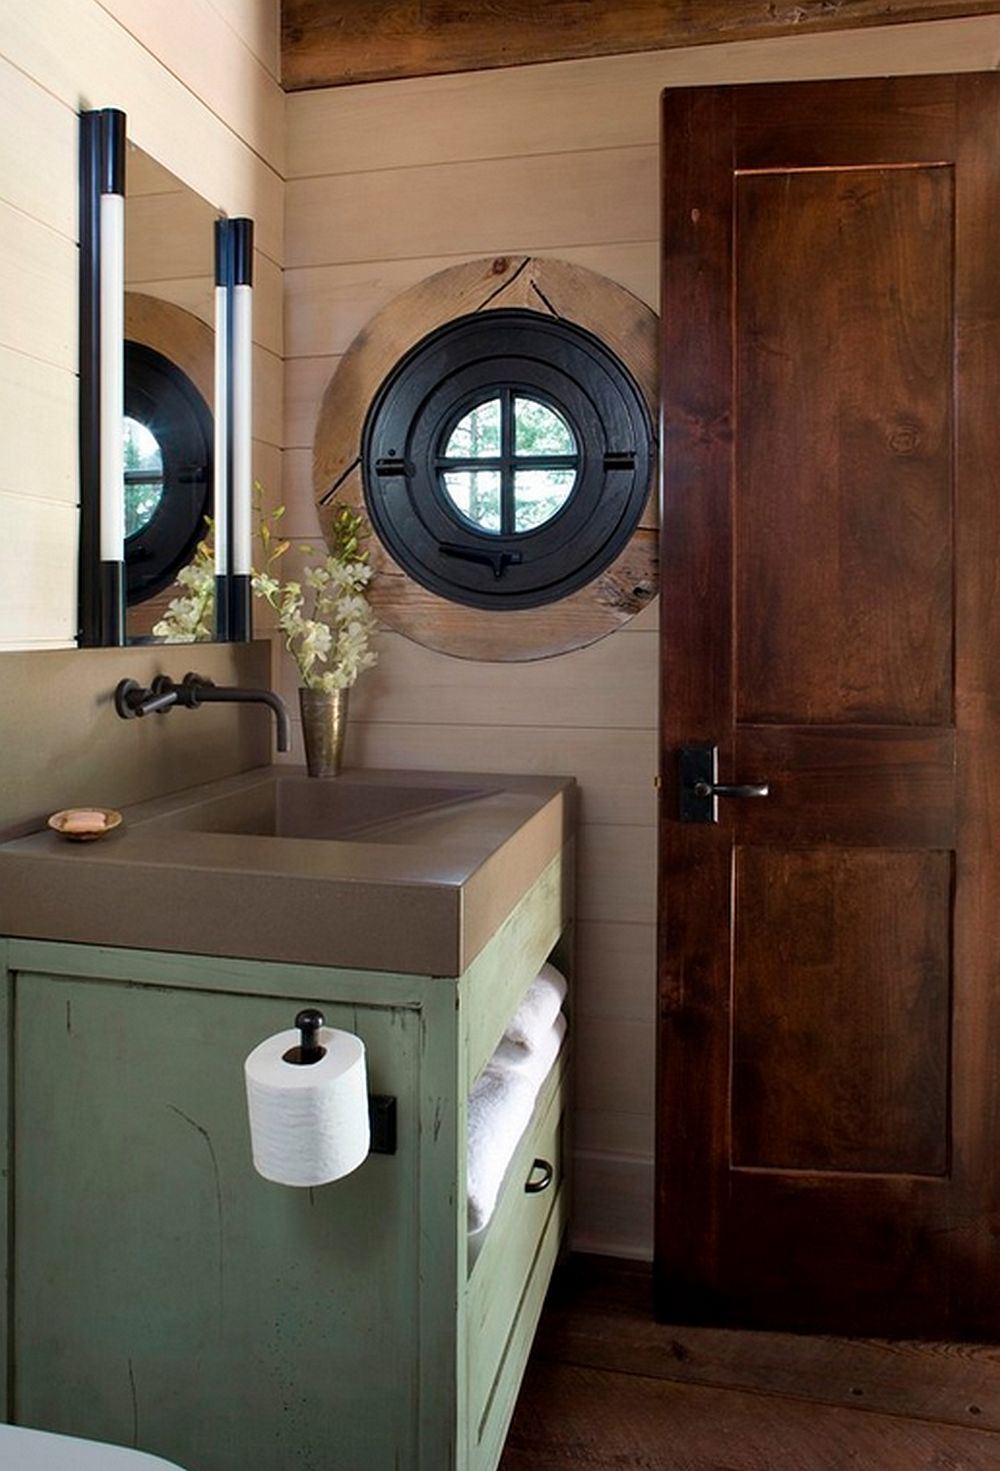
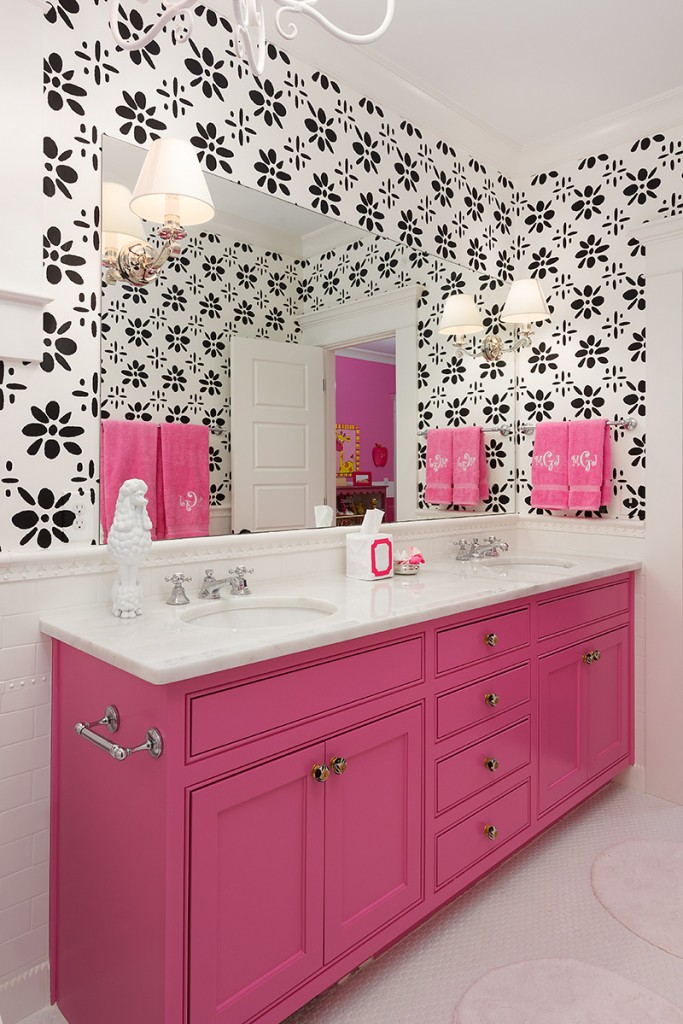
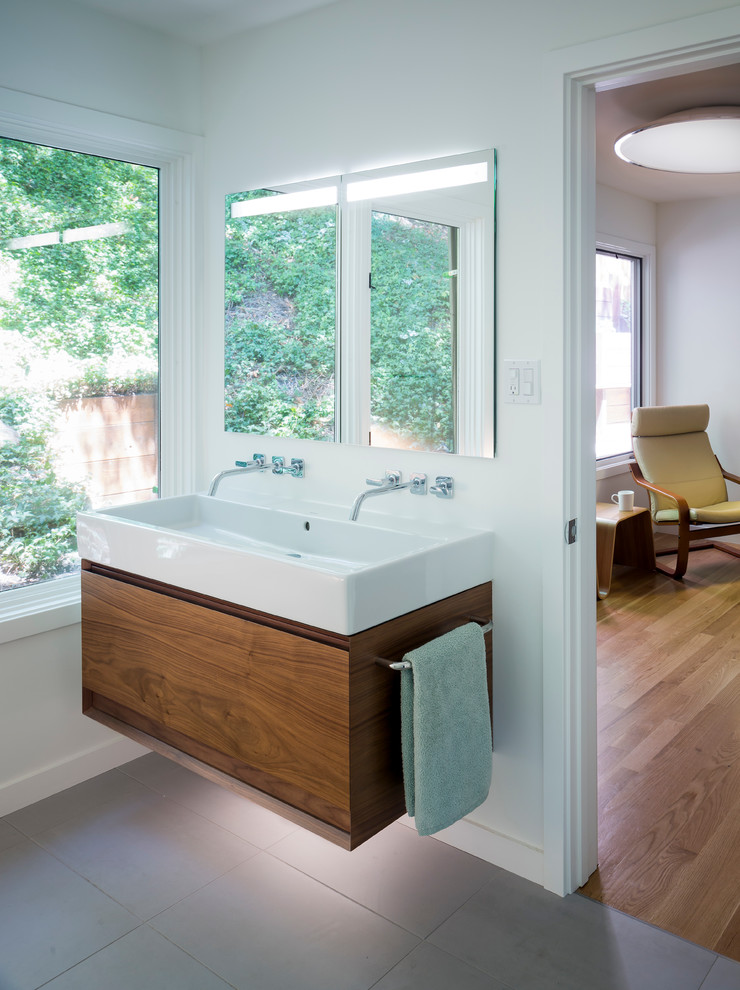
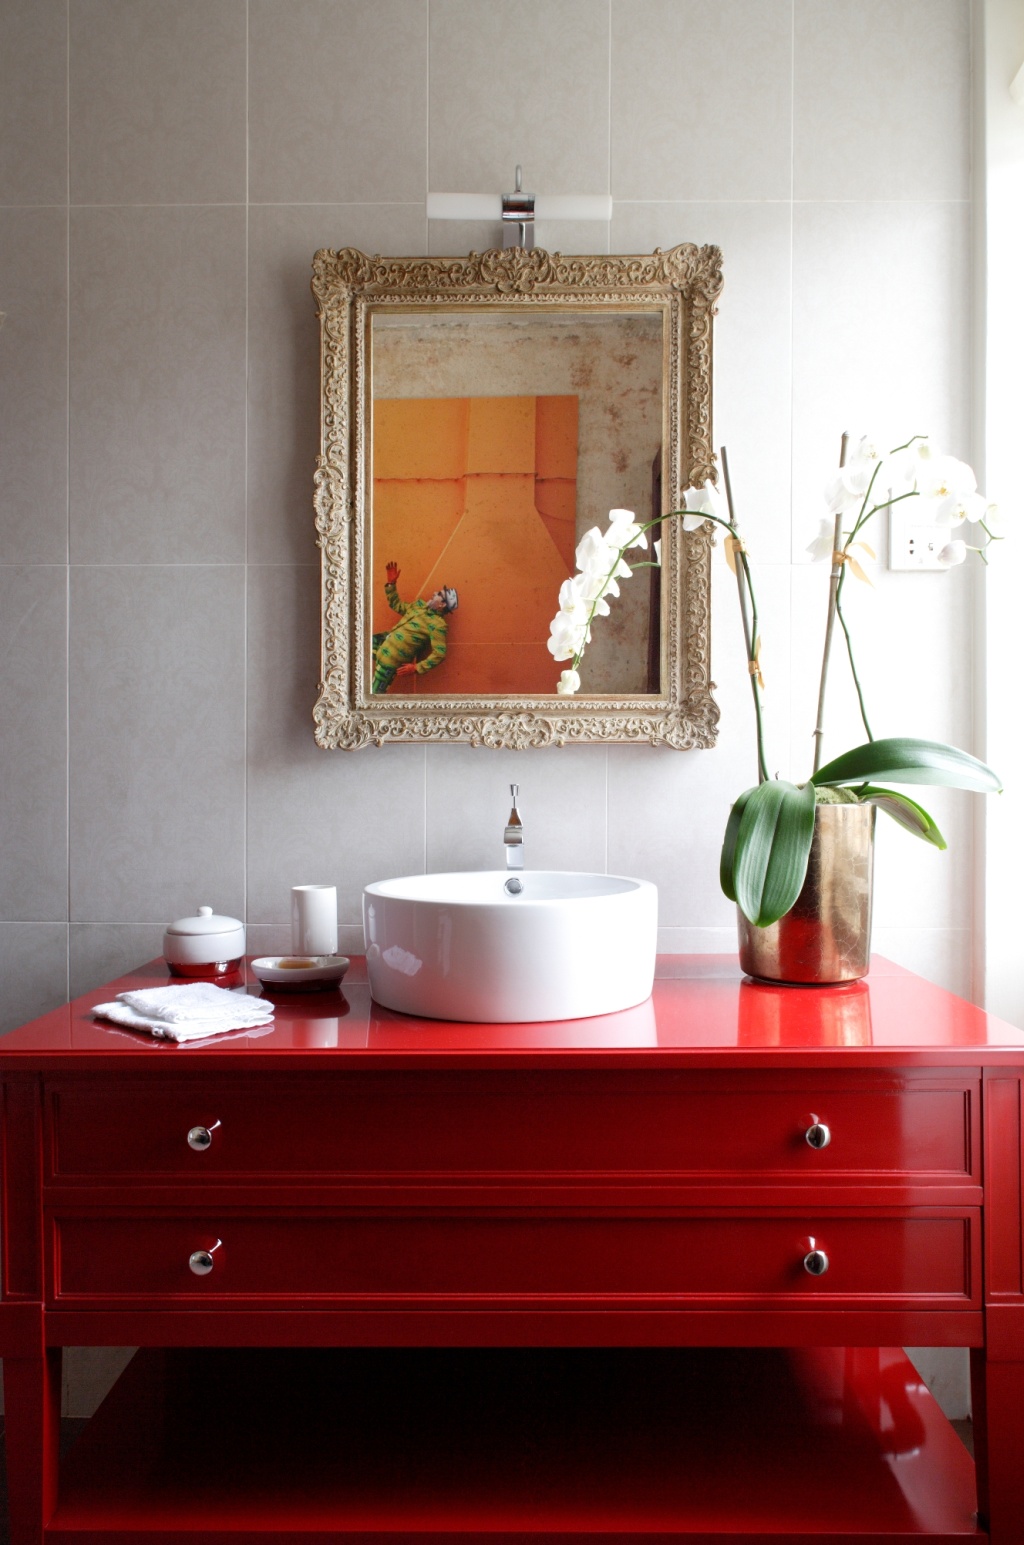
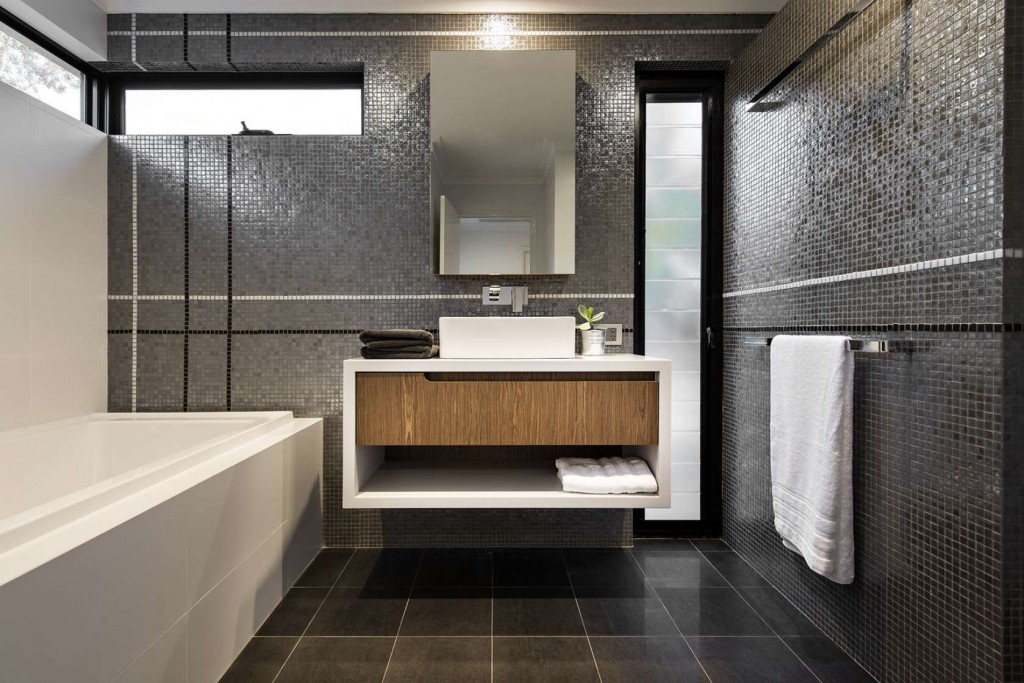
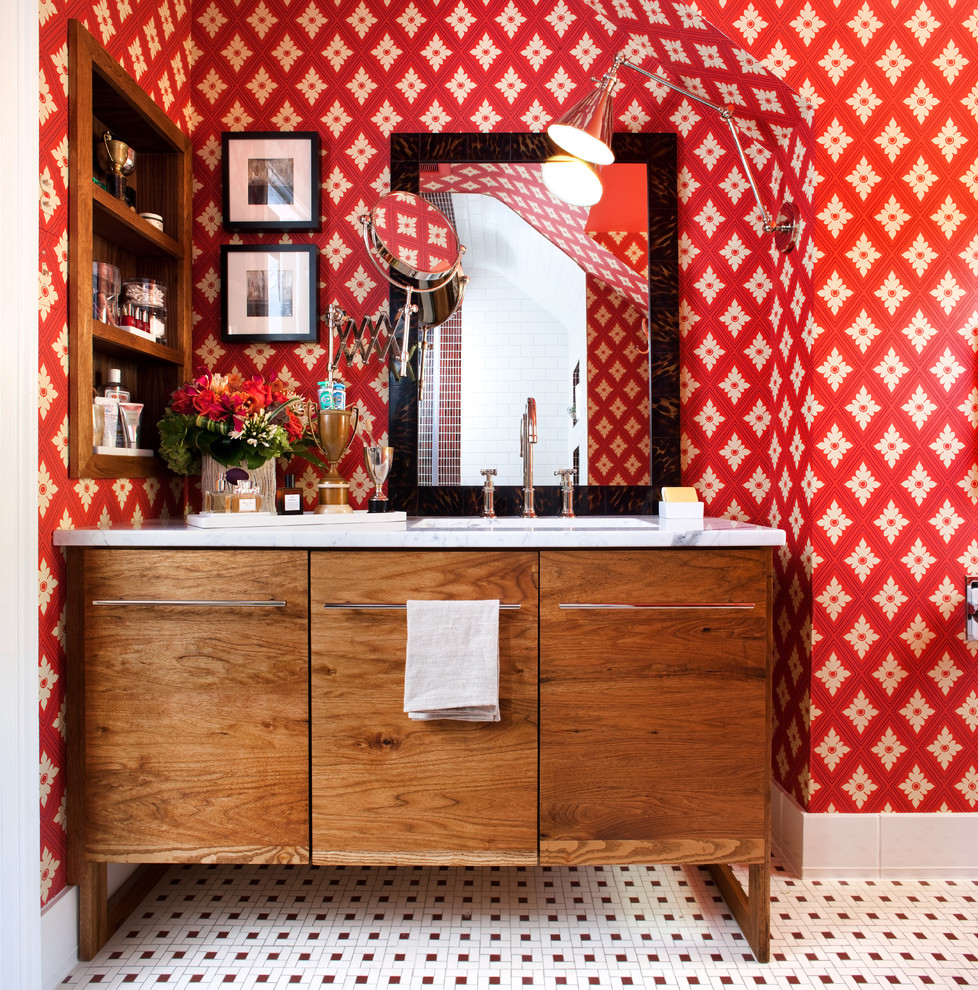
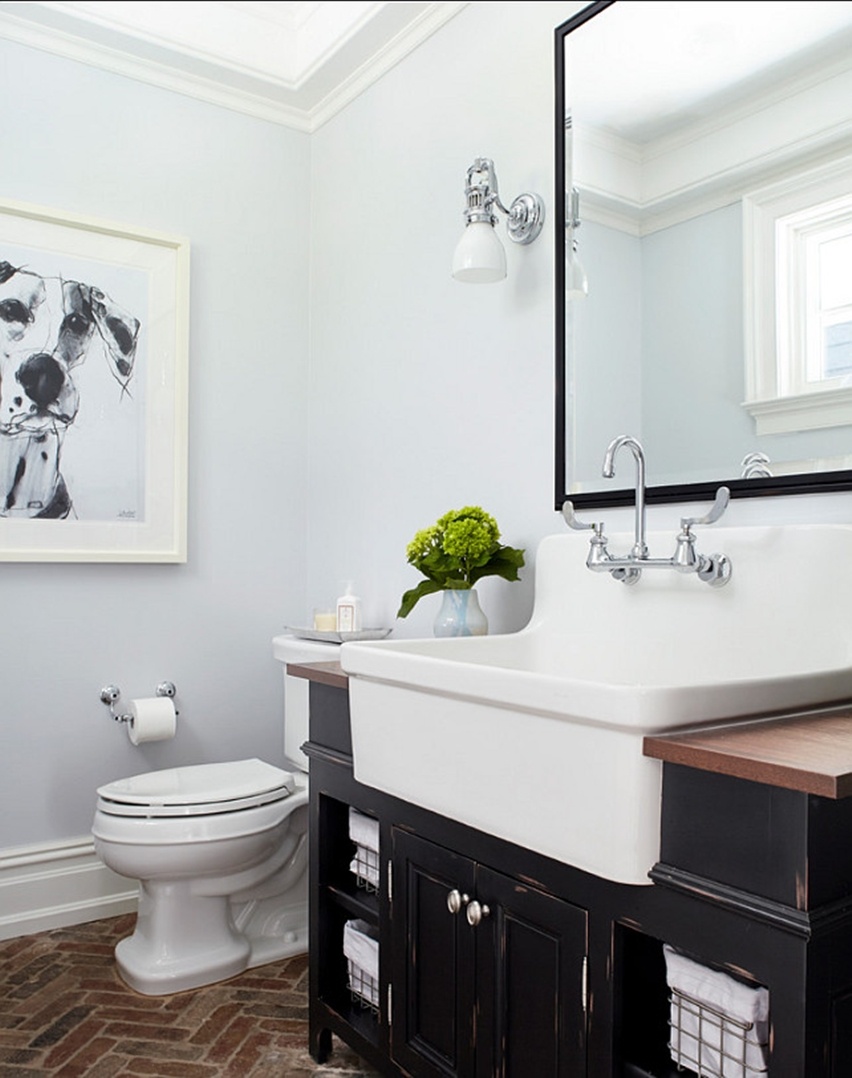
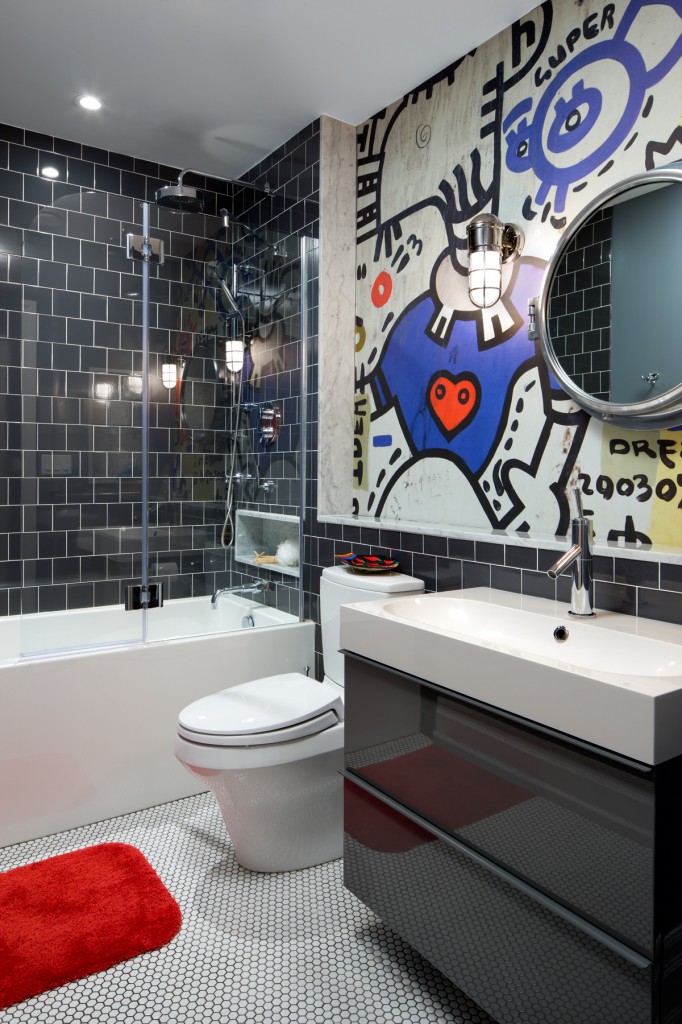
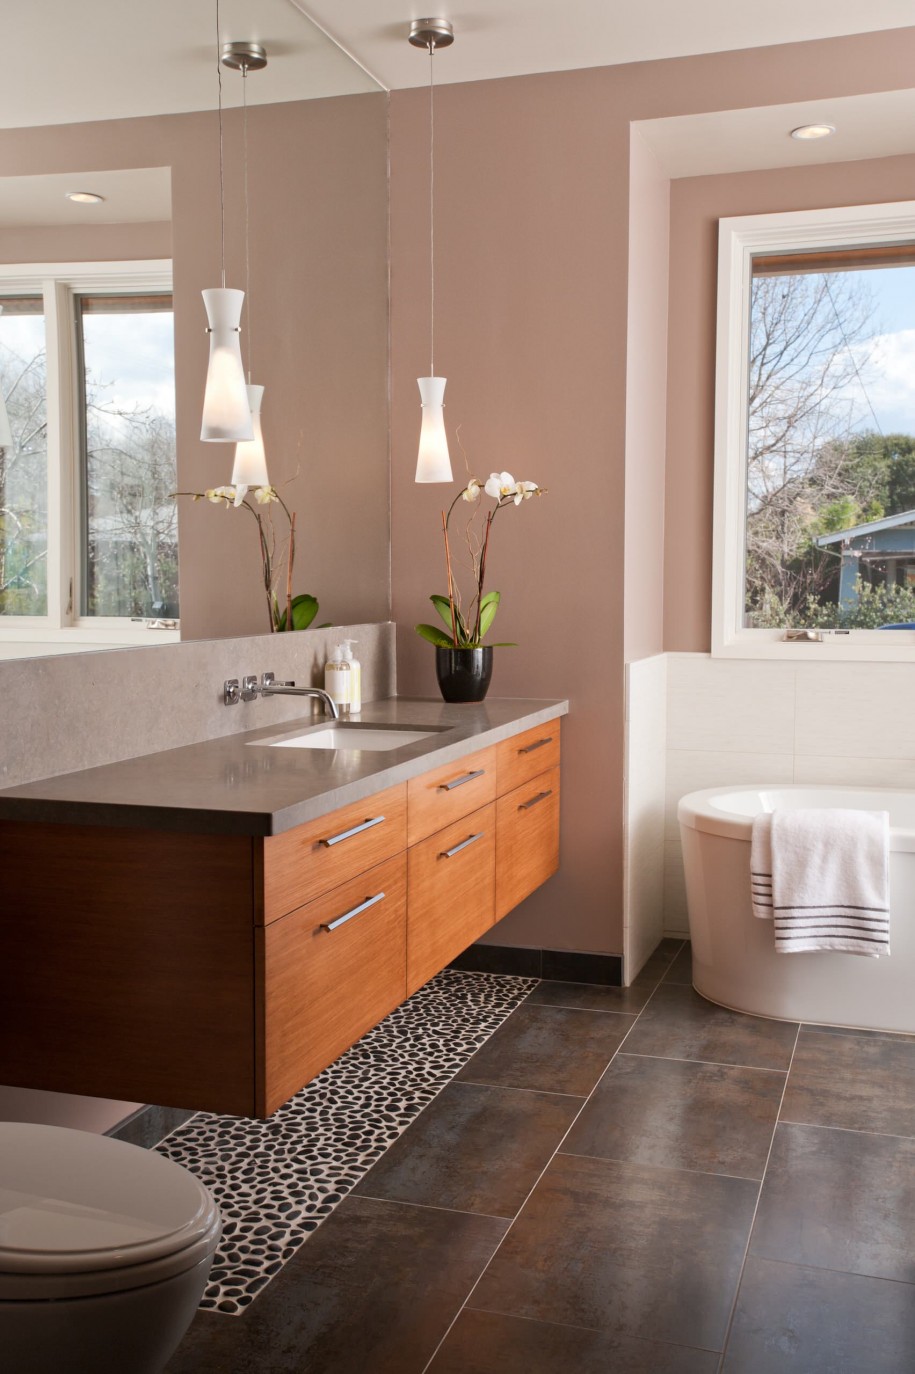
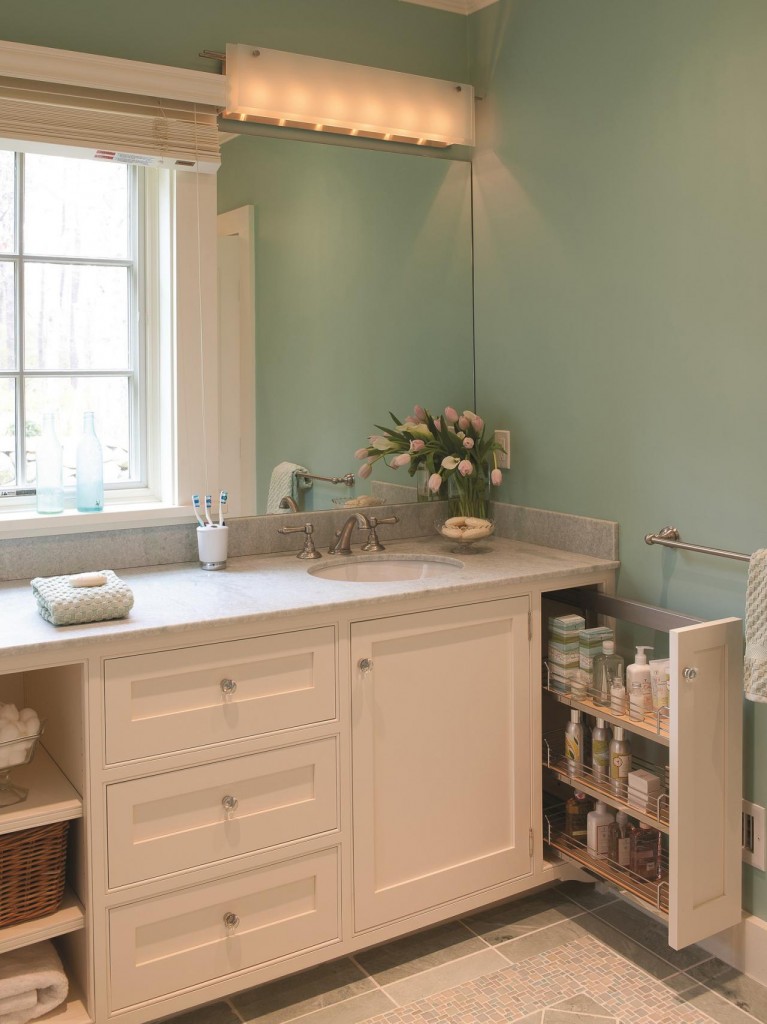
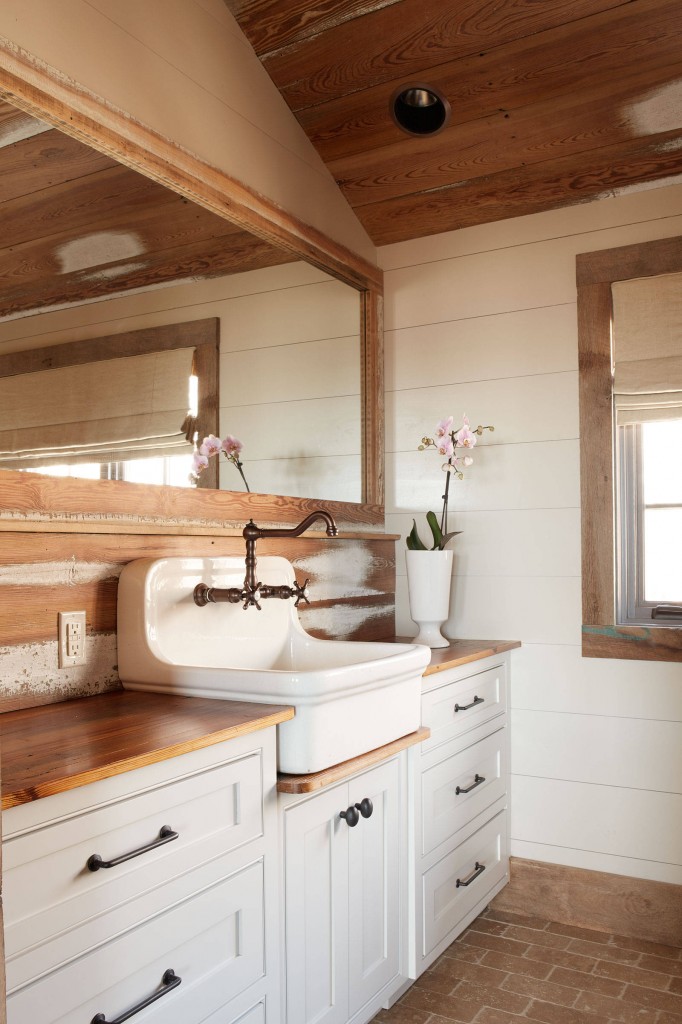
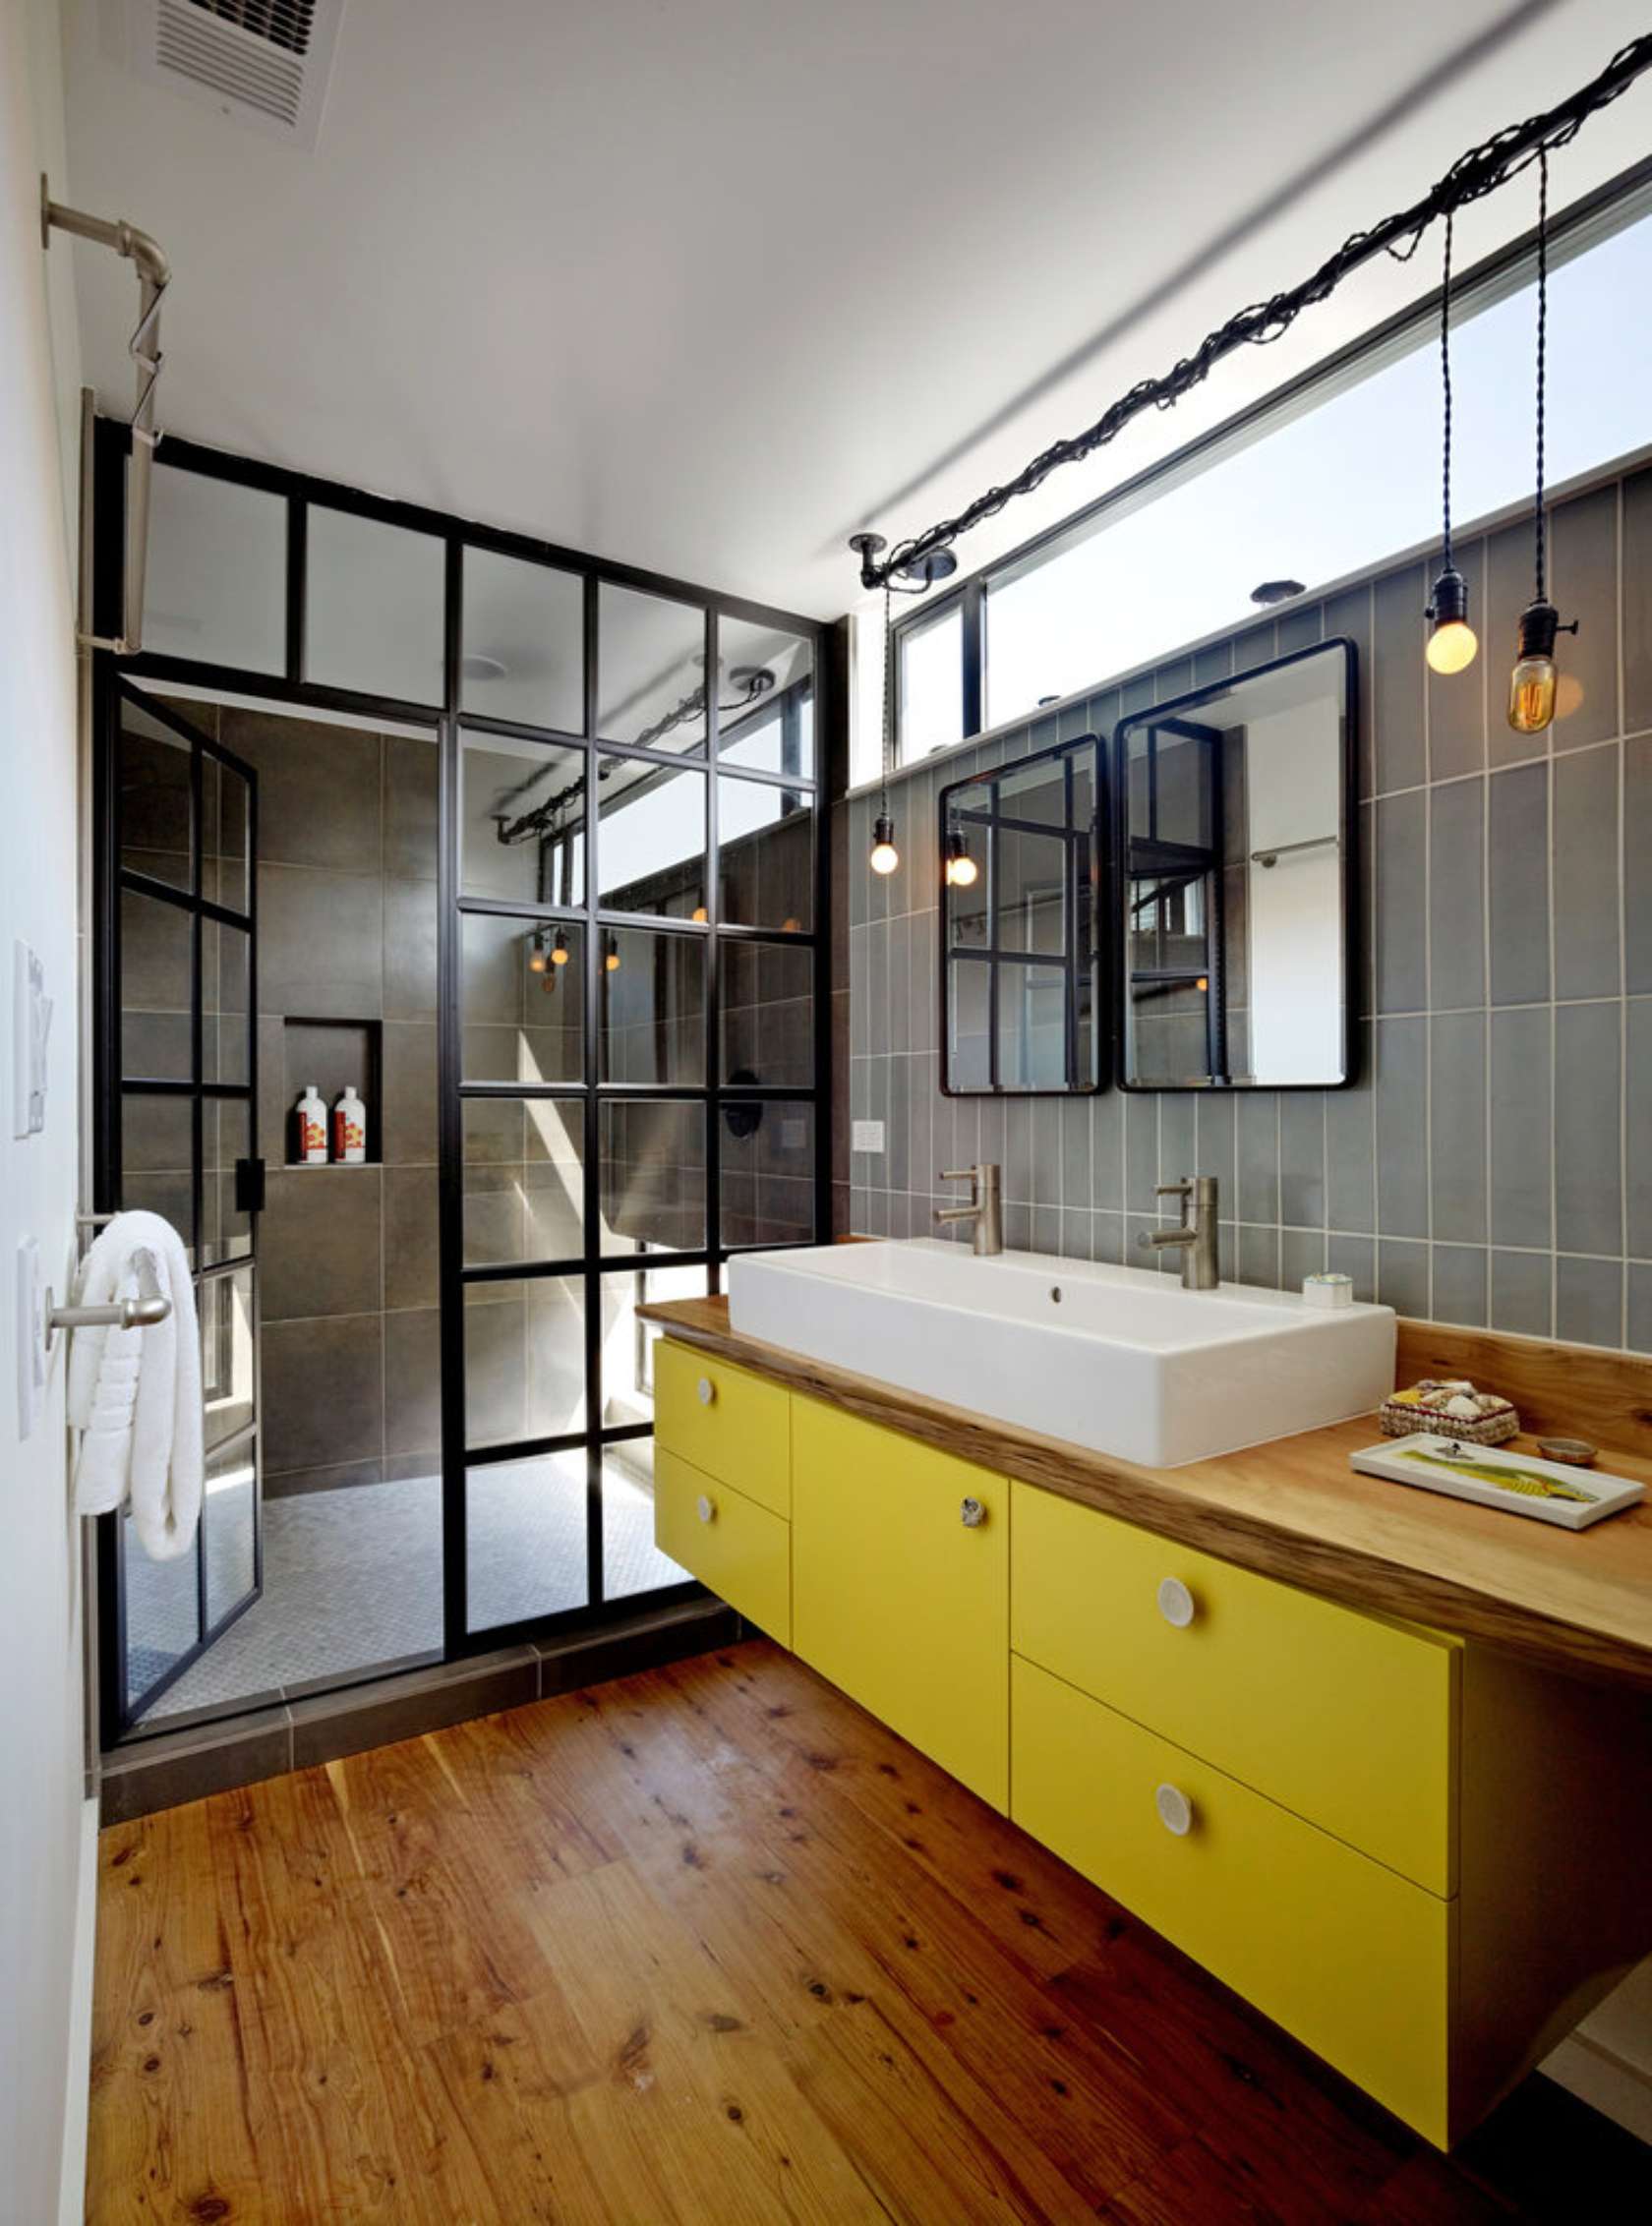
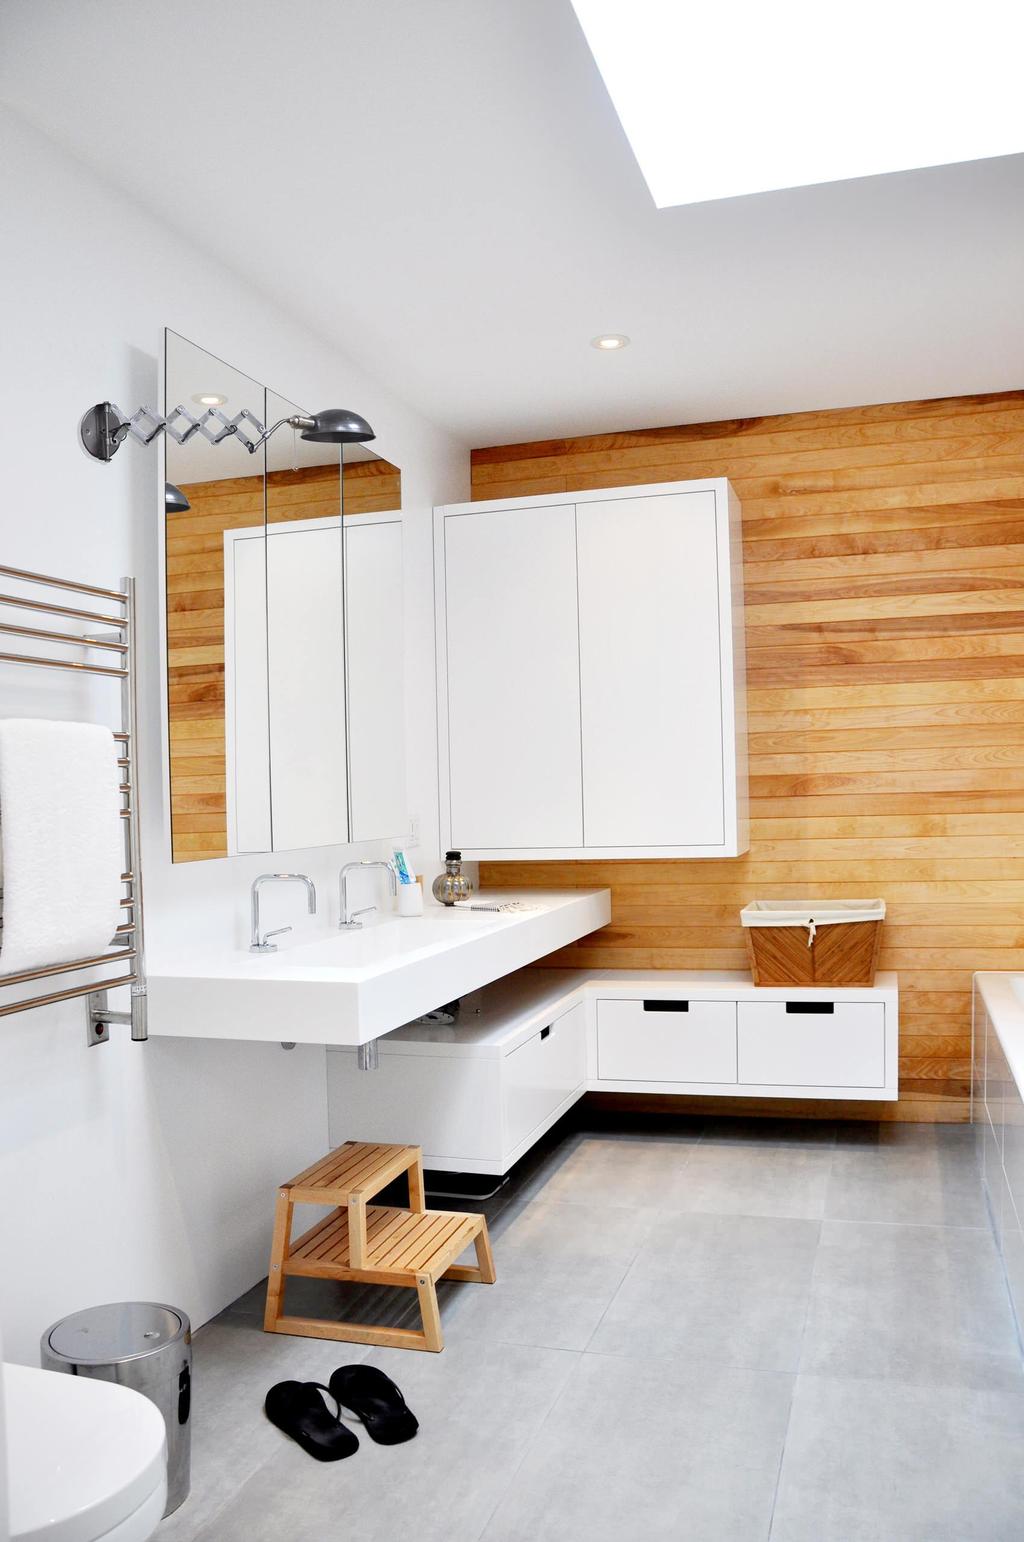
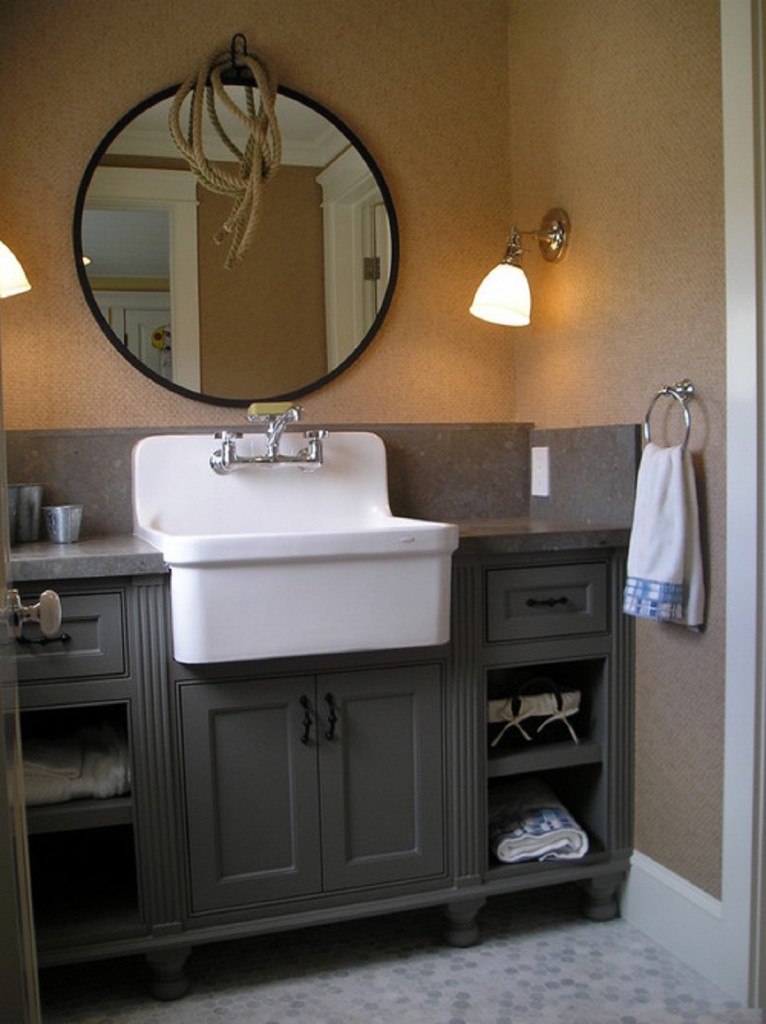
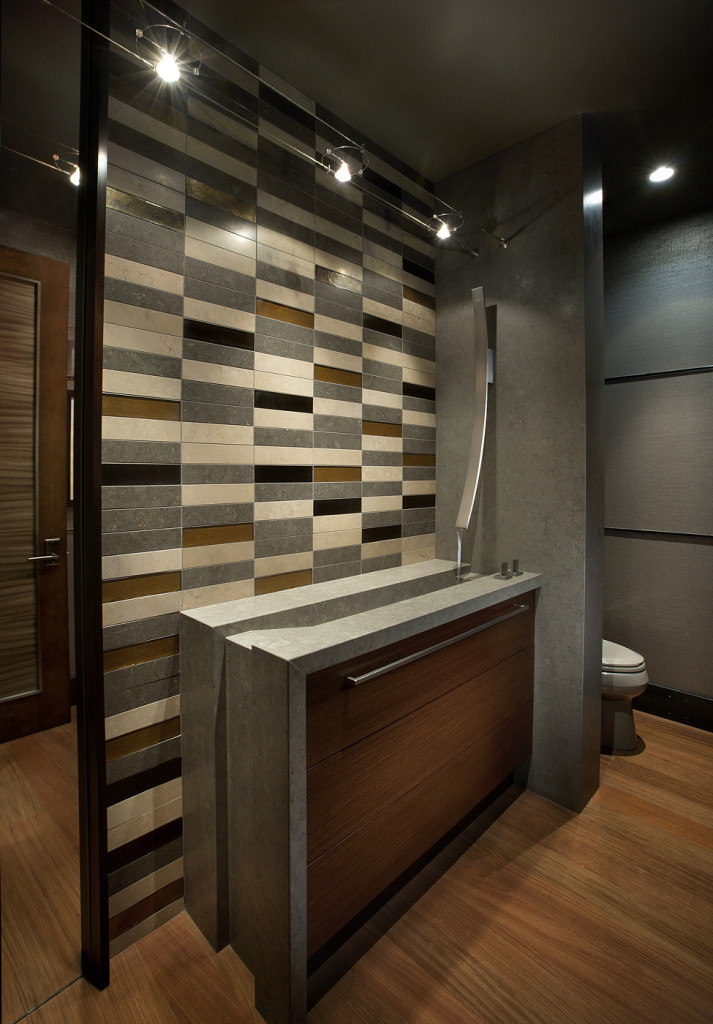
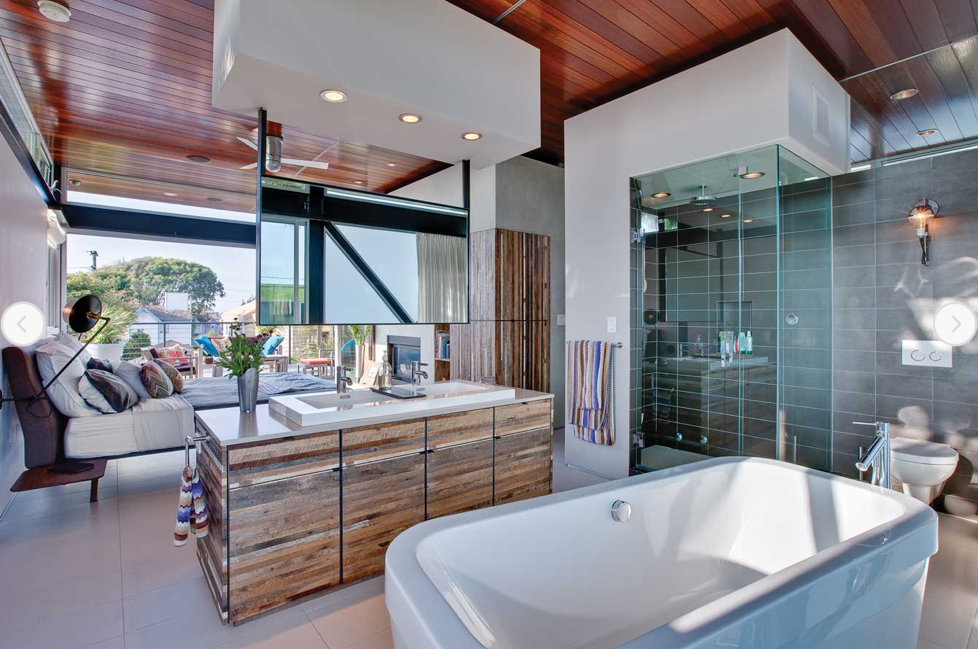
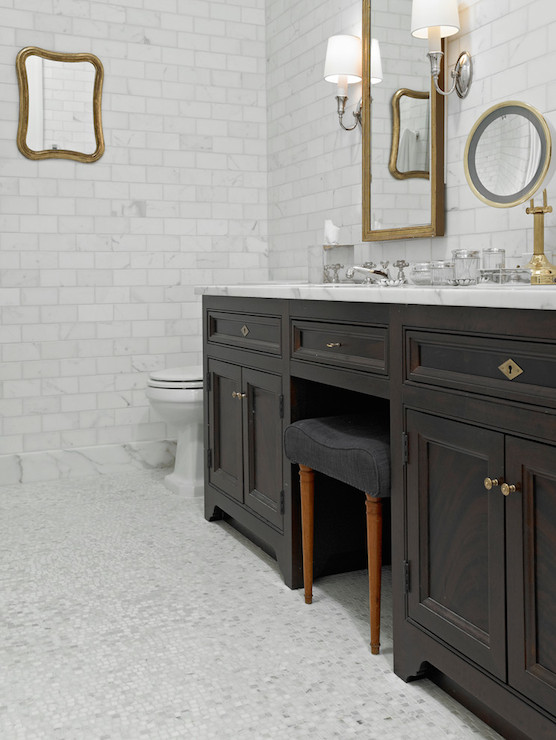
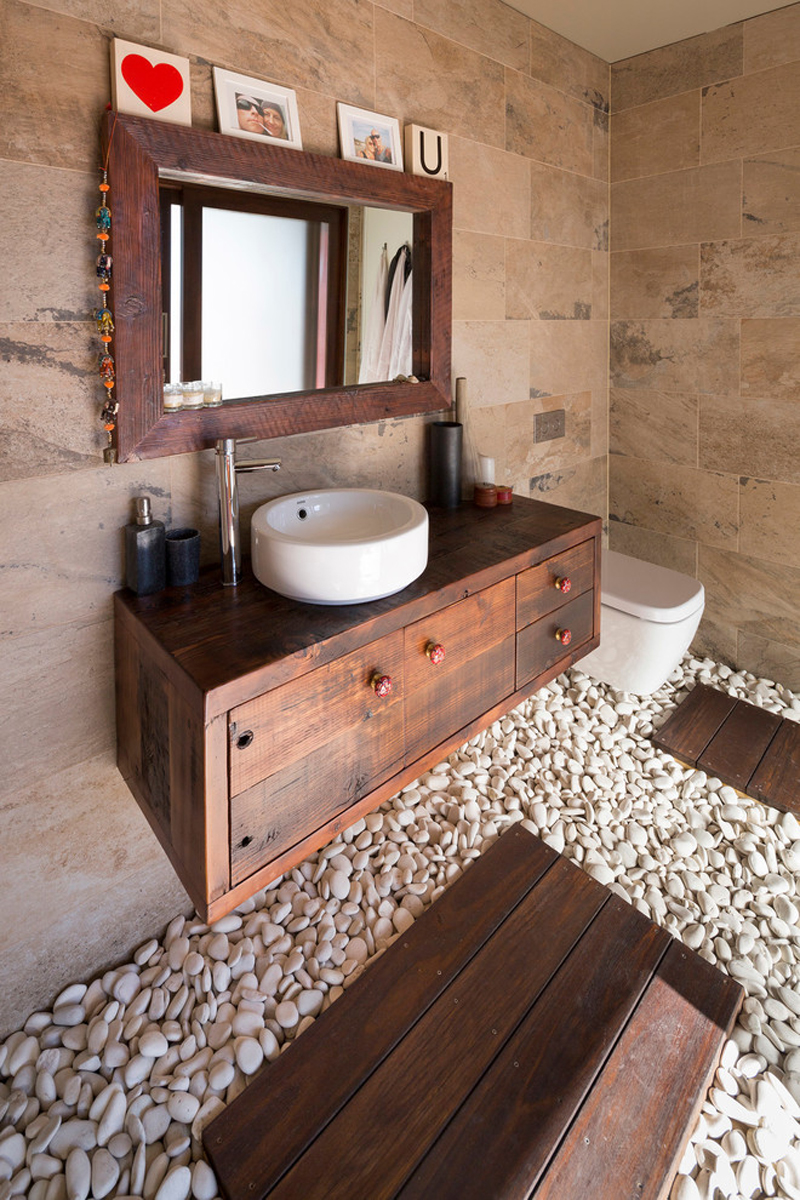
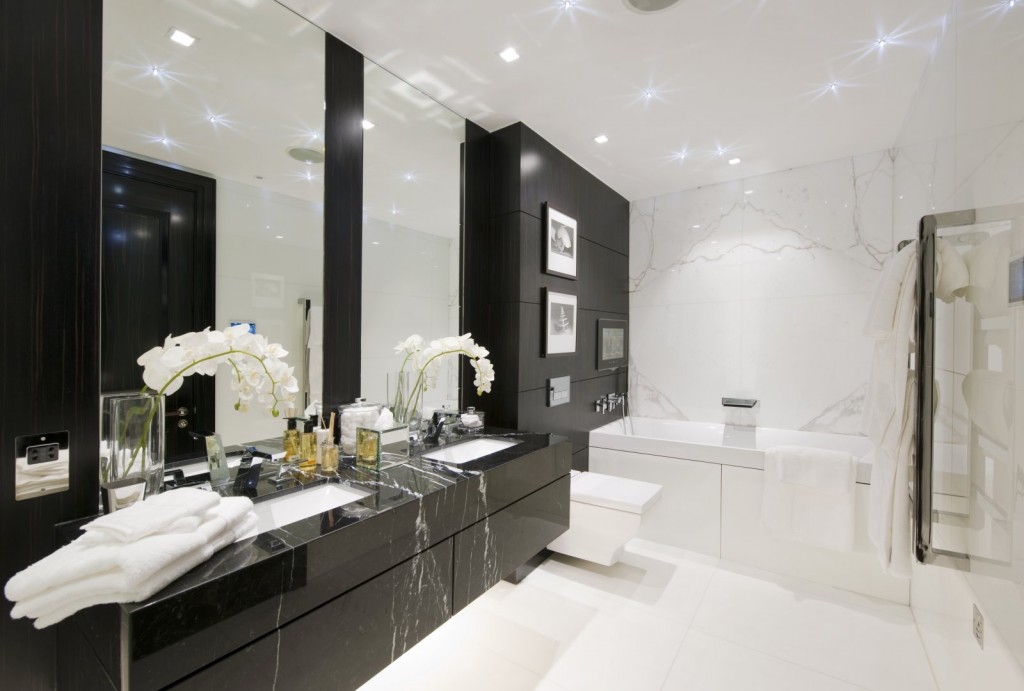
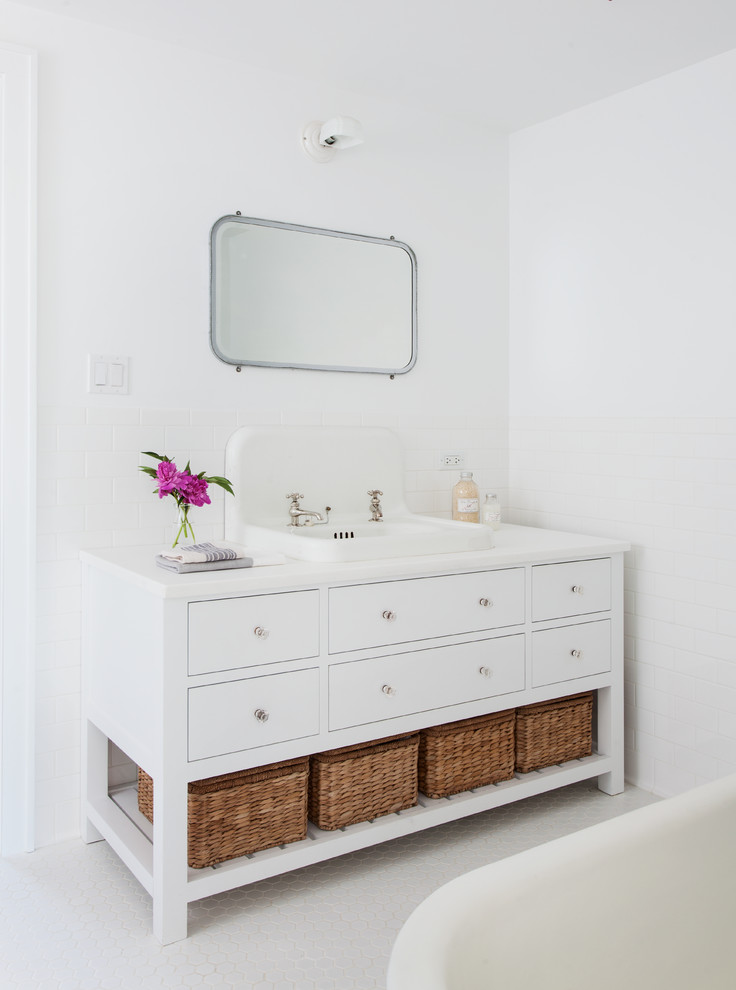
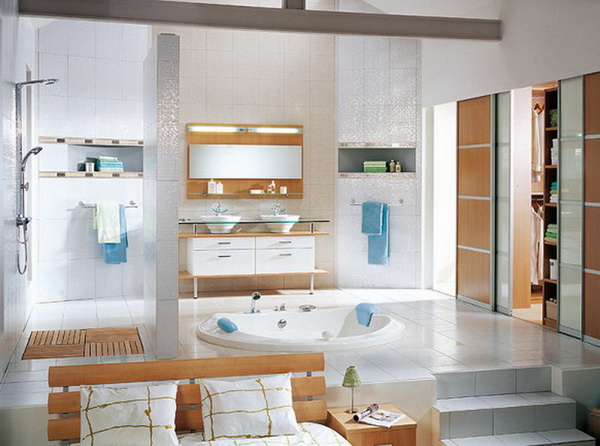
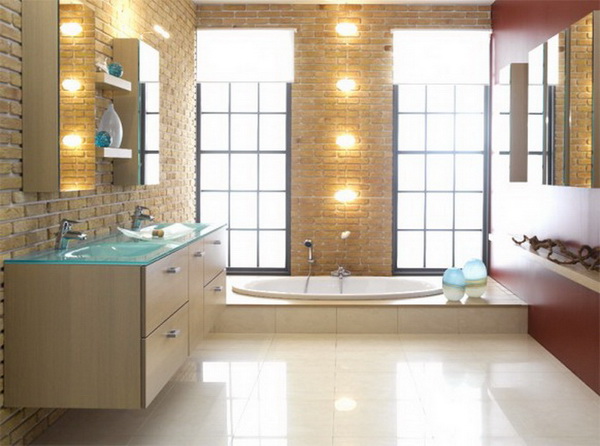
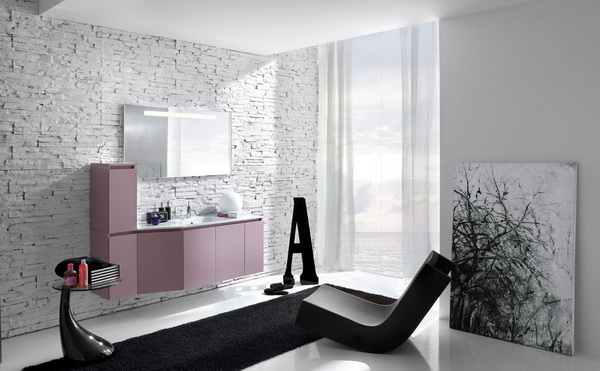
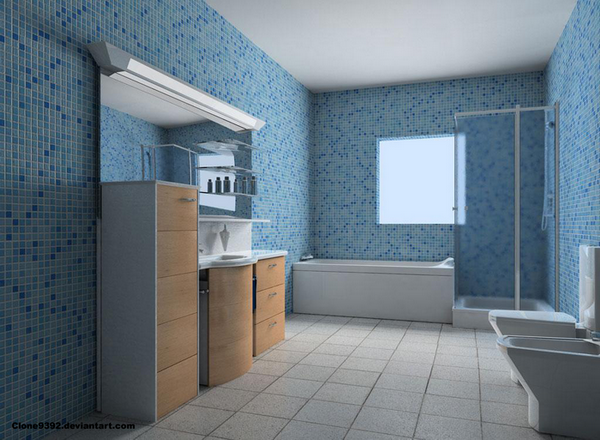
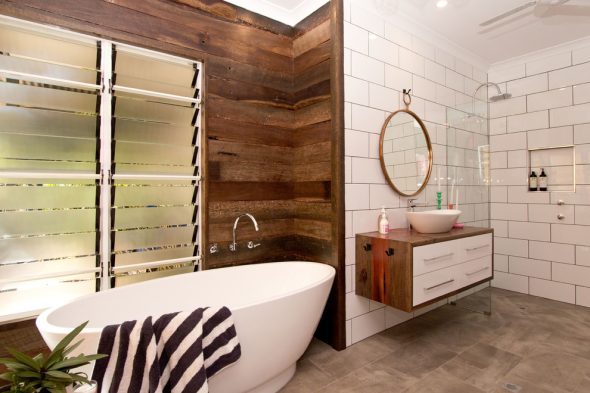
- Sink with a cabinet in the bathroom - 50 photo ideas:
Choosing a vanity unit for a bathroom sink
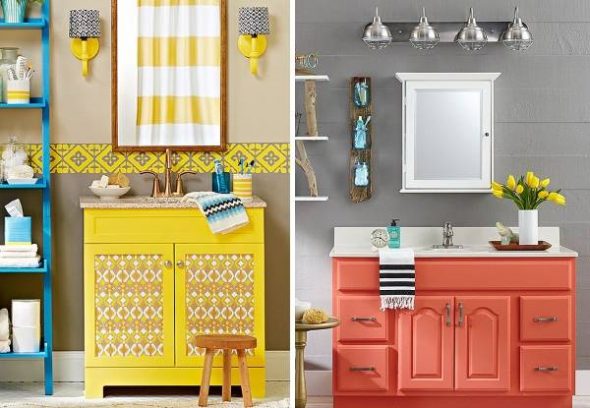
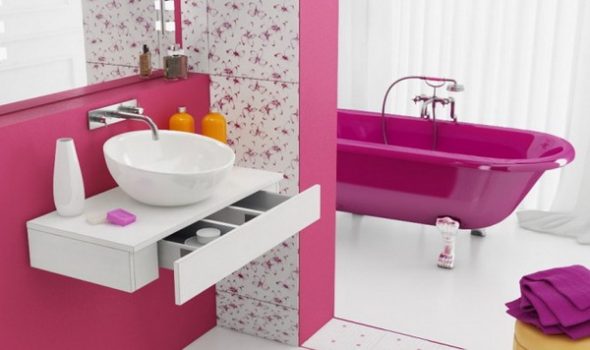
With a huge range of furniture for bathroom, offered by stores, it is not easy to choose the right option when choosing a base for shellsThe following factors must be taken into account:
- Size bathroom;
- Design, stylistic direction of the room decoration;
- Features of water supply inlets;
- Location of sewer drain;
- Availability of heated floors;
- Shape and size shellsy.
The best option is to choose the one that is right for you bathroom furniture at the planning stage of a new bathroom or when preparing for a major overhaul of an old one. At this stage, you can provide for all the features of installation and design.
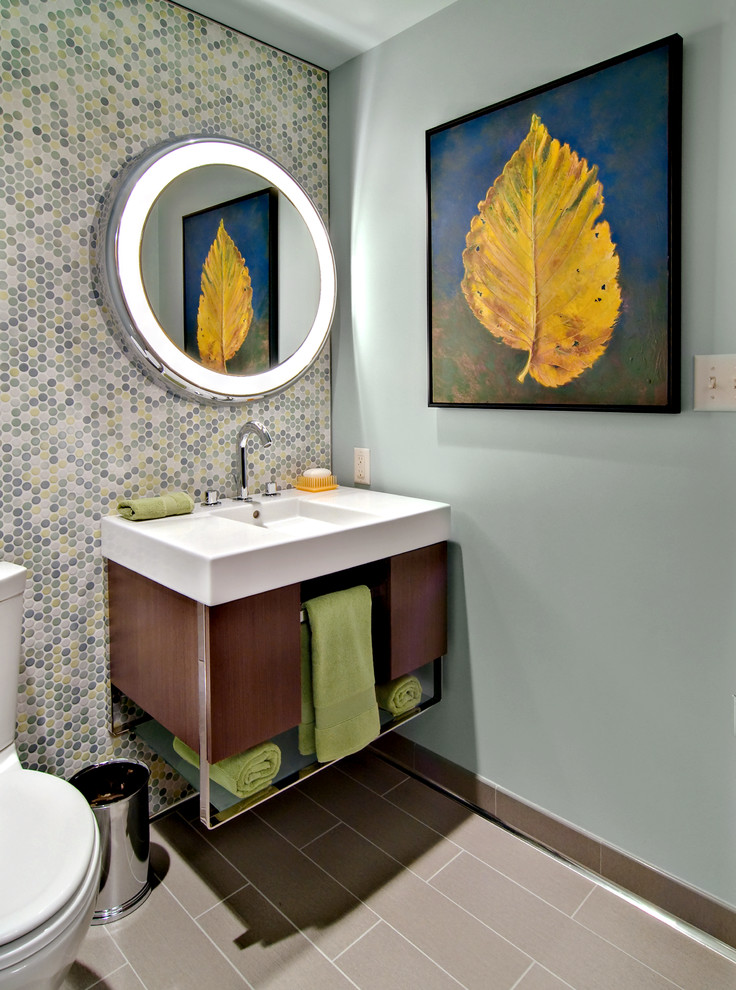
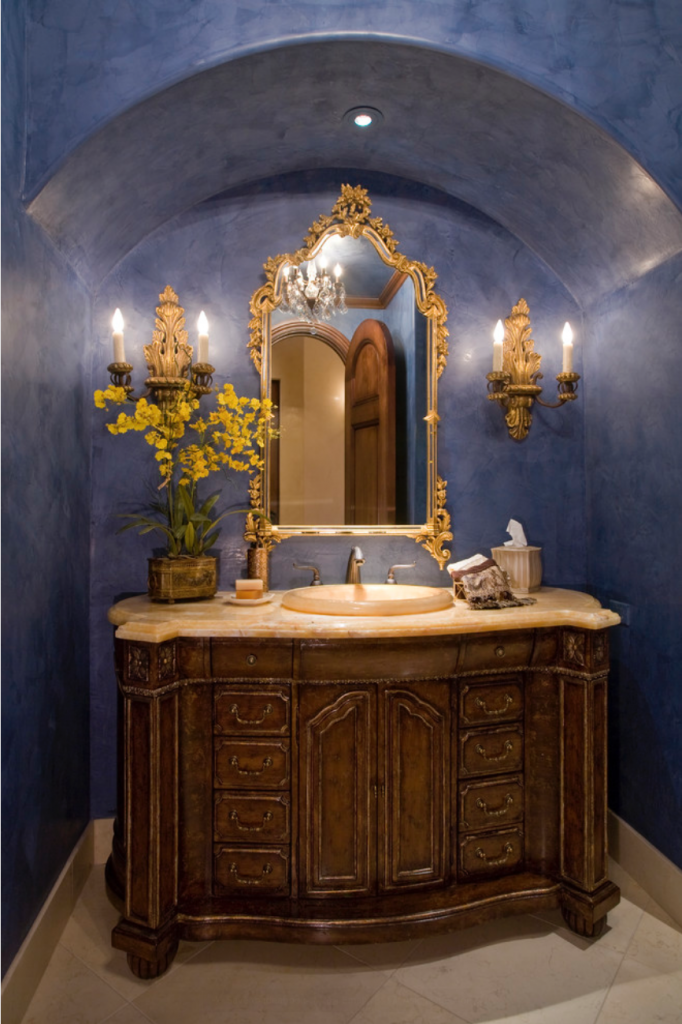
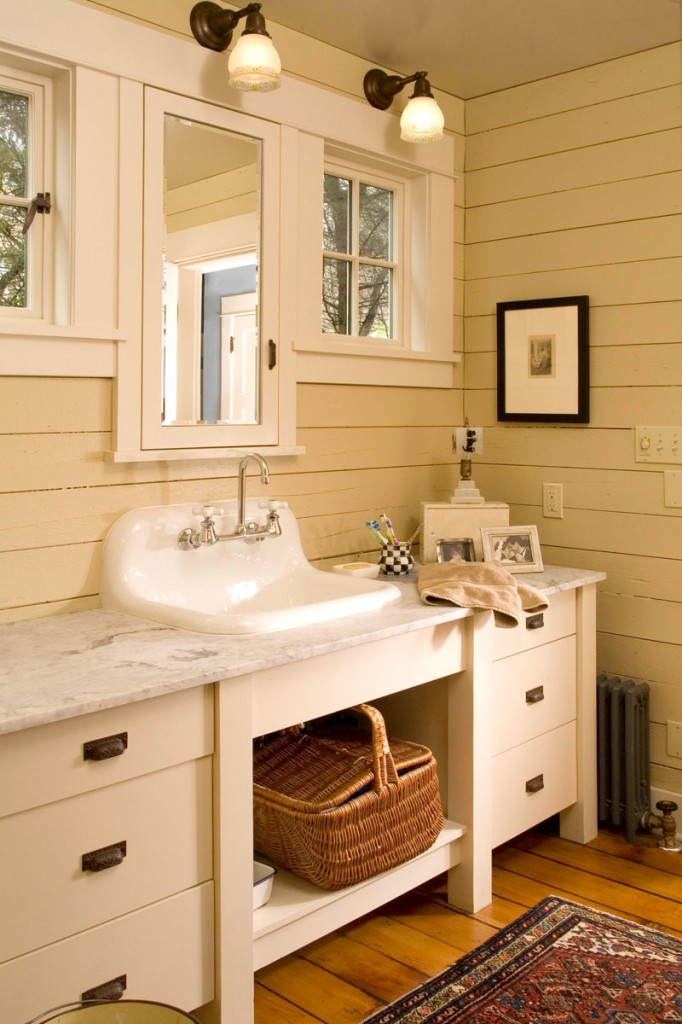
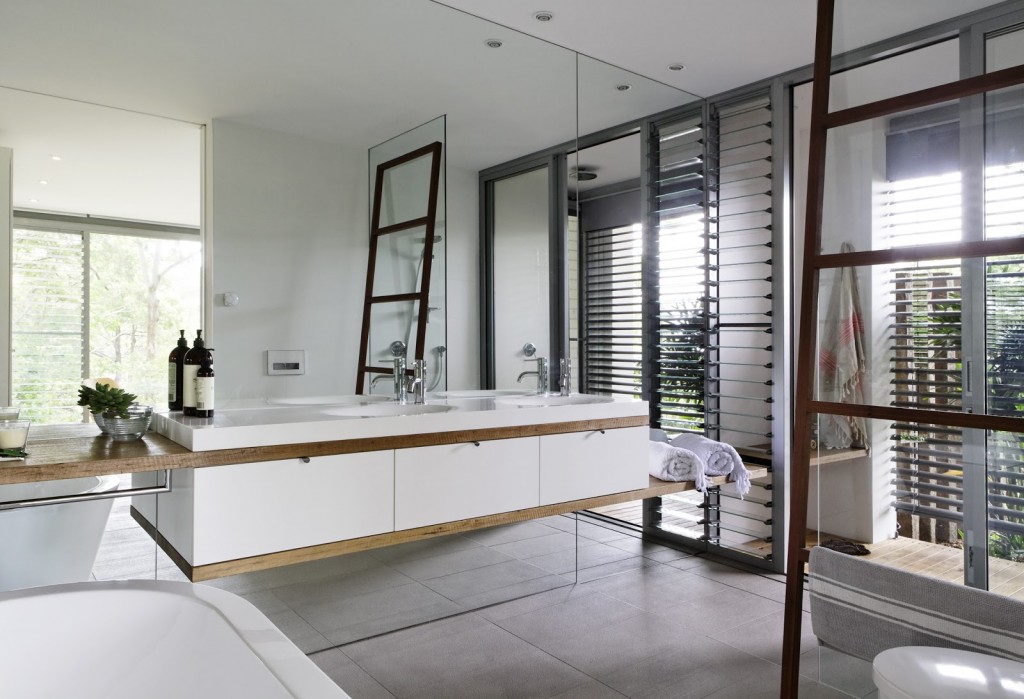
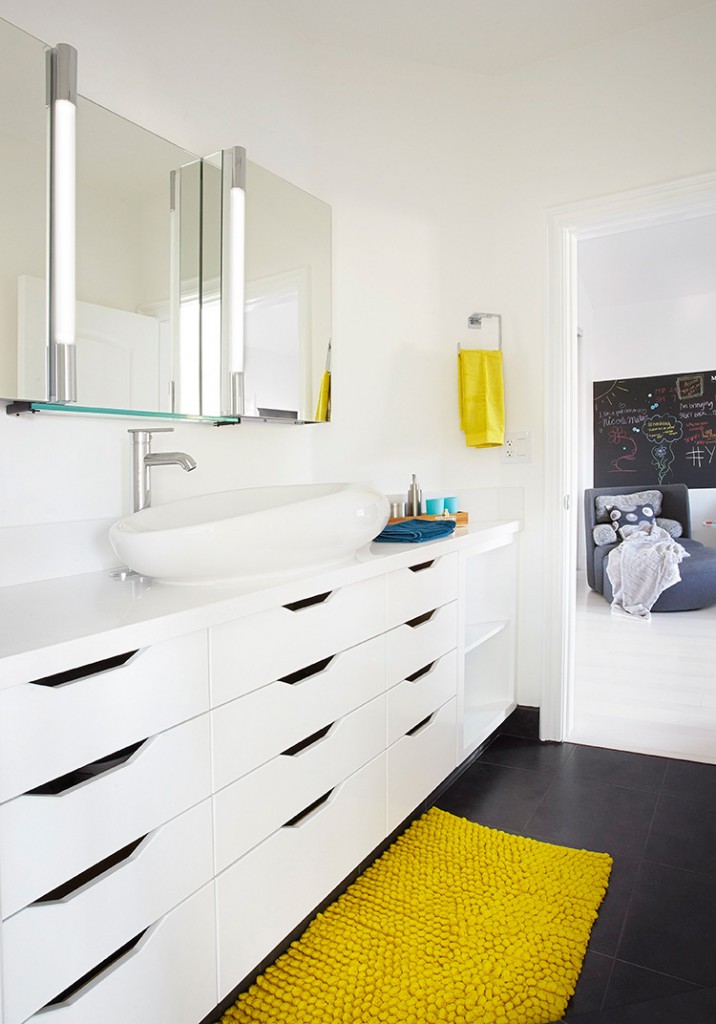
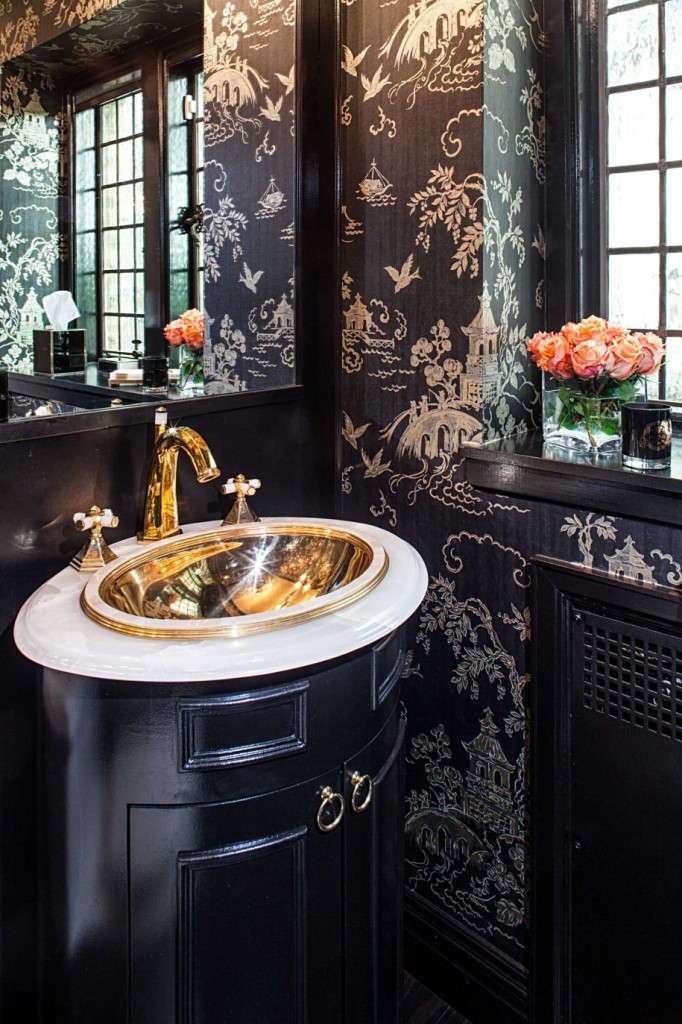
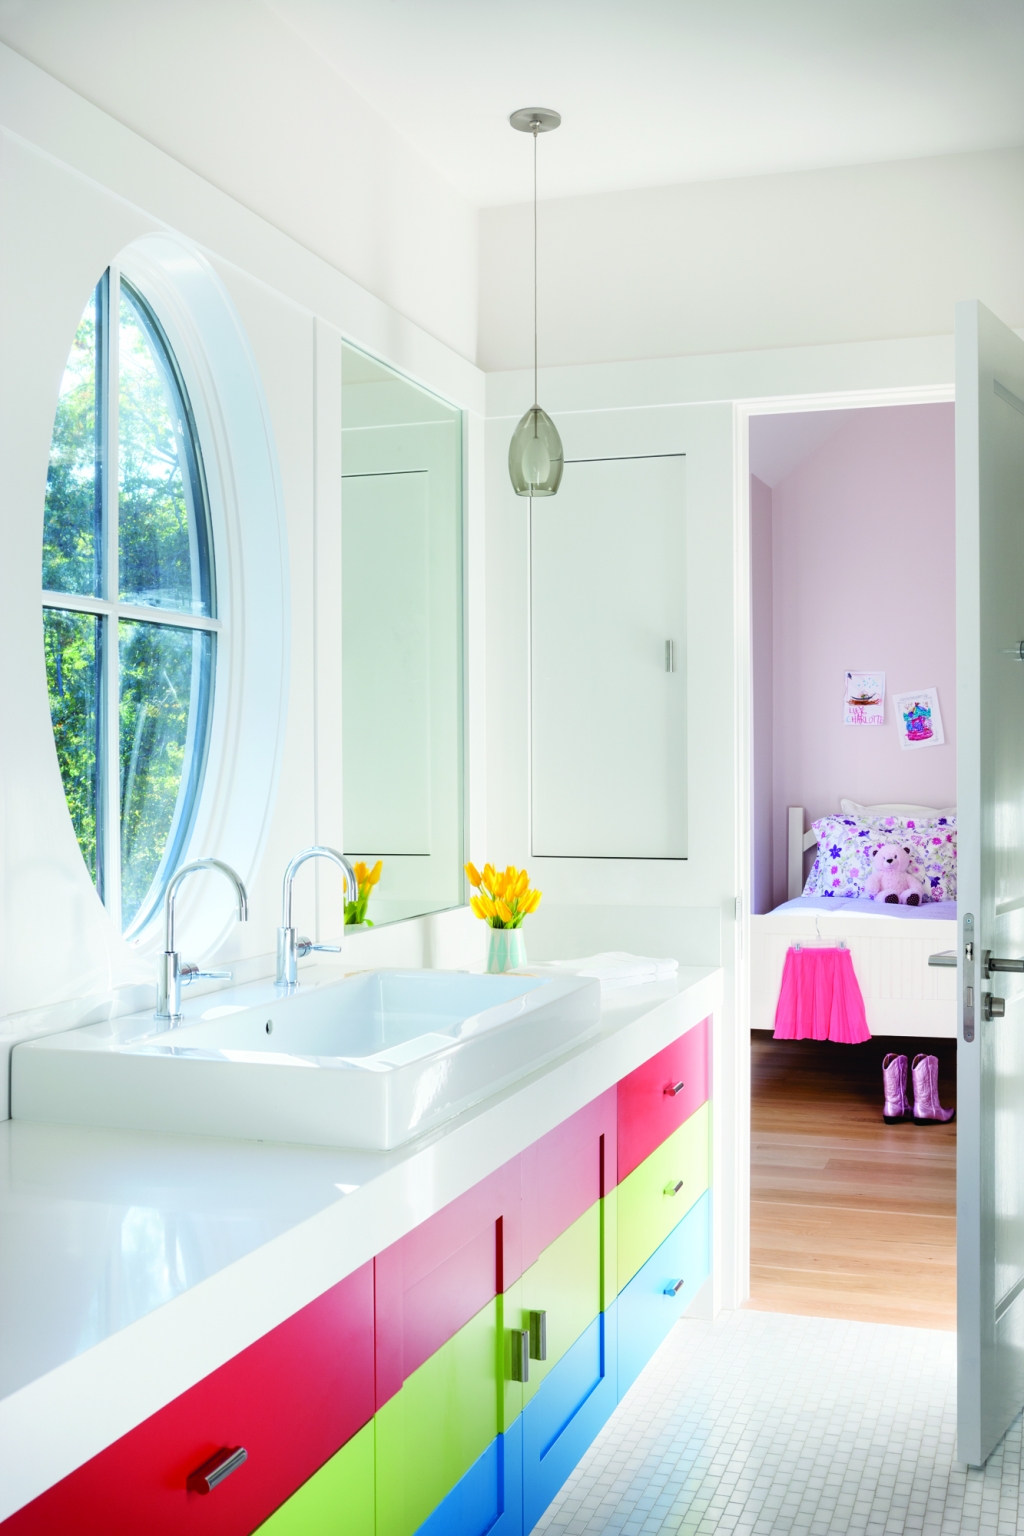
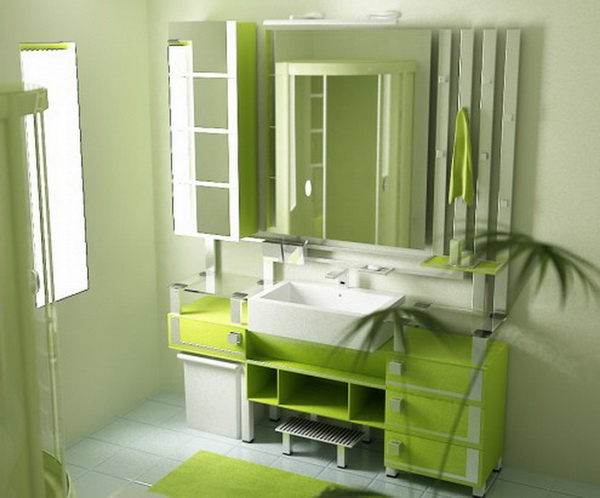
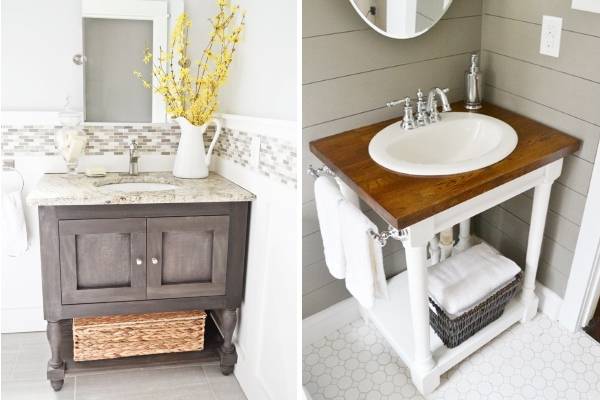
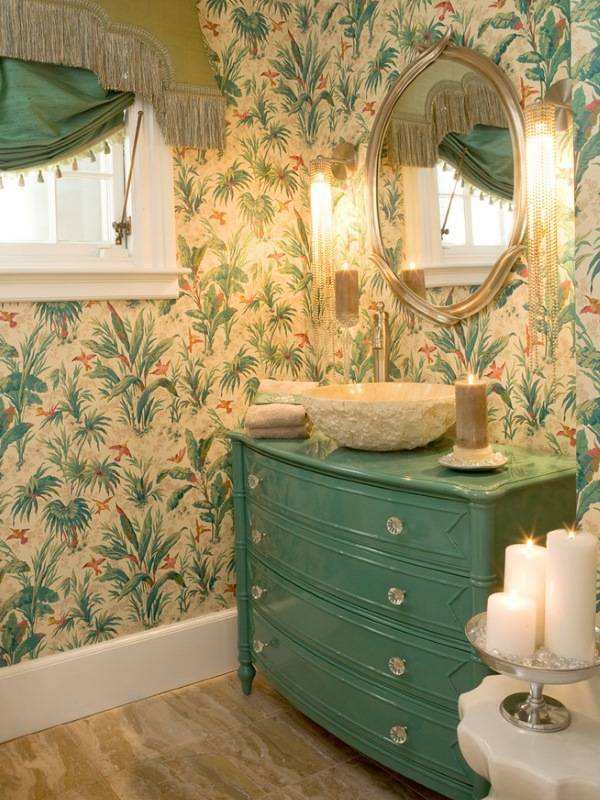
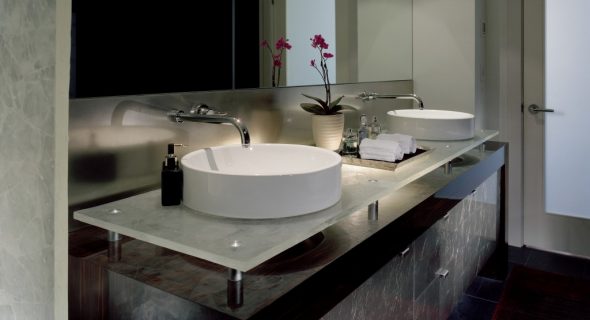
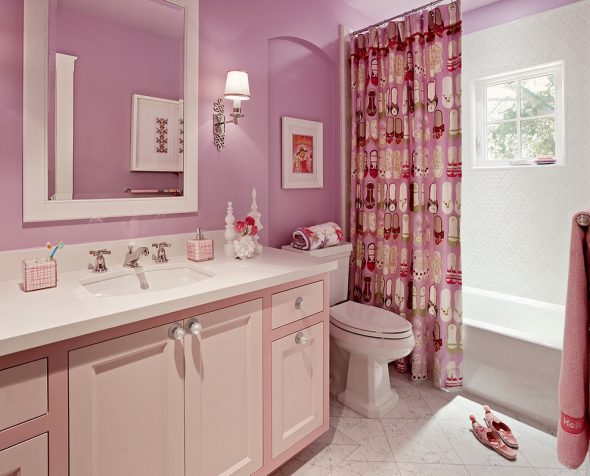
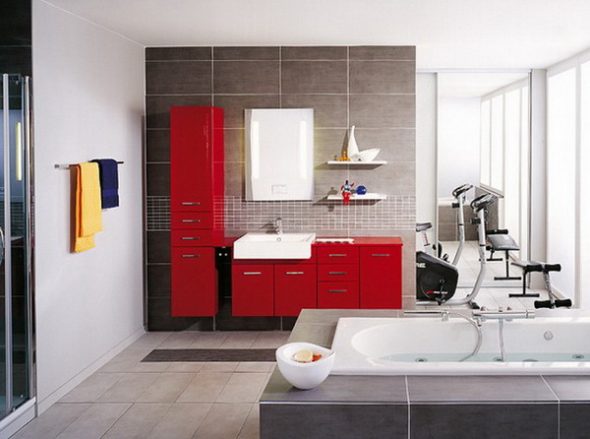
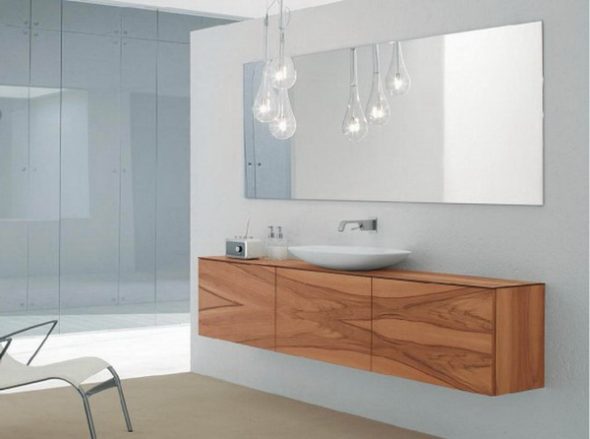
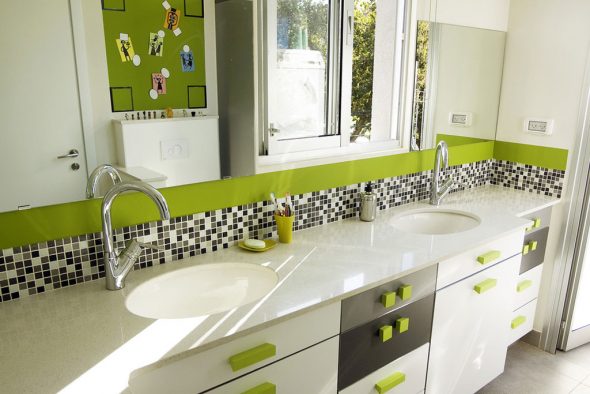
In a large bathroom it is better to install a good volumetric one pedestalswith the corresponding shellsoh. Drawers like chest of drawers will provide storage for a large number of things, and if you add an original design, beautiful fittings, rich decorative finish, then such an interior item will become the highlight of the entire room.
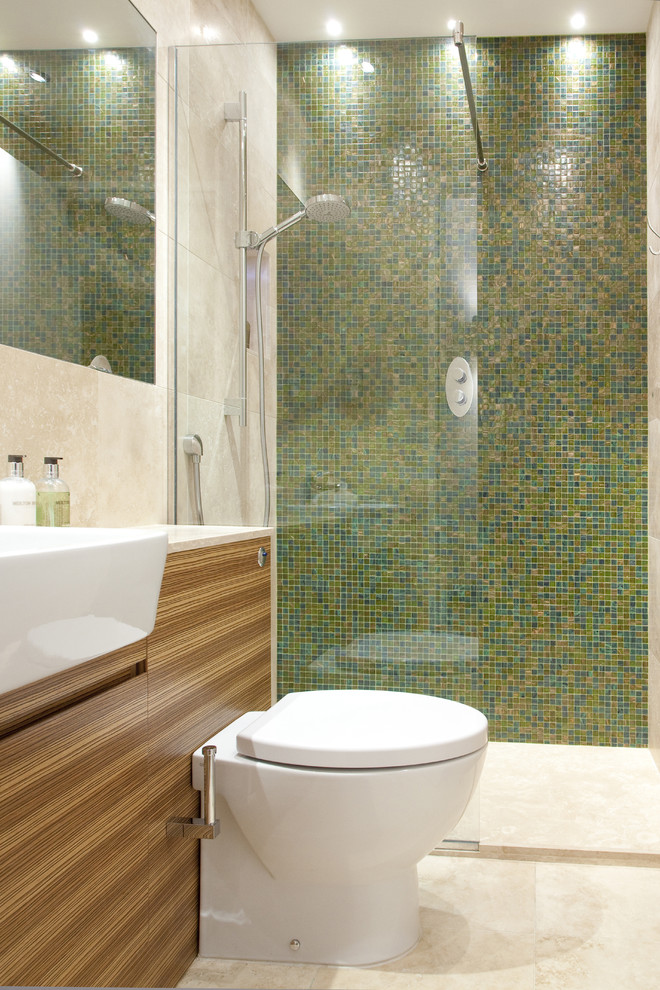
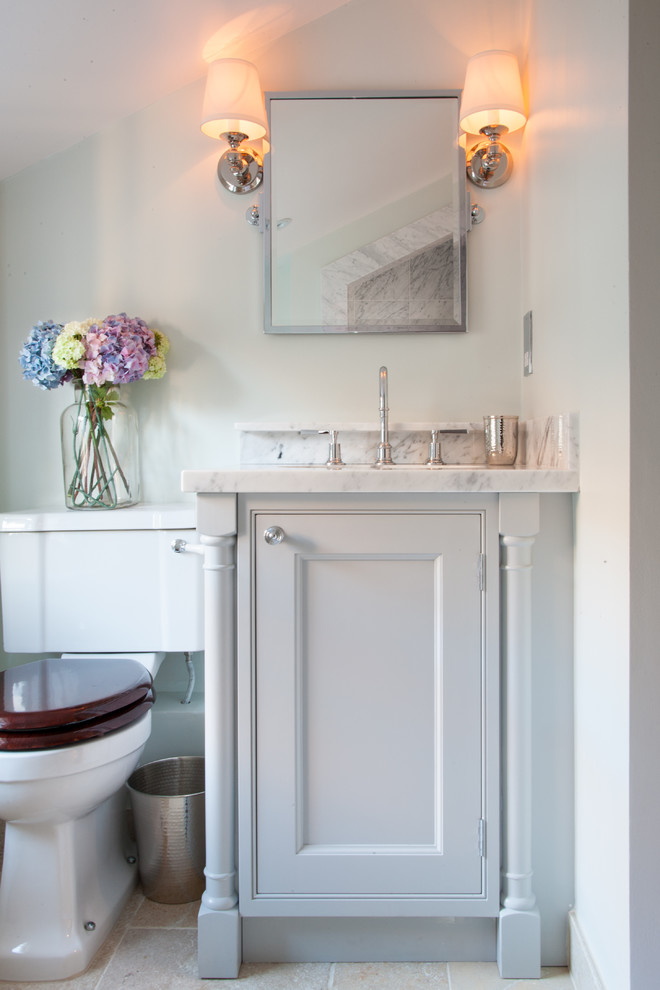
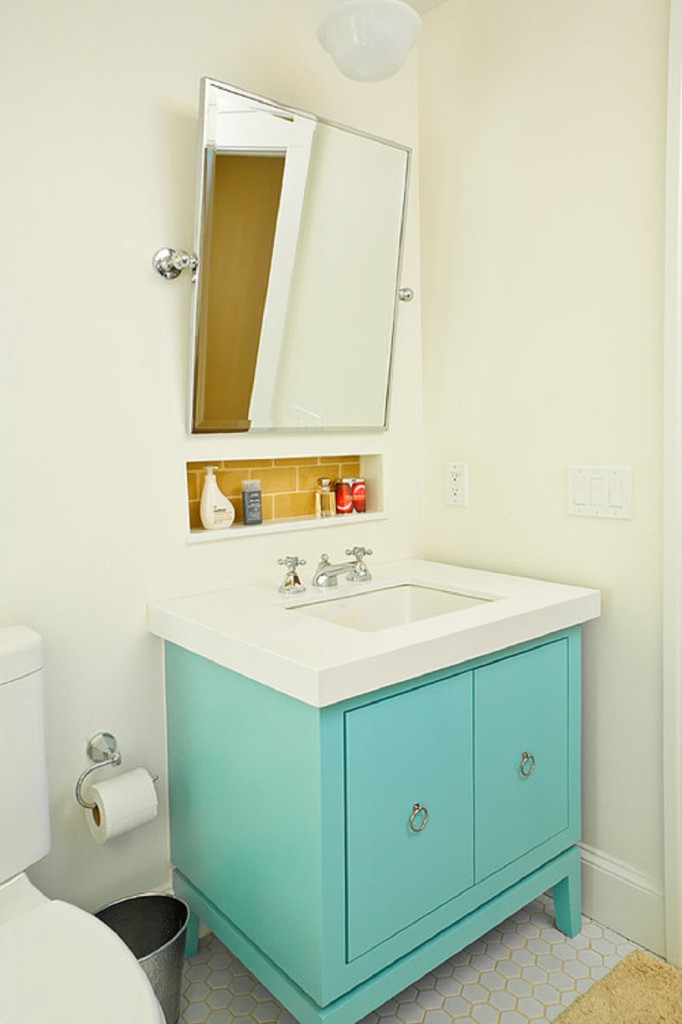
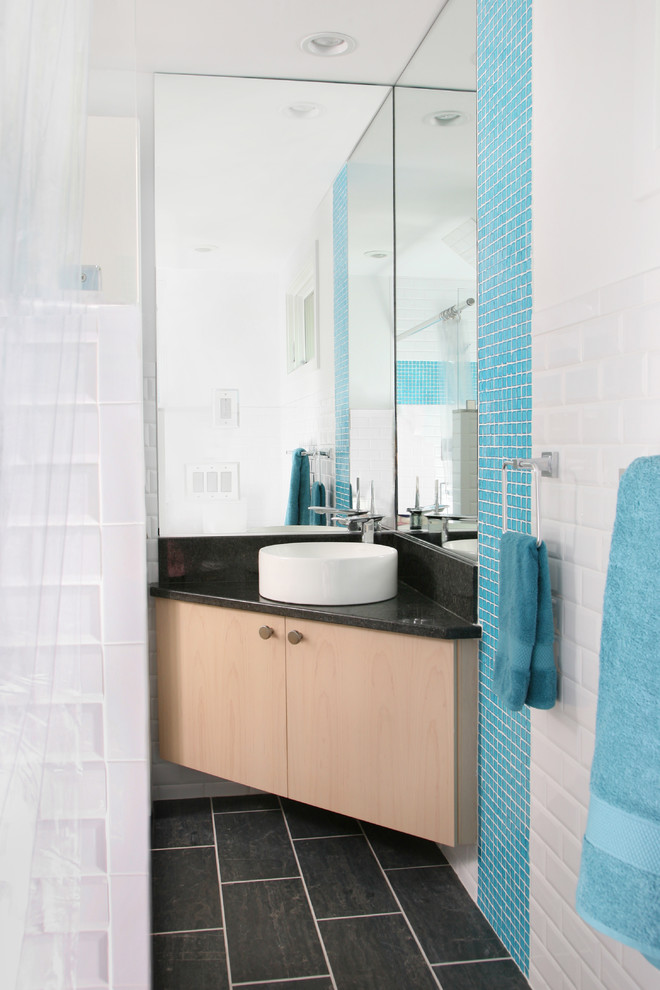
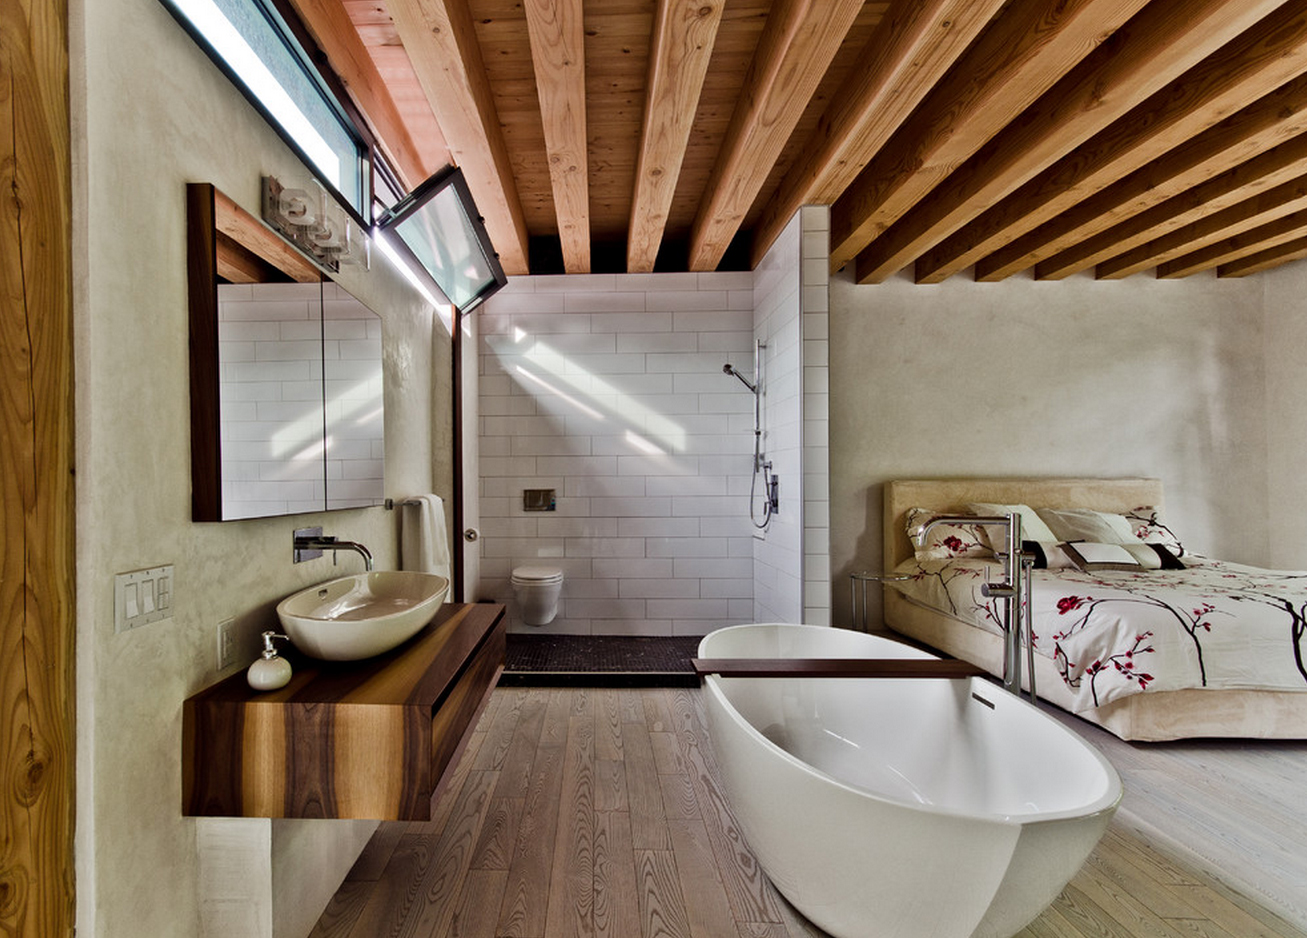
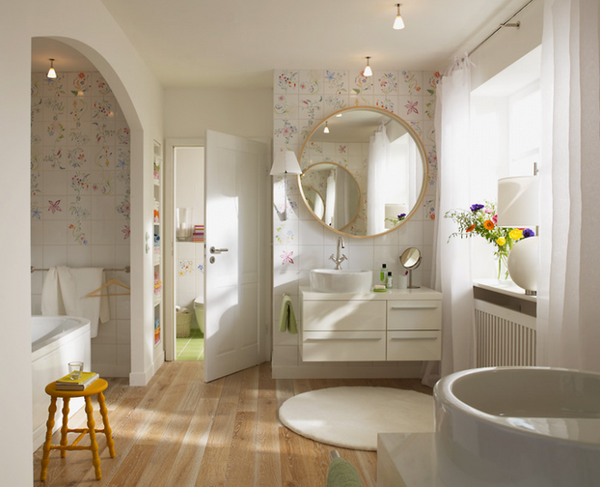
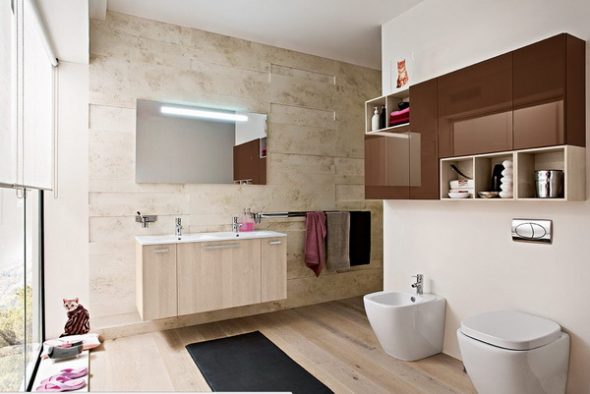
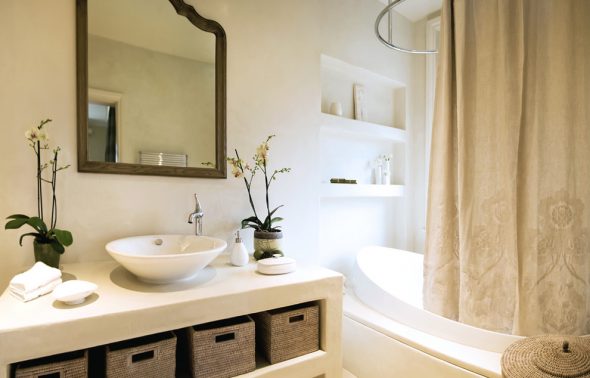
For a small bathroom, storage under the sink is a great way to make the most of the available space. Combination pedestalsy s shellsoh, a mirror and hanging shelves will decorate the bathroom, making it even more comfortable and functional.
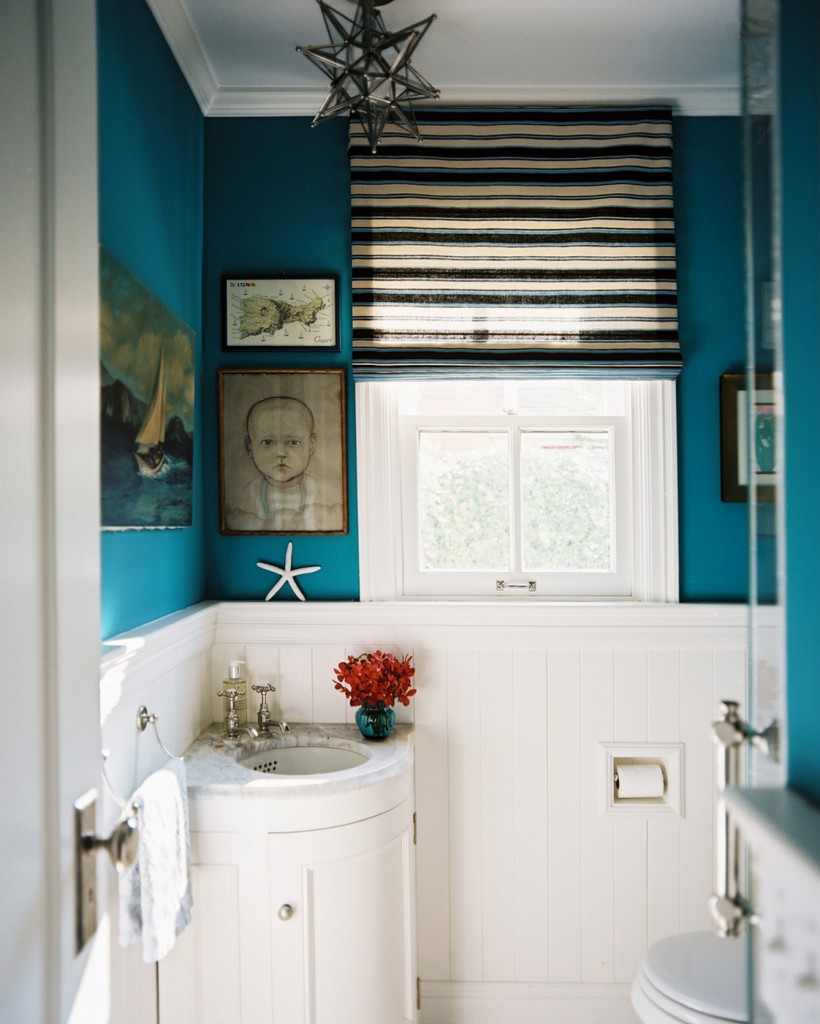
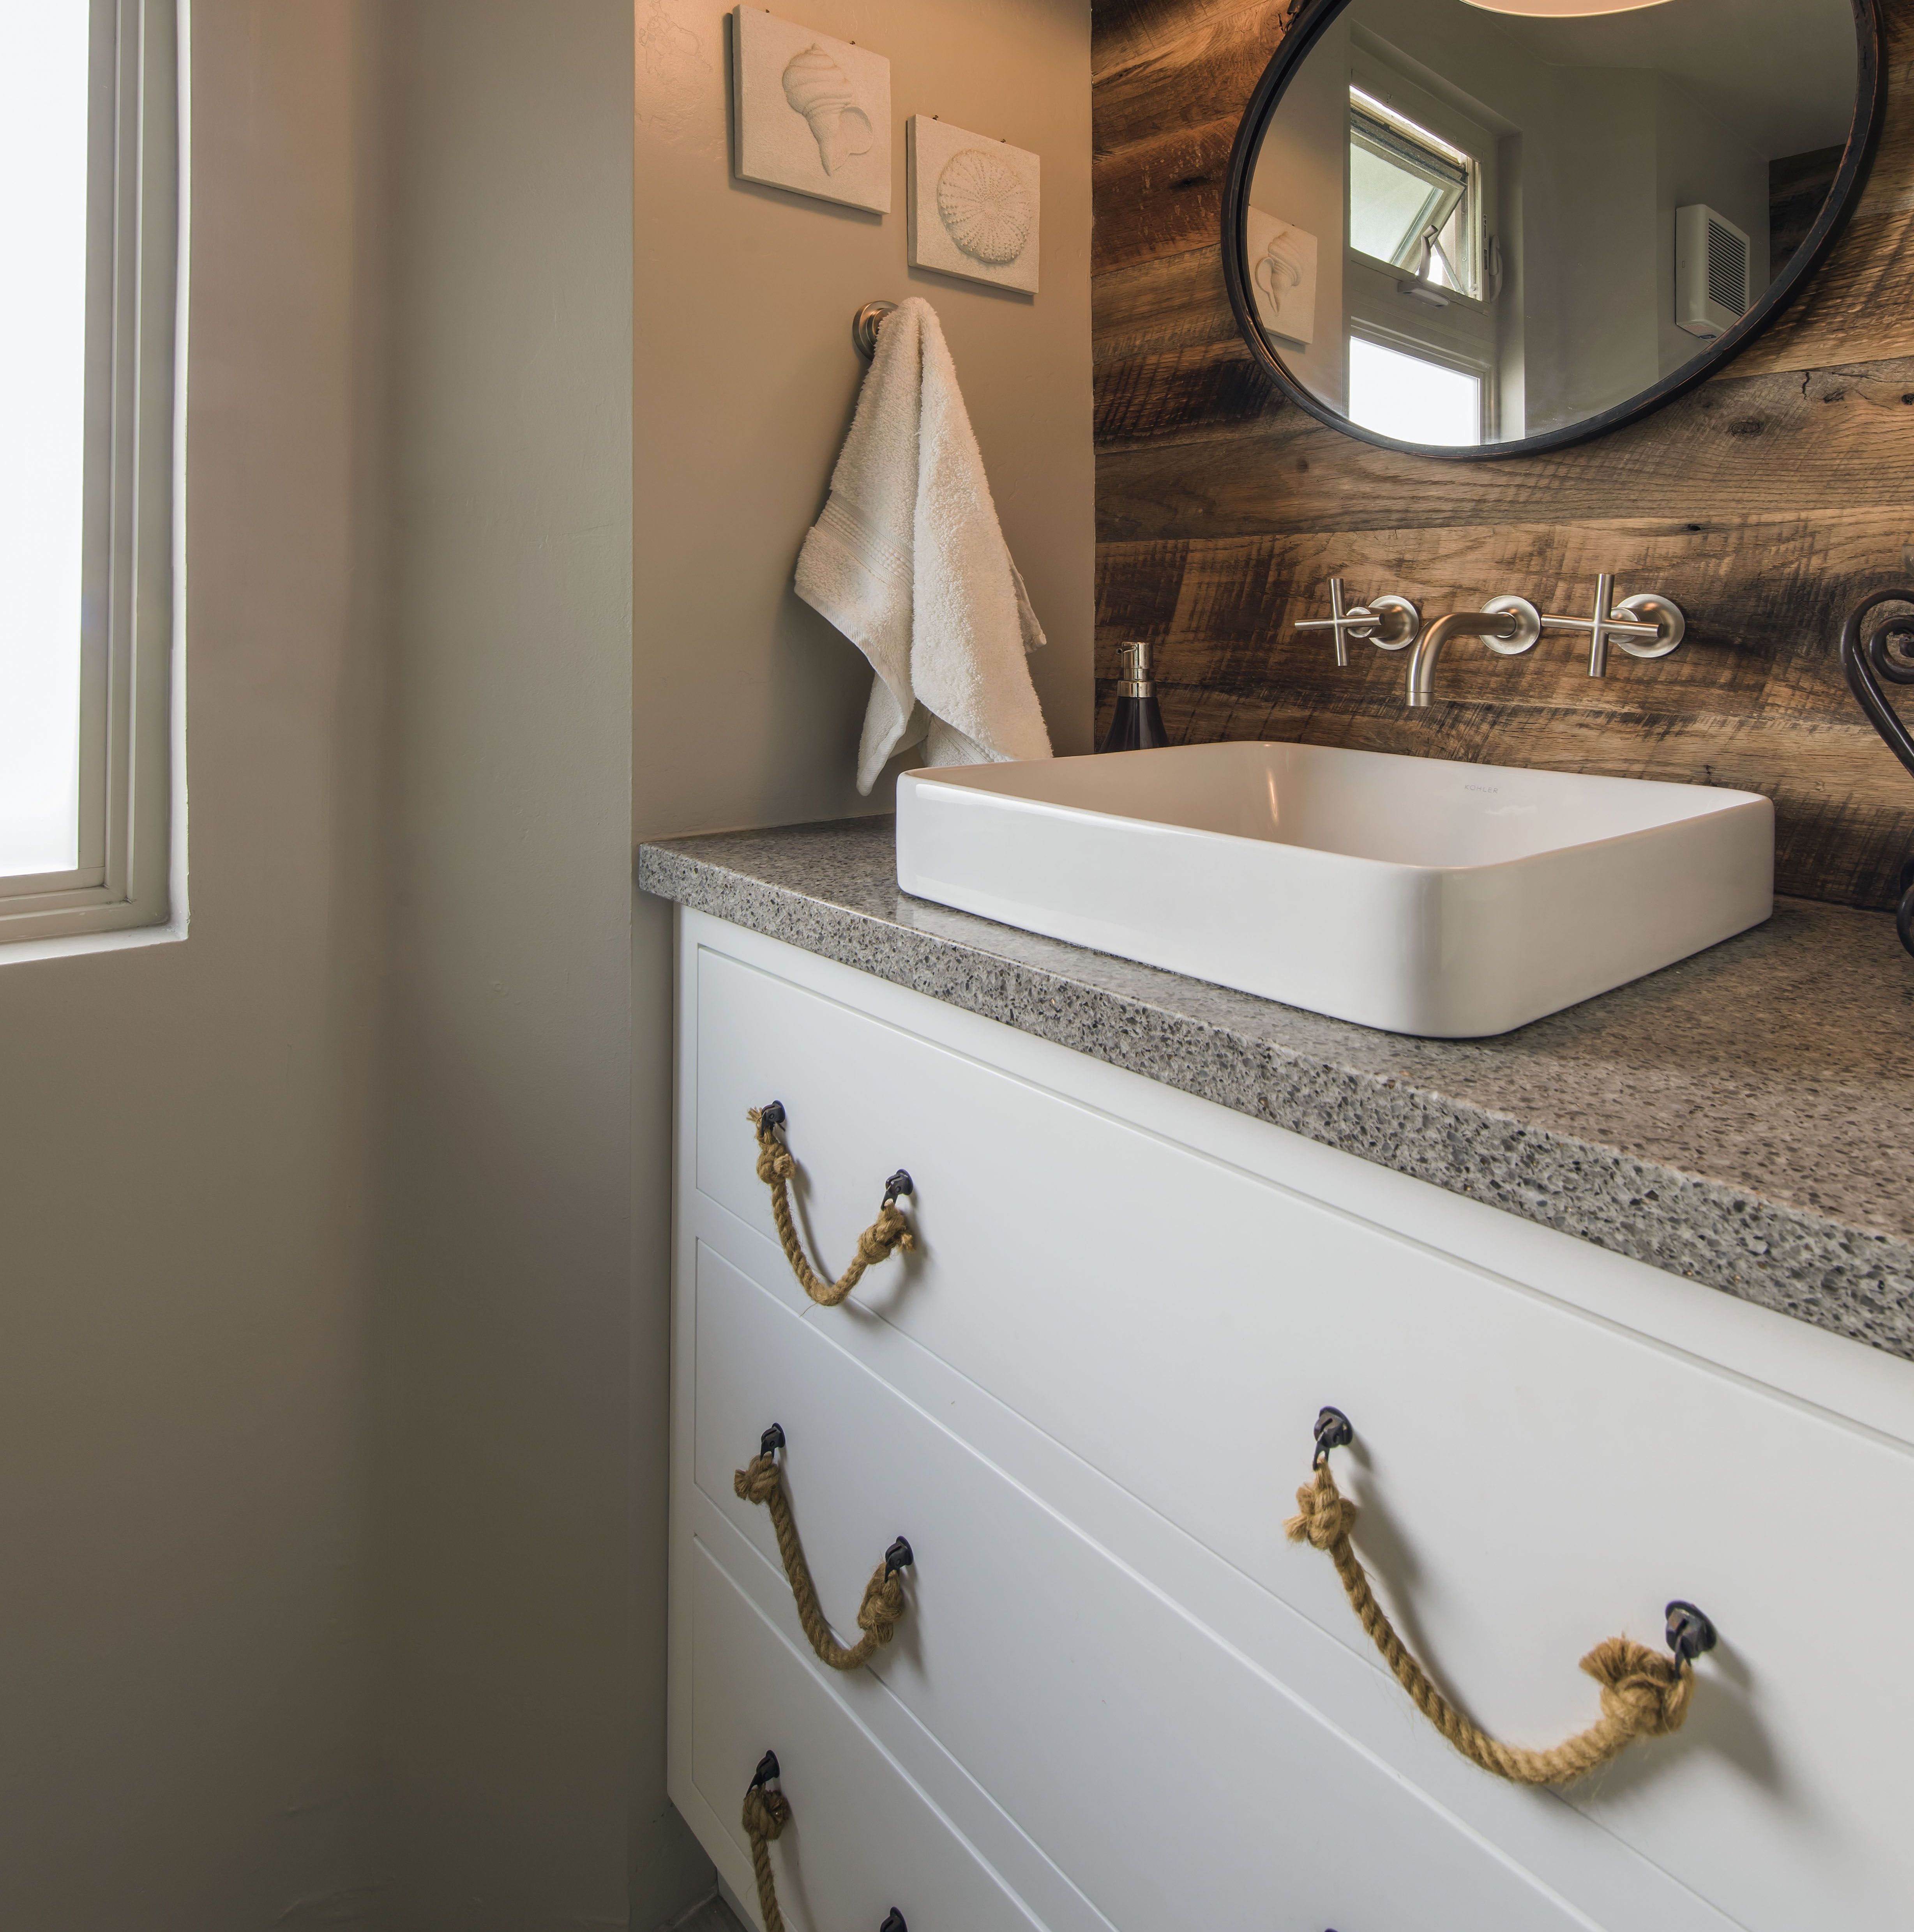
Floor pedestalsfor the washbasin you can choose one on legs, with or without a base. If you have underfloor heating, it is better to choose a base with open legs or a suspended one, which is attached together with shellsoh against the wall.
Corner option – saving space bathroom, use of non-functional corners. With corner furniture the whole room becomes softer, smoother, more voluminous.

Choosing a Place to Install a Vanity Unit with a Sink in the Bathroom
Preliminary planning during construction or major repairs allows you to “adjust” communications – water supply, sewerage – to the location of the washbasin.
It is important to consider the location of the bathtub, toilet, entrance door, the size of the entire room, storage space, functionality of the bathroom itself. pedestalsy. Does the base serve only as a support or is it used as an independent element? The light factor is also important, as is the most convenient way to arrange pedestalsat, so that shellsand it was well lit.
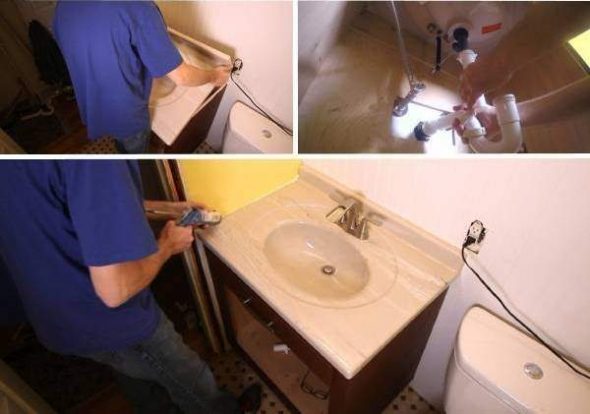
Installing a Sink Cabinet, Tools and Materials
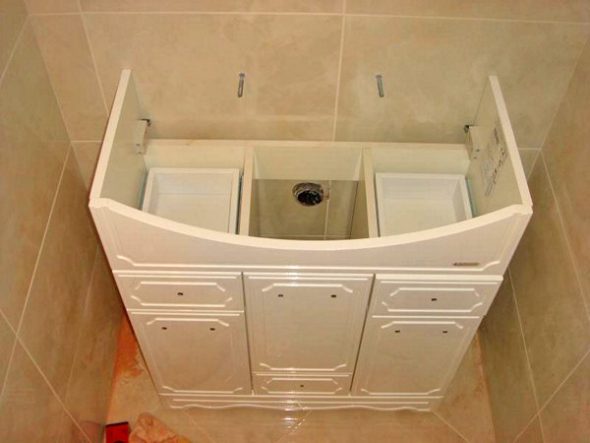
The task will be much simpler if the base was purchased together with the washbasin. If purchased separately, additional adjustment of the countertop to the dimensions will be required. shellsy, cutting out a suitable hole for a drain or under shellsin general.
Installation steps
- Assembling the base.
- "Fitting" pedestalswith the one imposed on it shellsoh, at the planned installation site, marking the mounting locations, cuts.
- Installation of mixer, siphon
- Connecting the mixer to the water supply, connecting the siphon to the sewer
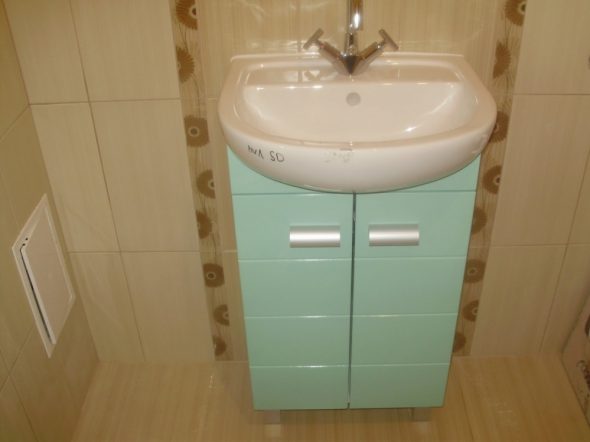
- Securing the entire structure in the chosen location
For a faster and better connection of the parts of the base under the sink, you will need a screwdriver, but you can also get by with a suitable screwdriver.
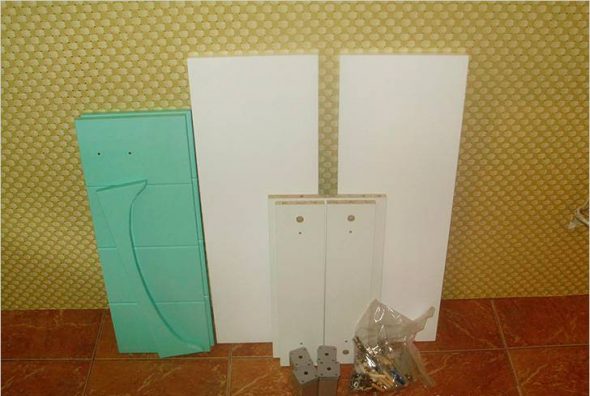
For the washbasin you need a siphon with a grate for the drain hole (also usually included with all the gaskets) and a mixer. The mixer should be selected in accordance with the design bathroom, in suitable combination with bath and shower mixers, shower head.For plumbing work you will need FUM tape, an adjustable wrench, and screwdrivers.
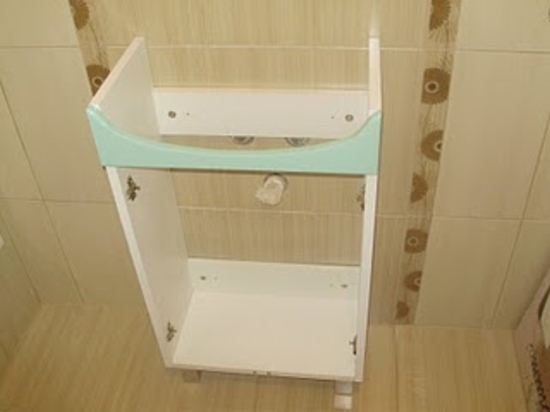
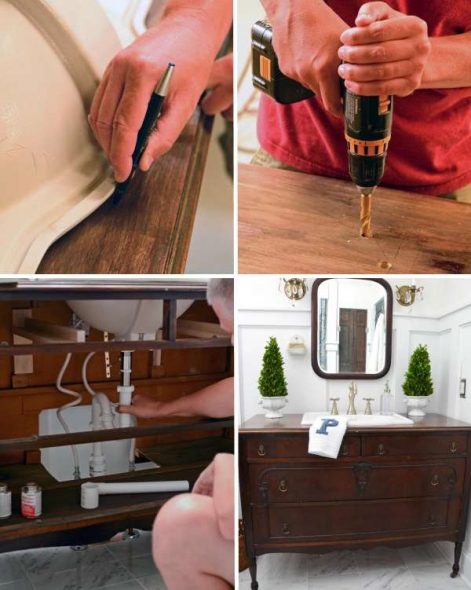
After assembling the large elements – the sides, table top, bottom – the fittings are attached and the doors are hung. pedestalsyou need to “try it on” in the intended place, placing it on top shellsy, mark the place where it will be attached to the wall, the locations of the holes for the sewer pipe, and the water inlets.
Advice! To make cuts, use a saw with fine teeth and a good set, it will not tear the "veneer".
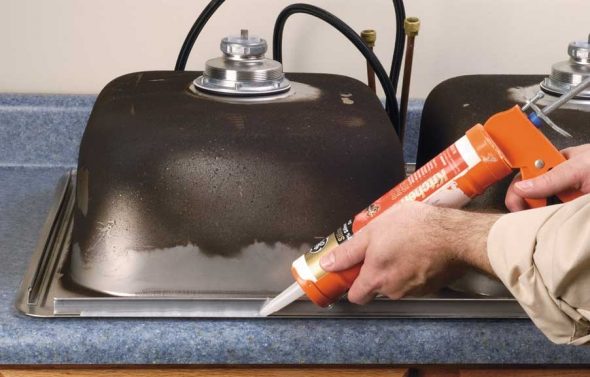
After the necessary measurements and cuts, the siphon is secured, the mixer is installed, the entire structure is attached to the wall with studs, previously secured in plastic dowels. If the structure does not provide for wall fastening, the surface shellsThe part adjacent to the wall must be coated with silicone.
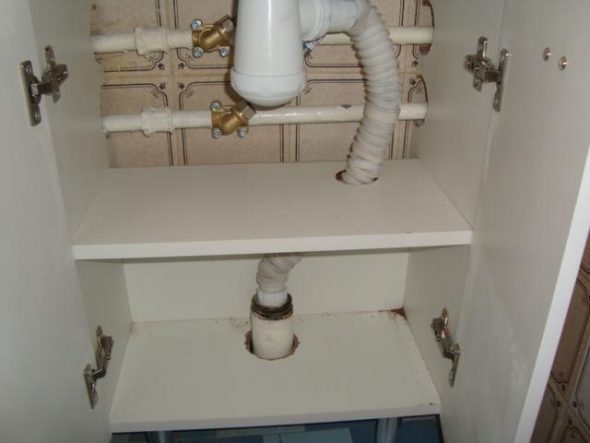
Having secured the structure, you can make connections with water inlets and sewer drains, do not forget to use FUM tape at the joints. Do not apply too much force to all fasteners and plumbing parts, so as not to strip the threads or damage the integrity of the gaskets.
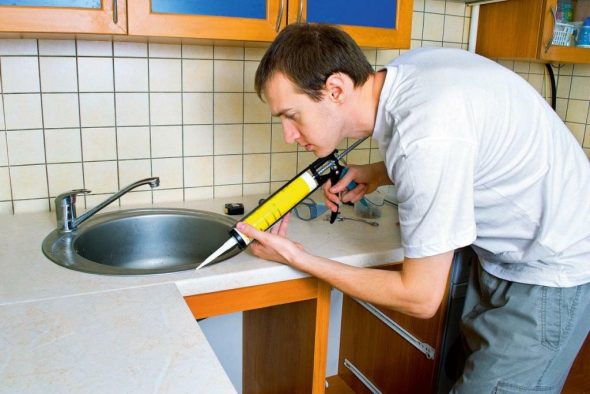
Advice! All cuts, as well as the installation bed shellsLubricate with silicone.
Possible problems and their solutions
The base is standing or hanging crooked. When installing, use a building level. If pedestalsand on legs, you can use them to adjust the plane of the table top and sink.

The base is loose. When assembling, pay special attention to the quality of the connection of the parts. For a stronger fastening, you can use wood glue.
Leaks. Seal all plumbing equipment with FUM tape or technical flax.
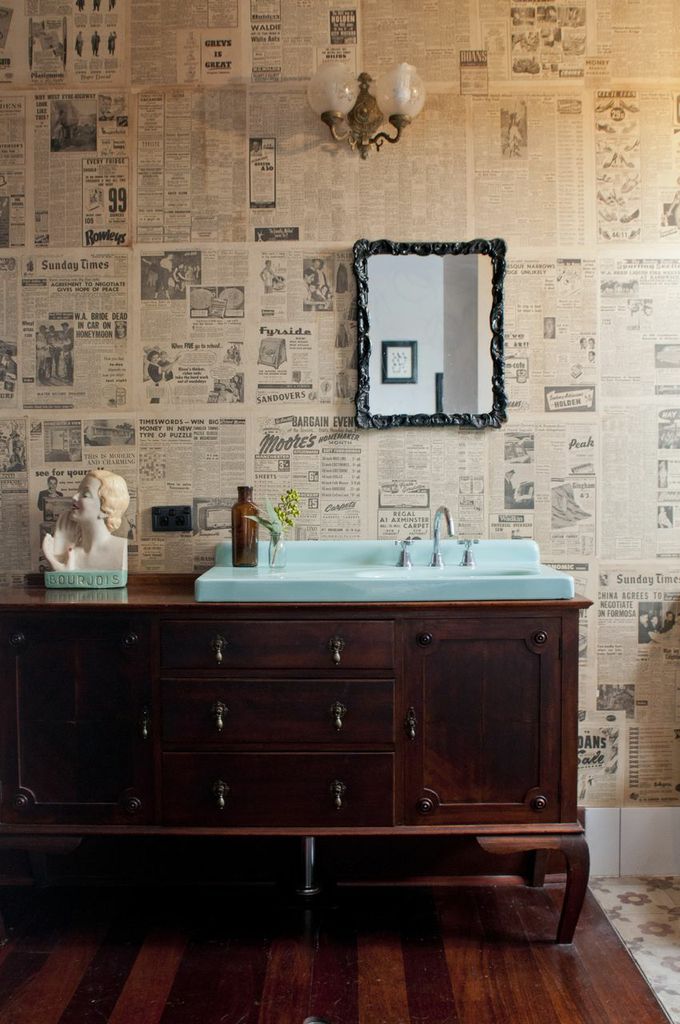
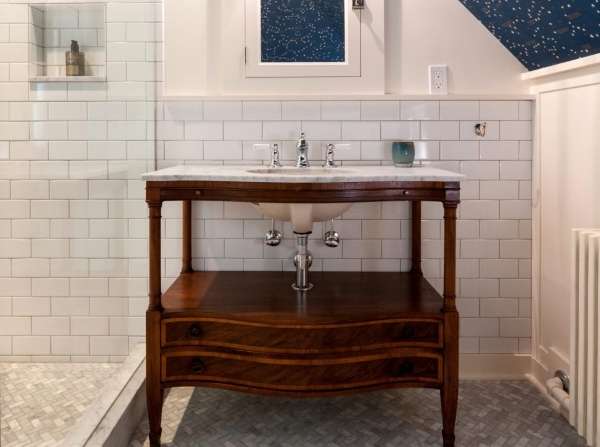
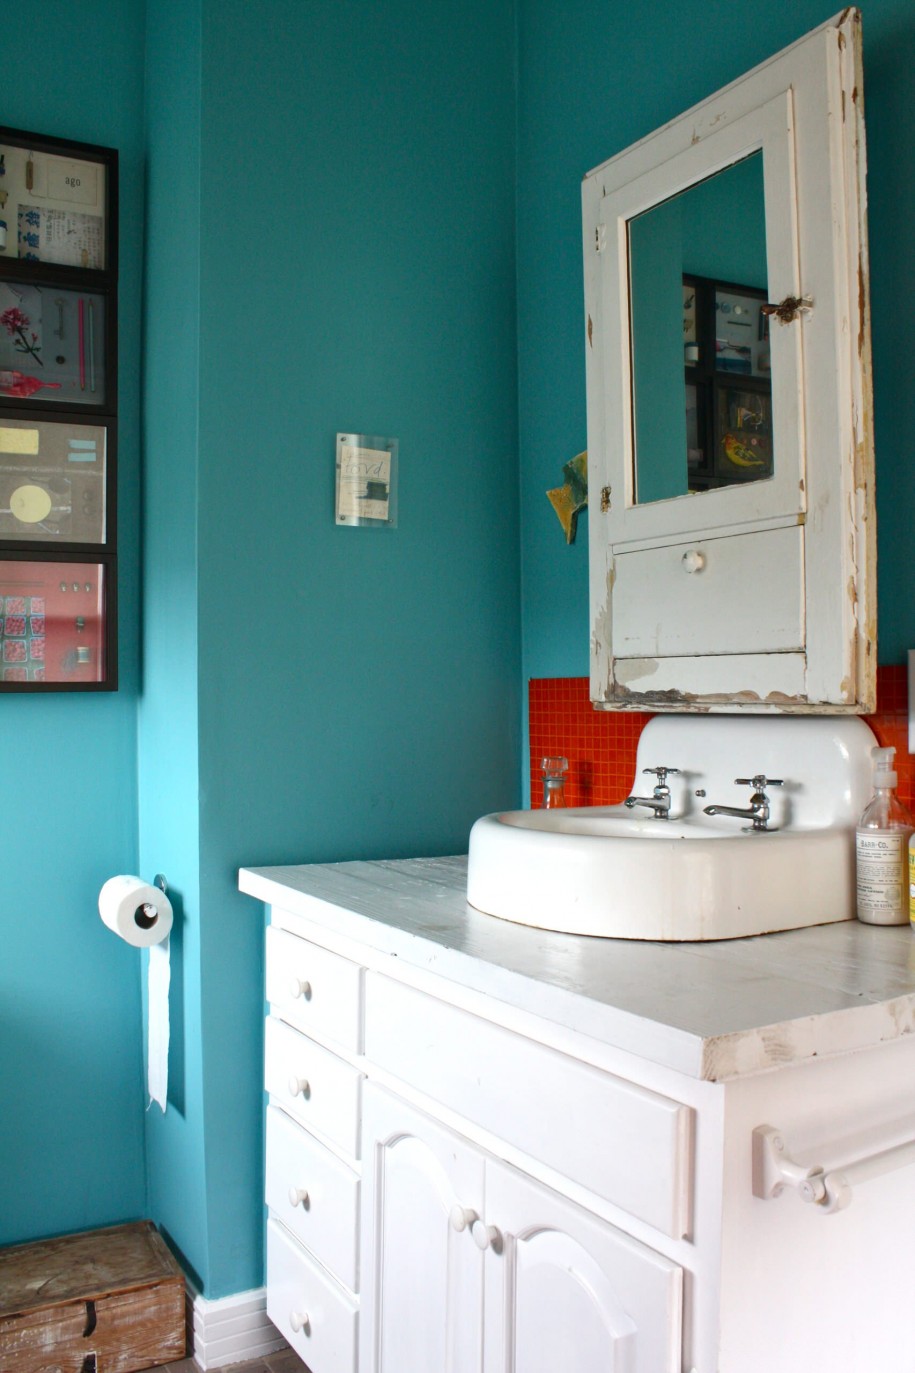
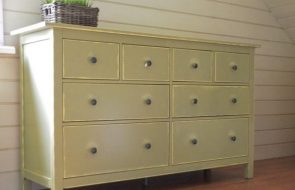
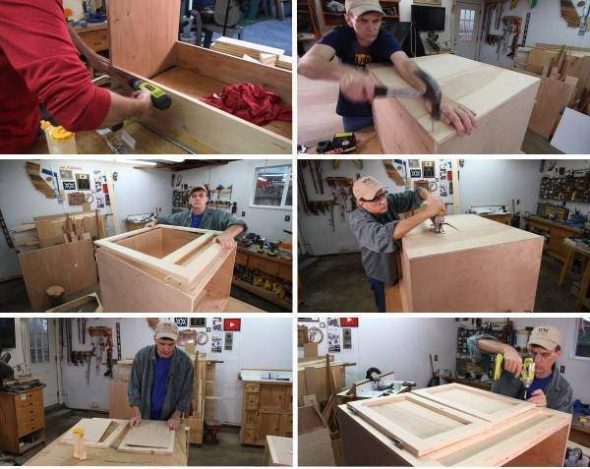
Making a homemade cabinet and installing it
It is not always possible to find the right option in the store pedestalsy for shellsy. Such a piece of furniture can be made independently, using simple inexpensive materials - wooden blocks, plywood, moisture-resistant plasterboard, glass.
A product made of wood will look very stylish and expensive, but it is necessary to treat it with a water-repellent impregnation. MDF and plastic have good moisture resistance.
Inexpensive materials, such as plasterboard or plywood, can be simply covered with self-adhesive film, veneer, varnished or painted, or pasted over with mosaics.
The base consists of:
- Frame
- Countertops
- Sides
- Shelves, drawers, doors.
It is necessary to carefully take measurements depending on the intended location, height, shape of the washbasin, taking into account the existing communications. Based on the measurements, a sketch is created with calculations and dimensions of the parts.
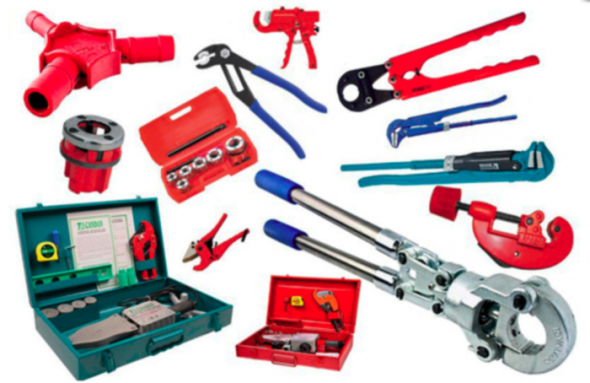
For production pedestalsYou will need: a hammer, a drill, a jigsaw, a screwdriver, a hacksaw, a chisel, screwdrivers, a grinder, sandpaper, a tape measure, a pencil.
Manufacturing stages
- All details pedestalsy are transferred to the selected material according to the dimensions and cut out; the hole in the tabletop is cut out with a jigsaw according to the dimensions shellsy
- All parts are assembled sequentially - first the frame is assembled, then the side elements and tabletop are attached to it
- The layout of the shelves is planned taking into account the pipes, the bottom is also attached taking into account the sewer drain.
- The fittings are attached and the doors are hung.
- Decorative finishing, painting, pasting, moisture impregnation are performed
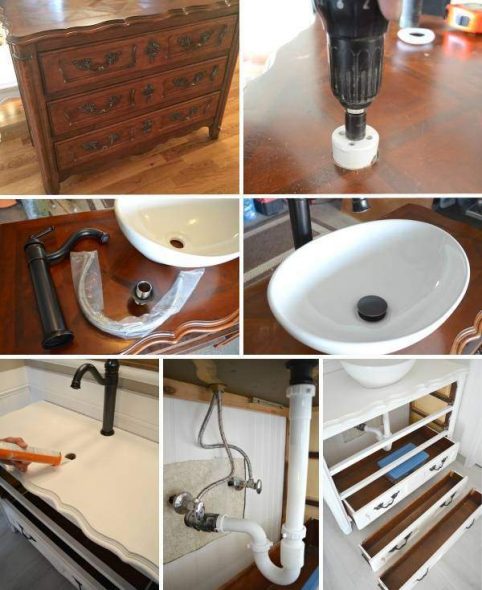
The installation of a homemade foundation is carried out in the same way as a factory-made one.Its final finishing can be done after installation on site.
Having spent some time and effort on making it yourself pedestalsy, you can save a lot of money.
VIDEO: Installing a washbasin with a cabinet in the bathroom.
Sink with a cabinet in the bathroom - 50 photo ideas: