A computer chair is an essential attribute of a modern person’s workplace, without which it is difficult to imagine an office or study.
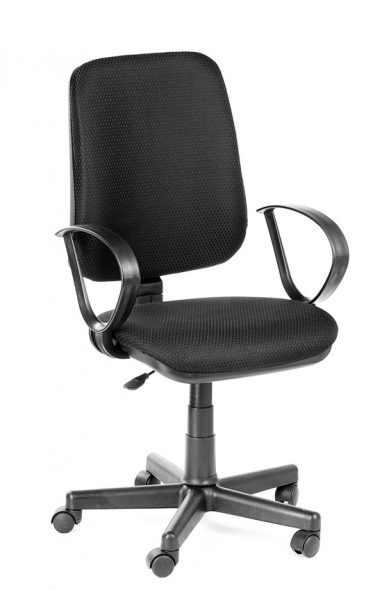
The convenience of a computer chair is expressed in its ergonomic and functional form, it is suitable for people of any build, height or weight. All this is possible due to the unique ability to adjust the height or level of the backrest to the needs of a specific user, for which the gas lift built into the design of each chair is responsible.

However, this same part is also a vulnerable spot, the breakdown of which renders the entire functionality of the seat unusable.
Content
Repairing a computer chair at home
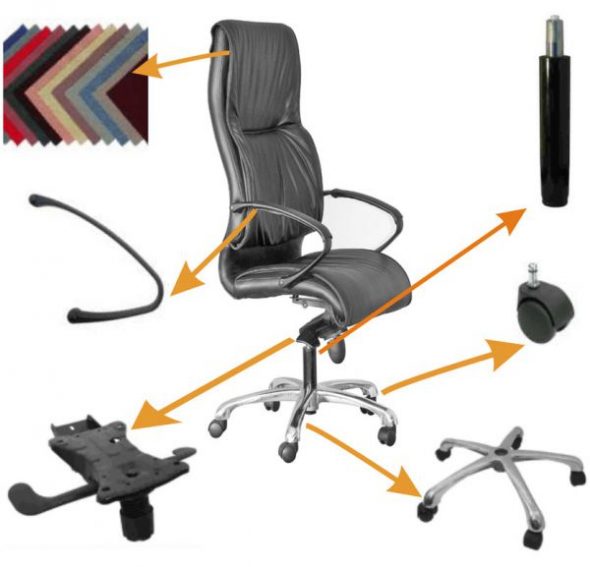
If you encounter a malfunction of your computer chair, you need to find out which part requires repair. One of the most common causes of failure is the gas lift, as the part that is most susceptible to wear.
There are two ways to fix a broken gas lift. The first option is to replace the faulty part with a new one, no matter which one, from a whole chair or bought in a store.
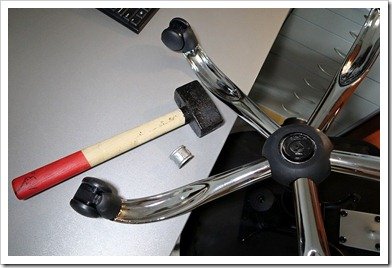
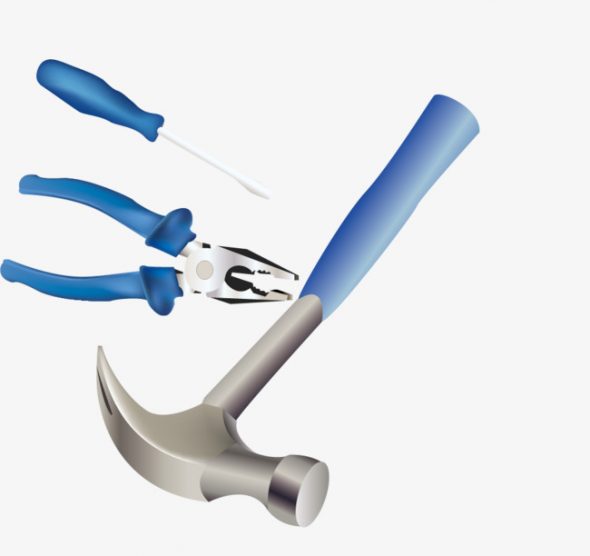
This method can be considered expensive, as it requires purchasing a whole gas lift. To replace it, you will need the following set of tools:
- carpenter's hammer;
- pliers;
- bolt with a diameter of at least 10 mm;
- screwdriver or drill;
- technical lubricant.
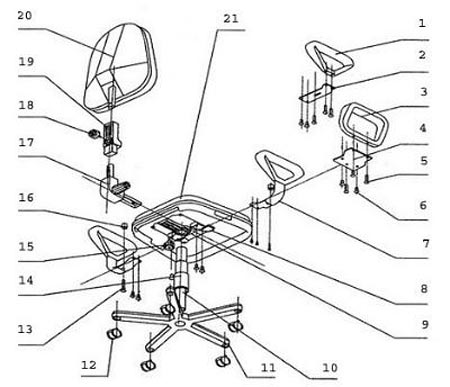
To replace the leg of a computer chair, follow the step-by-step instructions:
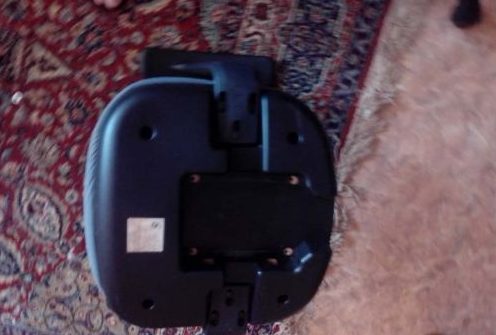
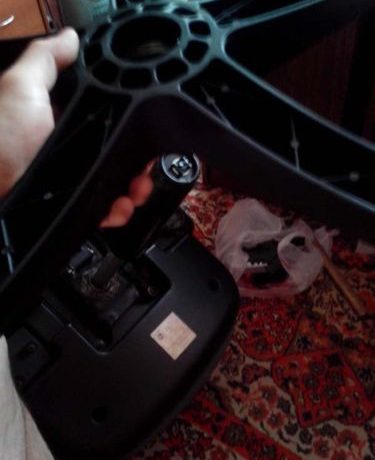
- We remove the wheels and dismantle the back of the seat, for which we turn the chair over and unscrew the necessary screws from the bottom of the chair. This is necessary for subsequent ease of dismantling, you also need to remove the armrests, if any.

Using a Phillips screwdriver, unscrew 4 bolts 
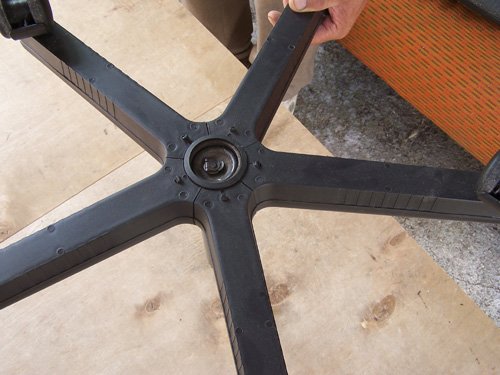
We remove the seat from the chair mechanism 
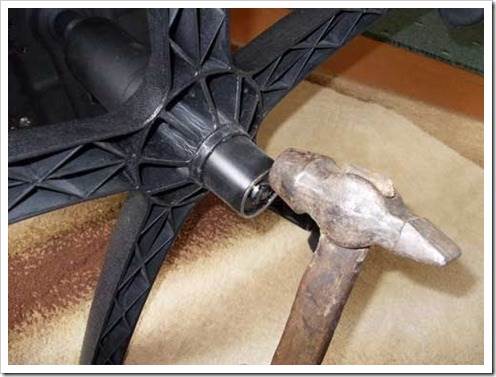
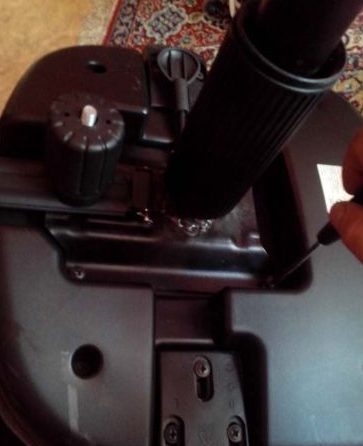
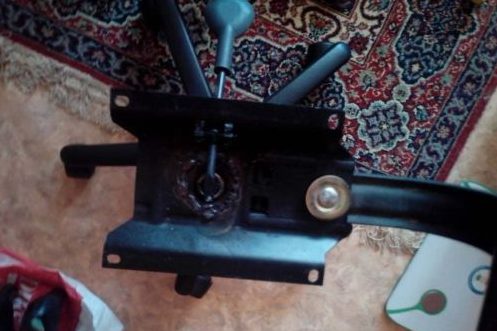
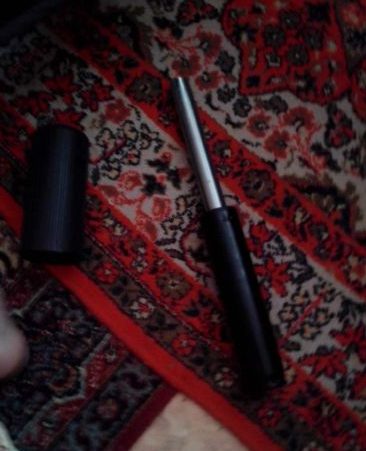
Detached chair mechanism - Without turning it over, remove the seat itself, for which we unscrew the four fastening screws and move the protective cover of the leg. We knock the gas lift out of the mechanism, for which we use a bolt and a hammer; if the rocking mechanism does not separate, you can add technical grease.

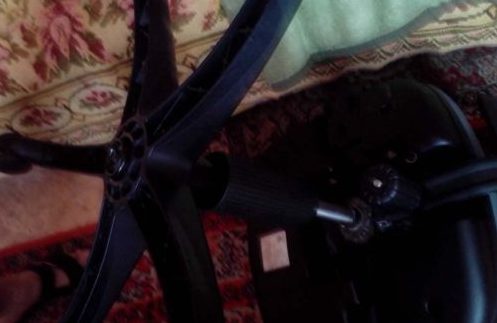
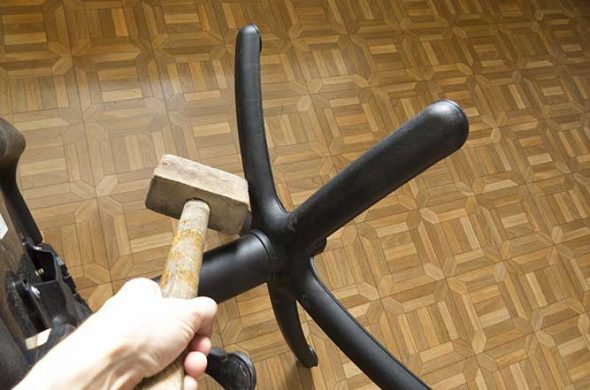
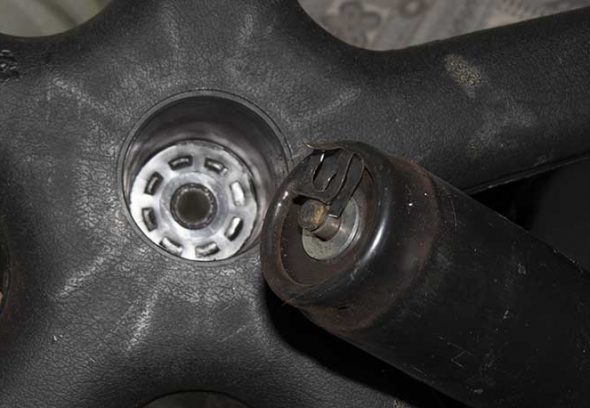
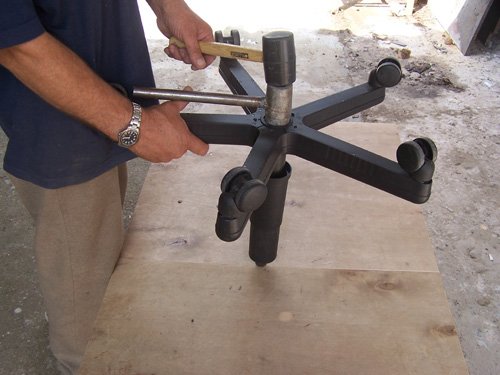
Let's start dismantling the gas lift - We do the same with the crosspiece, but here you may need pliers, since the bolt may not be enough. Tap the edges with force, and try not to touch the gas chamber in the center, since its damage can be life-threatening. Keep in mind that over time the fastening may become compacted and difficult to remove, in this case use technical grease at the joint.
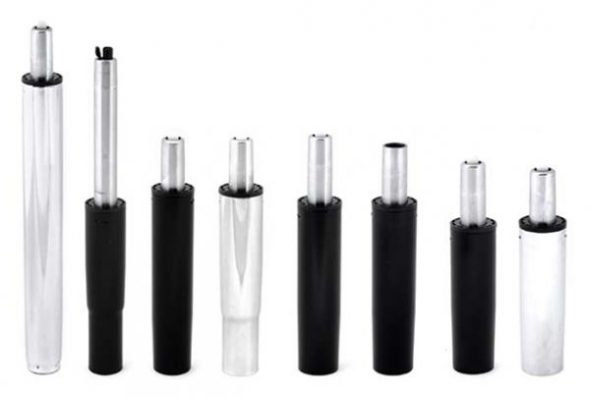
- The hardest part is behind us, all that remains is to assemble the chair back. We do all the actions in reverse order: screw the seat back to the rocking mechanism, do not forget to check the conformity of the front side of both parts. Assemble the crosspiece, putting the wheels in place, and insert the new gas lift with the bottom side into the corresponding hole.

New gas lift to replace broken one 
We assemble the crosspiece into place - Put the protective cover on and place the seat on top (don't forget to remove the protective cap), now you can sit on the chair and check the functionality of the new gas lift and the lever that presses its button.

Assembled chair after repair
The second method is cheaper, it consists of fixing the gas lift in one position. However, this method excludes the possibility of adjusting the height of the chair, but if you need the same height, it is quite suitable. You will need:
- screwdriver;
- a pipe, a rubber hose, or a set of washers, depending on what you have on hand;
- a rag to remove traces of oil.
Before starting the repair, it is important to make sure that there is no gas in the gas lift and the gas chamber has free movement up and down, that is, if the height adjustment lever dangles freely. Only then follow the instructions.
According to the instructions provided earlier, we remove the chair together with the rocking mechanism, leaving the crosspiece.
We turn it upside down and see a latch in the center, remove it, then take out the washers covered with oil. Having done this, you can pull out the outer casing, from which the lifting rod protrudes, on which the rubber damper, thrust washer, bearing and second thrust washer are attached.

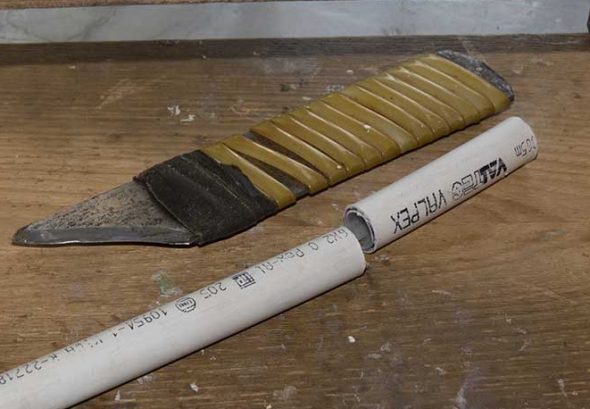
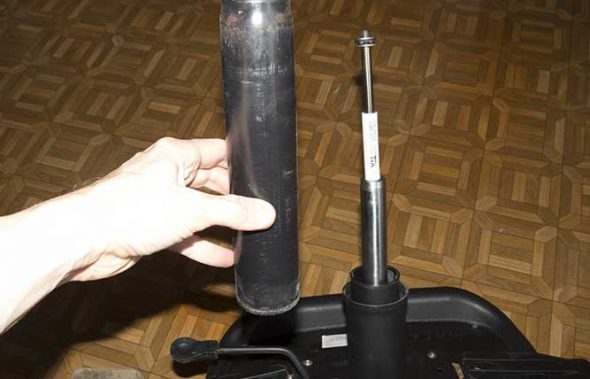
Next, we select a supply that we will fix on the lifting rod, thereby fixing the height of the chair at a certain level. You can use any material from a PVC pipe to a hose and washers with nuts, the main thing is that it fits freely on the rod.
Measure the required length of hose and secure it with a damper, then fit the thrust washer, bearing, second washer and insert the structure back into the gas lift body.
Reassemble the gas lift, installing the outer washers and latch. The chair is ready.
Replacing the crosspiece
A separate case is worth noting the breakage of the crosspiece. Although this part is made of particularly durable materials, its breakage is not excluded, especially if it is made of plastic.
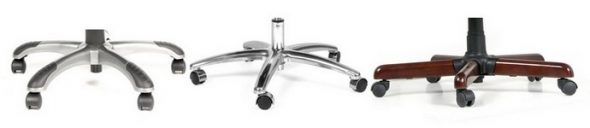
Fortunately, replacing this part with a new one is quite simple. You will need:
- new crosspiece;
- hammer;
- pliers.
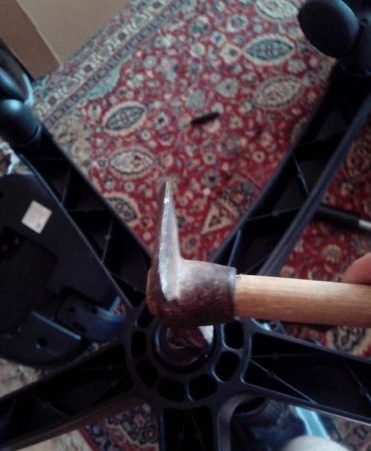
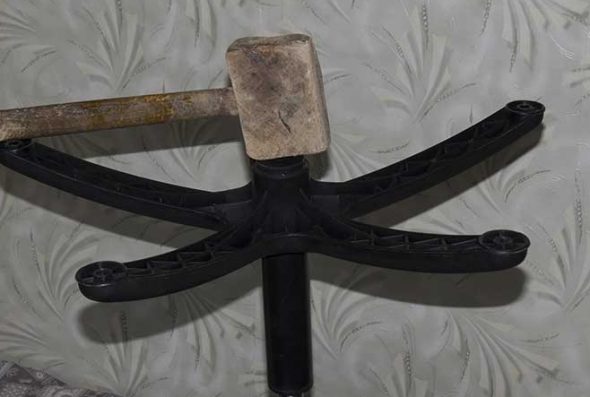
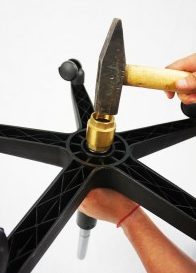
To replace, follow the instructions: turn the computer chair upside down, pull the wheels out of the mounts. Take pliers and knock out the gas lift in a circular motion, applying point blows to its edges
After you remove the crosspiece, install the wheels on the new one and insert the second part of the chair into the hole. You don’t have to worry about incompatibility, as the gas lift mount is standardized for all office chairs.
This way, you can repair any office chair yourself, without the expensive purchase of a new chair.