Reupholstering furniture with your own hands is a labor-intensive, long process that requires extensive experience and skills. For this reason, many people simply throw away old furniture, not imagining that it can be restored with their own hands. If you are good at working with your hands and have a rich imagination, reupholstering a chair with your own hands will not be difficult, especially if you follow the instructions.
Content
- The benefits of reupholstering a chair yourself
- Choice of fabric, attention to detail
- Necessary set of tools
- Disassembling the chair before restoration
- The process of sewing a new chair
- Reupholstery: step-by-step instructions
- Restoring the back of the chair
- Video: DIY furniture repair. Restoration of armchairs.
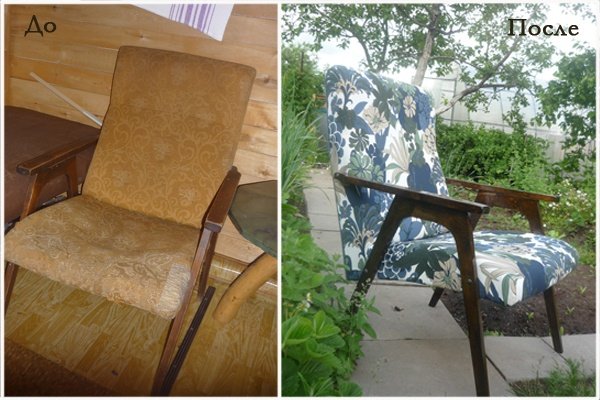
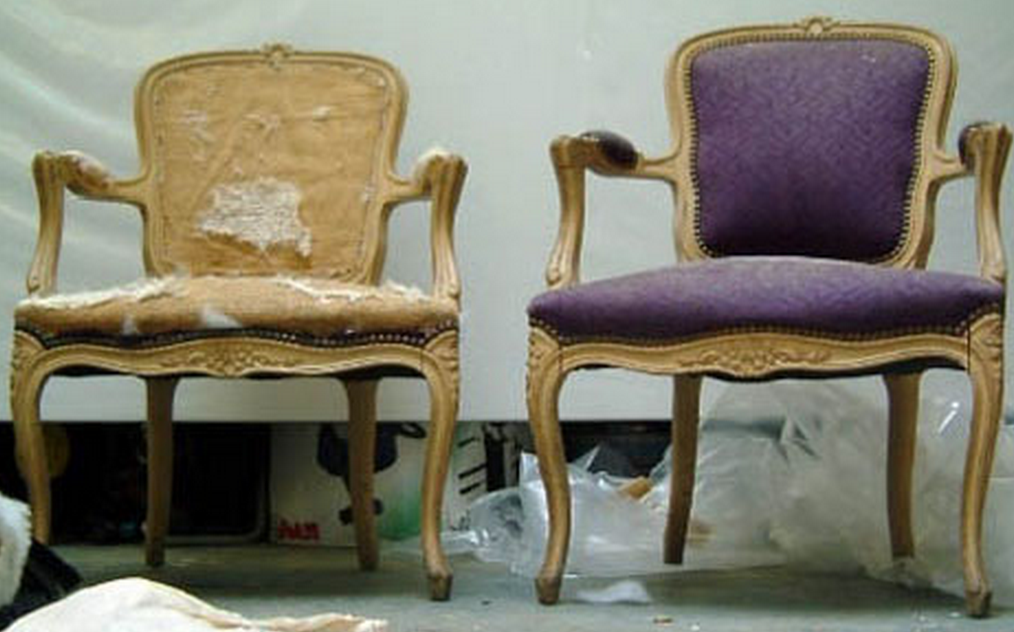
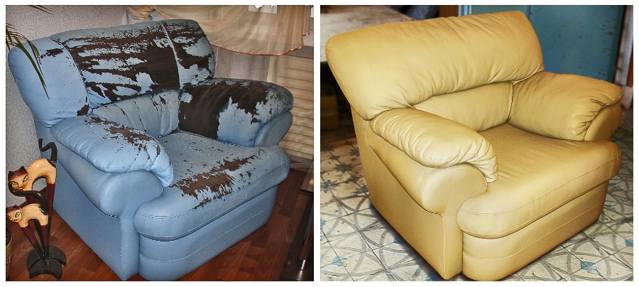
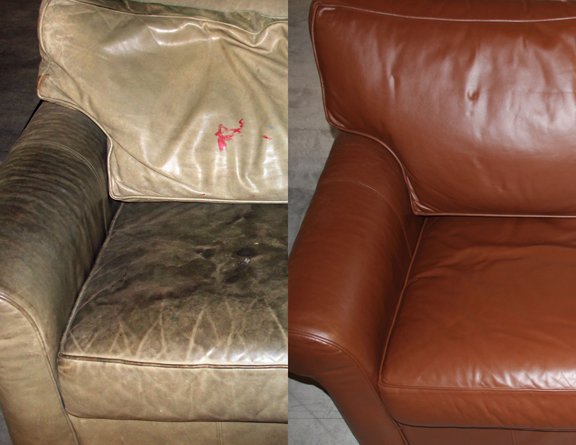
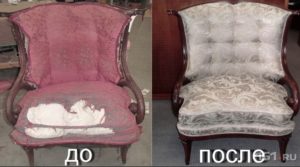
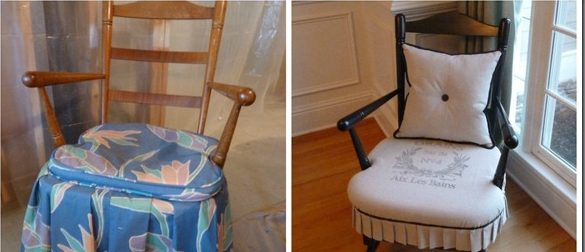
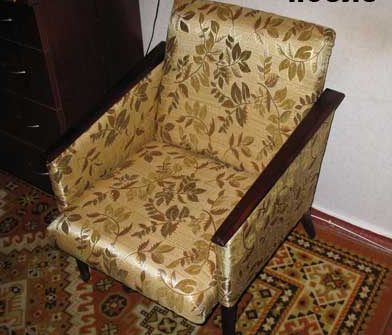
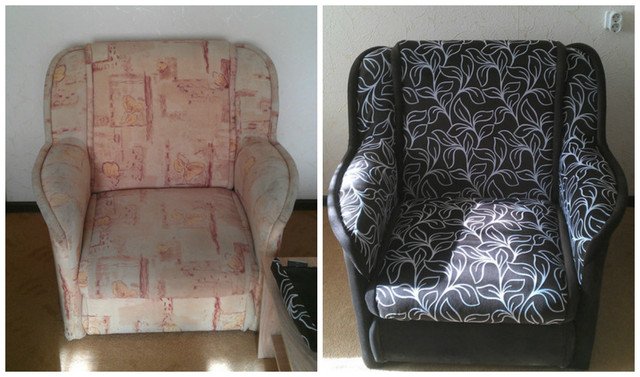
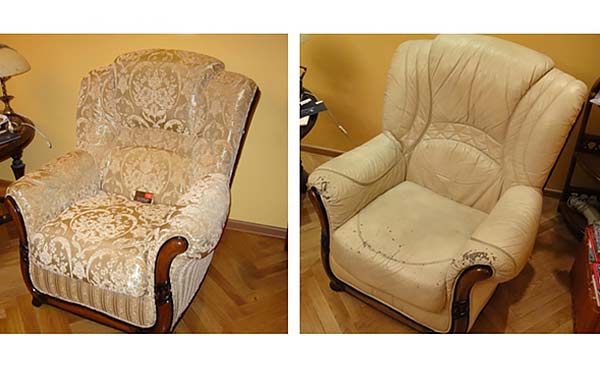
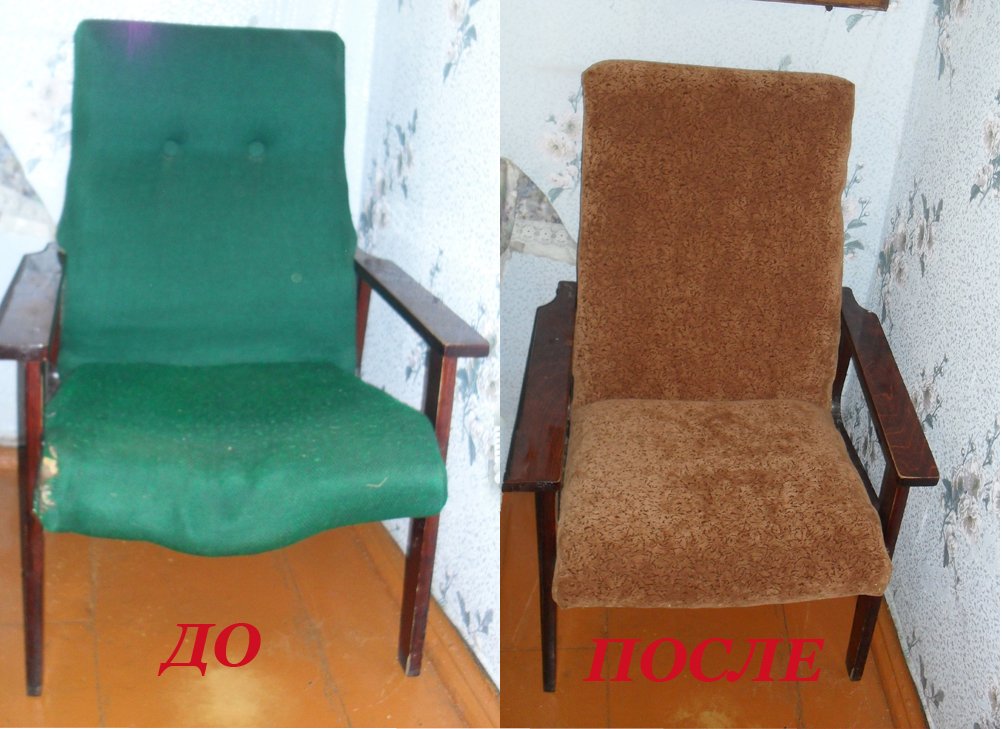
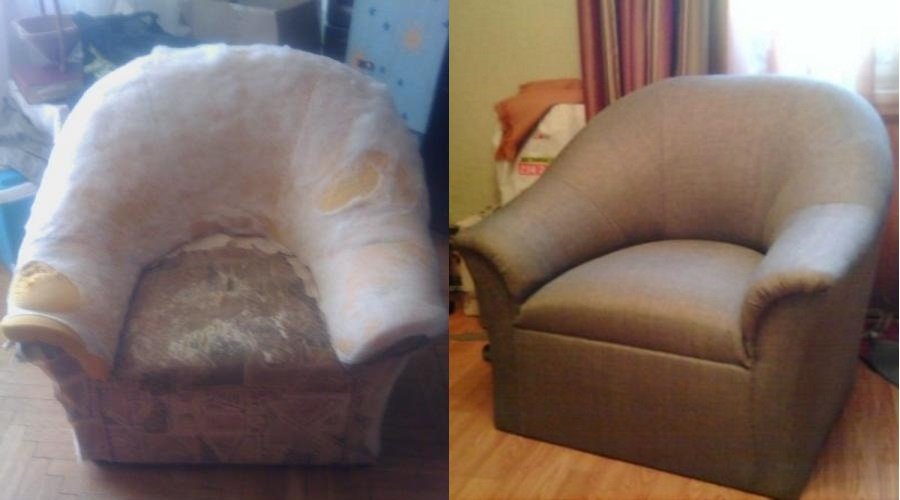
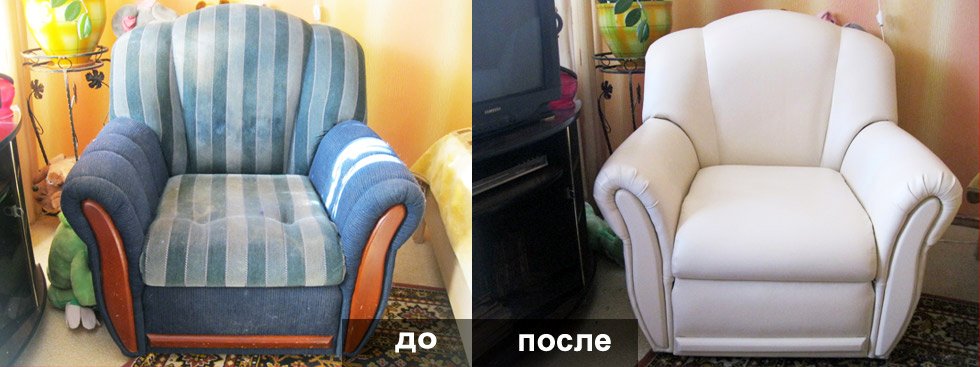
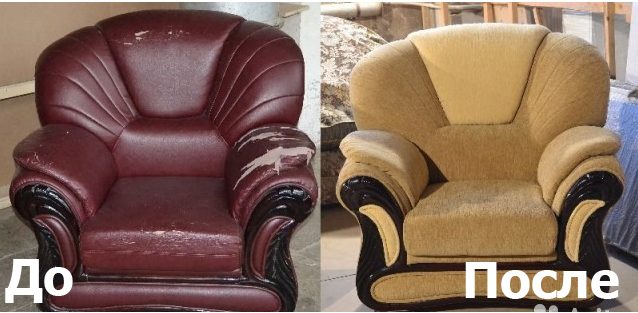
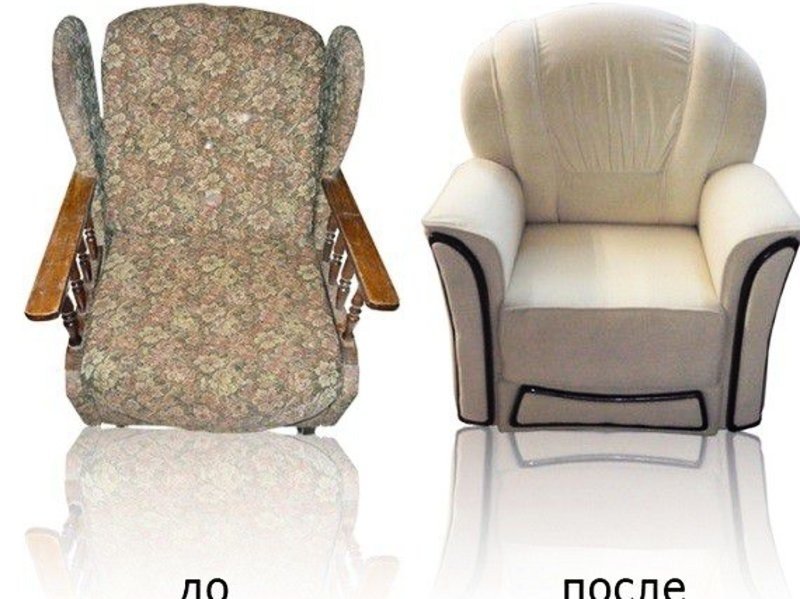
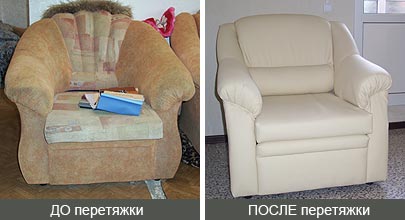
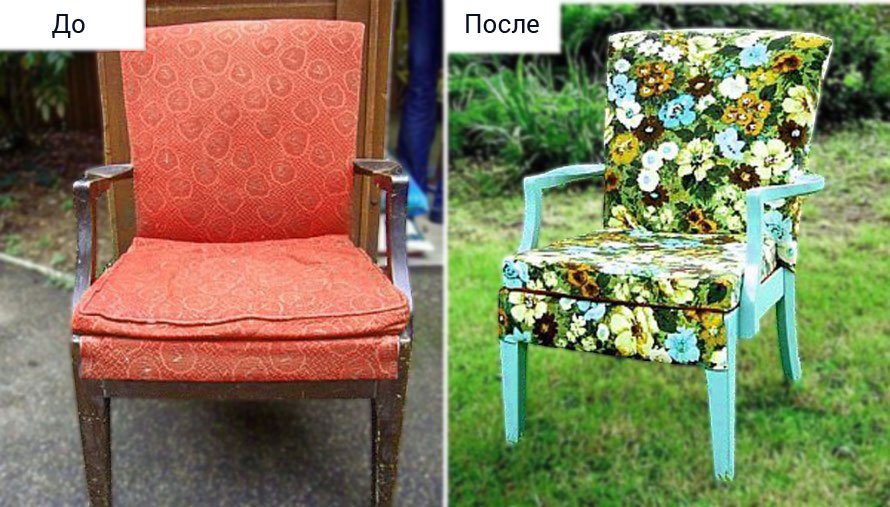
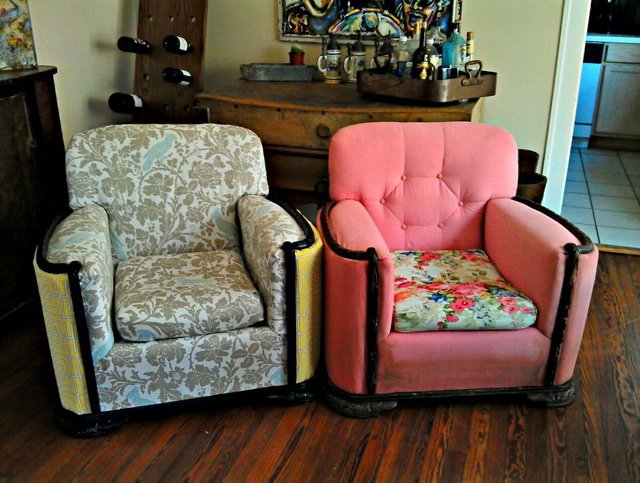
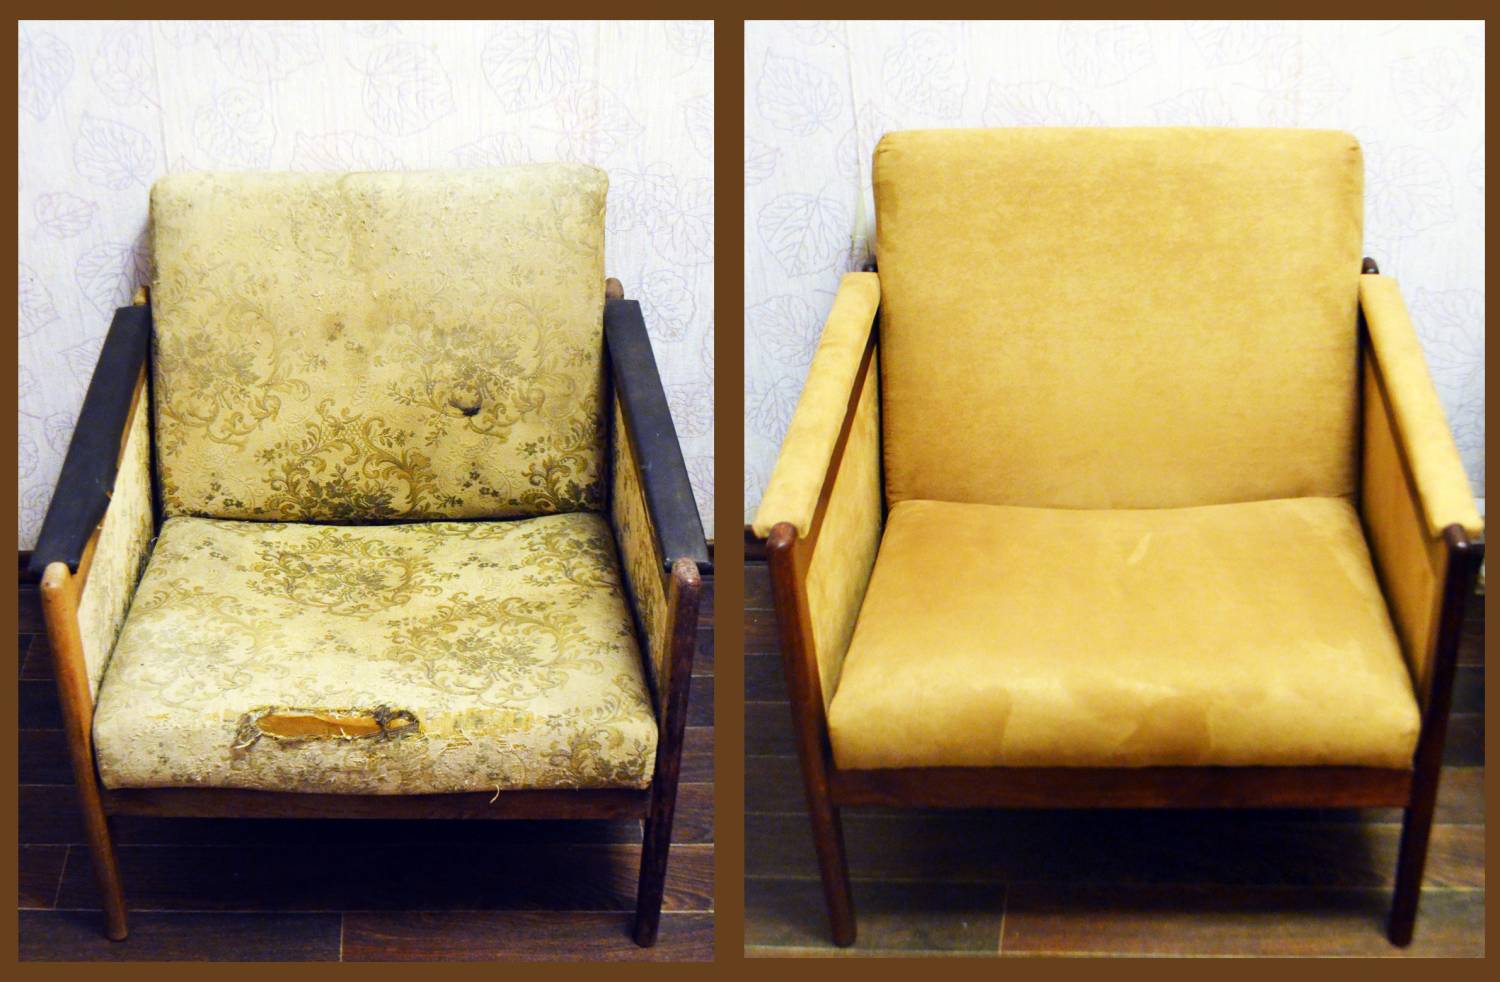
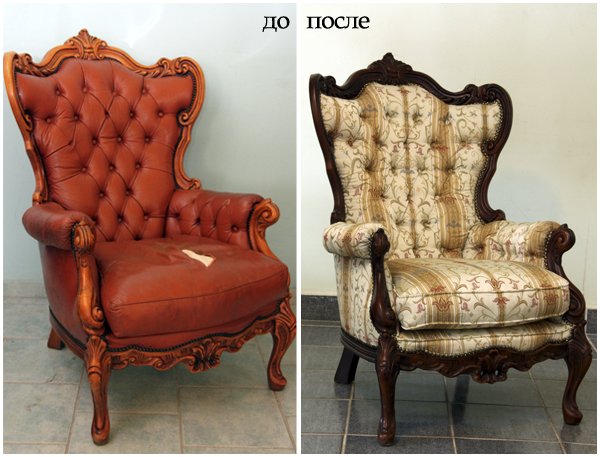
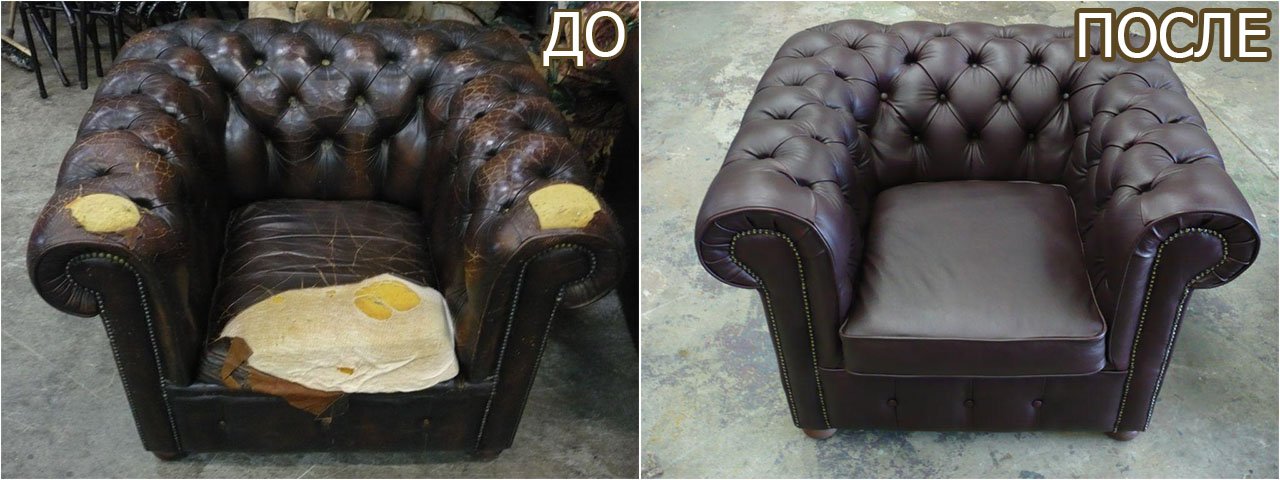
- 50 photo ideas for restoring armchairs with your own hands with photos before and after repair:
The benefits of reupholstering a chair yourself
Making something with your own hands is a fascinating process that allows you to reveal your creative potential. It is not for nothing that in the age of factory production, hand-made products are valued higher than factory analogues. Such a thing will definitely attract the attention of guests and will become a decoration of your interior.
Having decided to reupholster an old chair yourself, you are free to choose the finishing materials, and you can also save on buying a new chair. Any design, texture, the only limitation is your fantasy and imagination. And also, things made by hand are much nicer and closer than those bought in a store.
Choice of fabric, attention to detail
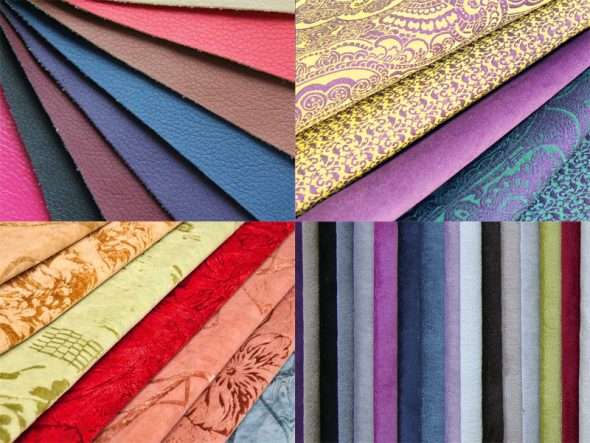
When choosing a finishing material, first of all, you need to pay attention to how to reupholster a chair, as well as strength and wear resistance indicators.
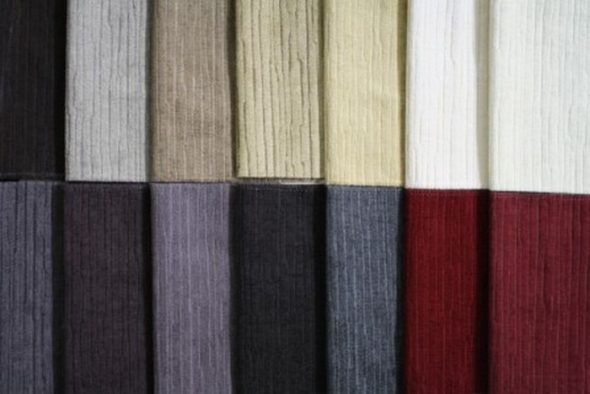
- Leather or fabrics with a distinct pattern are perfect for the living room: tapestry or jacquard. Correctly selected material will show guests the good taste of the owners of the house and will retain a good appearance for a long time.

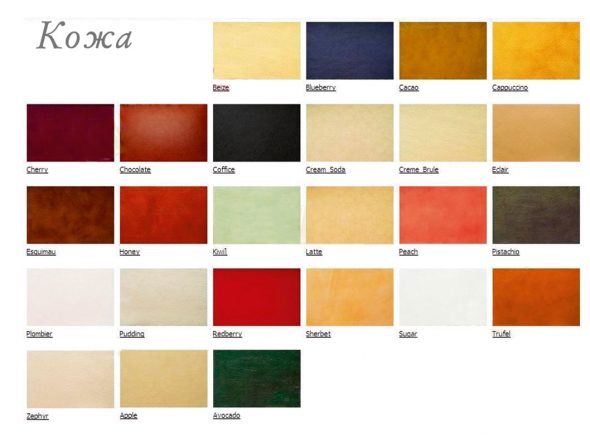
Color range of upholstery material – leather 
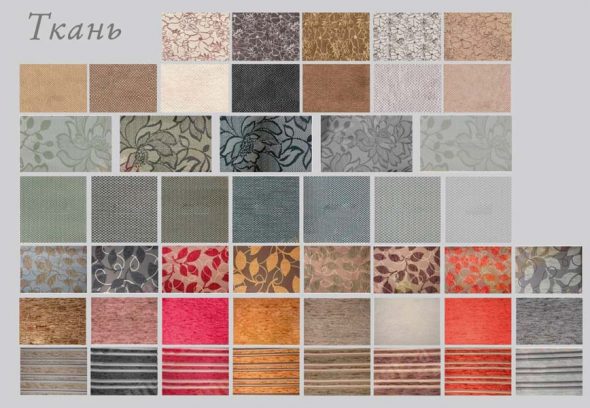
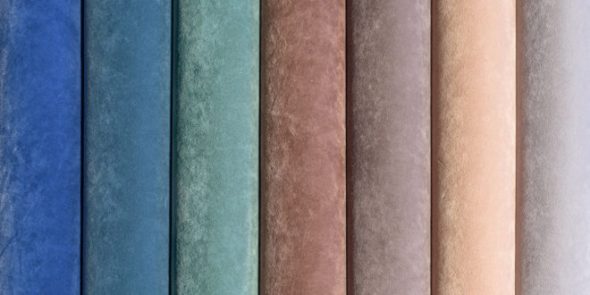
Fabric upholstery samples for furniture restoration - For a child's room, the most wear-resistant and easy-to-care-for fabrics are suitable. Flock or chenille have such properties - they are easy to clean from various contaminants.

Chenille is good for its density and strength, high wear resistance, and naturalness. - If you have pets, such as a dog or cat, flock is a great choice. This material is resistant to scratches and holes from sharp claws.

Flock is a versatile non-woven textile with a characteristic pile on the front side. - If people smoke a lot in the room where the chair will be located, then the best choice would be a material that is resistant to absorbing odors – chenille.
Having chosen the appropriate upholstery material, pay attention to the presence of a special impregnation. It will extend the service life and simplify the care of the fabric. Therefore, before buying, check with the seller about the presence of impregnation.
Necessary set of tools
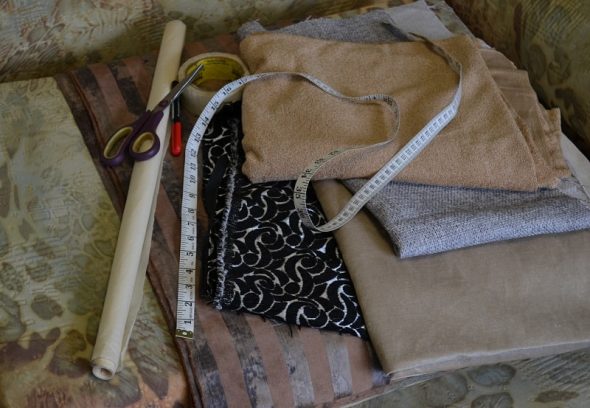
Let's look at the set of tools needed to reupholster a chair. Prepare them in advance to avoid wasting extra time.
A furniture stapler is the main working tool with which the upholstery is attached to the frame. You can buy it at any construction or hardware store, at a low price. You need to buy special staples of the appropriate size for the stapler. It is better to take them with a reserve, so that you do not have to interrupt the work process.
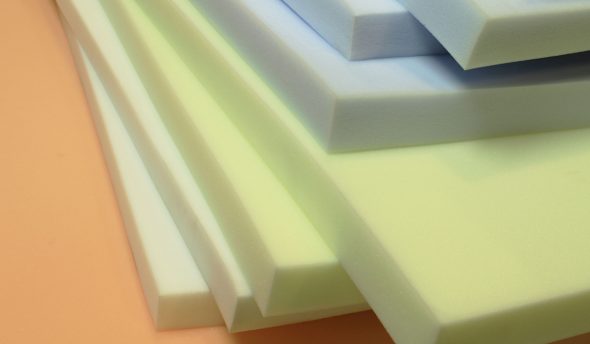
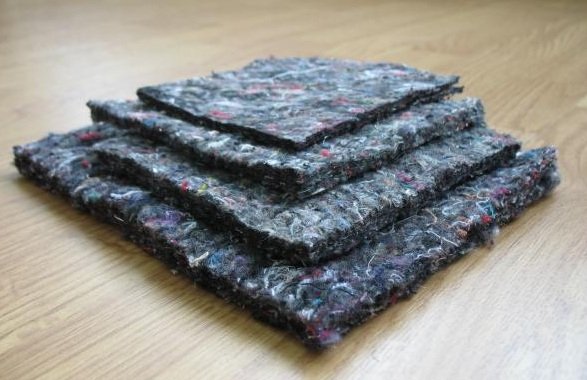
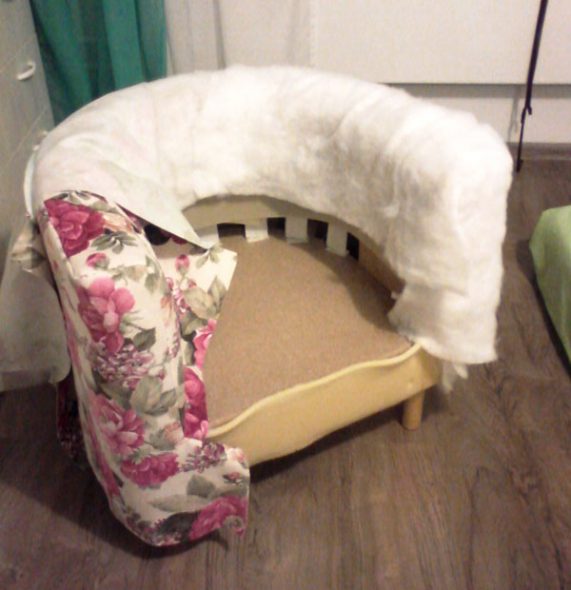
Foam rubber or batting - if the old filler has lost its former elasticity, it must be replaced with a new one. Sold in a hardware or construction store.
A flat-head screwdriver or pry bar to remove old staples.
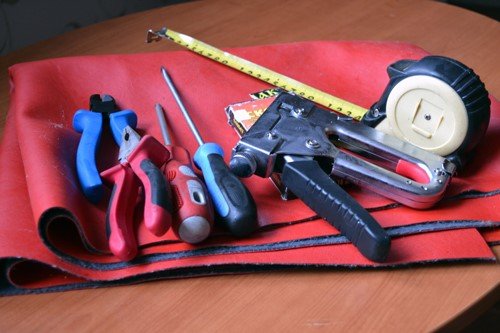
A hammer, pliers, tailor's scissors, an adjustable wrench - all of this will be needed for complete assembly and disassembly of the chair.
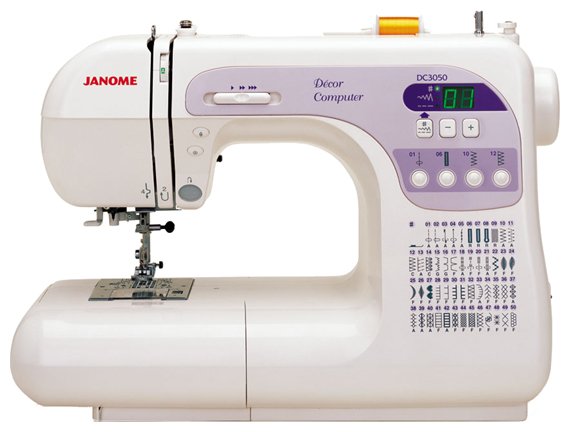
A sewing machine, tailor's chalk or a bar of soap for sewing new upholstery.
A metal brush, coarse and fine sandpaper – for renewing external wooden elements, as well as varnish or paint of the required shade.
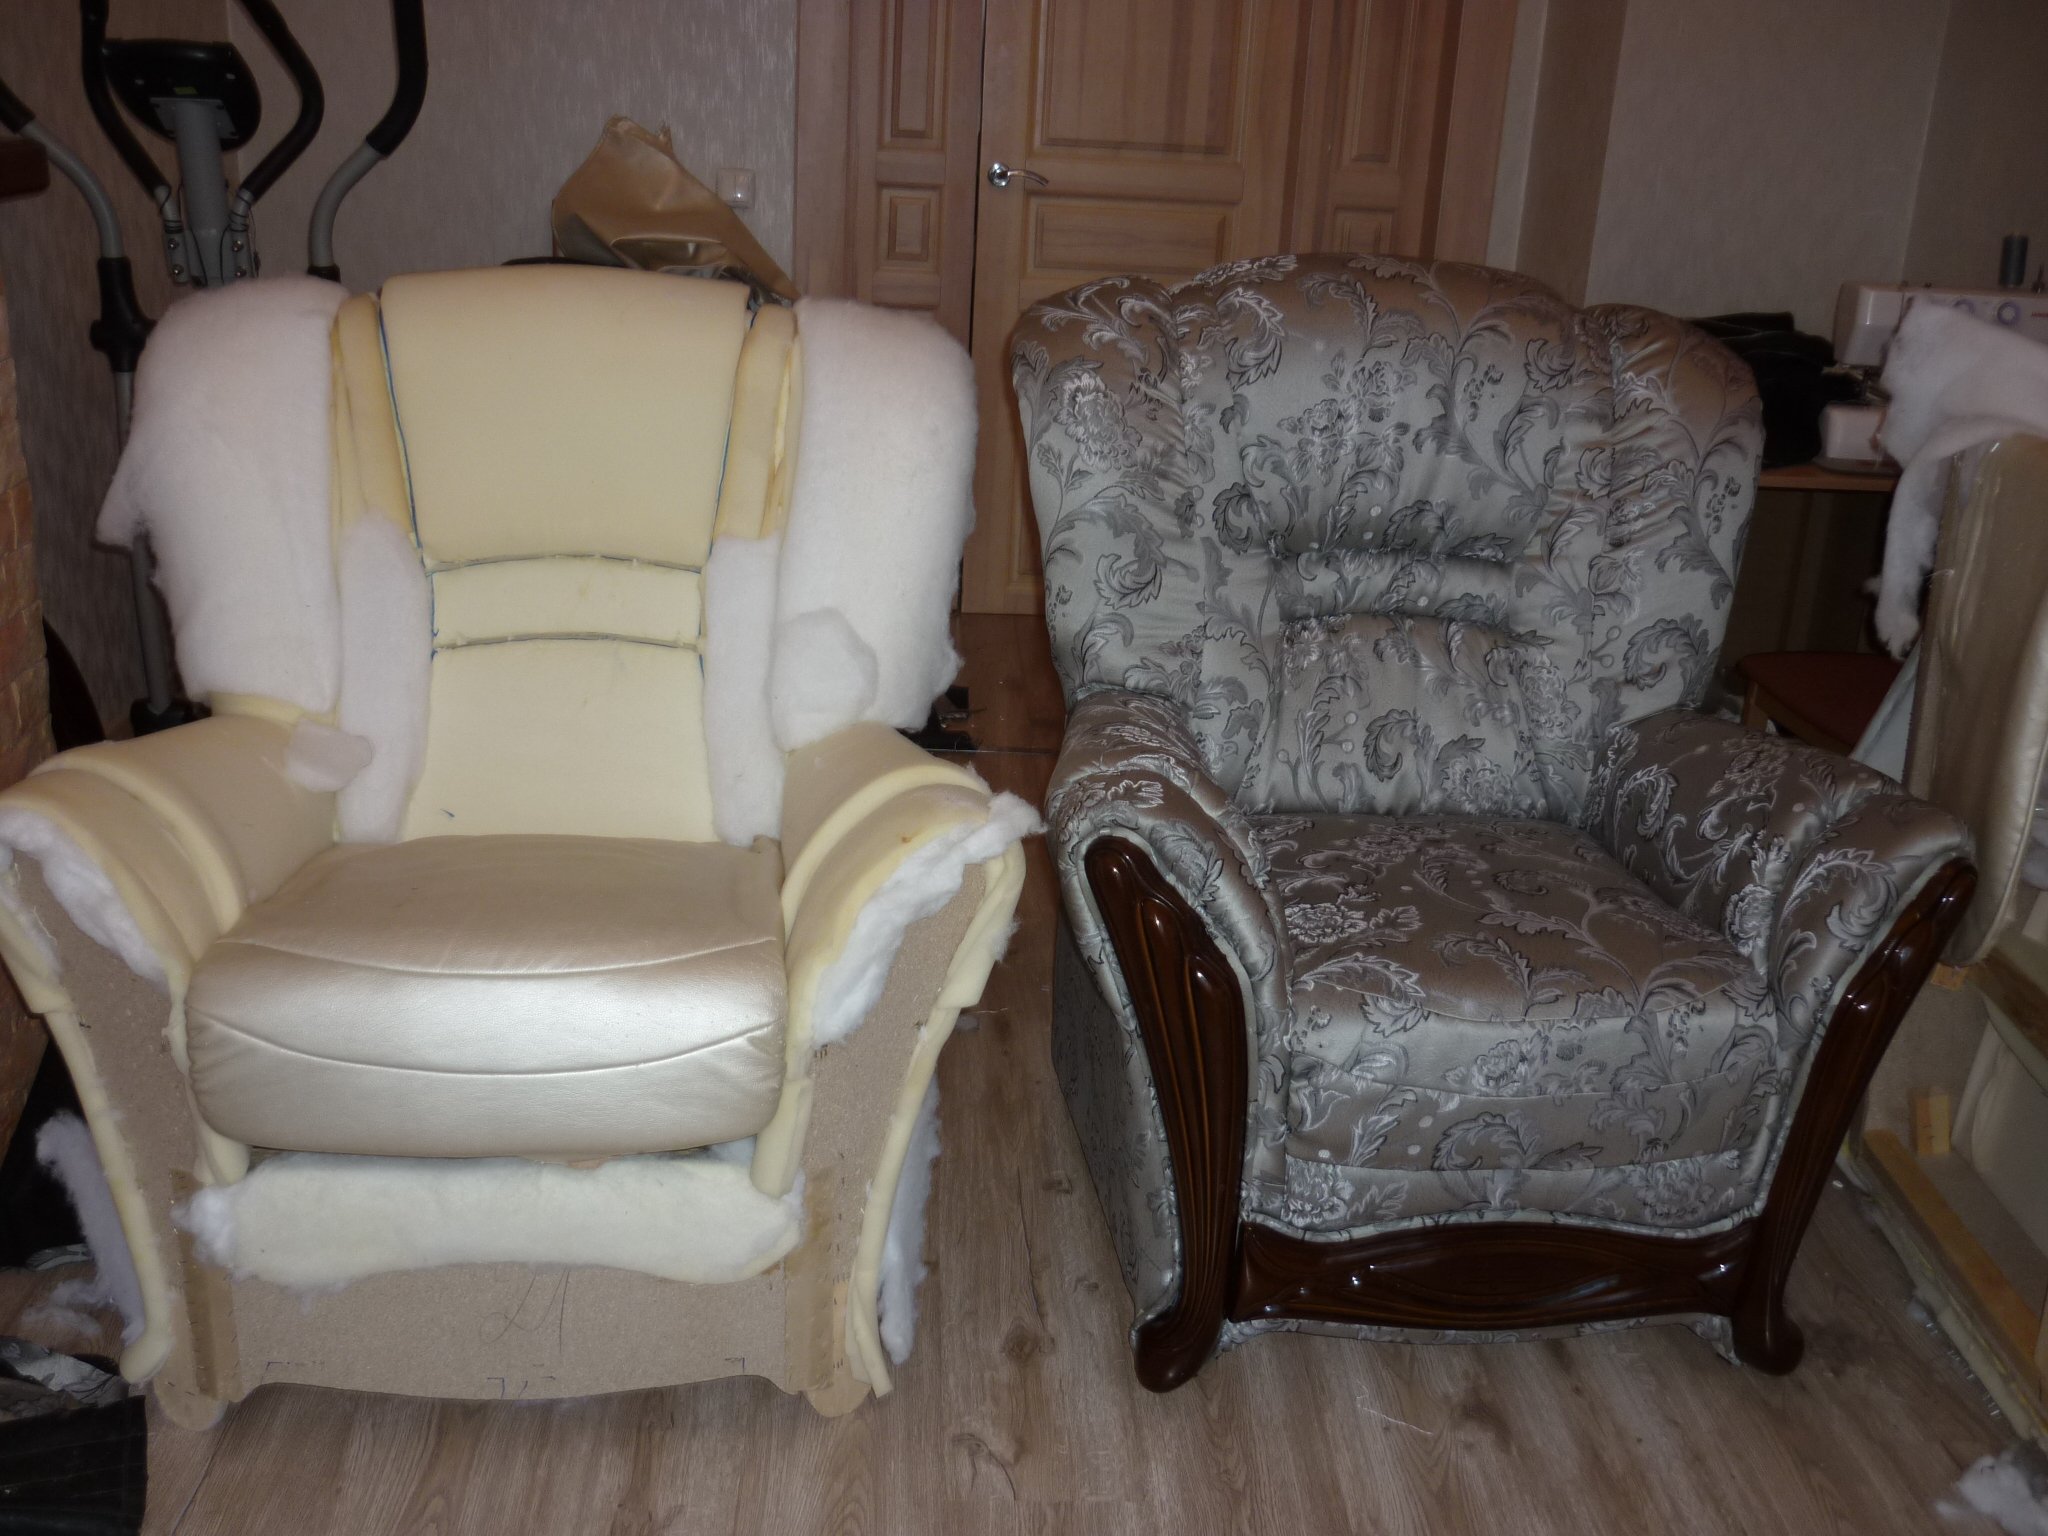
Disassembling the chair before restoration
Having prepared the entire set of tools, you can begin to disassemble the old chair. First of all, you need to put it on its back to get to its bottom. Using a screwdriver, unscrew the legs and wooden armrests, if any.
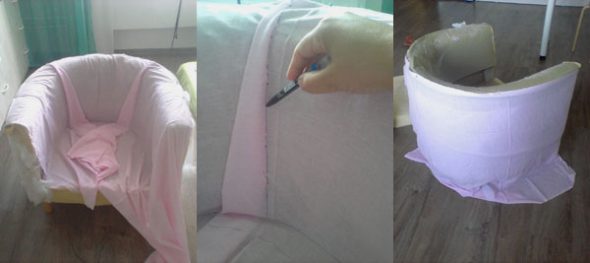
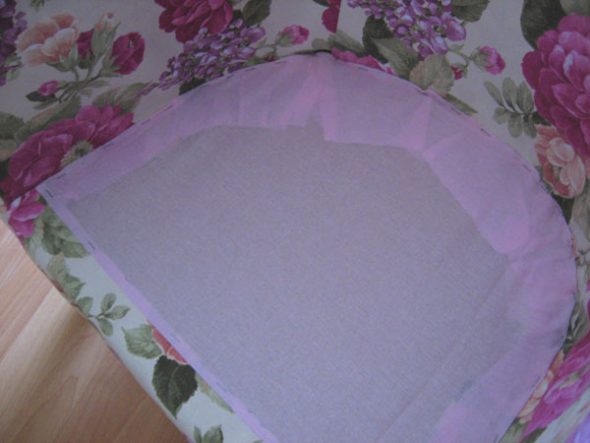
We disassemble the bottom, for which we remove the old staples. It is convenient to pry them up with a flat screwdriver and finally remove them with a crowbar. We remove the bottom upholstery, we must get to the back of the seat. After that, we begin to remove the old upholstery with pliers. It is important to do everything with special care, since the upholstery will be needed for cutting out the new fabric.
To simplify the process, you need to mark the sequence of steps, this will be useful when reassembling. You can also mark which part was where, so as not to get confused. Since the upholstery is attached with staples, we remove them with a flat screwdriver and a crowbar.
After removing the old fabric, you can assess the quality of the padding. If the foam rubber has turned yellow or started to crumble, it is better to replace it with a new one. If it has simply lost its shape, you can add a new layer of foam rubber or batting on top. In places where fasteners remain, they should be removed for better adhesion of the upholstery or padding.
The process of sewing a new chair
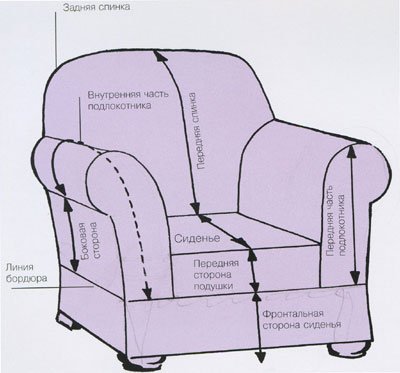
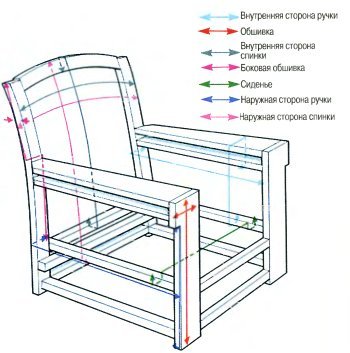
The next step is to take measurements from the old upholstery using a tape measure and write them down separately. Then go to the store and buy a piece of fabric of the appropriate size. At this stage, you can choose the material, texture, and pattern to your taste. It is advisable to take a piece of fabric 10% longer than the required length. The excess can be cut off in any case, but if the length is not enough, you will not be able to finish sewing it. For fabric with a pattern, take more fabric specifically to match the pattern on all elements of the chair.
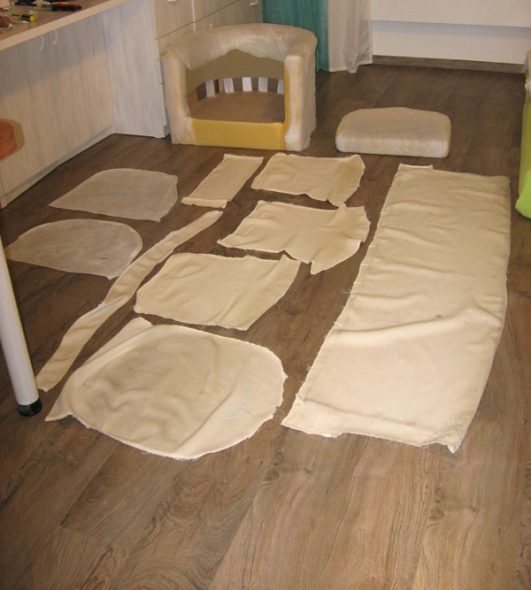
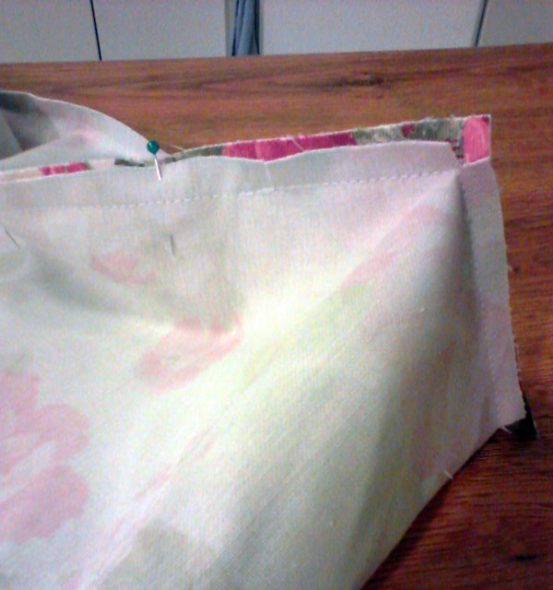
We place the old upholstery pieces on the fabric and outline them with tailor's chalk, leaving a small margin.
If the fabric is woven or piled, pay attention to the correct direction of the pile: from top to bottom and from back to front.
To create decorative folds, mark the folds of the fabric and use a sewing machine. Before sewing, secure each element to the chair frame with pins, check how it will look in the finished form. After a series of trials and experiments, you can begin the final sewing. Having cut out all the details and brought them to the appropriate appearance, you can begin the re-upholstery.
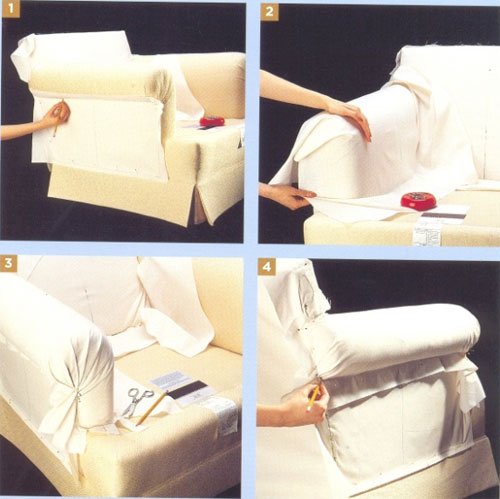
Reupholstery: step-by-step instructions
Before reassembling and reupholstering, you should renew the external wood elements. To do this, remove the old paint coating with a wire brush or coarse sandpaper. Then clean these parts with fine-grained sandpaper and cover with varnish or paint of your choice.
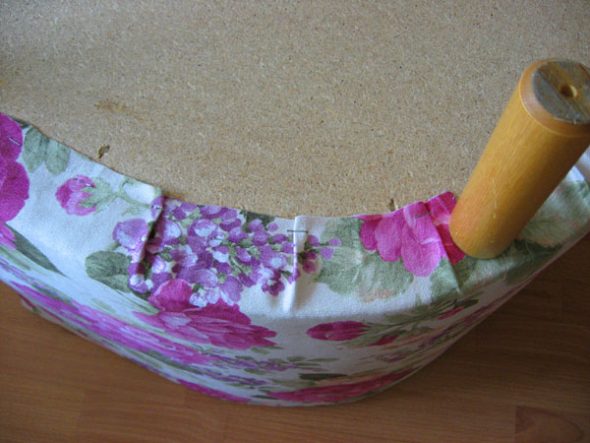
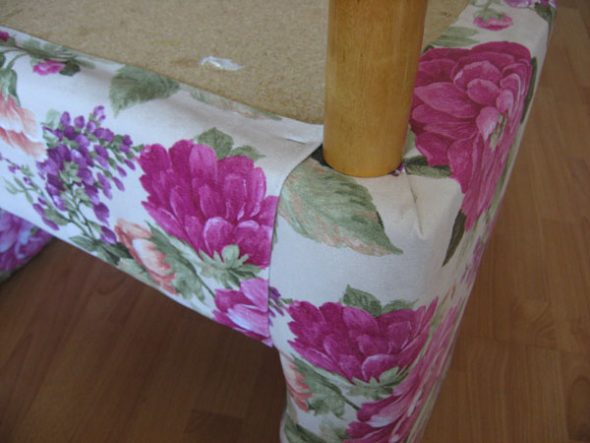
Try all the parts on the furniture again using pins: if everything matches, you can start upholstering. We start the process from the place where we finished disassembling the chair. We fasten one end of the part to the frame using staples, starting from the center, leaving a distance of 10 centimeters at the edges. Having secured it, we stretch the fabric from the front side, checking for folds. If everything is in order, we stretch it and fasten the remaining sides. We check the appearance again. If everything is in order, we fasten the edges of the upholstery to the frame.
We fasten all the elements of the chair using the same principle, observing the reverse order of disassembly. As a result, the fabric will completely envelop the entire chair, and all the edges will be folded.
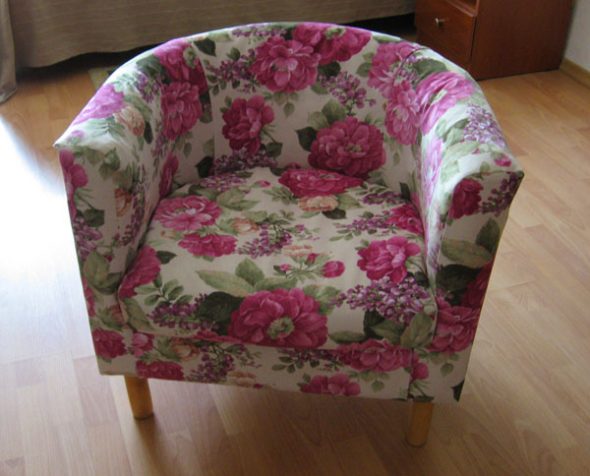
Complete reupholstery of furniture can take a lot of time, but the most important thing in this process is not to rush anywhere. It is important to note that different chairs have their own characteristics, so you will have to figure out many details yourself. The final result will definitely pay off all the efforts on reupholstery and will please you for a long time.
Restoring the back of the chair
Let's consider repairing the back separately if it was broken for some reason. After completely dismantling the upholstery, you need to determine the cause of the breakage. This could be loose fastening bolts that need to be tightened.
- If there is a crack in the frame, you can try to find a similar part and replace the broken one. Or you can carve a new one out of wood yourself.
- If the cause of the breakage was a loosened tie tape, it is necessary to tighten it. To do this, remove one of the edges of the tape and stretch it evenly, then fasten it with staples.
- If the tapes have lost their former properties, they must be replaced with new ones. The remaining excess is cut off with scissors so as not to spoil the appearance after re-upholstery. You will get a beautiful chair without unnecessary costs.
Video: DIY furniture repair. Restoration of armchairs.
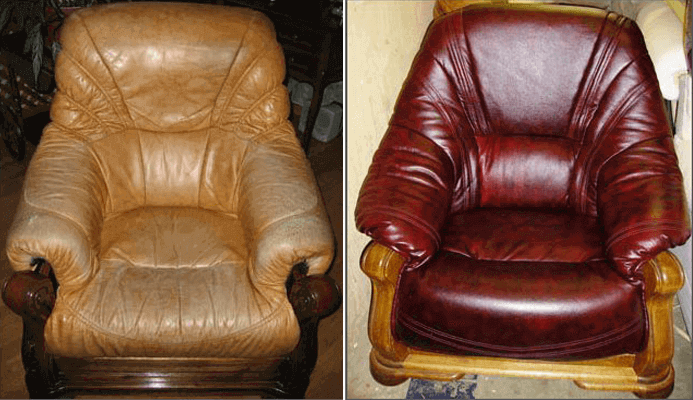
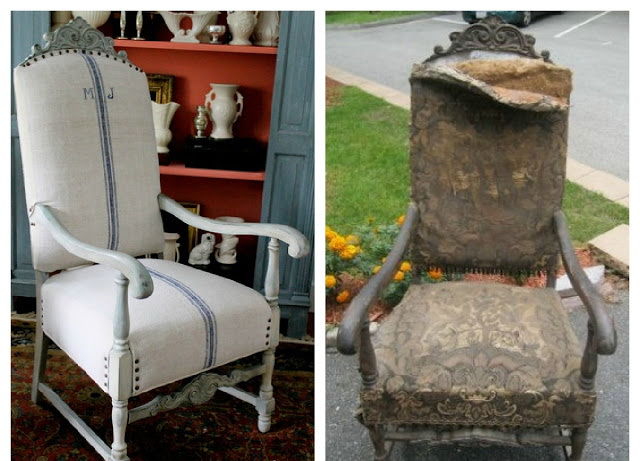
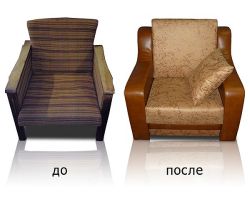
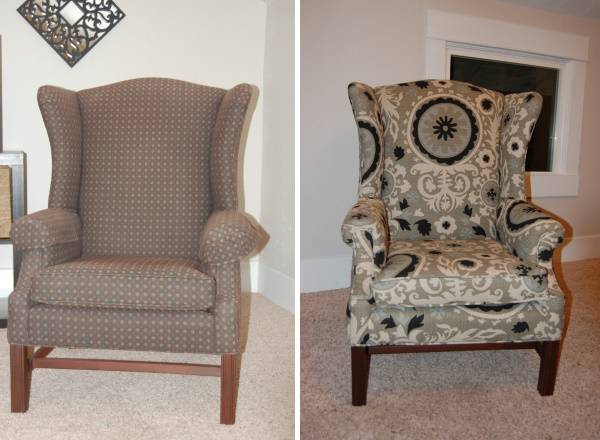
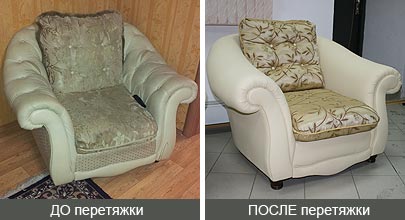
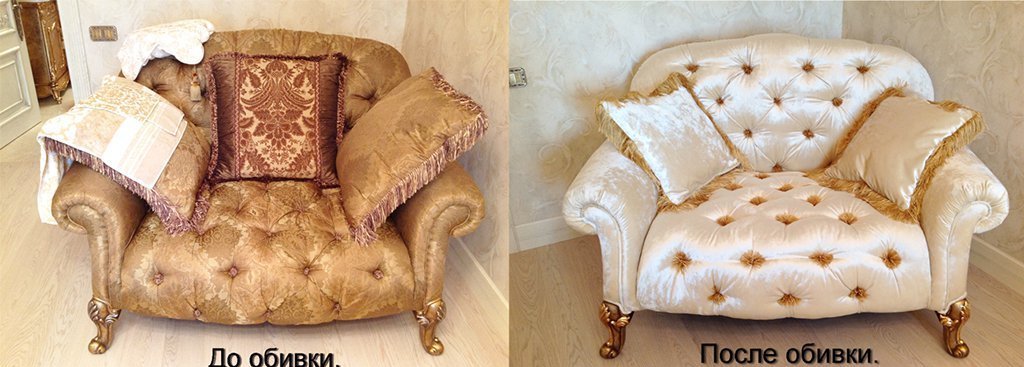
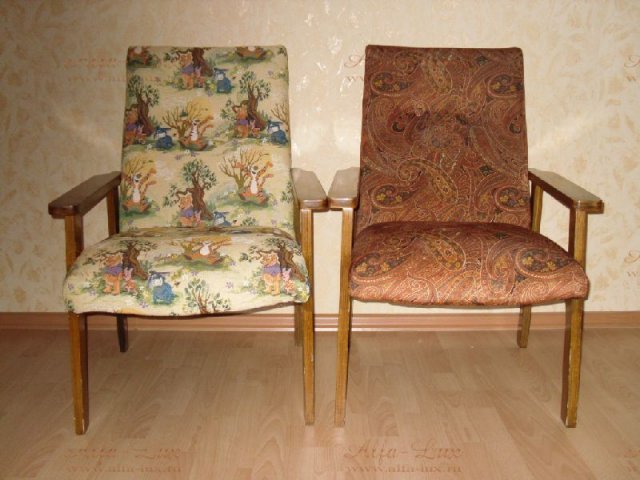
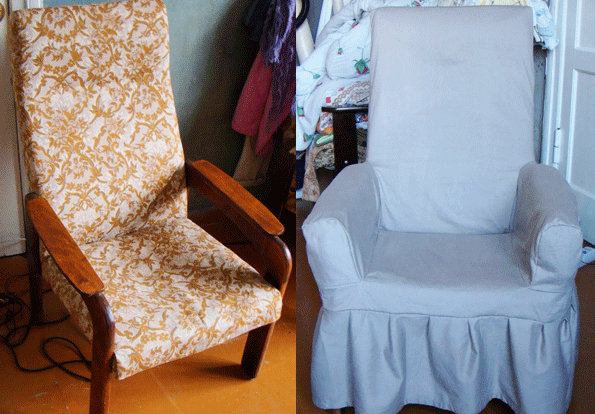
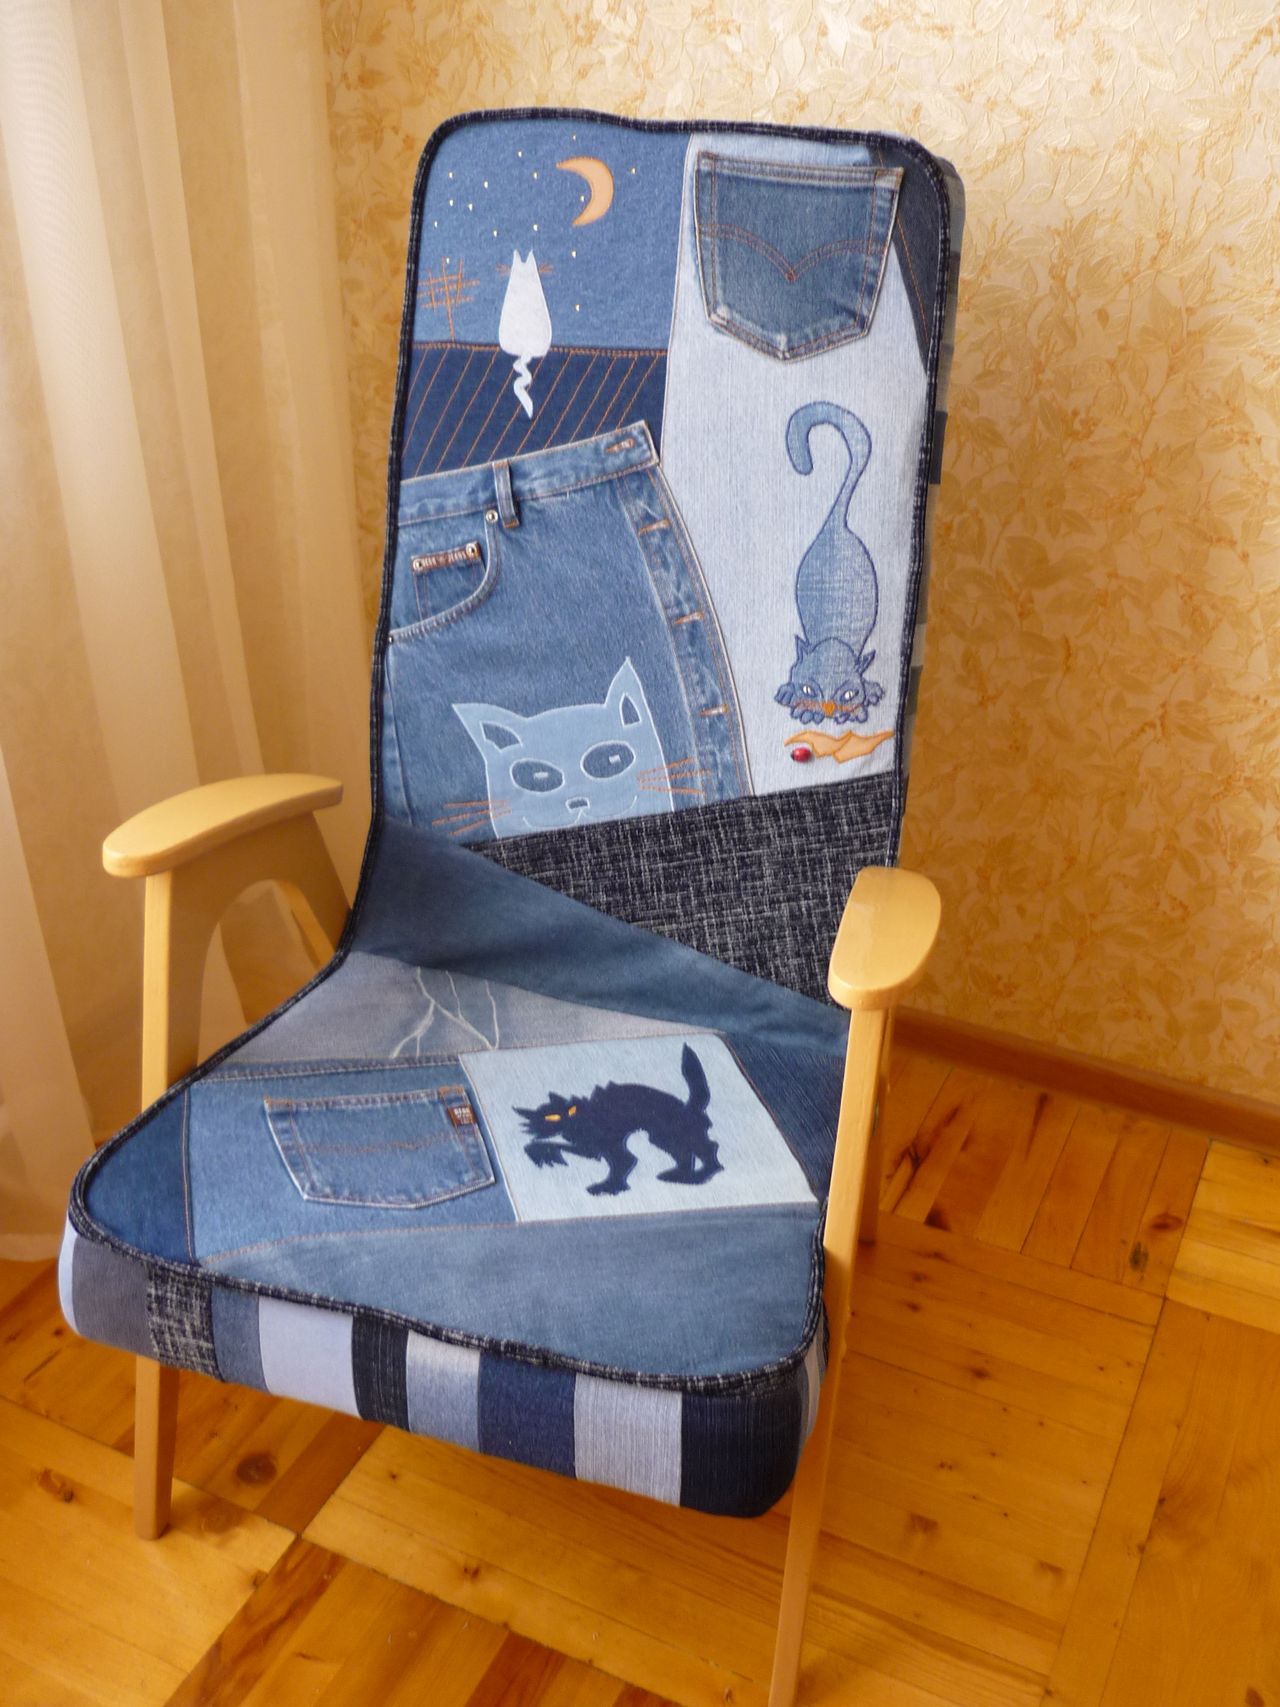
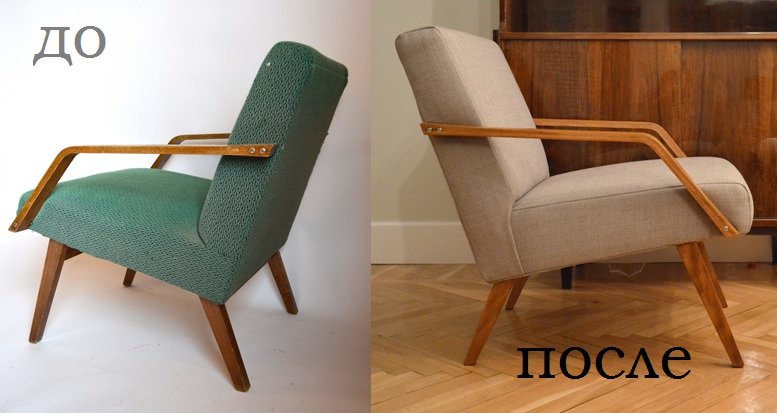
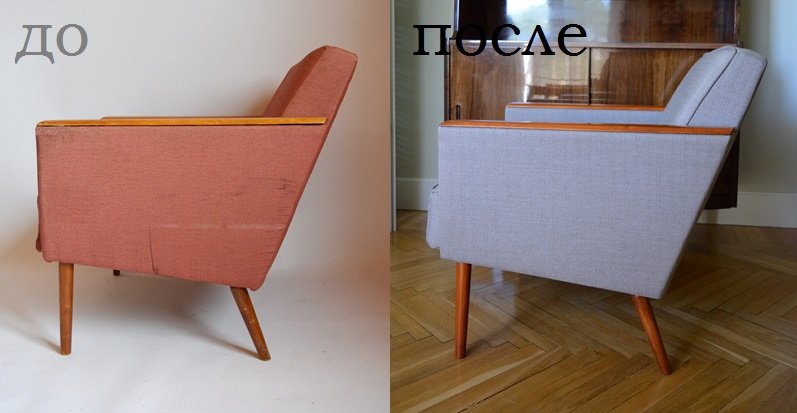
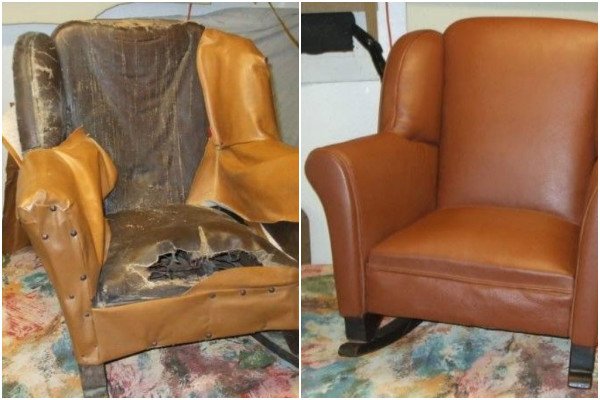
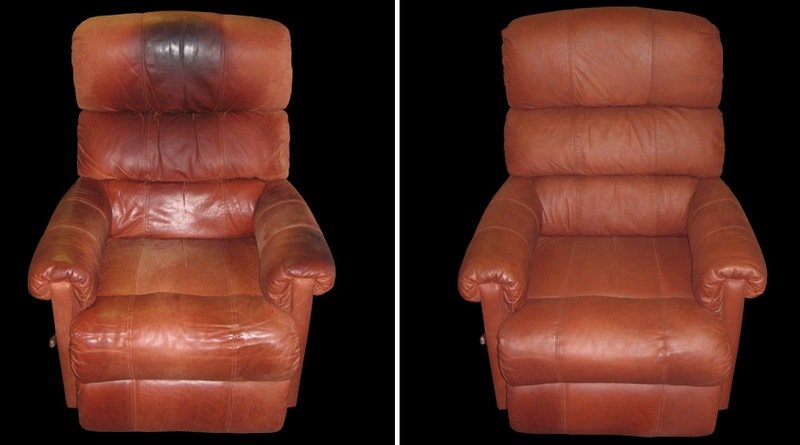
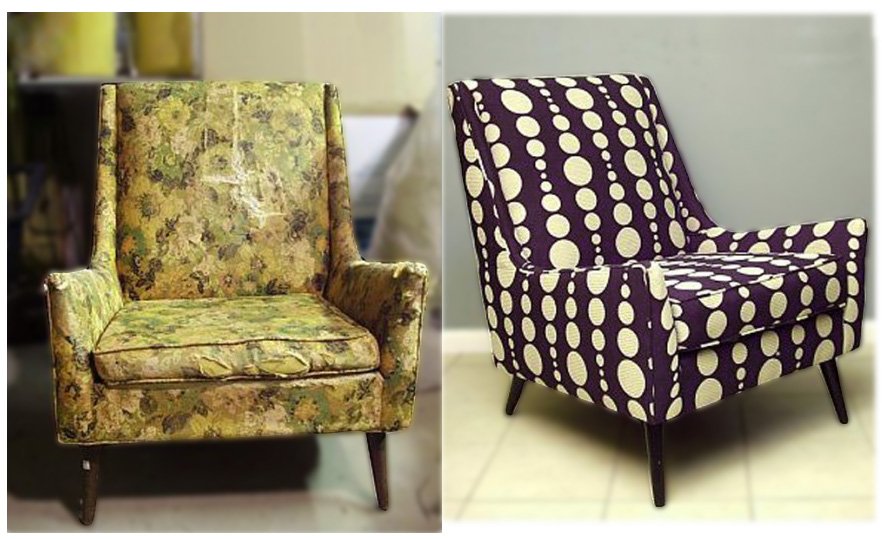
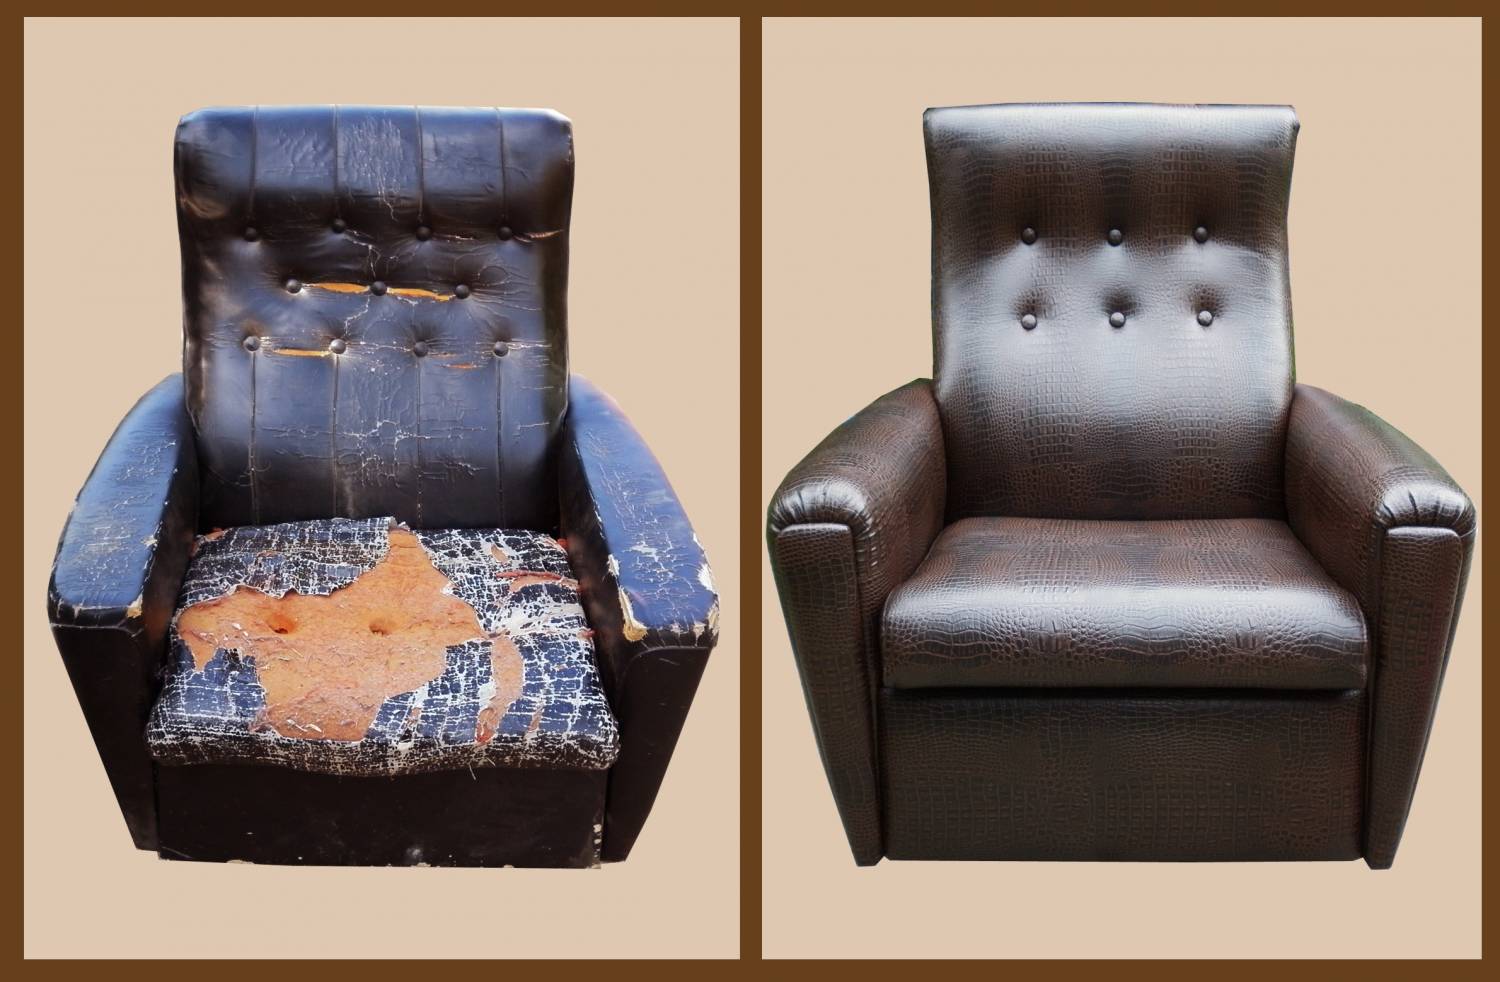
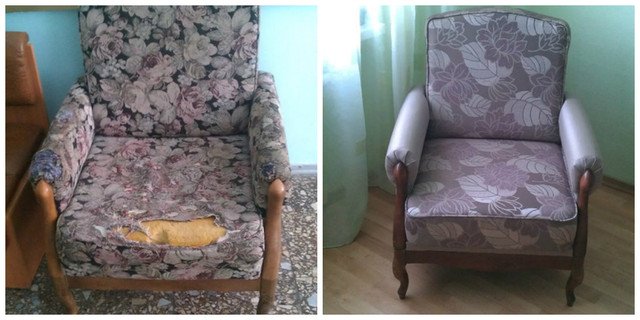
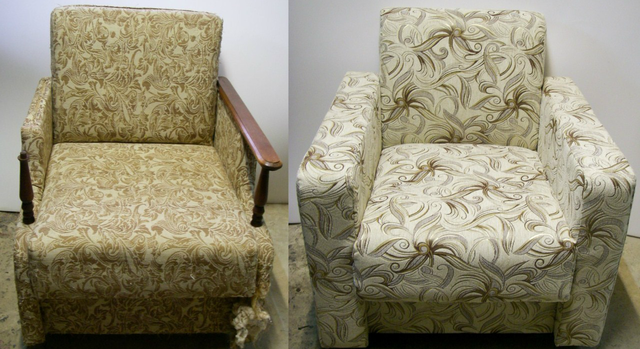
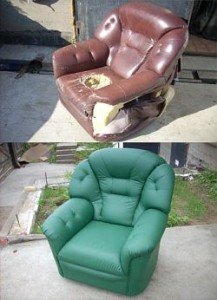
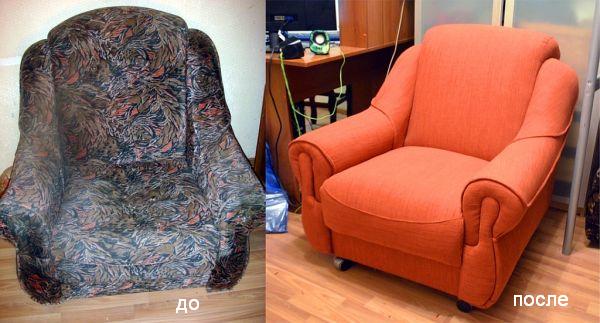
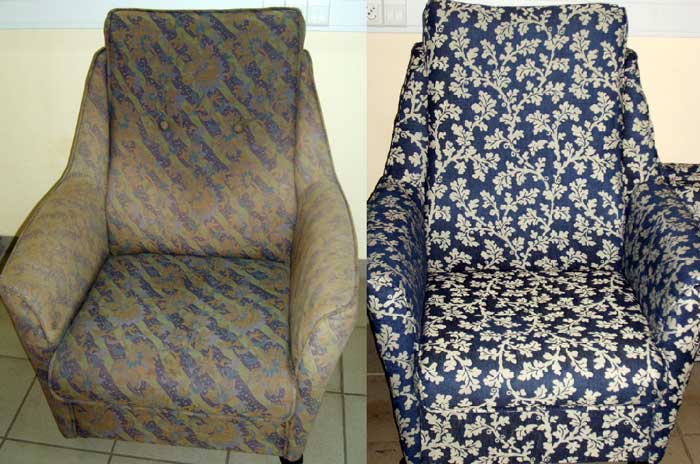
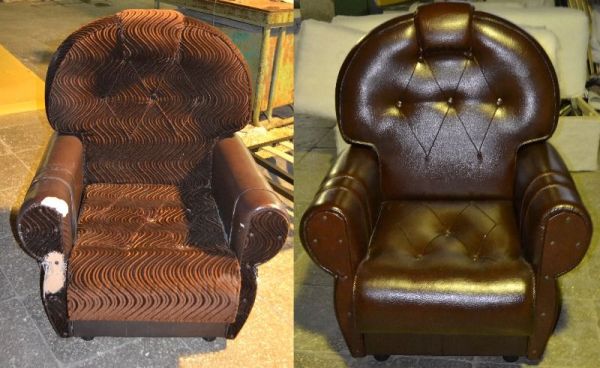
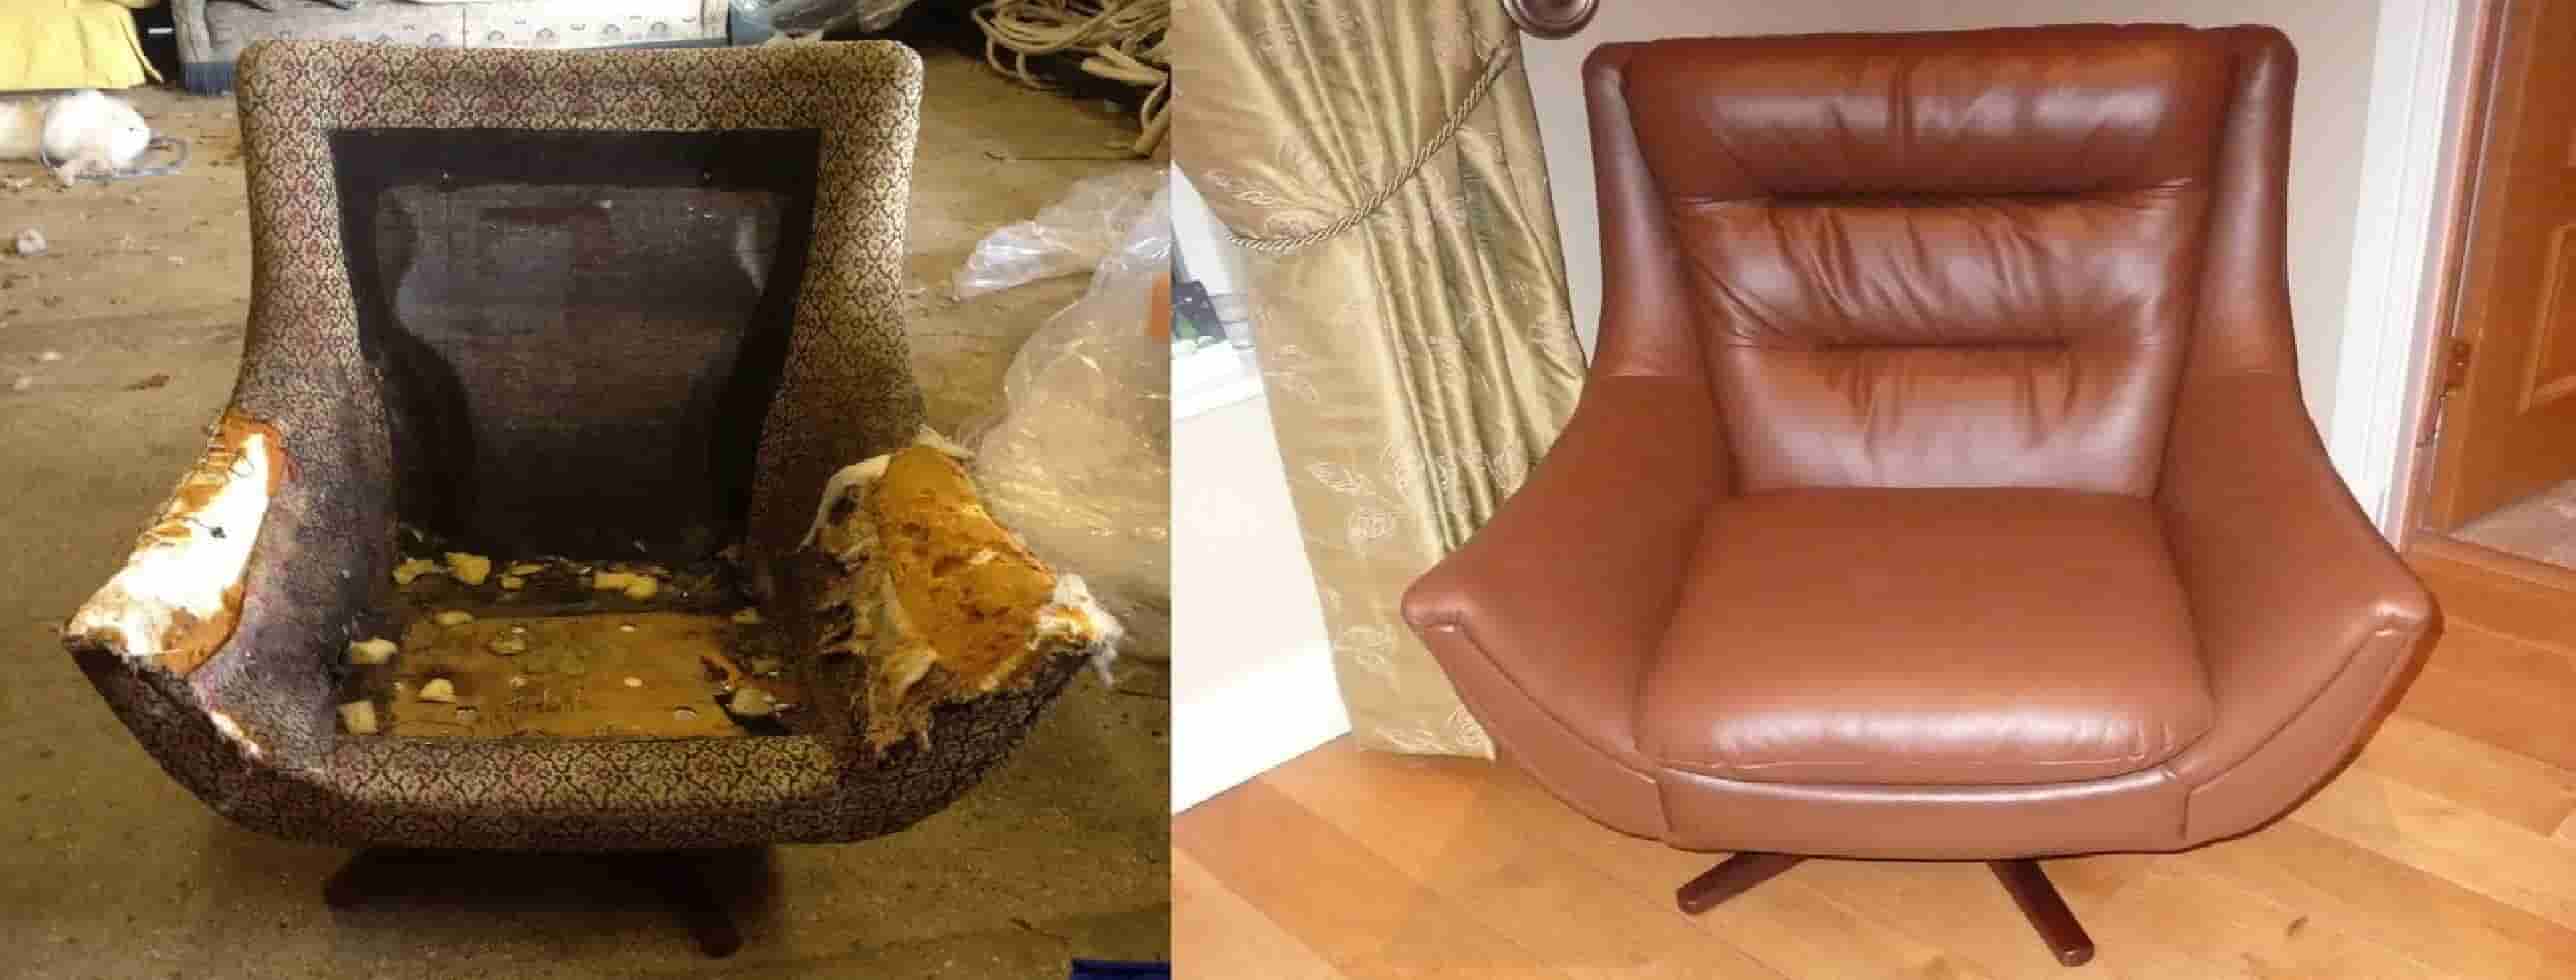
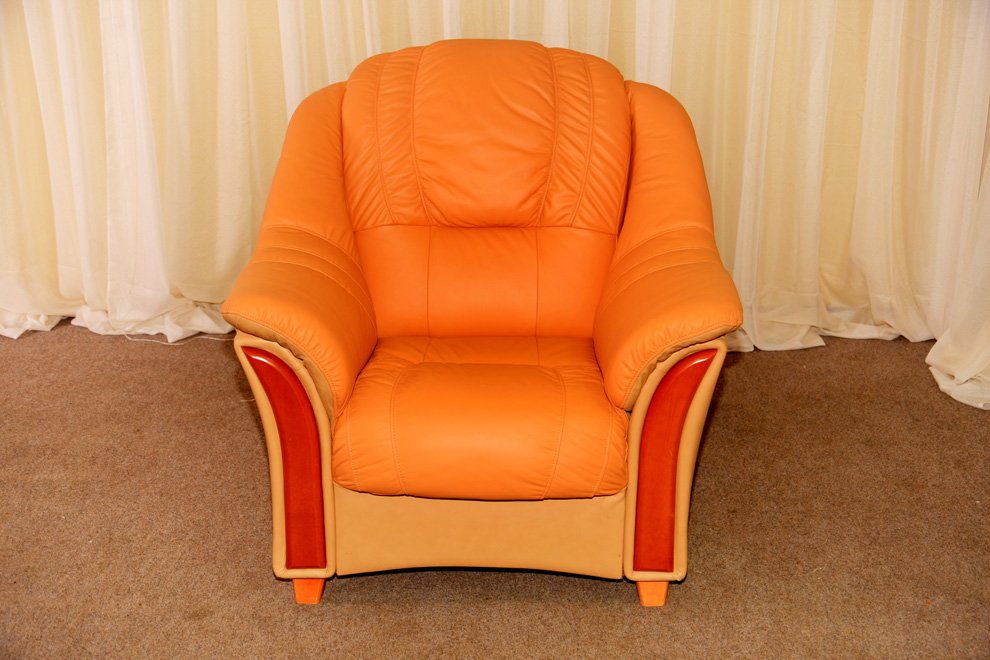
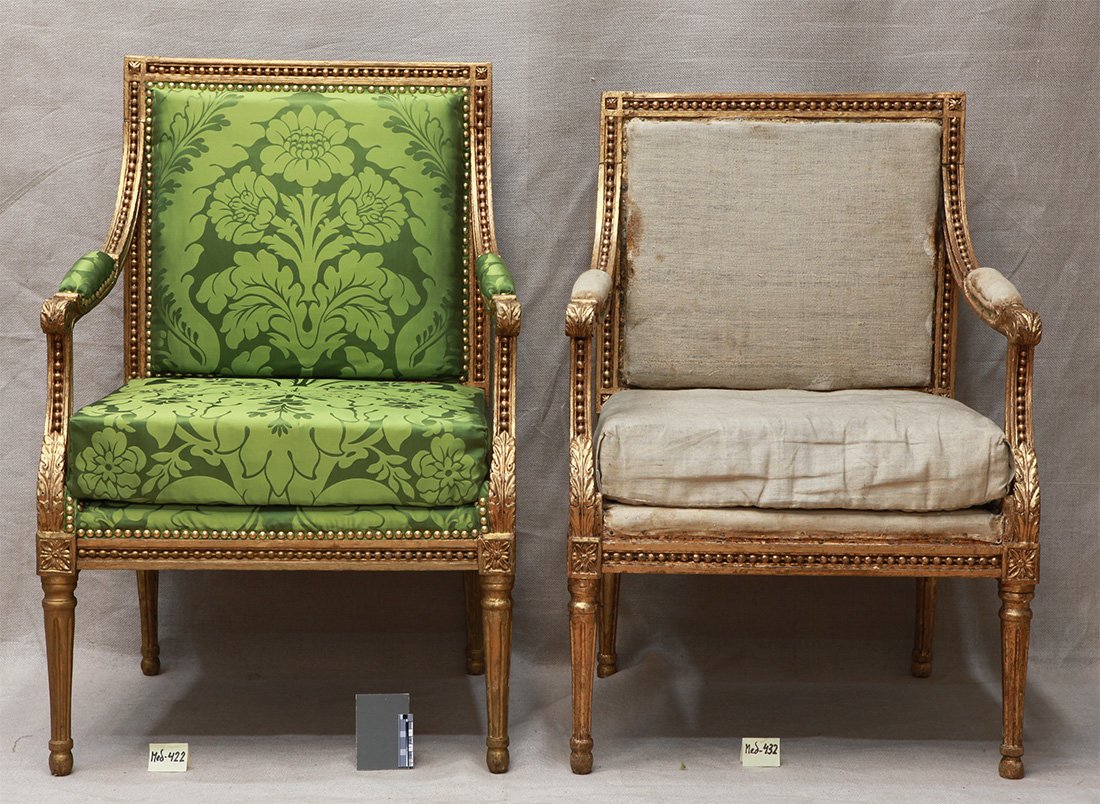
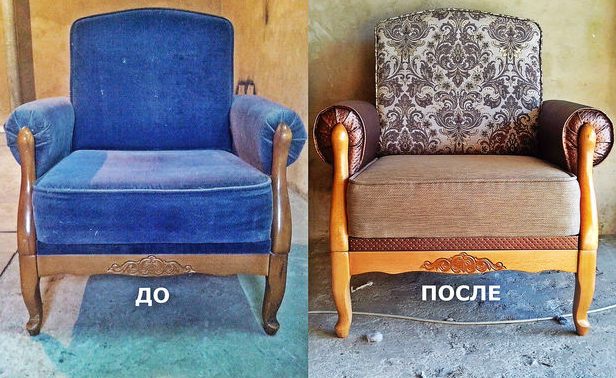
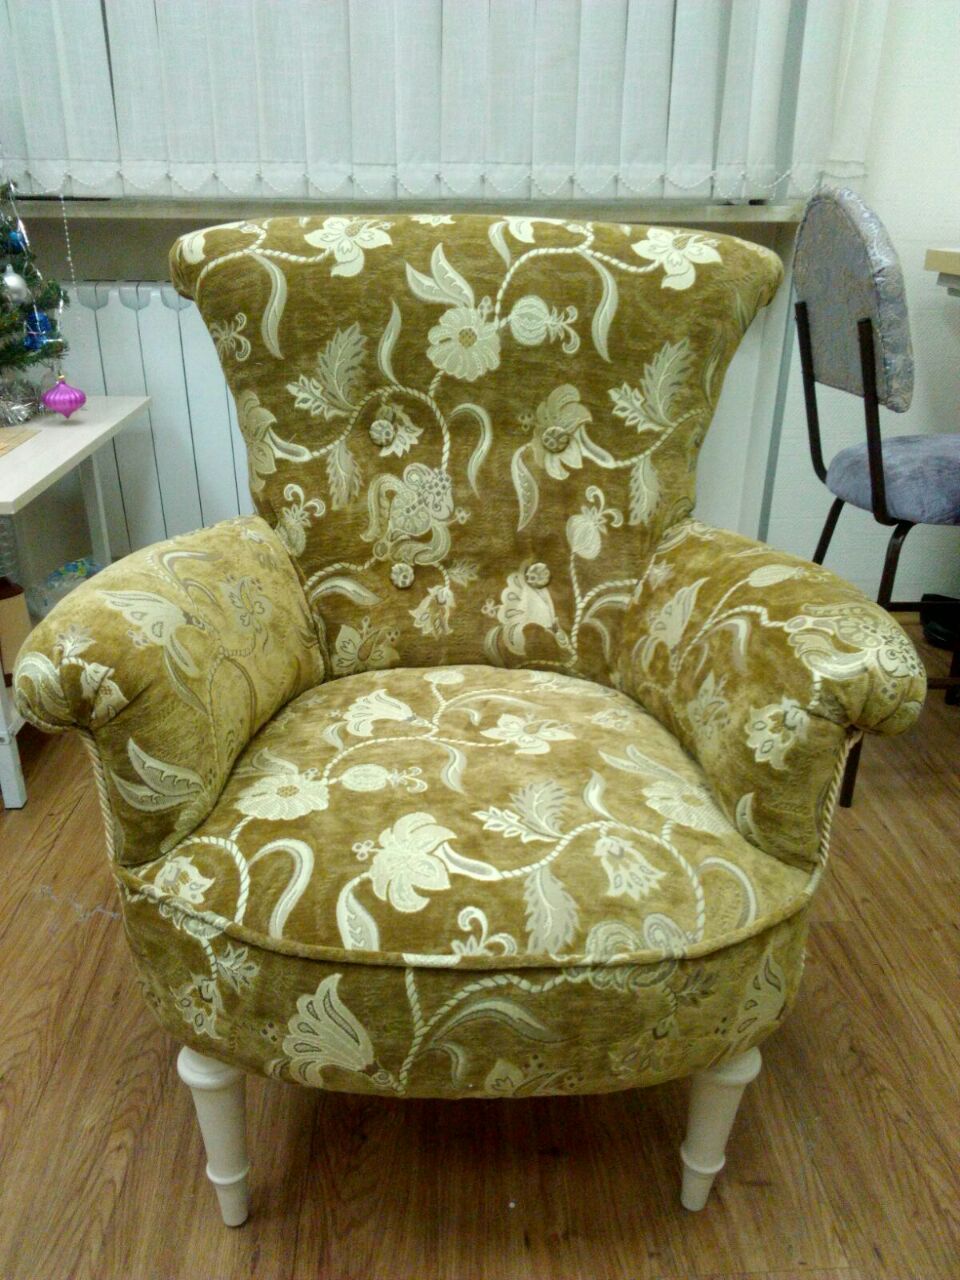
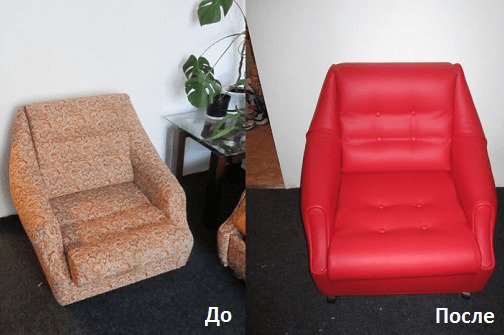
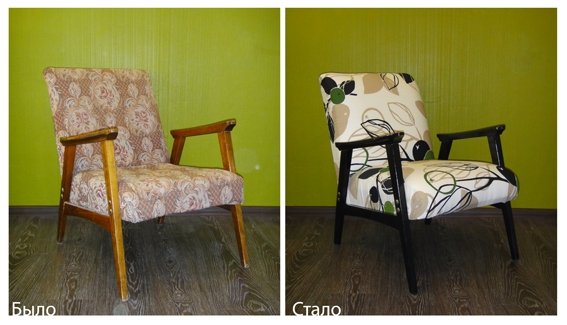
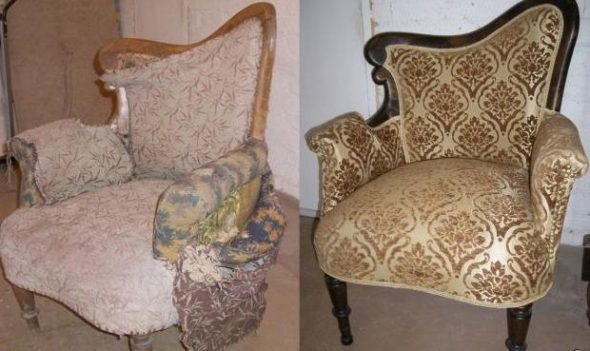
50 photo ideas for restoring armchairs with your own hands with photos before and after repair: