From the first days, you want to surround your child with the best, safest, most reliable, and most importantly, something that will serve faithfully and truly for many years until the baby grows up.For this purpose, as a rule, natural materials are chosen that are not capable of laying a “mine” for future oncological diseases, thereby protecting the child from the first days.
Content
- Why is it better to do it yourself?
- Design and construction of a baby cot
- The best material for a children's bed is solid wood
- Tools are a reliable assistant for the master
- Some features of joinery
- Making a baby crib with your own hands
- House crib - a cozy fairy tale
- VIDEO: DIY house bed.
- Children's wooden beds - 50 photo ideas:
Why is it better to do it yourself?
A baby's crib is the baby's first fortress. It is there that he sleeps, enjoys life, begins to learn about the world, studying everything that surrounds him.But how can you be sure that the covering and materials of the baby bed are safe? Only by making it yourself.
Smart dads who have their hands in the right place know very well — You can only be sure of something when you have tried it and made it yourself. This is the main advantage of the product. Why is that? Let's make a small comparison.
| Factory | Homemade | ||
| Advantages | Flaws | Advantages | Flaws |
| Don't waste time - go buy or order | Not always quality material | Do you know what it's made of? | Manufacturing is labor-intensive and time-consuming. |
| There is no guarantee of the reliability of the design | Reliable design - I checked it myself | ||
| The coverage is not always of high quality | High-quality coating - I selected it myself | ||
| Often the surface of the product is not processed | The surface is carefully cleaned - after all, the child will be "sliding" on it | ||
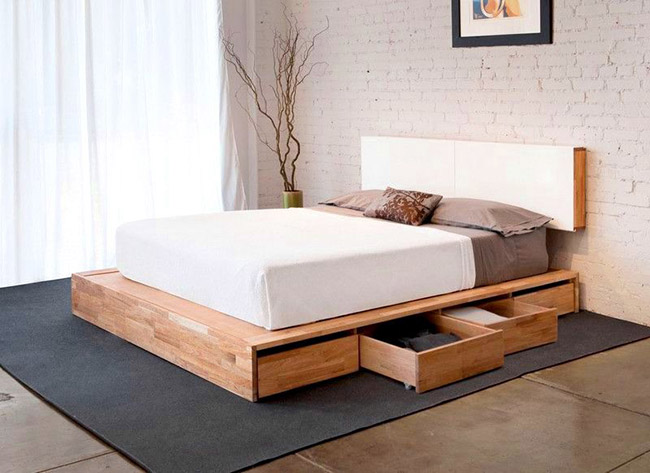
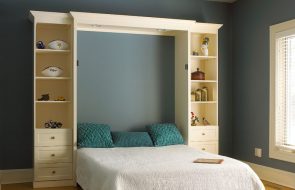
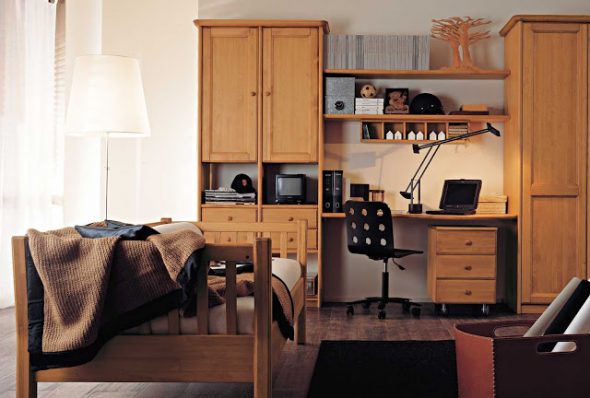
Design and construction of a baby cot
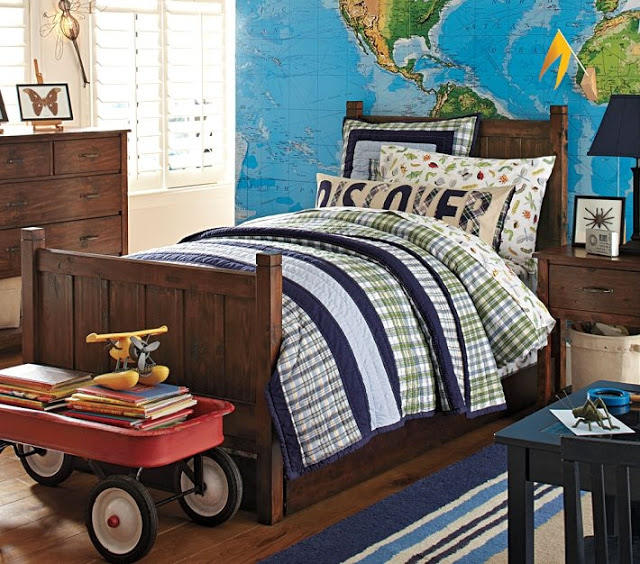
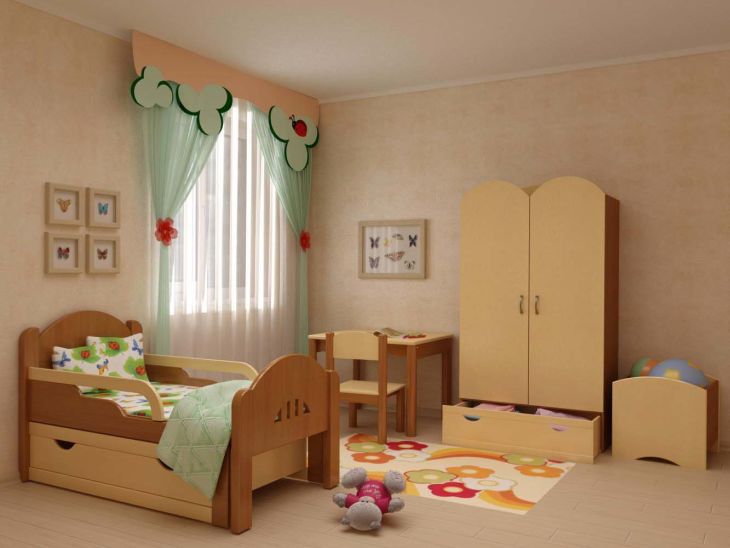
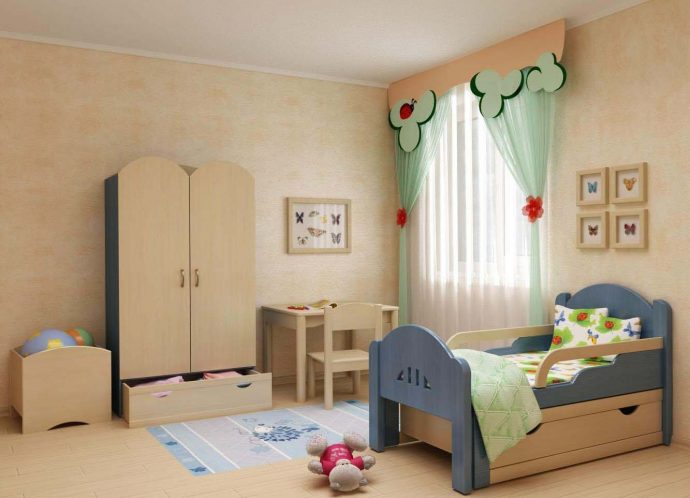
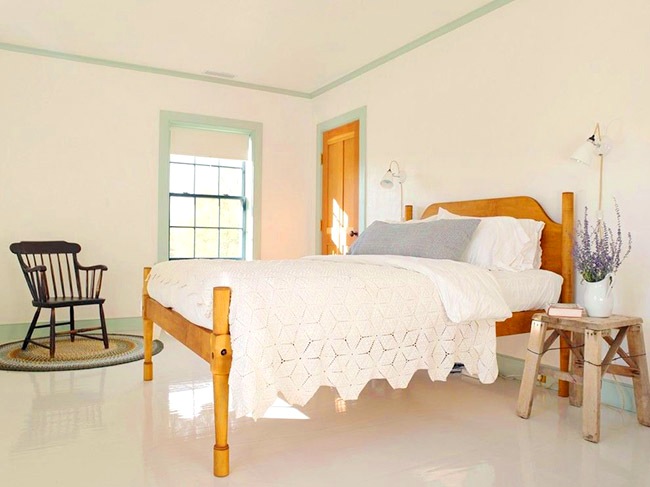
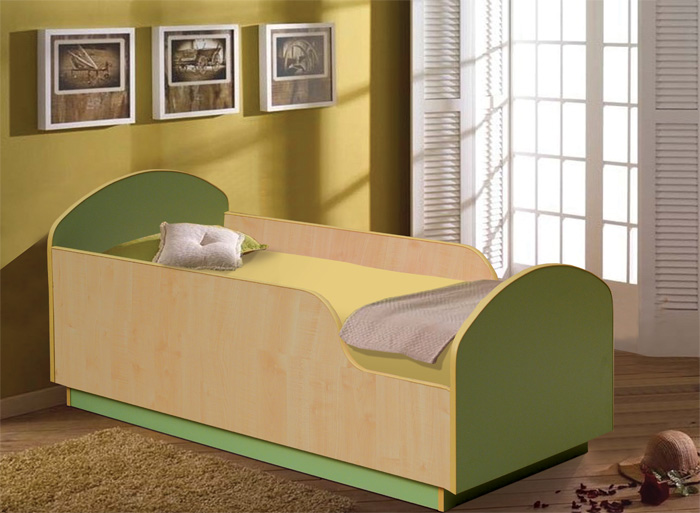
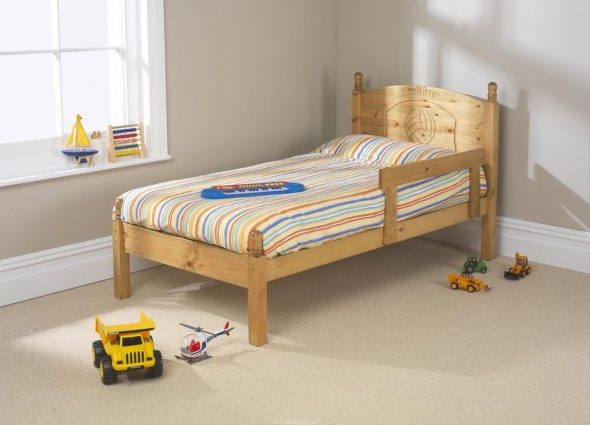
The appearance of a child's bed determines the coziness of the room, how the child will like it, its convenience and the rational distribution of living space.
We all want something original and unusual, something out of the ordinary. But let's be realistic. Why complicate life with an elaborate design of a children's bed in the form of a car, airplane, elephant or steamship, if they are difficult to make? Moreover, if there is no specialized tool, such as a thicknesser, CNC milling machine, band saw and others? By choosing such a design, you can ruin all the wood without achieving the desired result.
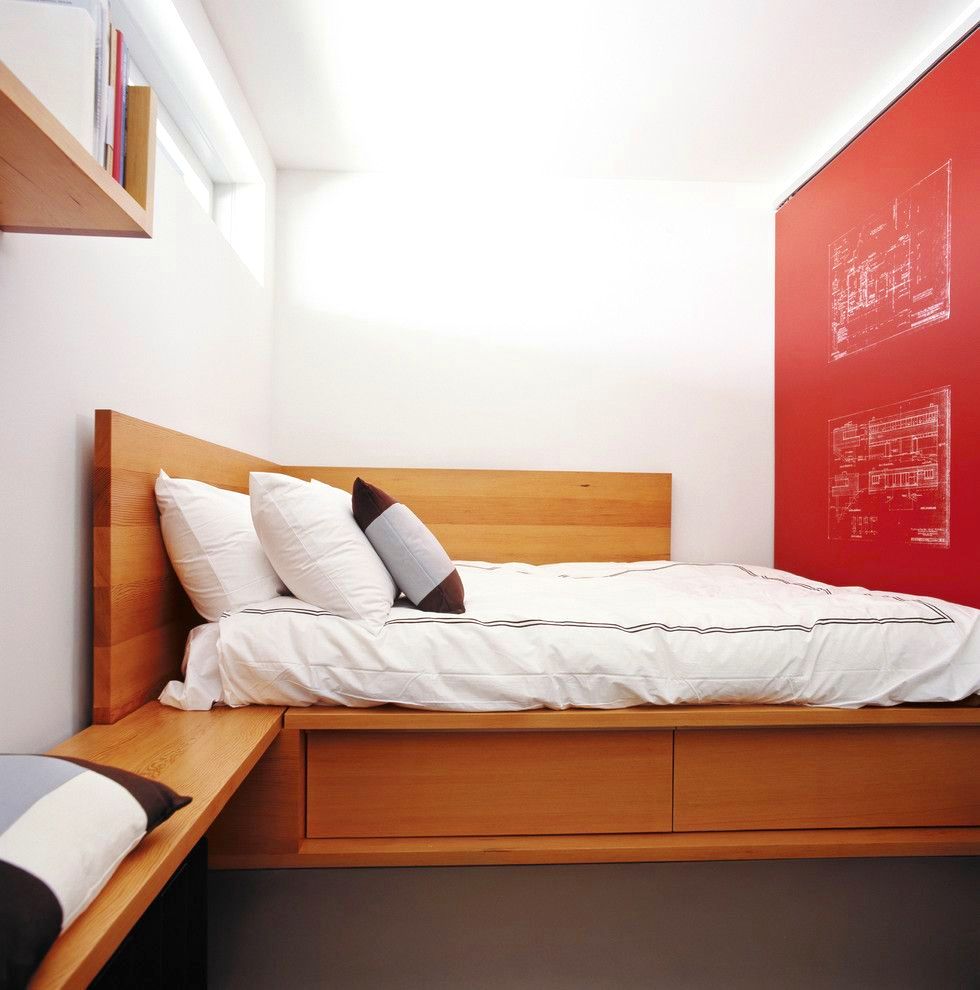
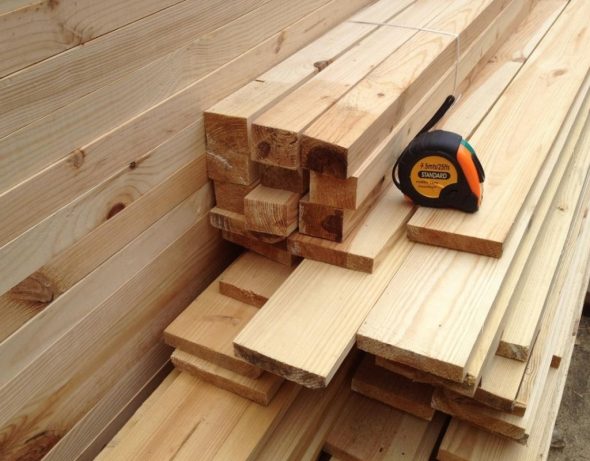
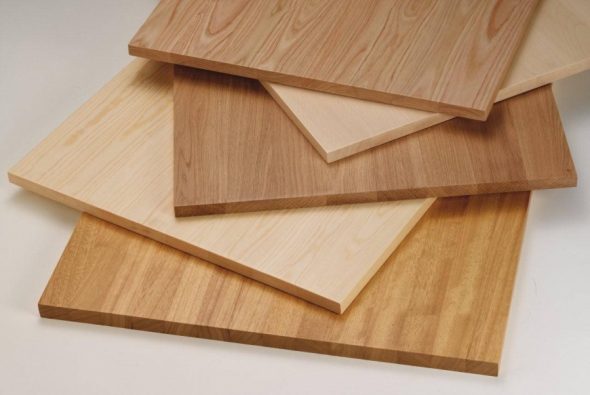
The best material for a children's bed is solid wood
Wood is the most preferable material, has no contraindications, is absolutely inert. While chipboard, fiberboard, OSB, MDF and plywood contain fillers that have a detrimental effect on the body, and also do not tolerate mechanical impact well.
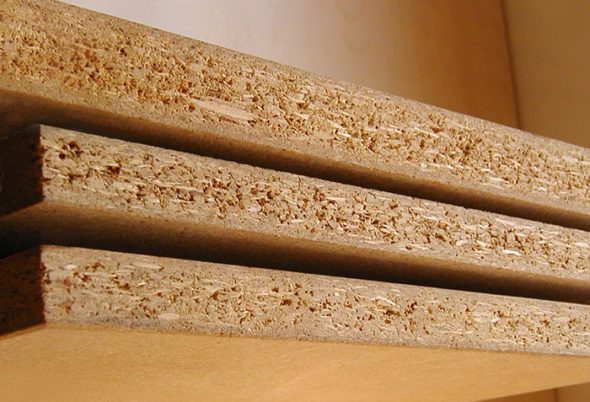
- Chipboard (DSP) is a wood-chip board produced by pressing wood chips and a binding element – formaldehyde.

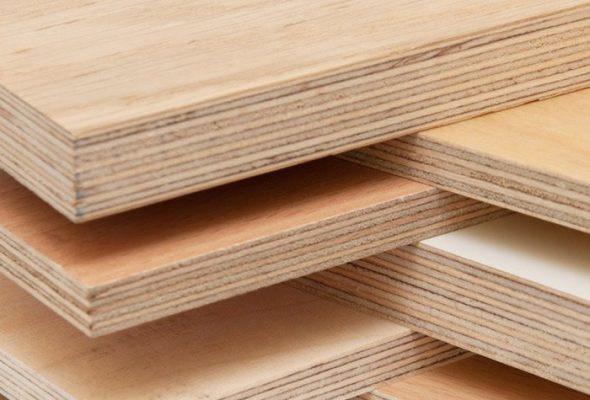
It does not tolerate moisture well, emits fumes, and quickly deteriorates. - Plywood is thin layers of veneer glued together with organic resins. It delaminates over time, especially when exposed to moisture.

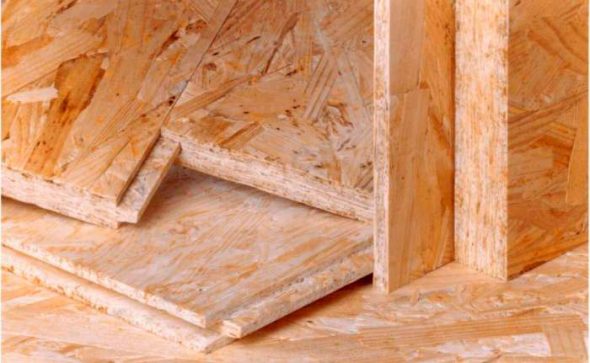
This also promotes the transfer of resin to the bedding. - OSB – oriented strand board consists of various sized chips, shavings, wood waste, glued and pressed together.

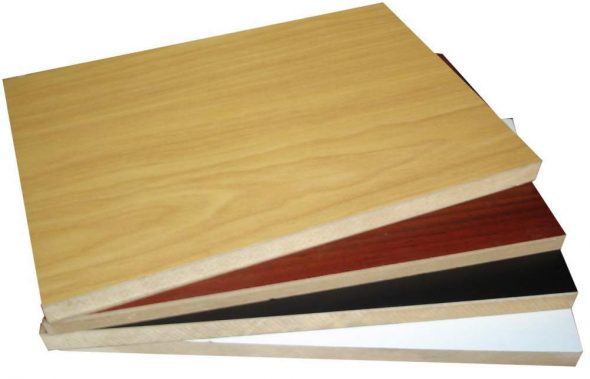
As a connecting material I use synthetic resins with the addition of wax and boron. - Fiberboard – fiberboard. It is made from wood fibers with the addition of chemical additives that make them stronger, moisture-resistant, and resistant to fungus.

These include: hardboard, MDF, harboard.
The main feature of all the listed materials that negatively affect their use is the presence of formaldehyde, a chemical compound used in medicine for disinfection.As you can see, it is not for nothing that we advise choosing solid wood. A prerequisite is that it is well-dried. Do not use damp boards, before you know it, the structure will fall apart, the material will crack and twist. It is best if the wood has dried on shelves for three to four years, in a shaded place, protected from moisture.
In addition to the boards, you will need:
- Self-tapping screws, bolts (for fastening parts);
- Metal corners (will provide additional rigidity to corner joints);
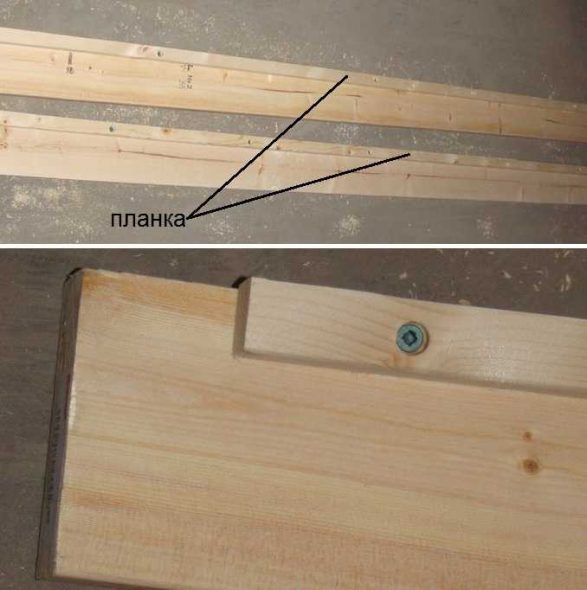
- Beam, slats (for mattress support);
- Lamels are flexible boards 15-20 mm thick, made of hard wood (oak, acacia).
Tools are a reliable assistant for the master
The complexity of the work depends not only on the design of the product and materials, but also on the availability of tools. Having a real carpentry workshop in your arsenal, you can easily make any product. But what if there is nothing but a garage and a workbench? Can you start working?
No problem! Any man has everything he needs. And we will need:
- Drill, with a set of wood drill bits;
- Plane for cleaning wooden workpieces;
- Hacksaw for cutting;
- Set of groove files.
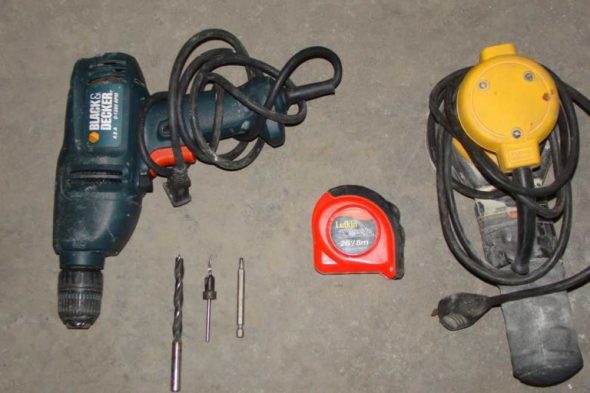
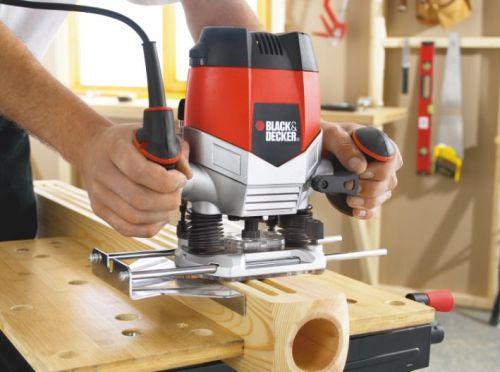
Having a manual milling machine will make the work of assembling a baby crib much easier, but if you don’t have one, we’ll make do with what’s listed.
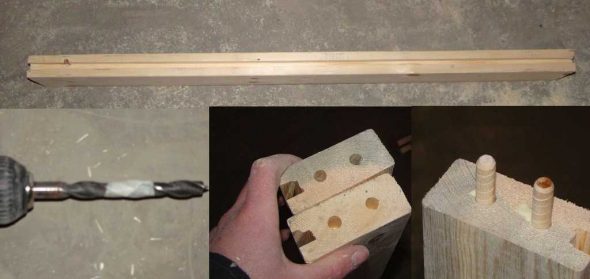
Some features of joinery
To make furniture reliable, special joinery joints are used in its manufacture. Unlike conventional nail or self-tapping fasteners, such fasteners are more resistant to loosening, do not “fall apart”, and are well resistant to mechanical damage.

This type of joint consists of a blind or through groove and a shank that fits freely into the groove. They are fastened with wood glue. The size of each groove and shank is selected individually, based on the thickness of the wooden workpiece (lath, beam, board).
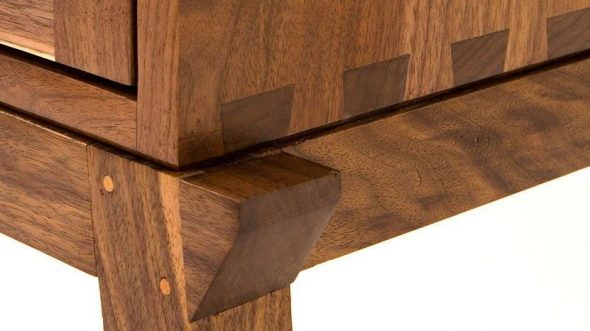
First, mark the boundaries of the groove or shank with a pencil. Then use a hacksaw to make a cut of the required depth for the shank, and drill the groove. Use a chisel to remove excess wood. Level the edges of the product with files.If you have a router, set the cutting depth and mill the necessary parts. In addition, using the copying ring that comes with the machine, you can easily make grooves of the required size.
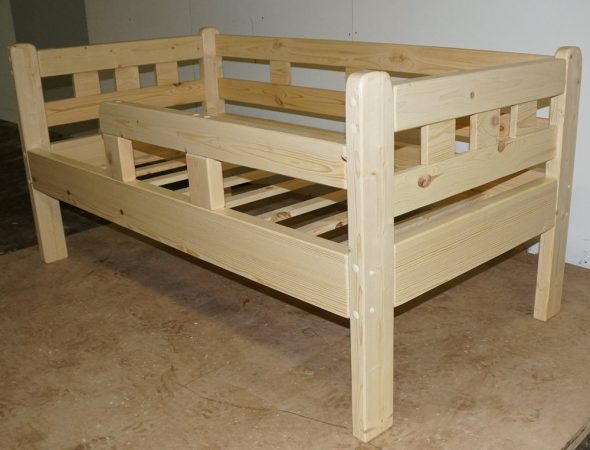
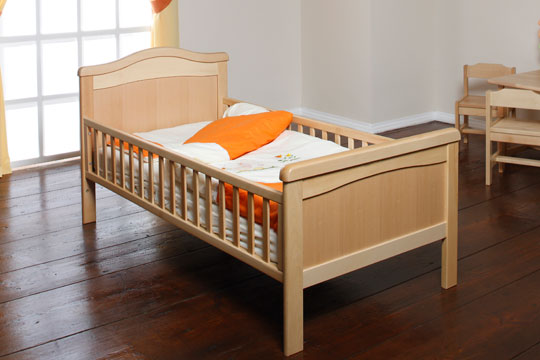
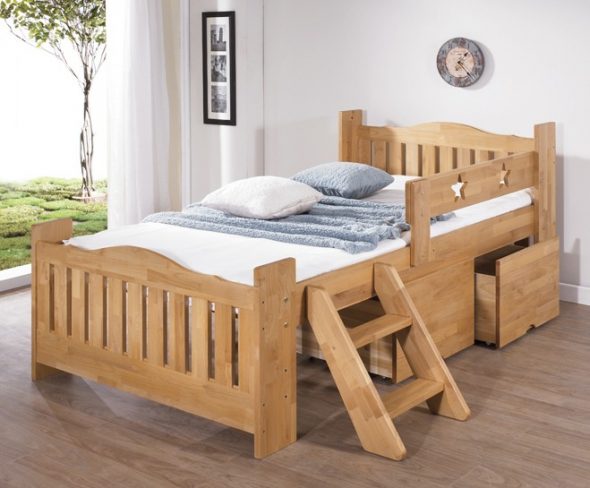
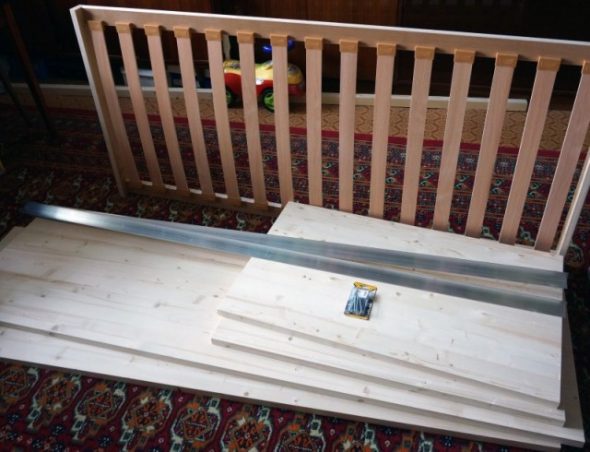
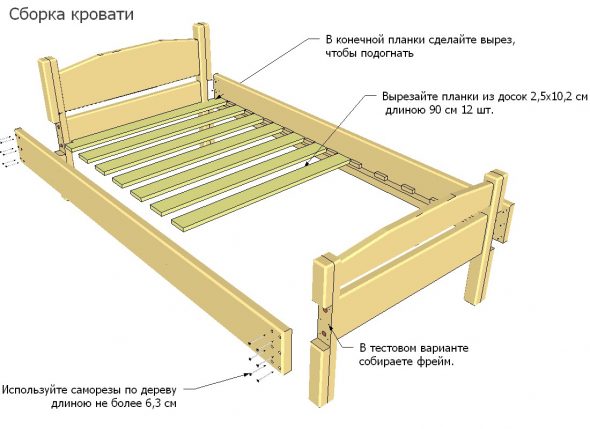
Making a baby crib with your own hands
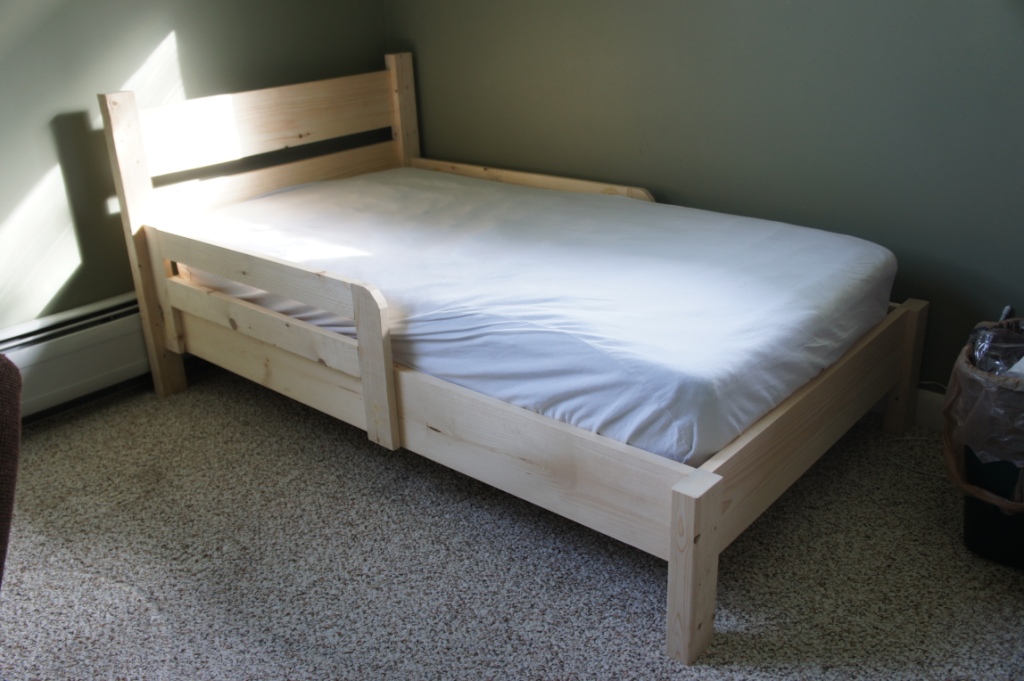
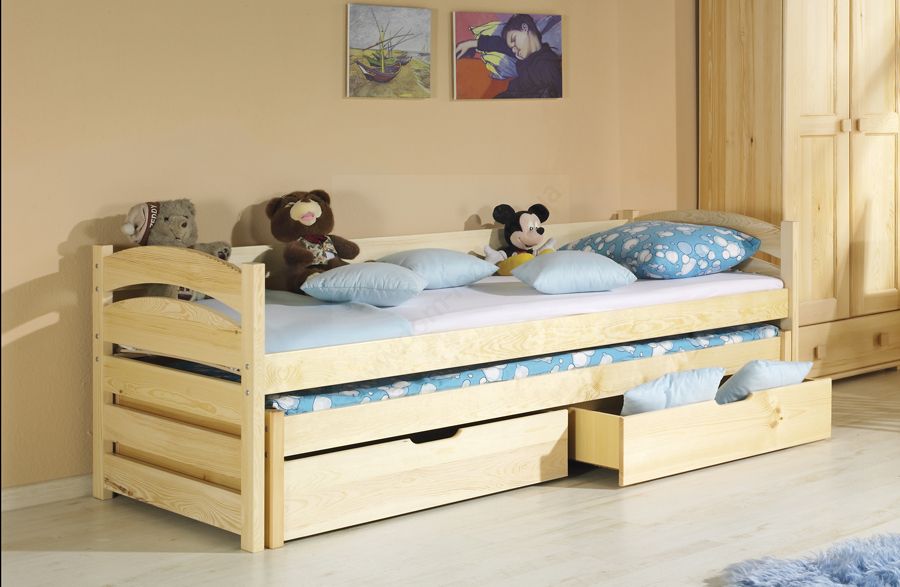
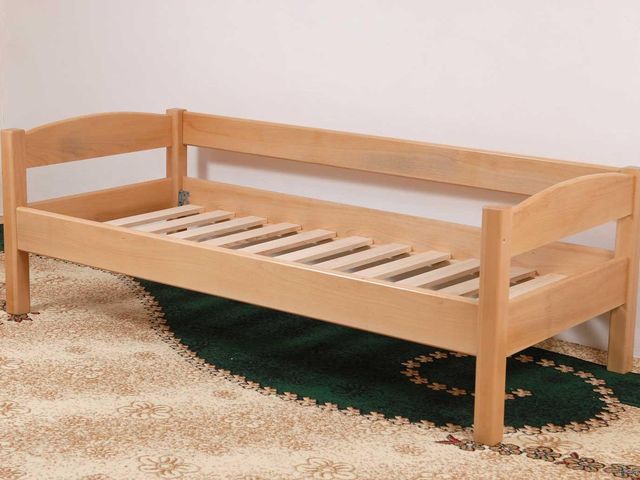
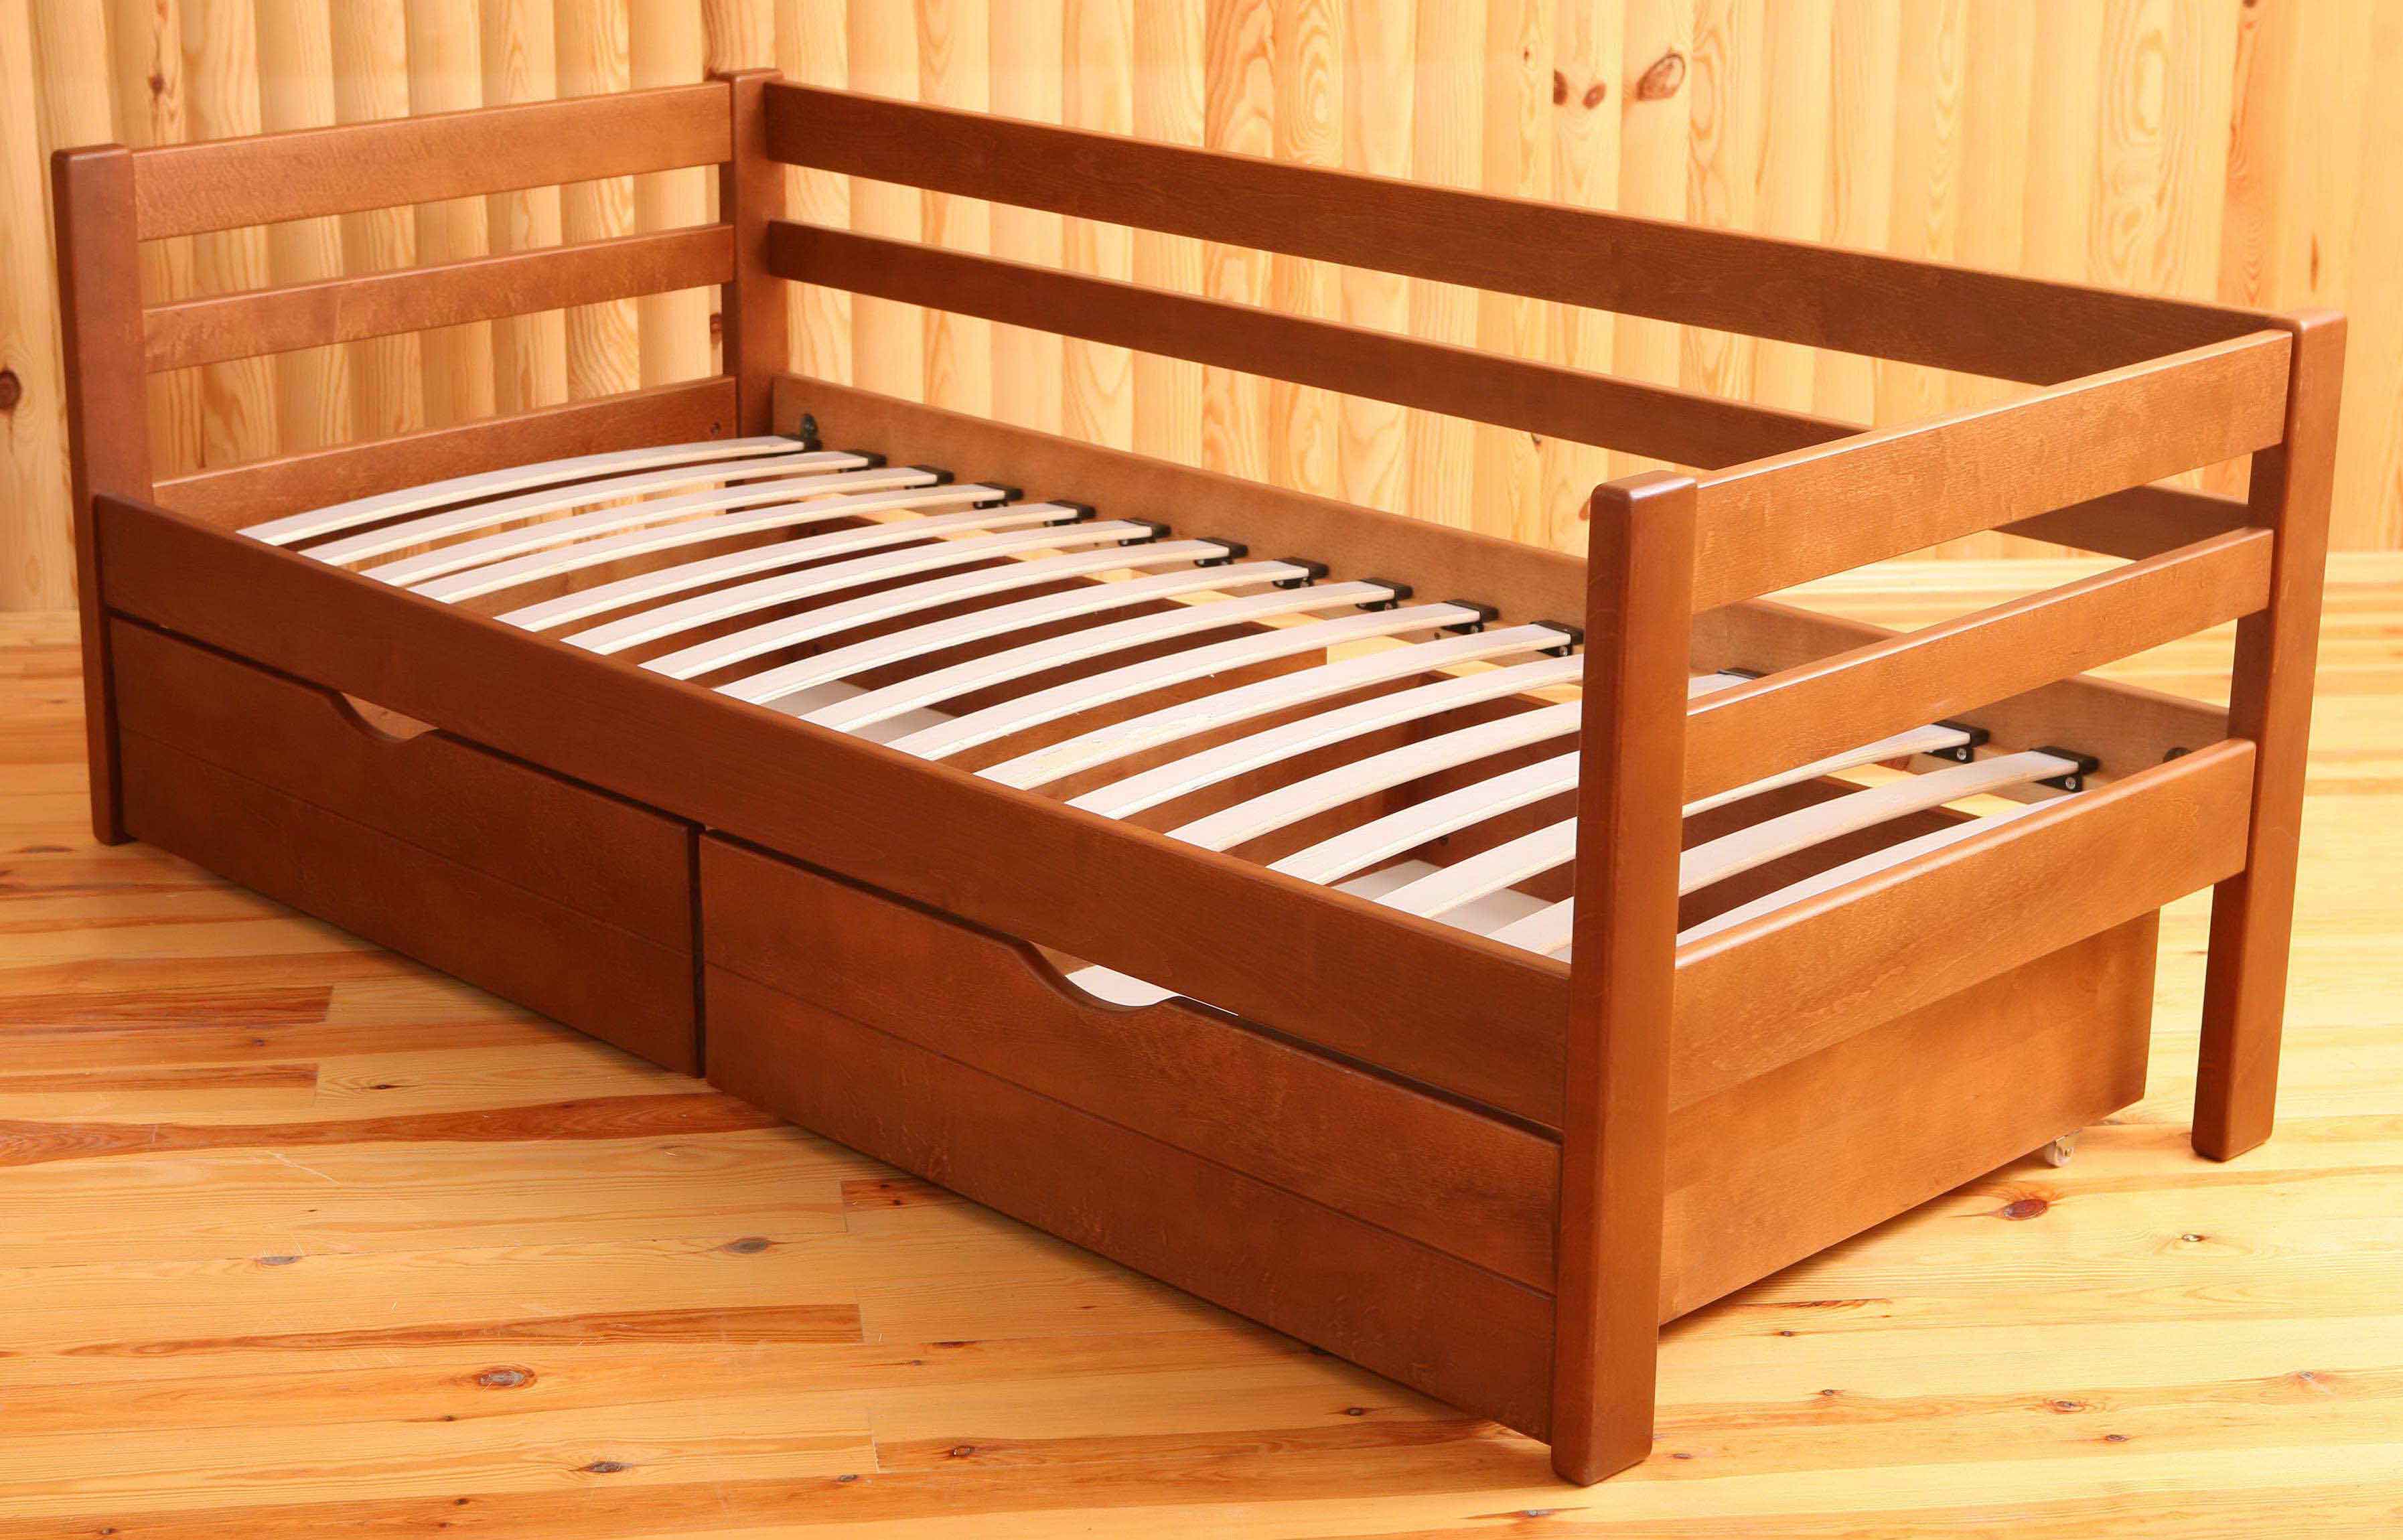
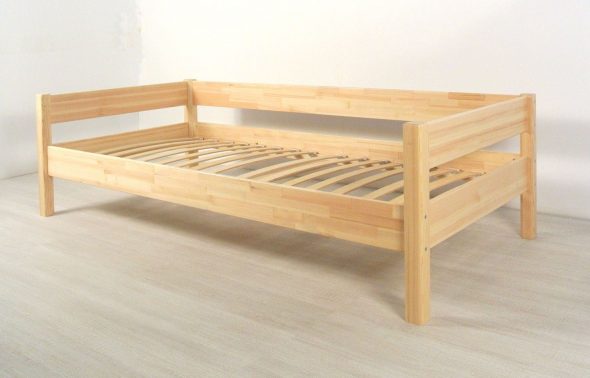
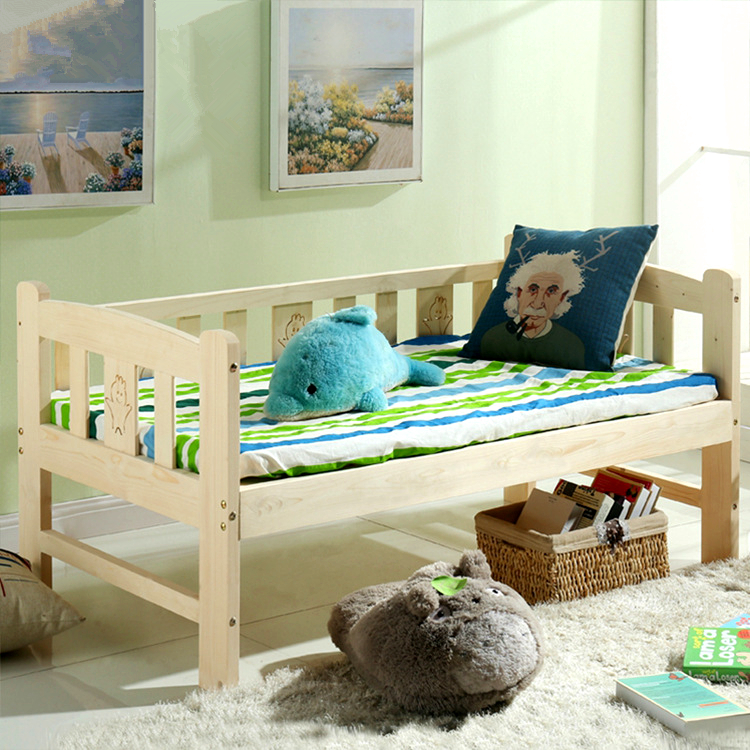
- We decide on the dimensions of the product. It is necessary to start from the dimensions of the mattress on which the child will sleep. We take the standard size - 1200x600 mm.

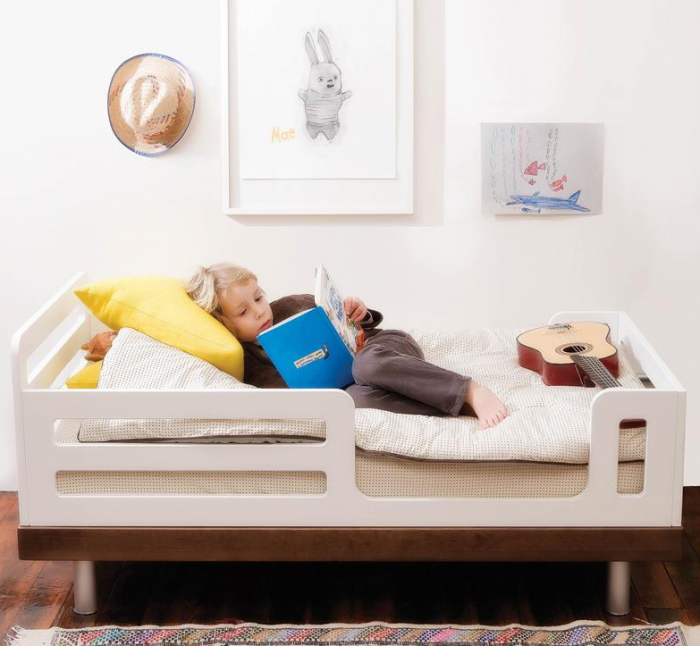
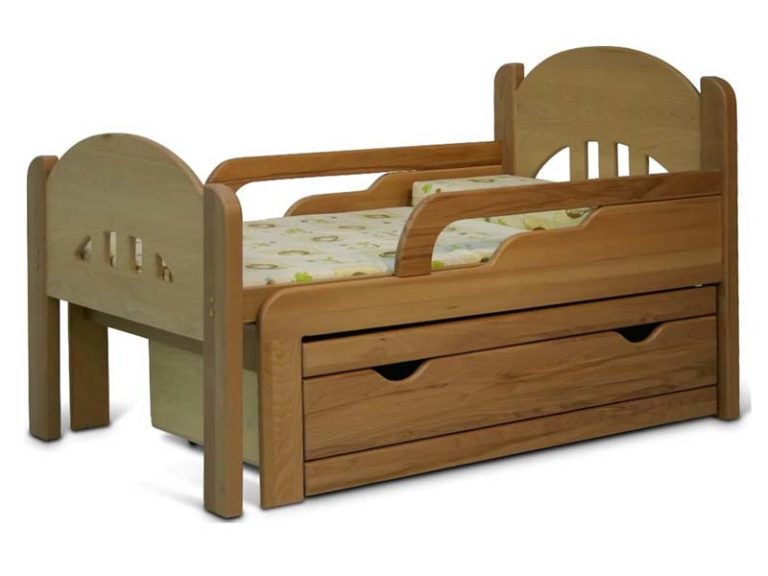
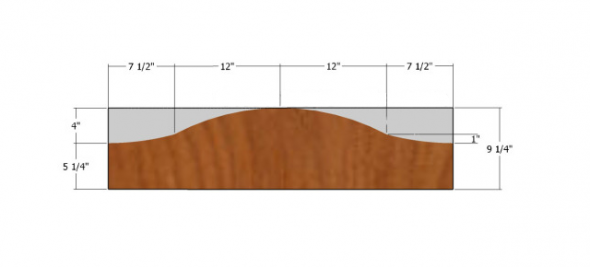
The frame of a baby cot consists of backs and the base itself, on which the mattress will later be laid. - The lower part of the crib is determined so as not to interfere with the child climbing onto the bed. For children from 4 to 6 years old, this is 35 cm.

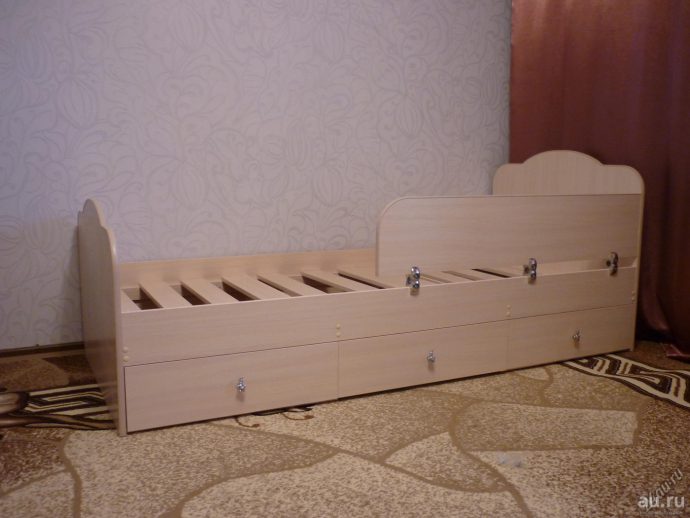
Scheme of the footboard of the bed. - Surface treatment. It is necessary to make the product parts, bringing them to the same size. The support frame will be a beam cut into 6 identical blanks with 25 mm grooves attached for fixing the lamellas.

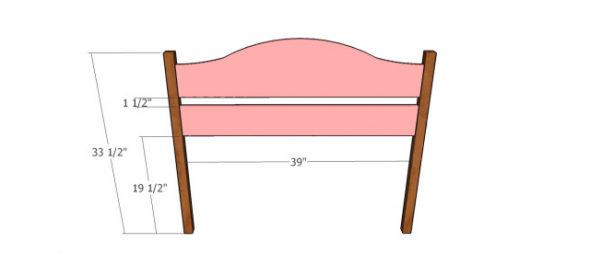
The base of the bed will be 4 boards 35 mm thick and 7 mm wide. - We calculate the calculation of the back. To do this, add the thickness of the board to the width of the bed. If there are railings, we make an allowance of 25 mm, taking into account their volume.

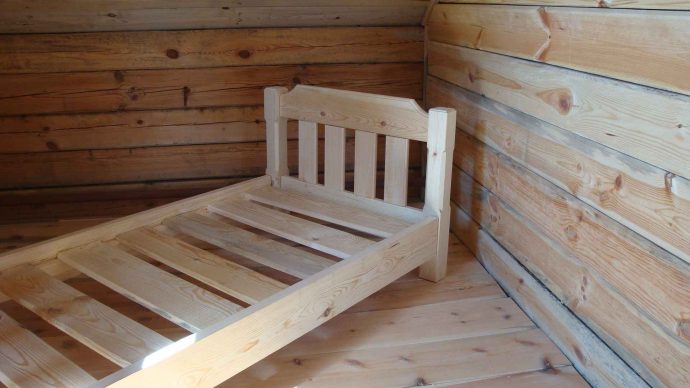
Children's bed headboard diagram. - The backrest rods are made from a 20x20 mm slat. For fastening, we make a tenon joint at the ends.

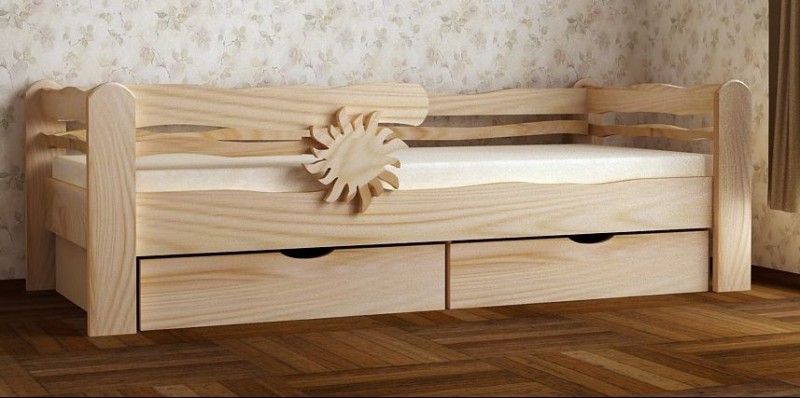
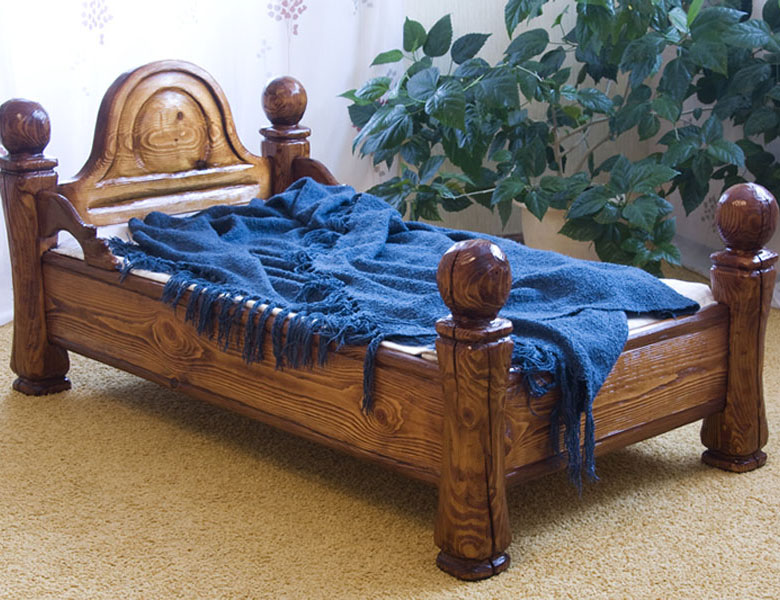
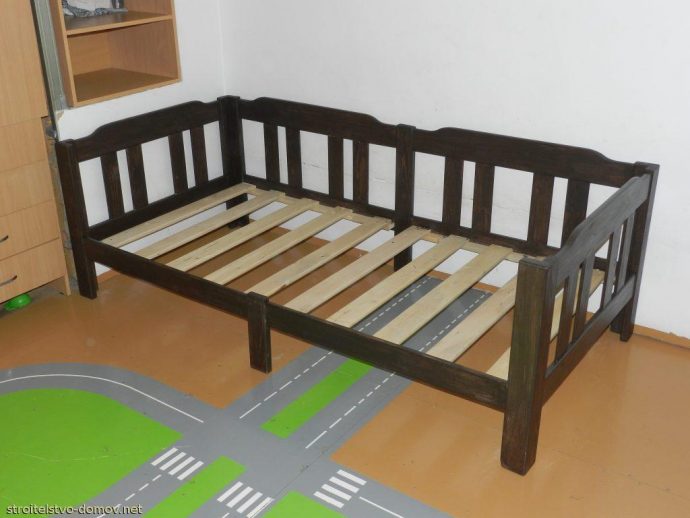
Decorative headboard with legs for a children's bed. - We assemble the frame. The boards and bed bases are connected to each other using shanks and grooves. For reliability, we strengthen the corners with metal corners, screwing them with bolts or screws.

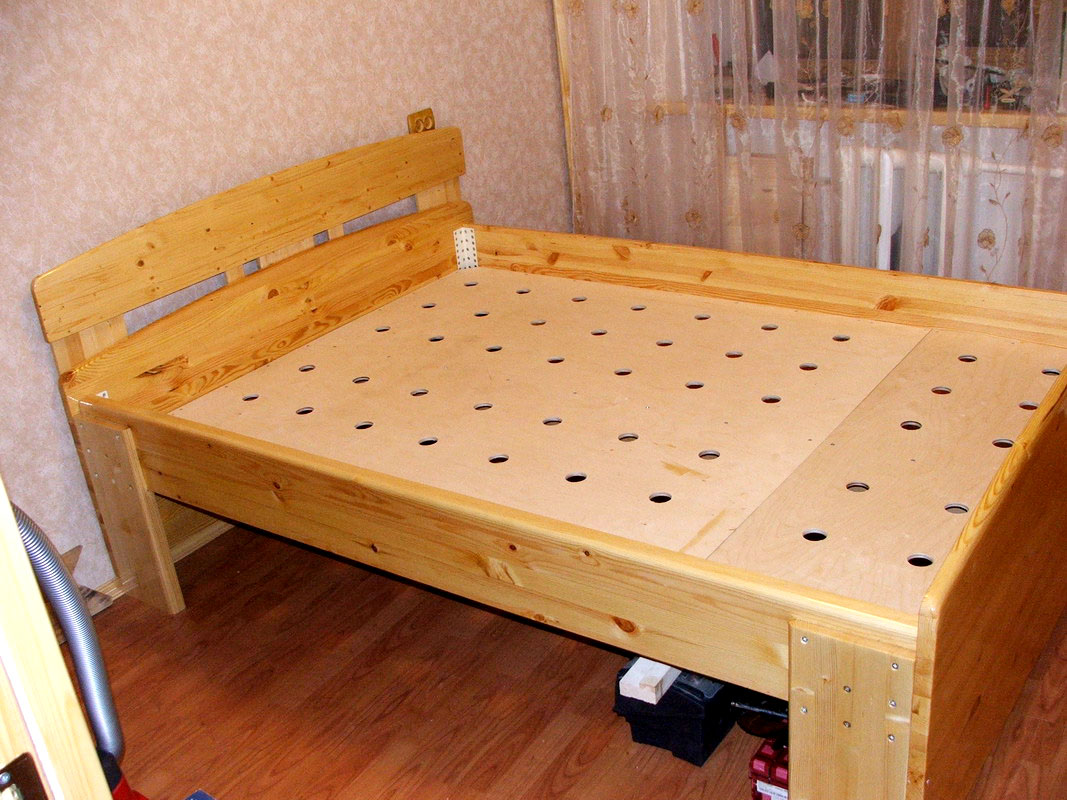
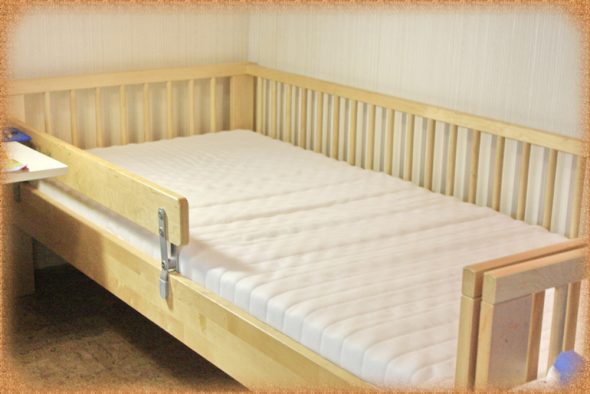
The holes should be of equal depth, which is equal to half the length of the piece of wood. - We attach the base of the mattress to the bed frame using tenon joints.

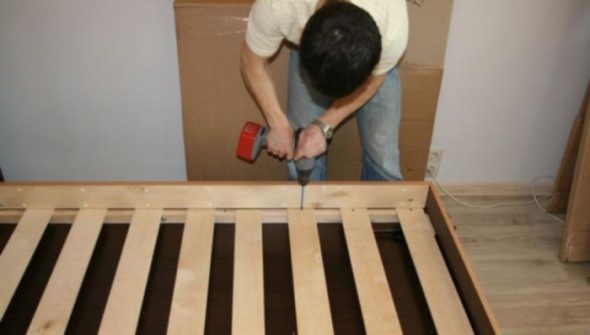
Before assembling the bed, you need to check the parts for chips and various defects. - We insert the slats into the prepared grooves on the base of the mattress.

There is no point in saving if there are few of them, as they will quickly break down in the future. - We attach the side and back pieces to the frame.

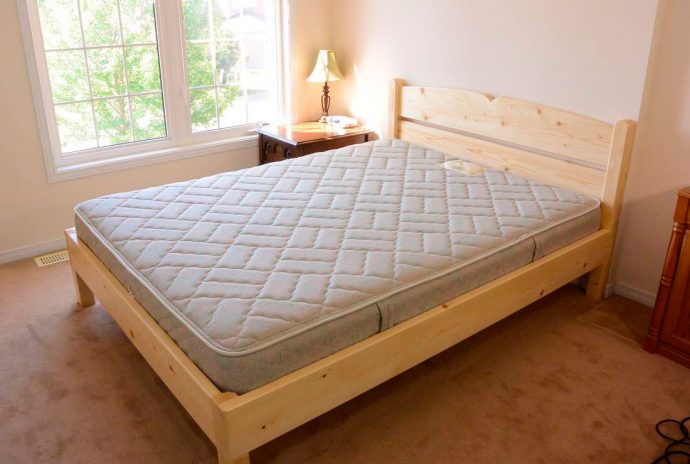
After assembly, we clean the surface and varnish it at least three times.


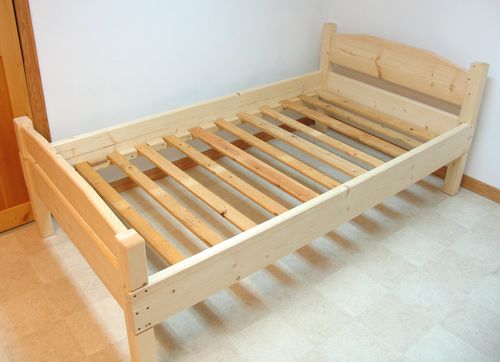
Please note! All tenon joints are fastened with wood glue. Under its influence, the wood is not only fastened, but also swells, securely fixed inside the groove.
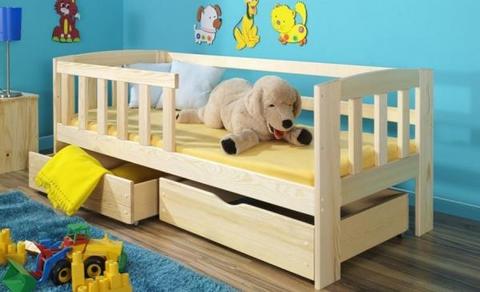
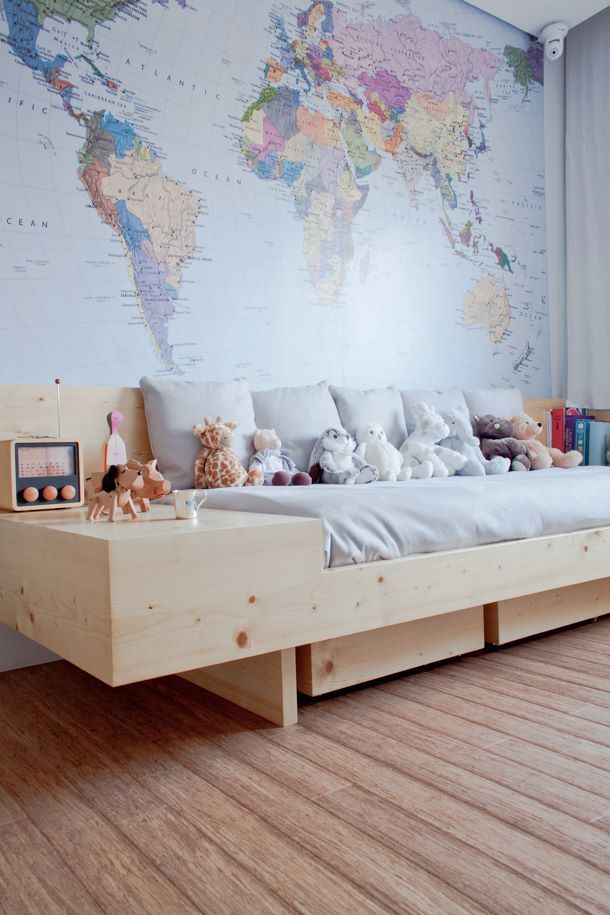
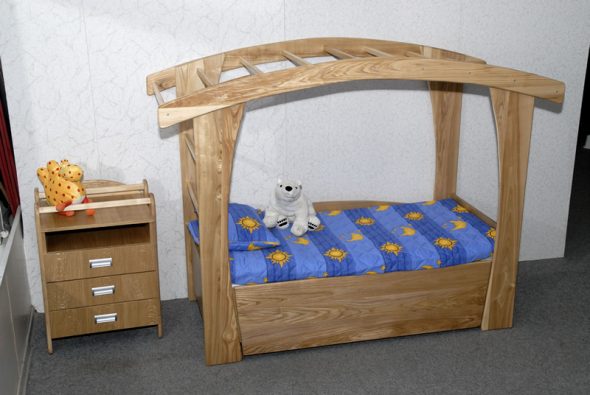
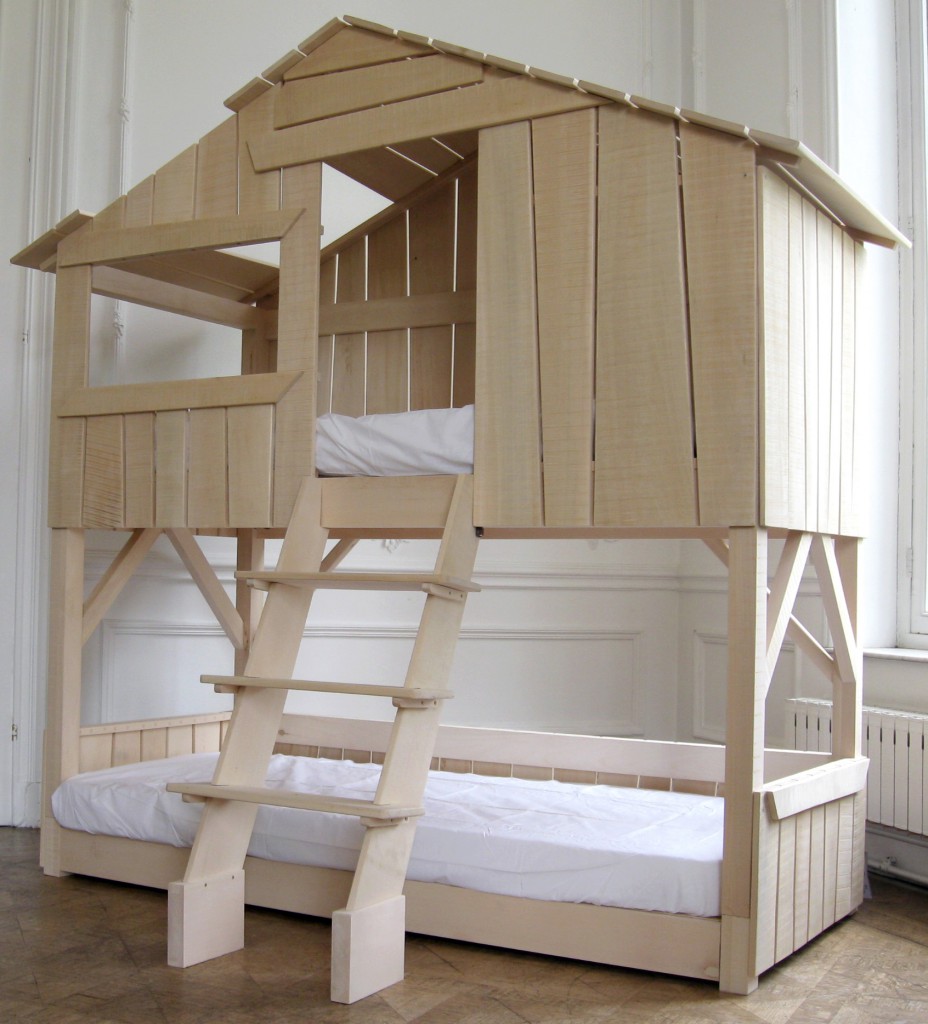
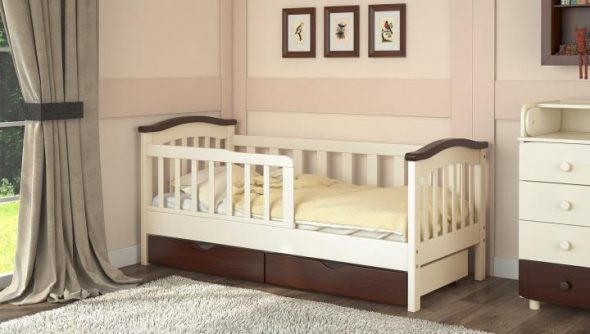
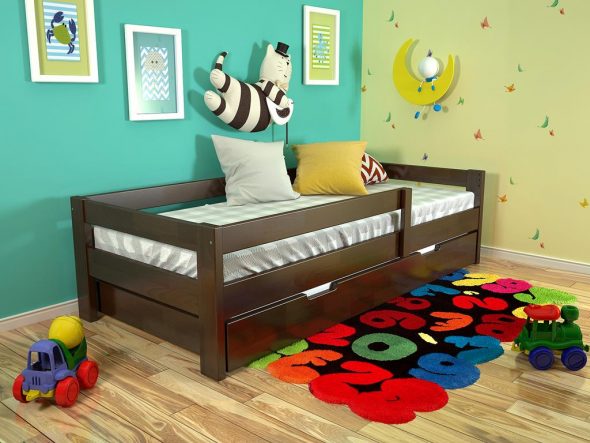
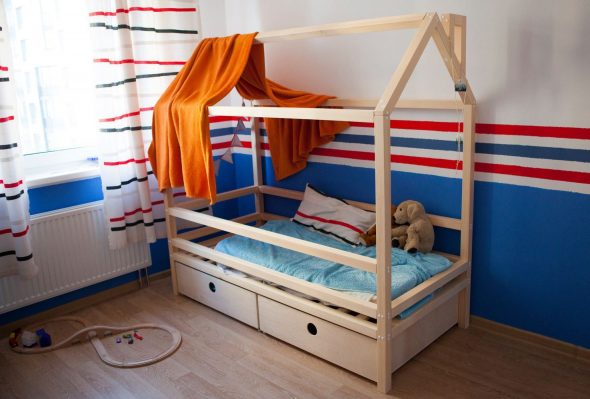
House crib - a cozy fairy tale
We all remember the unique feeling and mystery of tents made from blankets. So why not pamper your baby and improve his crib, “building” his own house for him, in which it is so cozy to sleep?
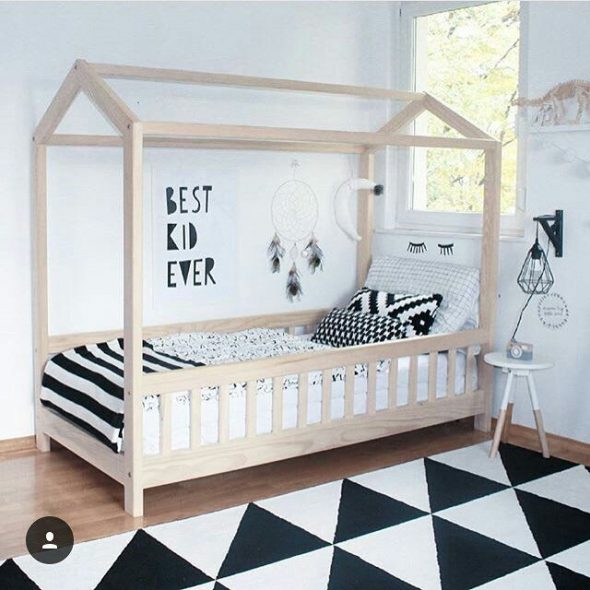
Namely, by making the railings a little larger, having first cut their tops at an angle of 75 0 using a hacksaw or end saw.We attach the bases of the "roof" of our house to them. It is better to fasten the connection with spikes, but given the complexity of such a product, self-tapping screws will do, the main thing — don't forget to glue it.
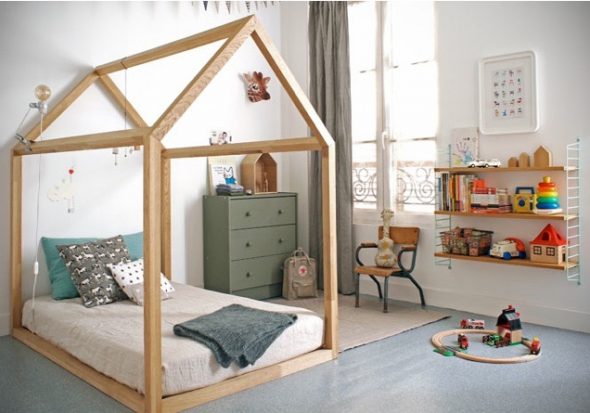
Thus, the baby will receive a personal “fairy tale” made by the caring hands of his father, and the blanket thrown over him by his mother will serve as a reliable roof.
Of course, what we have described does not reflect all the subtleties of the process of making a children's bed with your own hands. During the work, you will encounter many obstacles, you will have to think out the nuances more than once. However, we hope that the instructions for making simple furniture that can raise the father's authority to a new level will be useful for both a young dad and a head of a family with many children.
VIDEO: DIY house bed.
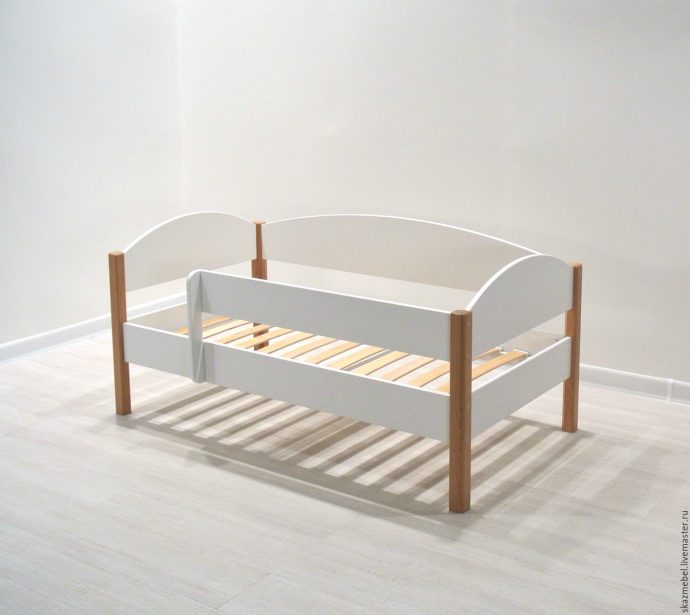
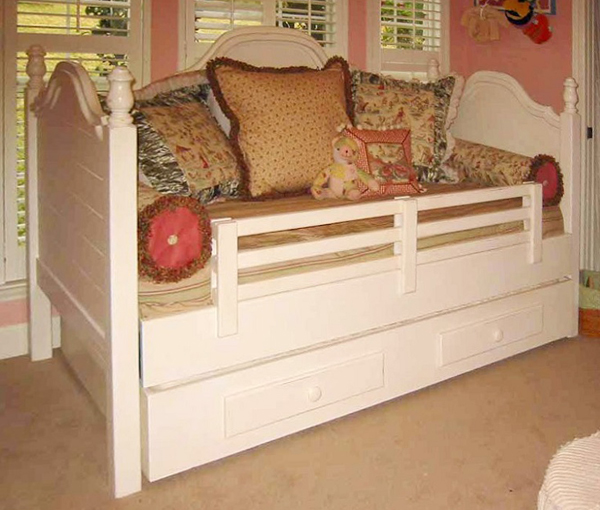
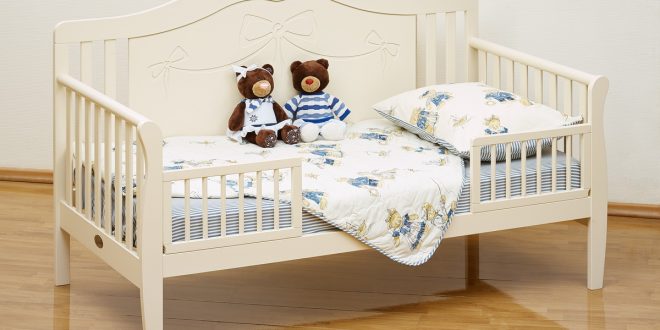
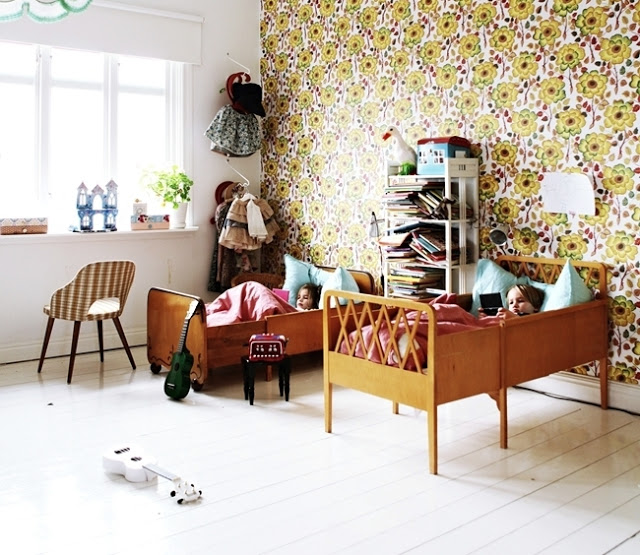
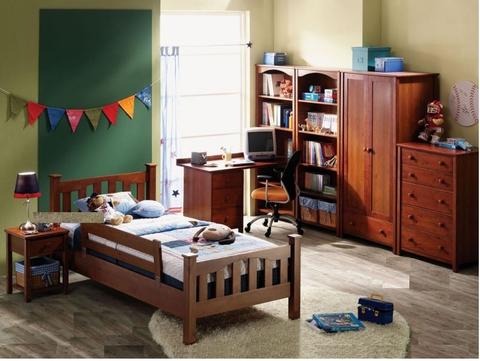
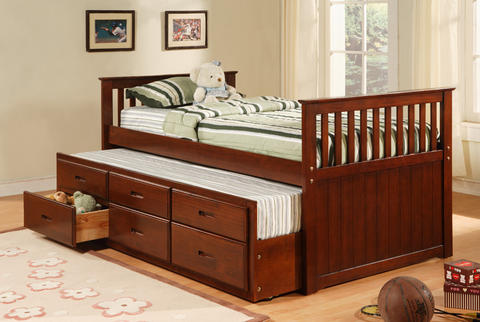
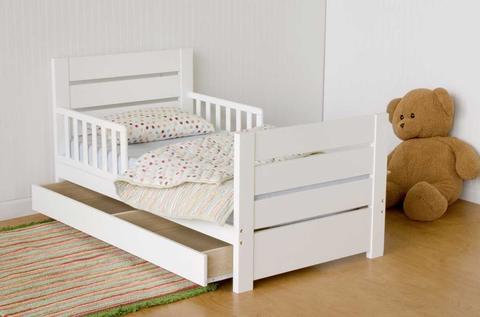
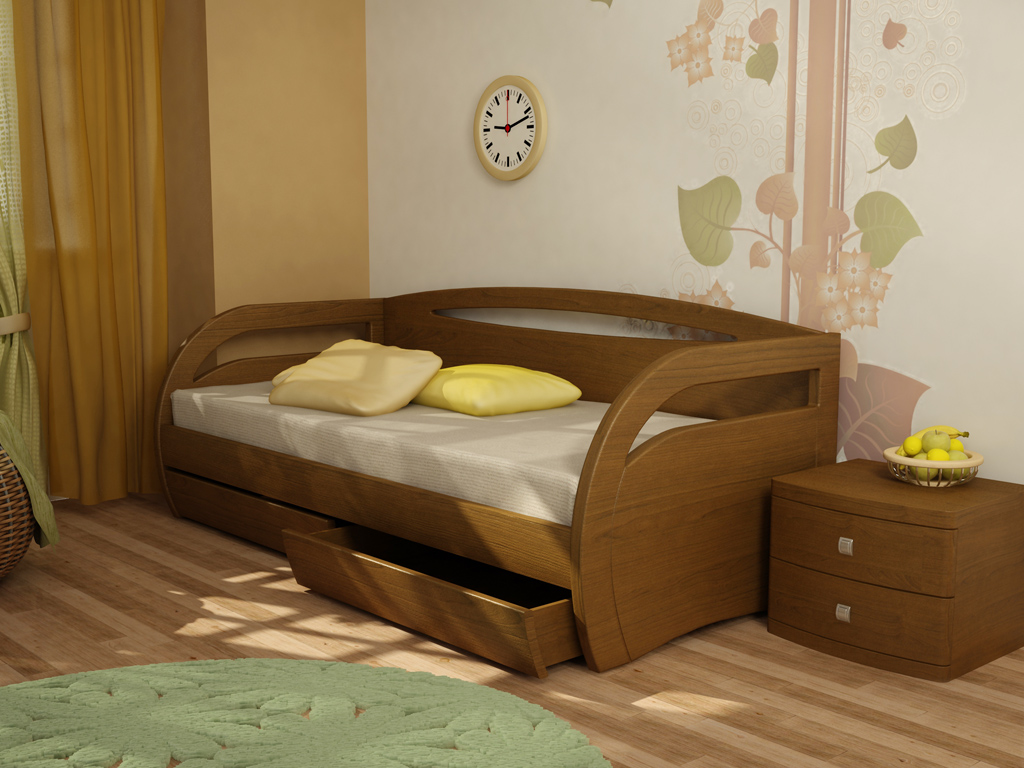
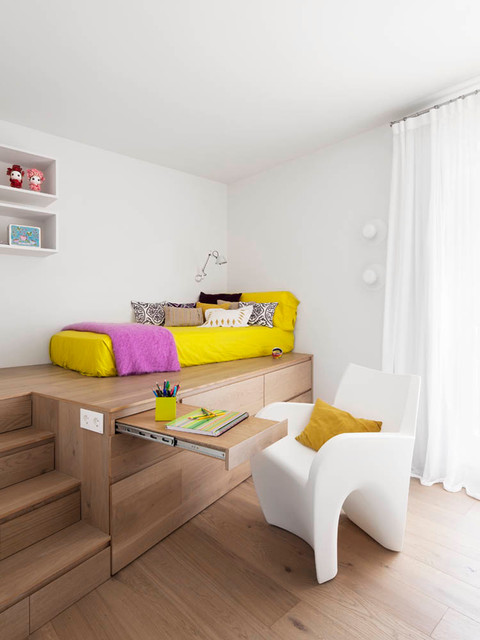
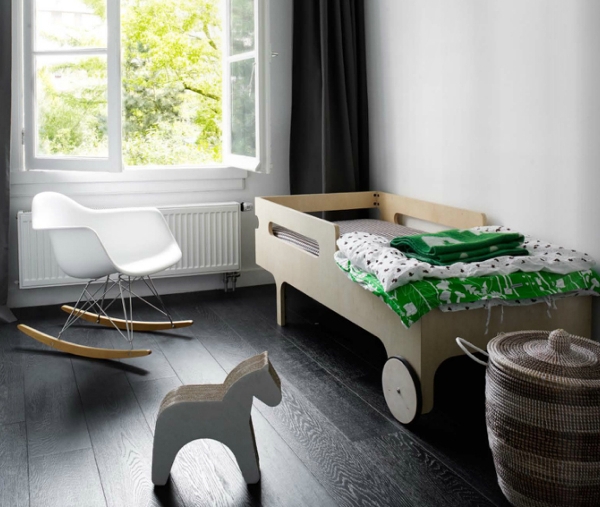
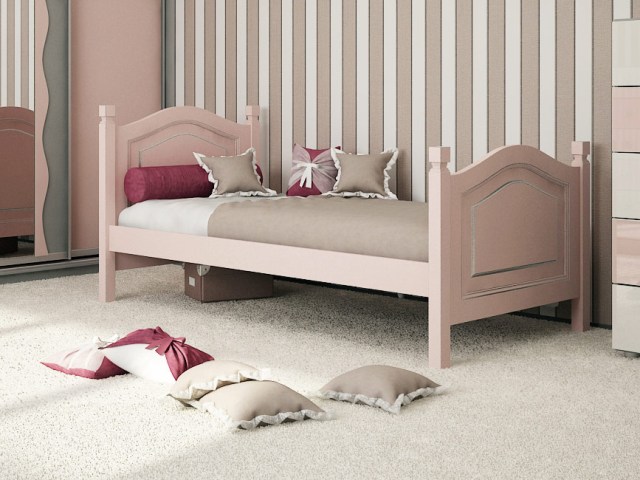
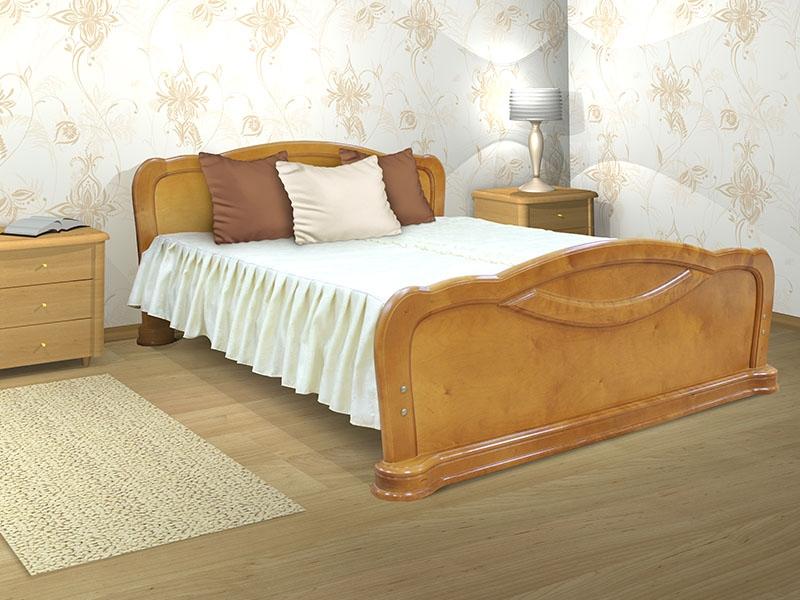
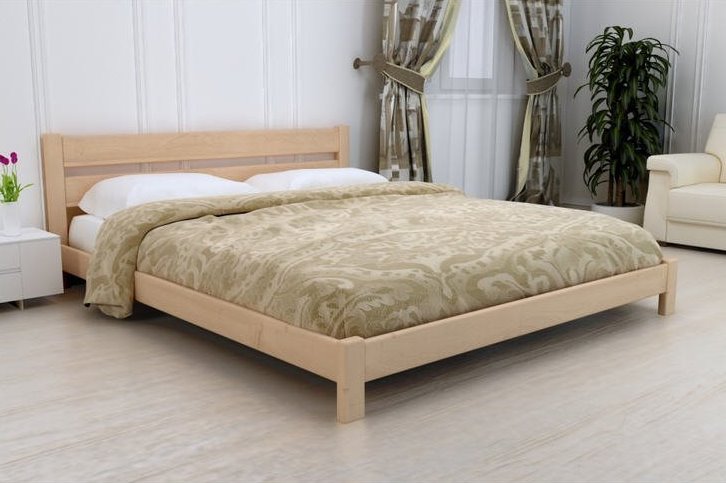
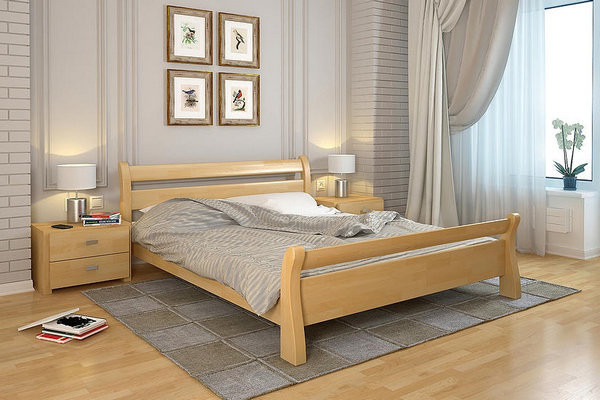
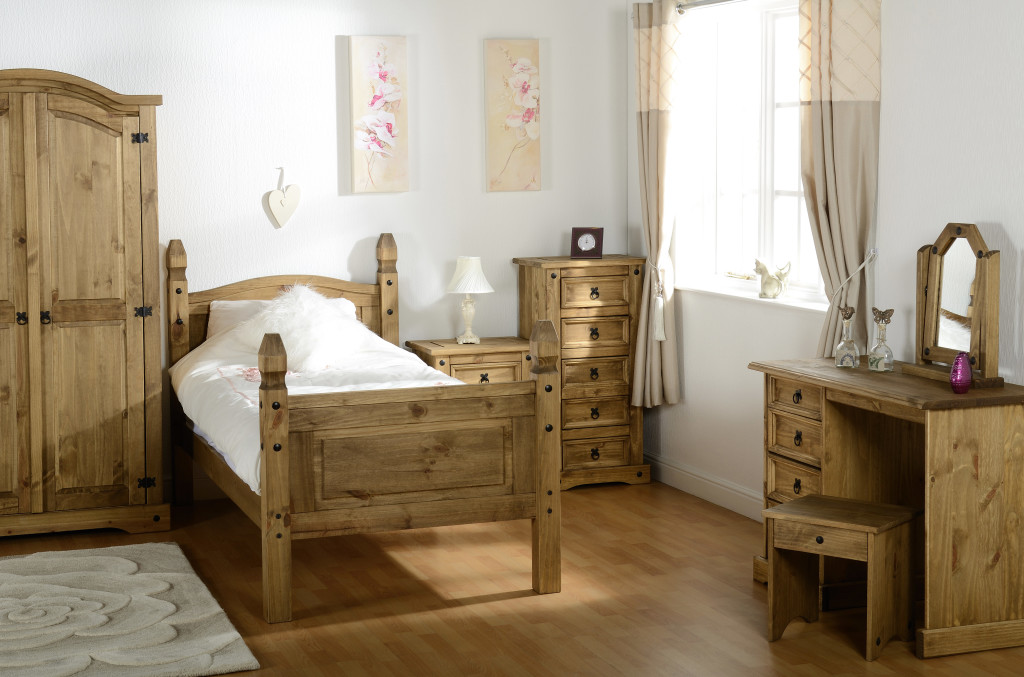
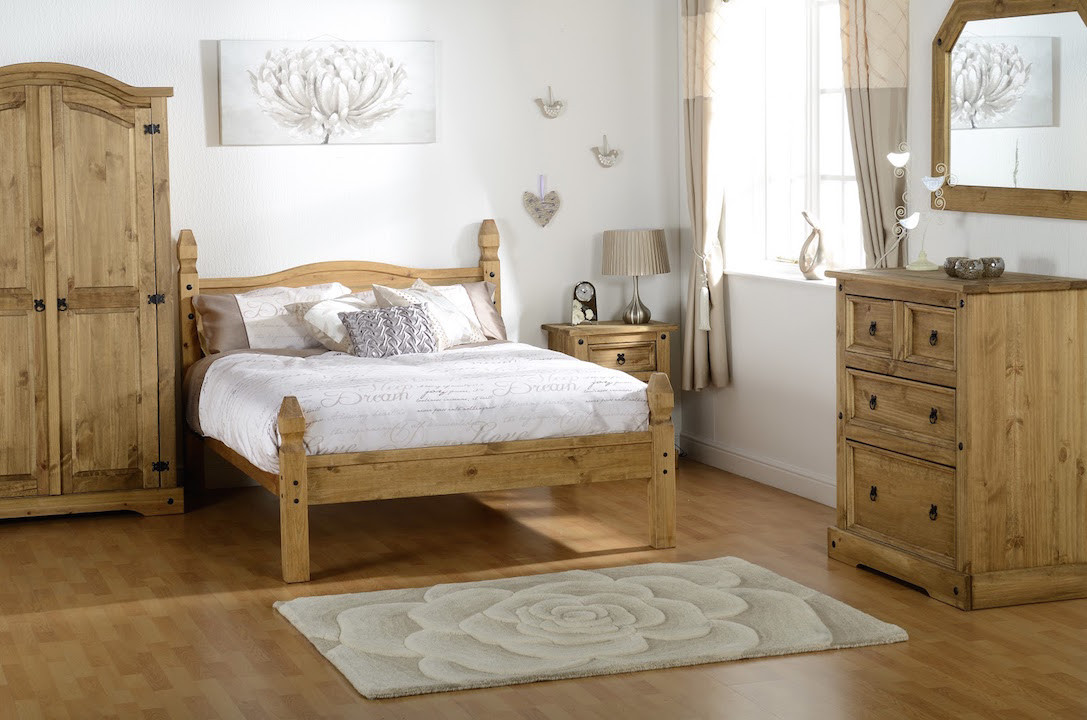
Children's wooden beds - 50 photo ideas: