When furnishing a parent's room or a children's bedroom, many people think about bunk beds as a full-fledged place to sleep. Indeed, they look aesthetically pleasing, take up little space, children are close to each other, and are safe. You can make such a bed with your own hands at home quickly, which saves money, unlike buying in a store.

Furniture such as a do-it-yourself bunk bed is pleasing to the eye, it has the coziness that is so necessary for modern homes and many other positive aspects.
The advantages of this place to sleep:
- practicality;
- the ability to save a lot of space, even in a small room;
- functionality, lots of built-in drawers and shelves where you can store the necessary things.
Content
- Making a bed with your own hands – is it easy?
- Types of beds
- What sizes should you decide on?
- Suitable materials
- Tools:
- Beginning of frame assembly
- Back and headboard
- A few words about the “attic” model
- Decorating and painting
- Conclusion
- Video: DIY Bunk Bed / Bed with Work Area
- 50 photo ideas for using bunk beds in the interior:
Making a bed with your own hands – is it easy?
How to make a bunk bed with your own hands? Anyone can create furniture, even a novice carpenter and an ordinary person. This allows you to make a real thing that all family members will love - after all, it was made by a loved one and independently. This is suitable for those who could not find the right model. The store does not have dimensions, too high or low, the child is not happy with the choice - no problem, buy wood and create the right option yourself! Work carefully, in protective gloves with dangerous tools and wood.

Home-made furniture wins on several points:
- clear measurements;
- own design;
- children will definitely like it if they have something made by their parents;
- high-quality selected materials.
Of course, it is difficult to make bulky furniture on your own, but if the whole family or friends come to help, the work will become more fun and will be completed faster.
Features for children:
- use good materials for the nursery;
- make a safe staircase with railings and special anti-slip stickers on the steps, install bumpers so that the child does not fall in his sleep;
- Do not put him to sleep upstairs if he is afraid of heights or has respiratory problems;
- If the child is old enough, consult with him about the color of the bed and decor.
Necessary works
- We select the required type of bed.
- Let's decide on the sizes.
- We draw up a drawing.
- We purchase materials.
- Let's start assembling.
Types of beds
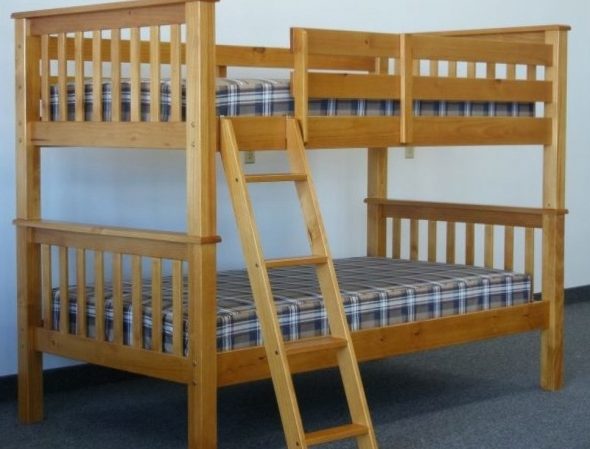
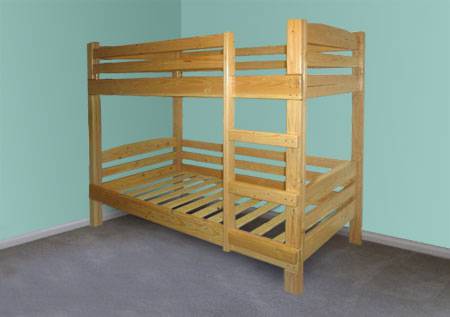
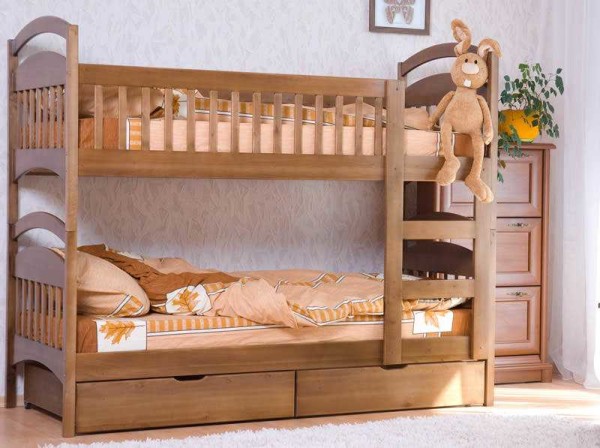
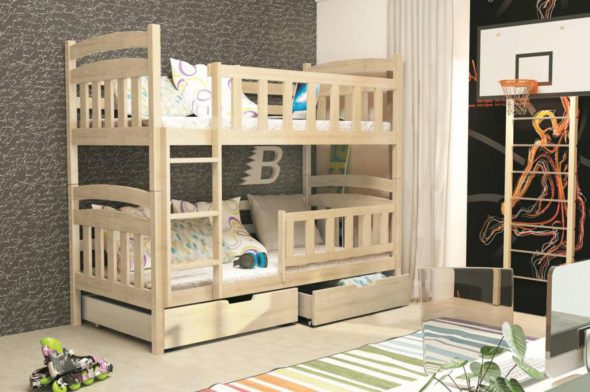
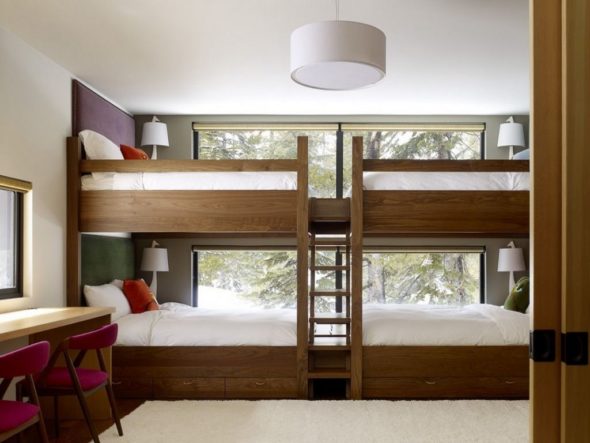
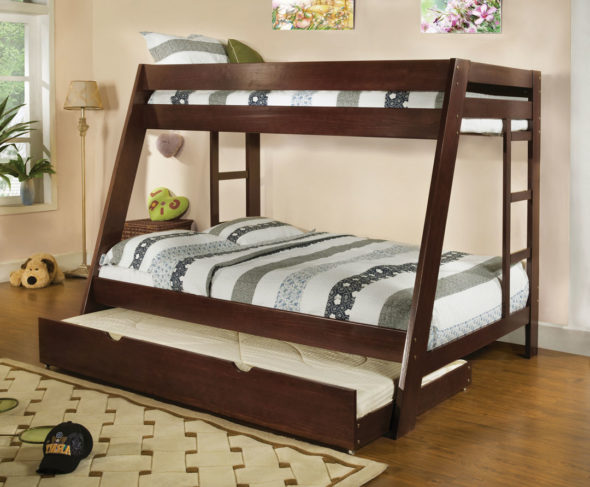
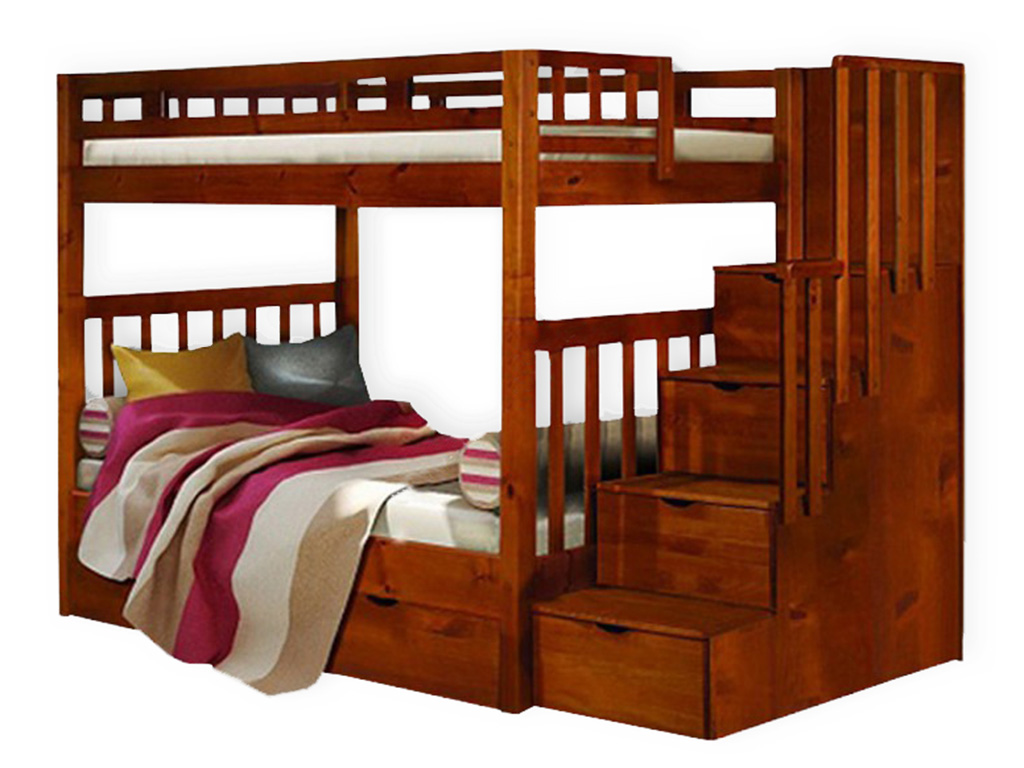
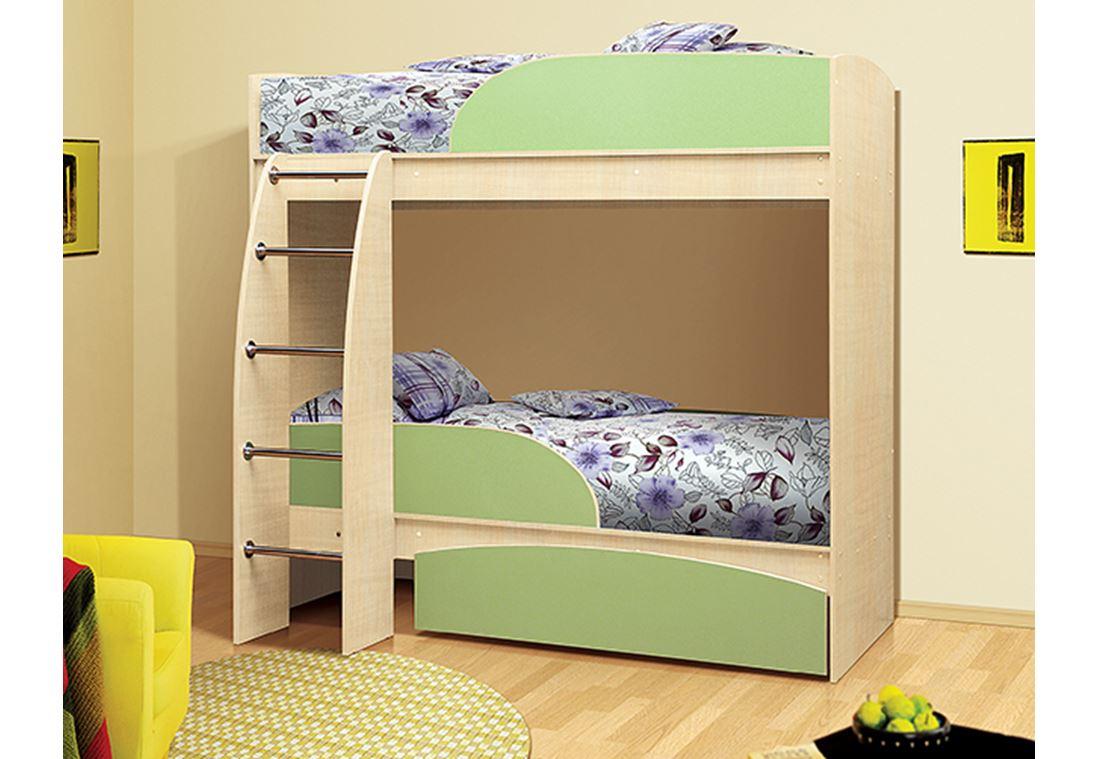
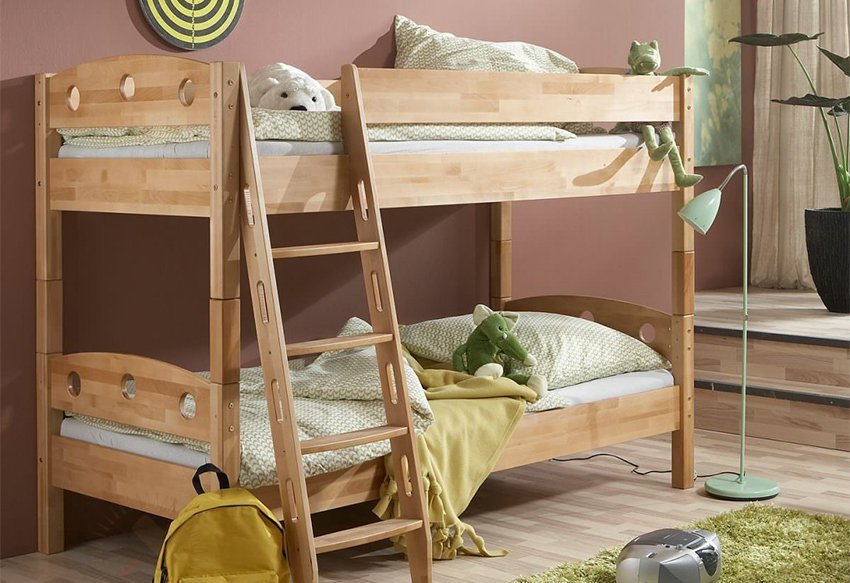
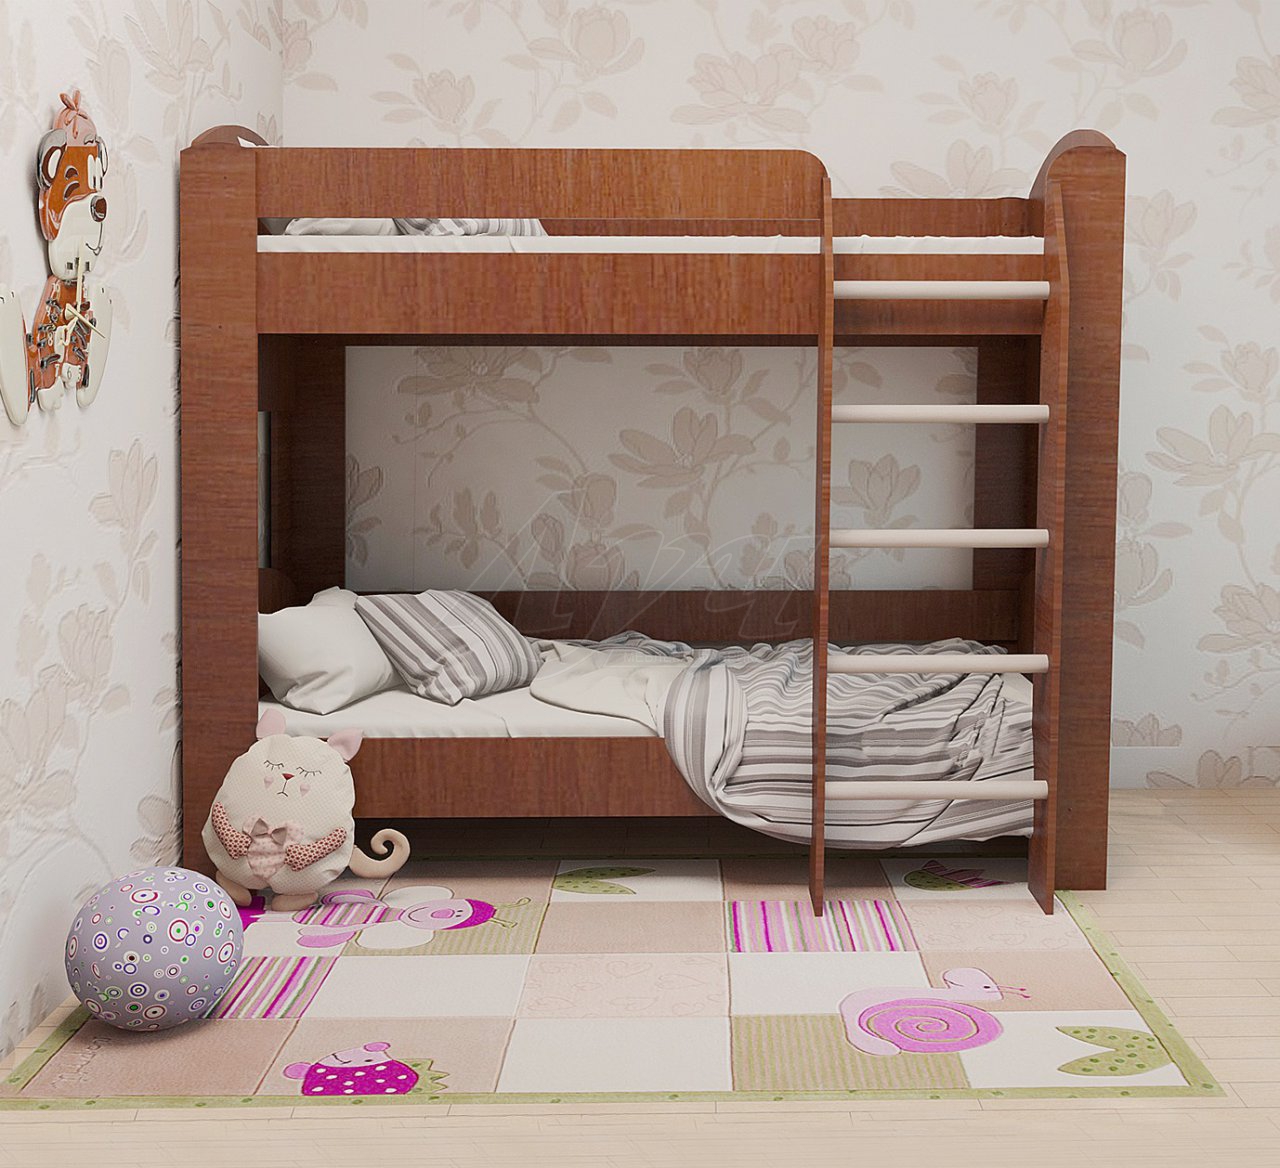
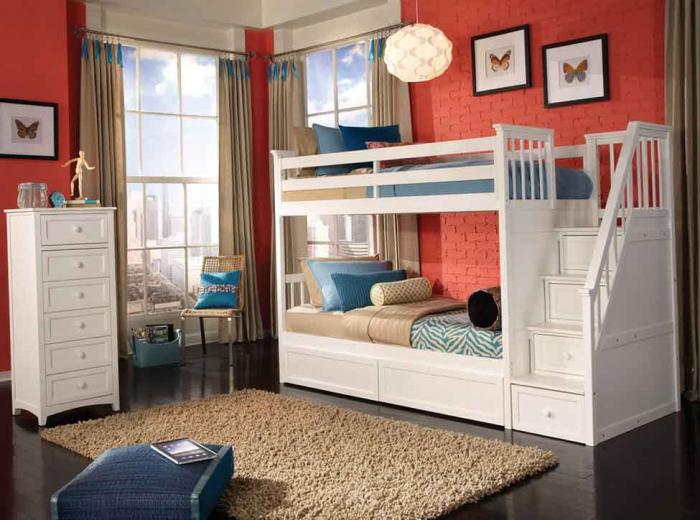
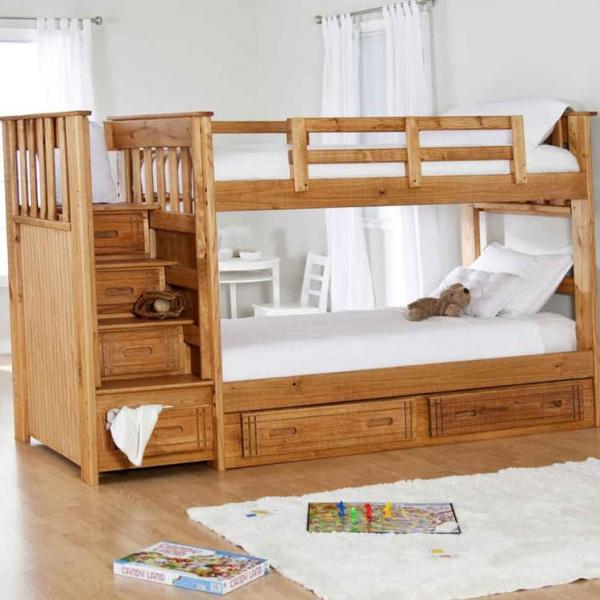
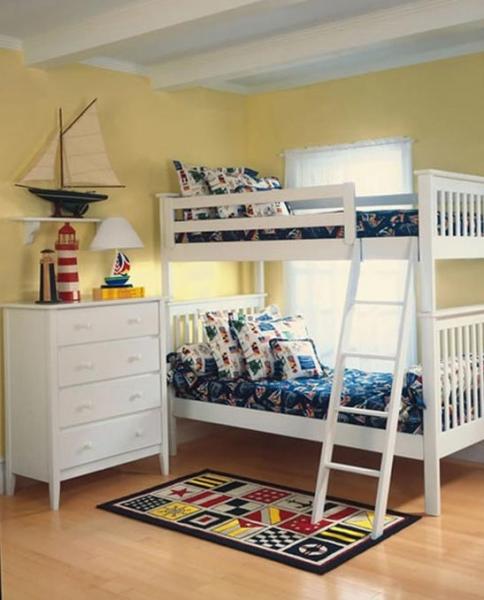
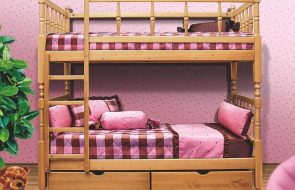
- Traditional. The first in popularity, it consists of two single tiers. There is a built-in ladder to climb to the second. Very easy to assemble.

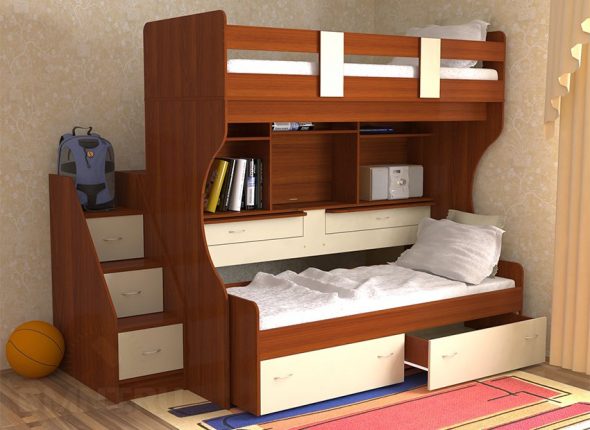
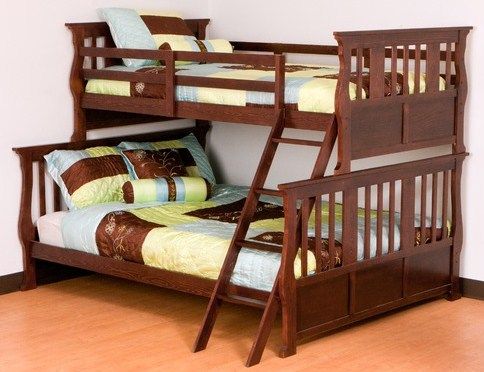
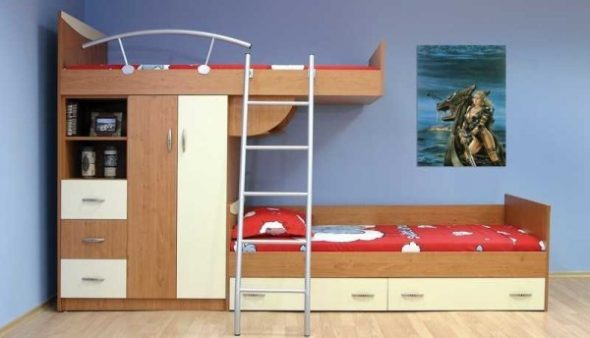
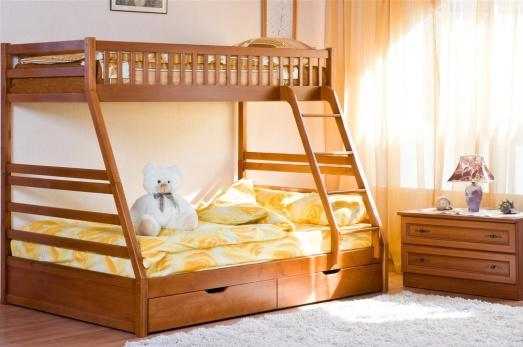
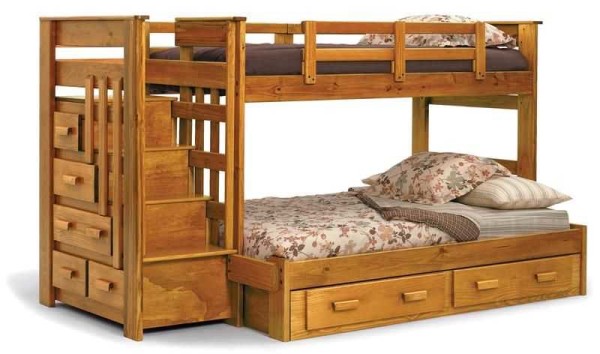
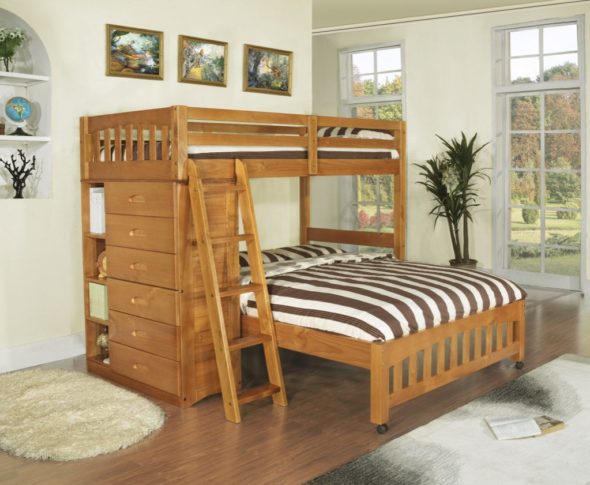
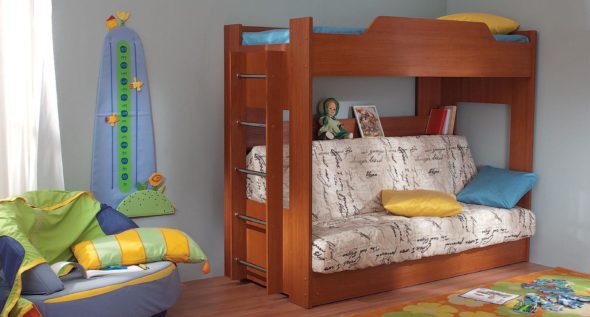
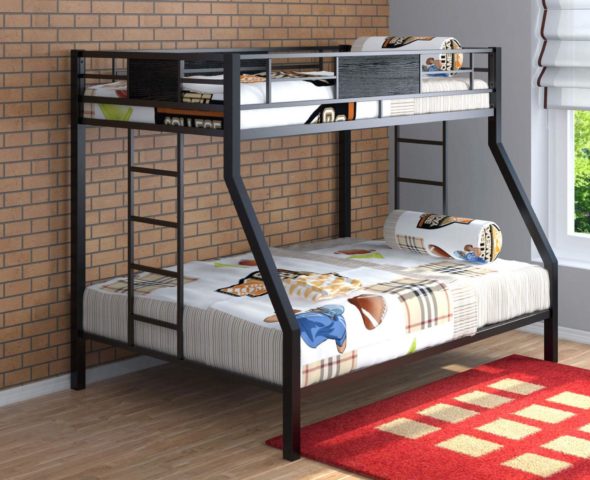
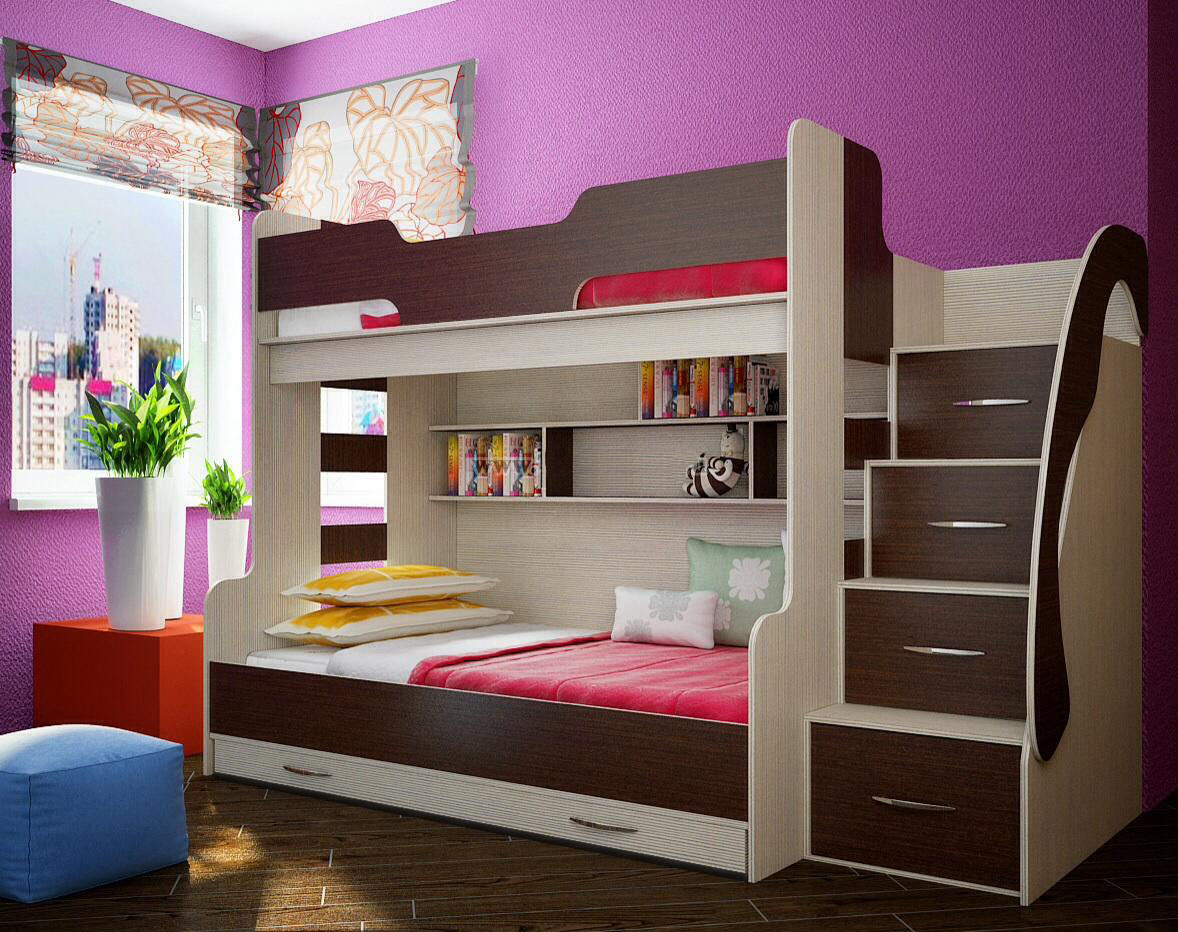
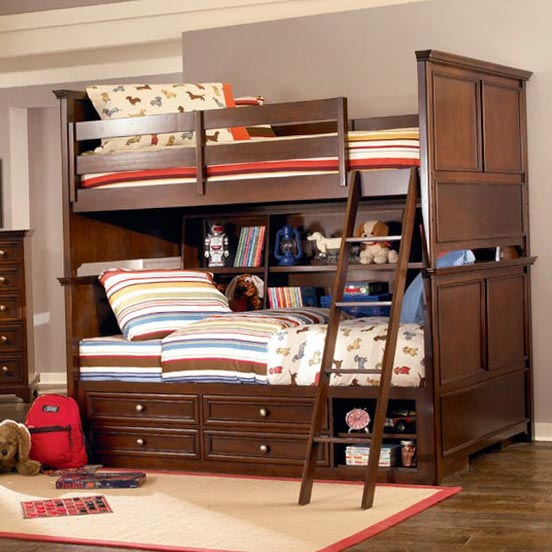
Traditional kids bunk bed with inclined ladder - Three-bed bunk. The advantage of such a sleeping place is that parents can sleep on the lower section (it is designed for two people), and a child on the upper one. It saves space well.

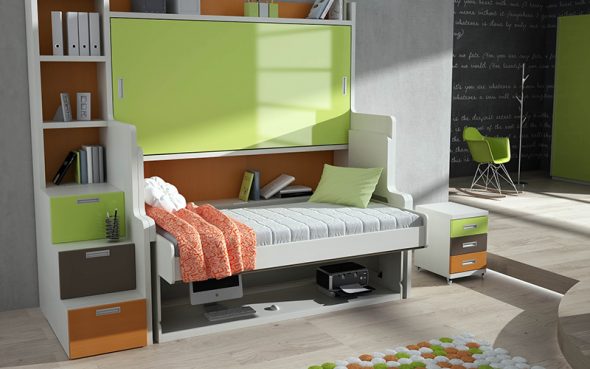
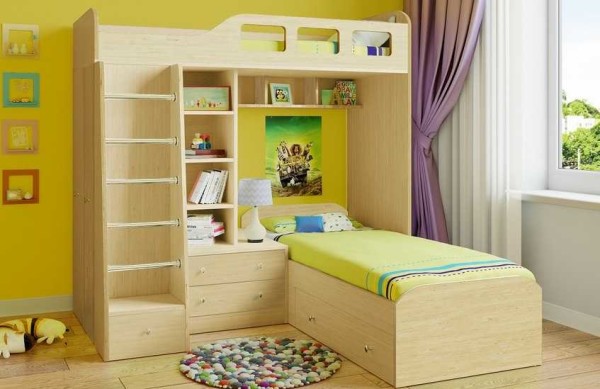
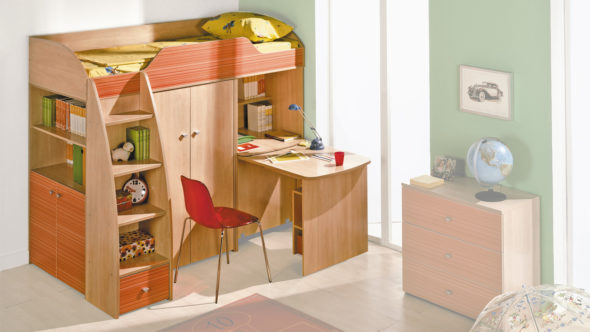
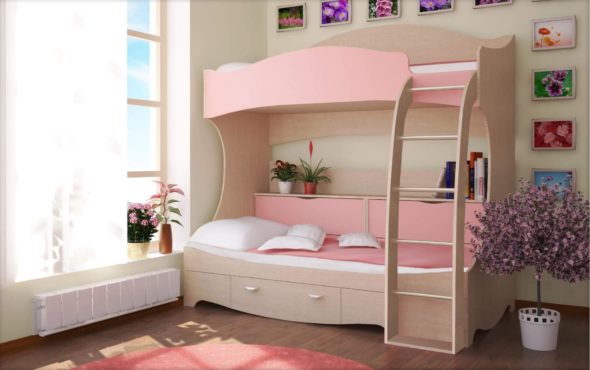
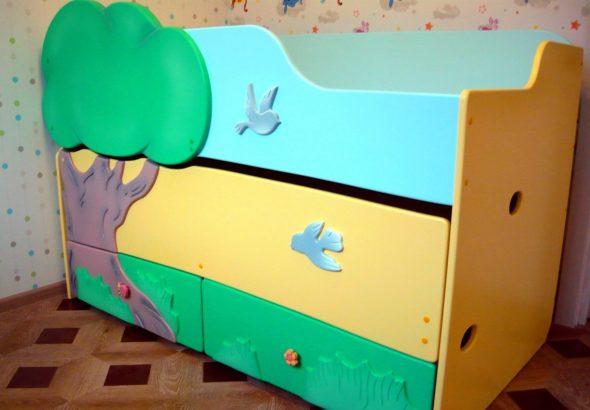
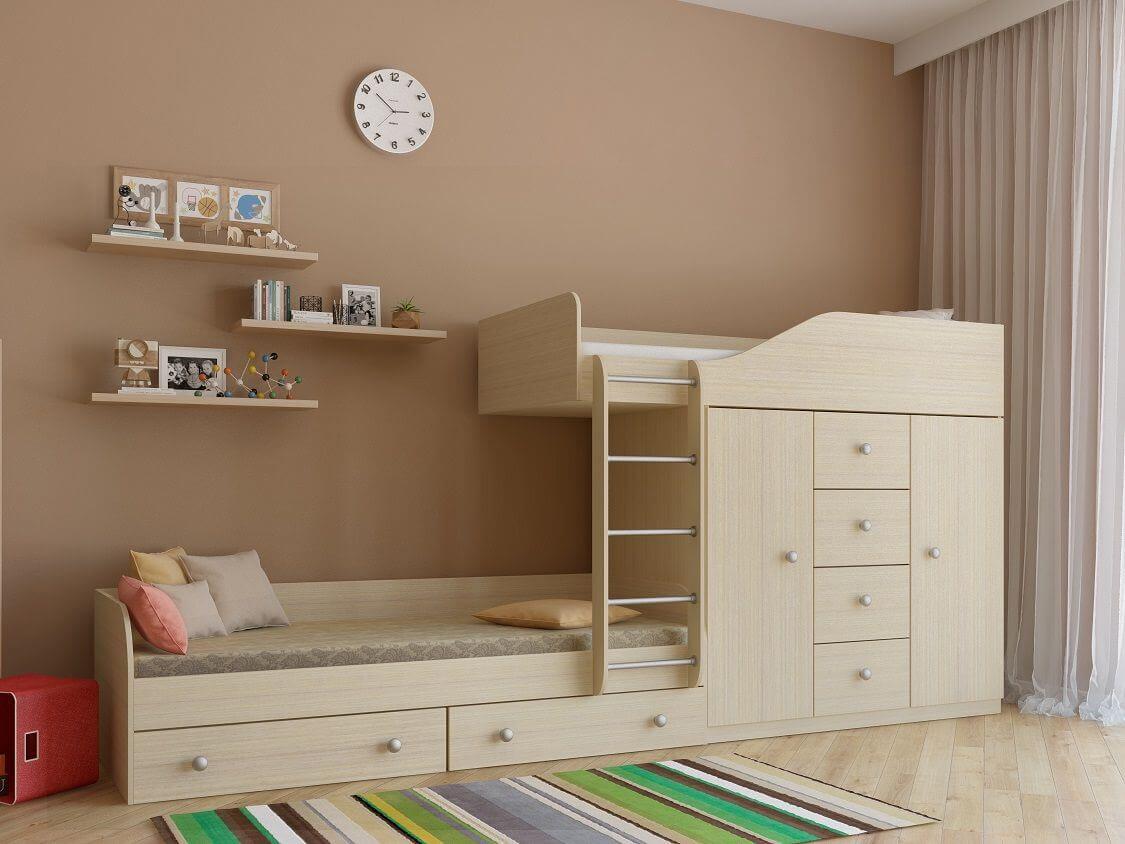
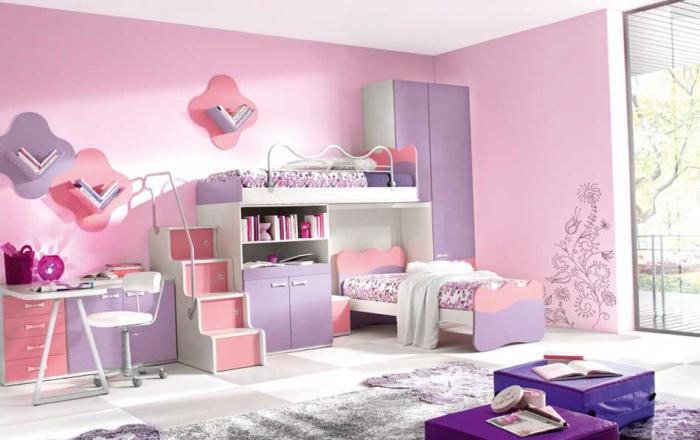
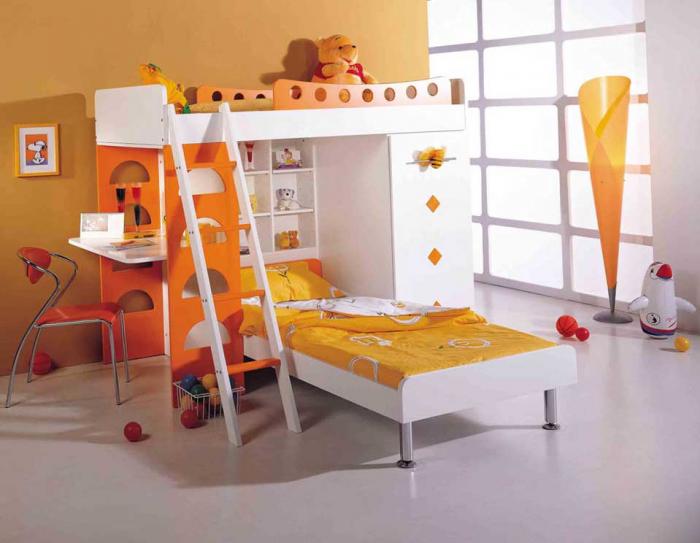
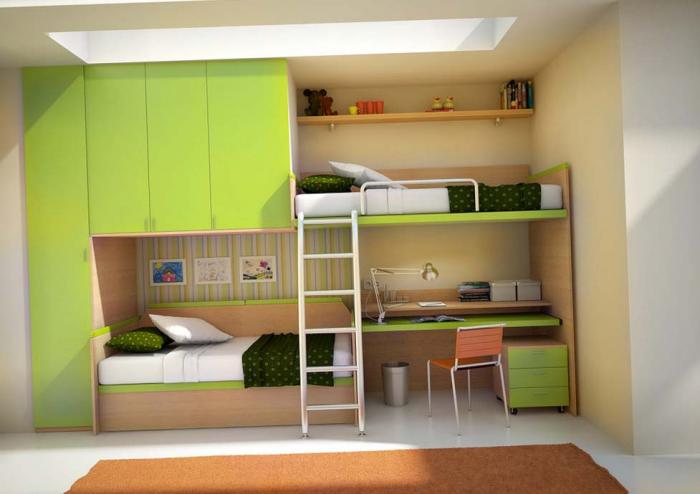
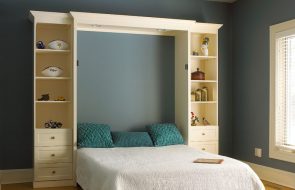
Bunk bed with sleeping places of different sizes - Transformer. A bed that can be transformed into a workplace for children, also has built-in cabinets. Mainly installed in small rooms.

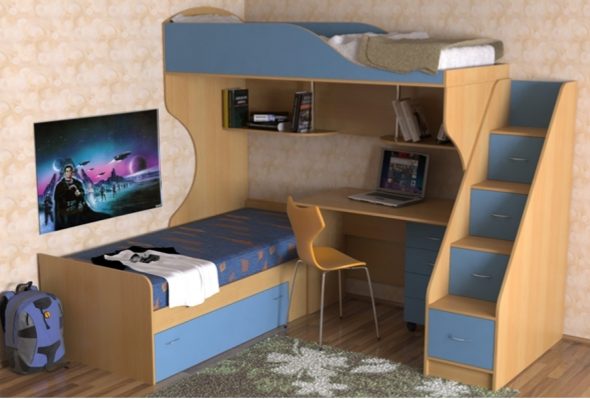
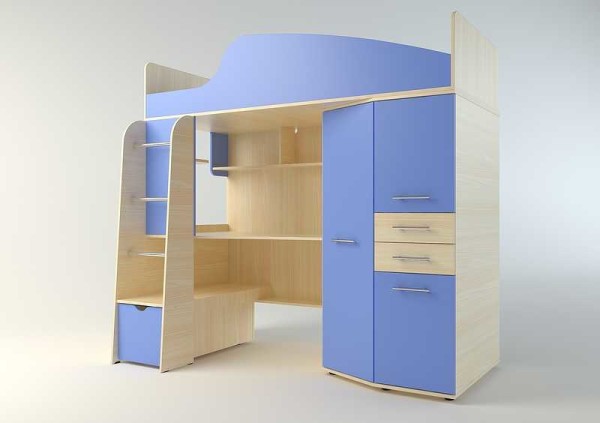
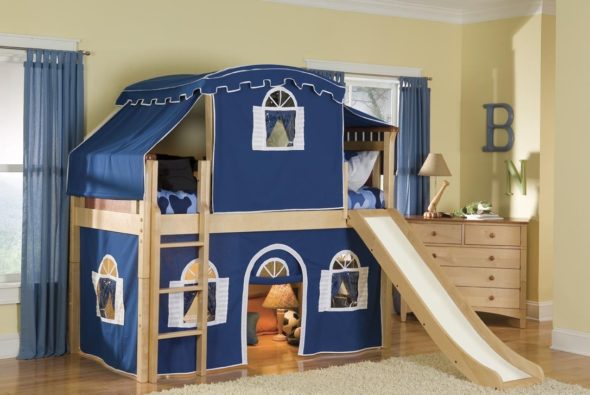
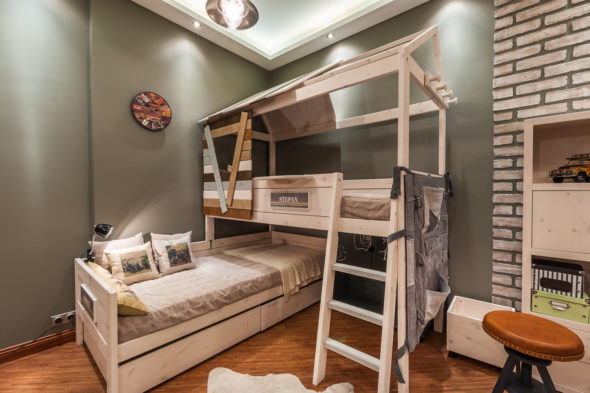
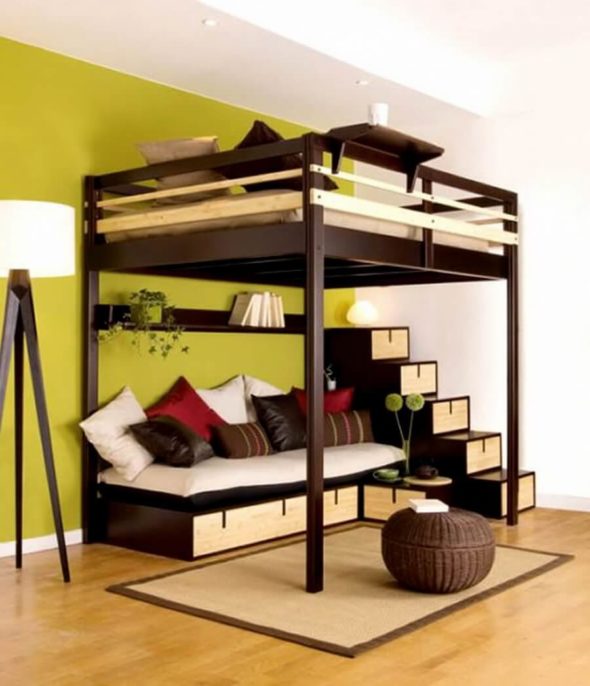
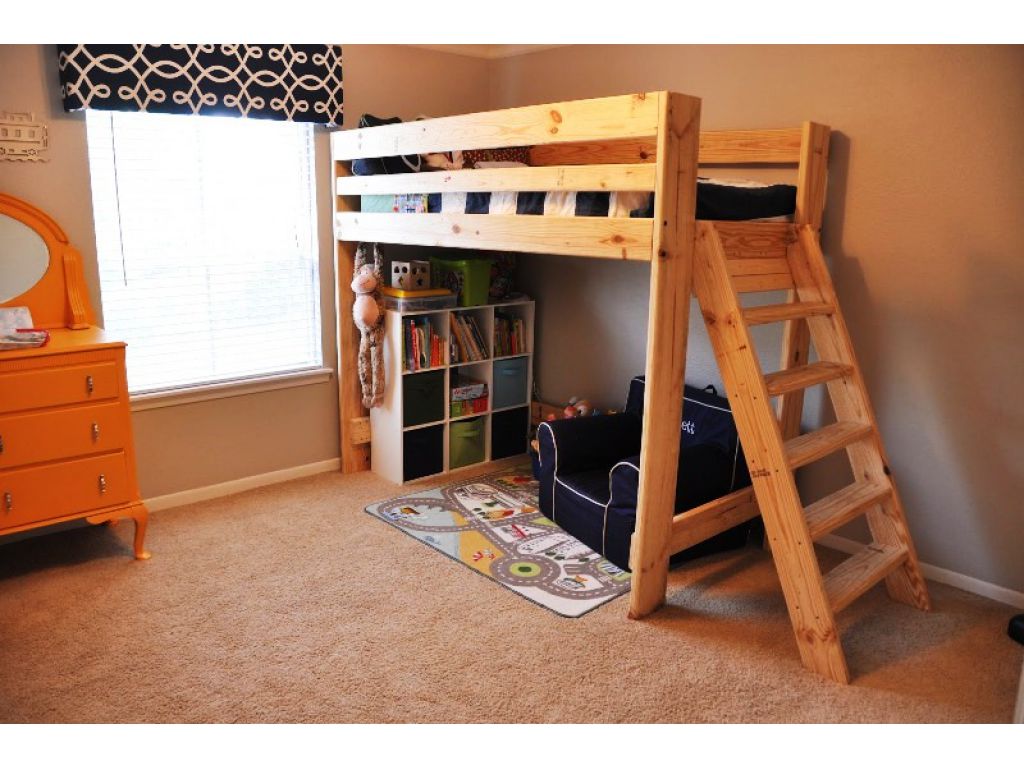
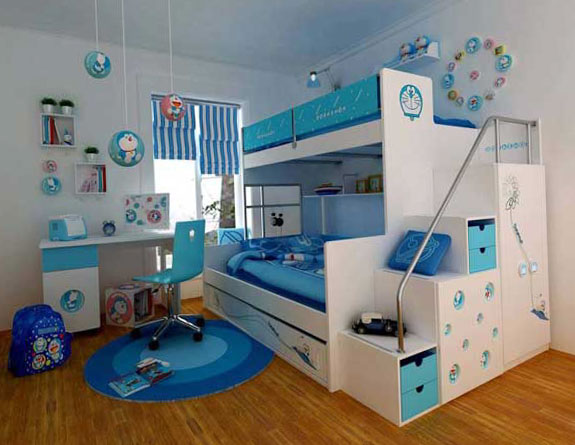
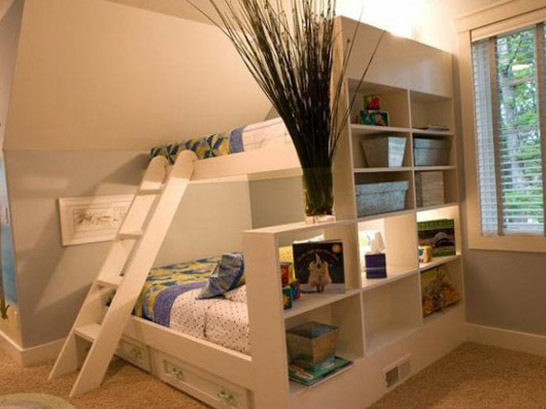
The transforming table-bed will fit perfectly even in a small room - Attic. Consists of a work area and shelves below and a second sleeping tier with a ladder. Unlike a transformer, it does not need to be constantly unfolded.

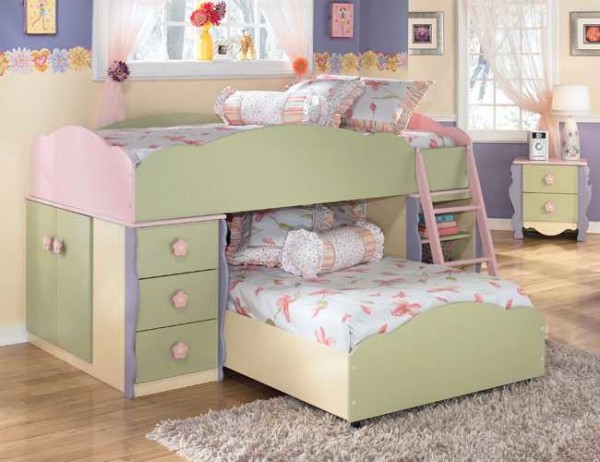
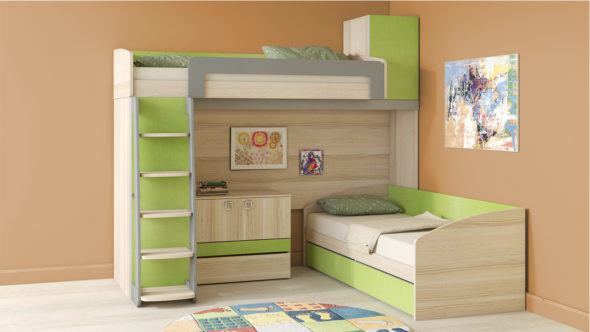
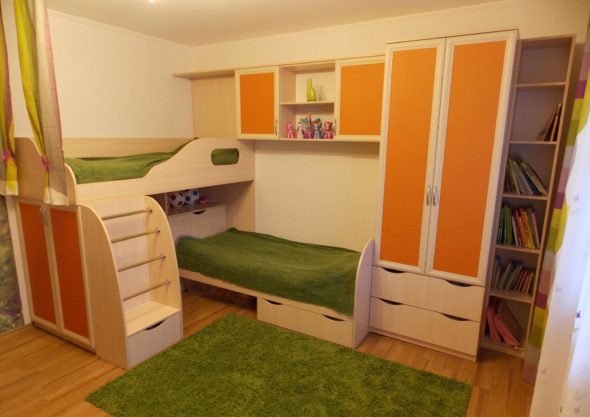
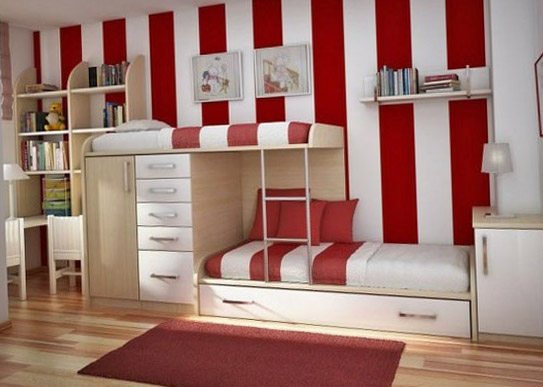
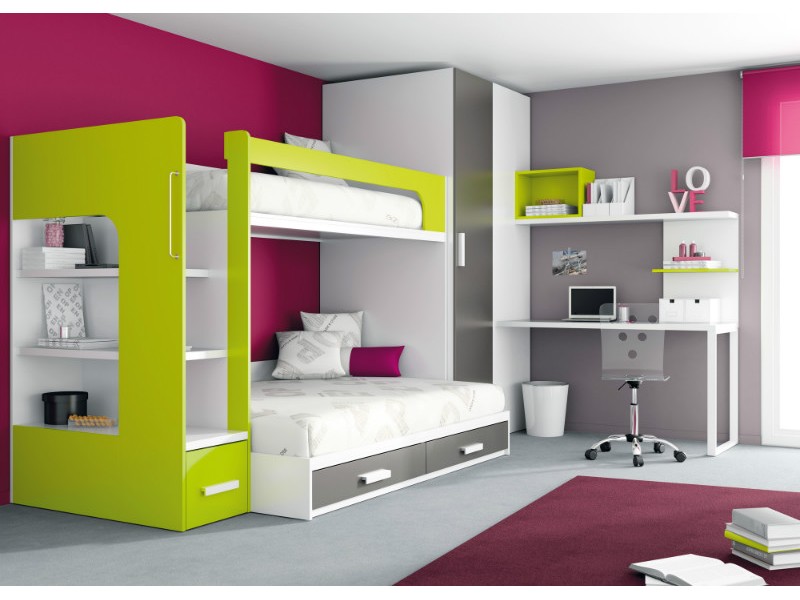
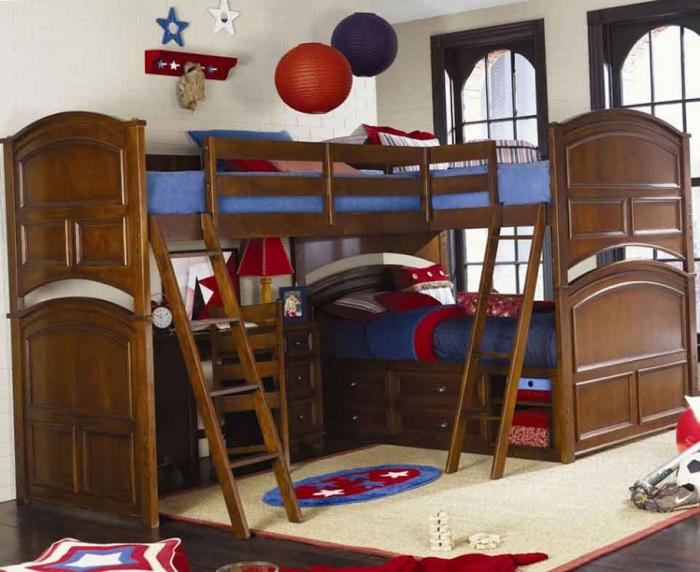
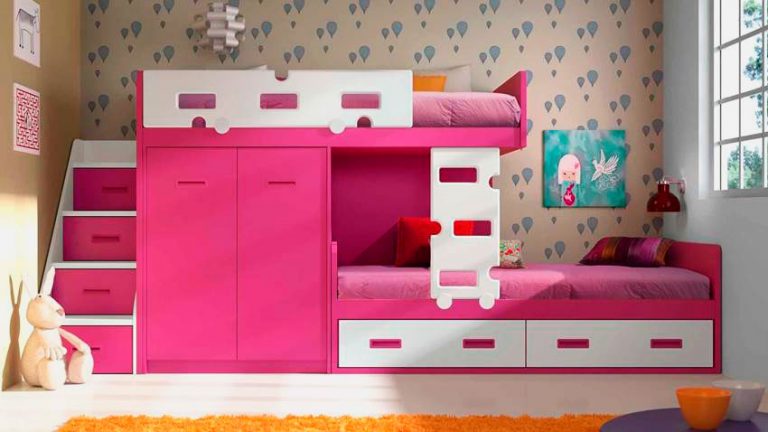
Children's bunk bed with work area - Beds with corner or offset sleeping arrangements. They look like traditional ones, but the sleeping areas are either offset to one side or located at 90 degrees.

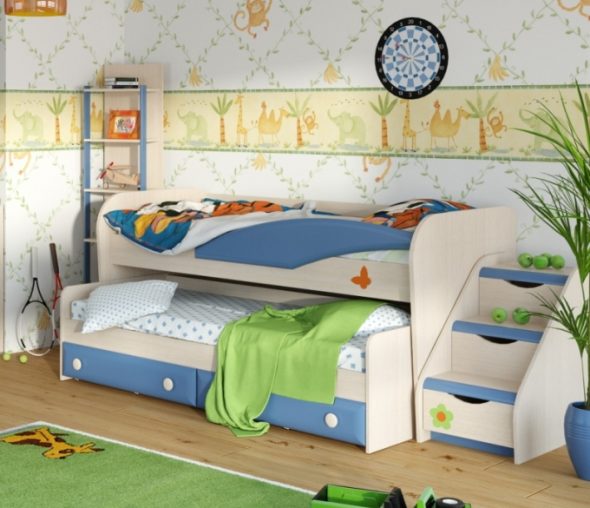
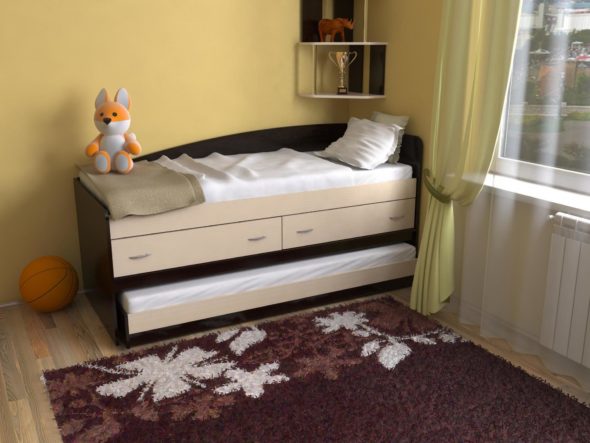
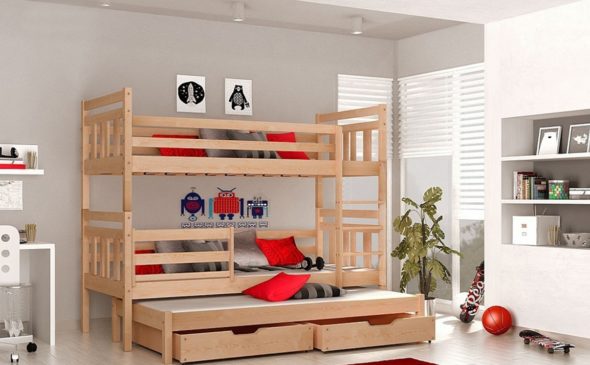
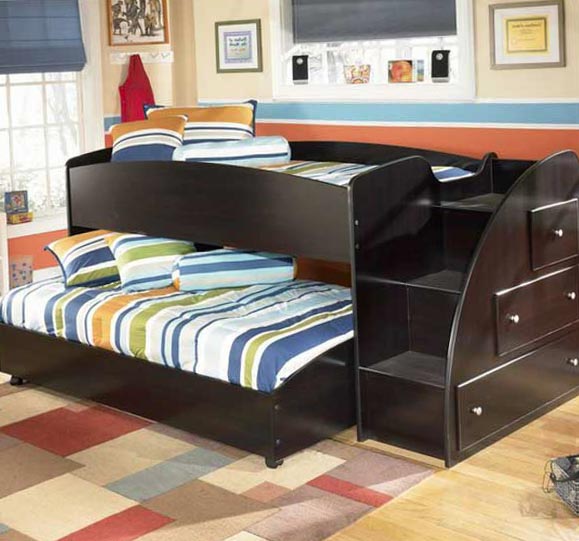
Children's bunk bed with offset sleeping places - Pull-out. Convenient for saving space in the bedroom, can be used when necessary.

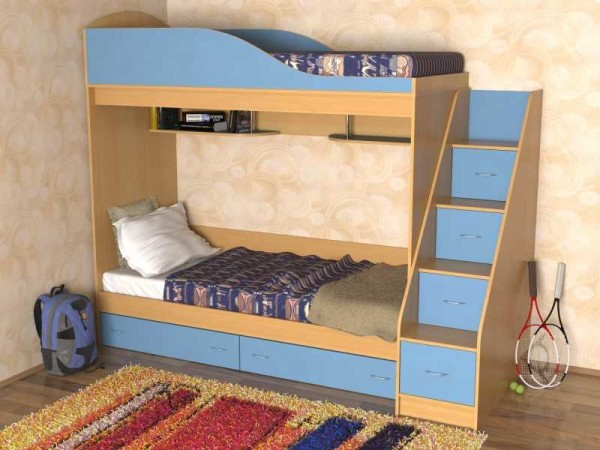
Children's bunk bed with pull-out ladder-chest of drawers
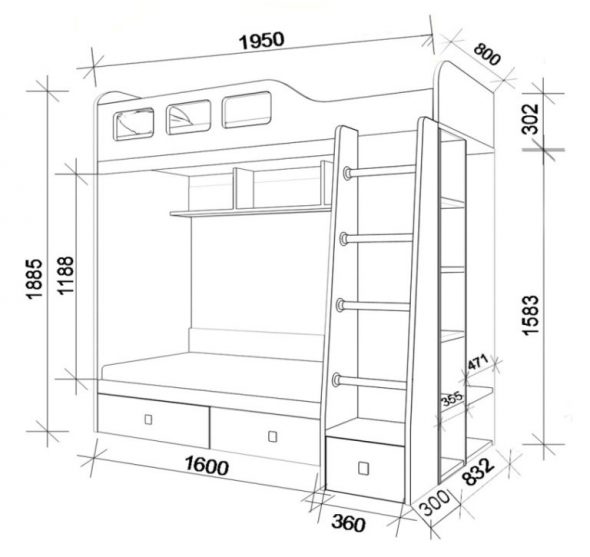
What sizes should you decide on?

- Length.
- The height of the entire product; the bed does not touch the ceiling, it recedes by 90 cm, this distance is the most optimal. If it is too low, consider the option with a pull-out sleeping place. Its drawings are similar to the usual ones.
- Width.
- Dimensions of cabinets (if you are going to make them).
- Length, width and height of steps.
- The distance between the tiers. It should be acceptable so that any of the household members who sits on the lower section does not touch the upper one with their head.
Consider age when choosing the size. For the youngest (preschoolers) 1600X80 cm will do, for teenagers 10-15 years old 1800X85 cm, for older children (or even for parents) 2000X95.
It is difficult to draw a drawing of a bunk bed yourself if you do not understand construction and projection. If possible, contact friends who understand drawings (if any), they will help you avoid making a mistake, or find the one you need on the Internet. If desired, change the dimensions for yourself. Follow the drawing step by step, assemble and secure each part separately.
Please note that there should be not only a final image of the product, but also a detailed breakdown of the fastenings.
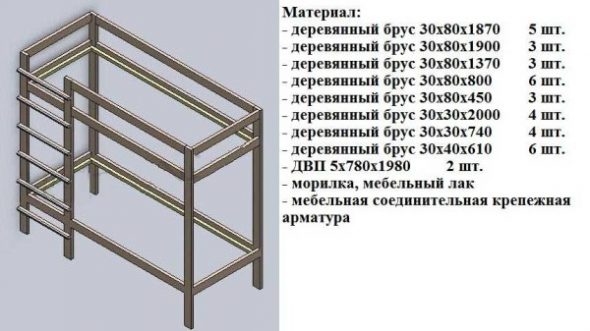
The main components of a bunk bed:
- two timber frames;
- sides;
- railings and stairs;
- back and headboard;
- legs.
Suitable materials
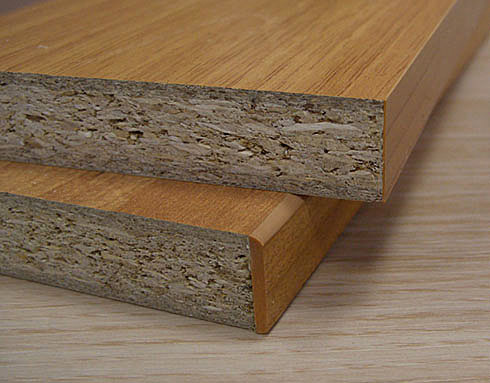
- Chipboard. Ideal for making drawers or stairs, but not for the bed itself.

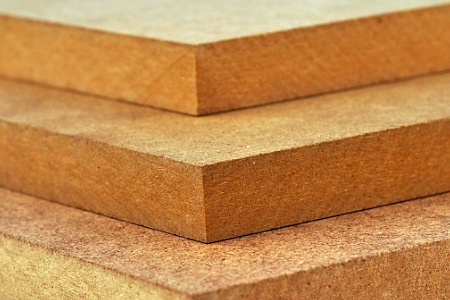
Chipboard - MDF board. Analogue of wood, excellent furniture is made from it. It is covered with varnish, the edges are processed, and the product can no longer be distinguished from a store-bought one.

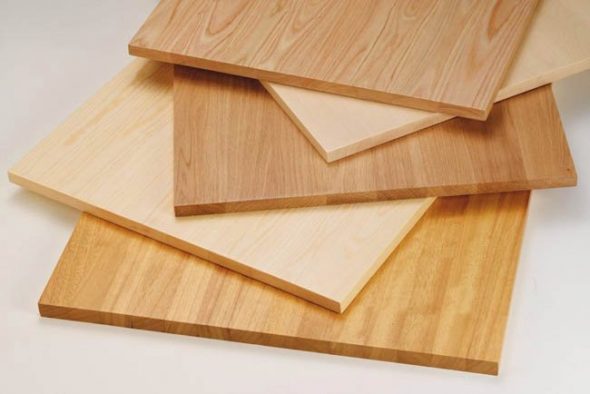
Fiberboard - Solid wood. A labor-intensive and expensive material. It is not easy to paint and sand, and abrasives quickly become clogged.

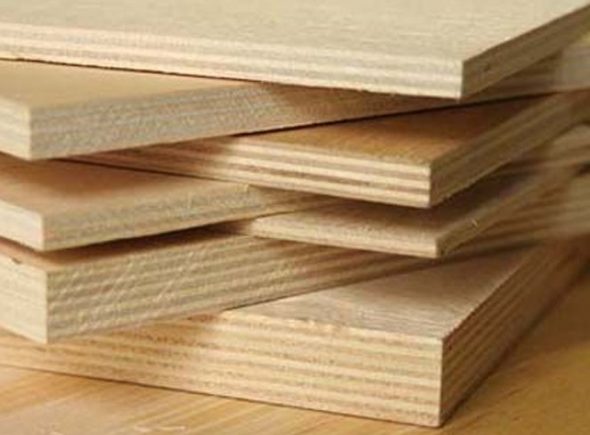
Solid wood for furniture making - Plywood sheets. They serve as a base where the mattress will lie.

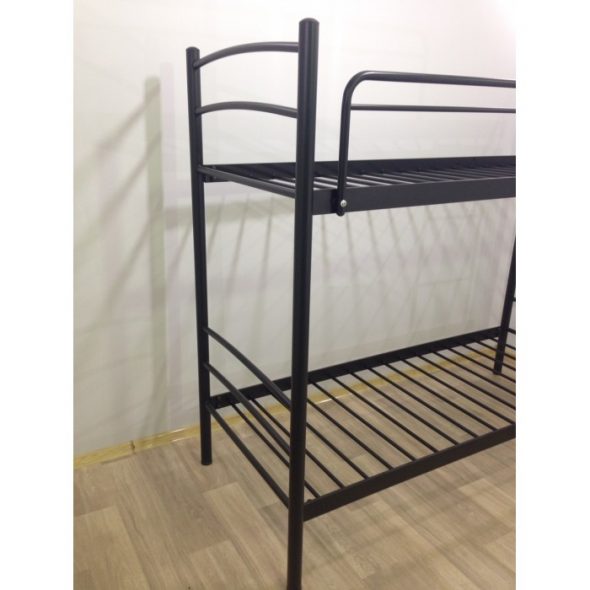
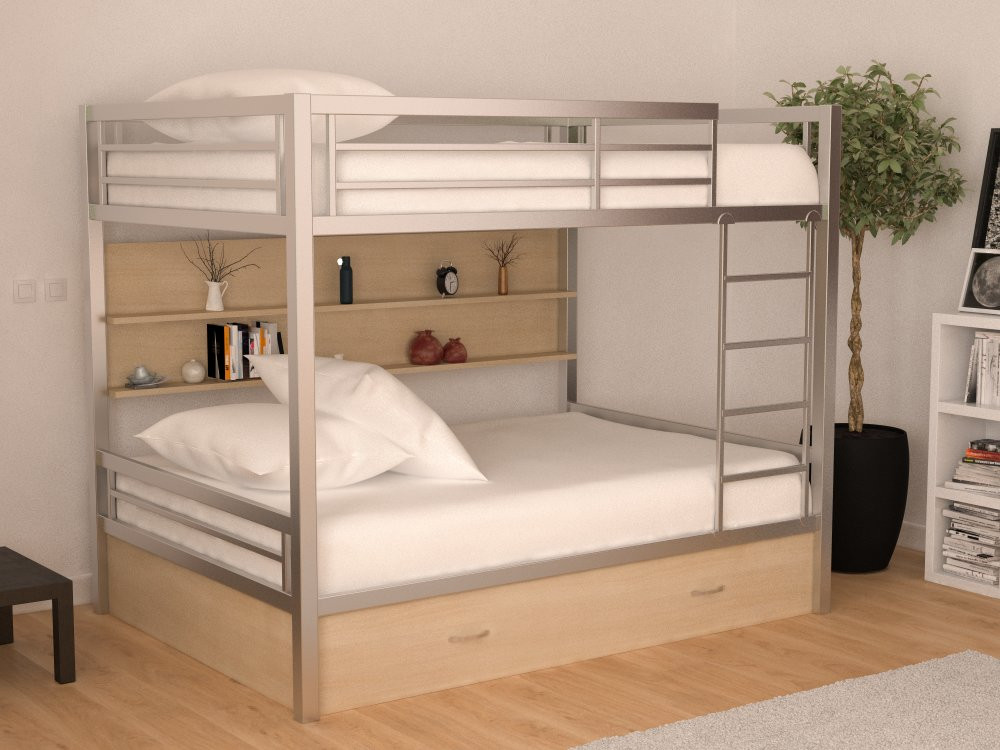
Plywood is a board consisting of sheets of veneer glued together in several layers. - Metal. A durable and long-lasting material for furniture. It is not often used because of its high cost. If you decide to work with it at home, you need to have a welding machine.

Metal for making bunk beds
Tools:
- screwdriver,
- roulette,
- construction pencil,
- hacksaw,
- self-tapping screws, slats, bolts,
- jigsaw,
- sandpaper,
- glue,
- hammer,
- paint and furniture varnish.

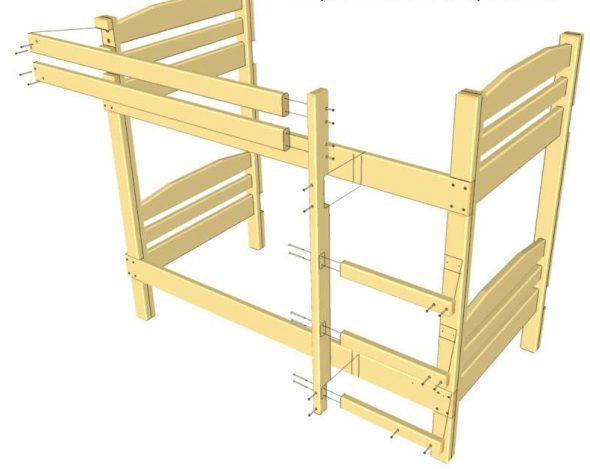
Beginning of frame assembly
- The basis for the bed is a rectangular frame with the required dimensions (length and width). Construct it using two beams fastened in the corners with screws.
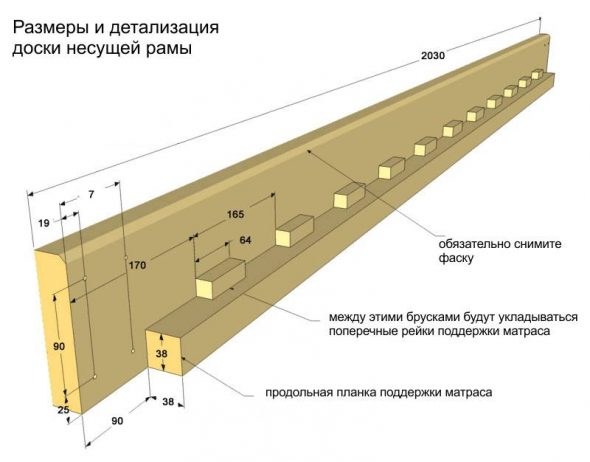
- Next, we make the side panels. The boards should stand at 90 degrees on the frame, fix them. Between them, lay bars at the same distance, on which the base for the mattress is installed. The resulting structure is a tsarga, you need to make 4 of these for two tiers.

Construction and dimensions of the supporting frame board - Prepare the mattress boards. They should be placed at the head, in the middle and at the end, at the feet. They are made to hold the bed so that it does not break under the weight. Install “like a shelf” on the frame between the bars.
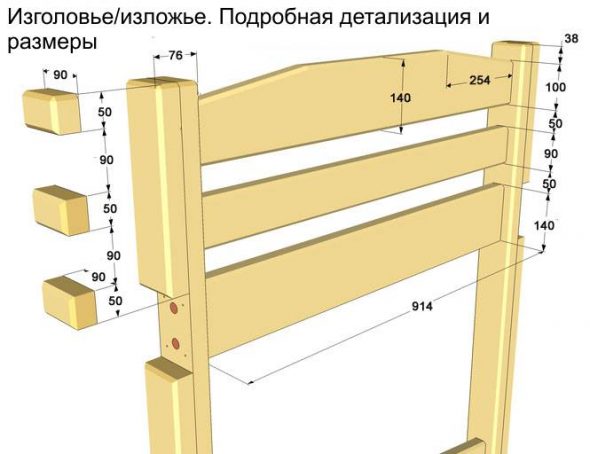
Back and headboard
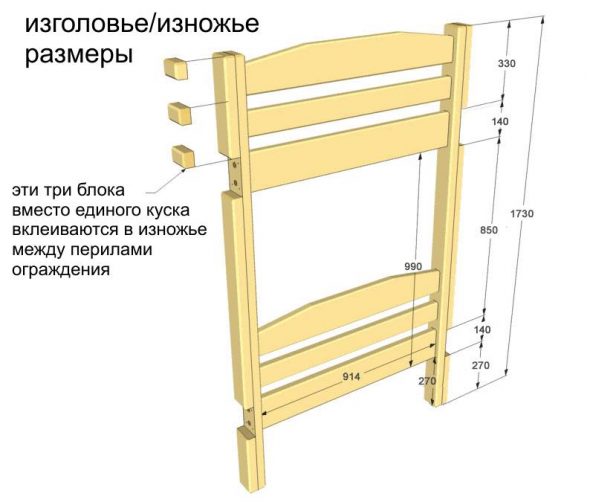
- They are made the same, consisting of posts and crossbars. The ladder will be fixed at the front.

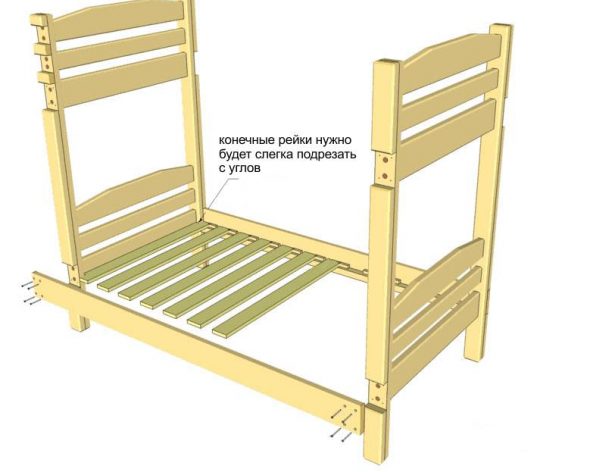
Detailed layout with headboard and footboard dimensions - The posts are arranged parallel to each other in the form of side panels (as in p. 1.2). The crossbars are secured between them inside with self-tapping screws.

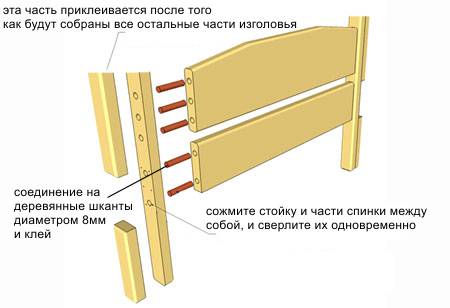
Assembling a Bunk Bed Frame - Attach the resulting headboard and backrest to the tsarga using dowels, they are available at the hardware store. This is the first tier. We also make the second one.

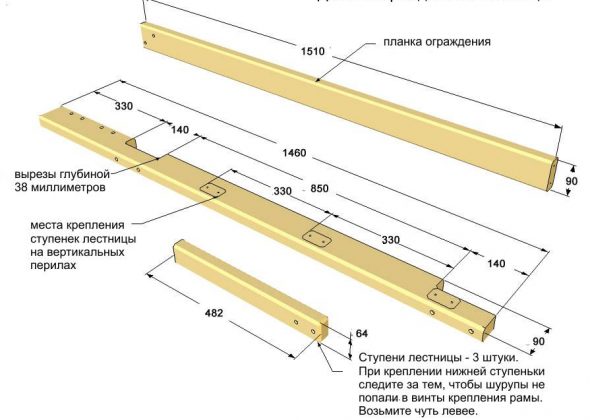
Installation order: 1 - 8 mm dowel; 2 - the post and backrest planks are drilled simultaneously; 3 - this part is attached after all other parts of the headboard are assembled - The ladder is installed outside to the stand, secured with screws. Secure it and the bed well to protect an active child from injuries associated with fallen bars or a fallen bed.

Details of fencing and stairs 
Assembling the stairs and railings - Choose the right mattress. Yes, it is important. Regardless of who will sleep on the bed, you must buy a good mattress. A bad choice affects the quality of sleep, causes lethargy, drowsiness, health problems. If there are disorders of the musculoskeletal system, buy an orthopedic one to maintain good condition.
- There is little space left for the legs - build them up by strengthening the joints.
A few words about the “attic” model
It is made in the same way. But there is one sleeping place on top, and a working area with a table, a wardrobe and shelves below. Yes, it is more difficult than the previous type, but it is possible to assemble one at home with friends or family. The main thing is safety, do not allow injuries and cuts from the boards!
Decorating and painting
Another important and final stage in the construction of the sleeping place. The entire structure must be well sanded, the parts should not cling to clothes, dig into the skin, all screws are hidden.
Next, choose paint and varnish (for the finishing coat). It is worth remembering that these are toxic products, they should have as little harm to you or your child as possible. Choose a color that matches the interior of the room. After the paint dries, varnish it.
You can decorate your bed with your own hands in different ways. If you want, leave a minimalistic option (only a single-color paint job), complement it with pillows and bed linen, suitable for teenagers. In another case, the decor can be various stickers, figures cut out of wood and attached to the bed, fancy shapes, drawings on the headboard. Fantasize about this.
The main thing is to organically fit your new furniture into the interior. Place the bed in a convenient place in the room so that it does not seem bulky.
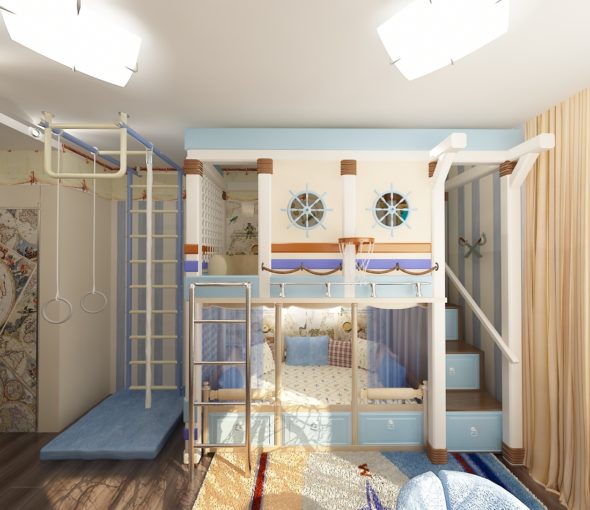
If desired, install a sports corner near the bed, so the child can engage in active activities more often. It includes a Swedish wall, hanging rings, a horizontal bar, a rope, and other devices for games and sports.
Conclusion
In this article, you learned a little more about bunk beds for children and adults. Now you can create one yourself using the detailed assembly steps described above, without being a professional carpenter. The important thing is to follow the instructions carefully.
Believe me, a sleeping place in the form of a two-tiered, original bed will fit perfectly into the room, save space and add coziness to any interior.
Video: DIY Bunk Bed / Bed with Work Area
50 photo ideas for using bunk beds in the interior:


Is it possible to order a bunk bed?
Features 1024- 602jpeg