The bed occupies a central place in the bedroom. You can sleep, rest, read, watch TV on it.

Let's talk about what types of headboards there are and how you can make one yourself at home.
Content
Types of backrests
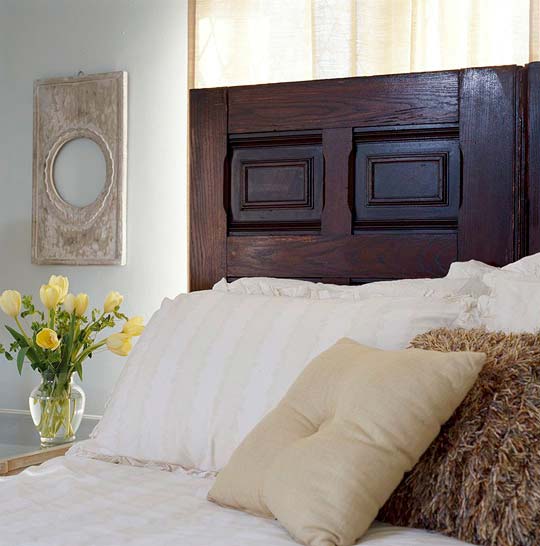
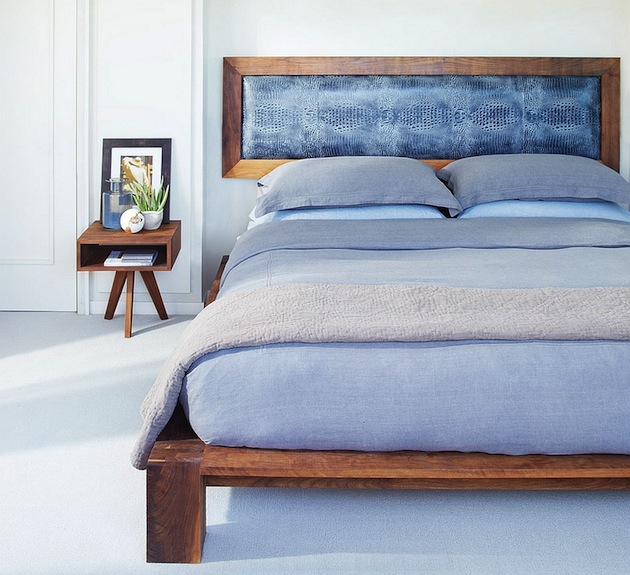
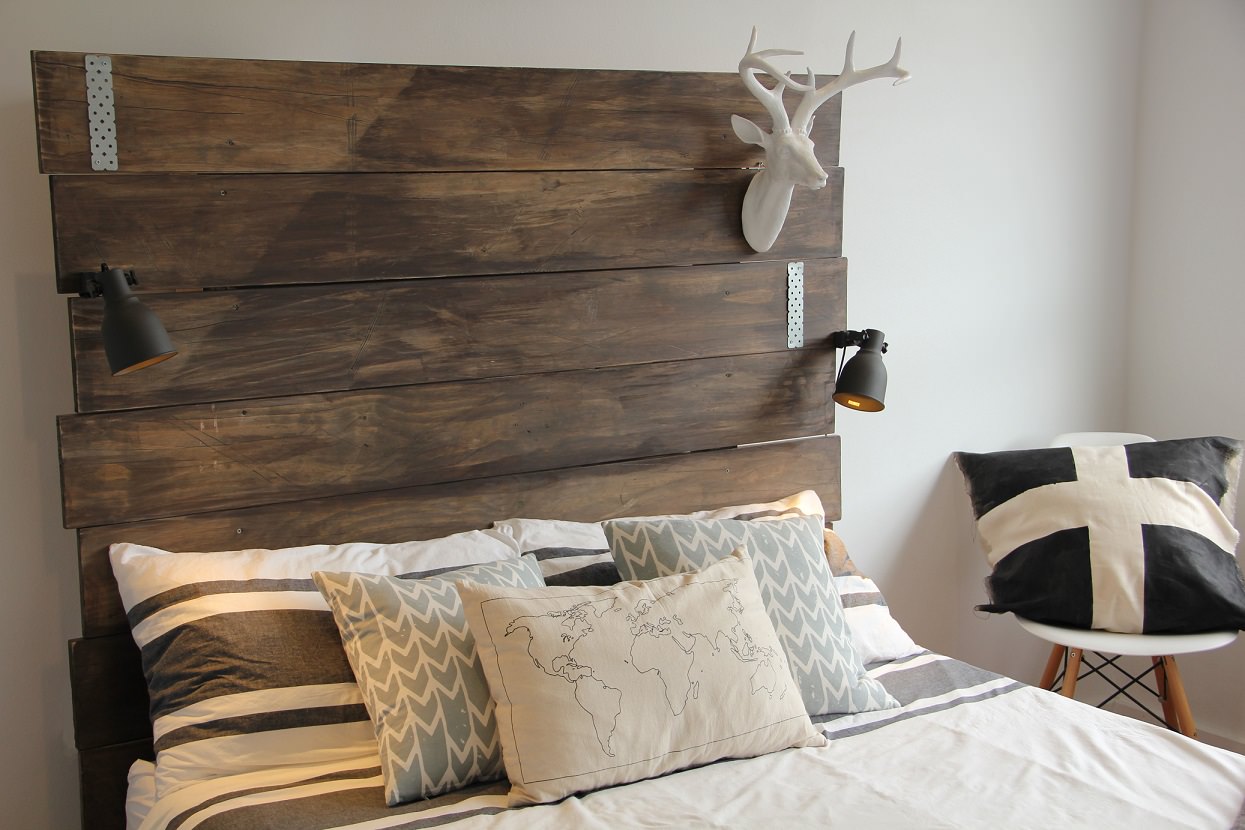
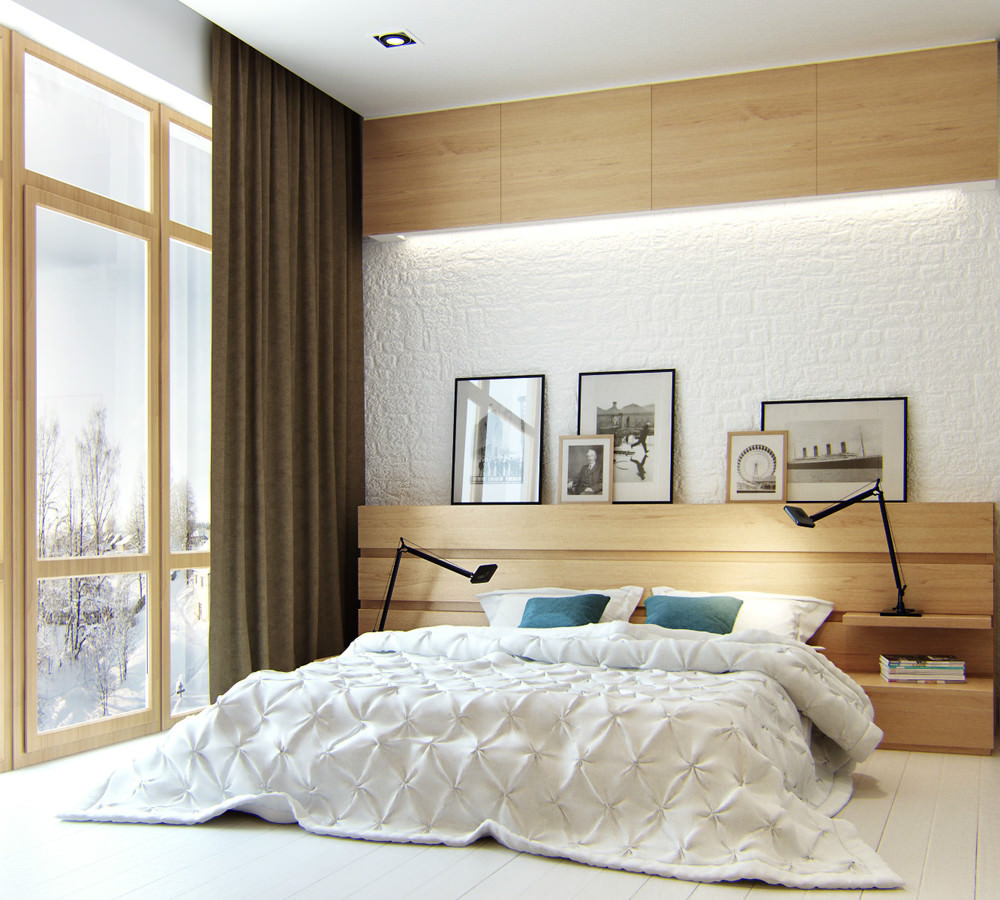
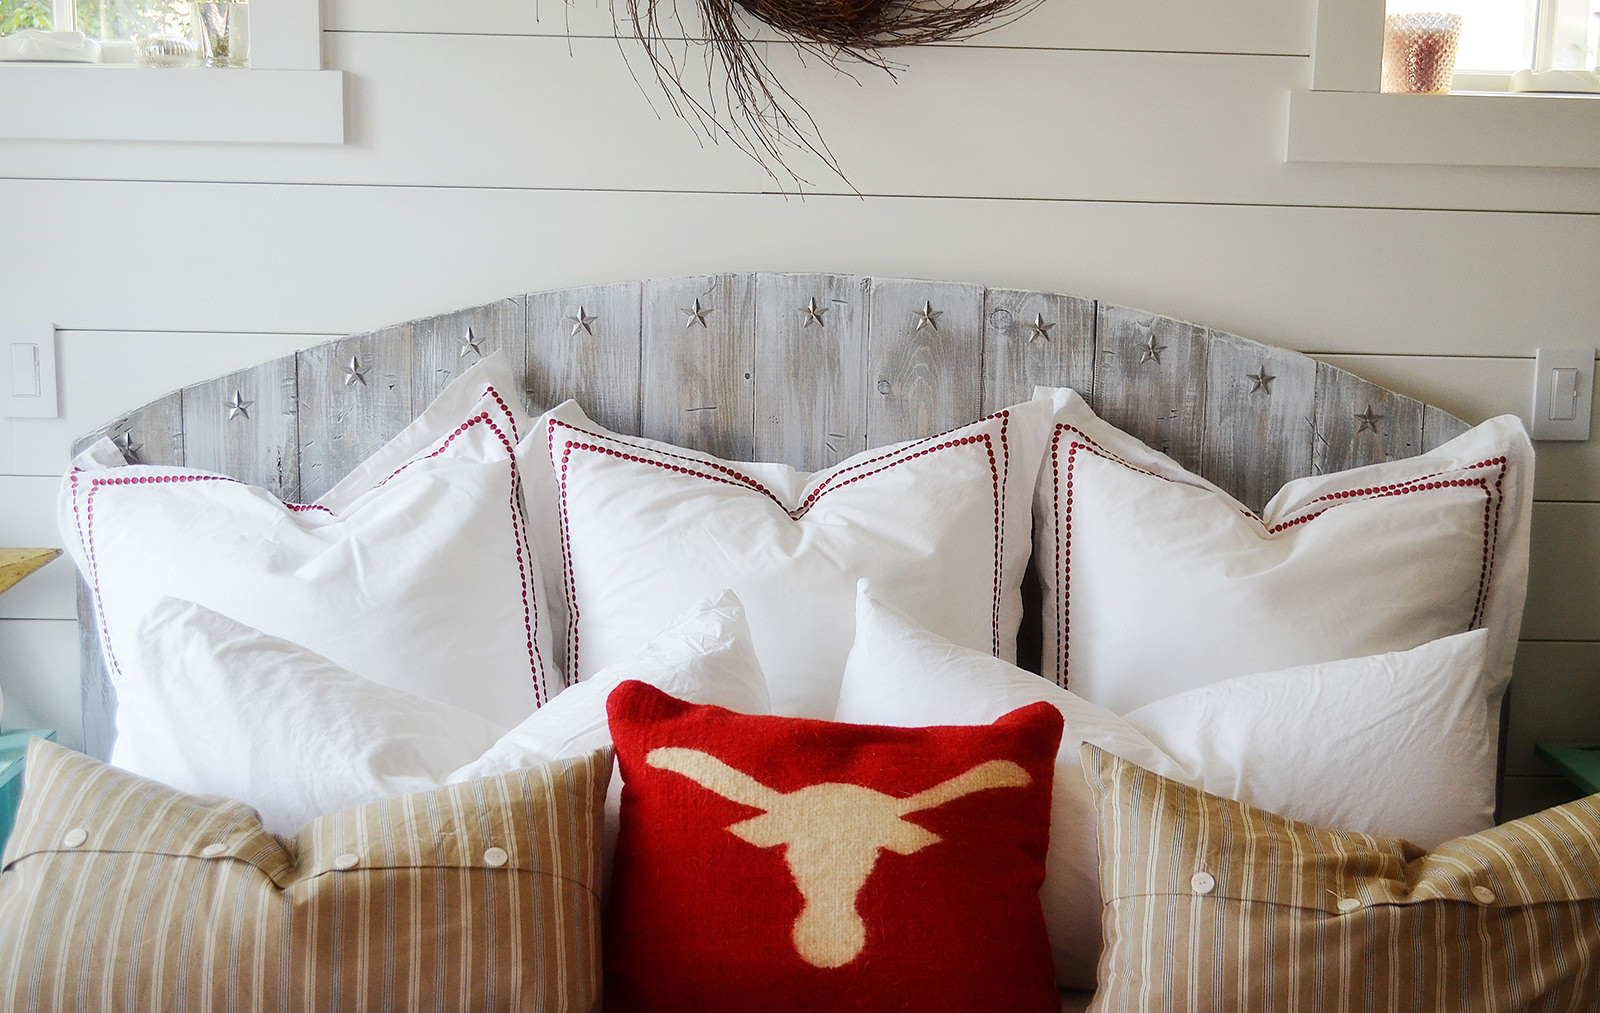
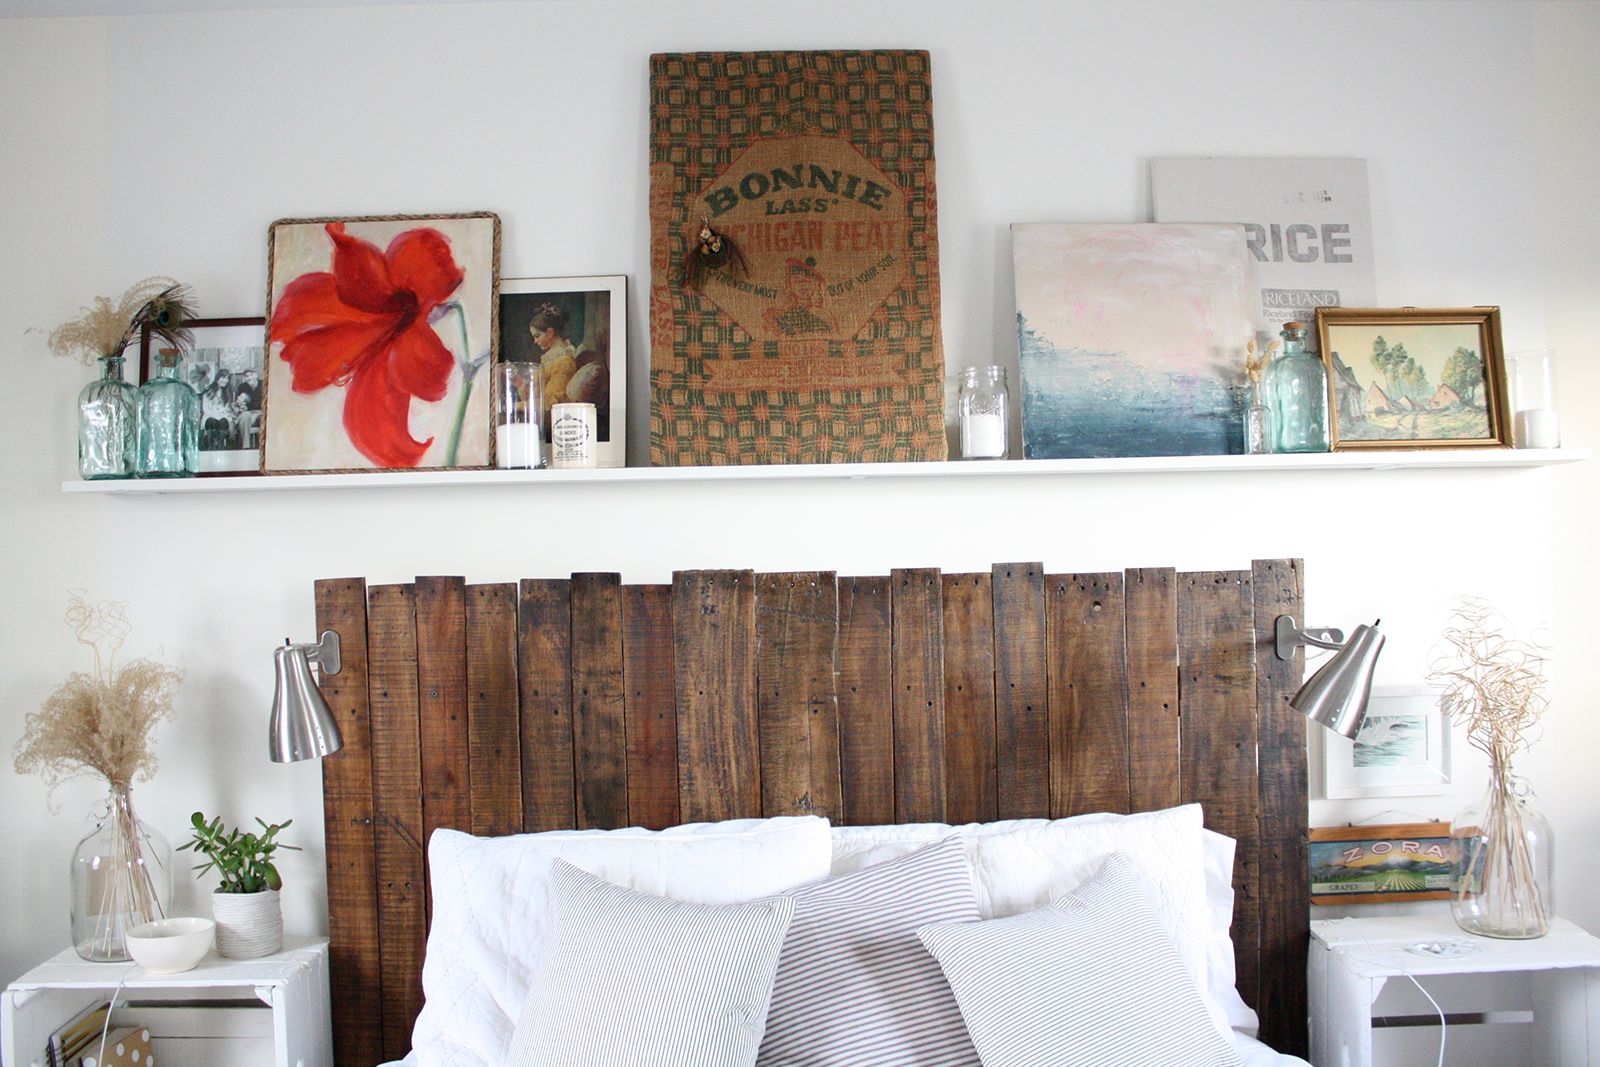
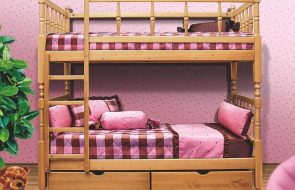
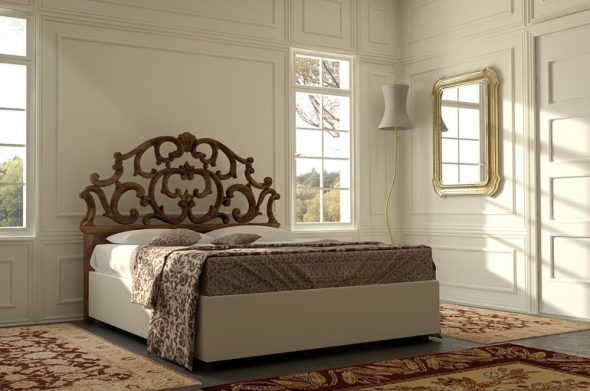
The first option is classic, made of wood. The way the wood is processed determines how the bed will fit into the style of the bedroom. Strictly made headboards are not decorated, they are made rectangular or slightly rounded. Such furniture elements are varnished or painted.
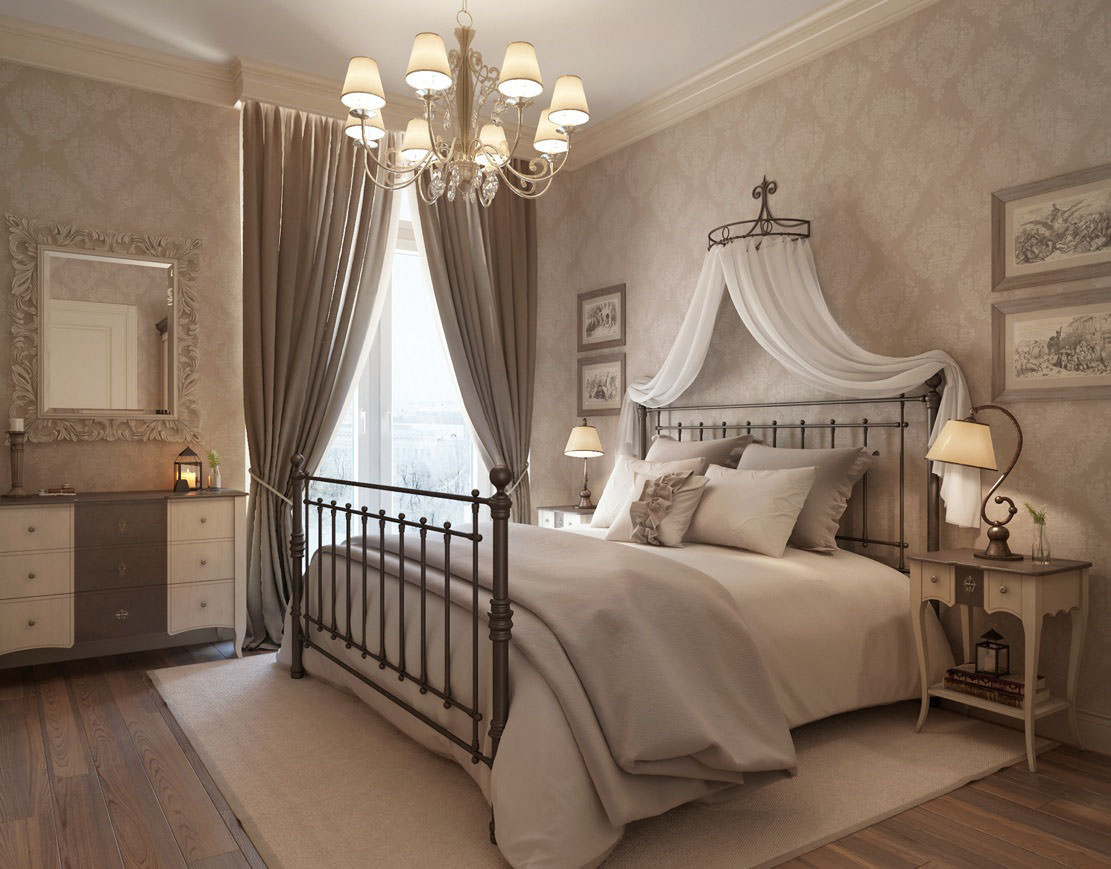
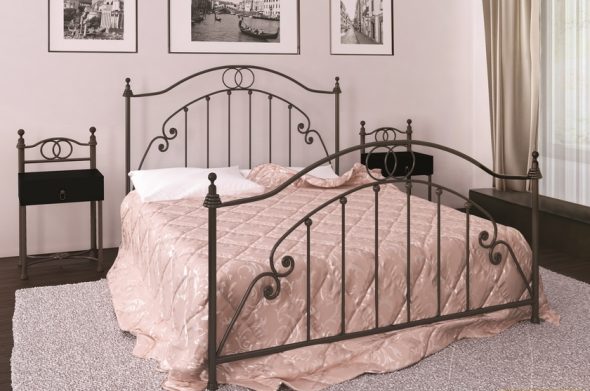
The metal version is an ancient type of bed headboard. This version is used in many bedroom interior styles.
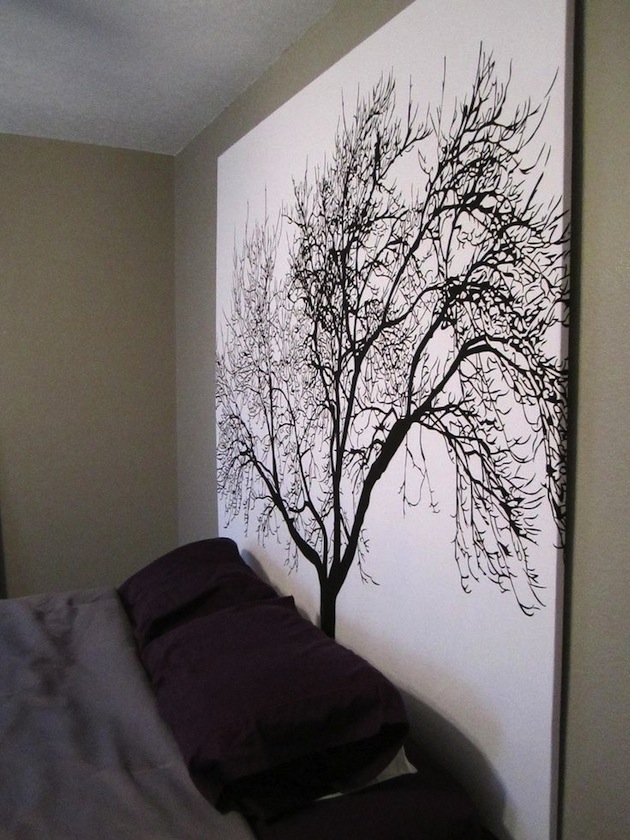
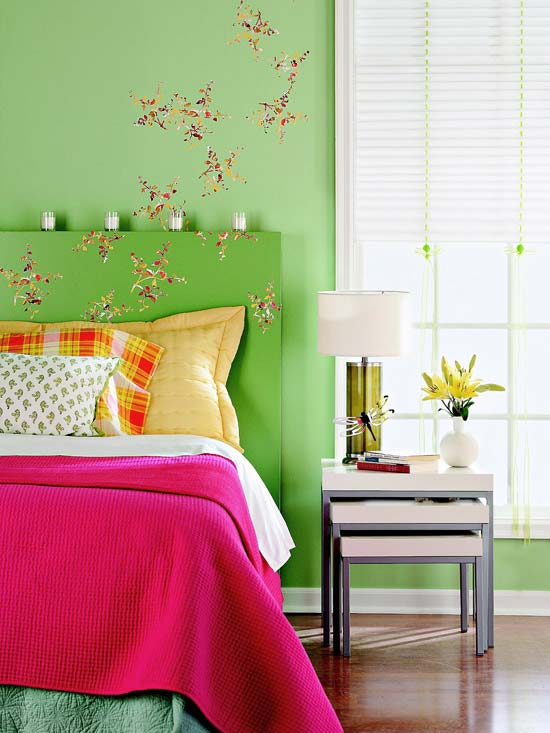
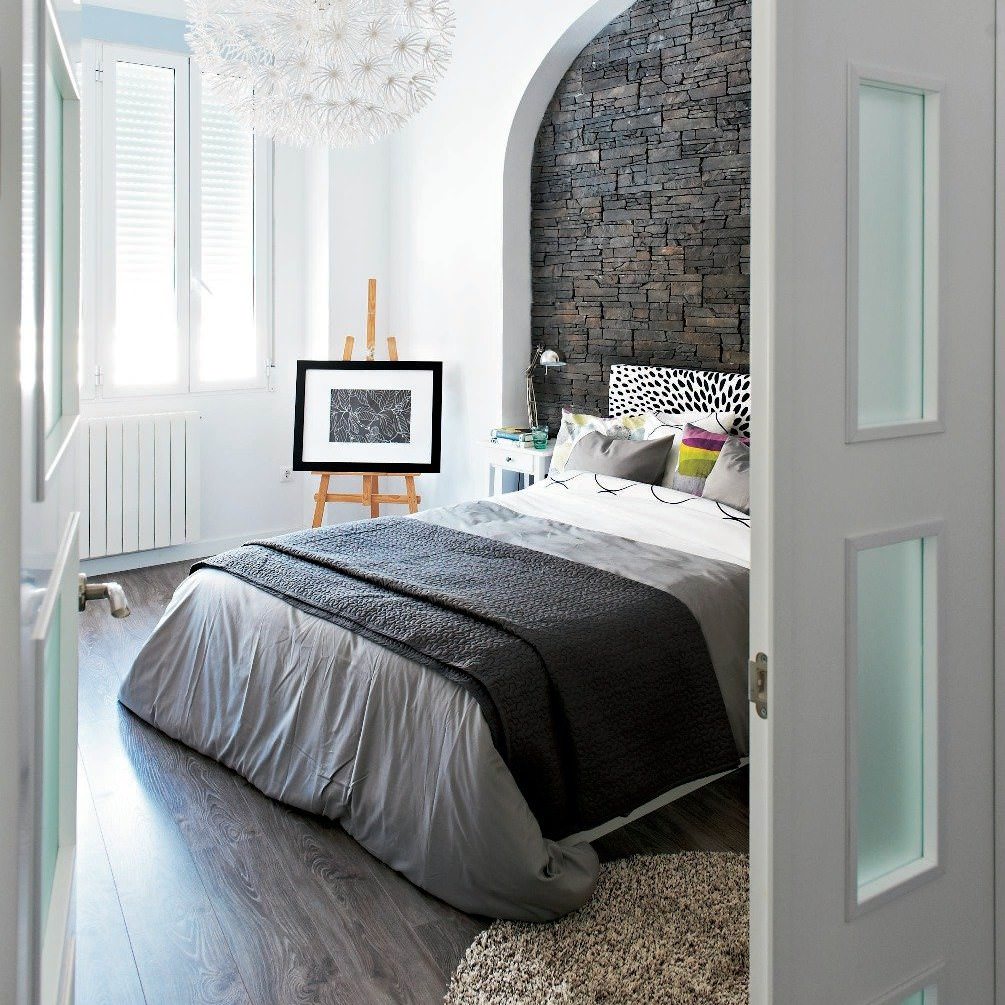
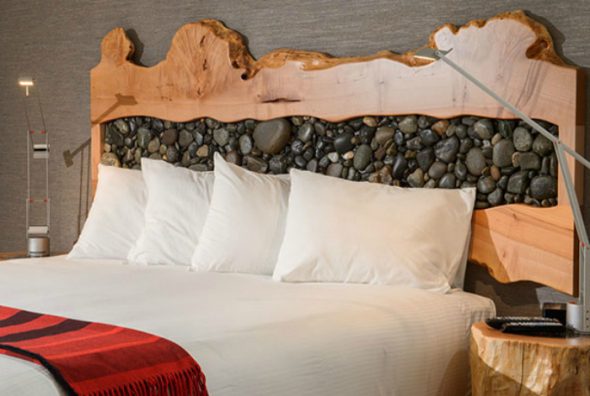
The option that uses mosaic or natural stone is another popular type of headboard.
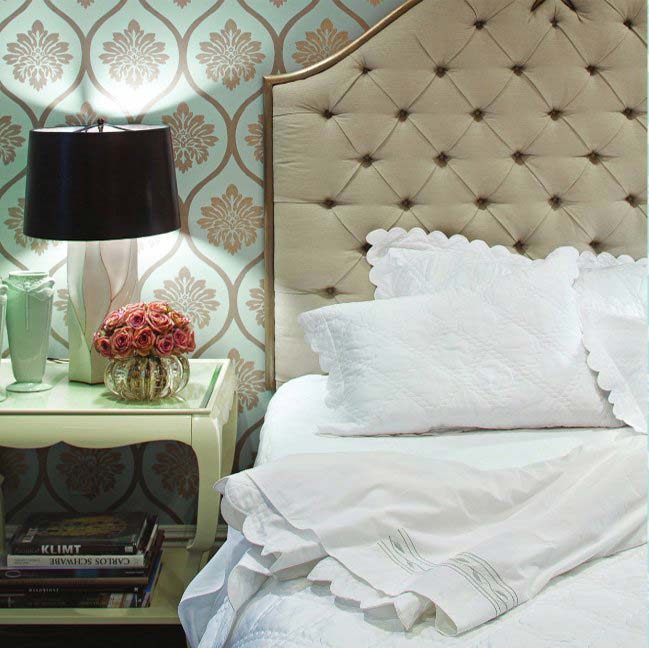
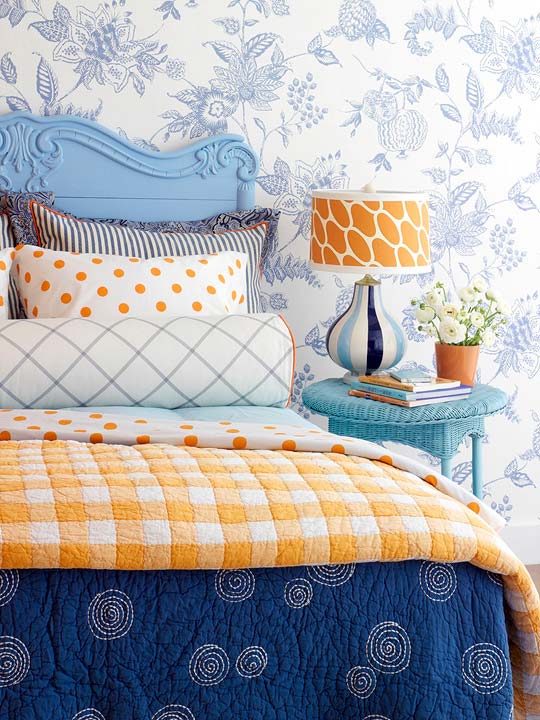
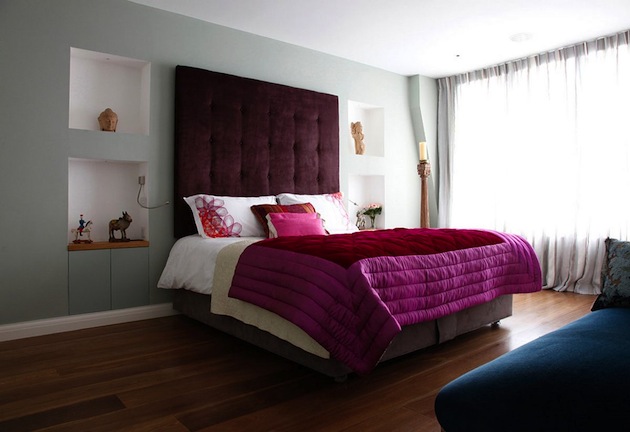
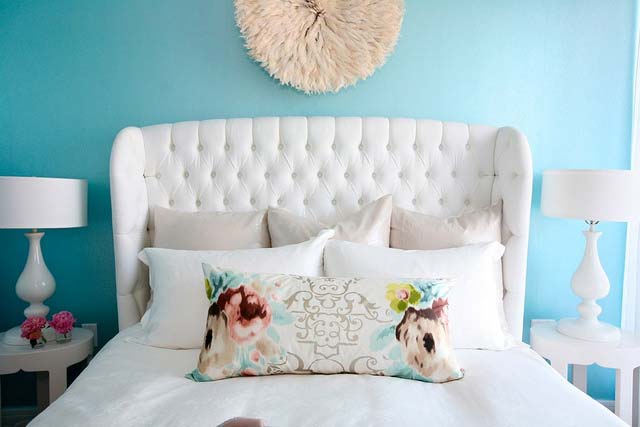
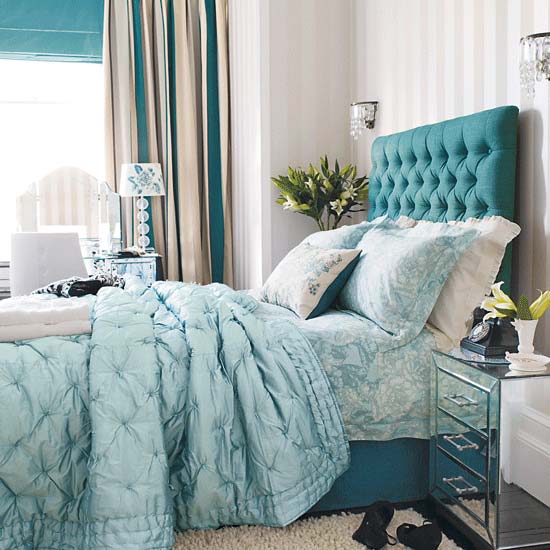
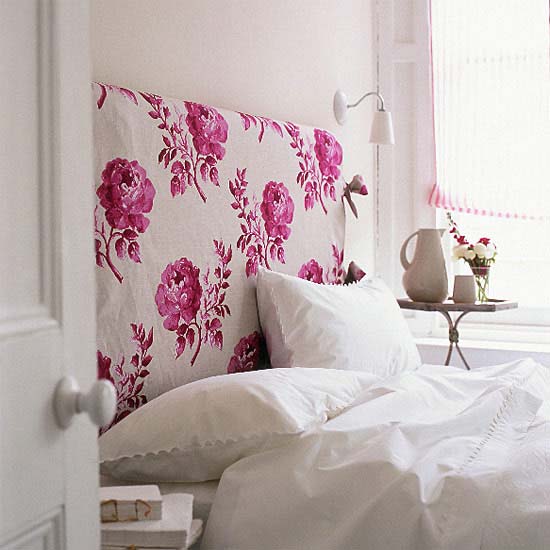
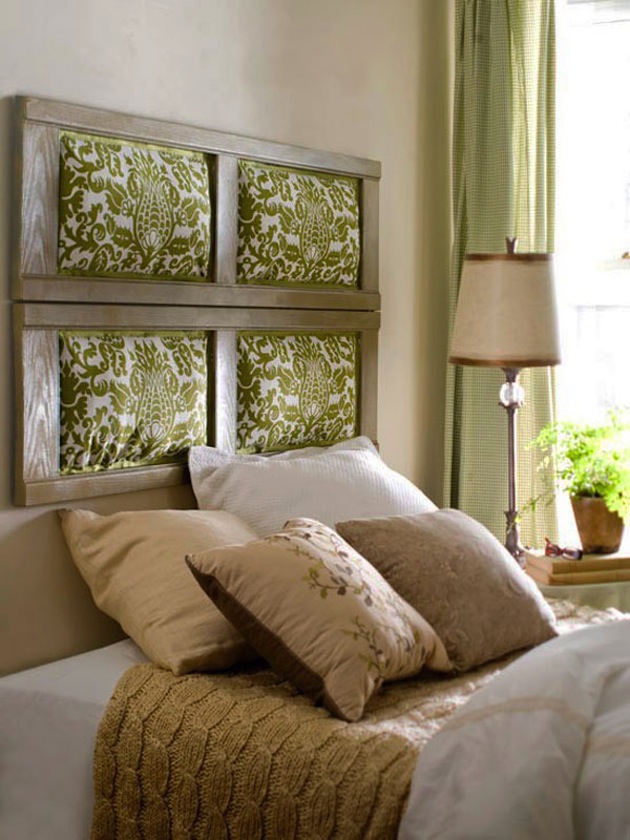
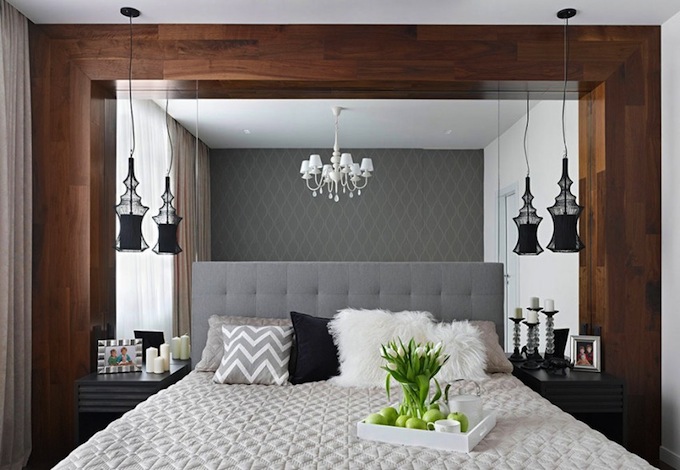
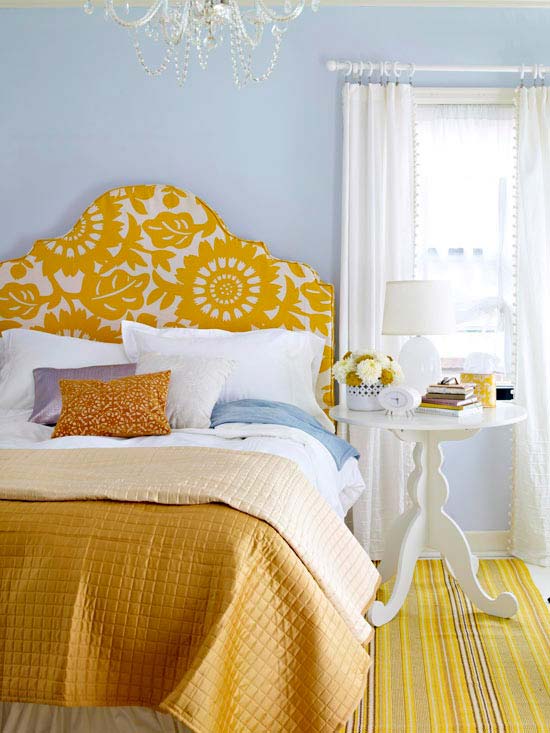
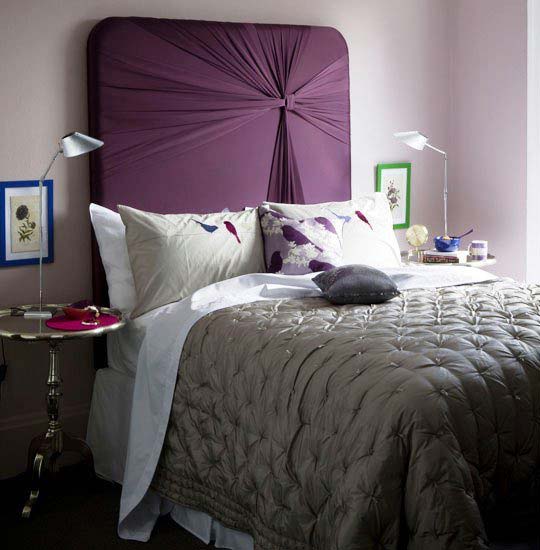
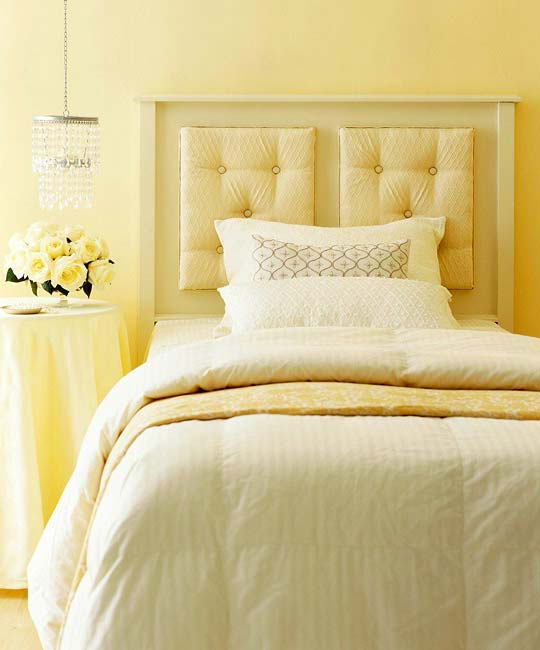
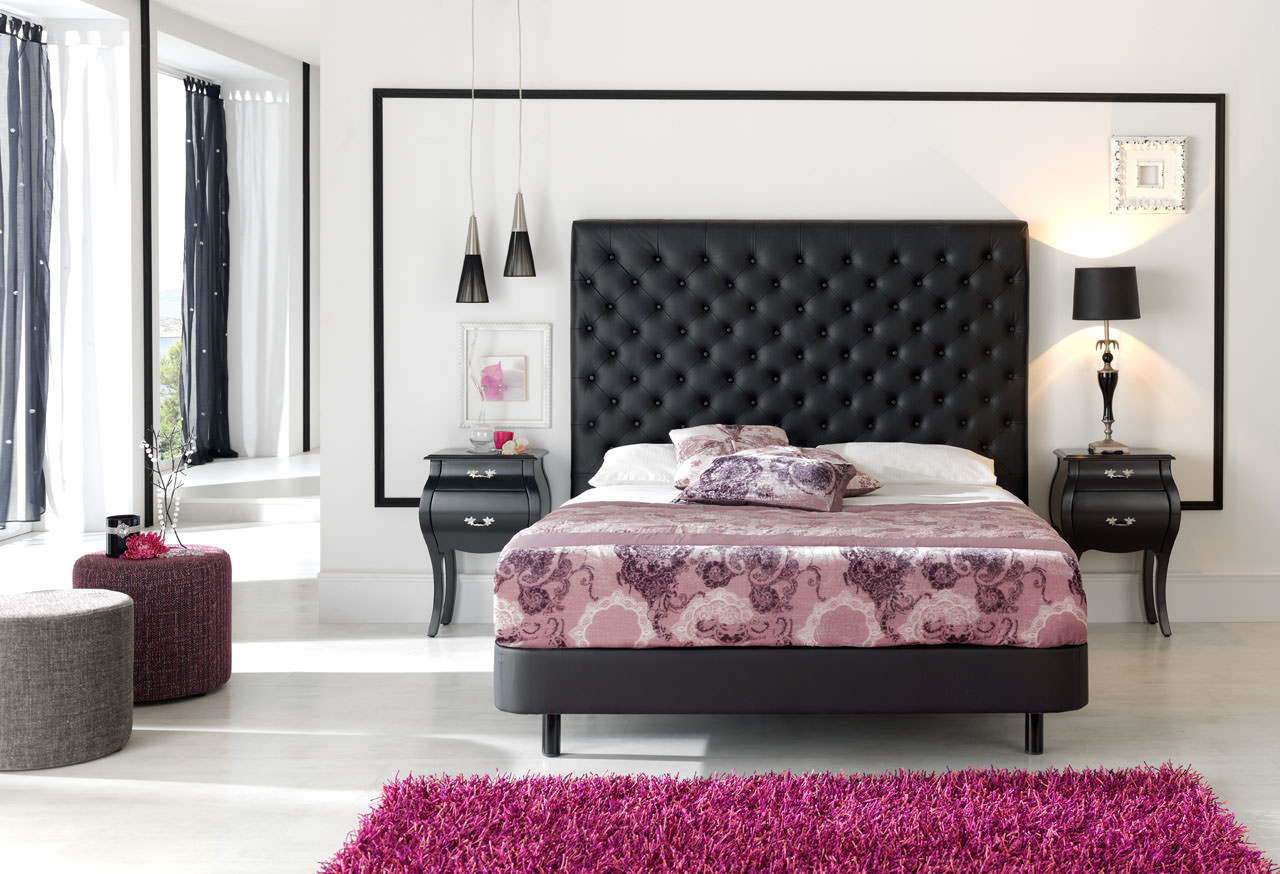
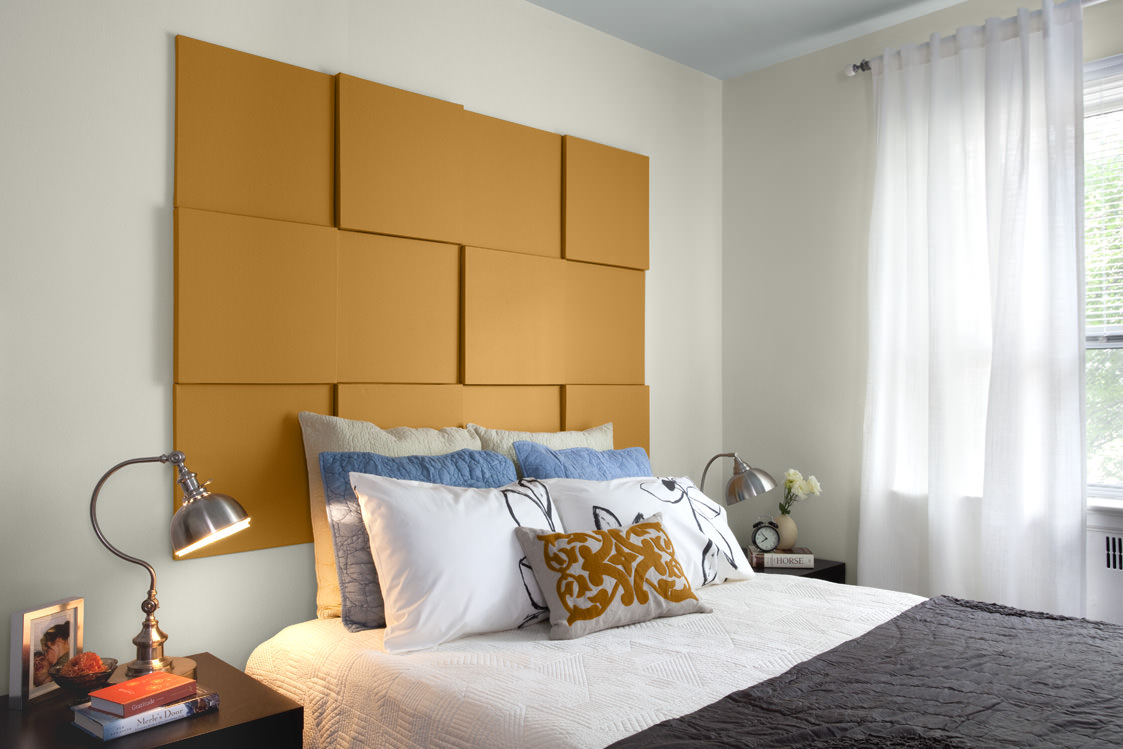
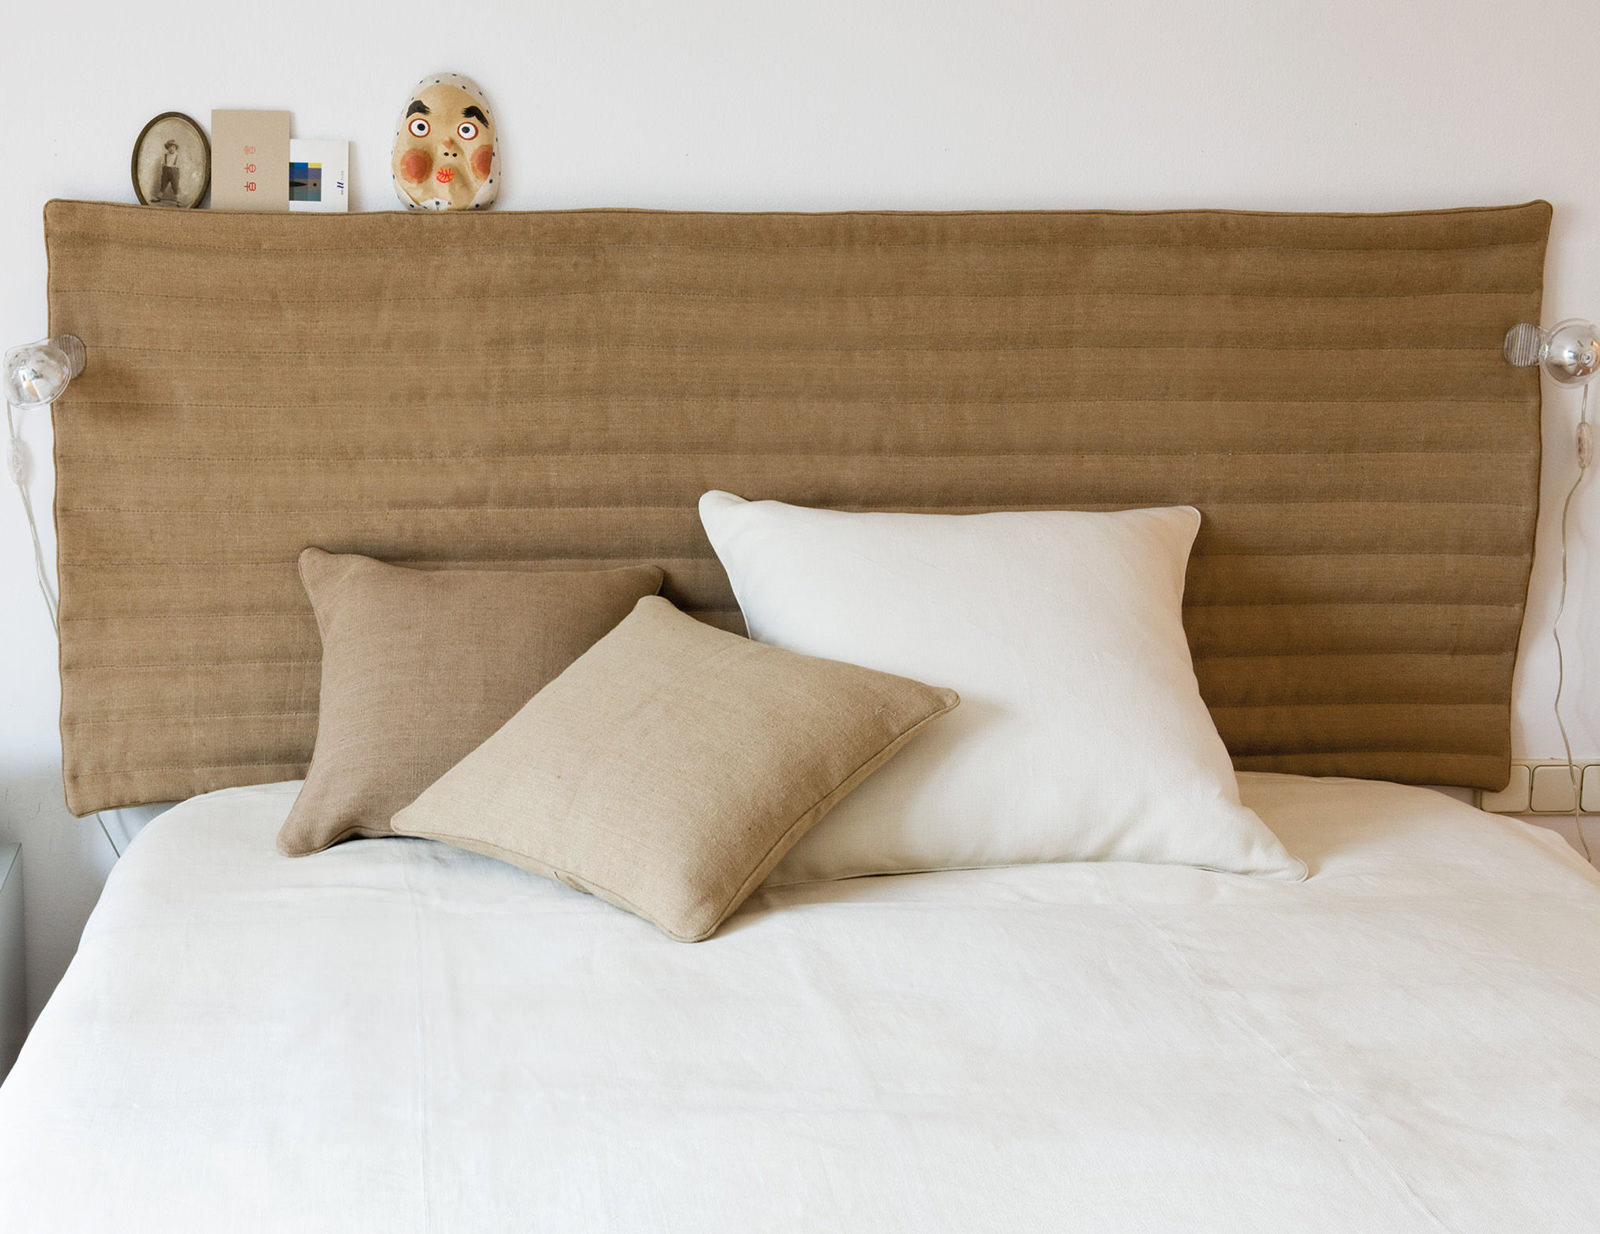
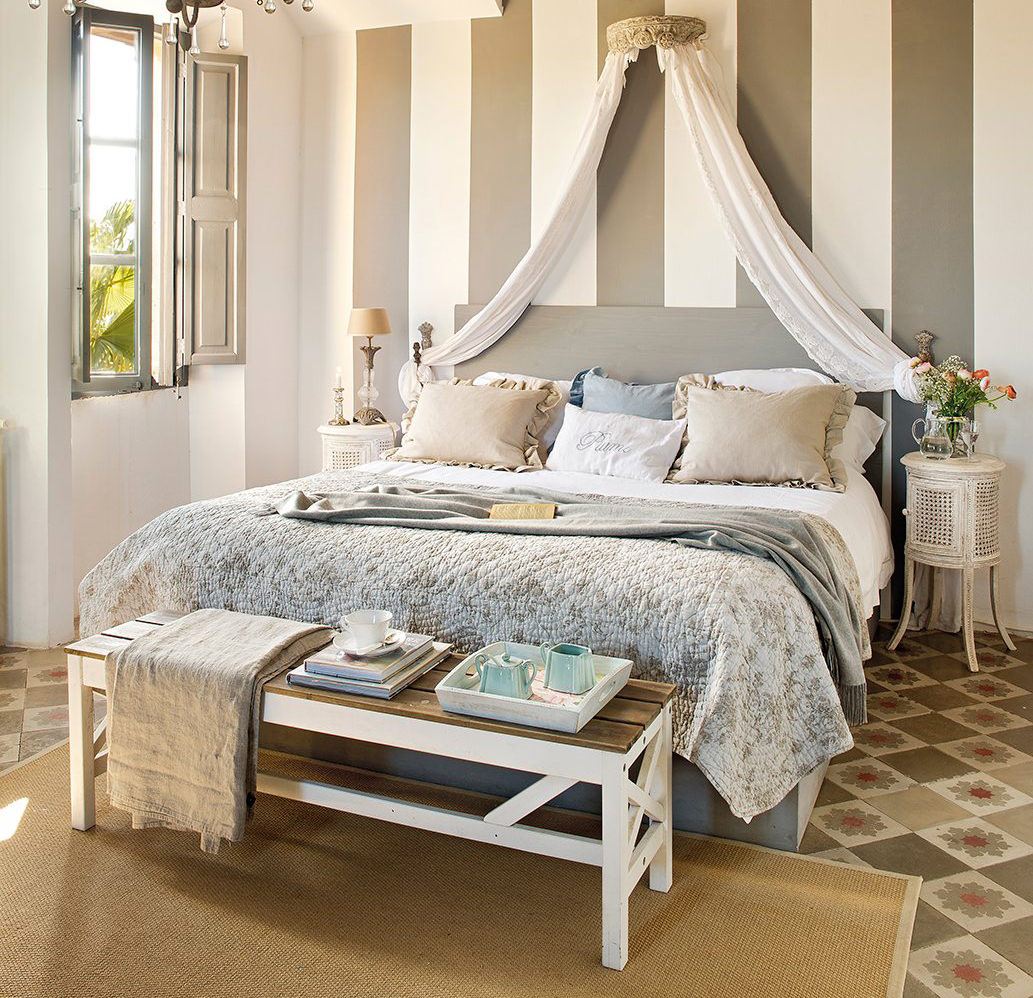
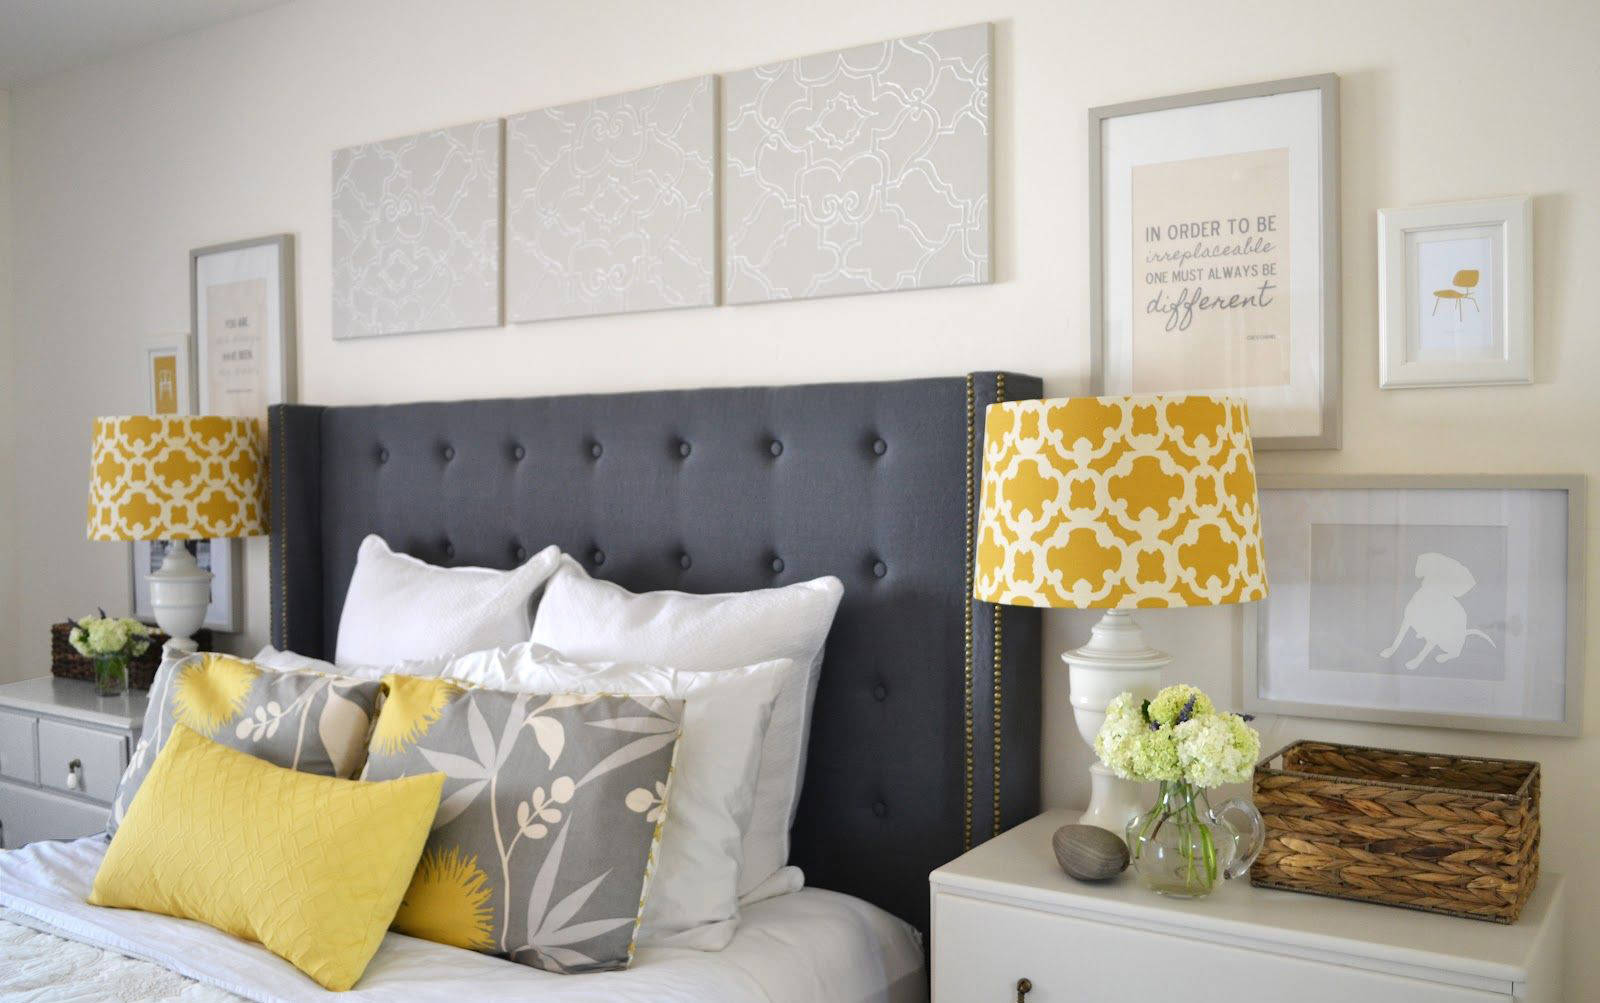
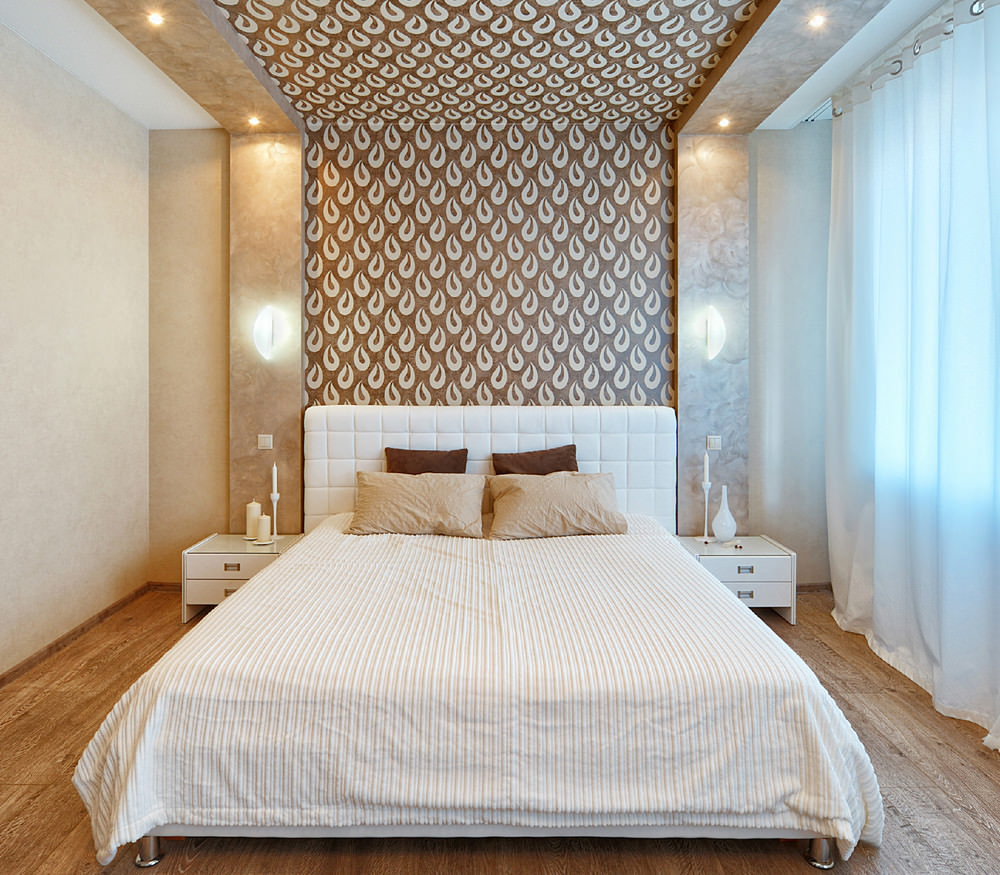
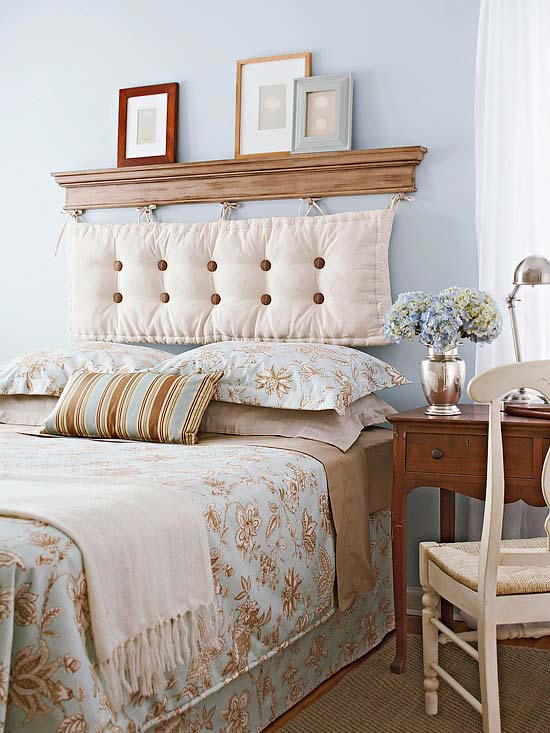
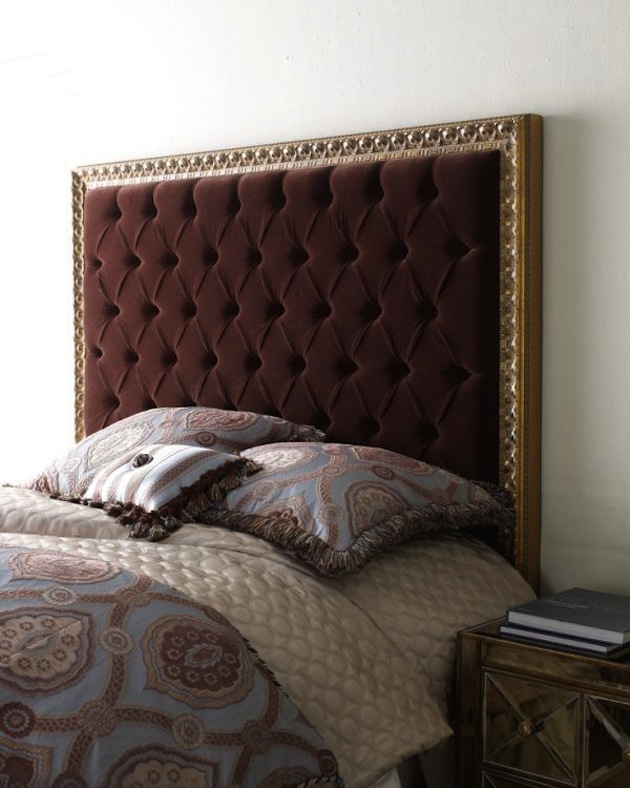
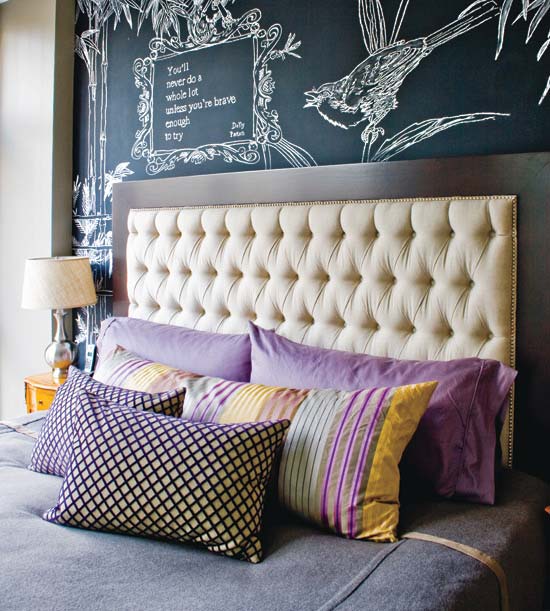
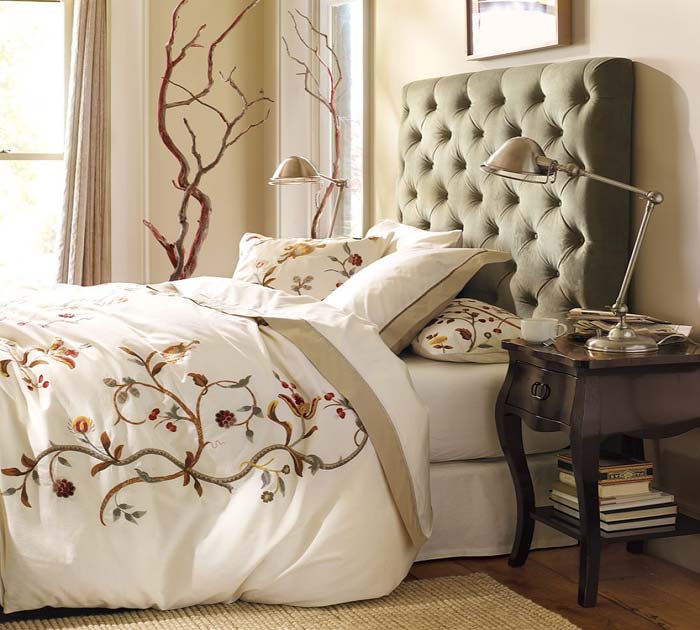
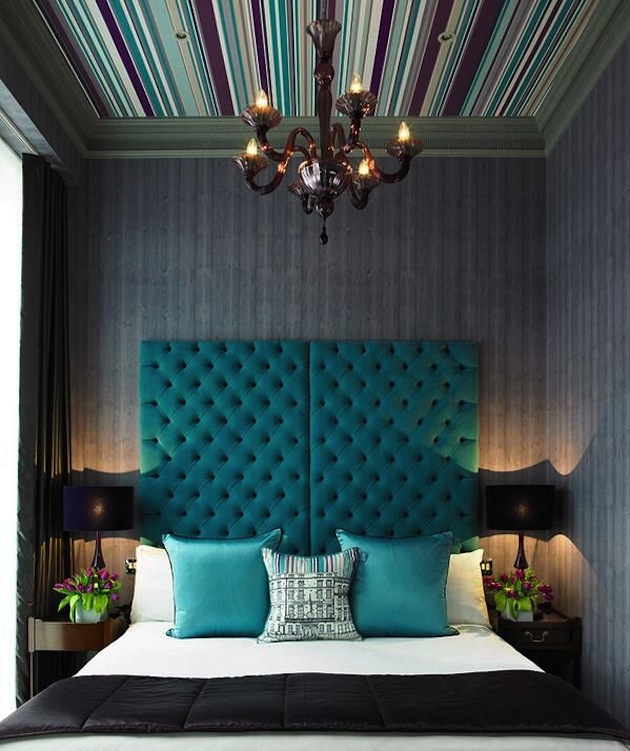
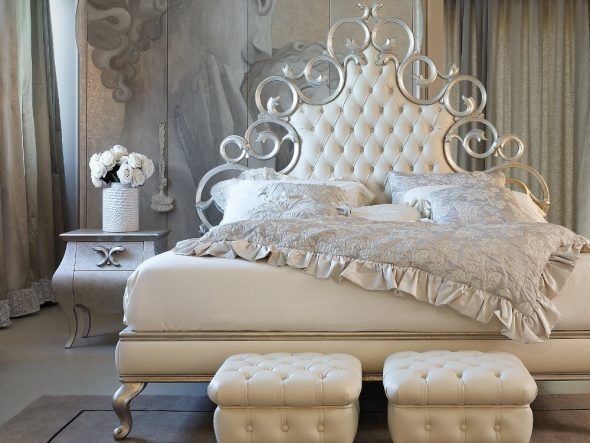
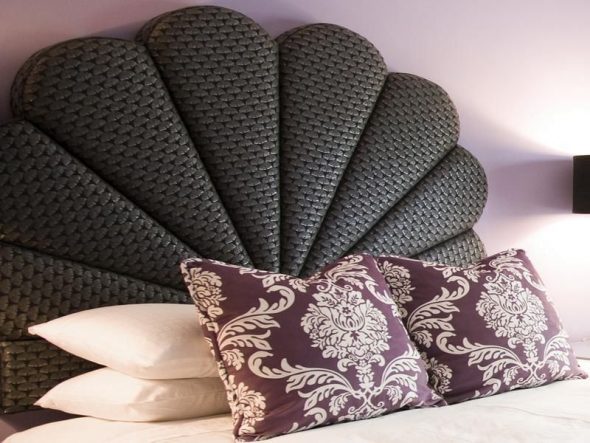
Constructions that use textiles are quite common.

Certain types of textiles suit different bedroom design styles.
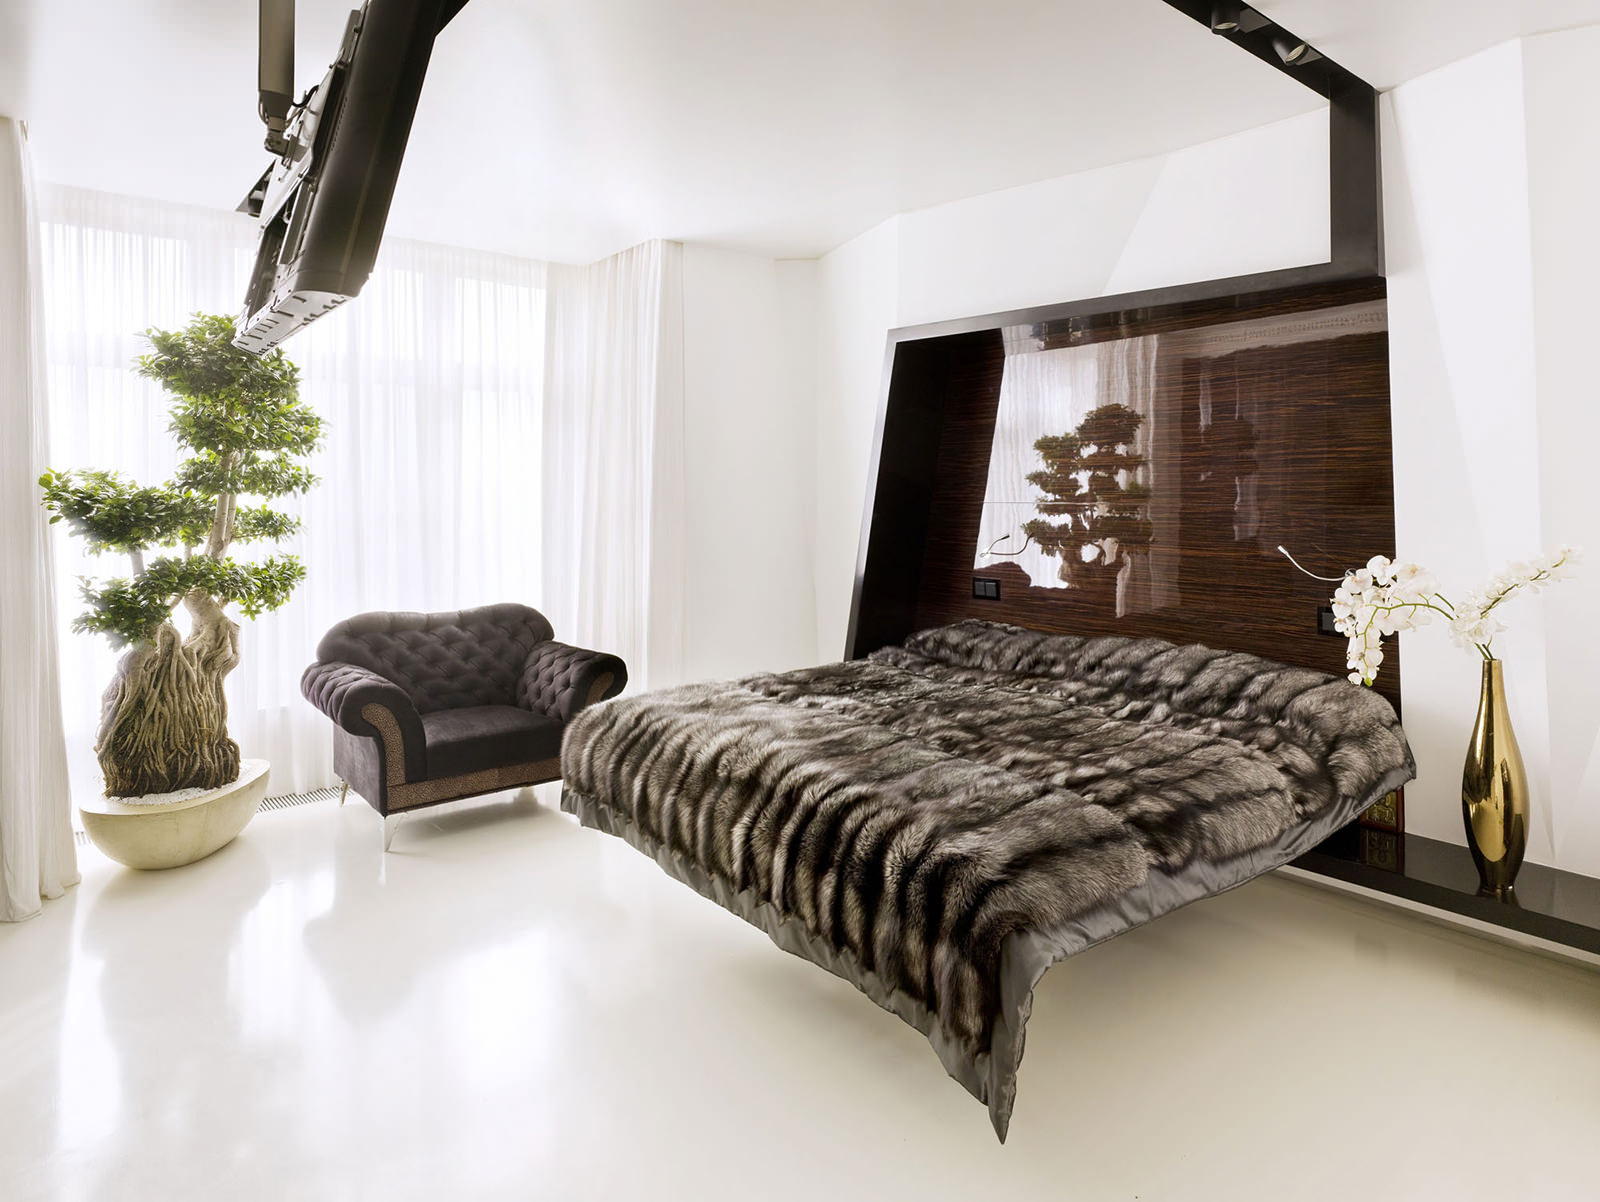
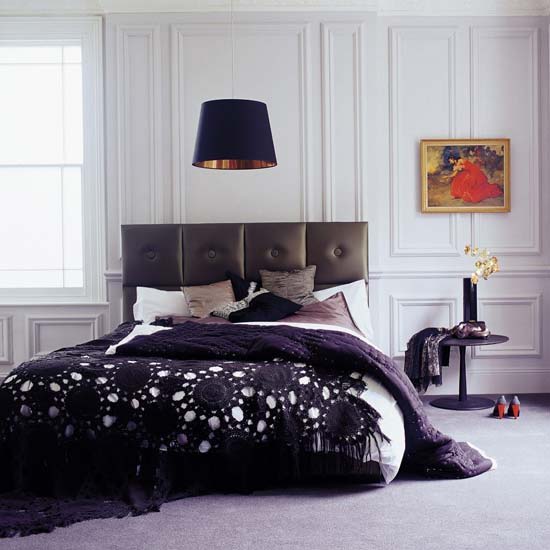
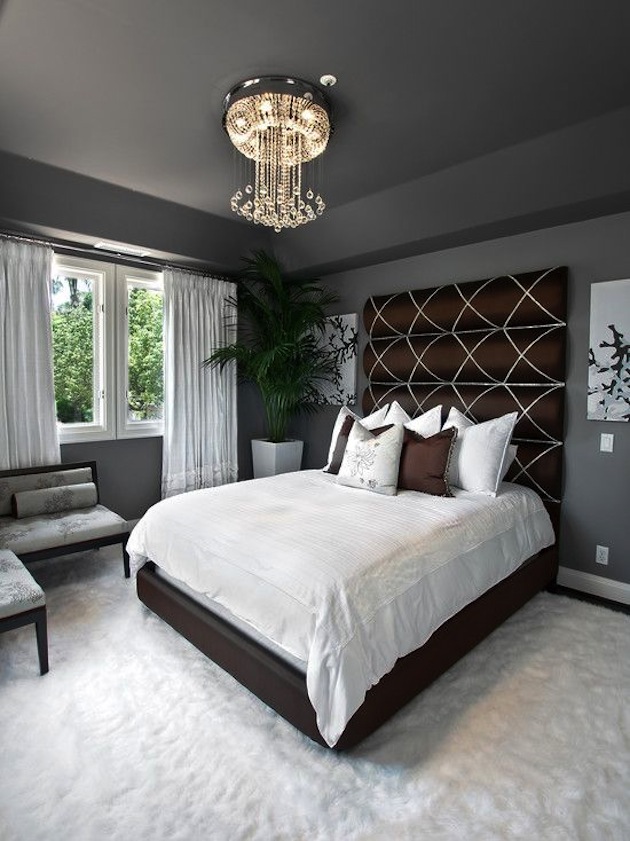
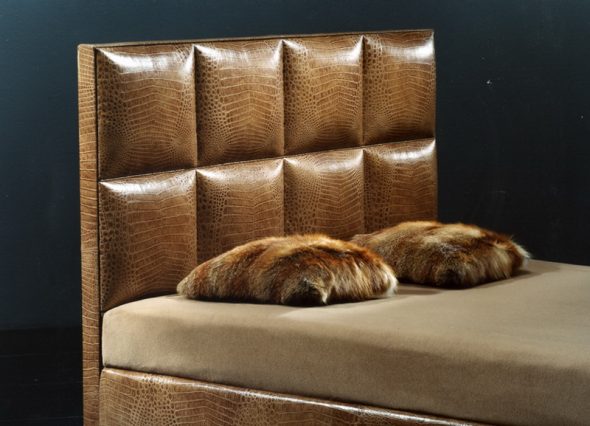
Bedroom furniture, the finishing of which is partially made of leather, looks stylish.
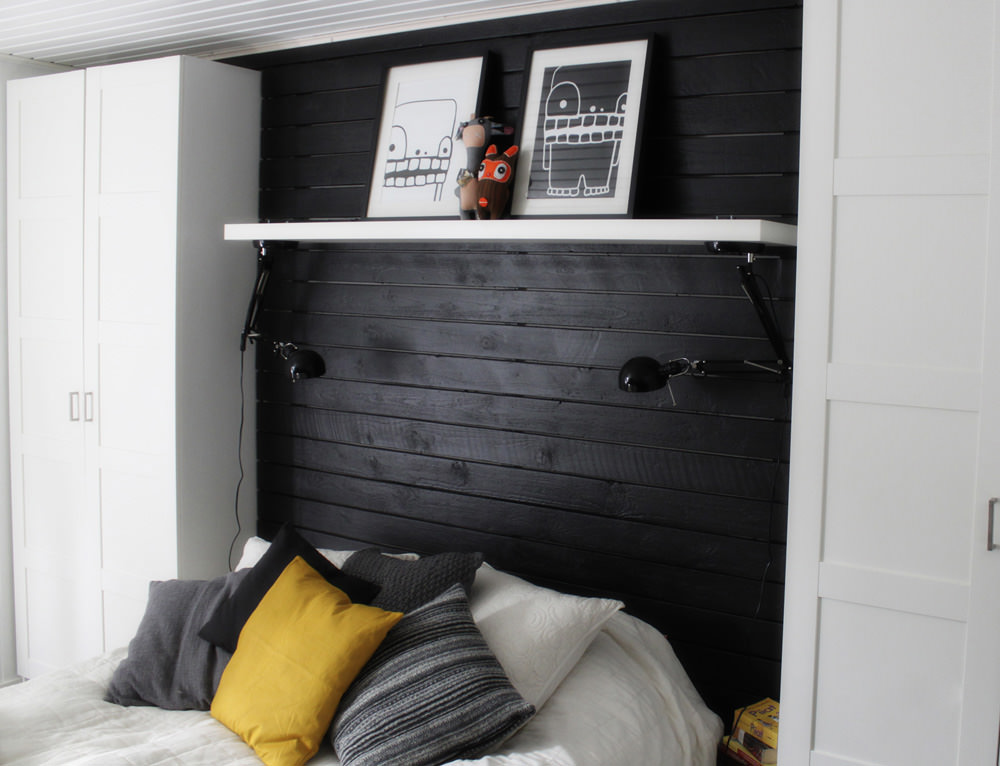
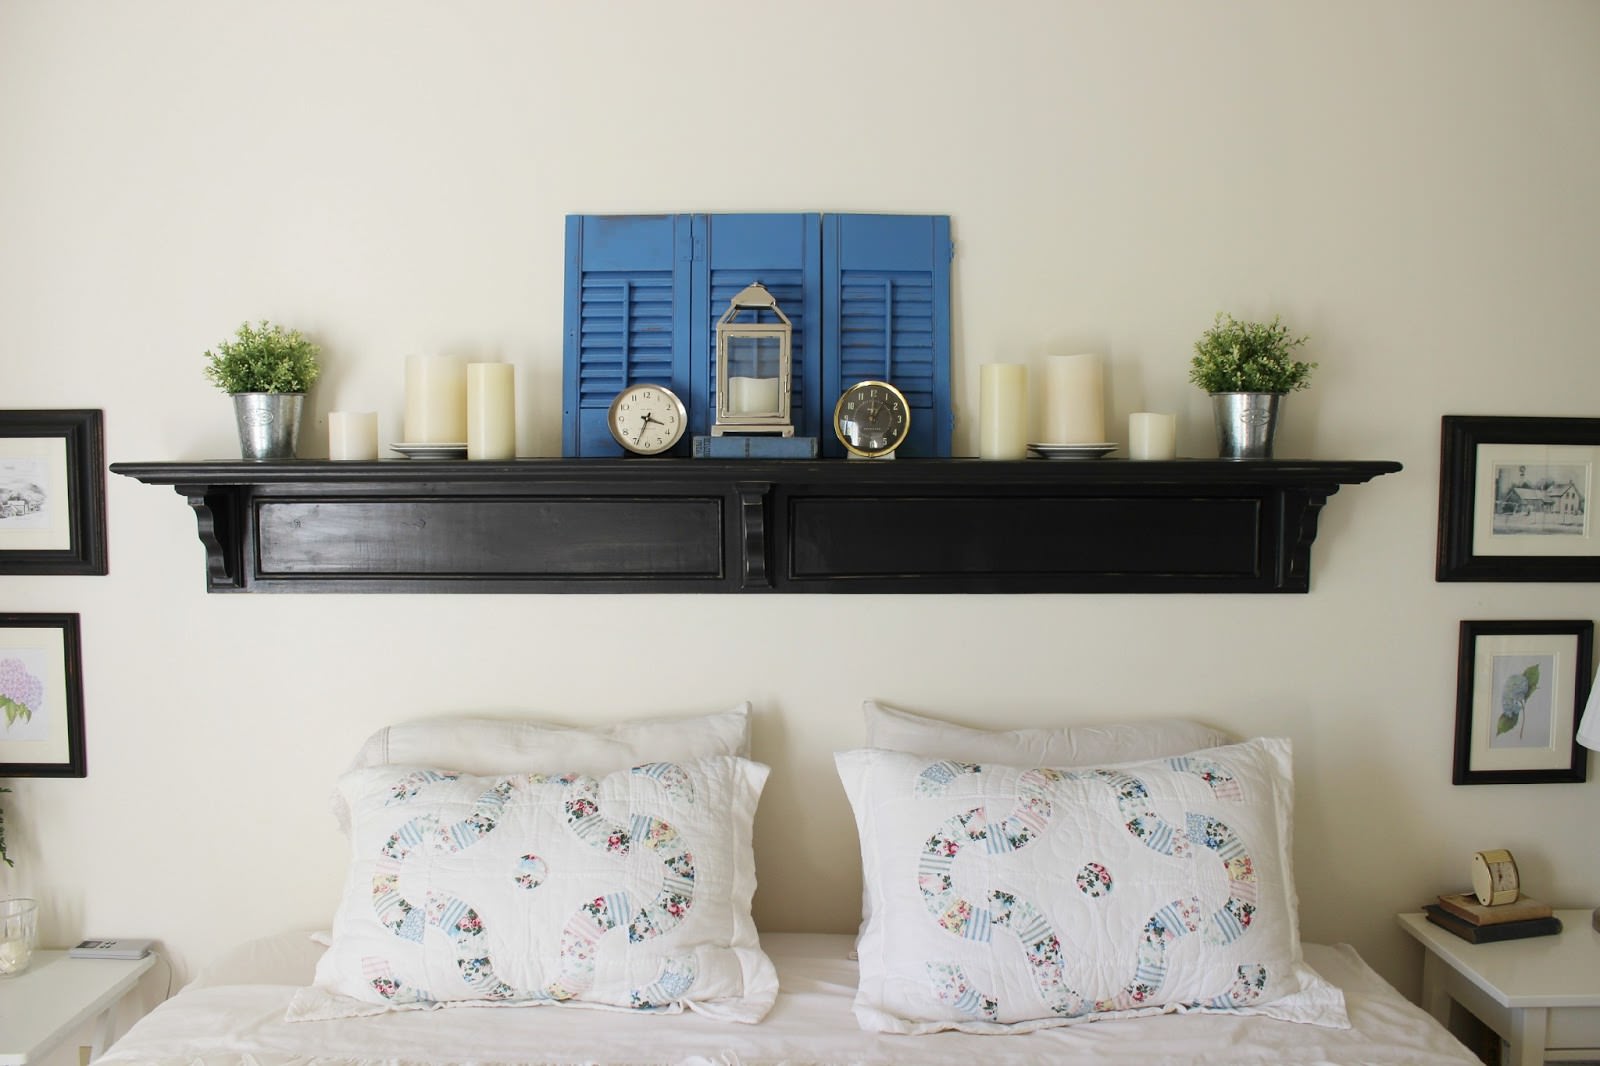
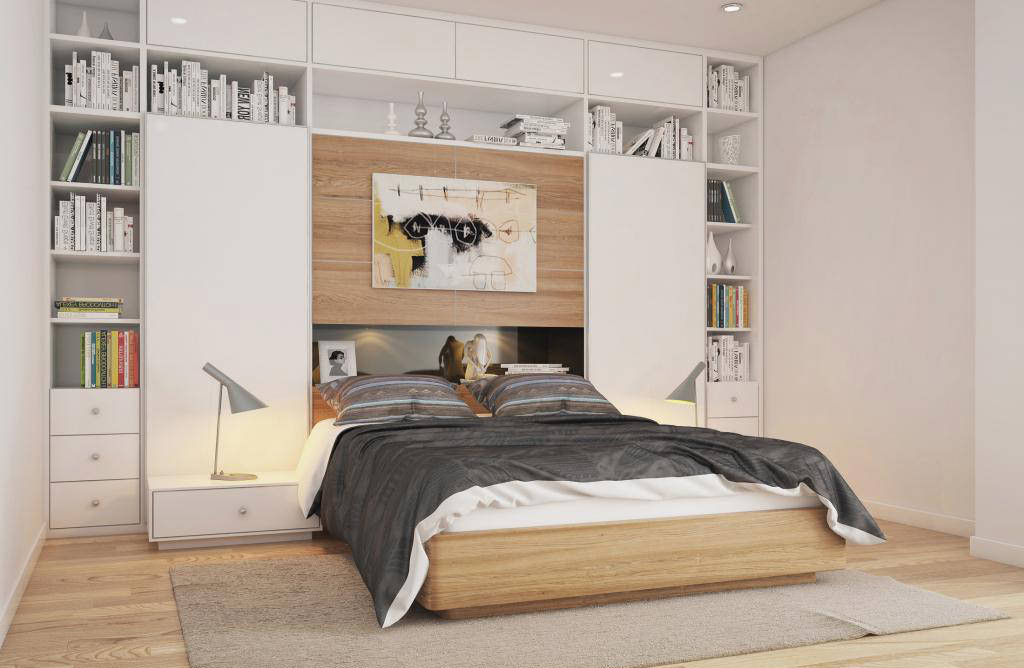
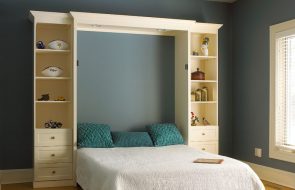
The design in the form of shelves allows you to use the space of the bedroom efficiently and free up extra space.

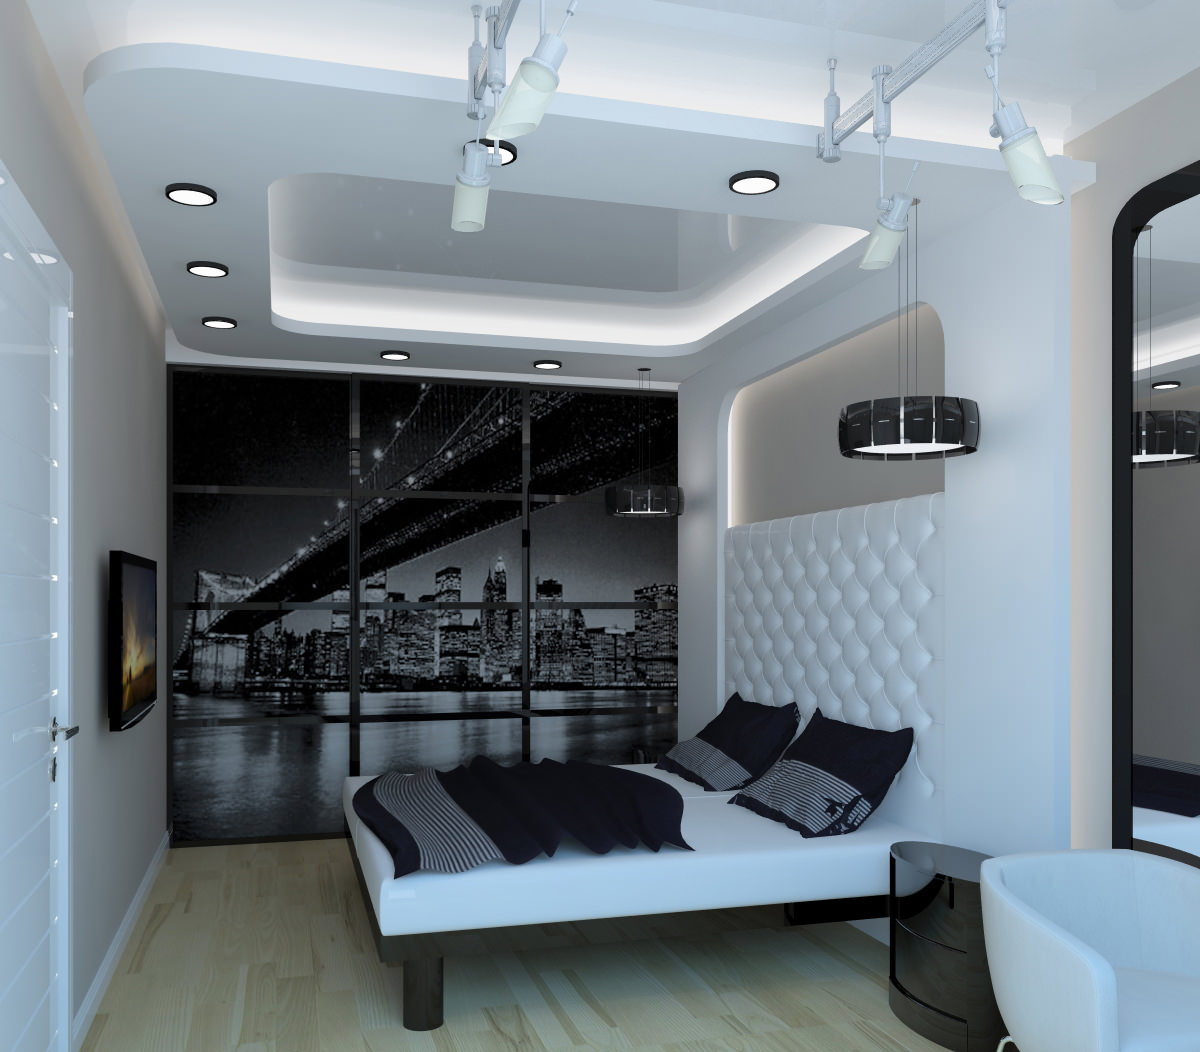
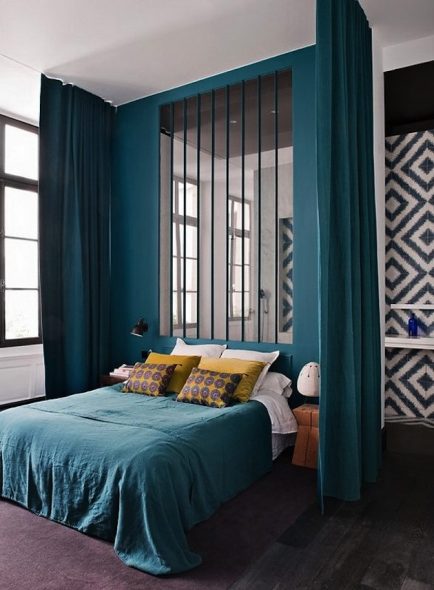
A mirrored headboard is suitable for those who are not committed to Feng Shui.
Materials and tools
It is quite difficult to cover the bedroom furniture with material yourself. But if you try hard and take your time, you can get a good result. It is better when the structure is made by a master. But it is never too late to learn something new.
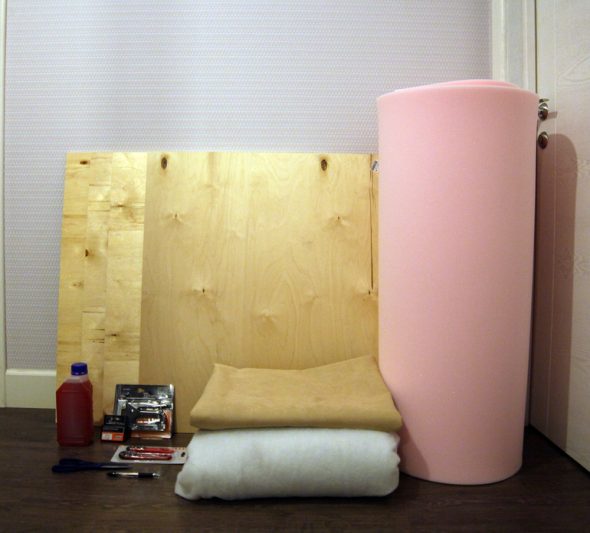
You will need:
- A sheet of plywood with a thickness of 8 to 12 millimeters.
- Foam sheet from 50 mm and above.
- A piece of decorative or technical material. It should cover the area of the headboard of the bed.
- Decorative details for design.
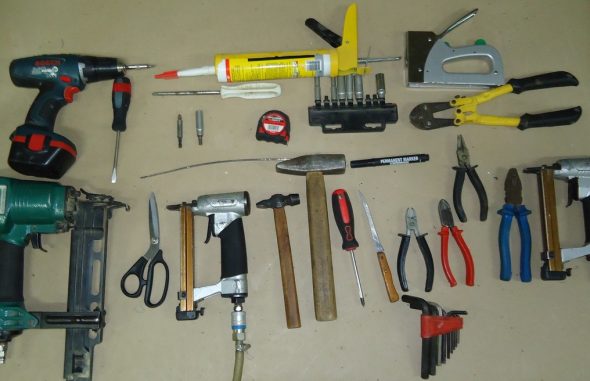
The plan cannot be accomplished without the following tools and materials:
- Electric drills;
- Jigsaw;
- Set of drills;
- Furniture stapler;
- A set of staples for a furniture stapler;
- Construction knife and scissors;
- Twine;
- Screwdrivers and hammer;
- Glue;
- Two sets of buttons;
- Sewing kit.
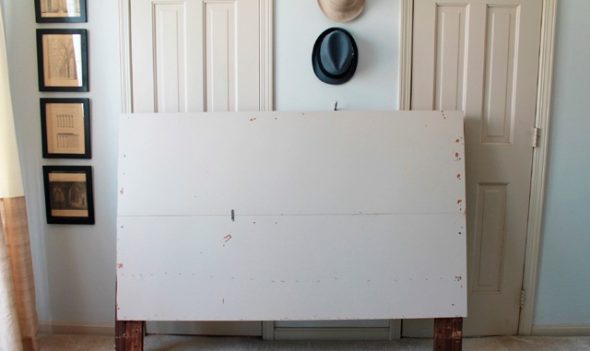
Preparing the back frame
First of all, we free the frame from the old sheathing. From the rear, we nail or screw a couple of boards or plywood along the length. If you wish, extend the base with 5x5 cm bars. They do not need to be attached to the frame. They will hold the staples that attach the soft sheathing.
Marking the holes
We mark the holes that we will drill to attach the material. The template for it will be a perforated Pegboard, in which tools and other attributes are stored.
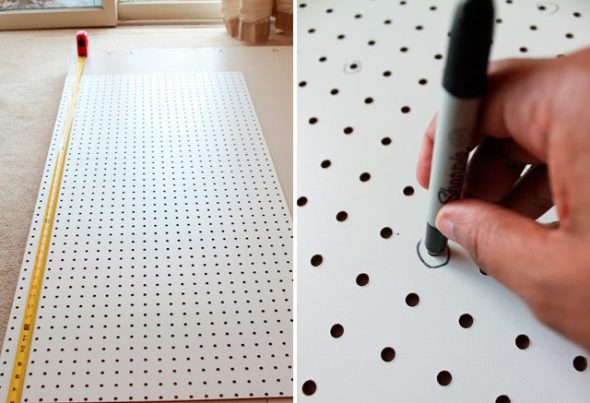
The entire work consists of the following stages.
- We measure the frame and mark its center.
- We “center” the plate relative to the center.
- We start 3 holes below the center that we marked.
- Using a marker, we transfer the points of the future grooves to the frame.
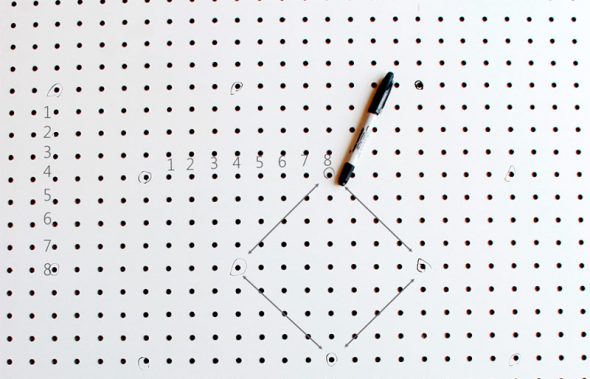
- We mark the holes already made on the tile so as not to get confused. We mark a point and put a new one after 7 holes.
- Continue moving in the same direction. The first point of the second row will be opposite the 4th hole. The result will be a rhombus shape.

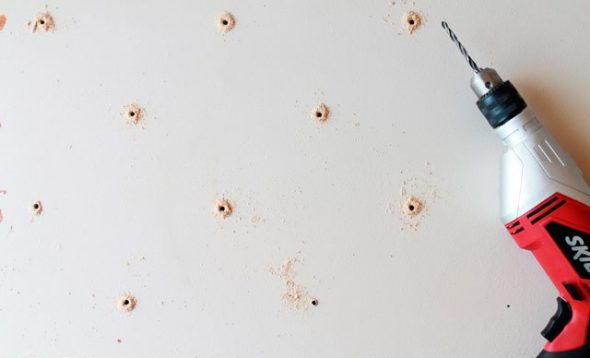
There is no need to apply dots all the way to the edges of the headboard, leave a few centimeters untouched. - Having reached the edge of the panel, we move it, aligning the marked points with the necessary holes. We continue this way until the half of the structure at the top is marked. We drill holes in the marked points for the needle to enter them freely. Shake off the sawdust.
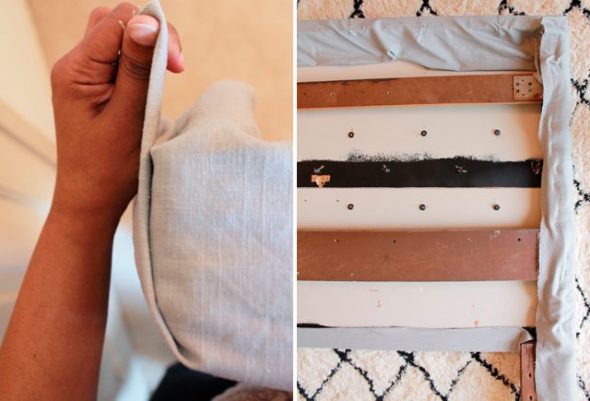
We fix the foam rubber and fabric
We take the foam rubber, dividing it into two pieces by size, and place it along the front of the back with the notches facing down. We align the sides and the top of the foam rubber. We cut off the excess.

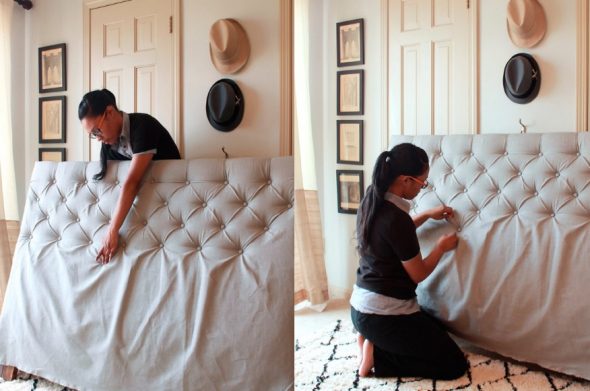
We drape with textiles. We leave a margin of 25 to 30 cm along the edge. We place the structure draped with fabric vertically and rest it against the wall. It should be taken into account that when it is being sheathed, we will need free access to it.

Covering the buttons
Now the most labor-intensive work awaits us – covering the buttons with fabric. The set of buttons comes with instructions for use, read them carefully and get to work. But first, a few tips on the work.
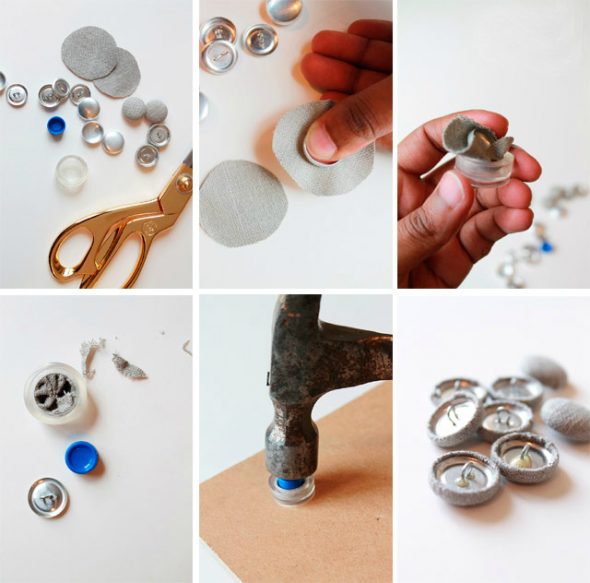
- We cut the fabric with a margin, slightly larger than the template included in the kit. The excess can be cut off after we drive the button cover into the shape.
- We place the fabric and the lid into the mold from the side, then carefully insert it.
- Before inserting the button leg, we lubricate its edges with a drop of glue. We remove excess solution with a napkin. It should dry at least overnight, so that the prepared buttons can be used.
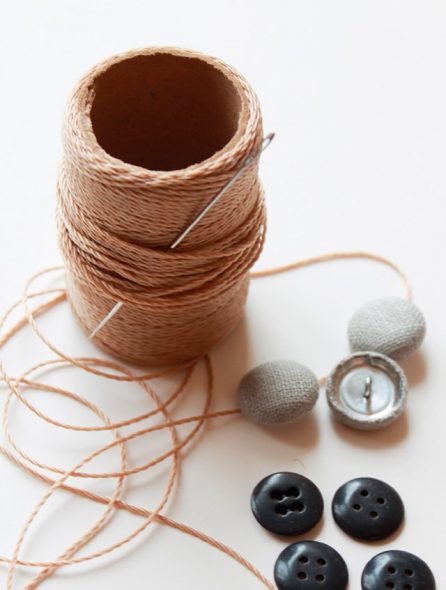
We sheathe the structure
To perform this procedure, you need to stock up on a long needle with a large eye, simple buttons and twine. You need to tie knots tightly on the rope. You should make several of them.
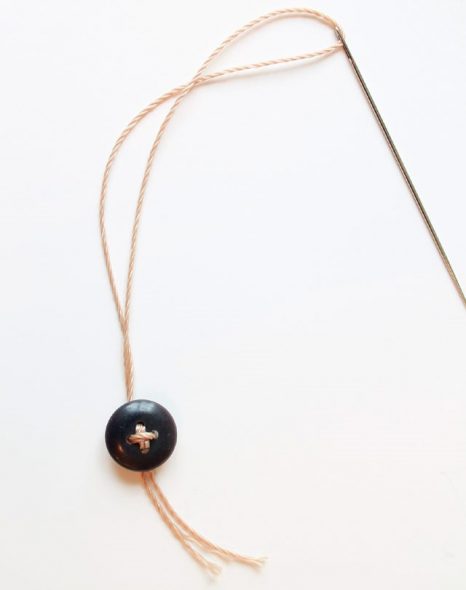
We insert a long piece of string into the needle and put the button through all the holes, as if we were sewing it on. We tie it in several knots.
We pass the needle through the upper central hole that we drilled and move from the back of the headboard to the front. We hold the needle strictly straight. We pierce the foam rubber with the needle, carefully pressing on it from the outside. We take out the needle that appears.
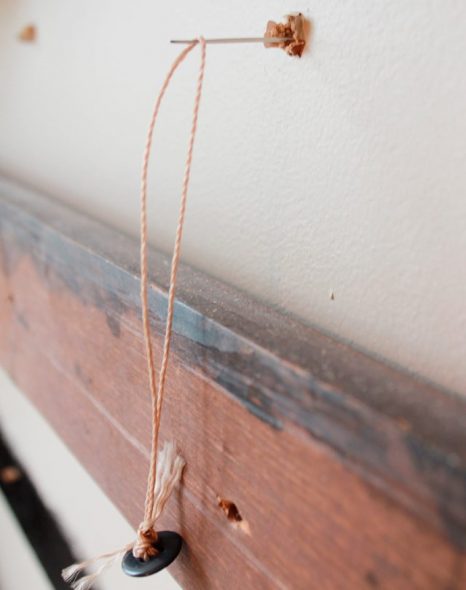
We attach the dried button to the front of the headboard. To do this:
- We pass the needle through the eye of the covered button;
- We turn the thread around the button and thread it through the eye again;
- We drown the button in the foam rubber, at the same time pulling the thread (the loop holds the button in this position);
- Cut the twine, leaving small tails;
- We tie the ends of the twine at the bottom of the button in the same way as with laces;
- We tie a knot on the back side, doing this repeatedly.
- We cut off the excess rope and hide the ends;
- We “pinch” the material, forming it into folds.
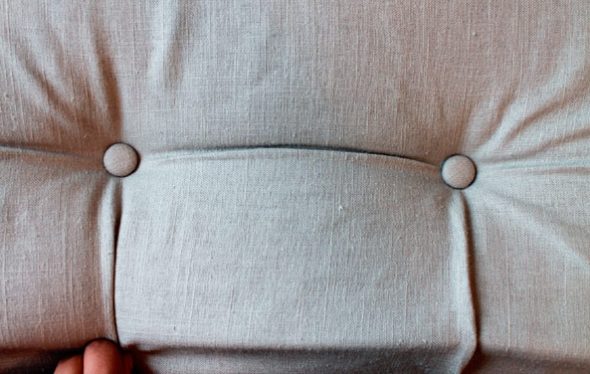
After securing the button, we form a fold that goes up. Then we attach the next one and form a fold again. Having sewn on four buttons, we stretch the material and fix the folds with staples.
In a similar way we attach the following buttons and form new folds of the 1st row. After its completion we continue stitching the remaining surface.
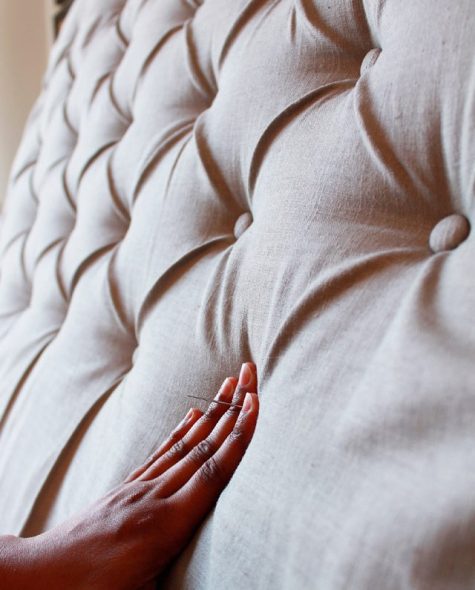
Now small folds are formed and secured after each button to create beautiful diamond shapes.
We fasten the fabric
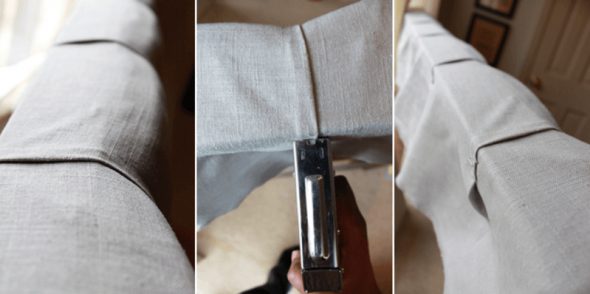
- After the base is completely stitched, it is necessary to secure the fabric around the perimeter.
- We place the structure on the floor with the facing down. A couple more staples can be driven into the fabric fixed at the top.
- To neatly design the corners, make folds, pulling the top part down. Close it with the stretched side and fasten the fold with staples.

The front side should look perfect, but the back view is not so important. - We continue the work in the same way. We try to achieve the ideal design of the outer side of the structure.
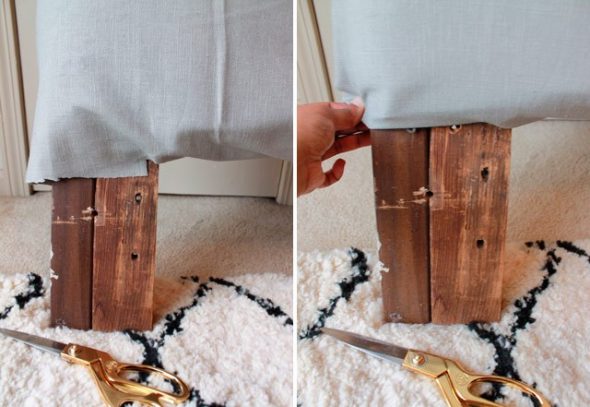
- Before fixing the bottom edge of the fabric, we put the back in a vertical position again and cut off the excess pieces of fabric near the legs.

There is no point in attaching the fabric to the front of the leg, because it is already well stretched at the back.
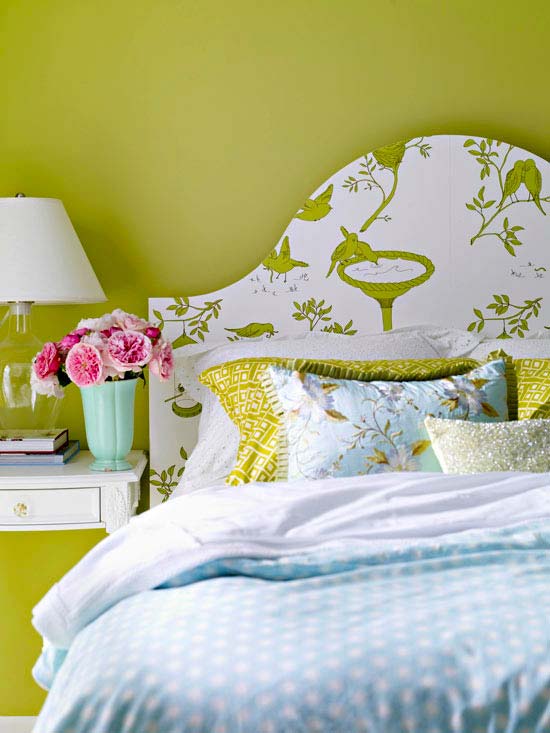
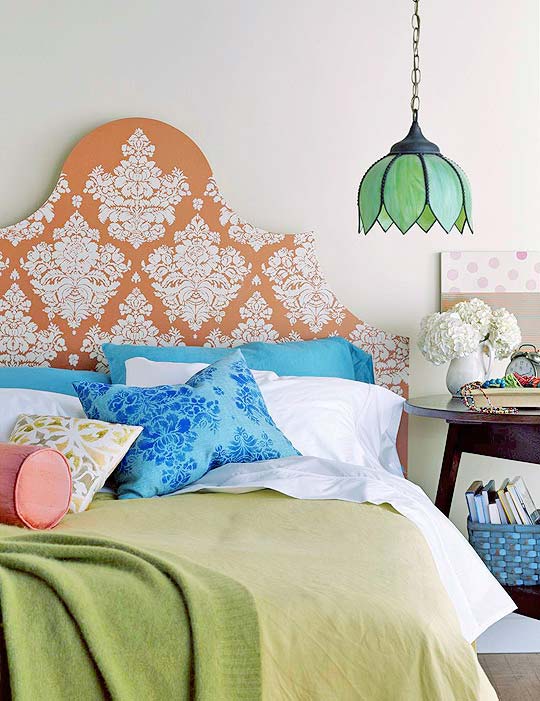
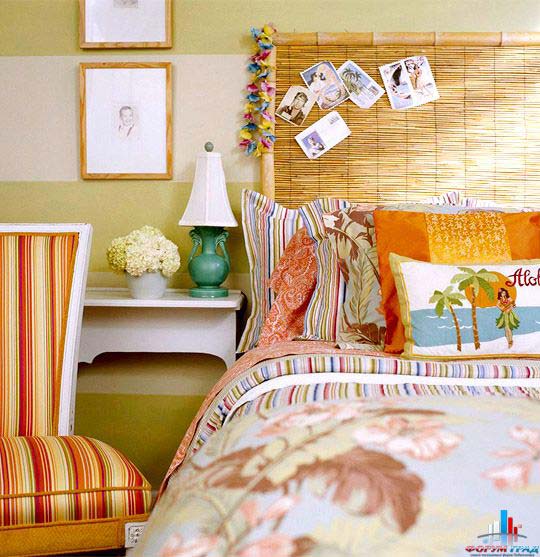
Bed Interior and Headboard Decor
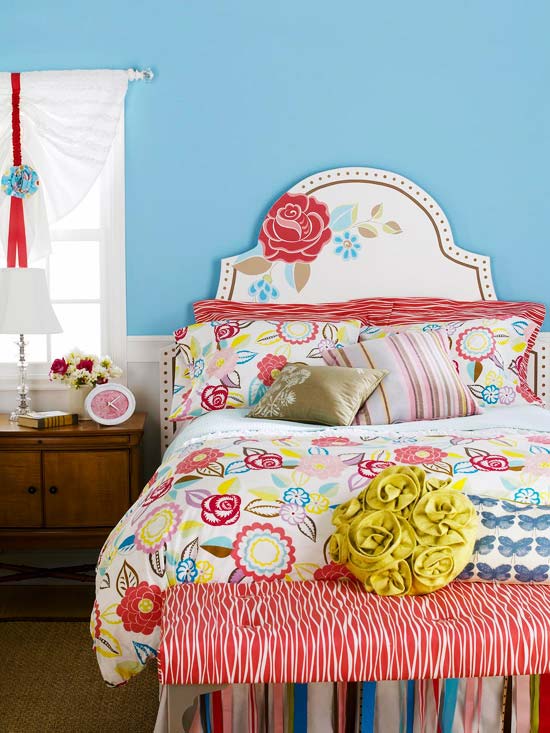
The interior of the bed depends on the owner's preferences. Usually the bed is bought ready-made or ordered from craftsmen. But now it has become popular to decorate the soft headboard yourself.
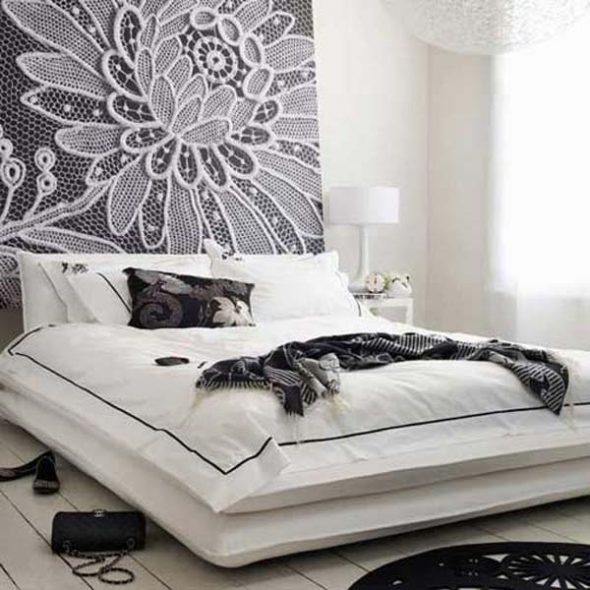
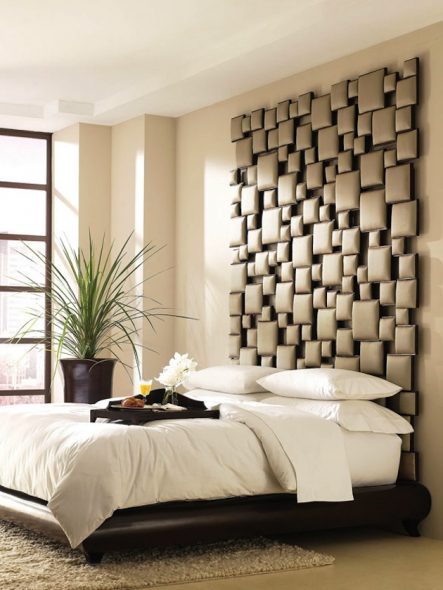
The decor of the soft headboard can be very different. It all depends on your imagination and financial capabilities.
VIDEO: DIY Soft Headboard.
DIY Headboard – 50 Photo Ideas: