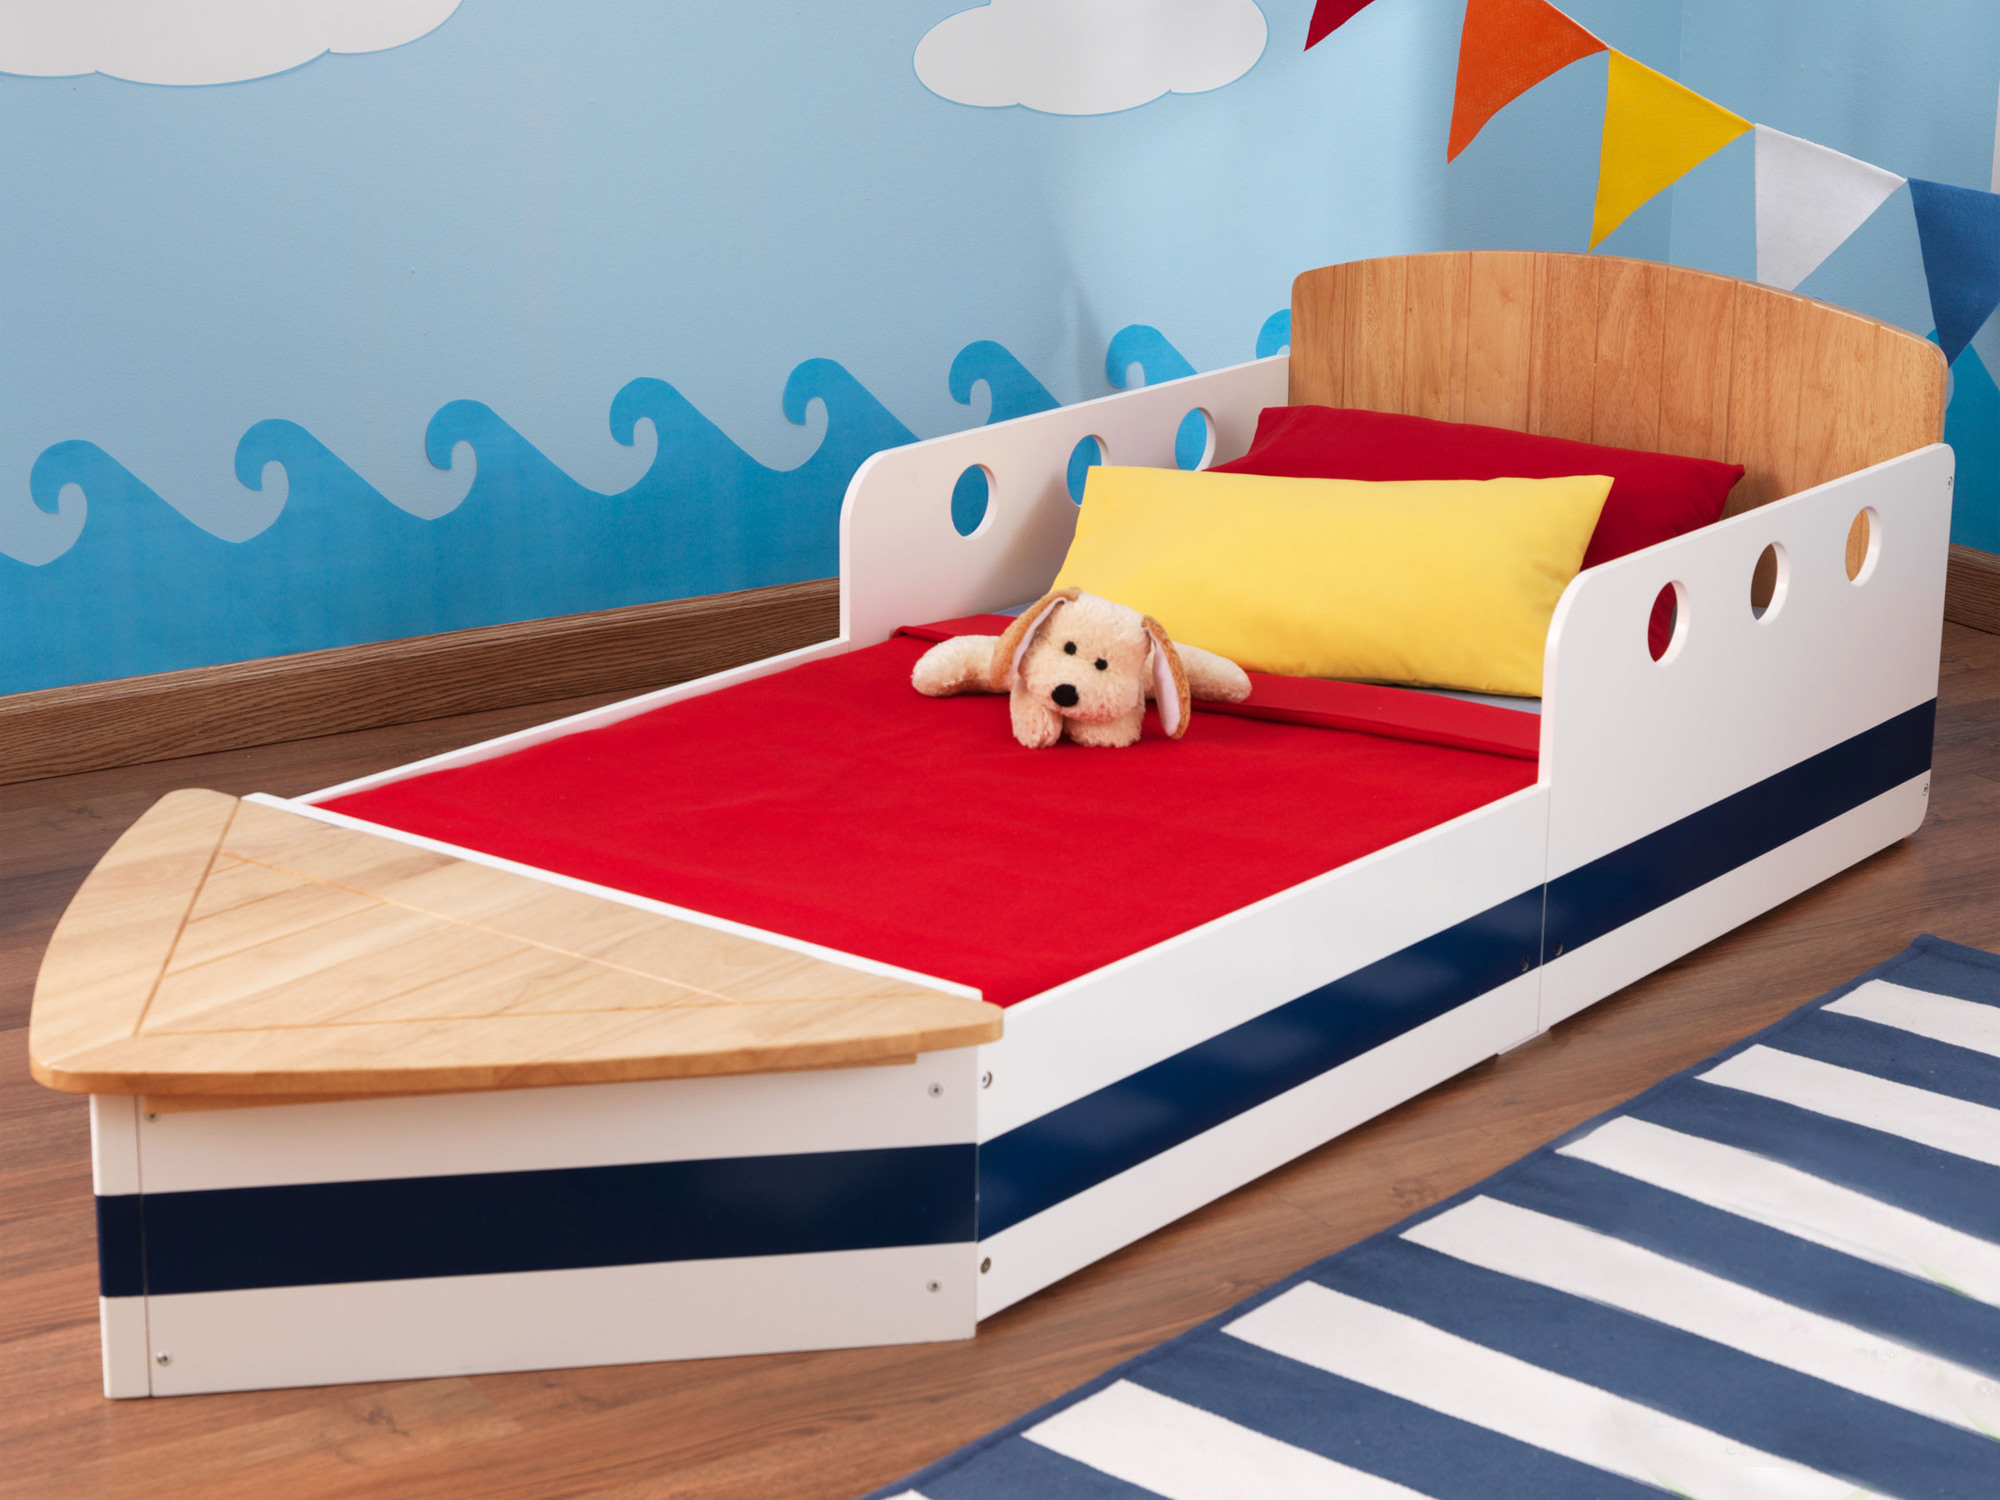
Parents strive to provide their children with the best. Prices in stores and markets are constantly rising. This applies to any goods, including furniture. Adults are forced to save on many things. They often have to decorate their homes themselves. A children's bed made with your own hands will cost less than one bought in a furniture store. It is not difficult to make a cozy bed for a baby. It can be done in a couple of days. Here you need to have the desire to work.
Content
Materials for children's furniture
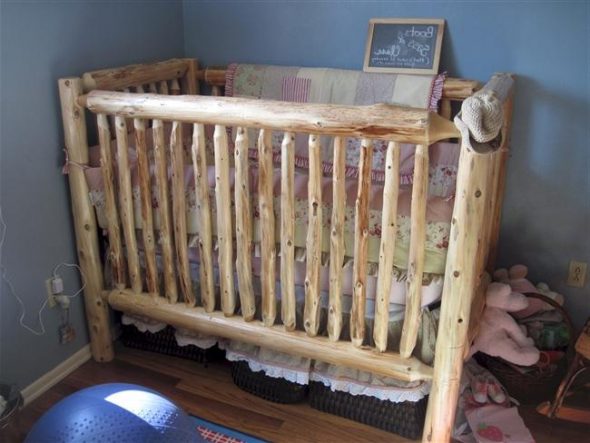
To make a bed with your own hands, you need boards and beams made of wood that does not absorb moisture well, such as pine or oak. First, two pairs of legs are made. For the headboard, the supports should be longer, since the back is higher here. This is necessary in order to be able to raise the pillow higher and lie down in bed, for example, while reading. Usually, a children's bed is made with your own hands using the following materials:
- bars;
- plywood;
- boards;
- PVA glue;
- stains;
- varnish.
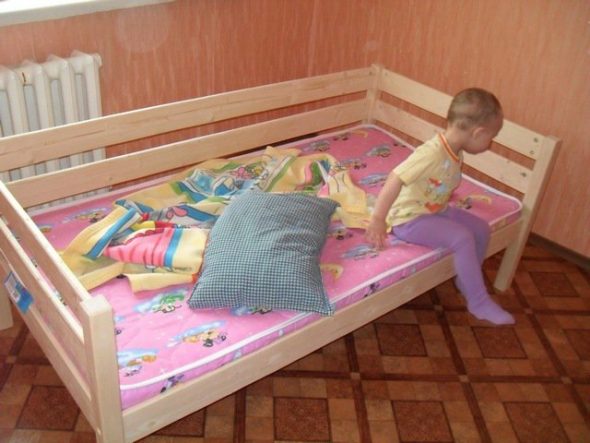
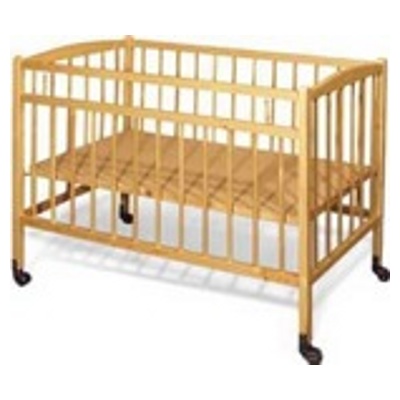
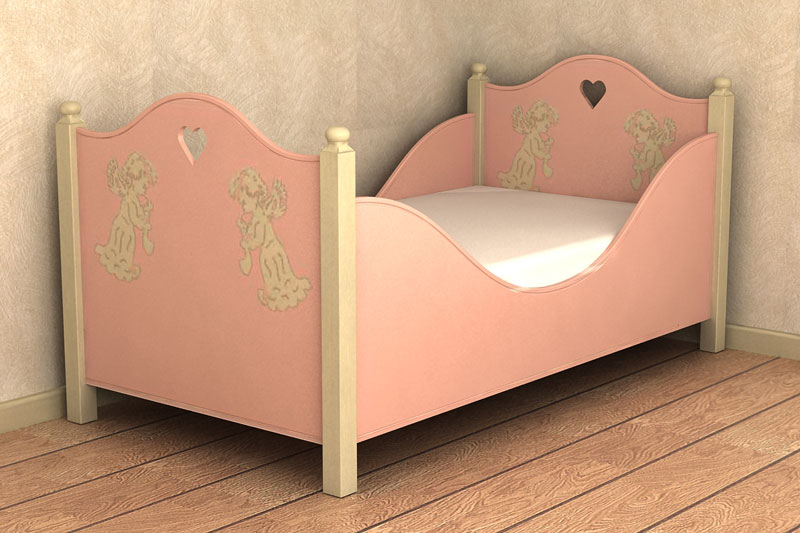
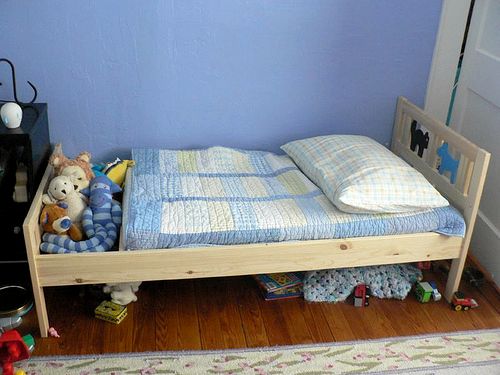
Natural wood does not emit harmful substances, so babies do not have allergic reactions. Such furniture is reliable, durable and looks good. A properly made crib is the key to comfortable sleep. If the room is small, the product is made in such a way that it serves as a playpen during the day. The size is taken based on the length and width of the mattress.
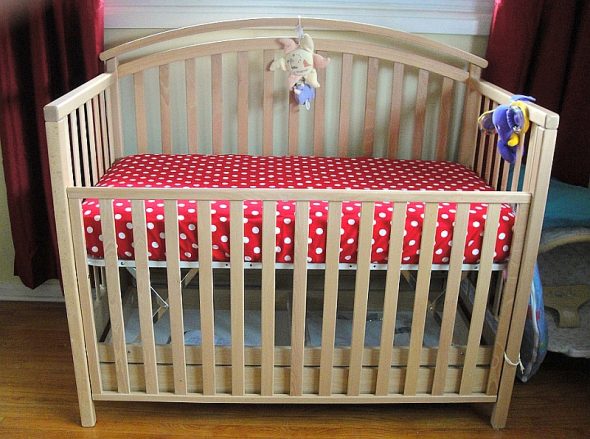
Usually it is not made by hand, but bought in a store. Children's mattresses are usually developed in collaboration with orthopedists. Here, special attention is paid to the correct formation of the spine, and the child's body's needs for healthy and full sleep are also taken into account.
For children aged 4 and over, a mattress on a spring block is purchased, where the individual elements are united by a metal frame. On it, the weight of the sleeping child is evenly distributed over the entire surface of the product. For infants, it is better to use mattresses without springs, made of foam rubber. In the baby's bedroom, it is advisable to place the bed away from the window opening. This will ensure that the child will not be blown by a draft.
There should not be a chandelier hanging above the child's sleeping place. Light bulbs often burn out. Sometimes it happens that when a lamp breaks, its glass flies in different directions. A glass fragment can easily injure a child. If there is a bookshelf hanging above the baby, you should make sure that it is nailed to the wall firmly enough.
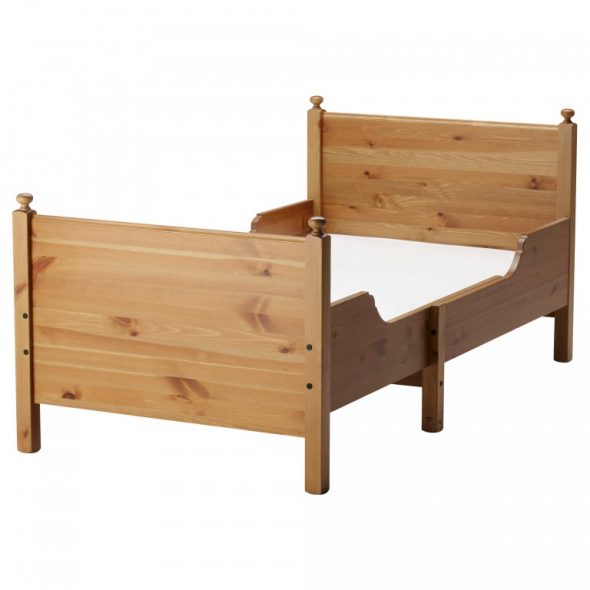
Basic details of wooden beds
Although wooden products for children are expensive, individual parts can be purchased at a reasonable price. It is advisable to carefully sand the purchased blanks with your own hands so that the child does not get hurt by any protruding splinters. The product consists of the following parts:
- frame;
- lamellas;
- sidewalls;
- backs;
- legs.
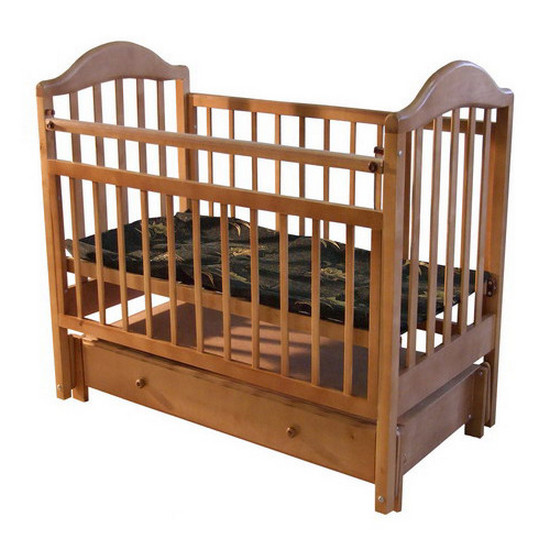
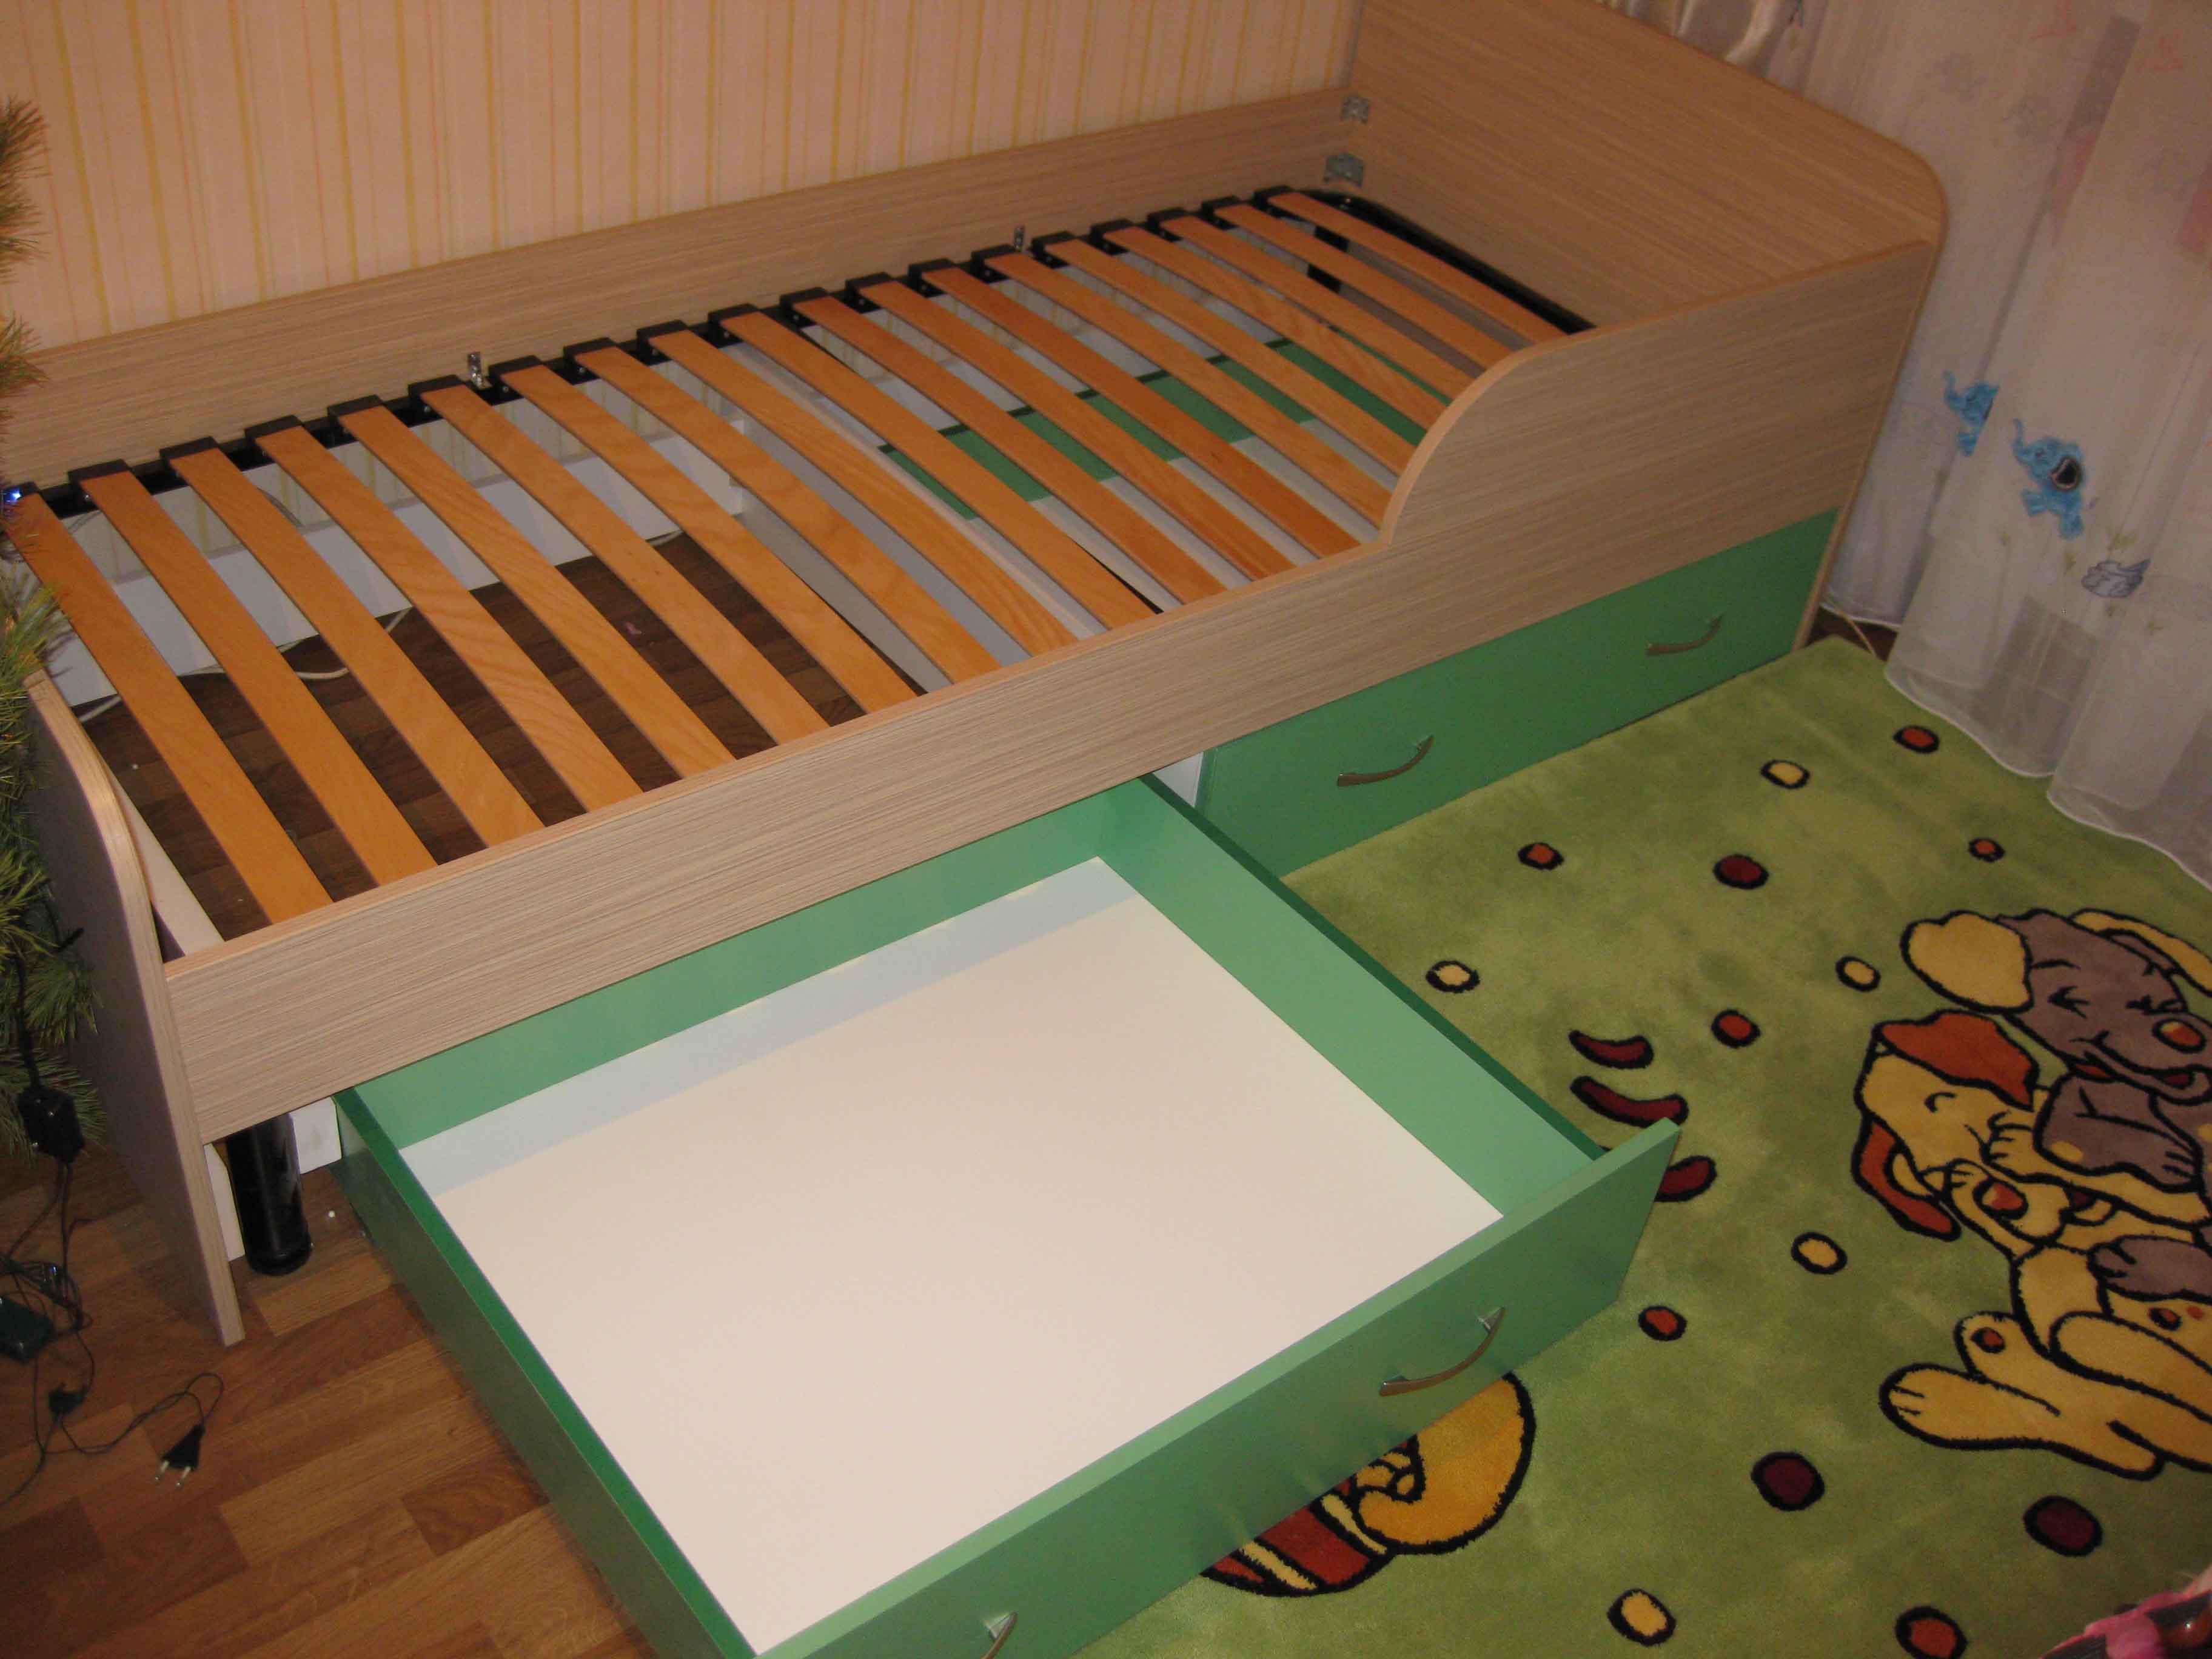
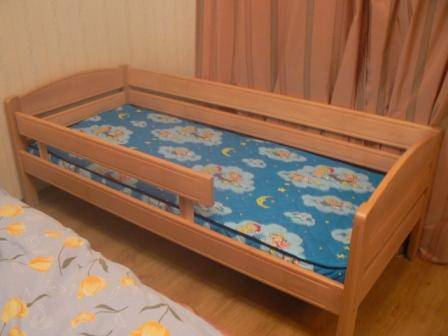
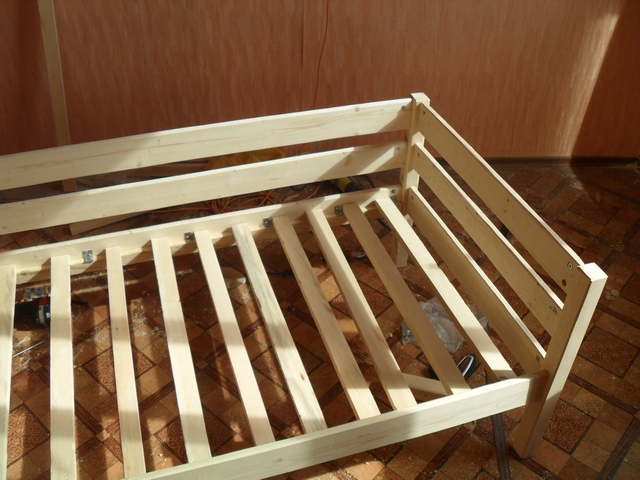
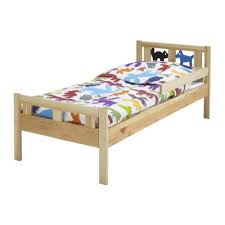
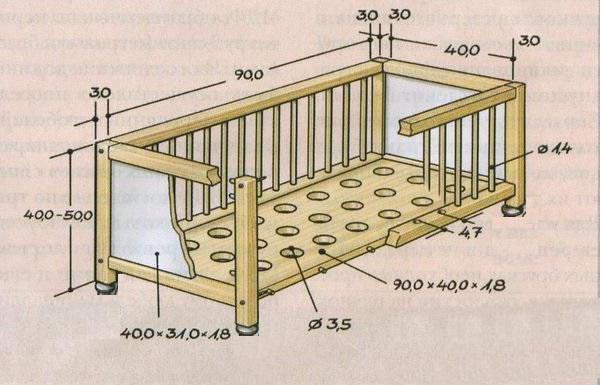
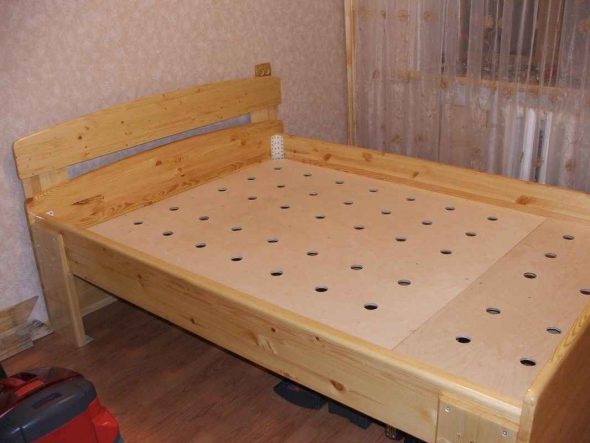
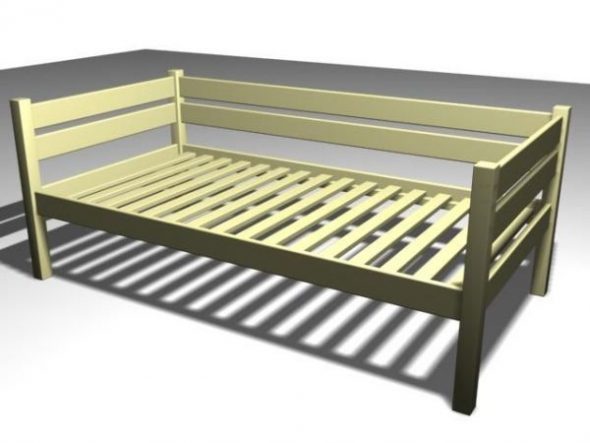
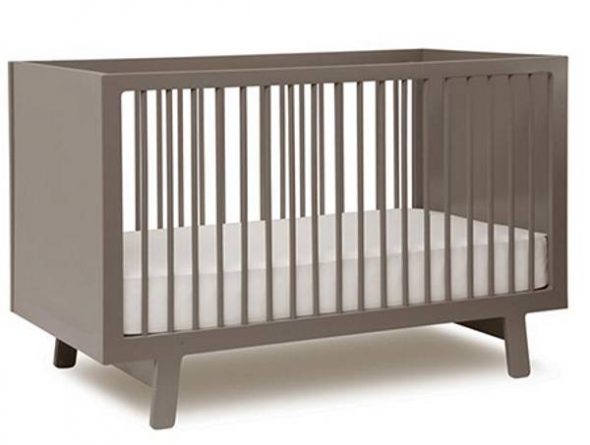
The frame is made of planed and well-sanded board. The slats that support the mattress from below consist of planks. They are inserted into the grooves cut in the frame and form a lattice for ventilation of the mattress. The distance between them is about 5 centimeters. The sides serve as a fence, thanks to which the child will not fall down. The support backs are filled with plywood sheets.
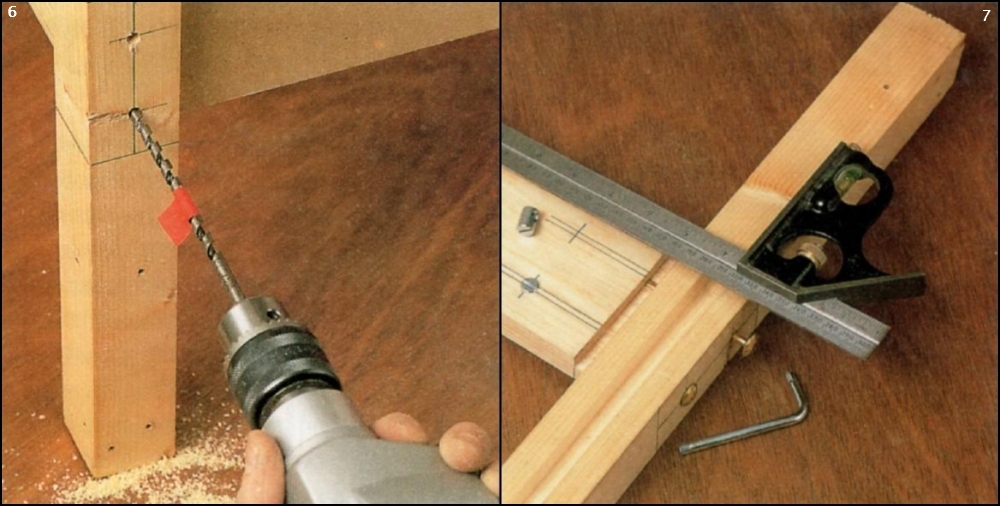
To support the mattress, special grooves are cut in the frame. Wood glue is applied to the ends of the slats. The slats are inserted into the holes. To make the fixation more reliable, screws are screwed in from the outside. The backs are made using vertical bars connected by crossbars. Then plywood or wooden rods are installed.
The back and front sides are filled with planks and fixed with glue. The near side is made one third lower than the far side. This makes it easier to look after the baby. The holes in the crossbars are filled with PVA glue. Then the wooden rods of the fence are inserted there. The parts should fit tightly into each other, without any play. The square should be used to check the correctness of the angles. All angles should be 90 degrees. The assembled side panels are placed on a flat surface until the glue dries completely.
Necessary tool
If you poured a lot of adhesive into the grooves, some of it will, of course, come out. There is nothing to worry about, since the glue can be easily cut off with a knife when it is dry. Next, the remaining panels are attached, which will serve as the headboard and footboard. They are screwed to the side panels with countersunk screws. Each screw must be completely sunk so that their heads cannot be felt. Later, these recesses are filled with putty and sanded. The following tool is used during the work:
- wood saw;
- hand router;
- grinding machine;
- corner;
- screwdriver.
After the bed is assembled, it needs to be decorated. To do this, all the cracks between the connected parts are filled with putty. When the putty is completely dry, the treated areas are sanded with fine sandpaper. Then the assembled structure is treated with stain. This will protect the wood from the negative effects of moisture. After the stain dries, a layer of varnish is applied. Since the furniture is intended for a baby, all impregnations must be natural, not containing toxic and aggressive substances.
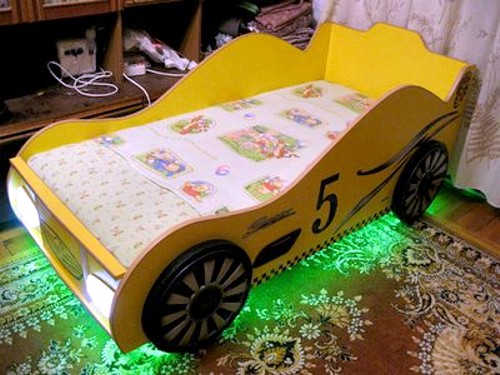
During assembly work, the fastening screws should be screwed in to the maximum possible depth so that they are completely recessed. The resulting recesses are later closed with plugs or filled with putty. The assembled structure must be reinforced with special corners. Then the finished product is covered with varnish or wood wax. If you decide to add wheels to the crib, do not forget to make locks for them.
The Benefits of DIY Children's Furniture
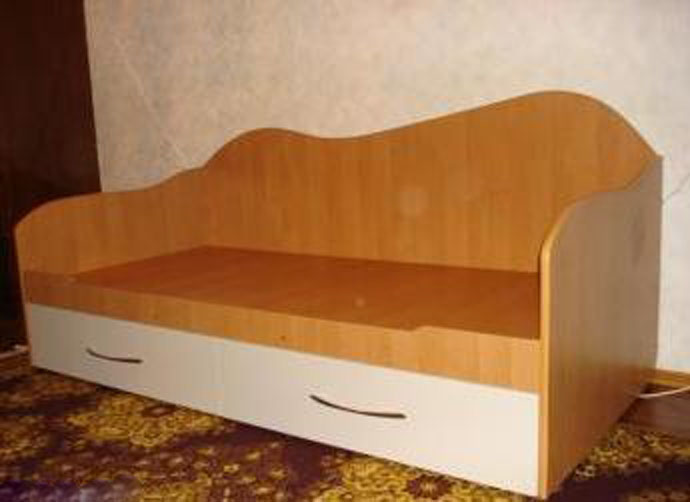
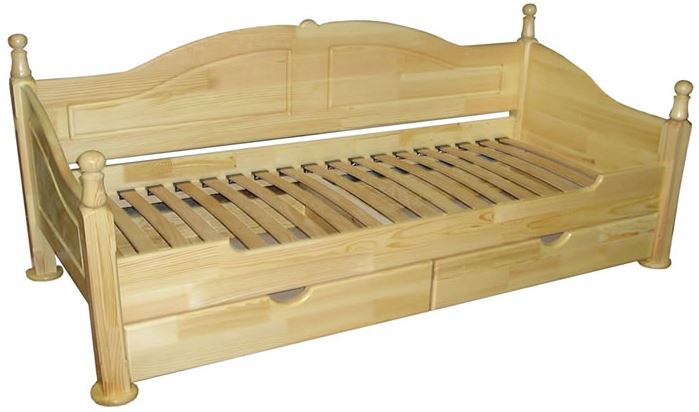
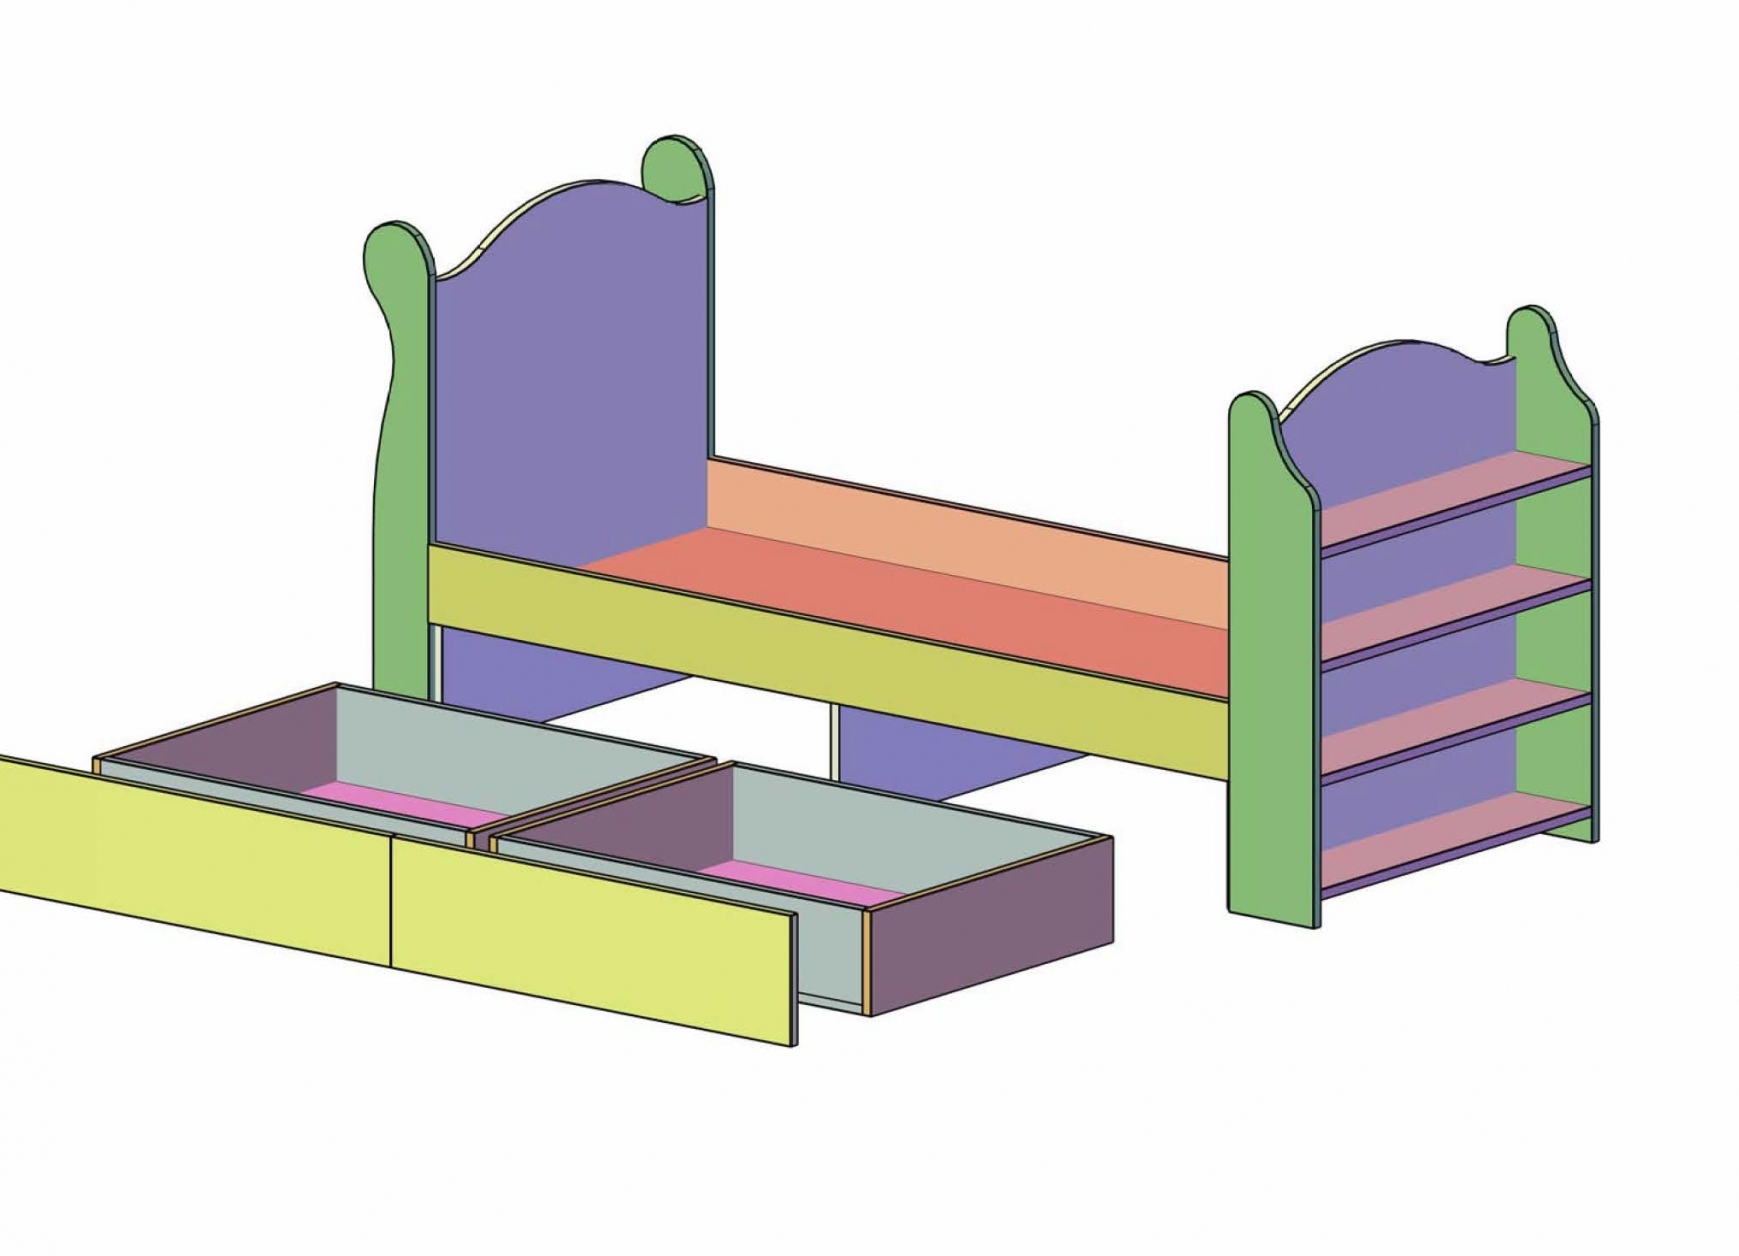
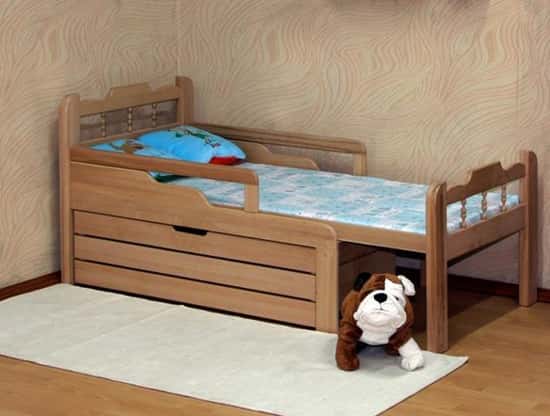
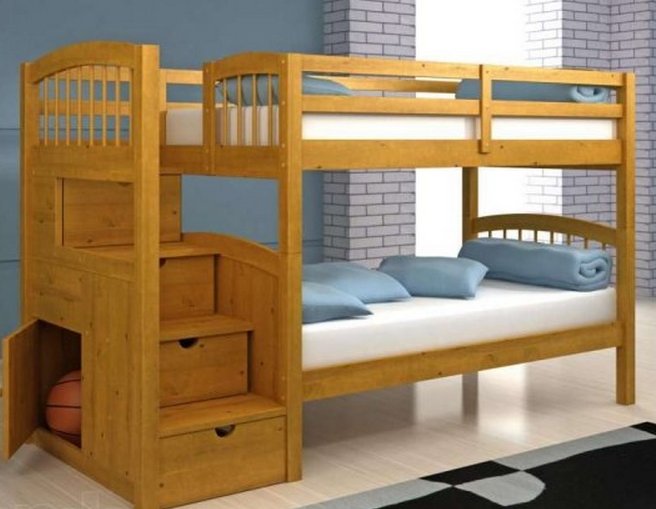
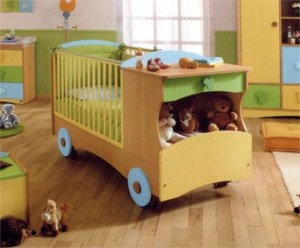
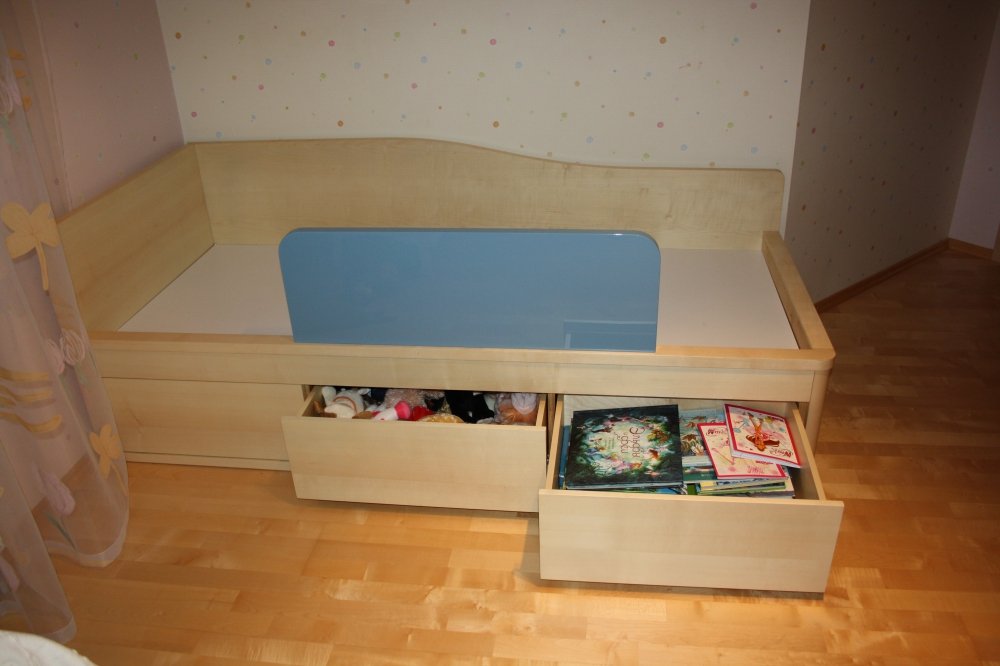
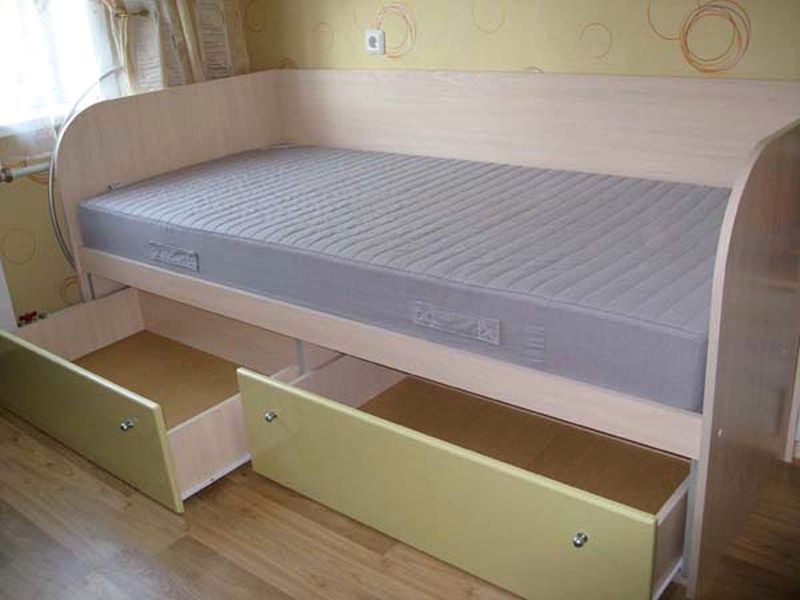
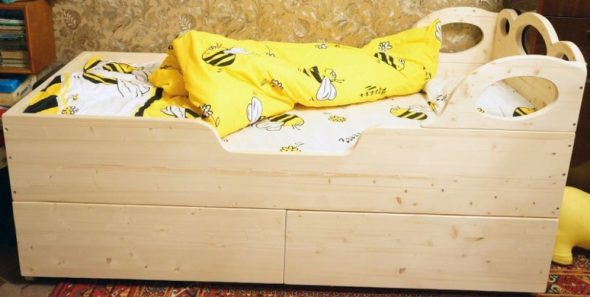
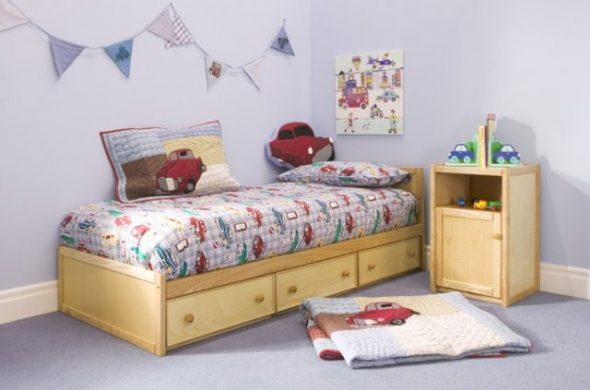
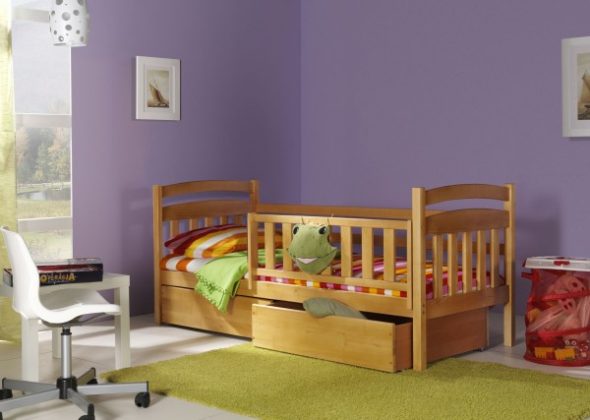
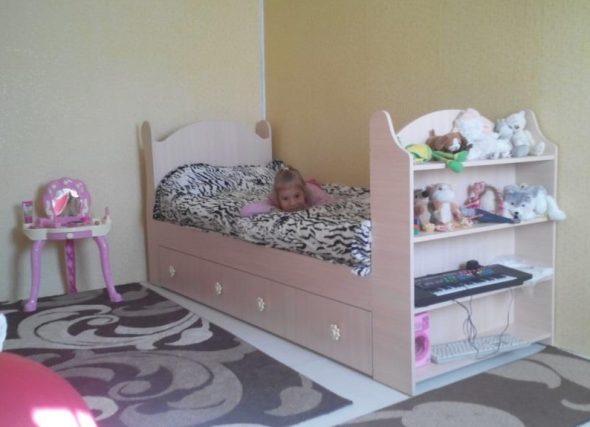
If the baby's room is small, the crib can be made with drawers. They are convenient for storing toys, bedding and baby clothes. Such functional furniture saves space, eliminates the need to clutter the room with additional cabinets or chests of drawers. The advantages of a do-it-yourself baby bed are:
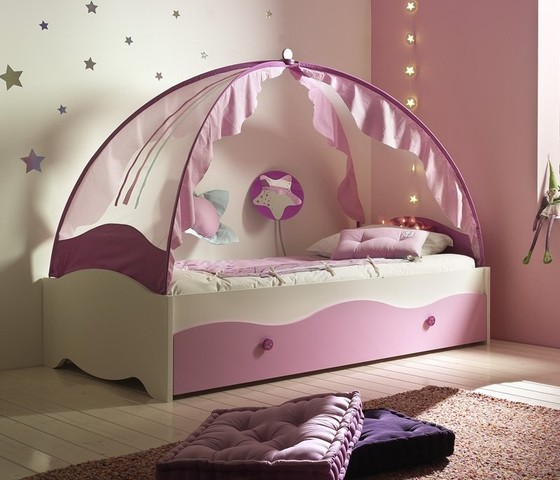
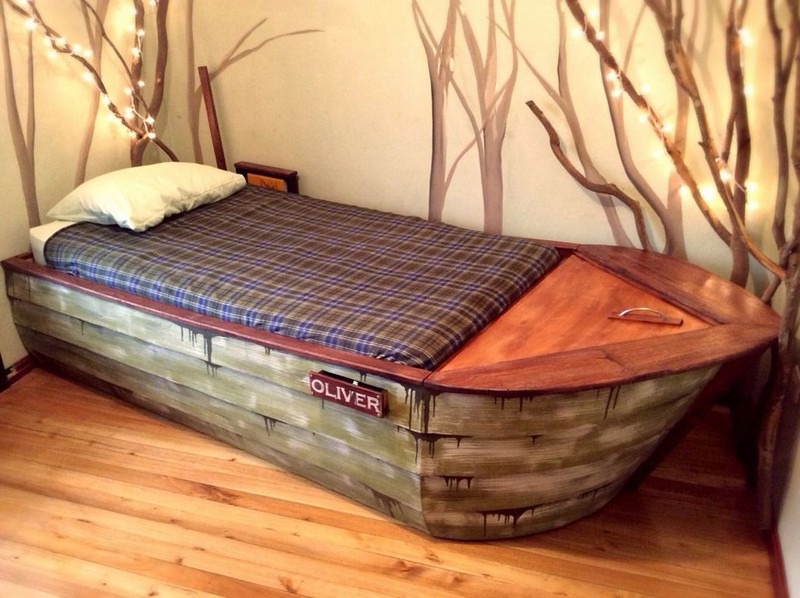
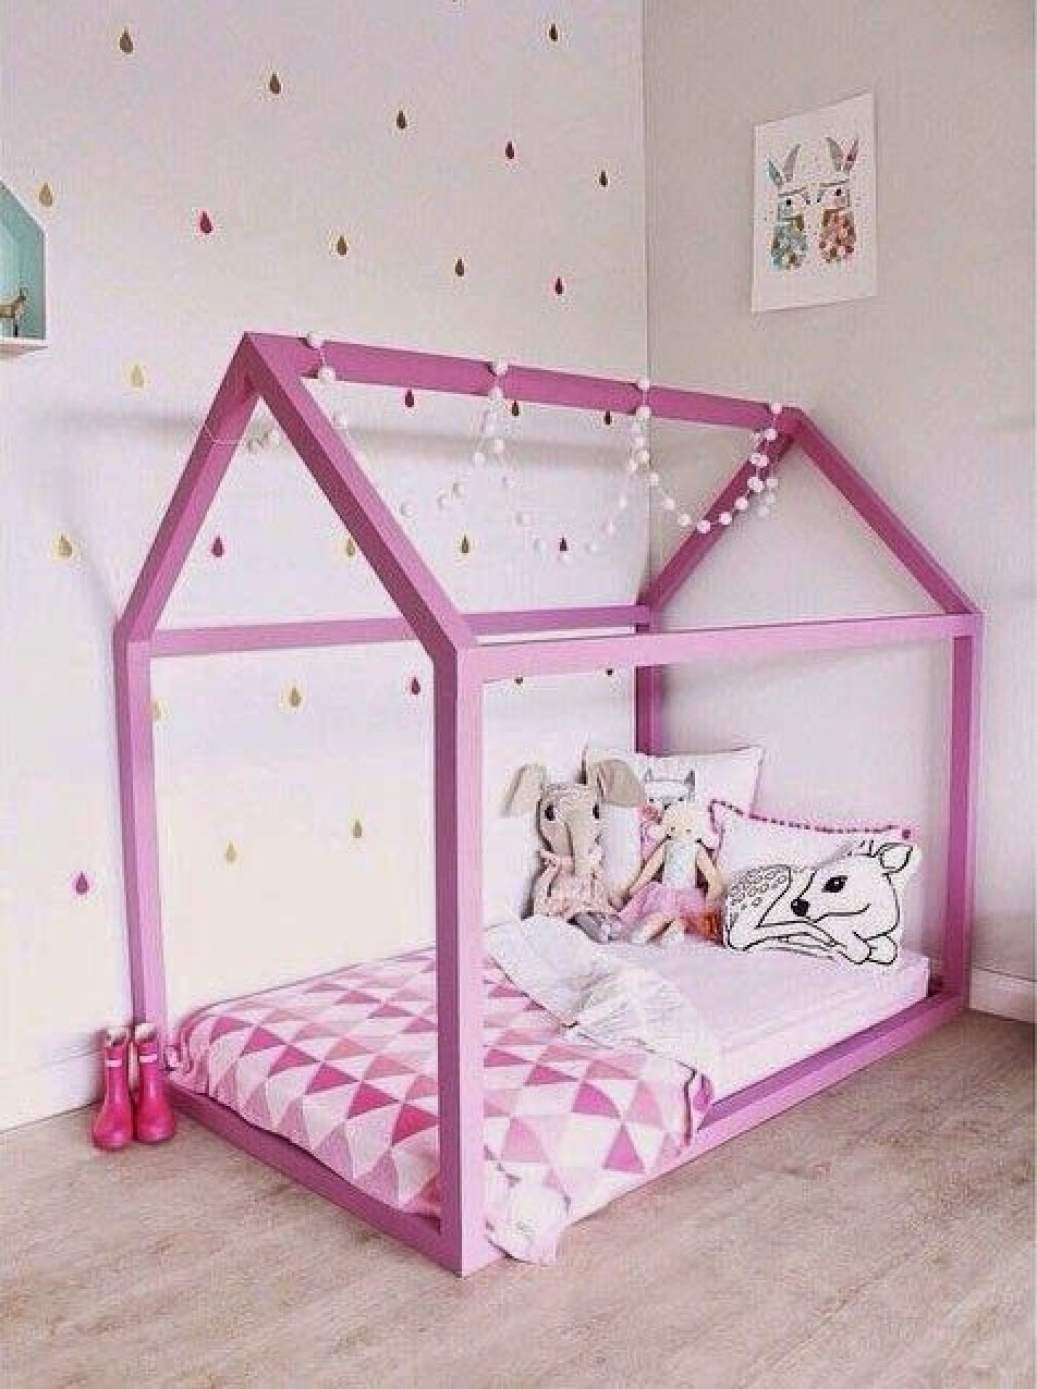
- the ability to design a model that fits perfectly into the interior of the room;
- confidence in the quality and reliability of the product;
- the possibility of using only materials that are safe for health;
- relatively low cost.
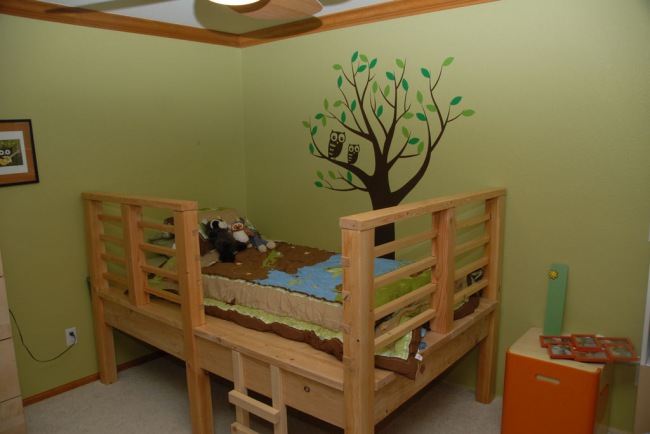
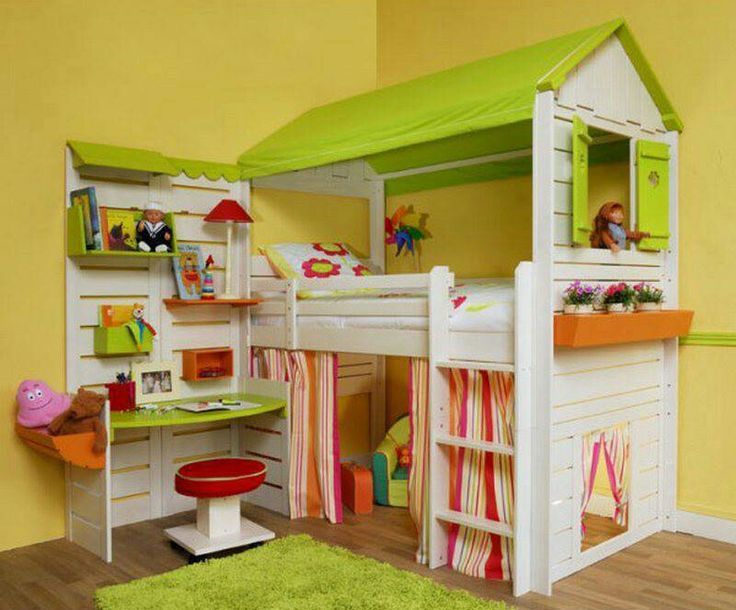
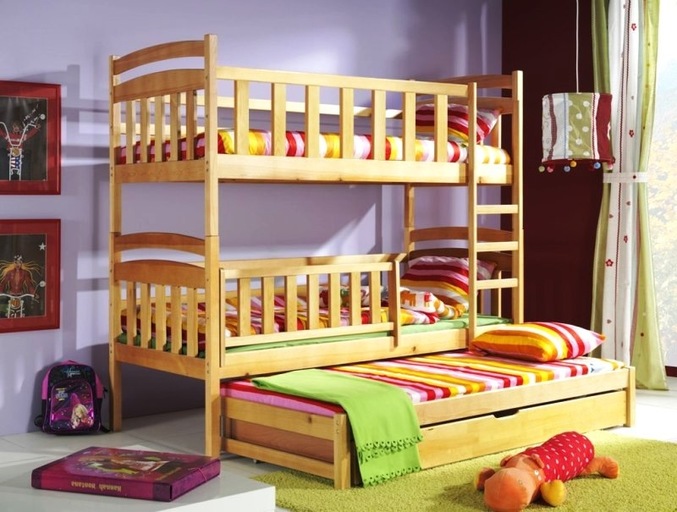
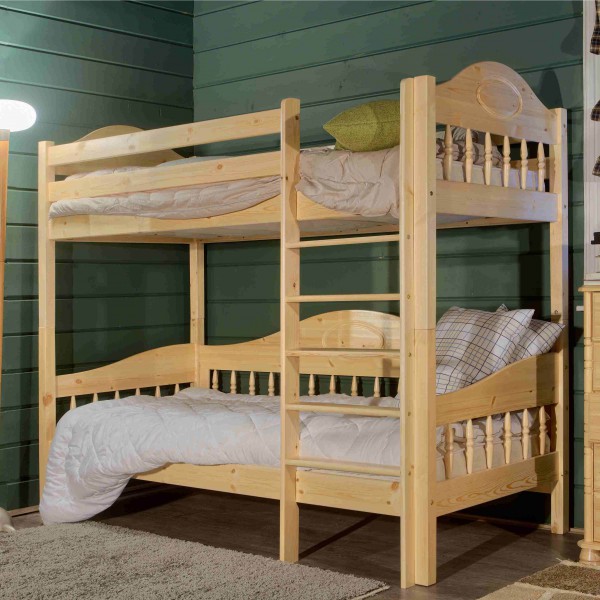
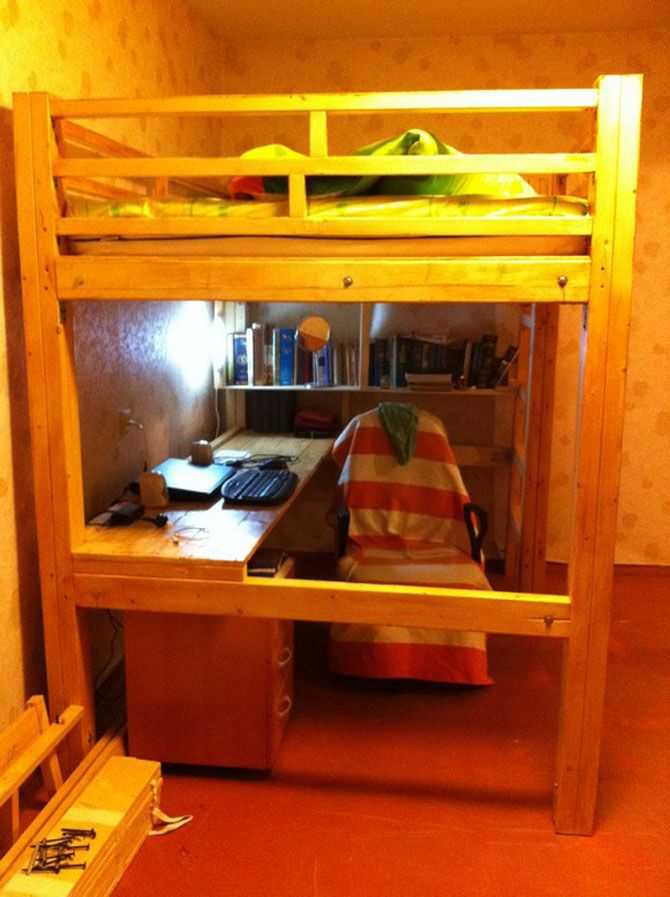
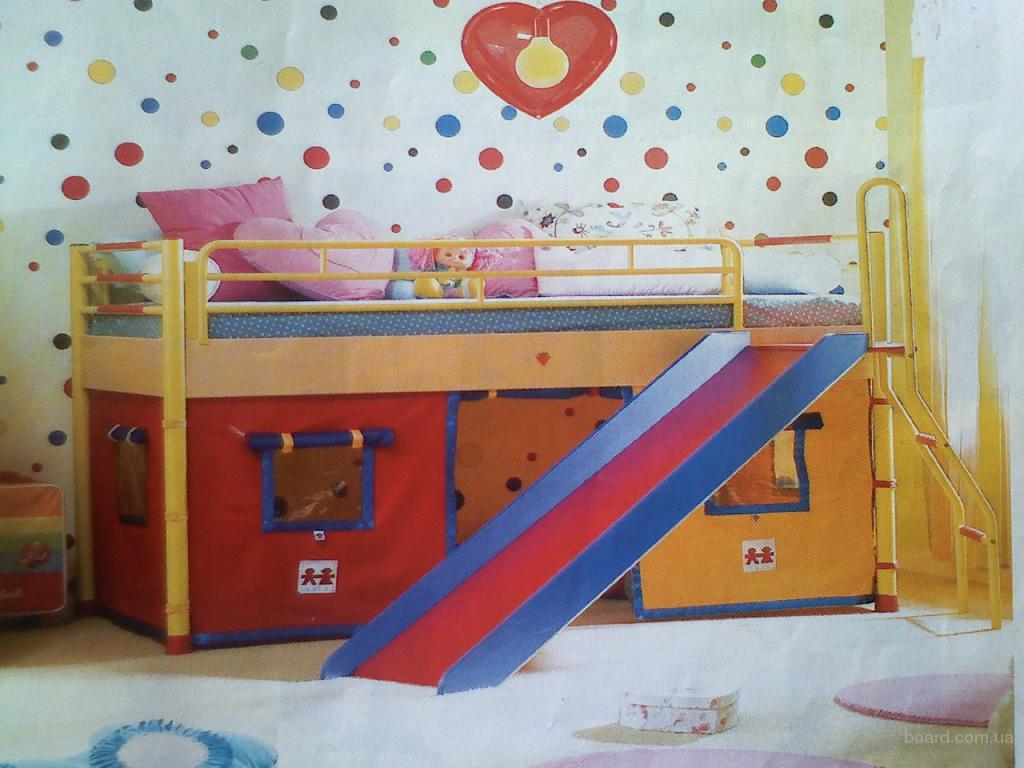
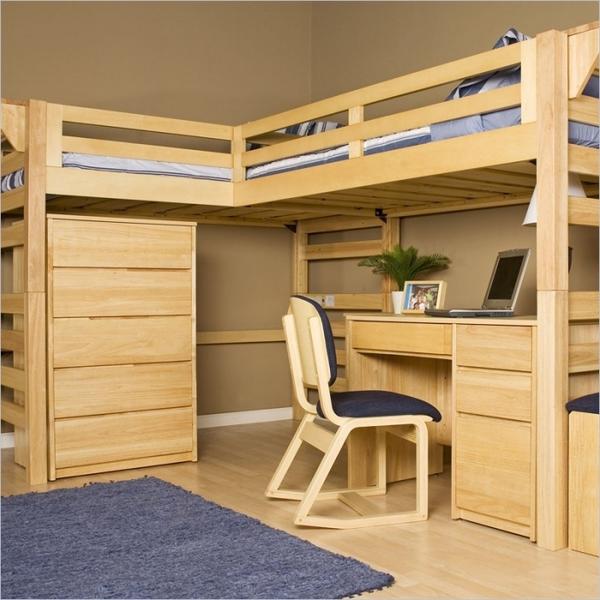
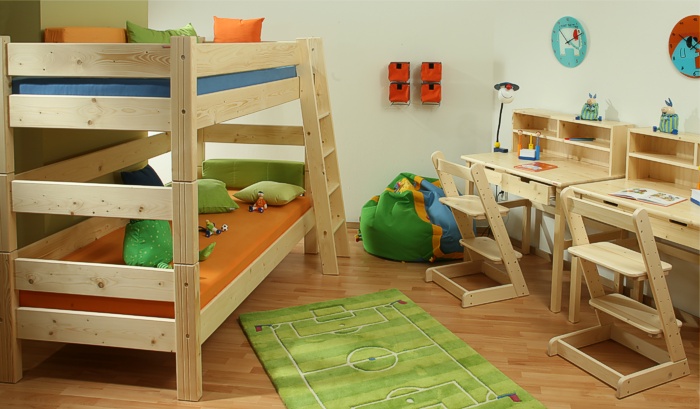
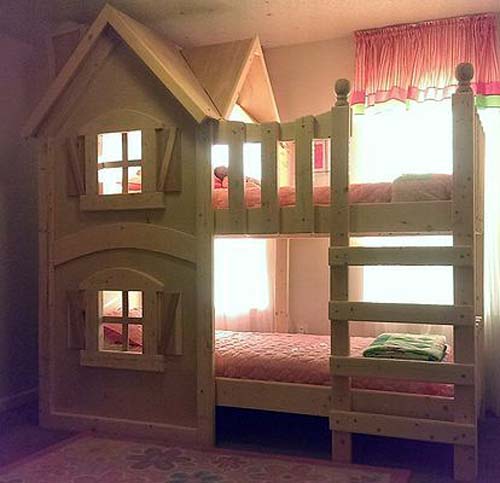
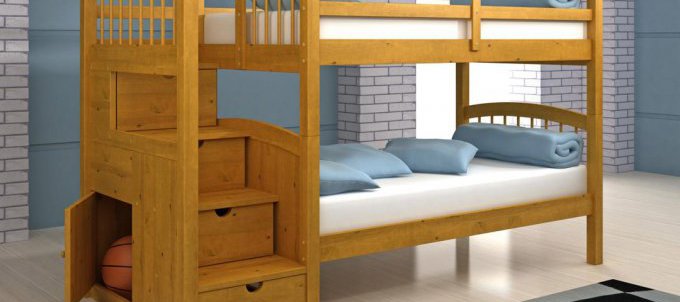
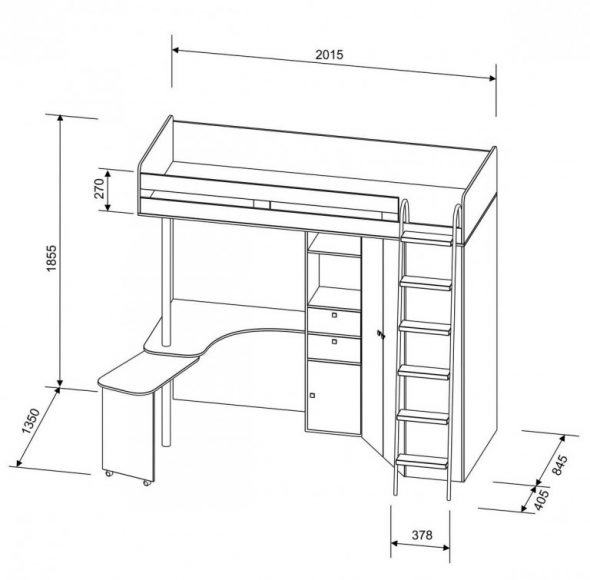
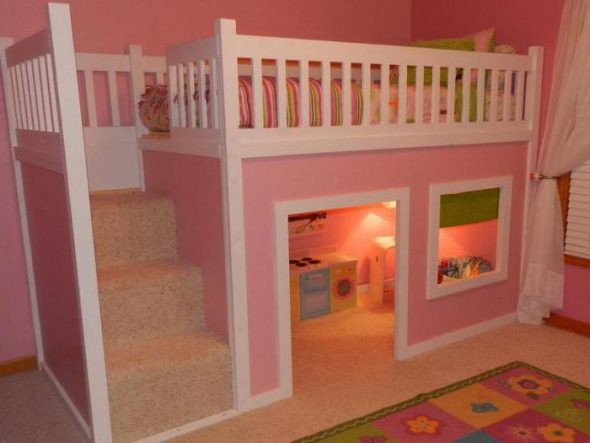
When all the parts and the working tool are prepared, it is necessary to carefully think through the process of making the bed. It is better to do this work outside the house, since there will be a lot of sawdust and dust. If it is not possible to work outside, the indoor furniture should be covered with plastic film, and the carpet should be removed from the floor. For a small room, you can make a bed with a sleeping place on the second tier. Below, instead of a bed, a soft carpet is placed on the floor. This option will be convenient if you only have one child.
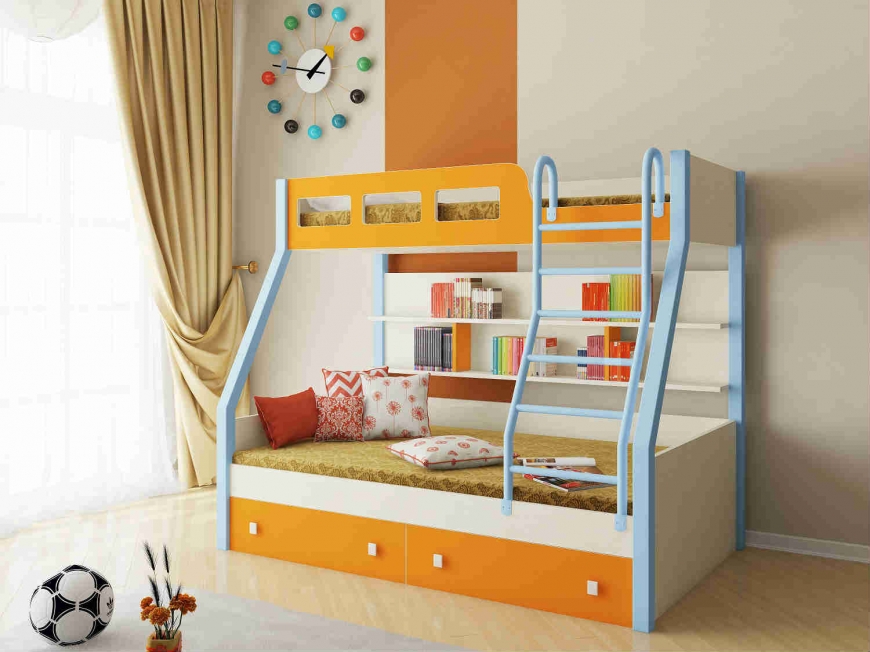
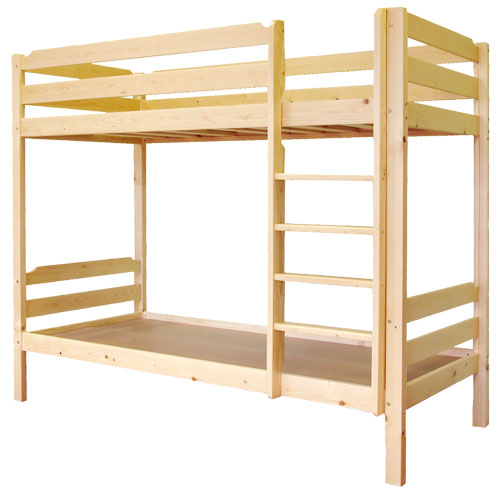
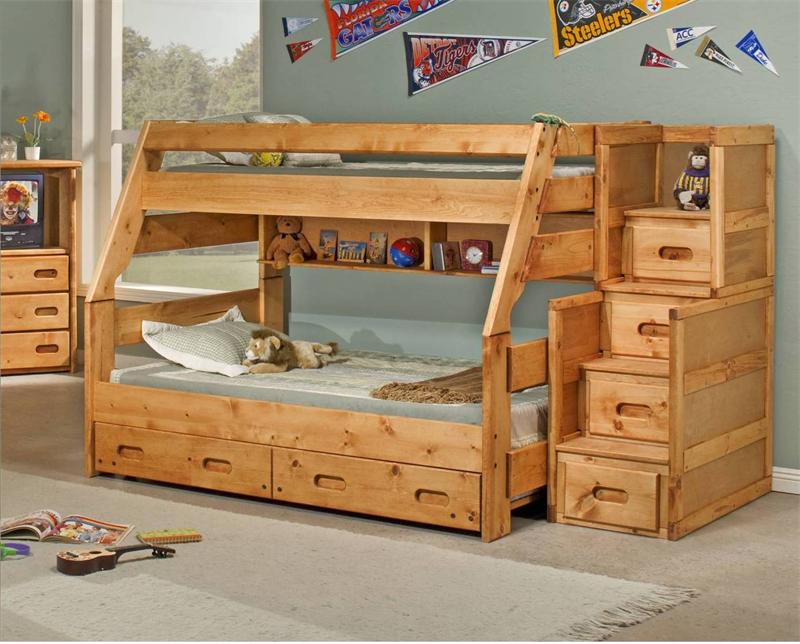
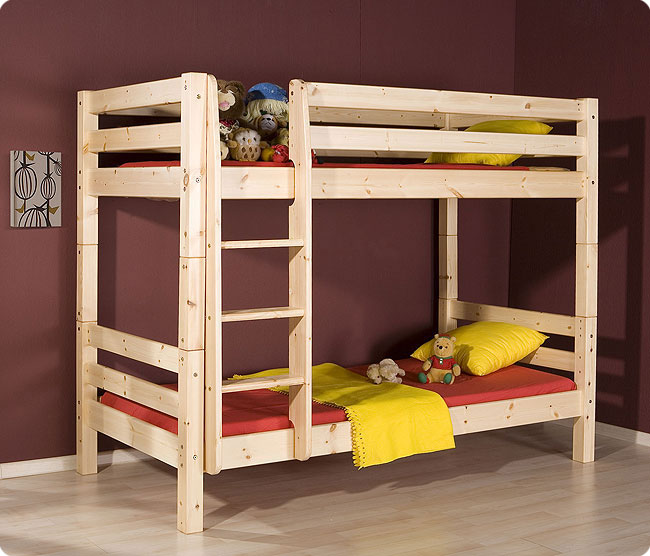
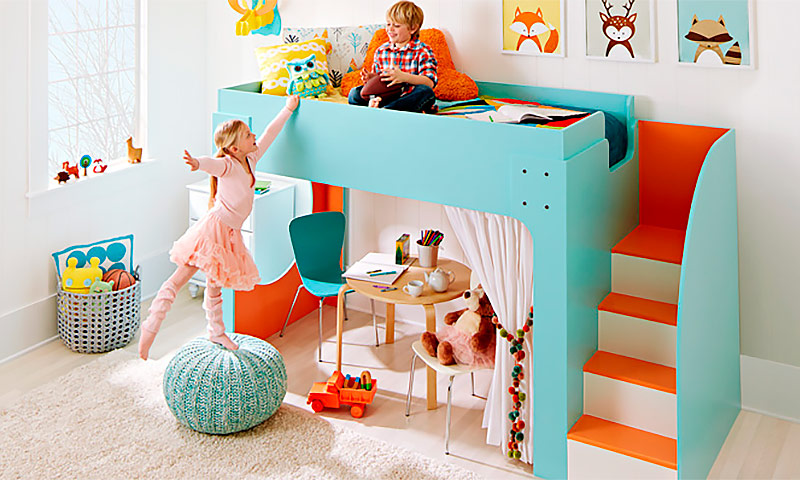
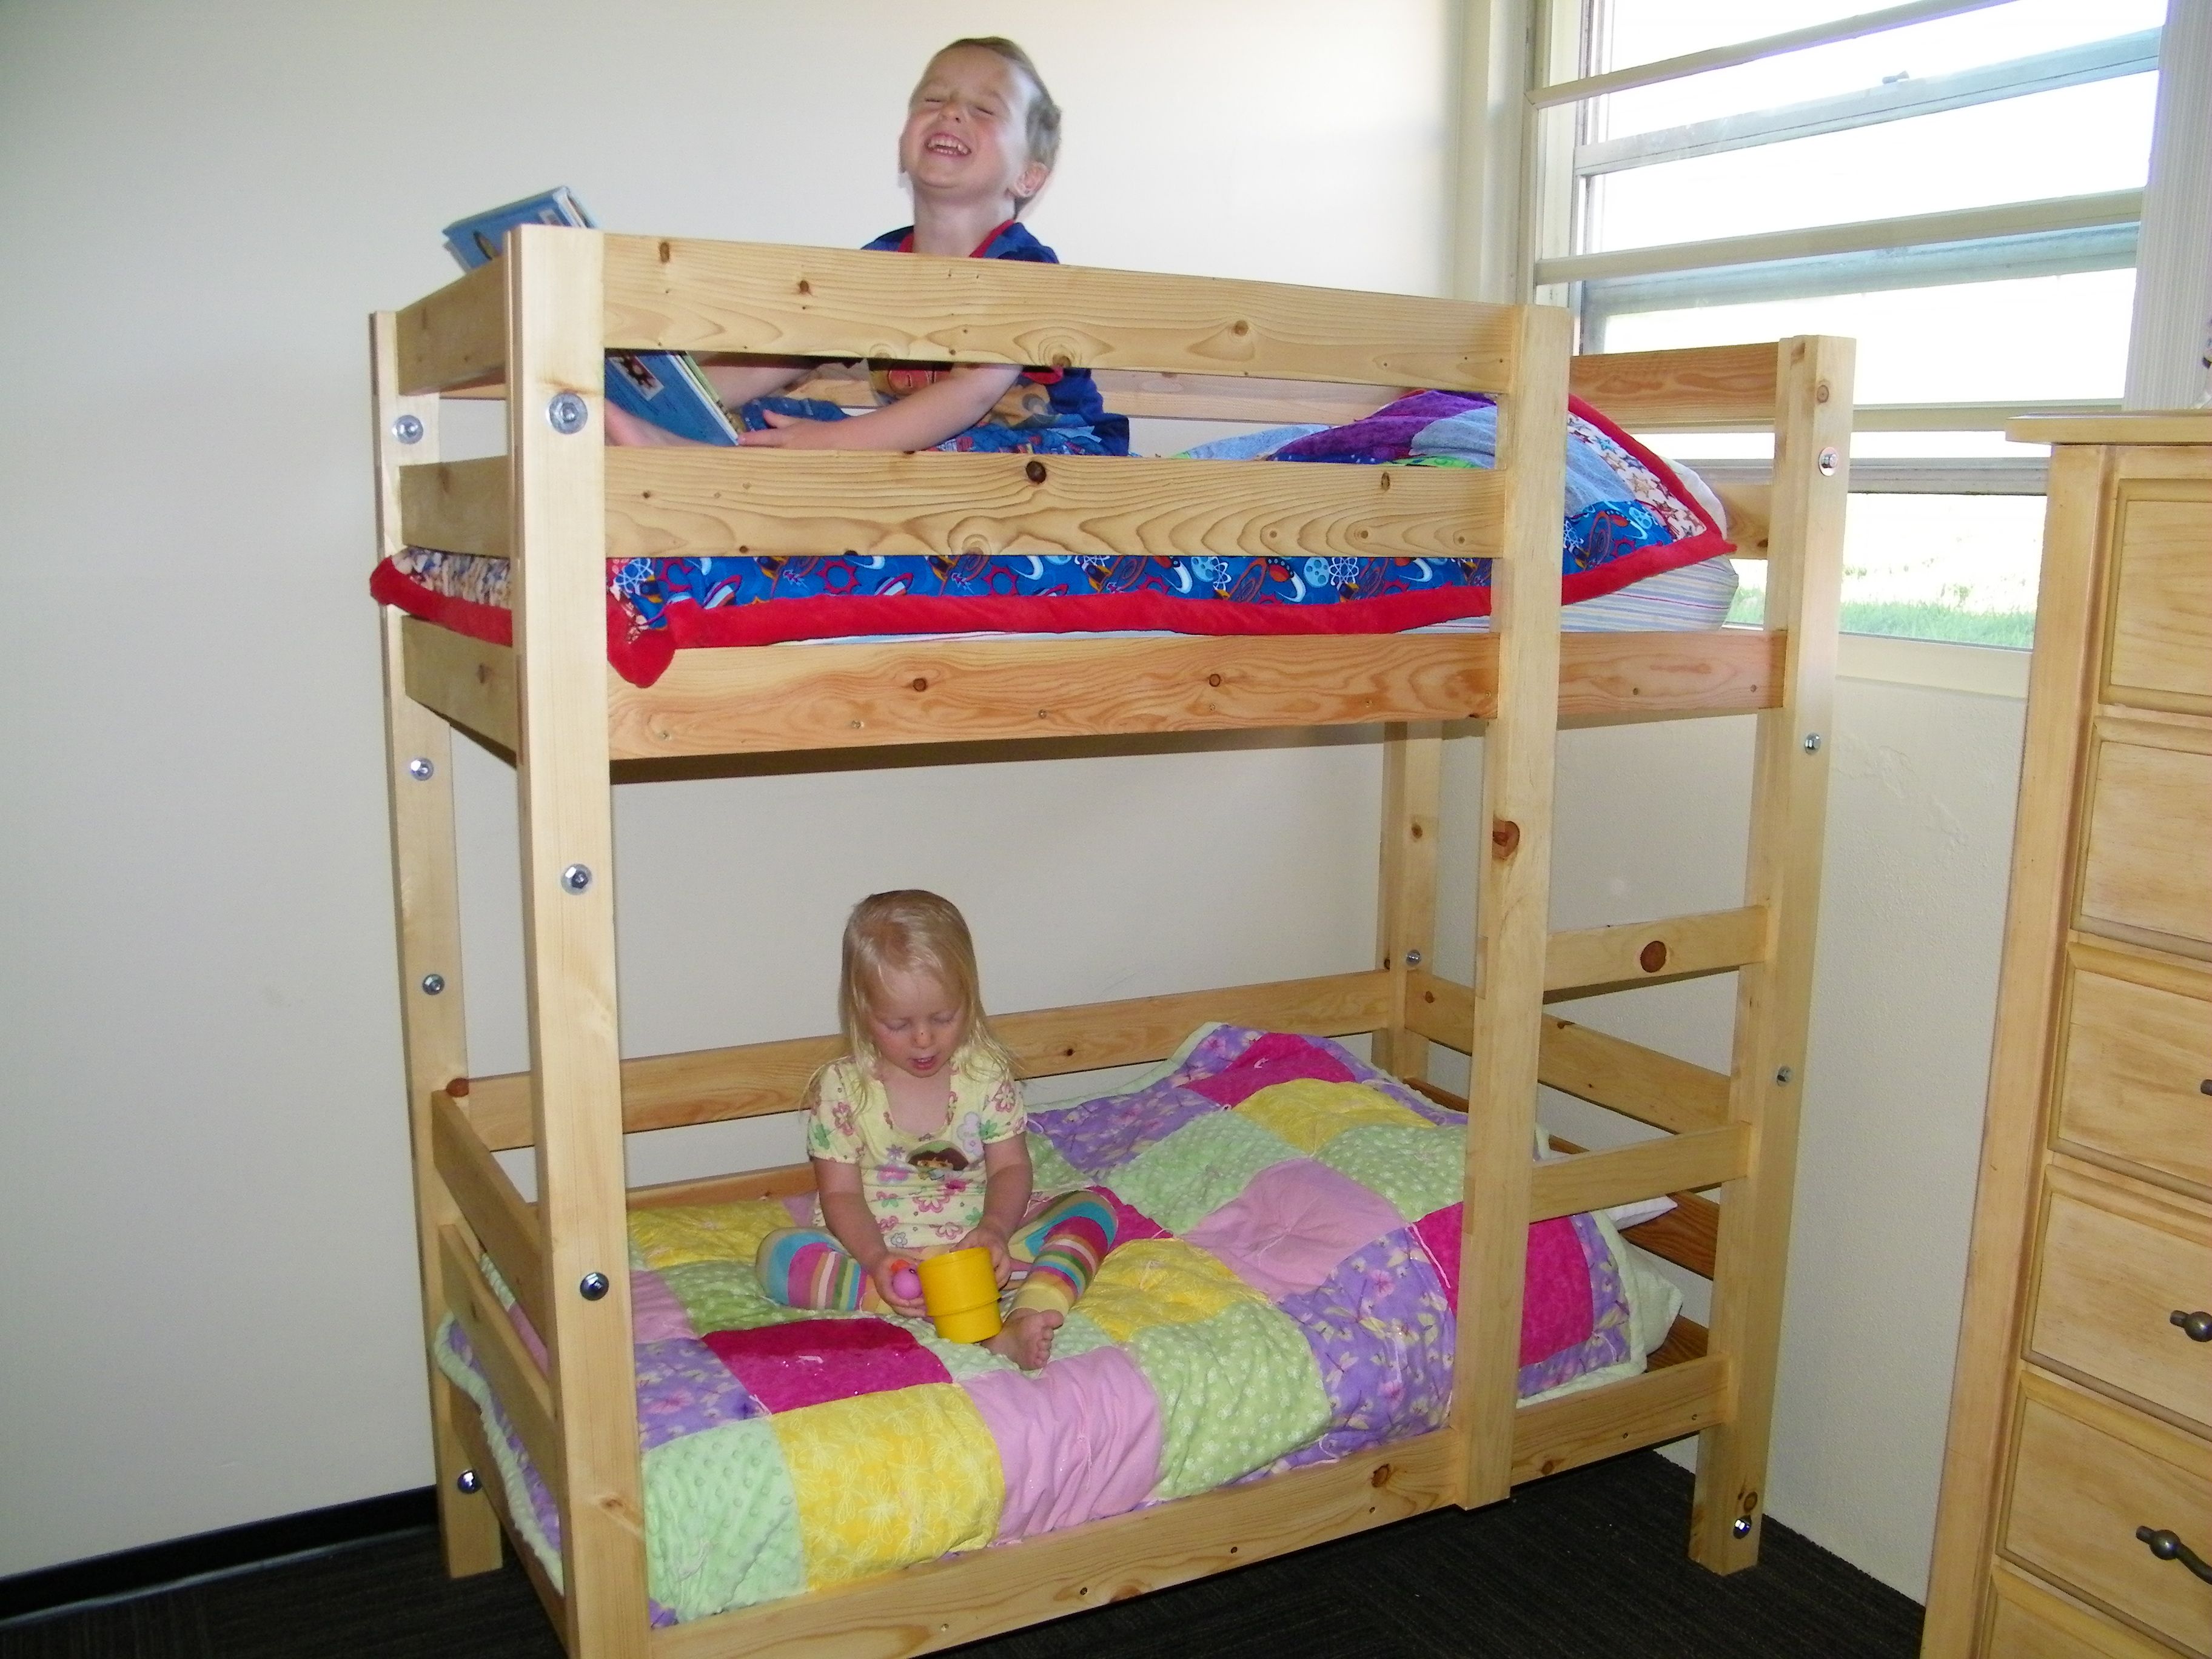
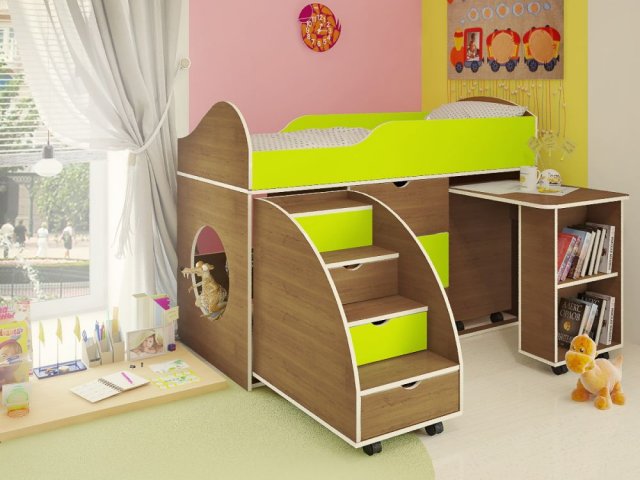
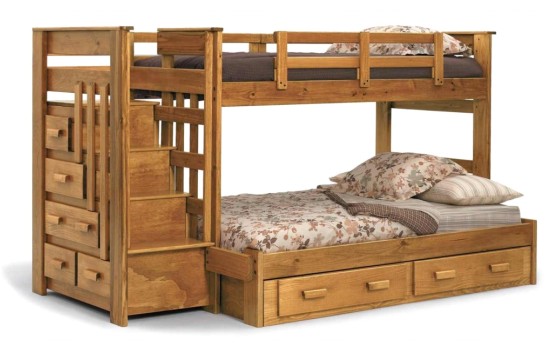
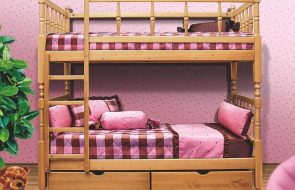
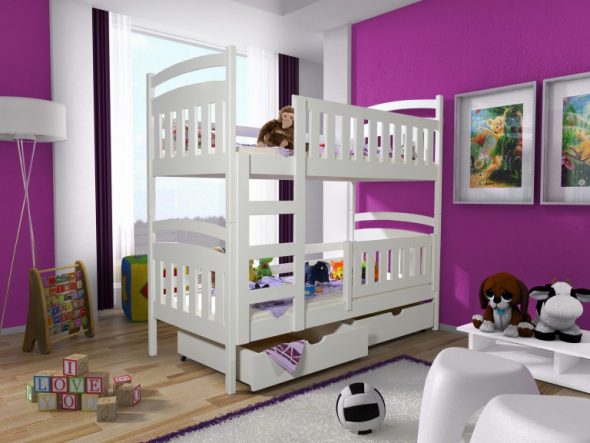
On the first floor, the baby will spend time playing, and climb up the ladder to the second tier for rest. Usually, the process of climbing to the second floor gives children great pleasure. If the child likes to draw, a small table and chair can be placed on the first floor. For two children, a regular bunk bed is made. In terms of design, such products are designed differently. The lower floor can be located directly under the upper tier, or located perpendicularly.
Sometimes the steps are also used as lids for the boxes underneath them. Children's toys, linen, and clothes can be put in each box. Before you start making a bunk bed, you need to decide on the place where it will stand. You also need to decide on which side it is better to mount the stairs to the second floor. If the room has a low ceiling, the upper tier should not be located very high.
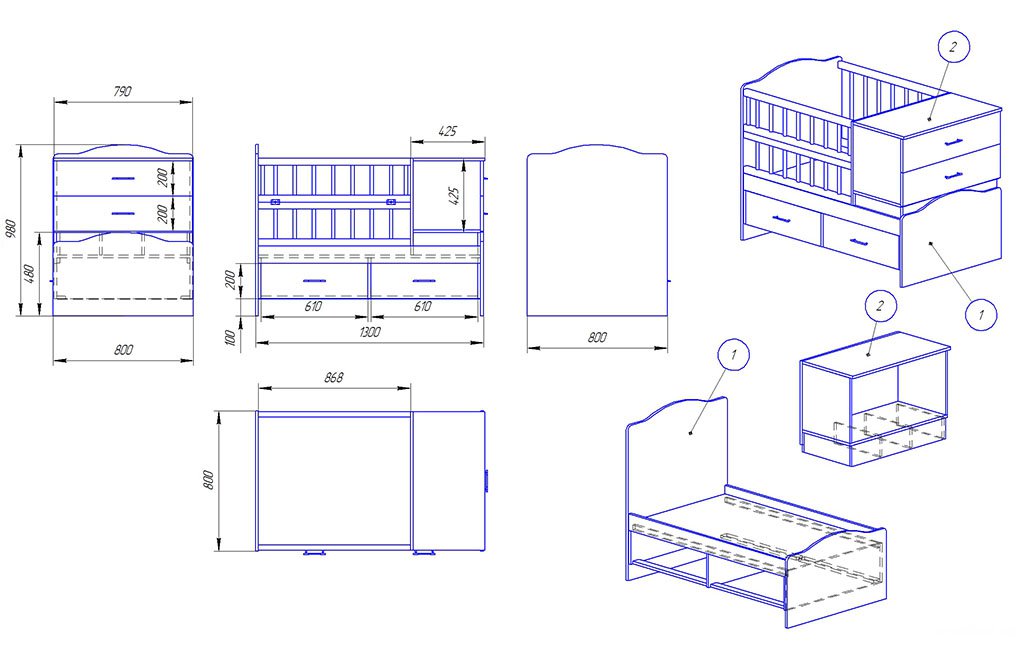
The closer the child is to the ceiling, the more stuffy the air he will have to breathe. On the other hand, it is advisable to take into account that an adult should not rest his head on the second tier when sitting down next to the baby. The height of the first tier is associated with the convenience of sitting on the bed, as well as with the fact that a pull-out drawer for bed linen can be built below. Based on this information, you can conclude what dimensions the furniture being built should have. The most popular options for children's beds are as follows:
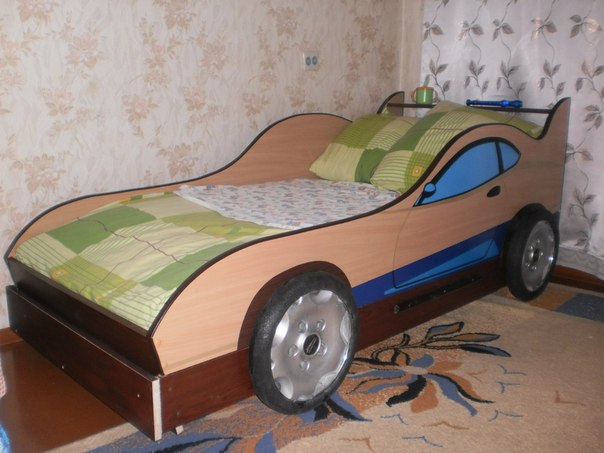
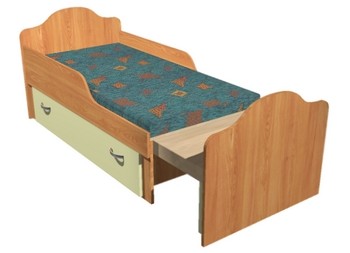
- transformer;
- sliding;
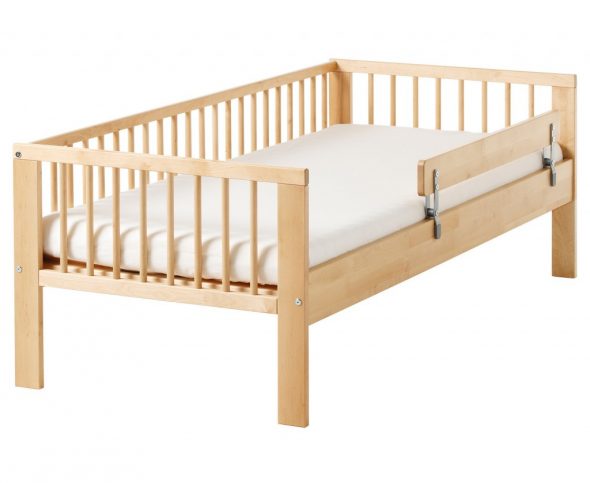
- one-story;
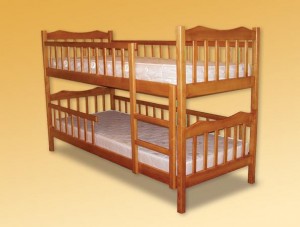
- two-tier;
- rocking chair.
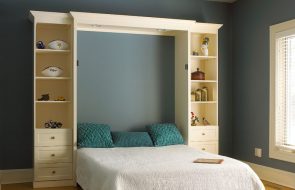
The transformer usually folds up during the day, which frees up space in the room. For such a model, a special frame is attached to the wall, where the folded product is removed. In order for the visible facade of the bed to fit into the overall style of the room, it should be decorated. The pull-out bed is made of two parts. As the child grows, it can be lengthened. For this purpose, special wheels are located at the bottom. The two-tier model is most often made for two children.
Conditions for manufacturing bed parts
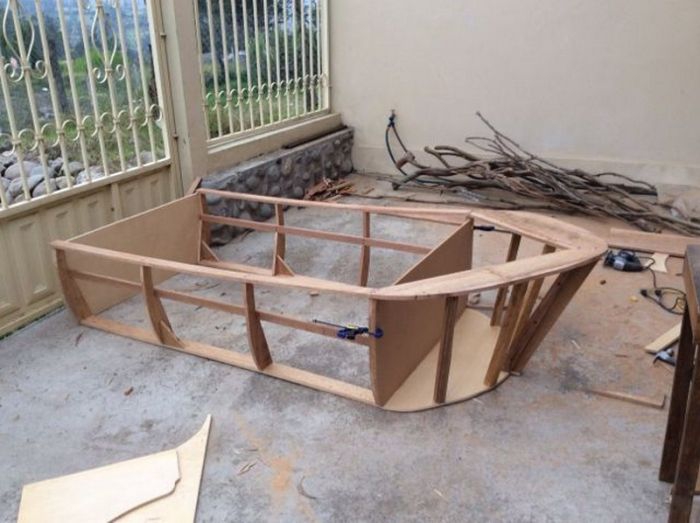
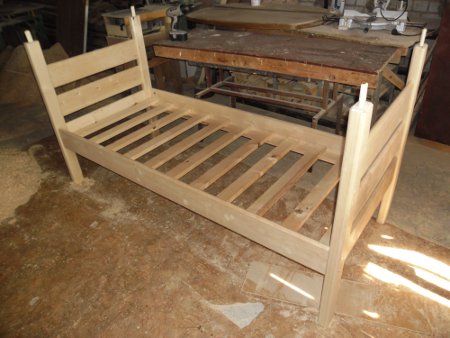
If you purchased wood directly from a sawmill, then before you start making parts, the bars and boards need to be kept for about a week in the room where the manufactured furniture will be located. This is necessary so that the humidity of the room equals the humidity of the materials. Otherwise, some places of the bed may crack or warp in the future. When the material has acquired the required parameters, the boards and bars need to be planed and carefully sanded.
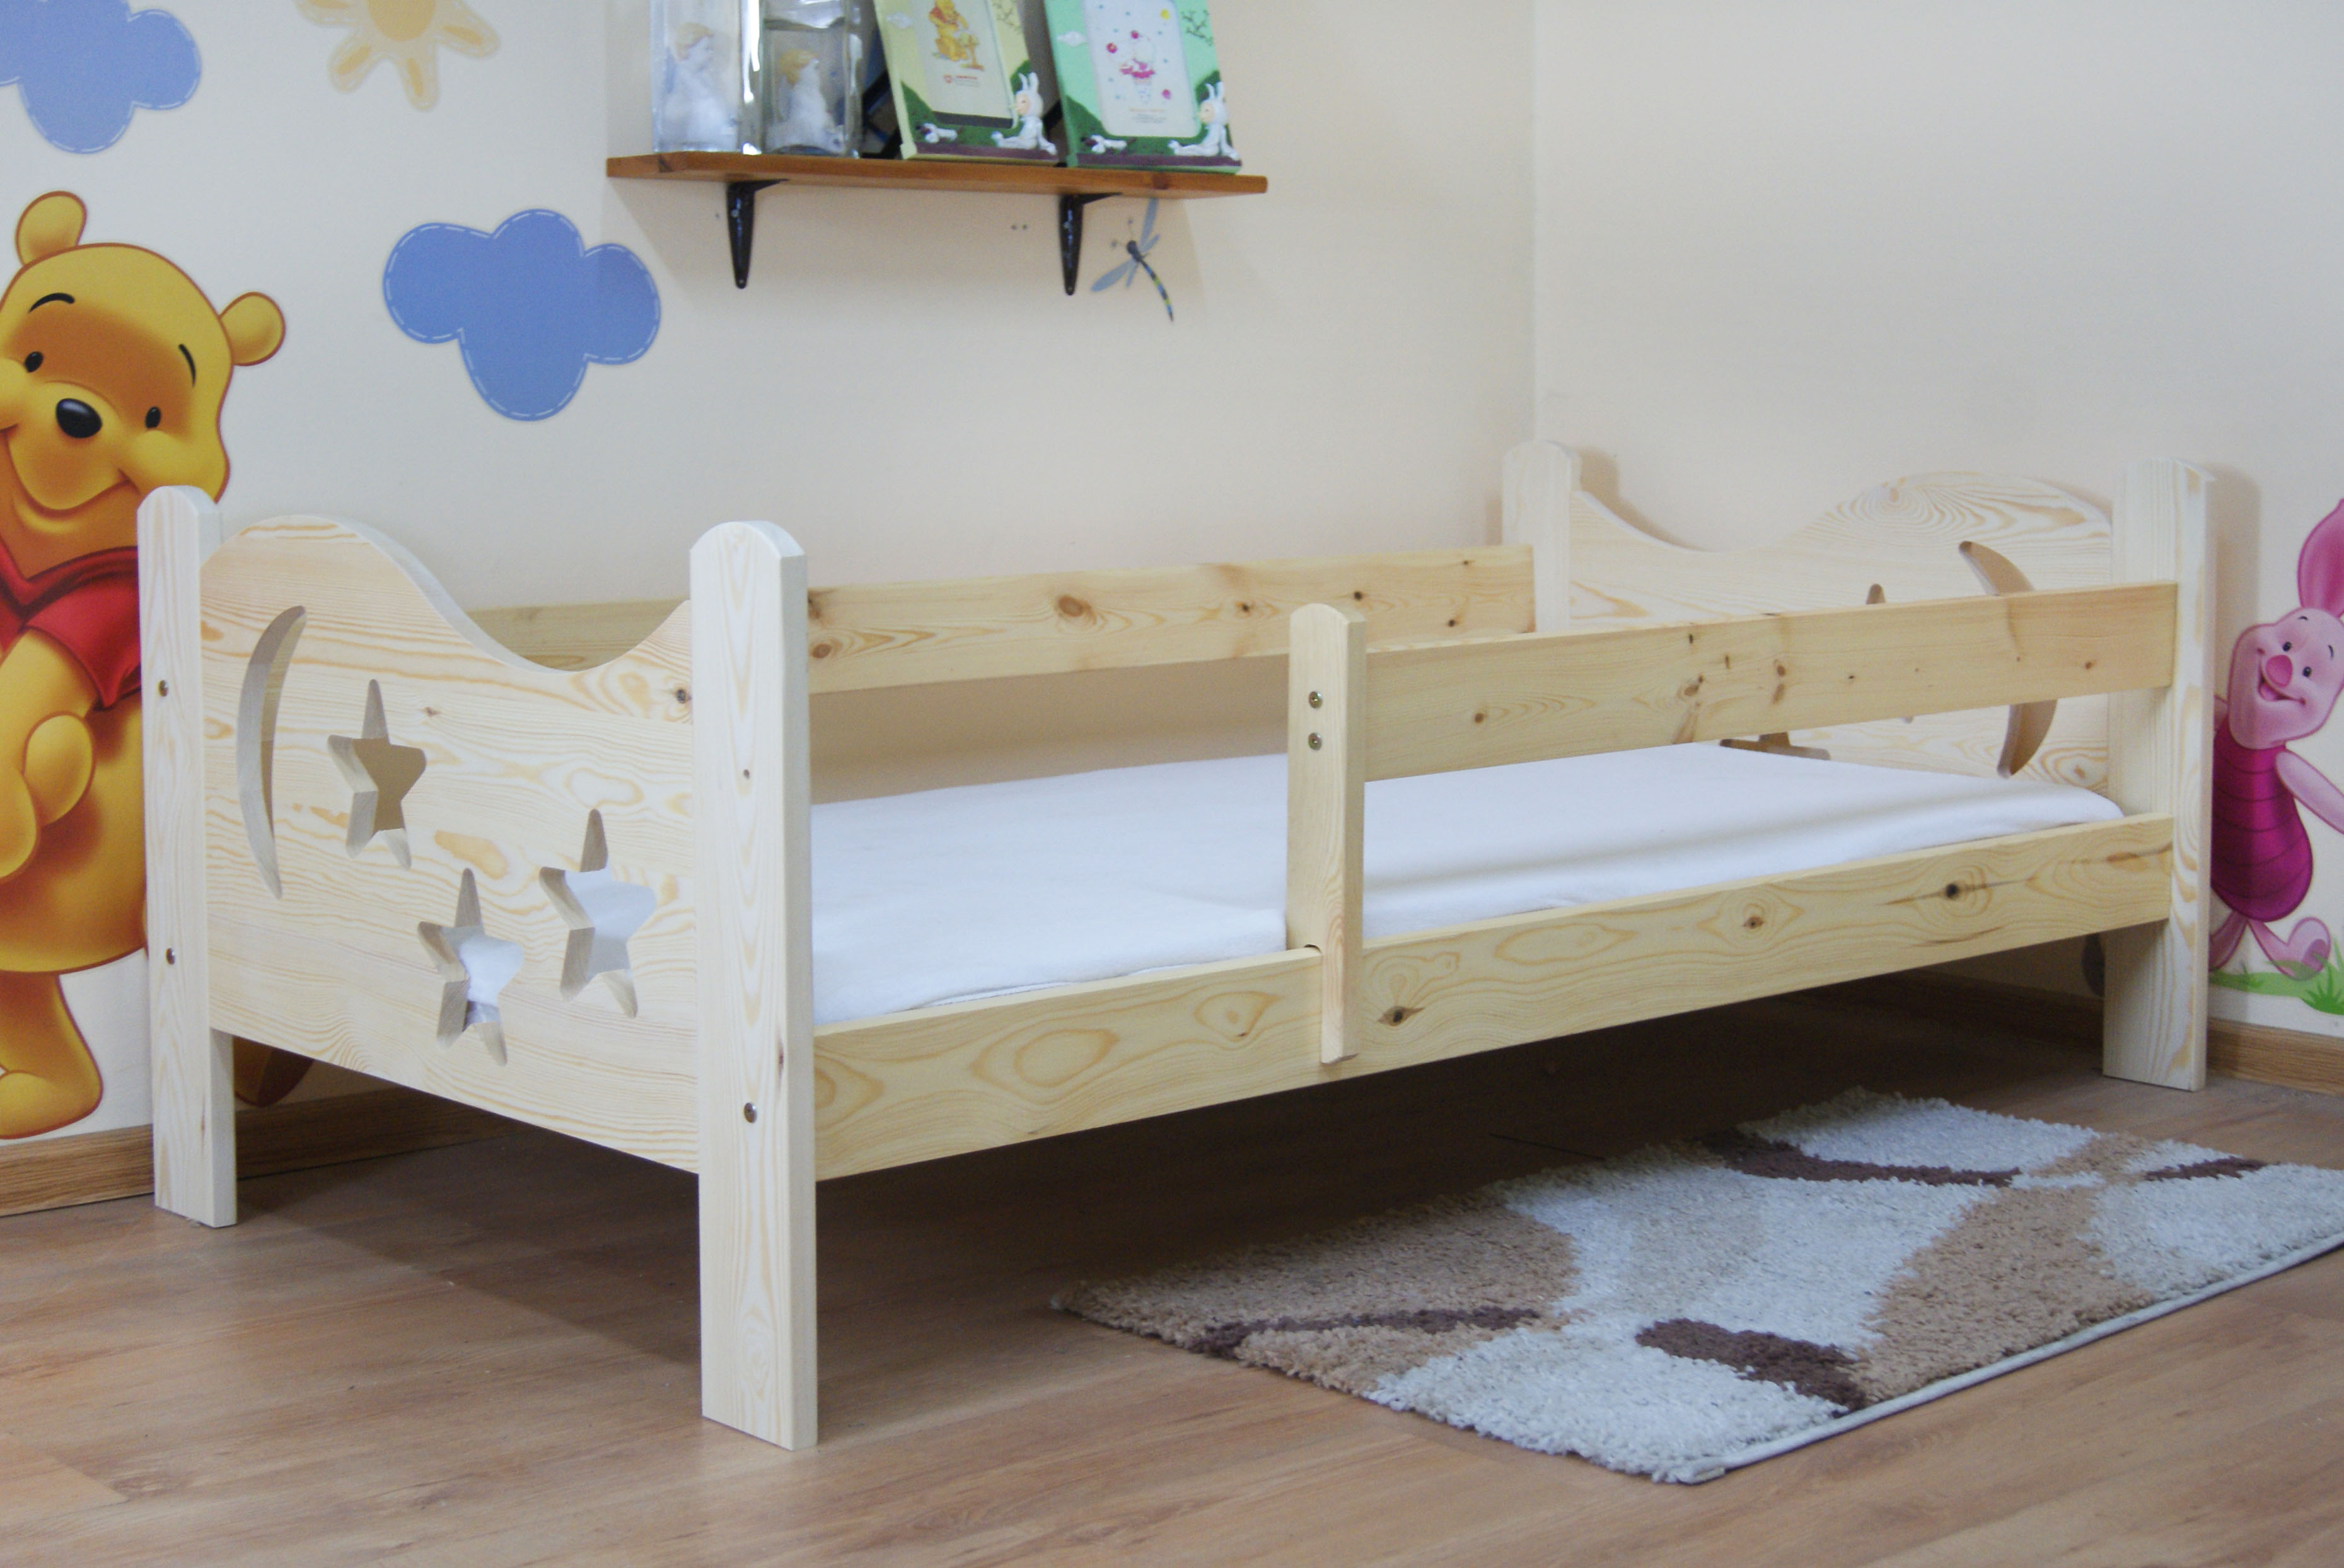
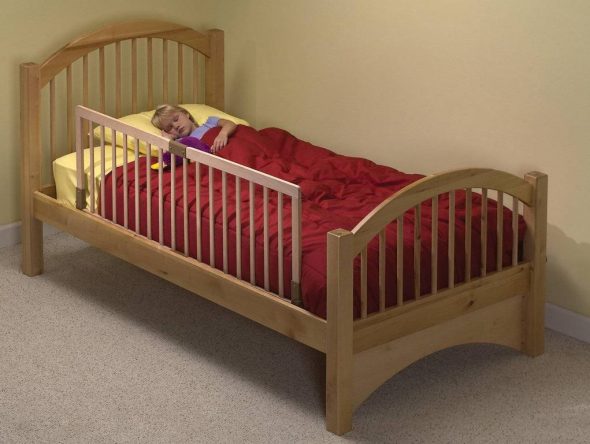
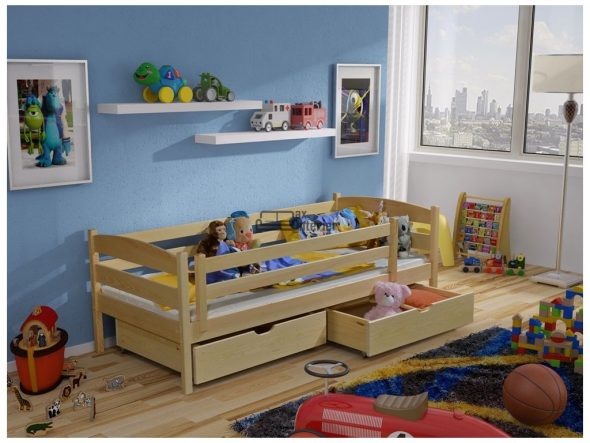
The vertical bars of the bed should be high enough to allow for sides and backs to be built above the upper bunk. The front side of the lower tier is usually removable. The fencing of a child's crib is an important safety feature. Particular attention should be paid to its reliability. The fencing boards are screwed to the support bars with screws from the inside. The caps should be completely screwed into the wood. When making the fencing, an opening should be left for the steps.
Stairs are usually made strictly vertical or inclined. First, two beams are attached, which will act as guides. Then the steps are screwed on. The top step and the ladder itself are attached to the bed with long bolts. After the railing and steps are installed, plywood sheets are laid on which the mattresses will be located. Since all the parts of this product are attached with screws and bolts, it can be easily disassembled and moved to another place.
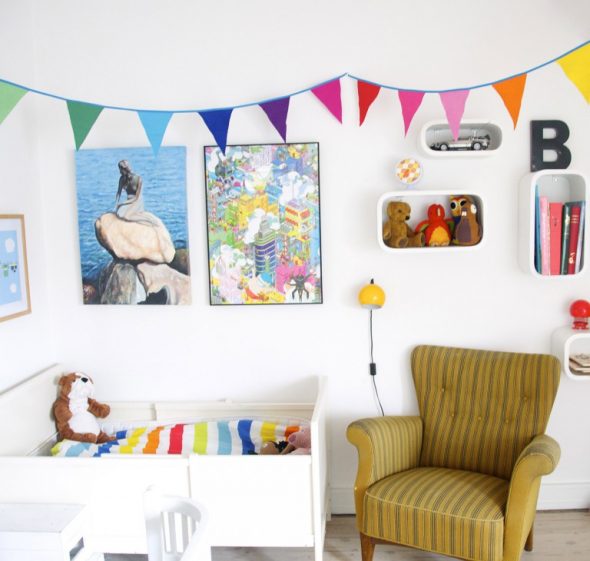
This bunk bed is very durable and will serve reliably for many years. If you paint it beautifully and then cover it with matte nitro varnish, it will not reflect sunlight and will retain the naturalness of the patterns for a long time. The inside of the sides can be finished with soft fabric, which will protect the baby from drafts and bruises.

VIDEO: DIY baby cot.
50 photo ideas on how to make a children's bed with your own hands