Things made with your own hands are becoming more and more popular. Including furniture. It will take a while, so you will have to be patient. But there are also a lot of advantages to creating the necessary things with your own hands.
Surely you have already come across various ideas for creating sofas or other garden furniture from pallets. An interesting solution for use in different directions. But today we will talk about how to create furniture for the home.
Content
The benefits of making furniture yourself
Why is it better to make a bed rather than buy one? There are many answers. Let's start with the fact that when creating it, you choose the material yourself, and you know exactly its characteristics: strength, reliability. Upon completion of the project, you will be absolutely sure that this creation will last a long time, and will not fall apart during the first use.
There are cases when a customer cannot find what he needs in a store. This is especially true for furniture: the size is not right, the design is not to his liking, it looks sloppy, and many other reasons. There are two ways out of this situation: place a custom order or make everything yourself. If you choose the second option, you will not have to explain to the contractor exactly what you want and pay a huge amount of money for the order.
And of course, one of the main advantages of creating furniture yourself is the satisfaction of the result of your own work. It is nice to realize that you made something yourself.
By making furniture with your own hands, you win in:
- Price;
- Quality;
- Design
- Accuracy in measurements.
So, if you have decided make a bunk bed with your own hands - let's get started!
We choose the design and construction
There are many varieties of two-tier models – as many as your imagination allows. Let's look at the most popular ones.
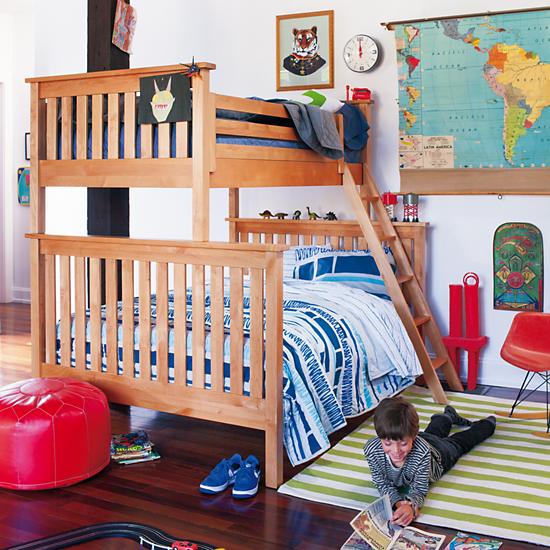
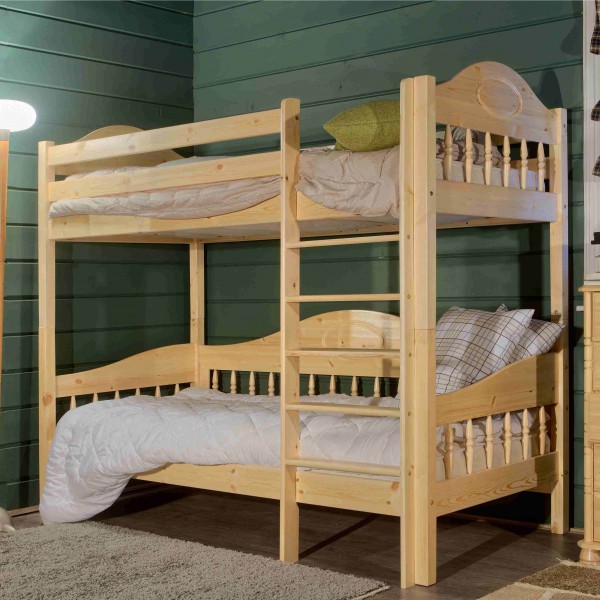
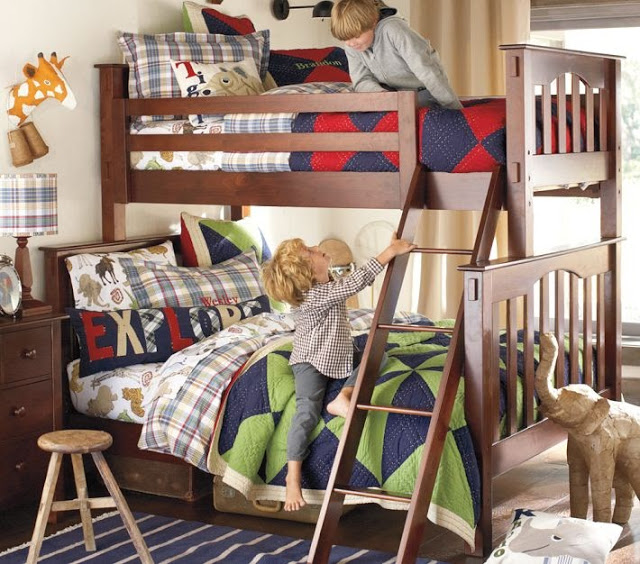
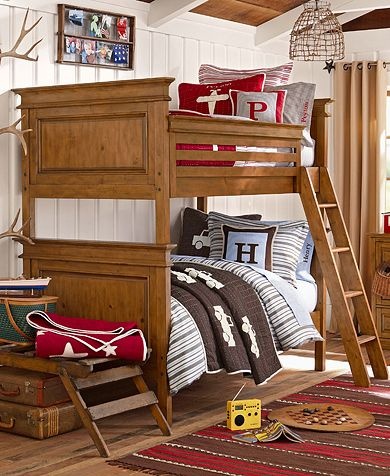
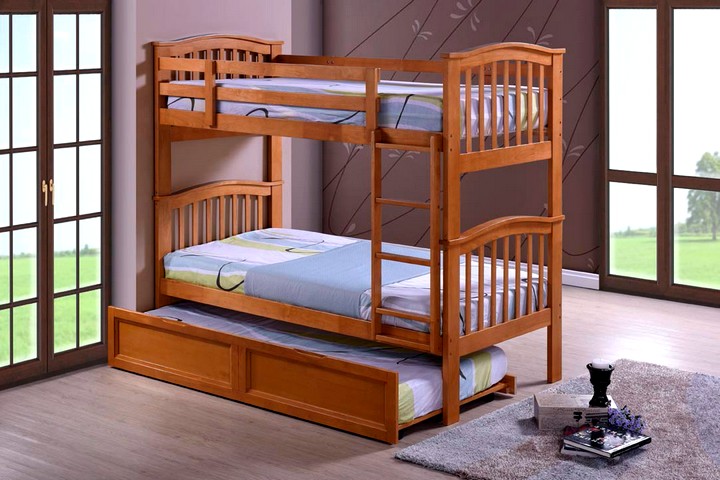
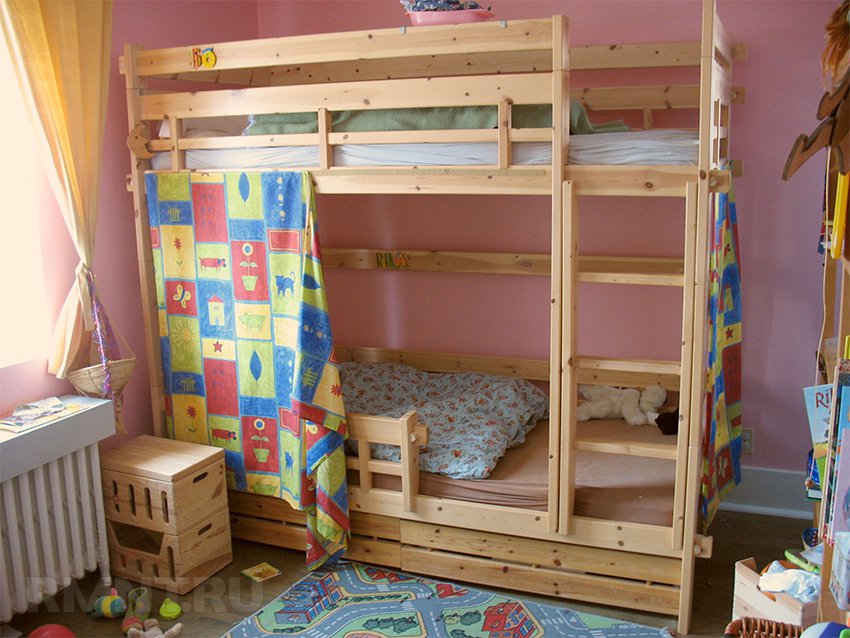
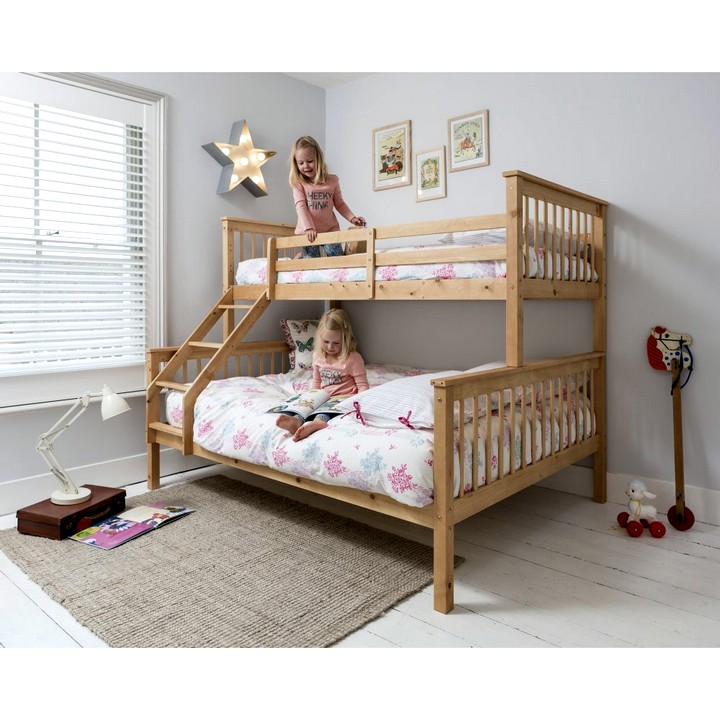
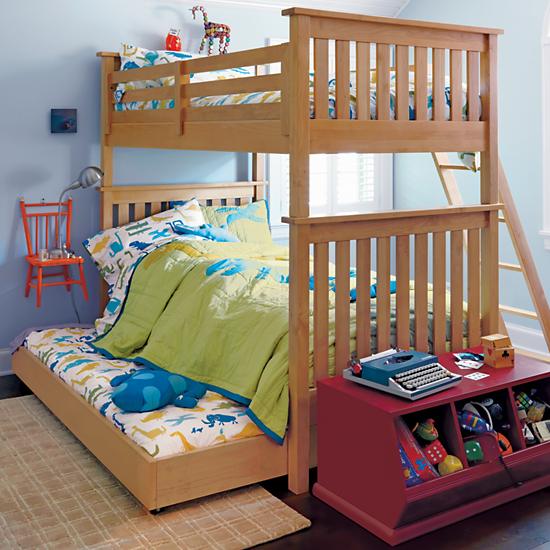
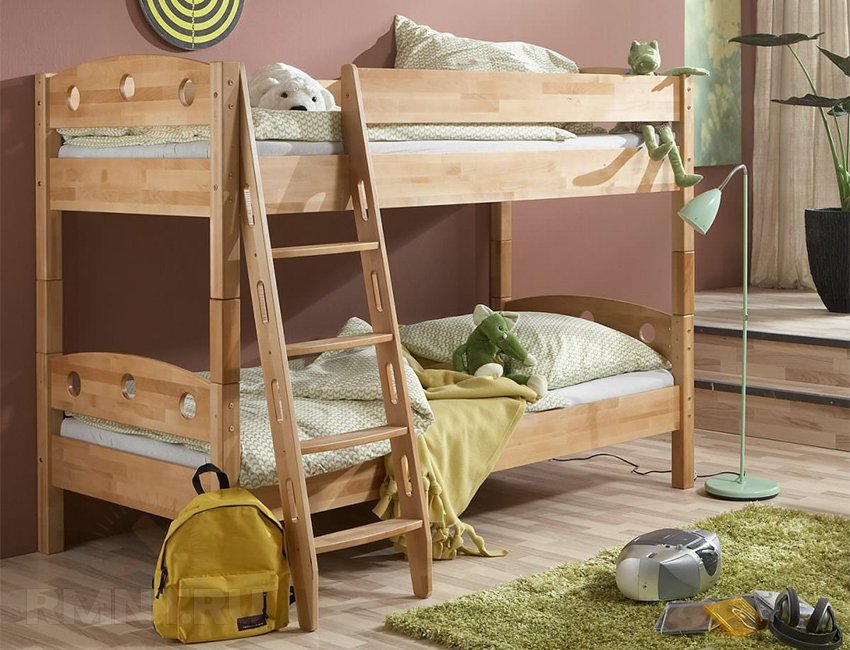
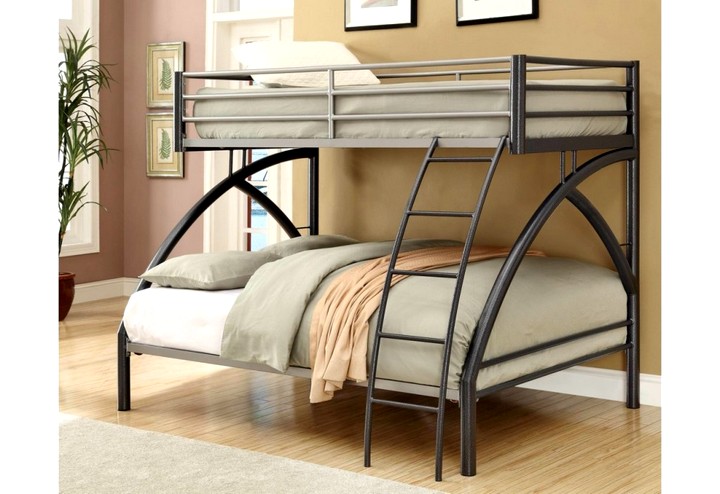
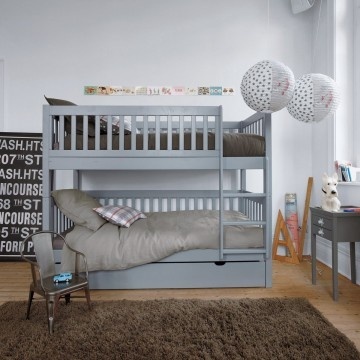
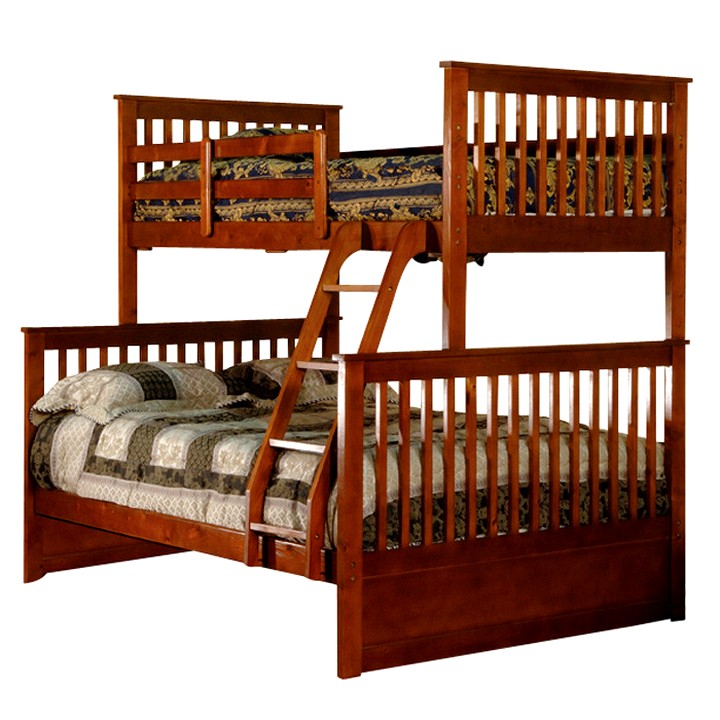
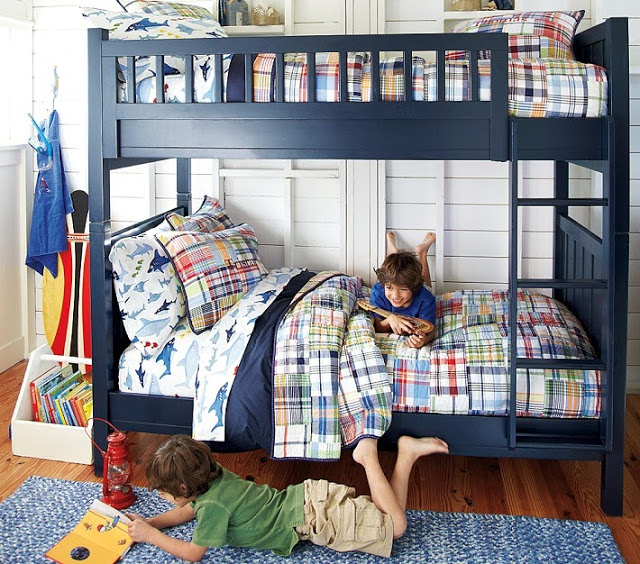
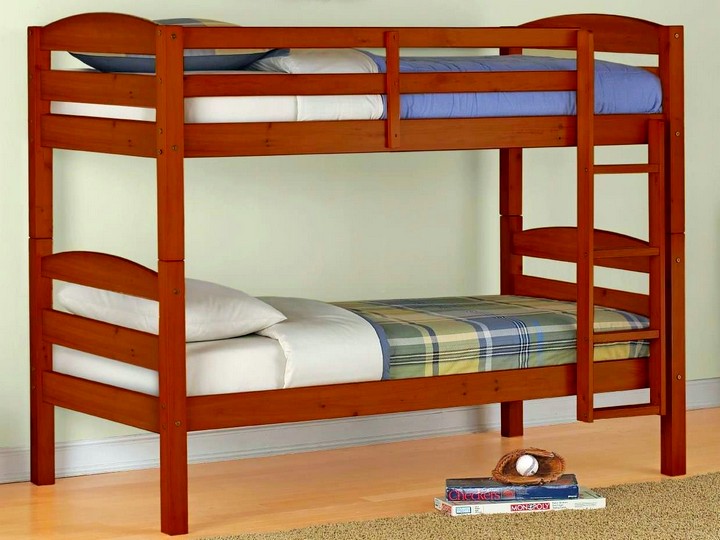
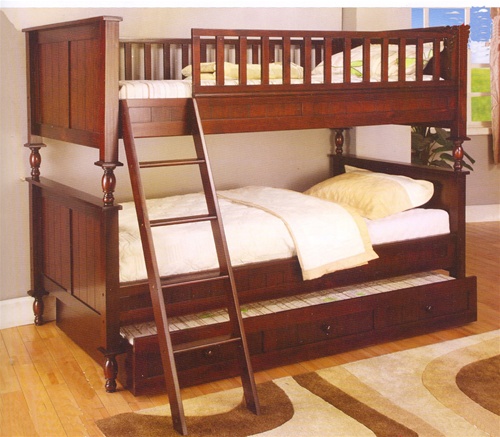
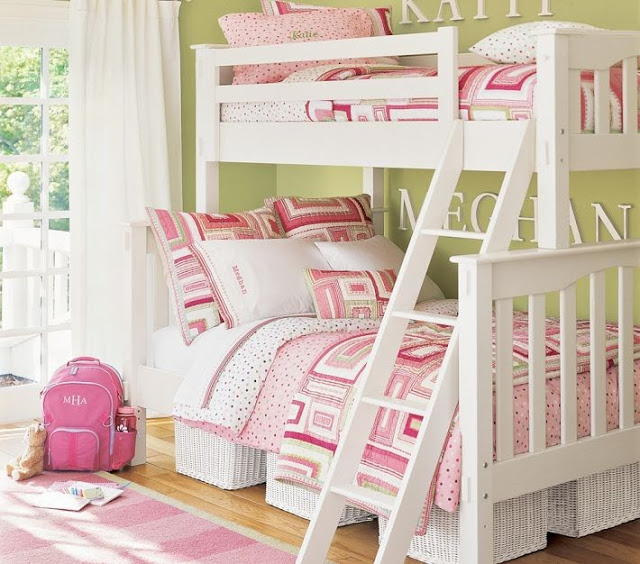
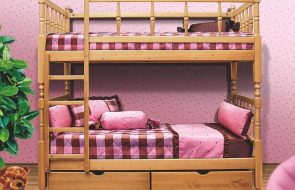
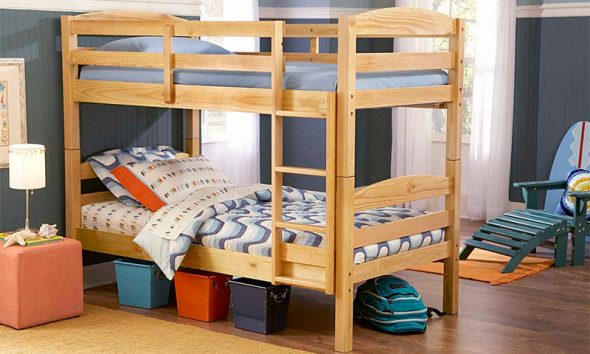
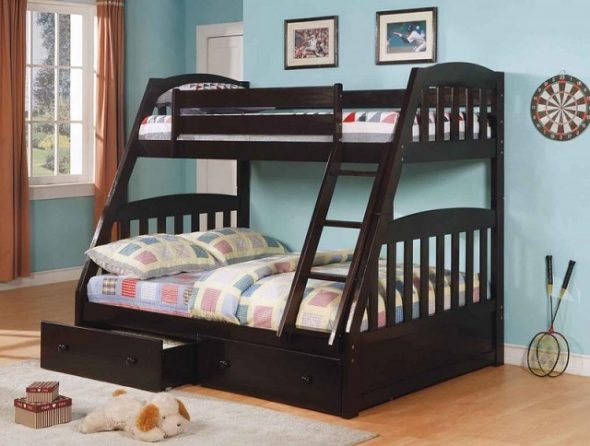
- Traditional
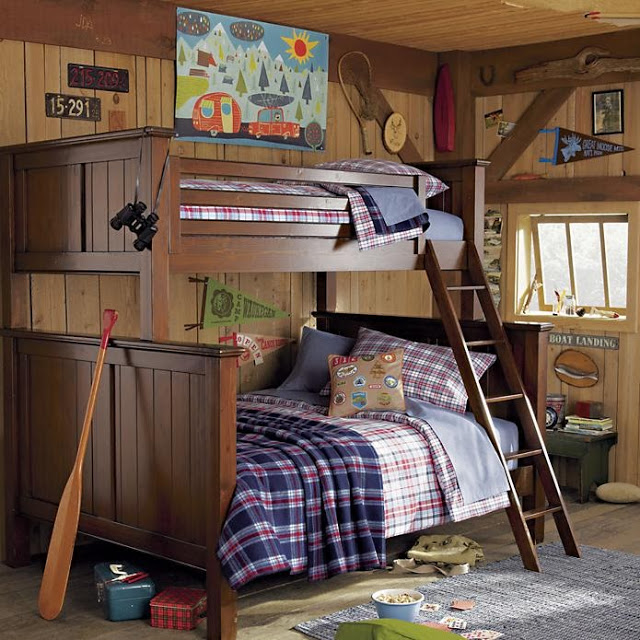
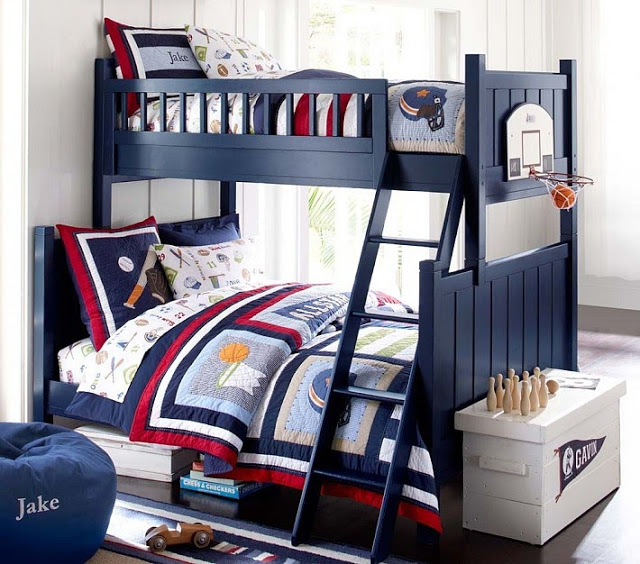
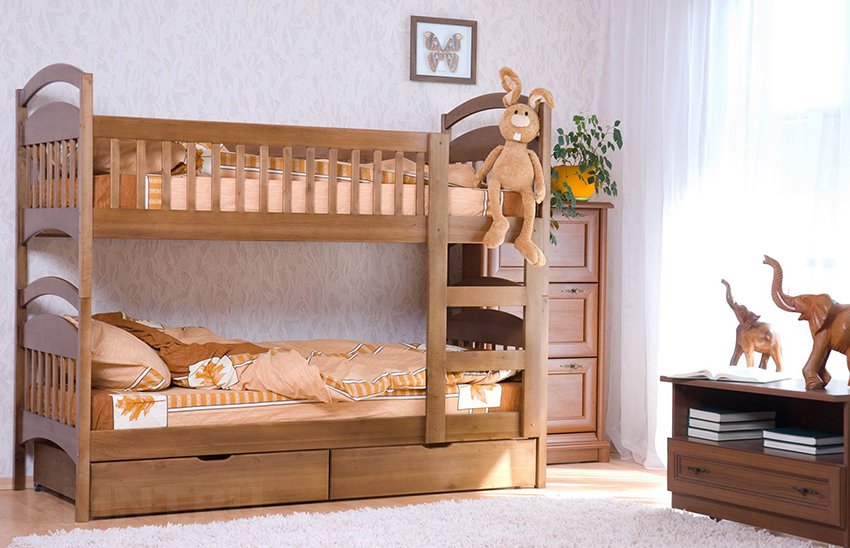
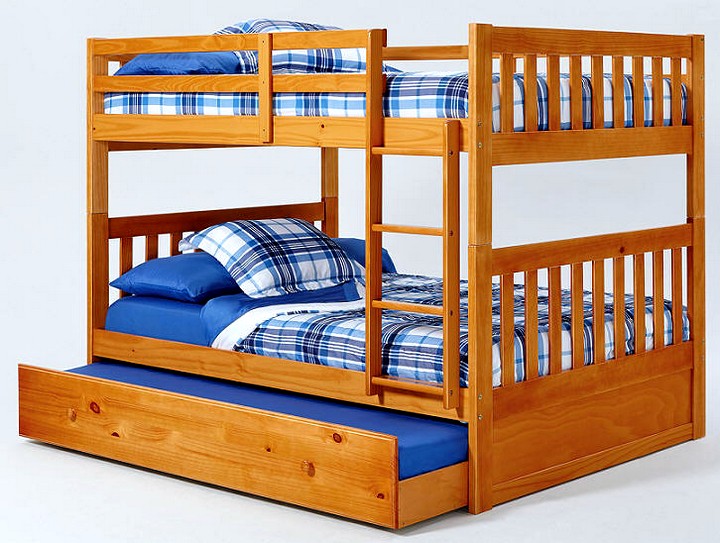
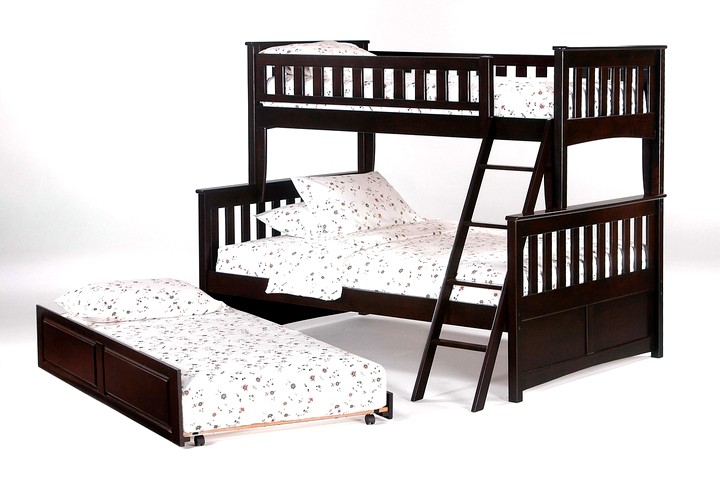
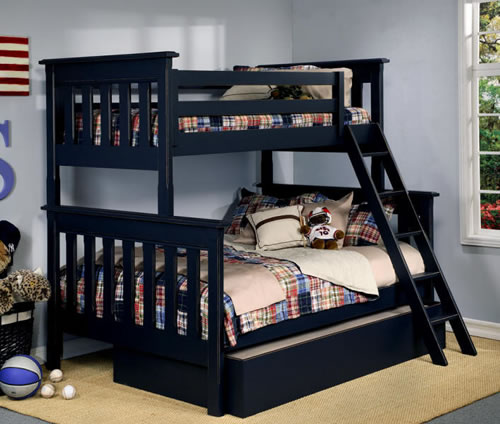
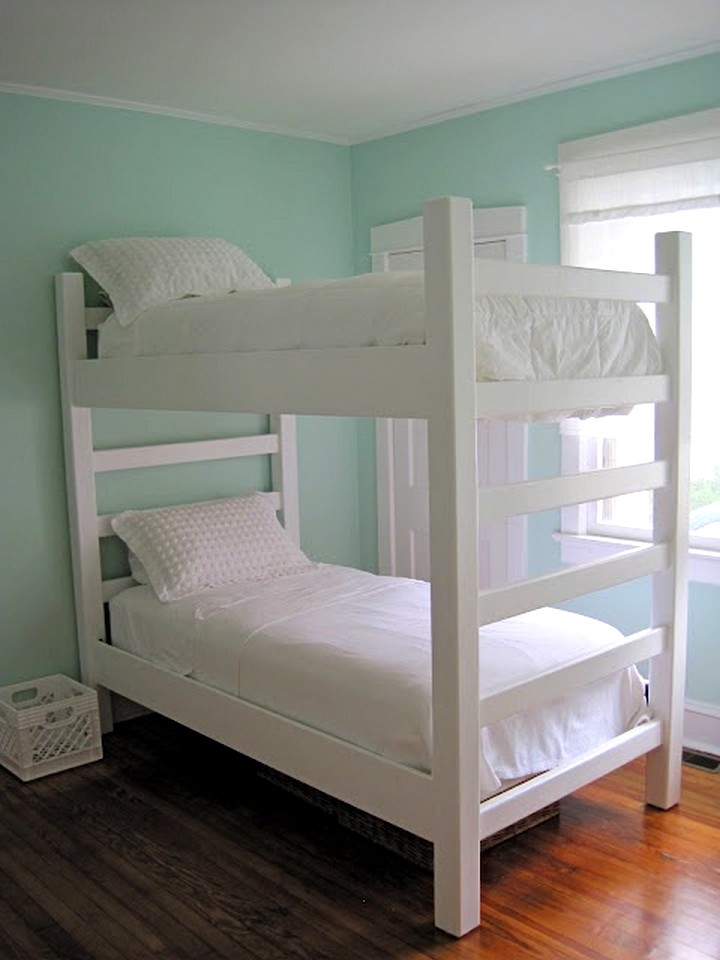
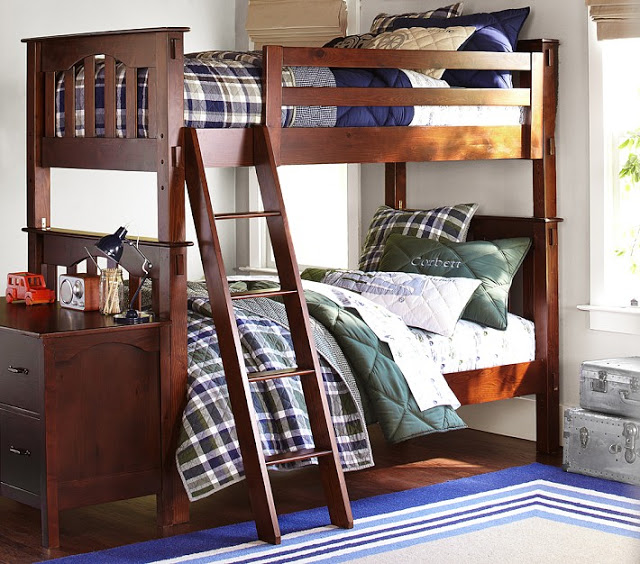
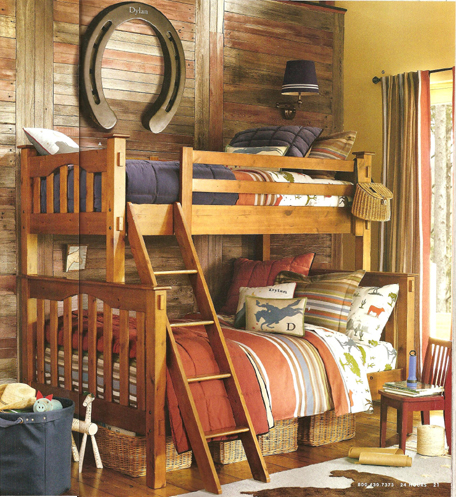
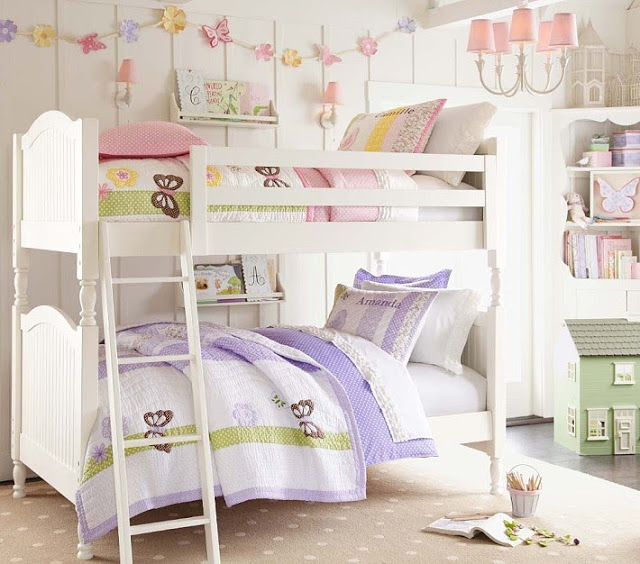
The easiest to make. Consists of two tiers (sleeping places) and stairs. Suitable for a child's room where there is enough space.
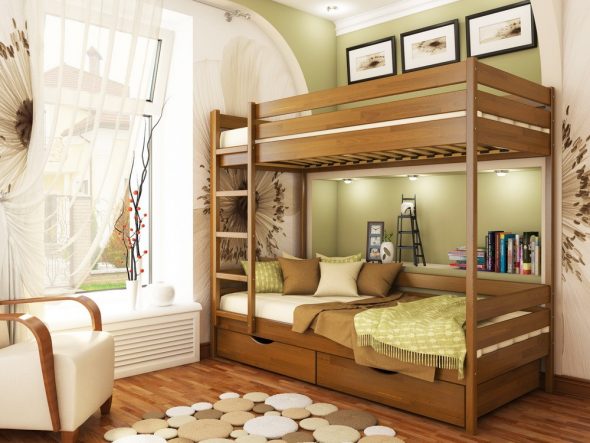
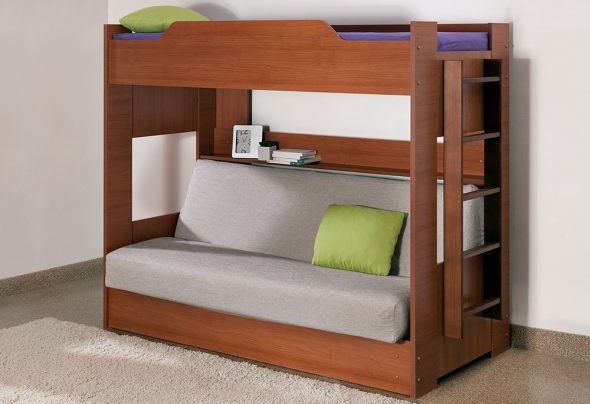
- With a sofa
The sofa on the first tier will add variety both in aesthetic and functional terms. This model will save more space in room, because you don't need an extra sofa. It can be used as a bed or just as a place to relax. It's a good choice for a living room.
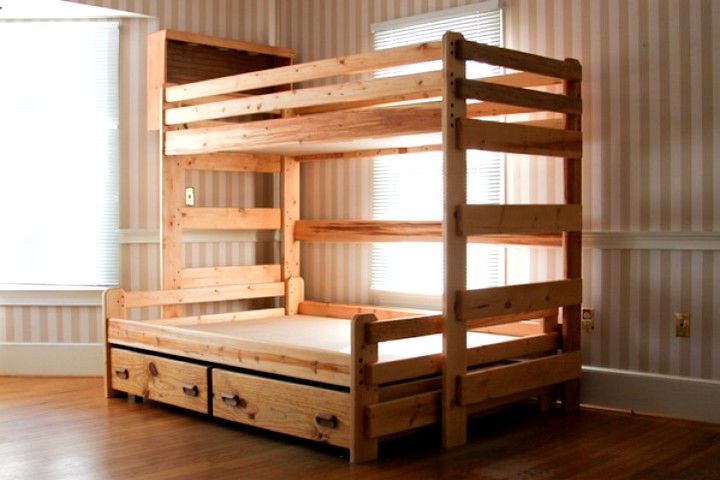
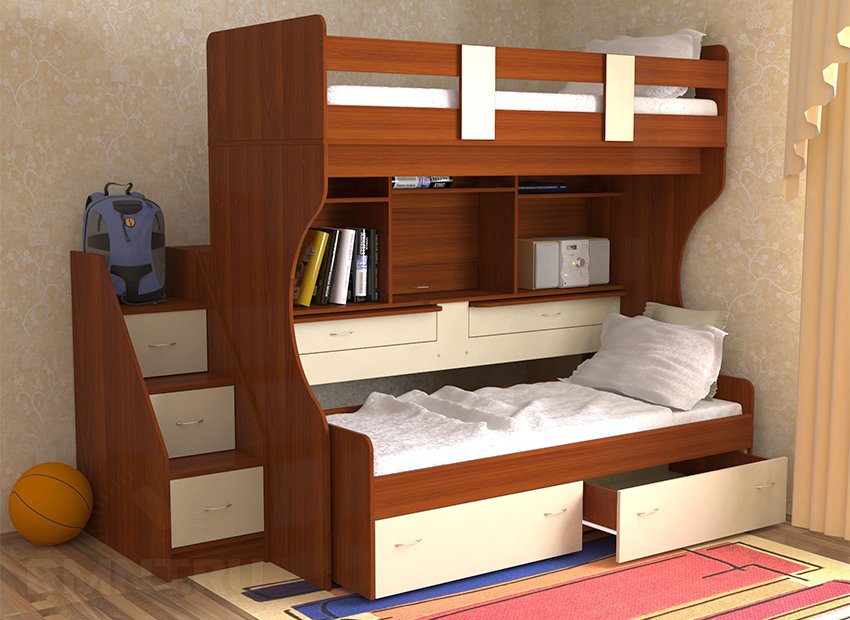
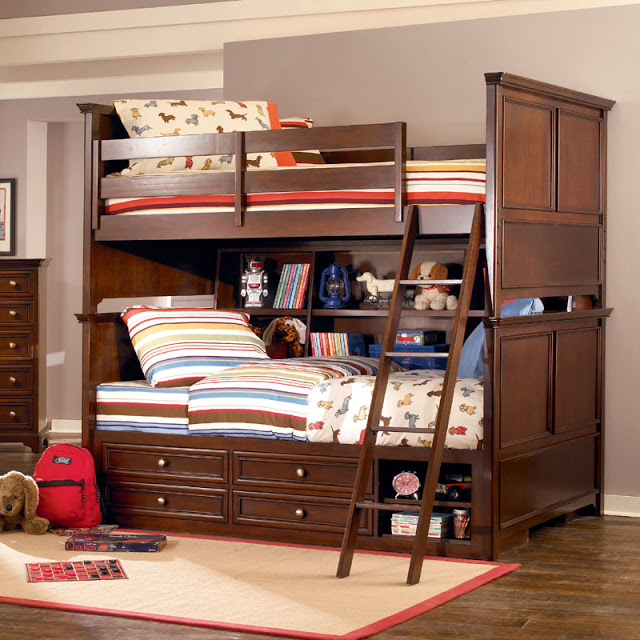
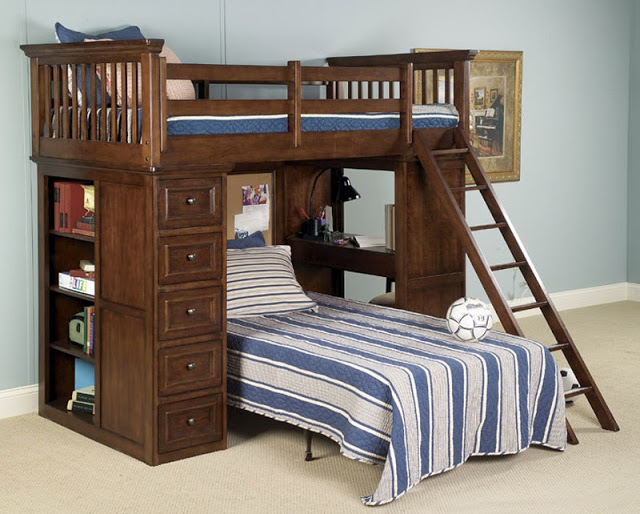
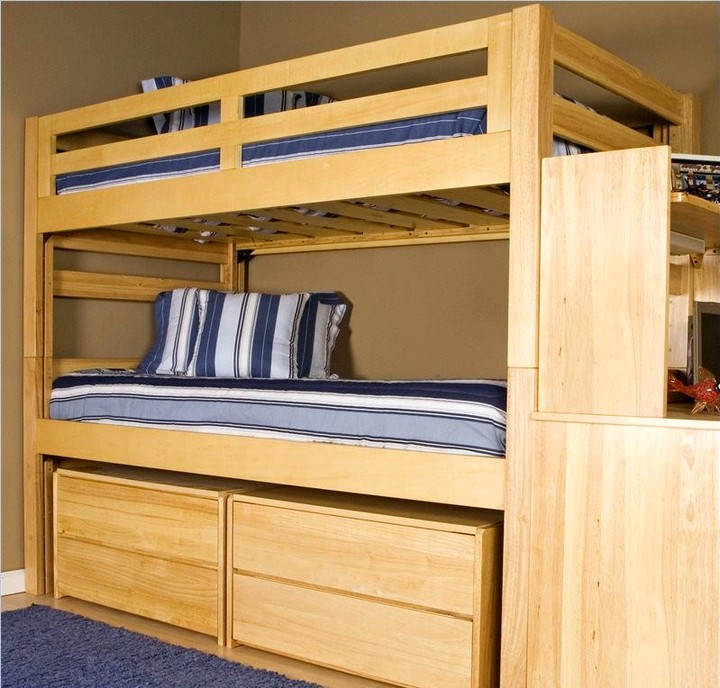
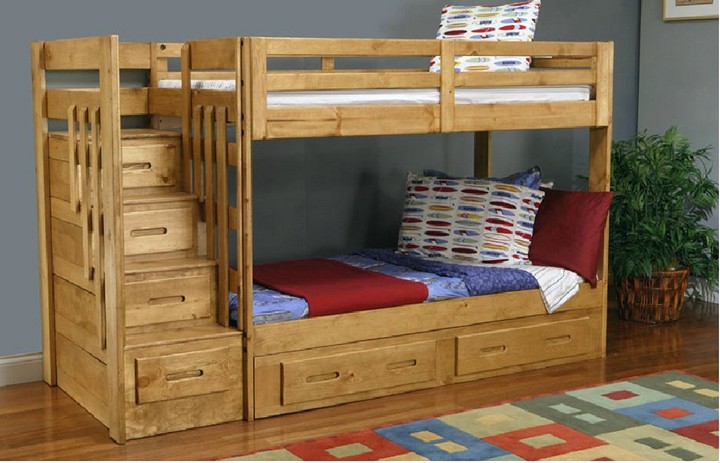
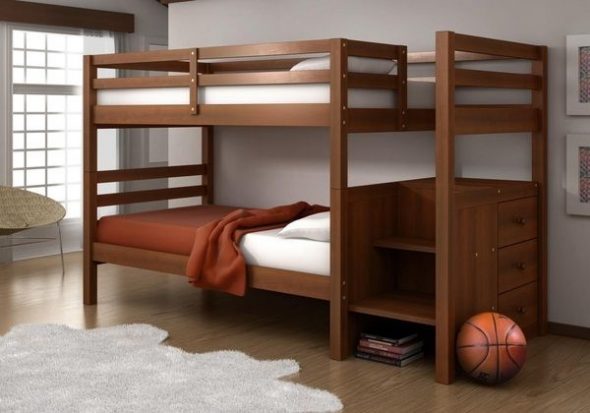
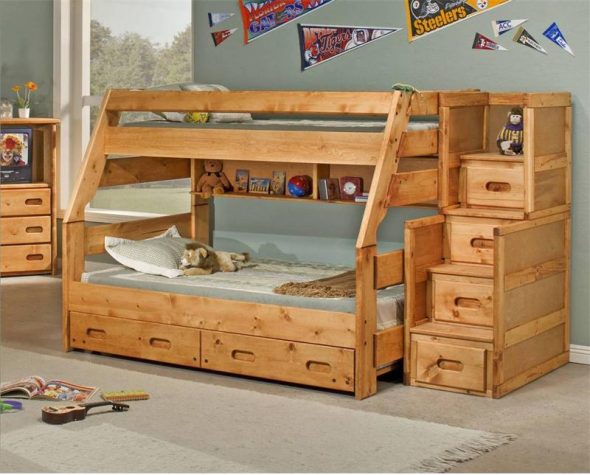
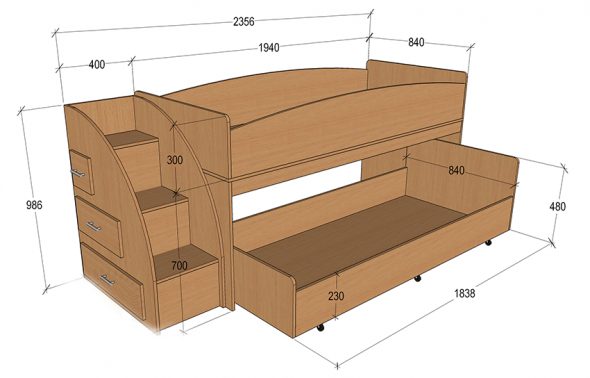
- With drawers
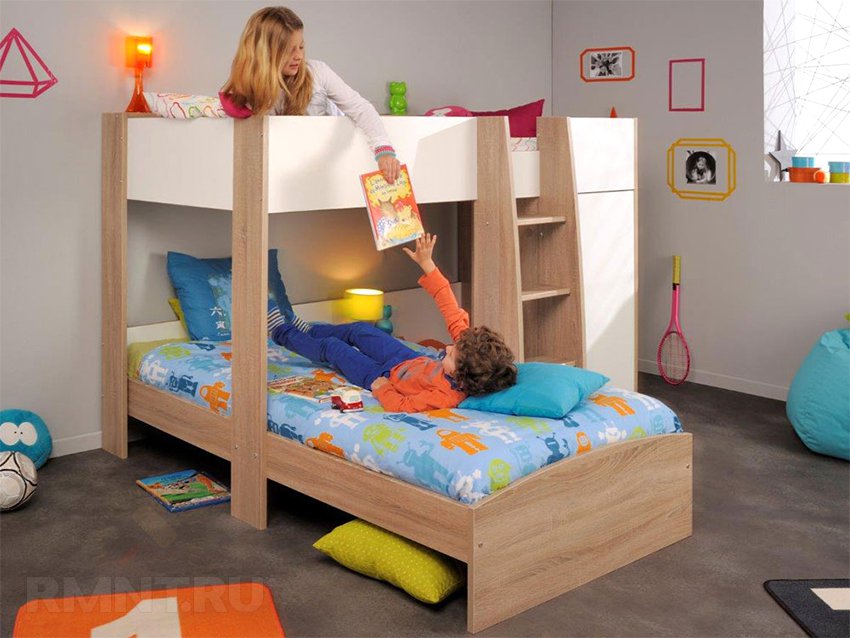
In this model, drawers or shelves are attached to the stairs leading to the second floor, used instead of cabinets. In this case, it will take up a little more space in room, than the traditional one.
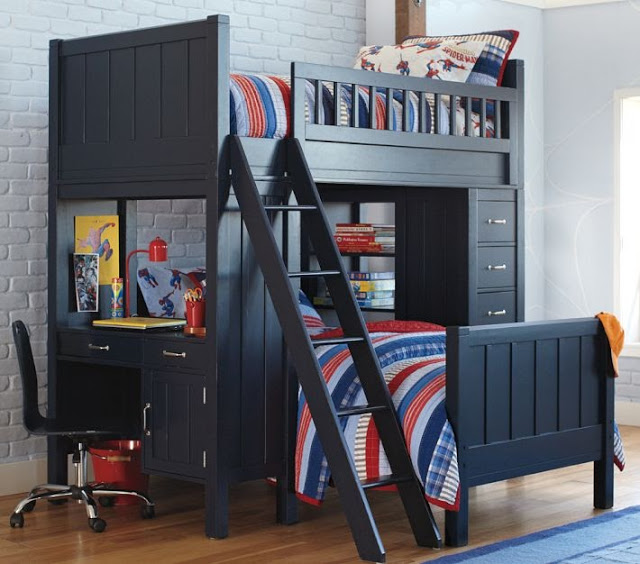
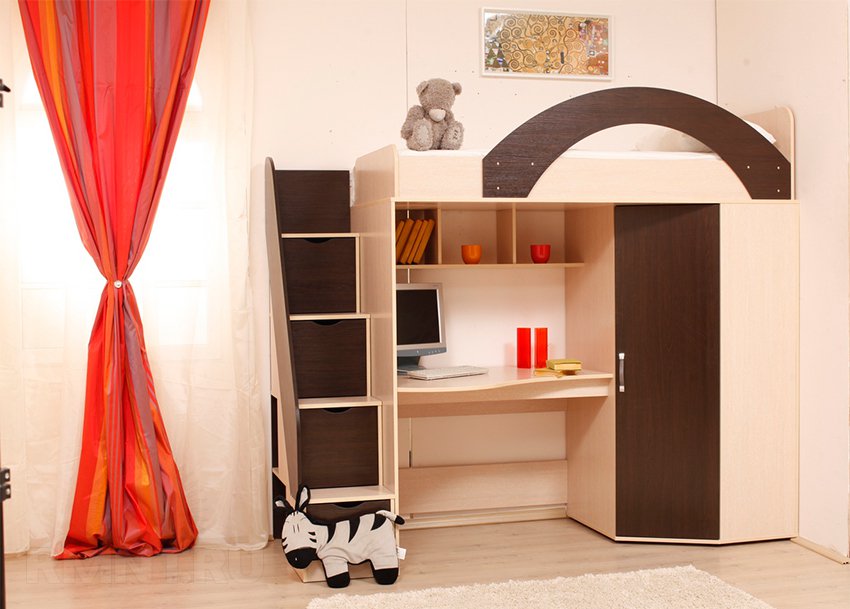
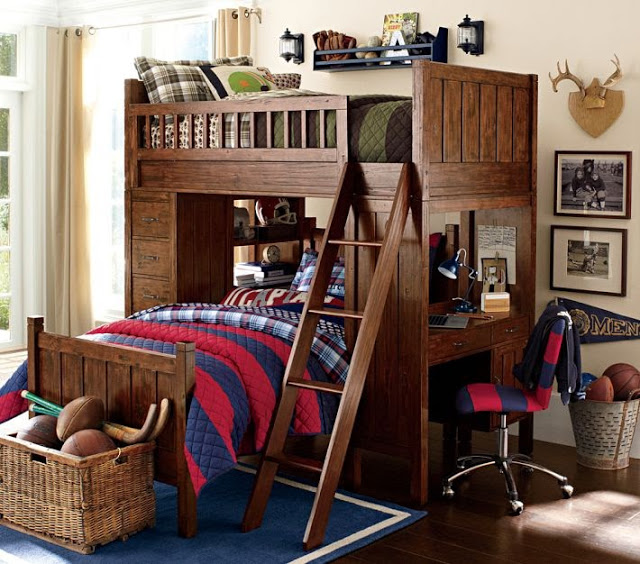
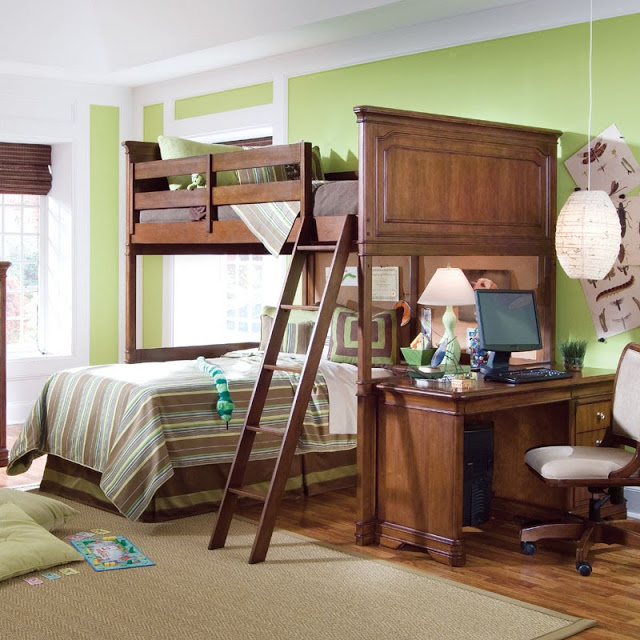
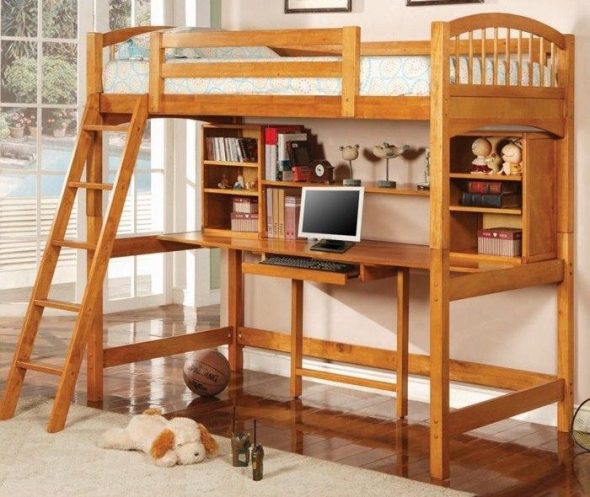
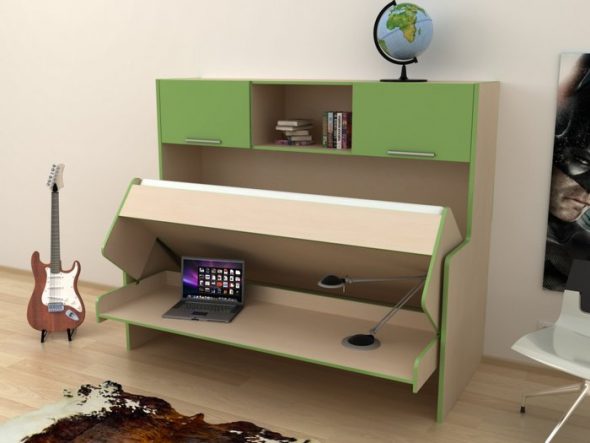
- "Attic"
This option saves a lot of space room. Sleeping place is on the second tier, the lower one is intended for the work area. Usually it includes a work table, various shelves and racks. This design is usually chosen for older children (teenagers, students). Basically, such a bed is single, but if desired, two people can fit on the second tier. You can build it in a corner with two sleeping places on the second floor. An important condition in the design of this model is durability.
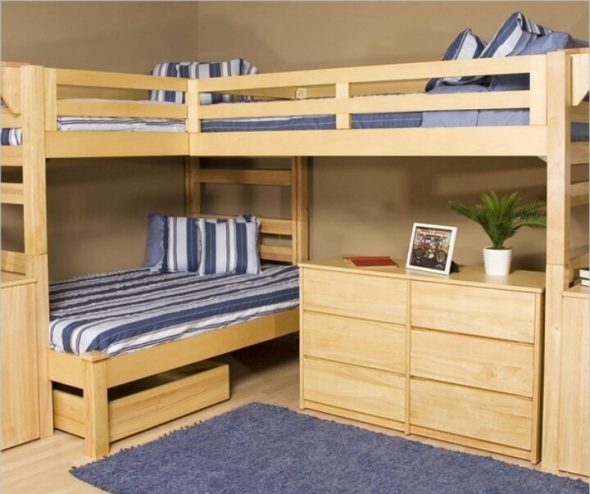
- Three-bedroom bunk
There are various suggestions to make a bunk bed into a triple bed. If child still small, and an apartment one-room, you can do it with double bed on the first tier. If this product is for child – both places can be placed at the top.
- Transformer
Such models are very popular because they save a lot of space. It consists of a table, cabinets and sleeping placeA table or a mattress can be pull-out.
Preparation
We have figured out which models are the most popular and convenient, now let's decide what is needed to start building a bunk bed.
Drawings
First of all necessary draw a drawing. The most convenient option would be to take ready-made schemes from the Internet, and, using them as a guide, create your own project.
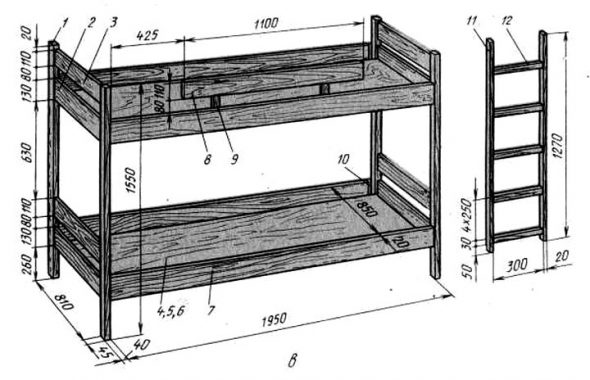
The following data is used in the drawing:
- Height of the product;
- Length;
- Width;
- Distance from the upper and lower tiers;
- Length and width of the stairs;
- The space between the steps of a staircase;
- Height of the upper tier;
- Width of supporting beams;
- Dimensions of cabinets.
Photos of finished options will help you clearly determine how to make a drawing correctly.
Materials
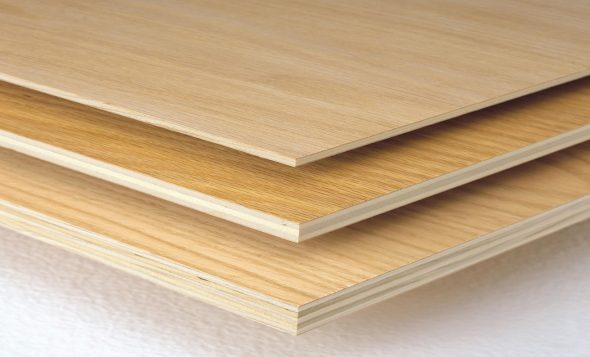
When choosing materials, consider your skills and the set of available tools. Chipboard or solid pine are great for the job. Let's prepare the tools we'll need for the job.
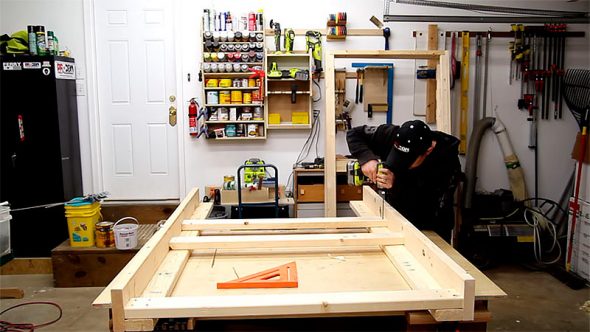
Depending on whether you will cut the material yourself or entrust it to professionals, we select a set of necessary tools. The best option would be to cut the boards according to measurements with professional devices in a furniture workshop. Then you will only have to connect all the parts.

To do this you will need: a screwdriver, screws, glue, a level, a drill, a hammer, a grinder for processing the finished product, and the workpiece material cut to size.

Let's get to work
So, all the preparations are complete, you can start making a bunk bed with your own hands.
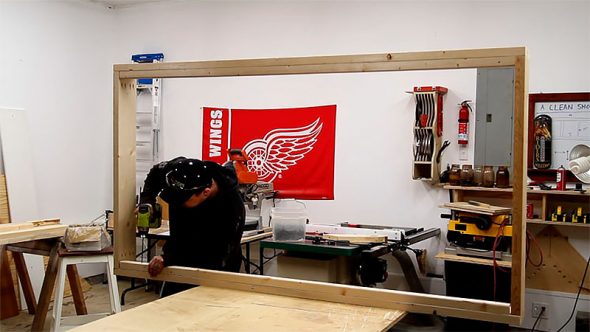
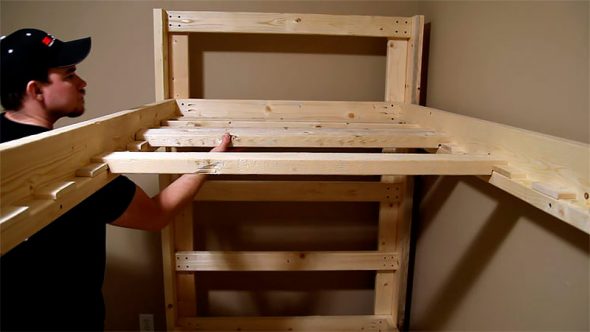
- First of all necessary build a base - a rectangular box.

Then a mattress is placed inside. - First, let's make the side panels of the box. To do this, take two pre-cut and processed boards of the appropriate length, attach to them, at an angle of 90 degrees, 2 more boards of a smaller width (according to the drawing).
This should create a “shelf”. - Attach the bars to the side rails. Boards for the mattress base will be placed between them.
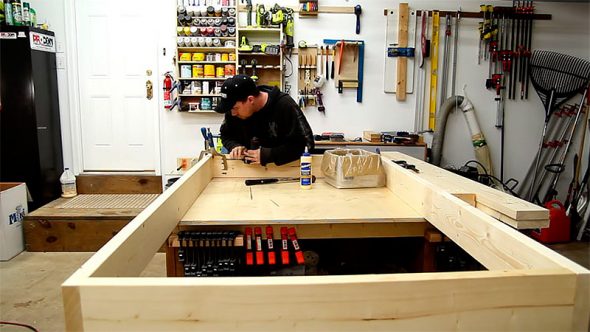
Pay attention to the width of the boards. - Next, do the same with the sides that are at the head and feet. Fasten 2 boards that match the width of the bed with a "shelf" and connect them to the side rails using self-tapping screws through a hole made "under the countersunk".
Attach them to the legs in the same way. - Place the boards between the bars glued to the side rails.
They must be strong enough.
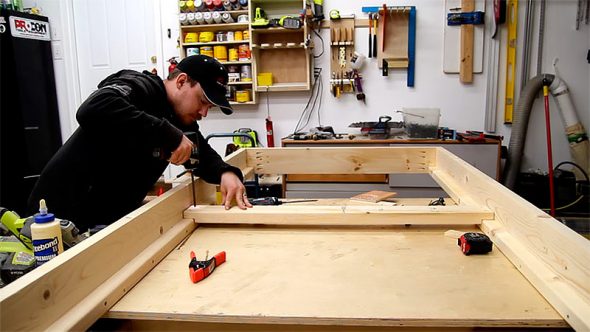
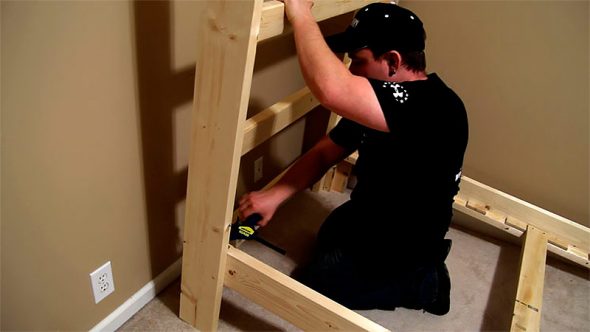
Now let's move on to creating the back.
- Take 3 boards, the size of the width of the bed, to attach them to racks.
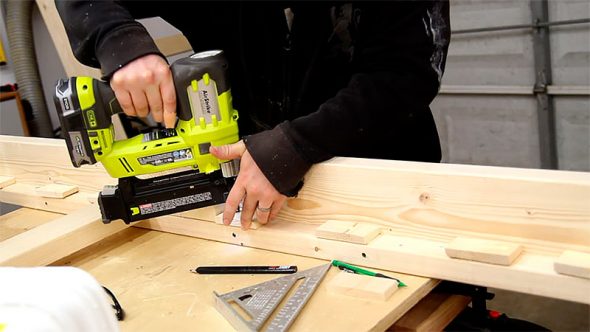
- To do this, you will need connecting dowels (you can buy them in a store or plane them yourself).
Place them on the back boards and use a simple pencil to mark the area for drilling the dowel hole. - Drill holes in both pieces and join them together using dowels.
- Attach the side backs in the same way racks.The first tier is ready.
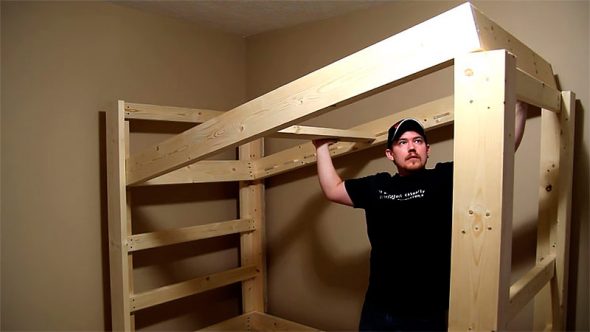
Using self-tapping screws and the countersunk method, attach the ladder to one of the posts.
If the design involves the presence of boxes, then the ladder must be attached from the outside to the supporting structure. rackNow attach the boxes to the stairs according to the drawing.
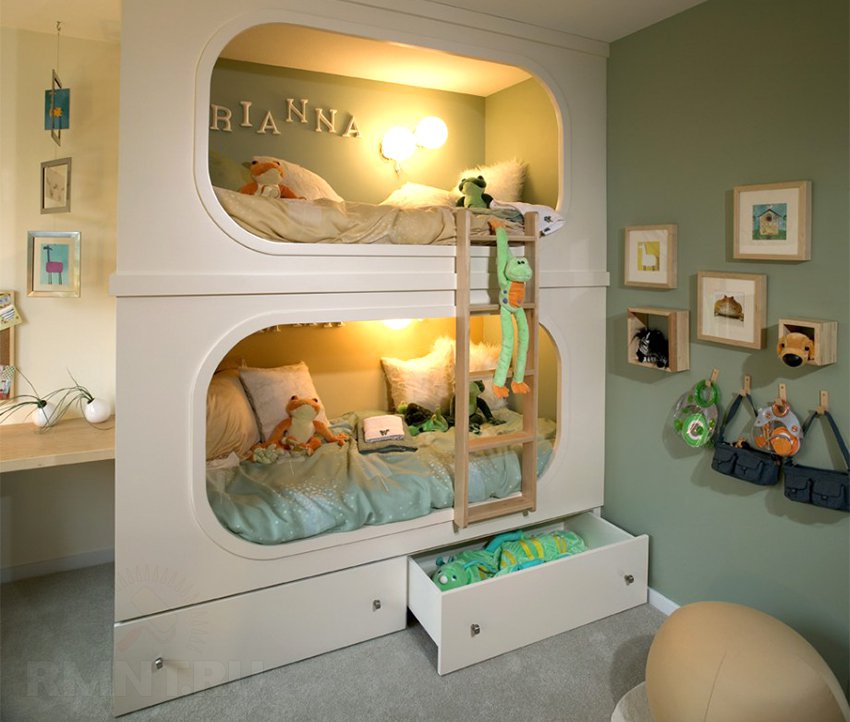
Decorating
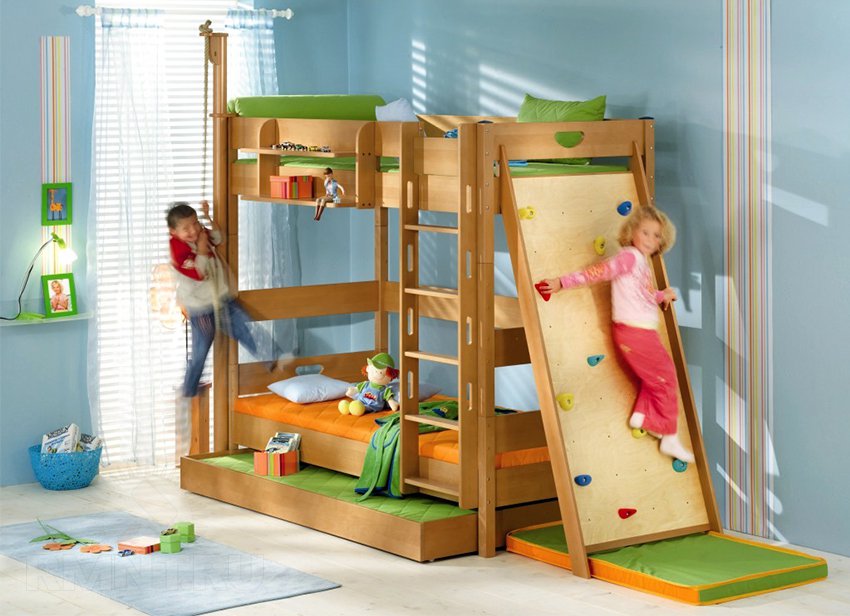
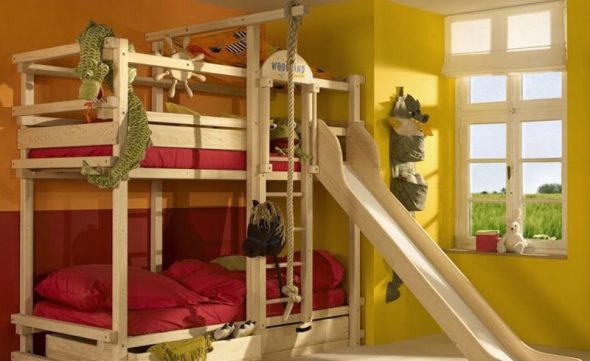
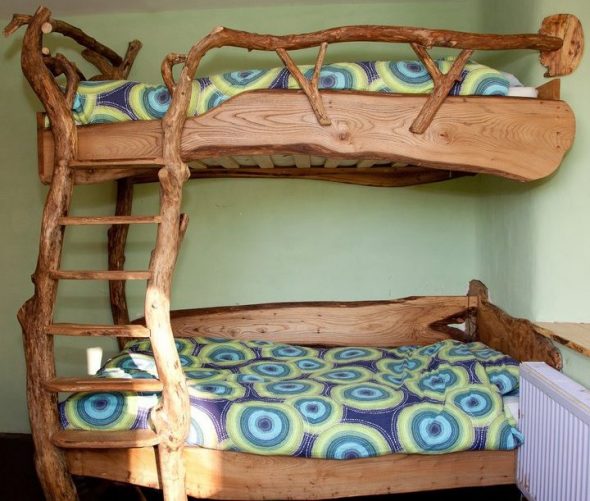
It is worth thinking about the decor before starting production, as it can affect the project. Experienced craftsmen can make furniture in the form of a house, a car, or a boat. You can attach "branches" instead of a ladder, along which "young Mowgli" will climb to the second floor.
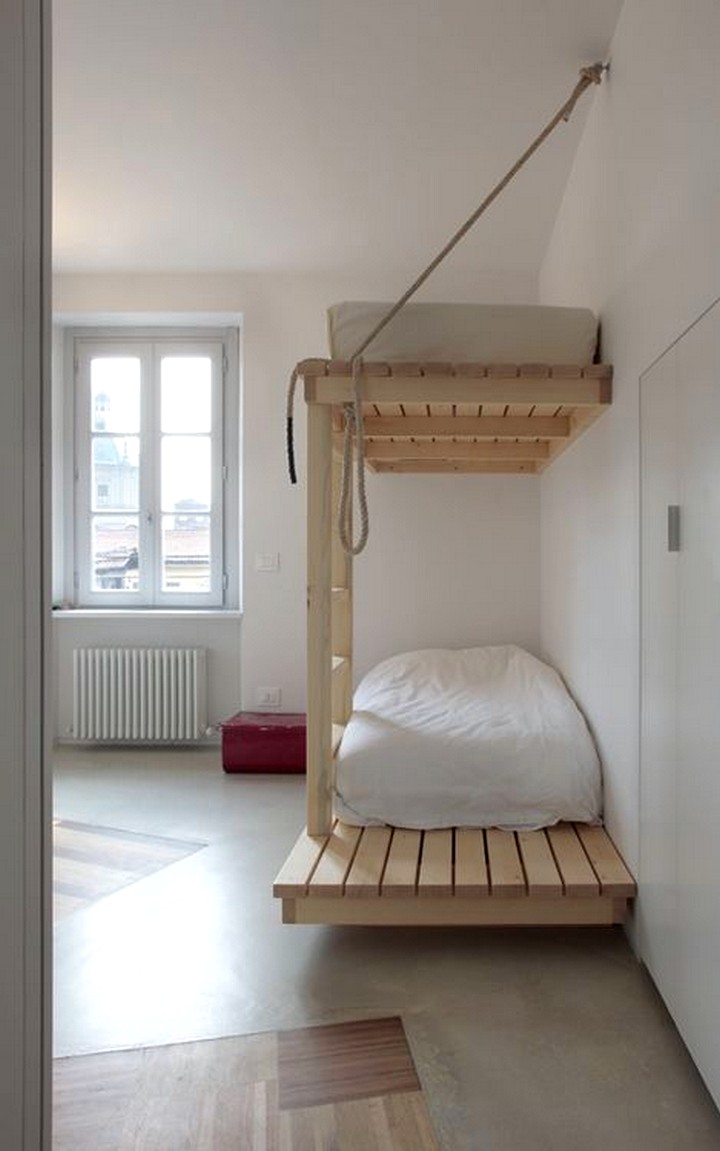
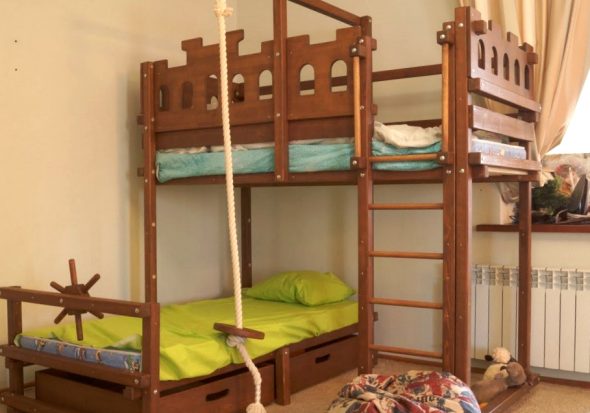
A common option is to add a Swiss wall, athletic rings or a rope. Beds with a slide-like descent have become very popular.

If you have built a classic bunk bed model and thought about the design only later, then use any textiles for decoration: pillows, hanging decorations, attach a rope.
In general, making a bunk bed with your own hands is not so difficult, and it is also profitable and beautiful.
We wish you success in your creative endeavors!
VIDEO: Instructions for assembling a bunk bed.
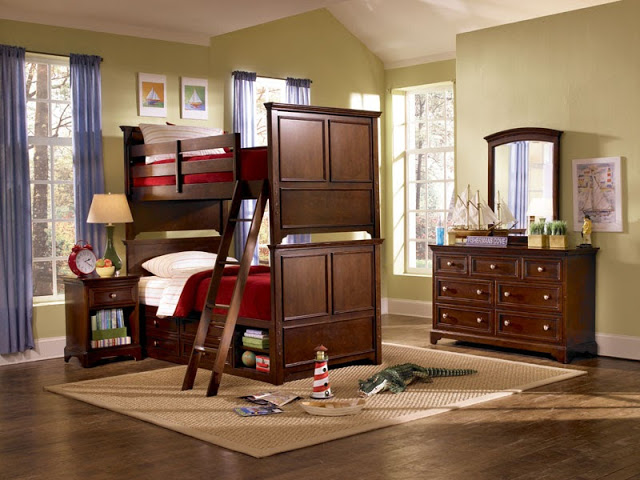
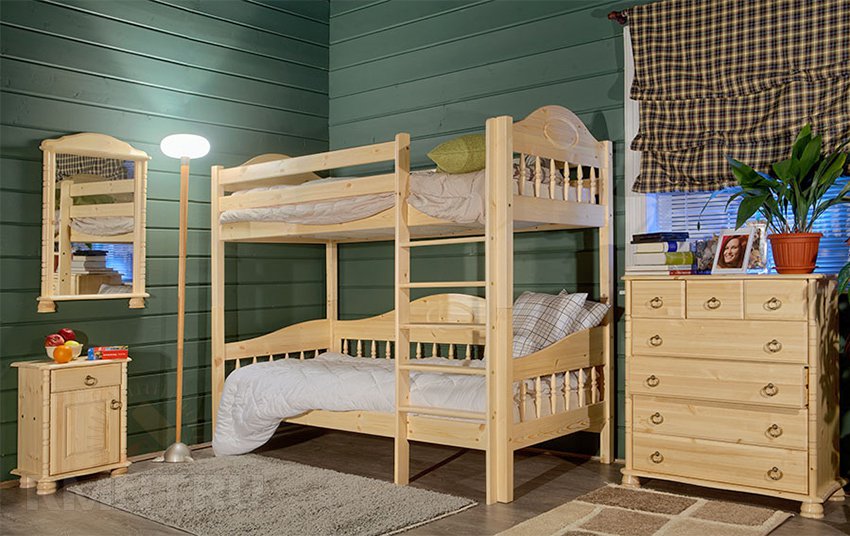
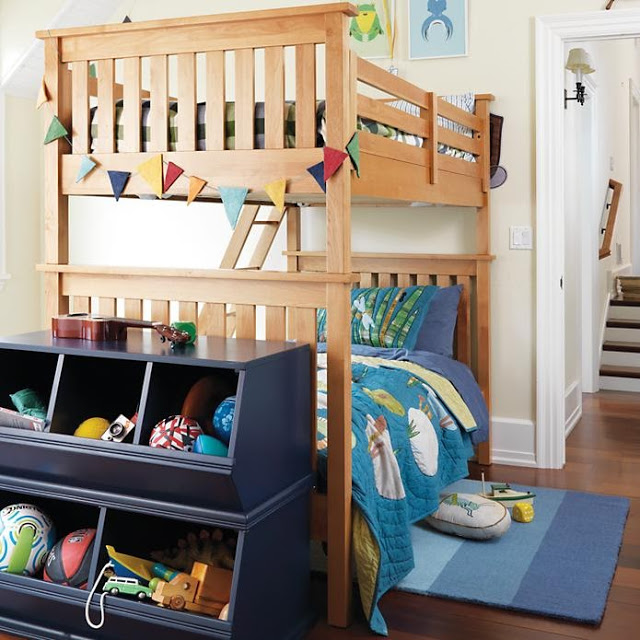
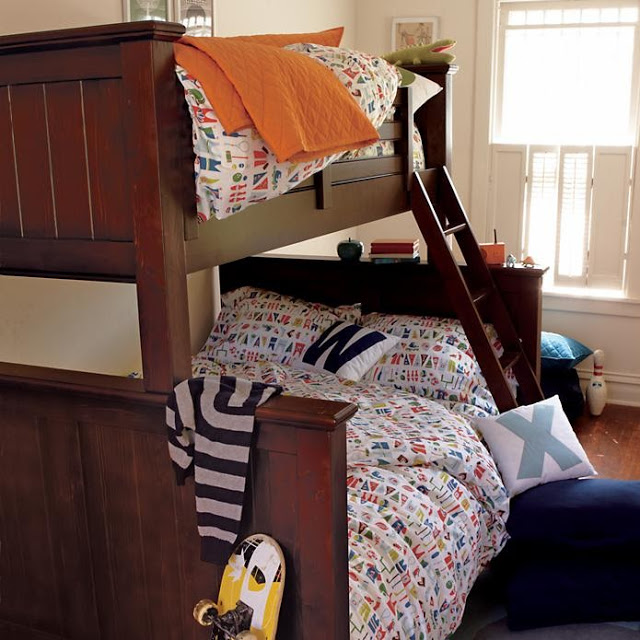
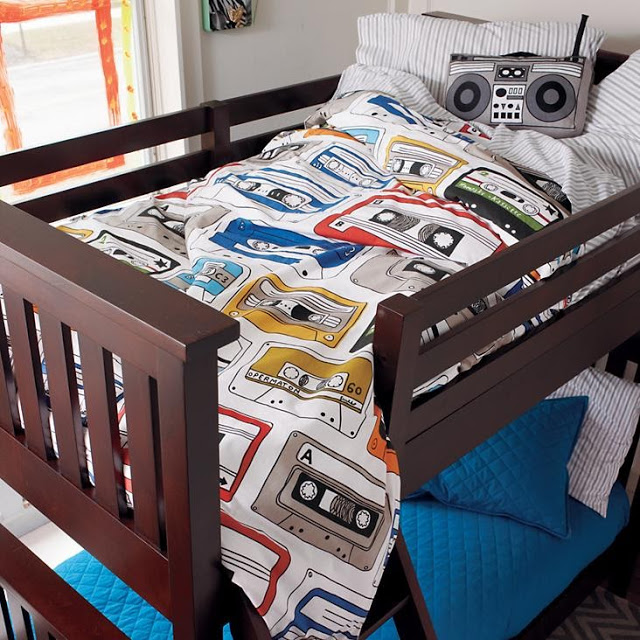
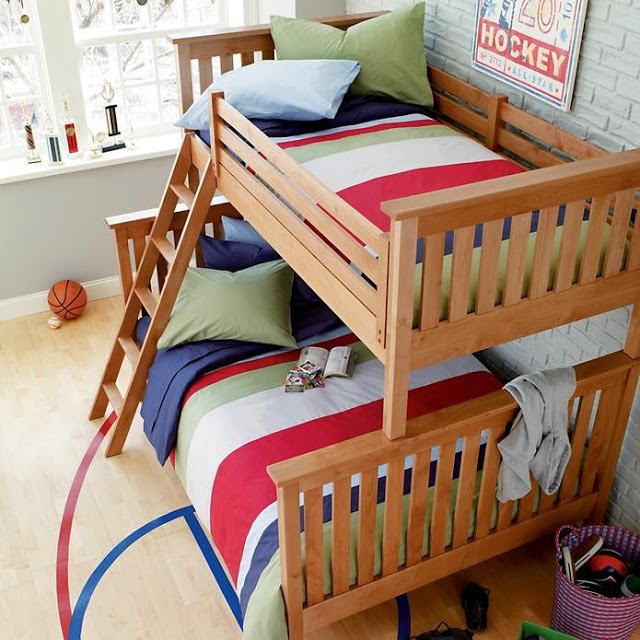
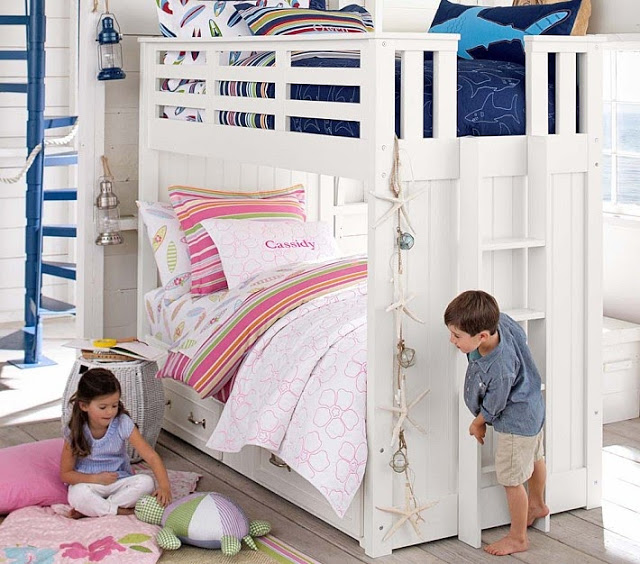
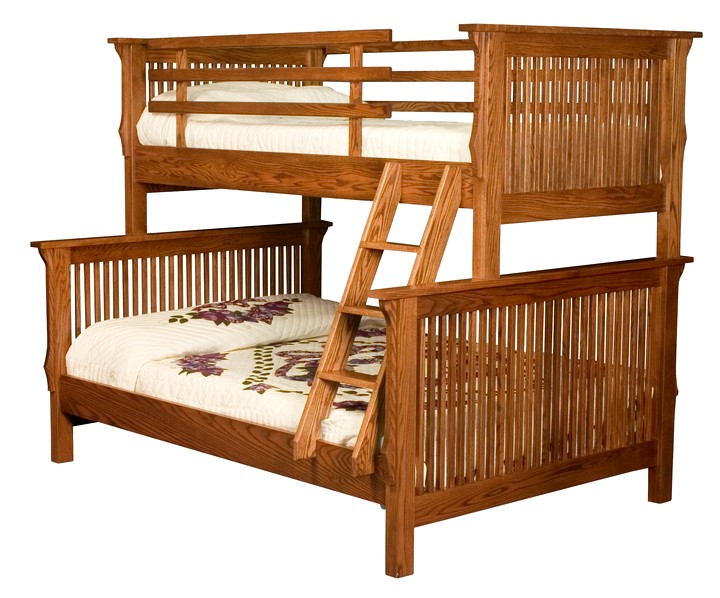
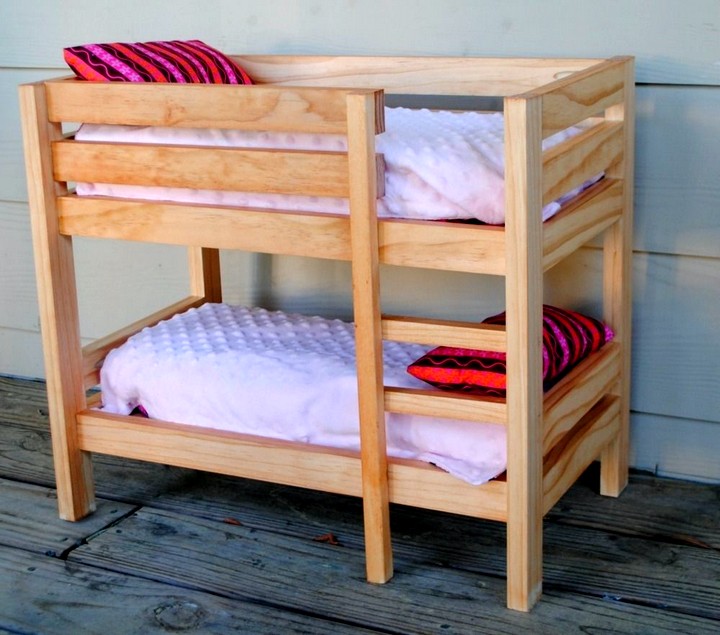
50 DIY Double Bed Photo Ideas: