How to make a bed frame with your own hands? It's not difficult at all!
Assembling a frame for a simple wooden bed with your own hands
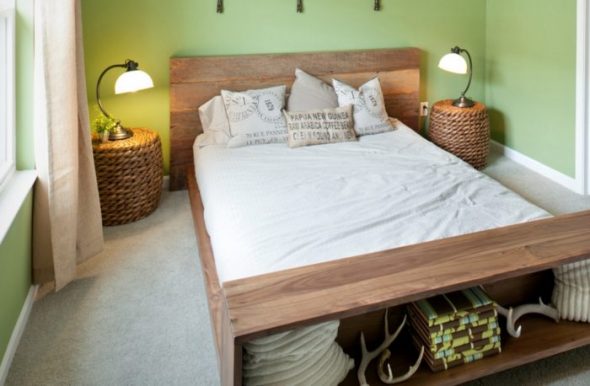
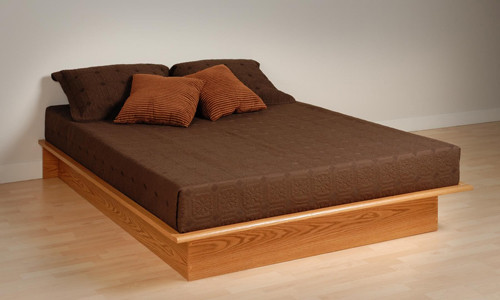
The bed is the center of the bedroom,e the main and most important part. Here we spend time reading a book, resting, sleeping and communicating with our loved ones. It is extremely important that the bed has a pleasant appearance and fits harmoniously into the interior of the room. Furniture stores offer many options for purchase, but most often the price exceeds the quality. Why overpay when you can do it yourself?
The bed is the center of the bedroom, its main and most important part.
Do diy bed frame much easier than it seems. In addition, a homemade bed has a number of advantages:
independent selection of quality materials;
confidence in the reliability of the assembly;
development of useful household skills;
opportunity for creativity.
By making a bed frame with your own hands, you will receive a unique designer product, and it is in your power to make it unique.
It is extremely important that the bed has a pleasant appearance and fits harmoniously into the interior of the room.
Decide on the dimensions of the bed frame you want to make. Choose a mattress that suits your characteristics.
A mattress is an expensive purchase, but the quality of sleep and rest depends on it. A bad mattress can cause problems with blood circulation and the back. Be careful when choosing!
Making a bed frame yourself is much easier than it seems.
Try to choose orthopedic mattresses. For a comfortable sleep, it is recommended to buy mattresses 15-17 cm longer than a person's height. Once the choice is made, measure the parameters and, based on the measurements, draw a schematic diagram.ef the future sleeping place.
Be sure to make allowances so that the mattress fits into the frame and not into the frame.eg on it like a lid.
By making a bed frame with your own hands, you will receive a unique designer product, and it is in your power to make it unique.
! Mattress dimensions + 1.2 cm per side = bed frame dimensions.
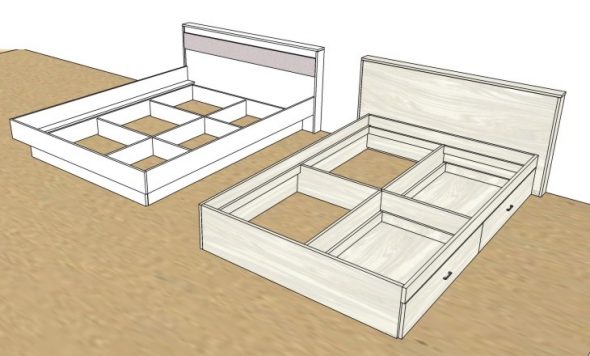
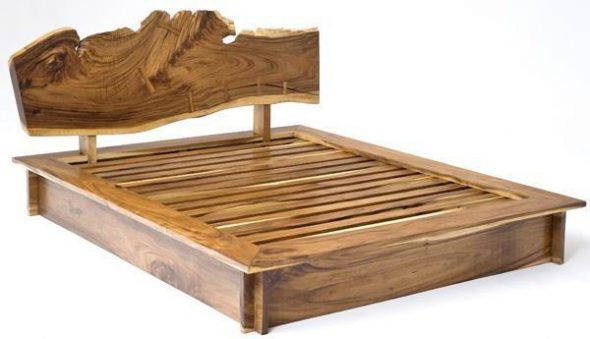
We will make a frame for a standard mattress 2000 x 1300 mm.
Making a bed frame together with decorating the product with your own hands will not take more than a week, and the new bed will please you for many years!
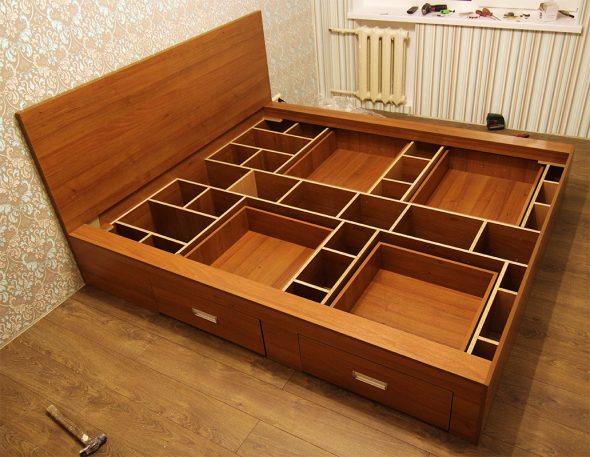
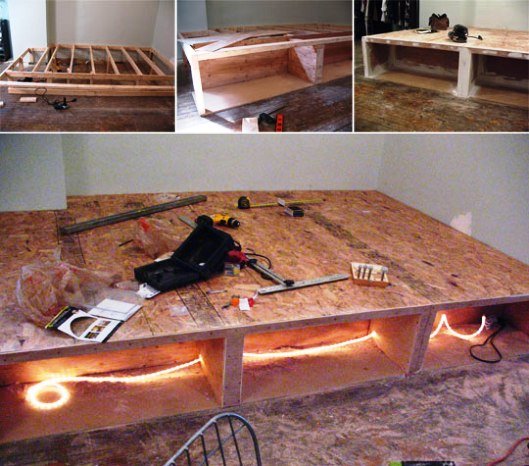
It is important to determine the height of the legs - try to imagine from what level it is convenient for you to get up. The bed should not be too low, but not too high, although non-standard furniture shapes are welcome in a modern interior. Leave enough space for built-in cabinets under the bed if you plan to store things there.
Think in advance about whatgo sizeA and formsy there will be a headboard.
Decide on the dimensions of the bed frame you want to make.
Selection of materials
There are different quality woods on the shelves. Try to buy the smoothest boards without knots – a large amount of protruding wood will take a lot of time to sand. To ensure that the bed does not “cost a pretty penny”, you need to select materials based on their role in the manufacture of the bed frame.
For the frame and decoration, choose the highest quality wood, which can be expensive, but is reliable and easy to process. For the legs, choose a medium-quality and price wood. wood, and for the slats (they will be needed when making the lattice that holds the mattress) - the simplest option. We will use pine boards as a highly environmentally friendly and durable material.
For a comfortable sleep, it is recommended to purchase mattresses 15-17 cm longer than a person’s height.
Some builders use chipboard to replace slats, because chipboard can be tempting in its price. But a bed made of such material will not last as long as a bed made of real wood.
So, in the store, using a tape measure, we choose:
Dimensions
Quantity
Purpose
2040*250*20 mm
2
side walls
1300*250*20 mm
3
end sides
2000*40*20
5
load-bearing longitudinal, supporting for medium load-bearing
It is important to determine the height of the legs - try to imagine from what level it is comfortable for you to get up.
Necessary tools
To make a frame with your own hands, you need a certain set of tools. The list is impressive, but the purchases will serve you for many years and will help you create other works besides the bed:
plane;
electric saw;
hacksaw;
jigsaw;
drill;
screwdriver
+bits on 8 and 10;
cutter, sandpaper;
pencil for marking, metal ruler, laser level.
Leave enough space for built-in closets under the bed if you plan to store things there.
Preparatory work
This is where the drawing comes in handy. Measure the necessary parameters, mark the cutting lines with a pencil. Use a ruler and a cutter to make the cut. When the blanks fully correspond to your diagram, start processing.
Remove all knots and burrs with sandpaper. It is better to have several types of sandpaper: coarse, medium and fine. Start smoothing the surface with coarse sandpaper, then move on to fine.
Some builders use chipboard to replace slats, because chipboard can be tempting in its price.
The end boards and headboard are cleaned with an electric plane - this helps to create a completely flat surface and correct the lines.
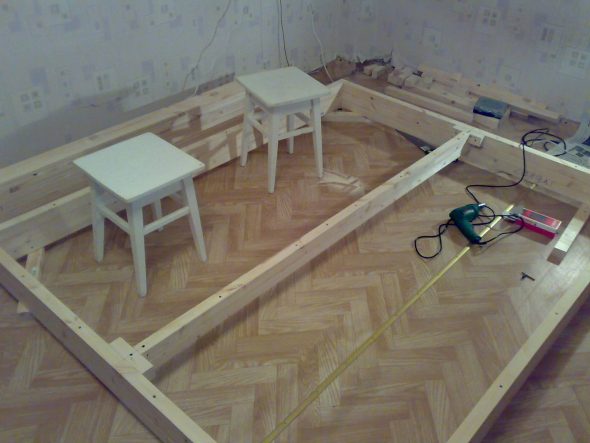
Assembly and installation of the bed frame
Step back from the edges of the end walls by approximately 110 mm to ensure the correct positioning of the mattress (when calculating the depth of the mattress seating is approximately 50 mm) - a horizontal line.
Make marks on one and the other side of the end boards - step back a third of the distance on each side - vertical lines.
For the frame and decoration, use high-quality wood, which may be expensive, but is durable and easy to work with.
The points of intersection of the two lines are the places for attaching the support beams.
On the side walls of the frame, measure 70 mm from the top of the board. Using a laser level, draw parallel lines on them.
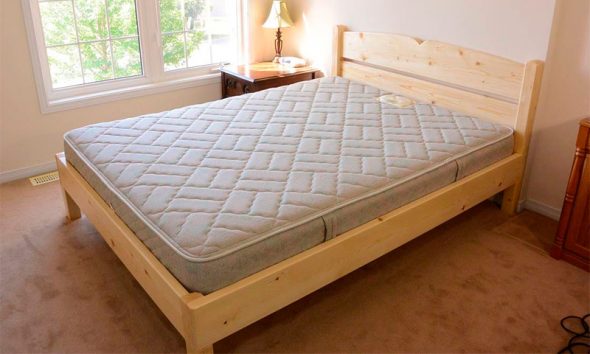
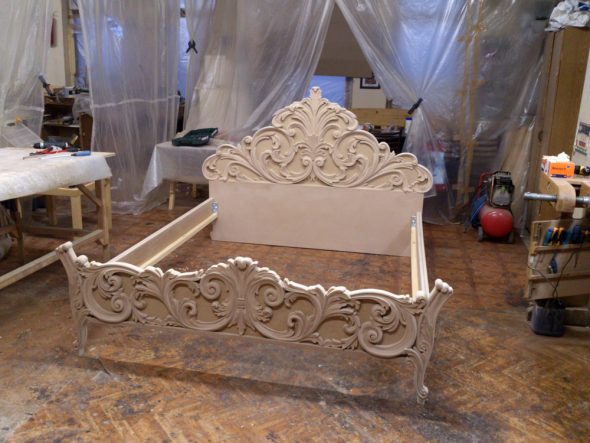
The headboard of the bed is a great opportunity for creativity.
The bars will be located along each of the sides as marked. Step back 20 mm from the ends and secure them.
To ensure that the bed does not cost a pretty penny, you need to select materials based on their role in the manufacture of the bed frame.
! To maintain the aesthetic appeal of the bed frame, use screws that are no thicker than the dimensions of the boards.
The primer is needed so that the design is as even as possible and fits well to the headboard.
Screw them in from the inside.
Take the future headboard of the bed and attach it from the end side using slats (3 pcs).
To make a frame with your own hands, you need a certain set of tools.
! Check all joints and corners for looseness before finalizing the structure.
Remove dust from frame elements.
! Use a dry cloth. A wet cloth can ruin the sanding. Unevenness on the slats can damage the mattress fabric.
The end boards and headboard are cleaned with an electric plane - this helps to create a completely flat surface and correct the lines.
Use stain and cover the frame elements. Next, apply two coats of varnish. We recommend using polyurethane-based varnish, as it is less toxic and more wear-resistant. Transparent polyurethane-based varnish is self-leveling, which makes it easier to apply. Wait until it dries.
To maintain the aesthetic appeal of the bed frame, use screws that are no thicker than the dimensions of the boards.
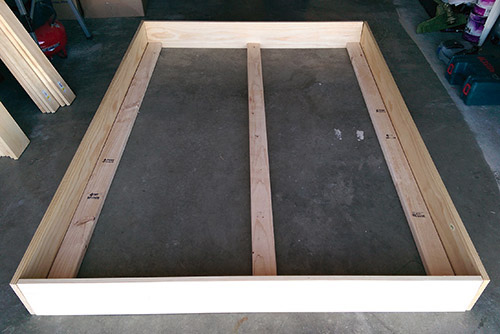
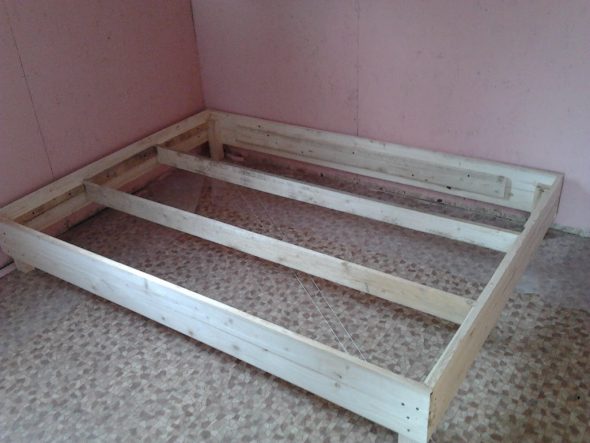
Fasten all the sides of your bed frame together.
Place the medium sized load bearing beams on top of the support beams (which we attached to the end boards).
Start smoothing the surface with coarse sandpaper, then move on to fine sandpaper.
!To fasten the elements, it is necessary to use self-tapping screws.
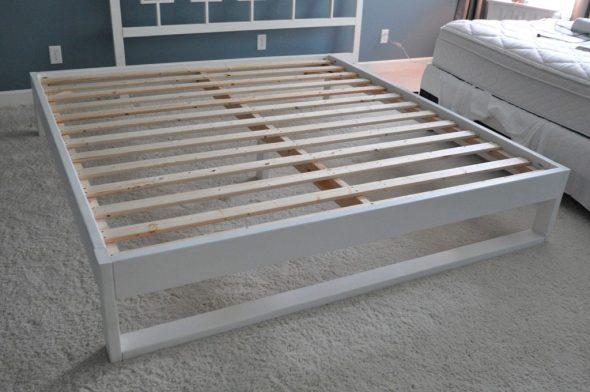
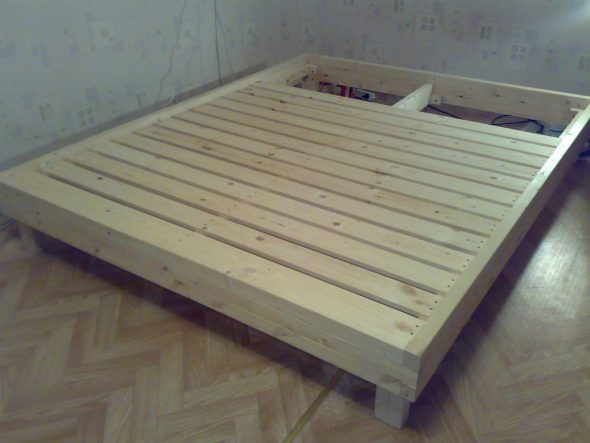
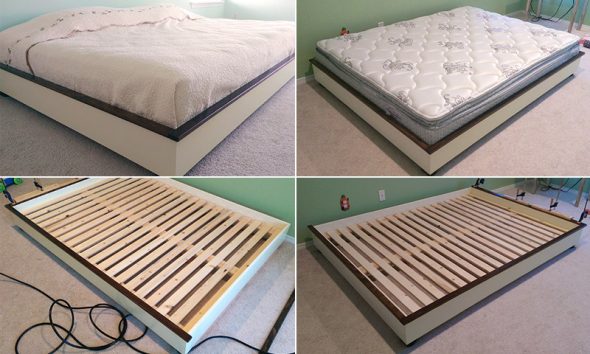
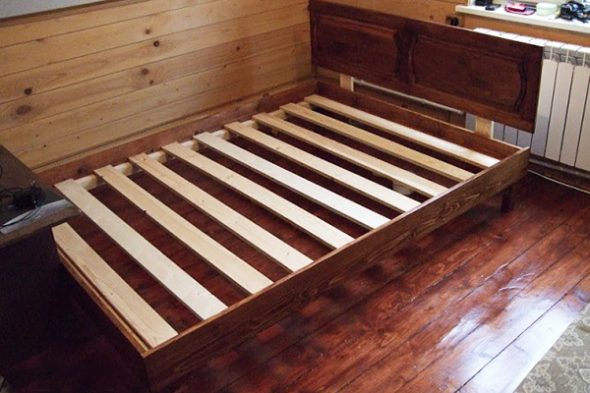
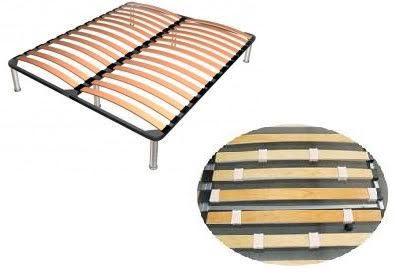
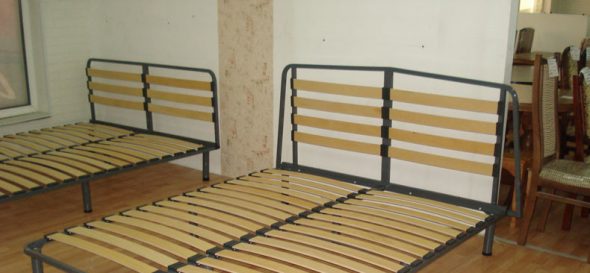
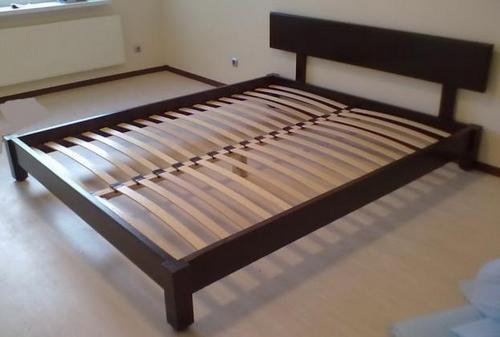
The main bed frame is assembled. Now you need to lay the slats. Choose the distances between them yourself so that the mattress is easily held. Connect the slats to the longitudinal beams.
The advantage of decoupage is that it does not require large expenses, but looks like a good design solution.
Next, install the legs of the bed. Attach 40*40 mm beams to the inside corners of the frame. If desired, you can make a couple of support legs in the middle to ensure the reliability of the assembled bed. Consider the amount of space under the bed and the presence or absence of cabinets, boxes that can be stored there. Alle this affects the height of the legs. Sometimes fastening the legs is not required at all, if it allowsut the height of the frame itself and the interior.
Measure the required parameters, mark the cutting lines with a pencil
Decor
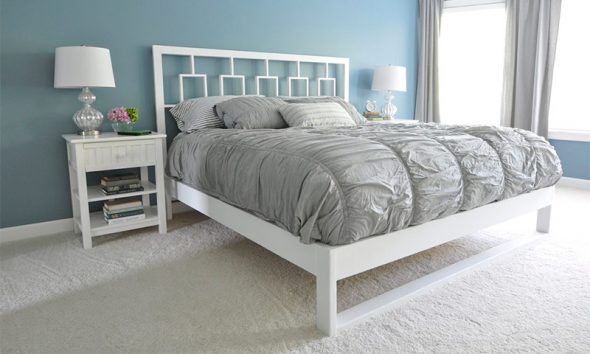
We have indicated the easiest way to make the bed look attractive in the algorithm for working on the frame - stain and varnish preserveut the color of the timber, making it brighter. You can choose matte varnishy - less noticeabley budatt dust and scratches. Glossy varnish gives shine to wood, but reveals all the builder's mistakes - unevenness, cuts, scratches. You can not stop at the usual color of wood, paint the bed in any of the colors that harmonize with the interior.
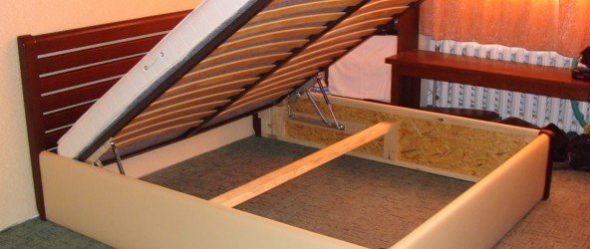
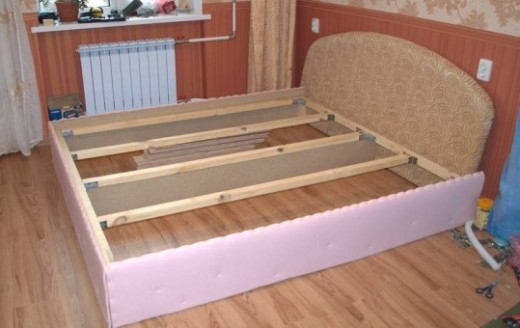
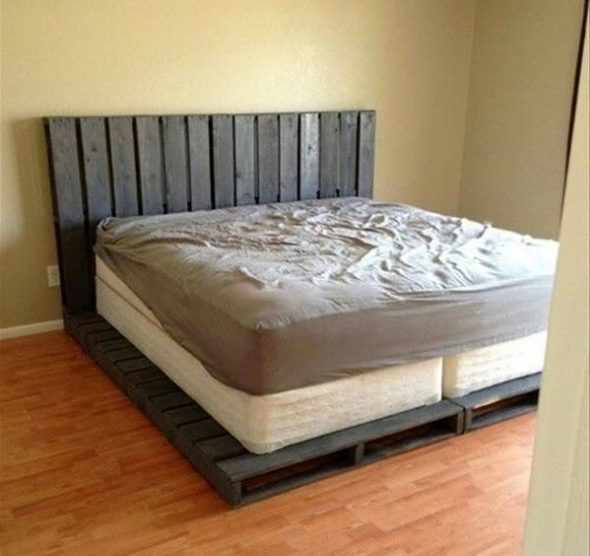
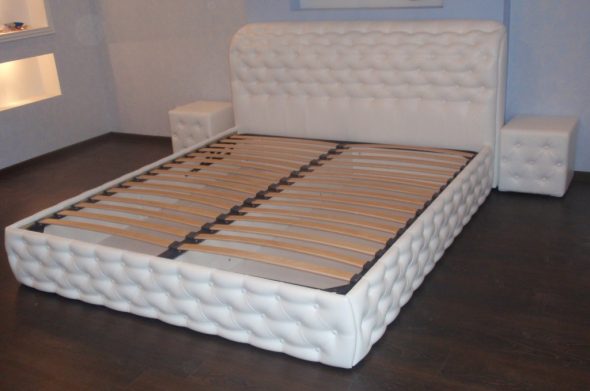
Another option is to upholster the bed. To do this, you will need to stock up on fabric, foam rubber, a construction stapler and staples. You can create a relief or pattern on the upholstery using figured nails.
Check all joints and corners for looseness before finalizing the structure.
The headboard of the bed is a great space for creativity. You can make it figured, upholstered, paint it in an unusual way, for example, using decoupage. This decoration option is easy to use at home. Moree One advantage of decoupage is that it does not require large expenses, but looks like a good design solution.
Necessaryy:
primer;
glue;
varnish;
white acrylic paint, acrylic paint for adding tint;
napkins.
There are special napkins for decoupage that can be purchased at an art supply store.
The primer is needed so that the drawing is as even as possible and fits well to the headboard. The primer is bought in specialized stationery stores, but on the scale of our craft - This is an expensive option. We take construction primer.
Place the medium sized load bearing beams on top of the support beams (which we attached to the end boards).
Decoupage is done on white surfaces, so we use white acrylic paint, which we buy in a hardware store. If you want to get a different shade, mix white paint with the color you like.
There are special napkins for decoupage that can be purchased at an art supply store.However, regular napkins will also work.
We have indicated the easiest way to make the bed look attractive in the algorithm for working on the frame - stain and varnish preserve the color of the timber, making it brighter.
You can work on the headboard directly on the frame of the future bed or separately from it, if the design provides for the possibility of attaching and removing this element. Self-tapping screws will help you with fastening again.
So, it's ready! If any defects are found during the operation of the structure, this can always be corrected, because you know how the bed is assembled - finding the creaking element will not be difficult. Making the bed frame together with decorating the product with your own hands will not take more than a week, and the new bed will please you for many years!