Updating the furniture in the bedroom is of particular importance. The bed deserves the most attention - the central element in this room. When choosing new furniture, many questions always arise: what model and material to choose, where to buy, what is the current pricing policy and much more. We suggest getting rid of half of the questions by asking others, and making a bed with your own hands.
Content
Is it worth taking such a step?
Making a bed is not an easy task. It needs to be approached seriously and a lot of planning. In this case, the question arises whether it is worth constructing a bed with your own hands. We suggest you figure it out.
Making a bed with your own hands will bring you many positive moments, the main one being savings. Homemade furniture is much cheaper than store-bought. Considering that you buy the bed at retail, its price will be even higher. And, having spent time on assembling the furniture, you save money that can be used for other purposes.
A big plus is quality. In this case, you can vouch for the quality, since you select the material and all the parts for production yourself. You assemble it, and you will not allow any botched work, since you are trying for your family members. This is a huge plus, since products on the modern furniture market cannot boast of high quality.
Of course, you will raise your self-esteem, because it is very pleasant to use something created with your own hands. And if the bed is intended for children - doubly pleasant.
You can implement any idea that comes to mind. The market does not always have a suitable model. But you are able to create something that will satisfy all your requests.
So there is no doubt: you can and should create a bed with your own hands. You will have to work, but you will see that the process is not difficult and will bring great pleasure.
Deciding on the type
In the modern world, there are many models of beds, so it is sometimes difficult to decide what is suitable. We propose to classify existing types according to certain criteria.
| Criterion | Types |
| Age | · children's;
· teenage; · adult. |
| Size | · single;
· one and a half bed; · double; · king size. |
| Number of tiers | · one-;
· two-; · three-tiered. |
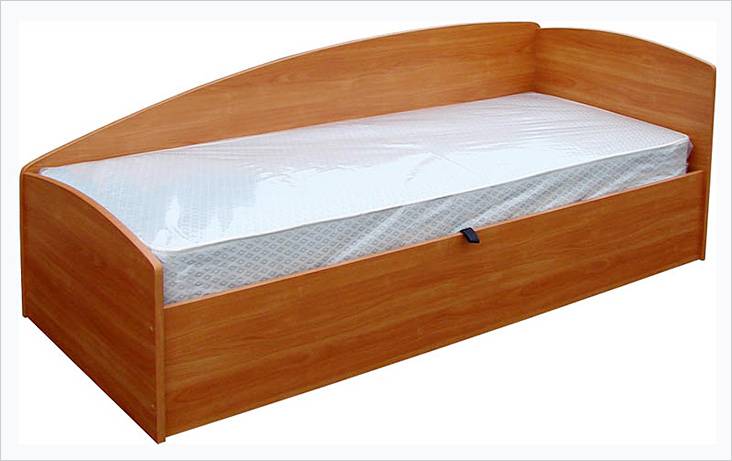
| Availability of additional storage systems | · with drawers;
· with shelves; · with a wardrobe. |
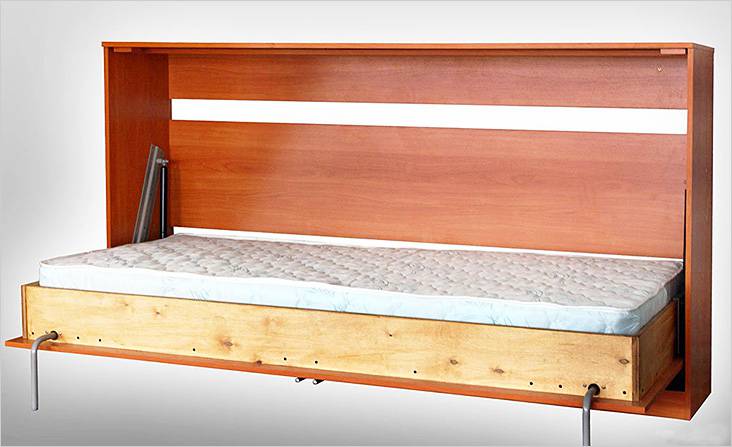
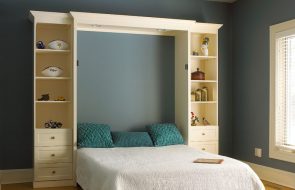
| Mechanism type | · transformer;
· folding; · with lifting mechanism. |
| Headboard type | · soft;
· solid; · with gaps; · high; · understated. |
| Material of manufacture | · tree;
· metal; · wood-chip materials. |
| Form | · rectangular;
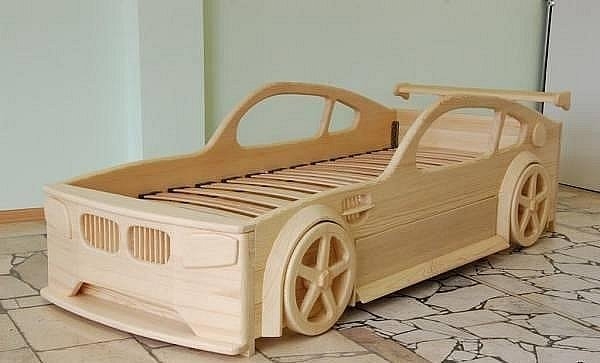
· round; · square; · in the form of any objects (car, ship, castle, etc.) |
| Type of support | · legs;
· solid. |
Now, in accordance with this table, you can choose the bed model that suits you and make it yourself.
What to look for when creating a bed
There are several criteria that need to be taken into account in order to create furniture correctly.
- Age and gender. These criteria are of great importance. After all, a child's bed differs significantly from a teenager's furniture both in size and appearance.

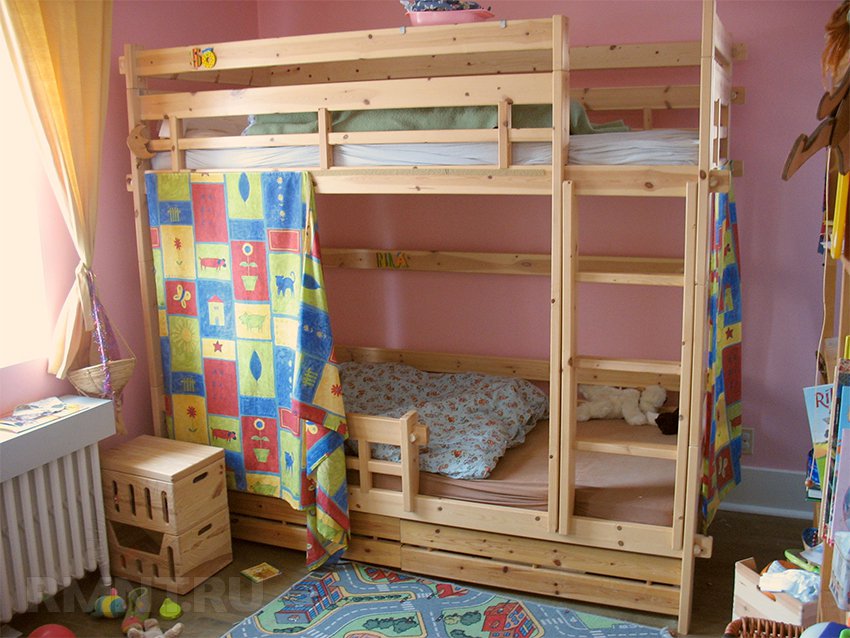
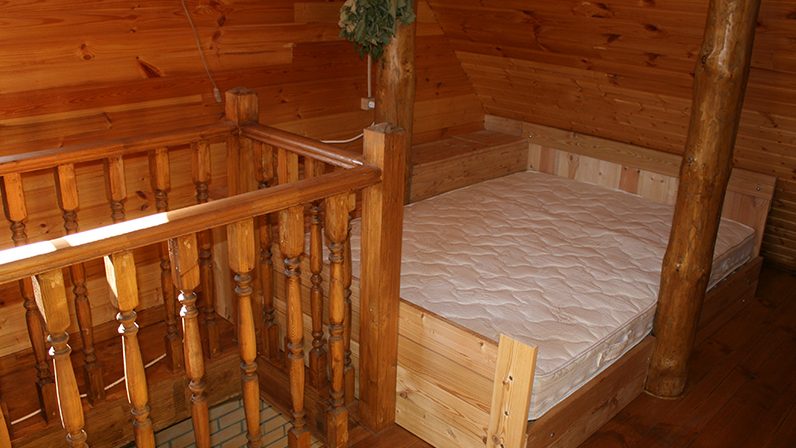
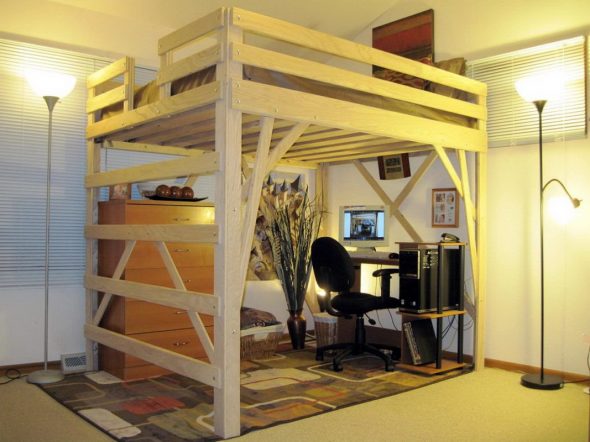
DIY Teenage Wooden Loft Bed 
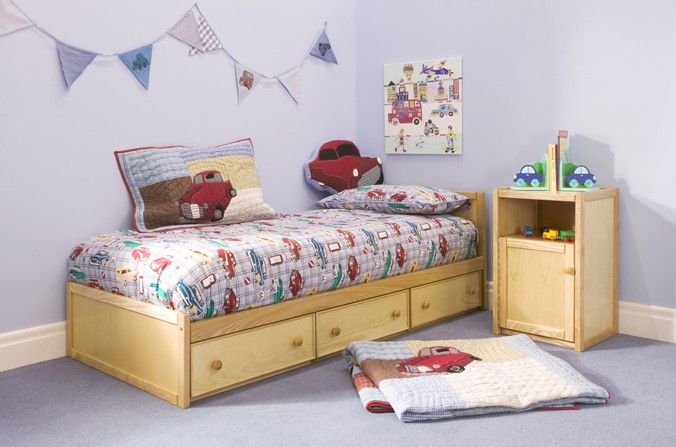
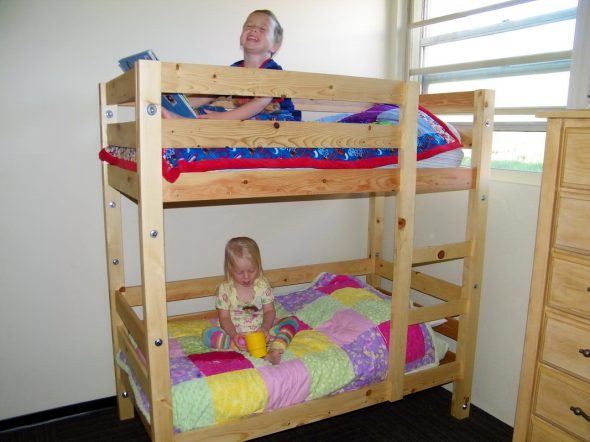
DIY Children's Bed for a Girl - Room dimensions. Before creating a set, it is necessary to take measurements of the room, and only in accordance with them make a drawing.

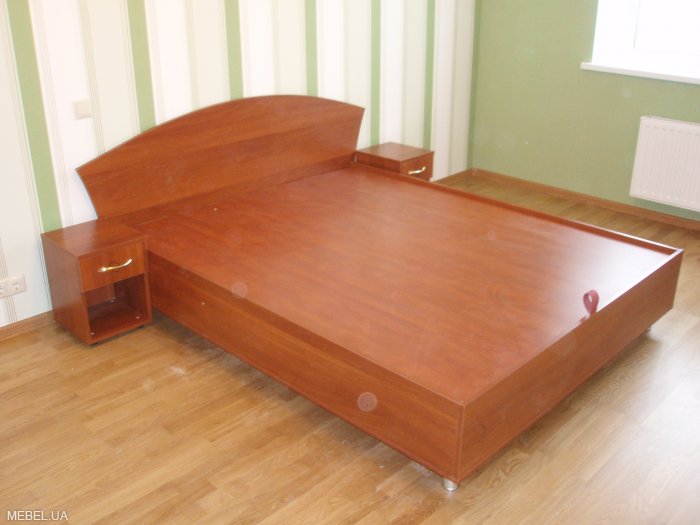
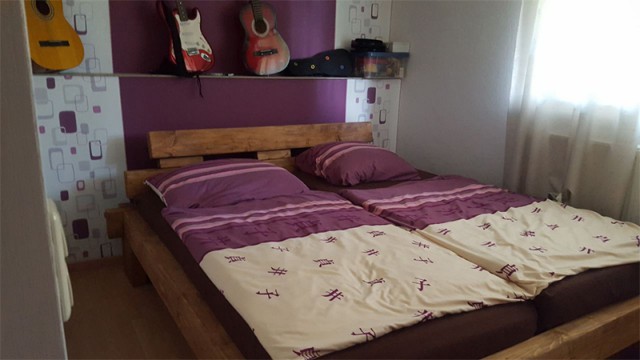
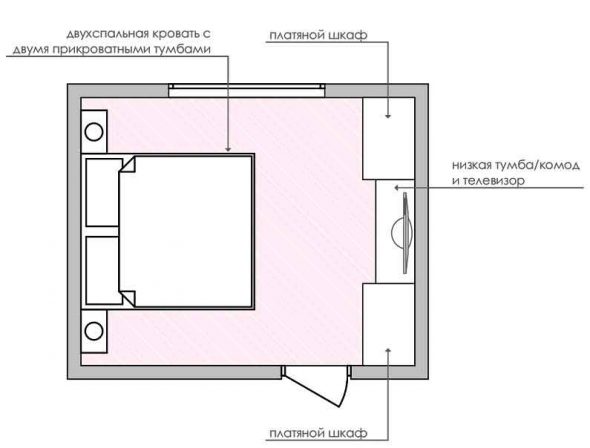
Bedroom layout with double bed 
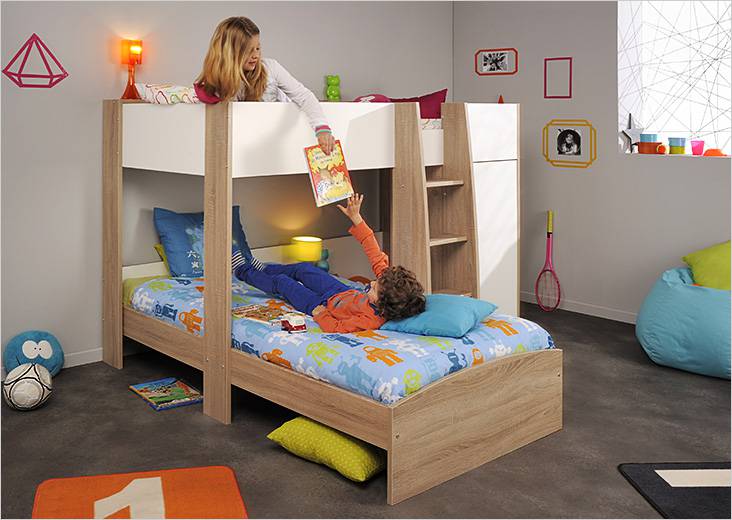
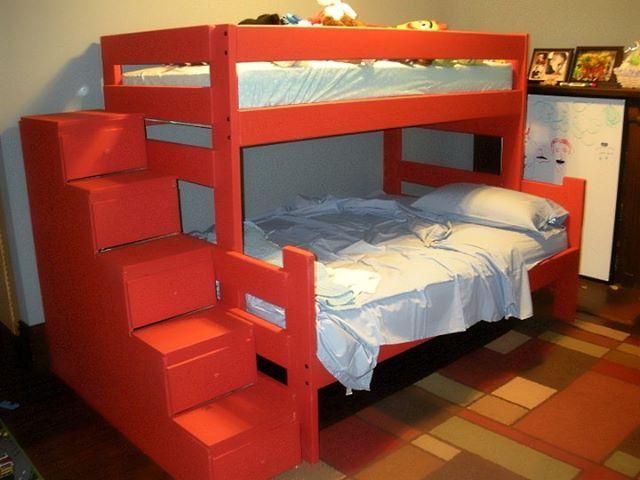
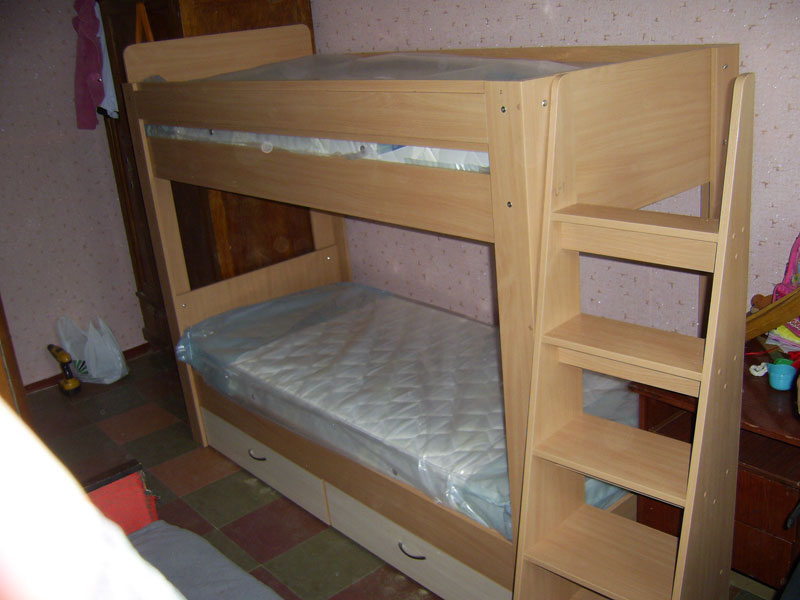
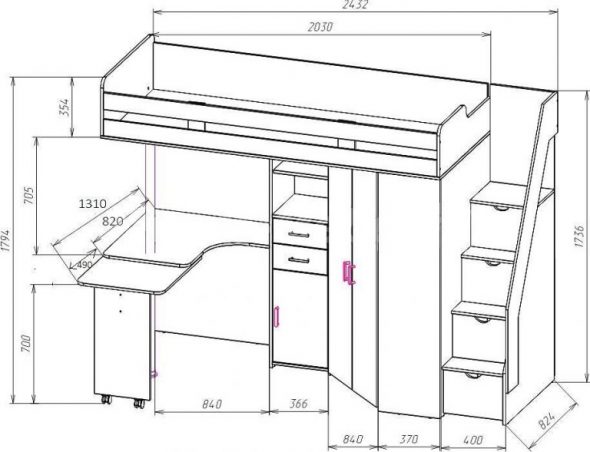
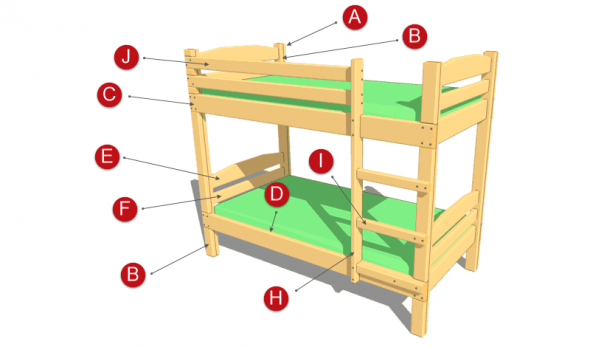
Scheme of children's loft bed with a ladder-chest of drawers with overall dimensions - Personal preference. Of course, this is an important factor, because you are making a bed for a member of your family, and it should suit his or her taste.

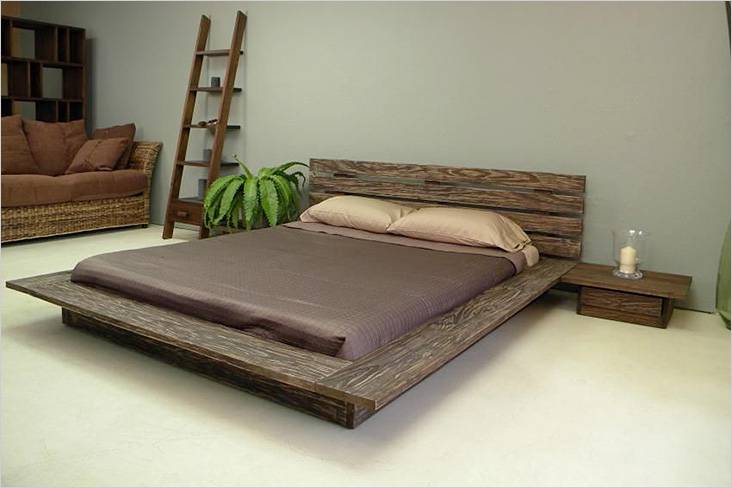
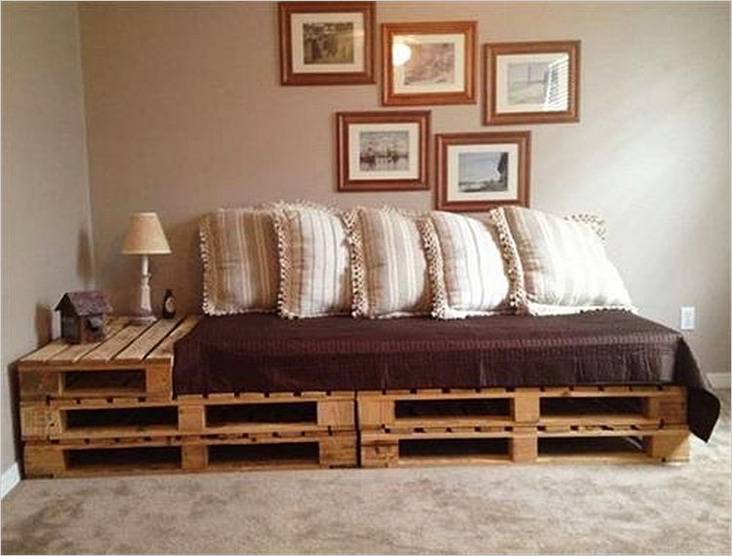
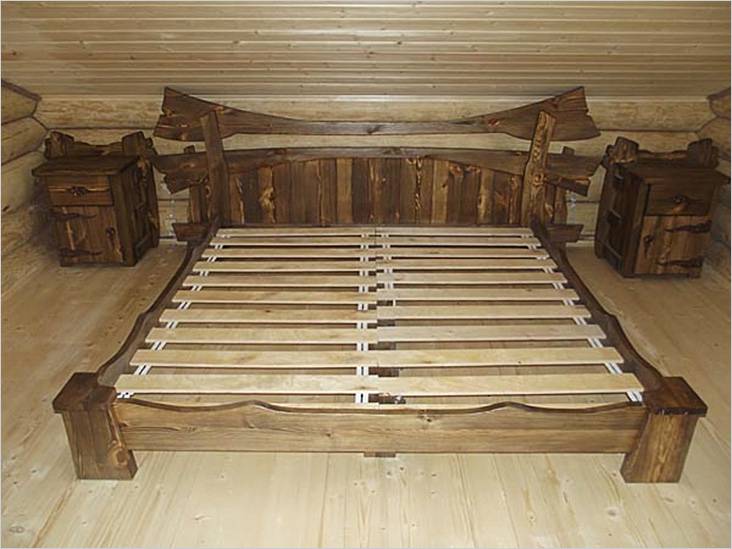
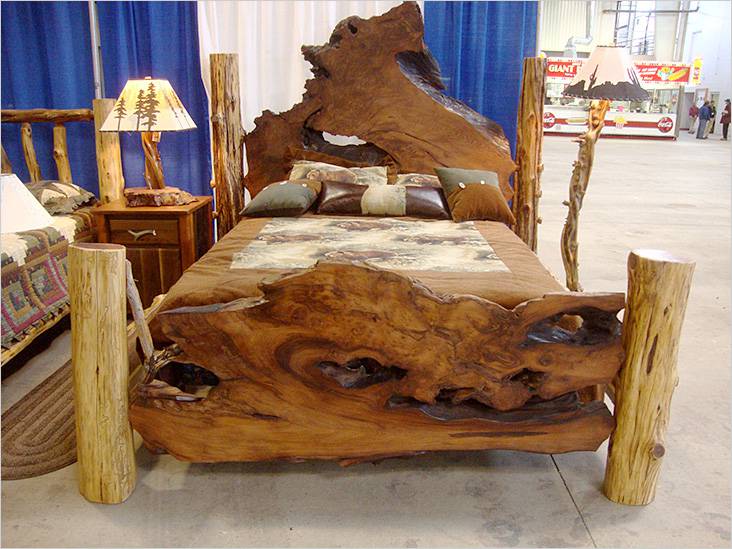
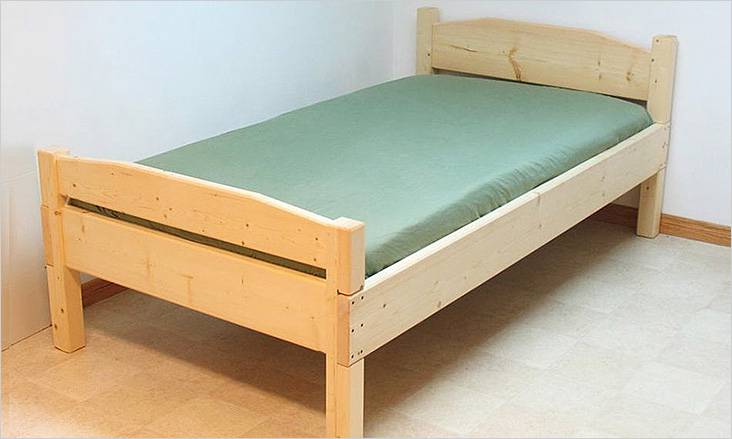
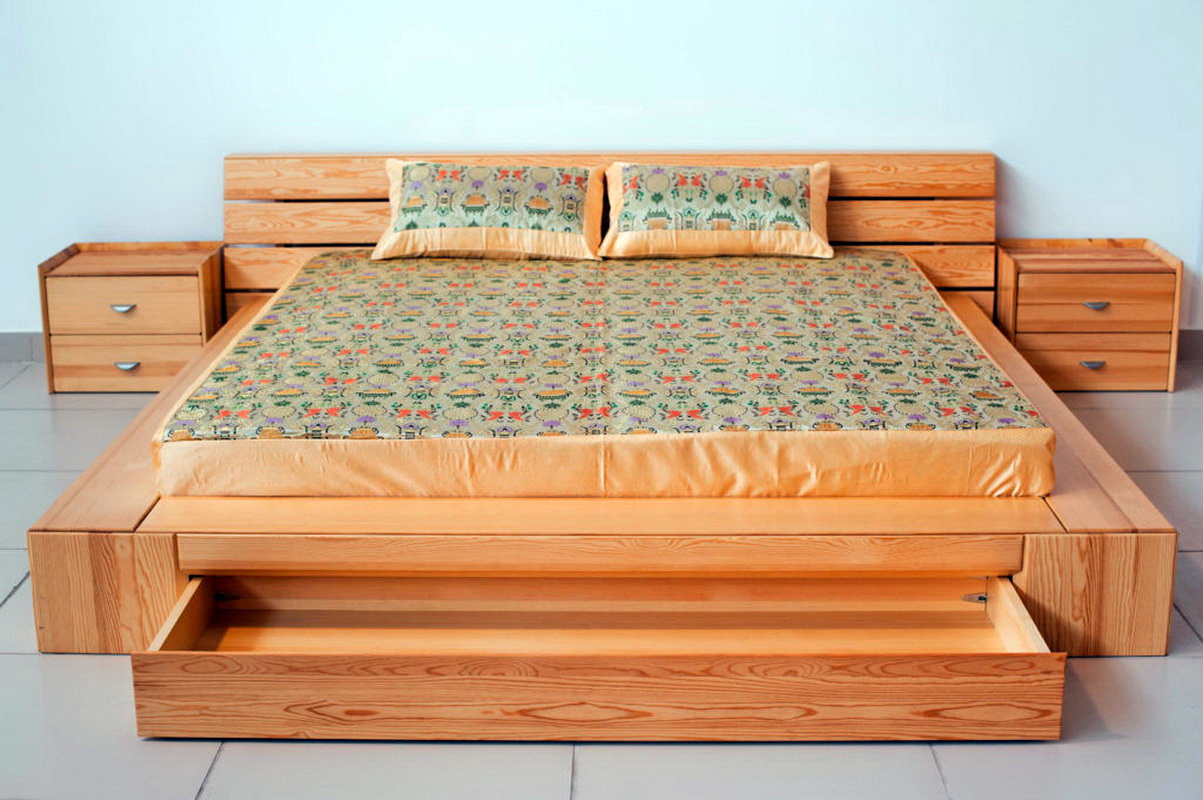
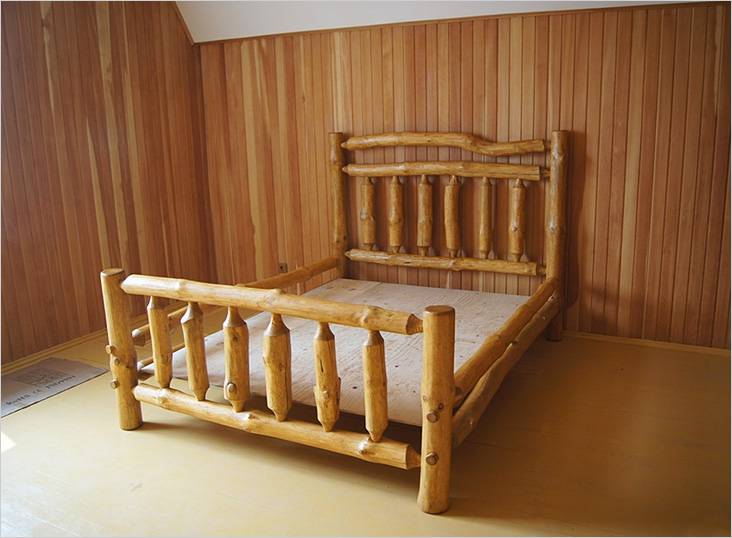
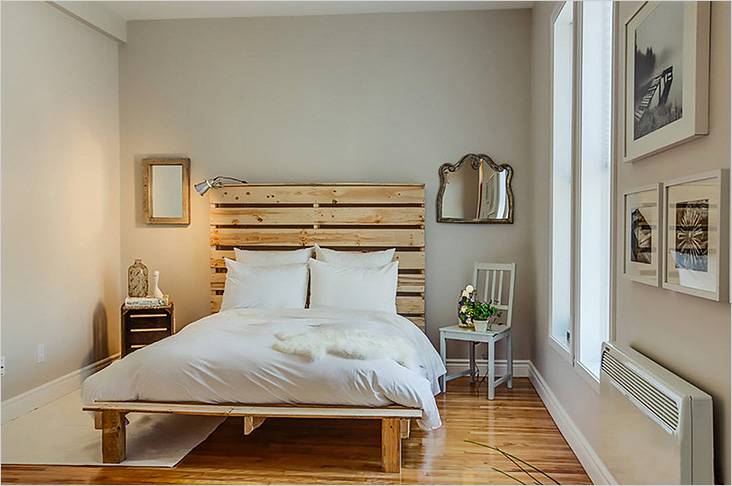
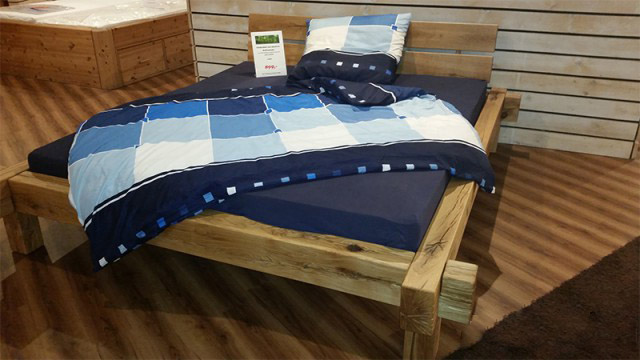
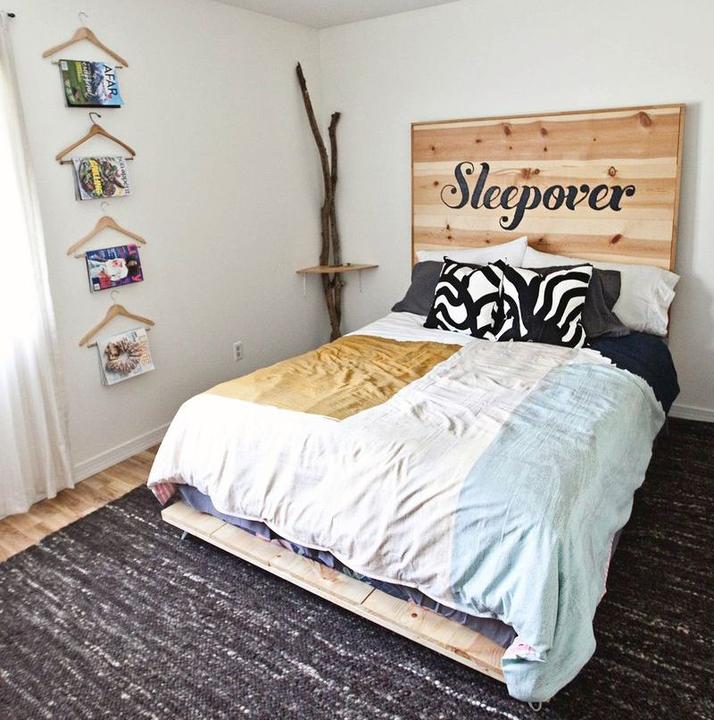
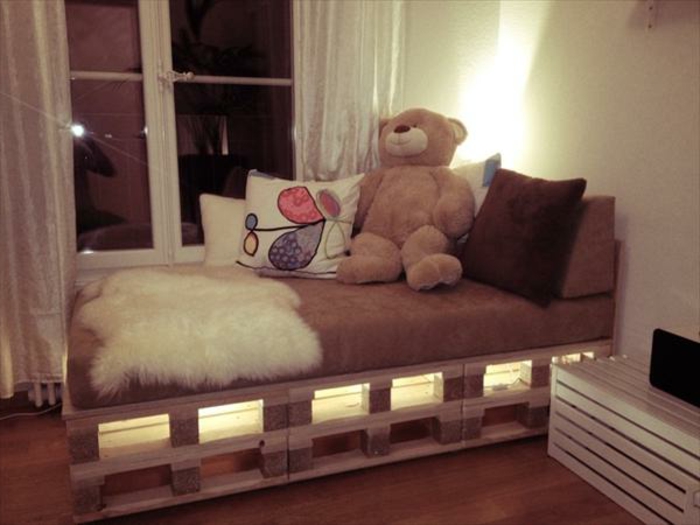
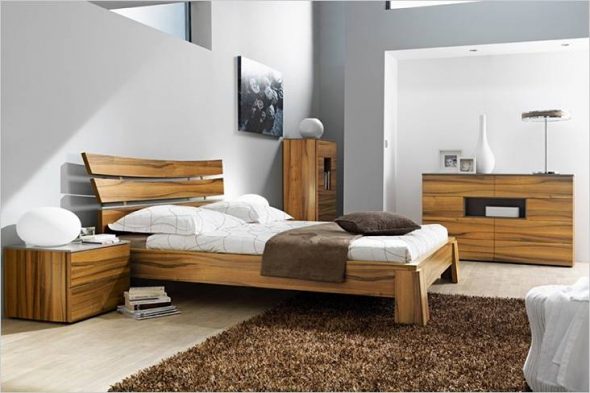
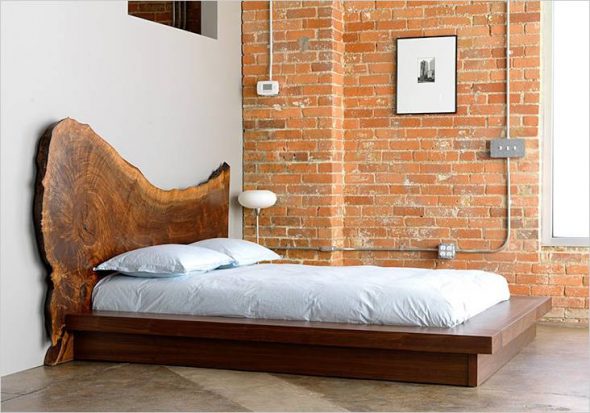
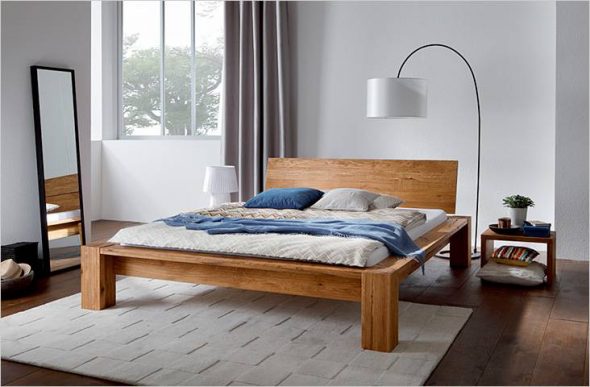
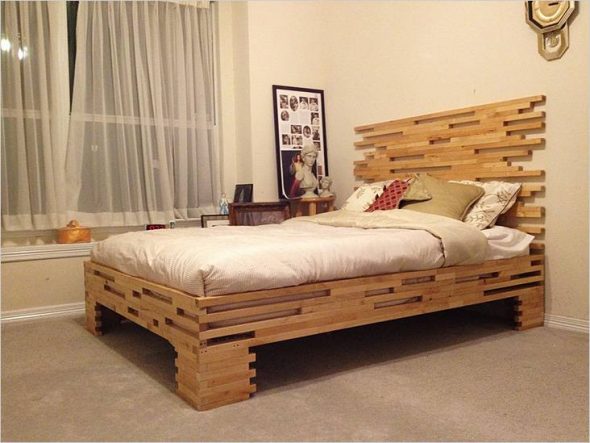
Beautiful and comfortable wooden bed with an interesting design to suit your taste - Budget. To avoid unforeseen situations, it is necessary to immediately calculate the existing budget and make a further plan in accordance with the calculations.

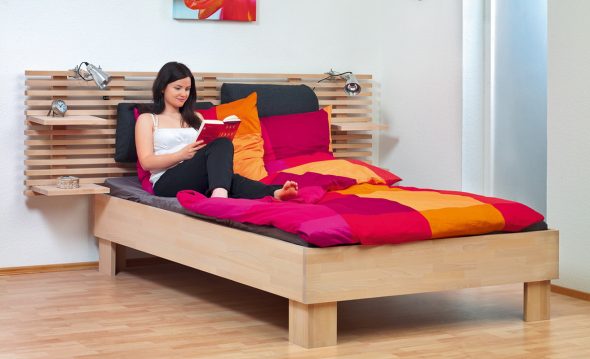
Remember that the design process should be enjoyable. Only then will you get a beautiful and reliable product.
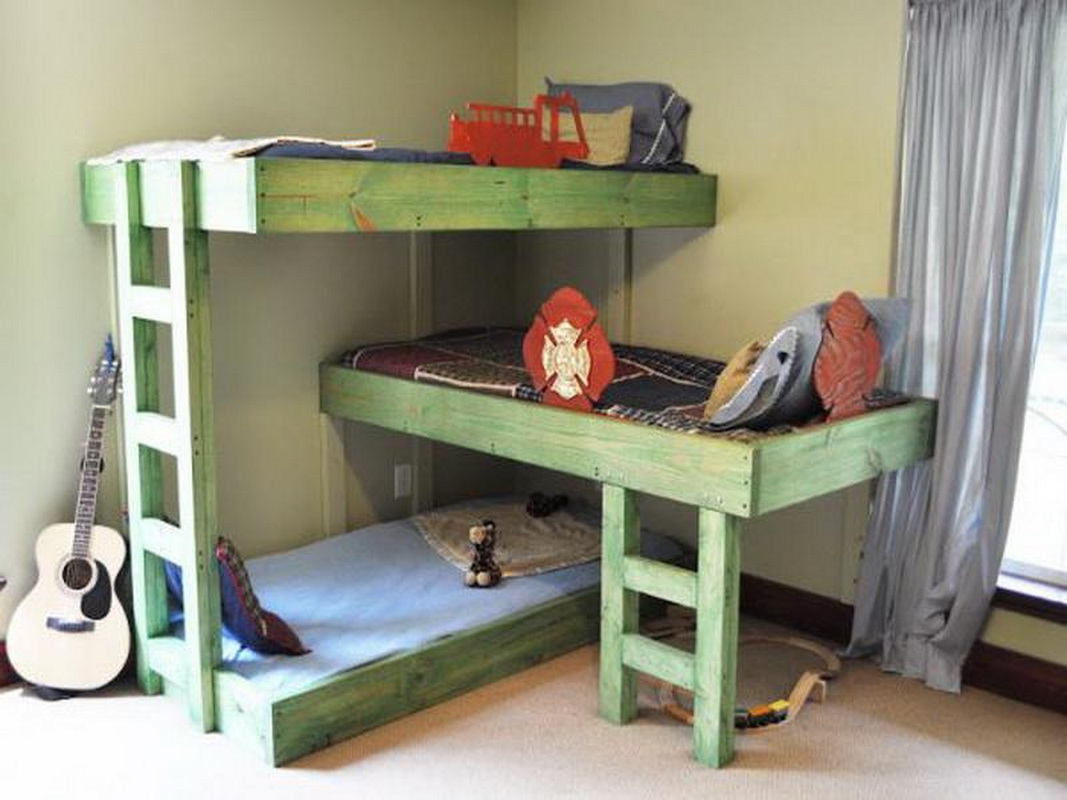
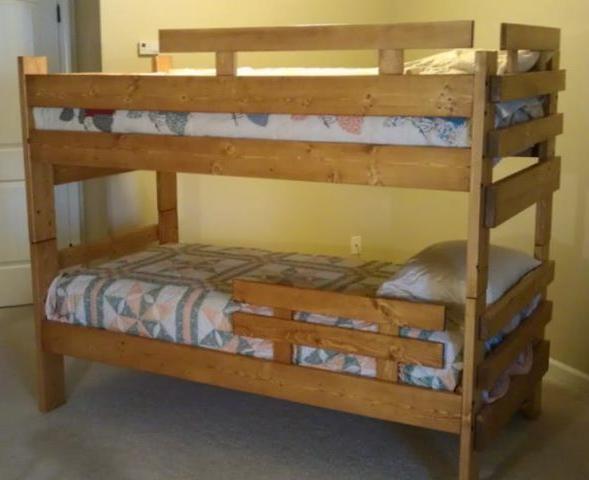
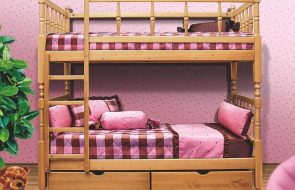
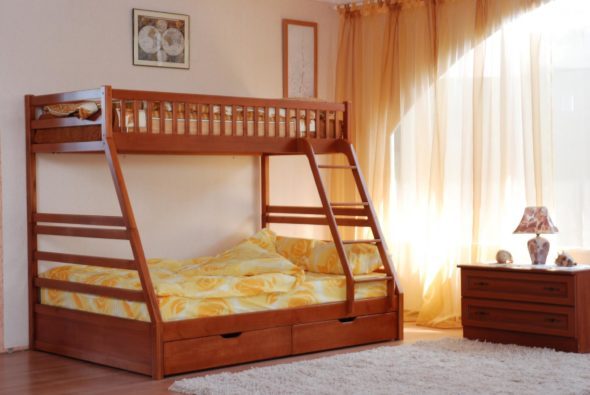
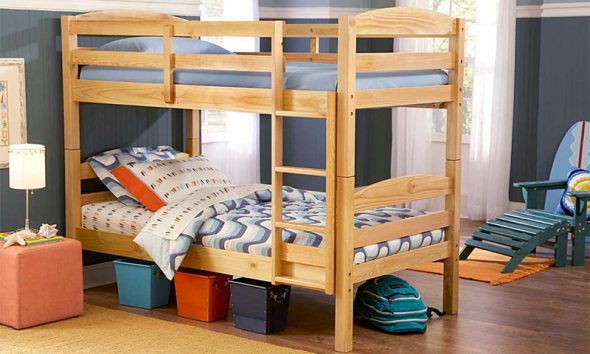
We offer to make a bunk bed that can be used for two children, teenagers, as well as for two parents and a small child. But first, familiarize yourself with the advantages and disadvantages of such a design.
Advantages and disadvantages
If you doubt the reliability and appropriateness of the proposed design, pay attention to its advantages and disadvantages.
The first advantage follows from the reason that worries many residents of our country – saving space. Bunk beds with several sleeping places will save you from having to look for an extra bed or sofa that takes up precious space. Bunk beds have a number of other advantages.
- Ergonomics. You don't need to constantly unfold and assemble the sofa, or install a folding bed. Everything is already provided here. And cleaning such a sleeping place for a child will be much easier - just make it.
- Originality. This design looks unusual, and if you choose an unusual design, the effect will double. For example, skilled craftsmen can think about how to make a bunk bed in the form of an airplane, ship, car or castle.
- Maximum use of space. In addition to the immediate savings due to the presence of two sleeping places, thanks to this design you can also increase the amount of usable space. Build drawers in the gaps between the steps, make shelves or hanging drawers for linen, and get even more free space.
Like any product, this one also has some disadvantages.
- Unsafety of the device. There are known cases of children falling from the second tier, so it is necessary to explain to children the rules of behavior and the dangers that this device may hide.
- Uneven conditions. Warm air tends to rise to the ceiling and linger there, so the atmosphere on the second and first floors is somewhat different. But this drawback can be eliminated by installing a "warm floor" system in the room, since it supports a slightly different air circulation system in the room.
- Height: This bed is much higher than usual, so it is only suitable for rooms with high ceilings.
As we can see, there are more advantages of a bunk bed, and the disadvantages can be easily eliminated. So we advise you to pay attention to this option and proceed to construction.
Do it yourself
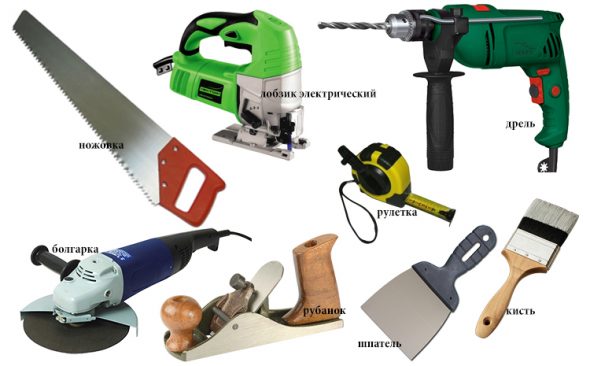
To make it, it is better to remember all your construction skills, and if you have forgotten them, practice before you start building the bed. Then prepare the necessary materials. Put in your construction box:
- roulette;
- screwdriver;
- self-tapping screws;
- roulette;
- pencil;
- drill;
- electric jigsaw;
- thermal tape;
- metal corners;
- hammer and nails.
Having prepared the necessary tools, let's deal with the necessary materials. The modern construction market offers many types of raw materials that can be used as a base, so its choice should be approached responsibly.
Selecting the material
We offer 3 most suitable options for consideration.
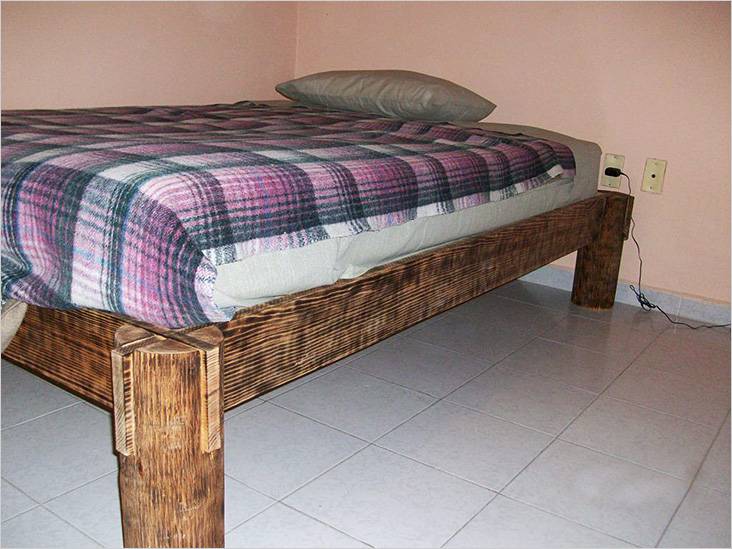
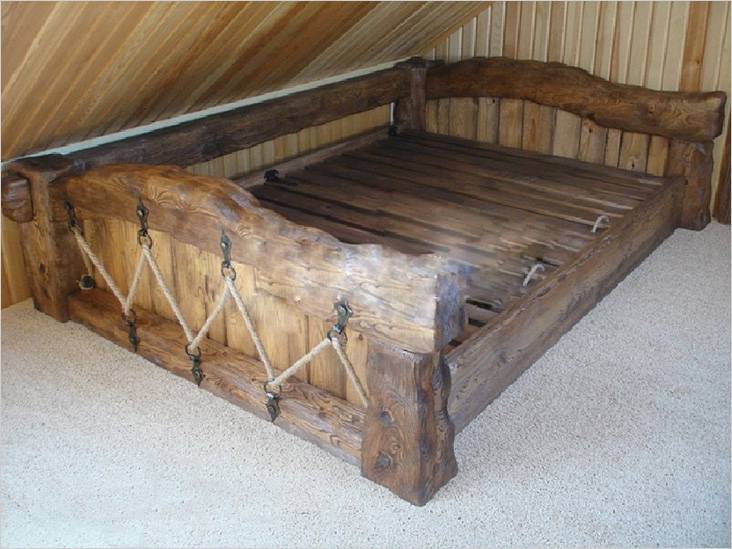
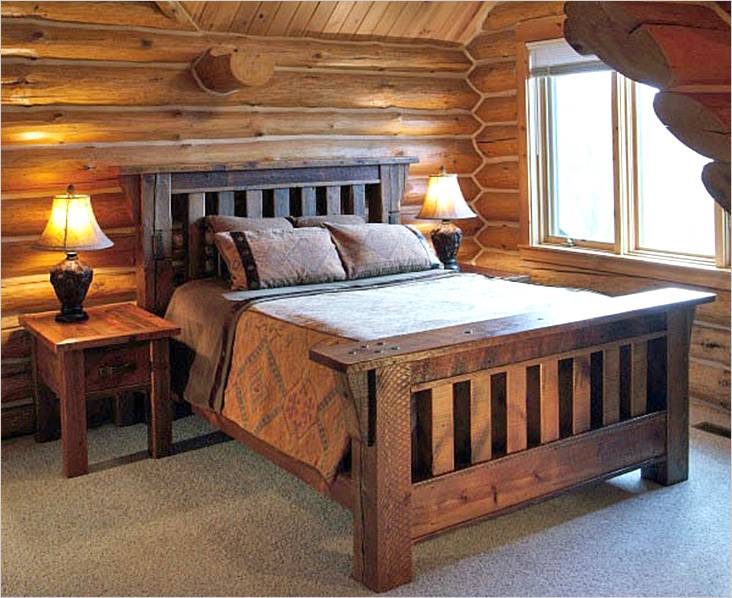
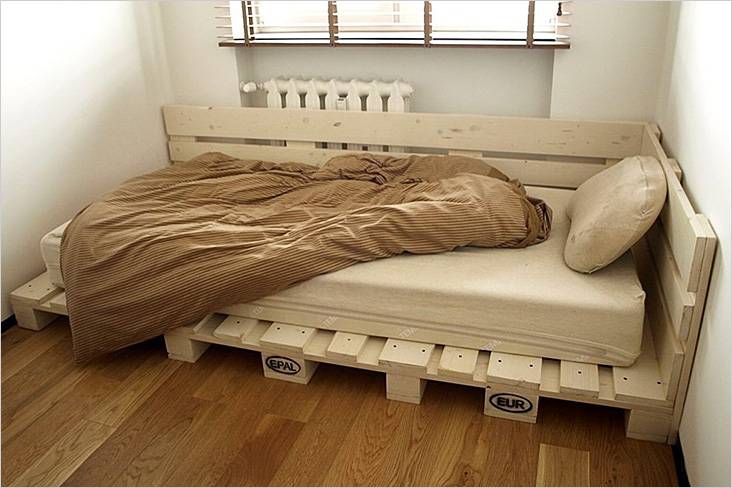
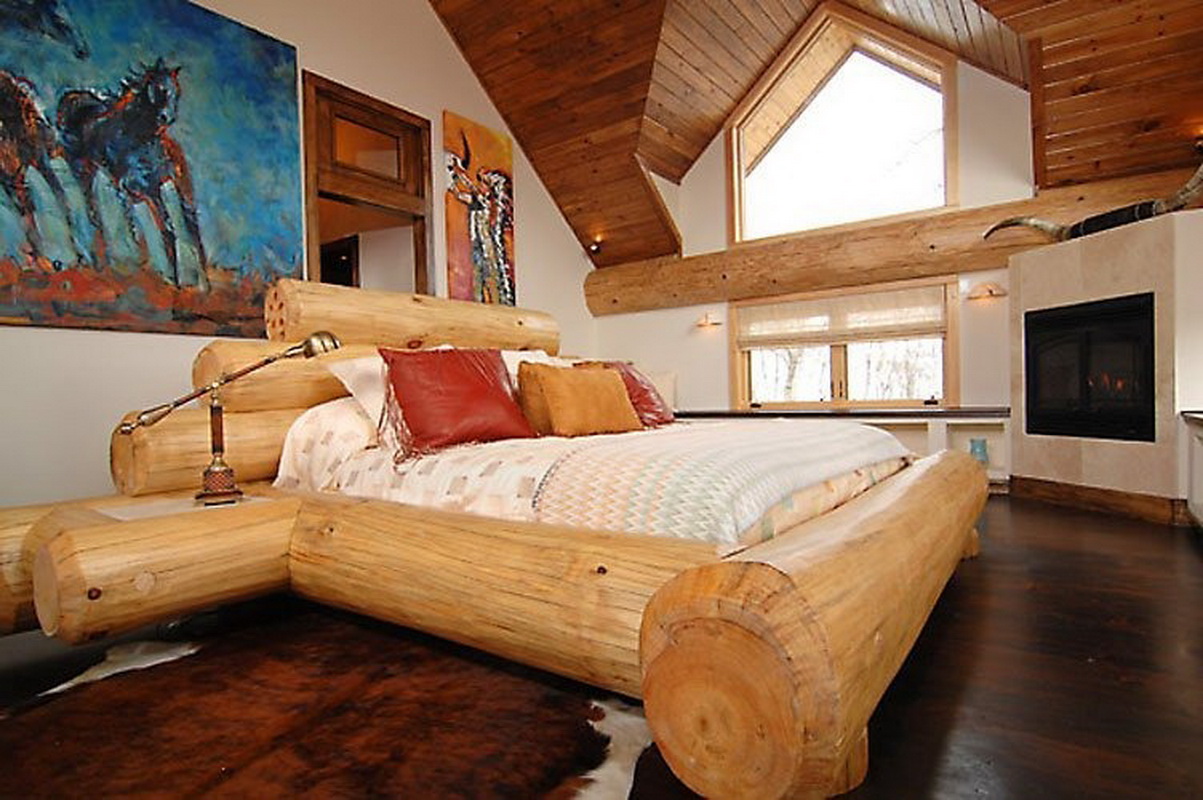
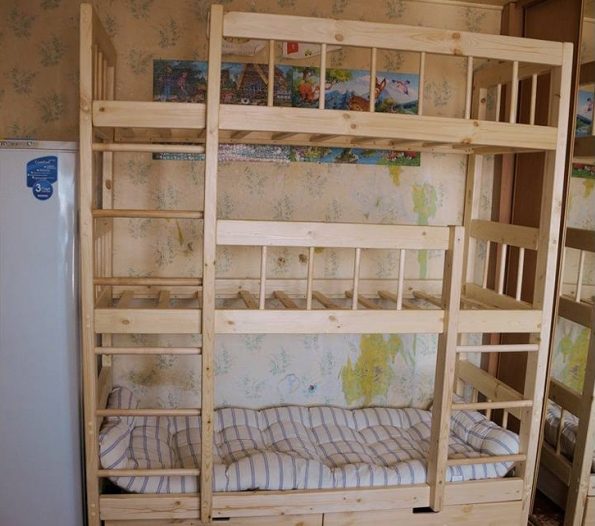
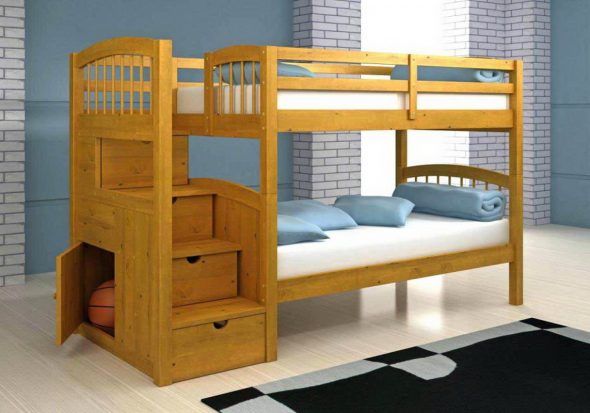
- Natural wood. Solid wood beds are famous for their naturalness and durability. This is an environmentally friendly material, it is strong and will last a long time in operation. But it has a high cost, and also requires special carpentry skills from the master.

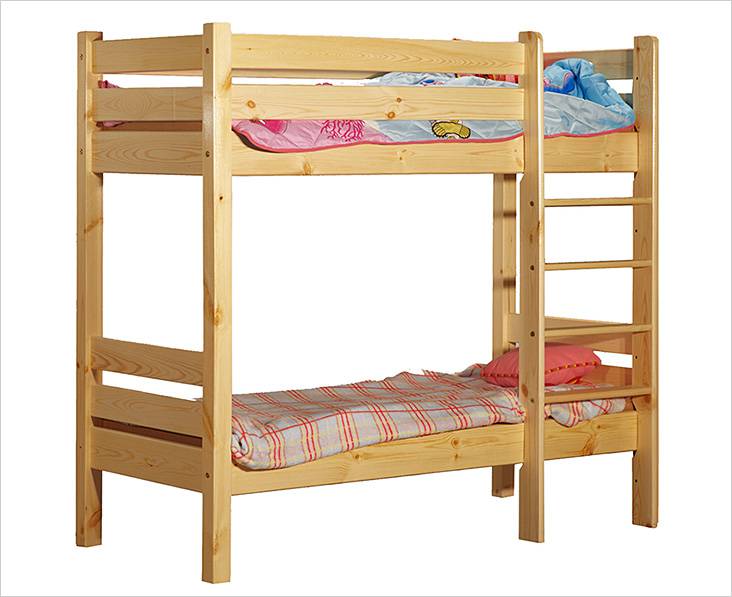
A wooden bunk bed with a double berth is a good solution for accommodating three people - MDF. Particleboard made by gluing very fine wood chips together using lignin or paraffin. Unlike solid wood, it is less durable, but easier to work with.

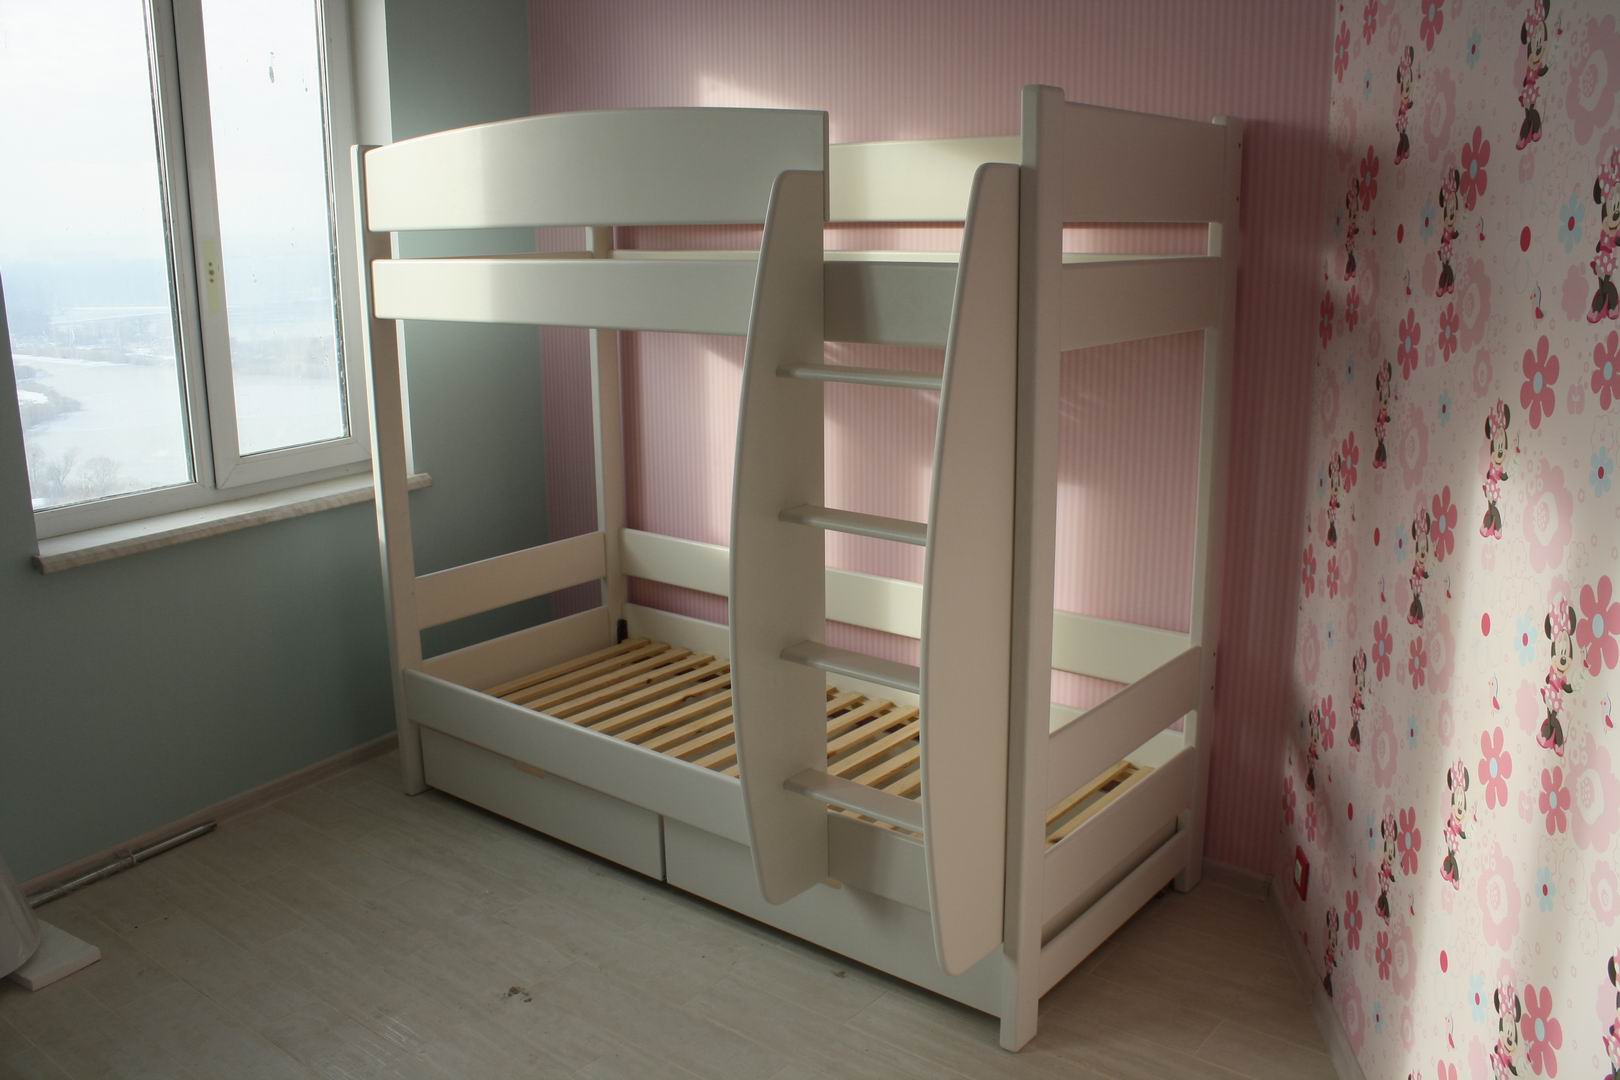
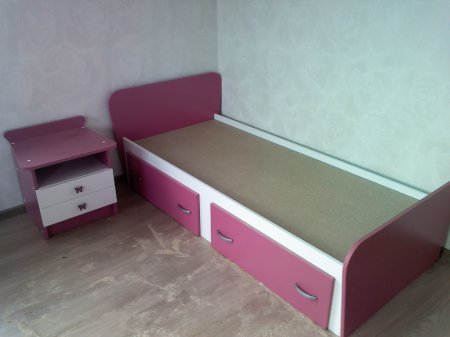
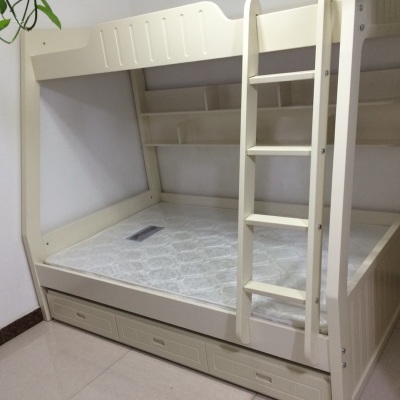
Comfortable bunk bed with extra shelves, made of MDF - Chipboard (LDSP). Also made from chips, but larger than MDF. Pressed and glued using formaldehyde resins, so it is not an environmentally friendly material, but the most common in the manufacture of cabinet furniture. But it is not suitable for all parts.

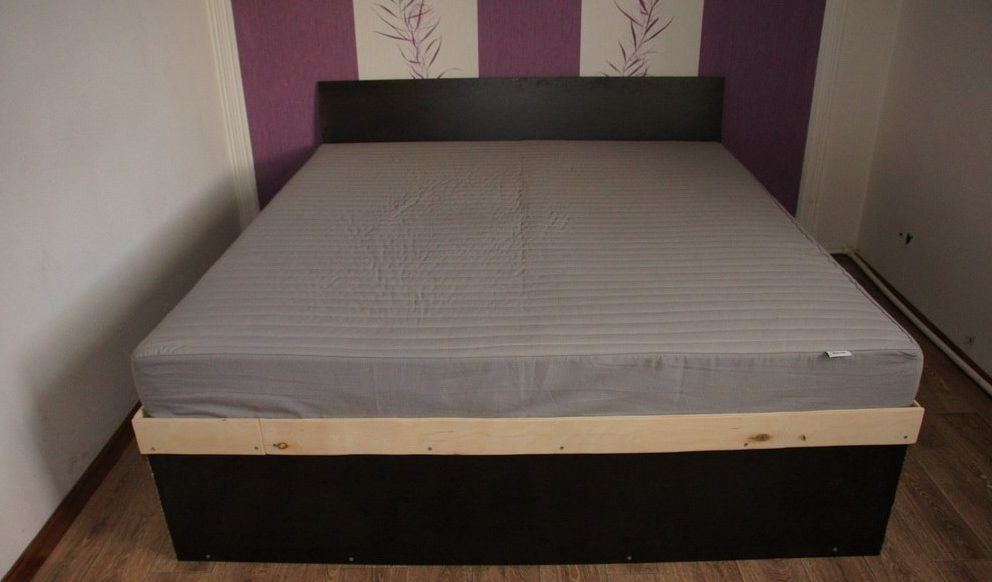
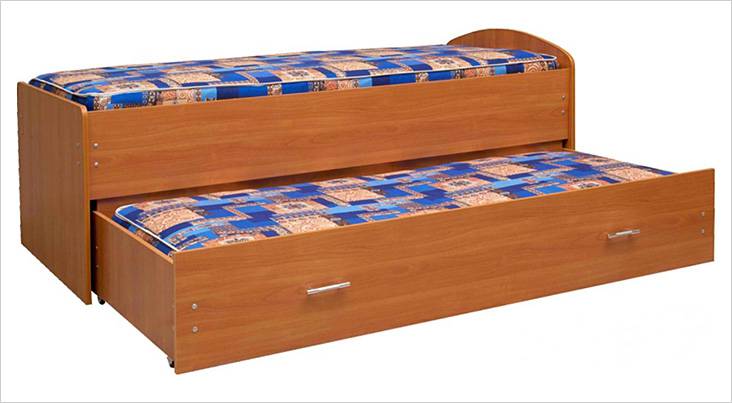
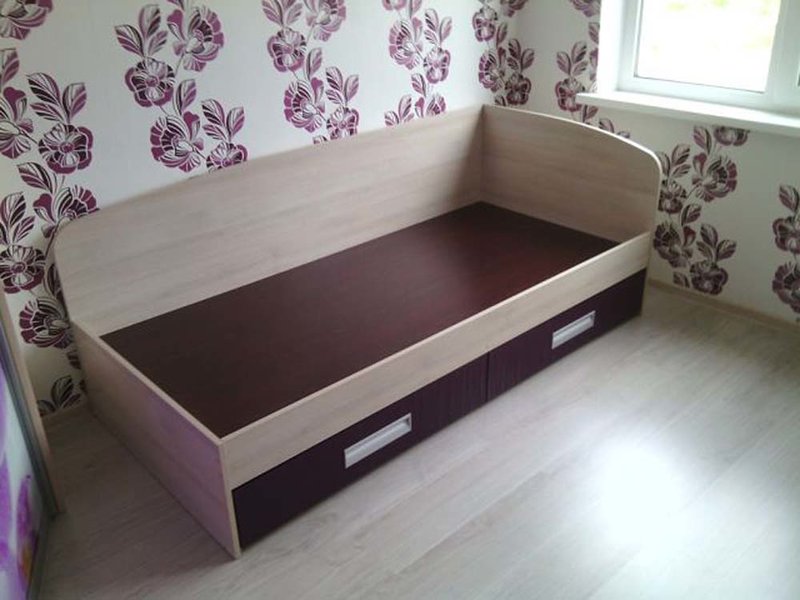
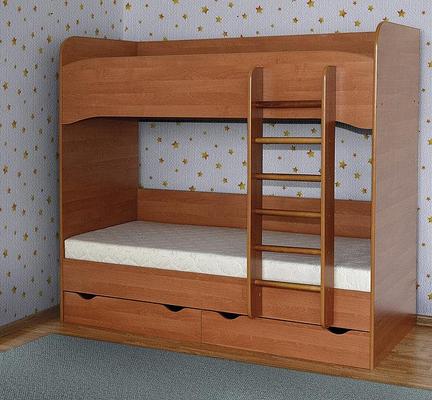
Bed for two children - a budget option made of chipboard
We will use pine beams for the base and stairs, chipboard for additional parts, plywood for the mattress base.
We draw up drawings
The work is carried out in accordance with the drawings, so the first thing you need to do is to make it. To do this, we take measurements of the room and determine what the length, width and height of the bed should be. Then we calculate these parameters. Also find out what size the stairs should be.
The drawing consists of several parts. The first indicates the parameters of the overall structure with a note on the necessary materials. The second part is devoted to the assembly of individual parts (you can indicate their dimensions here). The third part indicates the order of installation of the overall structure. It is also worth indicating the order of work, dividing them into points. This way you will get a drawing combined with an action plan.
Preparing the details
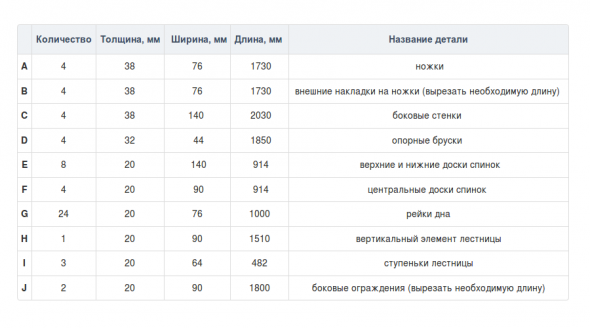
Then, in accordance with the drawing, we prepare the necessary parts.
We will need:
- 5 pine beams corresponding to the height of the bed (4 for support parts, 1 for attaching the ladder);
- 4 pine beams along the length of the bed (for the base under the mattress);
- 4 bars across the width of the product (also for the base box);
- pine beams for the stairs (we calculate the quantity in accordance with the height of the bed and the size between the steps);
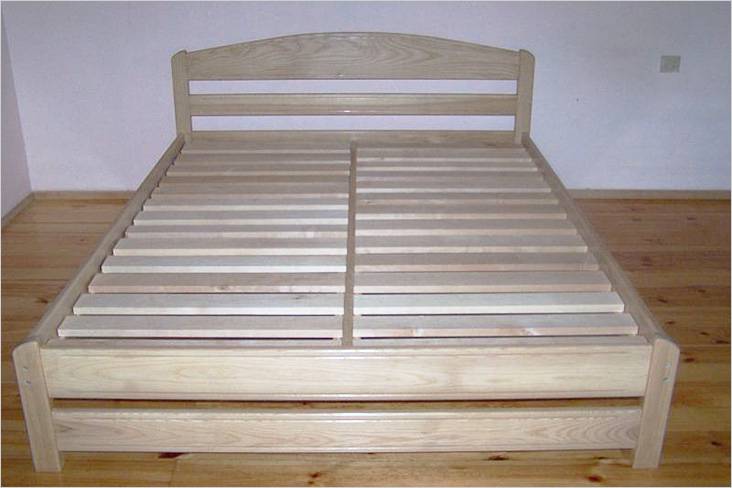
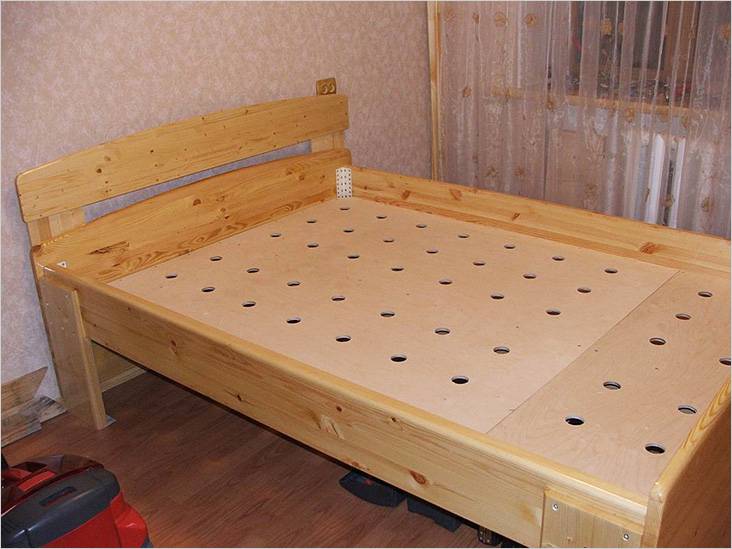
- boards for the mattress base;
- 2 chipboards along the length (for side strips);
- 2 chipboards along the length from the support beam to the timber that serves as a support for the stairs;
- 4 chipboards in width (also for sides);
Beams and chipboards are usually sold in specific sizes (1x1m; 2x1m; 2x1.8m, etc.), so we will have to cut the materials according to our measurements. After cutting, they must be processed with sandpaper or a grinding machine. The chipboard cuts are covered with thermal tape.
So, all the necessary parts are ready, now all that remains is to install the individual parts and assemble them into a single structure.
We are assembling
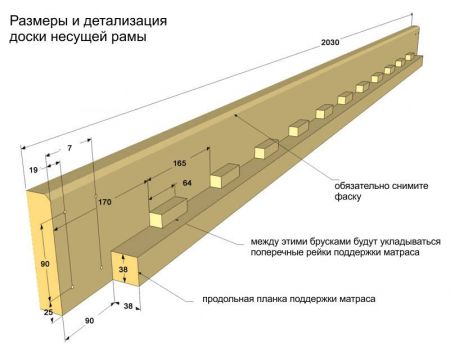
Let's start with the base. Take the beams prepared for the posts and for the frame. In the beams for the posts, we make a cut with a jigsaw, take the beams along the length of the bed, insert them into these holes, and fasten them with screws.
Next, we attach corners to this joint, and to them, with screws, cross beams, which on the other side, in turn, are fixed with the same corners to another rack. We got the back and side panels.
Now we make the front one. We attach the beams for the frame in the same way. We got two boxes on the support.

Now we add another support - for the stairs. We make cuts in the lower and upper cross beams, insert the vertical beam into them, and fix it.
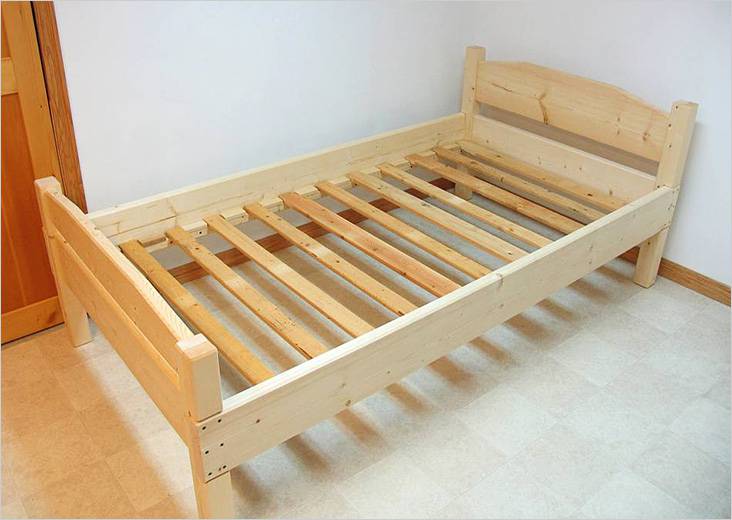
Now screw the boards onto which the mattress is placed into both boxes using self-tapping screws.
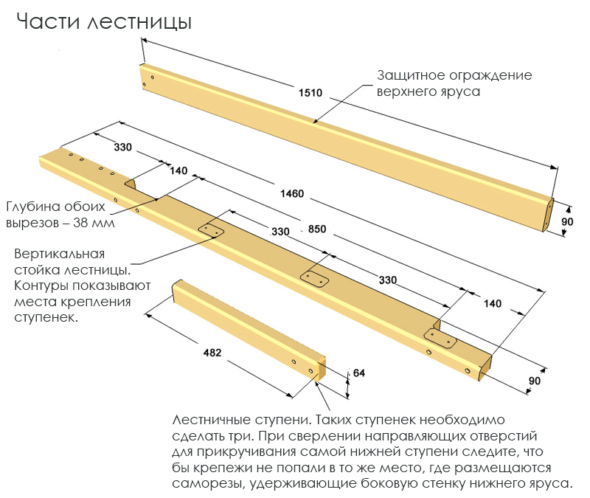
We make a staircase. We attach the stair steps to the supporting beams. They can also be inserted into the base or fixed at the end with screws.

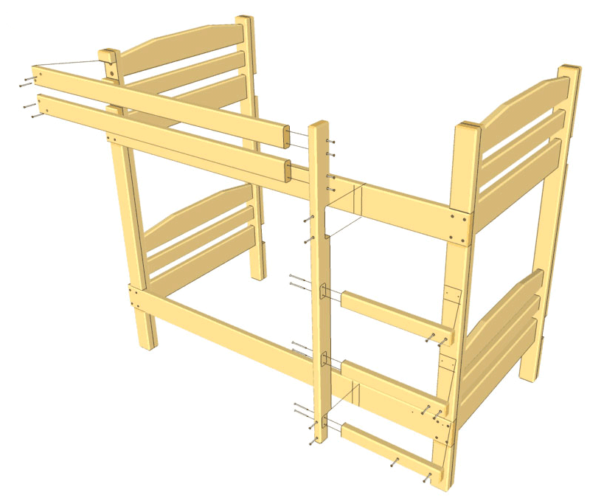
Let's refine the structure. Build the sides by attaching chipboard of the appropriate size to the base.
Here is our bed ready, all that remains is to add a few finishing touches.
The last step is decoration
If you plan to make a complex decor, it must be thought out in advance and included in the plan and drawing. Types such as burning and carving can affect the course of some points, so they must be included in the plan in advance. But when the decor involves painting or pasting with decorative materials, this is left for last.
Advice!
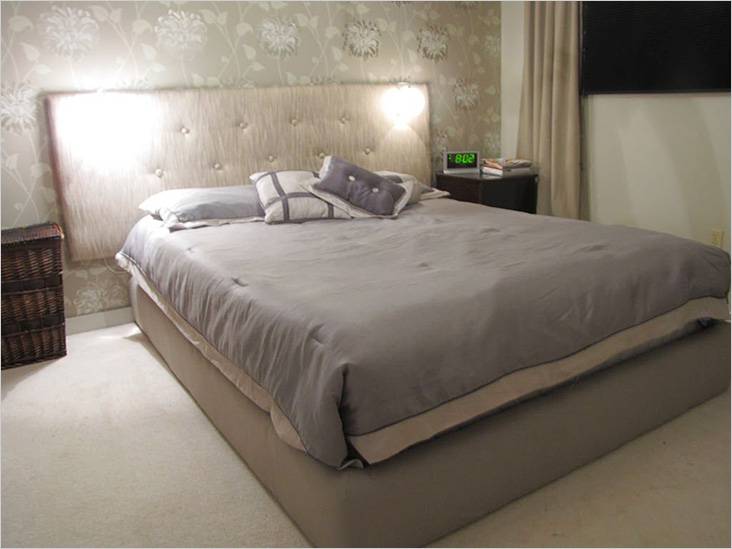
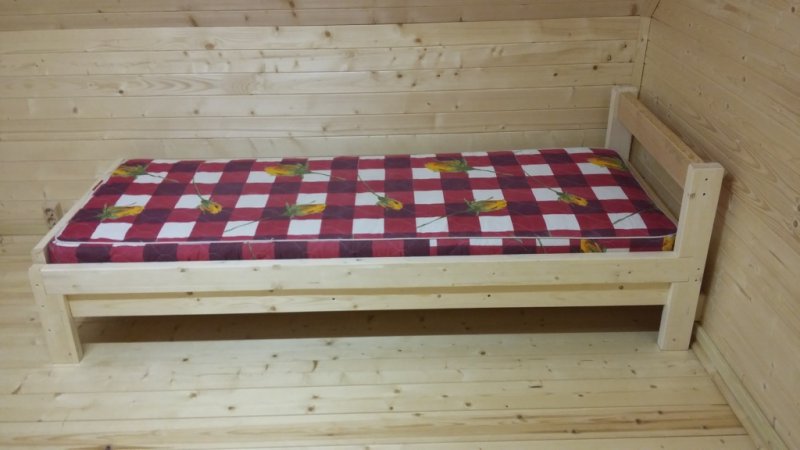
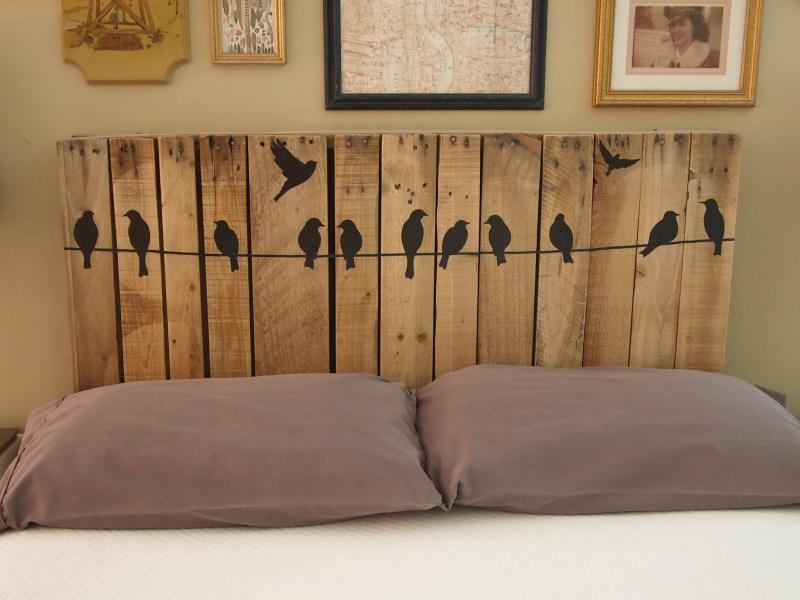
If the bed is made of natural wood, leave its appearance unpainted.
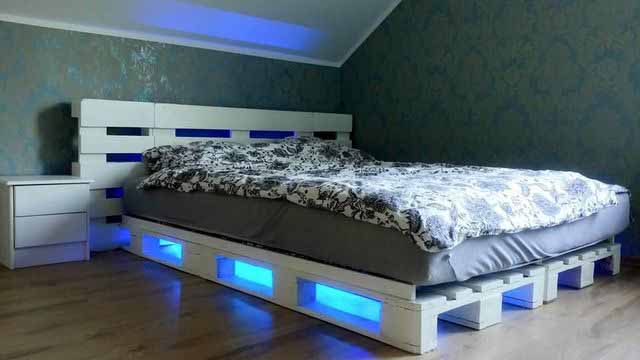
We made the furniture from natural wood, so we will only varnish it. This is the best option, since the varnish will only emphasize the natural beauty of the wood. But if you want to make the room bright, paint the bed in a bright color. Another good option is to paint the product white or another neutral color and apply interesting patterns. This can be done with brushes. And if your artistic skills leave much to be desired - with the help of stencils. Everything depends on your imagination!
Let's sum it up
As we can see, creating a bed with your own hands, even a bunk bed, is not so difficult. Therefore, do not hesitate, and boldly get down to business. And our advice and the presented step-by-step instructions will become a good curator in this matter.
Don't forget to explain to children the rules for using the bunk structure to avoid injury.
Video: Simple DIY Bed
50 ideas for inspiration and making a bed with your own hands for every taste: