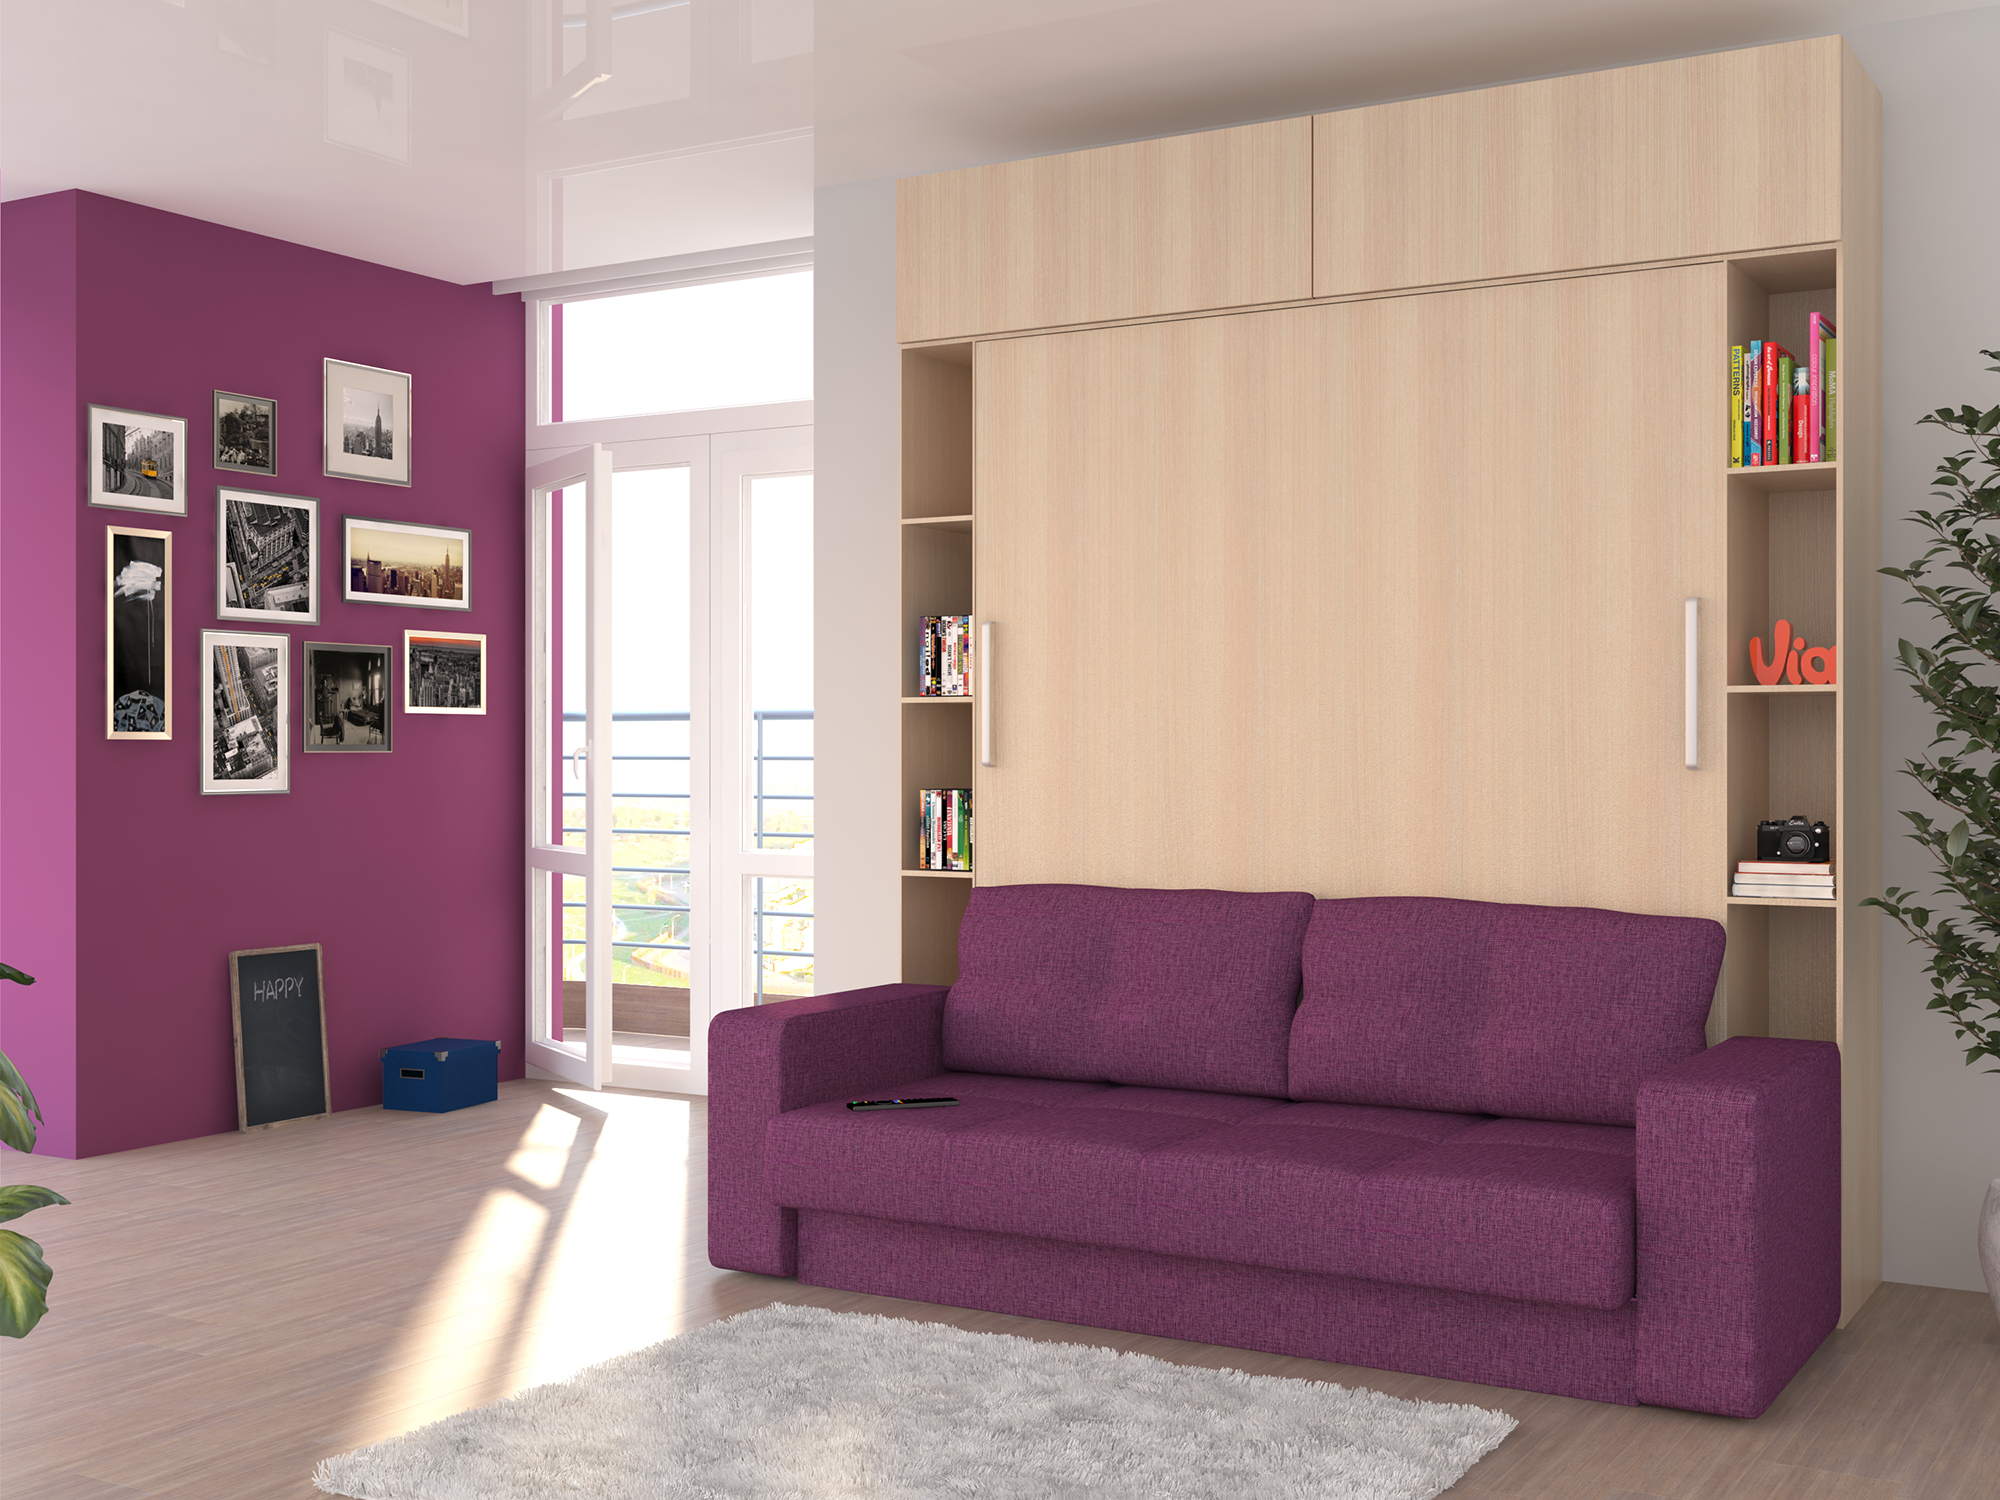
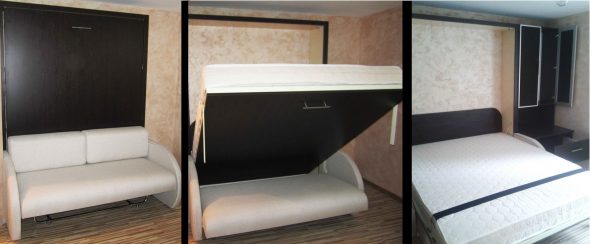
Nowadays, the theme of comfortable arrangement of one's own home is actively gaining momentum. More compact and stylish furniture sets are beginning to prevail in the furniture solutions market. The reason for this trend is the oversaturation of the market, and accordingly our apartments, with various products, household items and furniture, which are almost displacing their owners.
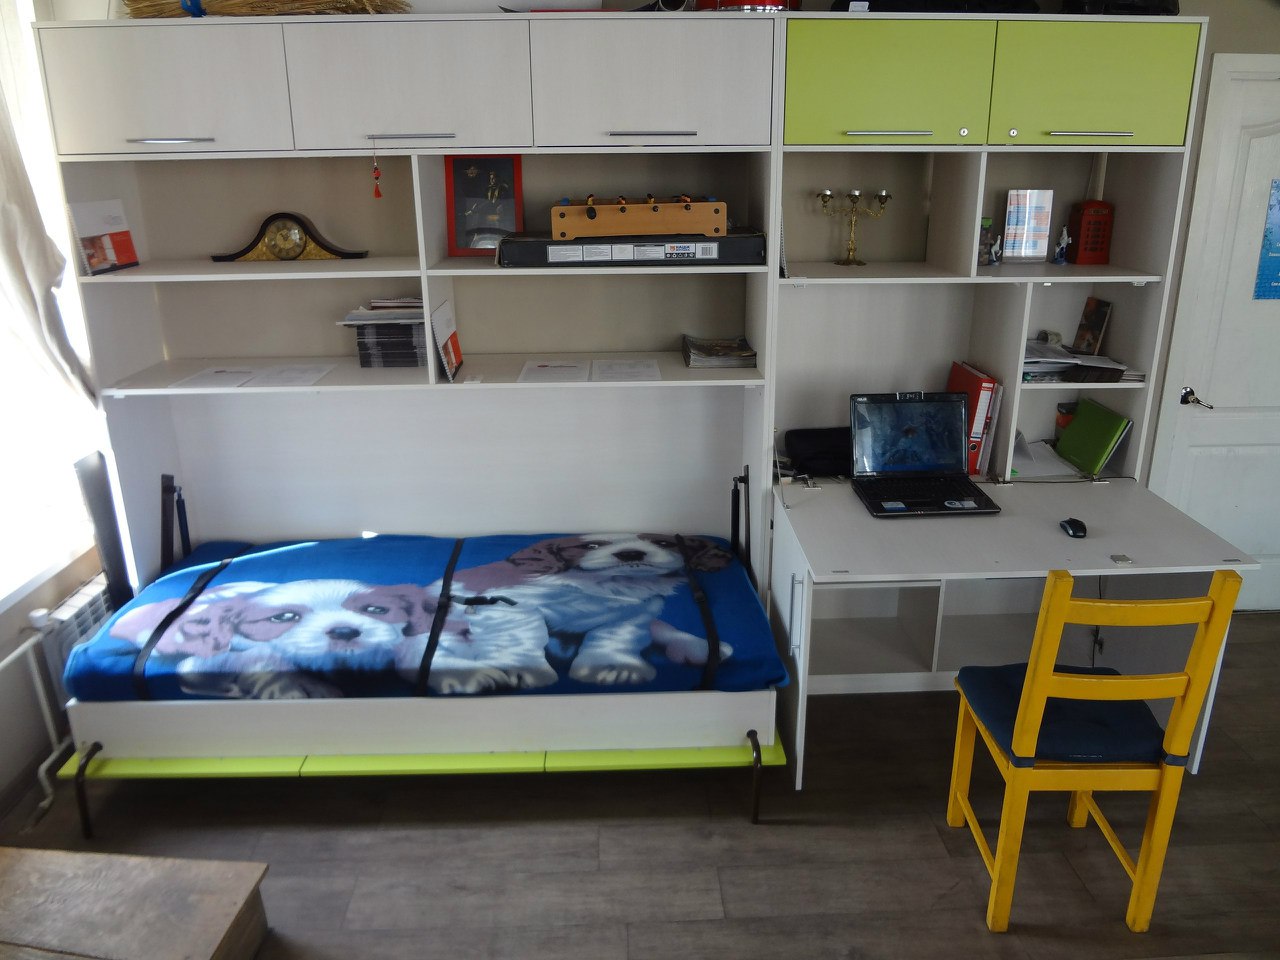
It is not uncommon for your living room or bedroom to be too small to accommodate a large dressing table or a wide double bed. But what if you try to combine two or more furniture components in one solution?
A folding bed is not a novelty on the furniture services market. Numerous modifications from different manufacturers have filled their niche to capacity. But the price of compactness and technology is by no means small, and besides, not all the whims and wishes of the client will always be taken into account.
If you want to protect your wallet from unnecessary expenses and not turn your home into a cluttered warehouse, then a DIY folding bed is your option.

The advantages of assembling such a bed yourself are obvious:
- reduction in the cost price of the product by 2.3 times compared to store analogues;
- universal design that takes into account all your needs;
- use of obviously high-quality materials.
Assembly does not require any special construction or engineering skills. It is enough to follow all the instructions and have minimal experience in assembling fittings to bring this matter to the final result. Prepare all the necessary tools and drawings for more productive work.
Some general comments:
- work must be carried out on a flat surface;
- don't forget about personal safety equipment;
- At each stage of assembly, check the perpendicularity of the corners using a square;
- use high-quality, undamaged lumber;
- Start making the bed only after studying the drawings.
Content
Bed design and construction with necessary drawings
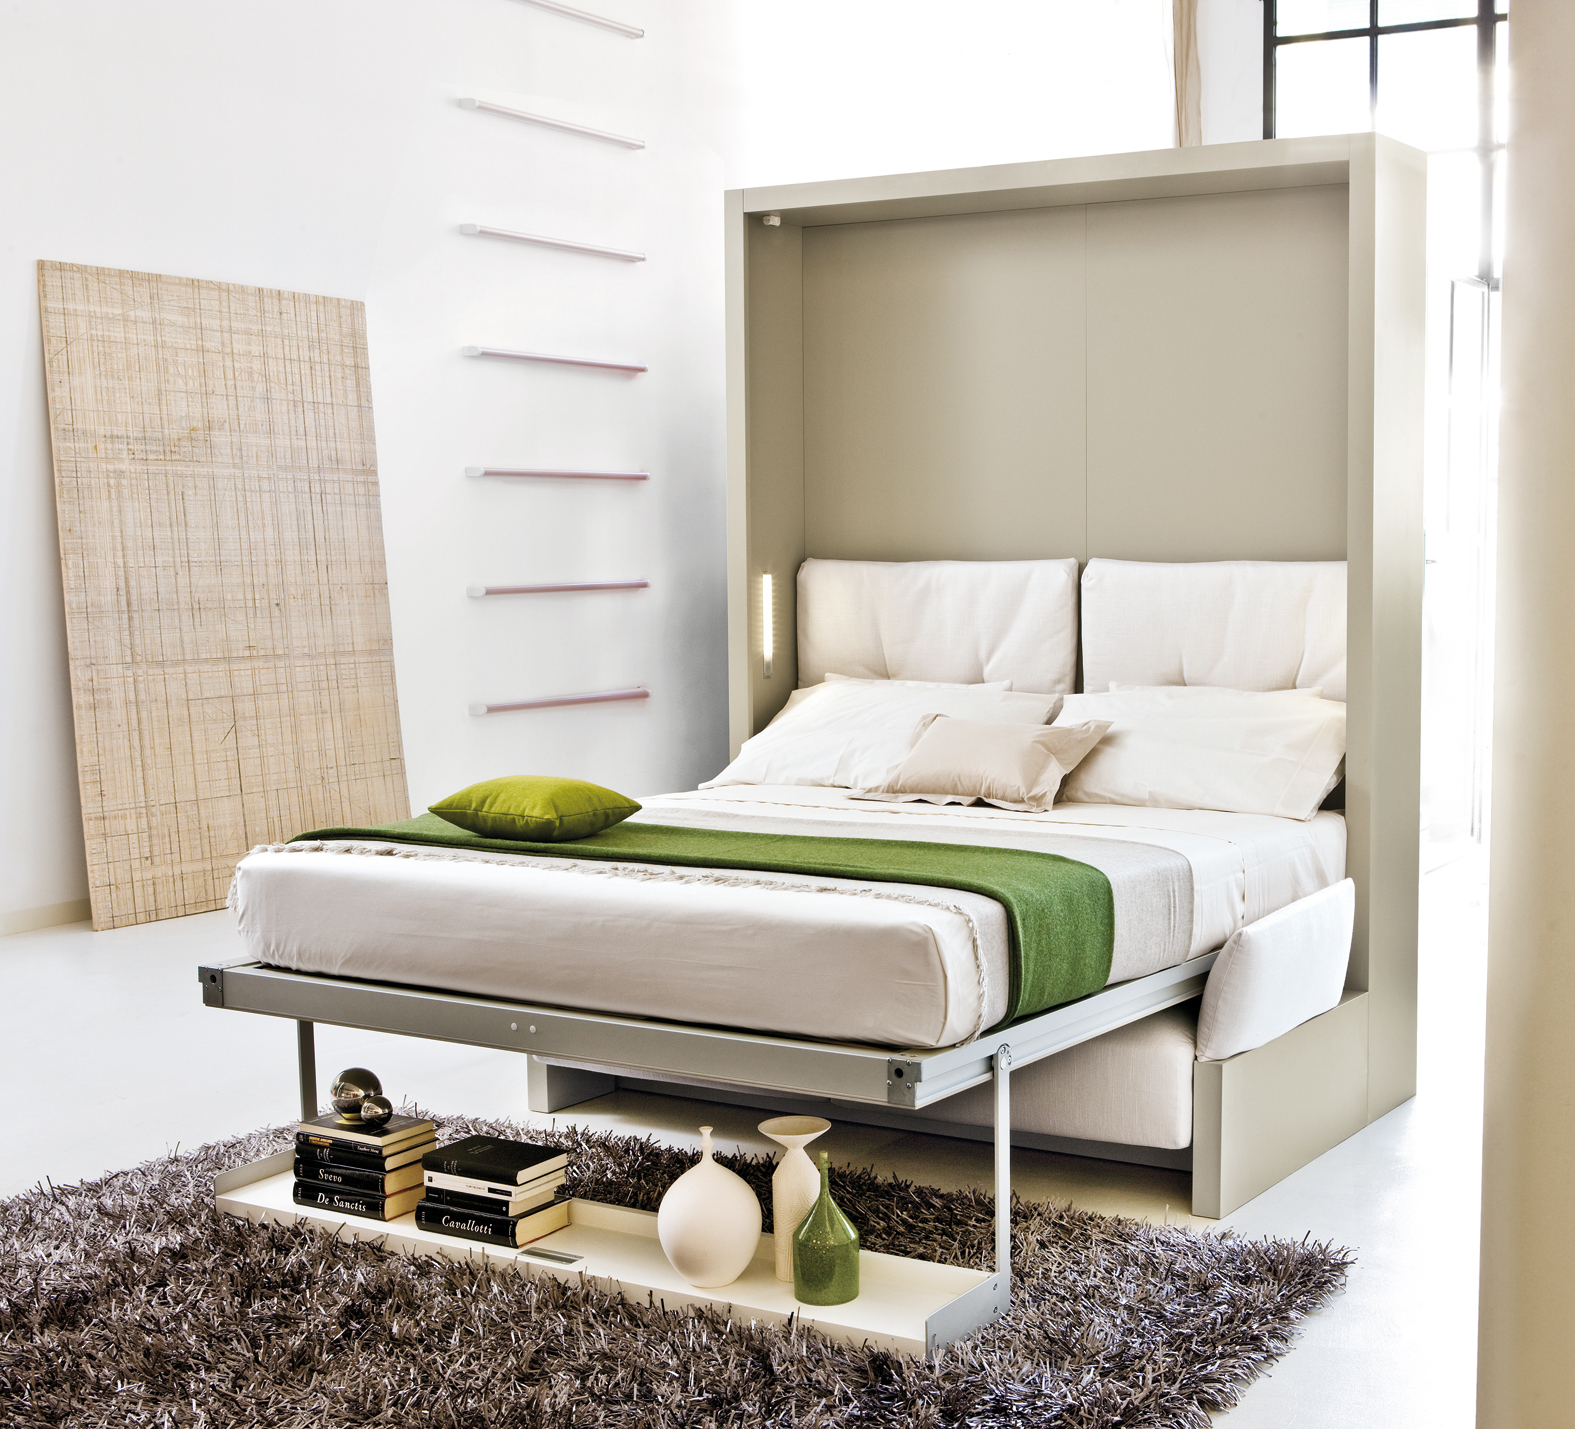
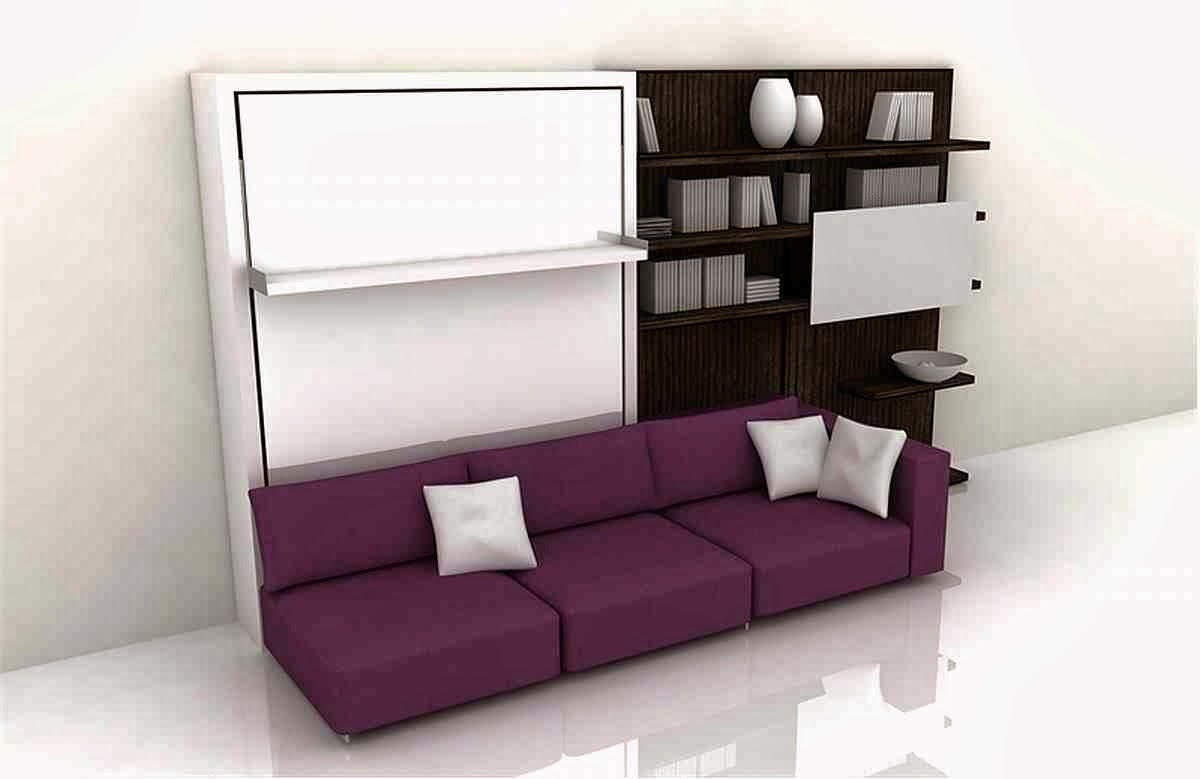
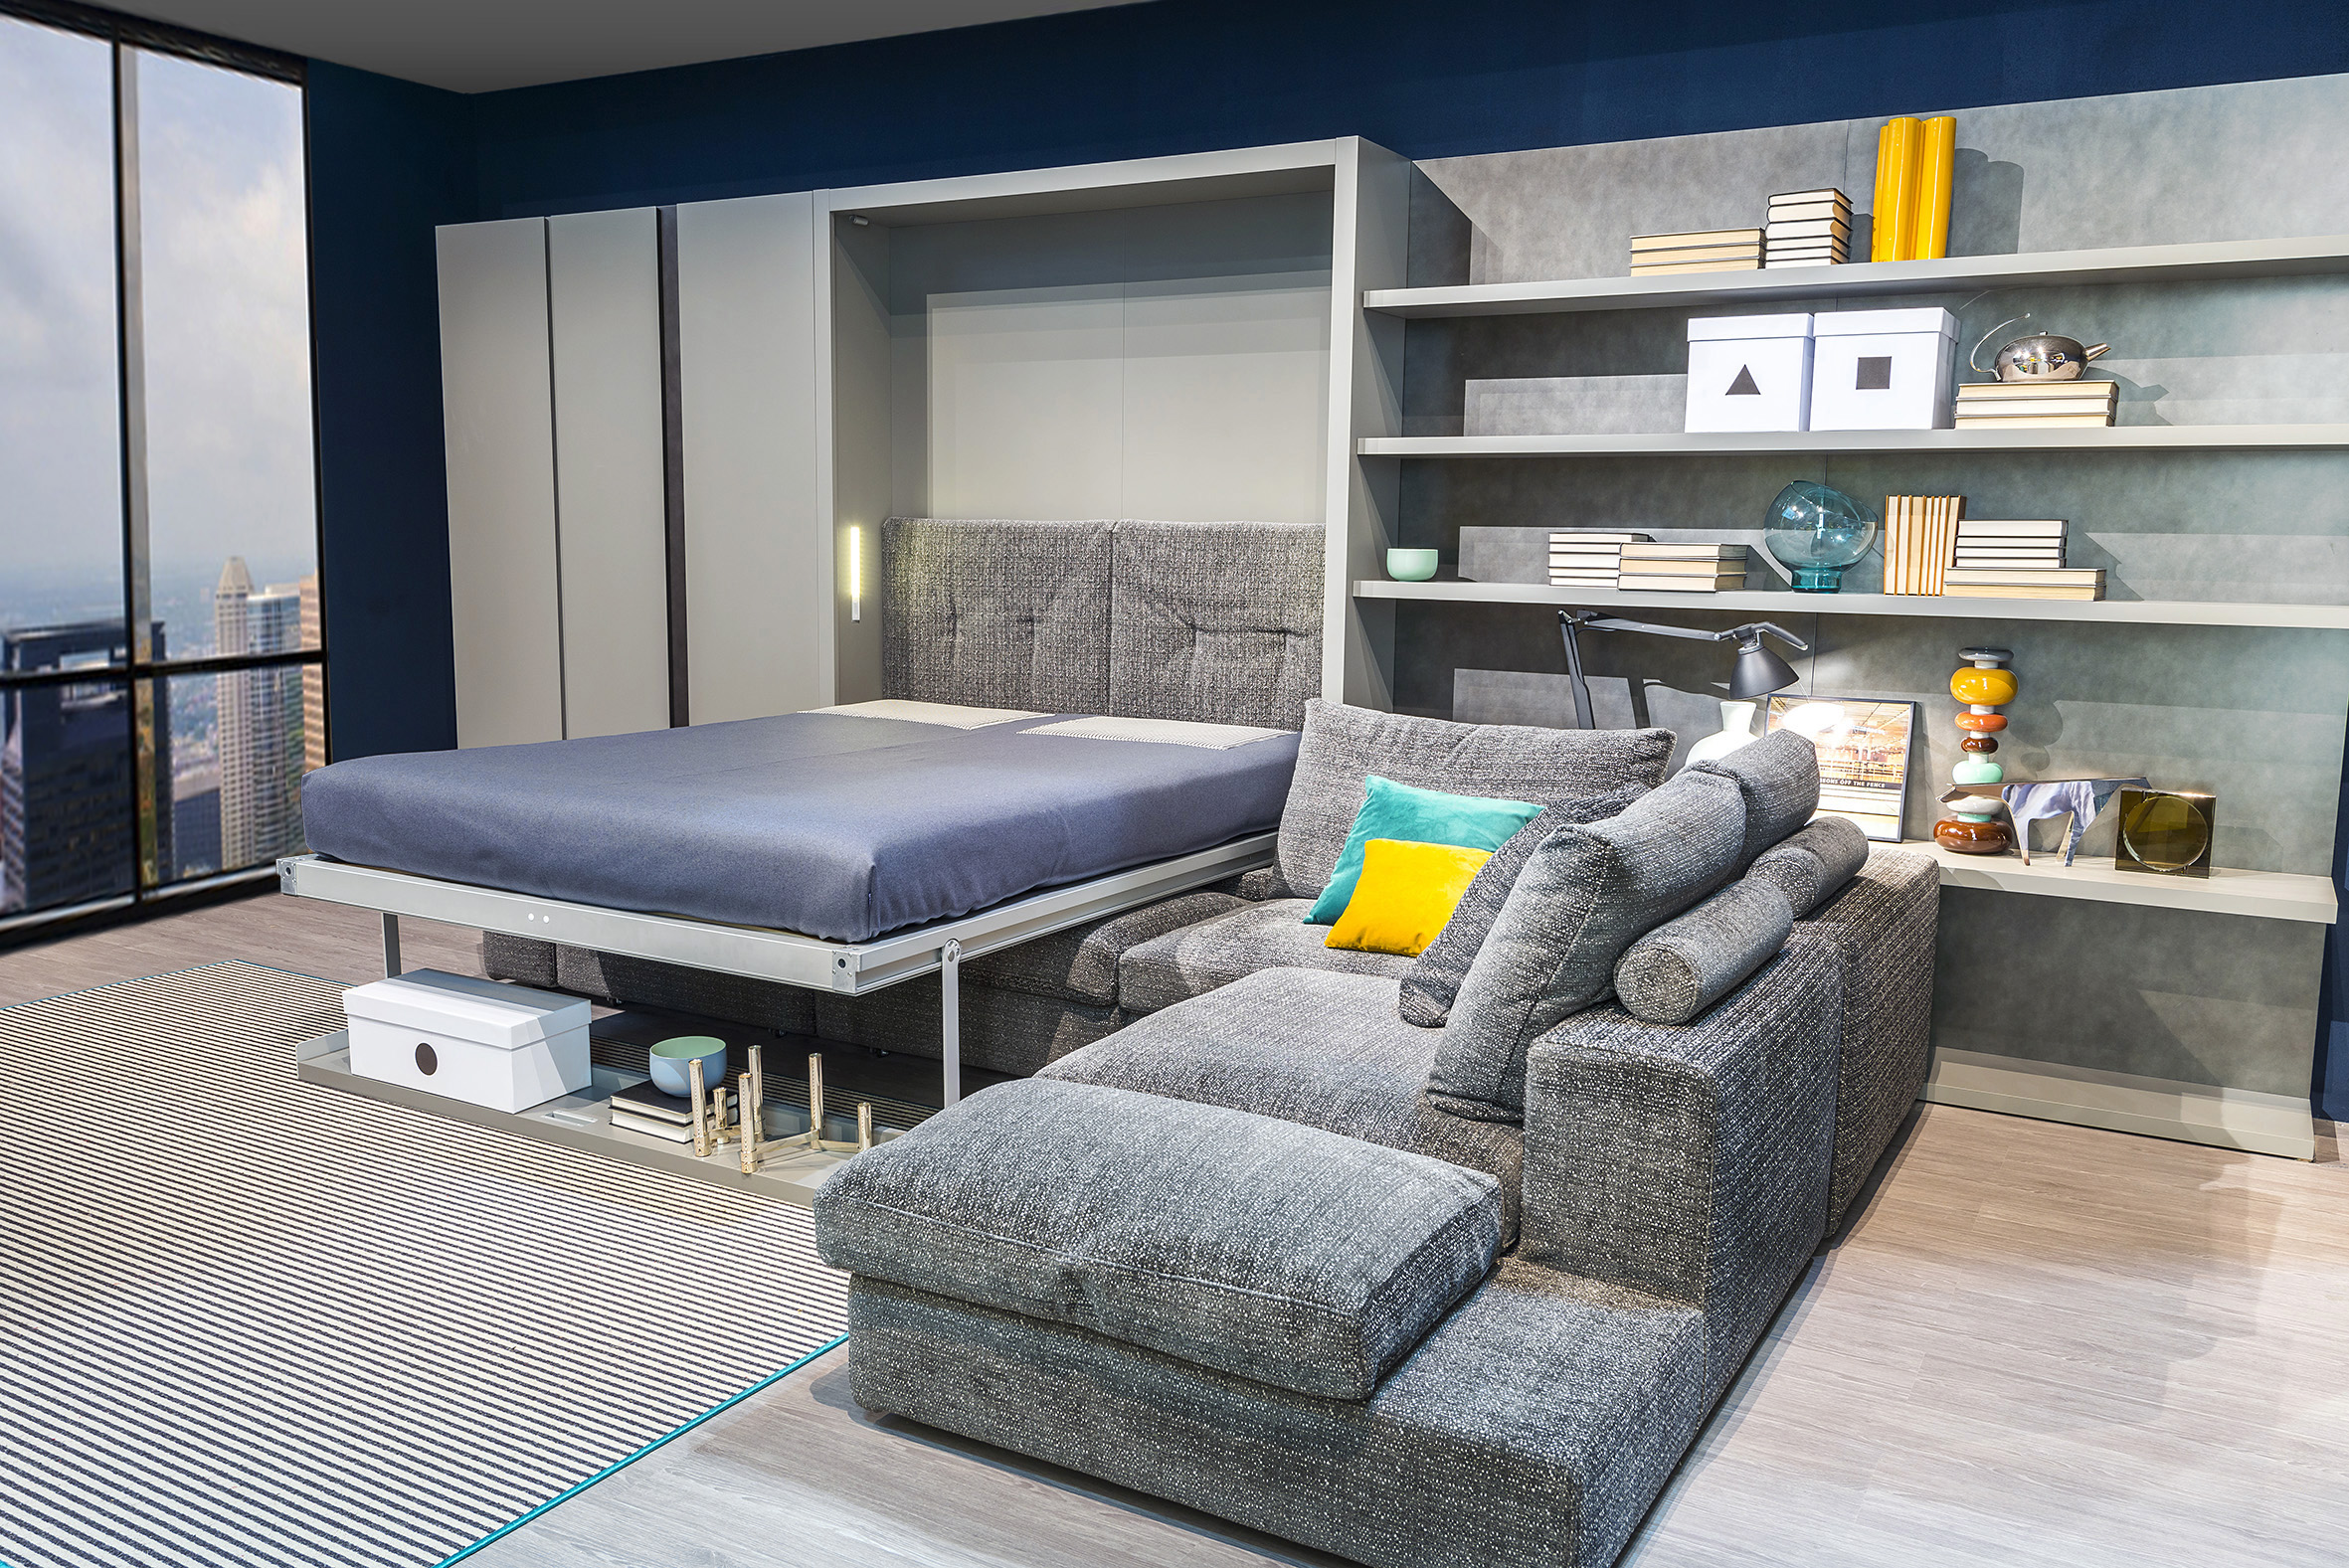
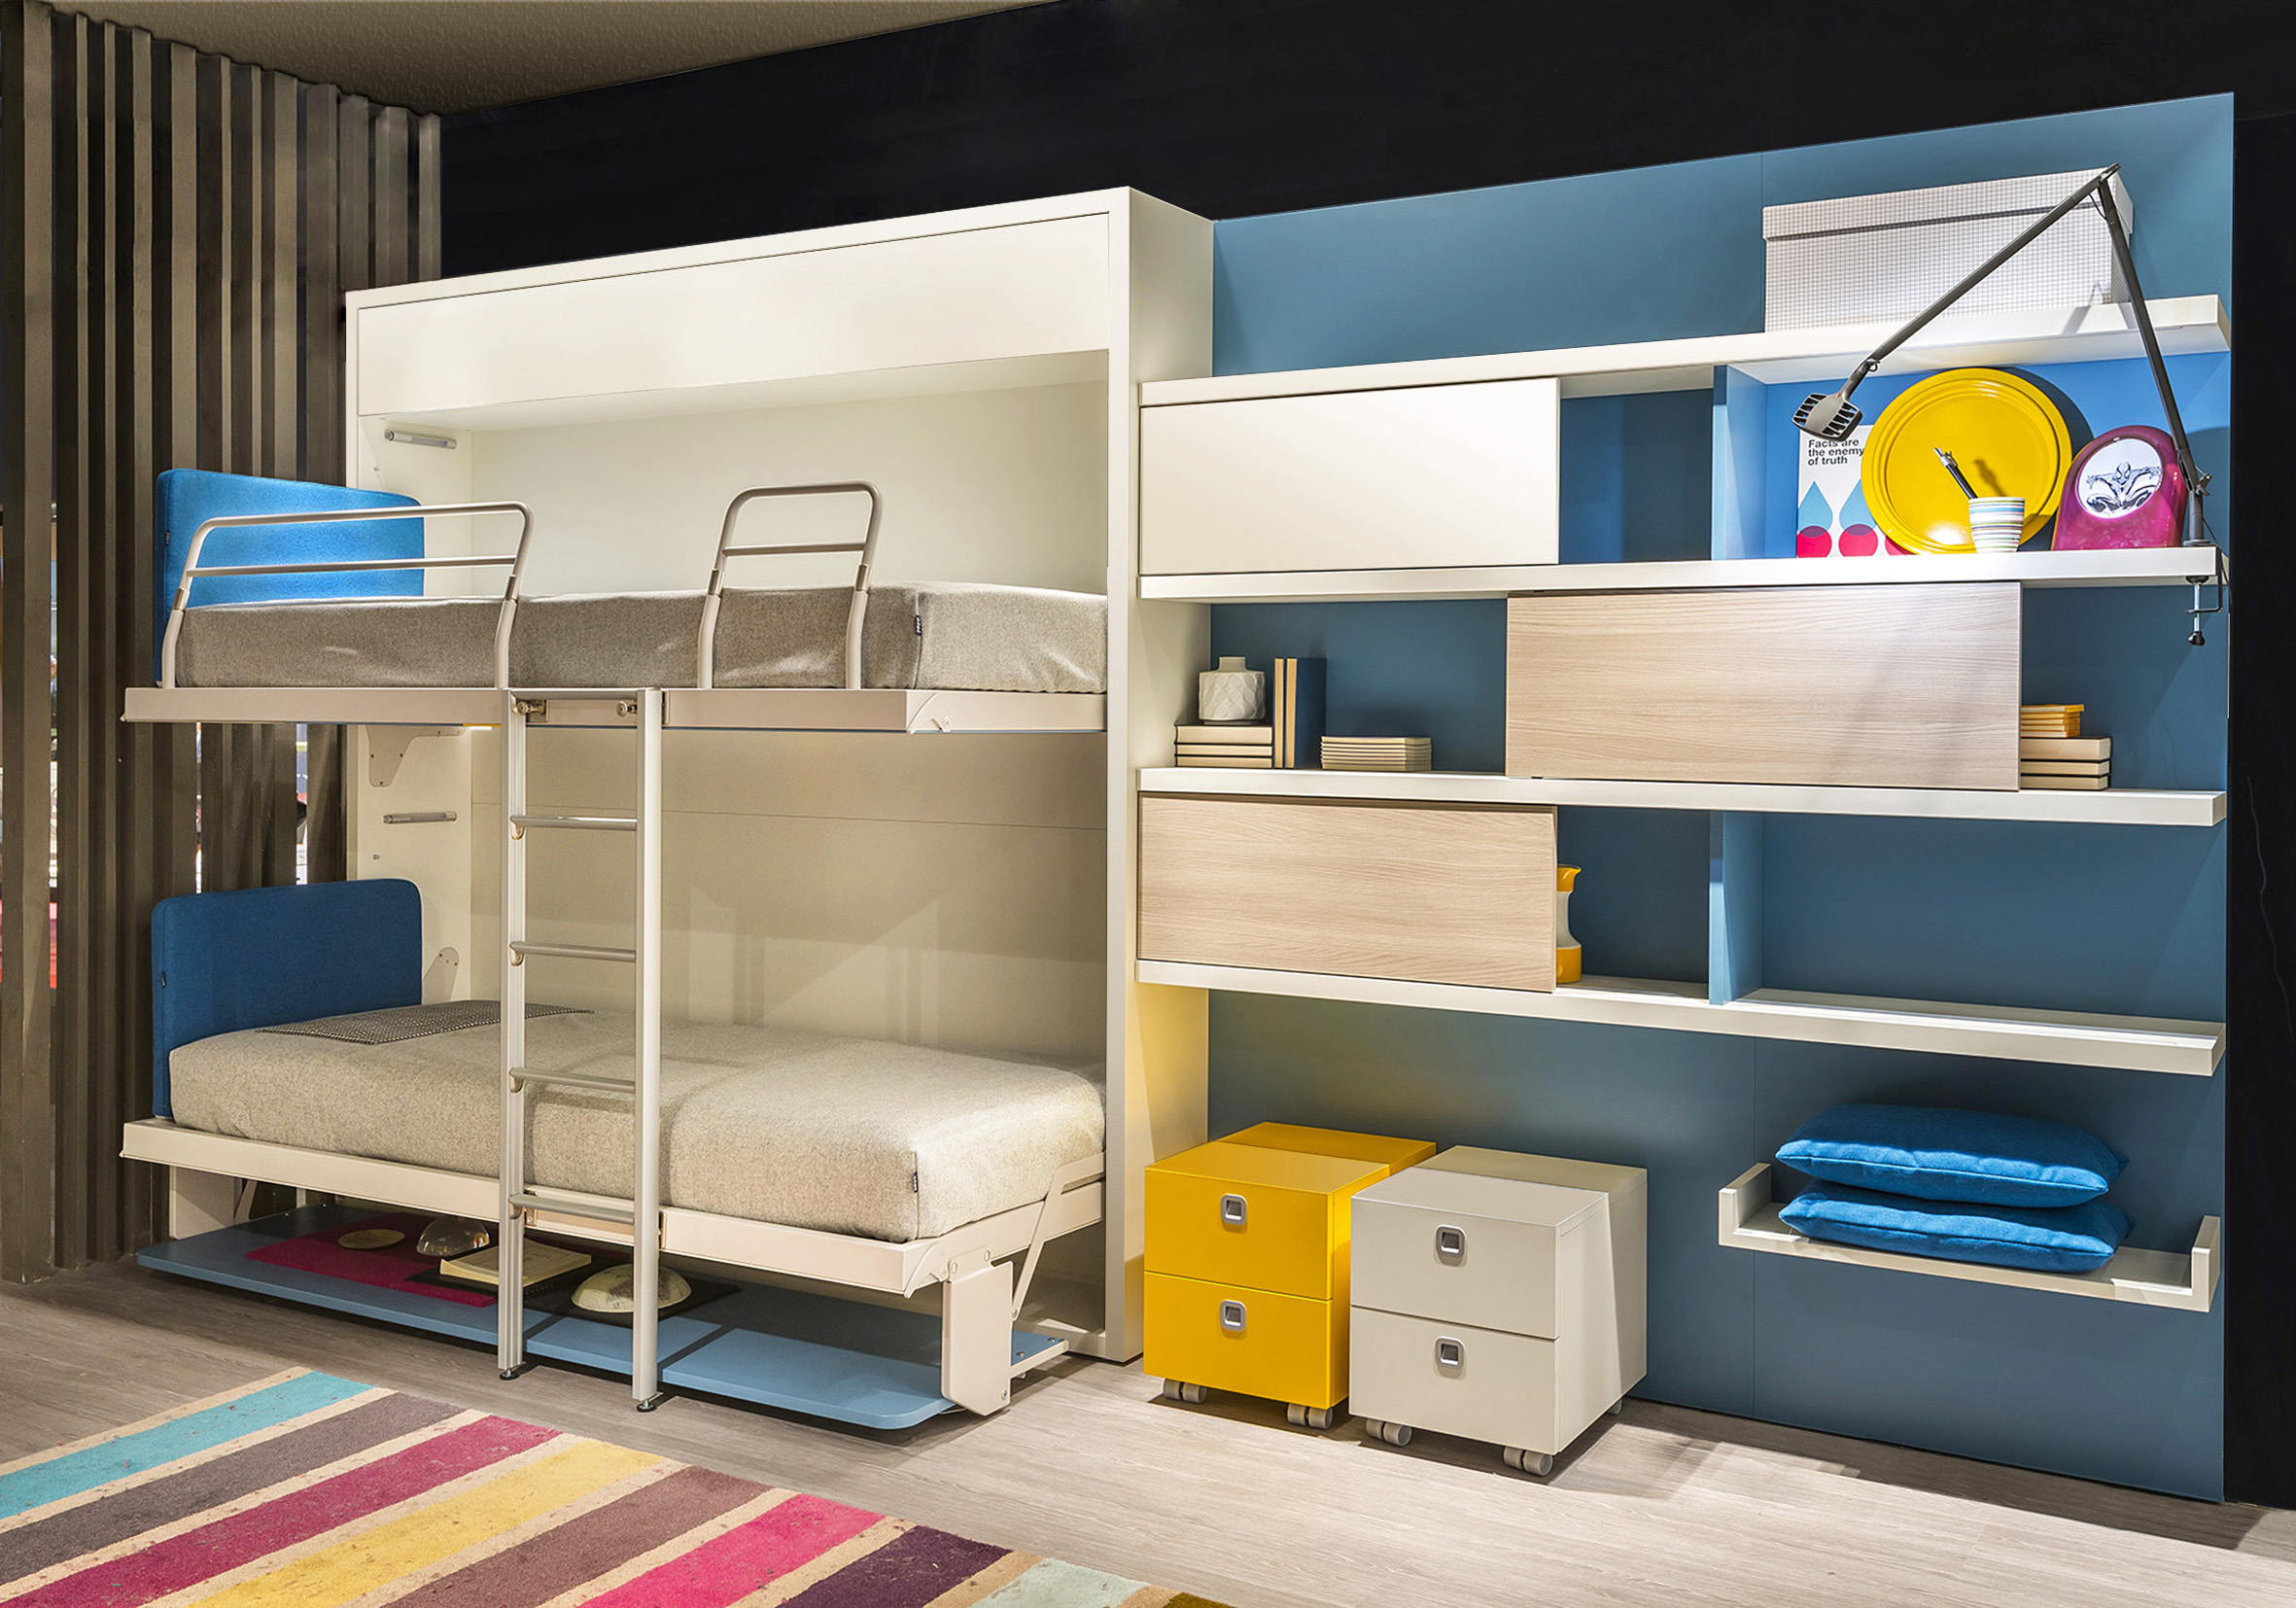
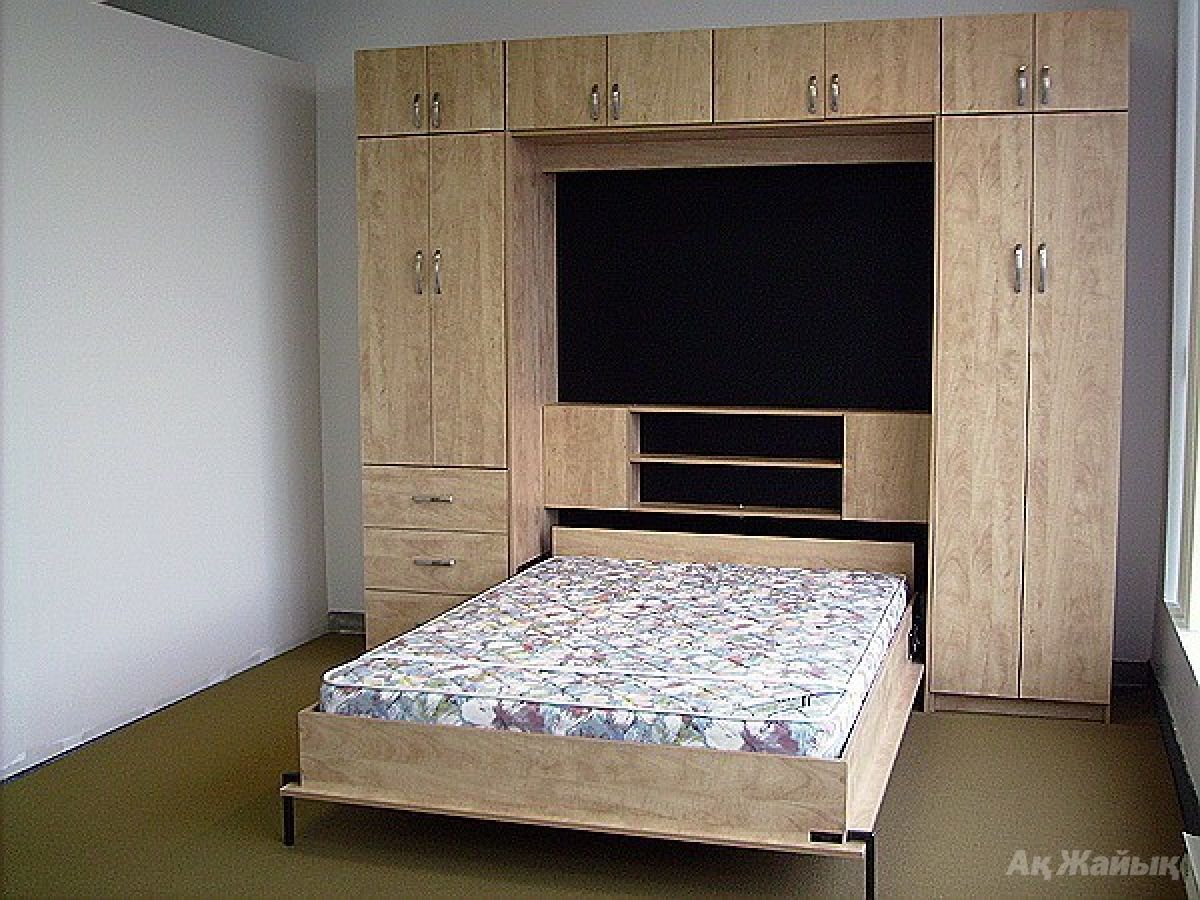
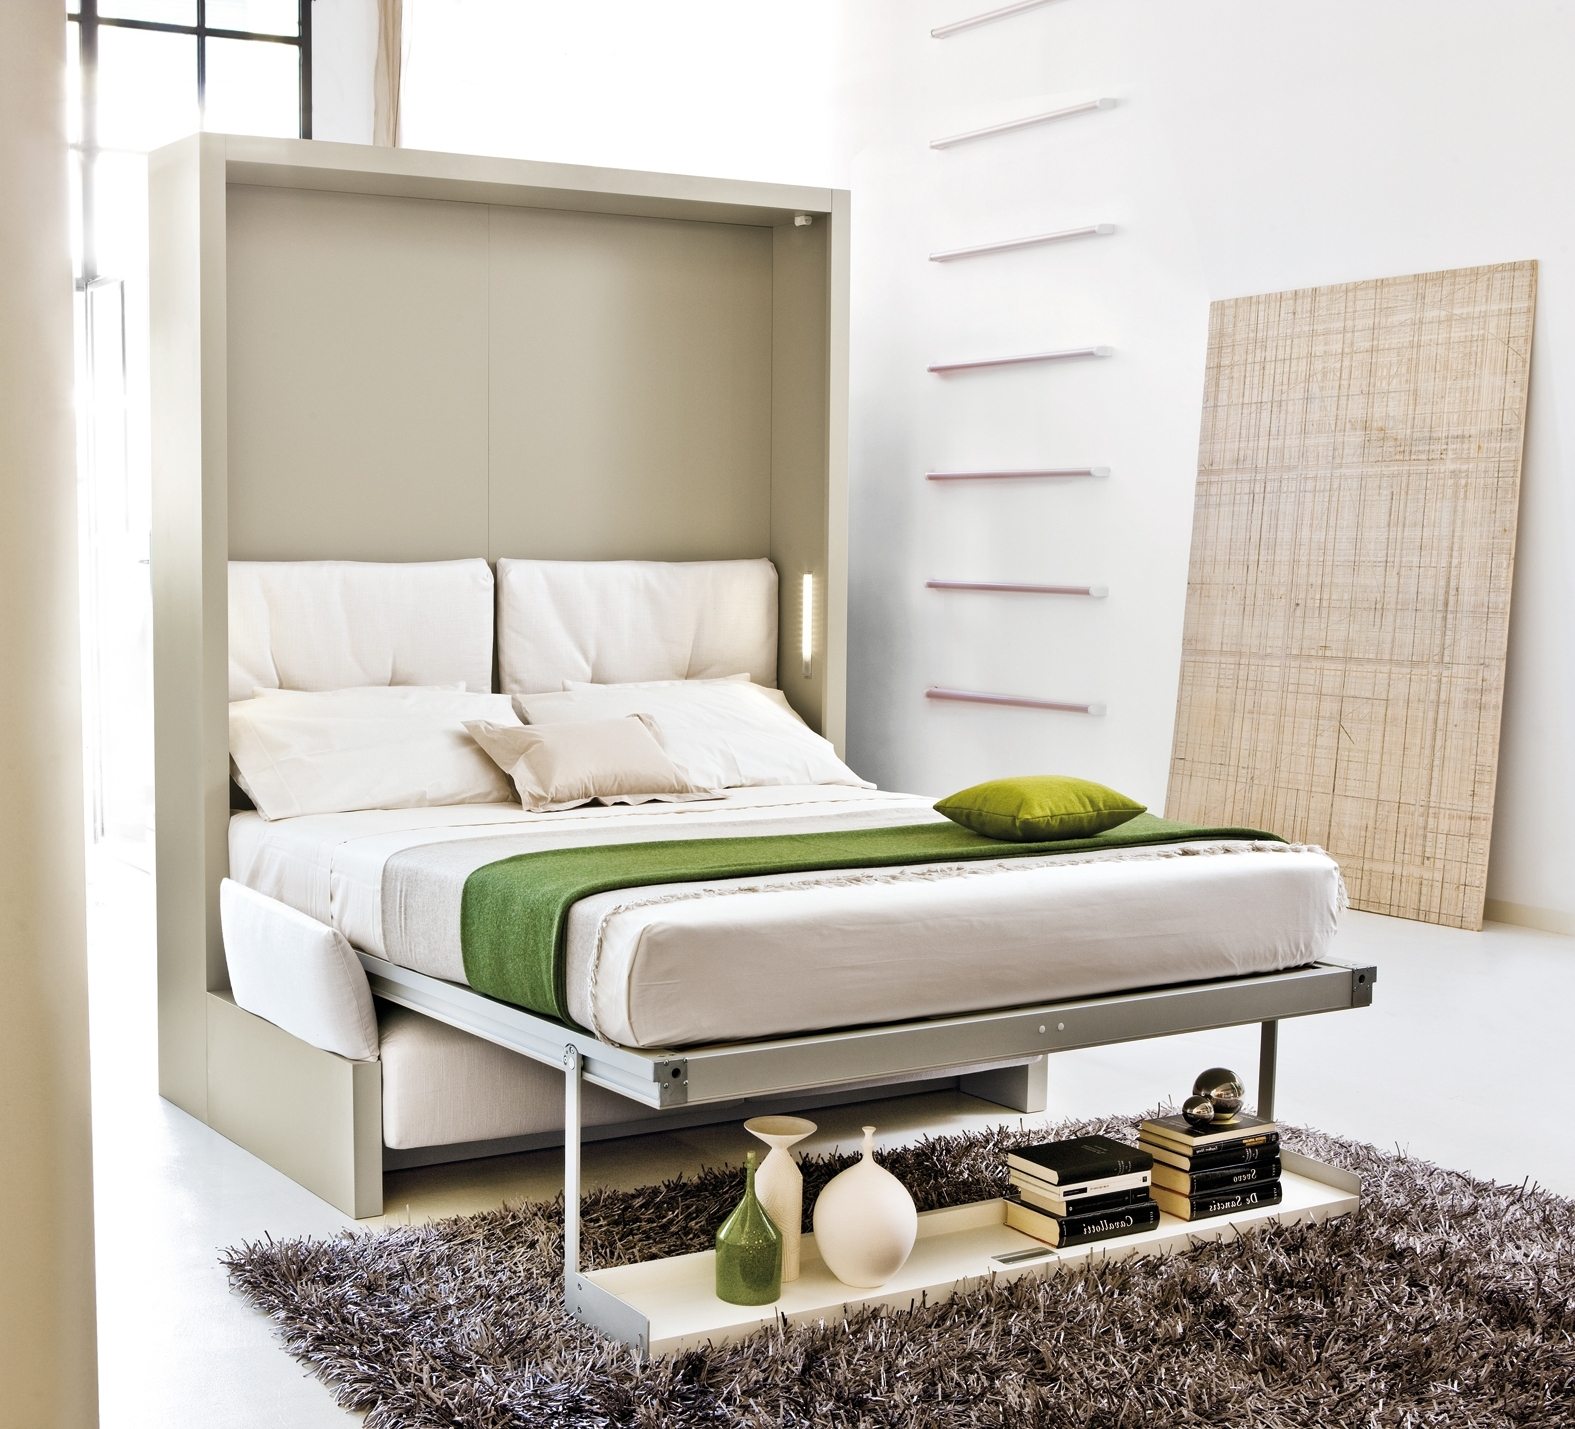
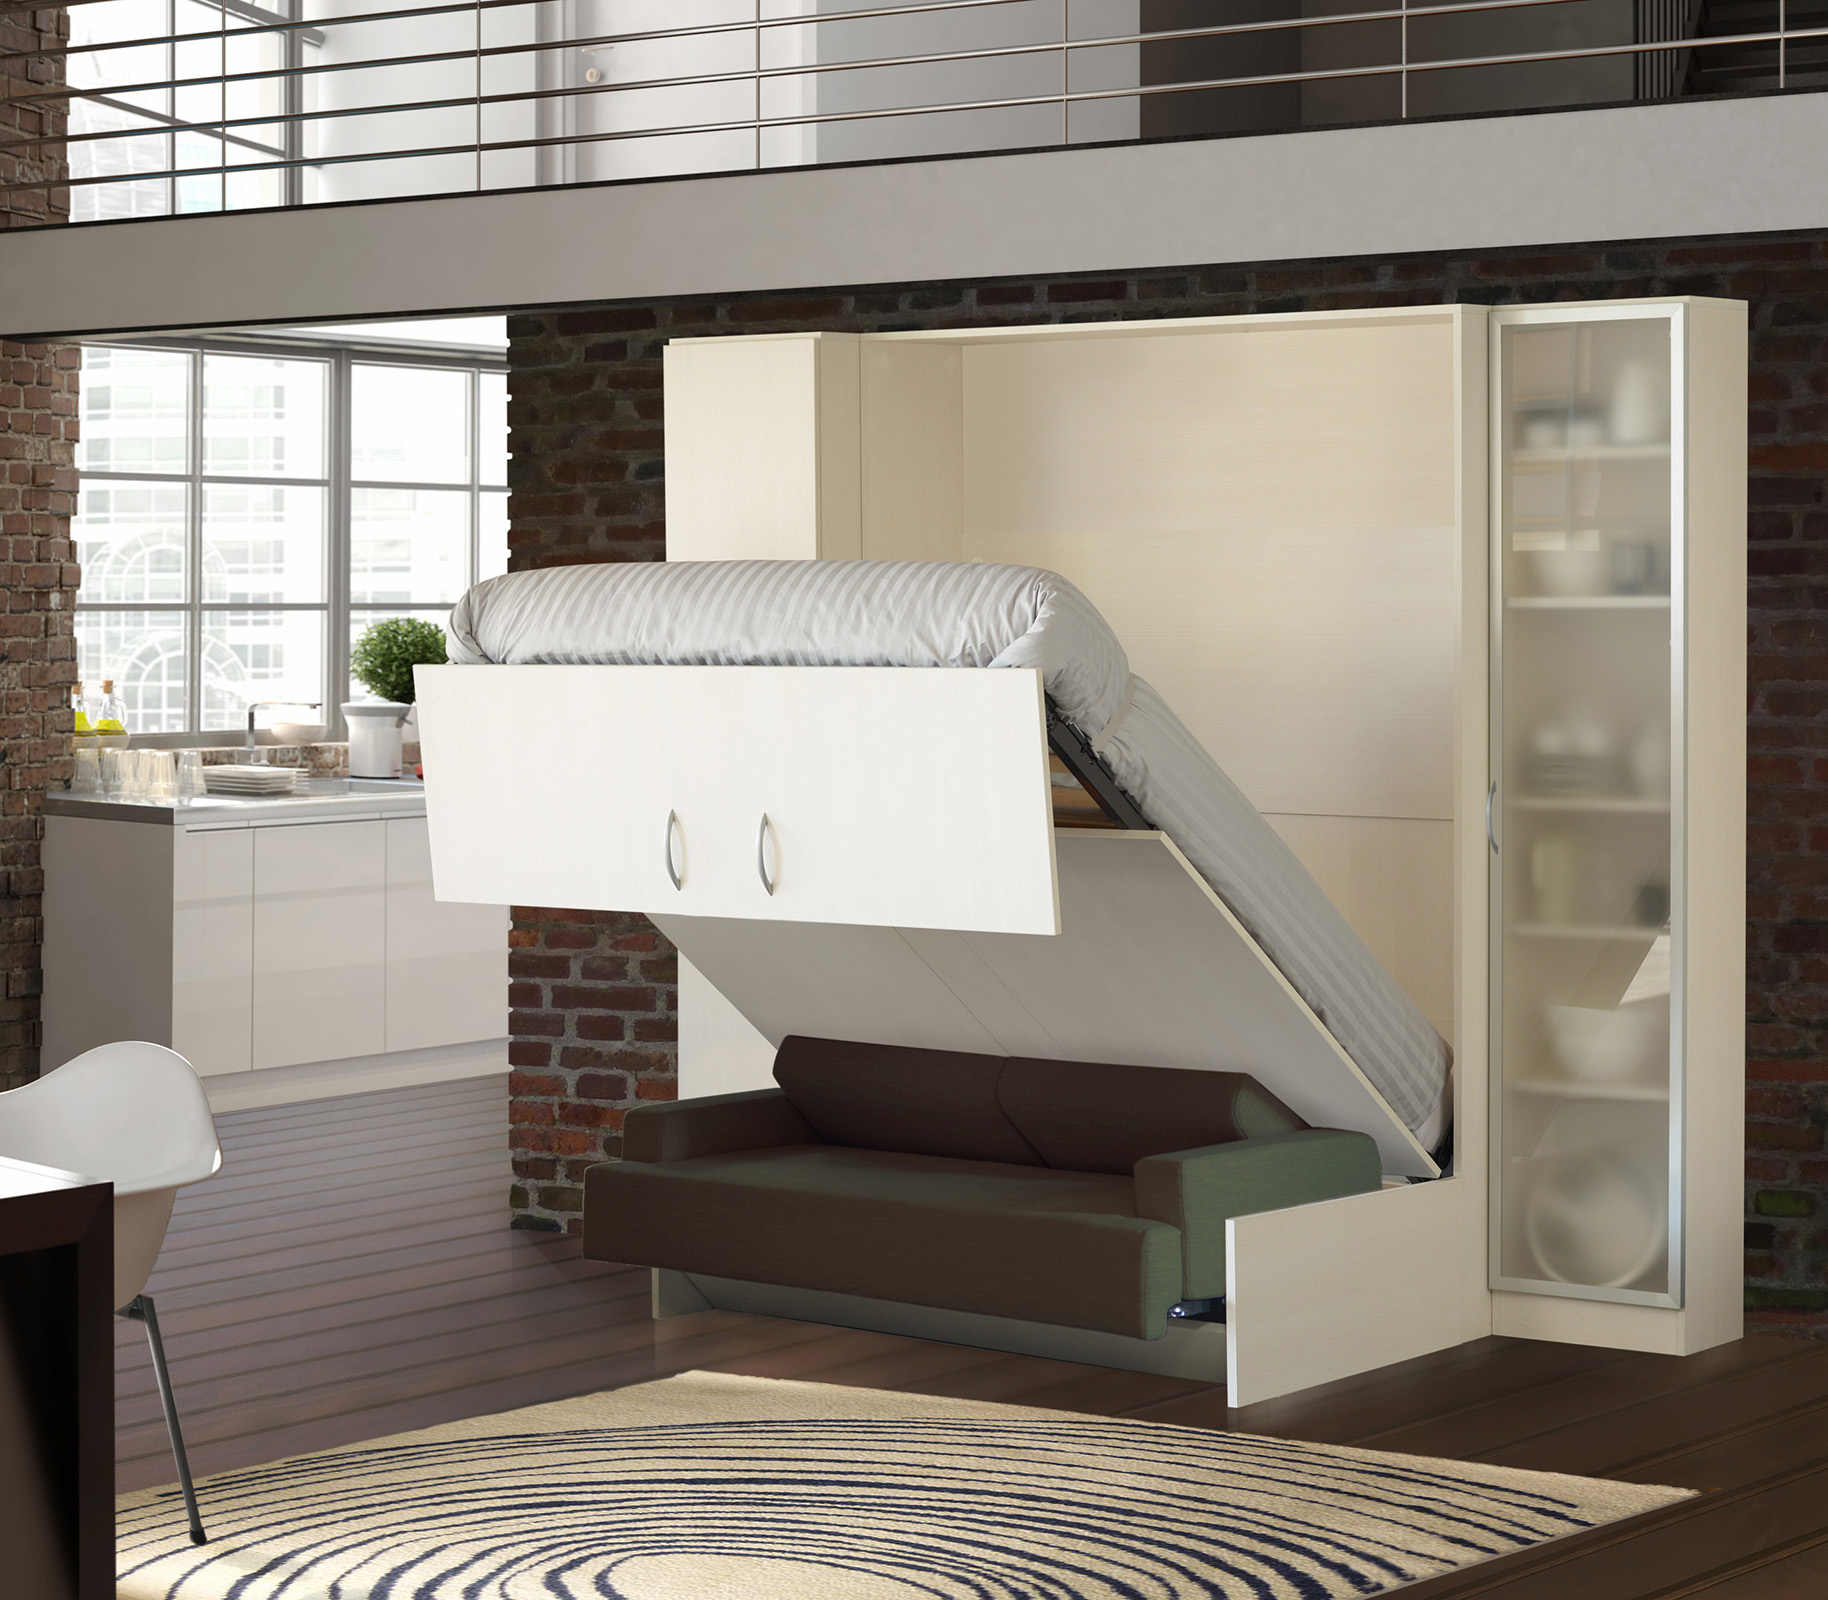
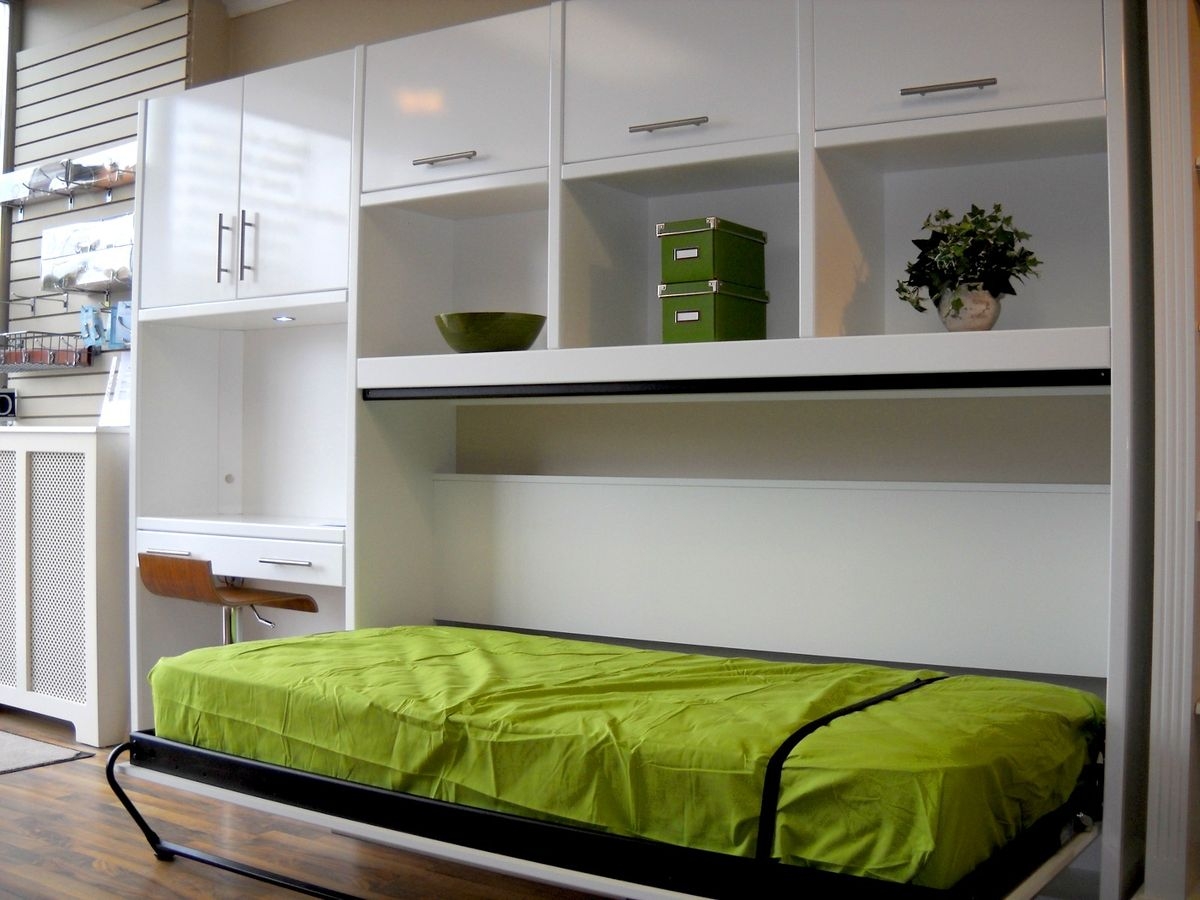
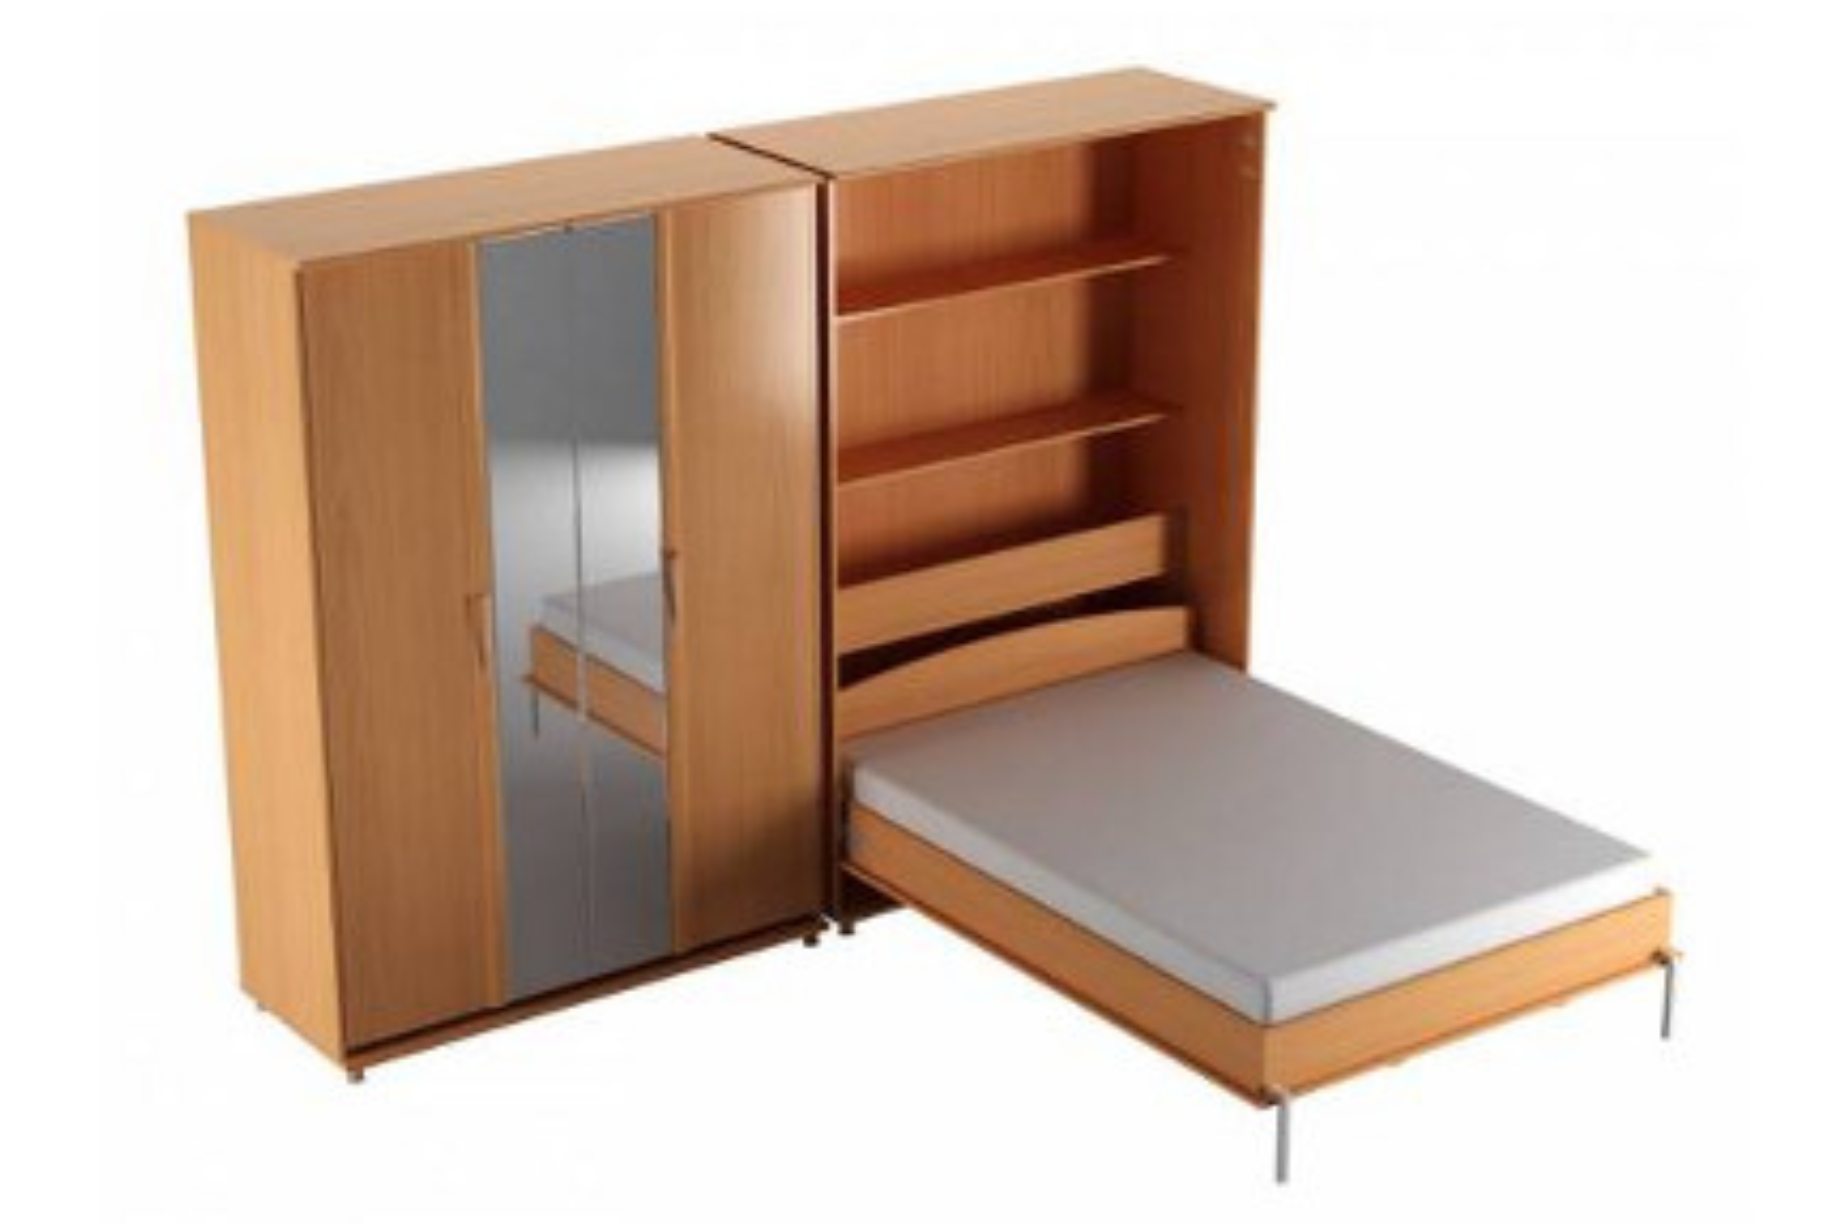
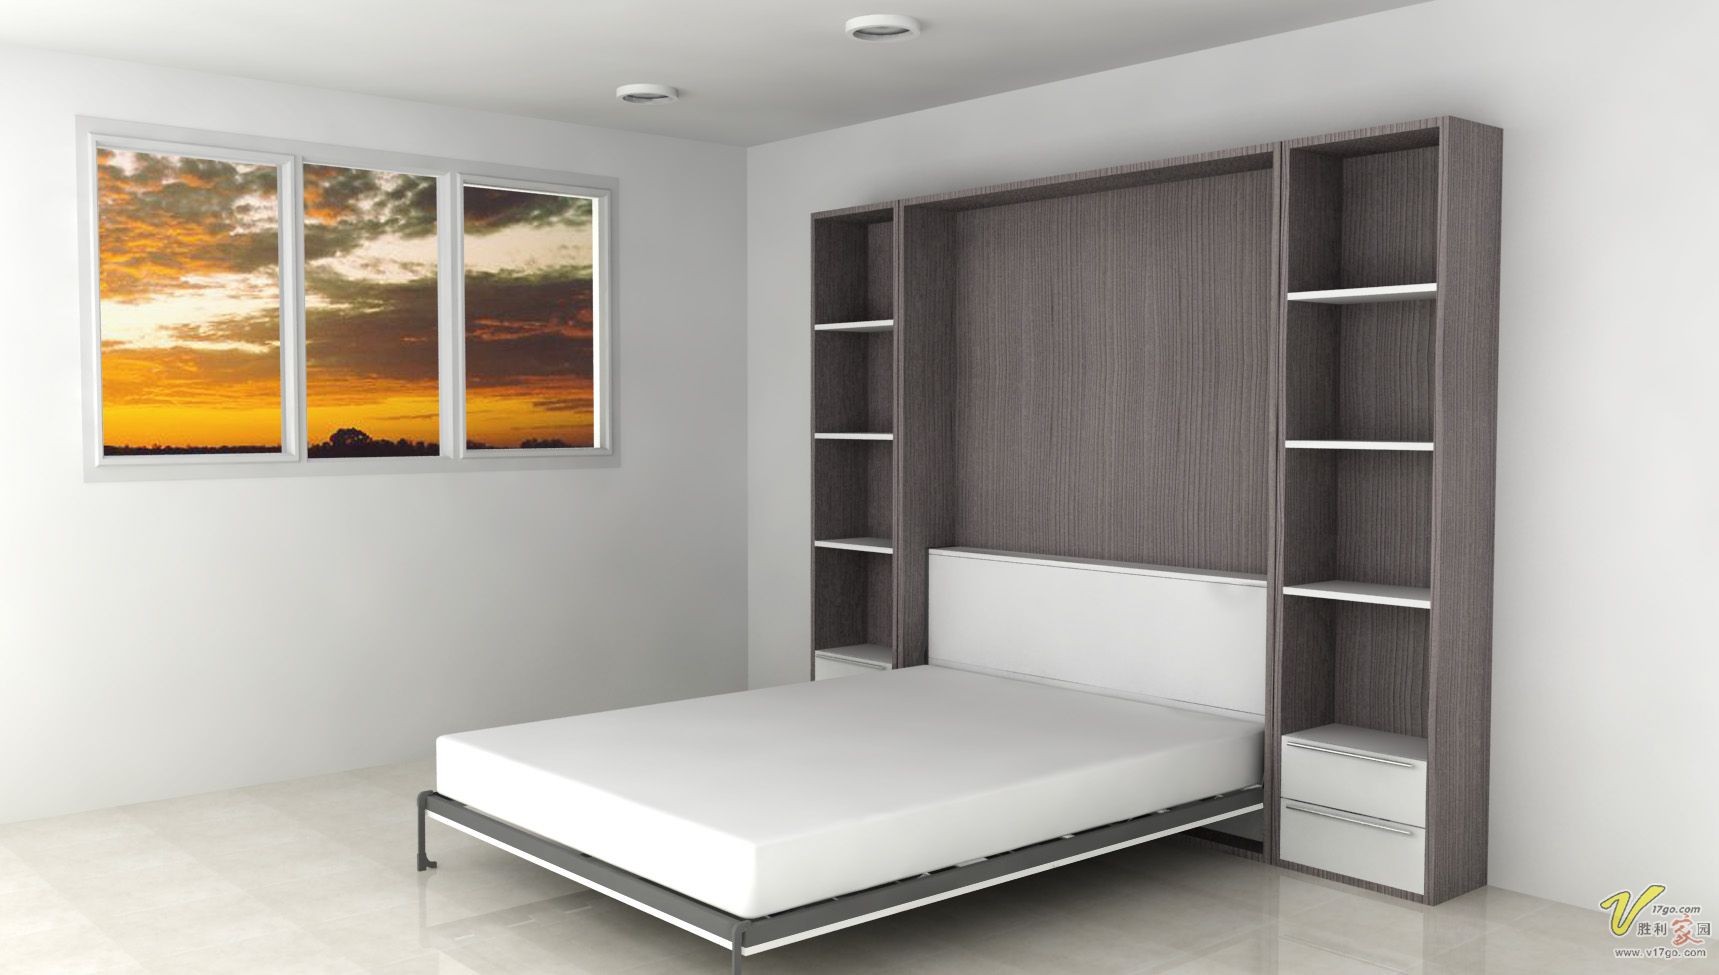
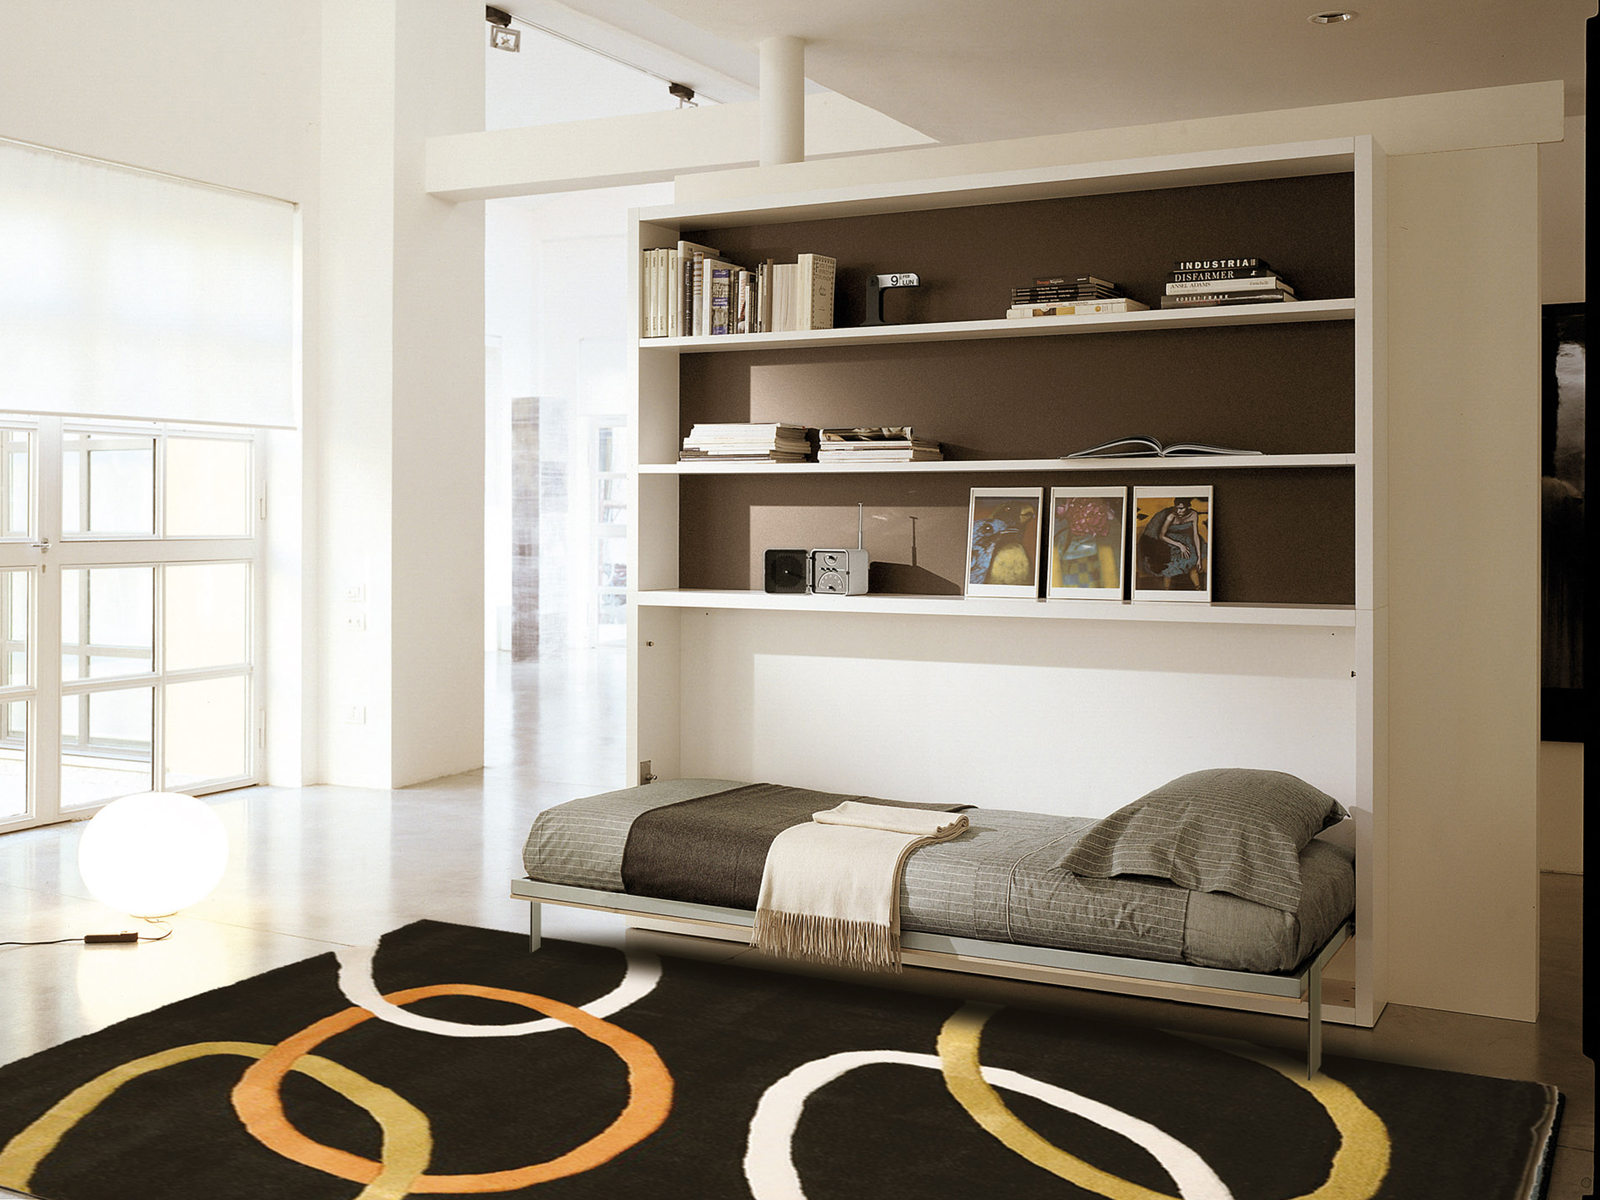
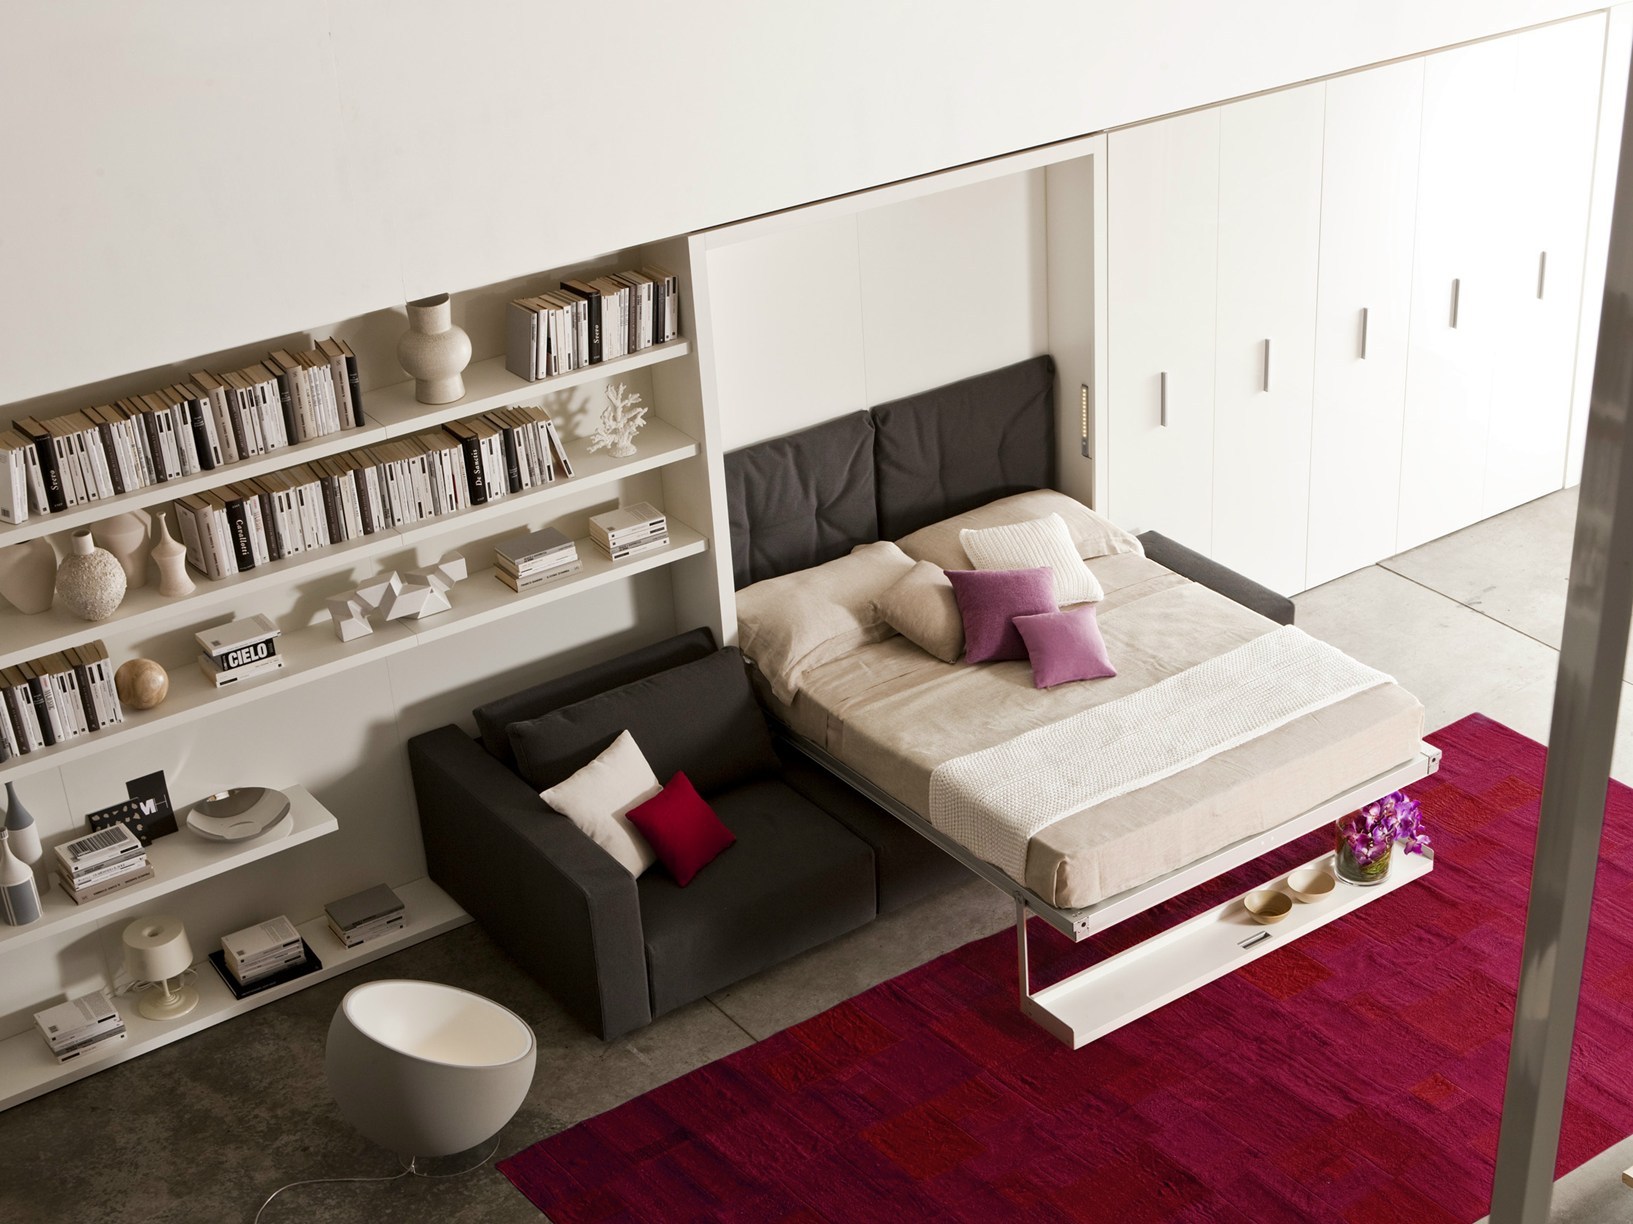
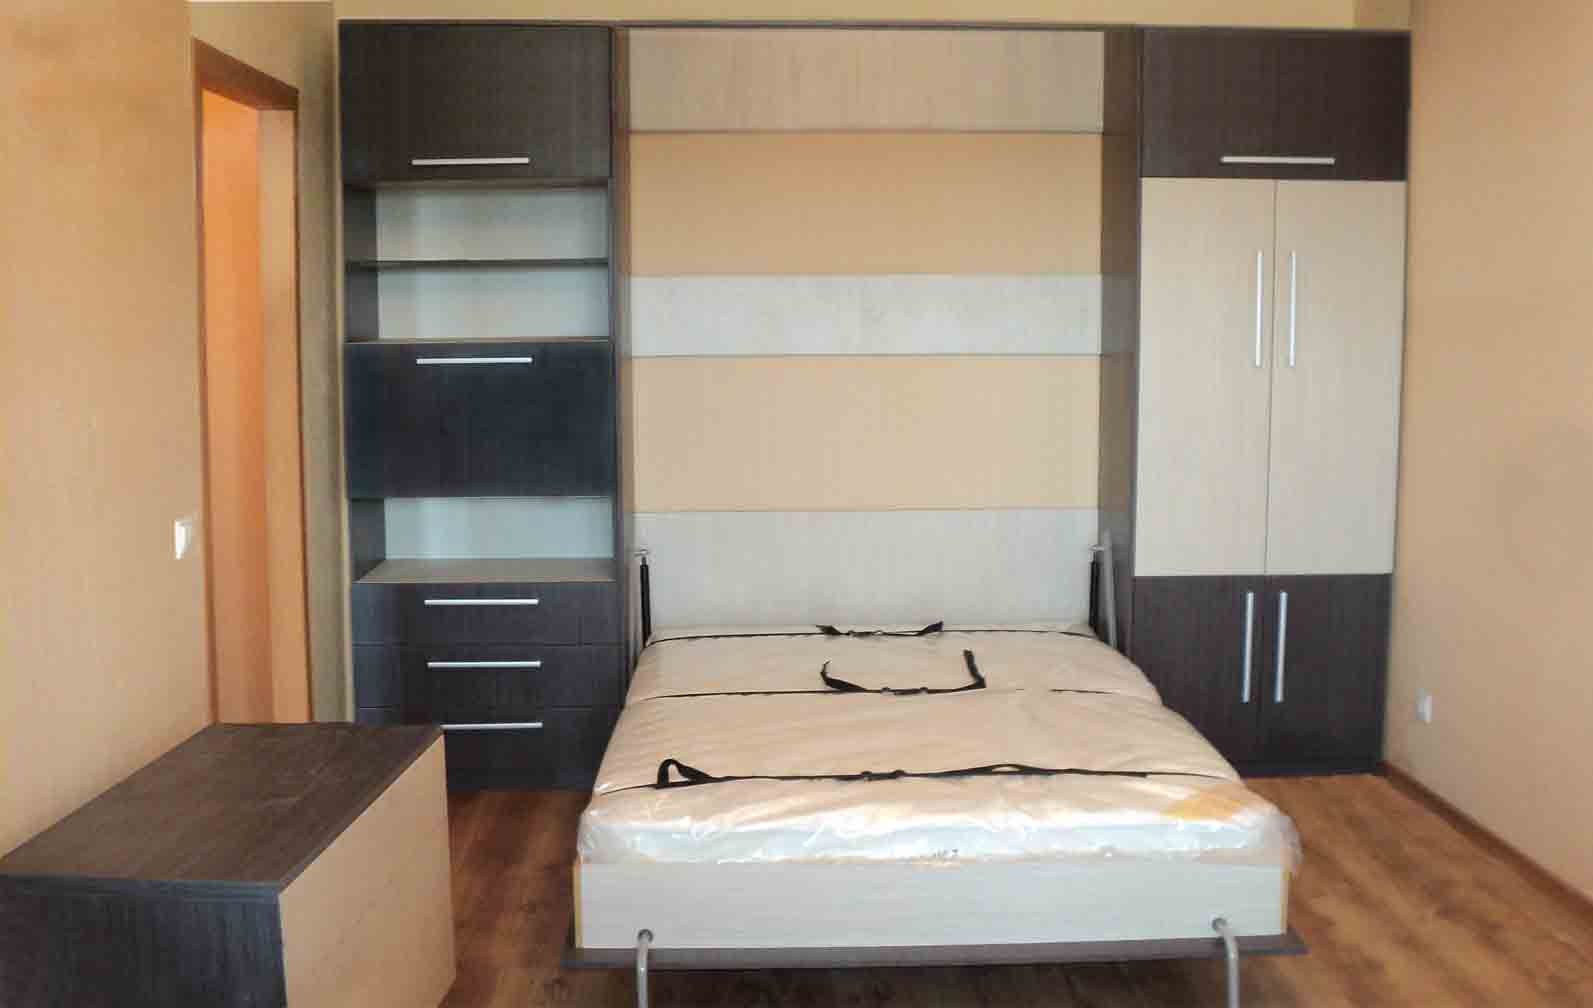
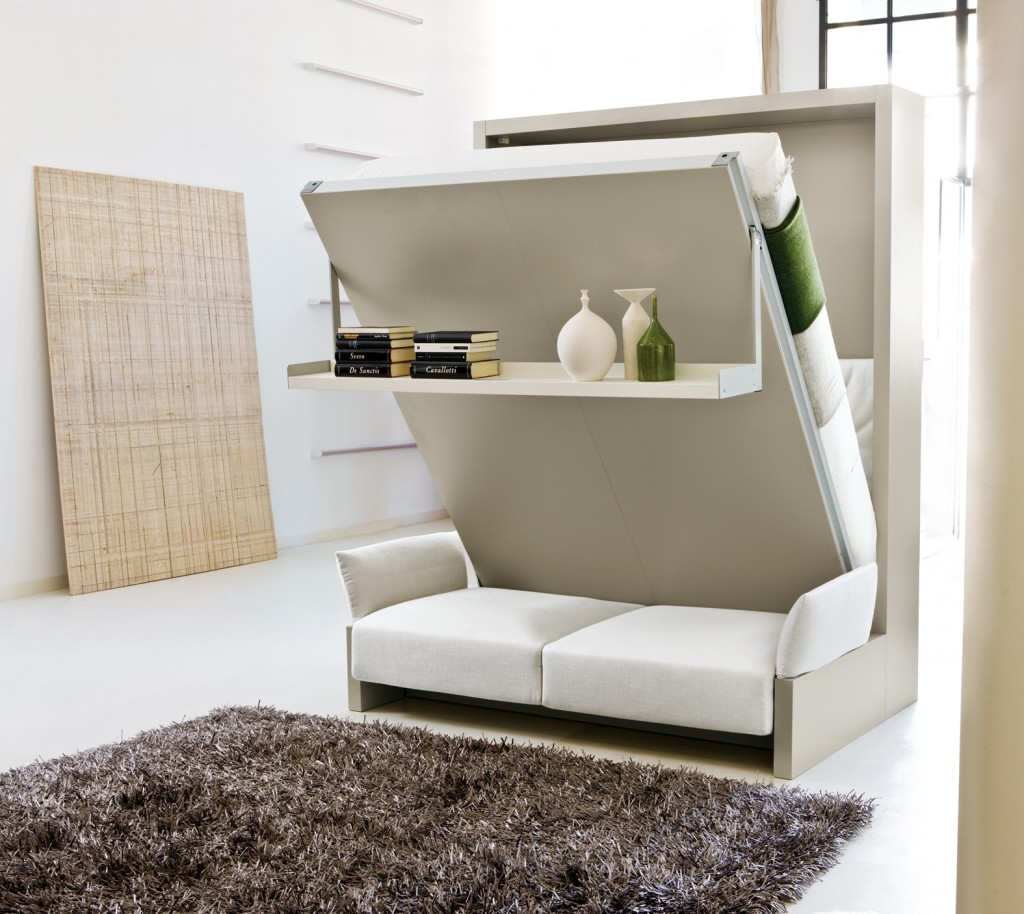
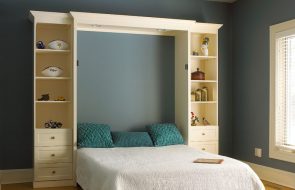
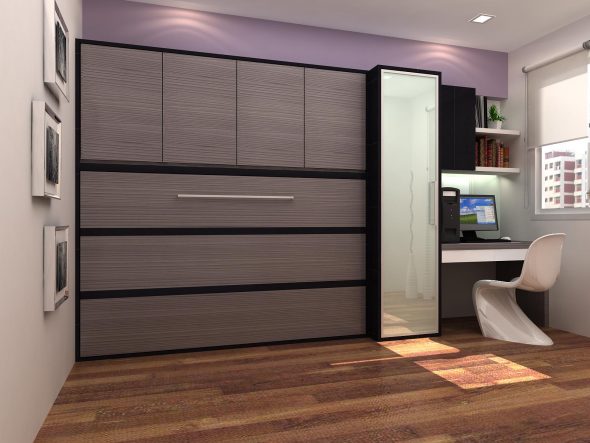
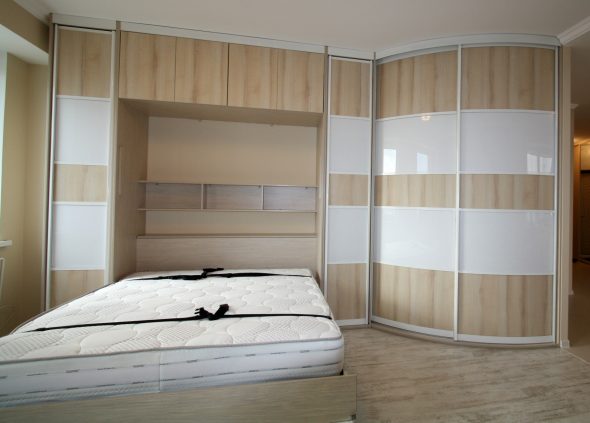
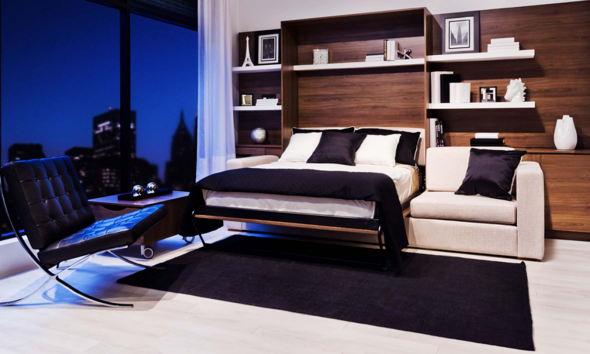
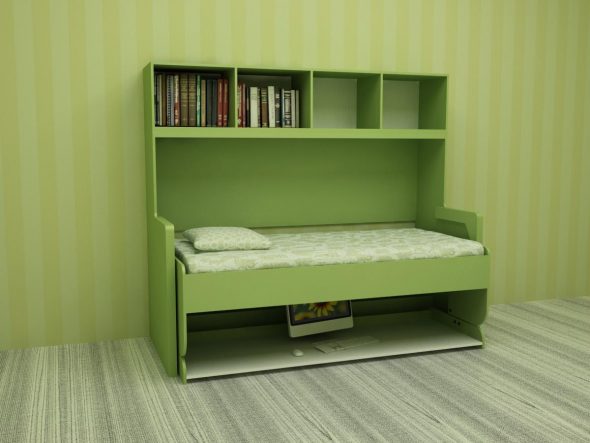
There are many models of such transforming beds. But a folding bed made by yourself, the drawings of which are only available to you, is already a unique exclusive and a highlight of your interior. You determine its design yourself, based on the dimensions of the bedroom.
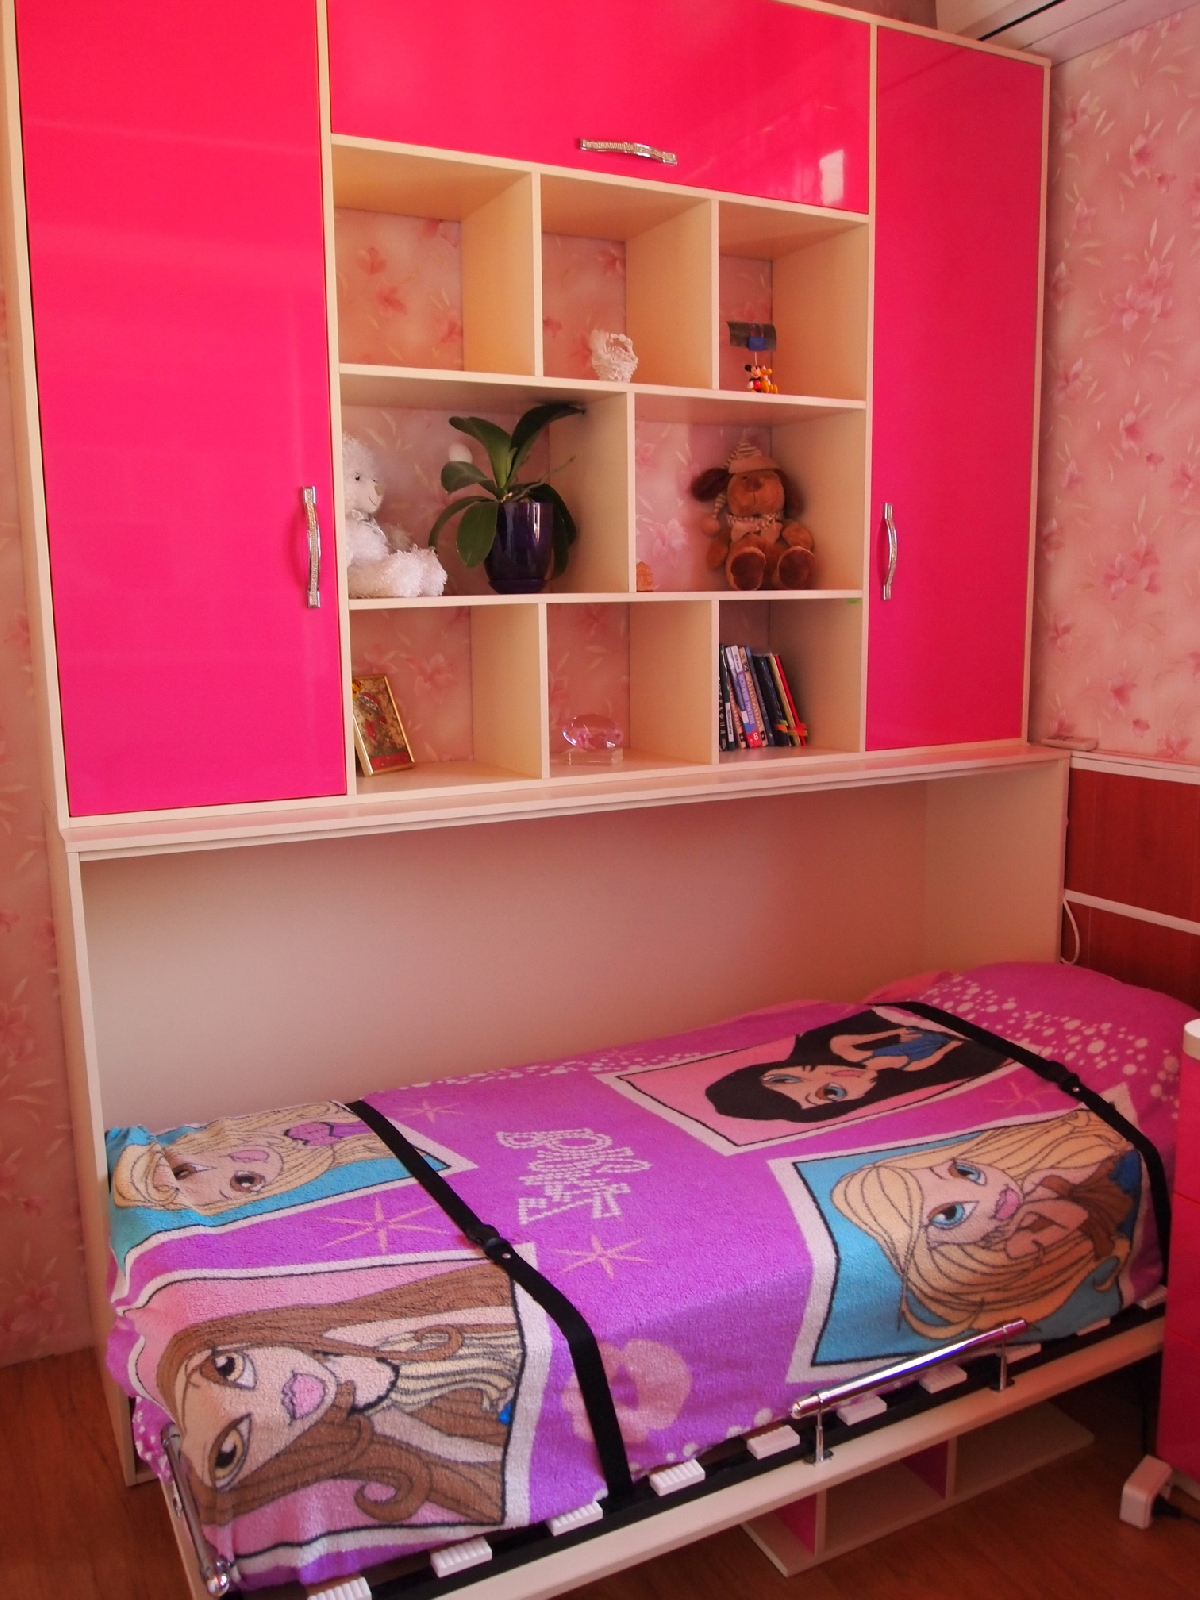
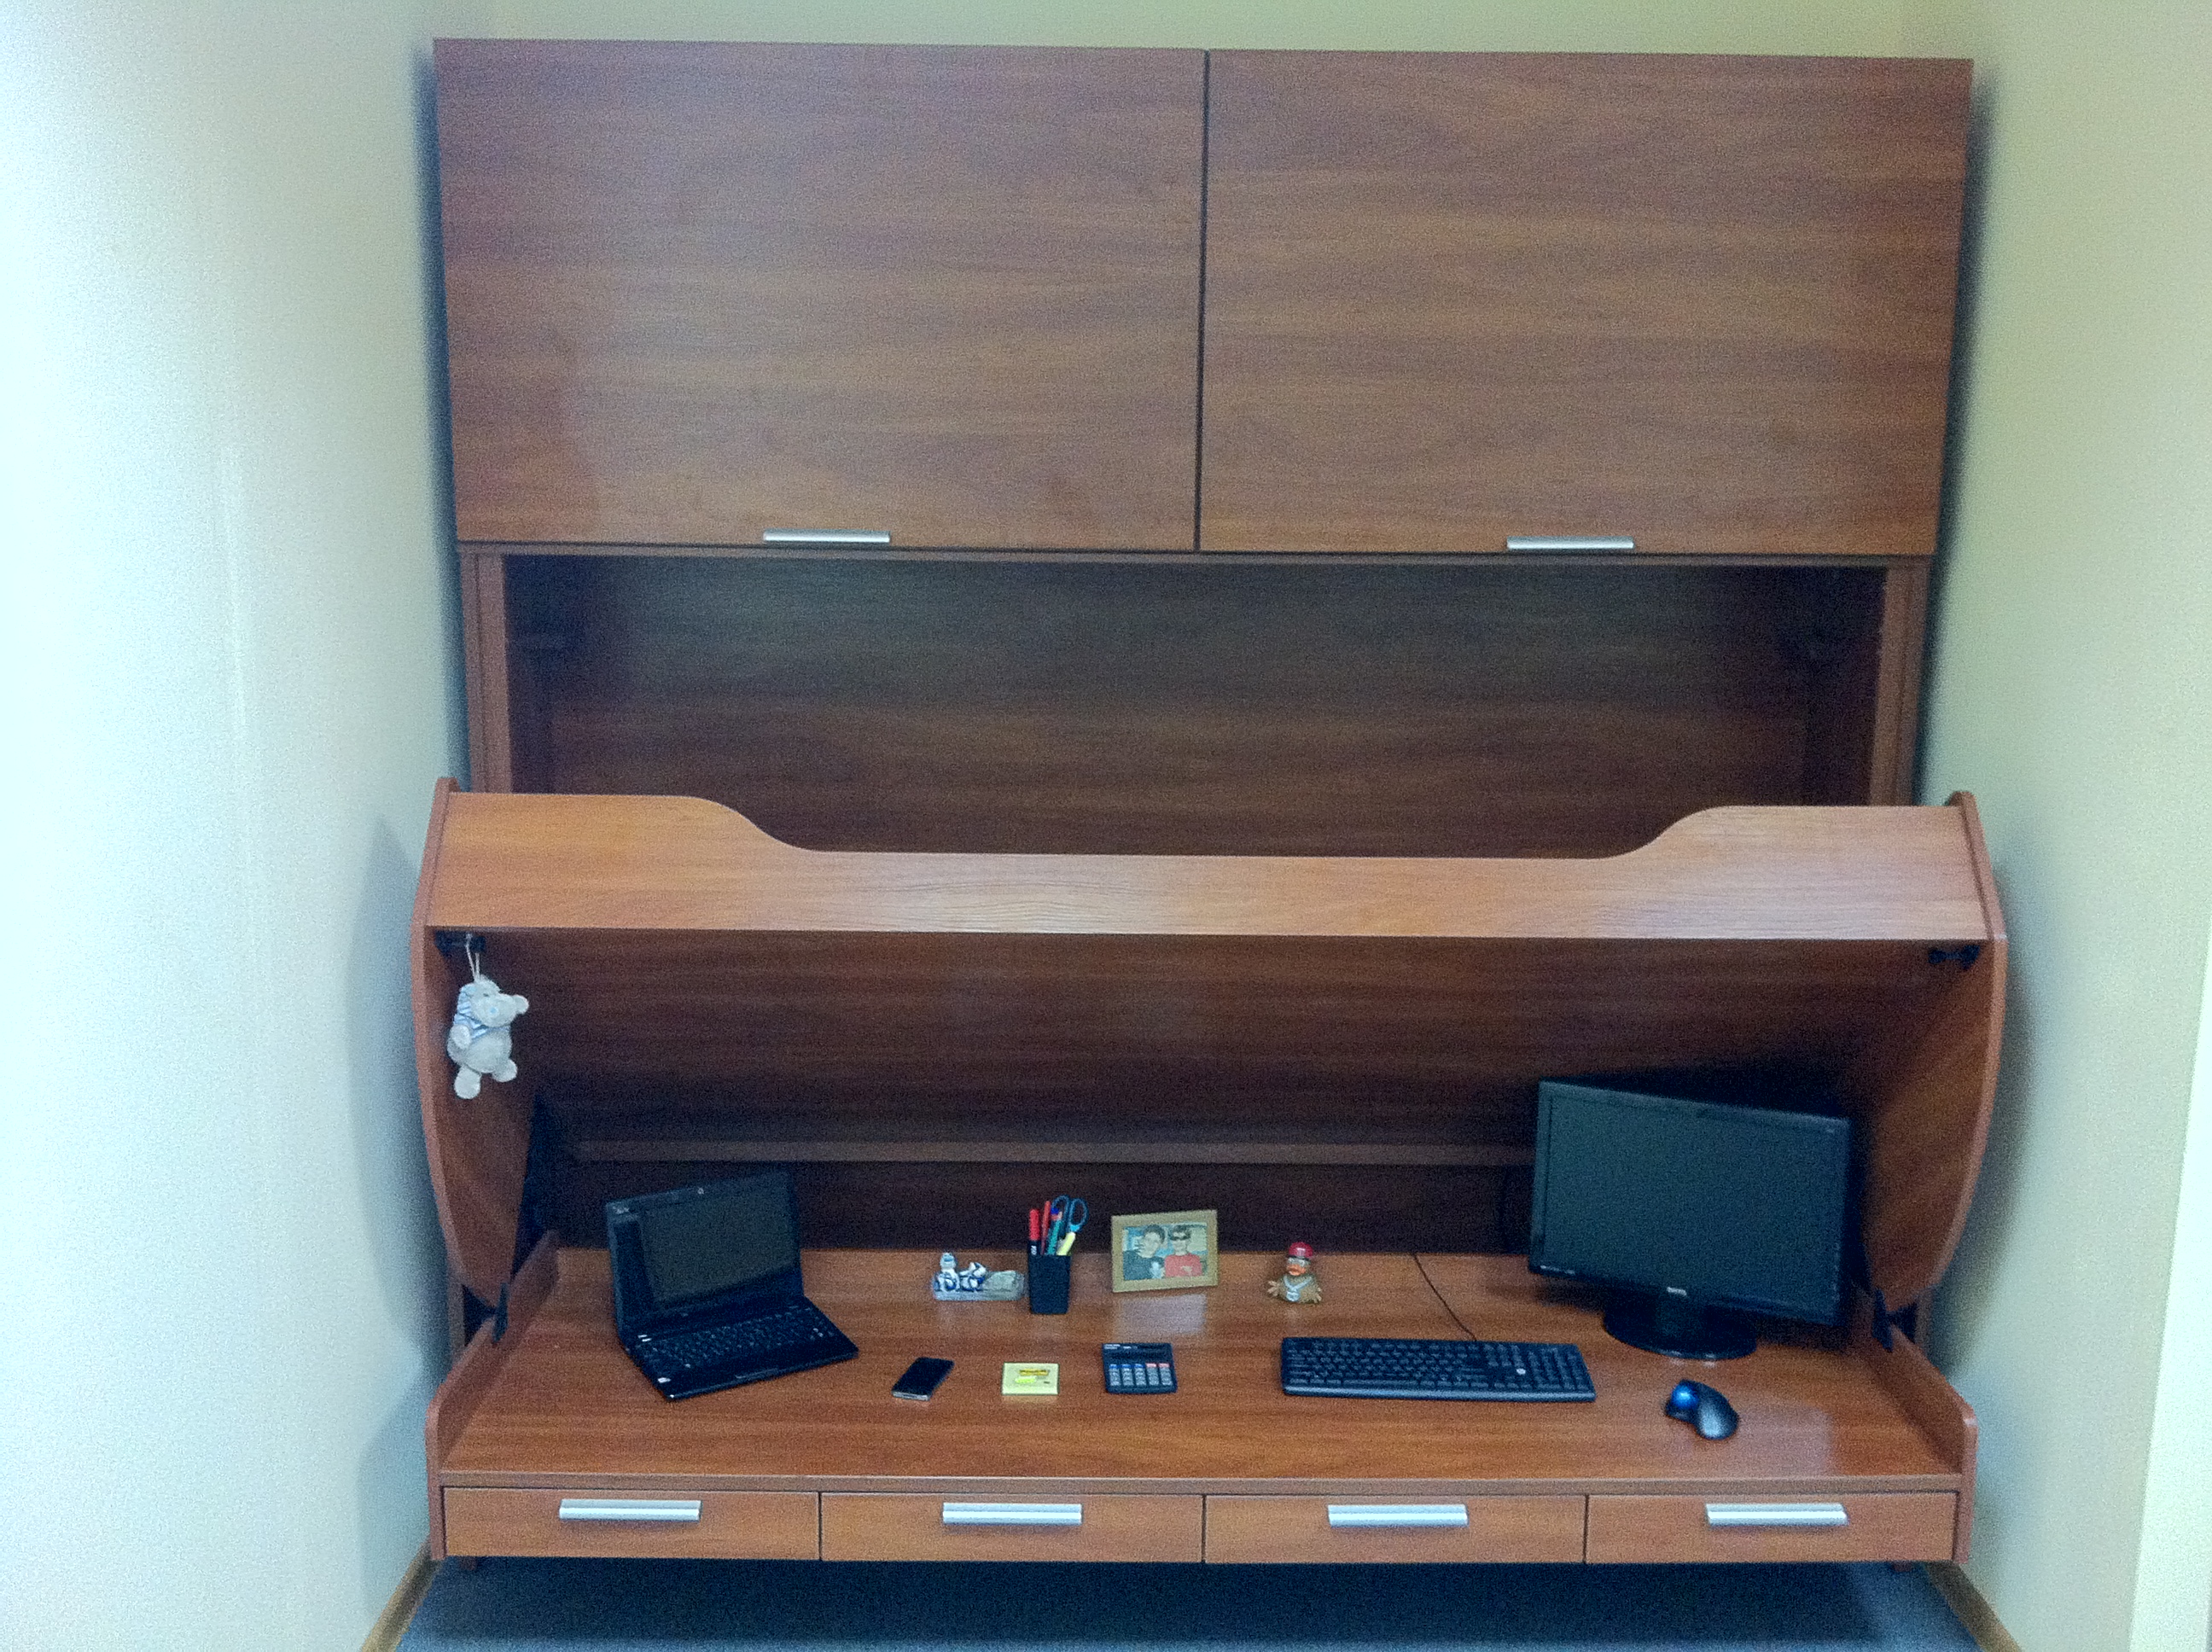
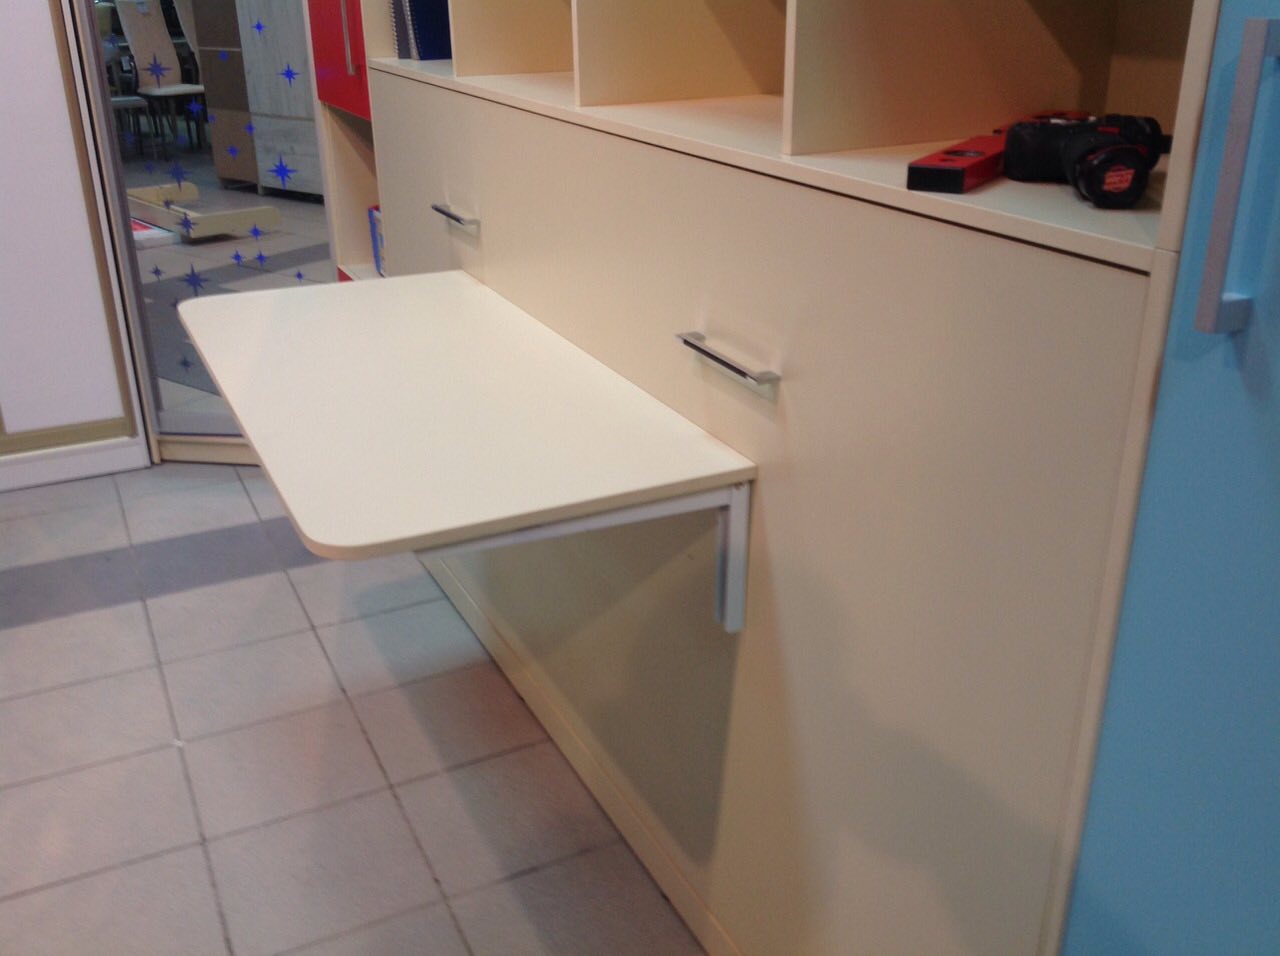
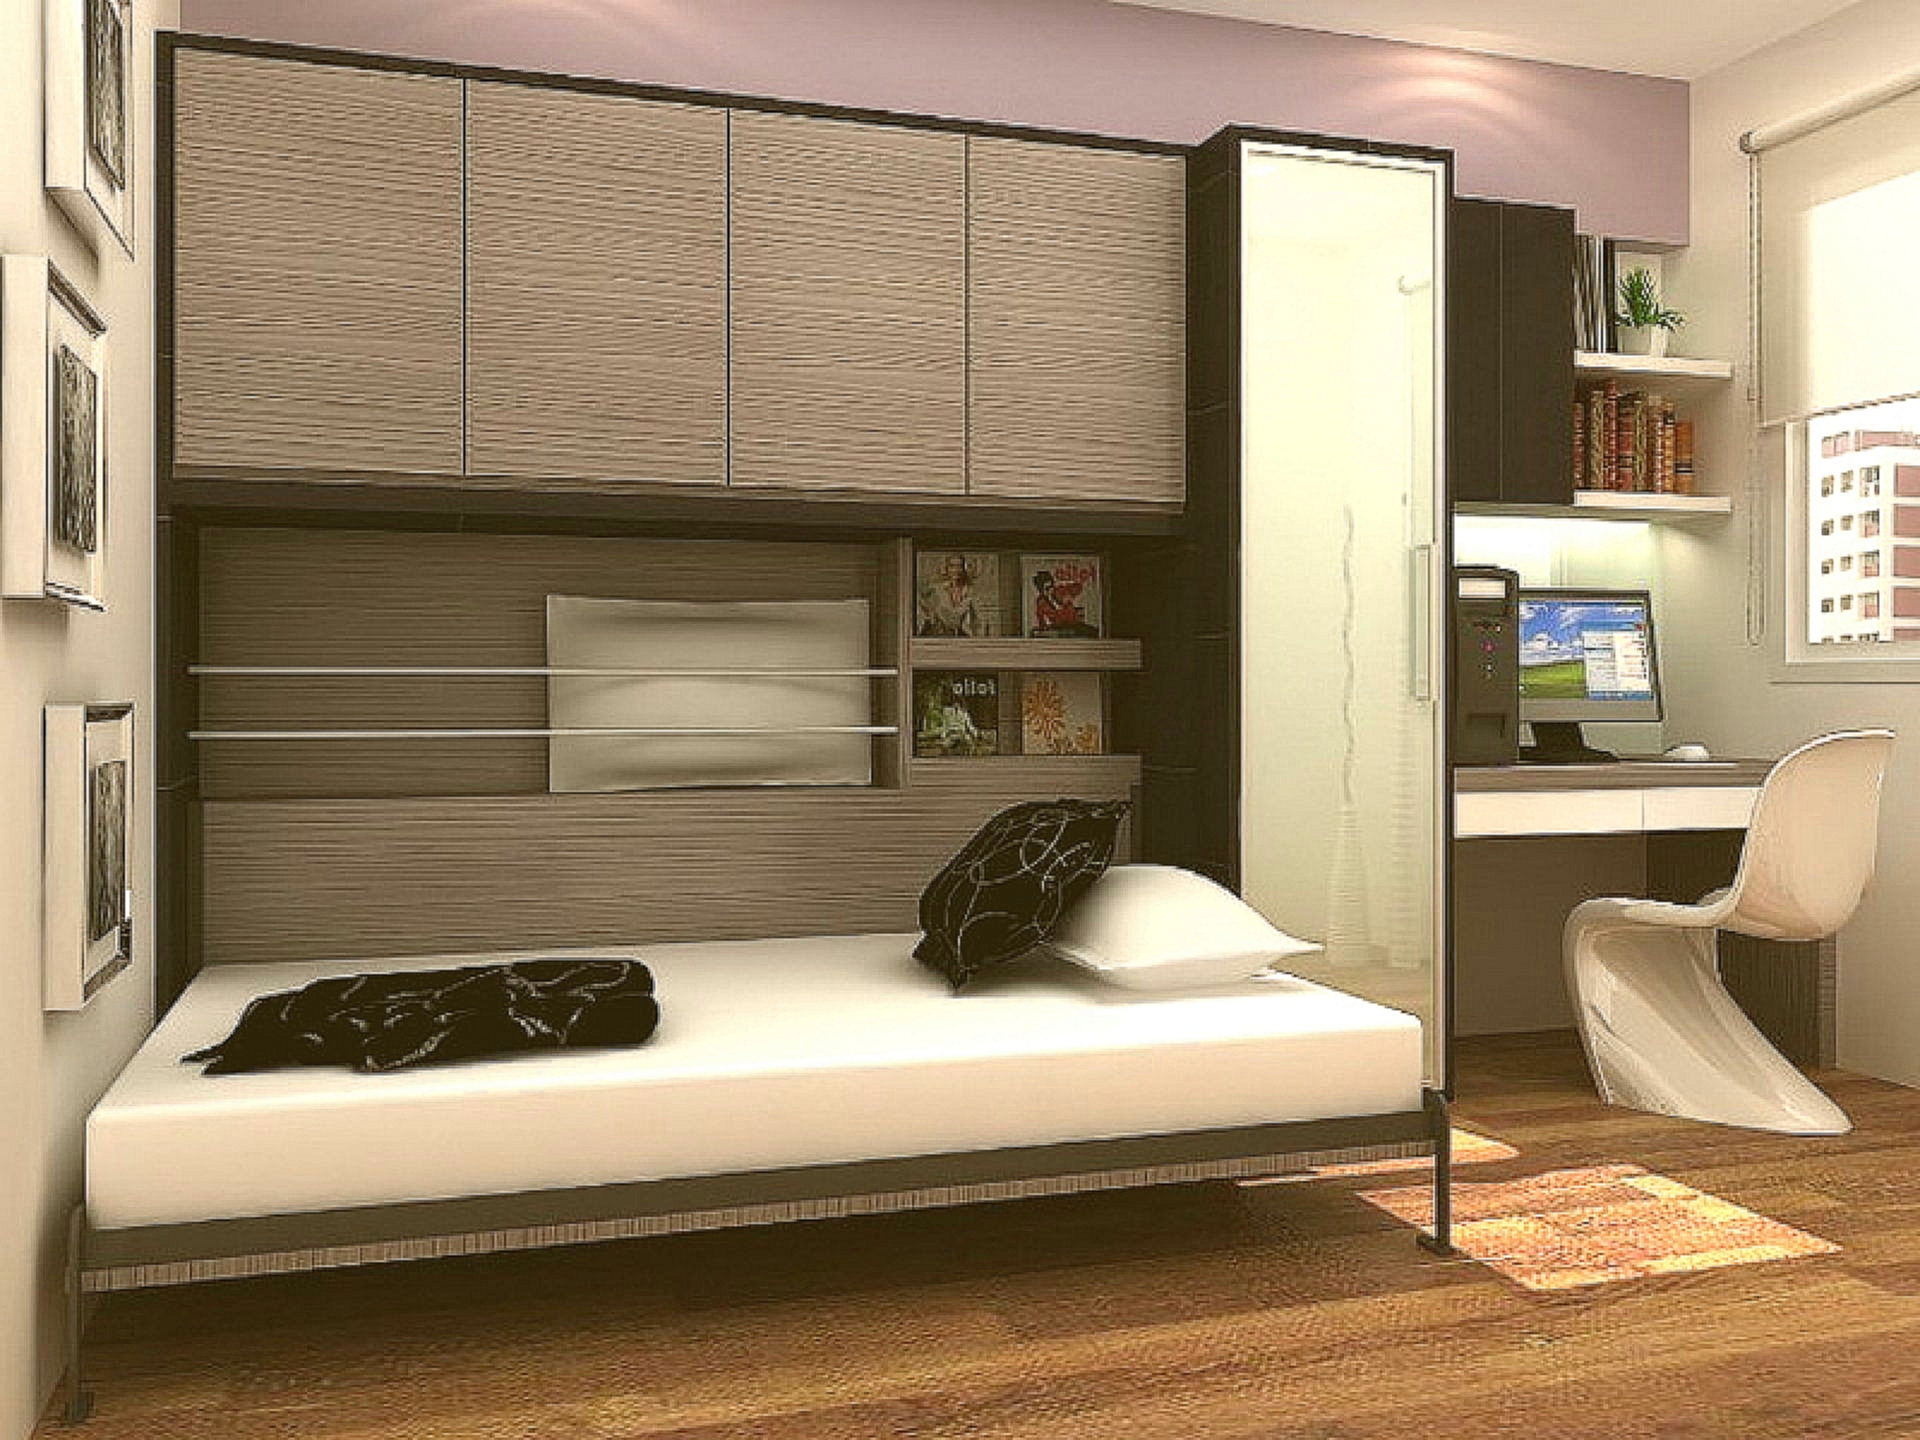
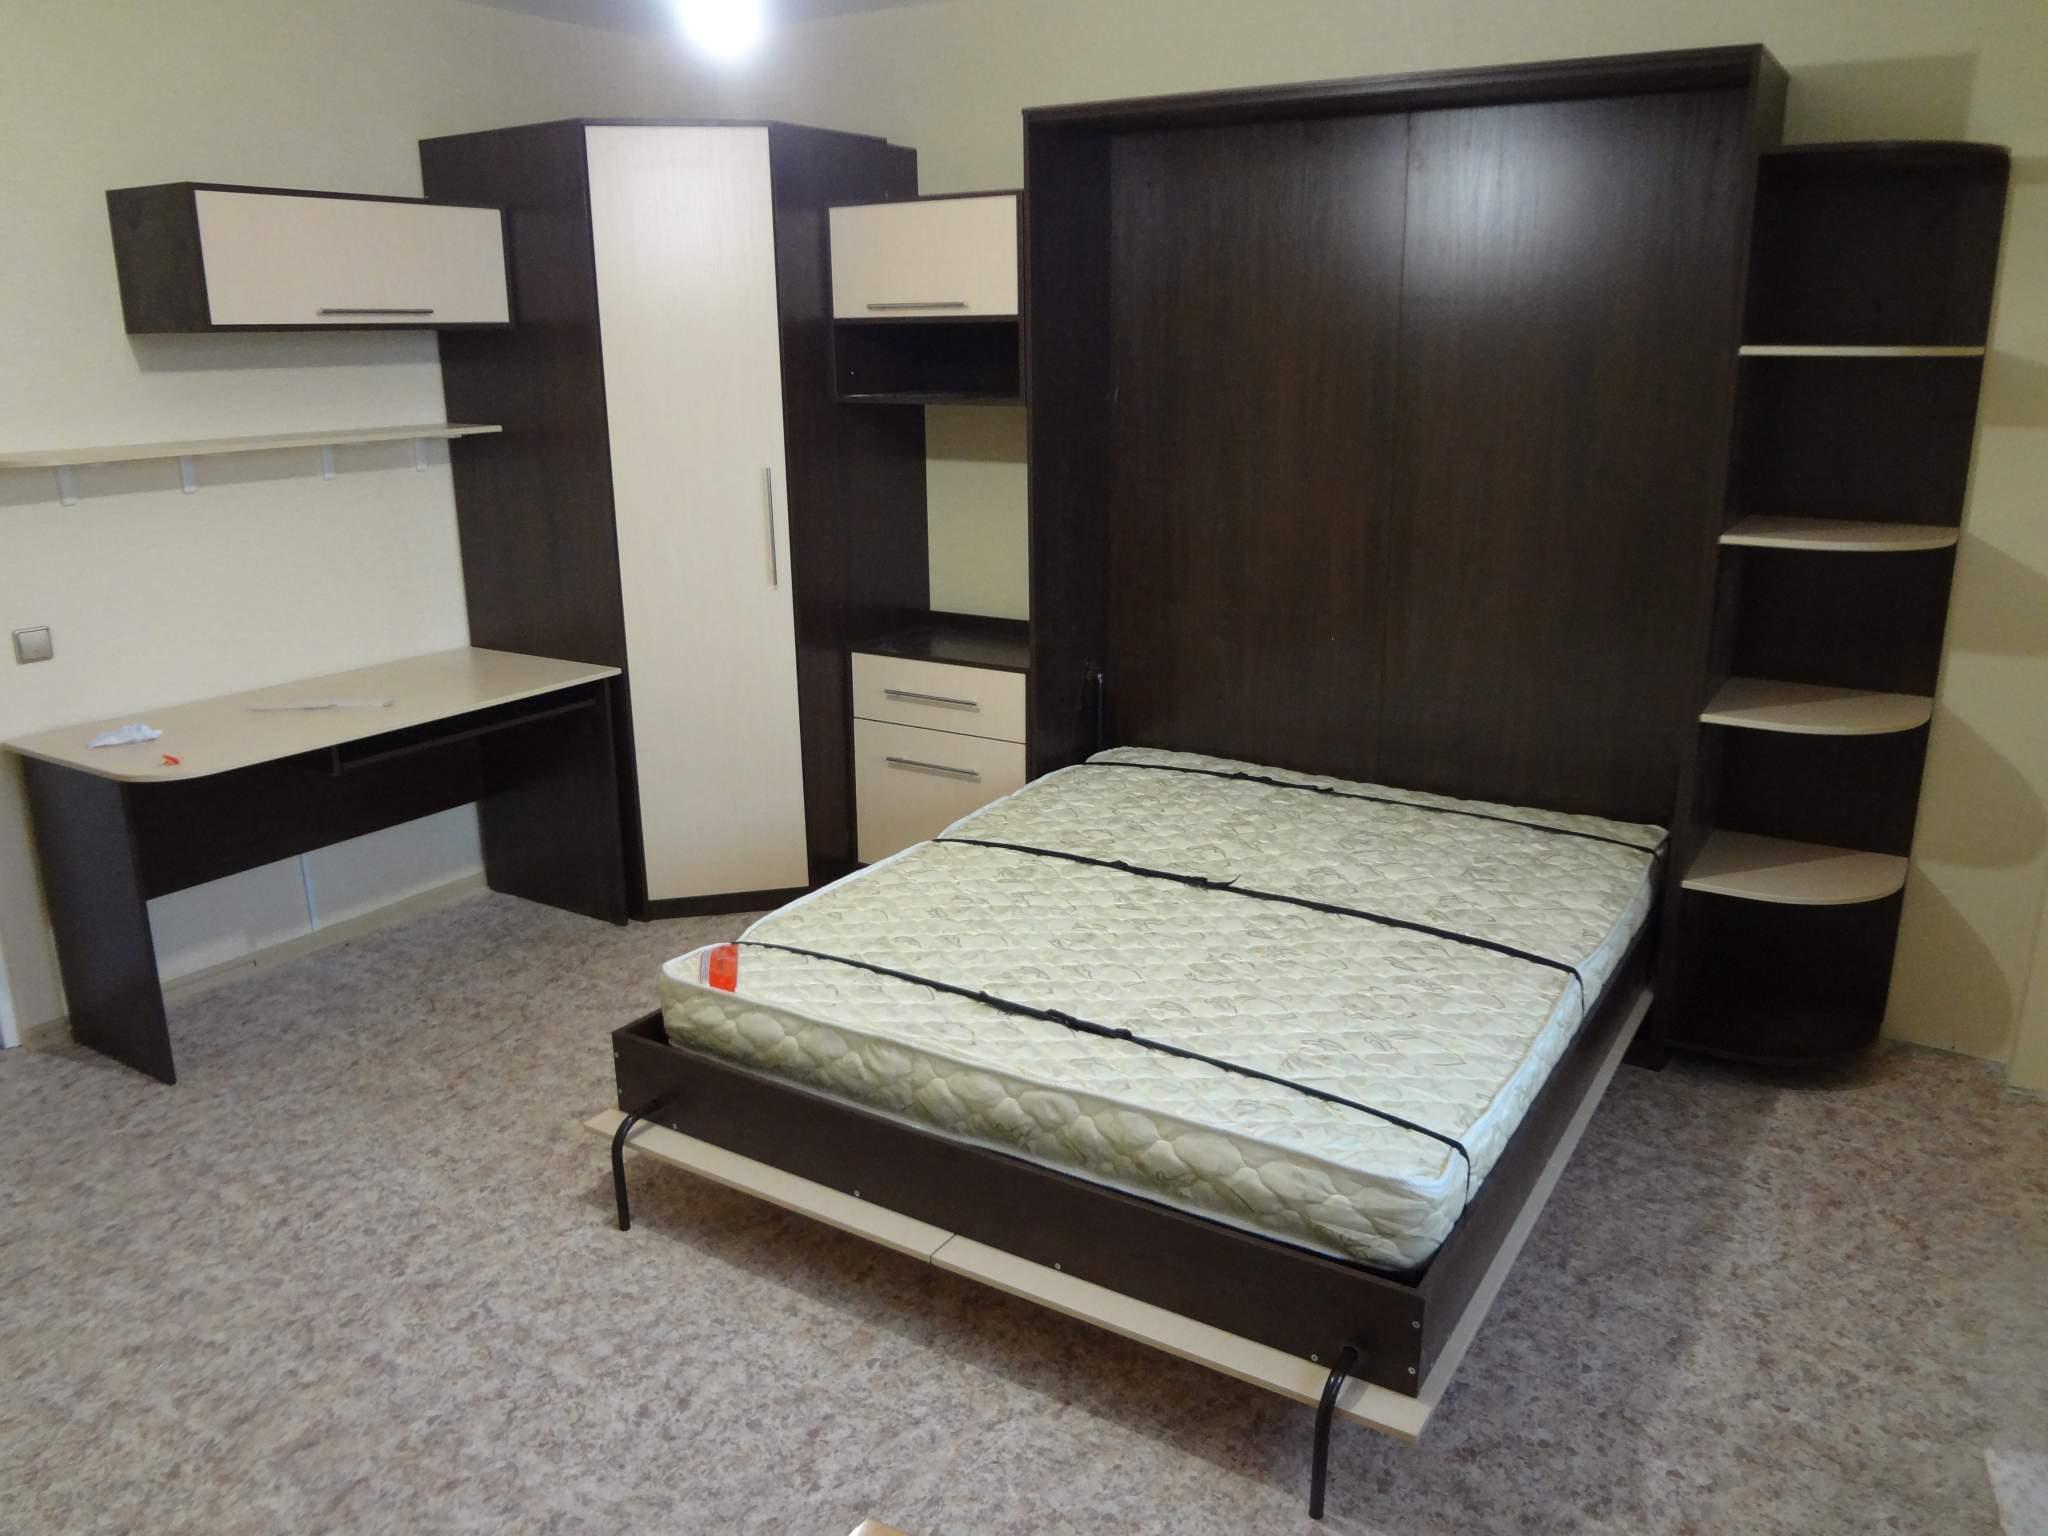
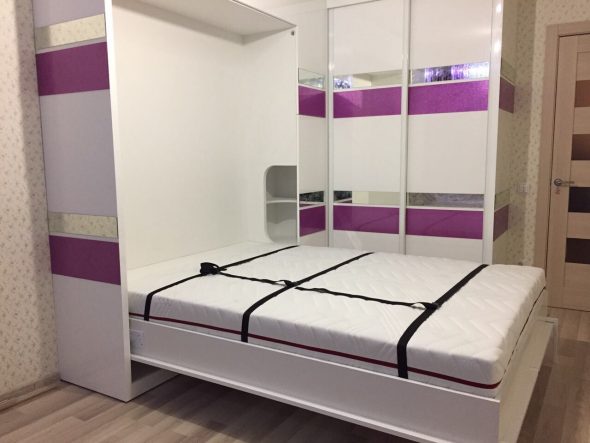
Such furniture is perfectly complemented by various dressing tables, chests of drawers, drawers or ordinary shelves, technologically built into the cabinet design. A variety of decor is responsible for the individual style - this element is decided on last.
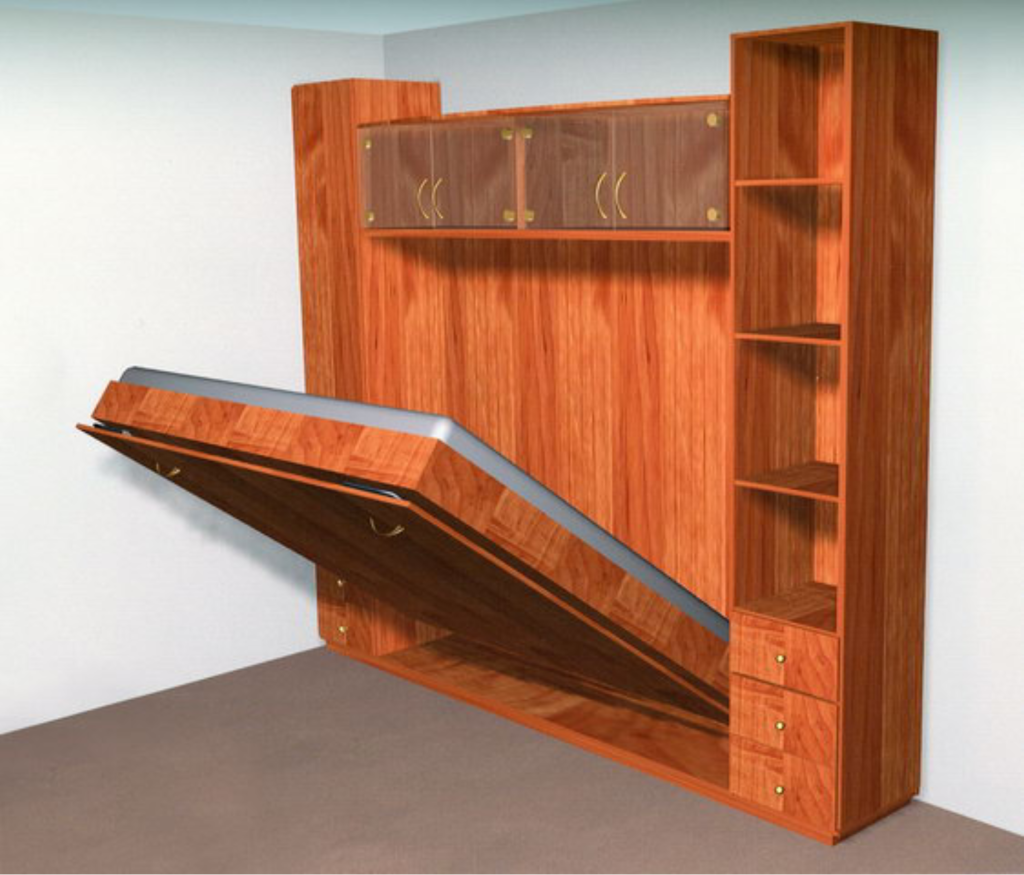
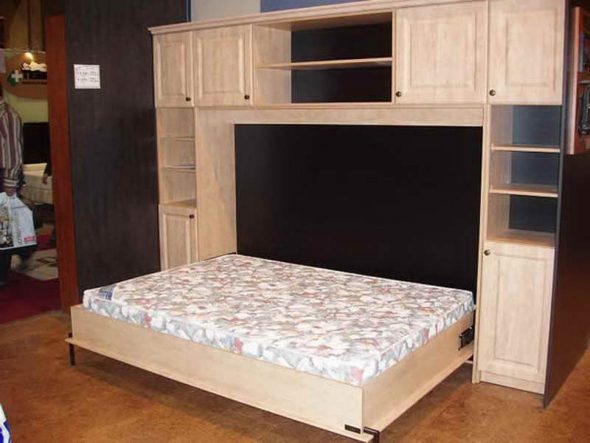
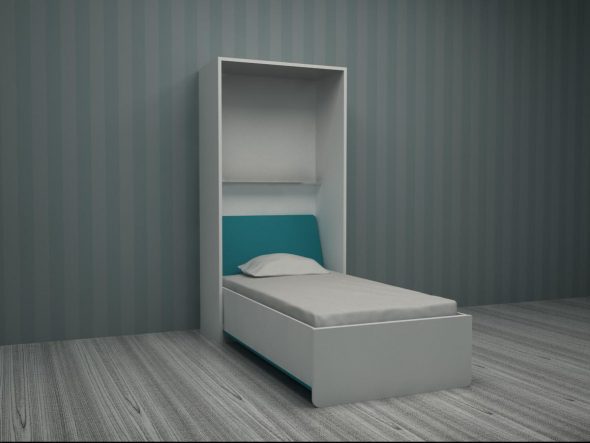
The standard configuration of such models includes the following components:
- cabinet frame;
- bed base;
- lifting mechanism;
- decorative elements.

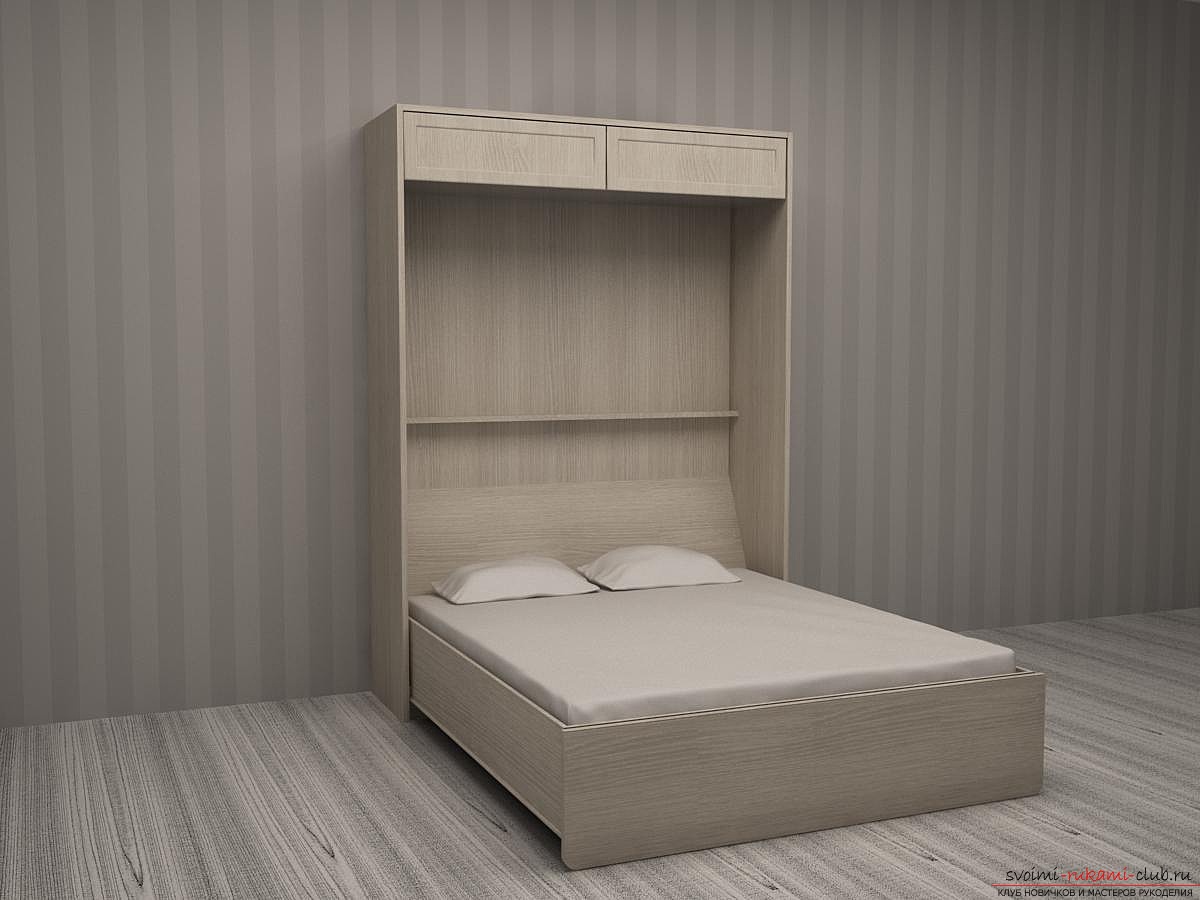
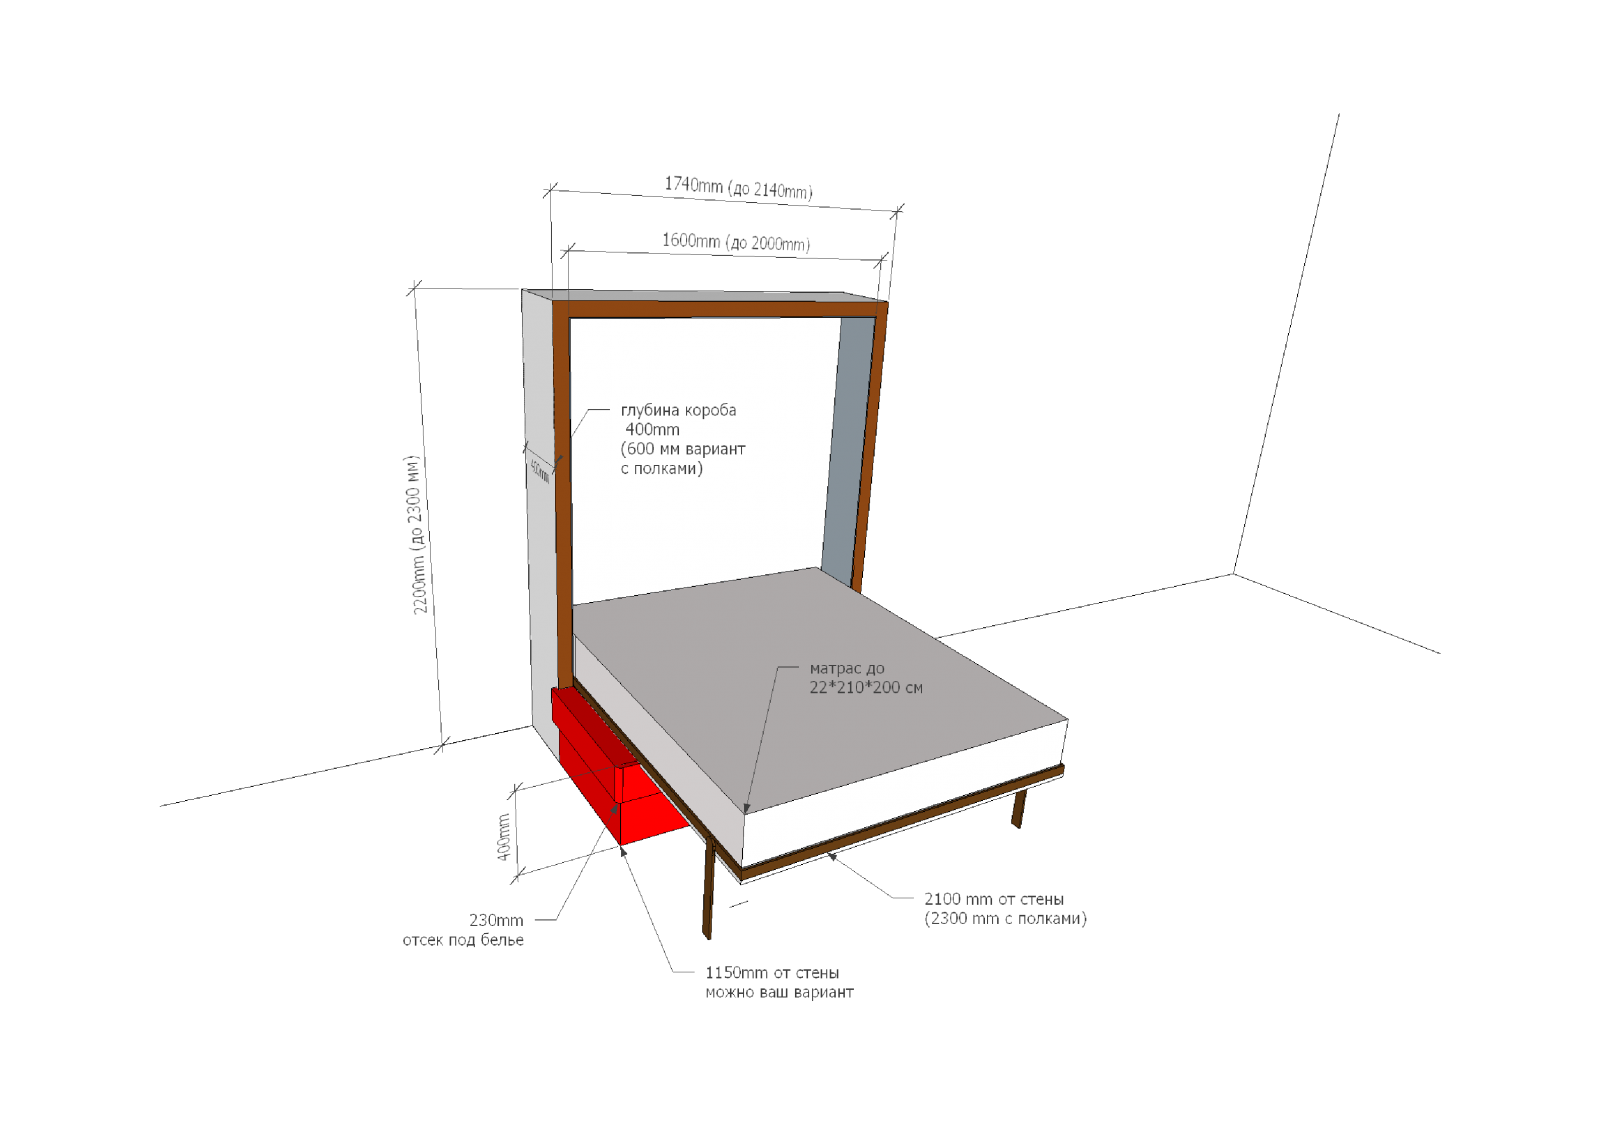
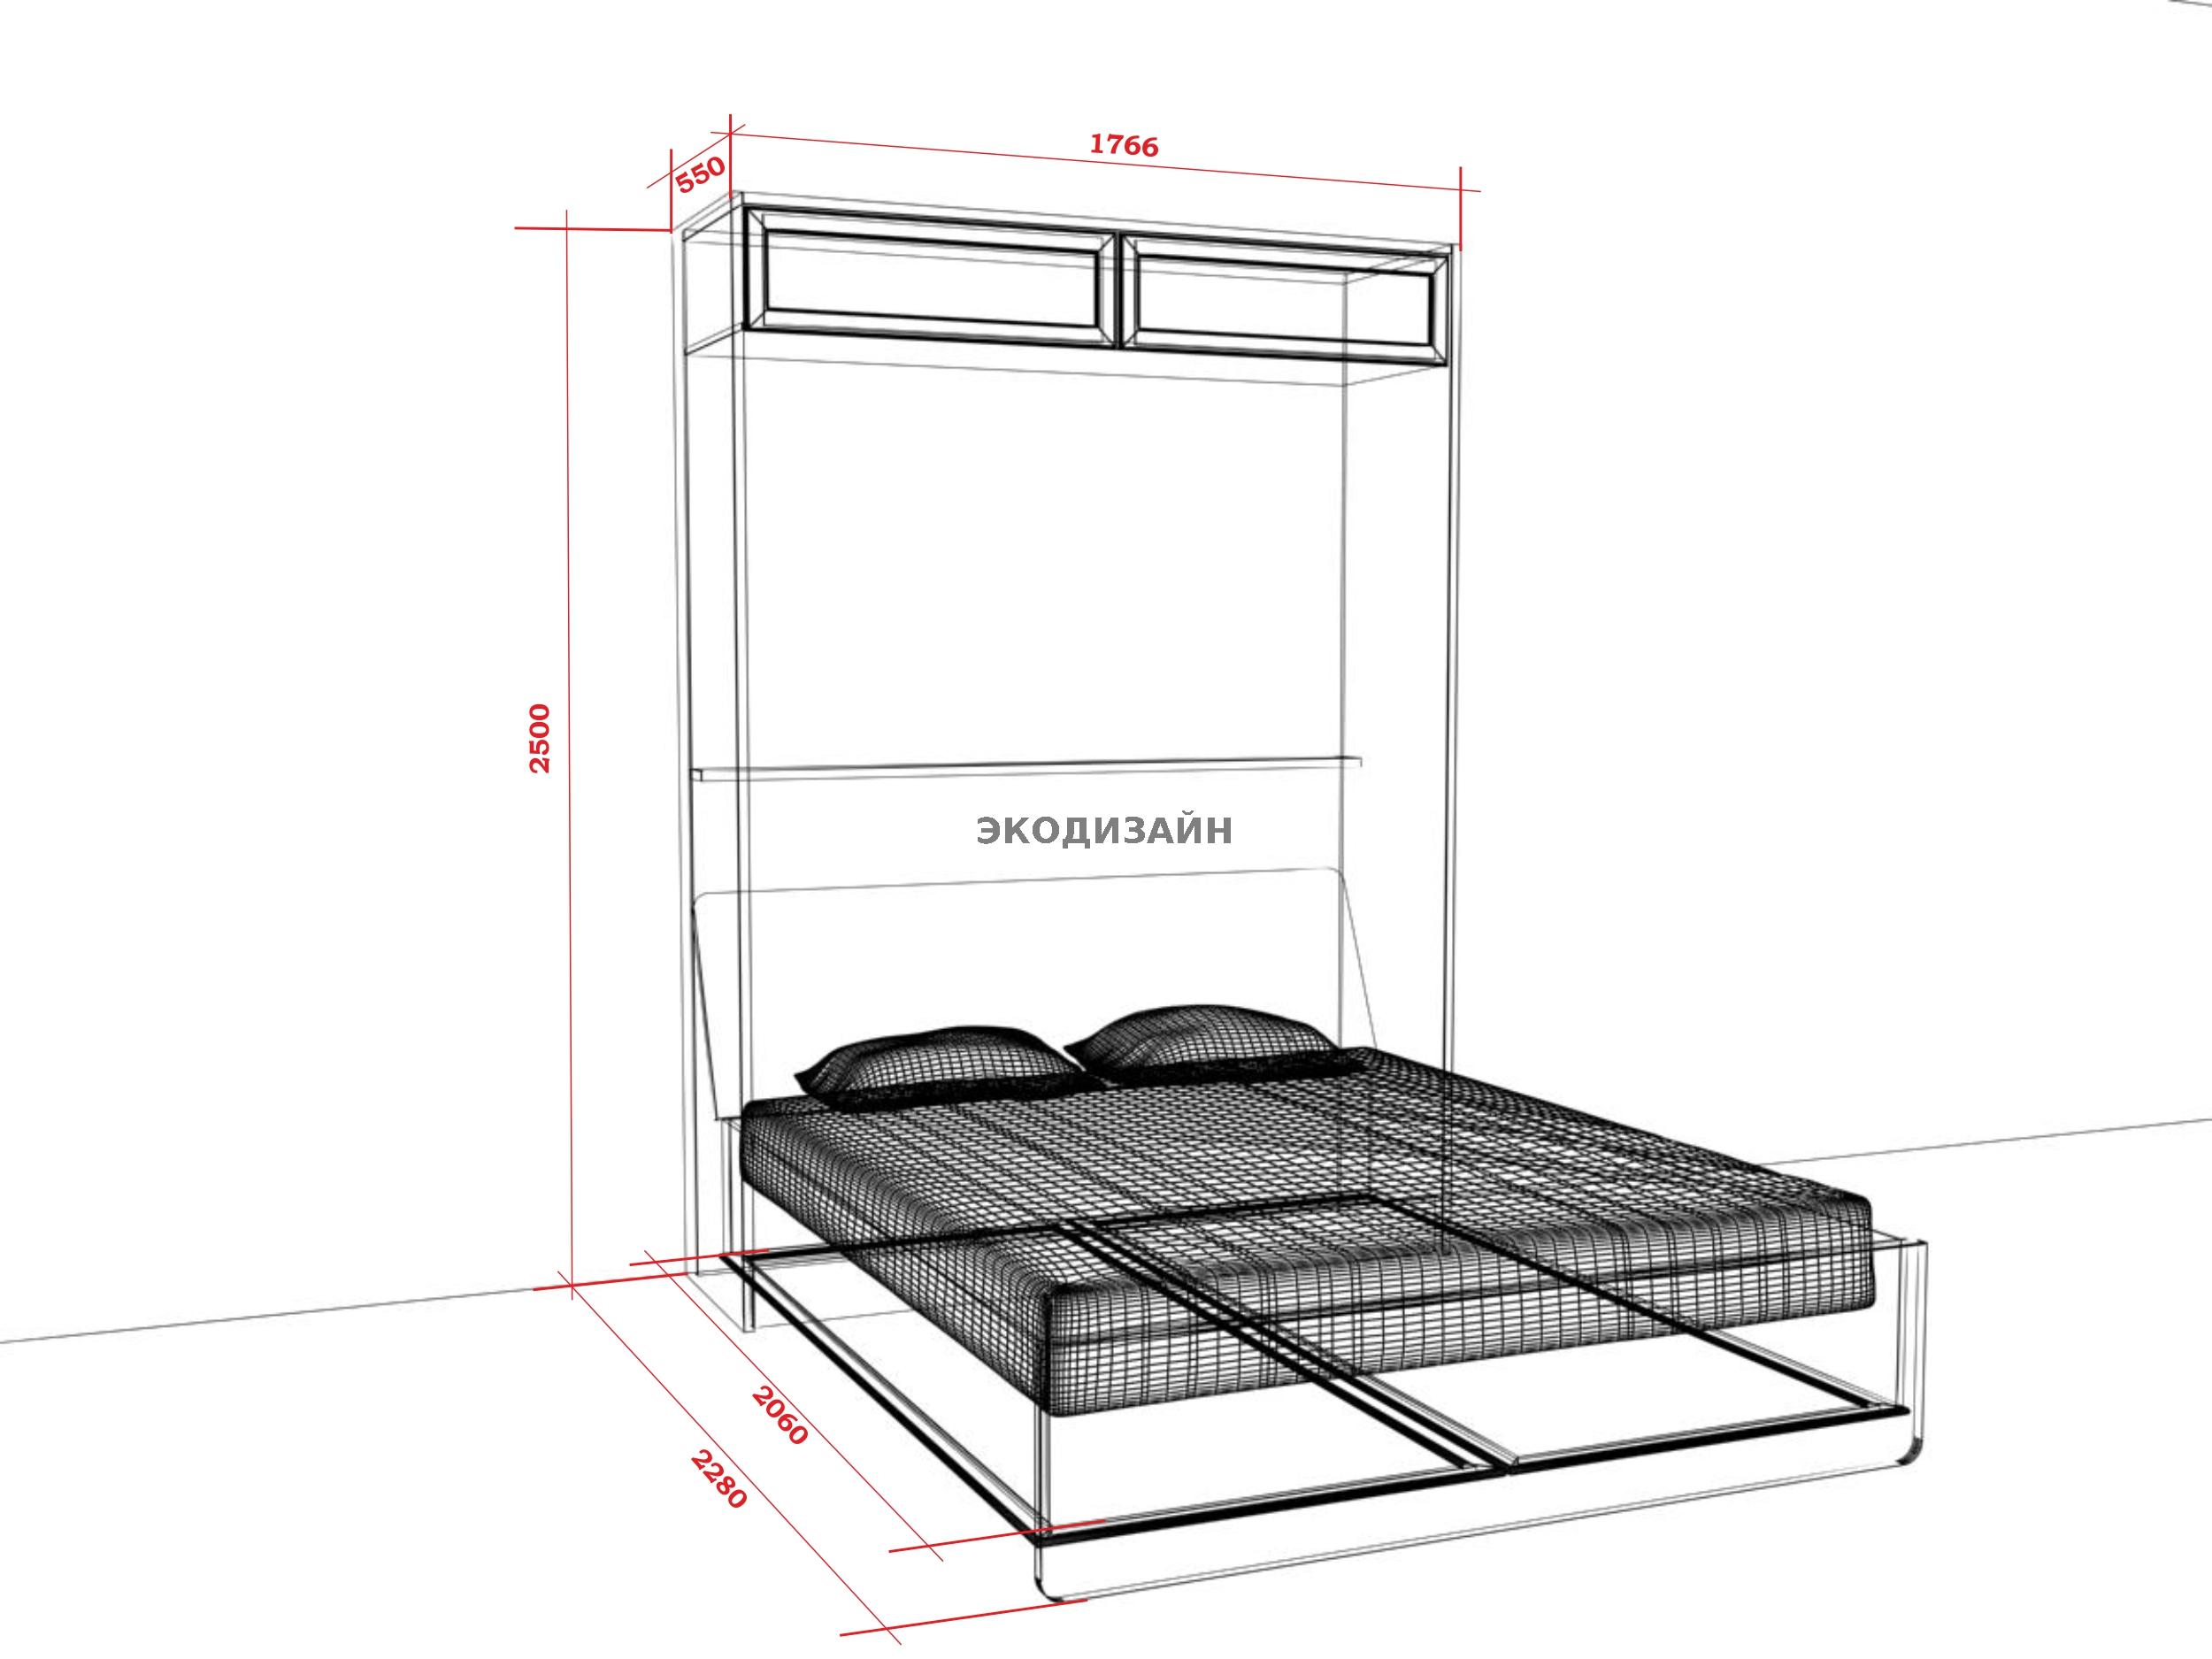
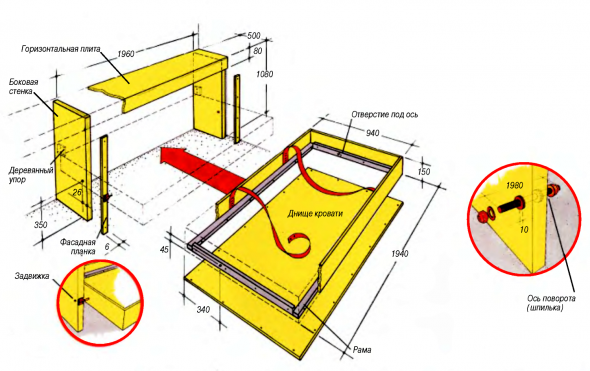
A simple, at first glance, design carries with it a number of strength requirements that will directly affect the geometric appearance of the product. Therefore, based on the dimensions of the sleeping area, the frame of the cabinet is designed and the force of the power device is determined.

All necessary dimensions are displayed on the drawings - overall and assembly. The drawing of the installation of the power element, which is the most important part of our bed, is especially important. It is also worth paying attention to the cutting of the panels (if you cut the material yourself) and the display of the main fastening points on the drawings.
Necessary materials
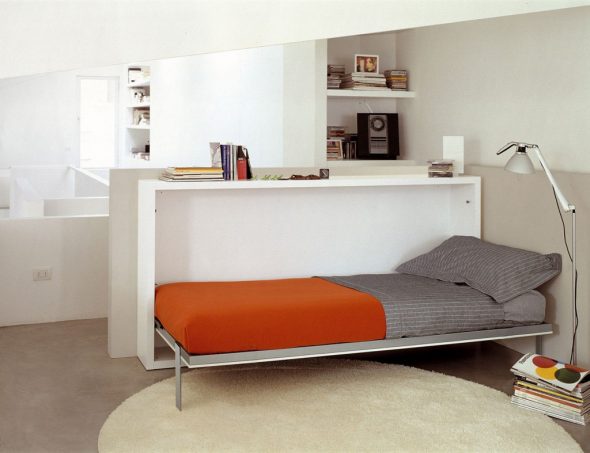
The material for the cabinet and base can be chosen to your taste and color, the main thing is to take into account all the loads when determining the thickness of the workpiece. It is recommended to use ordinary chipboard - an unpretentious material in use that will meet all strength requirements and maintain the durability of your mattress. The following dimensions are taken from the calculation for a single bed.

So, we will need:
- 2300x400x25 - 2 pcs., cabinet side panels;
- 1700x400x25 - 2 pcs., upper and lower cabinet panels;
- 1700x150x25 - 2 pcs., reinforcing partitions for the frame;
- 2050x150x25 - 2 pcs., side panels of the bed base;
- 1620x150x25 - 2 pcs., bottom and headboard for the bed base;
- 1700x2300x15 – front panel;
- lifting mechanism – 2 pcs. (it is better to buy it in a specialized store, having first specified the required force to lift the bed and fix it in the desired position).
Necessary fittings:
- Euro screws 5x70 – 30 pcs.;
- self-tapping screws 4x12;
- self-tapping screws 4x22;
- corners 20x20 mm, 10 pcs. (furniture);
- reinforced corners 60x60, metal;
- anchor fastener 10x80 mm;
- powerful magnetic latch to secure the bed in the raised position;
- hidden legs for the bed;
- decorative elements for decorating facades.

Necessary tool
- roulette;
- angle with a measuring ruler;
- level, at least half a meter long;
- pencil;
- fine sandpaper;
- adjustable wrench;
- a hammer drill with a minimum drill diameter of 10 mm;
- wood drills 5 and 8 mm;
- screwdriver;
- protective glasses;
- jigsaw.

Step 1: Assembling the frame and power elements of the box
Before starting the assembly, align the walls and floor - maximum deviations should not exceed 5 mm per meter of length. The process begins with the manufacture of the box. Since the side panels are overhead parts, they are drilled into a plane with a diameter of 8 mm.
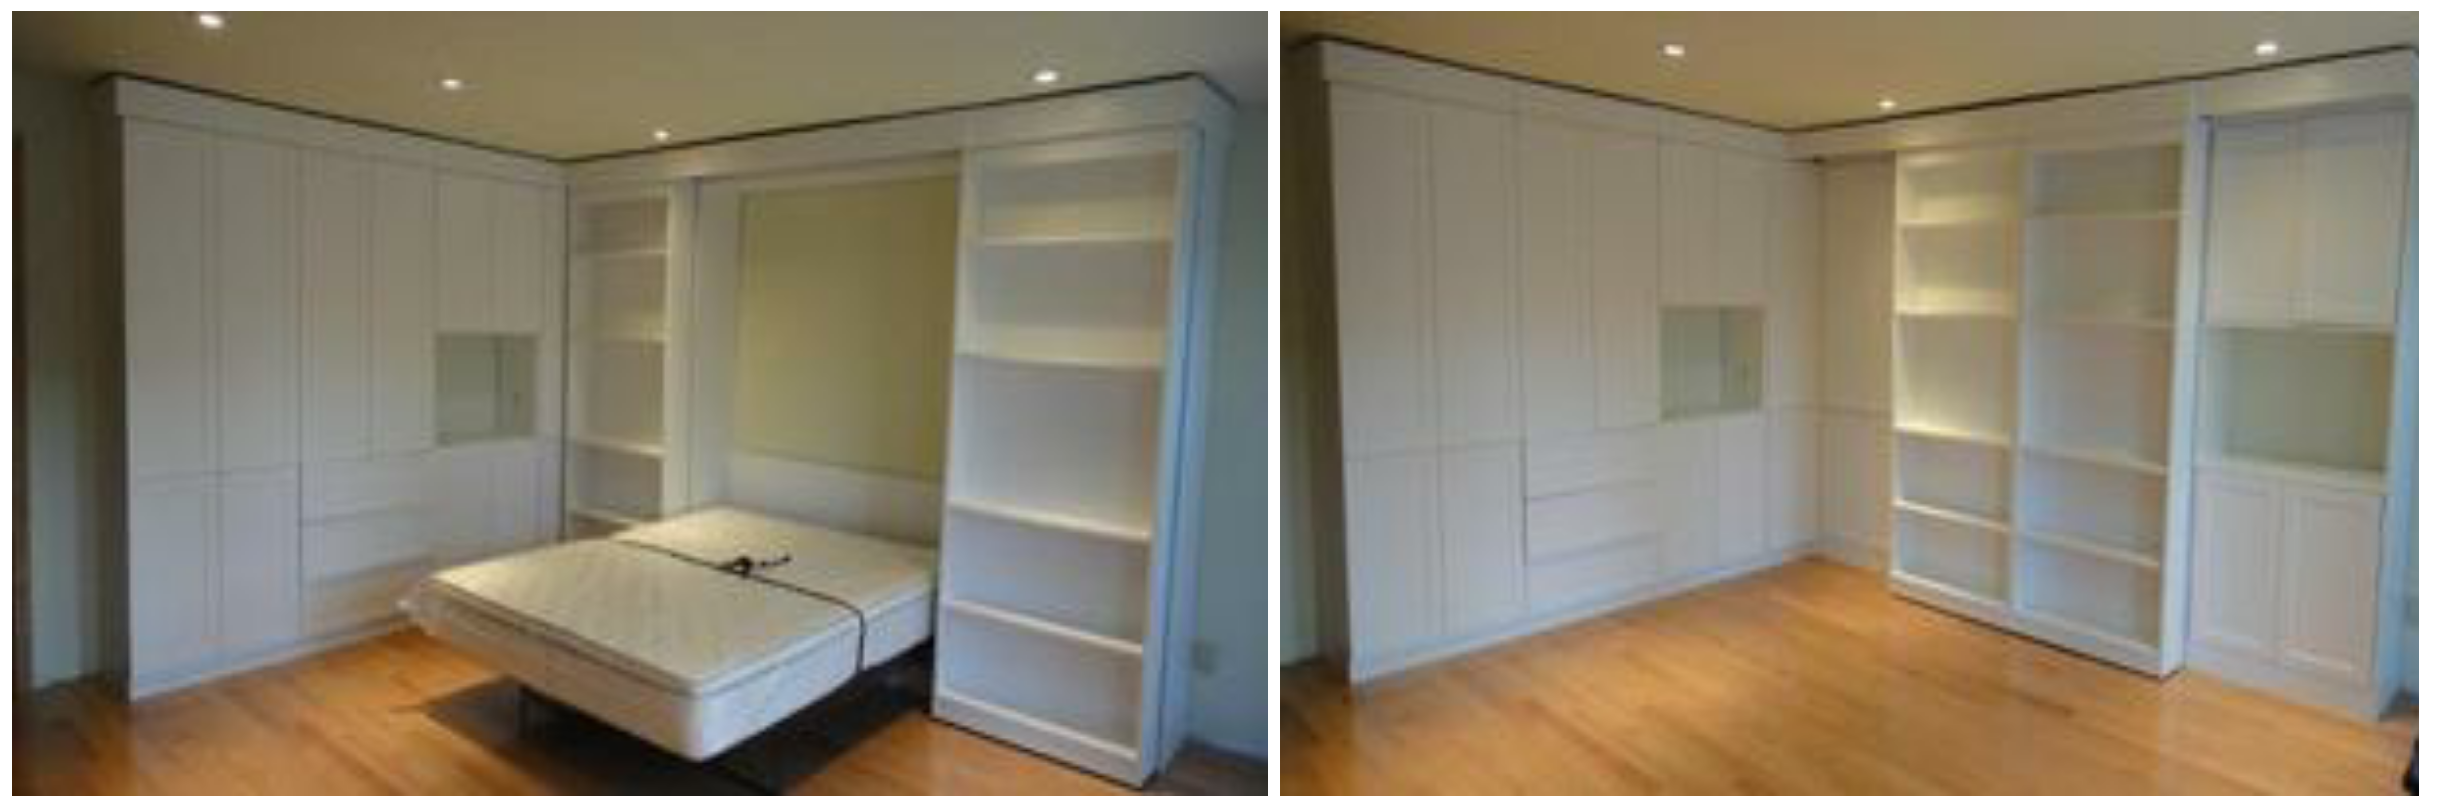
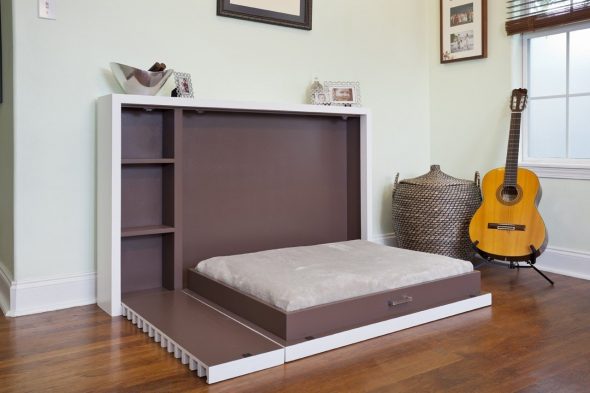
The remaining elements of the box are internal, and accordingly, they are drilled into the end. The entire box is tightened with Euro screws. To perceive the load that occurs when raising and lowering the bed, two stiffening ribs will be enough. They should be located at a distance of 700 mm from the base and top. There is also an option with built-in shelves inside the cabinet body, which can also act as reinforcing elements. Having carefully marked and installed the fixed parts of the lifting device on the side panels, do not forget to check the structure for mutual perpendicularity.
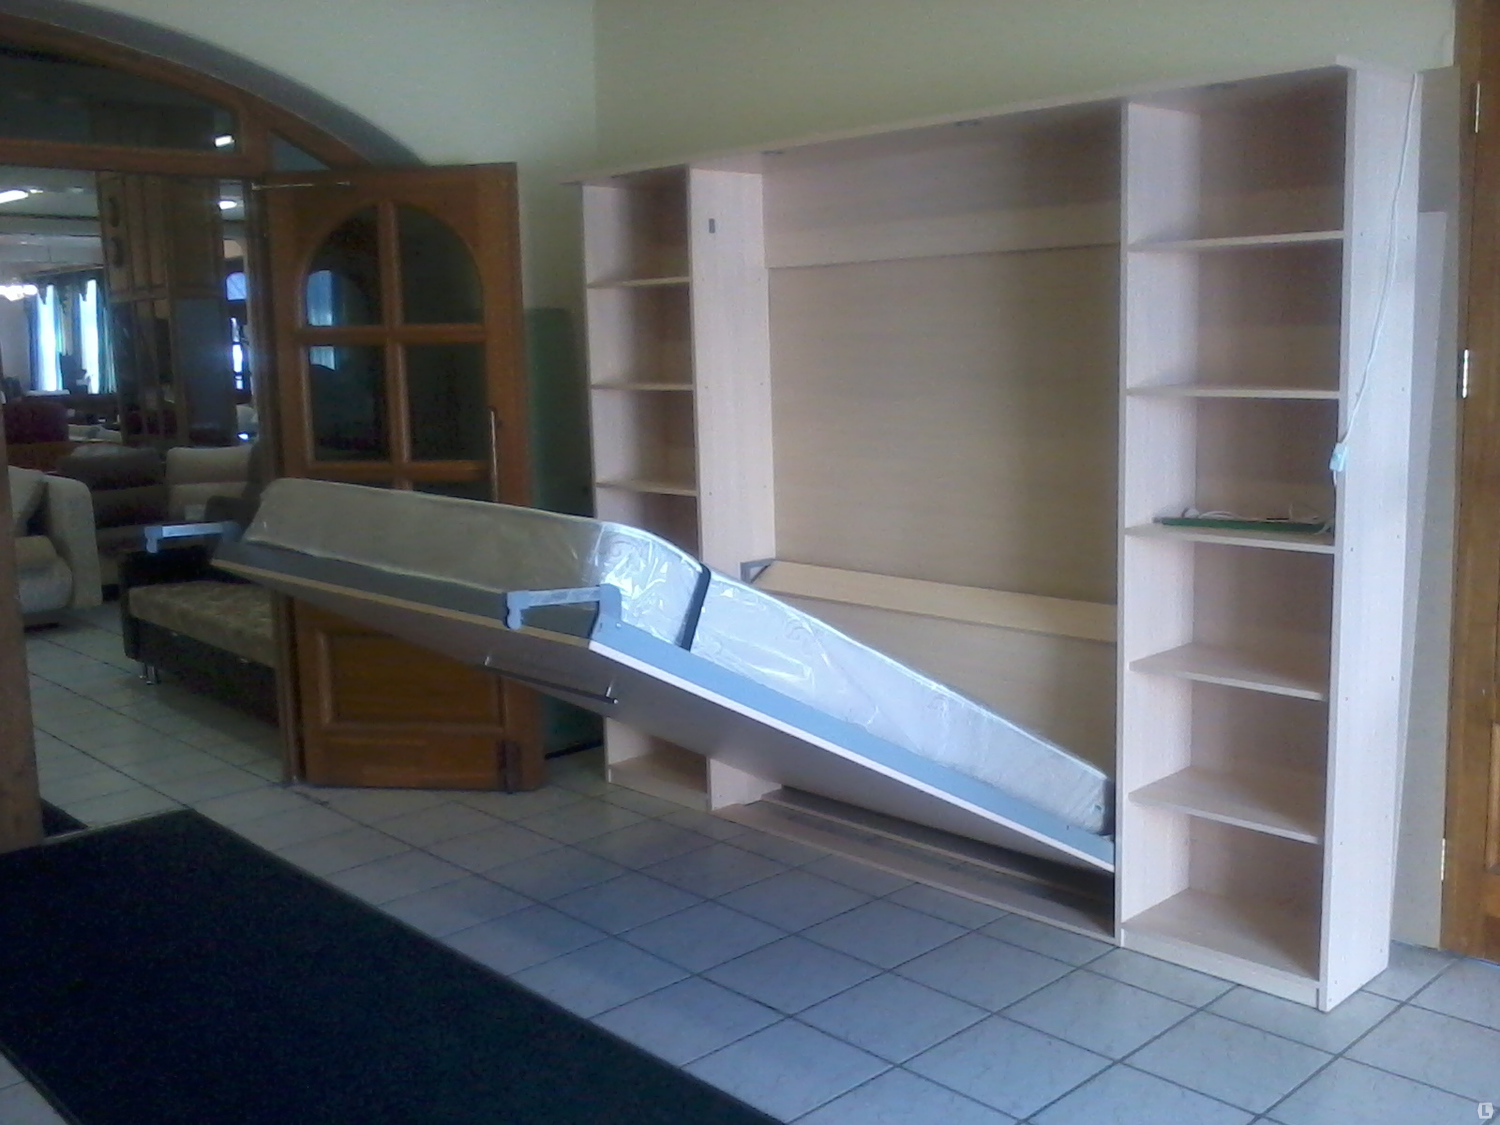
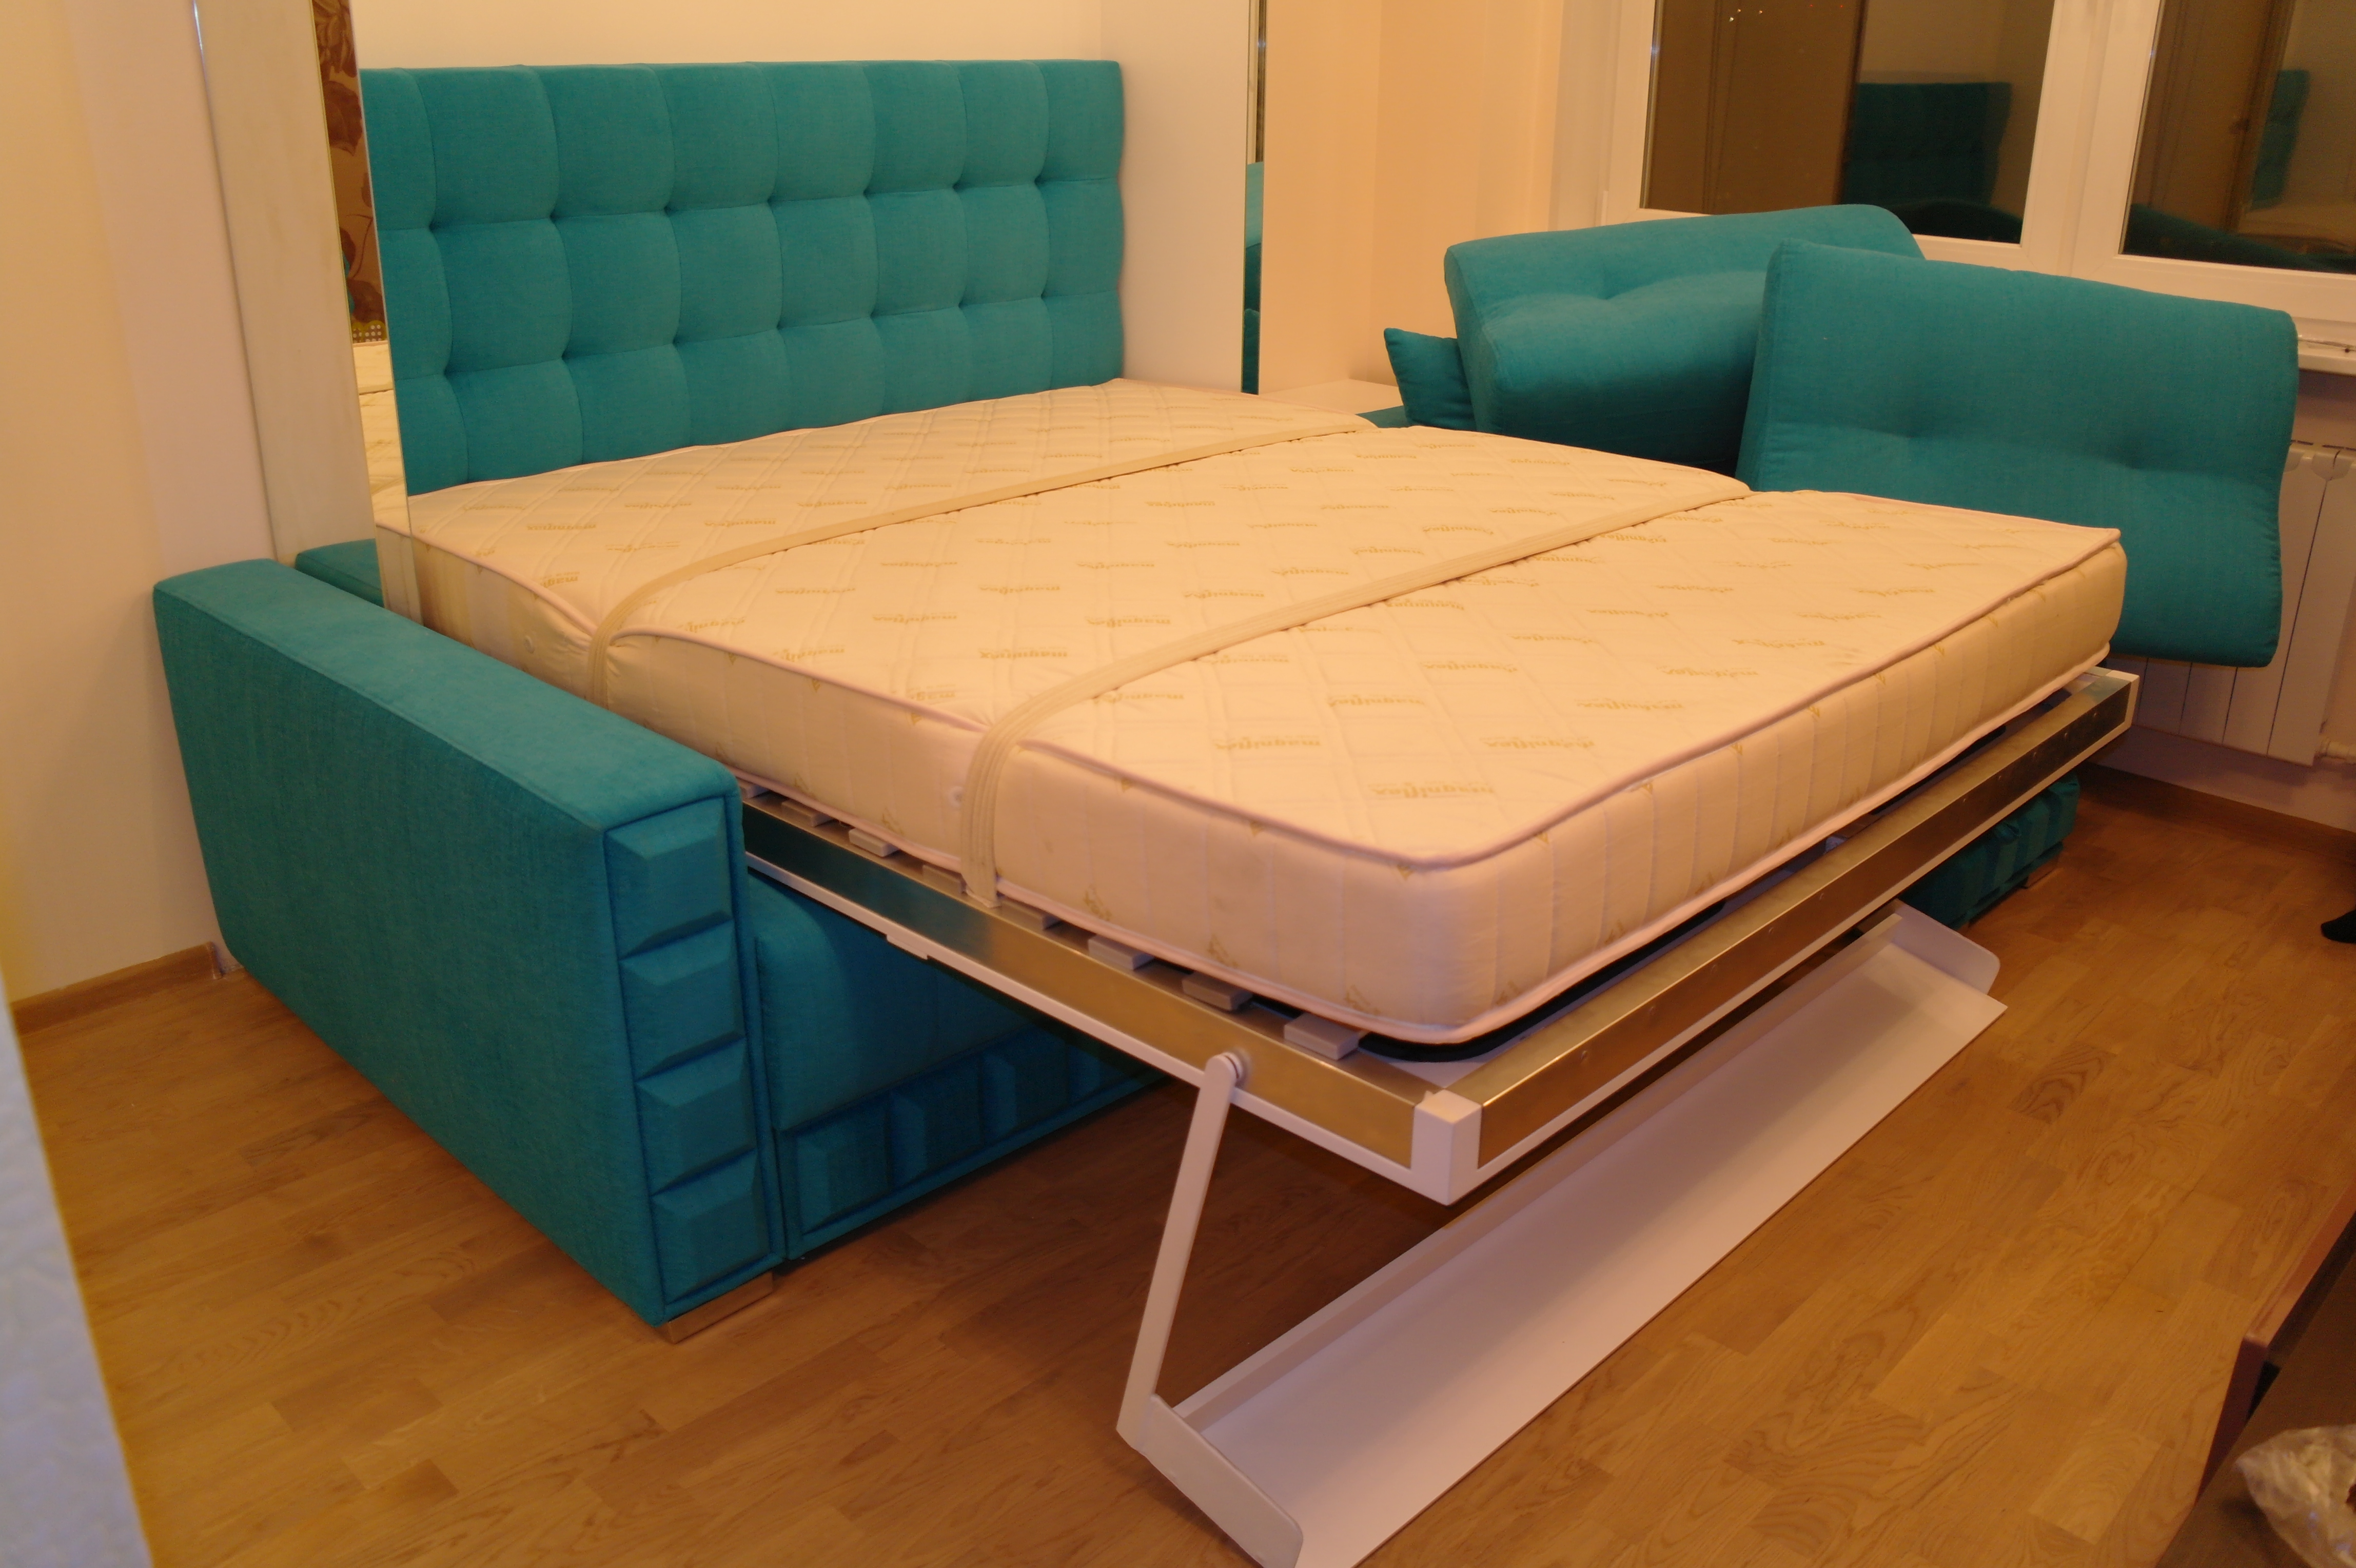
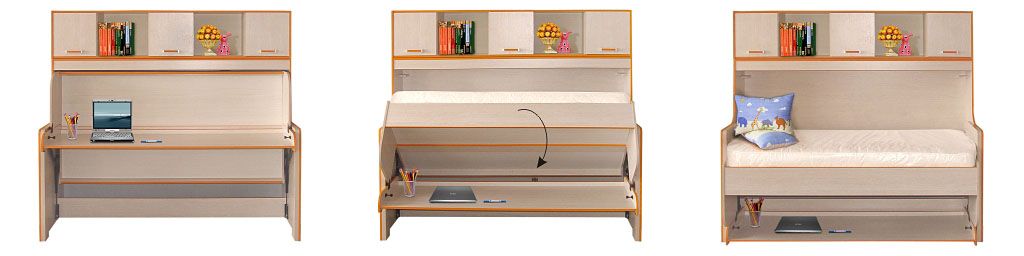
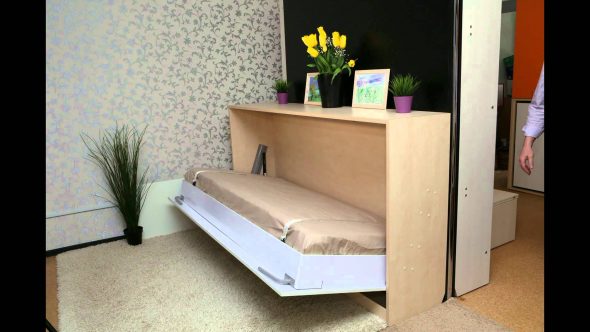
Step 2: Bed Base Assembly Stage
When designing a wardrobe, we usually start from the bed size, which in turn starts from the mattress size. Using corners and 4x22 screws, we assemble two side walls and two backs into one frame. We attach the front panel with 4x12 screws to the furniture corners.
There is one important nuance in this matter. — You need to start fastening the wall on 4 corners, and only then, having aligned it on all sides, fix it completely. This eliminates possible skewing. At the headboard, having previously marked it, fasten the mating movable part of the lifting mechanism. To fasten the mattress to the bed, use strong belts.
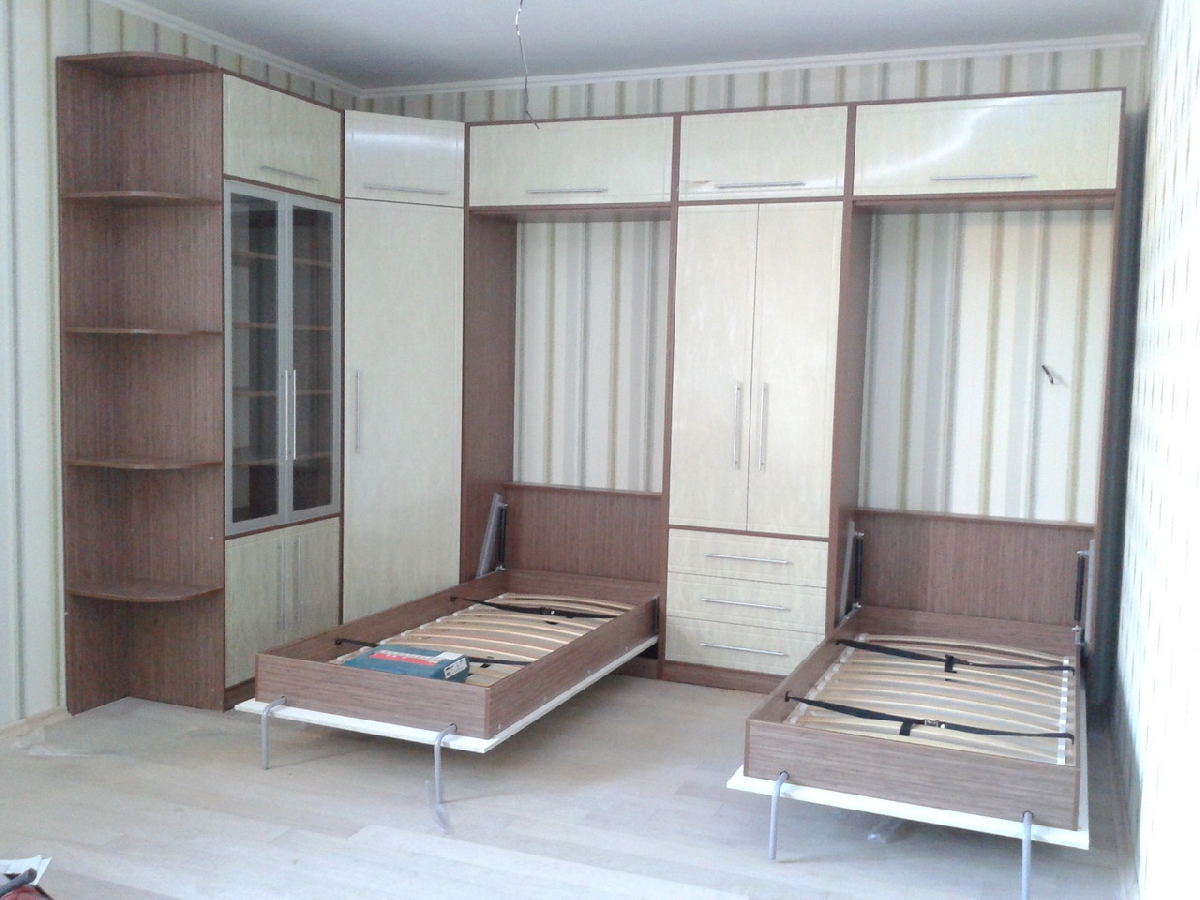
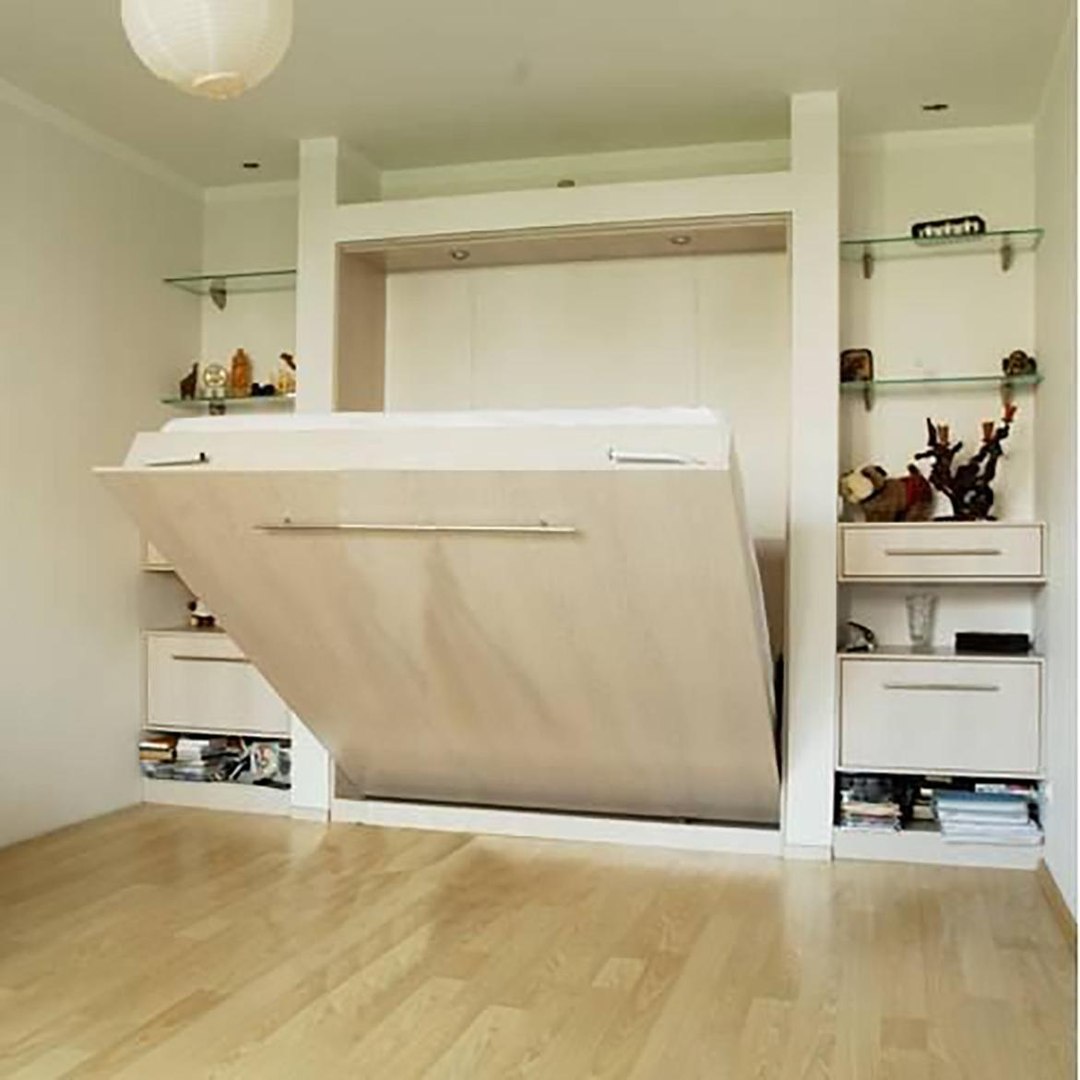
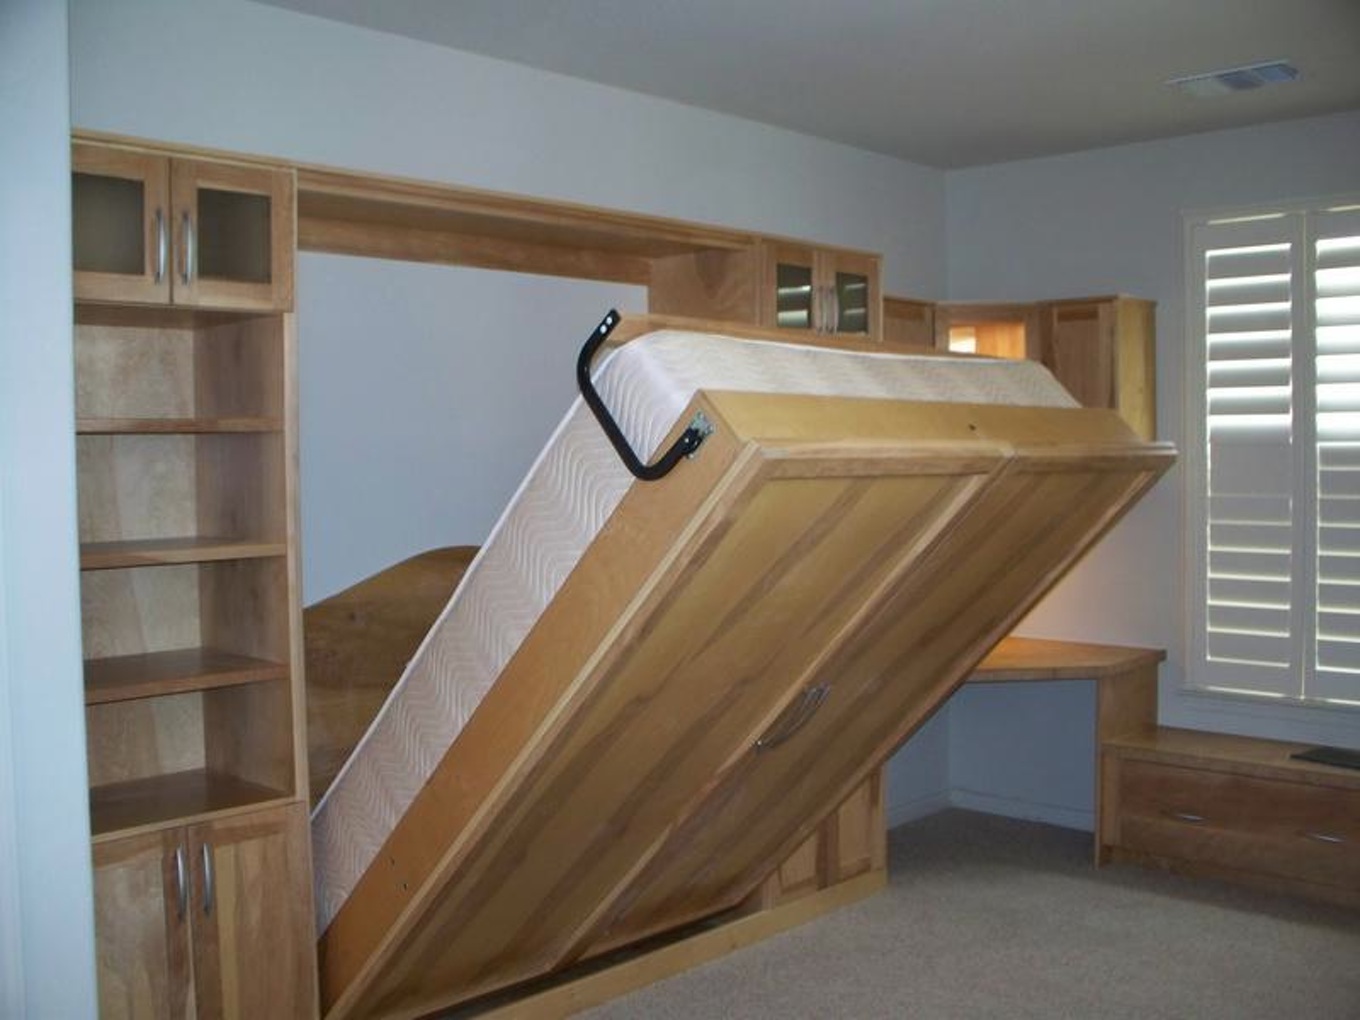
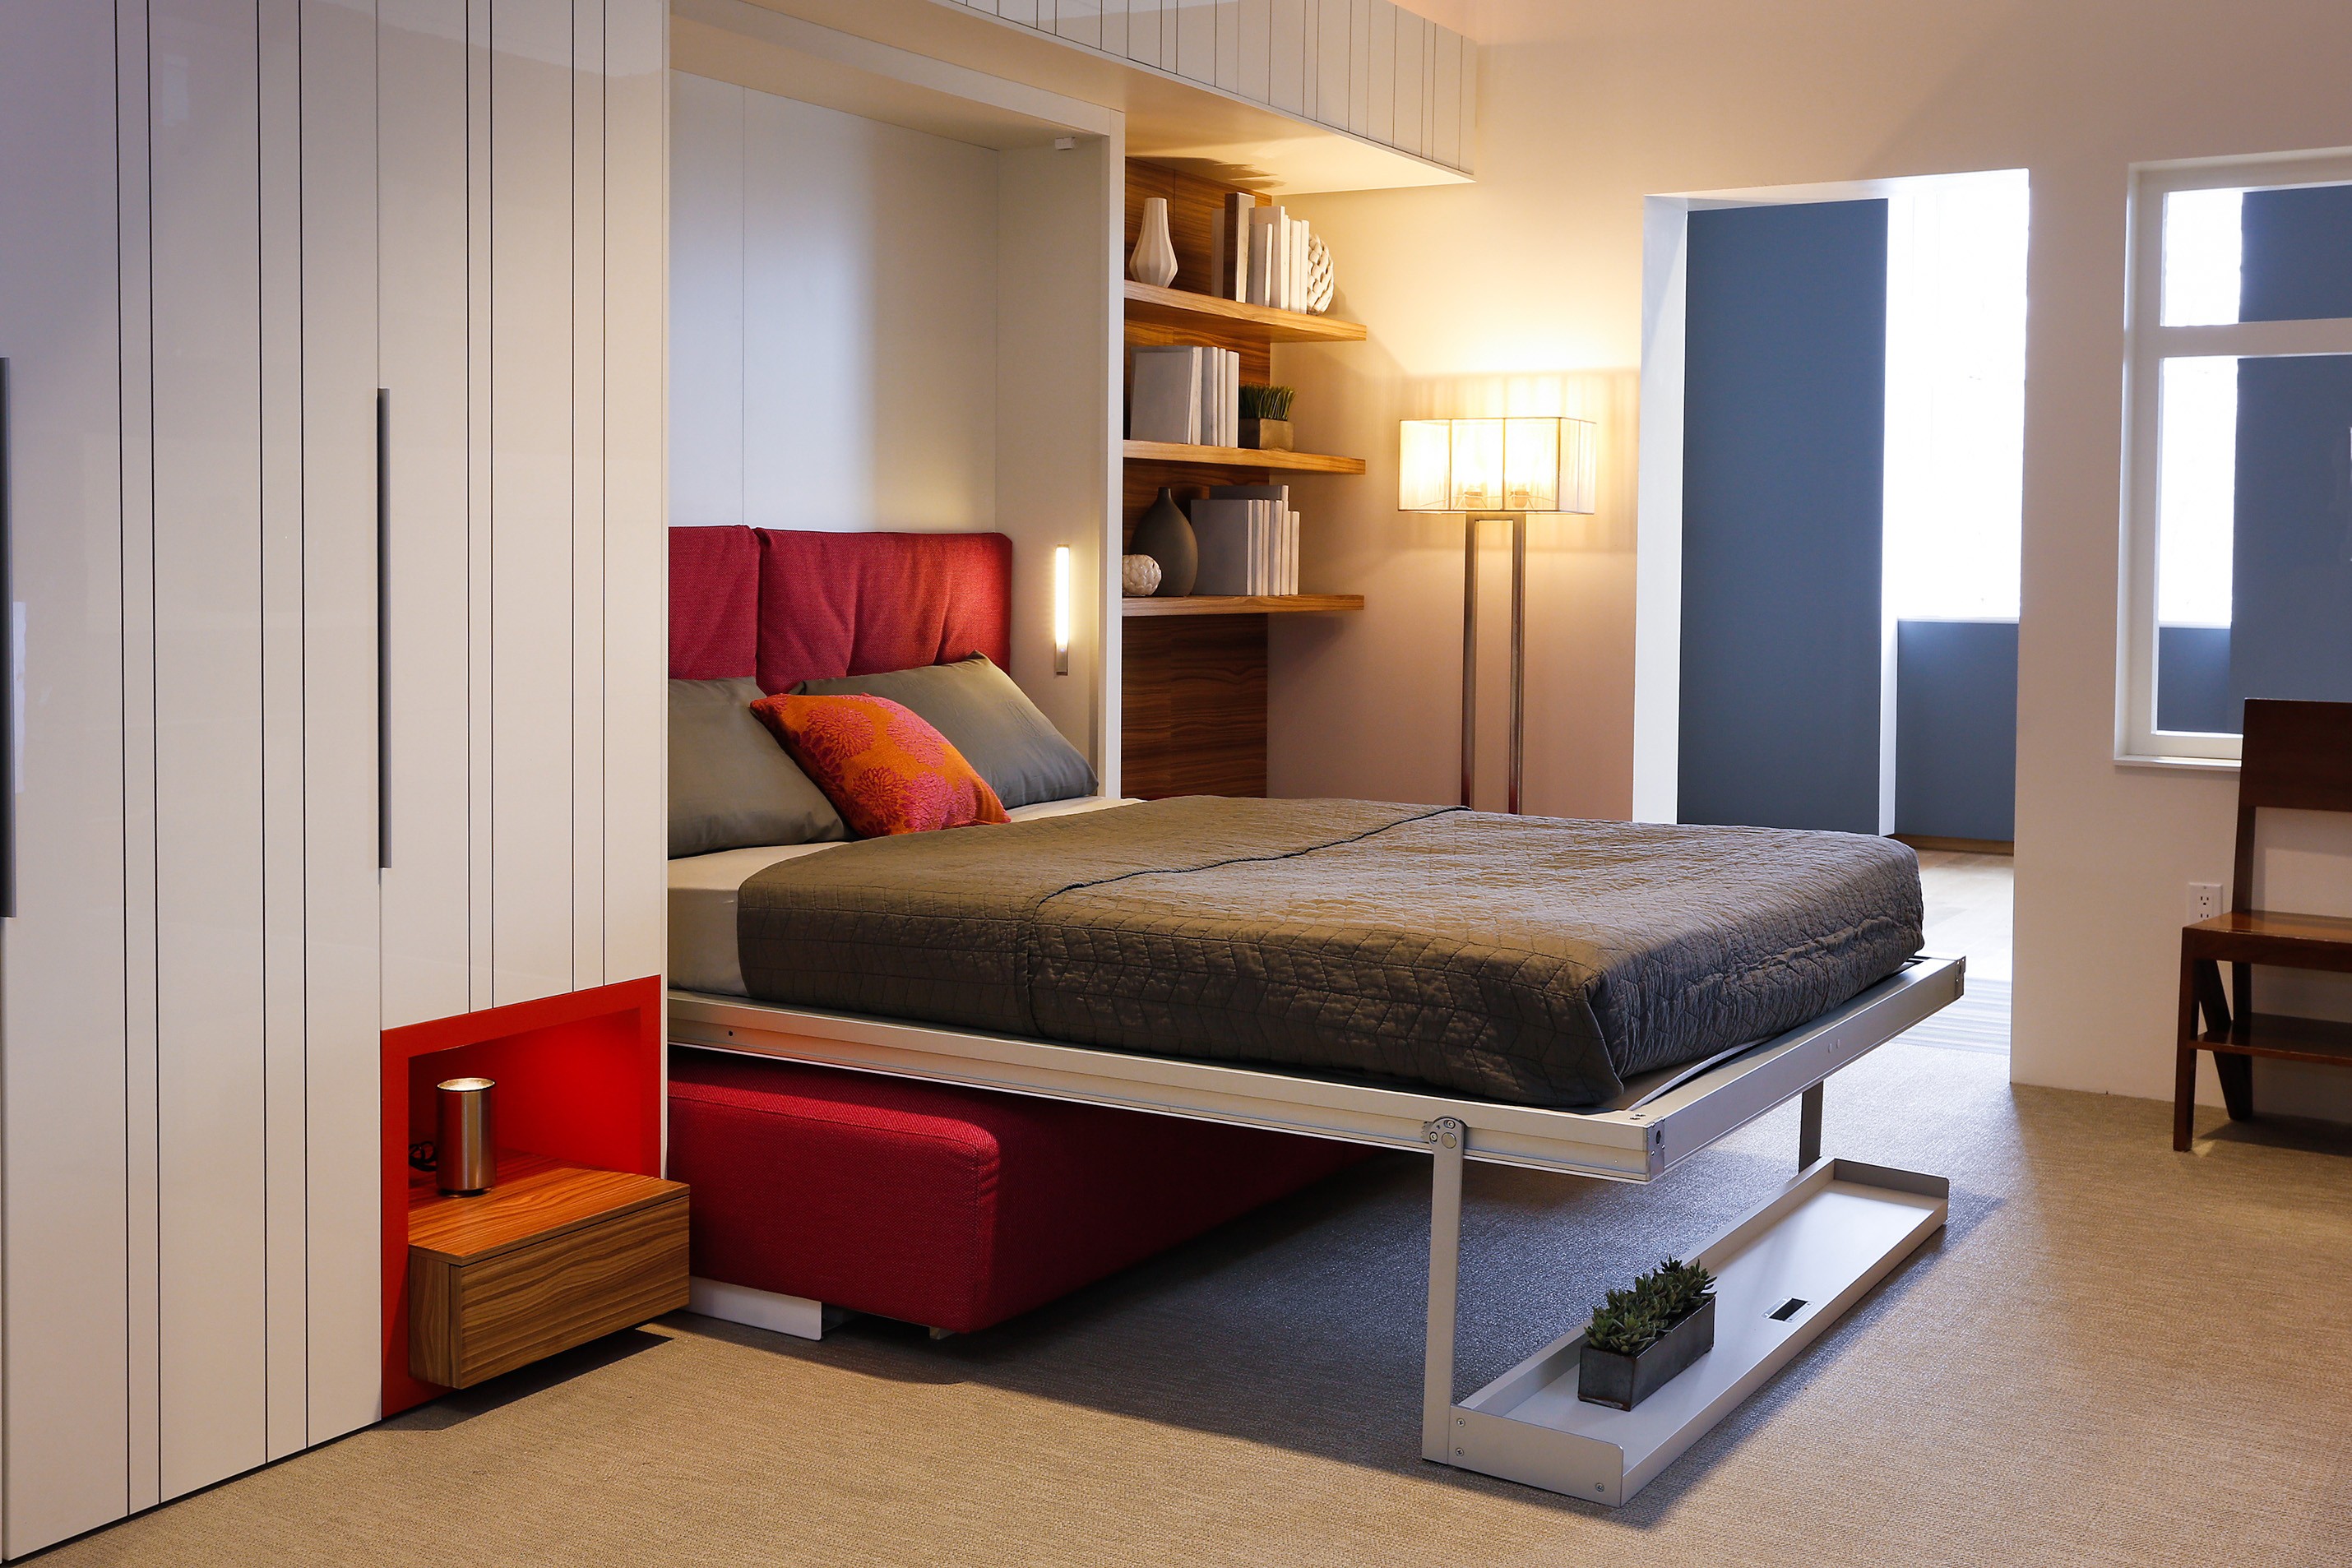
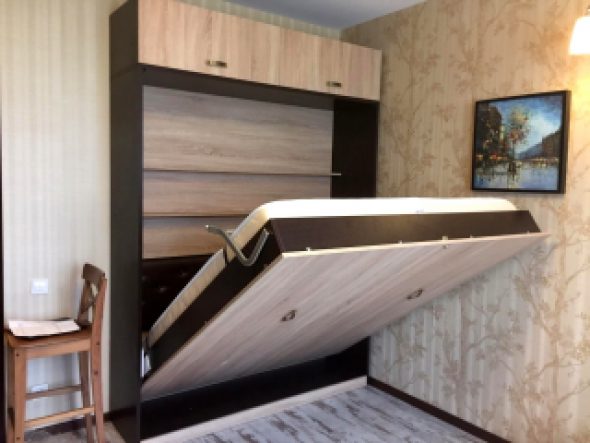
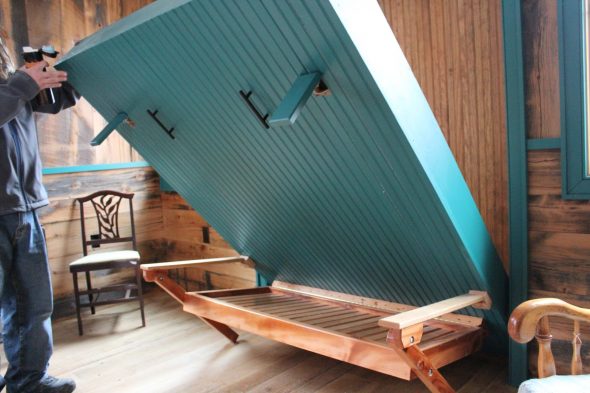
Step 3: stage of installing the box and securing the power mechanism
We install the box on a level floor or on wooden blocks. In the place where the frame is installed, we cut off the baseboard. The box should only be secured to a strong concrete wall. The axis of rotation of the mechanism and the upper horizontal are selected as the base. Here we use only reinforced corners and anchor bolts, since these are the places where the main forces will be perceived.
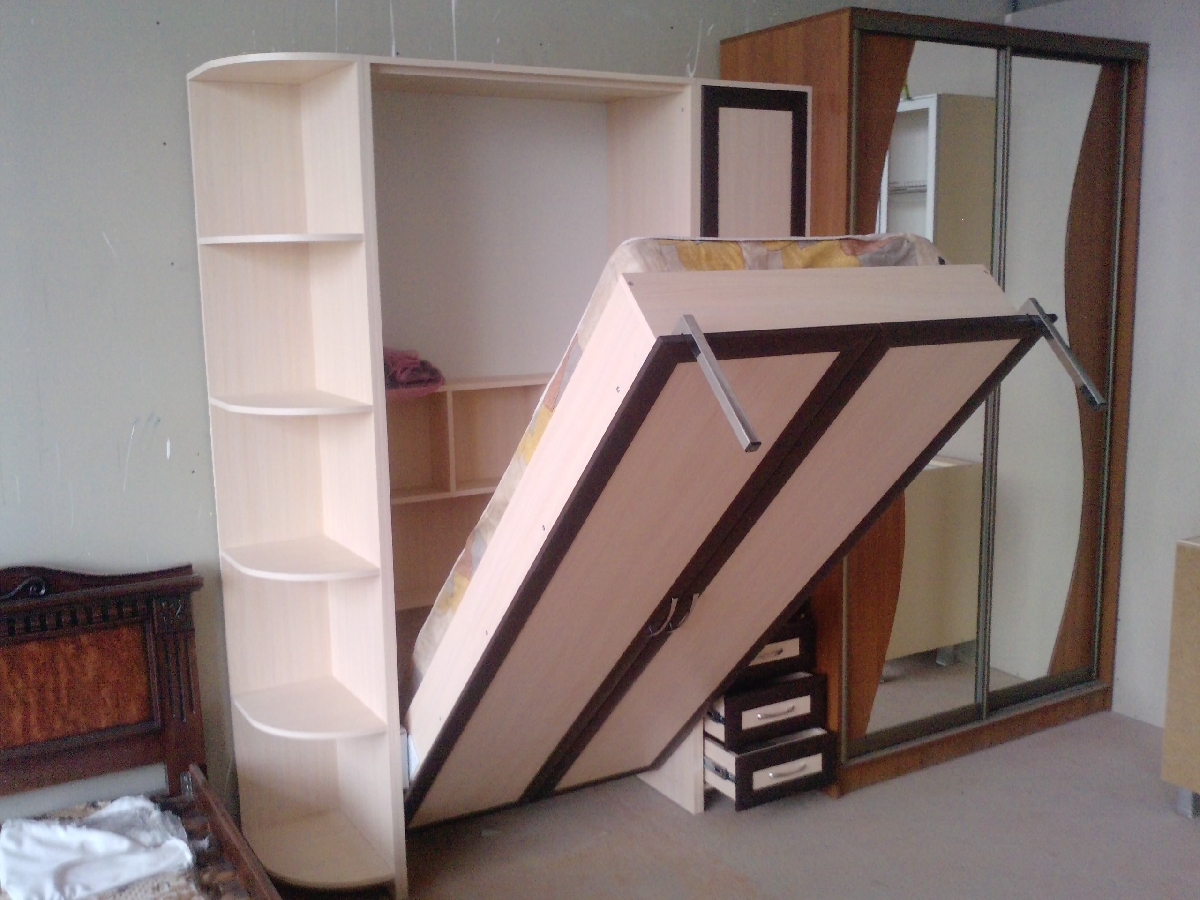
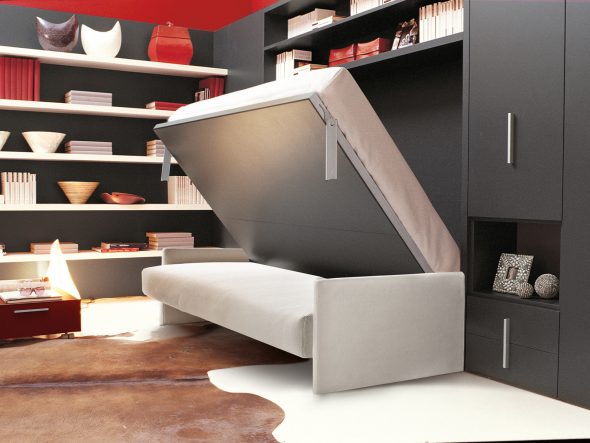
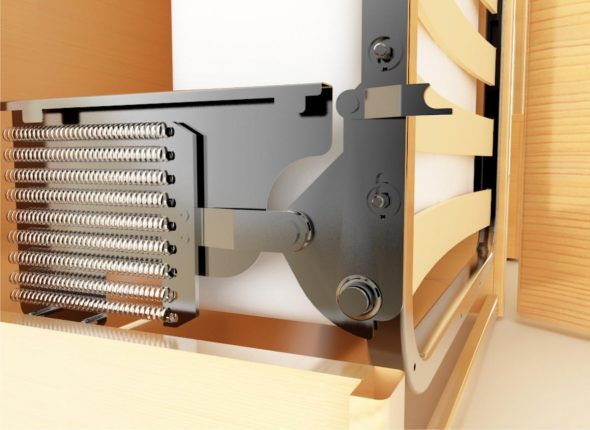
The connection of the box and the bed occurs by joining the mating parts of the power device. For the correct operation of the structure, namely its fixation in any position, it is recommended to use a power mechanism based on a gas spring.

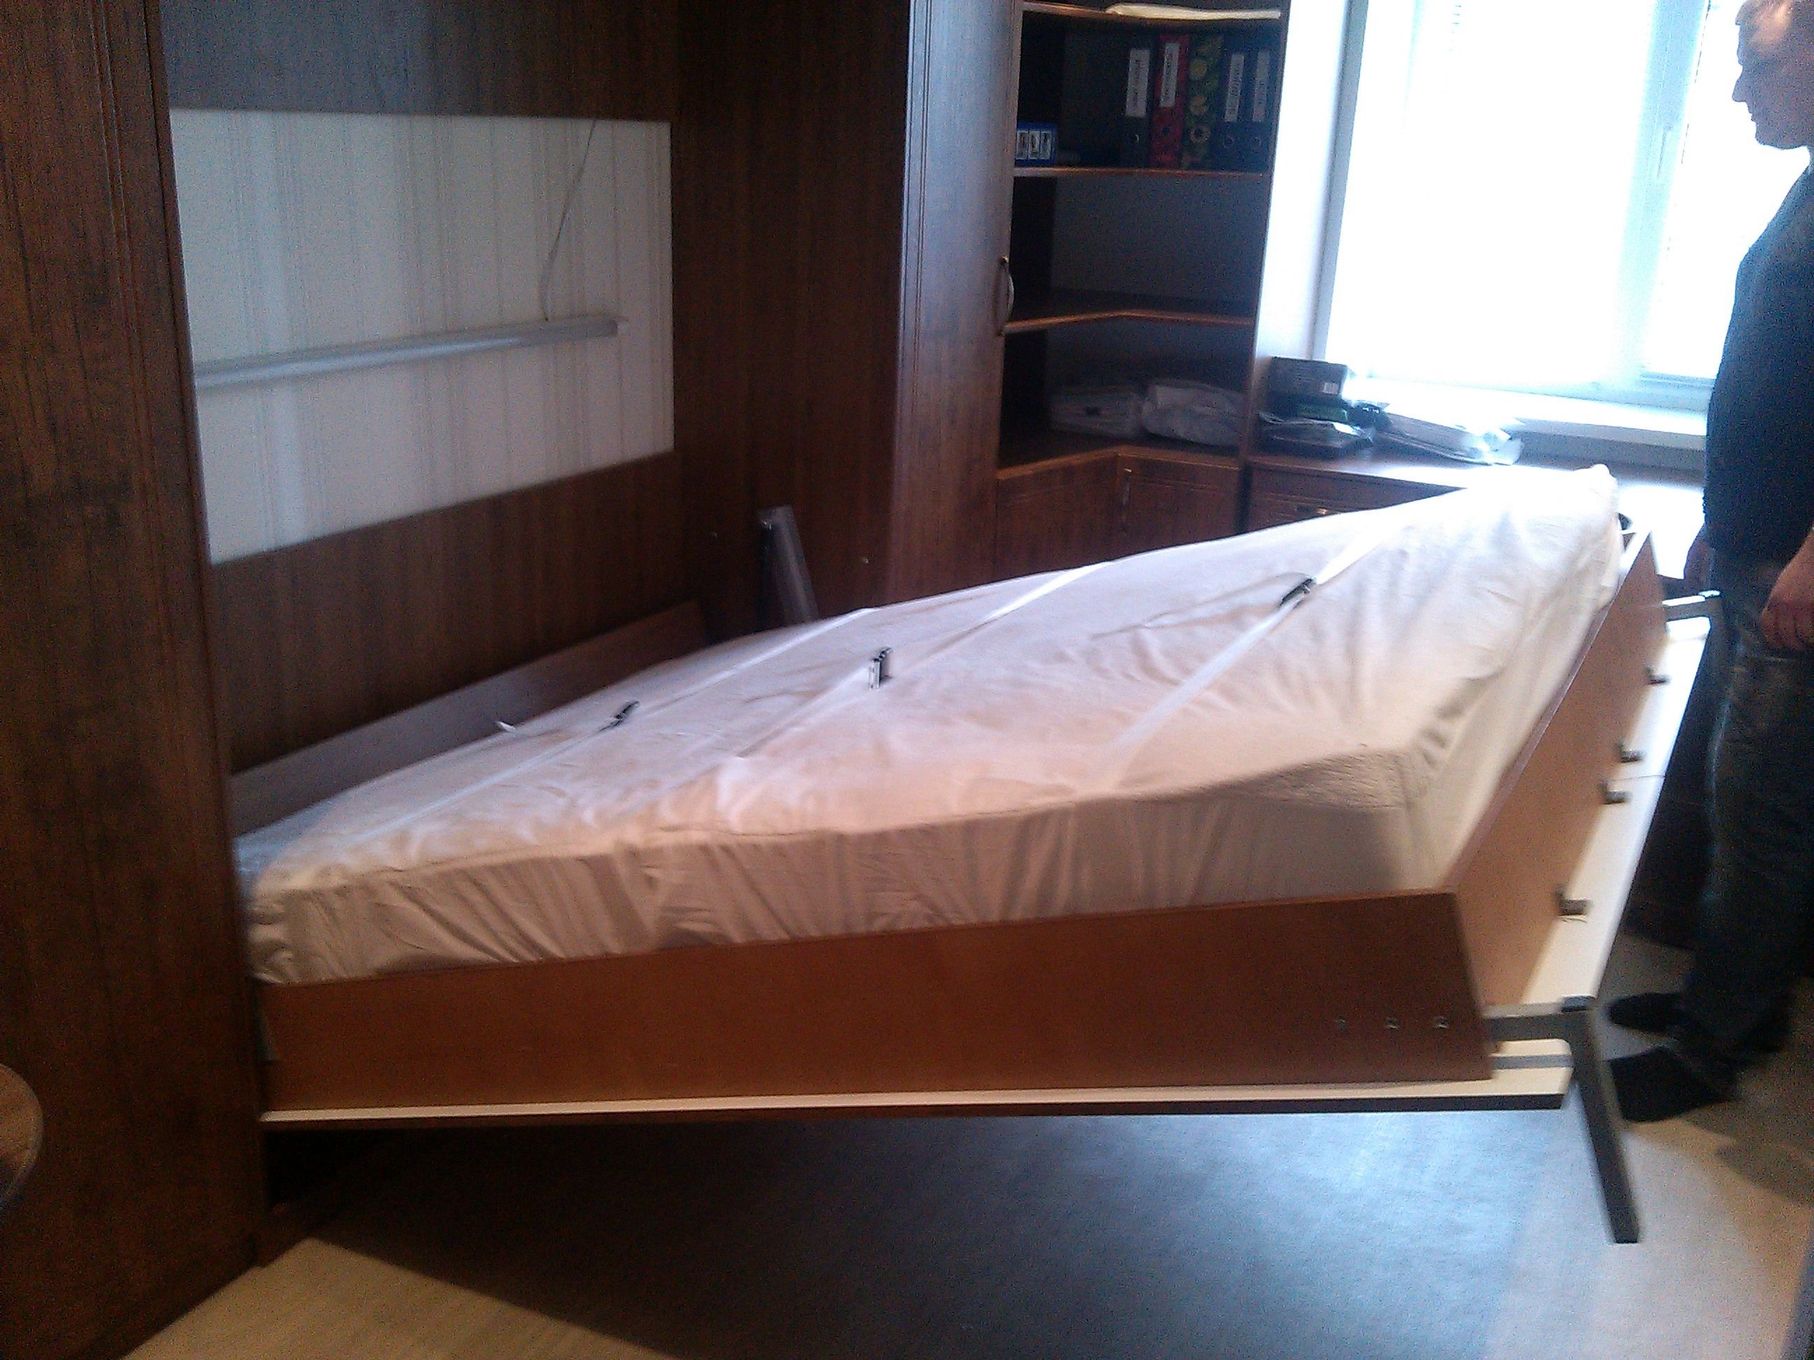
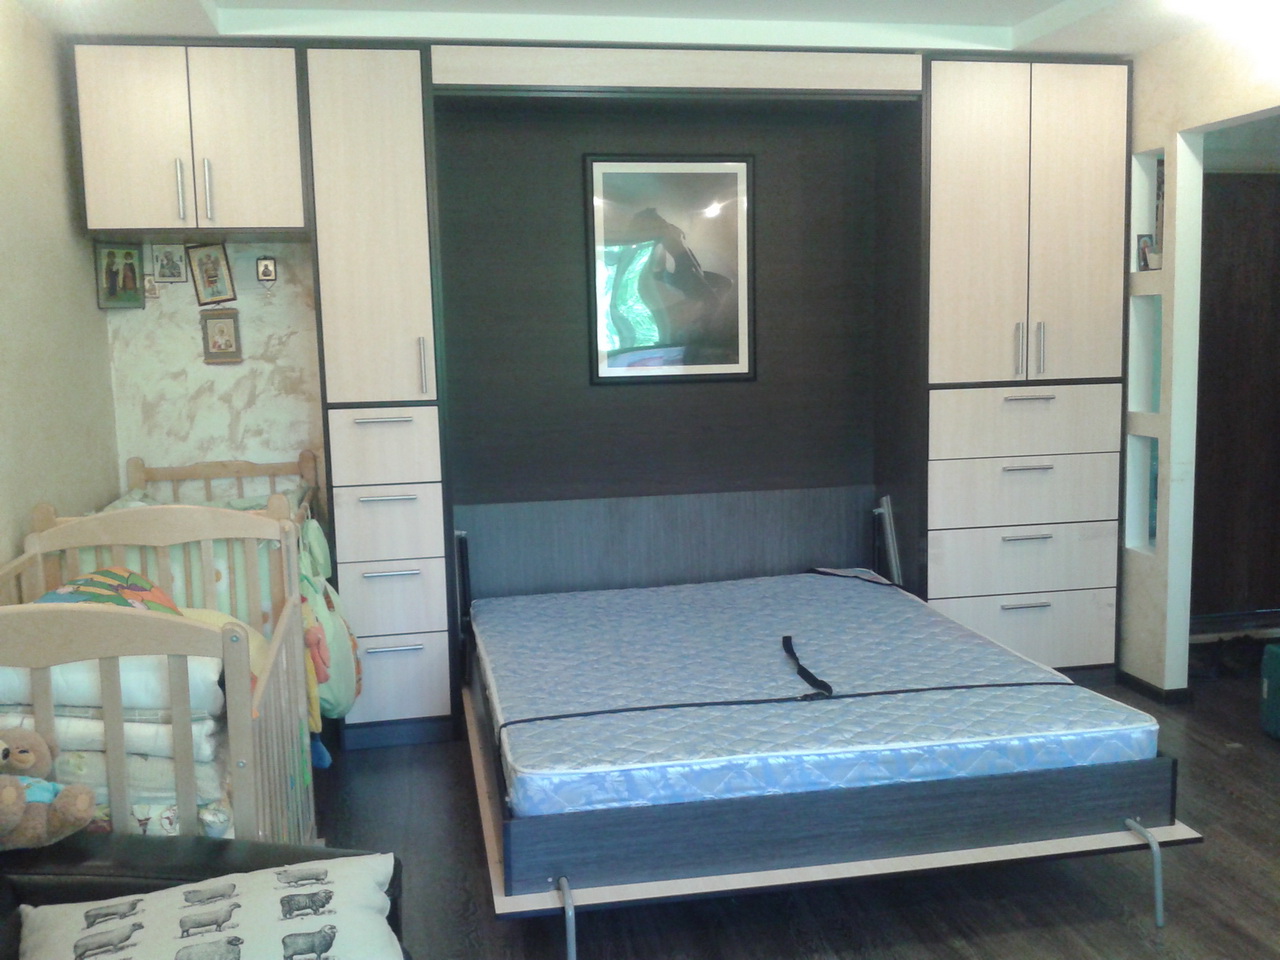
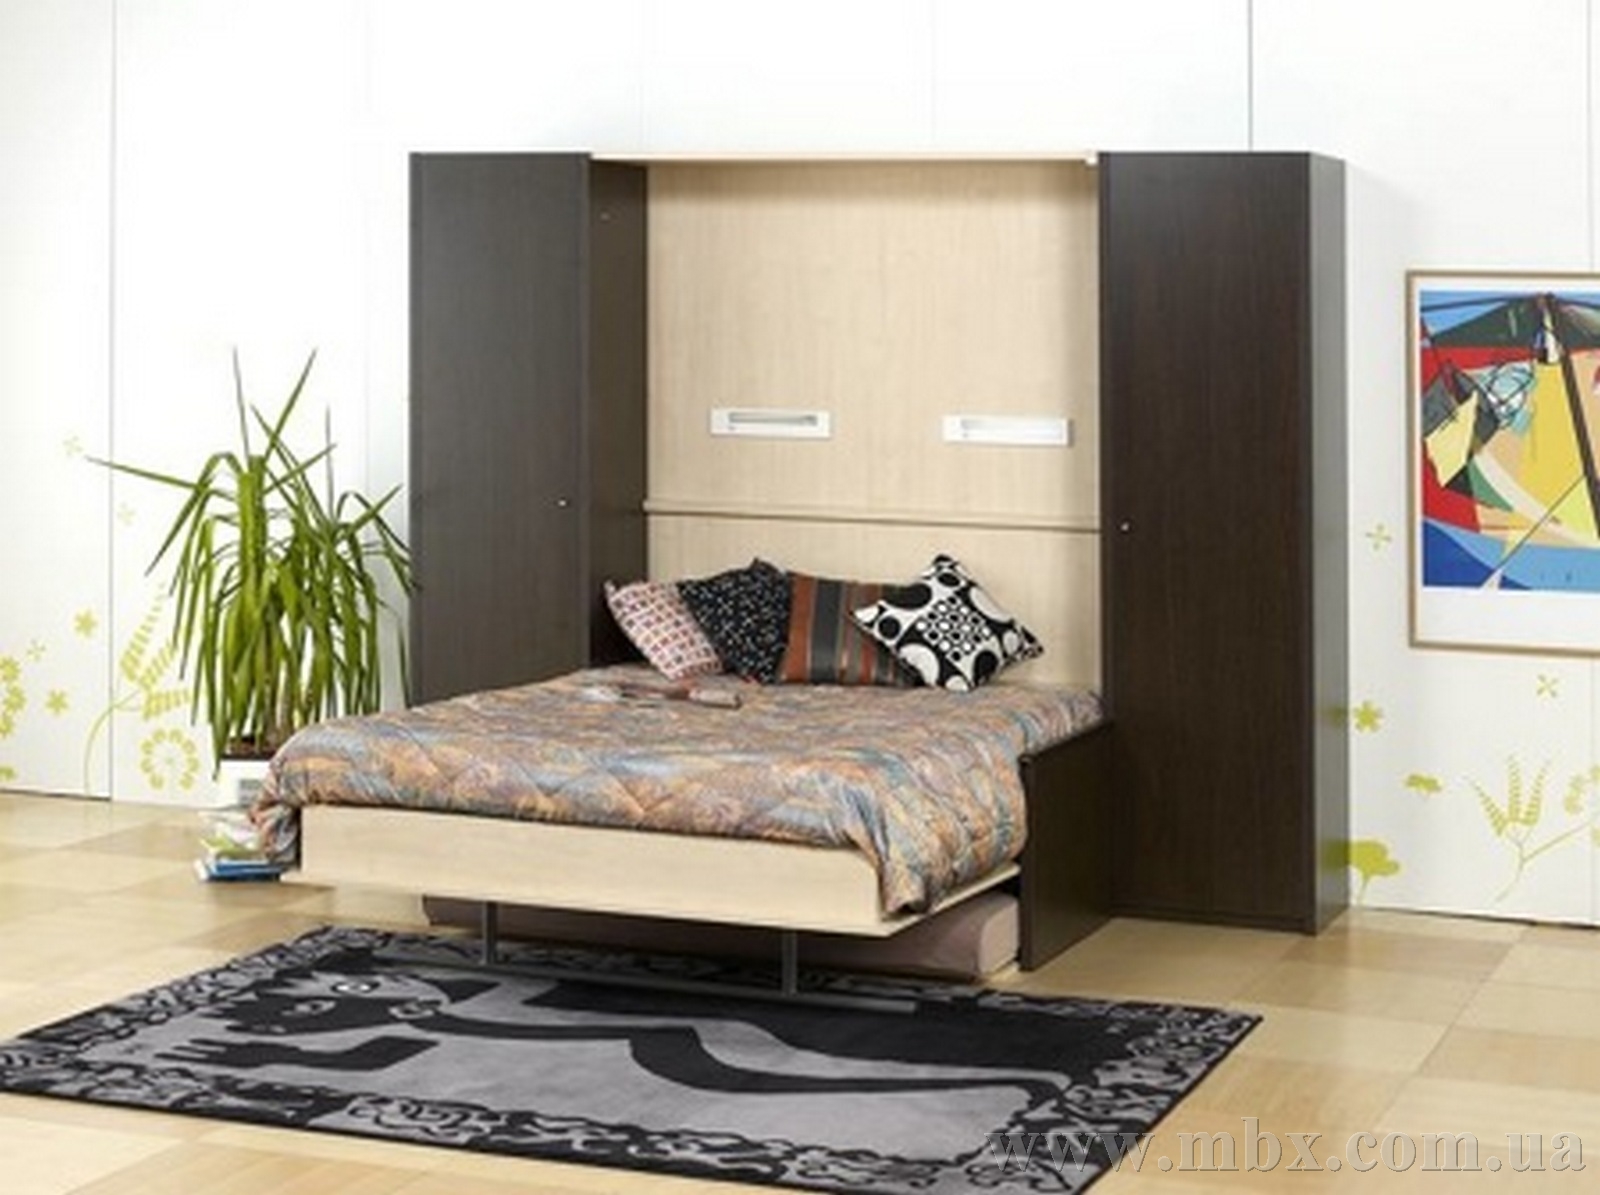
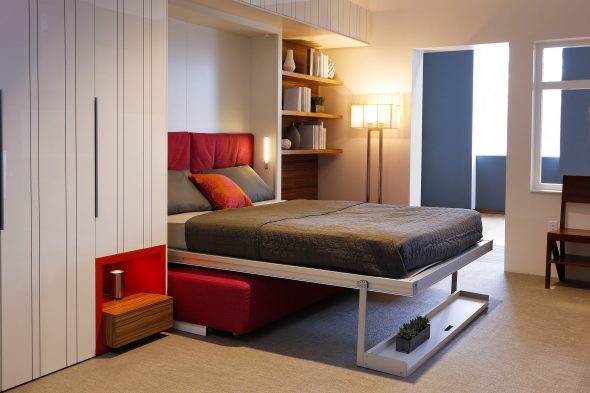
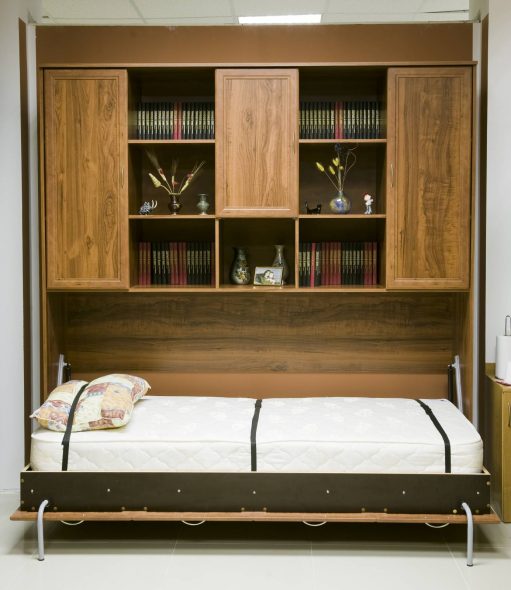
At this stage, the work is almost complete, and you can be proud of such an achievement as a bed made with your own hands. The folding system is installed and functions perfectly. The mattress is secured with strong straps.
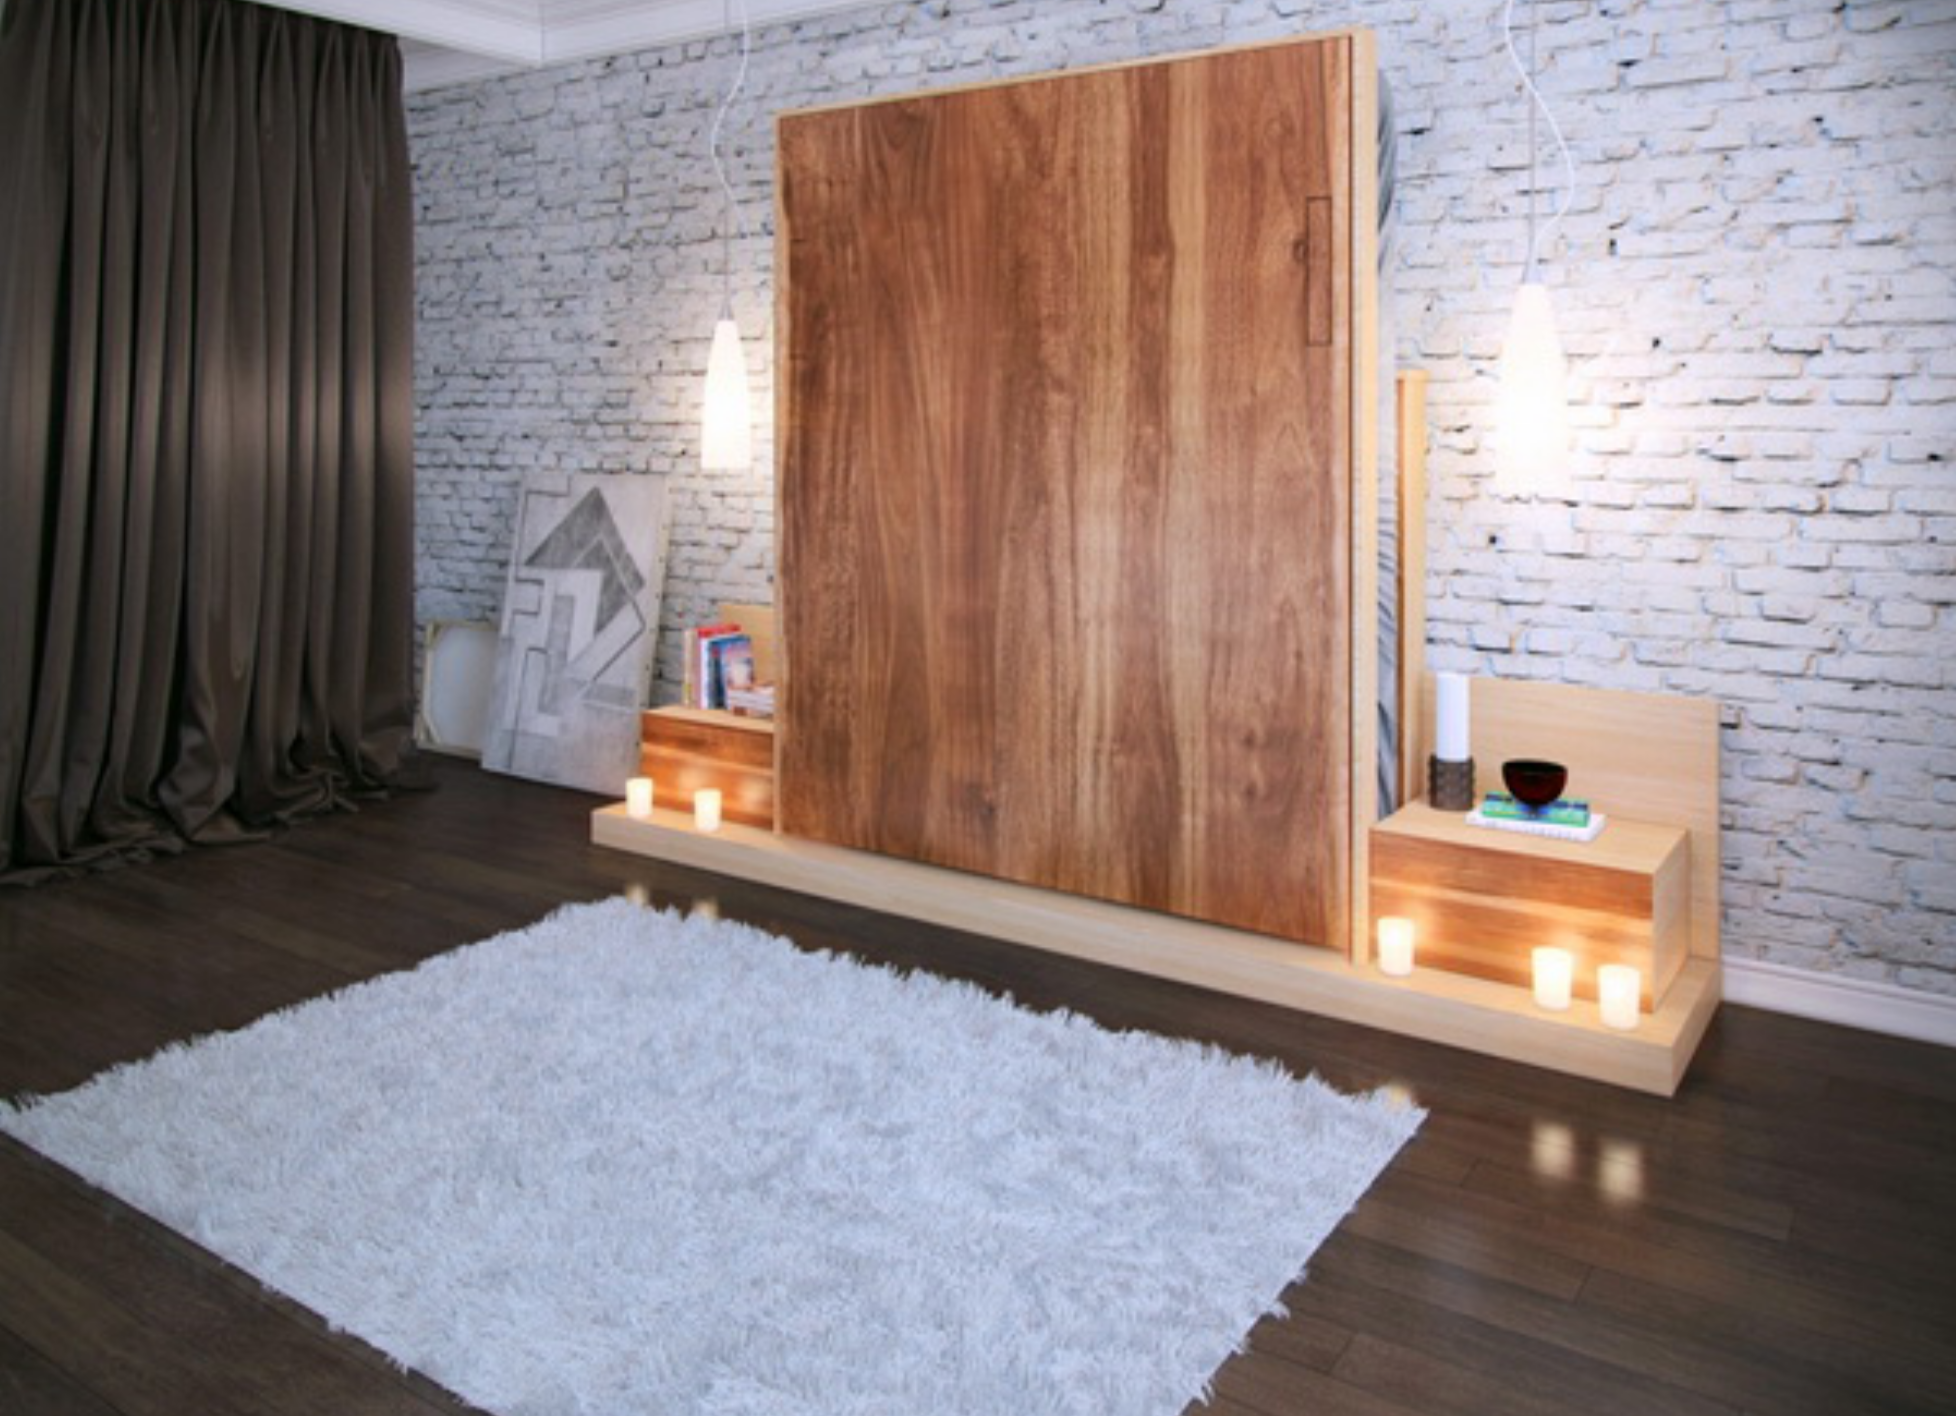
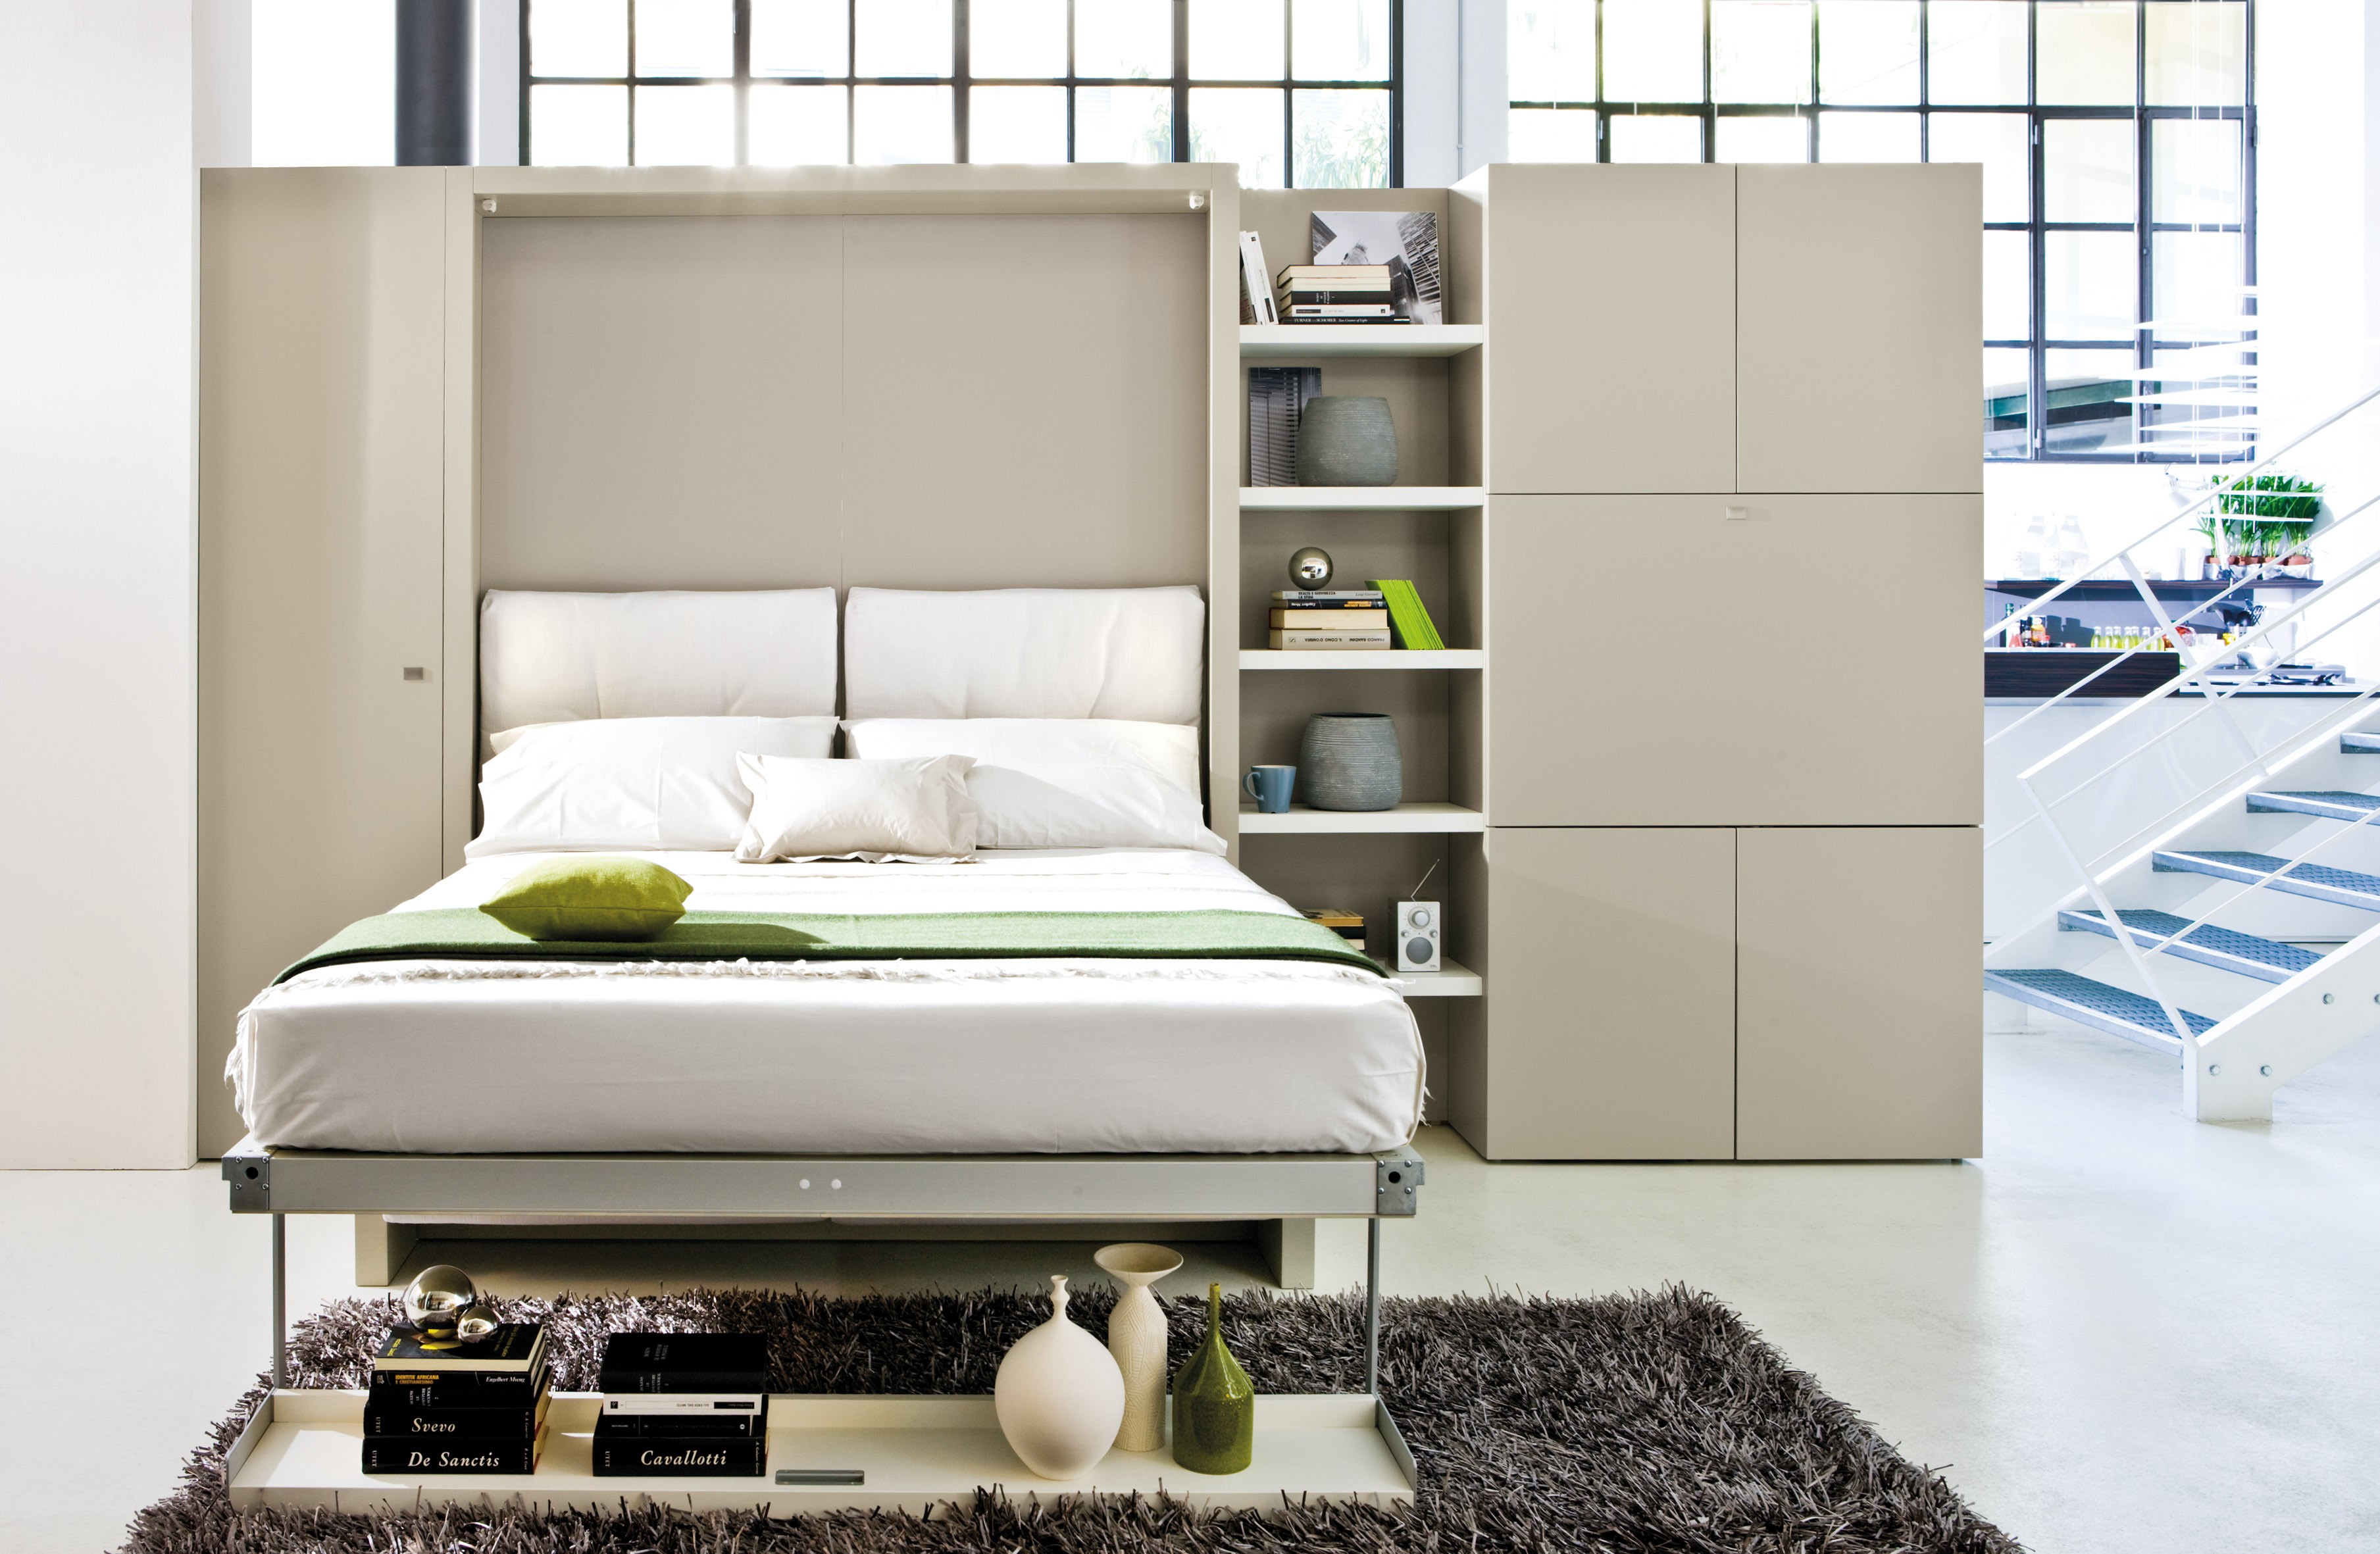
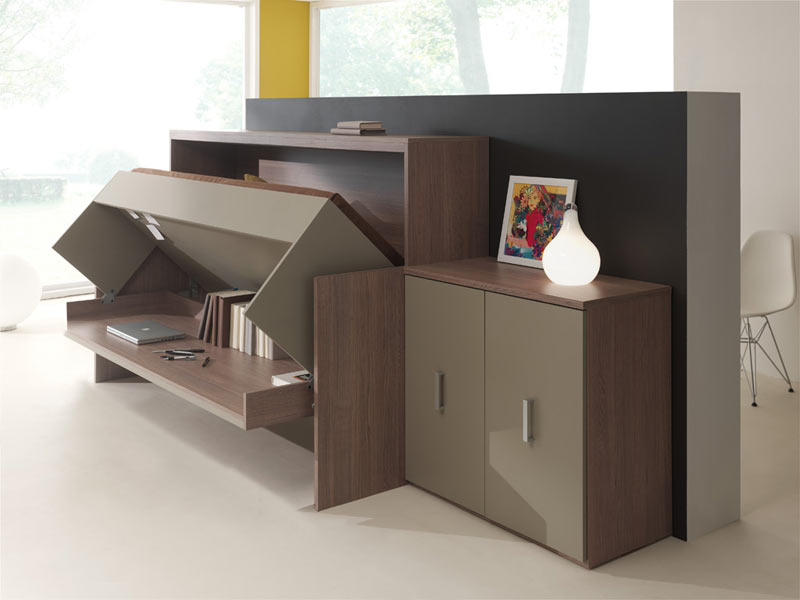
The final stage is decoration
The facade of the final product is often decorated with false doors - an overhead element that is part of the decoration, to which the handles are attached. Never use mirrors in such beds, as they are not designed for such loads and may soon crack.
This will also affect the weight of the structure being lifted, which may affect the durability of the mechanism. Do not forget to install the legs in the pre-drilled holes and magnetic latches. Now the work is complete, and the new decoration of your interior is completely ready for your rest.
VIDEO: How to Make a Folding Bed with Your Own Hands
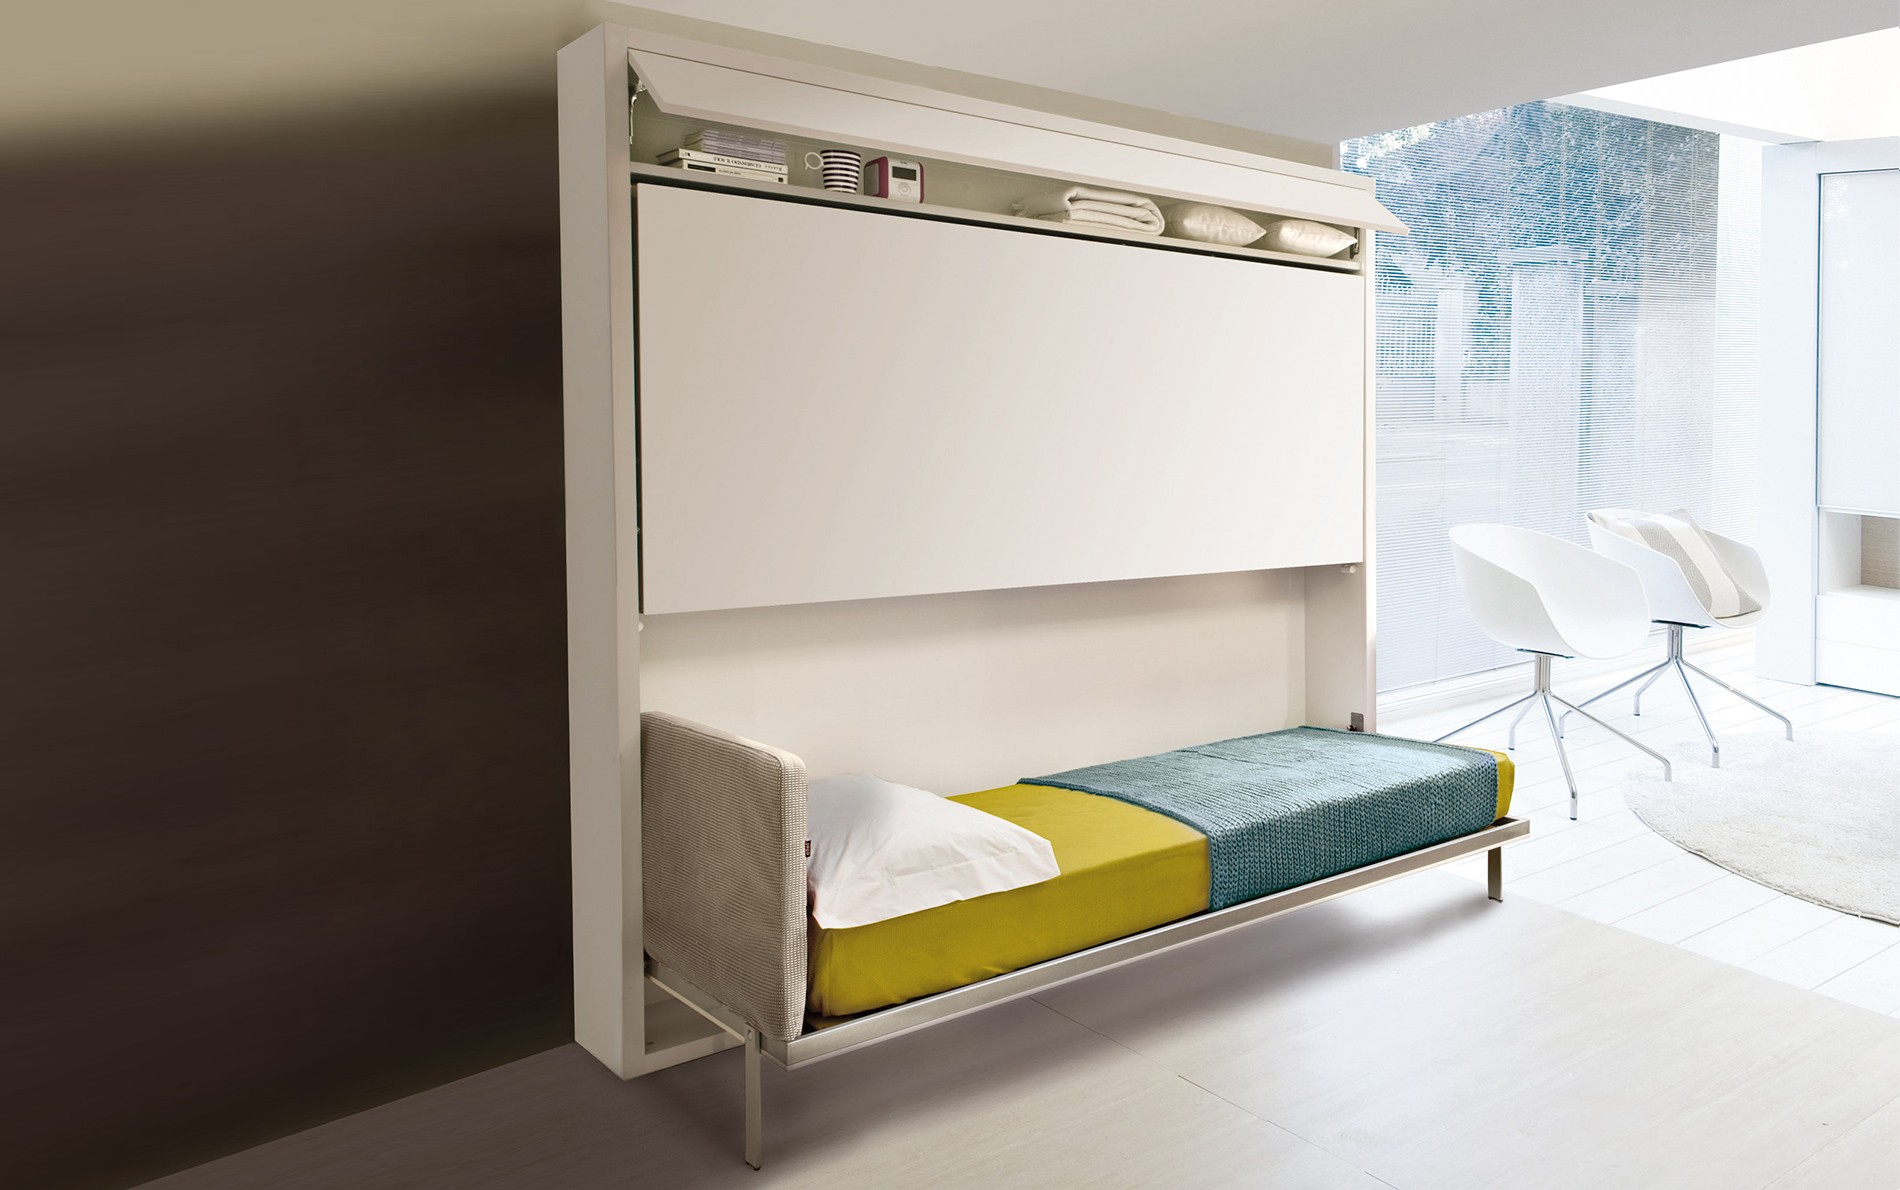
50 photos of folding bed design ideas: