Unfortunately, the reality of life for the average Russian is that kitchens in most houses, and especially apartments, are modest in size. They are more or less capable of satisfying the needs of a not-too-spoiled family.
If standard furniture samples are suitable, then there will be fewer difficulties in equipping the kitchen. You just need to go to a furniture store, choose an option that suits your price and taste. In the event that you are not looking for easy ways or space, for example, there is not enough space for a cabinet with a sink, then a worthy way out of this situation will be to make a sink with your own hands, corresponding to the area and your needs.
Content
- The benefits of DIY
- Design and construction - which is easier to implement
- The sink is an important element of the installation
- DIY Sink Cabinet: Necessary Materials and Tools
- Manufacturing process: step-by-step instructions
- How to improve the appearance of a chipboard cabinet
- Video: Assembling a kitchen cabinet
The benefits of DIY
There are a number of significant advantages to creating a sink cabinet yourself.
- An opportunity to save money by using your skills in working with wood elements, tools and plumbing.
- Create a product of the required size and shape, fill it with additional shelves on which to place household chemicals, brushes and various necessary small items, and provide space under the shelf for a trash can.
- To make a cabinet, use any available material left over from a renovation that you have – wooden blocks, plain or laminated chipboard, ready-made shelves from cabinets, screws, corners.
Design and construction — which is easier to implement
When arranging the kitchen set, we have to start from the square footage that we have. The furniture arrangement can be different: in one or two rows, in the shape of the letter "L", the letter "P", or have a complex shape that needs to be built for the personal configuration of the kitchen.
The arrangement of kitchen furniture directly depends on the location of the stove and sink. When doing it yourself, you also need to pay attention to what shape of kitchen cabinet under the sink will be easier to make with your own hands. Sinks come in the following shapes.
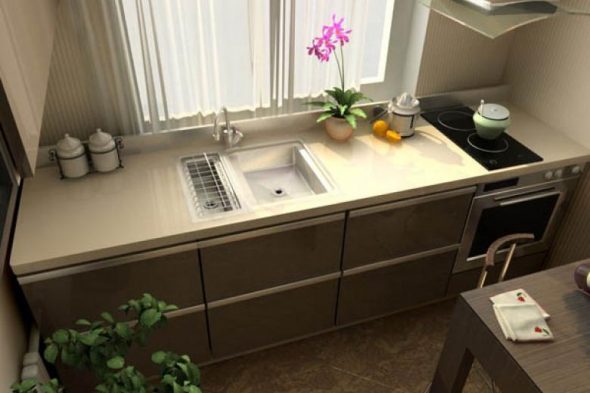
- Straight is the easiest design to make. It is considered most convenient to install these items along one wall, placing a work table-cabinet between them, and if there is still space, then a refrigerator. An interesting option would be when a single tabletop is made, along the entire length of the kitchen set. The simplicity lies in the fact that the upper part of the cabinet does not need to be made. This will facilitate and speed up the process, and in order to make it even faster, you can buy facades.

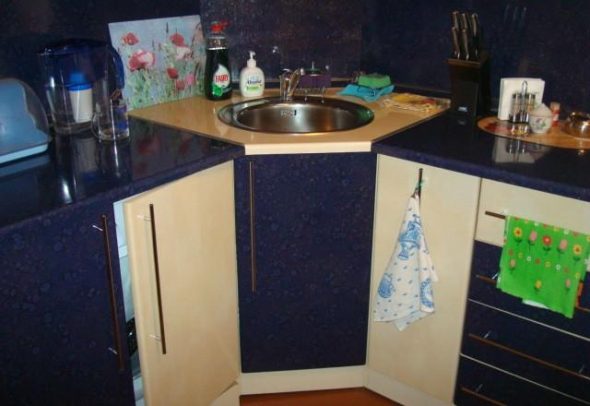
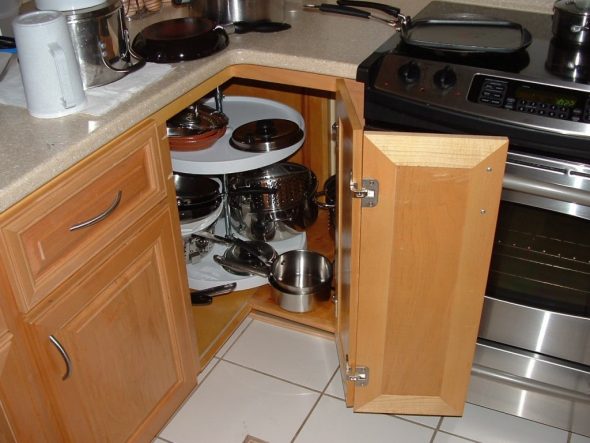
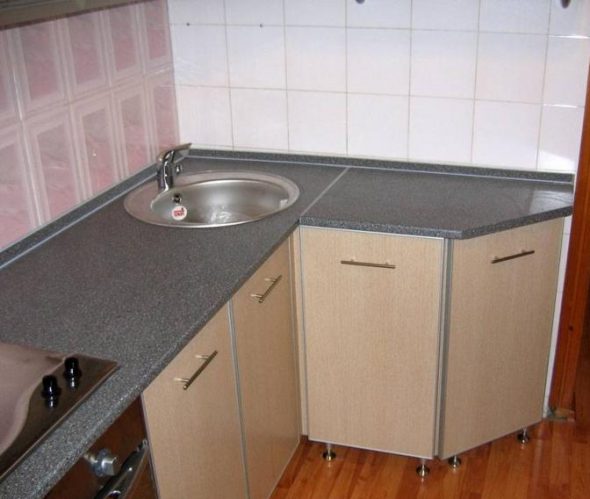
A classic rectangular or square bedside table that can be easily built into any work surface - Corner. It is located near two walls, at an angle of 90 degrees. There are L-shaped, triangular and rectangular cabinets. The advantage is that they take up little space. They are suitable for small kitchens. If you use the interior space rationally, it can be roomy. Equip the product with additional devices, shelves, carousels and you will like this form of cabinet. It will take more time to manufacture, and in complexity it differs little from the first option.

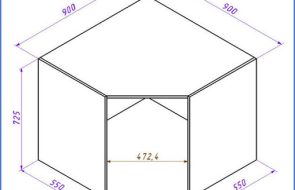
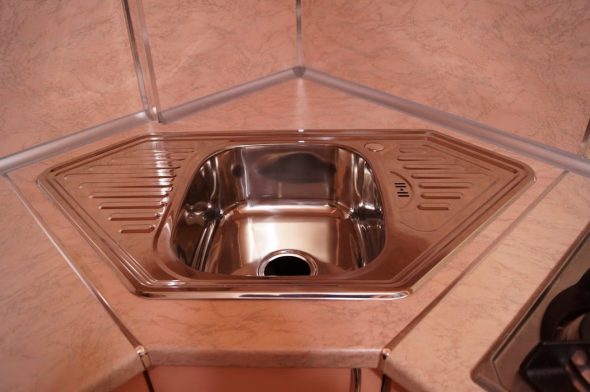
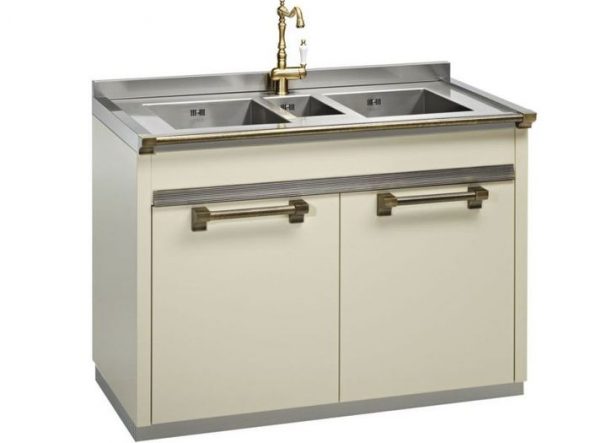
A corner cabinet that is adjacent to two perpendicular walls of a room - Trapezoidal. Has a wide tabletop, capacious drawers and allows you to install a sink of any shape. Installed mainly in large kitchens.

A trapezoidal, capacious model with one or more doors, compartments, and a wide tabletop.
The sink is an important element of the installation
The structure of the niches is of great importance in the installation of the cabinet under the sink. They are installed in several ways.
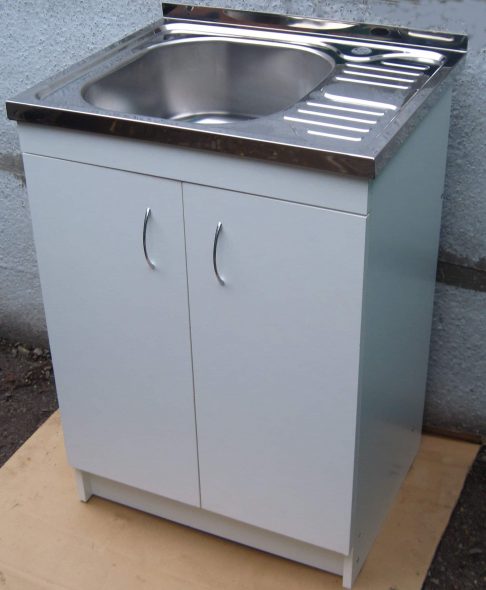
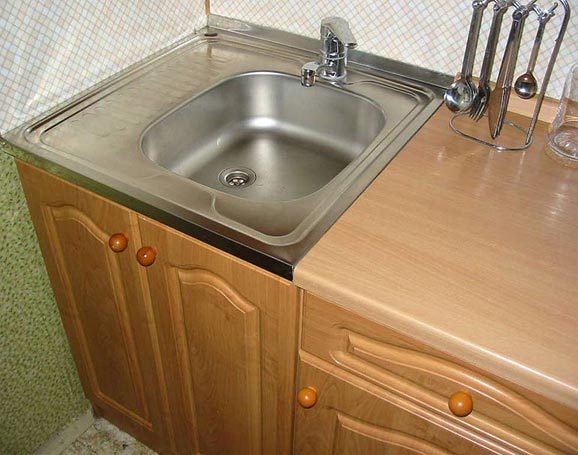
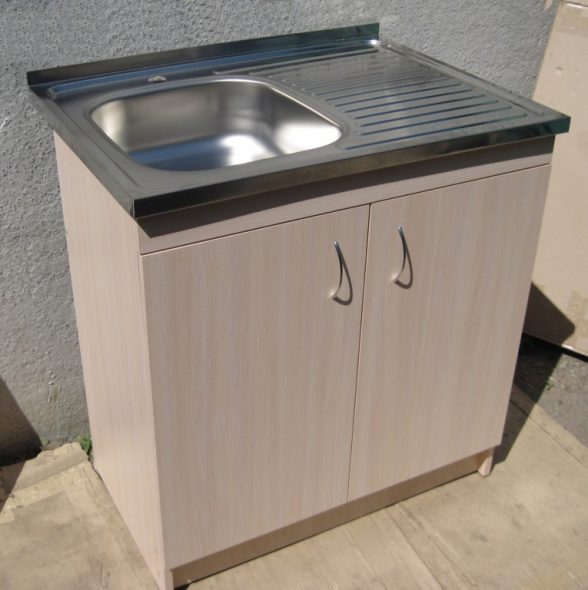
- Overhead. They are made when the cabinet is a separate element. The upper part of the cabinet is removed and the sink is placed on top, secured by the edges. A very simple installation option, even a beginner can handle it.

An overhead cabinet is a classic option for a straight cabinet with a collapsible tabletop. - Mortise. A hole is cut in the tabletop to prevent moisture from getting in, the seams are coated with sealant glue. MDF, chipboard, wood are suitable for mortise tabletops, but you won’t be able to cut out a stone surface yourself. This should be entrusted to specialists.

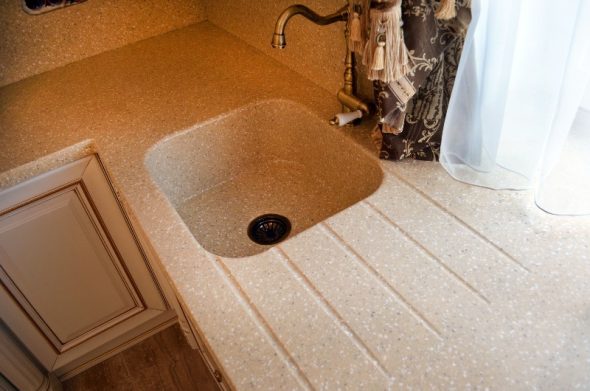
The flush-mounted model is built into the cabinet countertop in a hole specially cut for it. - Integrated. The countertop and sink form a single unit. Made to order together.

The integrated model is one piece with the tabletop
DIY Sink Cabinet: Necessary Materials and Tools
Laminated chipboard is rightfully considered the most popular material for making a cabinet under a sink with your own hands, as it is less susceptible to moisture.
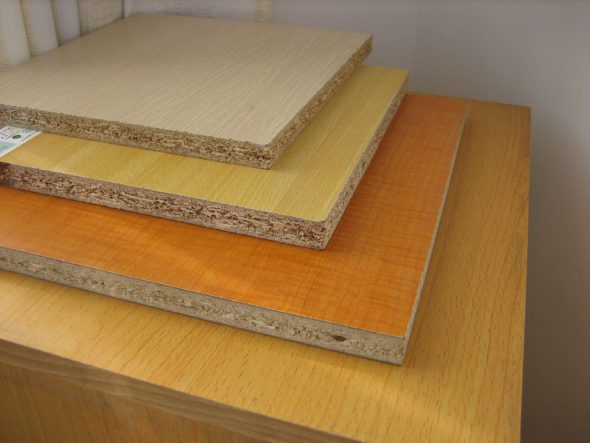
If you have chosen this material, you need to prepare a special edge tape in advance to avoid evaporation of aldehyde resins contained in the chipboard. It is important to understand that their evaporation is harmful to the health of residents.
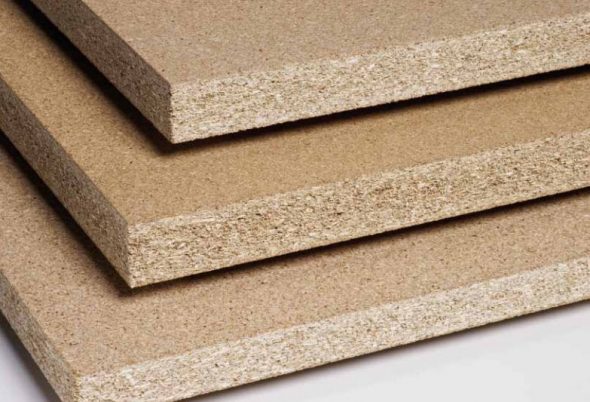
An excellent combination of price and quality is the MDF board. It is denser than chipboard and the fastenings hold better.
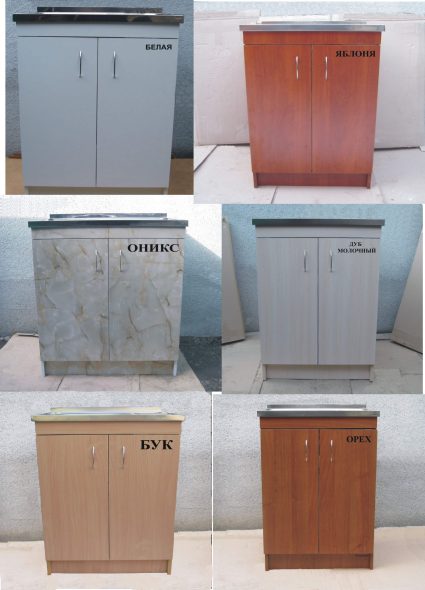
Another option is solid wood, but it is more expensive, absorbs moisture and is difficult to maintain.
Once you have decided on the main material, you need to prepare additional components.
- Pressed cardboard for the back wall.
- Plywood for crossbars.
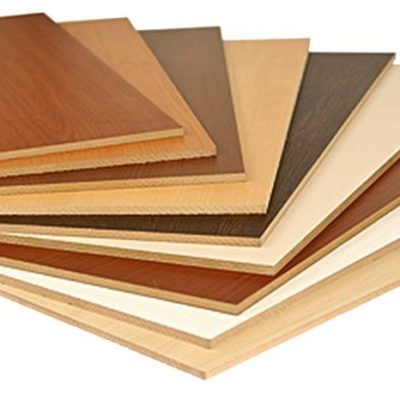
- Facing tape in the color of the cabinet.
- Handles, hinges, corners and screws.
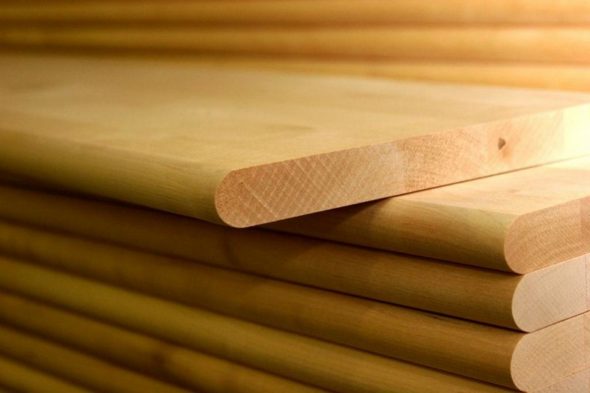
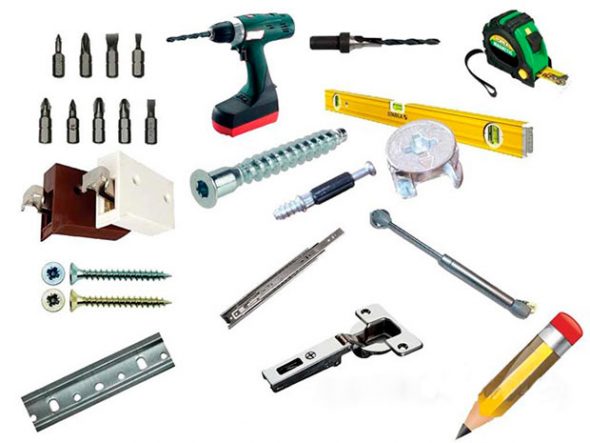
To bring your ideas to life, the following tools will help you.
- Pencil, ruler or tape measure.
- Drill, screwdriver.
- Phillips screwdriver.
- Saw or jigsaw.
- Internal corners, door hinges.
Manufacturing process: step-by-step instructions
The process of making a cabinet under the sink with your own hands should be divided into several stages.
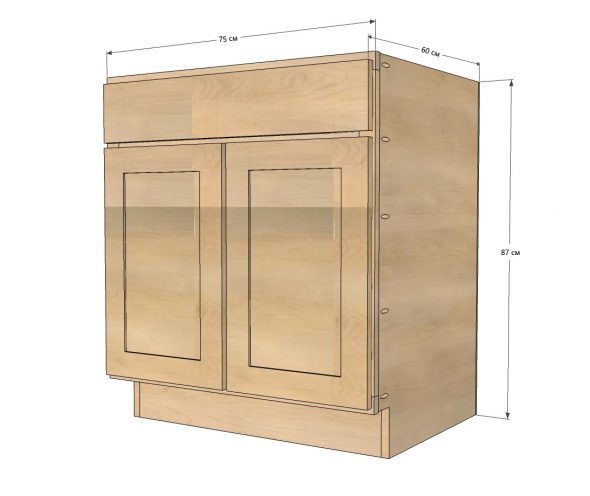
- Preparation. We make a drawing of the vanity unit on paper, based on the measurements taken on site and your design wishes.

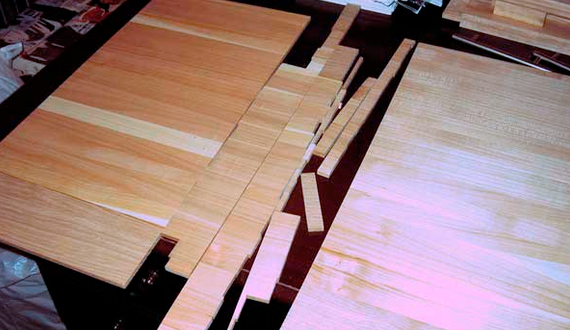
Model of kitchen cabinet under sink with specified dimensions of width, length and height - Making the parts. Following the drawing, cut out the side walls, bottom and doors from plywood. If the sink is overhead, then the countertop is not needed. If the sink is built-in, transfer the dimensions to the countertop and cut them out with a jigsaw. The remaining parts of the cabinet are also cut out with a jigsaw, and if you don’t have one, then using a hacksaw for metal will be more correct, as it makes fewer chips. Sand the edges with sandpaper.

Sawing parts for a cabinet of the required dimensions 
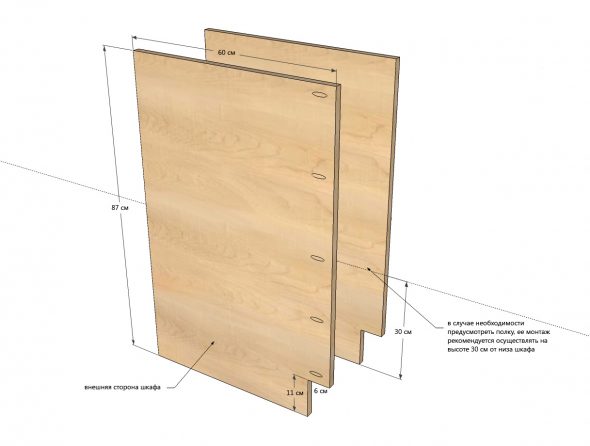
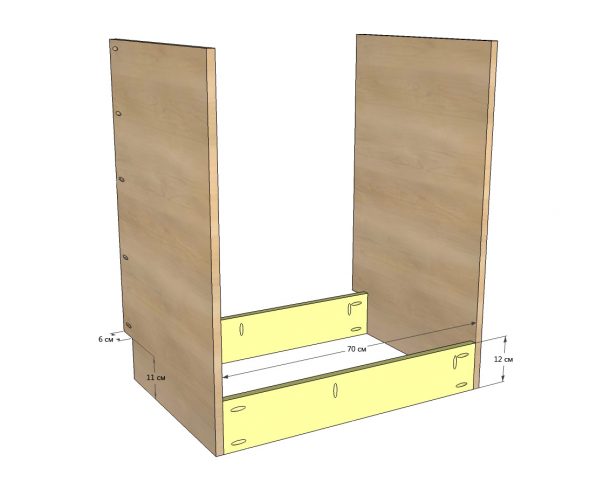
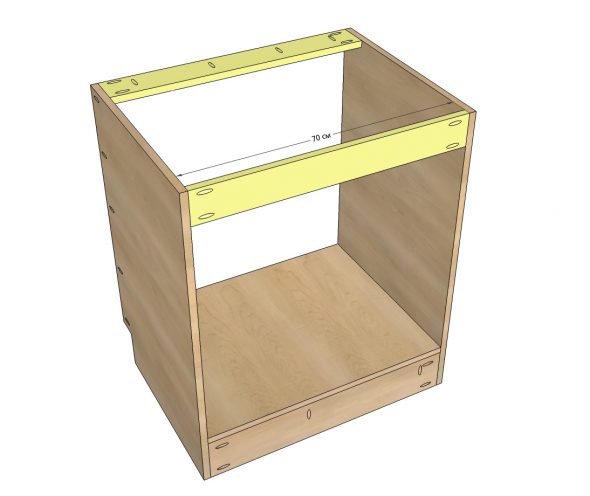
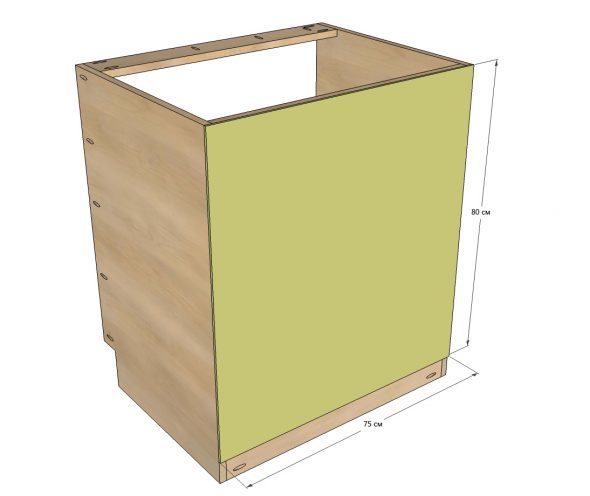
Side walls for a cabinet under the sink - Assembling the frame parts. We start by attaching the cabinet walls to the crossbars. This can be done in two ways - fasten with internal steel corners or connect with screws, then you need to take thicker plywood. Screw the bottom with screws.
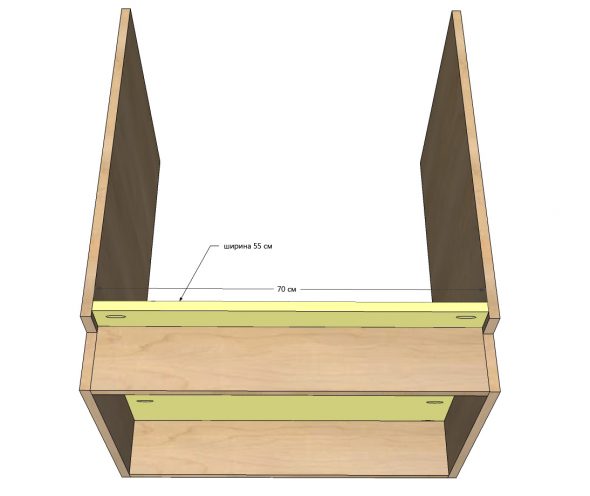
Fastening the crossbars to the prepared side walls Fastening the lower base by screwing screws directly into the fixed crossbars - To fix the top of the cabinet, we use the upper crossbars. The back wall will be attached to one of them. We make it thin, from cardboard, and nail it with small nails.
Fastening the upper crossbars to secure the upper part of the cabinet under the sink Fixing the back wall of the cabinet - Installing the facades. We apply and mark the places for attaching the hinges. We drill holes for the hinges and install them. We adjust the height of the hung doors. The selection of hinges should be approached seriously, since the wide opening depends on them and whether they will loosen over time.
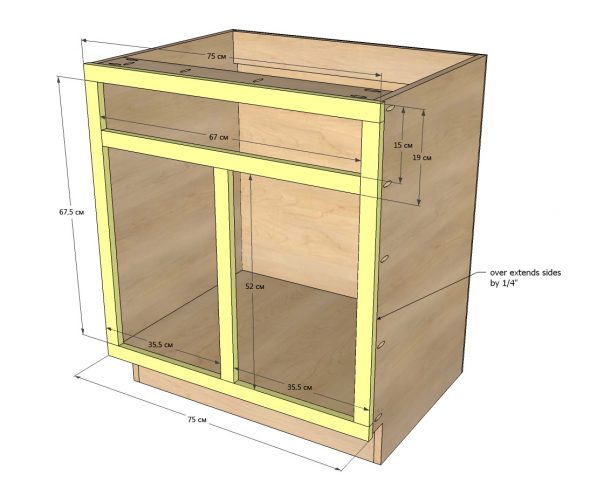
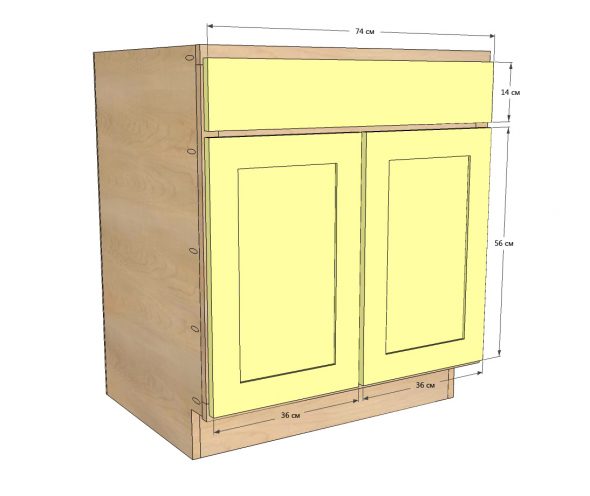
Assembly of the front frame according to the specified dimensions Fastening cabinet doors under the sink - Decorate the exterior. If necessary, paint, varnish, cover with furniture film, screw in handles. Attach a convenient pocket for a washcloth or other small items to the inside of the door. Make a shelf to increase storage space. It should be easy to remove and put back in place. To do this, cut a deep cut in the middle of it from the wall, necessary for the passage of the sewer pipe. Put it on bars secured with screws to the walls of the cabinet.

Ready-made kitchen cabinet made of chipboard for an overhead sink
To extend the life of the product, it should be raised above the floor, placed on legs or wheels, with plastic or thick rubber heels.
How to improve the appearance of a chipboard cabinet
Having made a cabinet under the sink from ordinary chipboard, one more stage will be added to these ones - to transform the appearance and protect yourself from harmful fumes.
- We putty a thin layer, level it with a spatula. After this procedure, the surface will become smooth.
- After the putty has dried, apply a primer.
- Apply a tint varnish. Use a brush with natural bristles.
Some people consider wallpaper as a finishing option. Wallpaper should be washable. Stick it to the surface using PVA glue. Having made such a cabinet under the sink for a summer house or apartment, you will definitely not be disappointed. You will apply your design talent, save money and enjoy further contemplation of the creation of your labors.