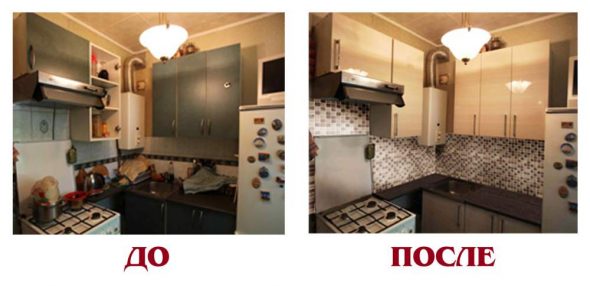
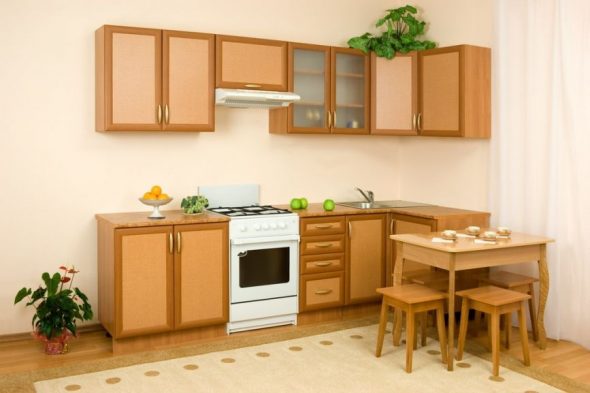
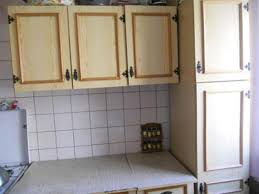
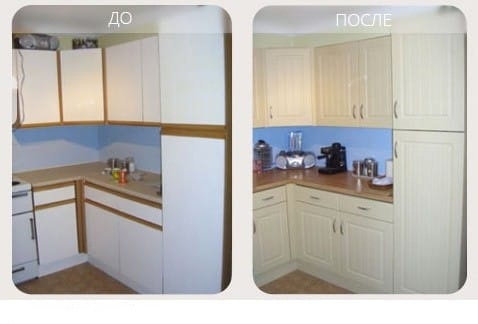
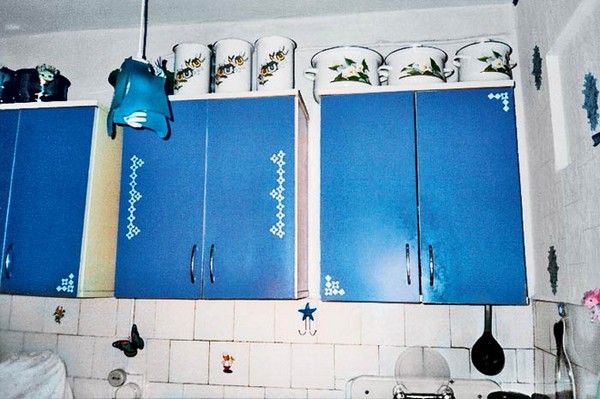
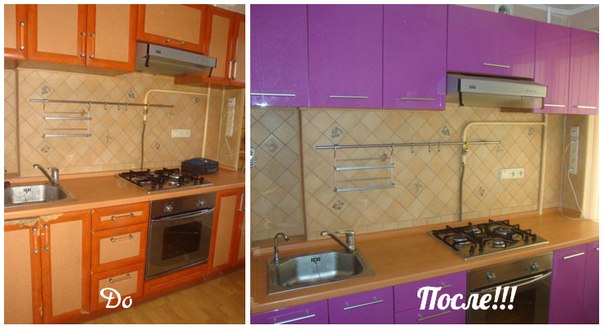
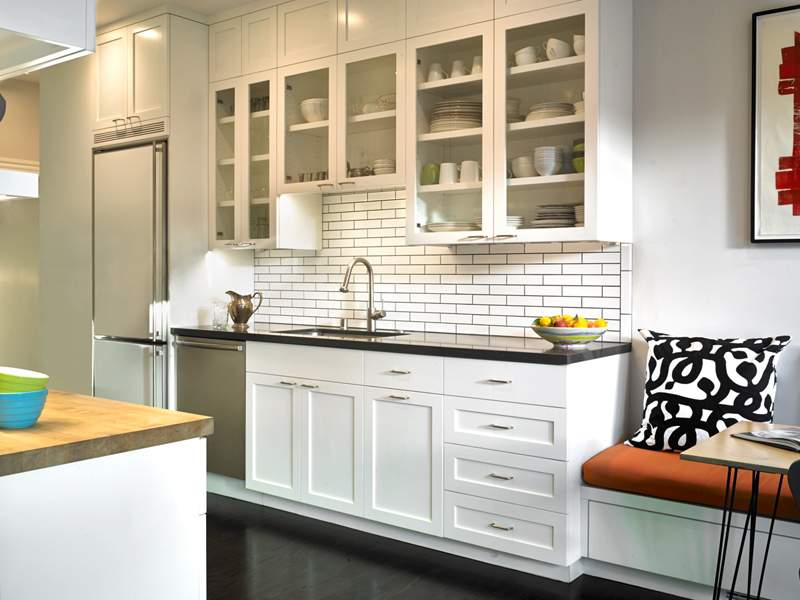
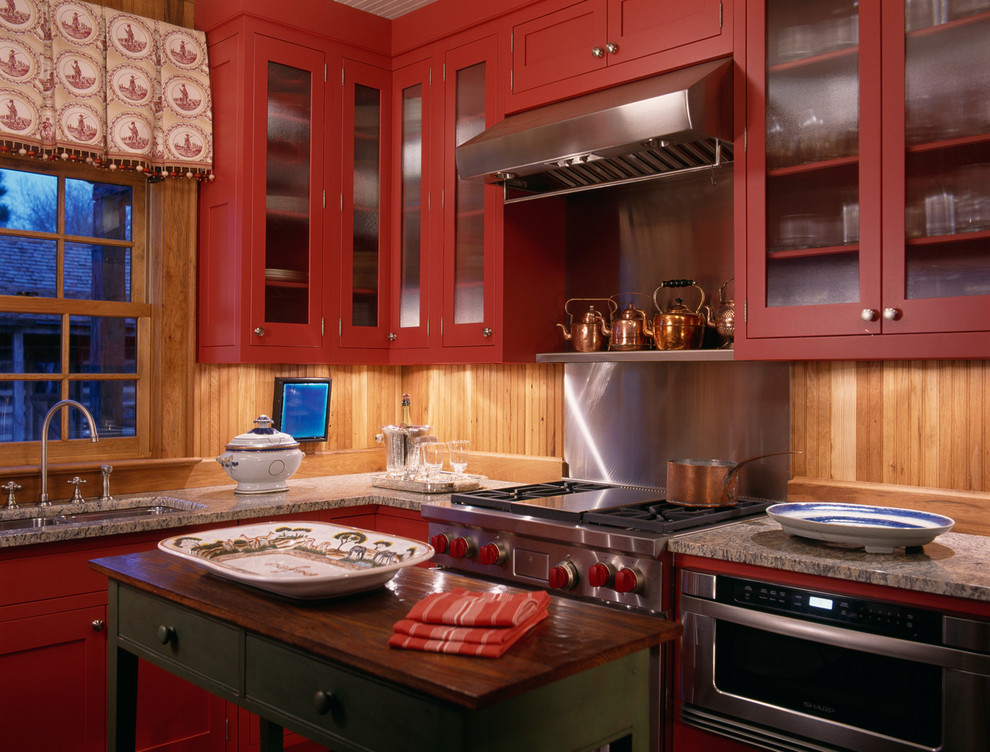
The kitchen is one of the most important places in the house. In the evening, coming home from work or school, the whole family sits down at the table, has dinner, and over a cup of tea tells us how the day went, what ideas they want to bring to life. That is why the kitchen environment affects our emotions and feelings. The mood immediately deteriorates, you don’t even want to enter the room if the furniture does not look right. Therefore, it is necessary to tidy up the interior items. Even the simplest way – painting the kitchen set – will significantly change the appearance.
Content
Benefits of DIY Painting
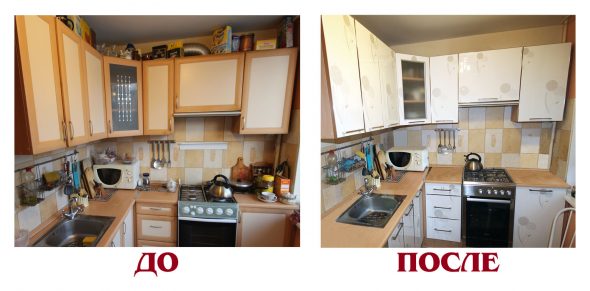
To transform kitchen furniture, you don't need to invest much, just buy some paint. Painting a kitchen set is not a difficult task. If you've never done it before, you can easily handle this job.
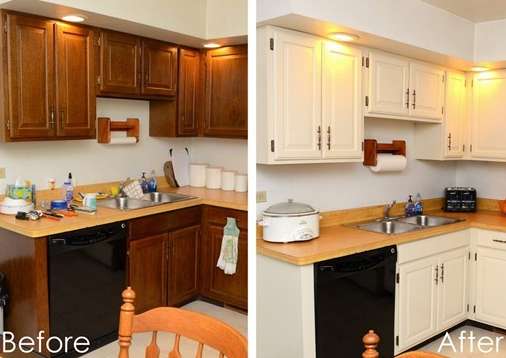
This type of furniture renovation is the most common option. You don’t need to be an expert or have a lot of experience in this field. The method is very economical, but the result will exceed all expectations. Painting will take a fairly short time, without much effort.
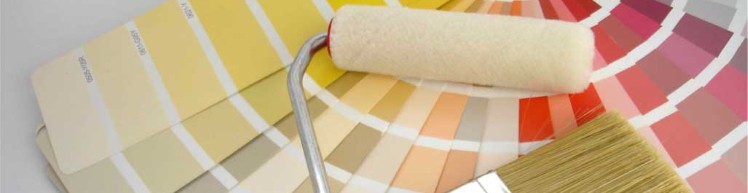
Choosing a color scheme
So, if you have decided to repaint your kitchen set and have decided what color it will be, be prepared for the fact that you will have to change the textiles on the windows and the upholstery material of the upholstered furniture. You can choose one color or several, which is becoming very popular, it is important that the color scheme harmonizes with the overall interior. Those who have taste will find it easy, but for beginners in this business it is a little difficult.
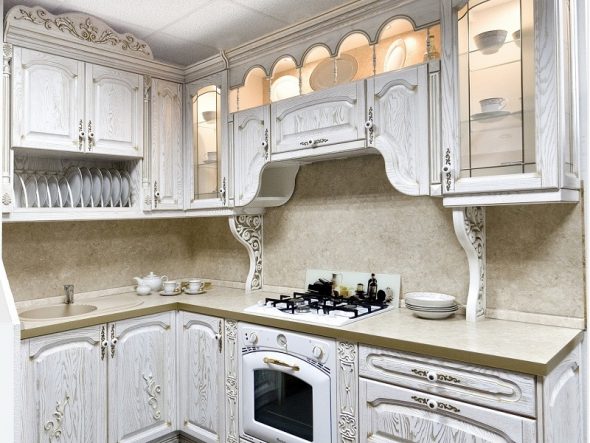
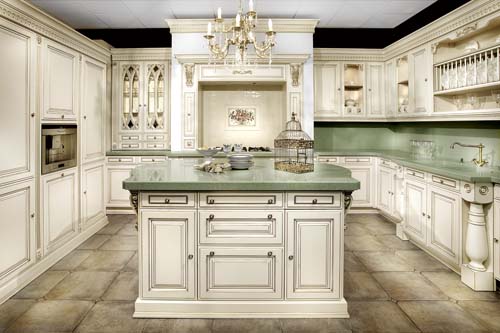
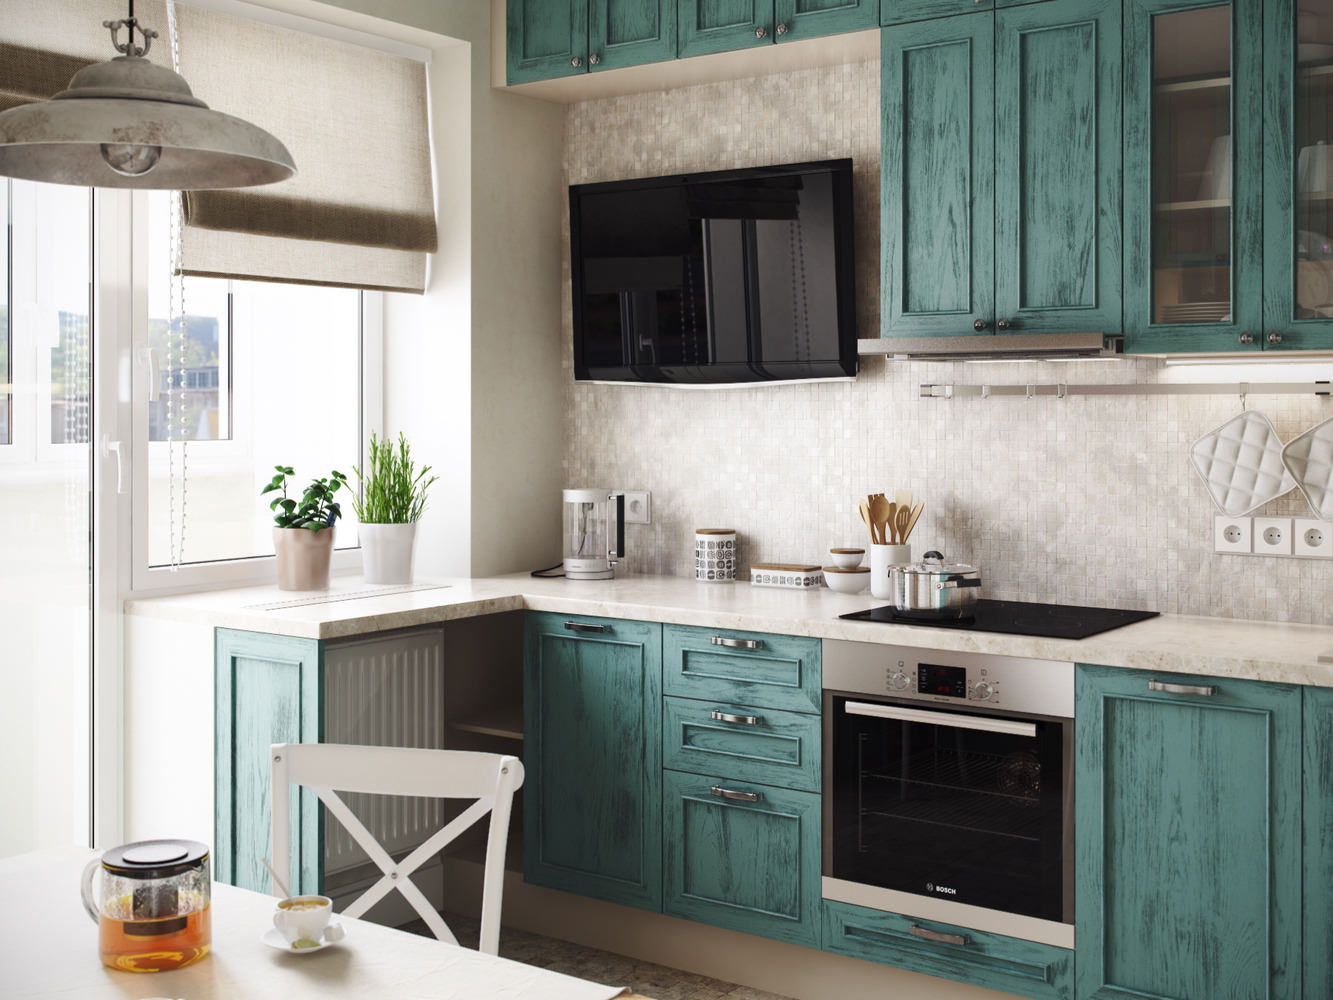
Neutral solution. This includes all varieties of beige, as well as brown, black, gray and white. It is quite difficult to make a mistake when combining these colors, you just need to carefully combine dark tones. The most common option: upper cabinets are light, lower ones are dark. This combination is more suitable for classic interiors.
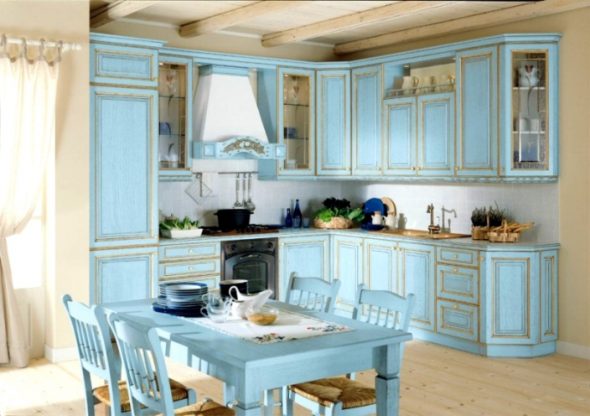
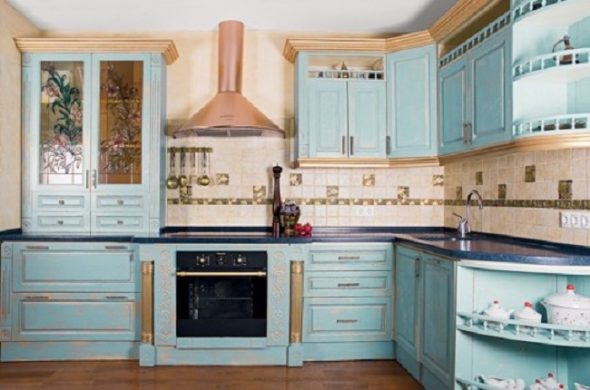
It is important to remember that it is better not to combine only dark or only light colors. Do not forget about bright colors. So, black can be combined with red, light green, mint, pink, beige, white - with light blue, lilac, blue, beige - with red, lilac - with cappuccino color, burgundy - with cream, white, wood color, etc. Two bright or two neutral colors are an interesting option, here you should rely on your taste. The theme of vegetables and fruits will look no less interesting.
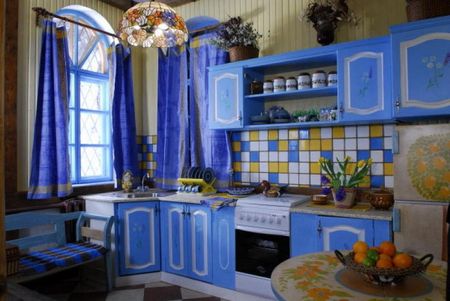
If you want to have an original interior, combine contrasting colors - yellow with lilac, orange with blue, blue with red or pink. For a calmer atmosphere - orange with red or yellow, green with yellow or blue with green.
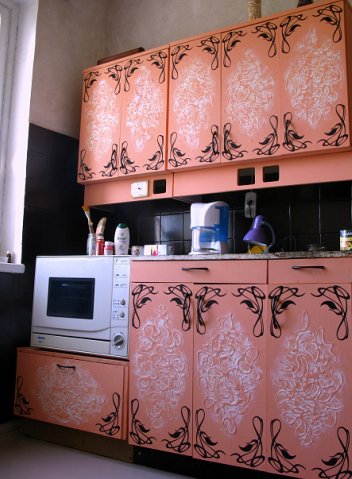
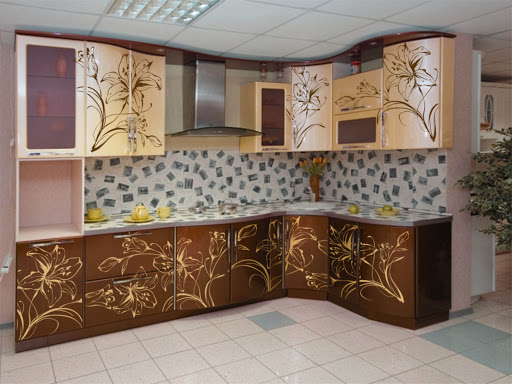
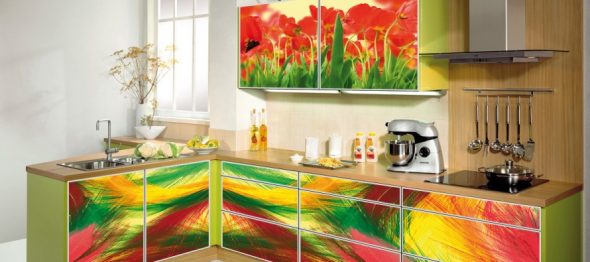
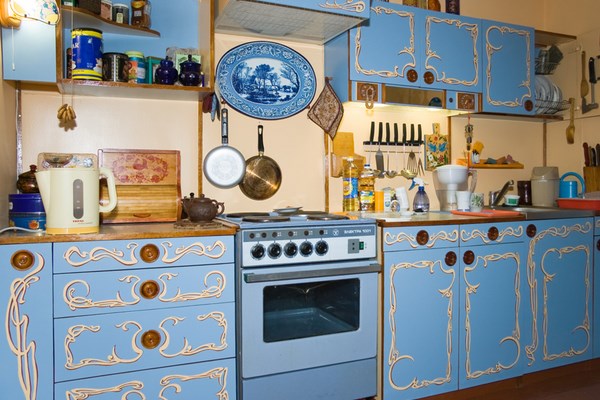
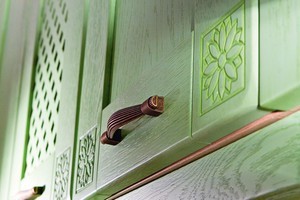
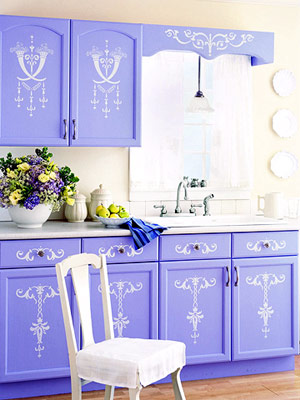
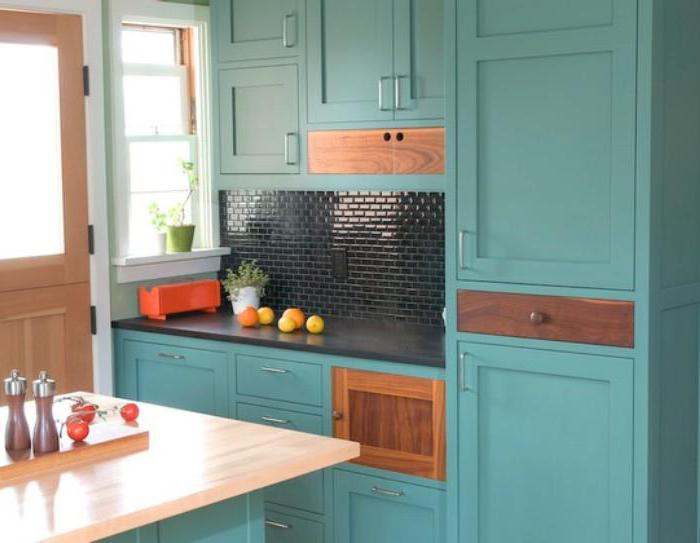
Nowadays, it is common to use several colors at the same time. For example, a colorful detail can “dilute” two calm shades. You can use a different color for each individual facade – your kitchen will end up in a retro style. The main thing is a competent approach, and simple painting will give a new life to an old set.
Choosing paint
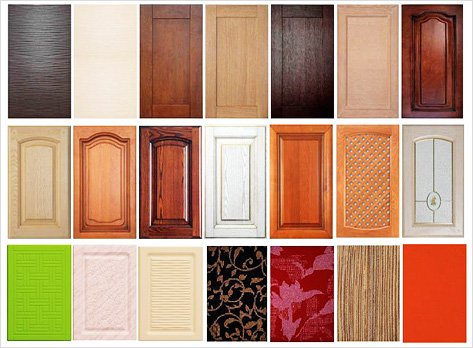
Today, you can see a huge range of paints in stores. But not all of them are suitable for kitchen facades. You should not use water-based or oil paint - they will lay unevenly and leak. Acrylic paint is also not recommended - it will not tolerate moisture and various cleaning agents.
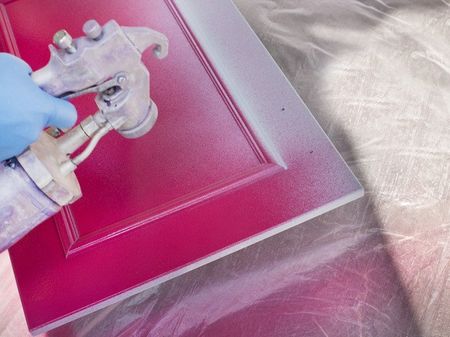
The best option is aerosol alkyd paint in cans or car enamel. This material is applied evenly, without drips, is reliable, durable, easily tolerates humidity and temperature changes, and is available in a variety of colors.
Necessary materials
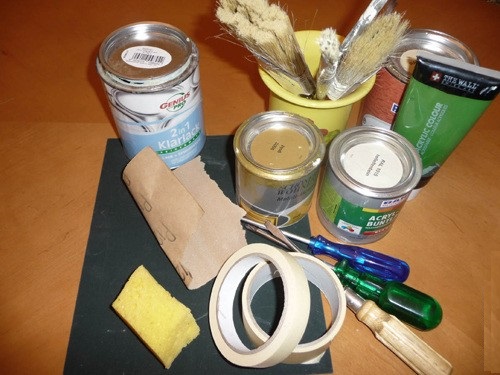
The materials we will need are:
- spray paint,
- sandpaper,
- wood primer,
- solvent,
- putty,
- gloves,
- protective glasses,
- masking tape,
- glaze for decorations,
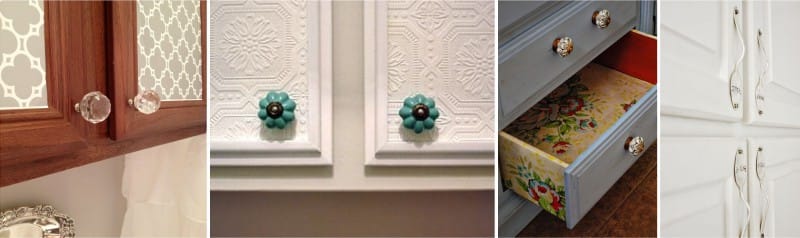
- fittings (if you decide to change the old one),
- oilcloth or film to prevent drips on the floor.
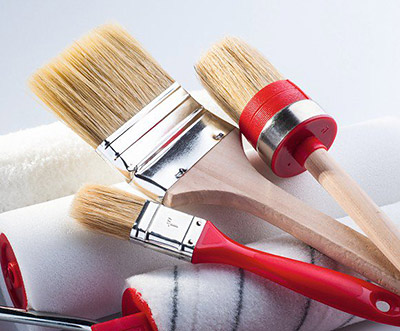
Necessary tools
What tools will be useful:
- roller or brush,
- grinding machine,
- construction hair dryer,
- screwdriver or screwdrivers,
- spatula,
- paint tray.
Step-by-step painting algorithm
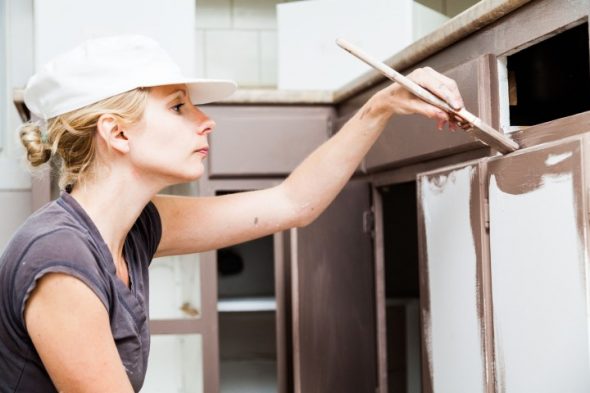
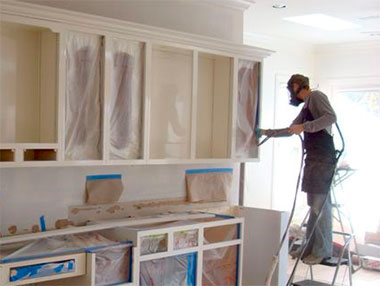
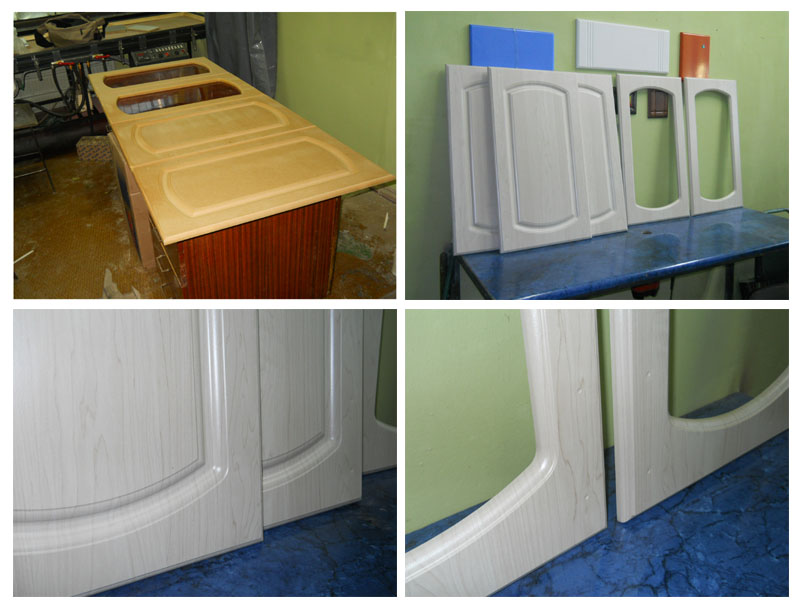
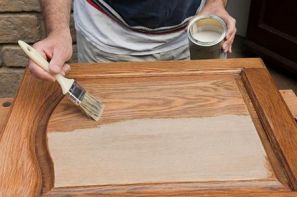
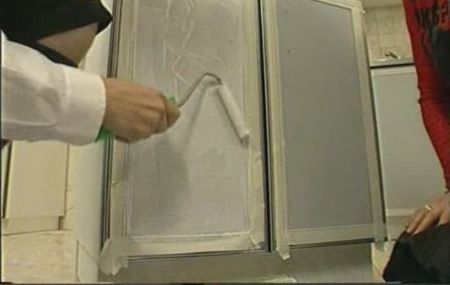
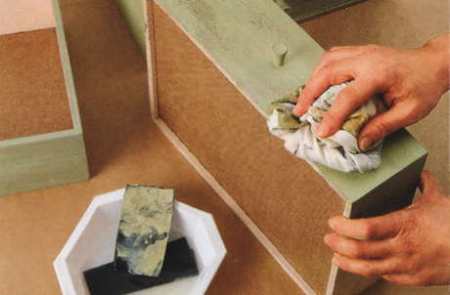
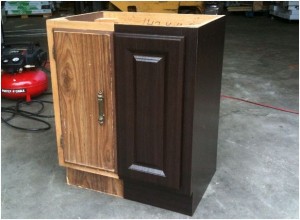
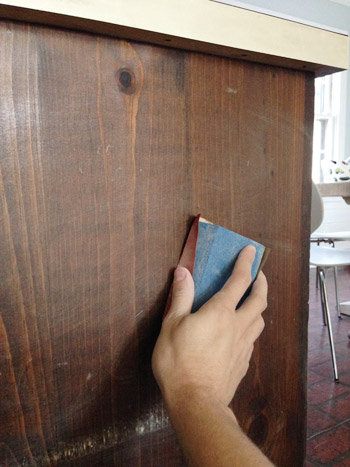
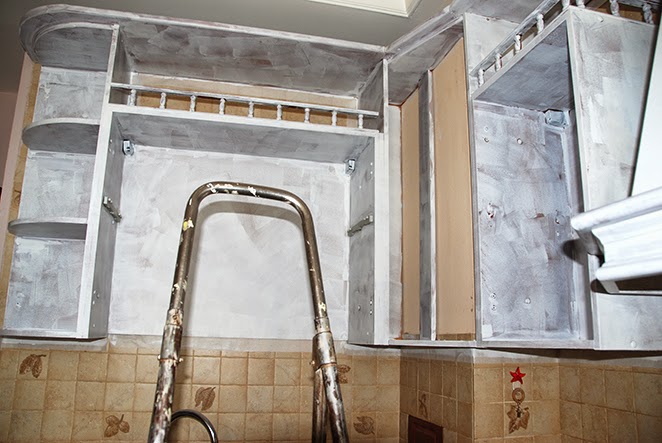
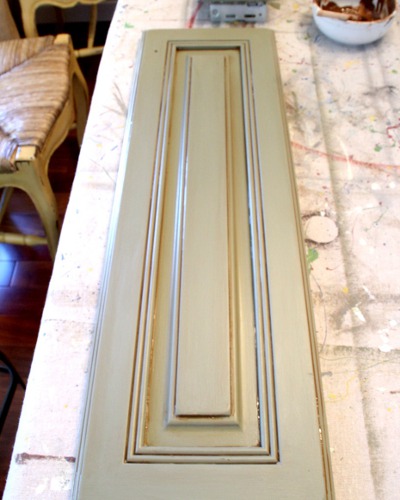
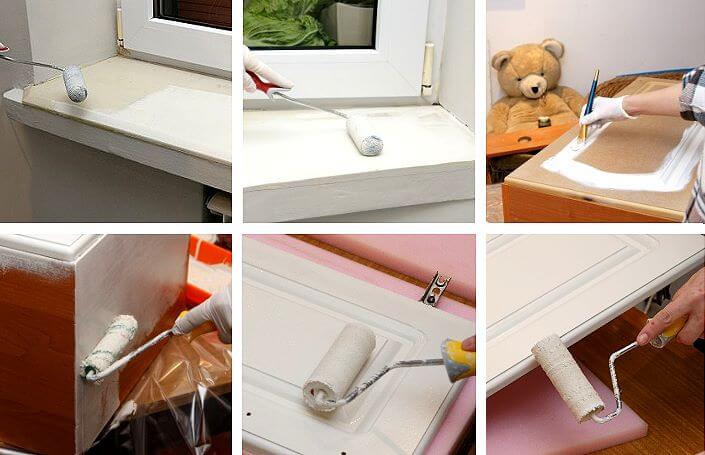
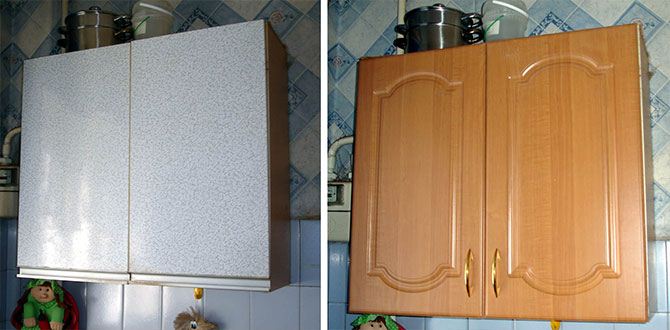
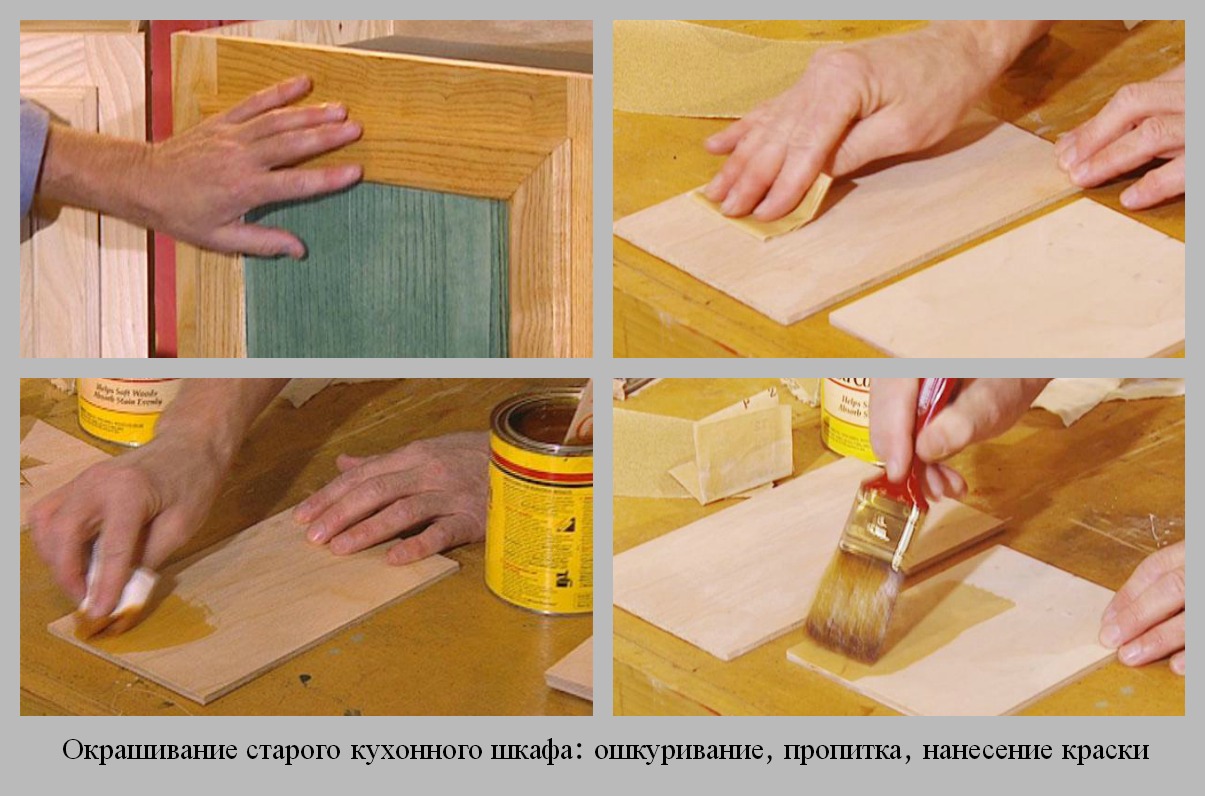
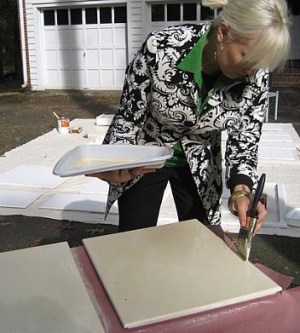
How to paint a kitchen set? First, you need to remove the doors from the cabinets, all the fittings, stained glass or simple, mirrored frames. If there is a PVC film on the surface, remove it with a building hair dryer. We approach this stage of the work very carefully so that not the smallest piece remains. Then we clean it from dirt and dust. Now we need to sand the surface using fine-grain sandpaper or a grinding machine. The plane should be smooth, carefully processed, without minor defects. In the same way, we remove old paint. In addition, you can use special liquids for removing paint and varnish. Wipe the surface again, remove dust, it is better to use a brush so that the dust does not clog the cracks.
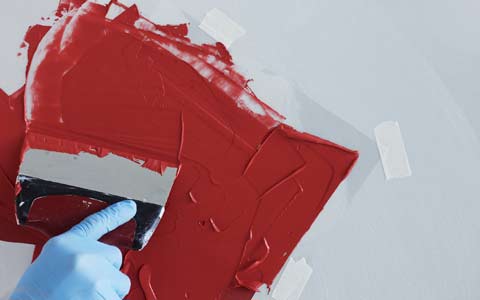
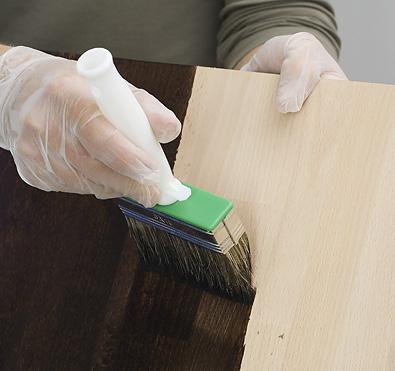
The next step is to treat the surface with a degreaser. Let it dry, prime the surface using a wood solution. Leave it until it dries completely, ideally for 24 hours. To completely remove all the unevenness, apply putty. After drying, you need to sand it again. After the surface is completely in order, we start painting.
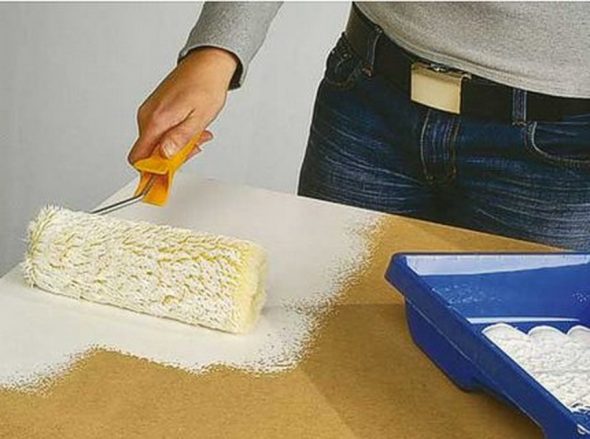
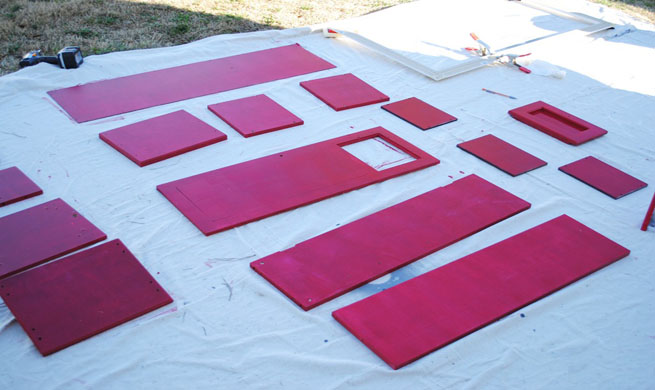
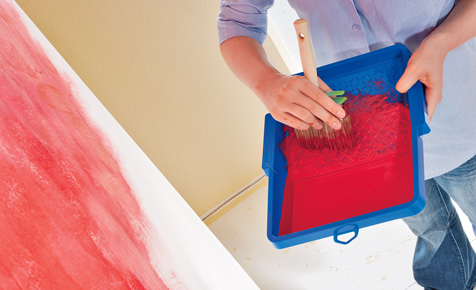
For perfect painting, apply paint by moving the brush or roller in one direction, no need to hurry. If you use a series of tones, seal the borders with masking tape. Of course, spray painting will be neater. Here you need to remember that during work, some of the material will spray to the sides. Therefore, it is necessary to cover everything around with film so that the paint does not get in. For a more saturated color, you can paint again after the first layer has completely dried.
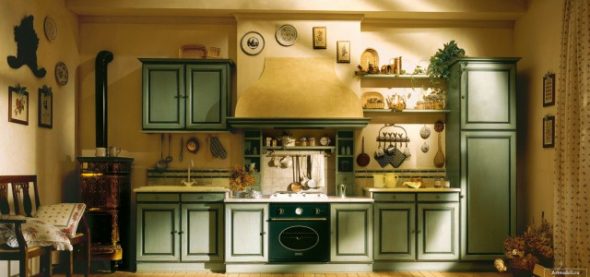
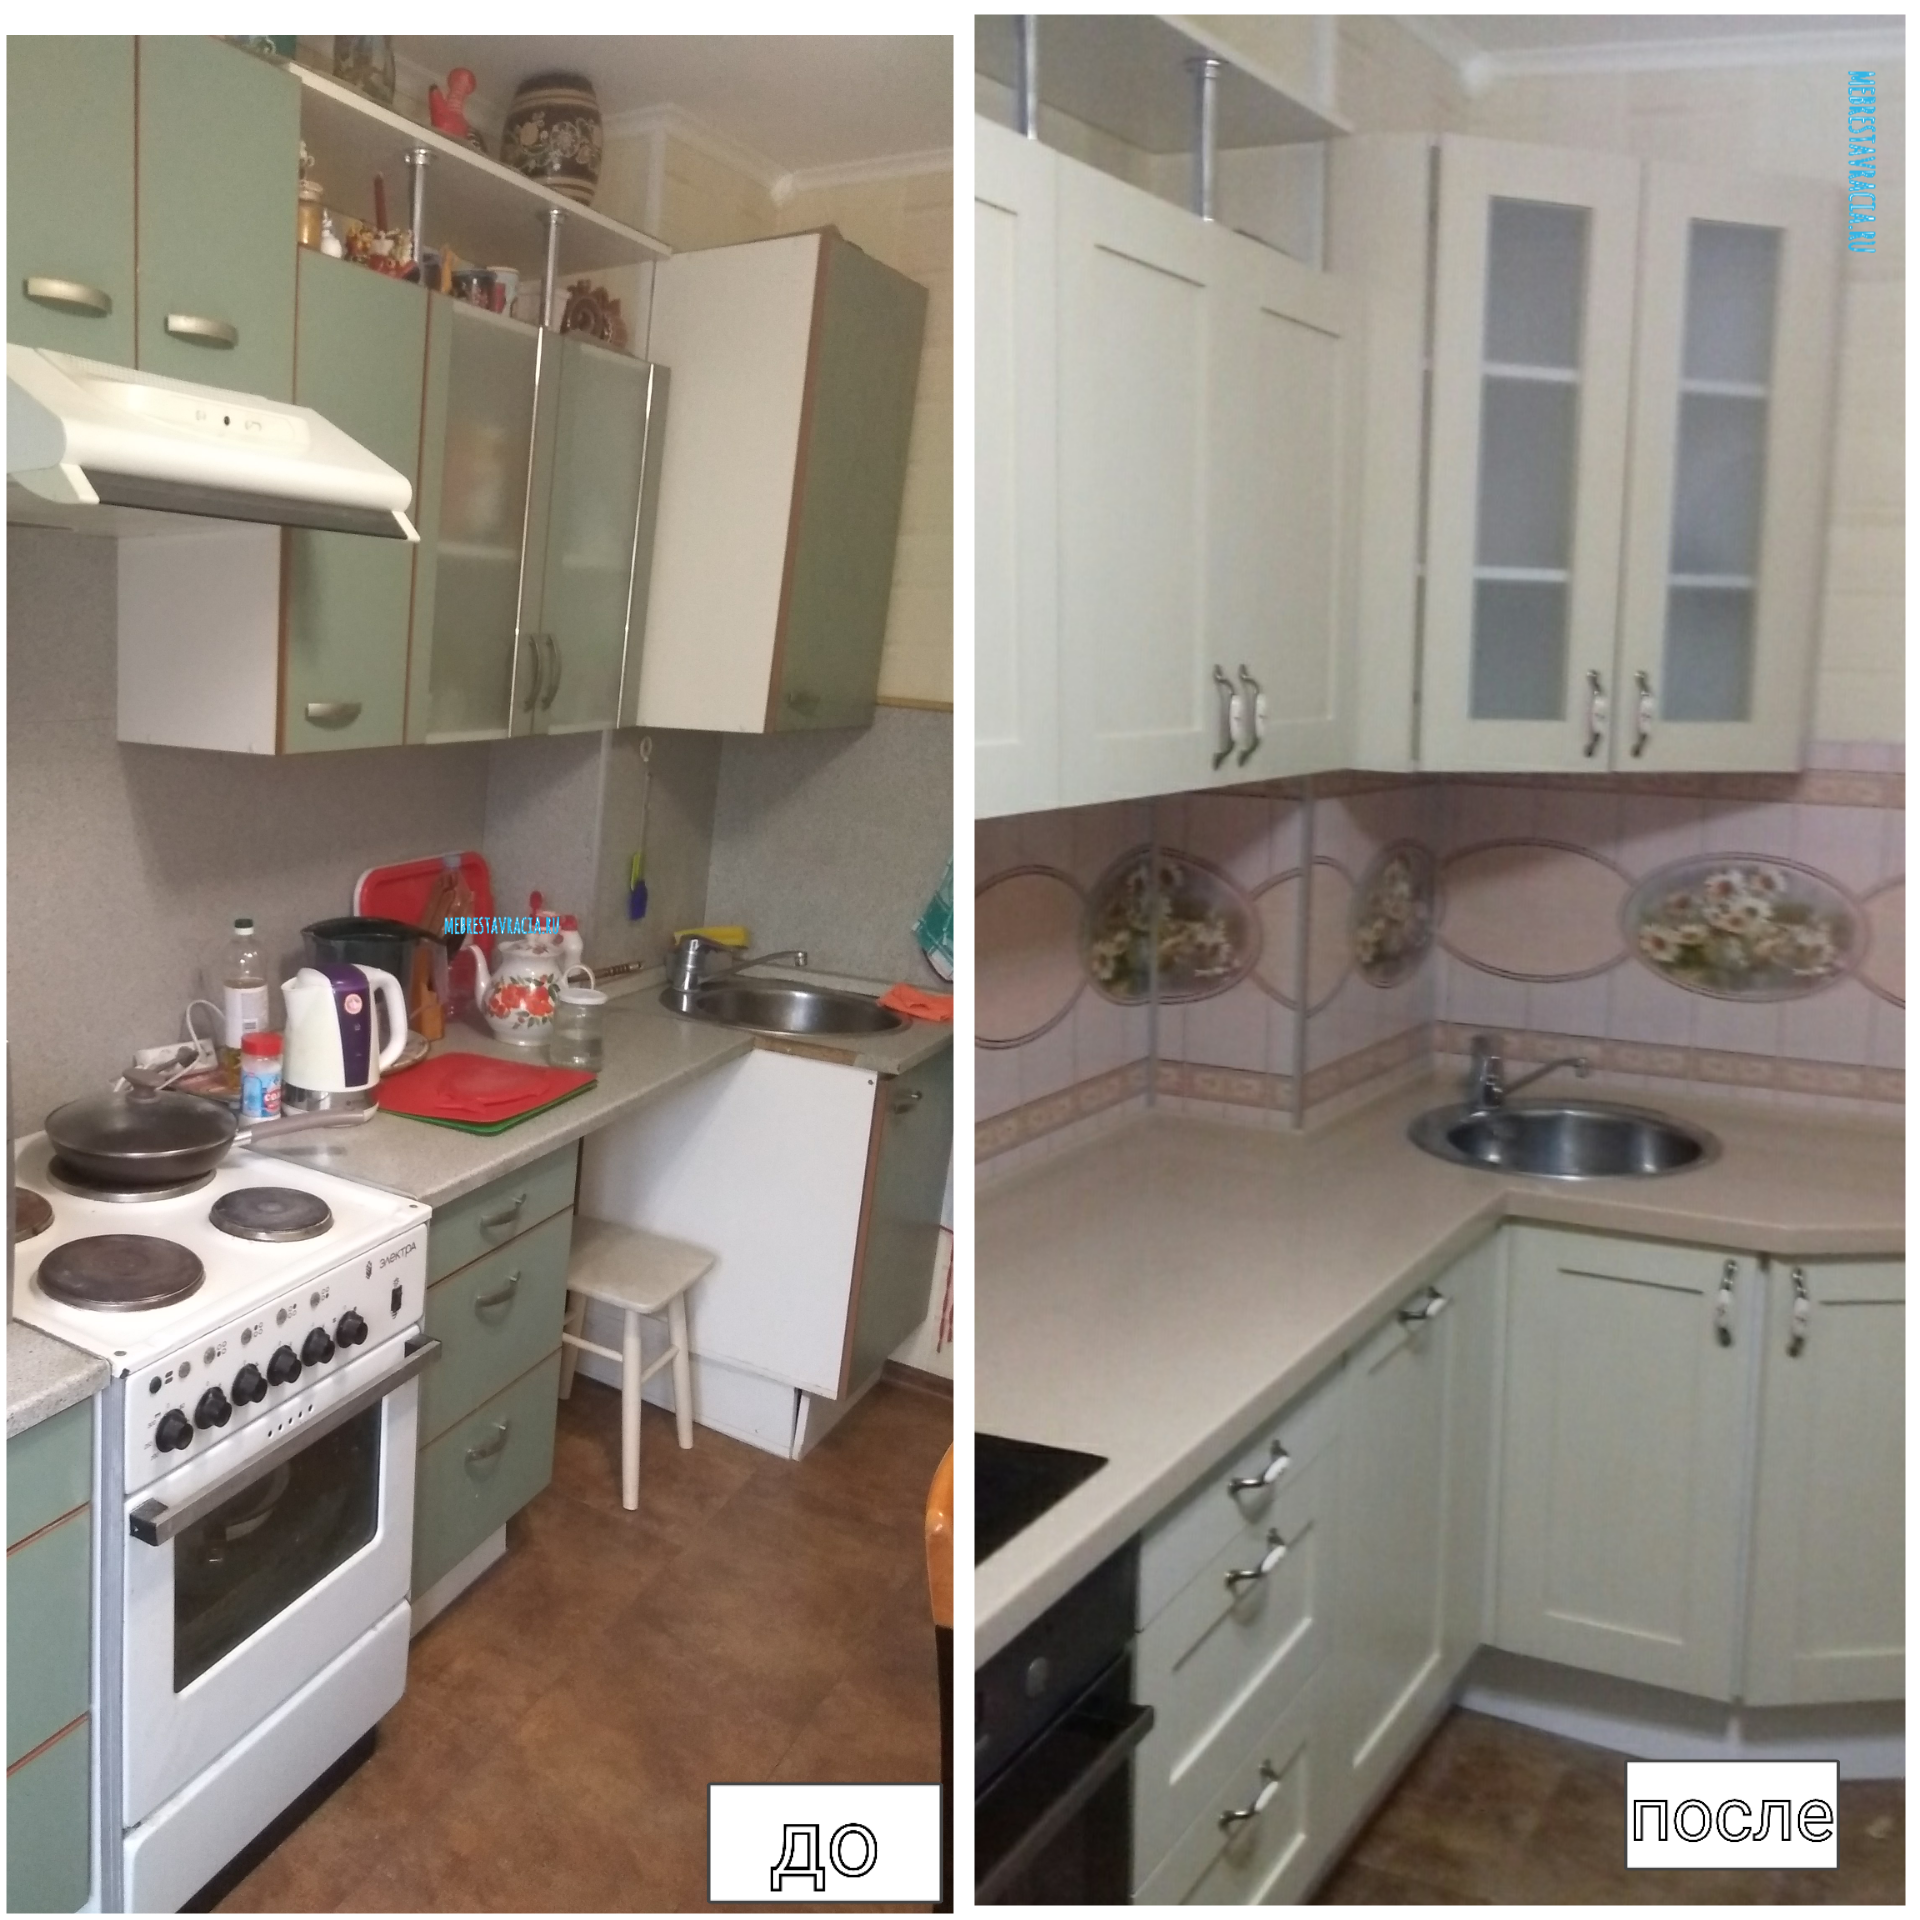
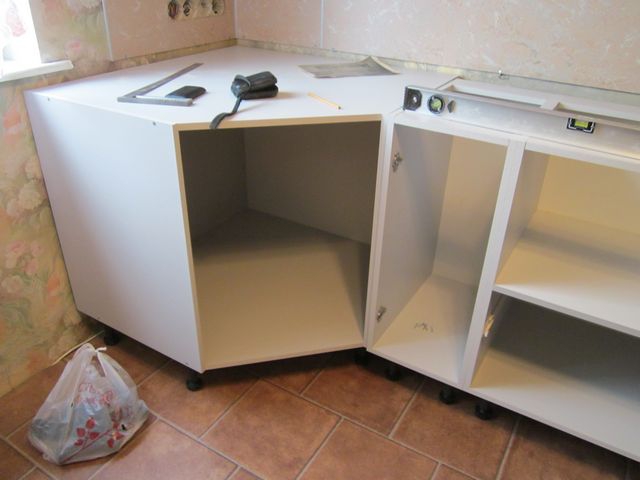
After all the work has been done, we attach the fittings, insert the glass, hang the cabinets. That's how easy and simple it was to get an original kitchen set, which we reconstructed ourselves.
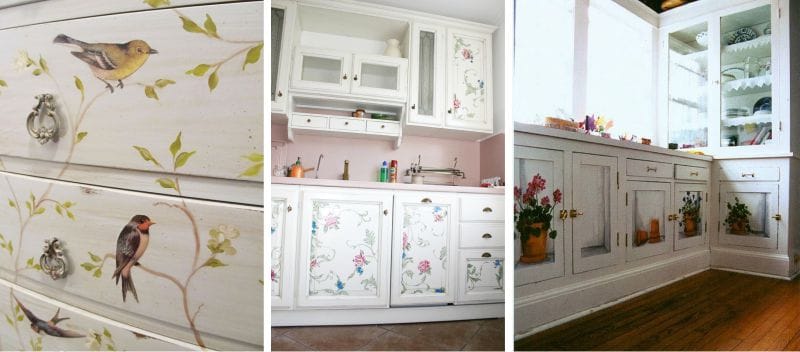
The final stage is decoration
Many people want their kitchen to be unique and comfortable. Not everyone has the opportunity to change the kitchen set to a new one. It is best to update the furniture that is unpleasant to the eye with the help of decoration.
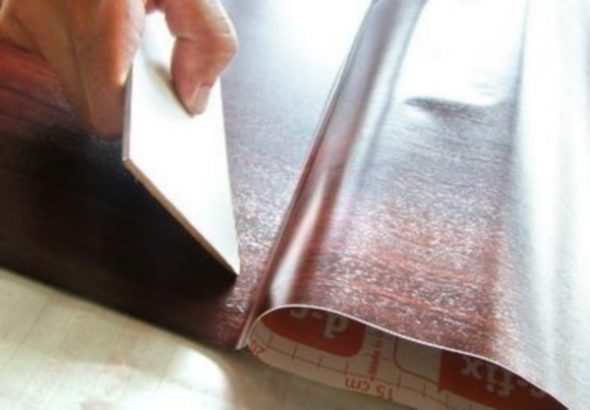
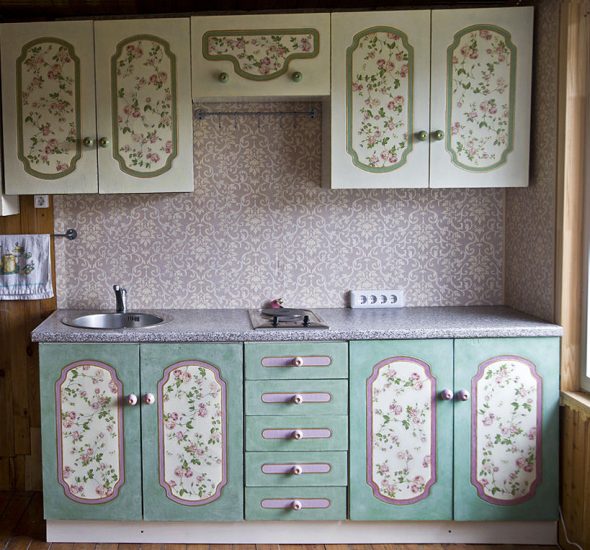
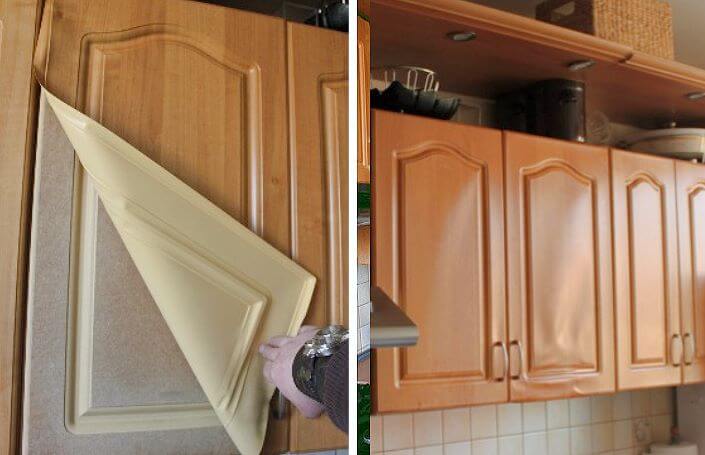
In addition to painting, you can tidy up the facades with self-adhesive film, the choice is very rich - a variety of colors, various patterns imitating wood. The material is applied to the treated surface and leveled with a special spatula. If bubbles appear during the work, they are pierced and pressed to the surface. If the film is glued crookedly, with "wrinkles", remove it and glue another piece.
If you don't want a film, use photo wallpaper. The surface is pre-treated - sanded, primed. After complete drying, stick the photo wallpaper. Then cover with varnish to protect the surface.
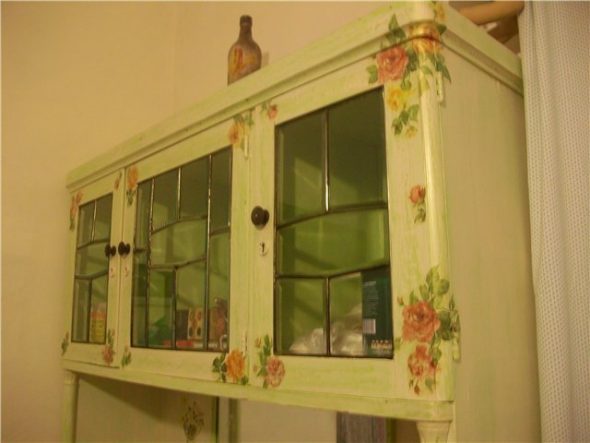
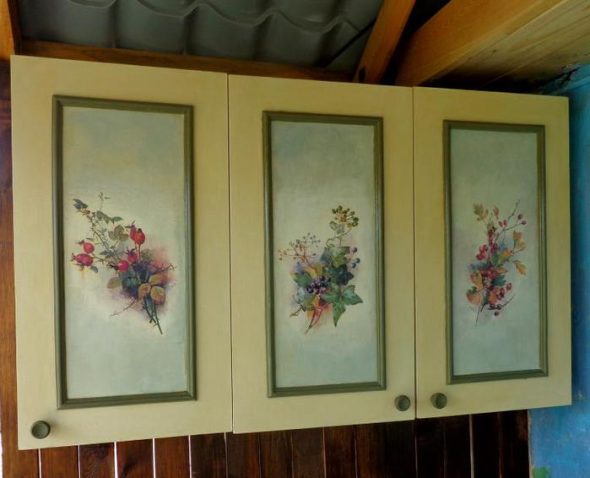
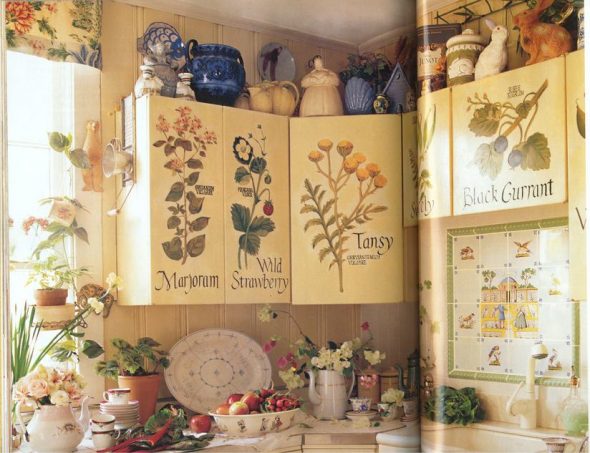
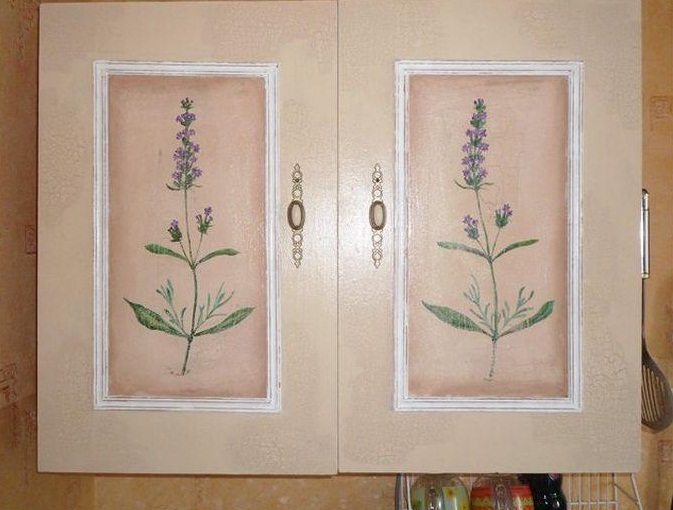
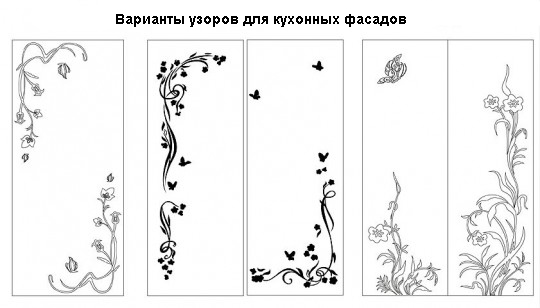
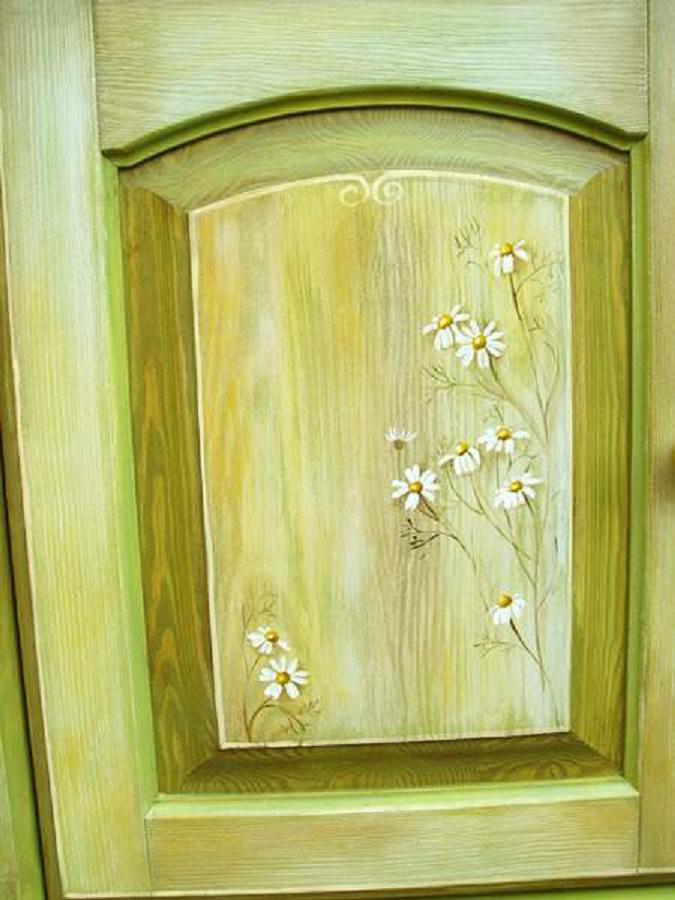
If you want an original kitchen set, use decoupage. Here, decoupage cards or napkins with a pattern are used, you can take various pictures cut out of magazines, print out some picture on a printer. Place the images on the facades, glue them with PVA, and leave until completely dry. Finally, cover with transparent varnish in several layers.
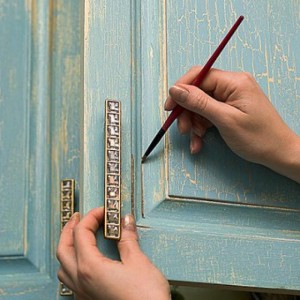
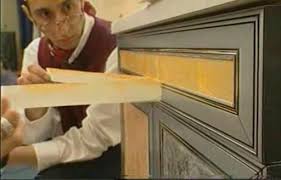
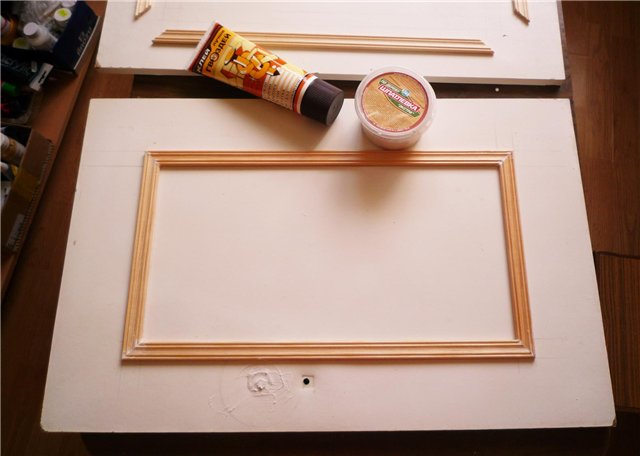
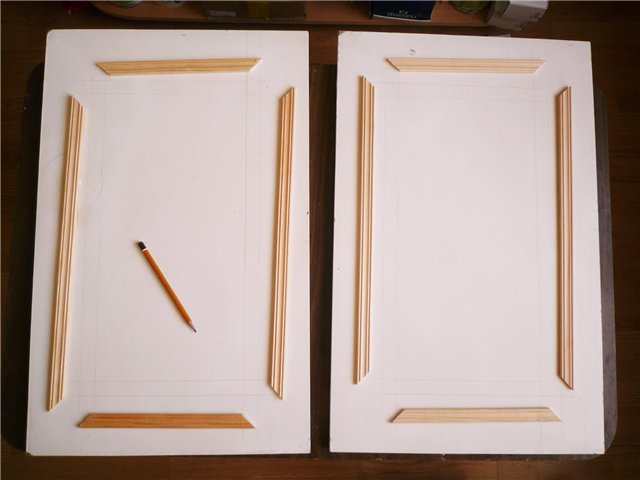
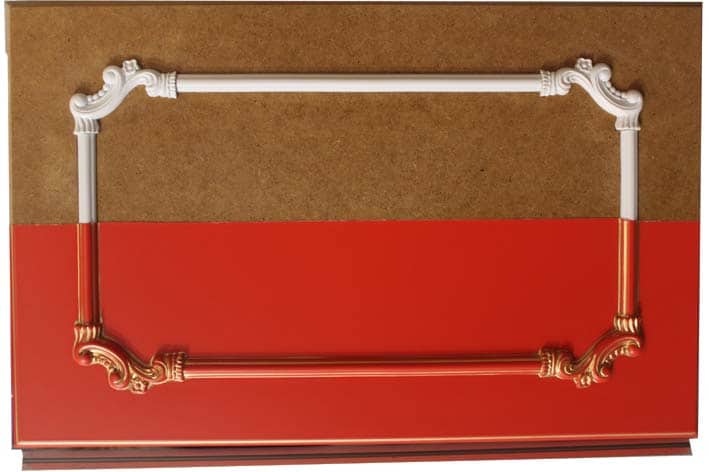
You can add variety by gluing mosaics, tiles or decorative baseboards – moldings. Details of the required length are glued to the surface, forming a frame.

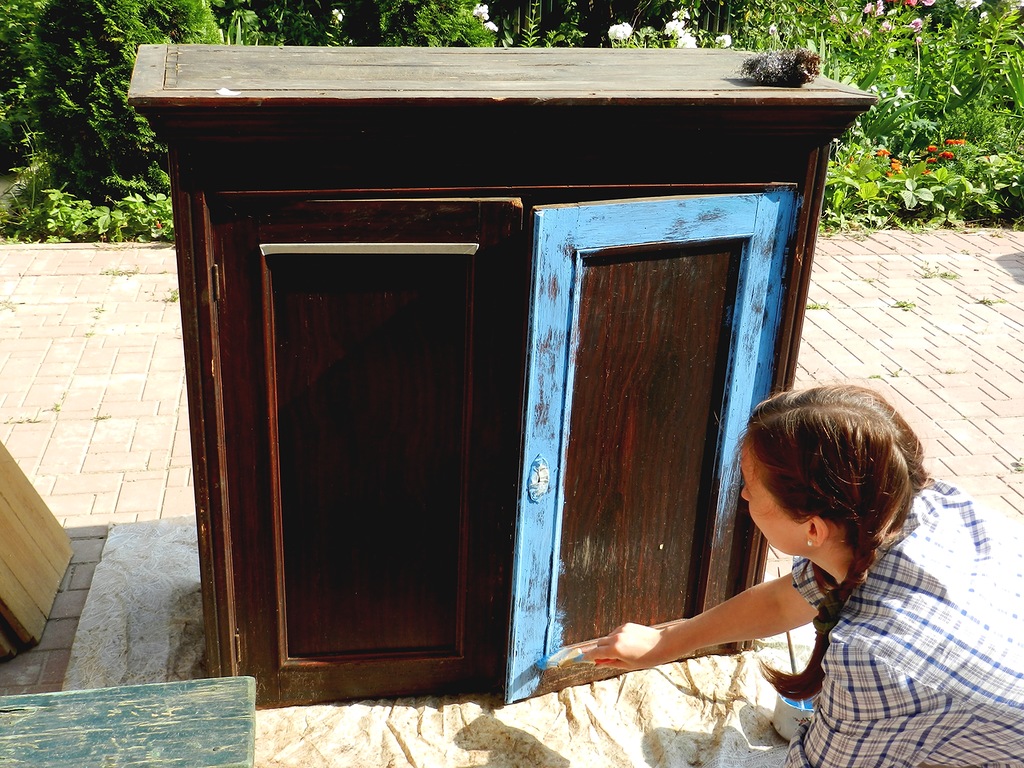
You can choose any method, in addition to restoring the set, you can update the dining area by replacing the upholstery on the chairs, stools or sewing covers for them. You can also apply an image to the surface of the table using the decoupage style.

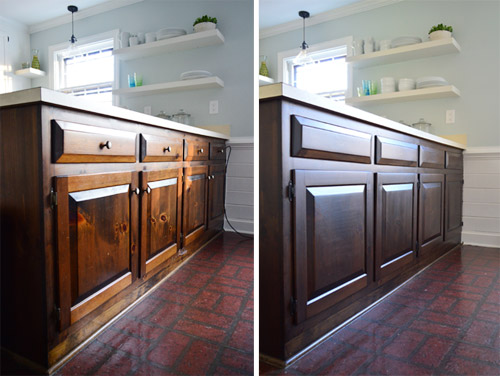
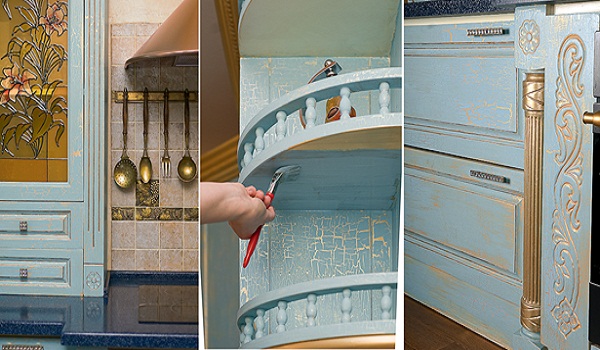
How to age wood
This method of working with wood is quite common. Designers use it when restoring furniture, in interior planning. You can age wood yourself, and your plain furniture will look completely different, even more advantageous than factory-made. How to age wood at home? Here are some methods, simple but highly effective.
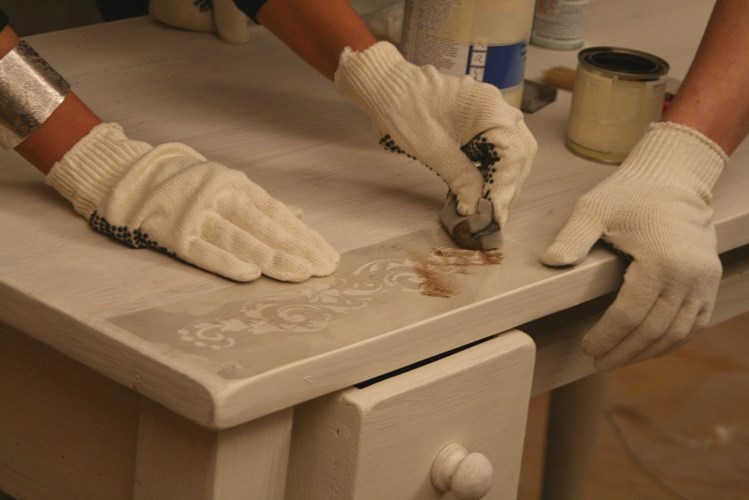
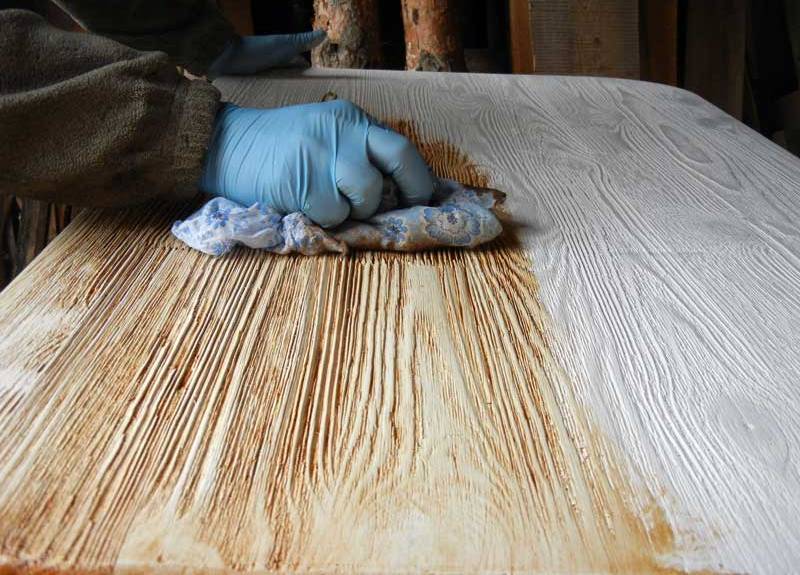
A special method of aging is brushing. Here, using a metal brush, soft fibers are removed from the surface. The brush should move exactly along the line of the fibers. The pressure on it is produced evenly. Thus, a pattern is obtained, the texture of which can be increased by tinting. The next step is to sand the surface. Upon completion of the work, remove dust and sawdust. Now we will tint, using the Belinka product in a dark shade. Apply the tint with a brush or roller. After a few minutes, very carefully remove the outer layer of paint with a sponge, thus revealing the wood pattern. Let it dry completely, apply a transparent varnish.
This method of aging and subsequent painting is used to decorate large parts of the interior, for example, ceiling beams.
1. Painting in several layers.
This method is used to restore furniture, and the result is a wonderful effect. Before starting work, the wood must be scratched, chipped, dented, worn, and even wormholes must be added. This will require certain tools. In order for the result to be obvious and look authentic, this must be done, but in moderation. Then take a dark-colored "Pinotex" tinting agent and apply a layer to the surface. Let it dry and sand it.
Apply the white translucent "Belinka" as a second layer, but so that the dark base is visible. Leave it to dry, then take a metal brush and, moving along the fibers, form a textured pattern. Dilute the white glaze in half with solvent and apply it to the surface again.
2. Aging by open fire.
Here they use a gas burner, the wood is treated with fire, the wood becomes saturated in color, then they go over it with sandpaper, revealing the pattern. Finally, they apply a protective varnish.
3. Using vinegar and steel wool.
This method is based on the chemical reaction of the substances mentioned and how the color and surface of the wood subsequently changes. The result is magnificent.
4.Can be used craquelure technique.
With this method, you will not only age painted furniture, but also give it a cracked look. Of course, these are not all the ways to age wood. In fact, there are more sophisticated techniques. We have provided the most accessible ones.
There are various options for how to restore furniture. Use all your imagination and skill, and you will achieve the desired results.
VIDEO:Kitchen renovation. Part 2.
50 photo ideas on how to paint a kitchen set


I painted the ceiling in the kitchen with Dulex paint, the result is eye-catching. It masks all the unevenness on the ceiling, easy to apply. I really liked the matte finish and it looks decent.
I'll try