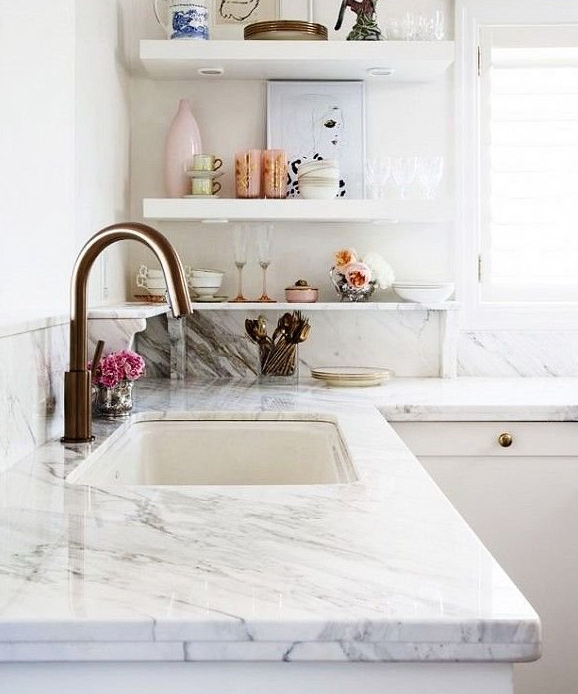
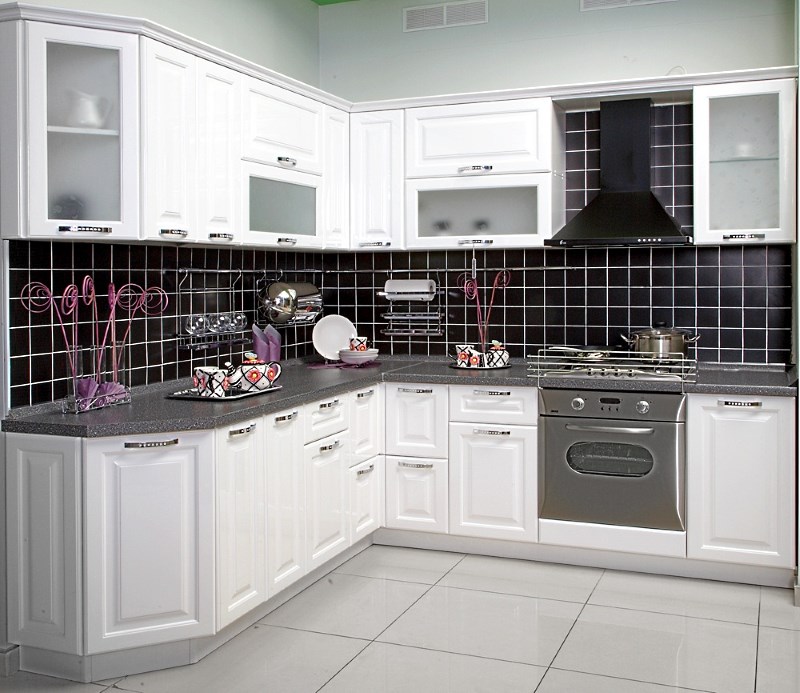
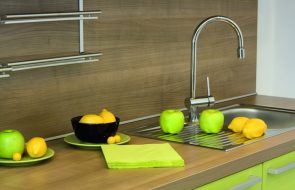
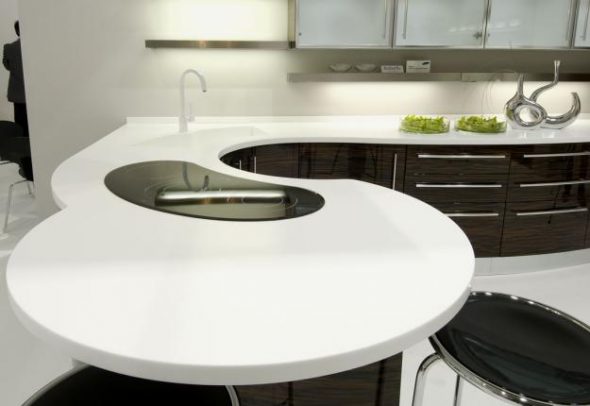
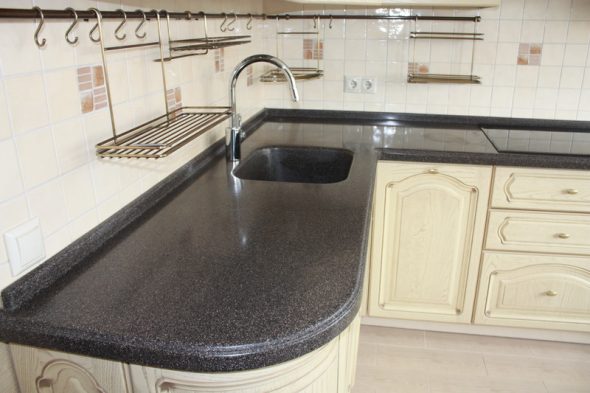
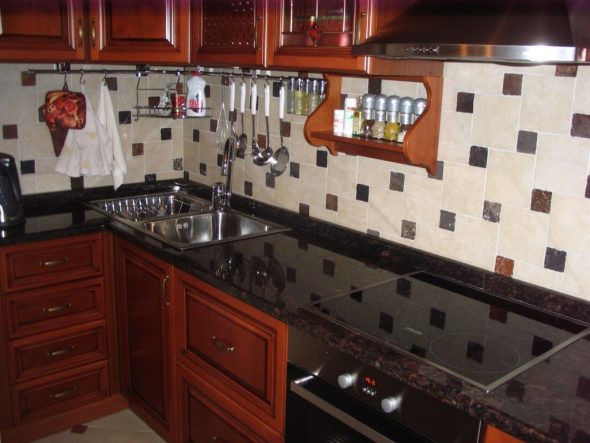
The countertop is the main attribute of any kitchen. It takes on the main load during any kitchen manipulations. But iftable top surface If your kitchen unit becomes uneven and covered with permanent stains, you don’t have to buy a new one right away.
Content
Do you need to make a new countertop yourself?
The tabletop of an inexpensive kitchen table is made of laminated chipboard, which suffers from typical disadvantages:
- Nit leaves greasy stains from cooking and scratches from knives;
- INthe vibration of a nearby washing machine shakes the table structure;
- Mabrasives quickly make laminate unusable;
- ChFrequent temperature changes at the point of contact with hot dishes lead to deformation and cracks;
- INthe lag that gets through the cracks leads to swelling, delamination and rotting of the chipboard;
- PPurchasing a new kitchen unit may require replacing the sink and hob surfaces.
You will avoid unpleasant consequences if you take it on make a tabletop with your own hands. And you will find that there is always a choice! You can come up with many beautiful and practical options. Here we will describe only some of them.
IMPORTANT! Measure the old countertop carefully and make a detailed drawing.
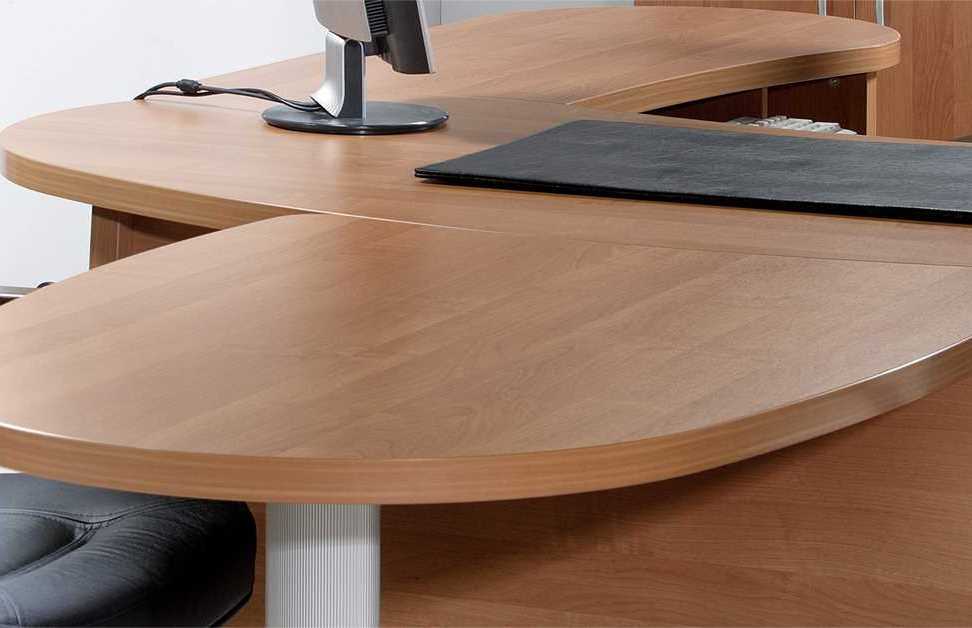
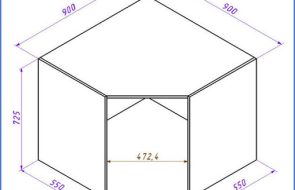
Think about the dimensions - the load on the kitchen table depends on this. There is no need to make the width countertops more than 60 cm, and the thickness should not exceed 5 cm.
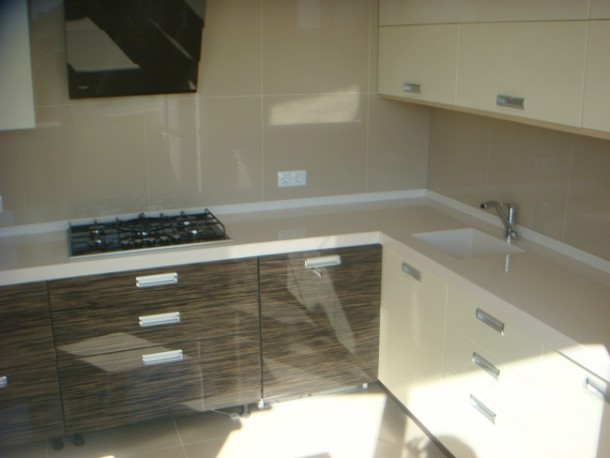
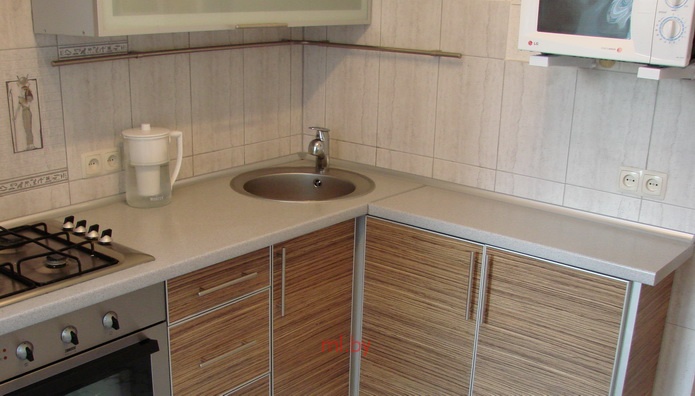
It is better to divide the corner tabletop into three sections, which are easy to make and install in parts:
- Zit is for cooking and hob;
- Umain area with a hole for a sink;
- ZIt is for dishes and accessories.
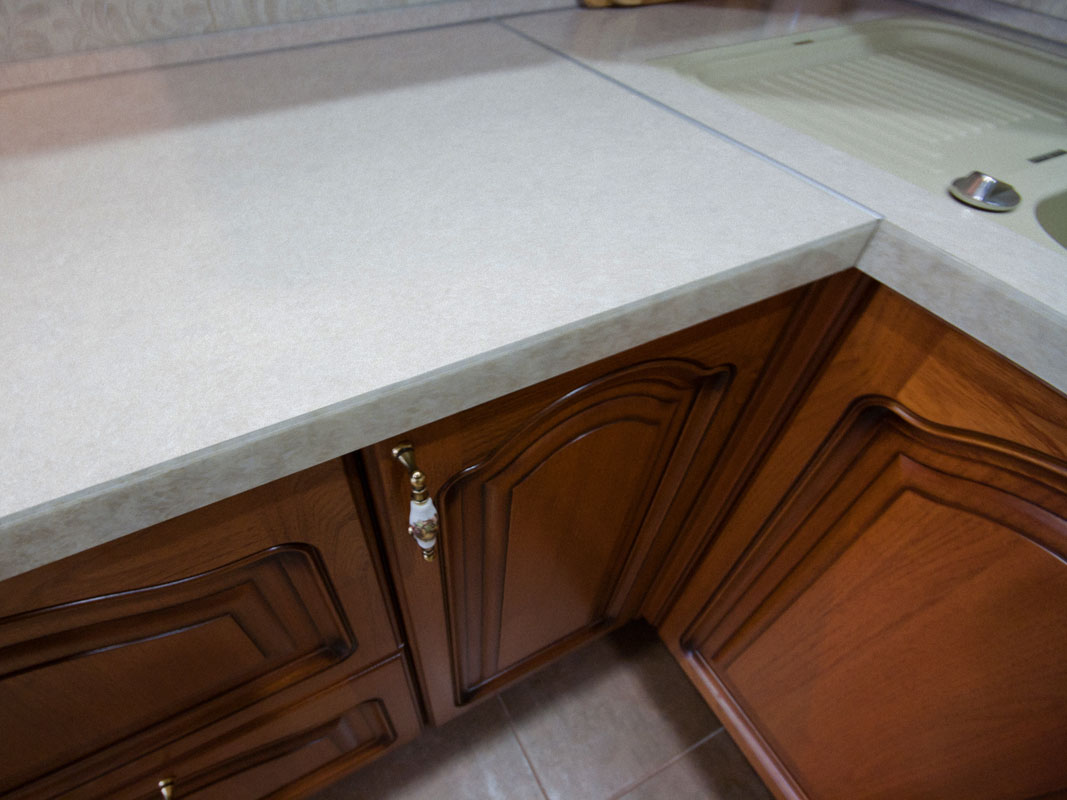
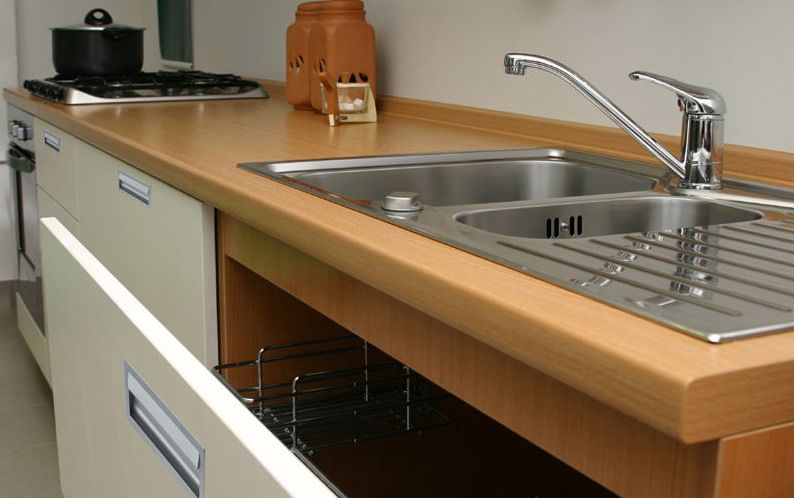
Don't forget to treat the outer ends. countertops. Concrete and liquid granite can be ground. For chipboard and ceramic tiles Molding would be more suitable.
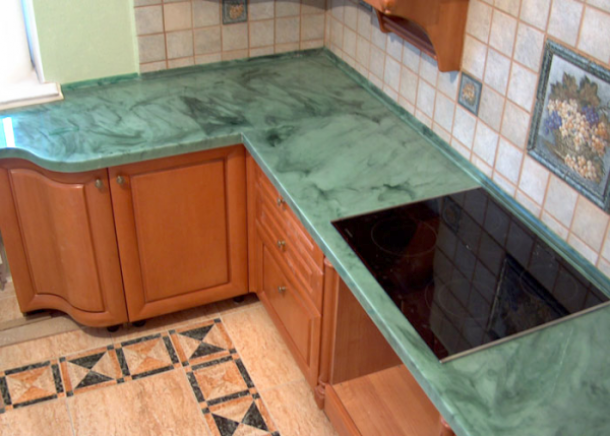
Concrete countertop
It is reliable and durable. If you try, you can give it the appearance of noble marble. To make it, you will need:
- Dboards or bars at least 4 cm thick of the required height for the sides of the formwork;
- Shthick sheet of chipboard (MDF), plywood or board;
- ABOUTbra or anti-adhesive compound;
- Mcrushed stone, sand;
- TOsolvent for giving concrete a marble texture;
- Dtwo abrasive discs – coarse and fine grain;
- Areinforcing wire with a diameter of up to 8 mm;
- WITHsilicone sealant;
- Aaluminum profile (molding) on the outer ends;
- Mmounting adhesive;
- WITHshock absorbers.

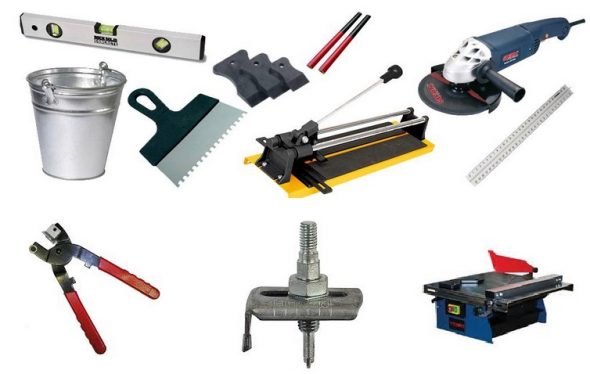
The following tools will be useful to you:
- Bolgarka;
- Shlifting machine with a power of 1 kW;
- Shscrewdriver;
- WITHconstruction mixer or small concrete mixer;
- WITHconstruction level;
- TOspruce (trowel);
- WITHpipes - several pieces;
- ShPatels - regular and serrated.

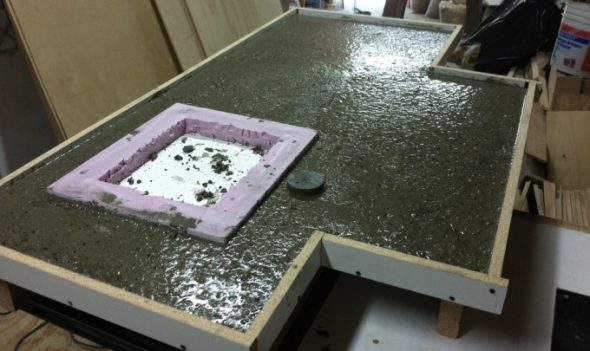
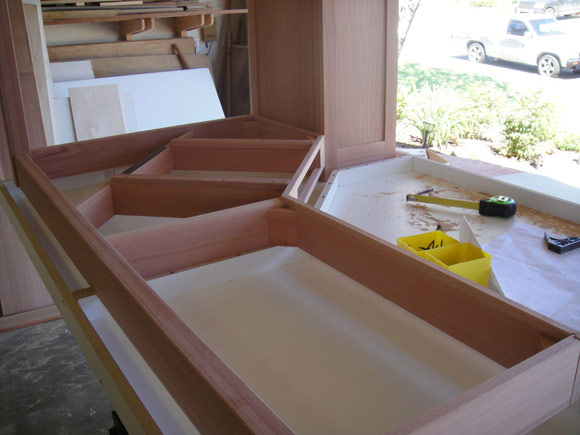
Select a chipboard sheet according to the overall dimensions. Apply a drawing to it countertops. Use screws and a screwdriver to build the sides. Fill the joints with silicone to prevent concrete from flowing into the cavities and the ends. countertops will be smoother. To prevent it from sticking to the formwork, lubricate the inside surface drying oil or anti-adhesive compound.
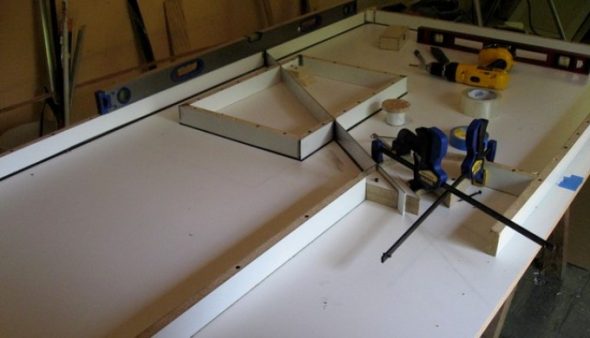
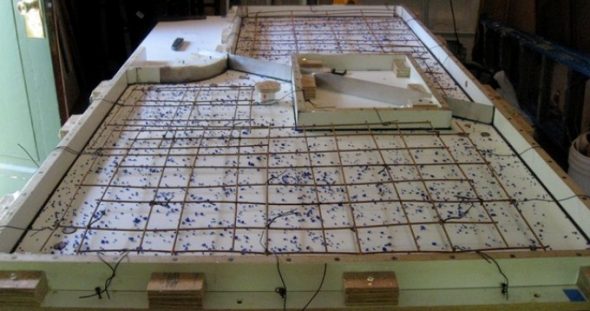
Make a grid with a 5x5 cm cell from wire. Its overall dimensions should have a gap of at least 1 cm from the inner walls of the formwork. countertops.
FOR YOUR INFORMATION! Instead of wire, you can use reinforcing mesh.
Prepare a concrete solution of the following composition:
- Celement – 1 part;
- Mcrushed stone – 2 parts;
- Pesok – 2 parts;
- Pplasticizer - it will increase the plasticity of the solution and the strength of the concrete after drying;
- TOsolvent (0.2 kg per 10 kg of concrete), pre-diluted in water.
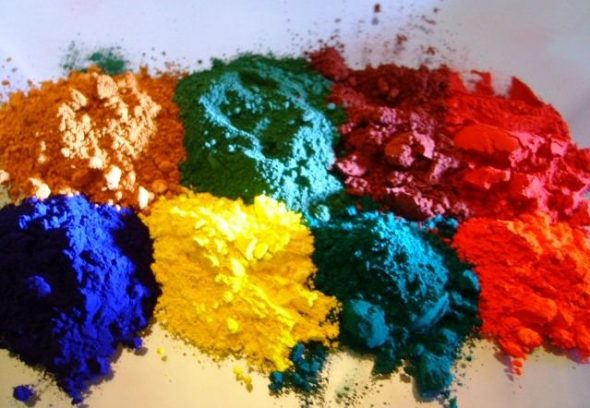
FOR YOUR INFORMATION! Use acid dyes - they are long-lasting and safe for humans.
Dilute the solution with water to the consistency of thick sour cream. Evenly fill the formwork to half the height. Lay the grate. Fill the remaining space with the solution. Remove the excess with a wide spatula and form a flat surface future countertopsCover with plastic wrap and leave to dry for 7 days.
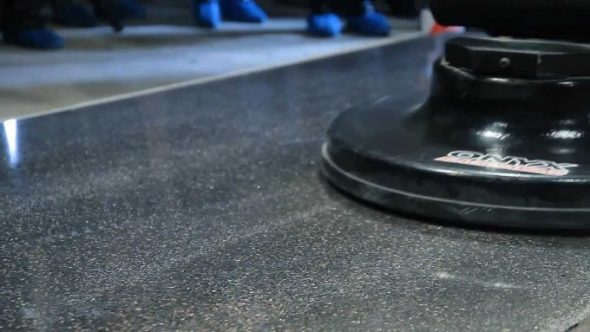
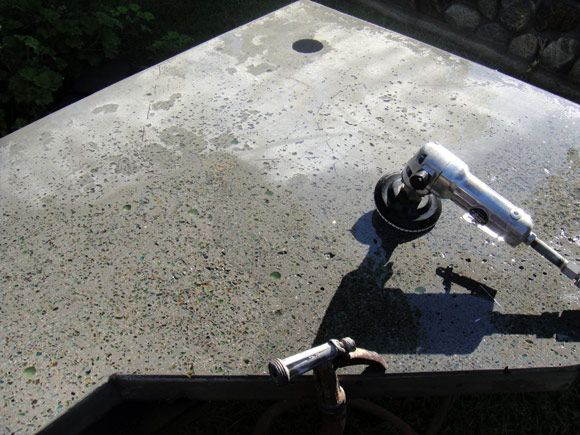
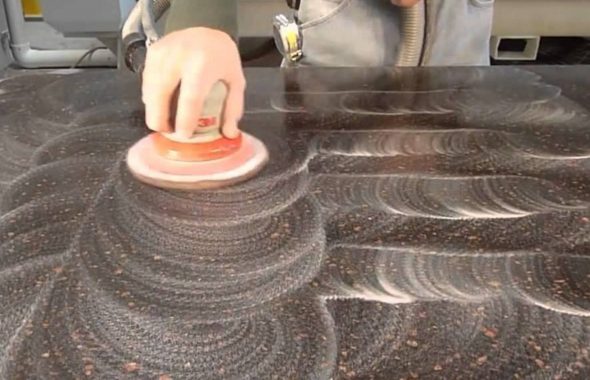
After drying, use a sander with a coarse-grained abrasive disc to remove any unevenness. Use a fine-grained disc to sand surface until smooth. Finally, use a special suede attachment at low speed to apply polishing paste.
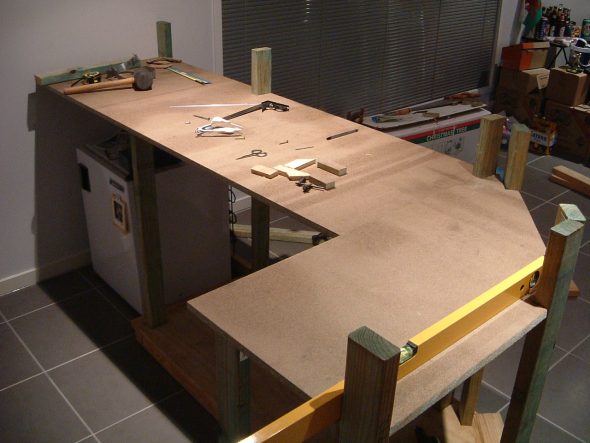
For the new one countertops use an existing kitchen table. After removing the old one, strengthen the frame with vertical supports made of bars. Glue them with wood glue to the inner surface, and after drying, screw them in with screws. Insulate the place where it adjoins the wall with a kitchen plinth.
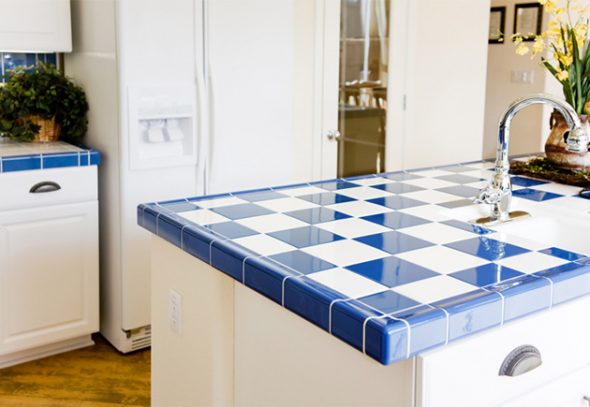
How to Make a Tile Countertop
A large and complex shaped product is difficult to move. An excellent solution would be to build it and cover it with tiles. tiles at the installation site.
The advantages of this approach are obvious:
- ABOUTthe deck is created on site countertops and upon completion is partially dismantled;
- Tore-intensive grinding is successfully replaced by gluing tiles tiles.
Necessary materials and tools:
- ABOUTblitz tile;
- Zseam filler;
- Mmounting adhesive;
- Pcasting glue.
- Pcasting cutter;
- SCHtiled tiles;
- BAngle grinder with a cutting disc.
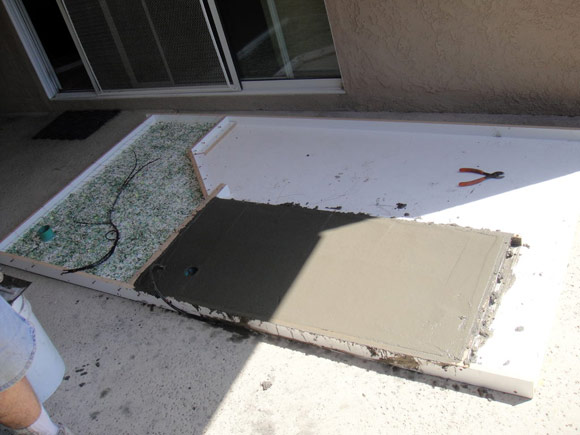
Move the table away from the wall. Remove the top. According to the drawing, cut out the prefabricated base of the new countertops from OSB. Prepare the wall for installing a tiled backsplash tiles. Using a level, mark a line along which the wall profile (for example, UD17) will be attached with dowels. Insert the base parts into the grooves of the profile countertops, which must also be connected to each other using a profile.
Mark out the places for the sink and hob in advance. Cut out foam plugs according to their shape and glue them to the OSB at the marking point. Screw in boards or pieces of plasterboard along the outer edge with self-tapping screws. For ease of surface leveling countertops install a beacon strip along its upper border, adjacent to the wall.
IMPORTANT! The total height together with OSB should not exceed 4 cm.
Create a concrete base as described above. After drying, remove the sides of the formwork, remove the foam. Use a jigsaw or grinder to cut out the holes marked on the OSB. Plan tiles. It must be laid from the wall to the outer edge. countertops. Edges protruding beyond the ends tiles cut it with a grinder or a manual tile cutter.
ADVICE! For precise cutting, use sand or water jet cutting.
Apply tile adhesive to the concrete in an even layer up to 3 mm. Install tiles, aligning the seams with crosses. After the glue has dried, grout the seams. Install the kitchen table frame back in place. The ends countertops Treat with sealant and cover with molding, gluing it with assembly glue and clamps.

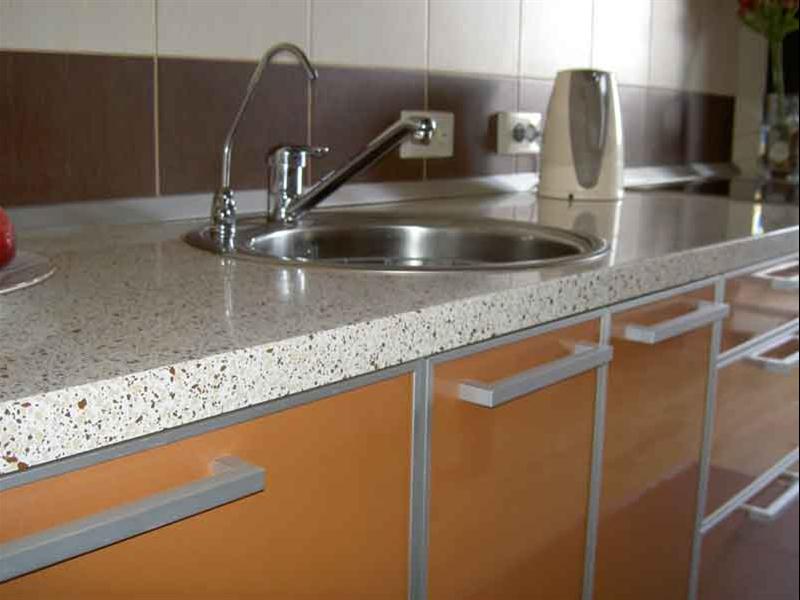
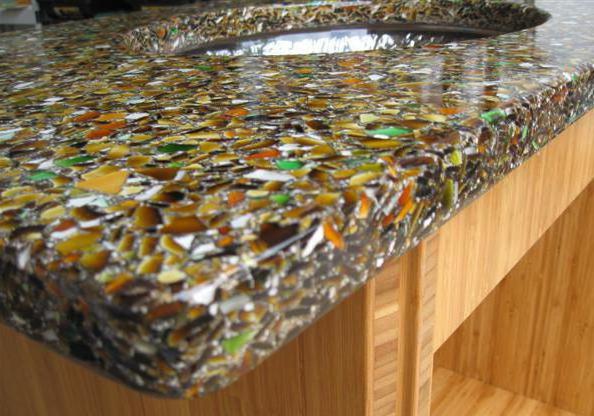
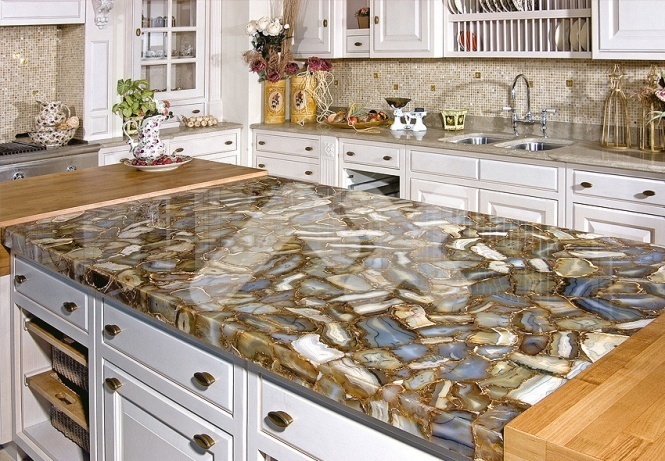
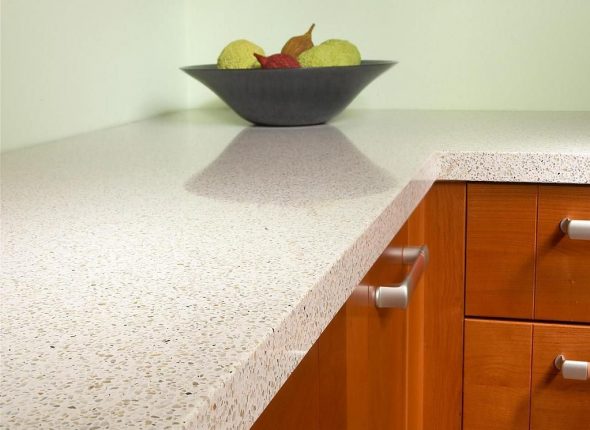
Made of bulk stone (granite)
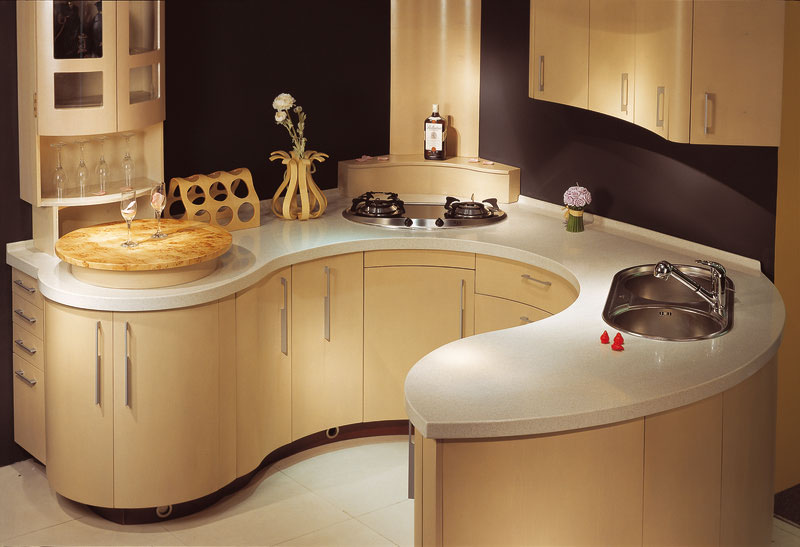
The manufacturing method is very similar to the creation countertops made of concrete. The main advantage of the method is that it is possible make a table top with a shape of any complexity, which will have an appearance indistinguishable from mountain stone.
Liquid stone is a composite material and consists of:
- ANDcrushed filler (marble or granite chips, sand) – up to 80%;
- WITHpolyester resin – up to 20%;
- Na small amount of hardener and coloring agents.

ATTENTION! Some liquid stone manufacturers add styrene to the composition - a substance hazardous to health. Do not be lazy to study the chemical composition or contact the seller for advice.
To increase resistance to mechanical and thermal damage, it is possible to strengthen table top surface gelcoat. It is applied evenly to the inner surface formwork and only after that they fill it with liquid stone and install the reinforcing mesh.
IMPORTANT! Face countertops When using gelcoat, it is formed by the internal space of the formwork, so carefully select the material for its assembly.
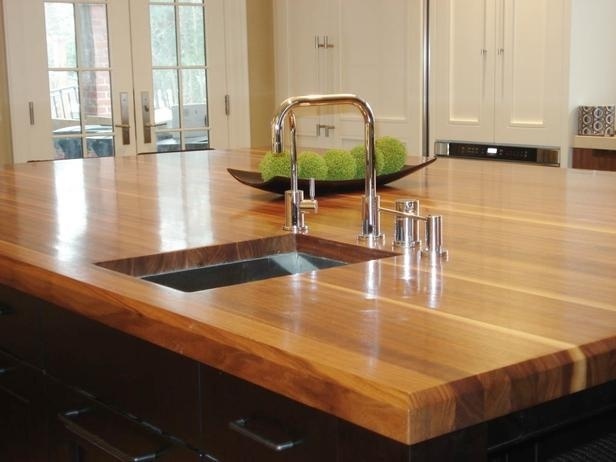
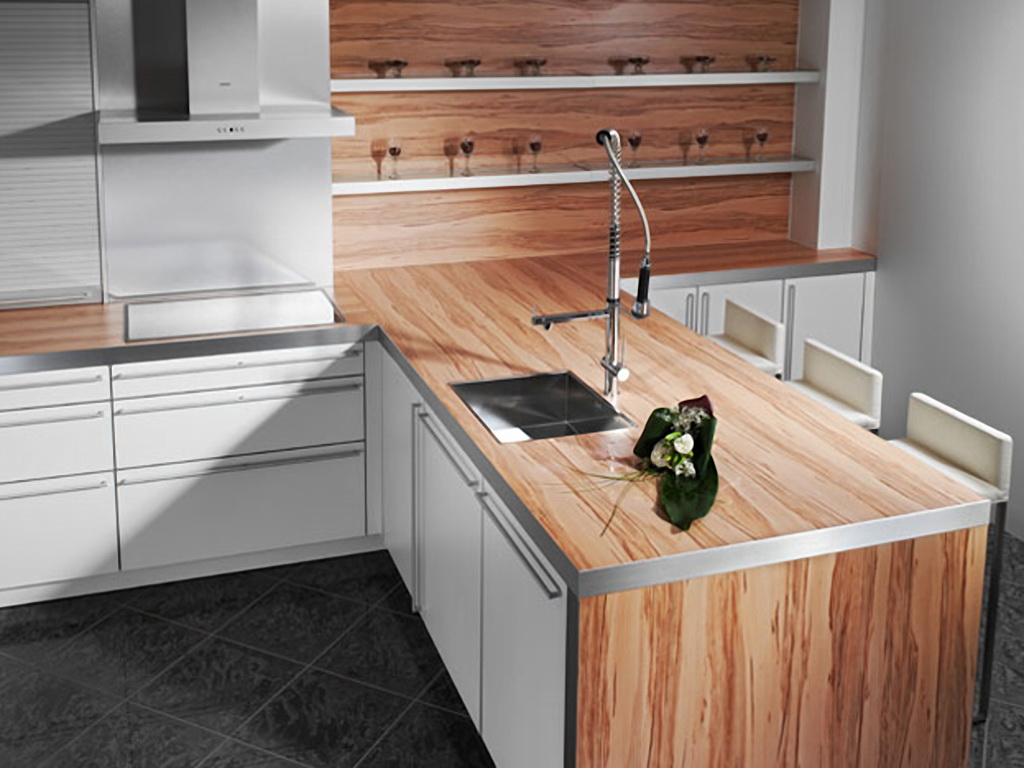
Table top made of chipboard
The main advantages are ease and speed of production. You can install a plastic coating on it or apply liquid granite using the spraying method.
You will need to purchase:
- Chipboard 20 mm thick;
- Psheet eraser;
- TOpour epoxy.
Cut out the component parts countertops jigsaw from chipboard. Treat the end faces with sealant. Cut out a blank from a sheet of plastic according to the shape countertops with an allowance around the perimeter of up to 3 mm.
After drying, remove the excess with a construction cutter. Cover the end with molding.
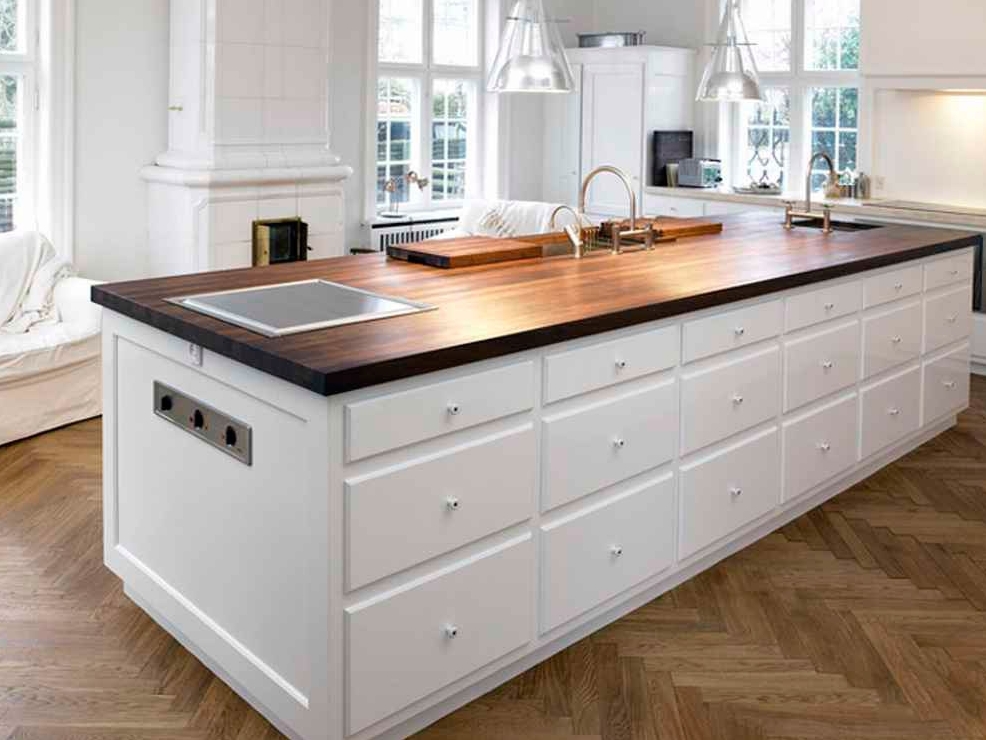
You can make many options for a kitchen tabletop yourself - from liquid stone, with tiled surfaces, from concrete with imitation granite.
VIDEO: Making a concrete kitchen countertop with your own hands.
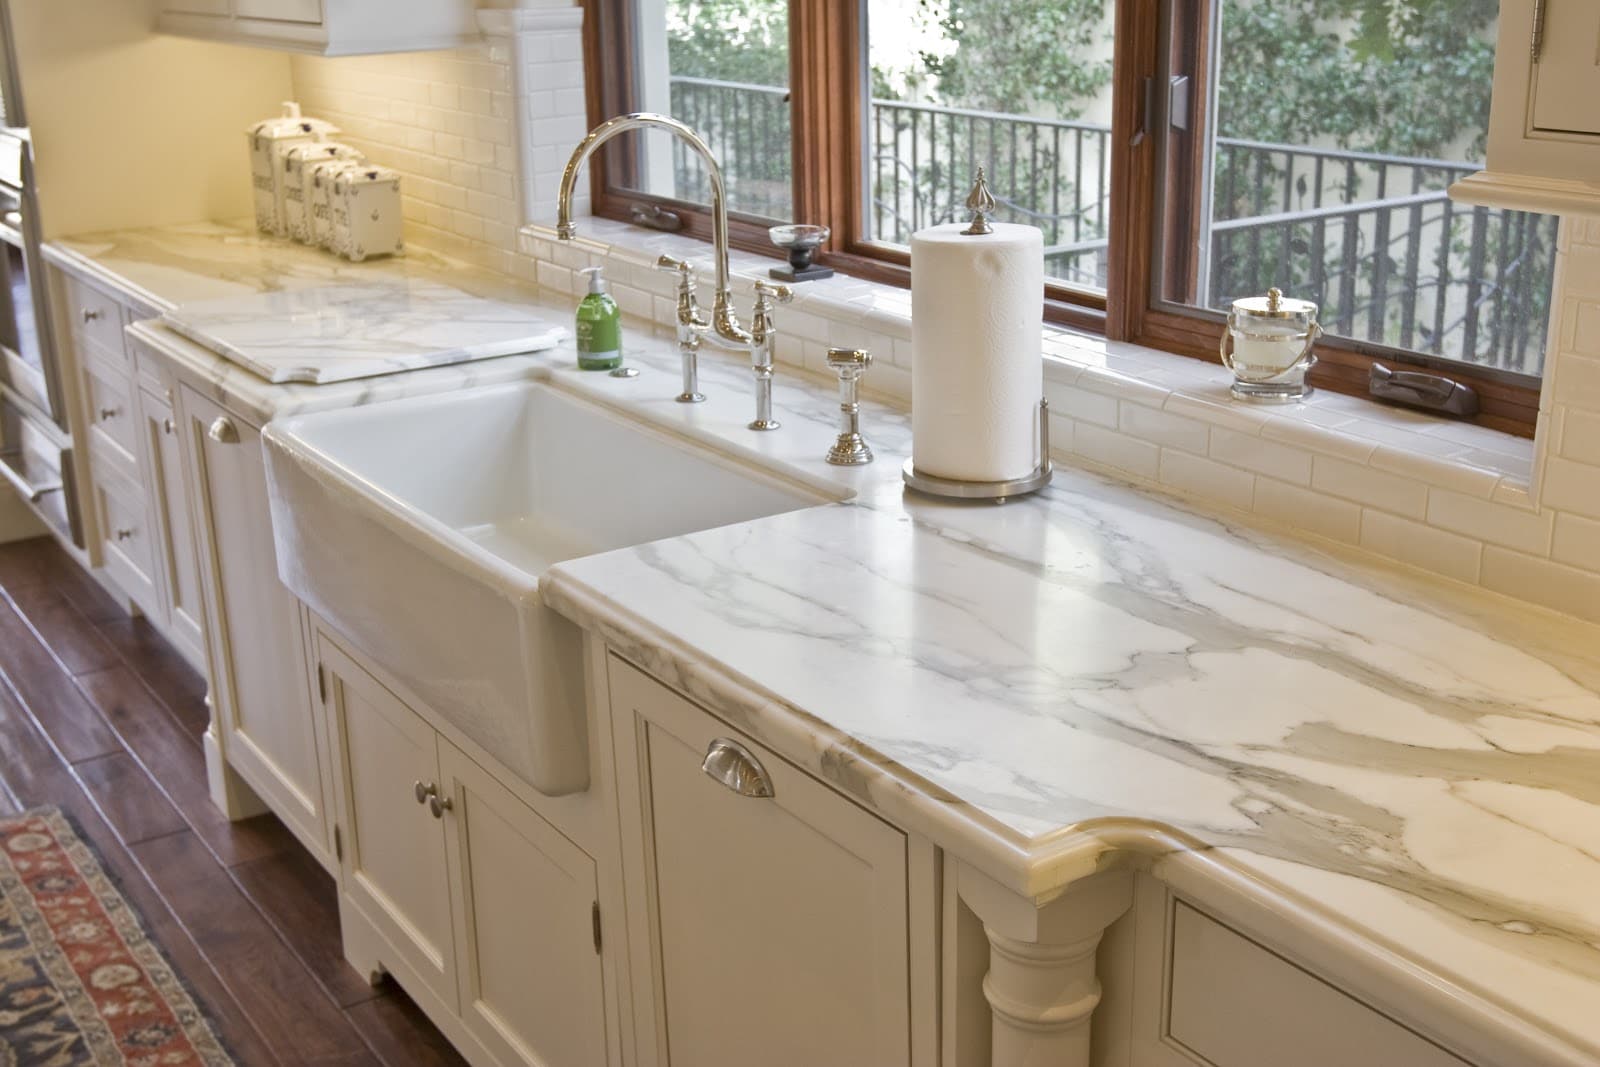
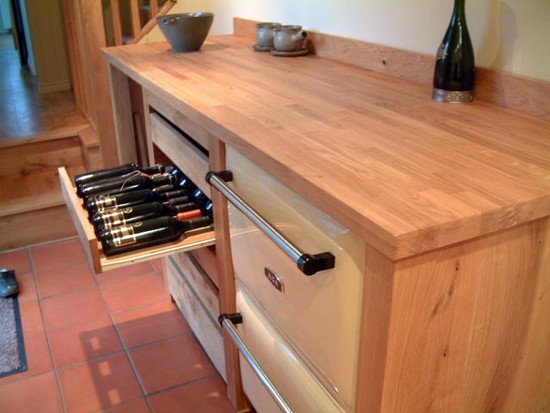
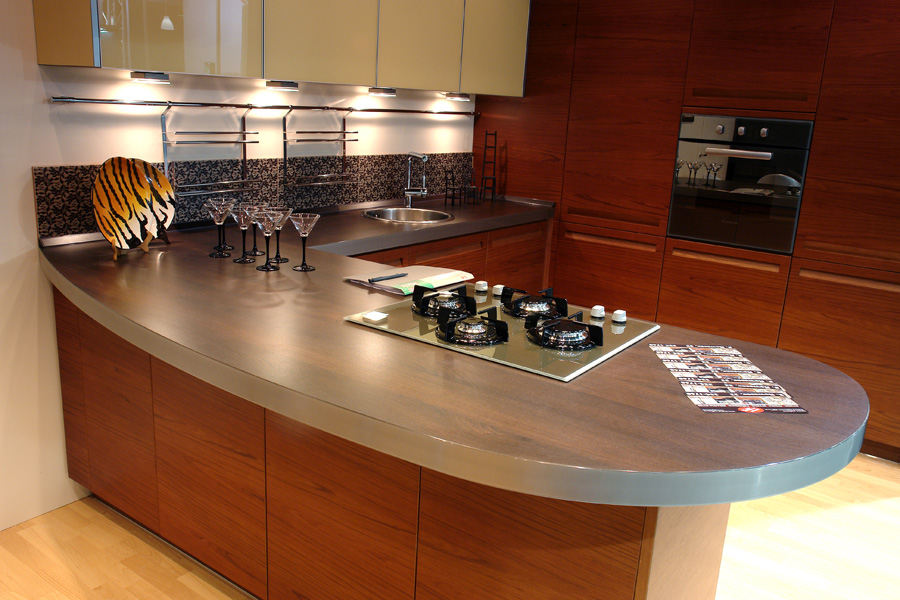
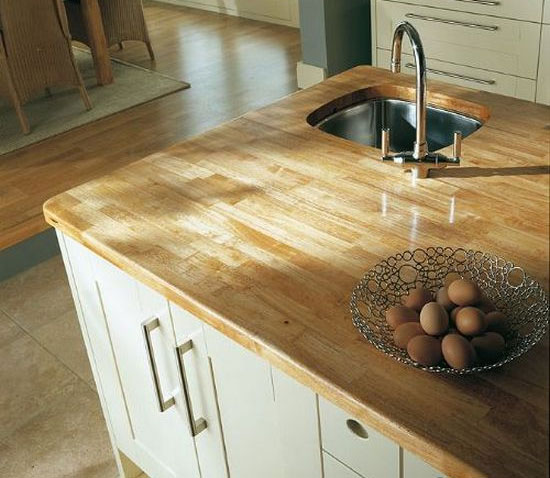
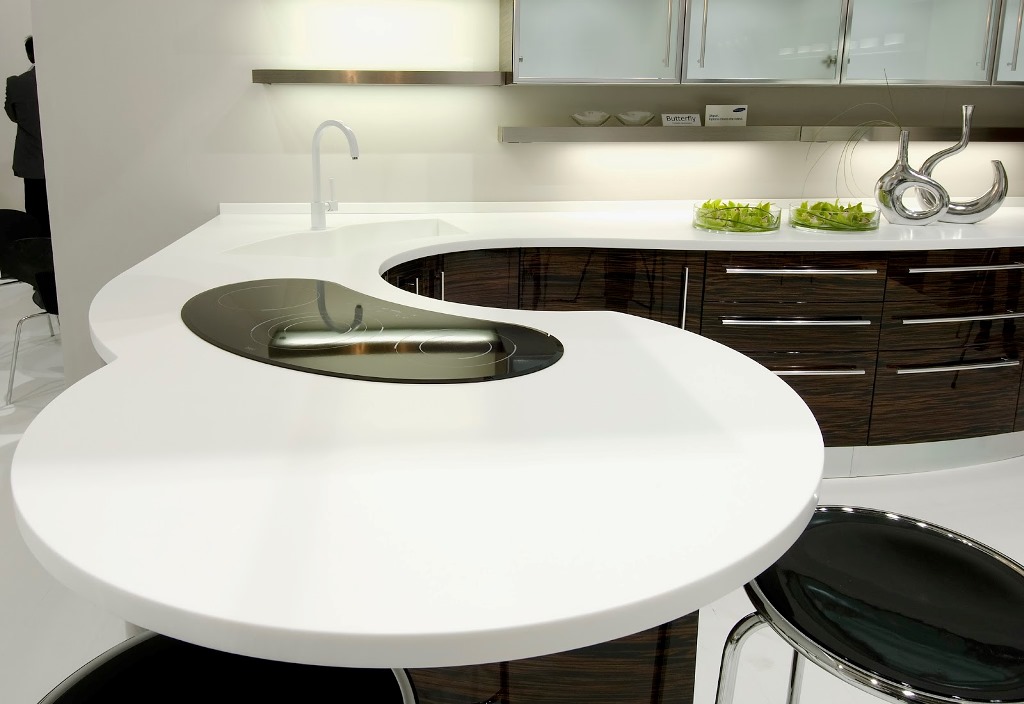
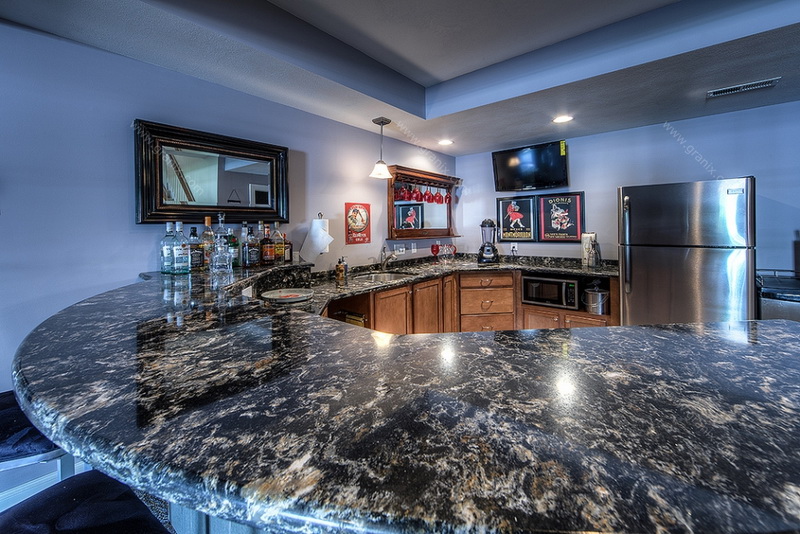
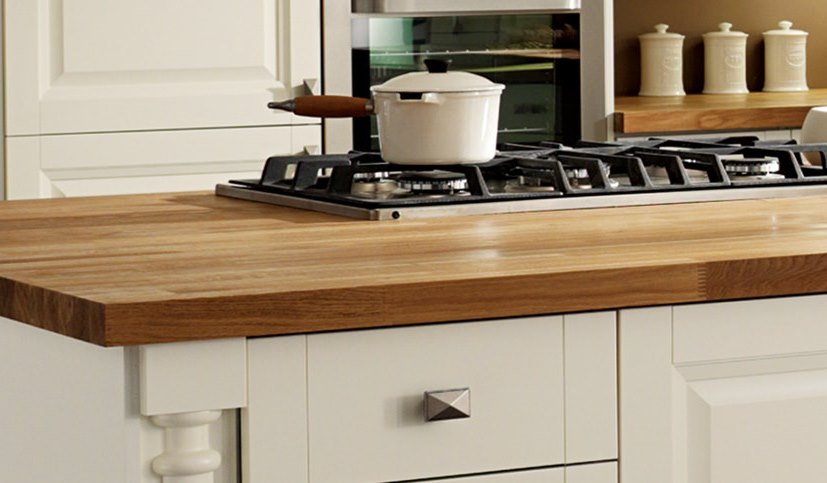
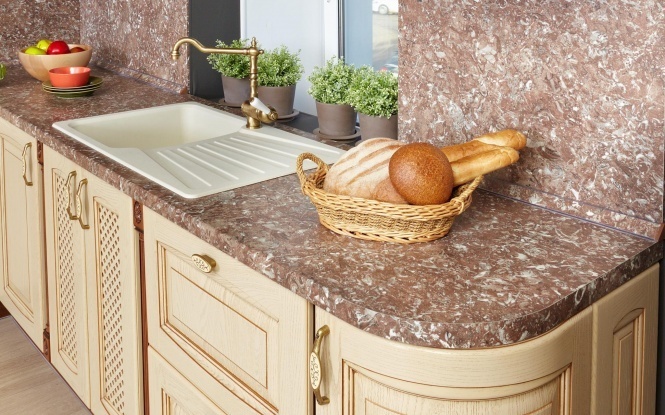
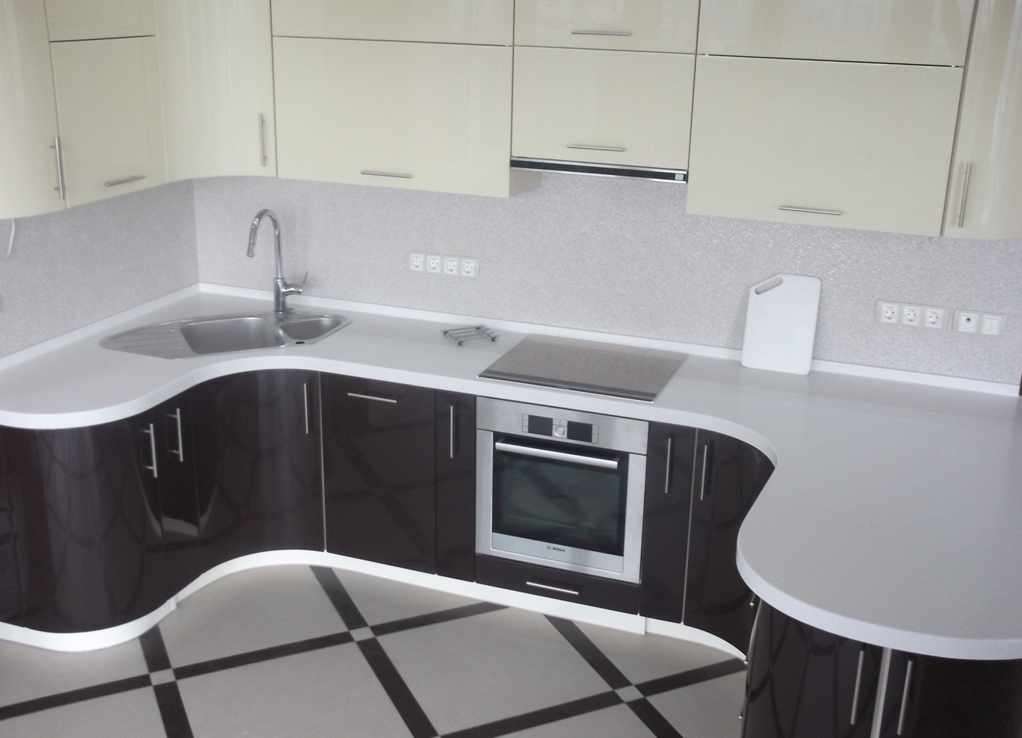
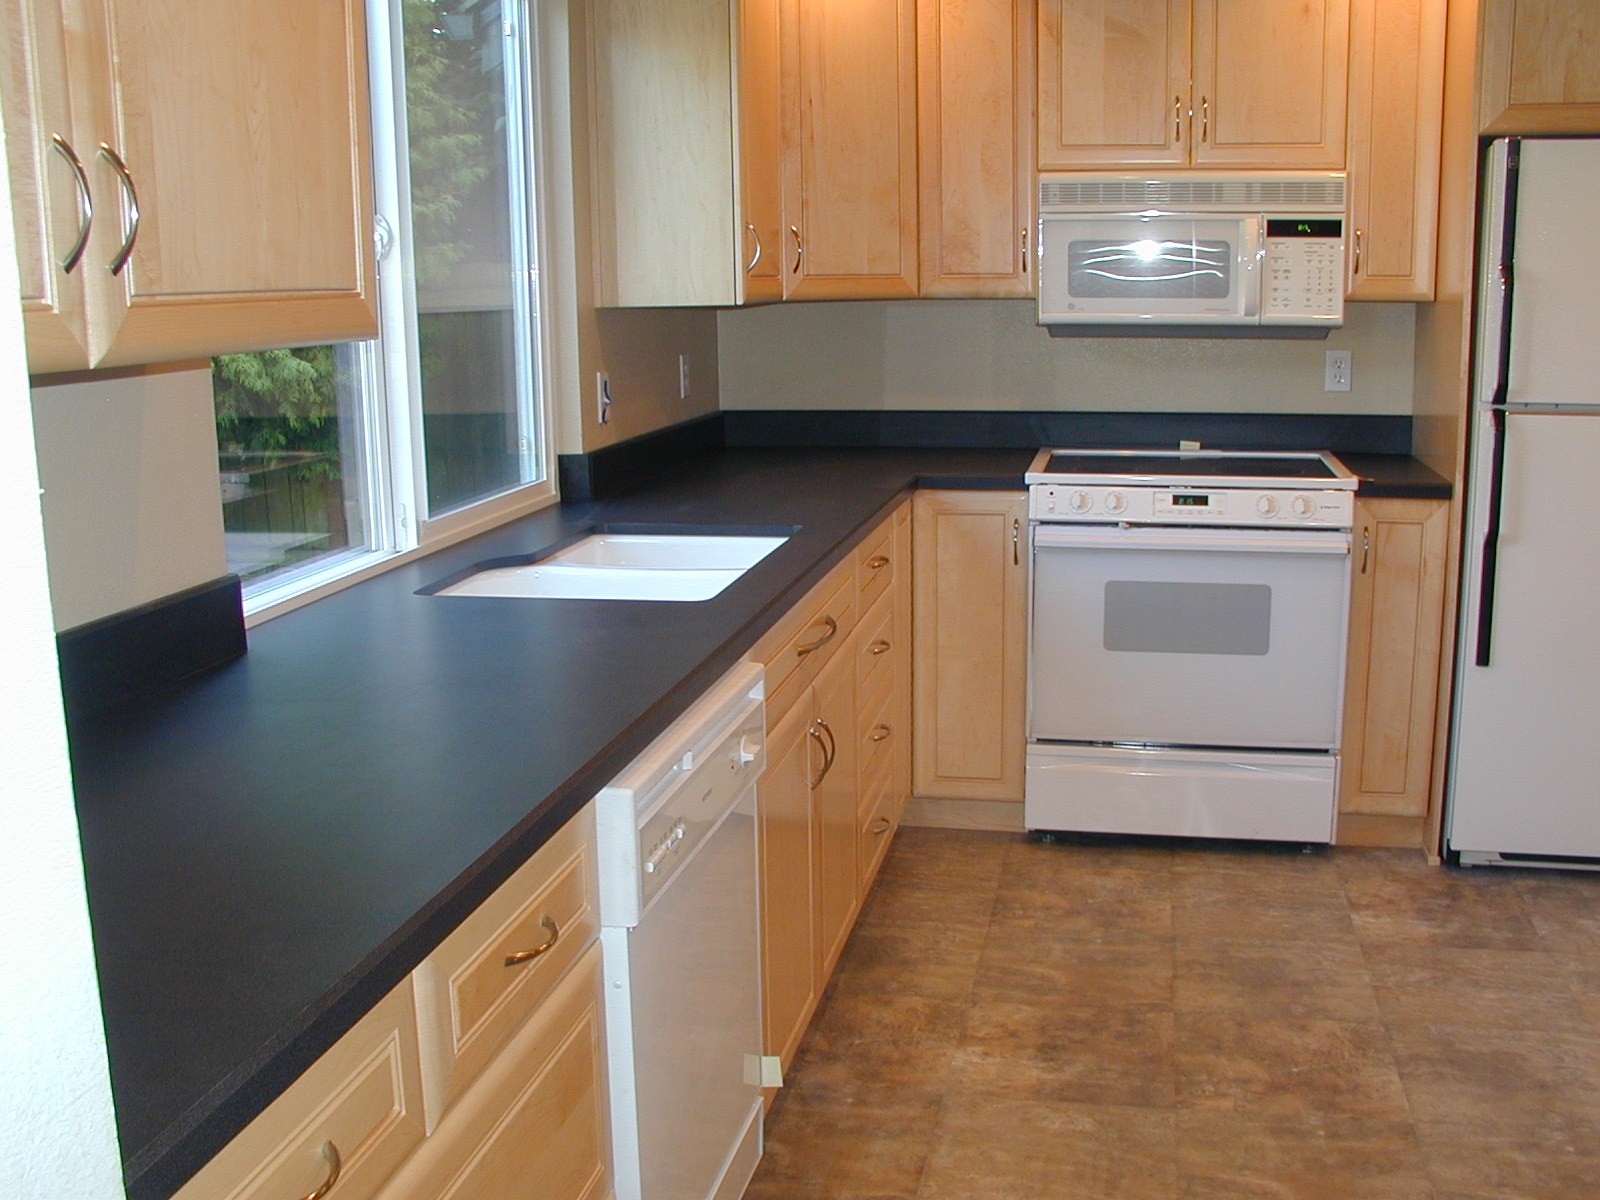
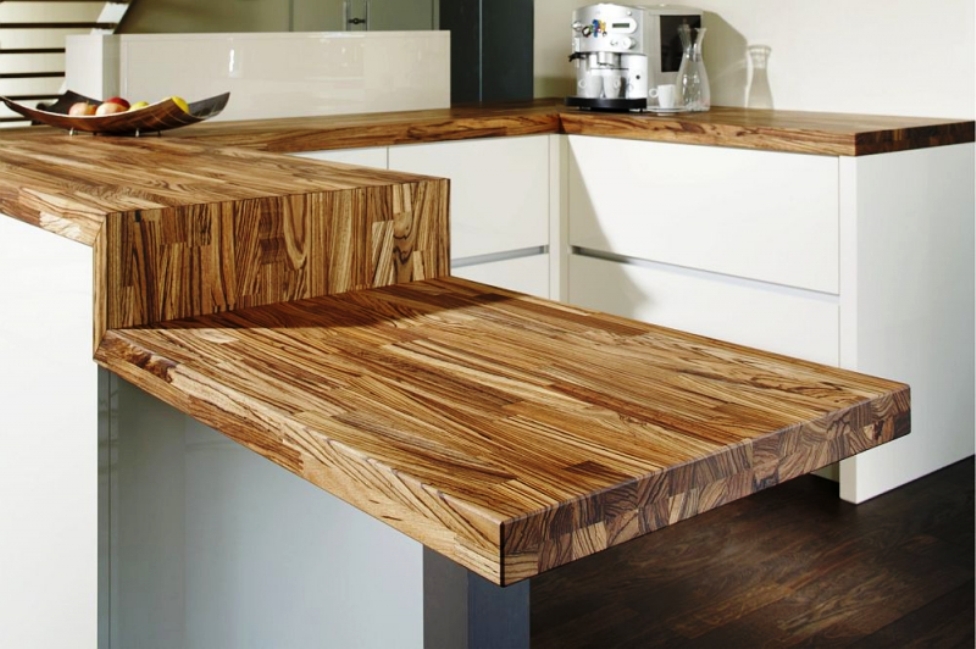
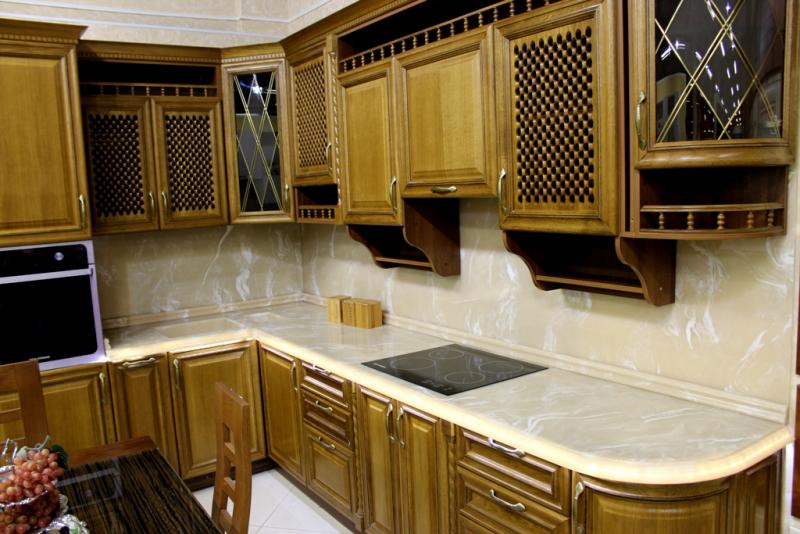
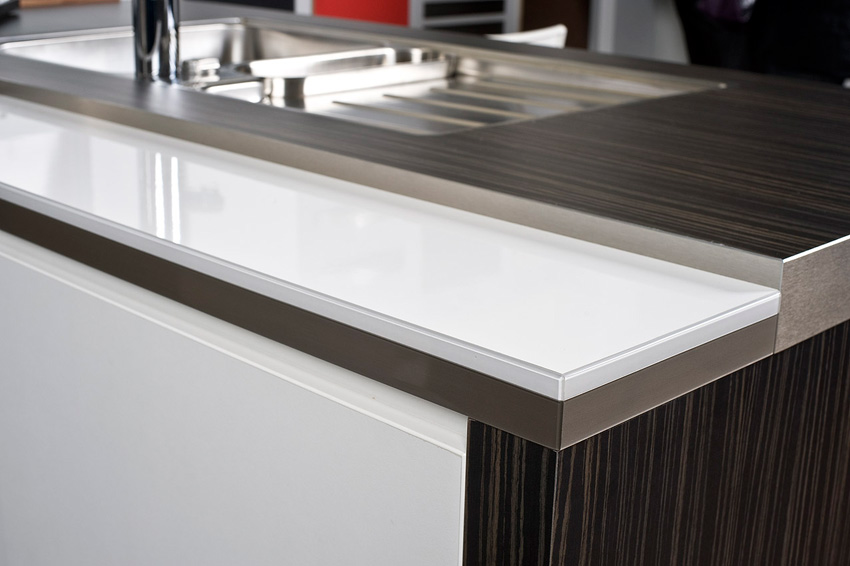
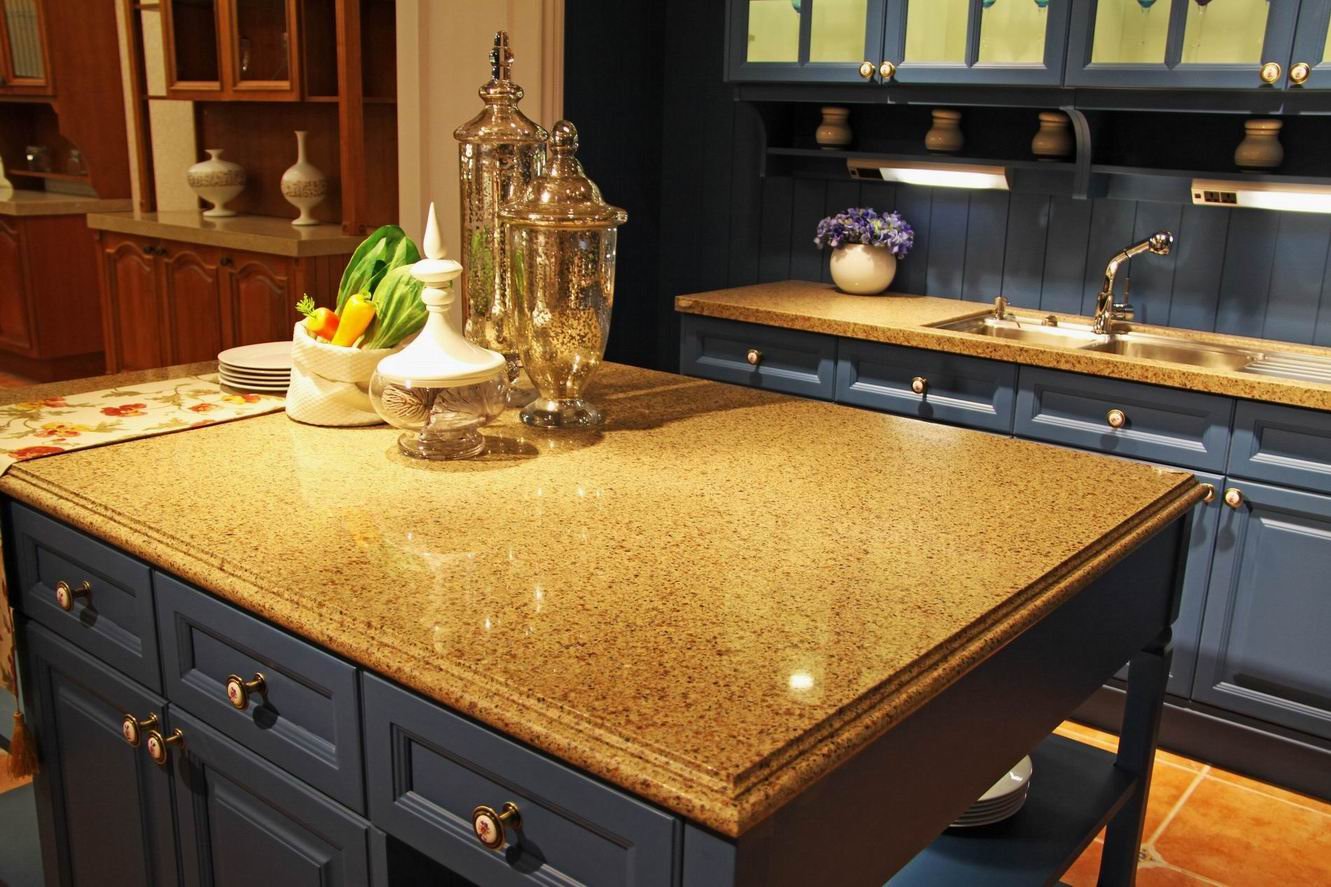
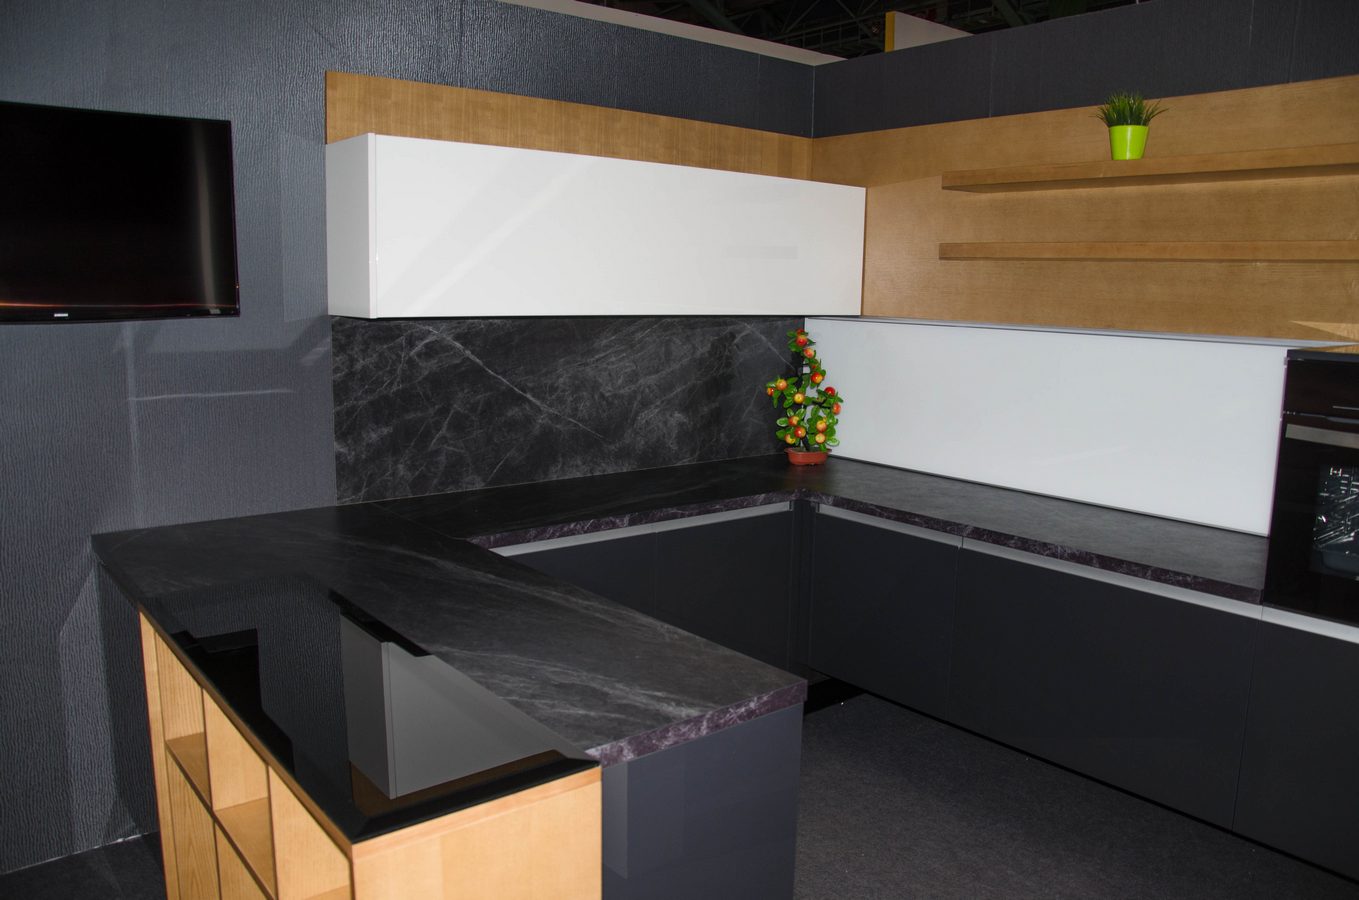
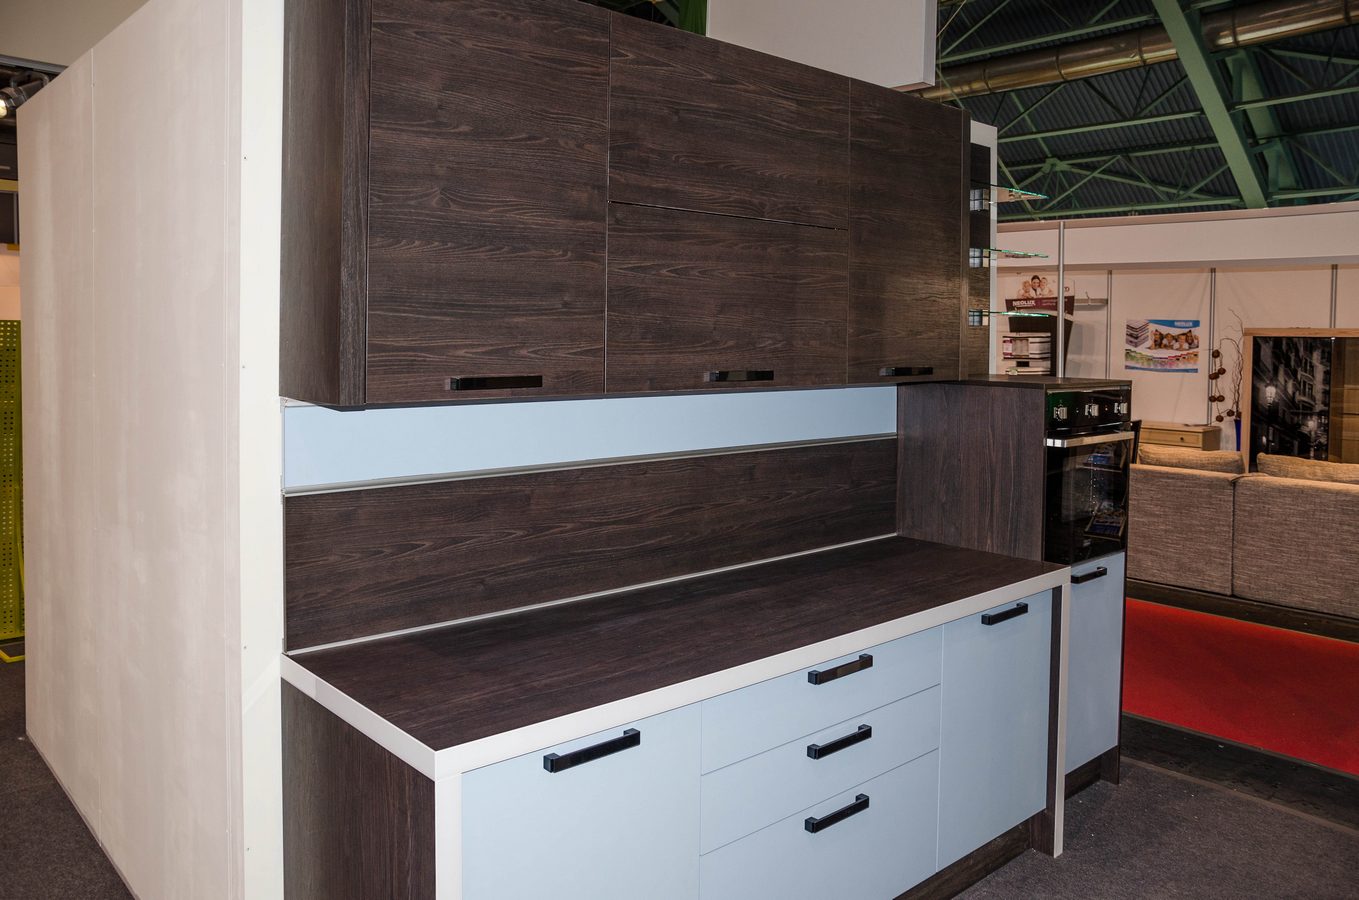
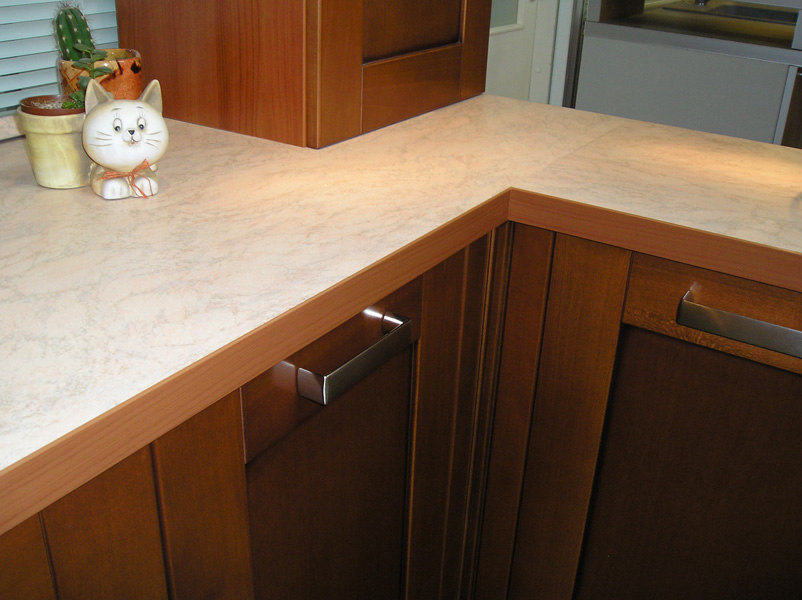
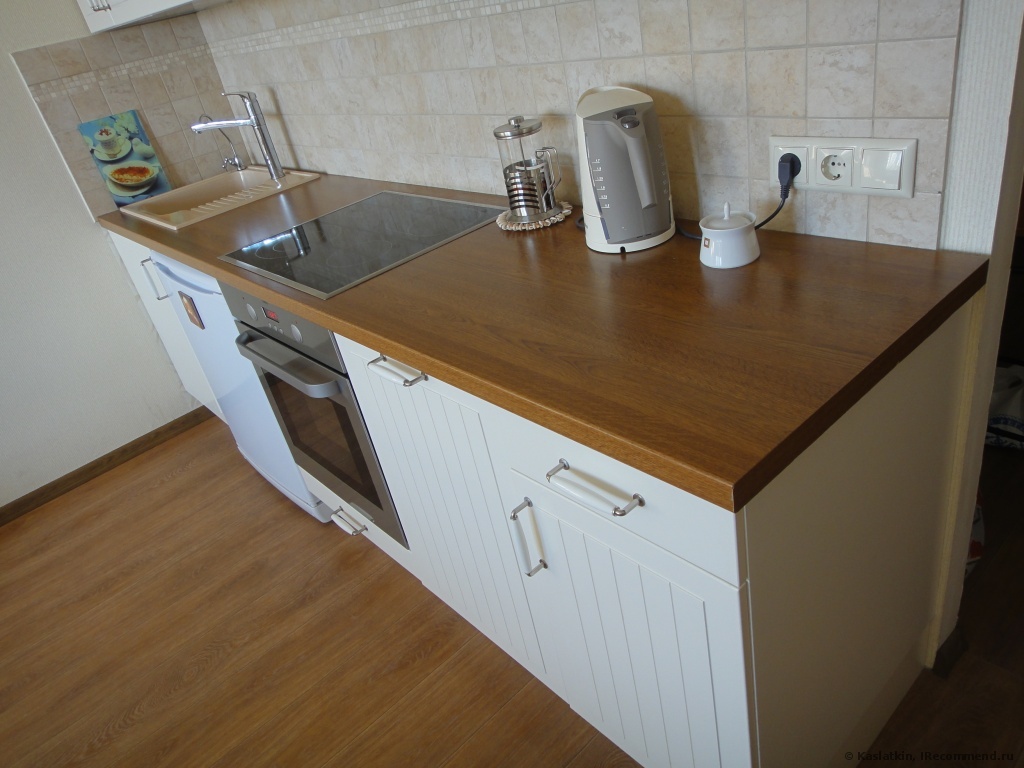
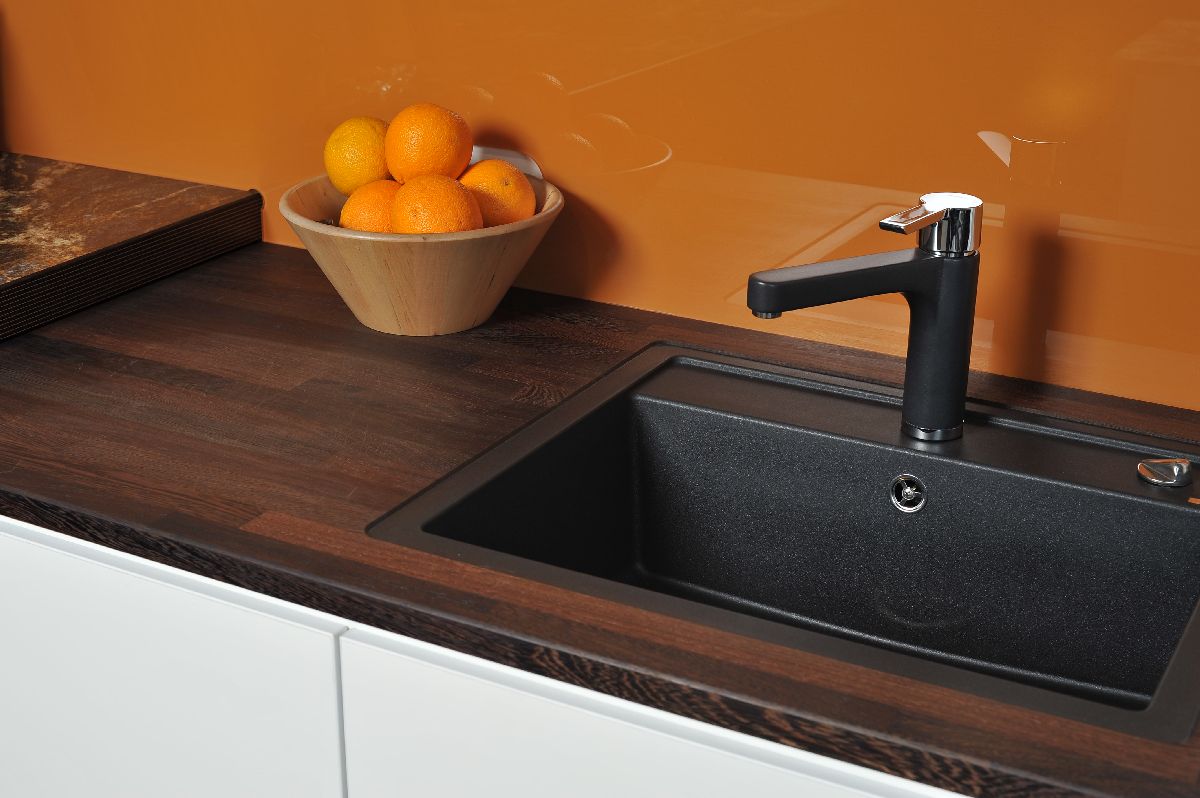
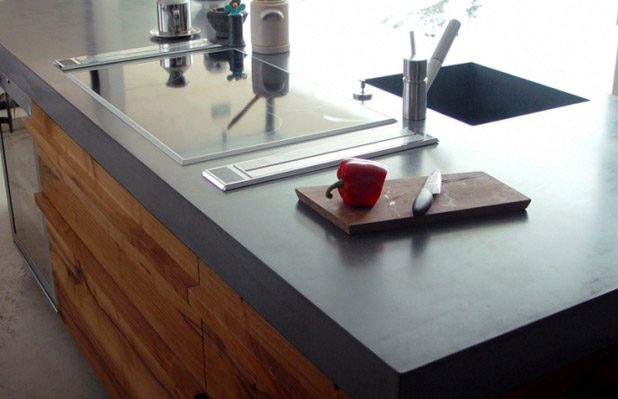
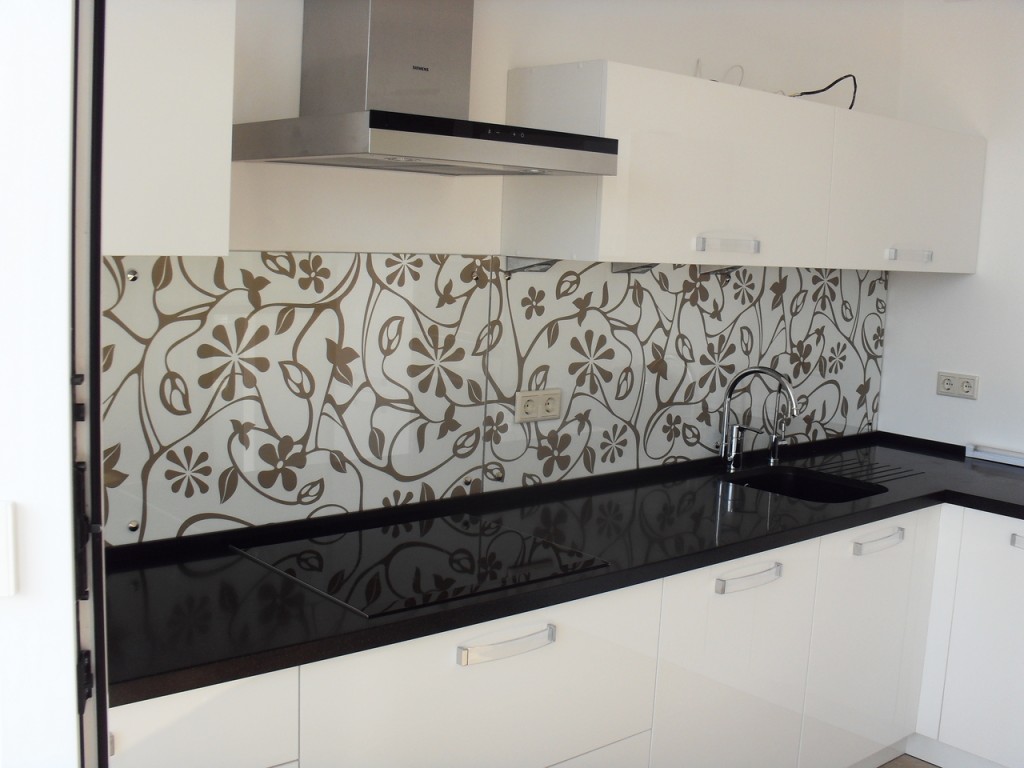
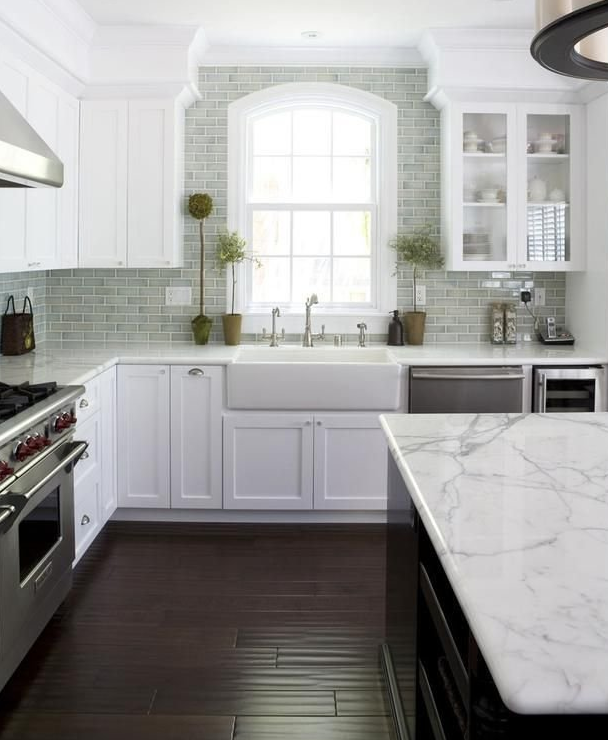
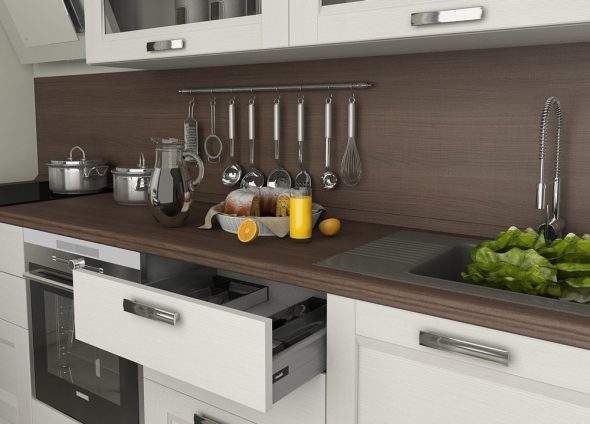
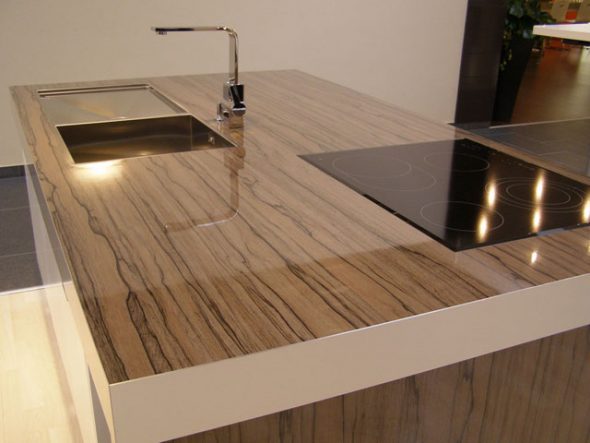
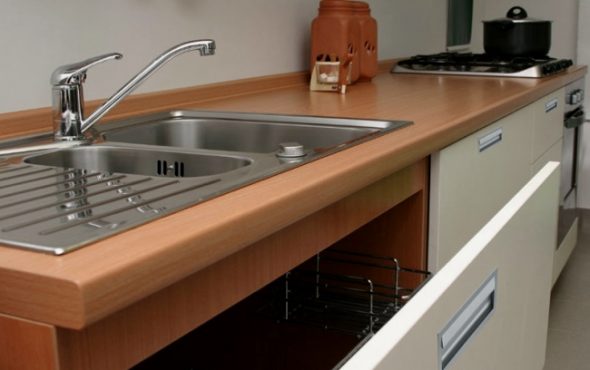
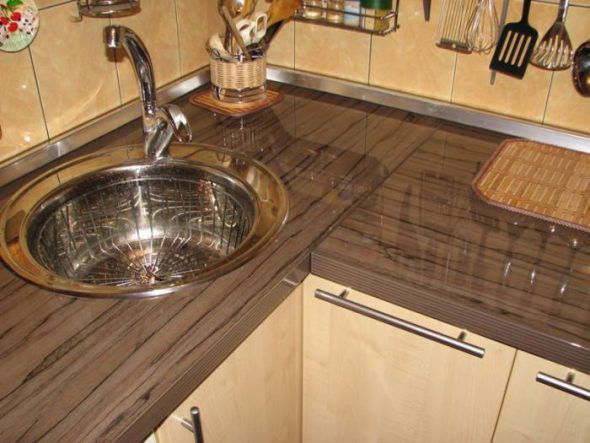
Kitchen countertop – 50 photo ideas: