By creating a tabletop with your own hands, you will get an exclusive, absolutely unique thing that perfectly matches the set. You will be absolutely sure of the quality and durability of the product. Using your own materials, you will create an environmentally friendly product.
Content
We decide on the design and construction
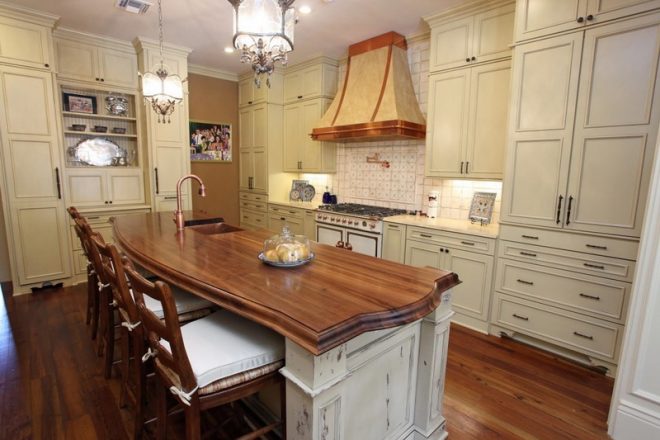
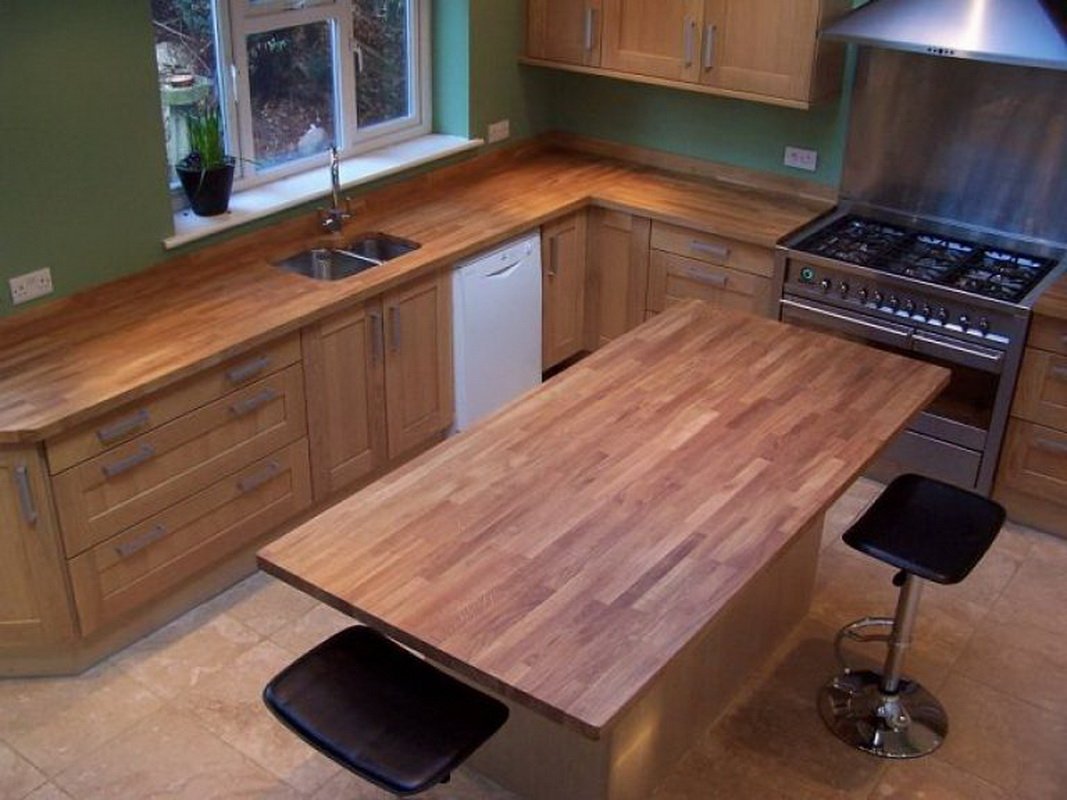
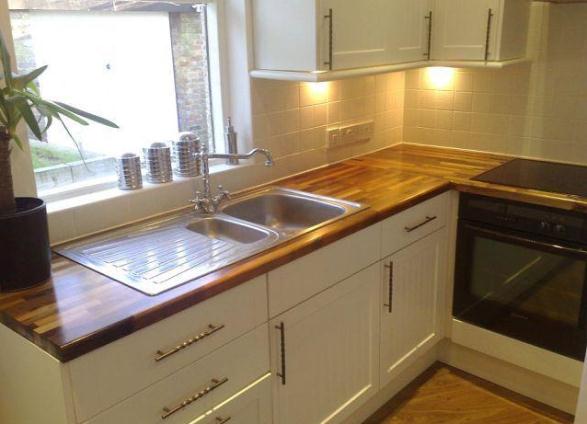
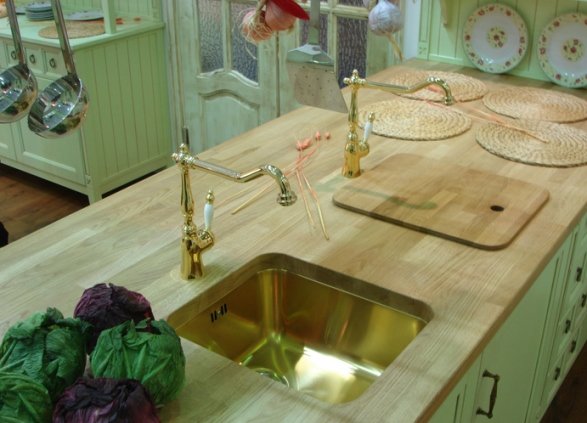
People spend most of their time at home in the kitchen. Our day begins in the kitchen space in the morning. A beautiful, well-chosen, high-quality countertop installed with your own hands brings comfort, creating a good mood for the whole day.

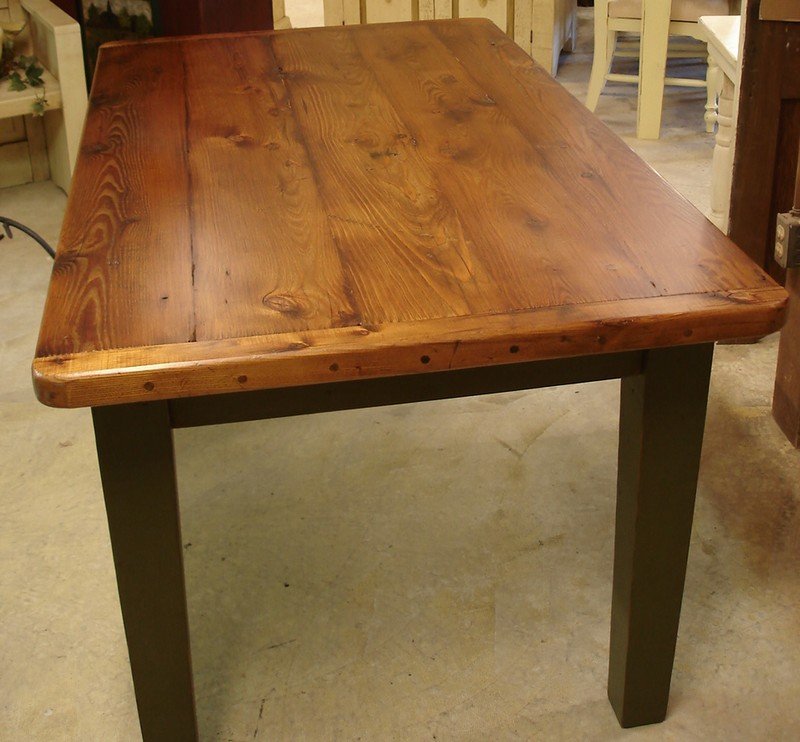
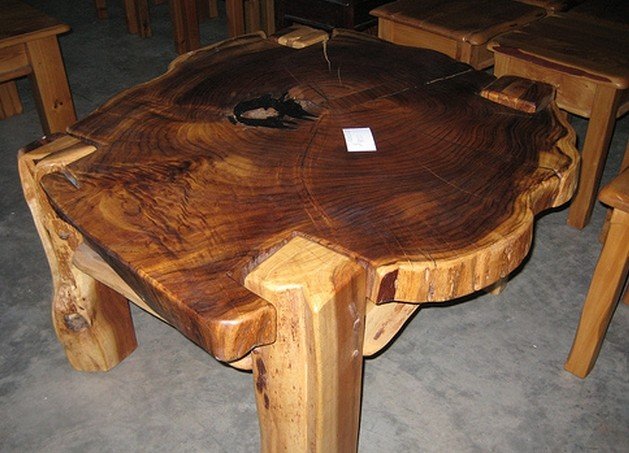
It can have different designs, it can be glued, assembled from wooden plates or made from a single piece.
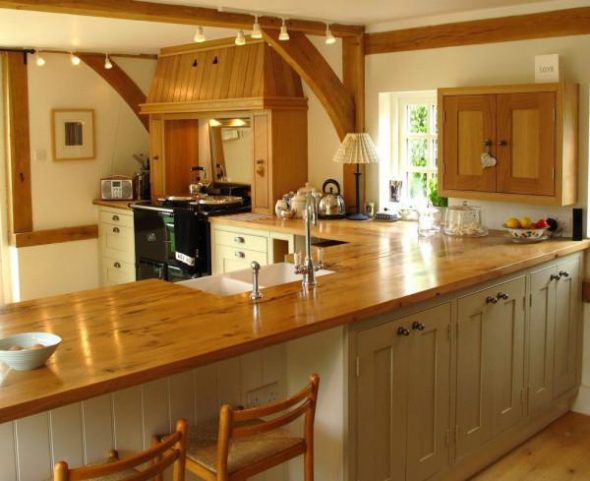
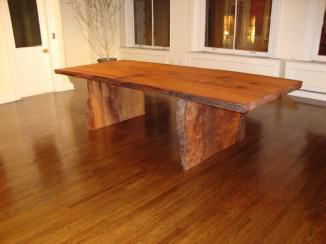
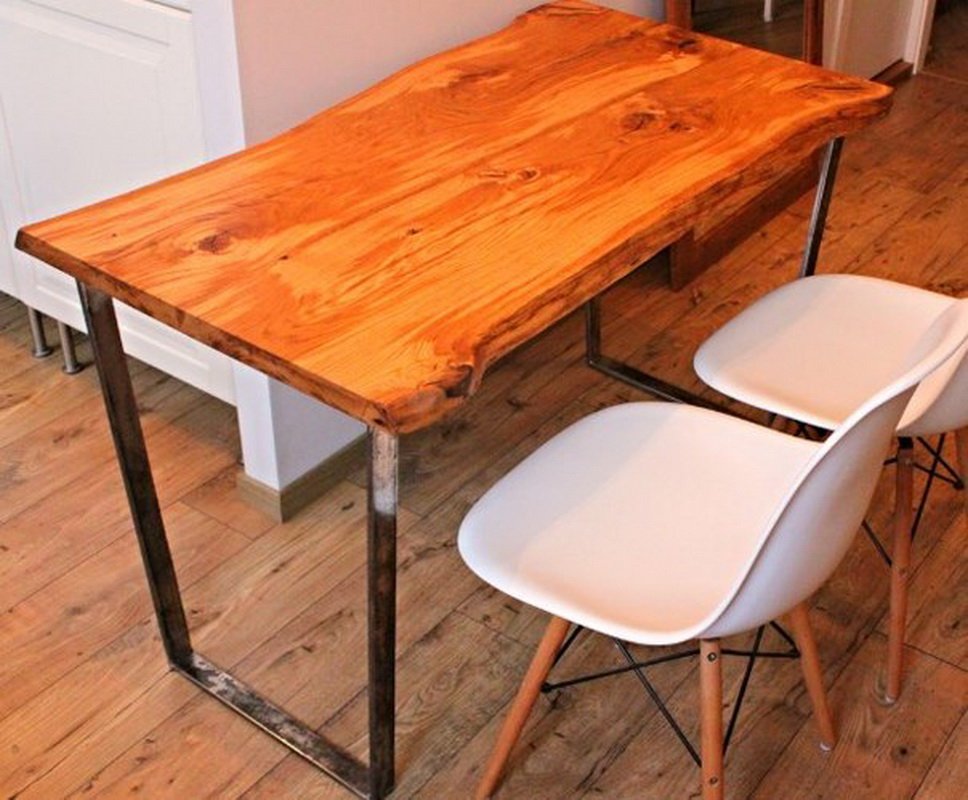
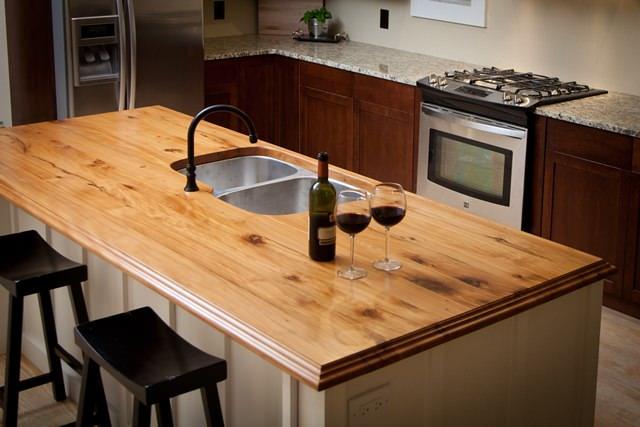
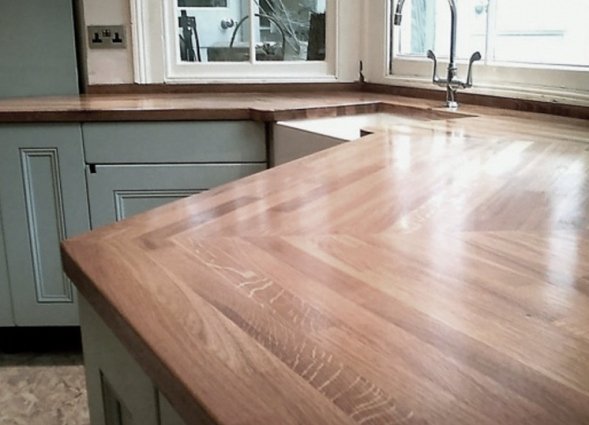
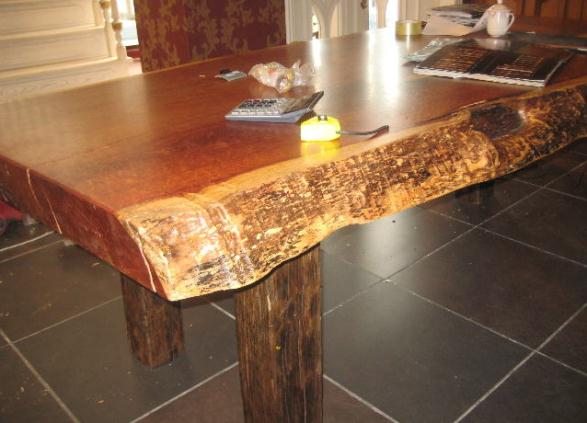
The most practical and durable option is a tabletop made of solid wood, made with your own hands. Wooden tabletops look more aesthetically pleasing than plastic or glass counterparts. The natural pattern of wood is individual and unique.

The main condition for the correct design of the kitchen is a well-chosen countertop size.
The size directly depends on the area of the room, and, of course, on the purpose of the product itself.
For a family of four, a 100*100 cm dining tabletop would be ideal.
The height can vary in the range of 70-90 centimeters, this directly depends on the height and build of the kitchen owner.
Necessary materials
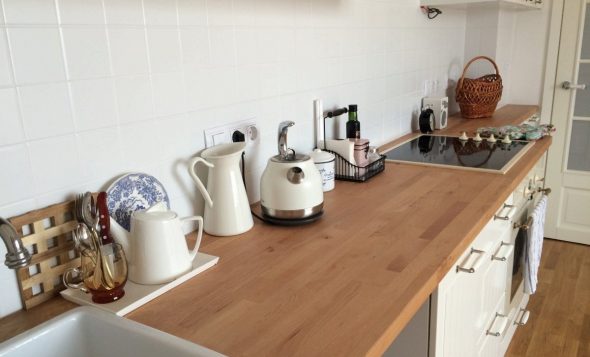
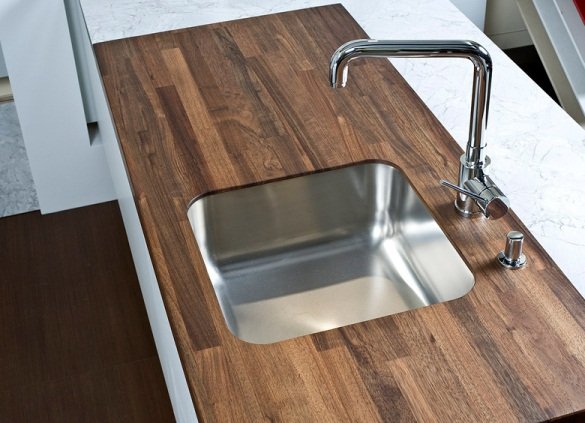
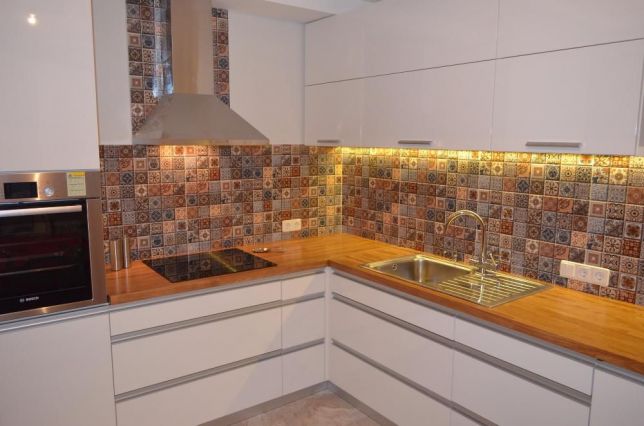
Wooden countertops are the best choice. The products are easy to process and look rich and presentable. It is important that wood is resistant to external influences. Scratches appear much less often than on plastic or glass. If the kitchen countertop has lost its presentable appearance due to long-term use, it can be easily restored, given a second chance to serve further.
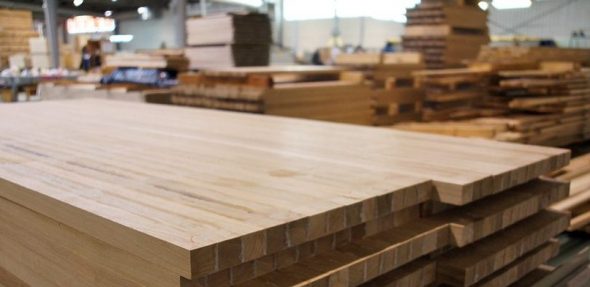
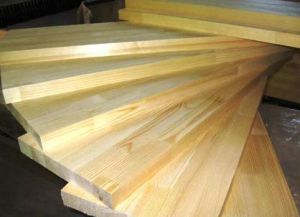
Usually, wood is called any material containing wood. These are chipboards, decorative sheets made of wood of different thicknesses, but definitely, the best material for a tabletop is a solid piece of wood.
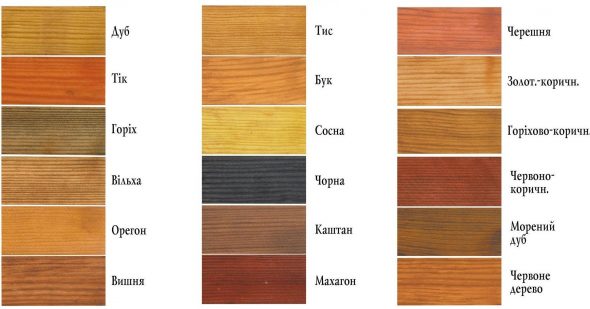
The first and most important point in making a wooden countertop is the right choice of material. A certain type of wood has distinctive features. Softwoods should not be used in the process of making a countertop. The countertop is a place in the kitchen where we constantly cut, chop, chop and beat something. It is better to choose hardwood. It is preferable to use the following suggested species.
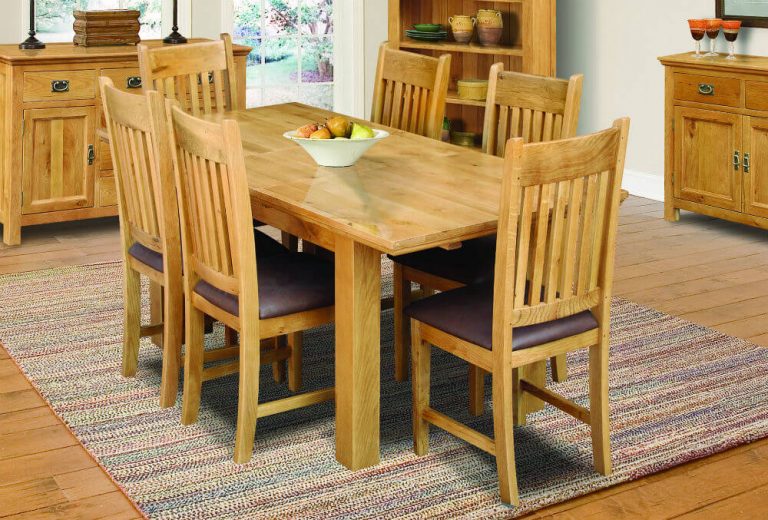
- Oak is the most practical type of wood for making a tabletop. It has all the necessary qualities. The material is hard and durable. It has a variety of colors.

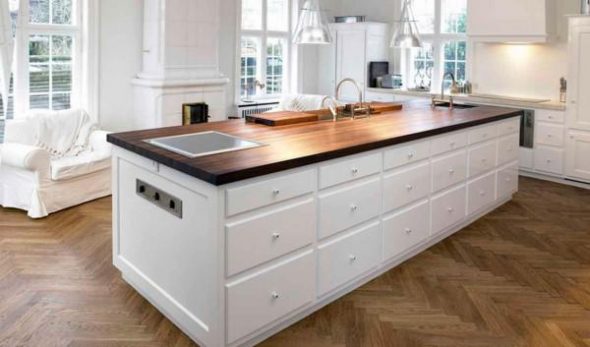
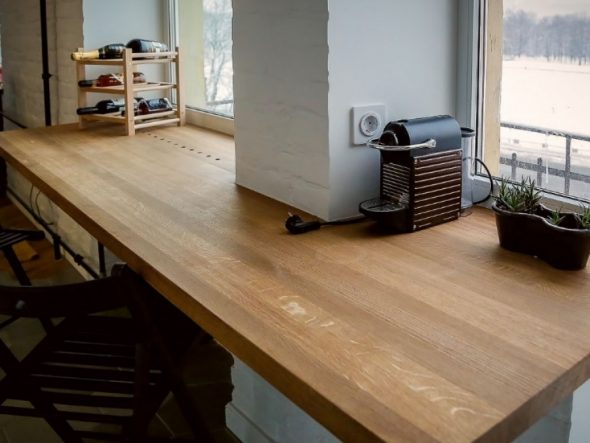
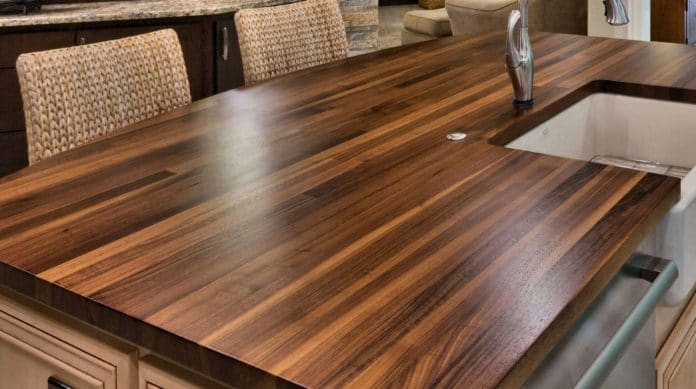
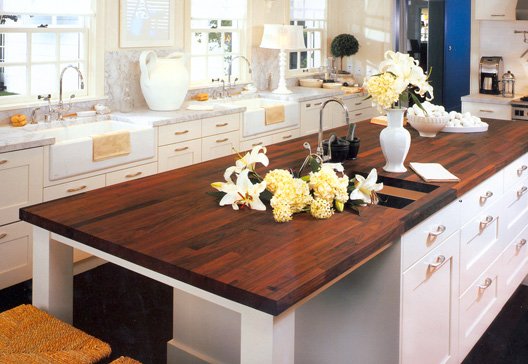
Beautiful and durable window sill tabletop made of solid beech - Walnut is as strong as oak, has a beautiful, original texture. Has high decorative value.
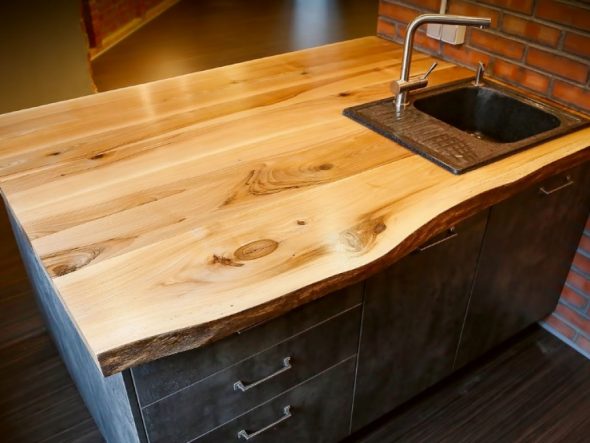
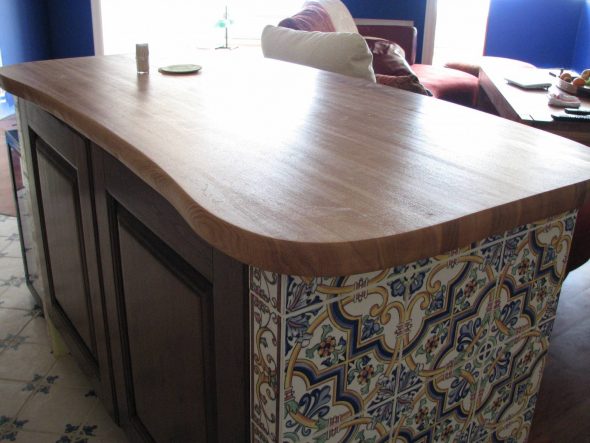
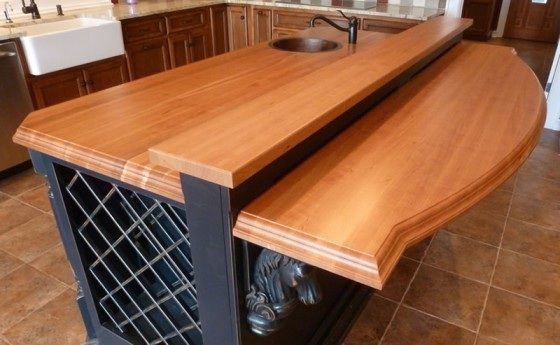
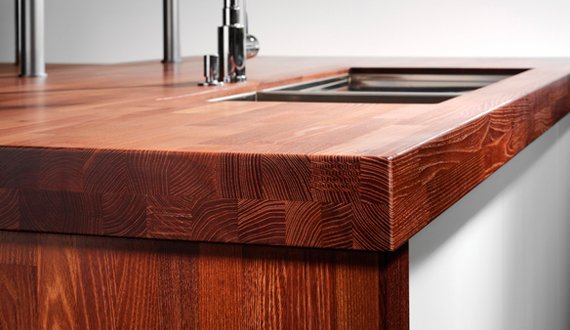
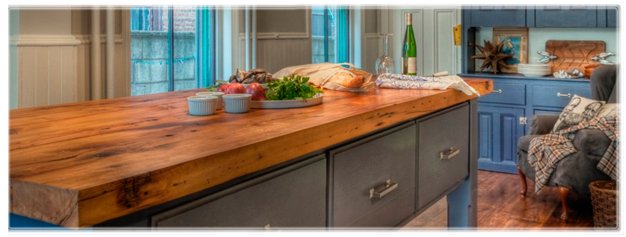
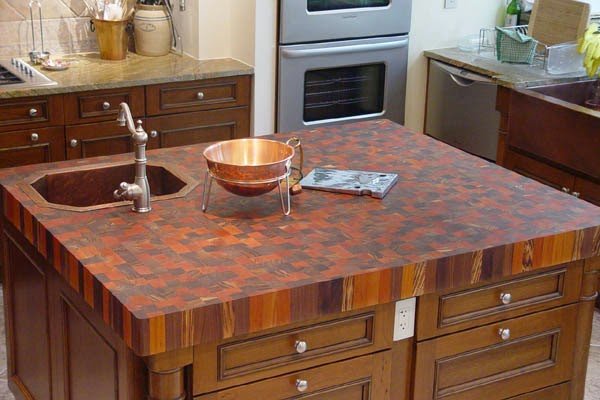
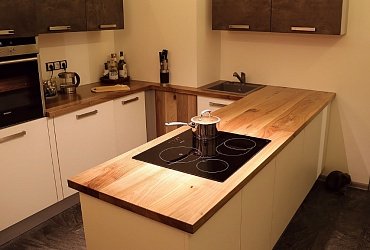
Kitchen island solid walnut countertop - Ash is a durable, flexible, non-brittle wood species. It has a rich color range. Its natural colors are mainly used without additional tinting.
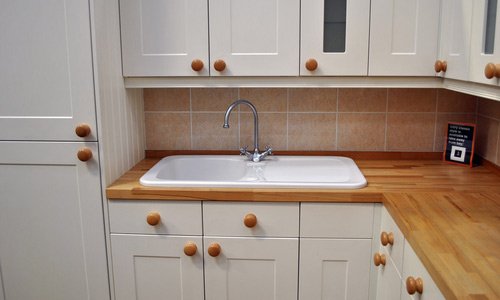
A solid ash tabletop is a product made of modern natural material that adds a special coziness to any interior - Beech is durable, elastic, and has a wonderful texture in light tones.

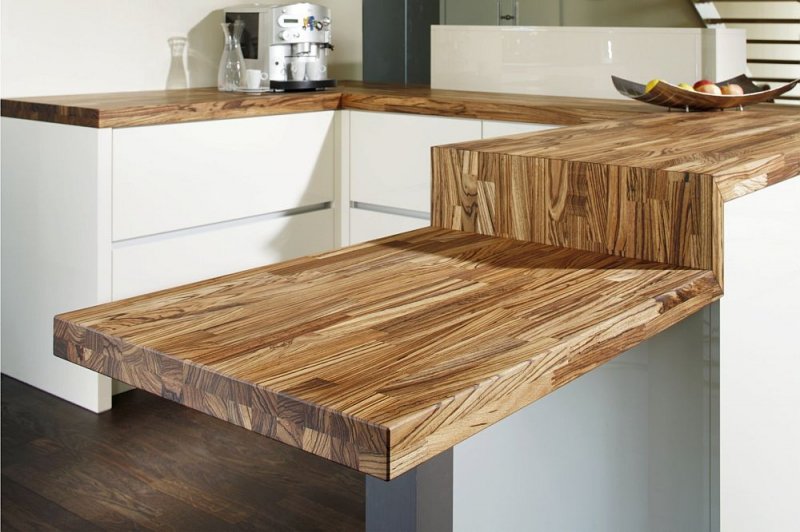
Original kitchen island with beech wood countertop
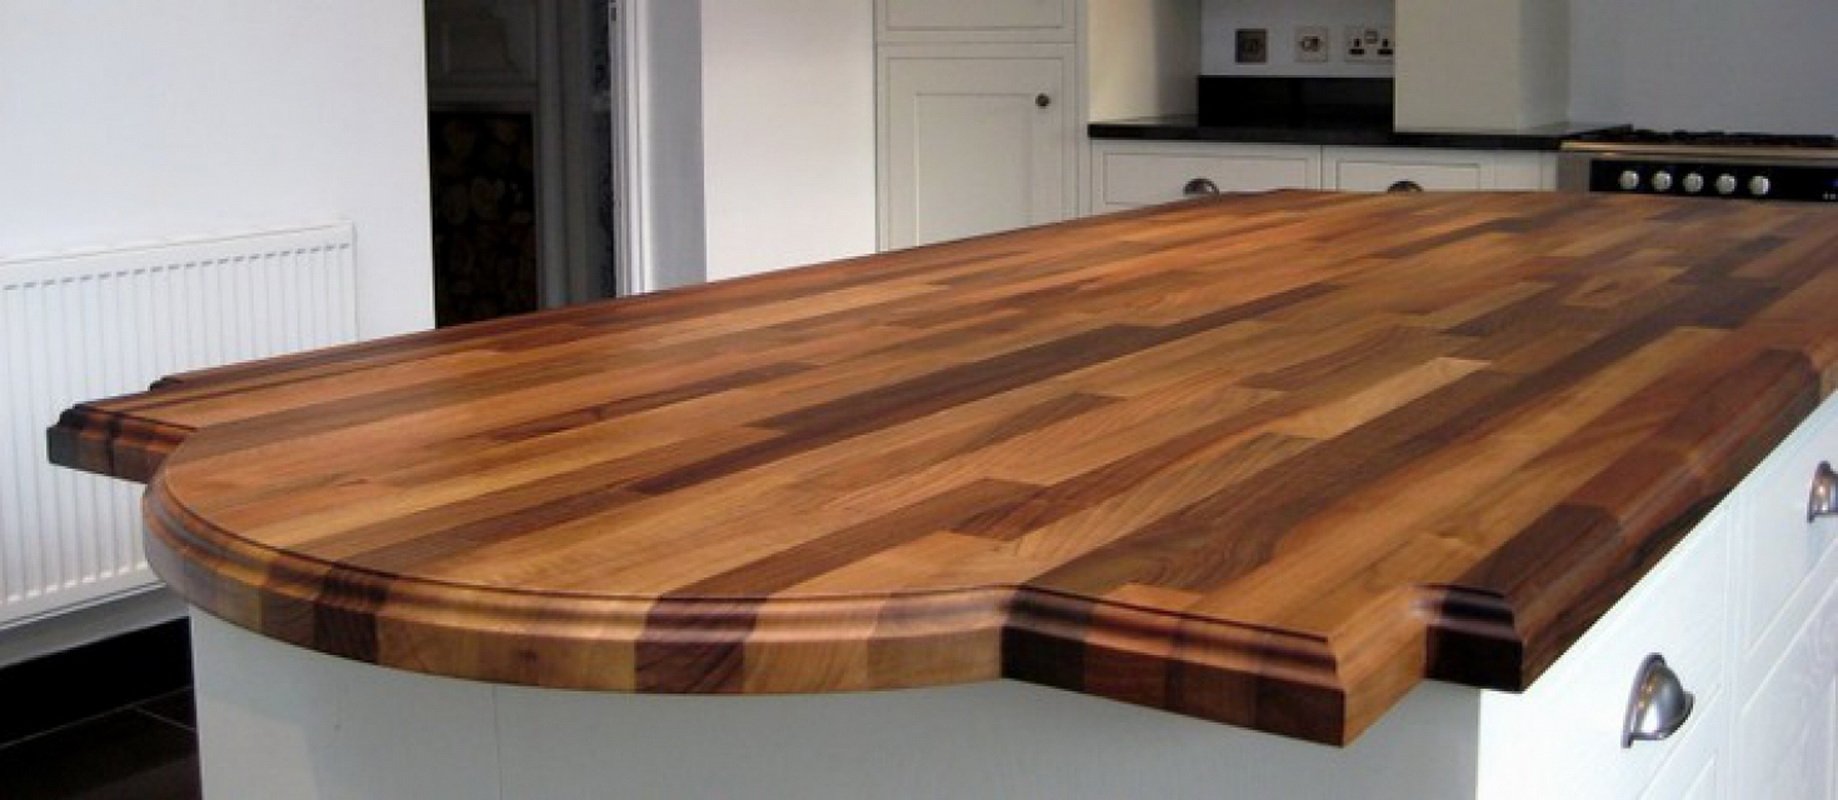
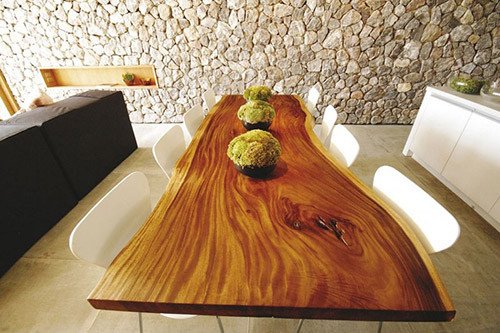
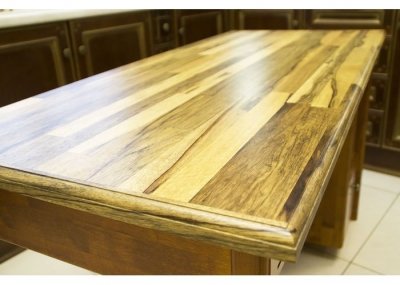
An interesting solution is to make a product from several types of wood. In this case, the tabletop, with the right selection of types, looks rich, interesting, and original.
Before starting work, the material must be dried and treated with special compounds that protect the wood from excess moisture and damage by insects.

Necessary tools

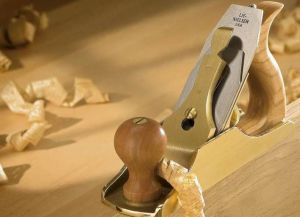
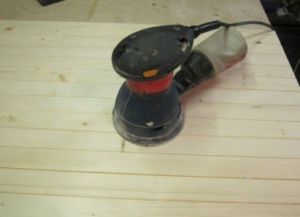
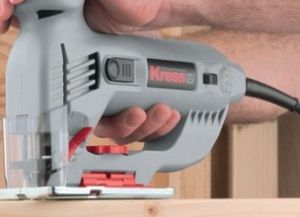
If there is a desire to make a wooden tabletop, there is a design project and specially selected material, we determine the list of necessary tools. These are a jointer, a hacksaw, a milling cutter, a drill, a hammer, a pencil, a tape measure, glue, varnish, antiseptic.
Making a joinery board
Making a joinery board is the arrangement of previously prepared elements. The main parts of the joinery board are wooden boards. But first they need to be specially processed.
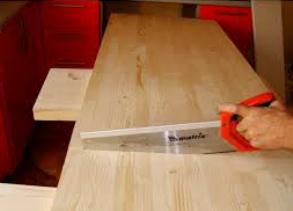
We use a plane to level the surface of the board material. We carefully sand the surface with sandpaper. After sanding, the prepared material must be treated with an antiseptic.
There is a huge selection of them in construction stores, but please note that you need a solution for interior work. The antiseptic will protect the wood from excess moisture, which is abundant in the kitchen, and will prevent the appearance of mold and insects.
There are several ways to connect parts together.
Gluing boards under the table top

Edge gluing is the simplest, but, let us note, the most unreliable method of fastening. Suitable for making small-sized products with minimal load. With short-term use, the surface of the tabletop will be covered with small cracks, and in the future such a product may simply crumble.
The tongue and groove technology is a more acceptable solution for joining countertop parts, but if durability is an important element for you, we strongly recommend using the following option for fastening the boards.
The tongue and groove method gives the most durable result. It is well known to those who have worked on assembling battens or laying wooden flooring.
Edge-groove joint
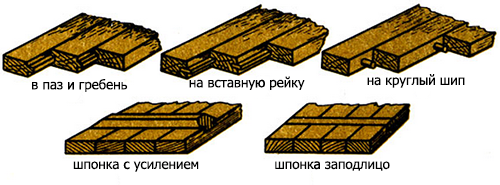
If the master does not have special equipment, it is difficult to make even edges at home. Do not get upset in advance. It is necessary to contact specialists, they will process the material on a milling machine.
Please note that the depth of the grooves should be 10-12 centimeters; when using a thin board, reduce the depth of the grooves to 6-7 centimeters.
Now the boards are completely ready for assembling the finished product. The boards are divided into two types. The first board has a groove, the second a batten. It is necessary to tightly join the groove with the batten. The boards are firmly glued together. We get a strong tabletop.
The resulting finished canvas must be sanded, primed and covered with decorative varnish. It is better to apply varnish in several layers.
The color of the product surface can be changed if desired. The surface is tinted with wood stain to match any shade. This is done before varnishing the product. It is important to remember that after varnishing, the wood tends to change its original color and becomes darker.
Installation
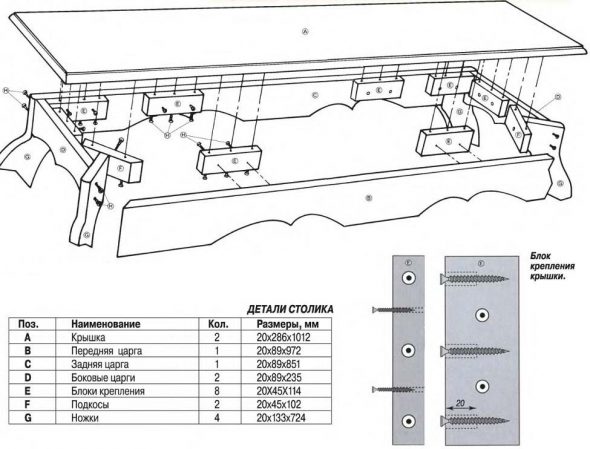
The countertop is fully prepared, ready for installation. First, it is necessary to install the lower parts of the cabinets in their permanent locations. Attention is required, there is no room for error, otherwise we will spoil the product. Accuracy in calculations is required. The cabinet under the sink should be located near the sewer drain, the surface of the stove should be located in close proximity to the gas pipe. Be sure to take into account the location of the sockets. We spread the upper parts of the cabinets, the ends with wood glue purchased in advance. We put the countertop on top of the cabinets, fix it with screws or self-tapping screws. Now the top panel is firmly fixed. A small gap formed between the surface and the wall must be covered with a furniture plinth. The edges of the installed strip are covered with plugs.

Video: How to make a tabletop from wood.
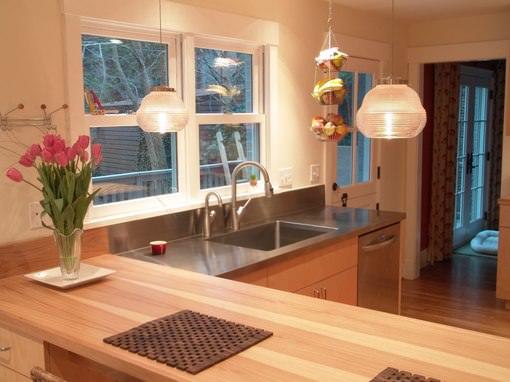
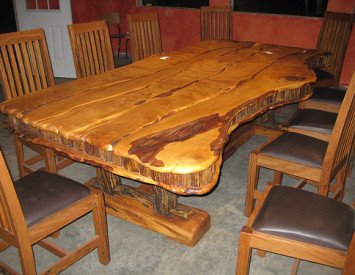
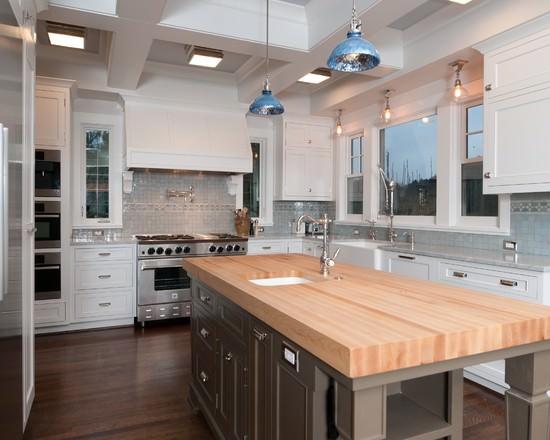
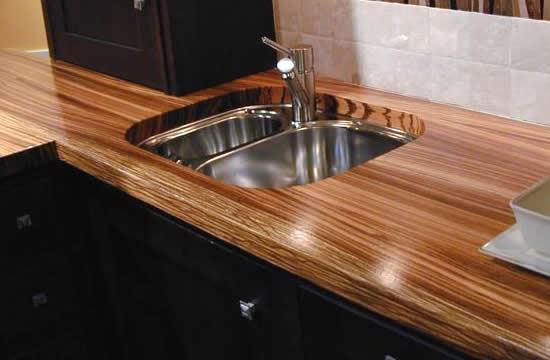
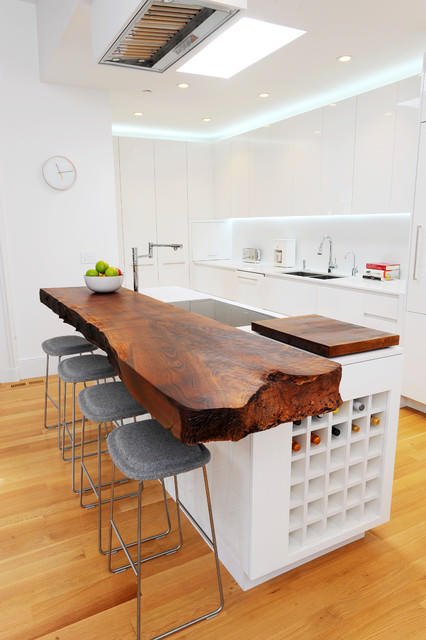
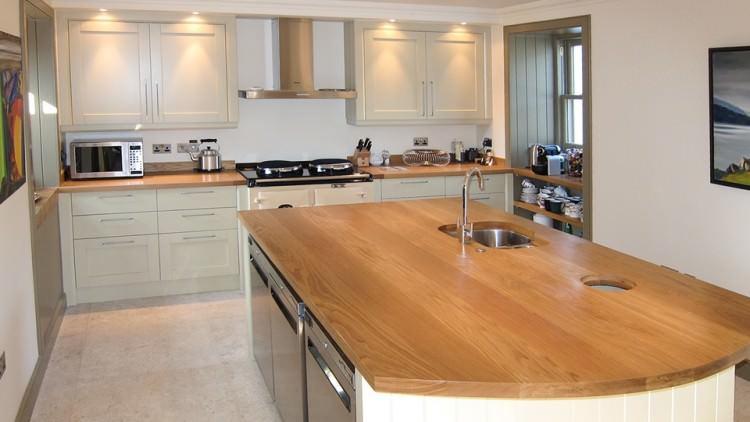
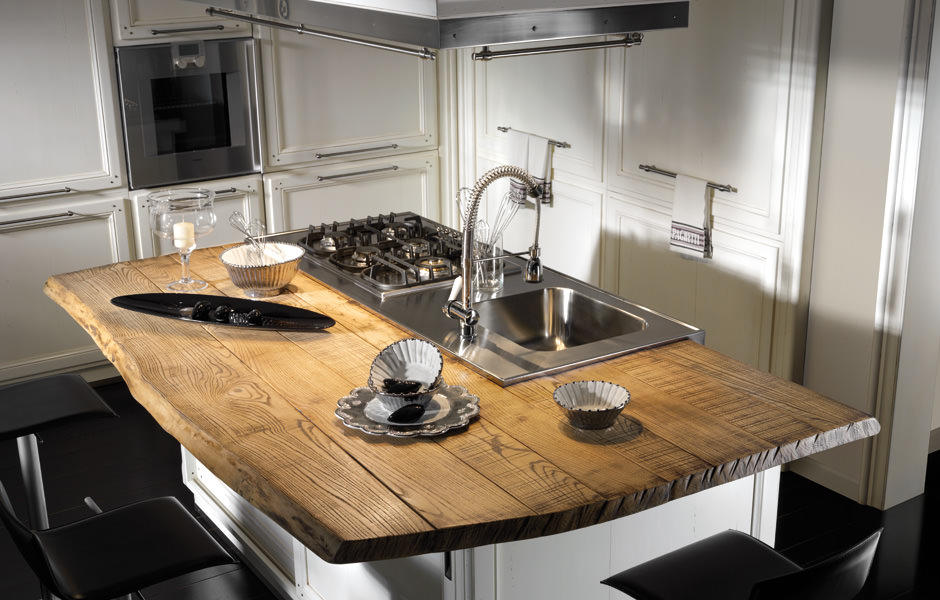
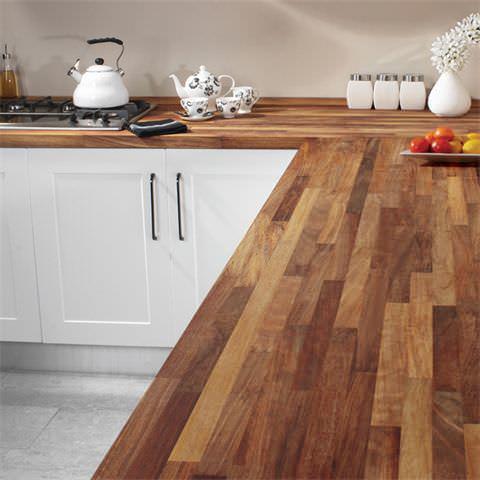
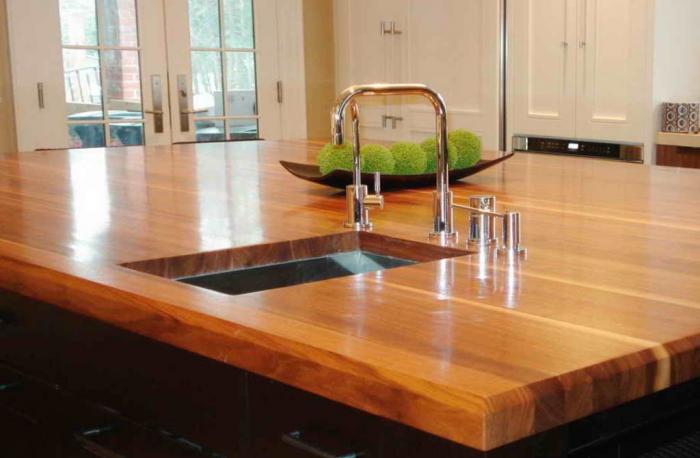
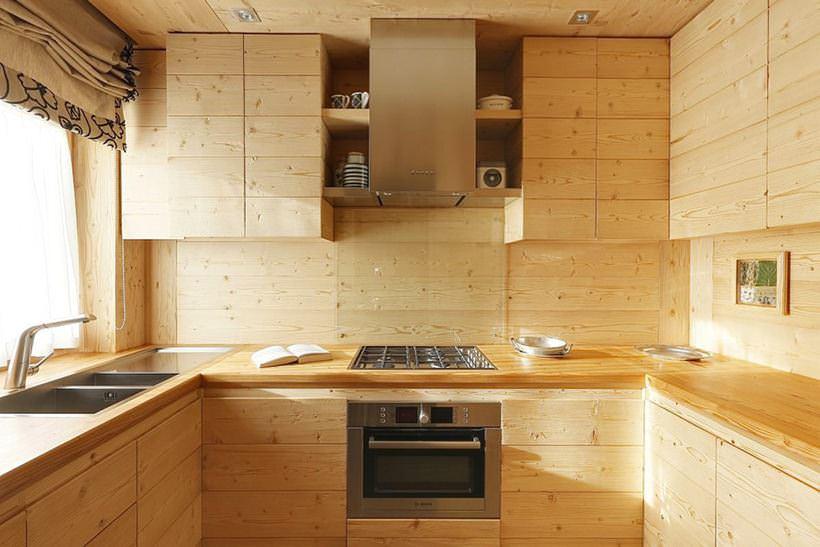
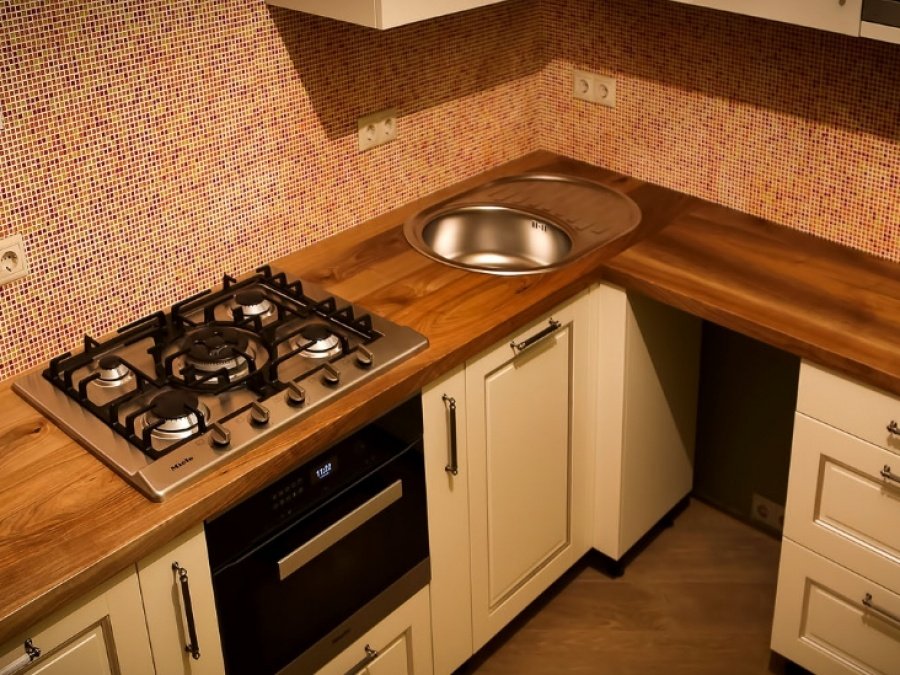
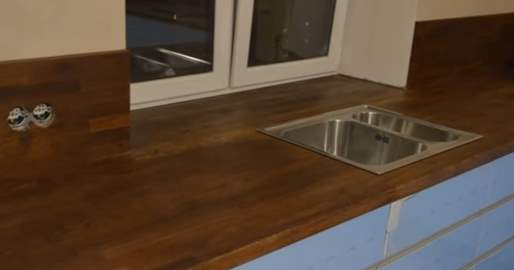
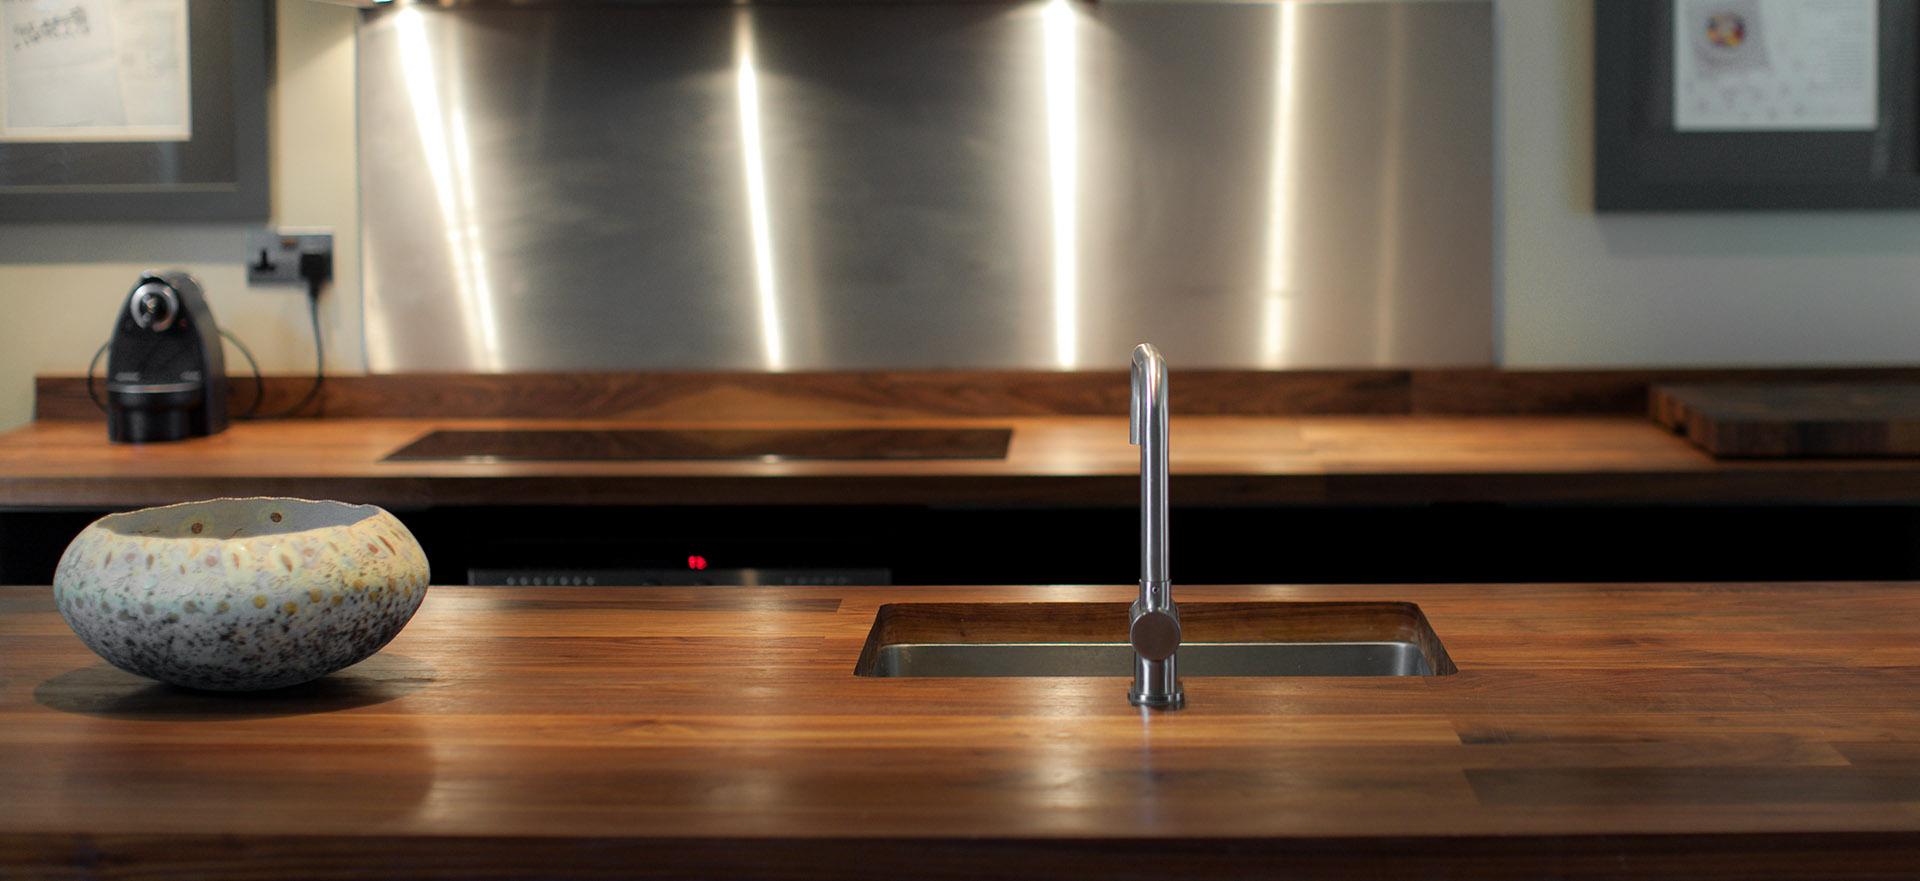
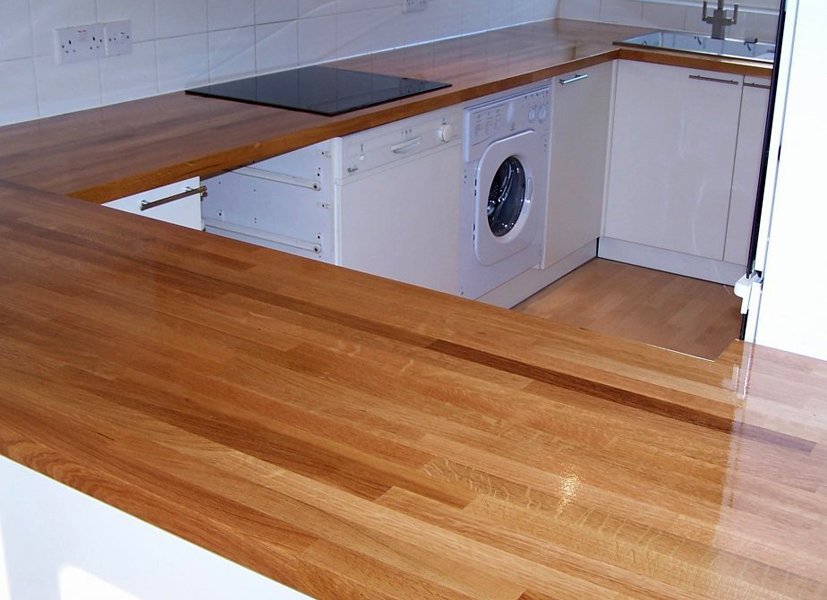
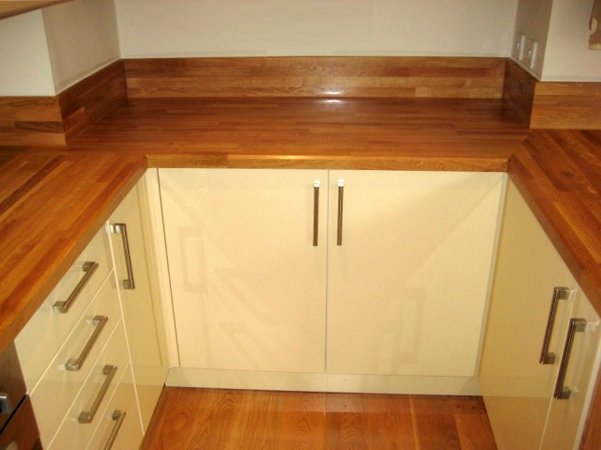
Photo gallery of beautiful kitchen countertops made of wood:


Judging by the way our people use equipment to glue the array, it’s difficult.
The saw pieces are sometimes all turned in such a way that they will twist no matter how you soak them!
It is necessary to eliminate mechanically any behavior of wood.
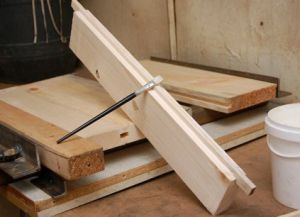
To do this, we connect them transversely by a quarter or a third with transverse slats of non-bending wood like a dovetail (the material is selected to match the wood, split pine is not bad, for example).
This way we block the longitudinal and screw...
After gluing, we make blind/deaf tenons on the outer boards through the slats.
This blocks the longitudinal divergence of the boards.
For this you will need a tripod circular saw with angle adjustment, a dovetail cutter and a drill.