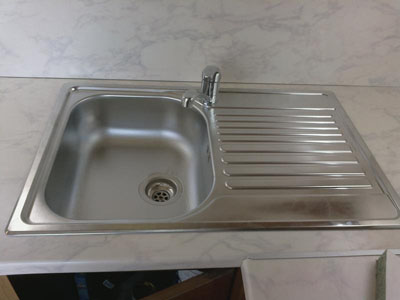
The furniture manufacturing industry offers a huge variety of kitchen furniture to choose from. Sometimes a sink for dishes is offered separately and installed by the buyer independently. This does not require any special knowledge or skills.
The tool needed to make the hole correctly is the simplest. The question of how to cut a countertop for a sink is not very complicated. However, if you do not follow certain requirements during installation, the installed equipment can be damaged.

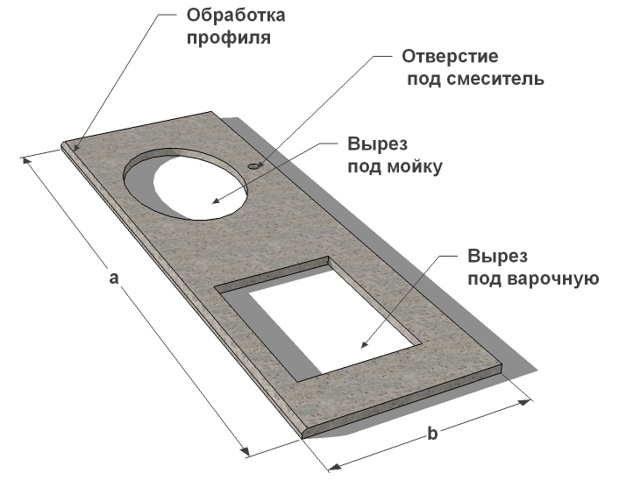
The location for the cutout is selected taking into account the minimum distance for draining water into the sewer and connecting the water supply.
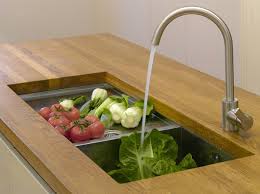
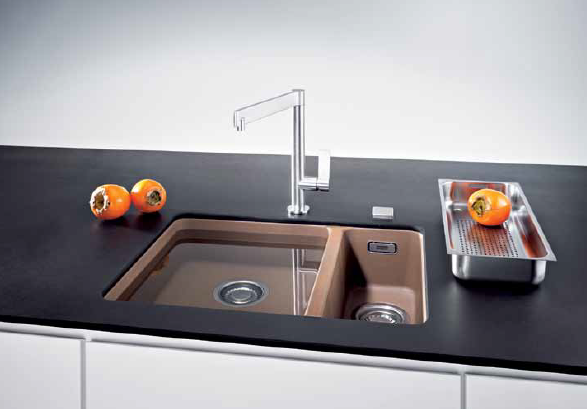
The sink can be installed in relation to the level of the work surface in the following ways.
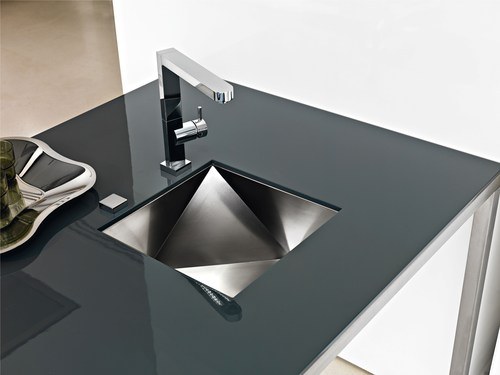
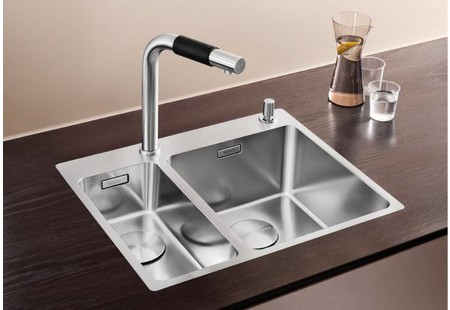
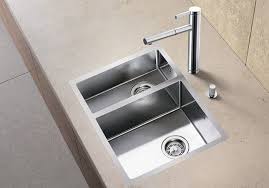
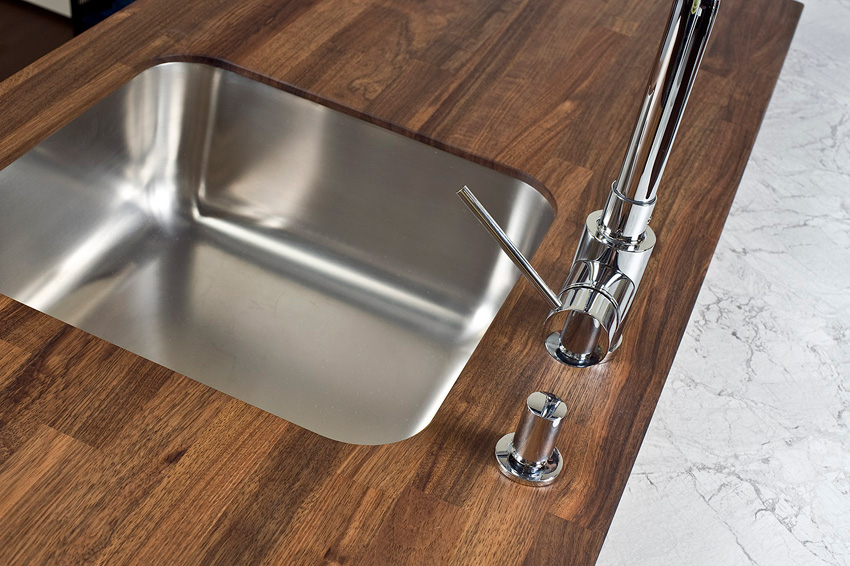
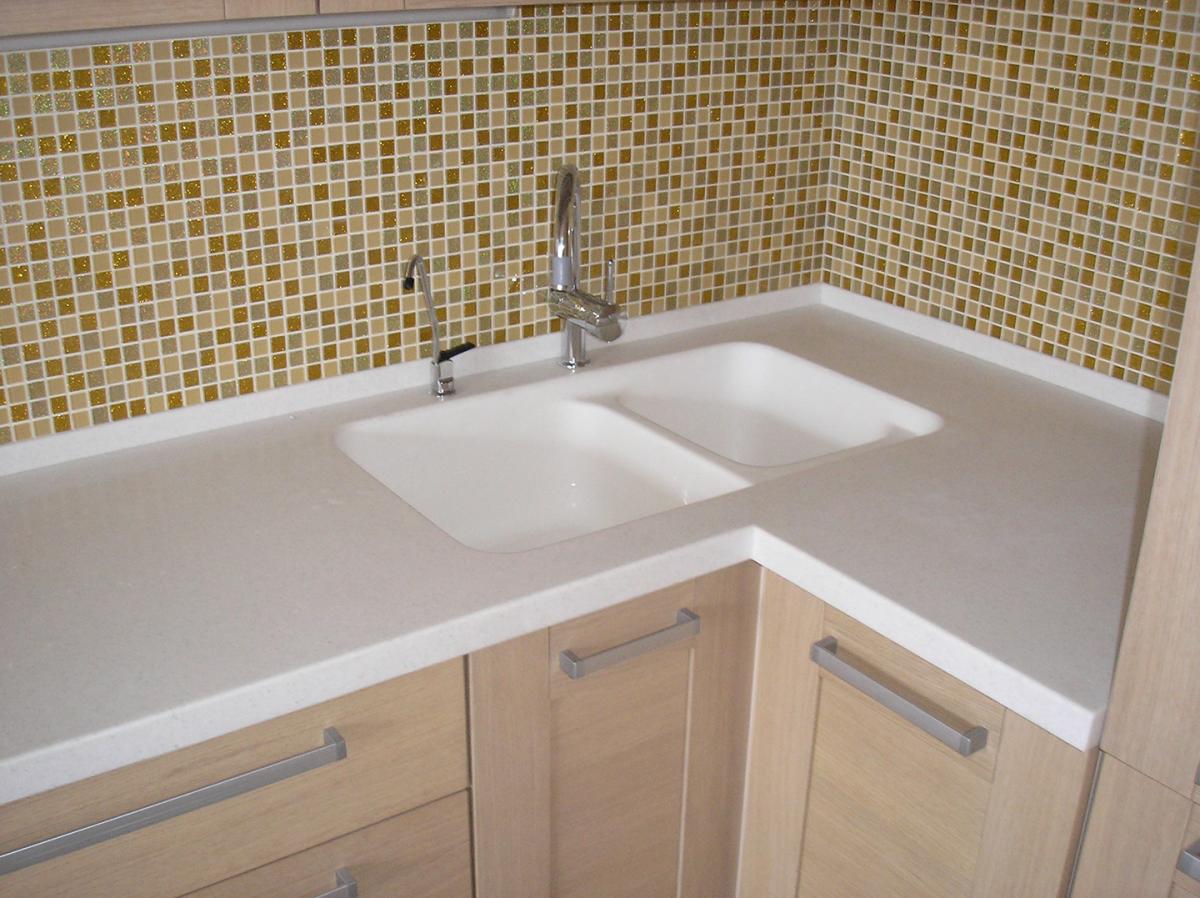
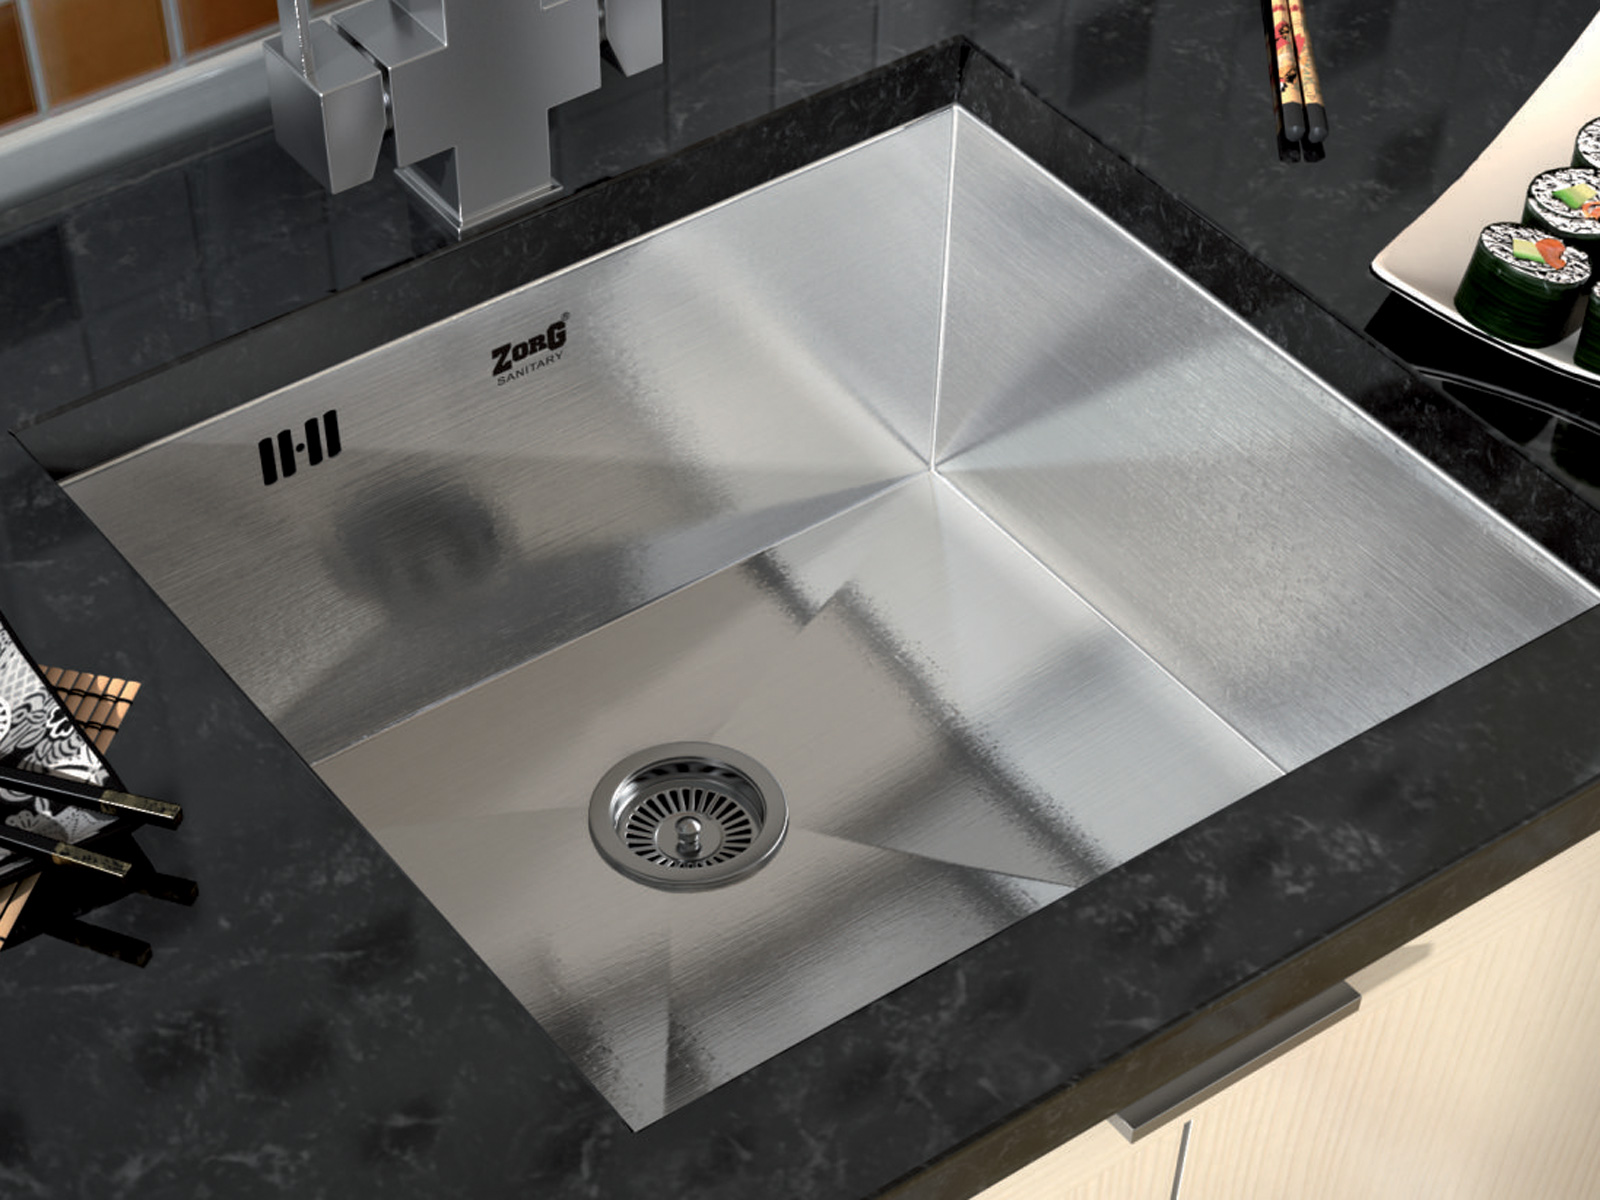
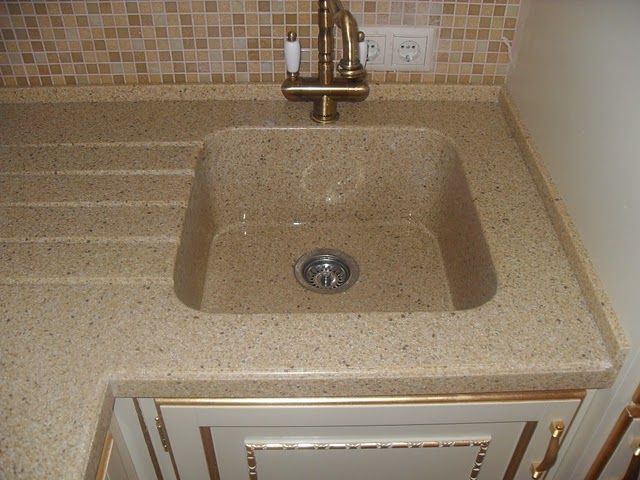
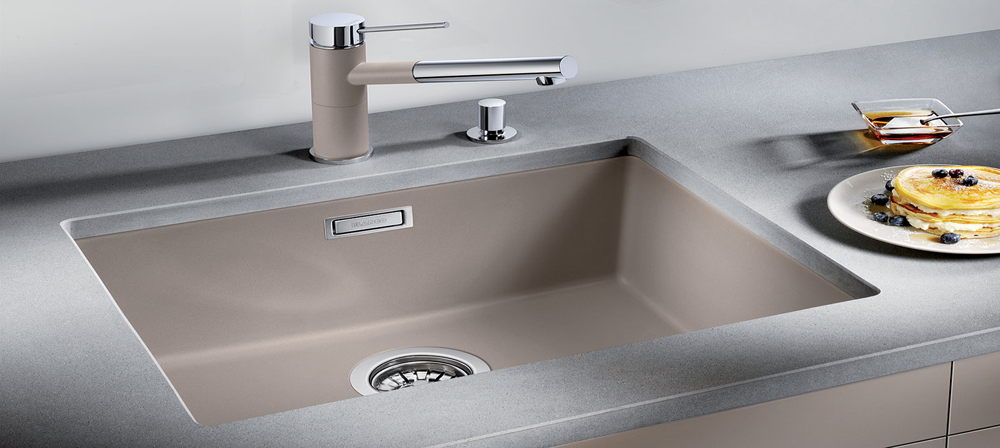
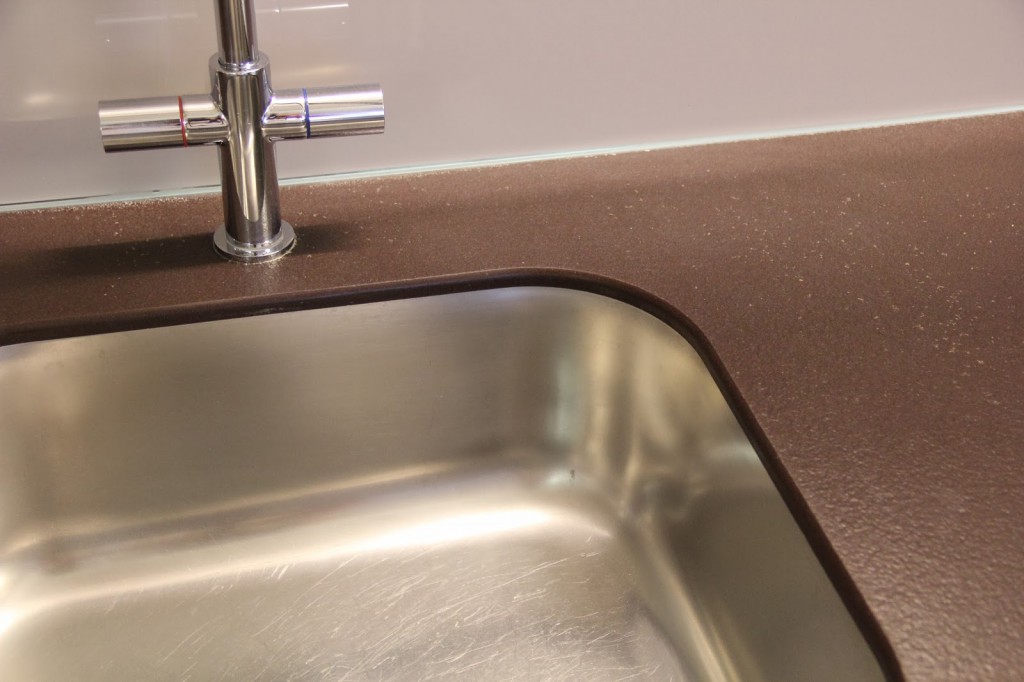
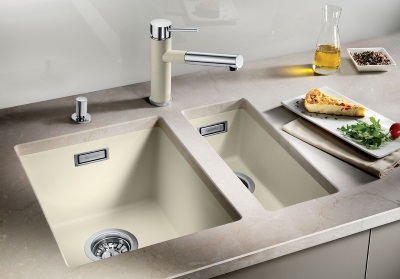
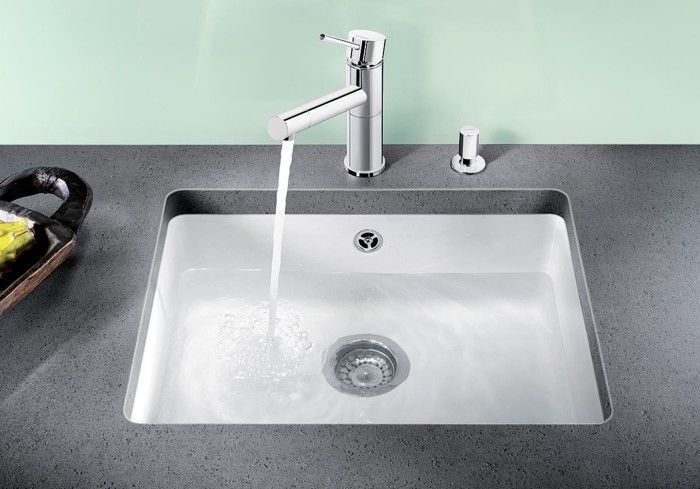
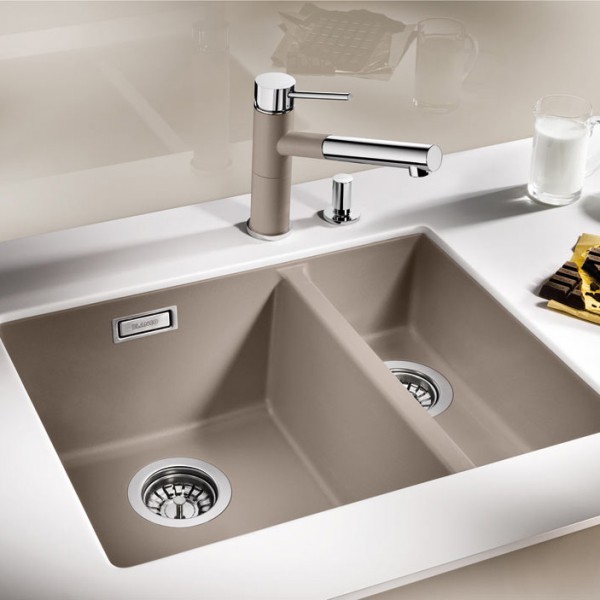
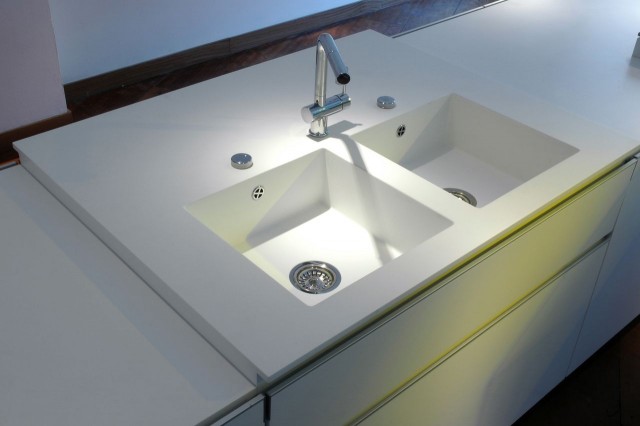
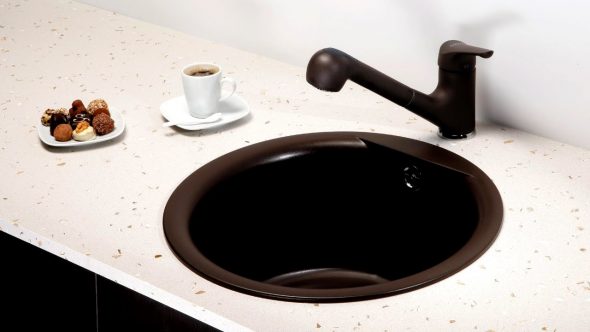
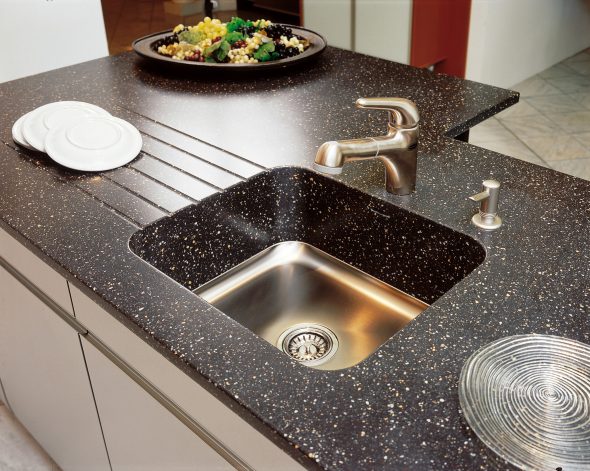
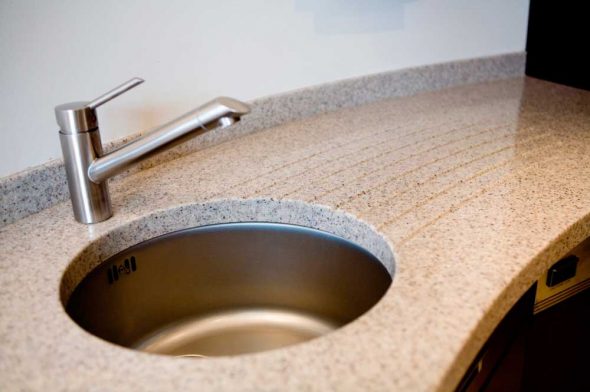
- Below the countertop. This arrangement looks very impressive, but will additionally require the use of a special tool. The sink itself must have a certain shape. In this case, it is attached from below, with special fasteners. They are usually sold in a set. The open end must be impregnated with a water-repellent agent. At the same time, it must be of sufficient thickness.
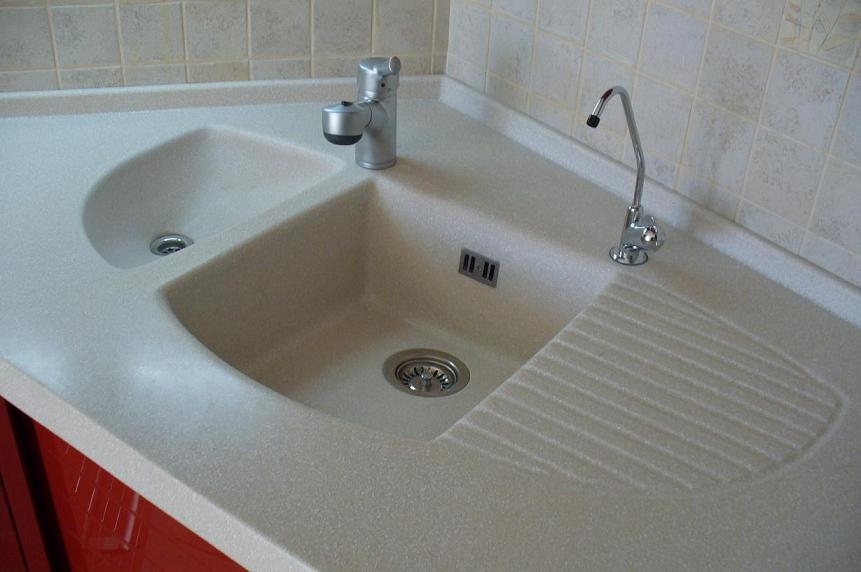
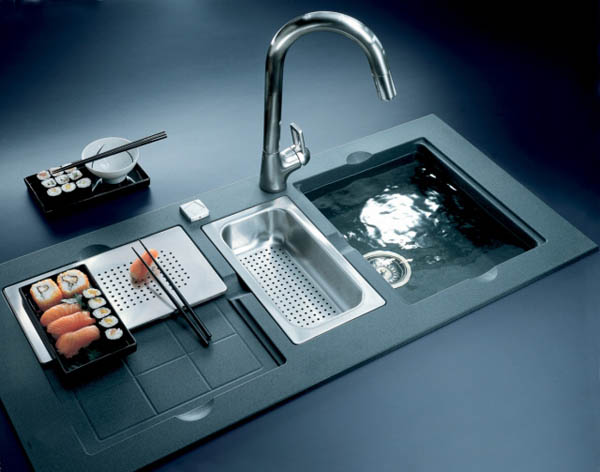
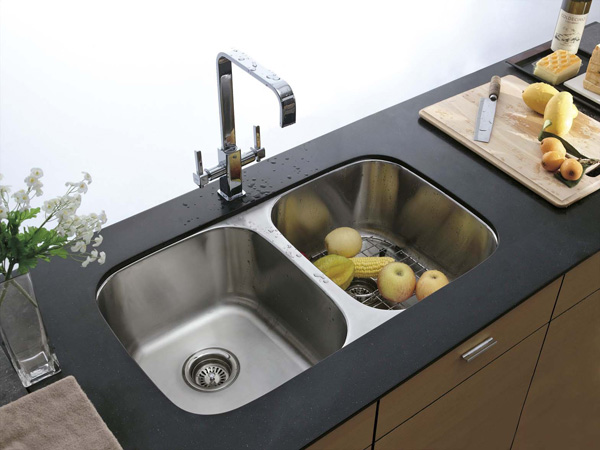
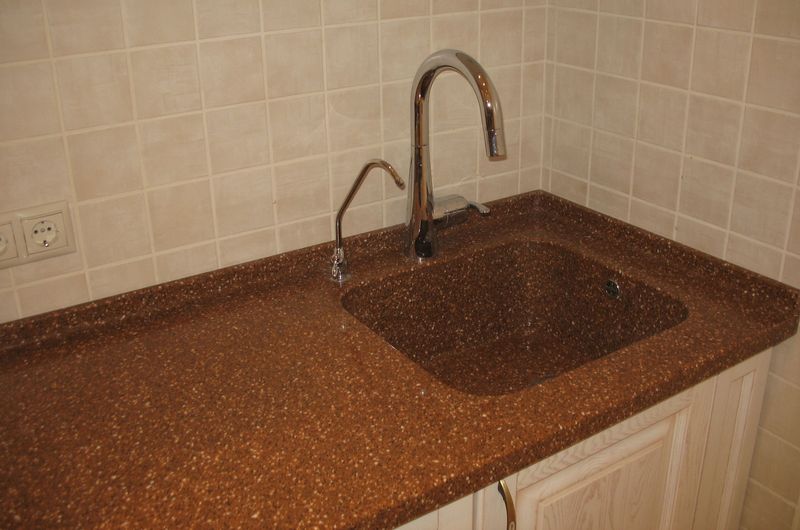
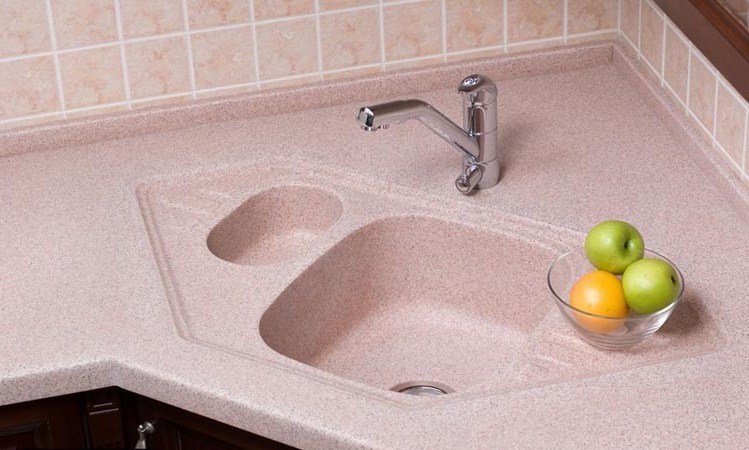
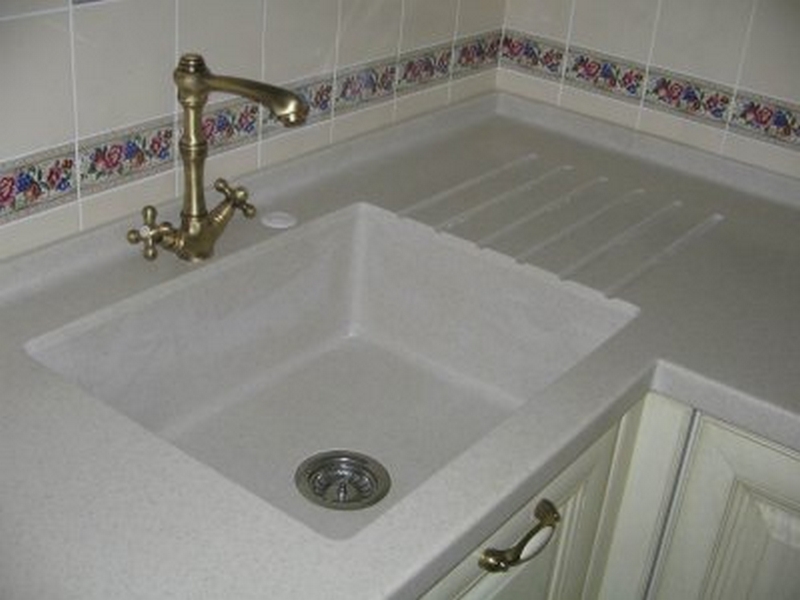
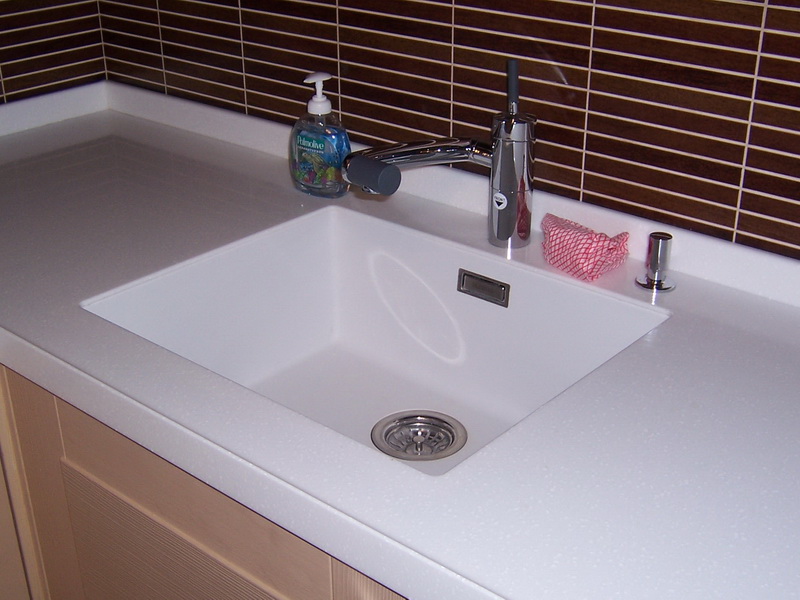
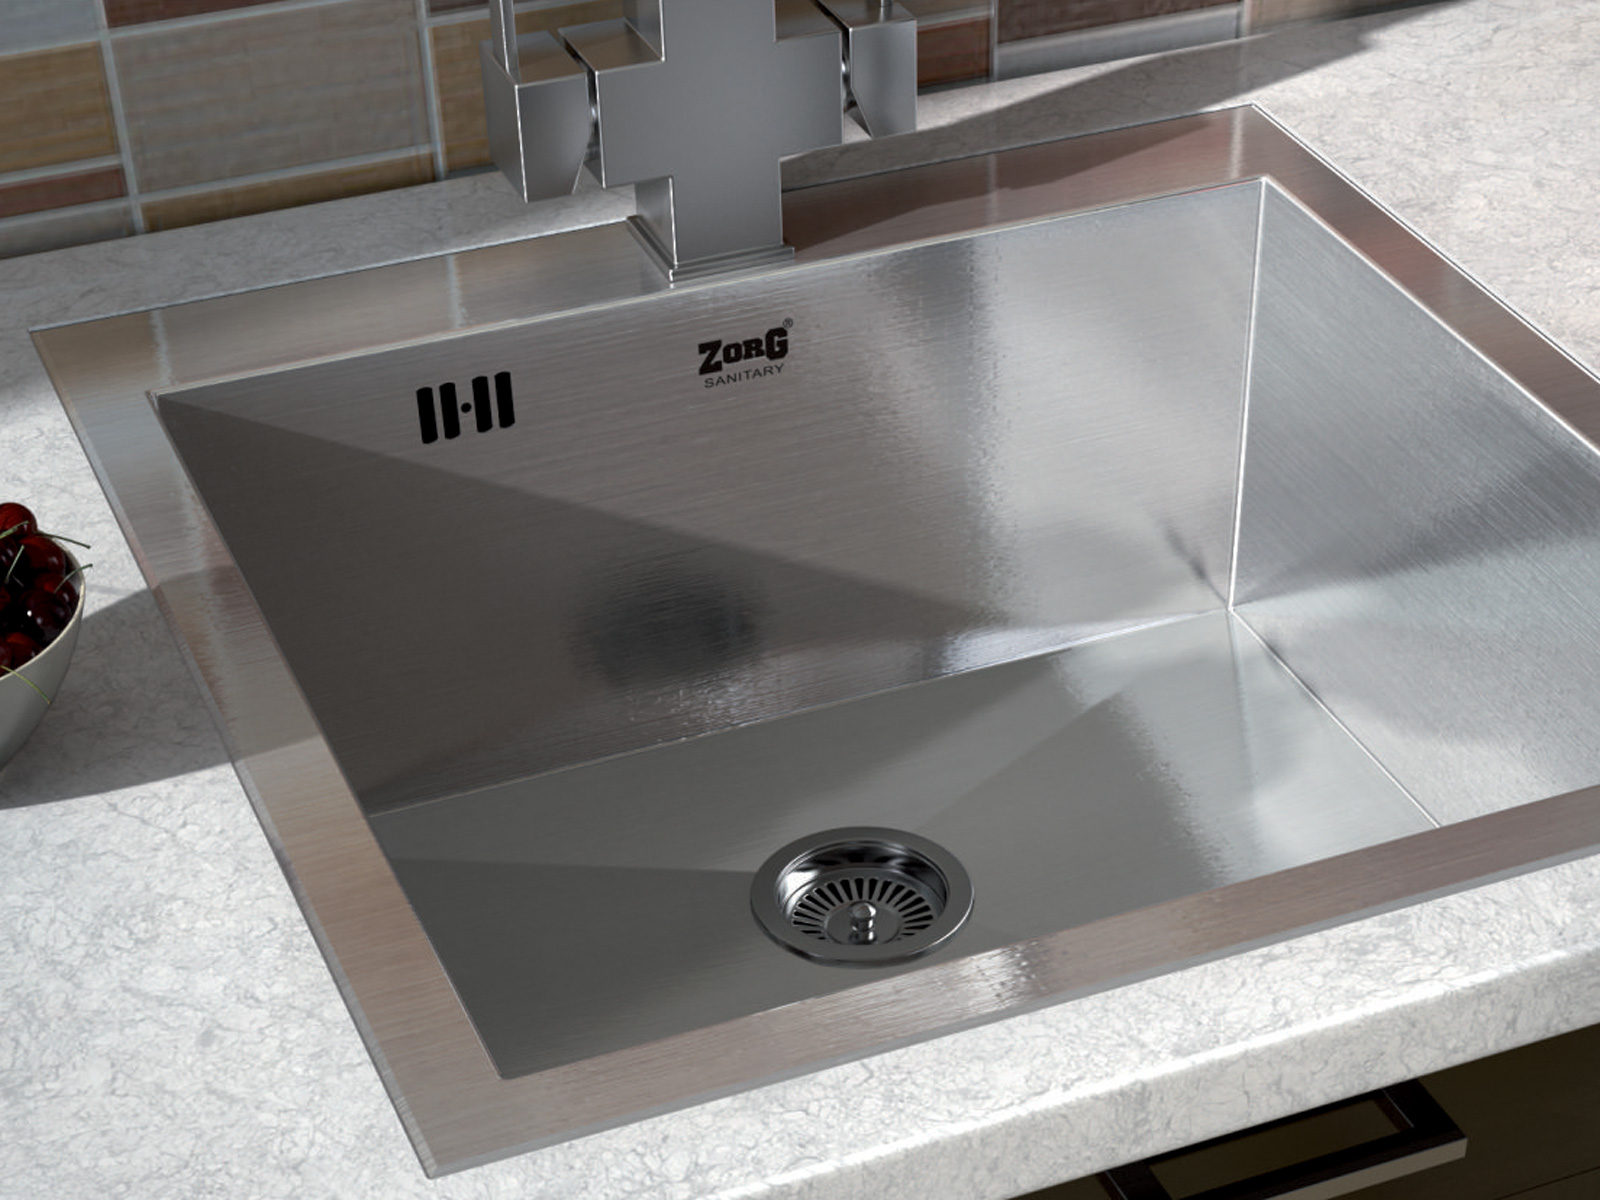
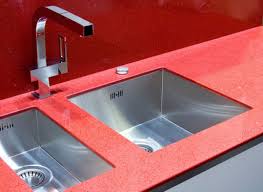
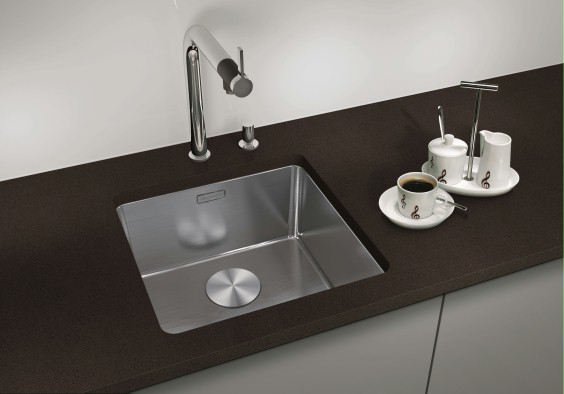
- On the same level. In this position, it is very important to correctly make the required recess, equal to the thickness of the side. It should be ideal along the entire perimeter of the installed sink.
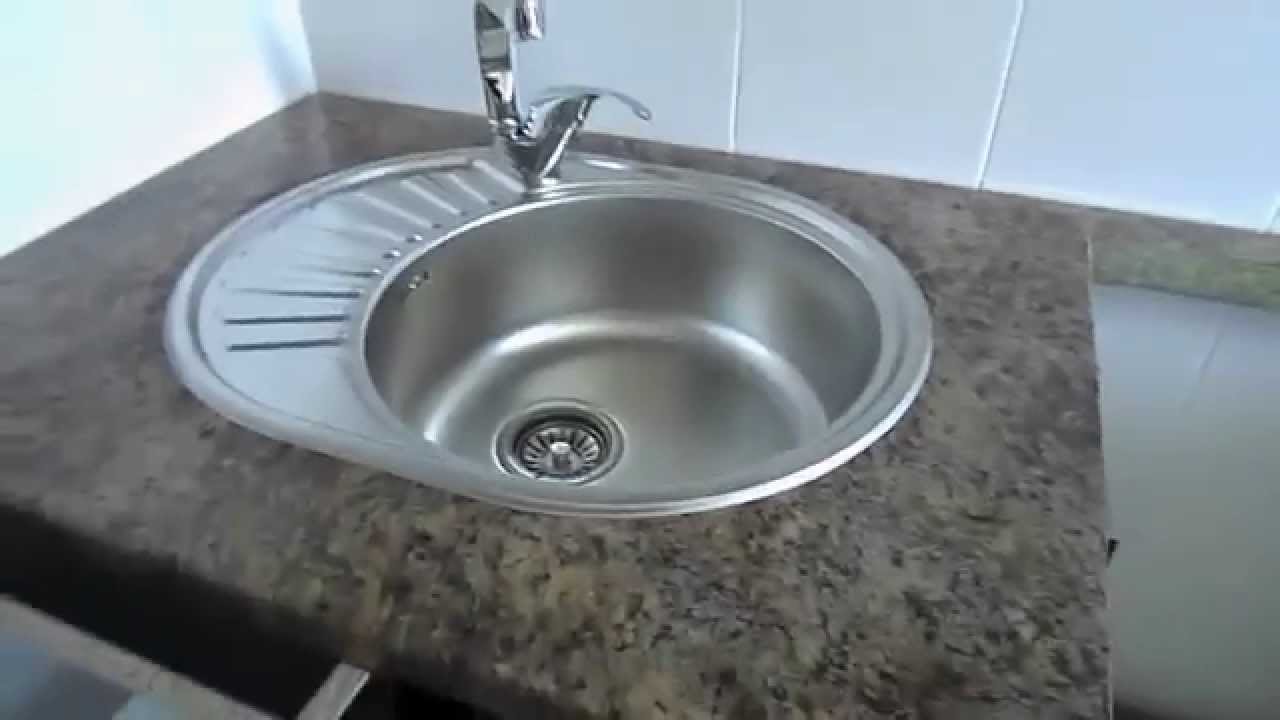
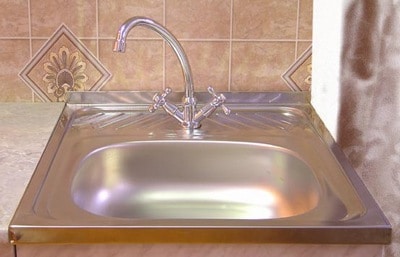
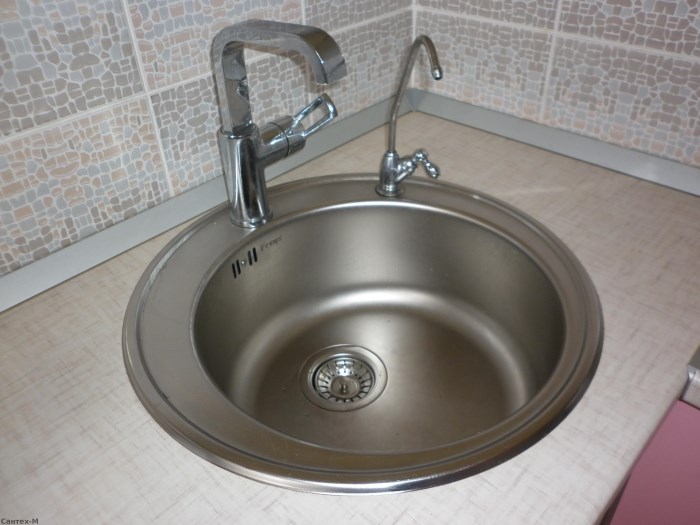
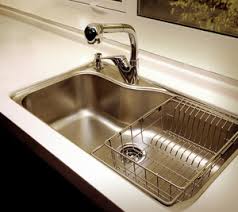
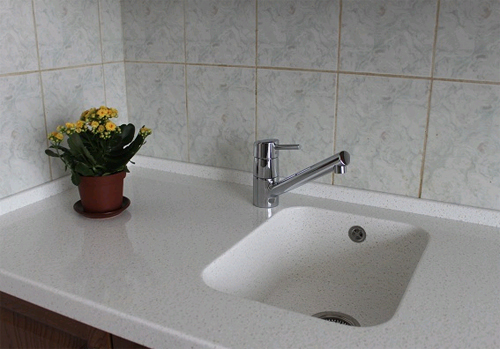
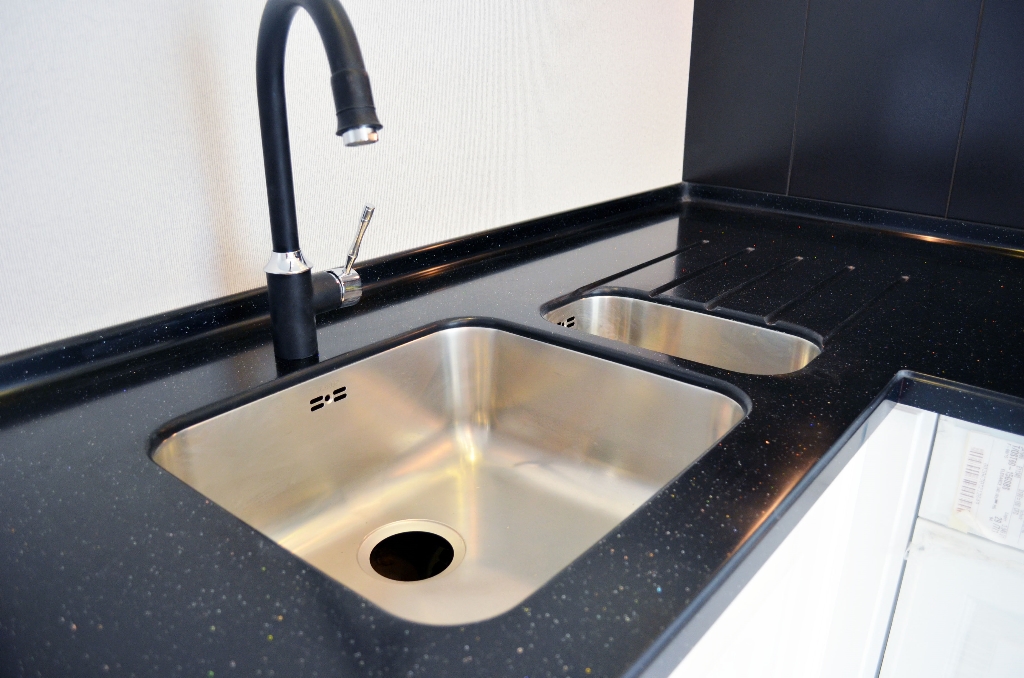
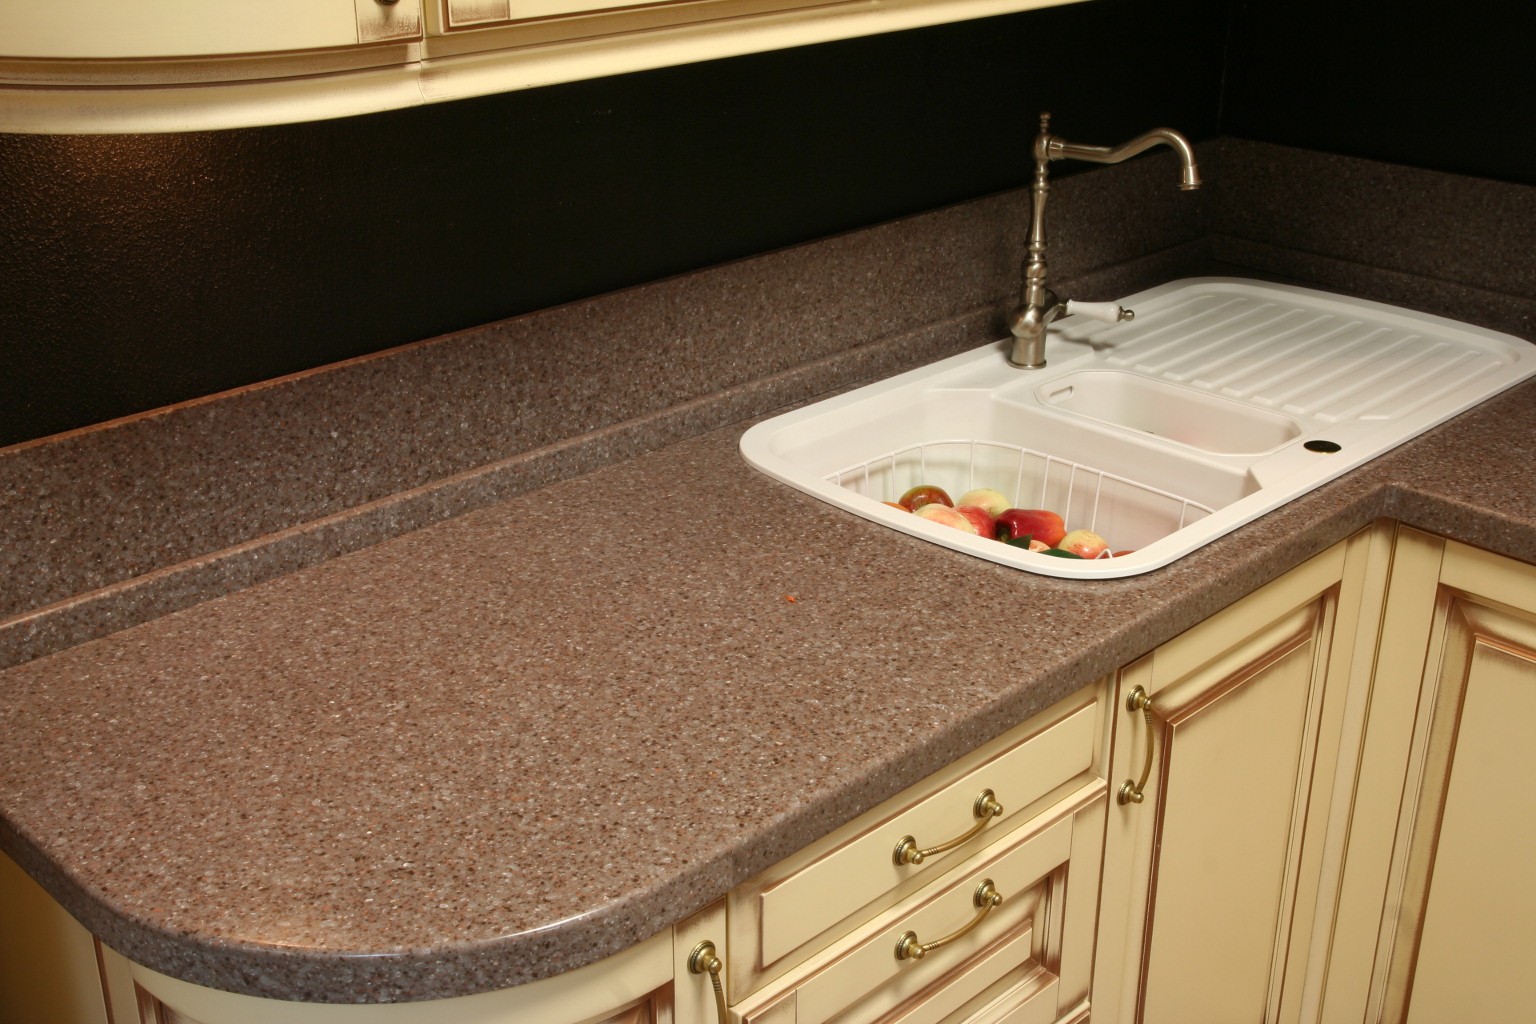
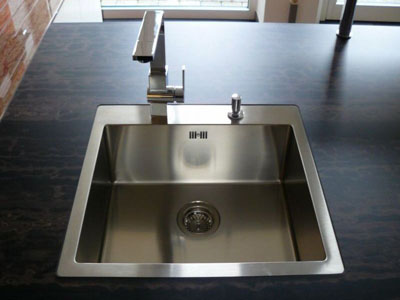
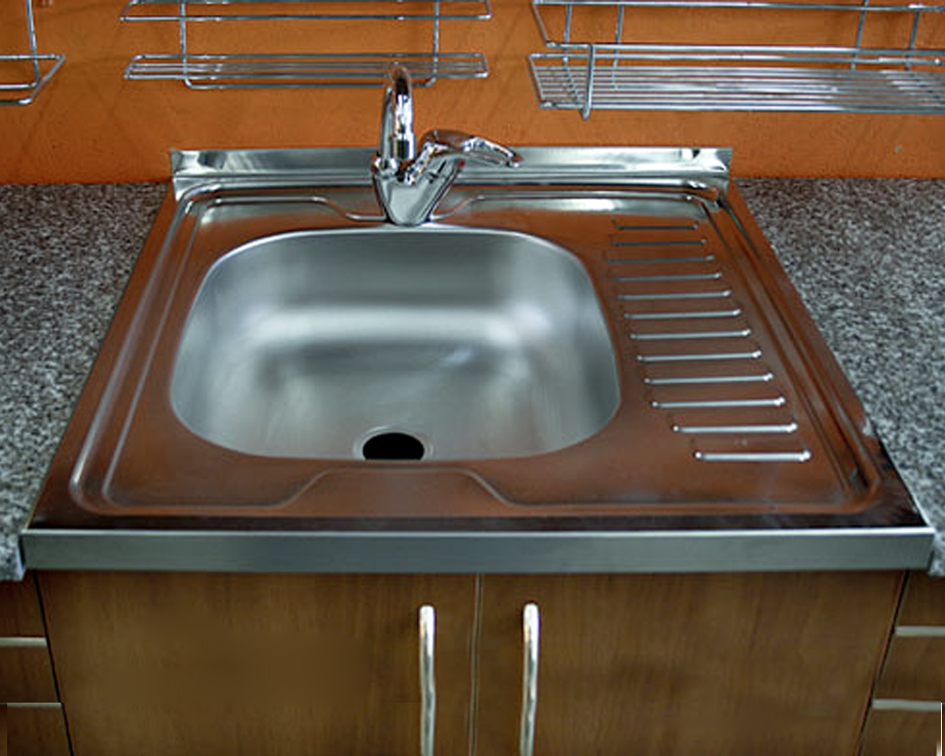
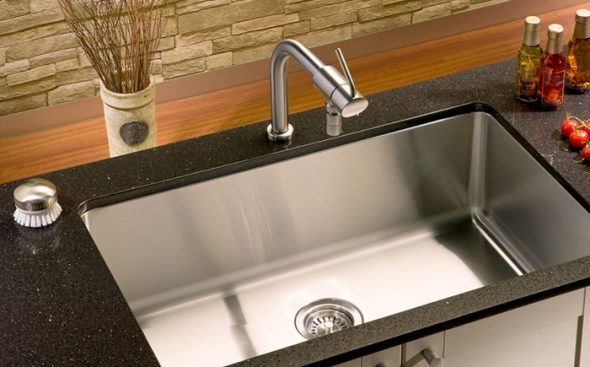
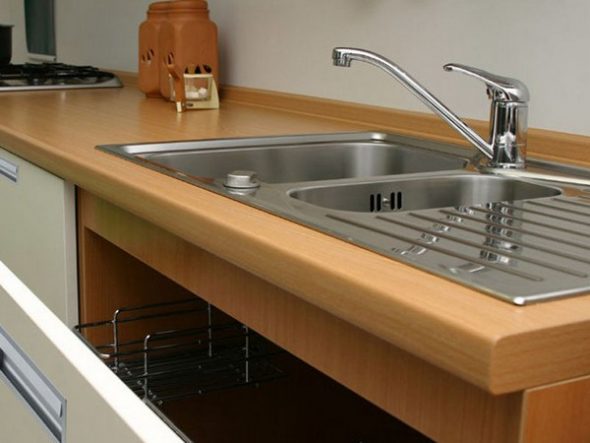
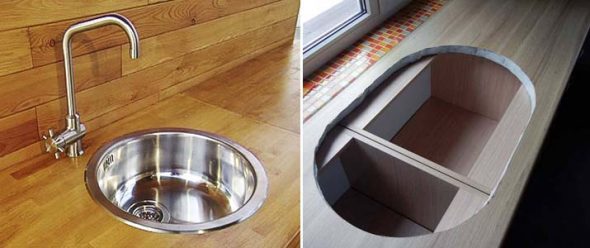
- Above the tabletop level. The tool needed for this type of installation is the simplest. No special efforts are required for such installation.
Content
Necessary materials
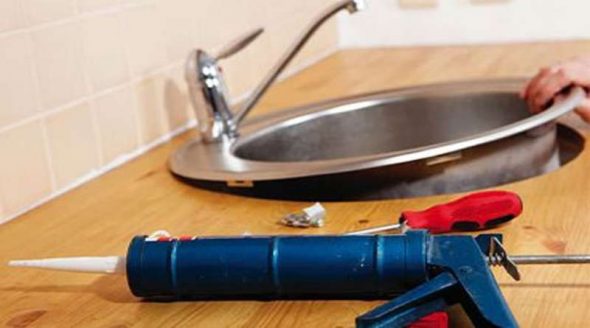
The sealant is used to prevent moisture from getting into the contact areas of the sink and the countertop. Water can seriously damage the chipboard. Different surfaces require their own sealant. When working with artificial stone, only silicone is used. Sealants containing alcohol are more often used for wood and plastic.
Using a sealant not only prevents unwanted water penetration, it also provides additional strength to the connection.

Tools required:
- electric drill
- electric jigsaw
- wood drill with a diameter of 10 mm.
- set of wrenches
- brush
- adjustable wrench
- rasp
- screwdriver

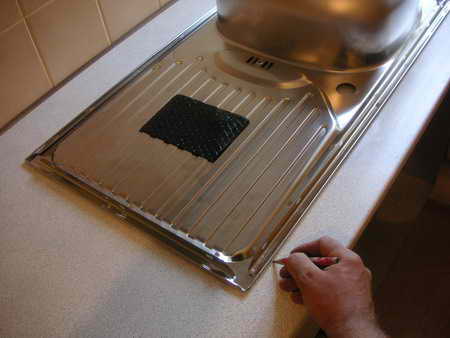
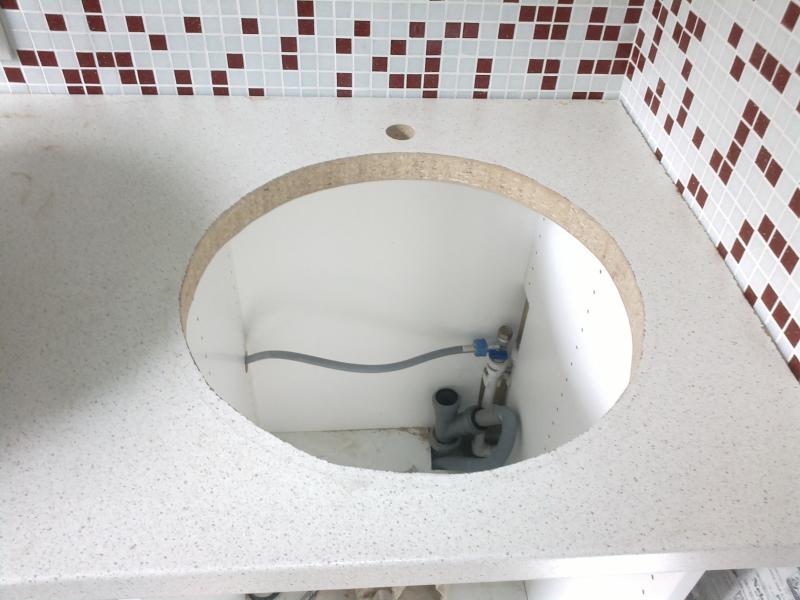
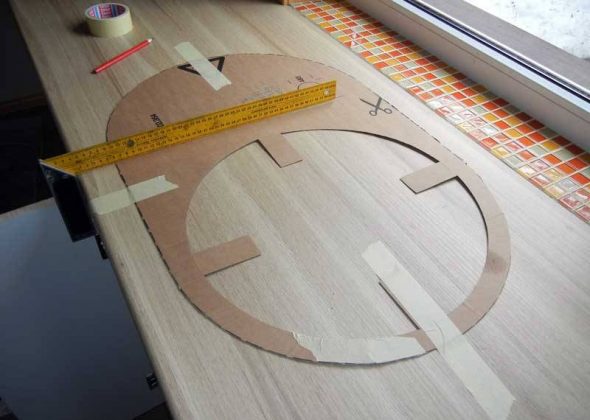
Before cutting a hole in the countertop for the sink, the required hole is marked. To do this, a template is made from cardboard or thick paper. Some manufacturers and producers of sinks include a template with the product itself. If the option of installation on the countertop was chosen and the sides are wide enough, you can mark it without a template. For this, the sink is used as a template. Its upper surface is applied to the plane and a marker or pencil is used to trace the contour. For ease of installation, it is advisable to remove the countertop. Having retreated inward 0.5 - 1 cm from the drawn line, a working contour is drawn along which the cut is made.

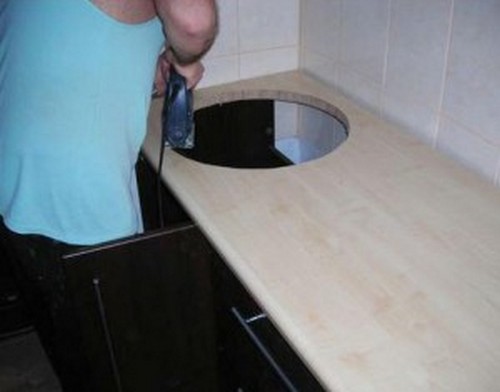
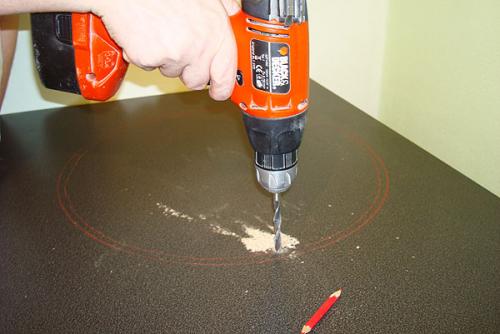
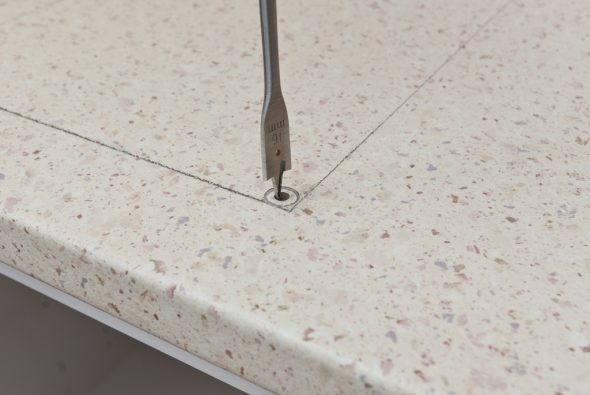
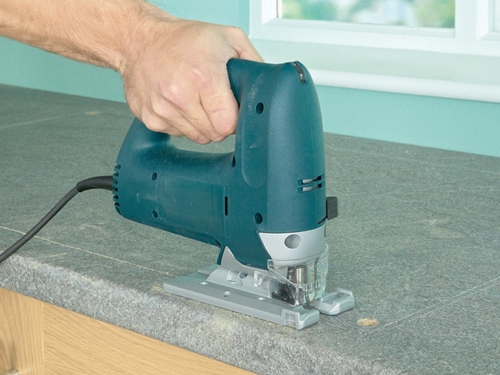
Having marked the cutting line, the template is removed and you can begin the process of cutting out the place for the sink. A place for the saw blade of an electric jigsaw, approximately 10 mm in diameter, is drilled with a drill. For a rectangular or triangular sink, holes are made in all corners. If the product has a round or oval shape, one will be enough for the job.
The hole and cut are made from the laminate side, this will prevent it from chipping. The jigsaw should be used to carefully cut out the required hole along the drawn outline. The electric jigsaw should be pressed tightly to the surface. The saw blade should go exactly at a right angle.
When doing this work, you should support the inner part being cut out. Or position the tabletop so that this part does not fall when the cutting is completed. If you abruptly separate the remaining and removed part, the laminated coating may crack. Or a part may break off from the chipboard.
If there is no room for such an arrangement, or the tabletop has not been removed, use construction tape. In this case, sawing is done with stops. A 10-15 cm cut is made, which is then sealed with tape on both sides.
After the sawing is completed, the sink is pre-tested. It should fit freely, but the gap should not be too large. If it fits too tightly, the installation site should be widened with a rasp or jigsaw.
Now you should carefully "sand" the inner end, to which the sink will be adjacent. This is done with fine-grained sandpaper. The resulting dust is removed, and a thin layer of sealant is applied to the contact point using a brush.

Installation of a sink and connection of utilities
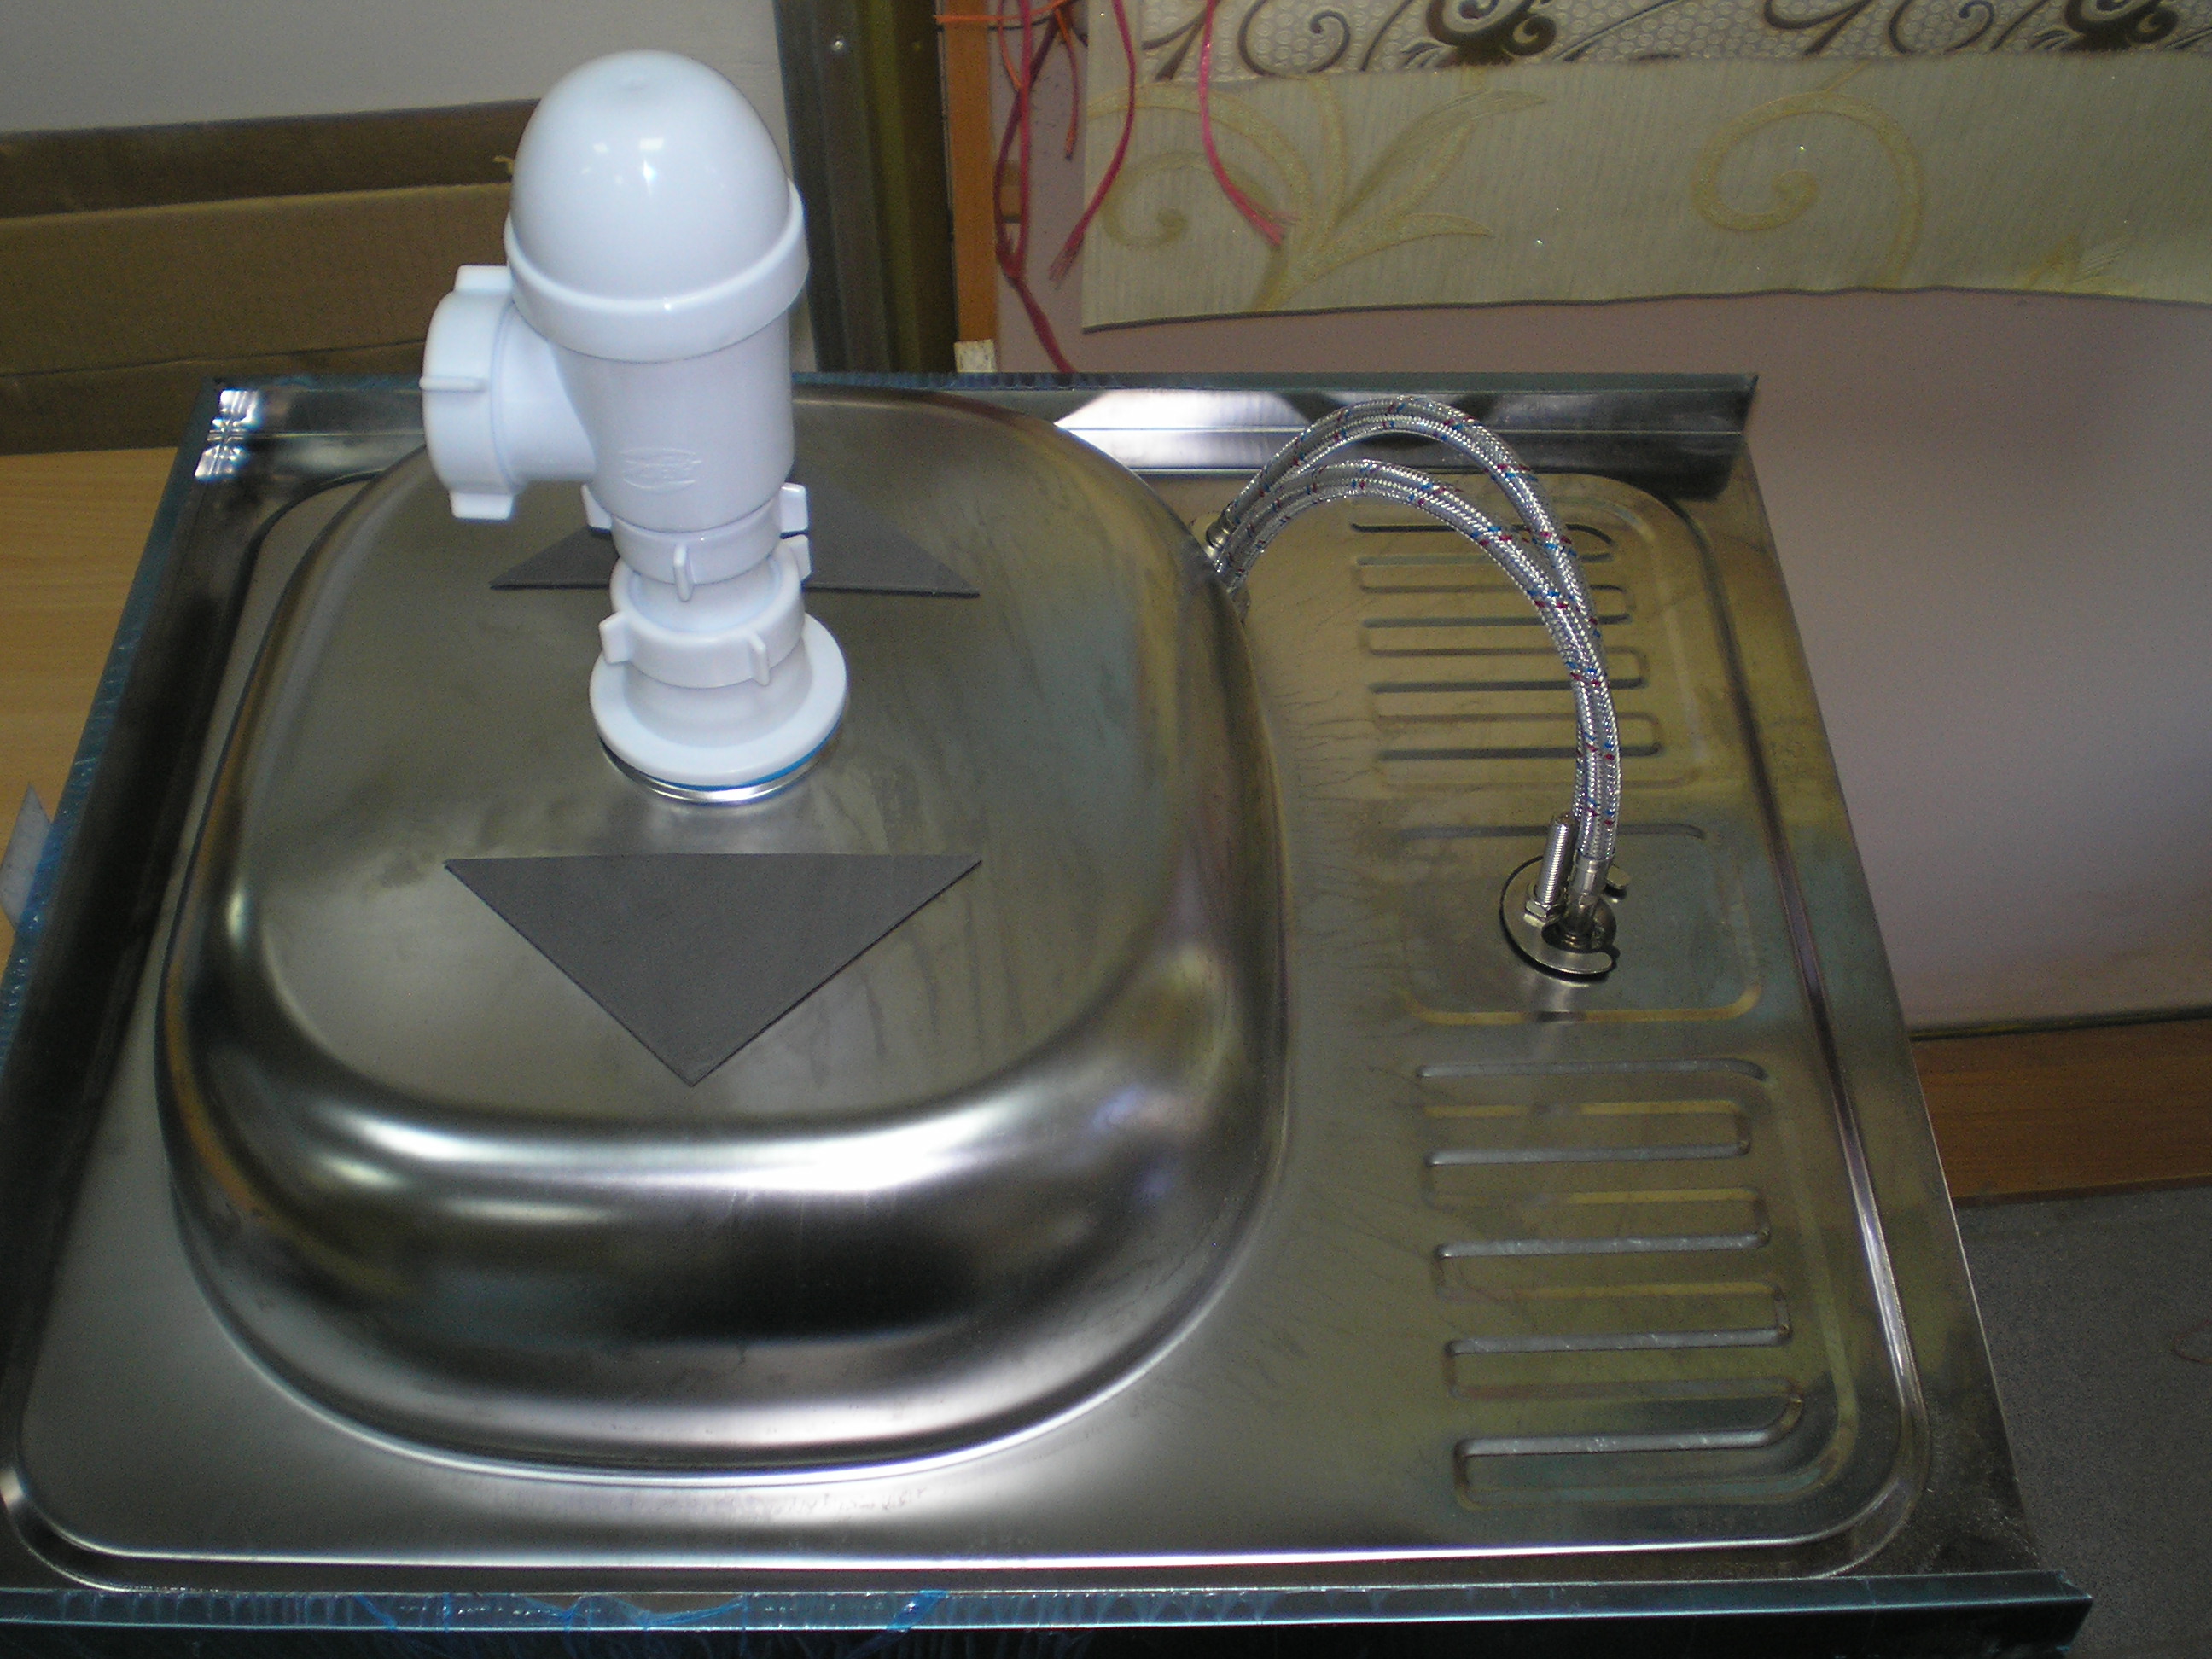
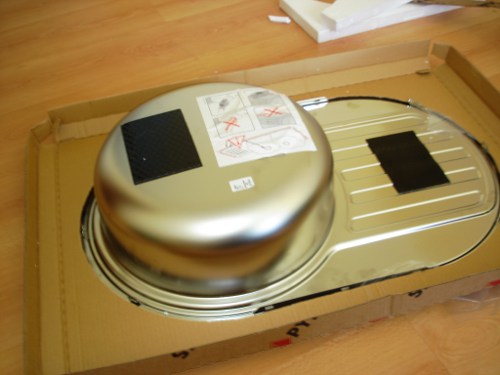
A drain and, if provided by the design, a mixer (water tap) are mounted to the bowl. All gaskets are installed in the required sequence. Usually, the layout of the gaskets is indicated by the manufacturer on the packaging of the mixer and drain siphon. Threaded connections are tightened well with wrenches or, if necessary, an adjustable wrench.
If there are no holes for water supply and sewerage in the structure on which the installation is planned, they should be cut out. They are made in the same way as for the sink. Drill with a drill and cut out the opening of the required size with an electric jigsaw. You can use a drill with a special drill - a furniture crown, just take such a drill of the required diameter right away.

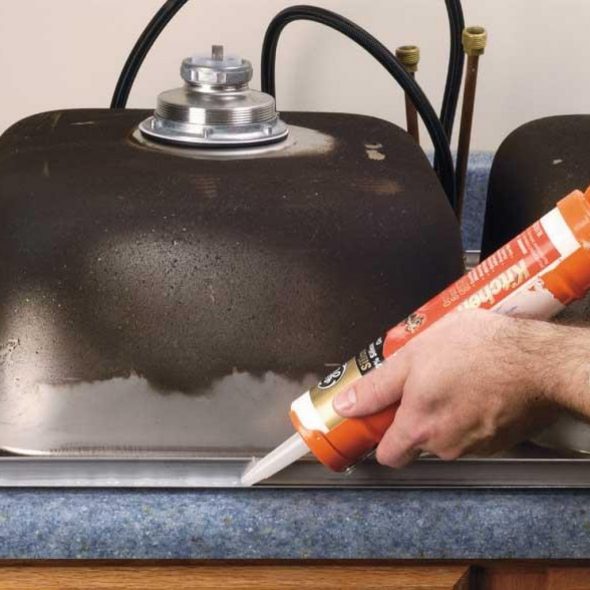
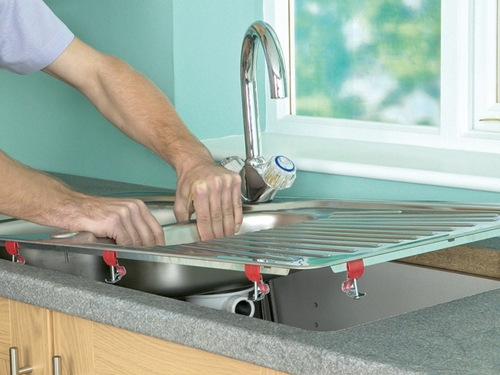
The sealing tape supplied with the product is applied to the sink. A small gap is left from the edge, which is subsequently filled with sealant. The fasteners are installed.

Reapply sealant to the contact points and let it dry a little, 2-3 minutes. Install the product in place and tighten the fasteners. Fix the tabletop together with it in its place and connect the water hoses. Connect the drain. Go over the joints with sealant again, remove the excess.
Installing a sink into a structure made of other materials
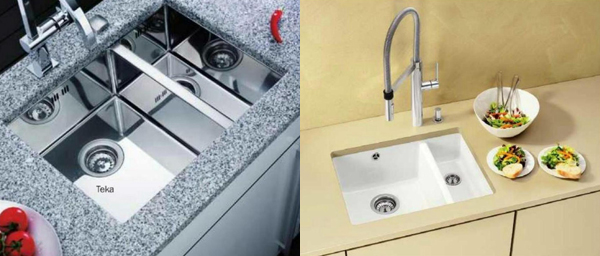
Installing a sink into a wooden or chipboard countertop is not difficult, if you have the necessary tools and basic skills in using them. A countertop made of artificial or natural stone installed in the food preparation area will last longer. It will look more solid, but it will be more difficult to install a sink into it yourself.
When purchasing kitchen furniture with such a surface, it is advisable to have a ready-made product that will only require connection to the water supply and sewerage system.
If the sink is purchased separately and its installation is required, it is advisable to entrust this work to professionals. In a stone processing workshop, craftsmen will perform the required work without damaging the surface. For this, they have the appropriate skills and a full set of necessary tools.
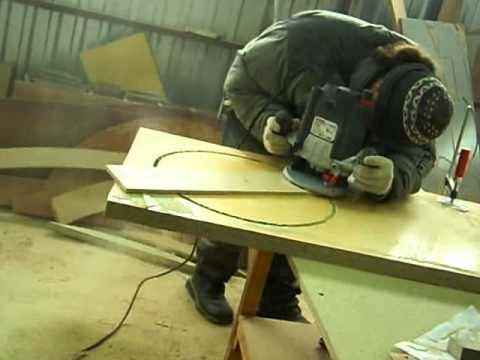
If you decide to cut a hole in the countertop for the sink yourself, you will need a special tool - a grinder with a diamond wheel. When working with this tool, you need to be extra careful. You will need to put on protective gloves on your hands, and protect your face with a special transparent shield-mask.
It is better to do this outdoors, as there will be a lot of dust during the sawing process. The sequence and manipulations are similar to sawing a hole in chipboard.
VIDEO: Video of sink installation. Cutting the sink into the countertop.
50 photo ideas on how to cut a hole for a sink in a countertop