Having bought kitchen furniture and plumbing, many people turn to professionals for help. But it often happens that there is no one to wait for help from and you have to do everything yourself.

Content
Installation rules: all the nuances of installation
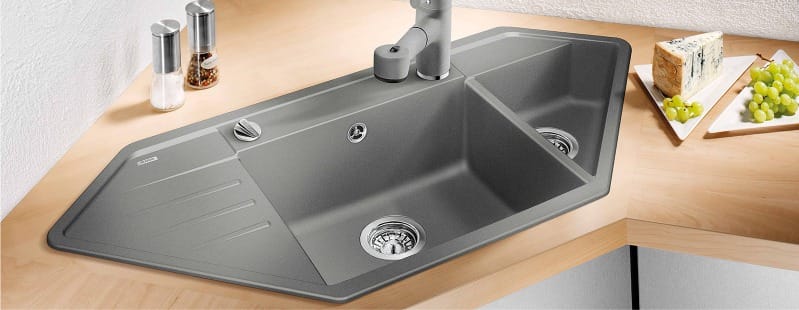
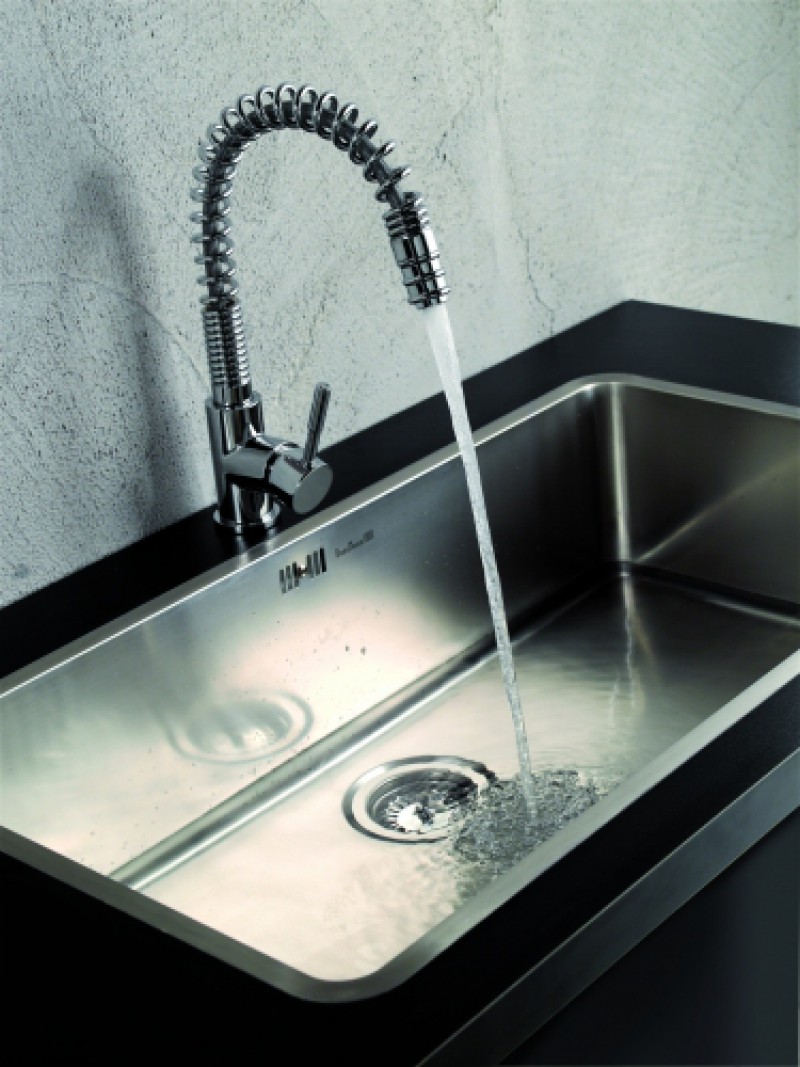
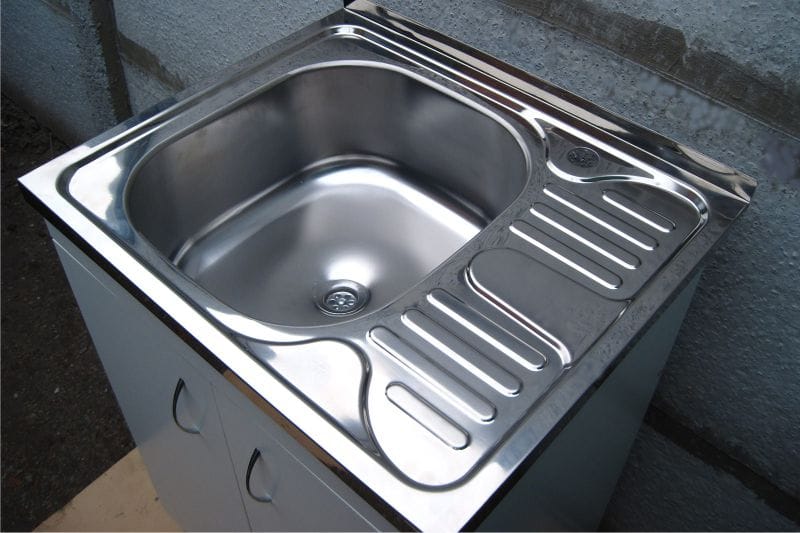
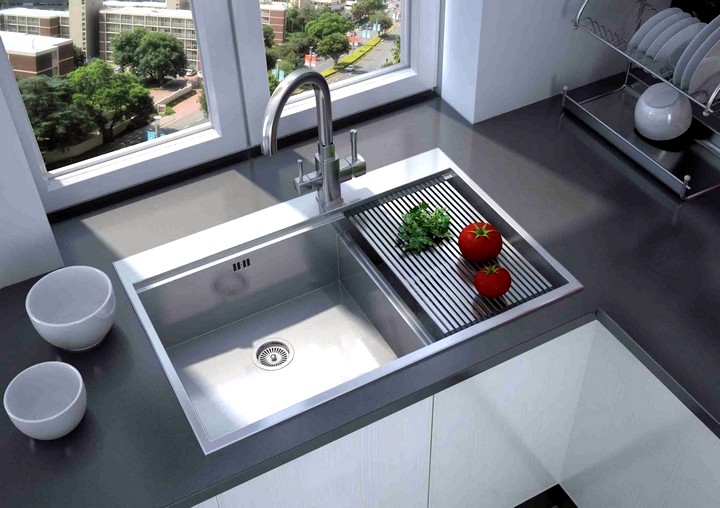
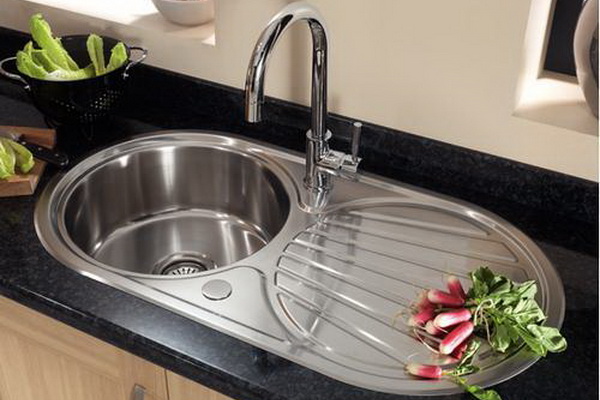
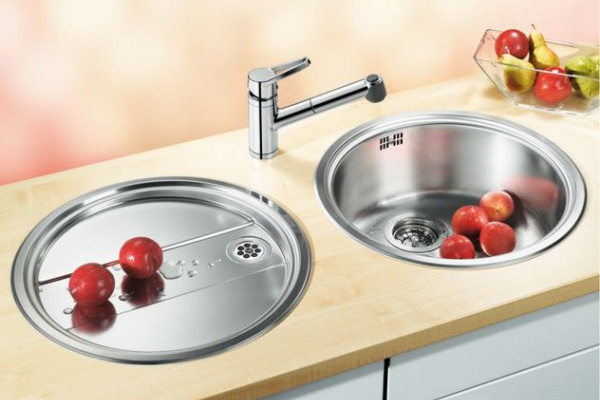
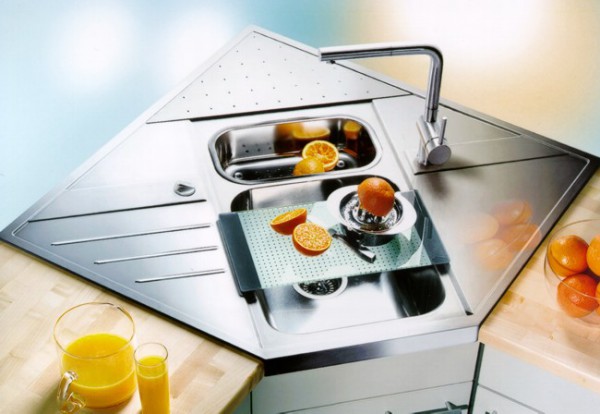
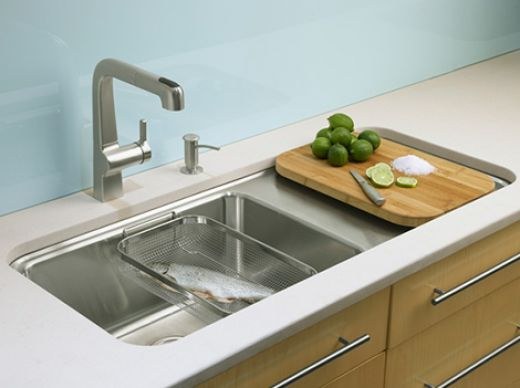
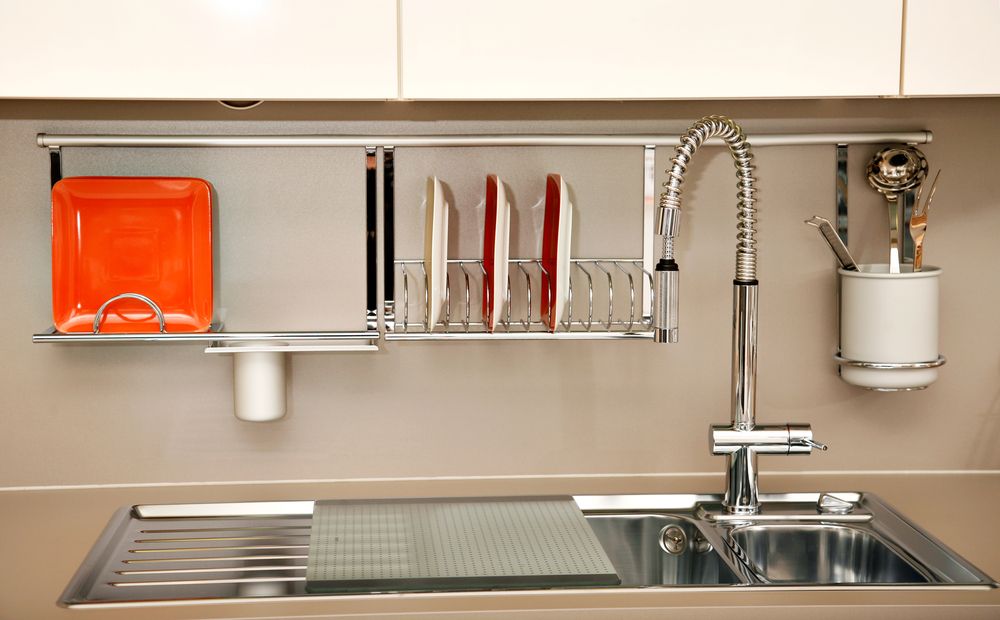
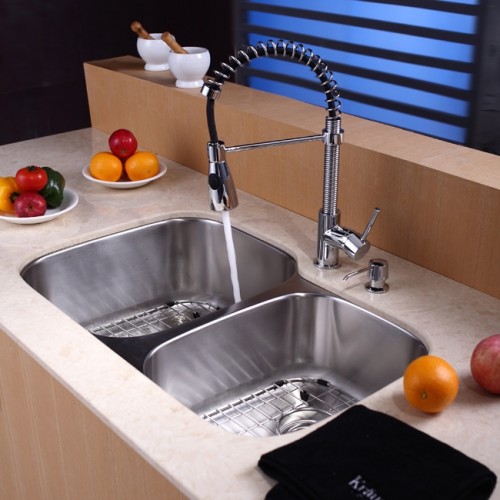
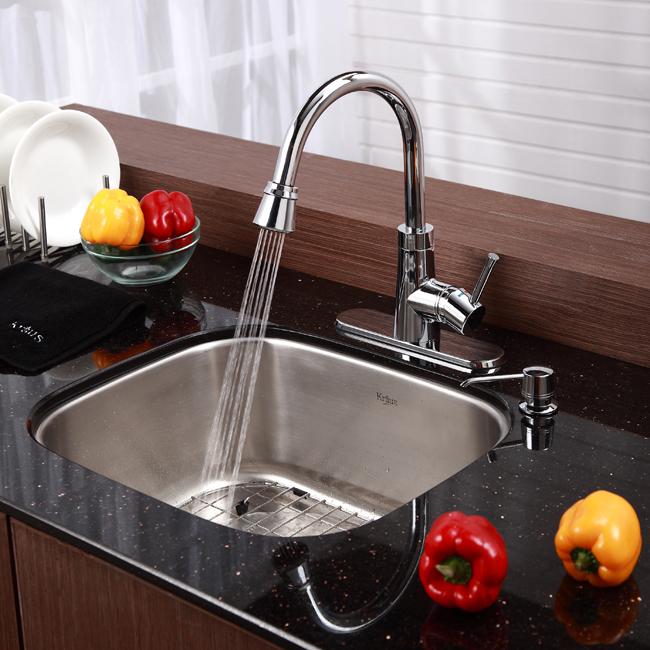
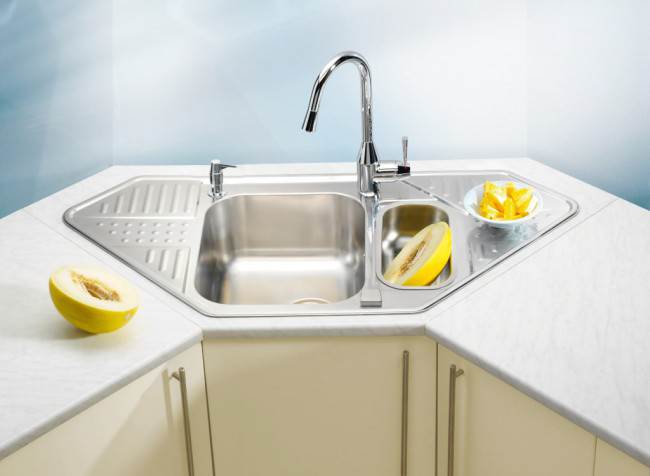
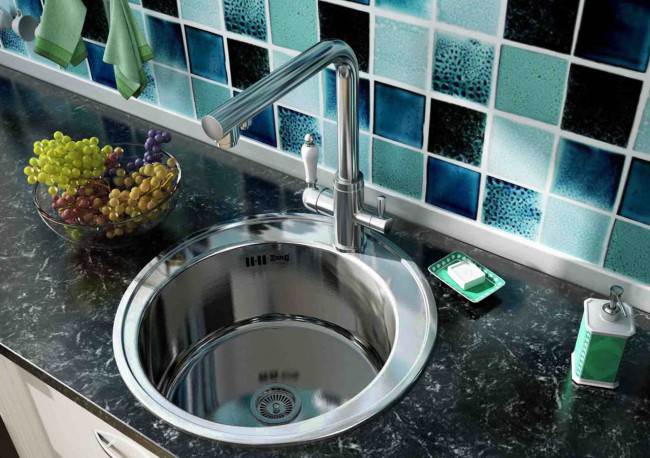
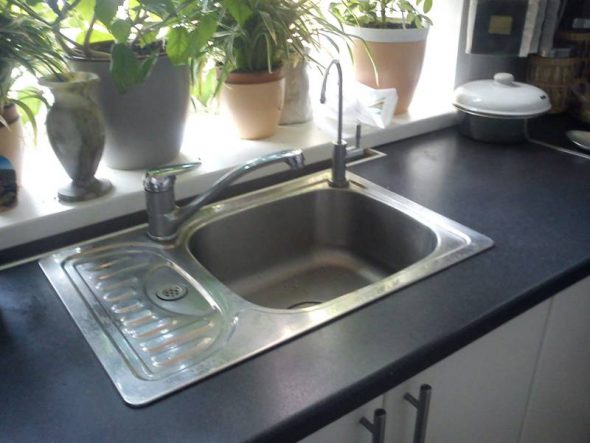
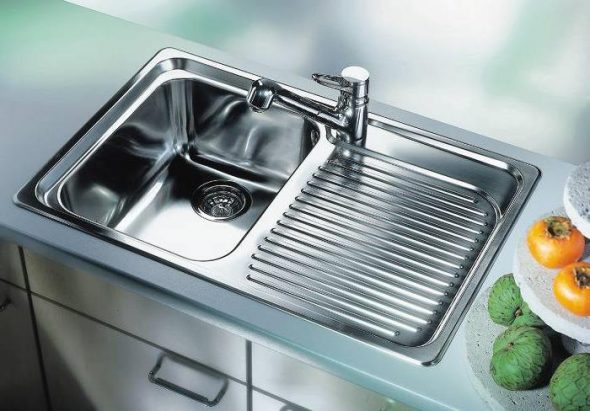
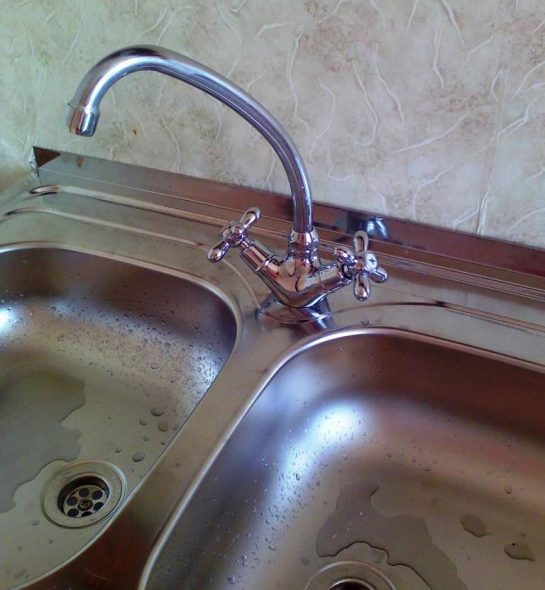
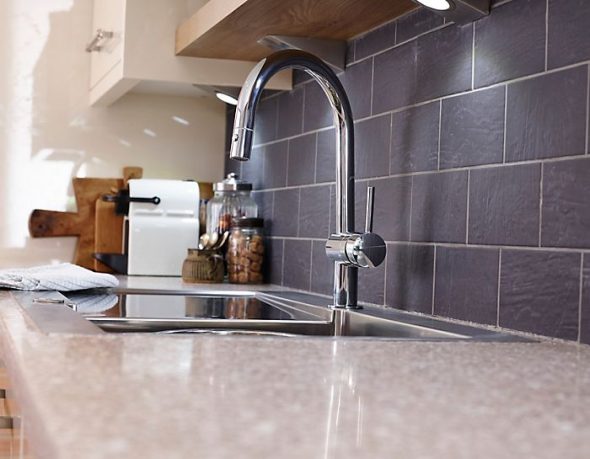
So, convenient plumbing has been purchased, which fully meets the needs of the owners in practicality and appearance. By the way, stainless steel sinks are popular for kitchens today. Firstly, they have an acceptable cost, are lightweight, and are durable in use.
The installation is quite simple, there are only two stages:
- Assembling a cabinet under the sink;
- Installation of a stainless steel overhead sink on a cabinet.

Furniture assembly
The first stage requires preparing the furniture itself so that the plumbing can be installed. It is usually delivered to the customer disassembled. If you do not know how to assemble a cabinet under the sink, the instructions included with the furniture will help.
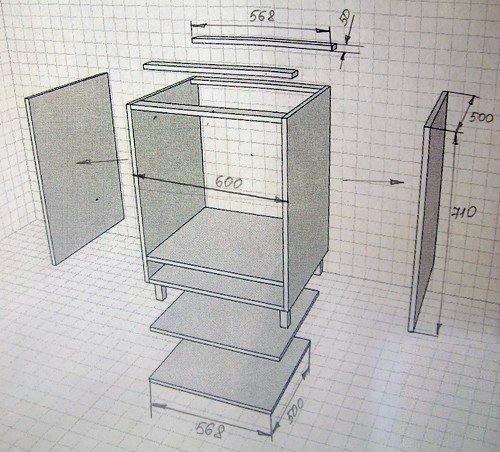
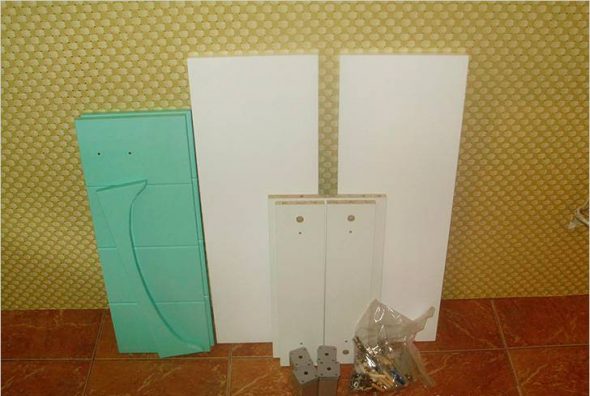
The standard set includes:
- 2 side walls;
- 2 doors (or one);
- Bottom;
- 3 frames for rigidity;
- Fittings, corners, self-tapping screws.
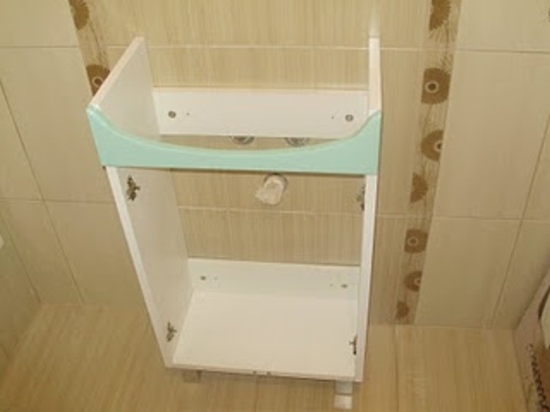
- The side walls and front frames are connected with screws and corners. One of the frames is attached from above, and the other from below.

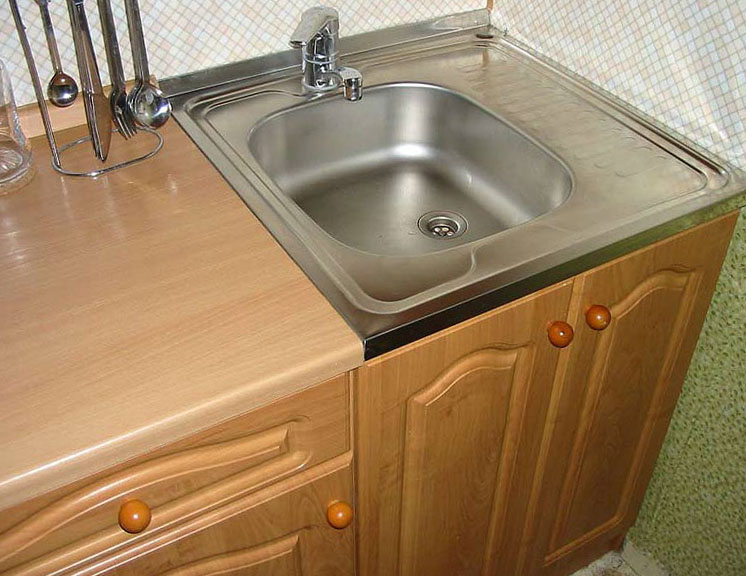
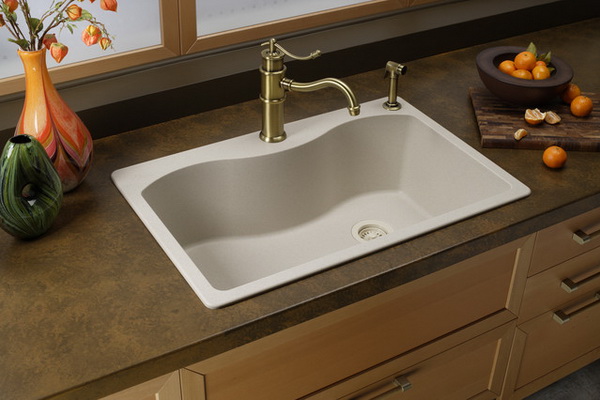
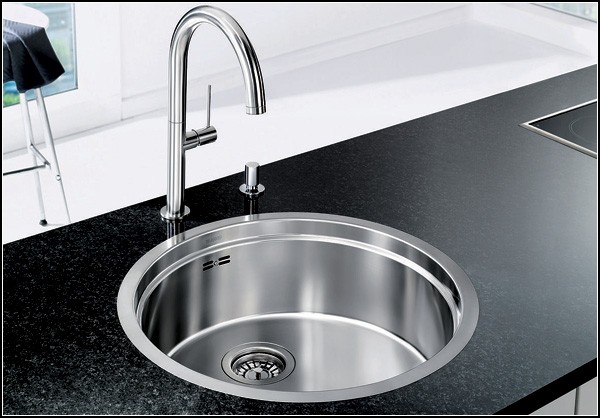
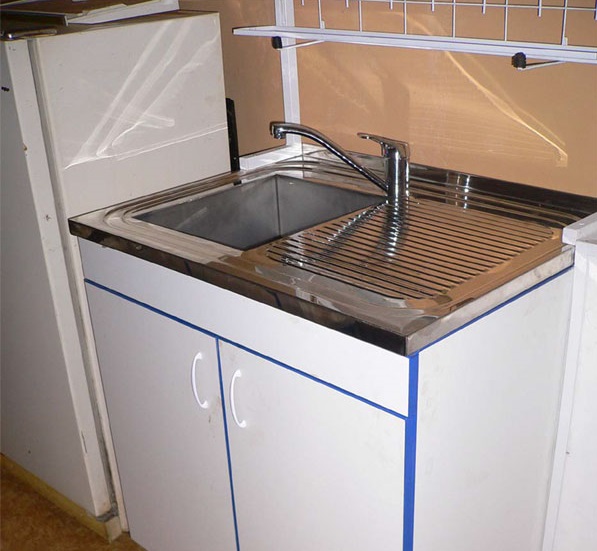
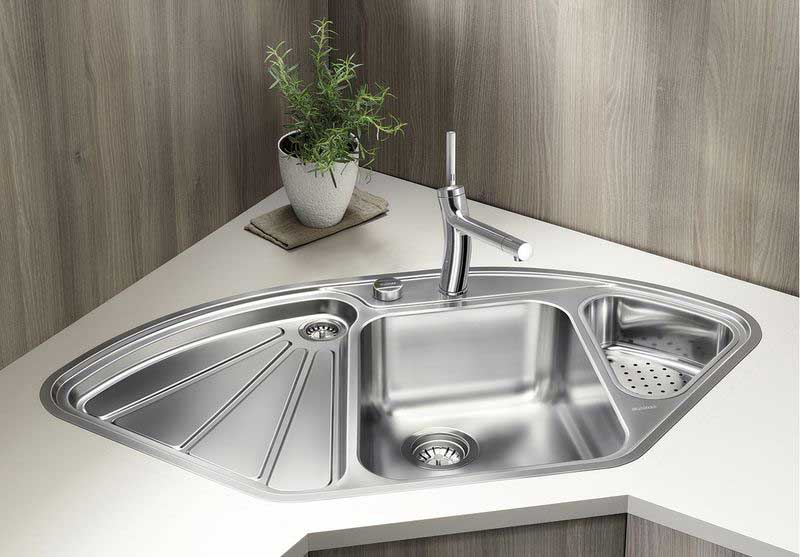
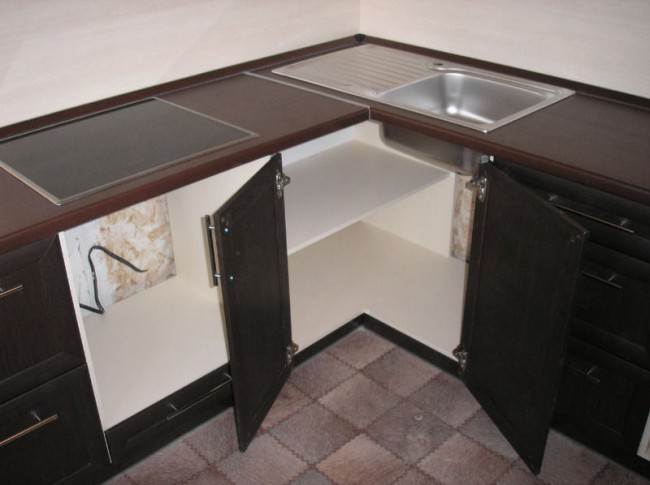
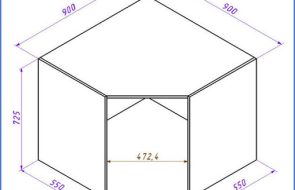
A cabinet under the sink is the most popular solution for a small kitchen. - Add a bottom to the structure, which lies with its front edge on the lower frame.
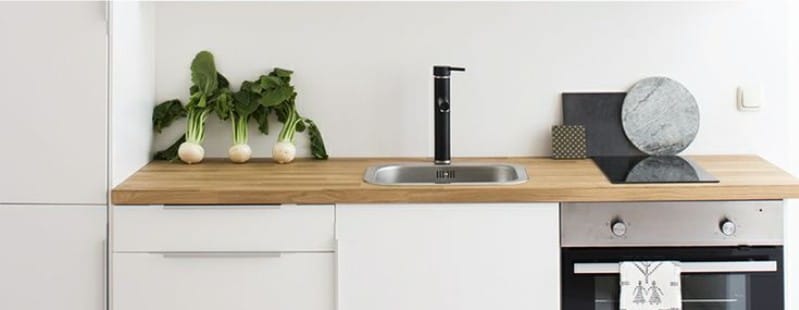
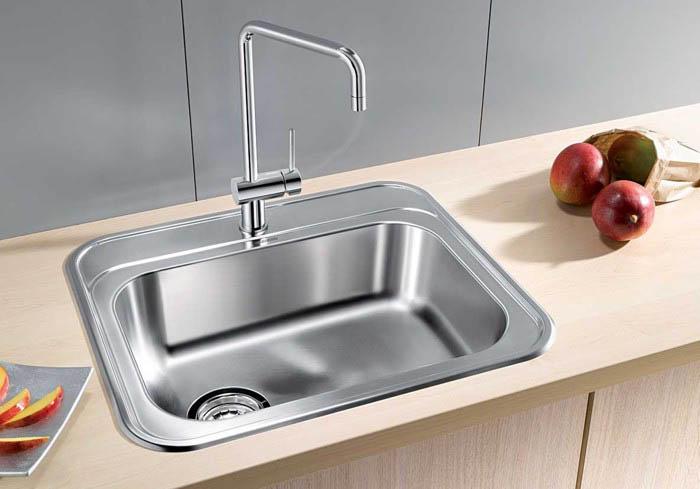
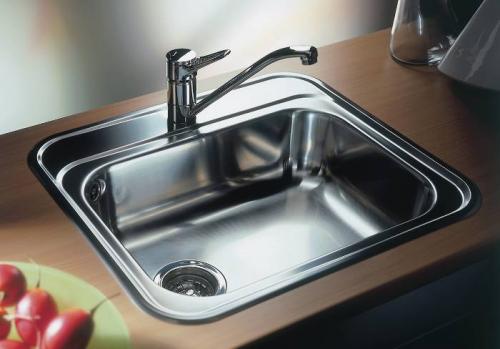
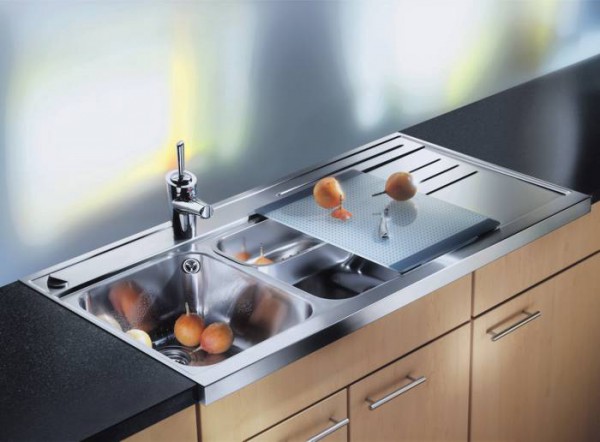
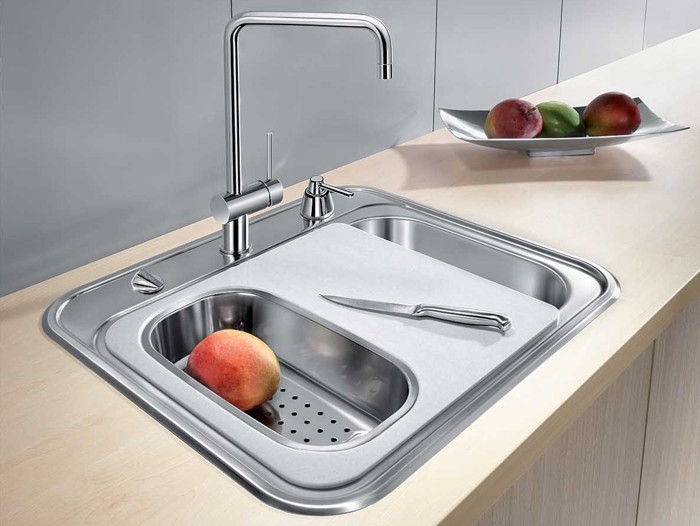
If you are planning to install an overhead sink, you will not need a countertop – you just need to select a sink of the appropriate size. - Next, the rear frame is attached.
You can also install simple internal shelves in a homemade cabinet. - The doors are installed last. This is done after the sink is installed.

Installing a sink: what do you need?
How to fix a stainless steel sink to a cabinet so that it holds well and the installation itself does not take too long? To do this, you need to have accessories and tools, thanks to which installing the sink on the cabinet will not be a problem.
The classic tools and accessories used for such purposes are:
- Drill, screwdriver;
- Screwdrivers;
- Ruler;
- Pliers;
- Drills (for wood);
- Self-tapping screws;
- Sealant (we will pay special attention to it below);
- Masking tape;
- L-shaped corner.

But experienced craftsmen only need a sealant and corners.
Installation
Lay out the tools and accessories in advance so that they are at hand. It is also advisable to decide on the mixer and siphon so that everything is installed at once, otherwise it will be difficult to install later.How to attach a stainless steel sink to a cabinet? It is not difficult if the actions for assembling the frame itself have already been performed.
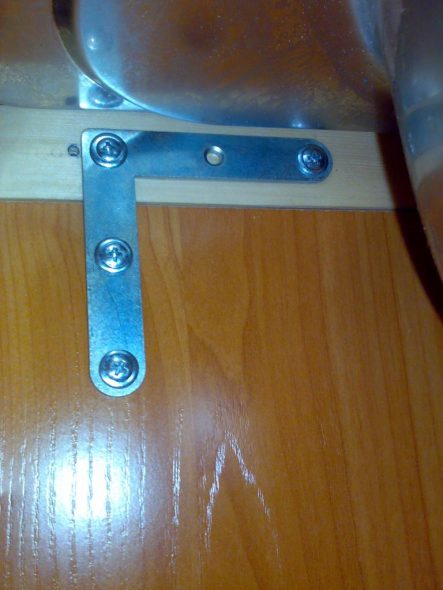
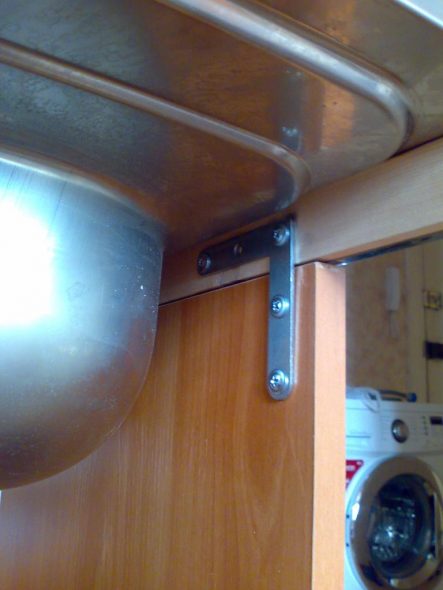
- L-shaped fasteners are installed, either included in the kit or purchased separately.

As fasteners, it is better to buy L-shaped plates with oblique slots in a fastener store. You will need 4-5 plates. - Attach the fasteners from the inside and mark the places where the screw needs to be screwed in. Drill a hole 0.5 cm higher from the mark (not through), screw the screw in there and install the fastener. Do the same in other places of the structure.

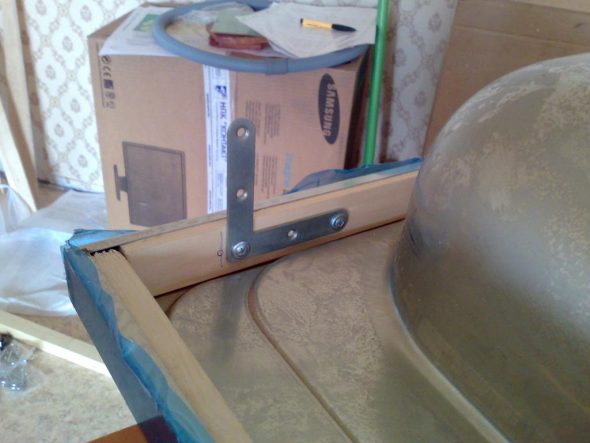
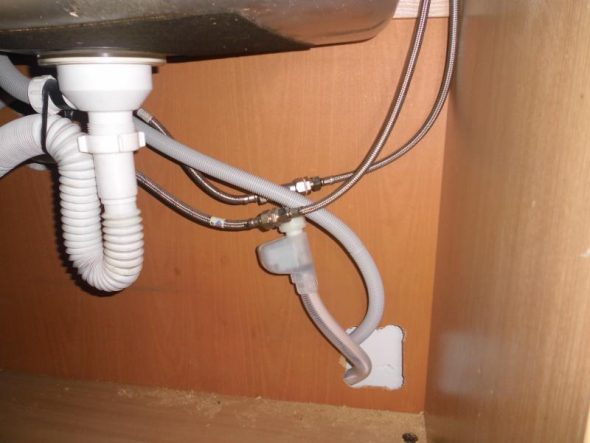
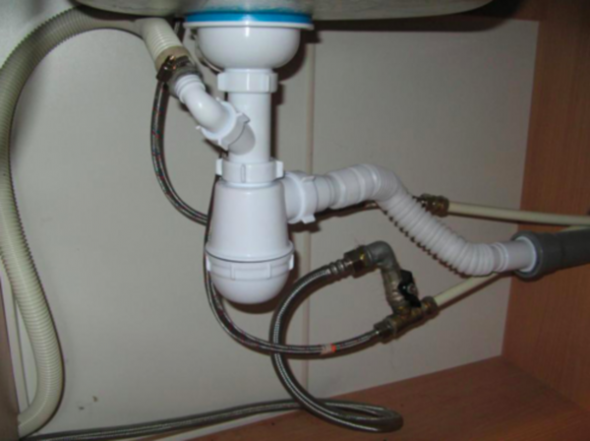
During assembly, make sure that all holes are at the same level. - Next, the plumbing fixture is assembled, the siphon with all the gaskets is attached to it, and the mixer is secured.
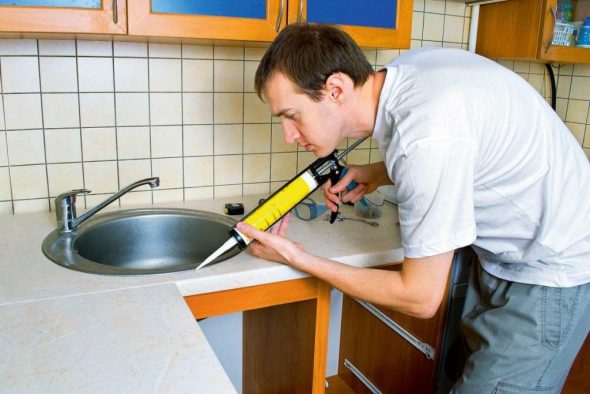
Before installing the overhead sink on the base or cabinet and securing it, you need to assemble it completely - secure the siphon and mixer in their places, install the gaskets. - Treat the ends of the walls with sealant. It is needed to protect the furniture from moisture.
This product provides additional fastening of the sink to the kitchen cabinet. - Now you can start fixing — place it on a furniture frame, where the fasteners are installed with self-tapping screws.
The fasteners are placed on the screws and are moved along the slot. This presses the sink to the cabinet. - Carry out plumbing work to connect the water supply and drainage in the kitchen.

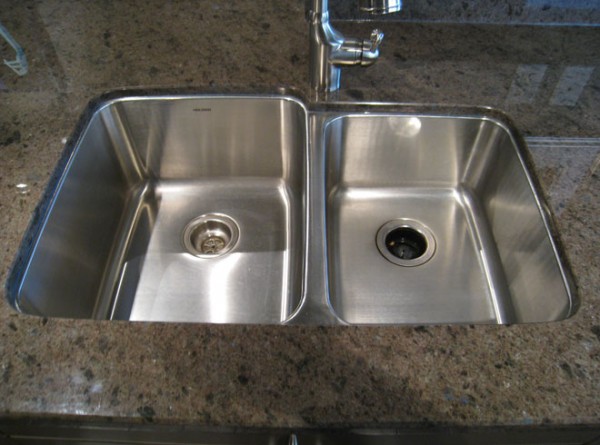
Make sure that the work is carried out carefully and reliably. - Once the stainless steel sink is attached to the cabinet, you can check it for leaks. Fill the sink with water. Check if water is leaking from the junction of the sink and the siphon.

If water leaks, the system is not assembled correctly. - Installing doors in a kitchen cabinet — the final stage, which will be the final point in plumbing work.
So the question of how to install a stainless steel sink on a cabinet has been resolved. If the work is done correctly, it can stand for a long time.
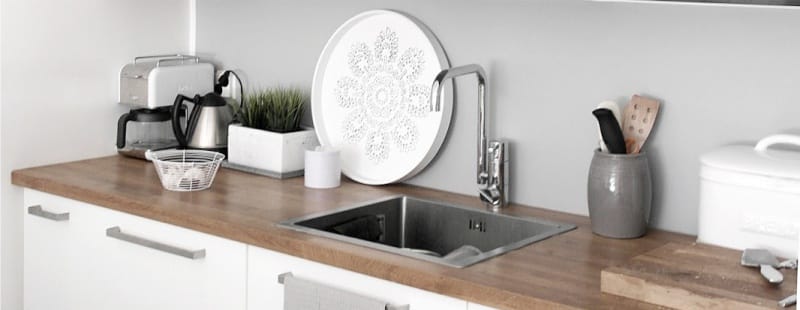
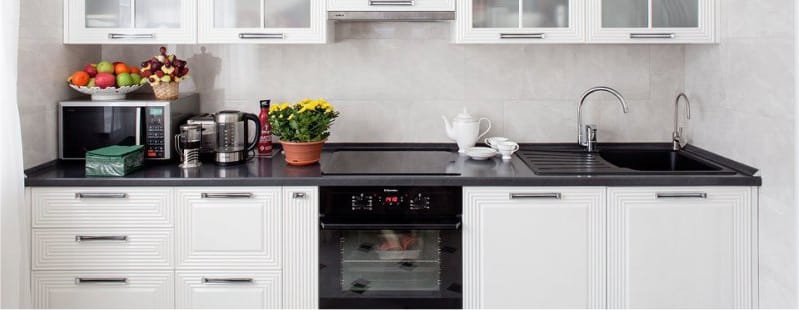
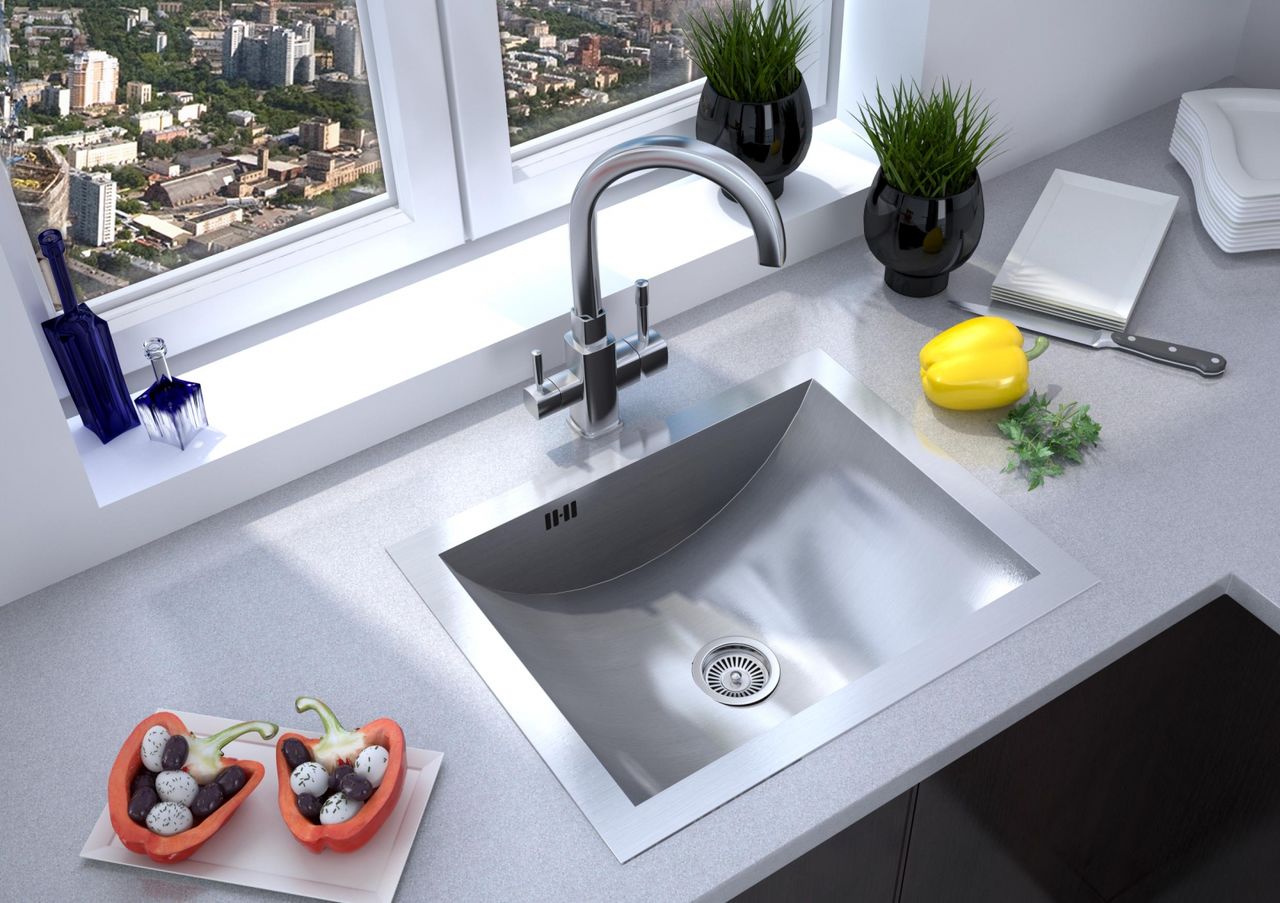
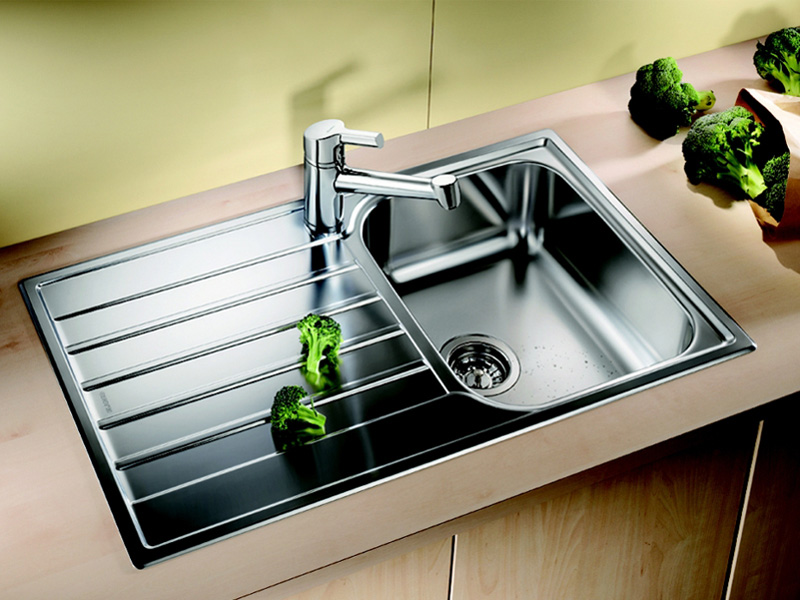
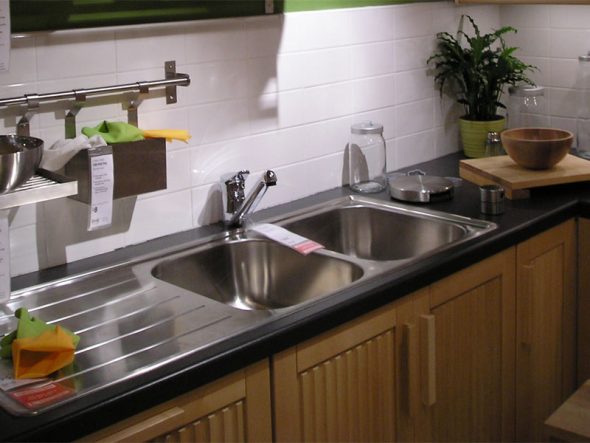
Many people attach the sink to the countertop. There are options when, when ordering kitchen furniture, the need for a hole in the countertop for installing plumbing is specified. Then there will be little work with installing the sink.
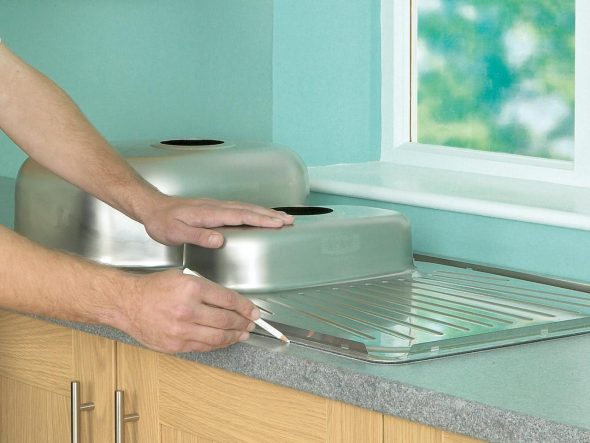
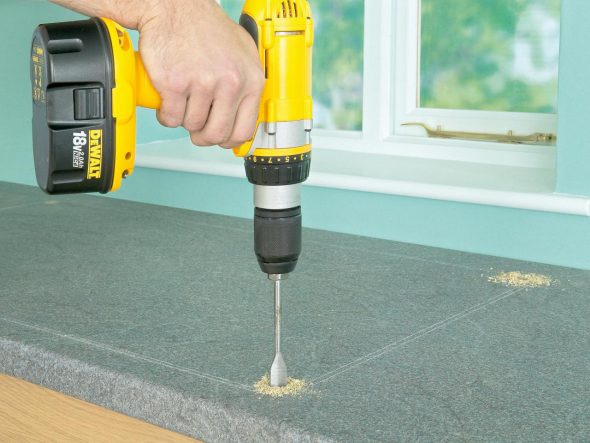
- Mark the contours on the surface with a pencil. Take into account the indentations from the edges (5 cm). Take measurements for the bowl.
Remember that the gap from the edge of the countertop to the edge of the sink should be more than 50 mm. If this distance is less than 50 cm, the sink must be deepened. - Make a hole at the corners of the outline.
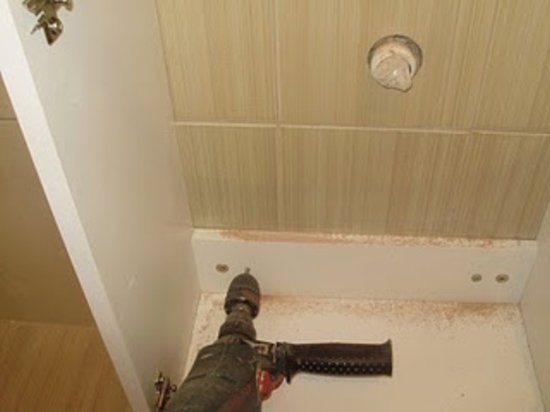
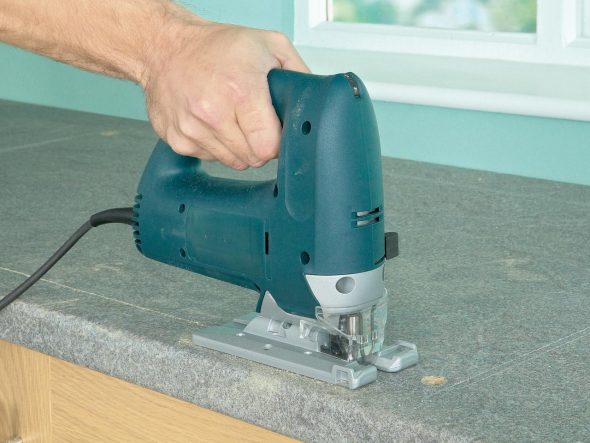
To make a hole in the table top you will need an electric jigsaw. - Glue masking tape from the outside of the outline so that the surface around it is not damaged during work. Before cutting out the opening, fix the part to be removed from below so that it does not damage the surface underneath when it falls.
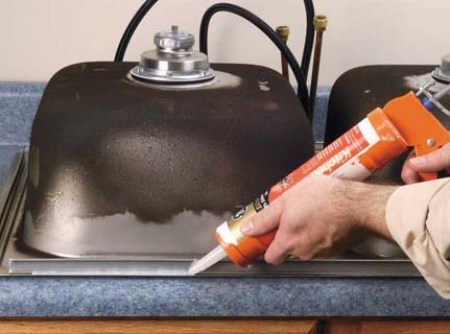
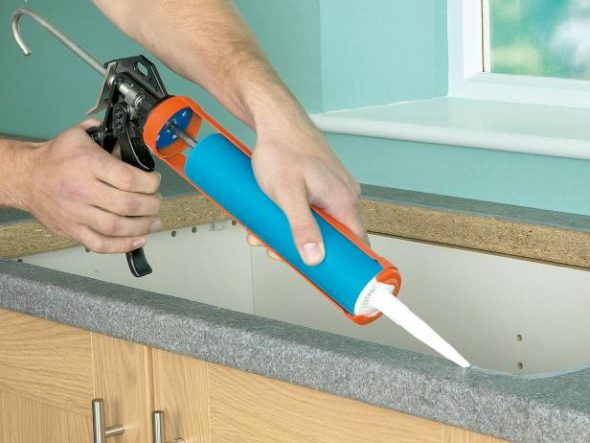
To avoid chipping on the front surface, choose the opposite direction of the tooth. - Treat the ends of the tabletop with sealant, assemble the plumbing elements (mixer and siphon) completely and install. This will prevent moisture from getting under the structure, thereby spoiling the appearance of the furniture with deformation and delamination.
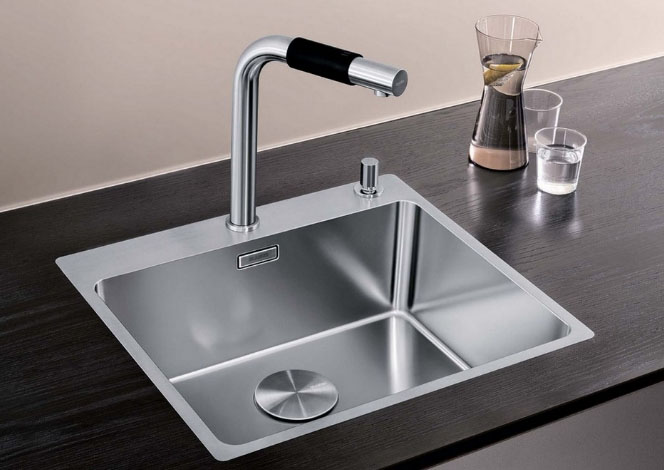
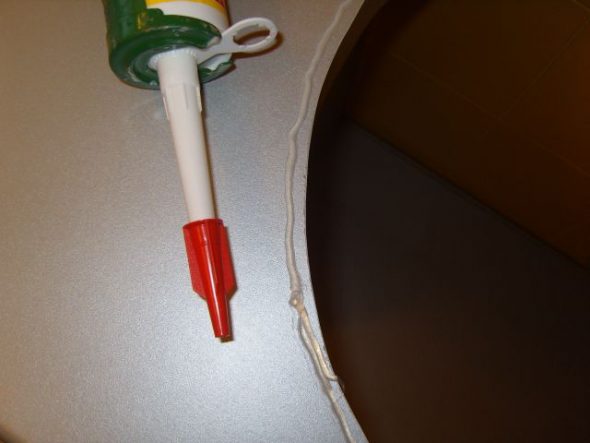
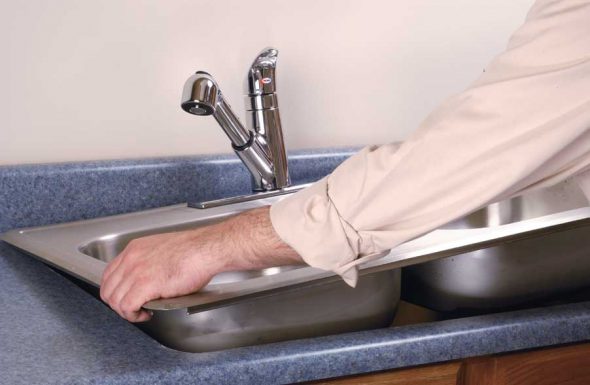
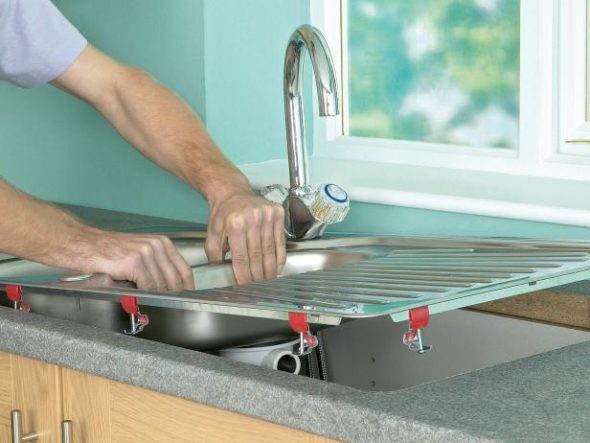
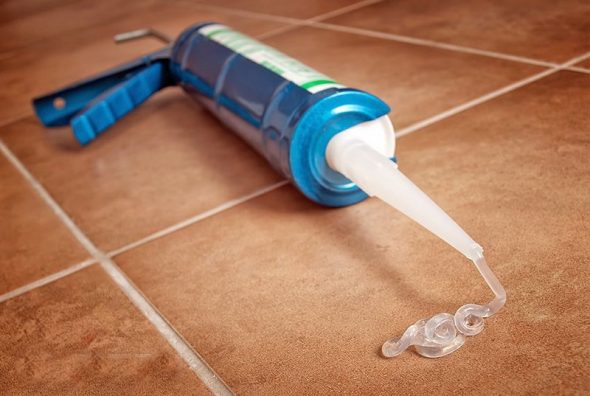
Stepping back a couple of millimeters from the edge of the hole, apply silicone with a tourniquet to a thickness slightly above the edge of the sink. - Secure with clamps (included in the package when purchased).
The sink needs to be inserted into the hole and the edges pressed firmly so that the silicone strands take the shape of the sink, and left for a few minutes.
So, having considered how to fix a stainless steel sink to a cabinet with fasteners and to a countertop, you can see that doing this is not as difficult as it seems.
Selecting a sealant
Sealing material plays a major role in installation work. The following types of products are available on the market:
- Silicone acrylic;
- Elastic silicone;
- Polyurethane silicone.
The product is applied to a dry, cleaned surface to ensure maximum adhesion. If the surfaces are not fully prepared for sealing, moisture may penetrate into the cracks, which can lead to the growth of fungi and mold.
To sum it up
Advantages of installing a sink yourself:
- Almost every home has tools, and attaching a surface-mounted sink to a cabinet can be done with practically any available means;
- You can save money on a professional plumber by doing the work yourself;
- If the plumbing product did not come with any fasteners, then purchasing them is not a problem.
VIDEO: Installing a Stainless Steel Kitchen Sink.
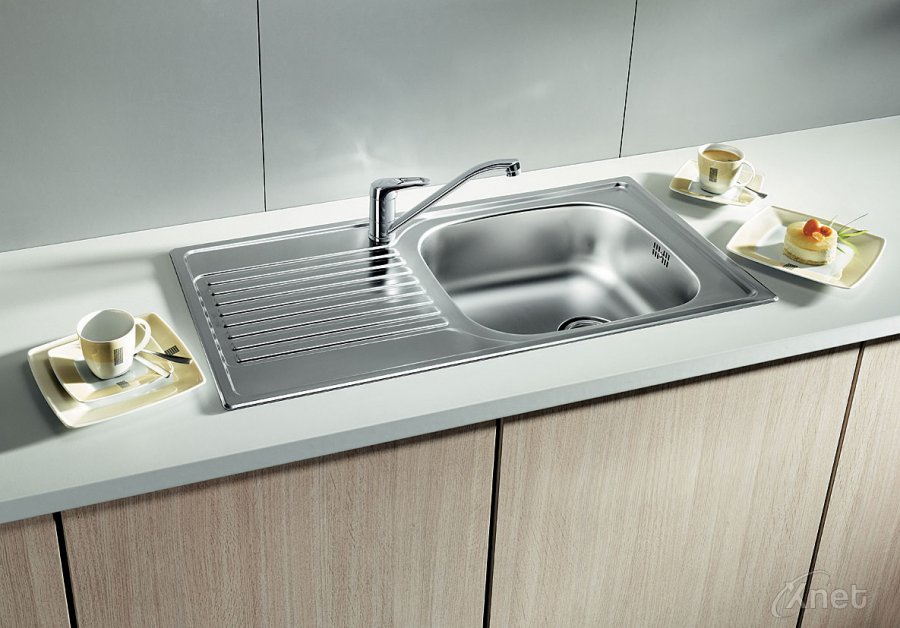
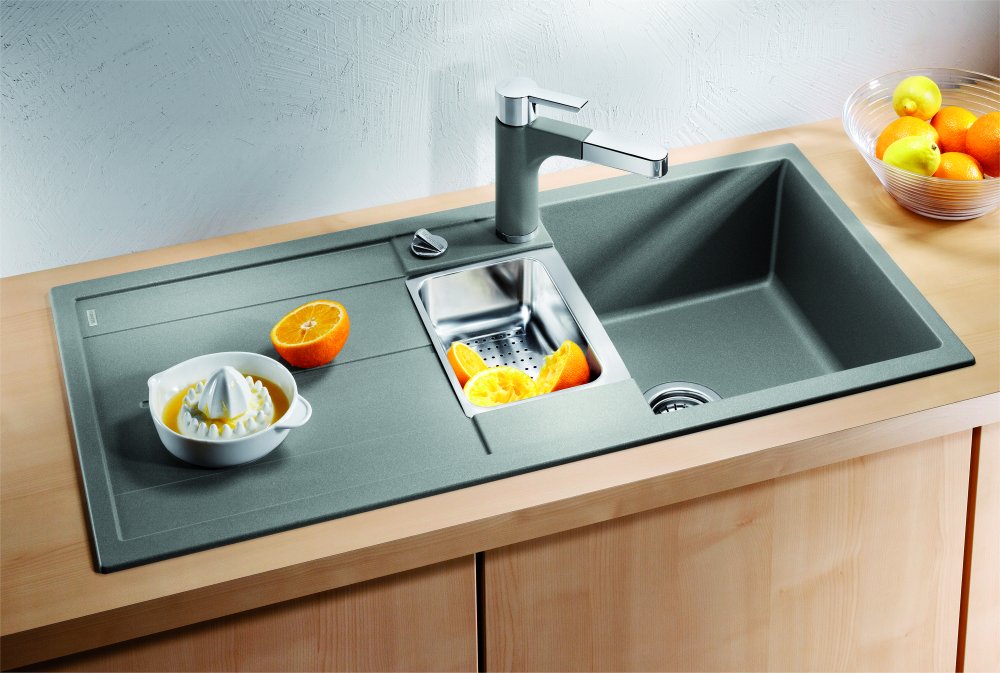
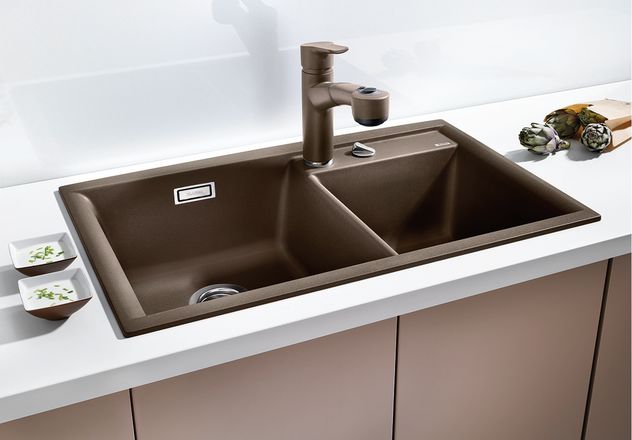
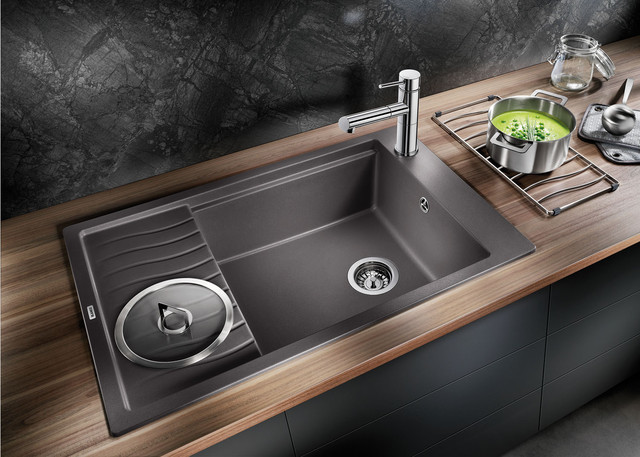
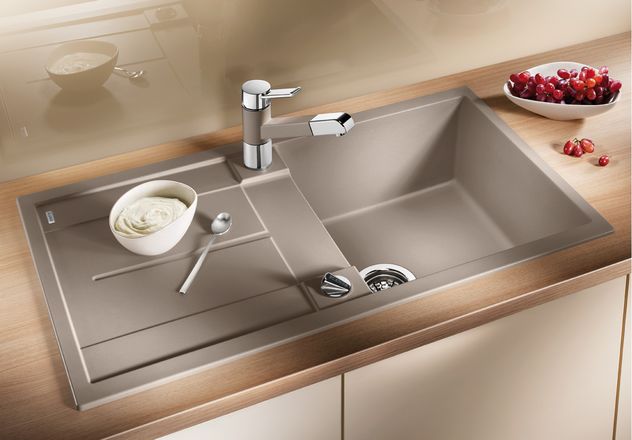
50 Photo Ideas of Modern Kitchen Sinks: