Today, kitchen furniture manufacturers produce a whole arsenal of various products. However, this abundance does not always satisfy the consumer. In this case, a do-it-yourself wooden kitchen set will be an excellent alternative to purchasing ready-made sets.
The kitchen is one of the most functional corners of the house, which means that its furniture has to meet increased operational requirements. When making kitchen furniture yourself, you should consider the following nuances.
- Small area. In old-built apartments, all rooms are quite compact, and therefore it is important to carefully plan the rational organization of the workspace.
– Exposure to temperature fluctuations and high humidity. Resistance to these factors is a must.
– High degree of exploitation. All coatings must be wear-resistant.
Content
- The benefits of DIY
- We decide on the design and construction
- Necessary materials
- Necessary tools
- Manufacturing process: step-by-step instructions
- Video: Homemade kitchen made of wood. Kitchen with your own hands from tongue and groove boards.
- 50 most beautiful and original photos of kitchen furniture made by hand
The benefits of DIY
Personal involvement in the furniture business provides a number of significant advantages.
– Personal quality control of products at each stage of production. Furniture company employees do not always show due responsibility, and therefore their products often have various defects. This can be avoided if you make the kitchen yourself.
– Freedom in choosing shapes, models and designs. You can design a kitchen set taking into account all your wishes.
– Selection of quality materials and fittings. The owner is interested in purchasing quality components for his future furniture.
– Cost savings. Costs for labor are eliminated;
– Enjoyment of the process. Creating a wooden kitchen with your own hands is a creative and exciting process.
We decide on the design and construction
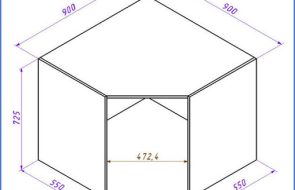
Particular attention should be paid to the design of the kitchen frame. Kitchen cabinets are framed and frameless. In framed ones, the frame acts as a base, making the structure quite stable and durable. It should be noted that the frame is not the most common type of facade for wooden furniture. A frameless facade is more suitable for a do-it-yourself kitchen set. In such a design, there is no base frame, and the doors are fixed directly to the box. The absence of a frame significantly expands the space of the cabinet, making it more convenient and functional. It is important to remember that the appearance of such a kitchen set will be a little unusual. Therefore, adherents of traditional forms should opt for frame furniture.
As for the frames themselves, they also have different variations. The most common are prefabricated and glued. Prefabricated frames are cheaper, but of lower quality. A responsible craftsman will not save on quality and will opt for a glued frame.

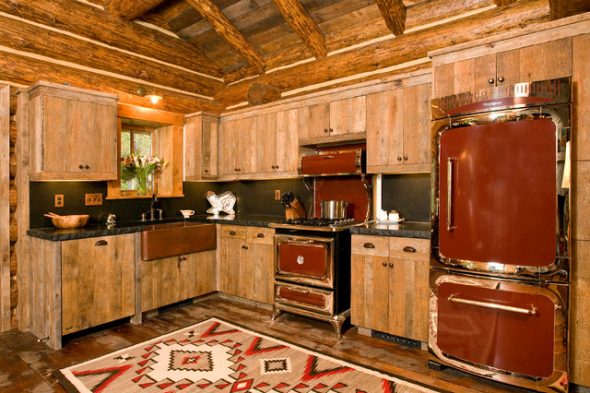
A competent choice of design is also very important. It must be carefully thought out, taking into account the placement of the stove, oven, sink, dishwasher and washing machine. The main design highlight of DIY wooden items is the emphasis on naturalness, simplicity and environmental friendliness. By embodying this idea, the product acquires its true meaning, uniqueness and its own character. Since the entire composition is a complex and intricate system, it is better not to overload its individual parts with decorative delights. The cozy texture of the wood more than compensates for such minimalism.
Necessary materials

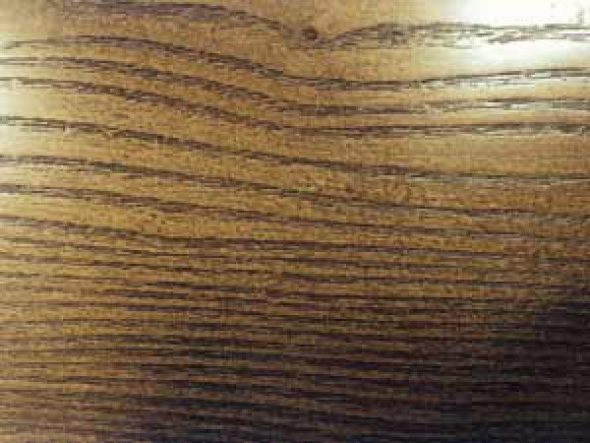
When choosing a material, you should consider its operational and aesthetic characteristics, and what the final appearance of the kitchen set will be. It is advisable to personally examine wood samples, study the texture, feel, and touch the texture. The most common types of wood are:
- ash;
- oak;
- beech;
- alder;
- pine;
- birch.
Ash has excellent performance properties. Products made from it are high-quality and durable. Its universal texture is suitable for both classic and high-tech interiors.
Oak is a vivid embodiment of stability and reliability. It is resistant to various types of deformation, moisture and temperature changes.
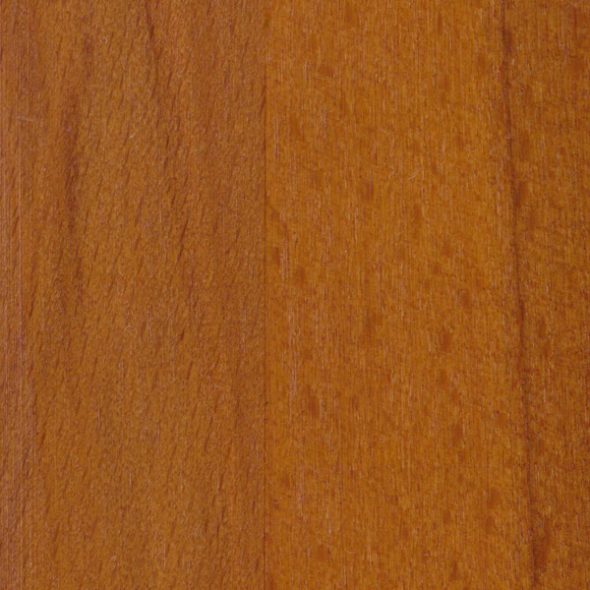
Beech is valued for its exquisite shade. In addition, it can be tinted in any color, which gives the master unlimited freedom of artistic imagination.
Alder is ideal for classic DIY kitchen design. It is very flexible and allows you to create a variety of facades. A kitchen set made of alder is exquisite in its simplicity and does not need decorative items.

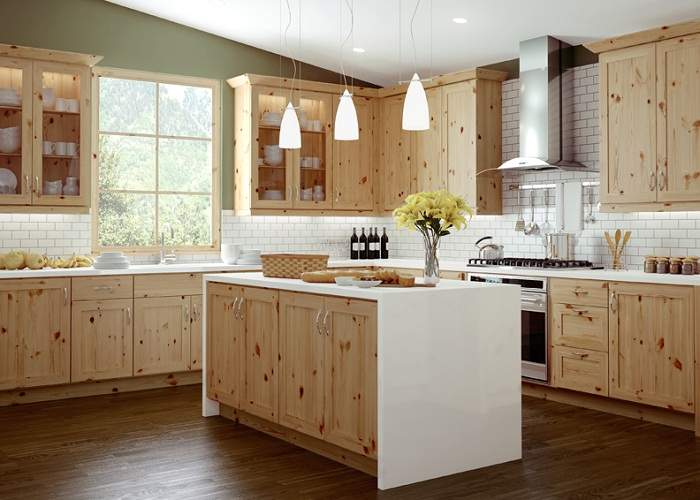
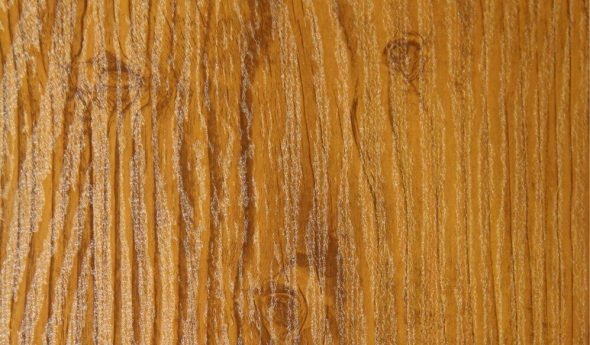
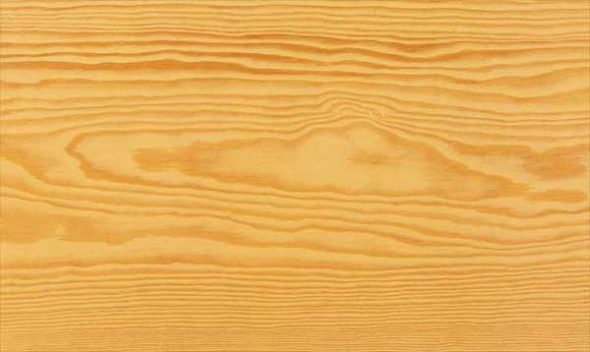
The popularity of pine is mainly due to its low cost. However, its performance characteristics are not much inferior to expensive species. In addition, pine has a healing effect, giving the air useful phytoncides that participate in the prevention of colds.
Another budget option is birch. Despite its cheapness, it is durable and easy to use. There is one nuance - birch is subject to rotting, but this problem is easily eliminated by treating it with special compounds.

As for the materials directly involved in the assembly process, their list includes the following elements:
– cabinet doors;
– Euro couplers;
– laminated MDF as the back wall panel;
– laminated fiberboard for drawer walls;
– shelf holders;
– chipboard sheet for the table top;
– drying;
– fittings details;
– grids;
- sink.
All items should be pre-checked for defects.
Necessary tools

To work on the array independently, you will need the following equipment:
– hacksaw for cutting;
– tape measure for taking measurements;
- confirmats;
– screwdriver, sandpaper, hex key, primer;
– a hand router – you will need it to qualitatively profile the edges and holes for fittings;
– Forstner drill;
– level for precise placement of parts;
- iron - it helps to glue edge tapes well;
– electric drill;
– jigsaw;
– a plane (preferably electric).
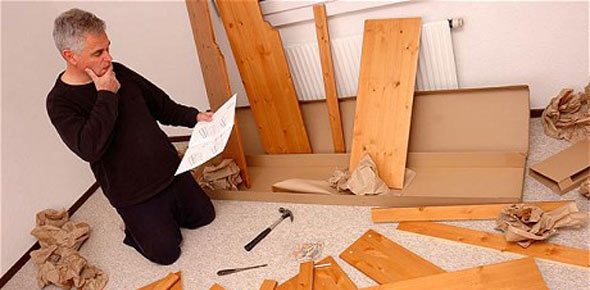
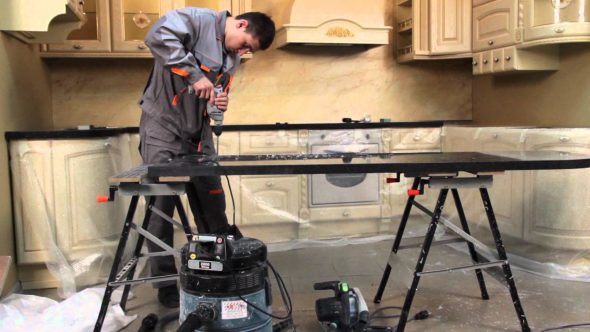
Manufacturing process: step-by-step instructions
- Preliminary preparation
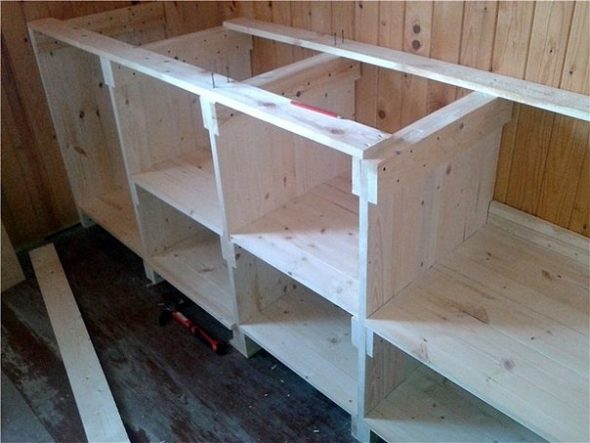
Before you start assembling with your own hands, you need to prepare all the component blocks and parts of the future array. They are cut out of the selected material using a jigsaw. Their cuts need to be sanded. Sandpaper is well suited for this purpose. To prevent moisture and mold from getting on each of the cuts, melamine edge tape is put on. In order for the dimensions of all elements to be clearly verified, it is advisable to create a cutting map. There are special services on the Internet for this. Such preliminary work will help to avoid errors in cutting. In addition, this scheme will take into account the size of the saw cut.
- Assembling the elements

Once the individual parts and elements have been prepared taking into account all the measurements, they need to be laid out in the order of assembly. This will make the assembly process more orderly.
Kitchen cabinets are assembled according to the following algorithm:
- If there are drawers, then the guides are installed first. It is necessary to use a level.
- If shelves are provided, then holes must be drilled for their fastening.
- Separate holes are drilled for inter-wall fastening.
- The side walls of the cabinet are attached to the bottom.
- The upper part is attached.
- The legs are attached.
Once all the products have been assembled, you can begin their installation.

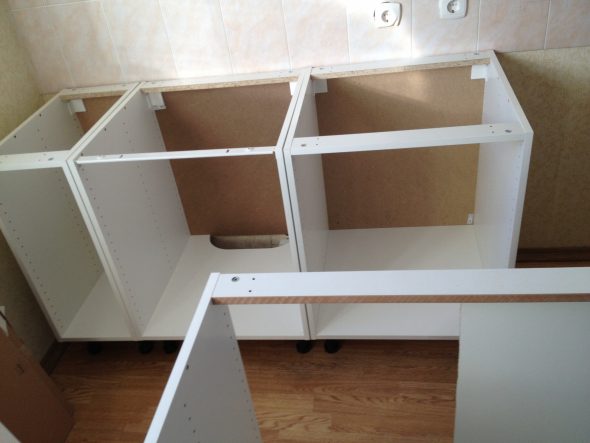
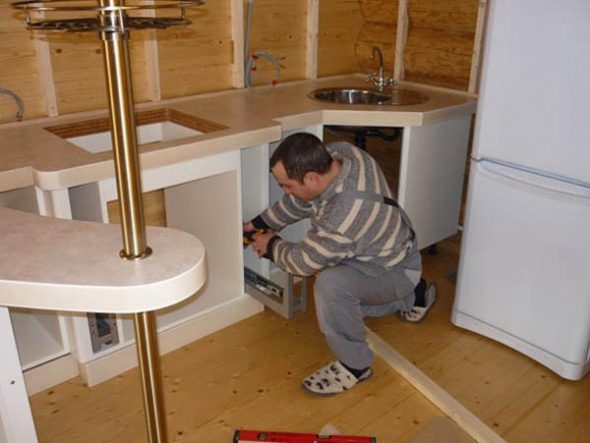
- Installation
If the kitchen assembly process coincides with the renovation, then all construction work should be completed before the installation begins. The walls and floor of the room should be prepared for furniture fastening. A piece of MDF can be used as an apron. Installation usually begins with the lower elements. A level is used for this. After all the products are connected to each other (for this, euro ties are used), a common wall is fixed at the back of the entire array.
In the countertop, you need to mark the locations of the stove, work surface and sink. In each section, cut out the corresponding holes, which are treated with a construction sealant. The countertop itself is attached with self-tapping screws to the finished cabinets.
After this, the upper elements are installed. The most optimal distance between the tabletop and the bottom of the upper cabinets is 650 mm. In order to determine the height of the canvas for fastening the upper elements, it is necessary to add the height of the cabinets and 10 mm occupied by the fastening structure to the specified distance. The upper tiers are fastened with special awnings installed on the rear walls.
At the end of the kitchen installation with your own hands, the doors are fixed in the open position. To do this, the door hinge is fixed on the door, and then mounted in the wall.
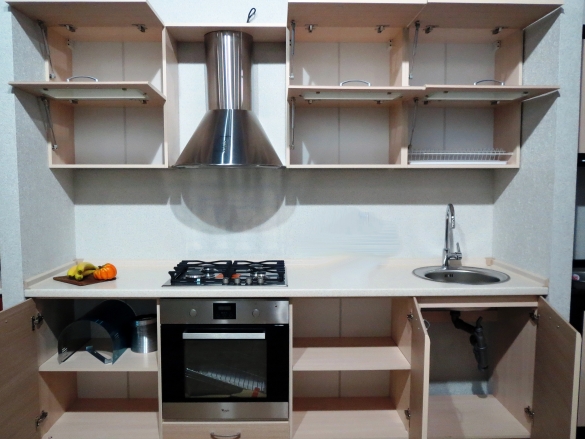
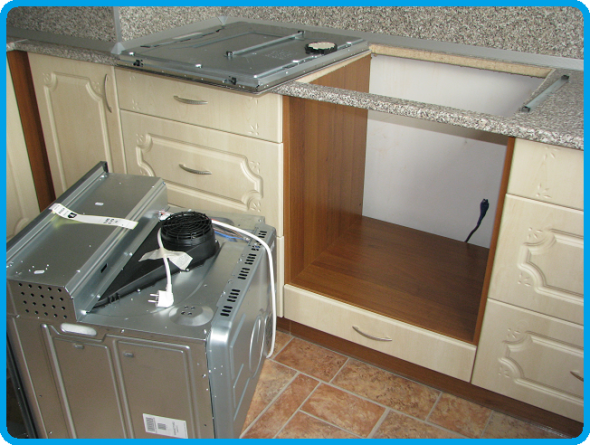
After the installation of the furniture itself, electronics, built-in elements and various fittings (handles, rails, dryers, etc.) are installed.
Video: Homemade kitchen made of wood. Kitchen with your own hands from tongue and groove boards.
https://www.youtube.com/watch?v=NK7pbVs1j0g
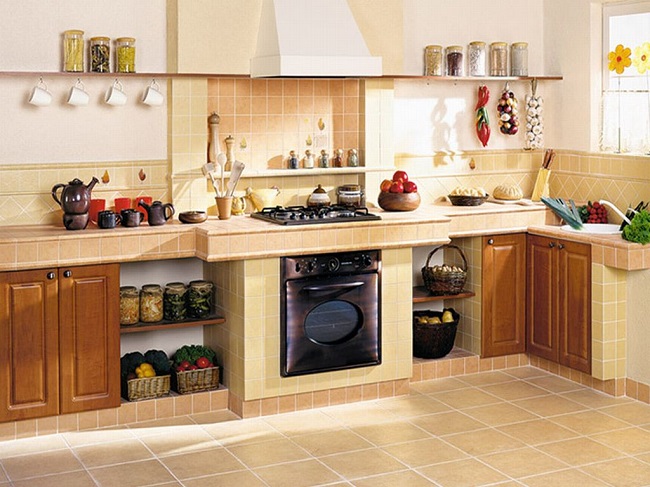
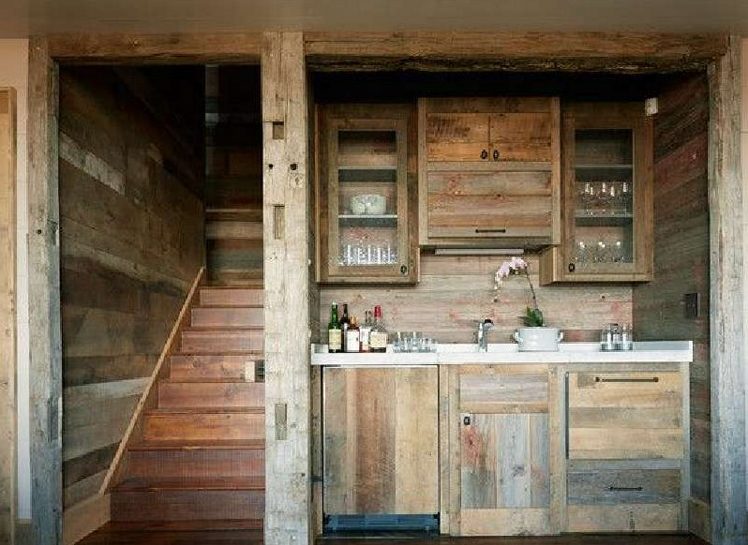
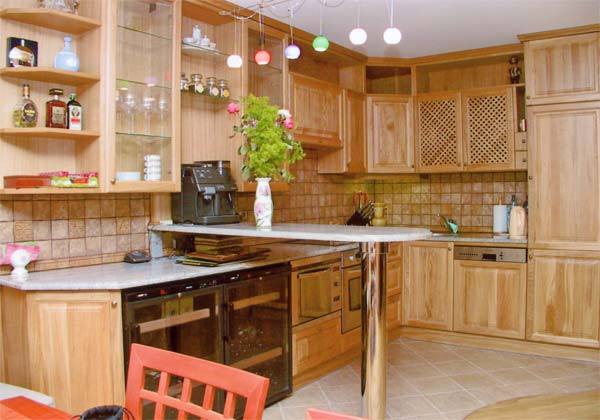
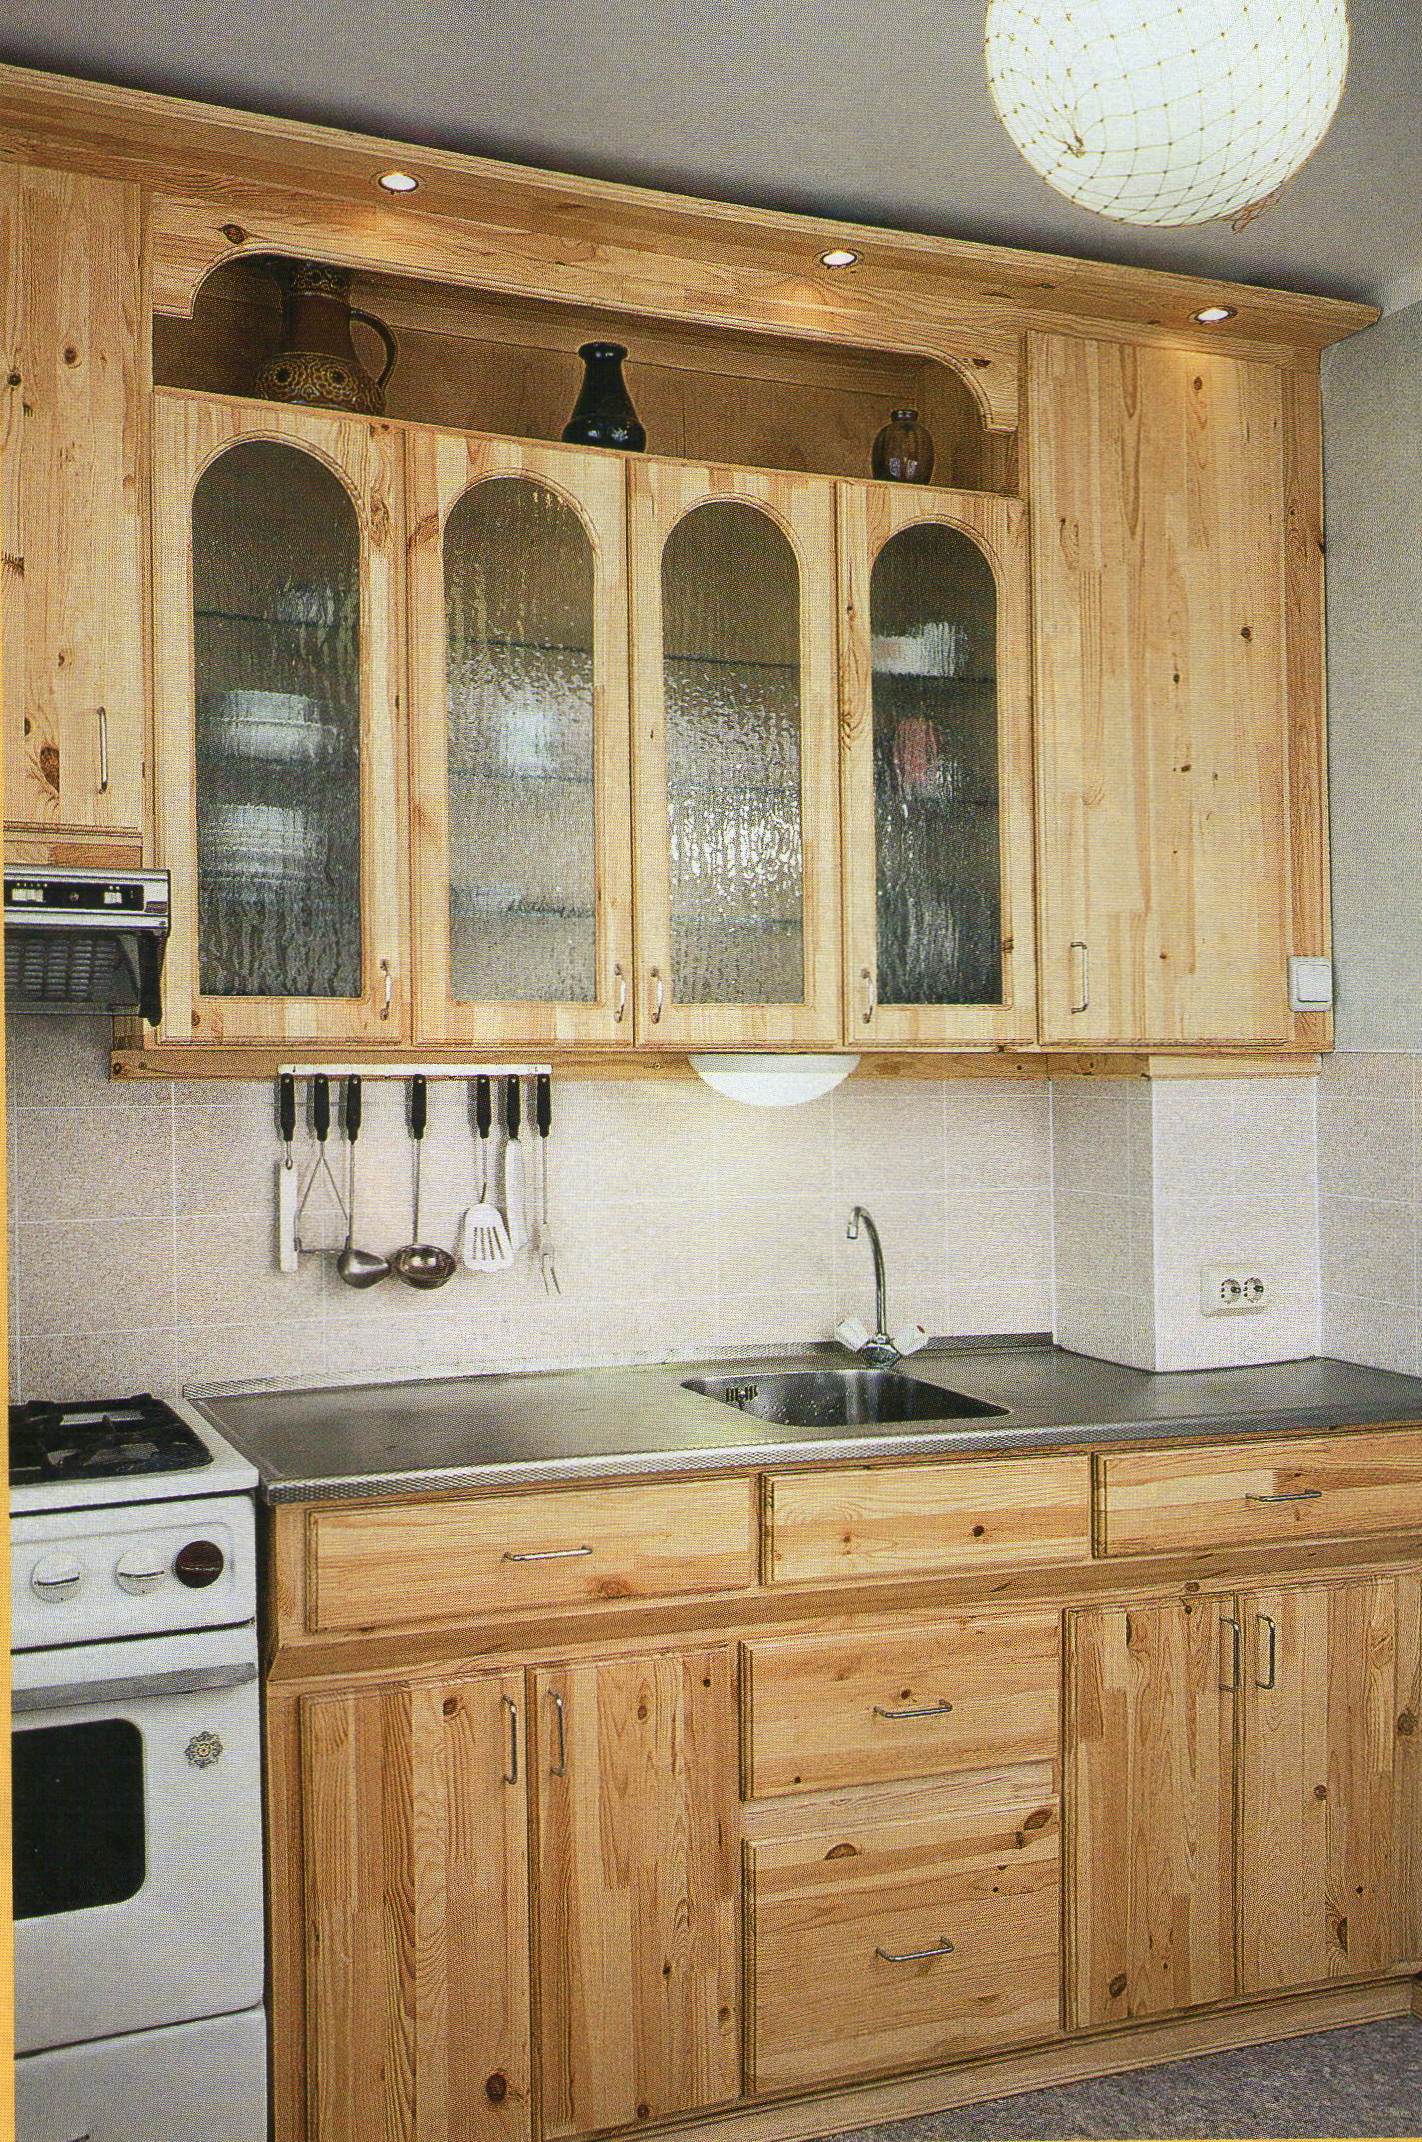
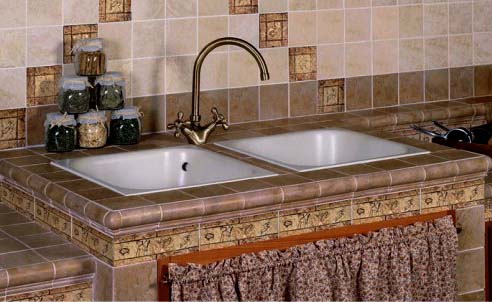
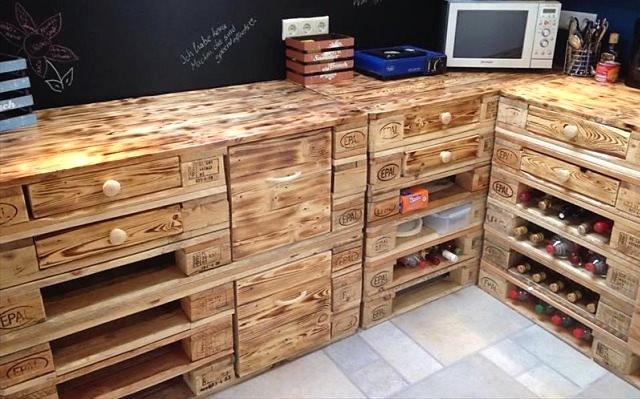
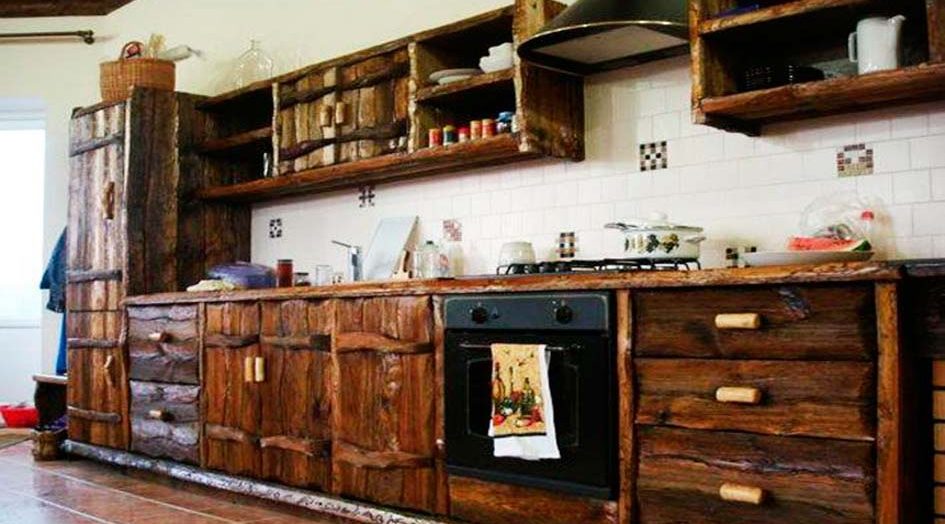
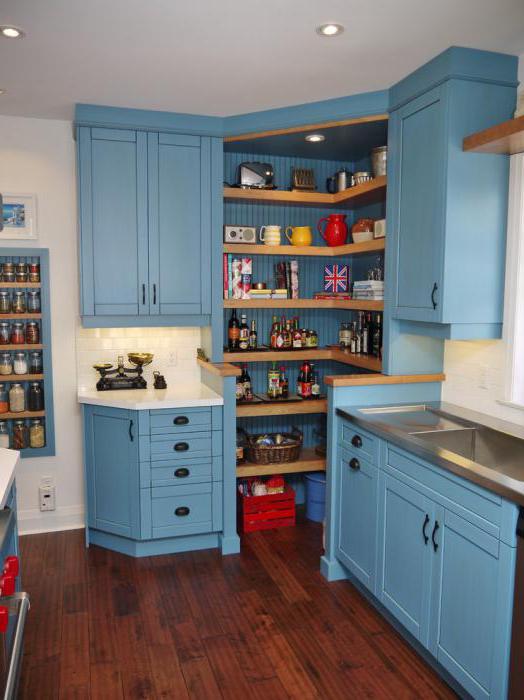
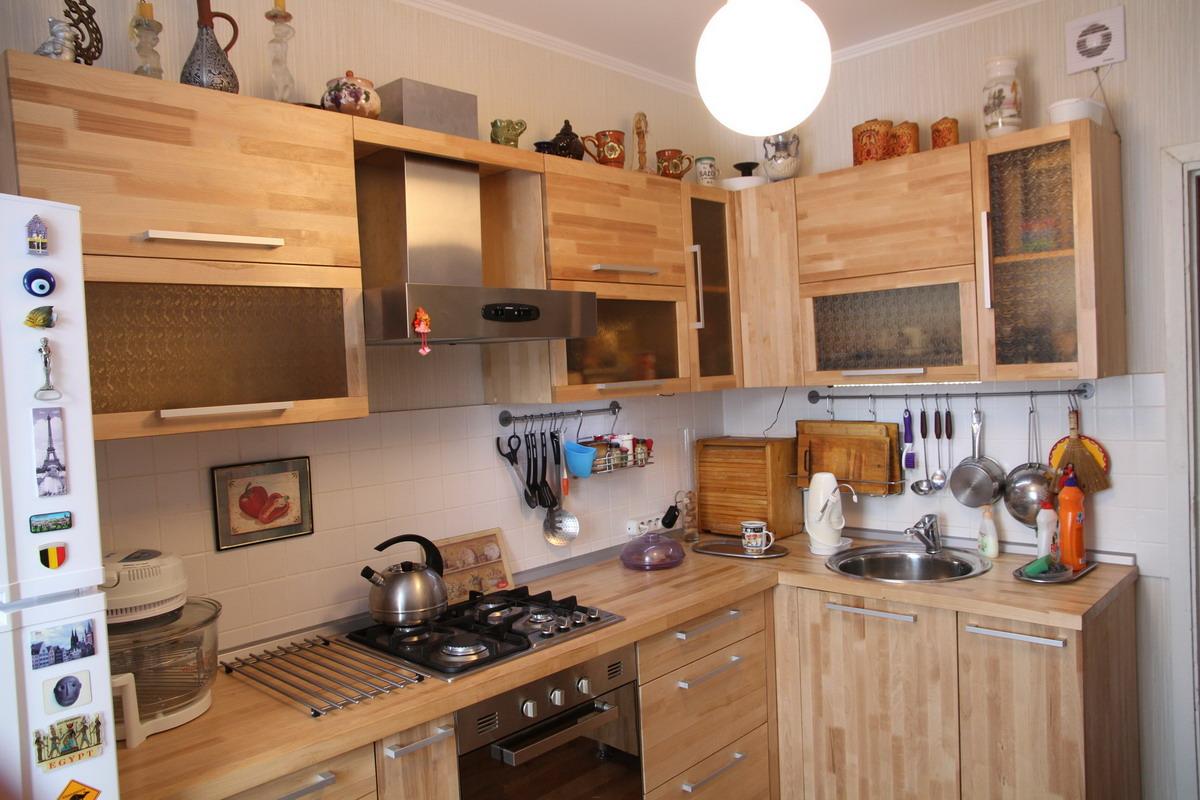
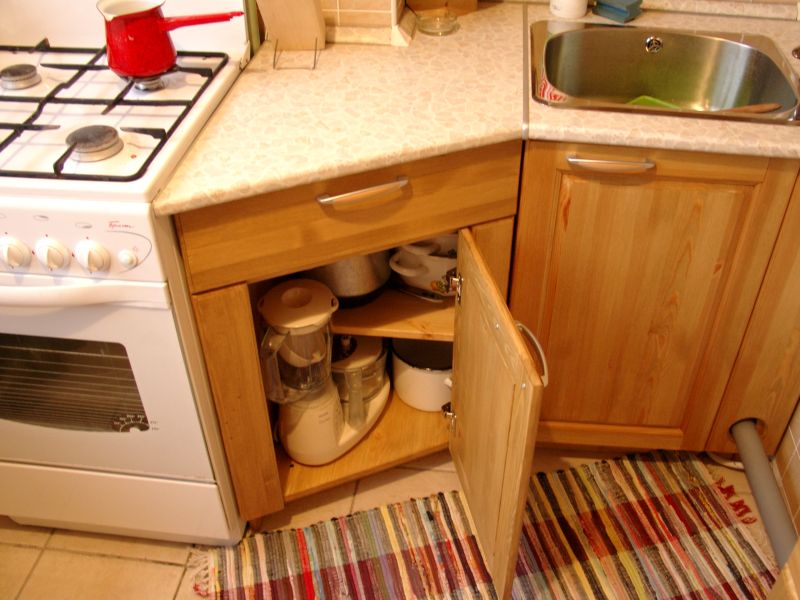
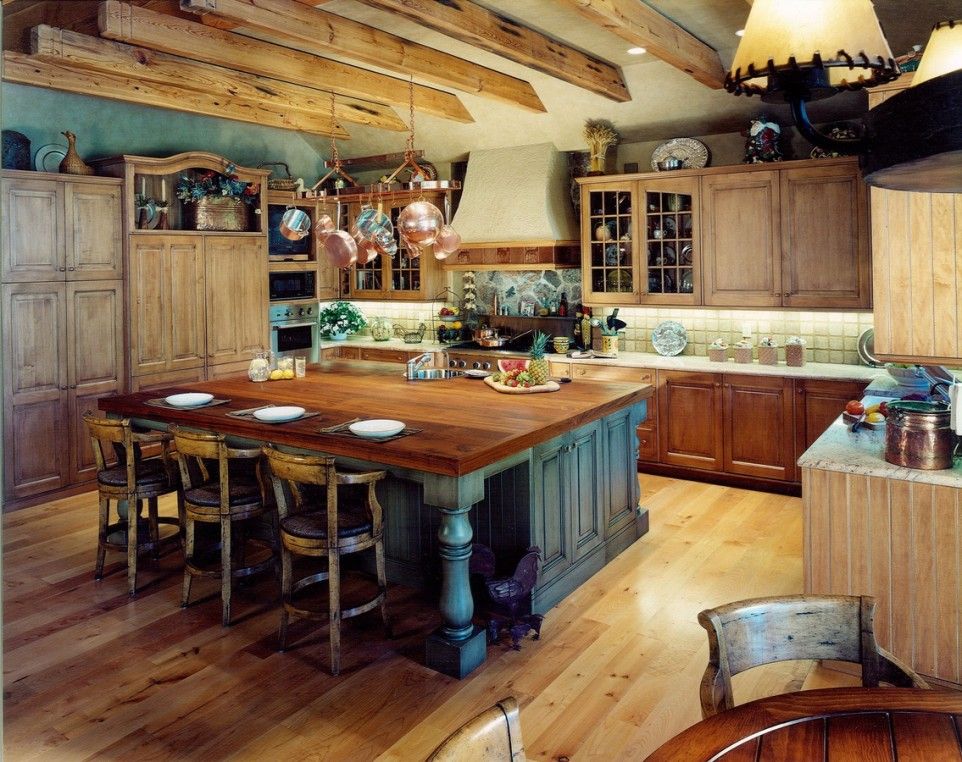
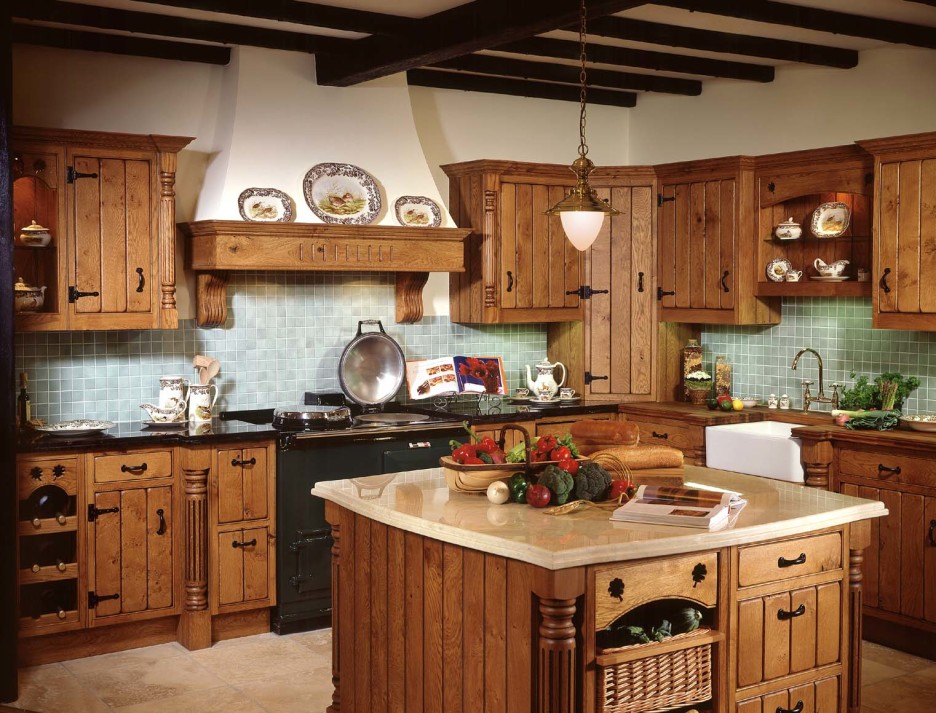
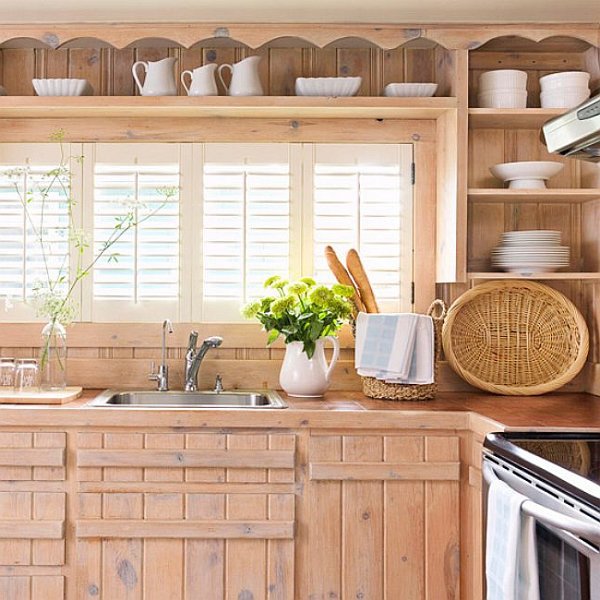
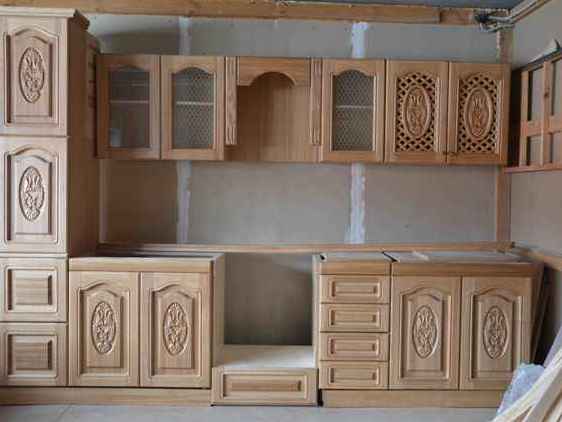
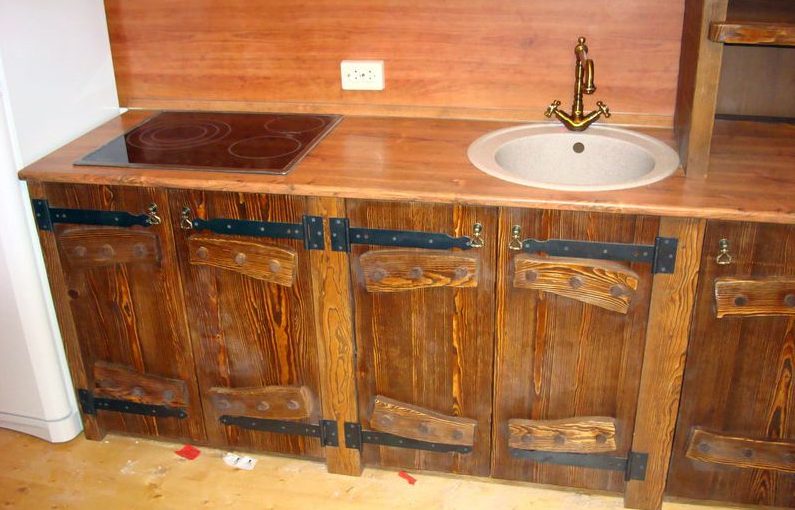
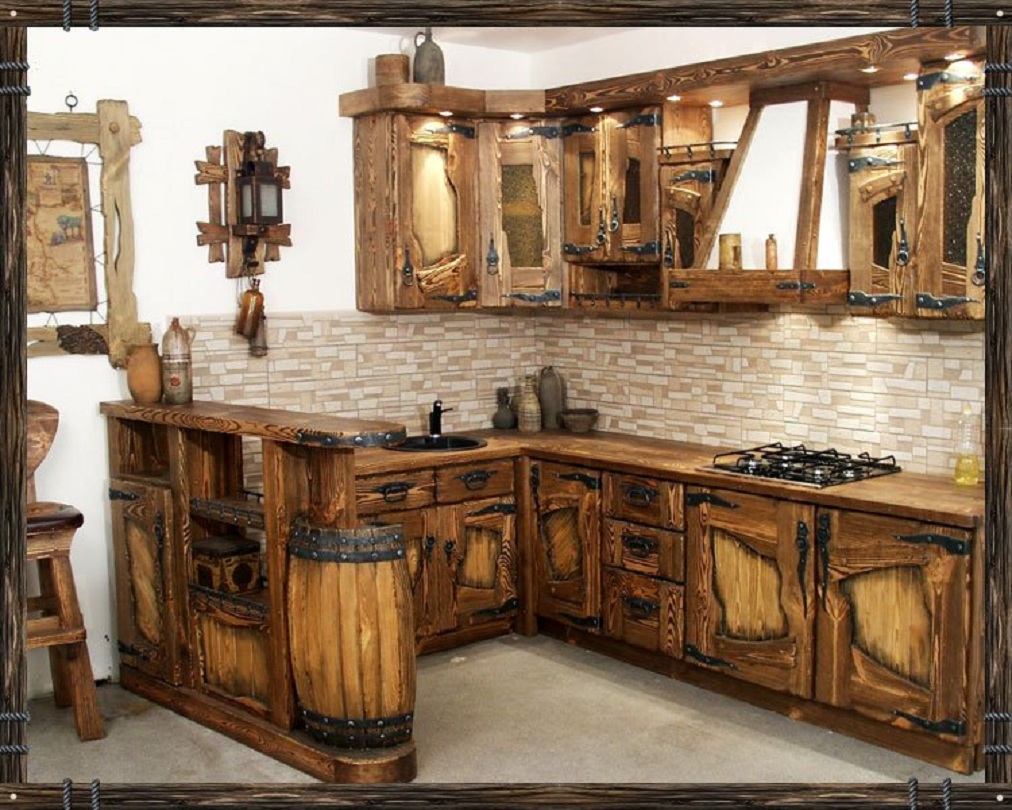
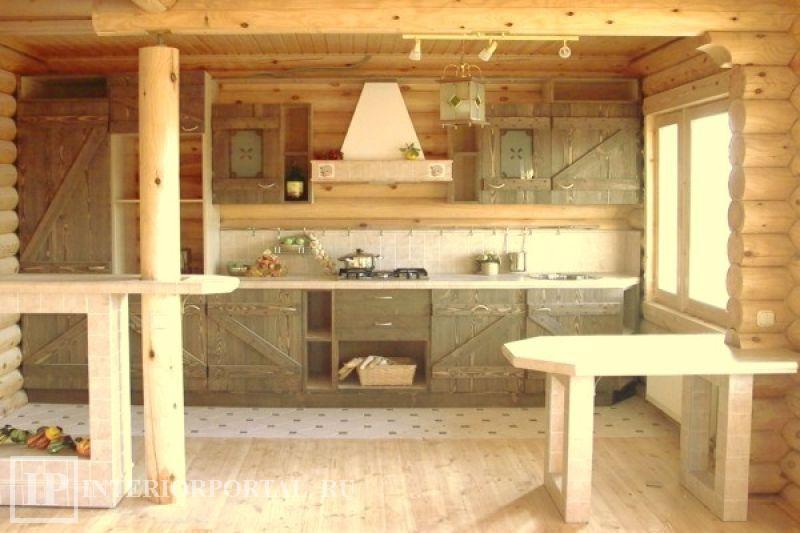
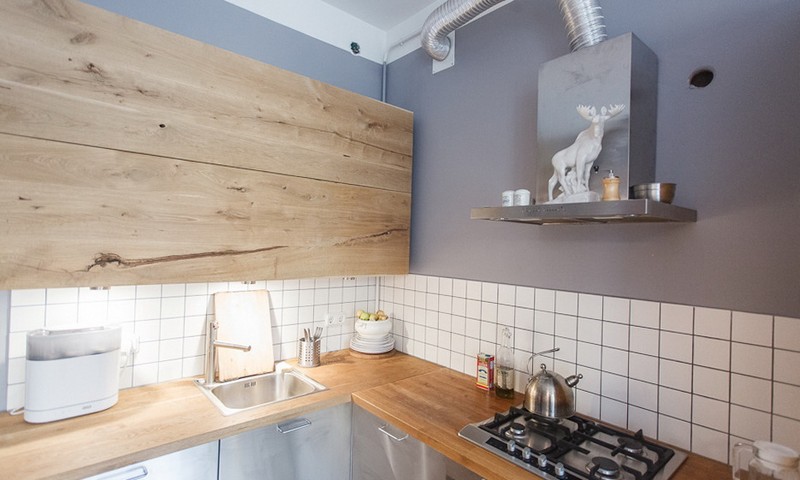
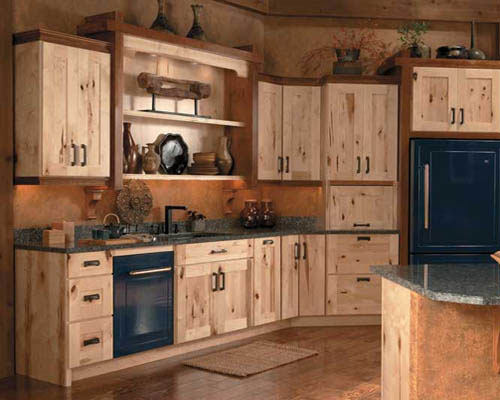
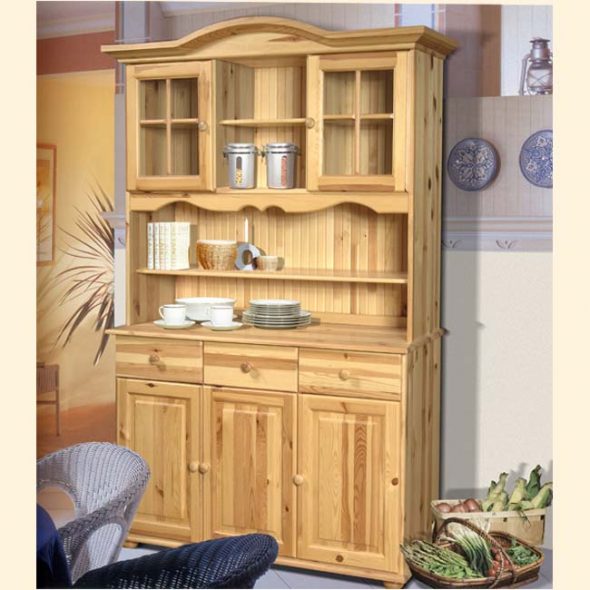
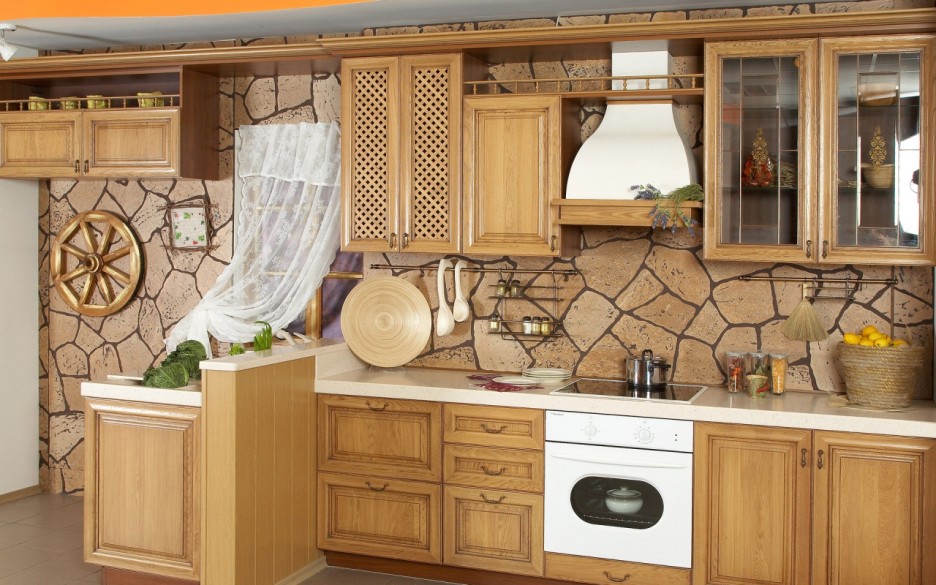
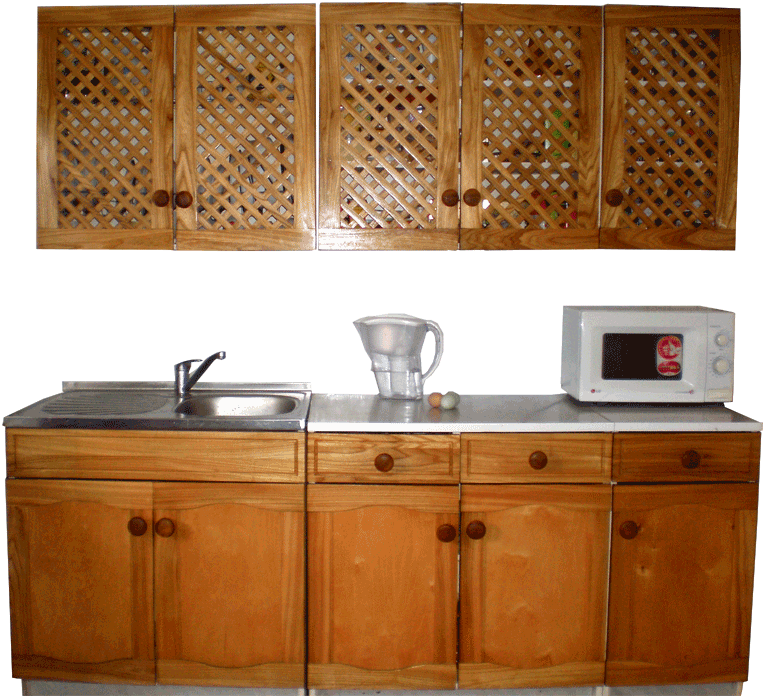
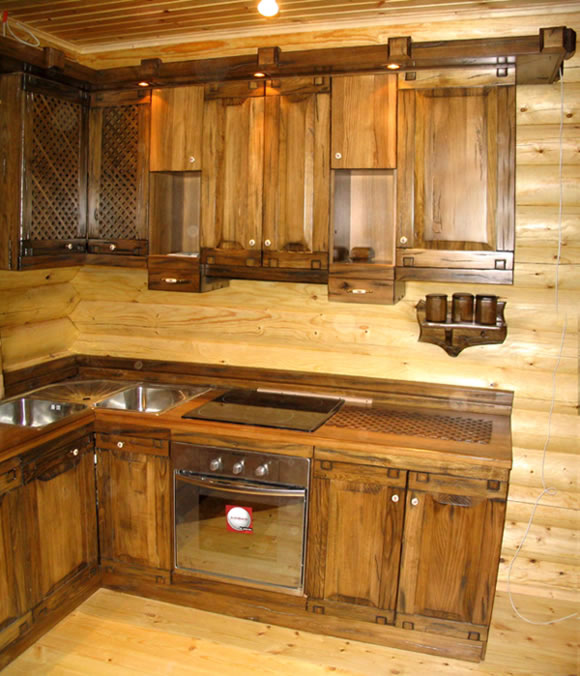
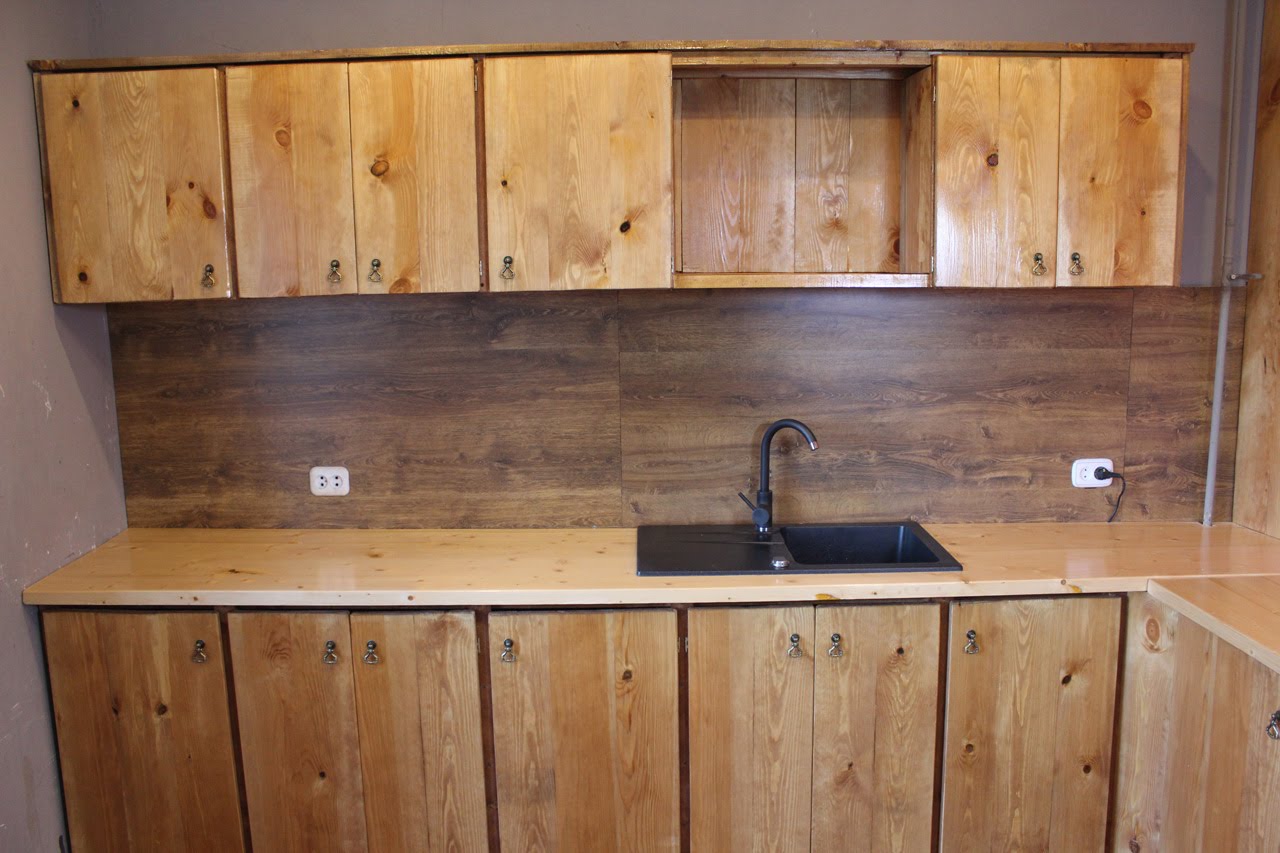
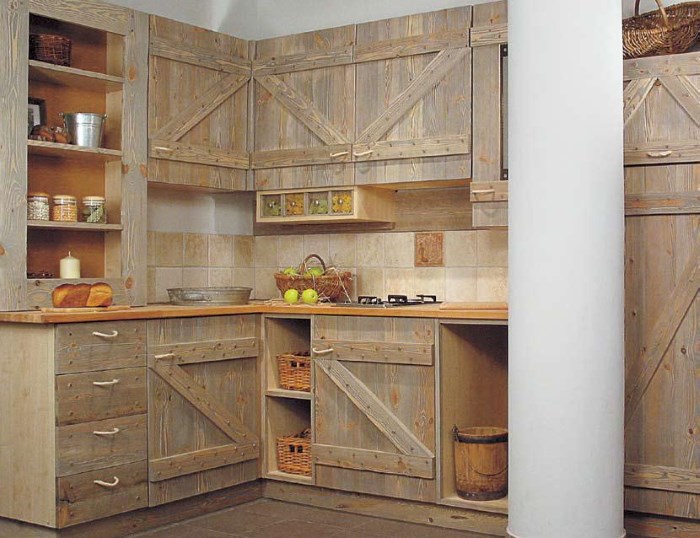
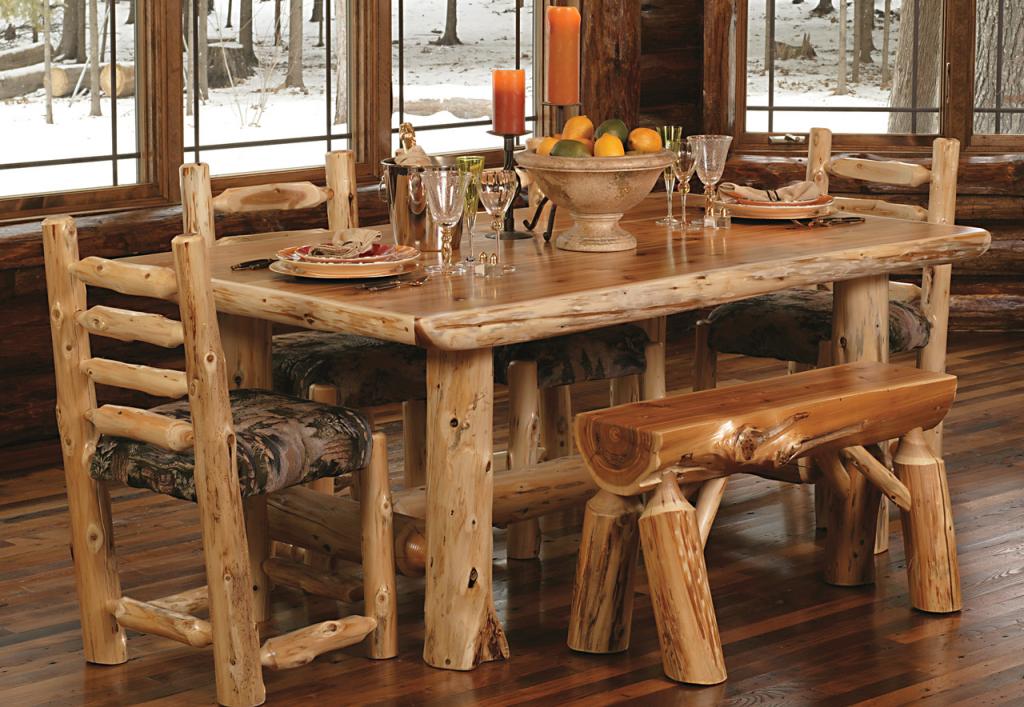
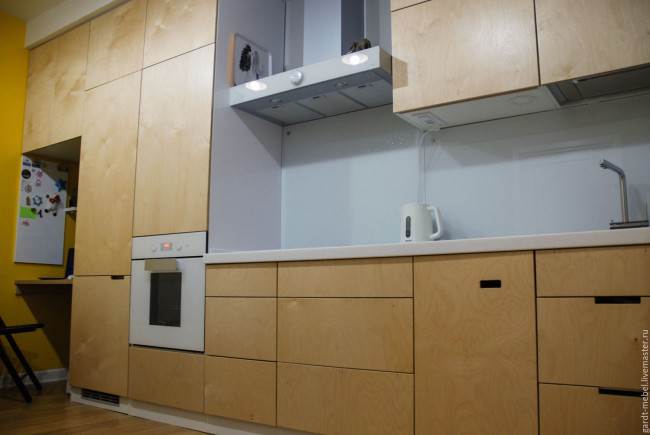
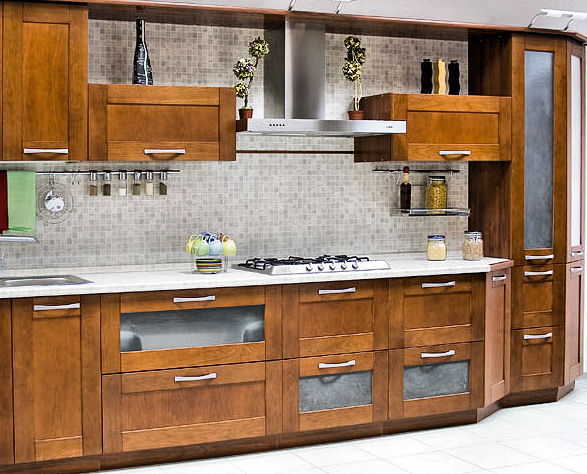
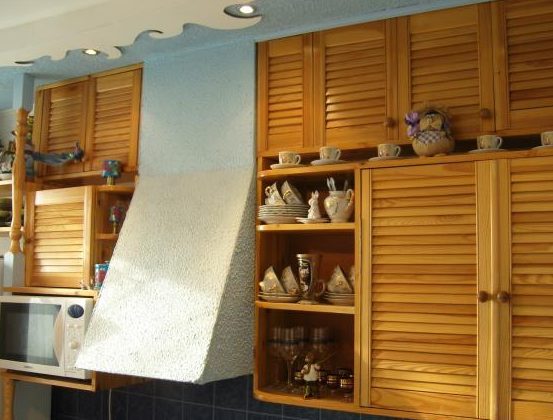
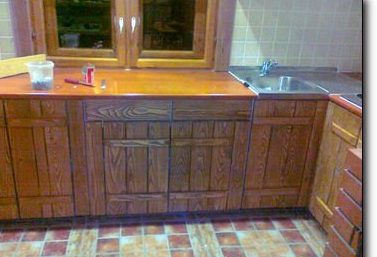
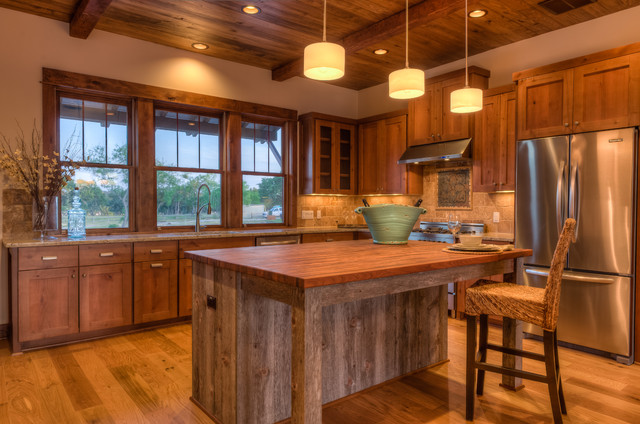
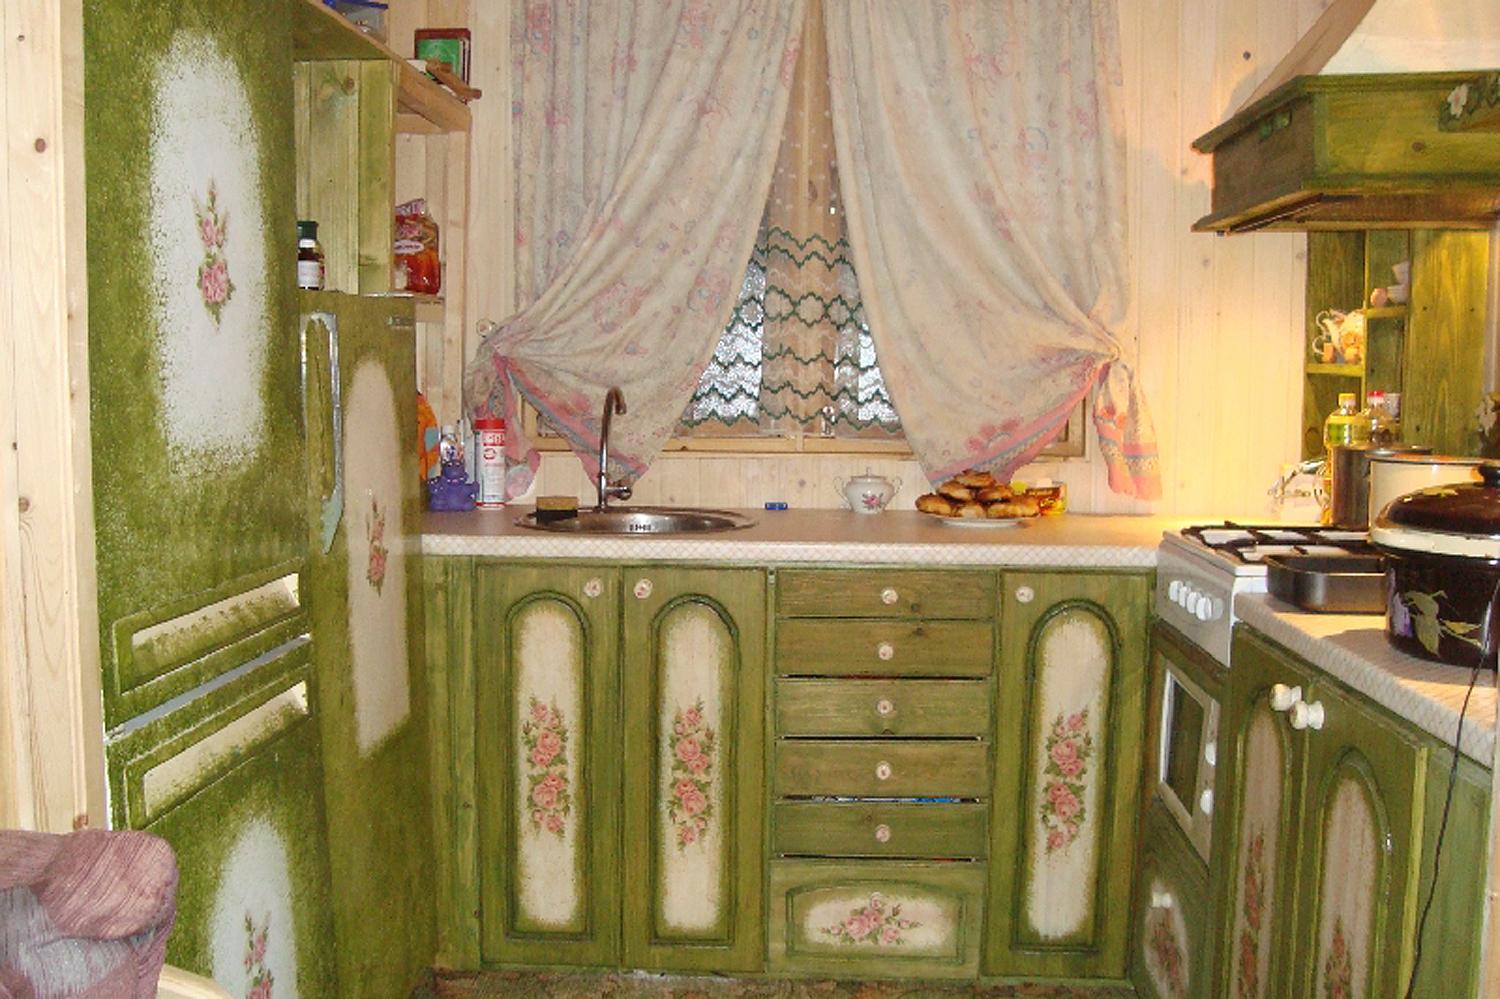
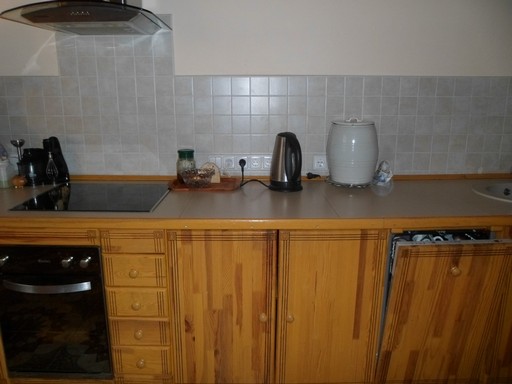
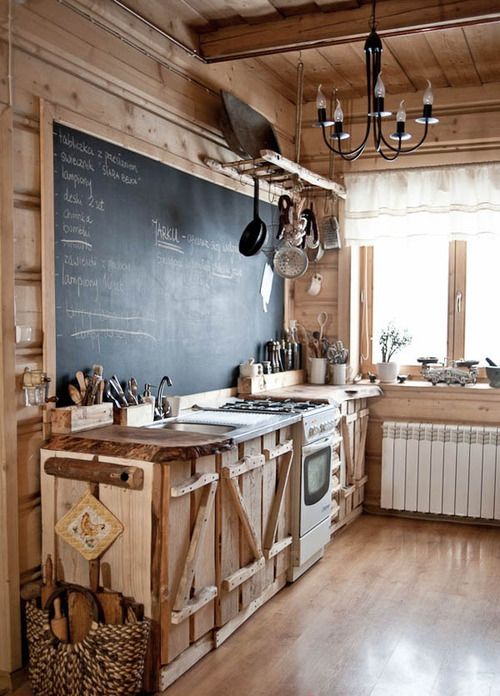
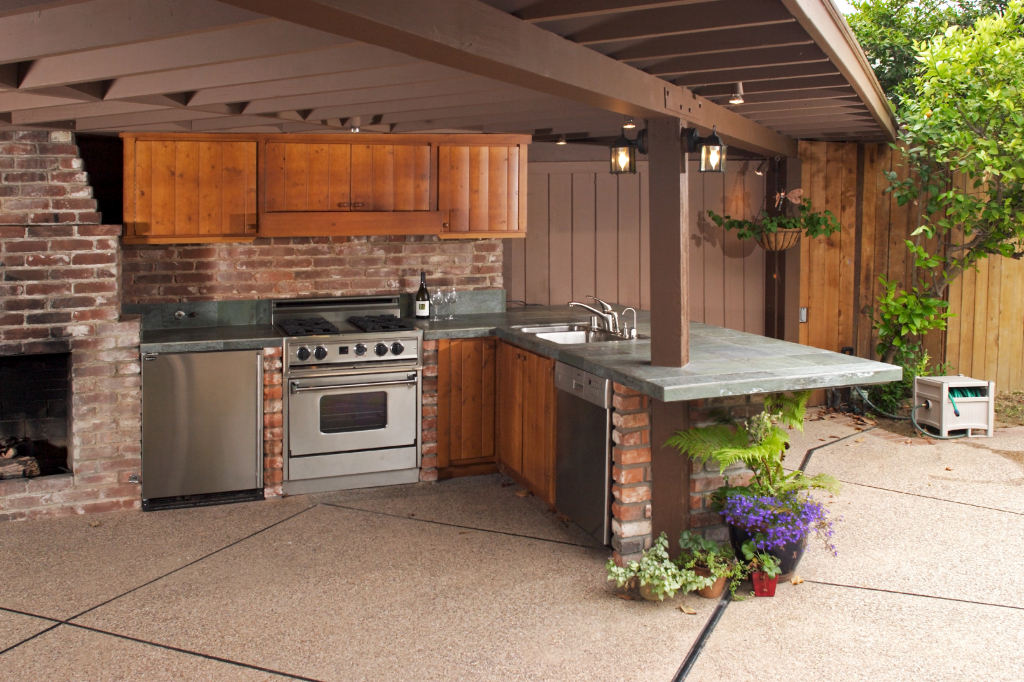
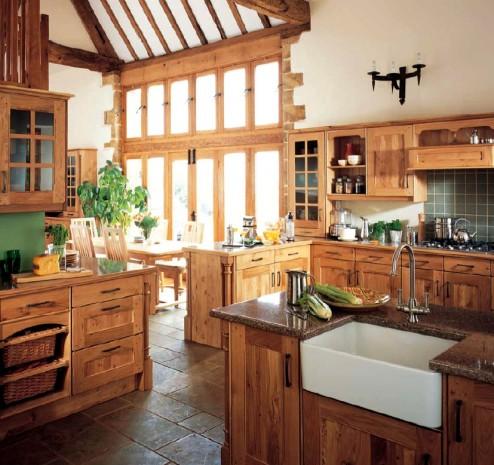
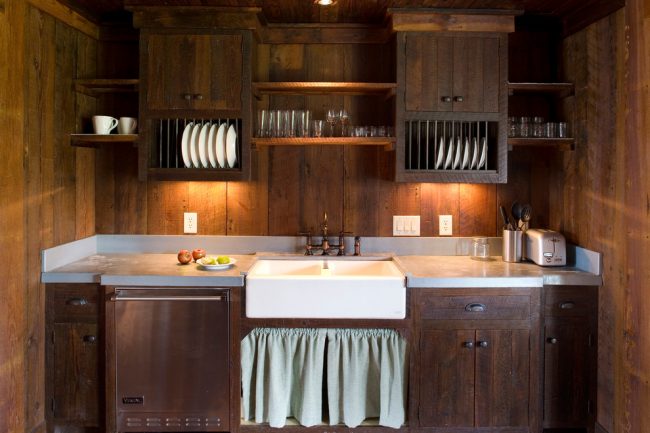
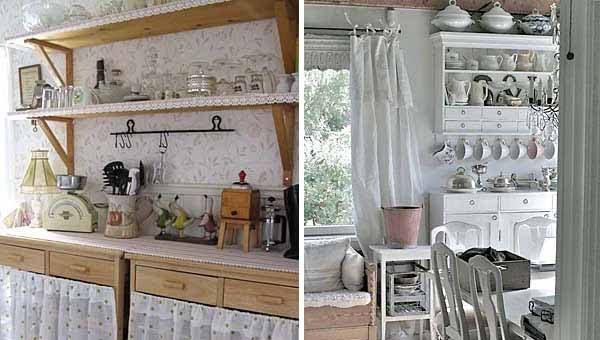
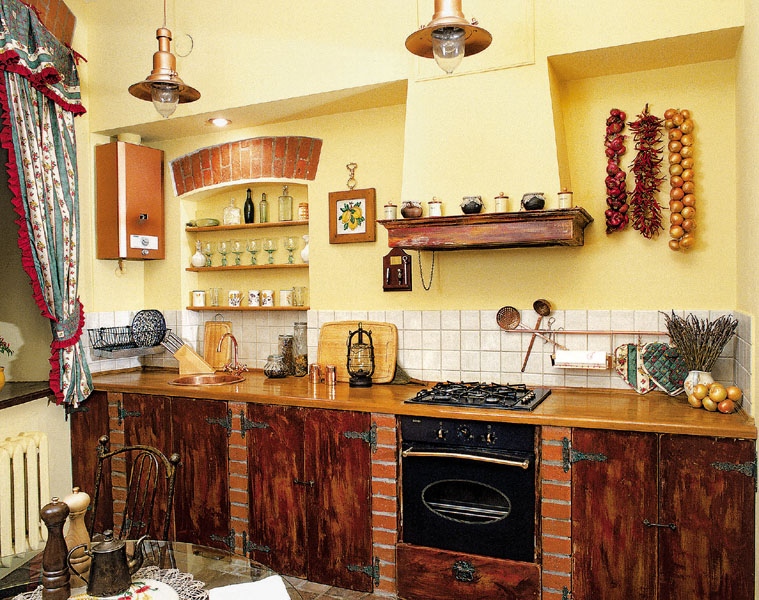
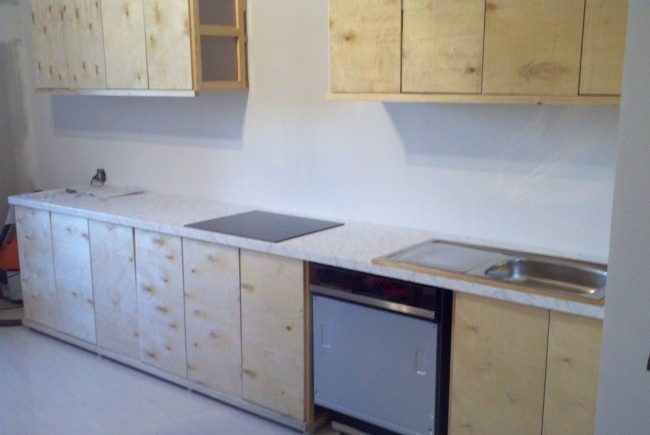
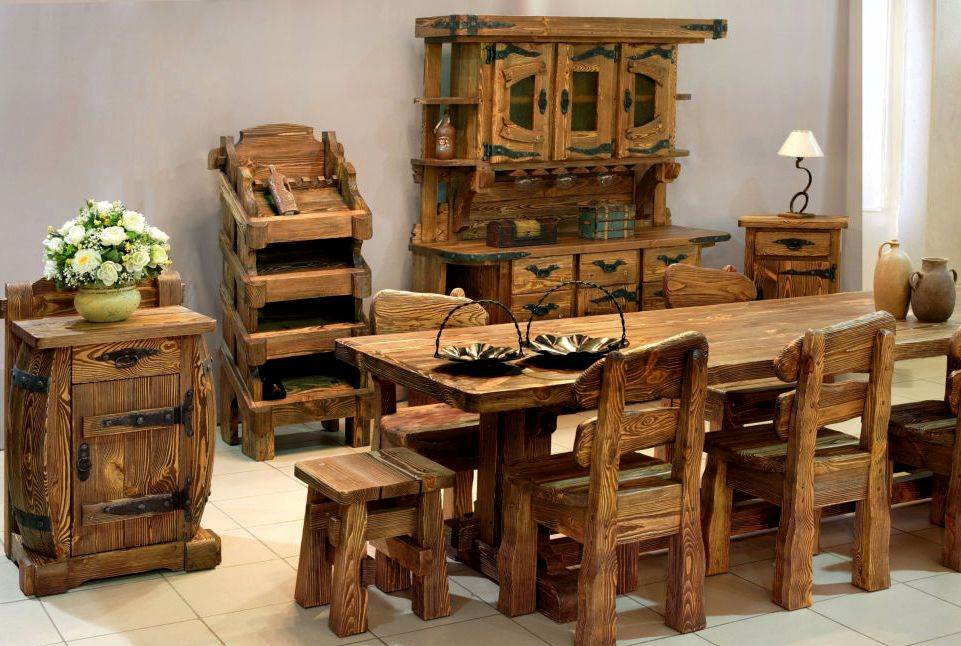
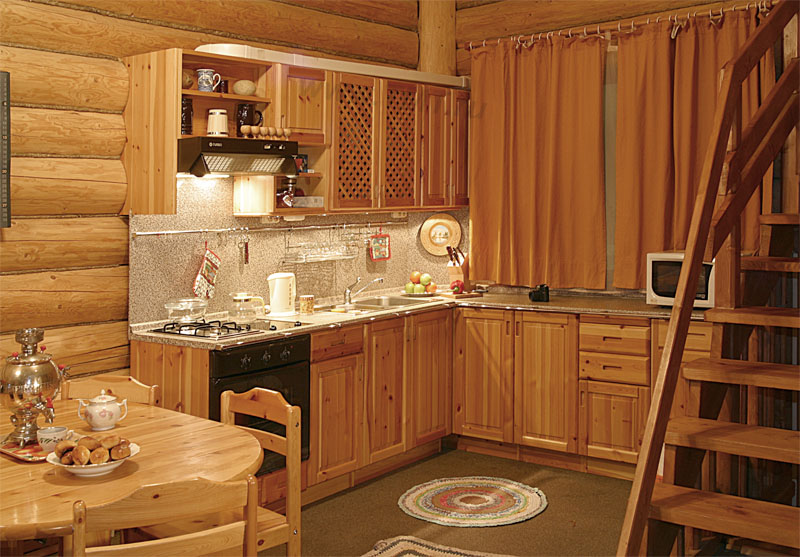
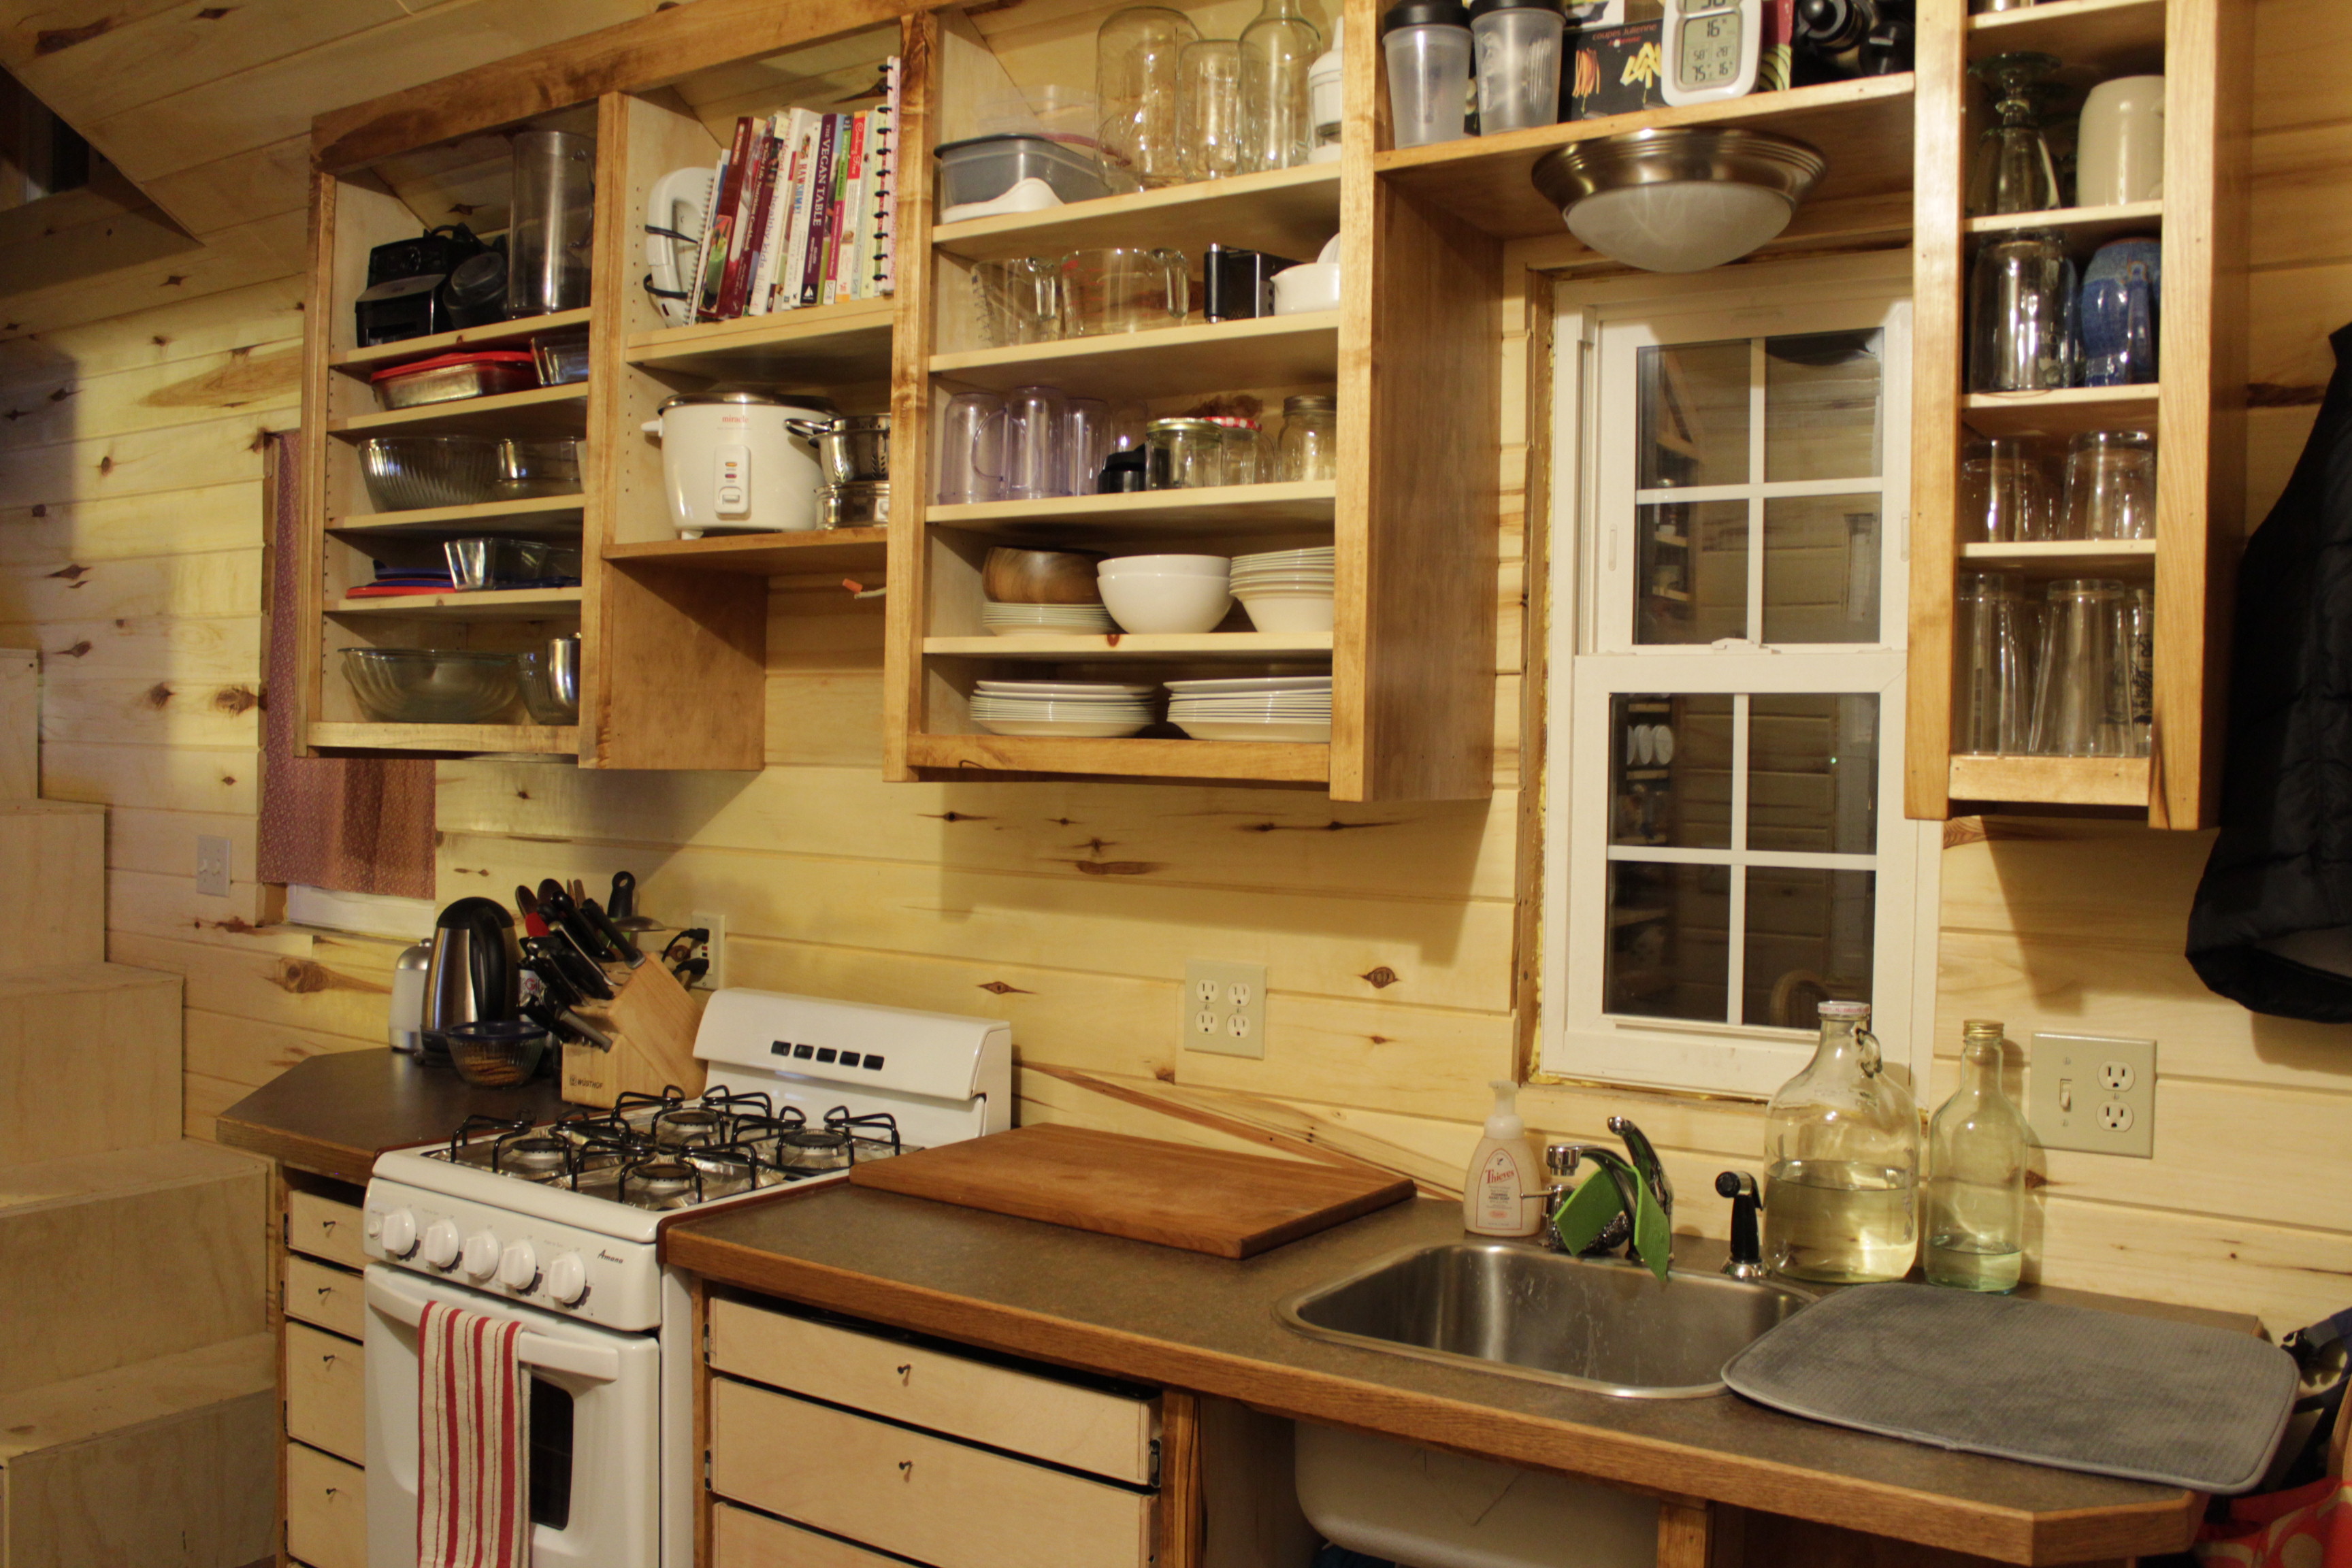
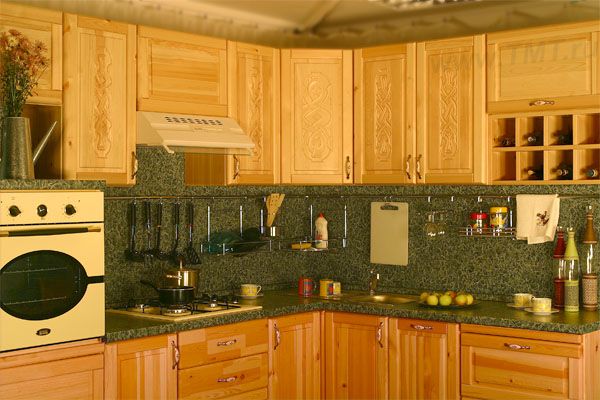
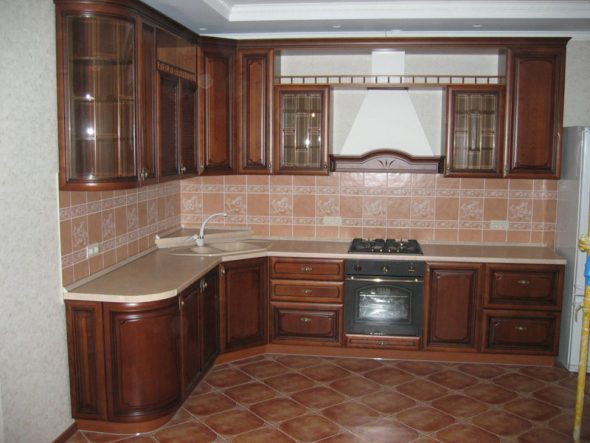
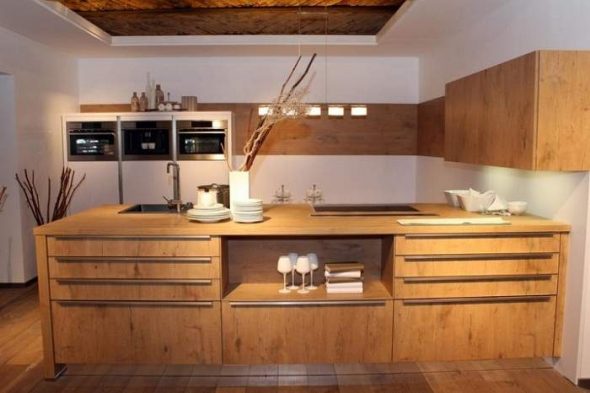
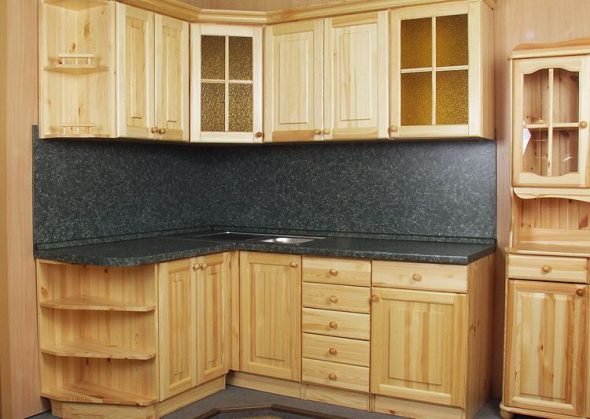
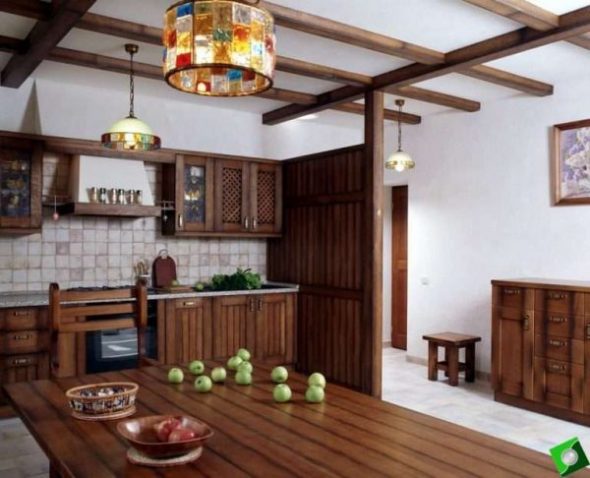
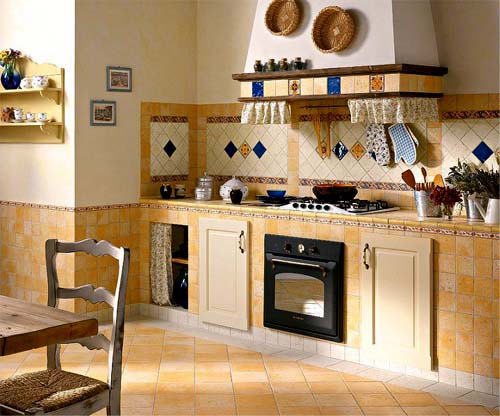
50 most beautiful and original photos of kitchen furniture made by hand