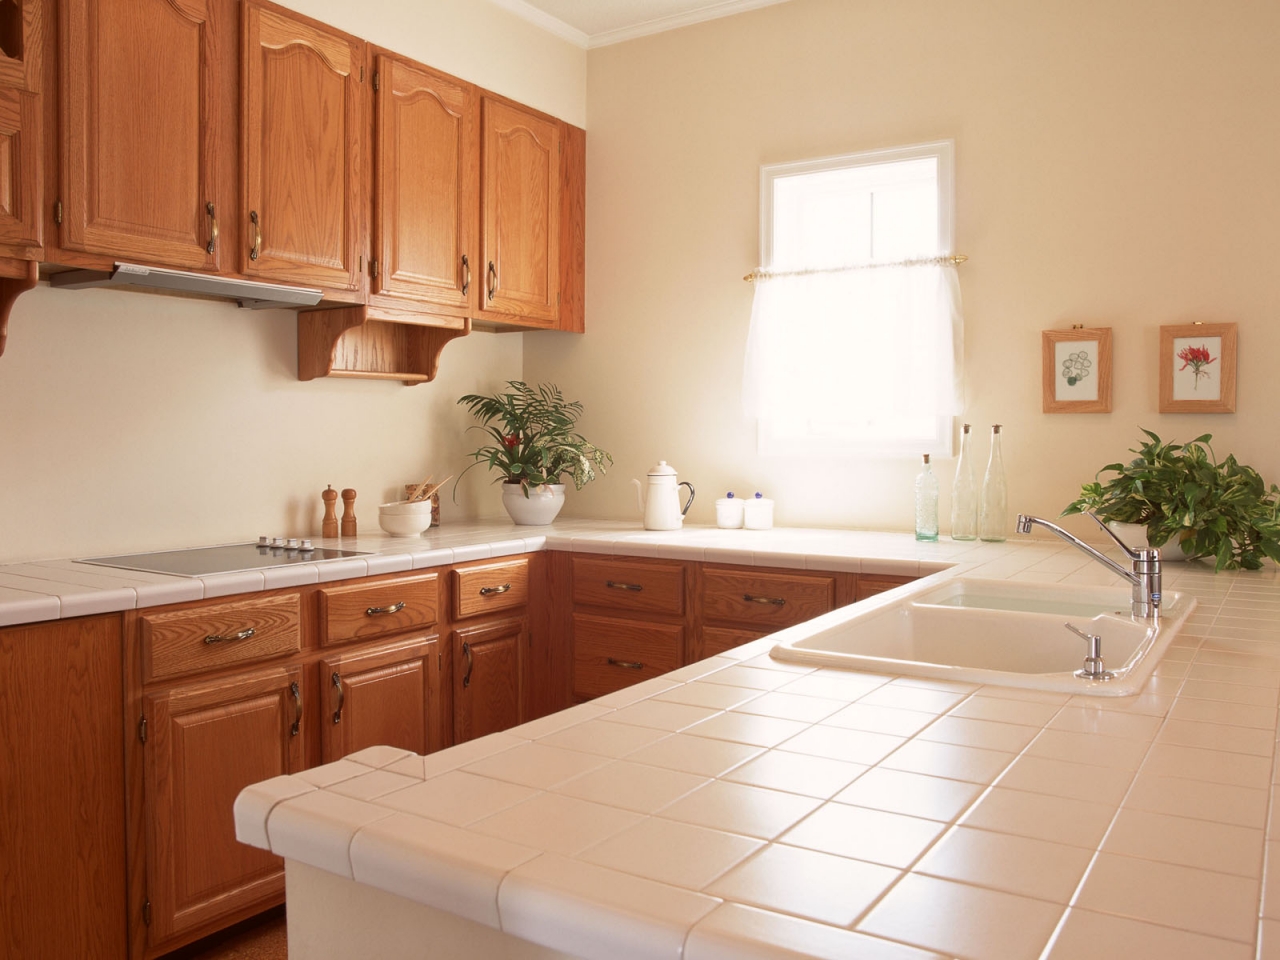
The kitchen is a place where apartment residents spend quite a lot of time: they cook, eat food, and often have get-togethers with friends. Therefore, naturally, you want the room to look attractive.
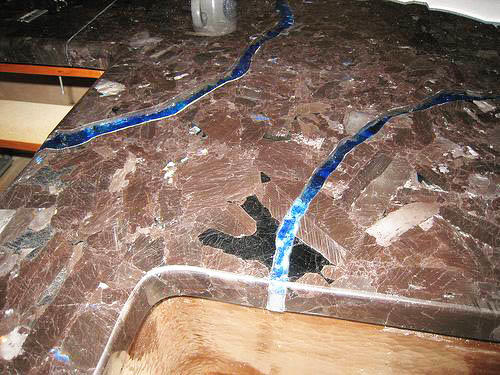
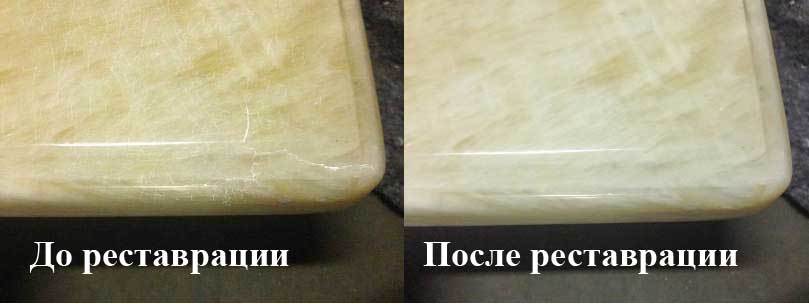
The countertop is that part of the kitchen unit that loses its appeal the fastest due to regular use and increased exposure to various types of damage. If the damage is minor, it is worth repairing the countertop - the options depend on the material used in its manufacture.
If the surface is no longer subject to restoration, then it is worth considering a more radical method - its complete replacement. Let's consider in more detail the options for updating the countertop in the kitchen with your own hands.
Content
Cosmetic repairs: TOP-3 creative methods
There are different ways to update an existing countertop - the end result here largely depends only on your imagination. However, there are three main options that are the most popular.
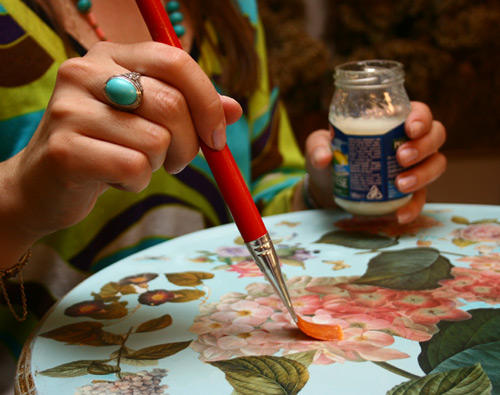
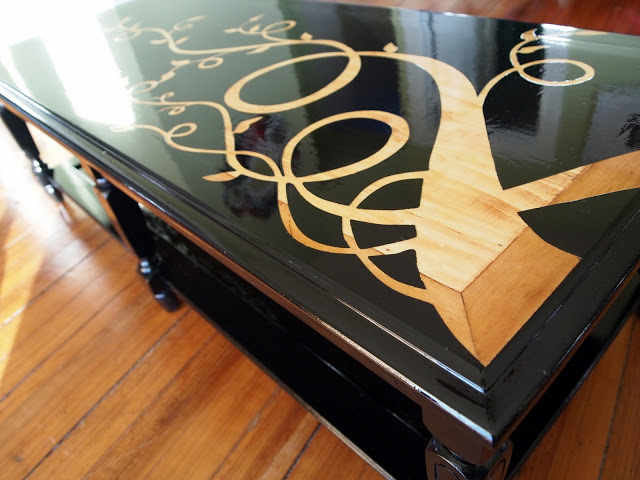
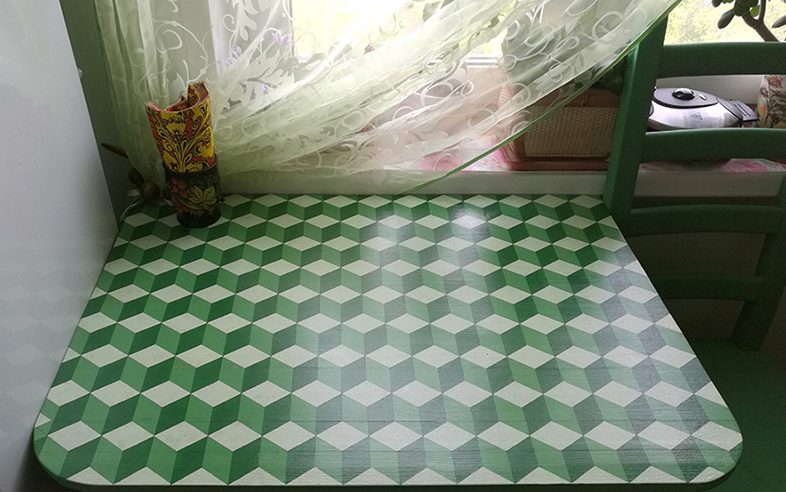
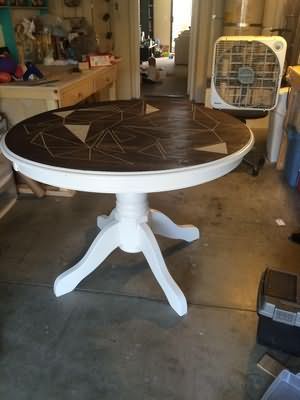
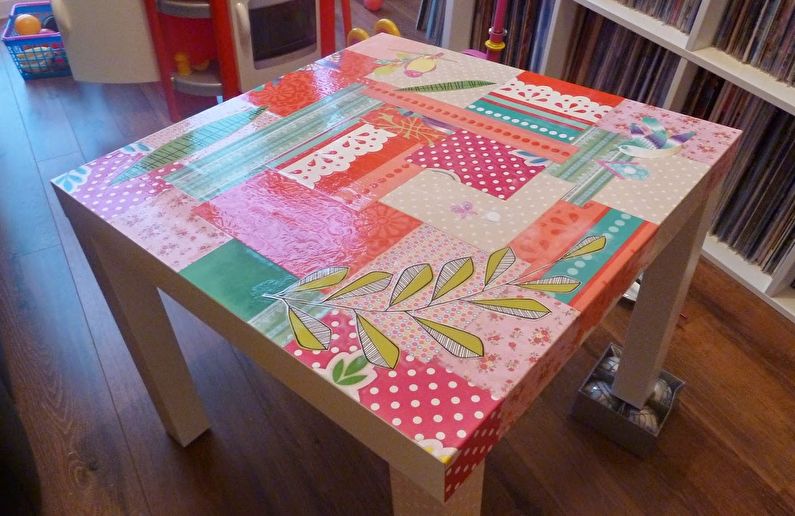
In first place in creativity and prevalence is tabletop painting using a stencil. This method allows you to implement any ideas, and is also the least expensive. The desired pattern can be found on the Internet, printed out, then you only need to cut out the stencil itself (thick cardboard or thin plastic is used), and it's time to get to work.
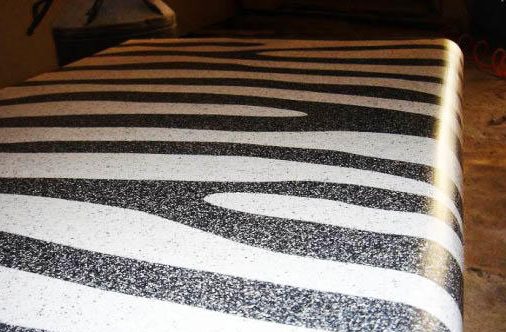
In addition to the stencil, you will also need acrylic paints of the desired colors, a brush, and a foam sponge. Before you start painting, you need to prepare the surface: wash it, degrease it. Next, the tabletop is covered with the main color, then, using a template and a sponge, the selected pattern is applied. To prevent the paint from flowing under the stencil, and to ensure that the pattern is clear, experts recommend applying a thin layer of paint to the sponge. If you doubt that you can accurately apply the image with a sponge, use a brush.
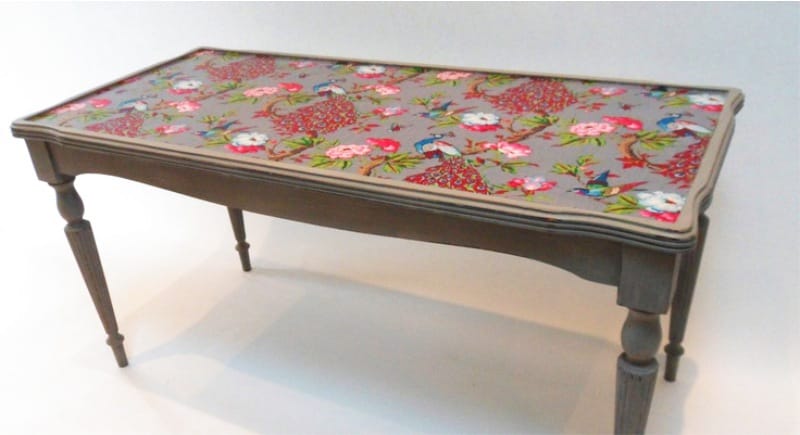
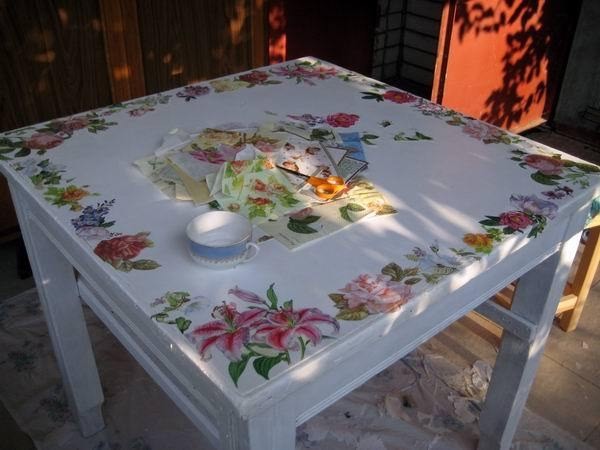
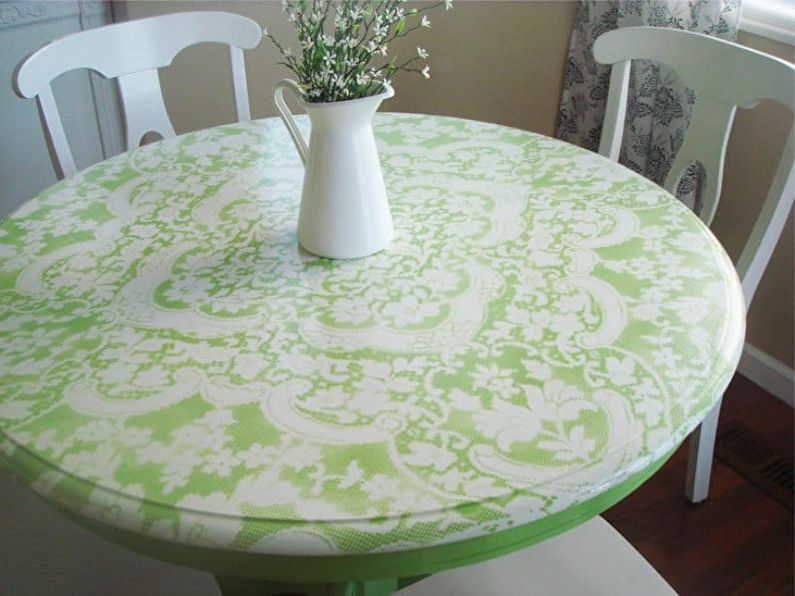
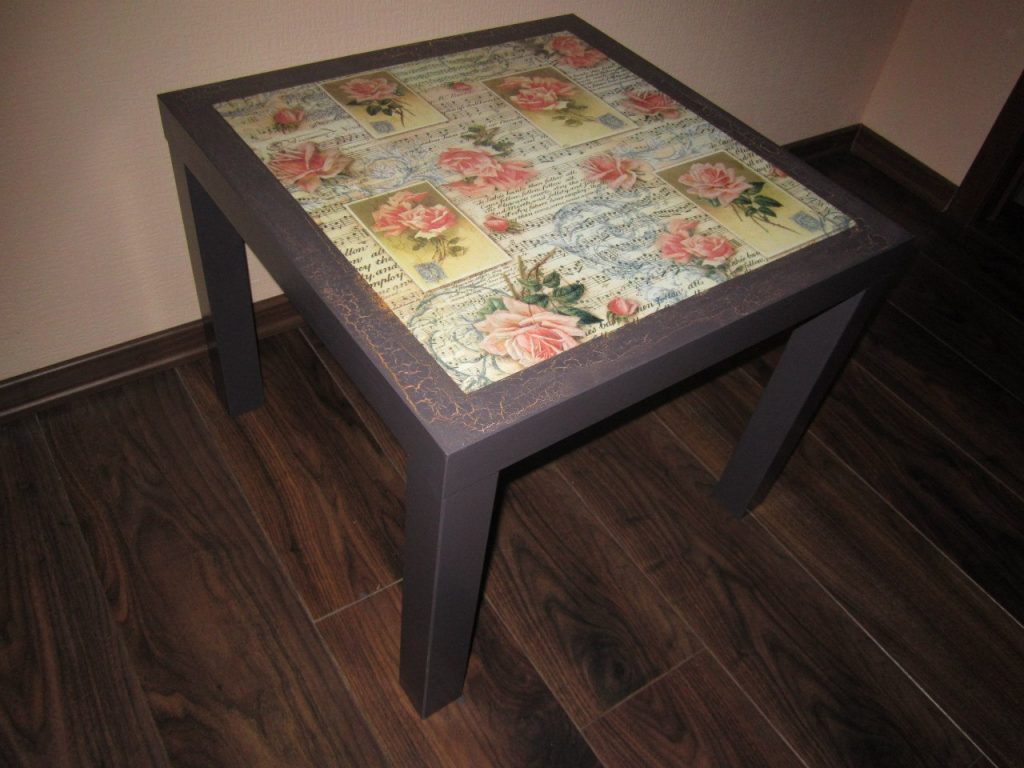
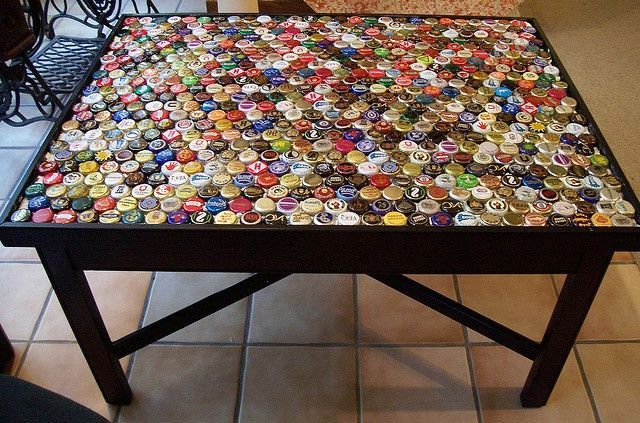
Stencil painting goes well with decoupage. It is not recommended to use this method on the surface of the work area, which is regularly used and cleaned with chemical detergents, but, for example, a dining table or a bar counter in a studio apartment, you can safely decorate it this way.
The main thing is not to overdo it with the number of drawings, to choose the right combination of pictures for decoupage and painting pattern, otherwise it may turn out sloppy.
The tools and material costs here will also be minimal. Ready-made decoupage pictures are sold in all stores with goods for creativity, but you can save money by cutting out pictures from napkins, magazines, newspapers. The work is carried out in several stages:
- clean and degrease the surface;
- dilute PVA glue with water (in a one to one ratio), and wet the pictures with this solution;
- carefully glue the images to the tabletop, smoothing them out to remove any air bubbles from underneath them;
- After complete drying, the surface is covered with varnish in three, or better yet, four layers (each layer must dry before applying the next one).
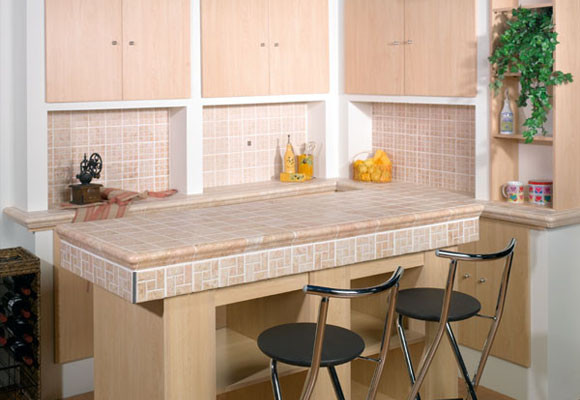
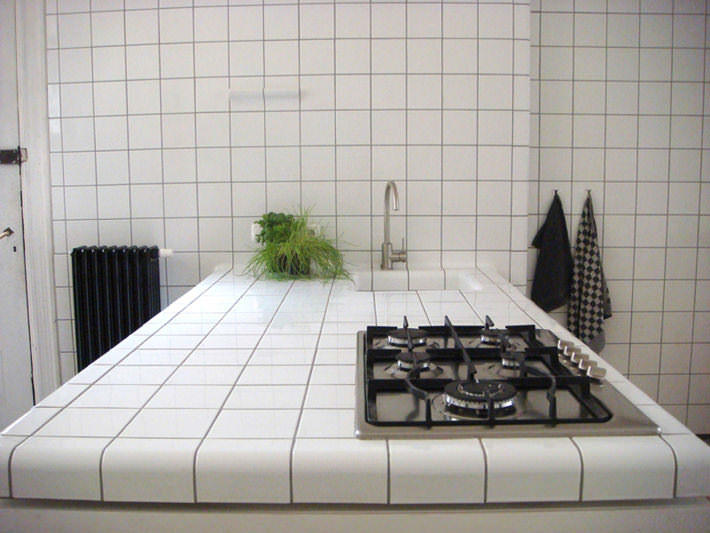
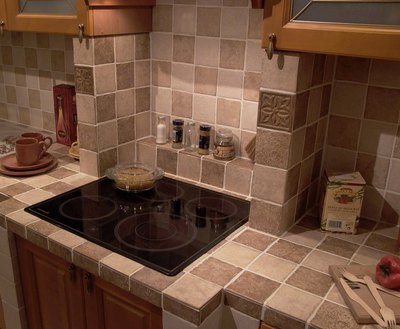
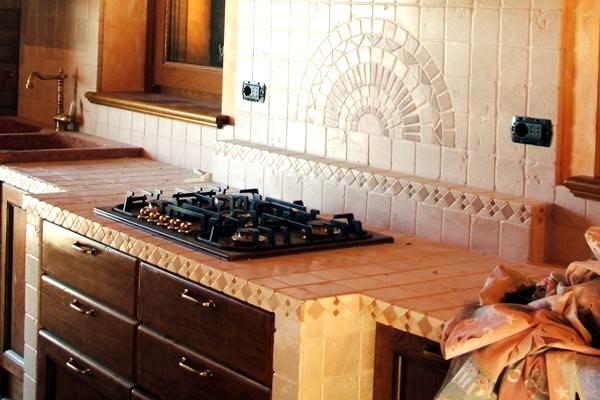
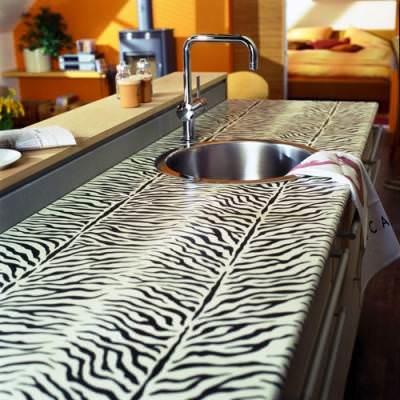
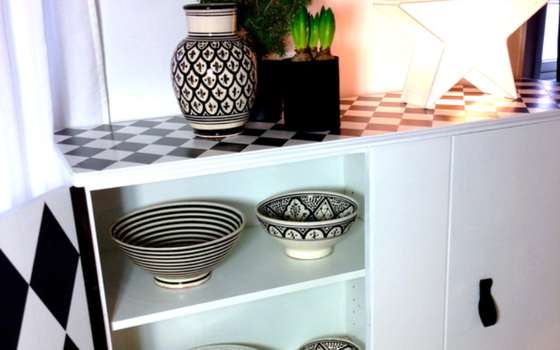
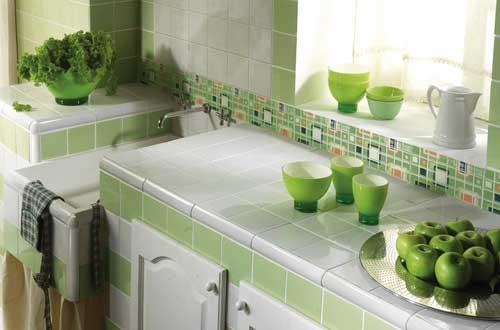
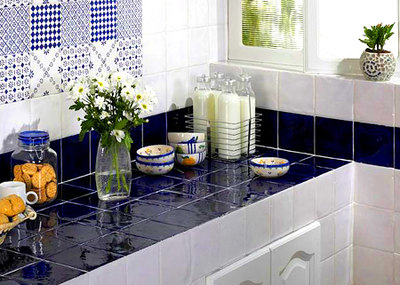
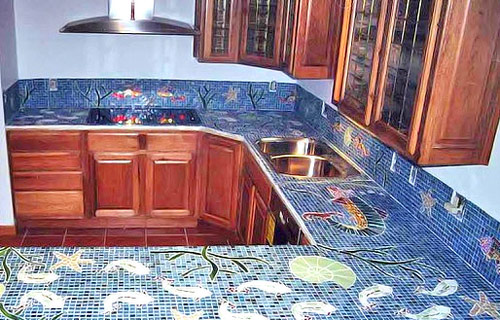
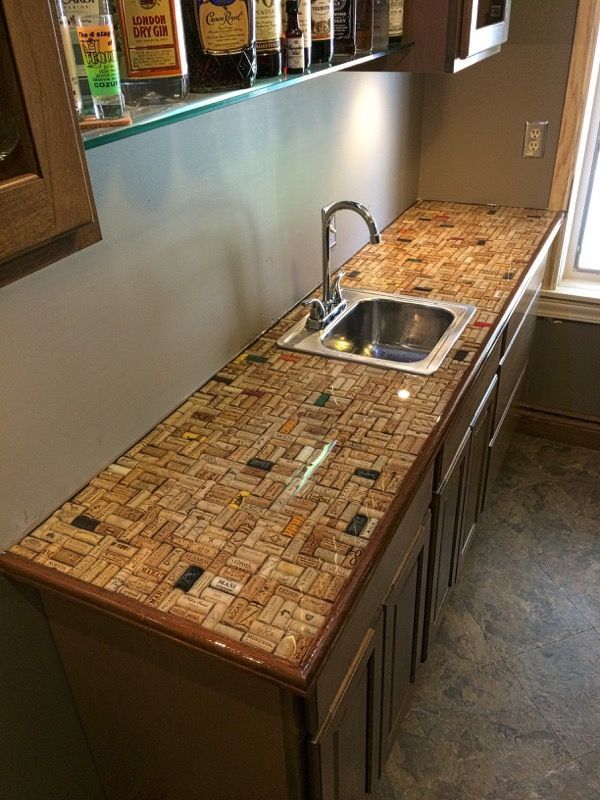
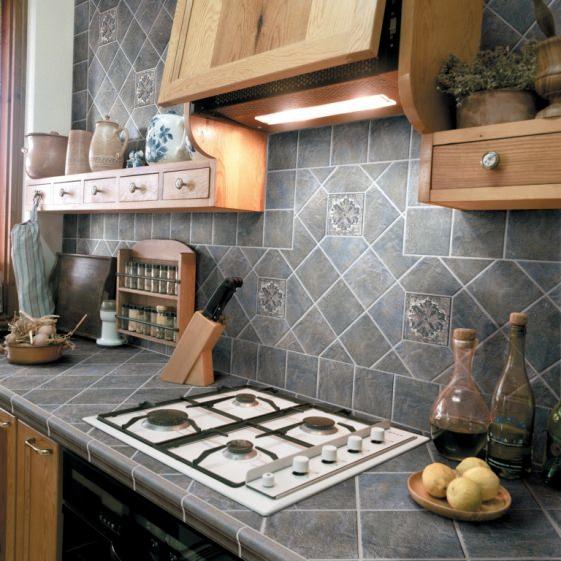
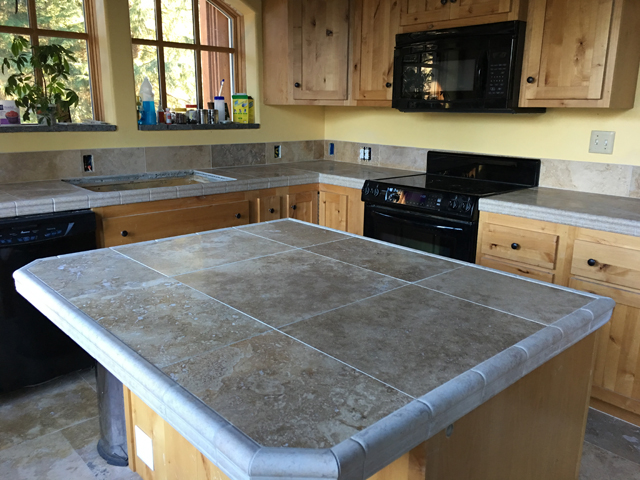
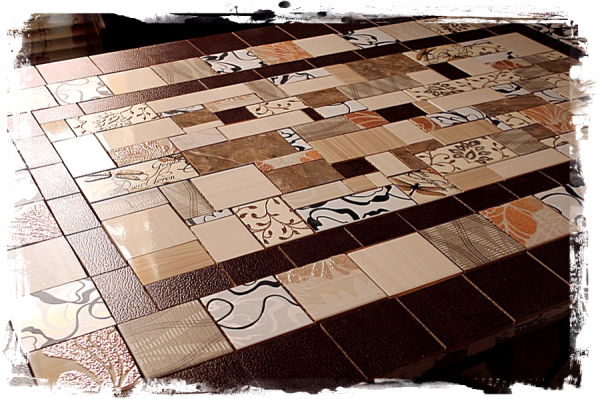
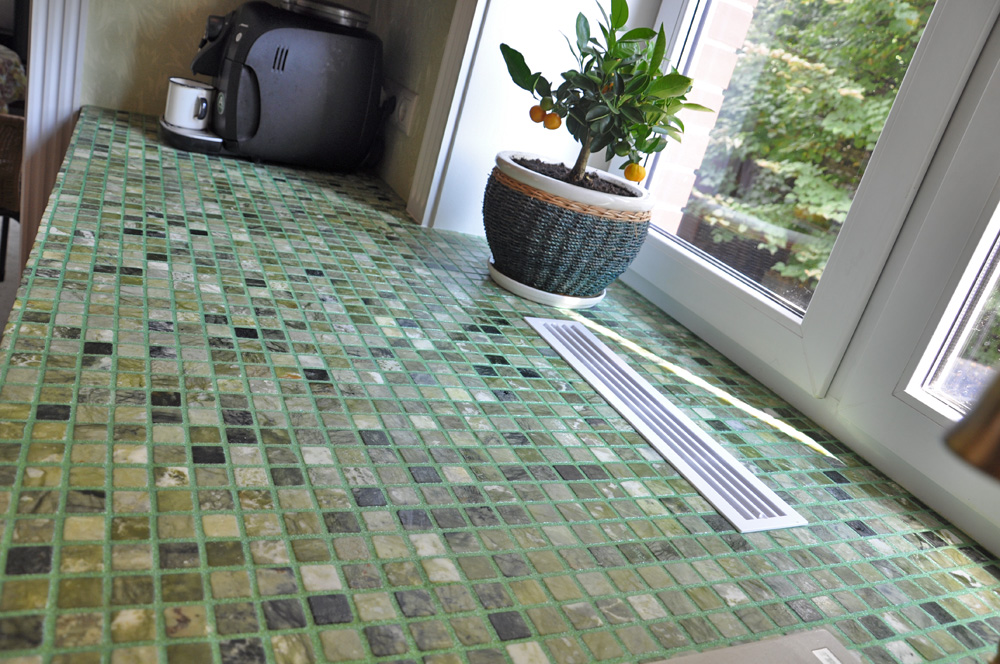
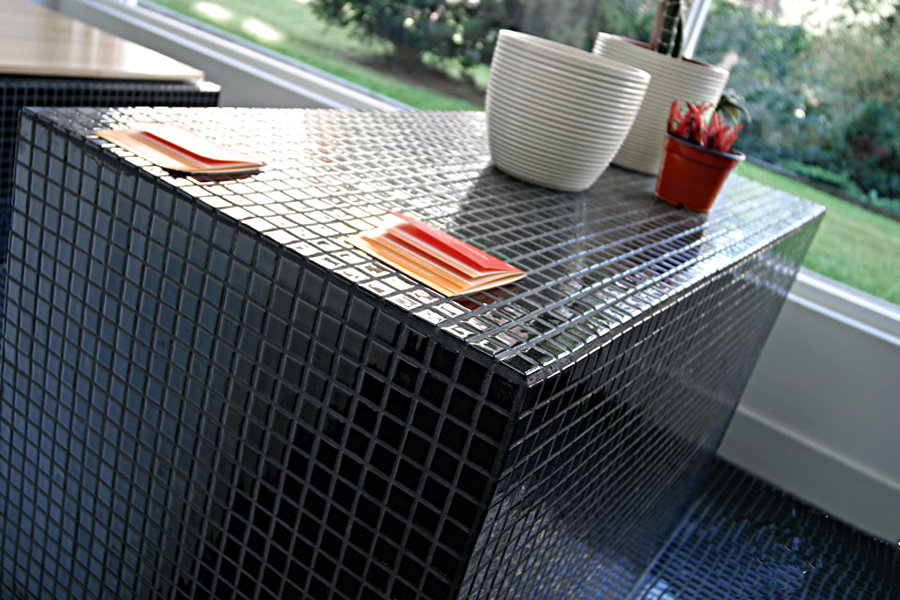
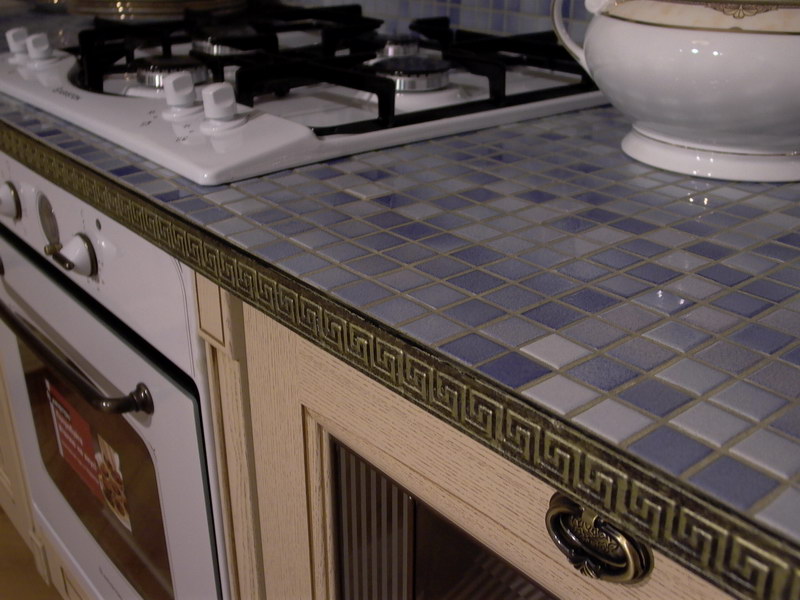
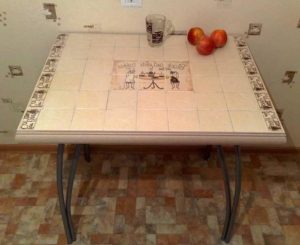
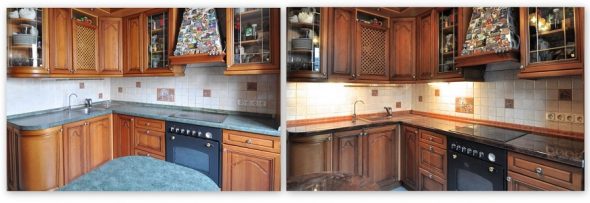
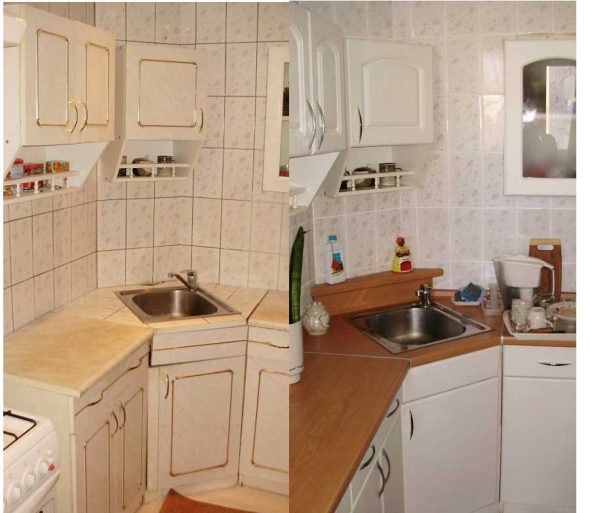
The second option for updating the work surface of the kitchen unit with your own hands is covering it with decorative tiles. This option is suitable for plastic, wooden countertops, as well as those made of fiberboard/chipboard. Even ordinary ceramic tiles are suitable for this, but mosaic tiles look much better.
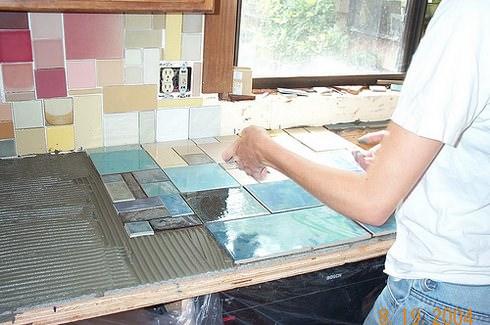
When choosing the color scheme of the future coating, experts recommend taking into account the style of the apron located above the work area. A more original design will be obtained by using a combination of tiles that differ in size and color.
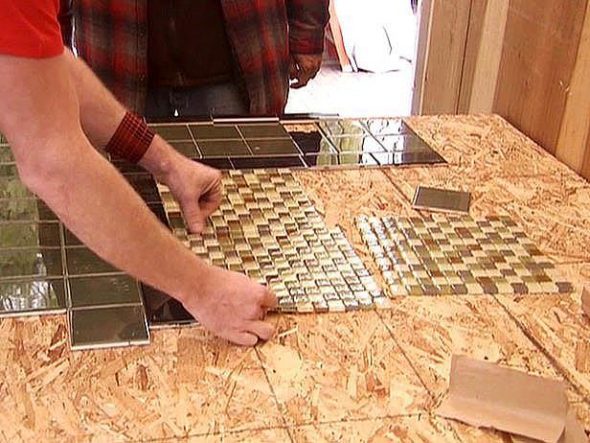
To renew the tiles, you will need the tiles themselves, adhesive for them, and grout. The sequence of actions when performing the work is similar to the previous method of restoring the countertop: the surface must be washed, dried, then glue must be applied, and the tiles must be laid. When everything is dry, grout is applied over the tiles.
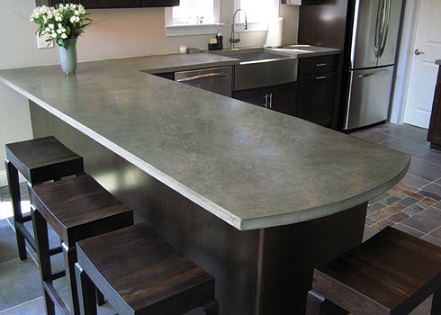
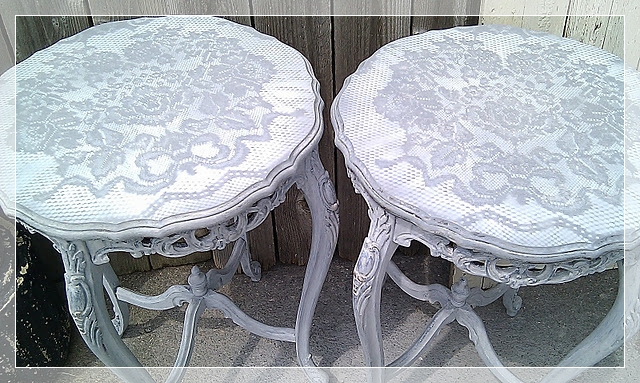
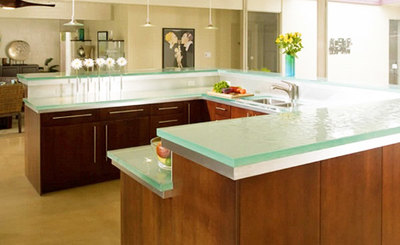
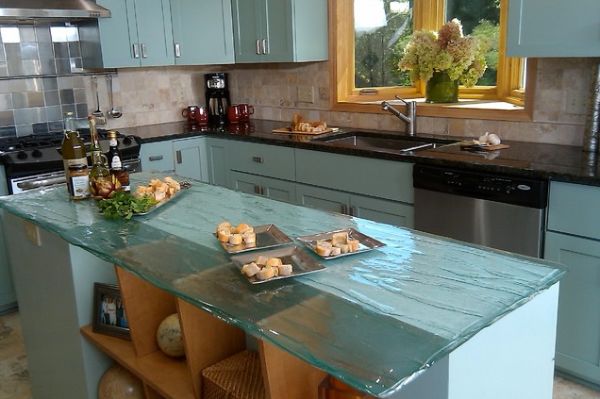
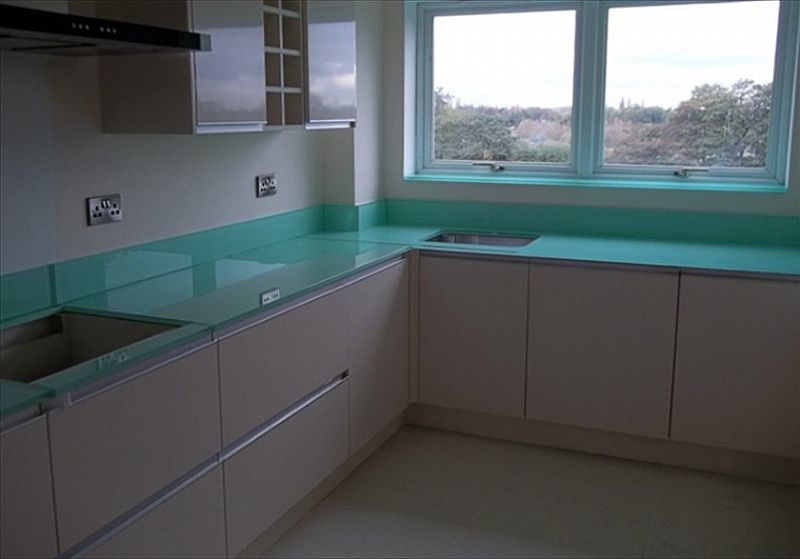
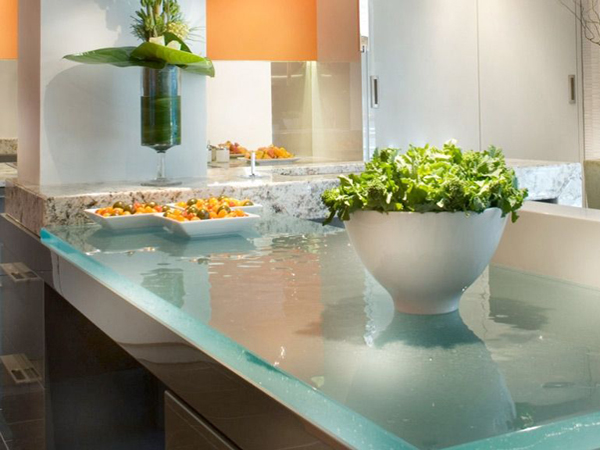
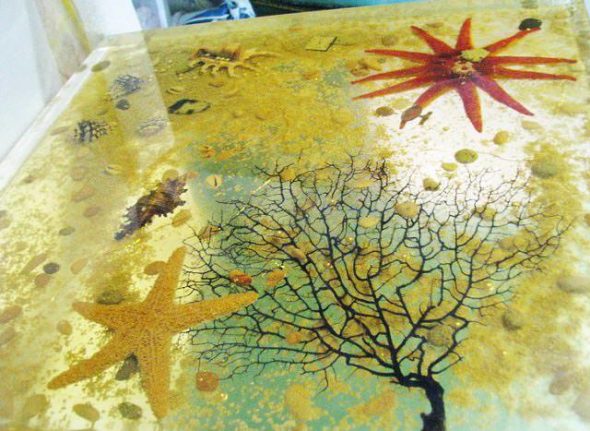
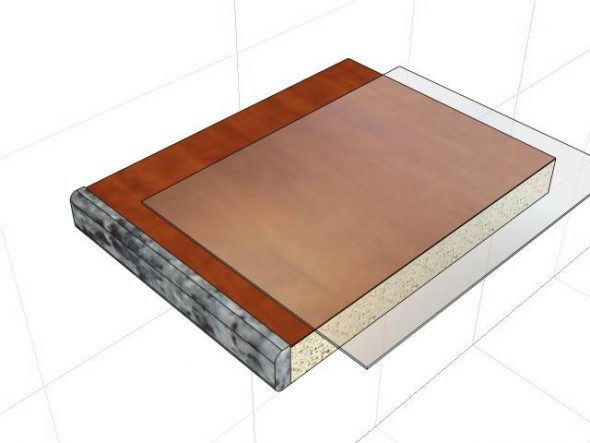
The third method of tabletop repair is the most expensive — using tempered glass. But the result looks accordingly — expensive. The set of actions is standard: cleaning, degreasing the surface, painting, after drying — laying, fixing the glass sheet.
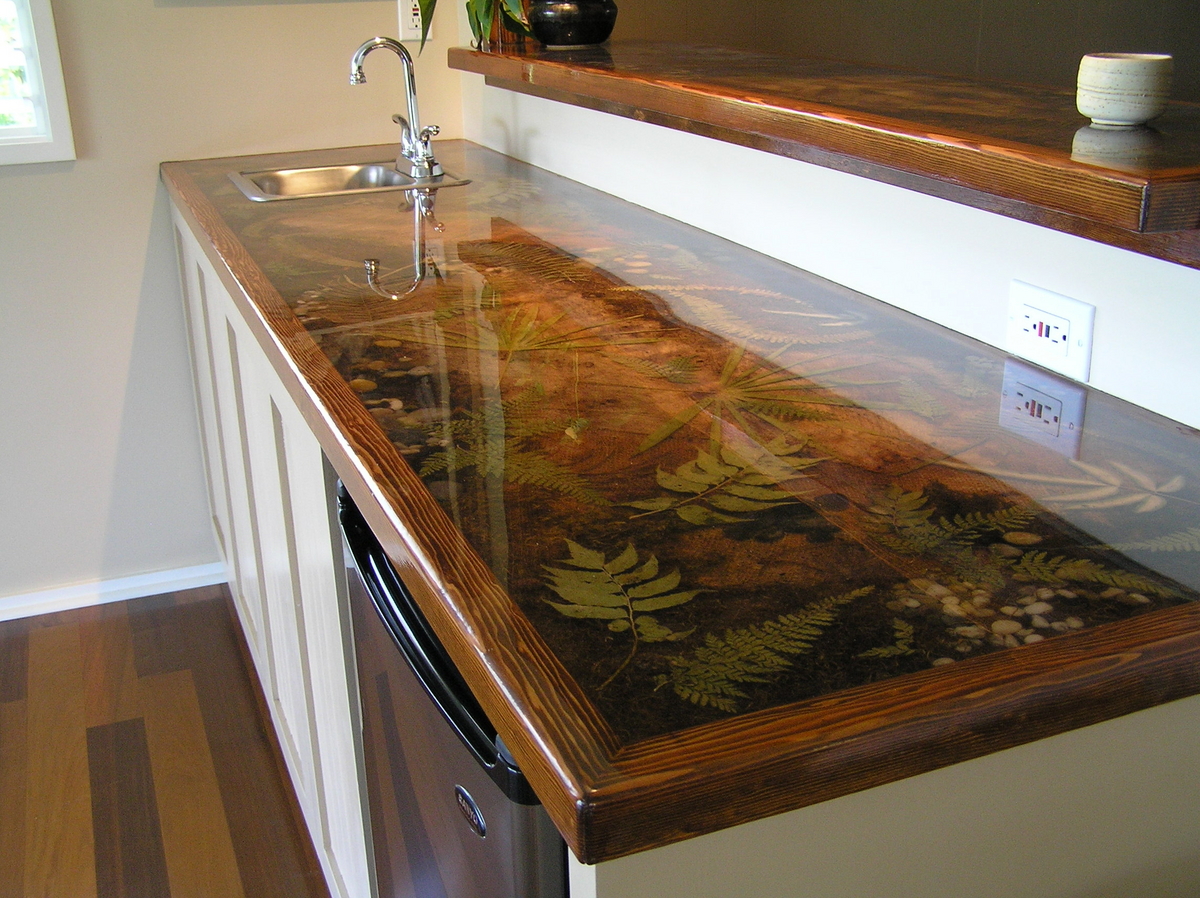
For a more impressive appearance, instead of a single-color layer of paint, apply some kind of pattern to the tabletop. Stencil painting or the same decoupage are often used for this. Tempered glass will protect the pattern from abrasion, and will give greater strength to the table itself (unless, of course, you will chop meat with an axe here). Experts also recommend that such a structure be removed from the stove.
Not subject to restoration
Sometimes repairing an old countertop is more expensive than buying a new one. Here the choice is obvious - it is better to replace it. There are a huge number of options today, so you can choose for any taste, color and budget. Also, when choosing, it is worth considering the overall style of the kitchen set.
There are five types of tabletops:
- from fiberboard/chipboard;
- wooden;
- metal;
- stone;
- glass.
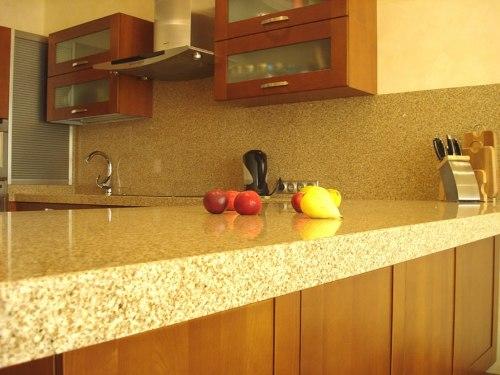
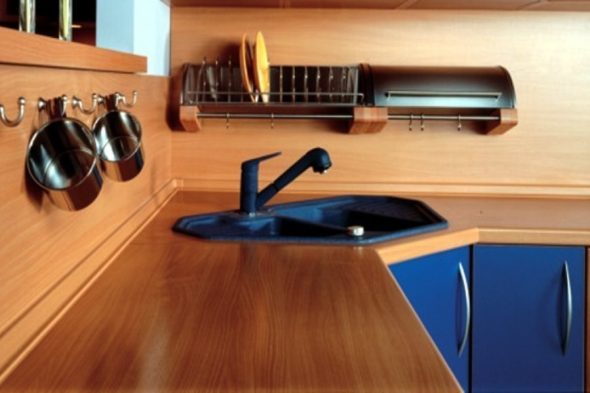
Tabletops made of fiberboard or chipboard, covered with a layer of plastic on top for greater resistance to moisture and high temperatures, are the best option in terms of price-quality ratio. They also have a wide variety of textures, are extremely easy to care for, and are quite resistant to various types of damage. Joints that are properly coated with water-repellent sealant significantly extend the service life of the surface, and will also preserve its original shape. Disadvantages of plastic - scratches and stains may remain.
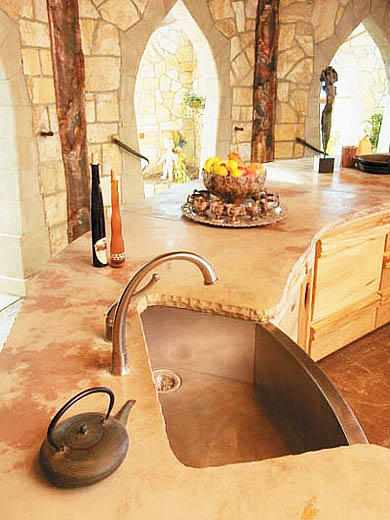
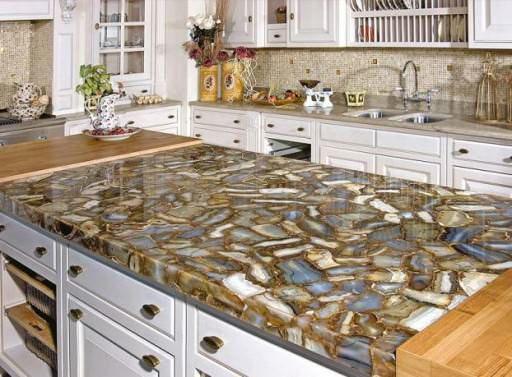
Stone planes are divided into two subtypes: artificial stone or natural stone. Their distinctive features are high strength, resistance to any external influences (moisture, temperature, etc.), attractive appearance.
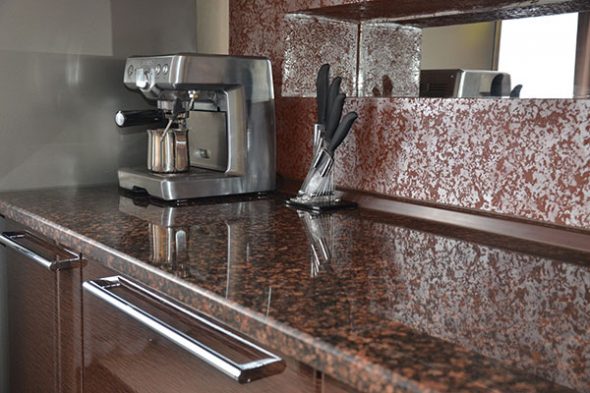
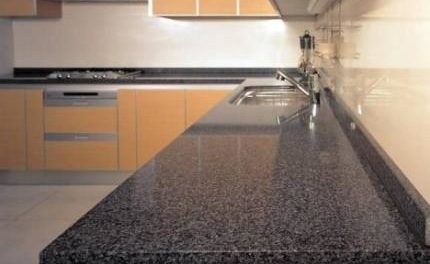
The main disadvantages are the large weight, high cost, and, in addition, if any part of the tabletop is damaged, it will have to be replaced completely.
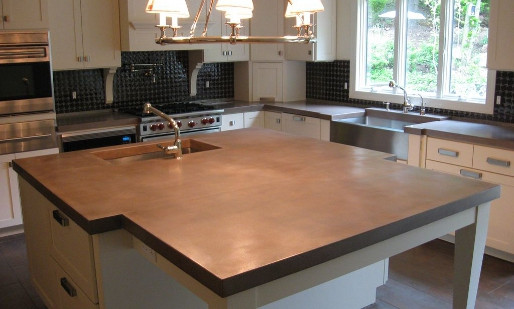
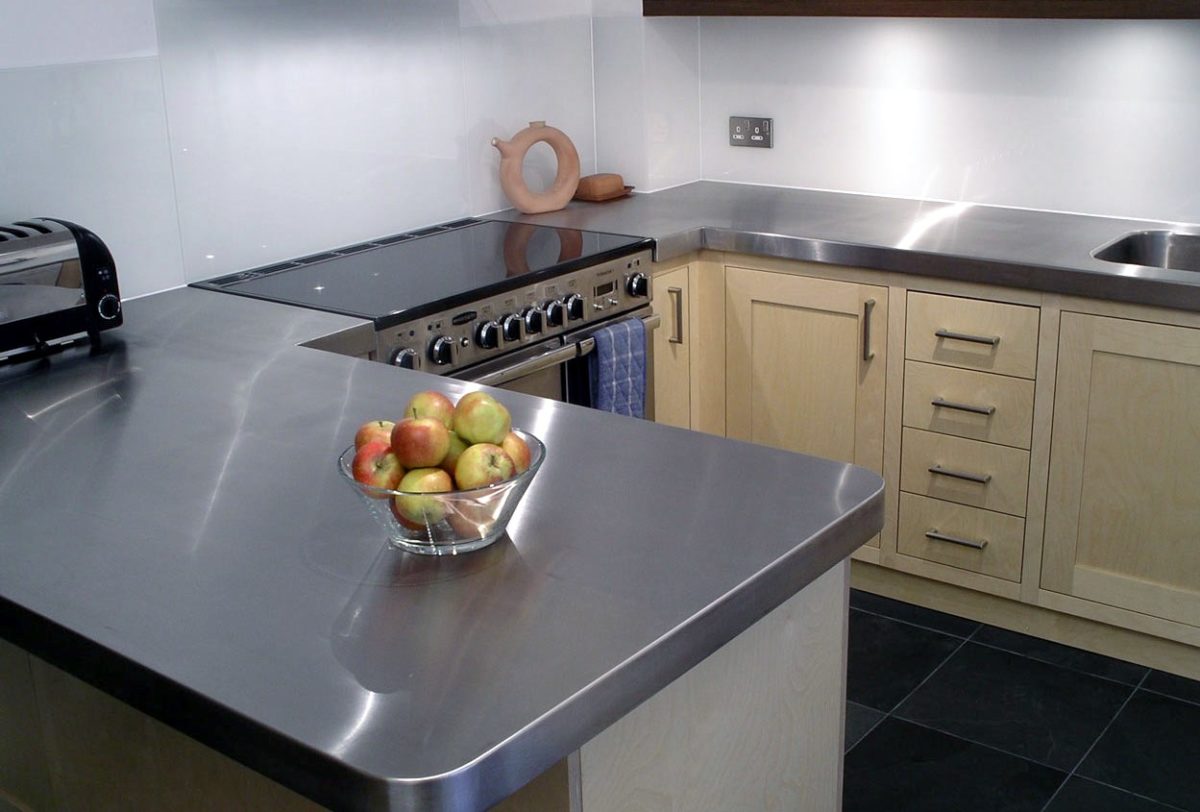
Metal tables are made of stainless steel and are used mainly in professional kitchens. They are resistant to mechanical and chemical influences, moisture and high temperatures are not a problem for them, and the price is also not too high. This material has no particular disadvantages, but some are inclined to claim that it contributes to the loss of useful properties of products cut on such a table.

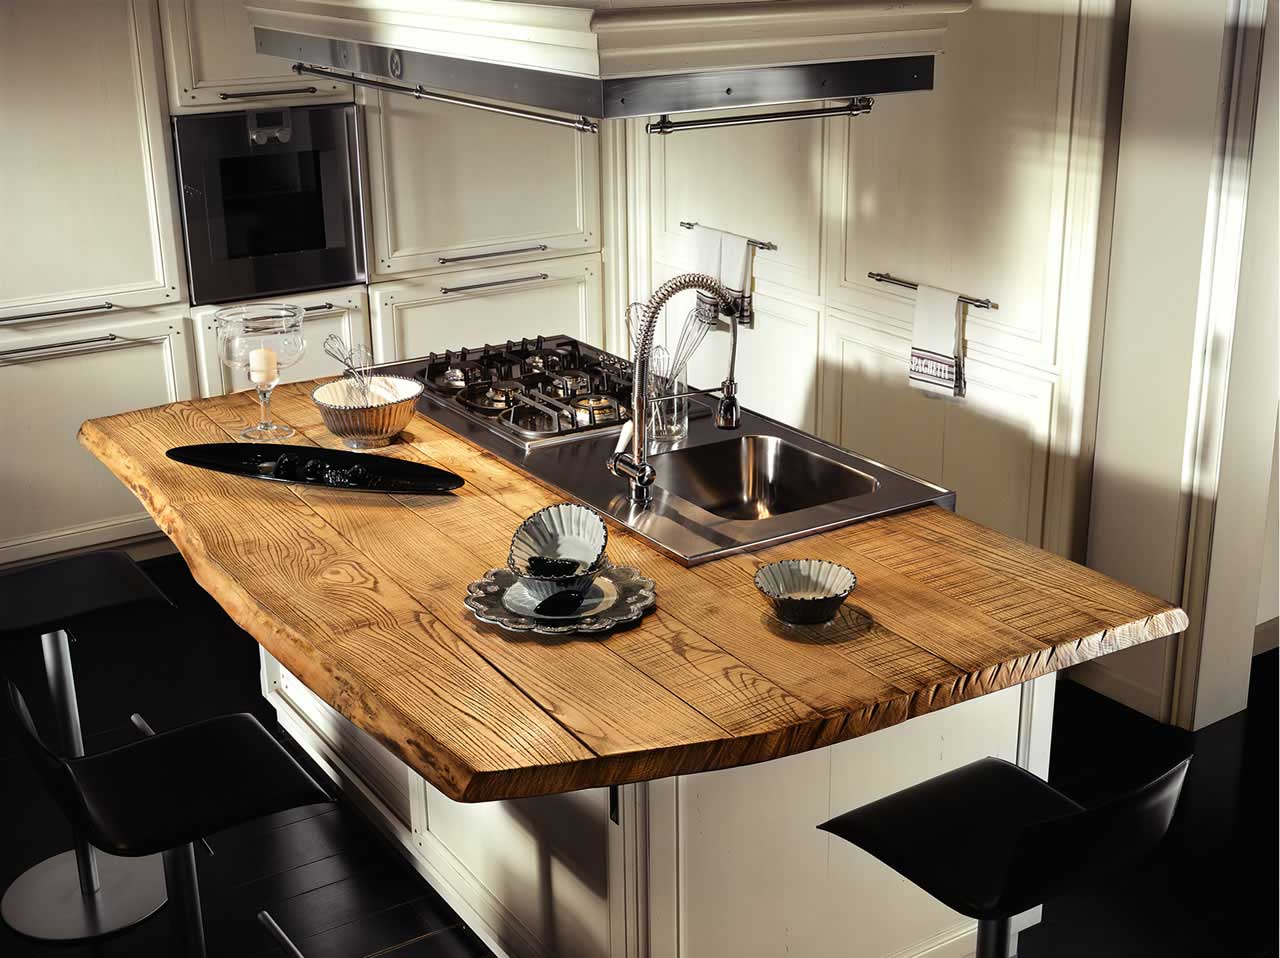
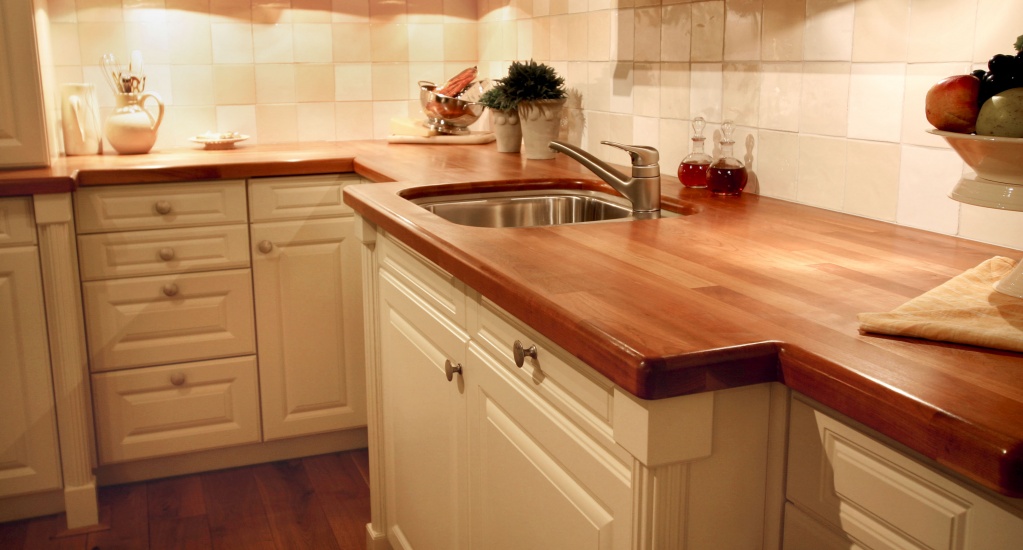
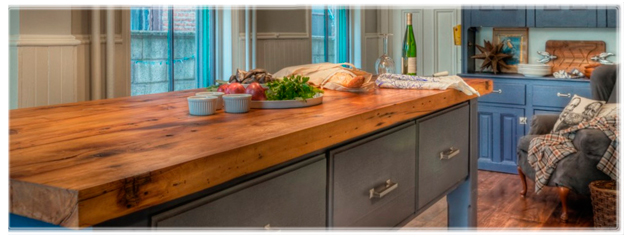
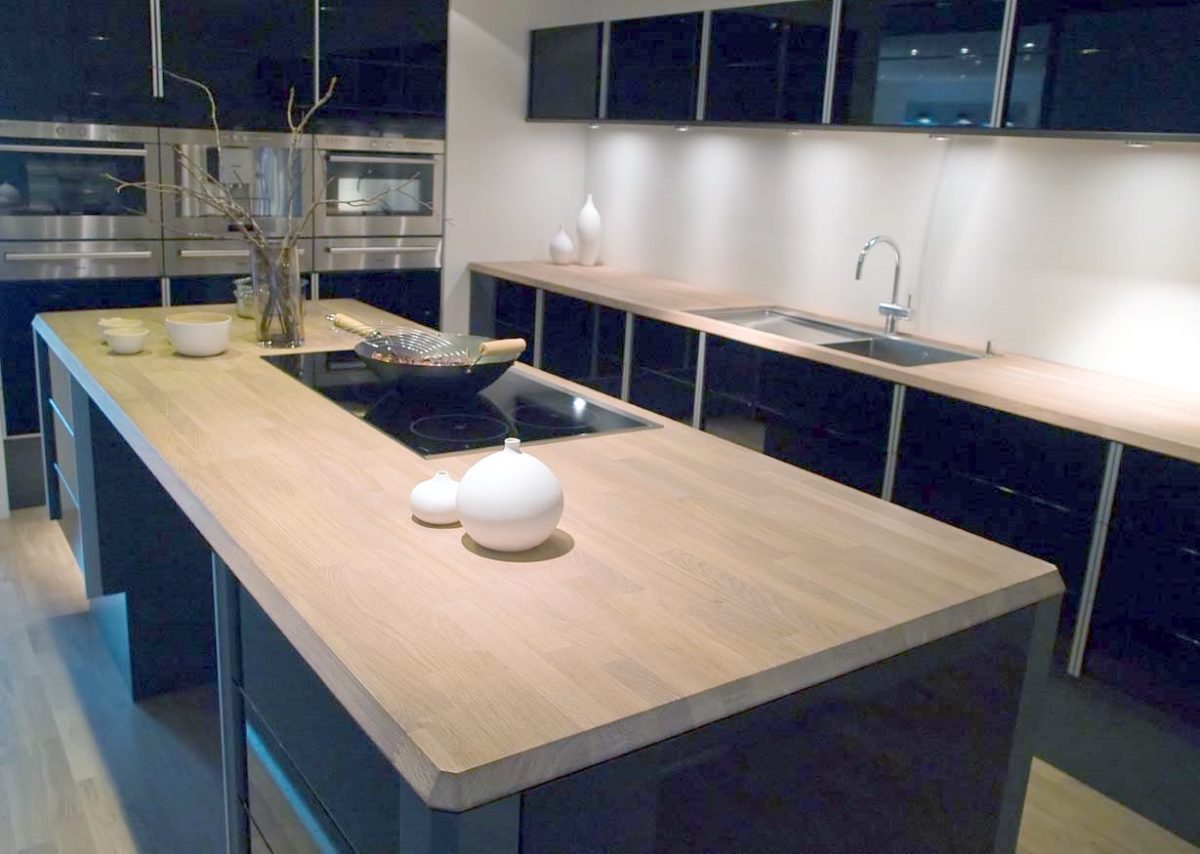
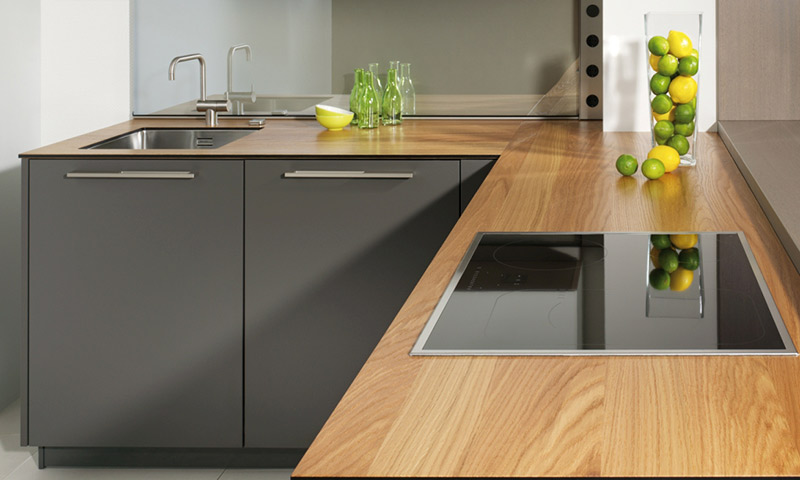
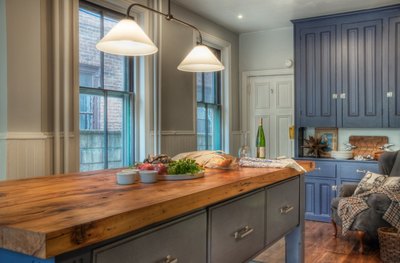
Wooden countertops are preferred by lovers of everything natural, environmentally friendly, and aesthetically attractive. However, it is worth considering the fairly rapid "wear and tear" of the material, plus it can fade from the sun or under the influence of high temperatures, and if the varnish coating is damaged, it can deform, so it requires special care. In addition, the price of the surface is quite high.
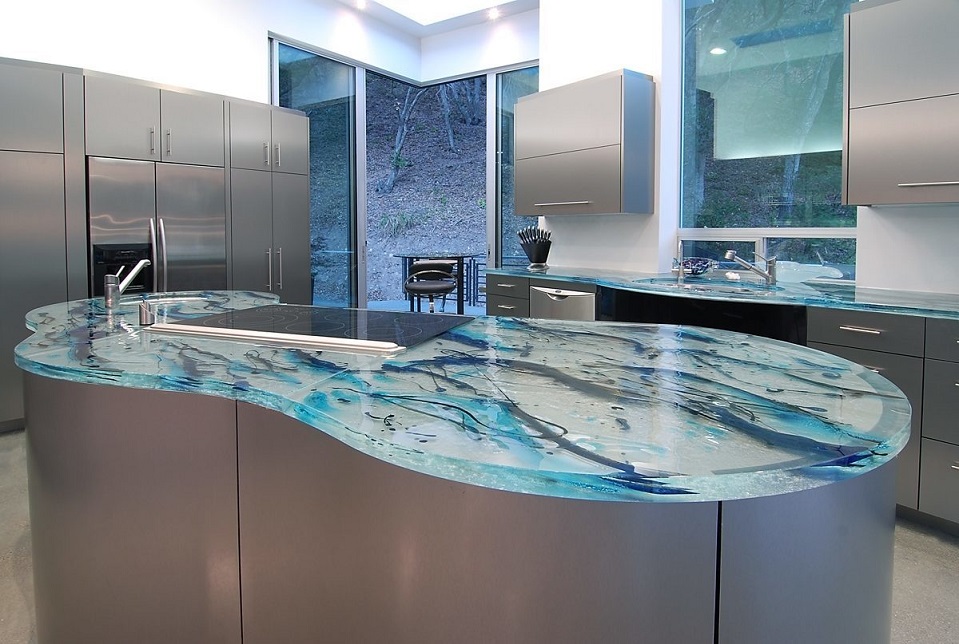
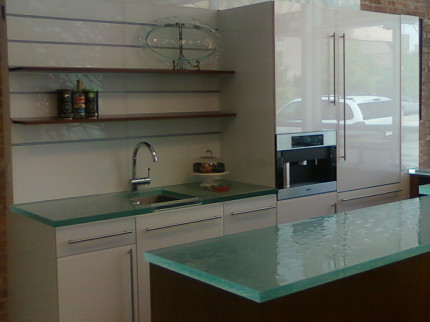
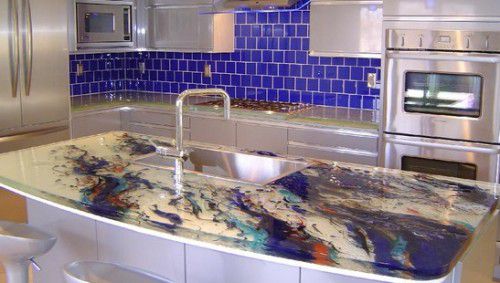
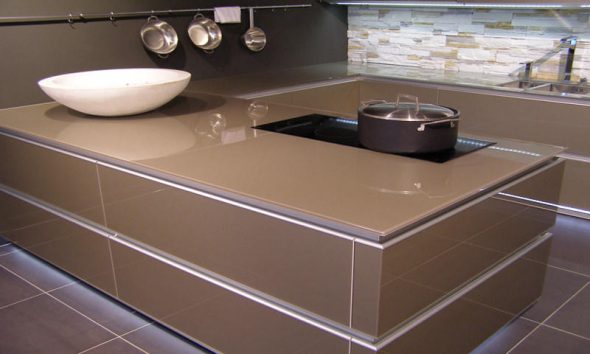
As for glass kitchen surfaces, they do not suit every design - for example, in an old Khrushchev-era apartment with a "granny" renovation, such a surface will look at least strange, but it looks perfect in a modern spacious kitchen. The advantages of a glass countertop are impact resistance, resistance to high humidity, high temperatures, a large selection of colors. Among the disadvantages are the high cost, the need for special care.
We change it qualitatively and correctly with our own hands
The replacement process does not require any special skills, but it will not be superfluous to find out in advance how to update the kitchen countertop. This way you will be able to do everything correctly, avoid mistakes that can affect the service life of the surface.
The tools you will need are a drill with drill bits, a jigsaw, saws, sandpaper (preferably fine-grained), sealant, a spatula, and for marking and taking measurements - a pencil, tape measure, template, and square.

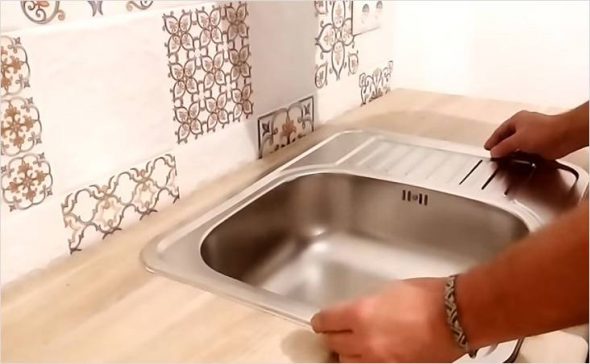
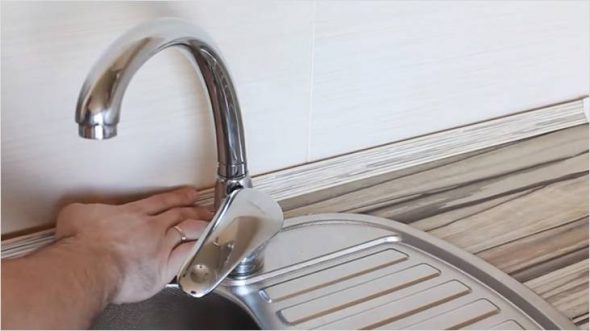
When everything you need is prepared, get to work. First, you need to turn off the water and other utilities, remove the sink and hob, then dismantle the old countertop. Experts recommend dismantling carefully, it is advisable to save the parts with which it was attached - perhaps you will need corners, some screws from the old set.
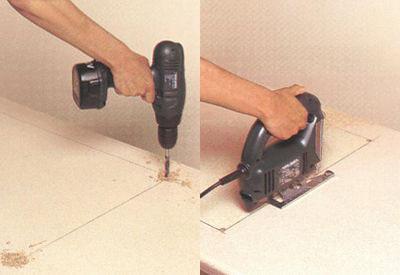
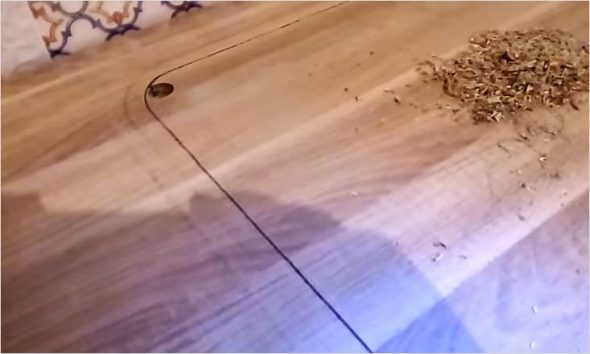
Having dismantled the old surface, it is necessary to thoroughly wash the place where the new one will be installed, paying special attention to the joints. If there are no holes for the hob and sink in the countertop yet, now is the time to make them.
In the case of glass, stone or wood, if you are not sure that you can do everything correctly with your own hands and will not ruin the expensive material, it is better to entrust the cutting of the corresponding holes to specialists.
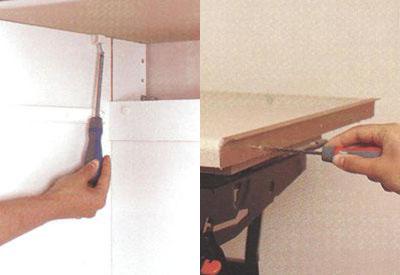
Next, the tabletop is placed in its place. Before attaching it to the wall and the rest of the furniture, you need to make sure that it lies strictly horizontally. When all the fasteners are installed, the tabletop is ready for use.
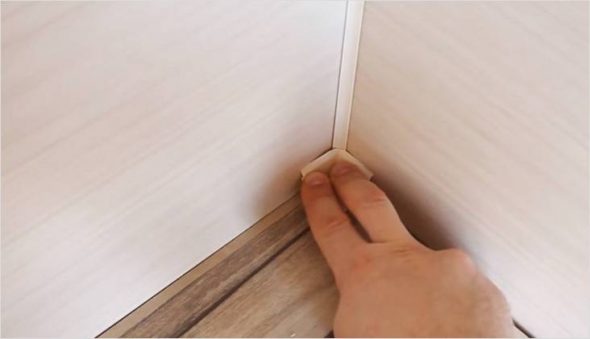
The only thing that can be done is to cover the joints with corners for greater aesthetics and, at the same time, reliability of use.
Video: Master class: decorating a table with mosaics
50 photo ideas for updating and decorating your kitchen countertop: