Tabletops made of MDF and chipboard have gained great popularity. This is due to their low cost, external attractiveness and ease of installation. However, they are not durable.
That's why a concrete countertop is much more practical. They are more durable and you can make such a structure yourself.
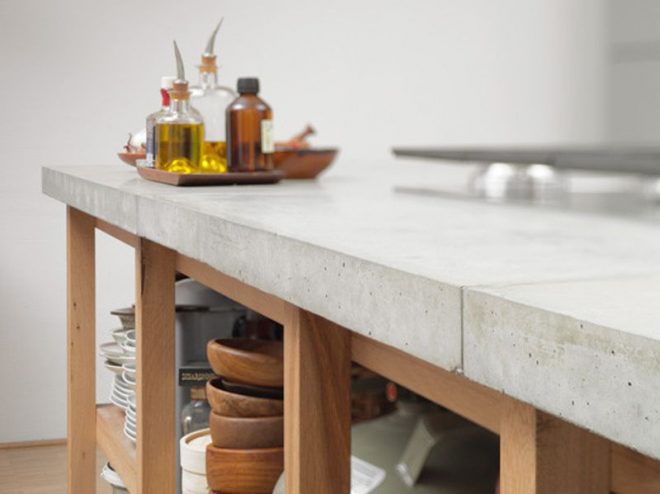
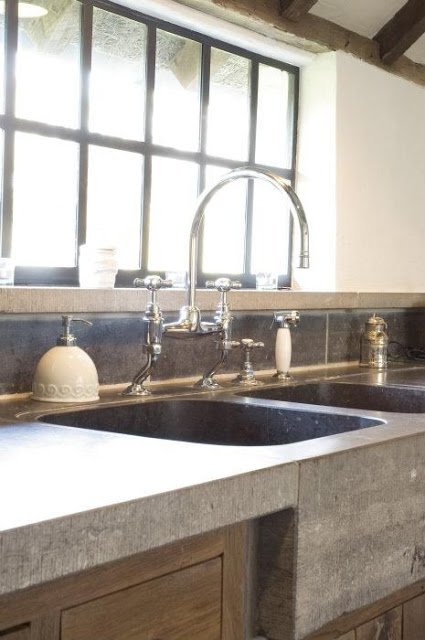
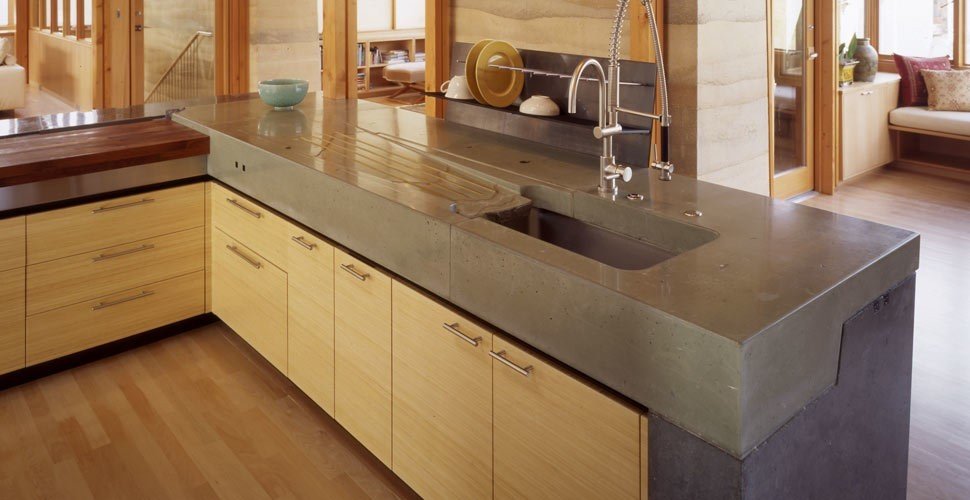
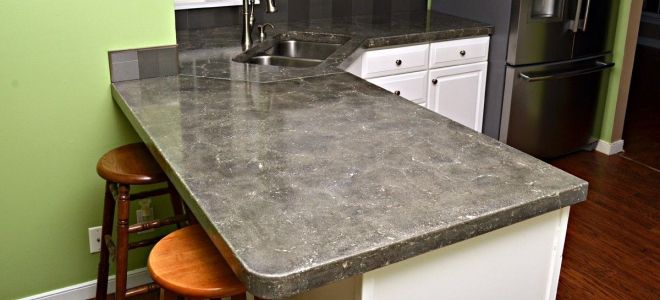
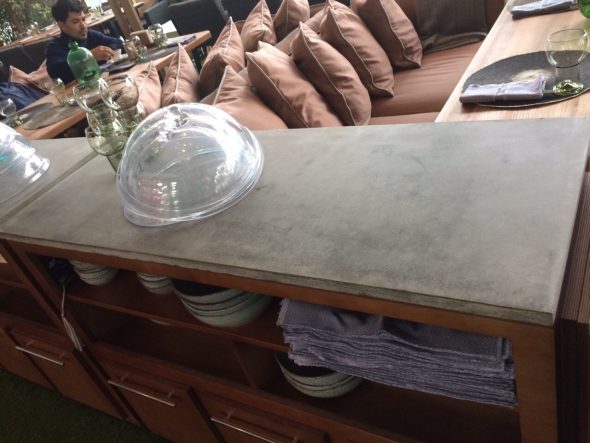
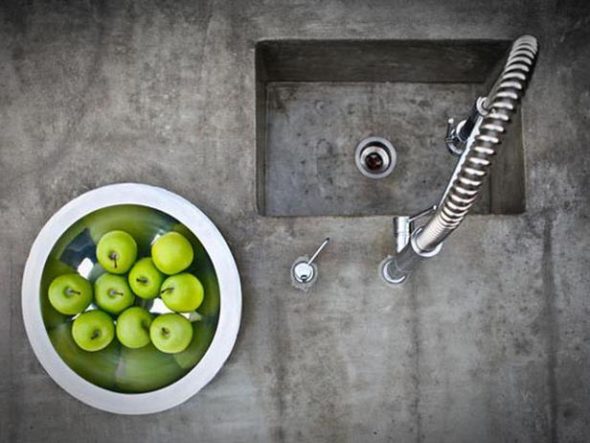
A concrete countertop is durable, pricey and unique. If you follow the recommendations during the construction, you will get a reliable and durable product. Concrete is a material that is practically not affected by external negative influences.
Financial costs are small. Externally, the product is similar to a marble countertop. And if it is necessary to implement an original interior, it is recommended to make a similar design. It will be a single copy, made taking into account individual parameters.
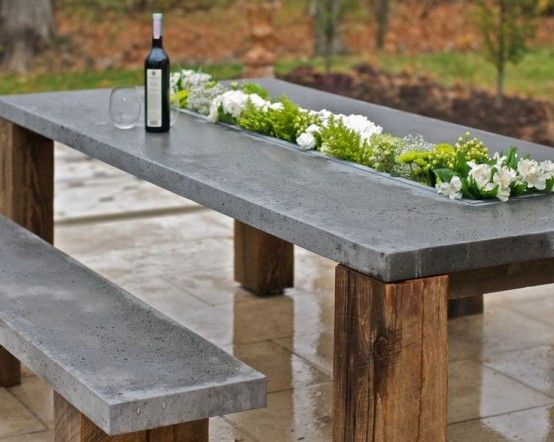
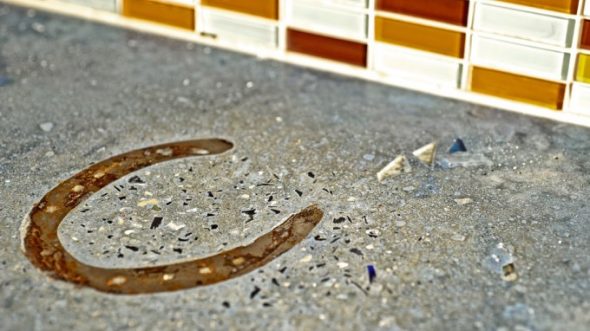
Various elements are suitable for decorating a concrete slab, including coins, glass, and social tape with LEDs. When the material hardens, all decorative details will be exposed to liquid. Therefore, choose moisture-resistant elements.
If you plan to decode with photographs, they are first sealed in a special film. Therefore, the key advantages of a concrete countertop are:
- long service life;
- practicality, reliability;
- the ability to select an individual design;
- low financial costs;
- You can do it yourself.
We decide on the design and construction: (what types of products there are, what to choose depending on needs, what is easier and what is more difficult to manufacture, etc.)

There are several methods of working with concrete design. They are reflected in the table.
| Methods | Description |
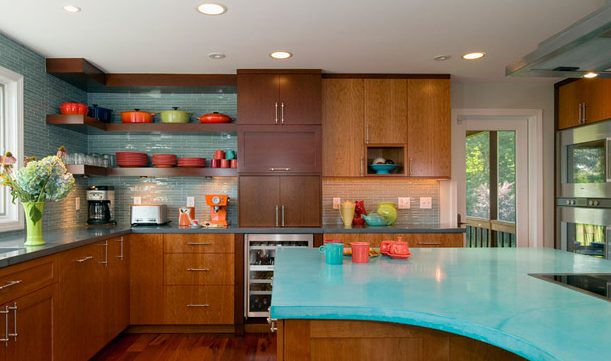
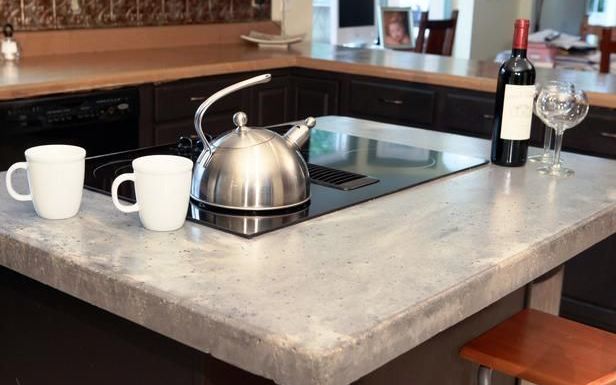
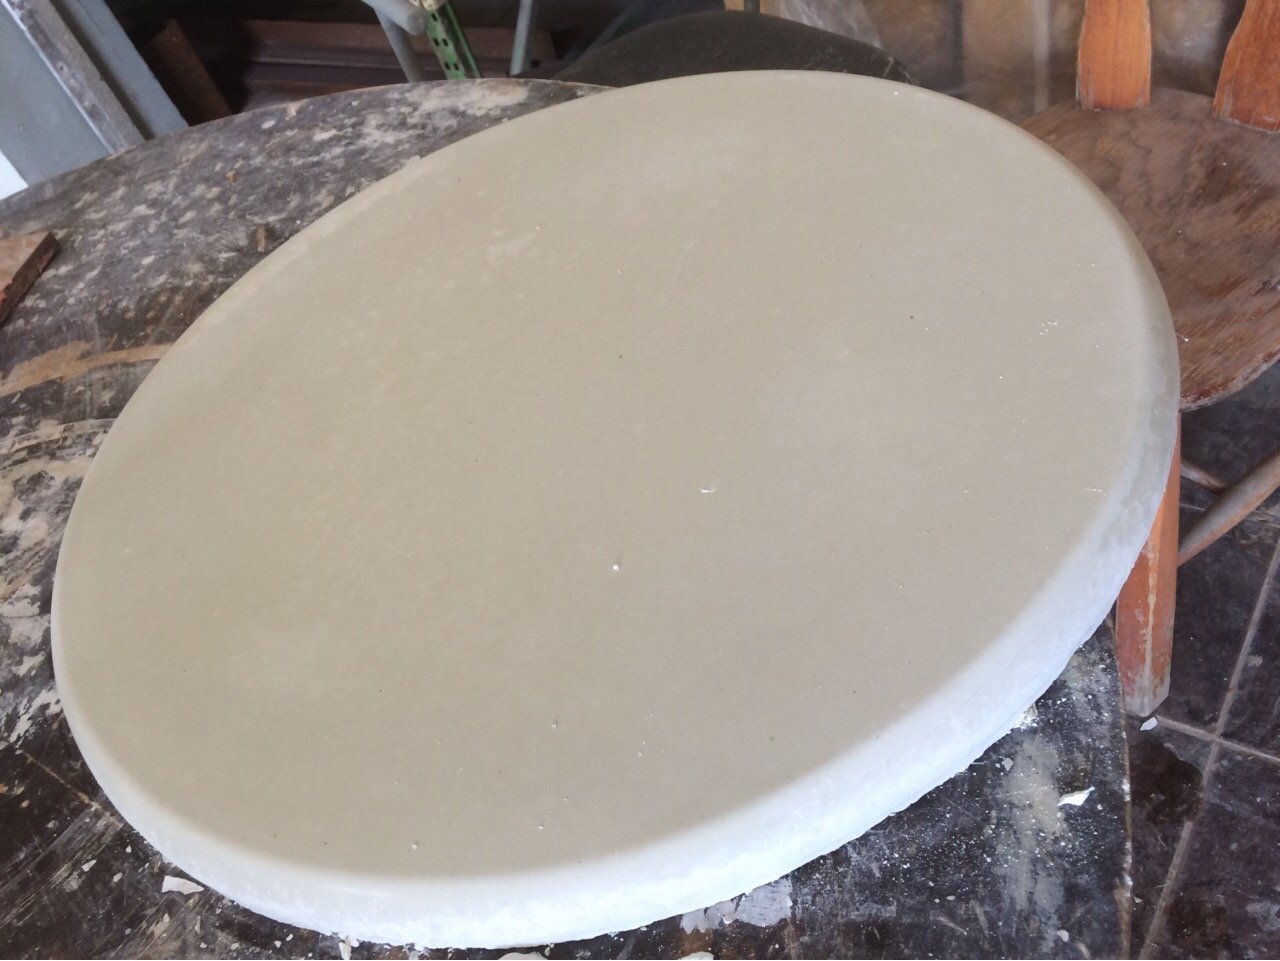
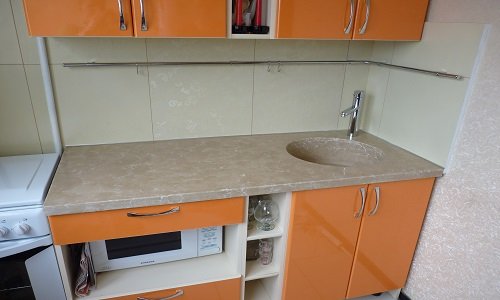
| Method 1 | Using white ingredients to obtain a snow-white material. There are various pigments that allow you to achieve a certain shade. The range of the palette is not wide, but you can turn the design into a product of a beautiful tone. |
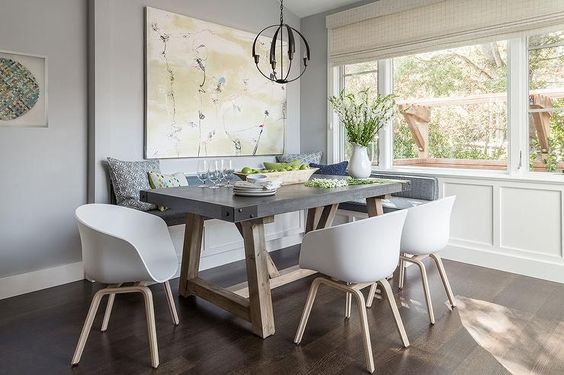
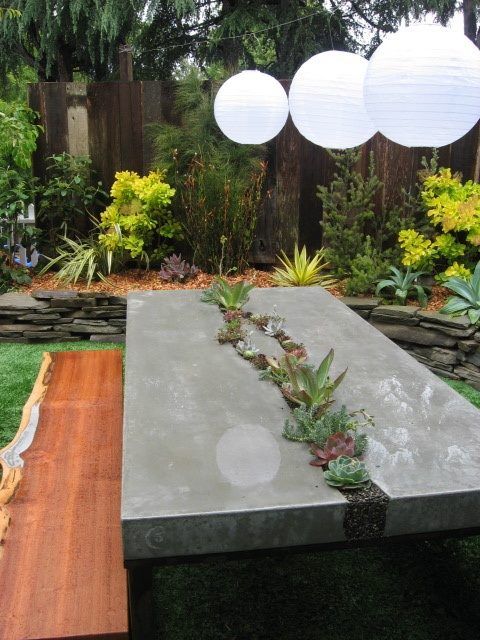
| Method 2 | Add a filler such as natural stones, shells, glass to the solution. This option allows you to show your imagination. It is recommended to consult with a designer so that the desired idea turns out beautiful and fits into the interior. |
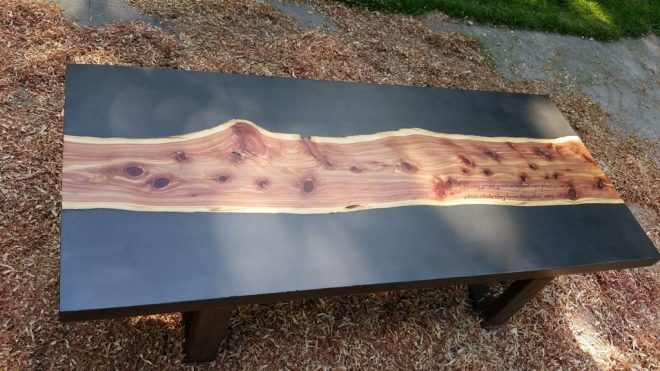
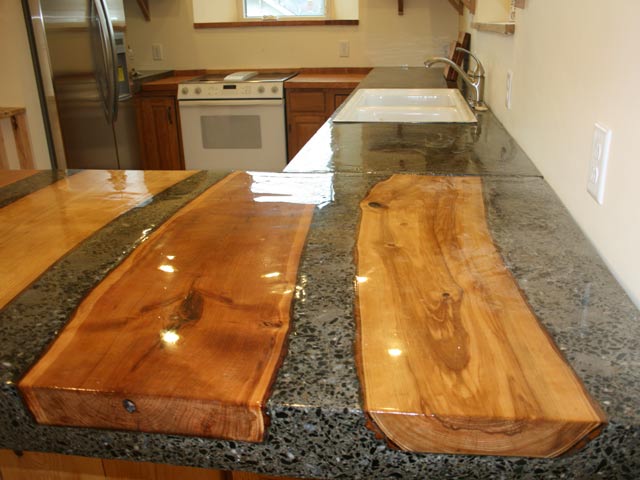
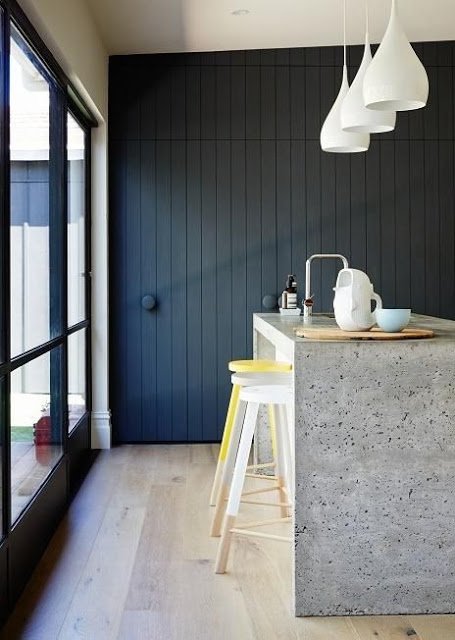
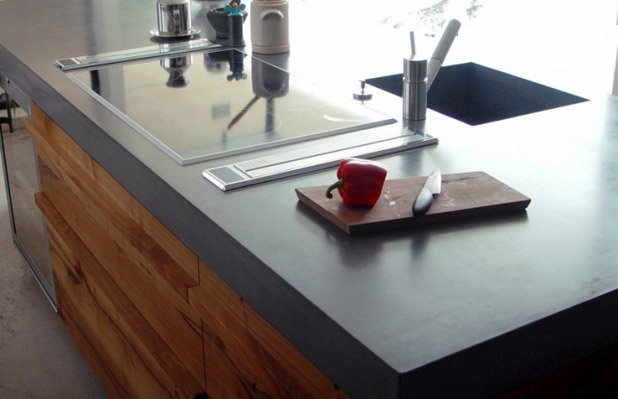
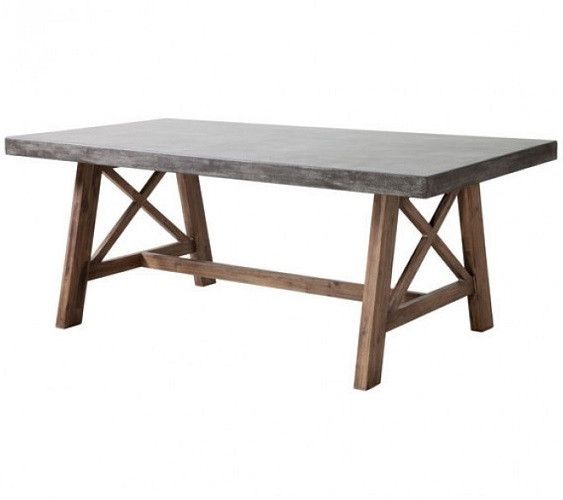
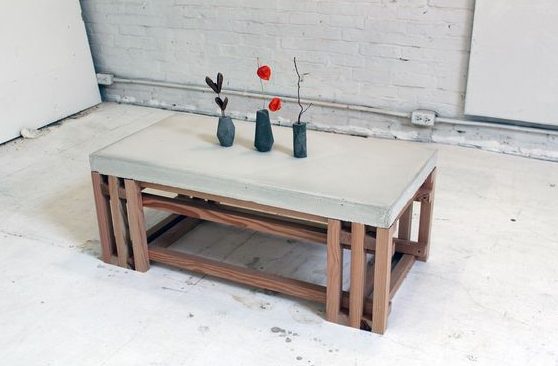
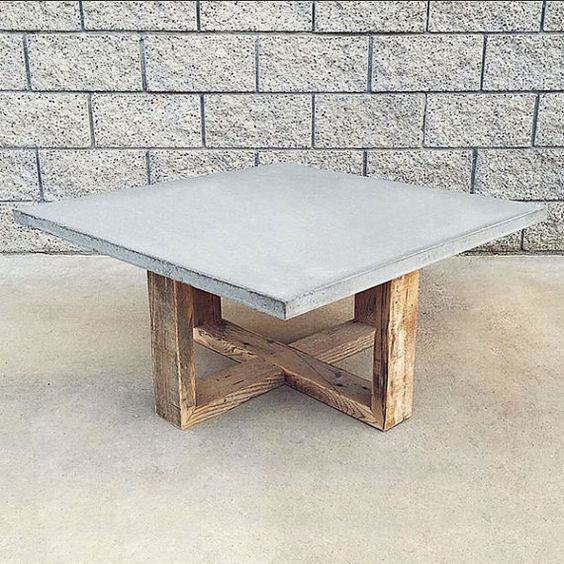
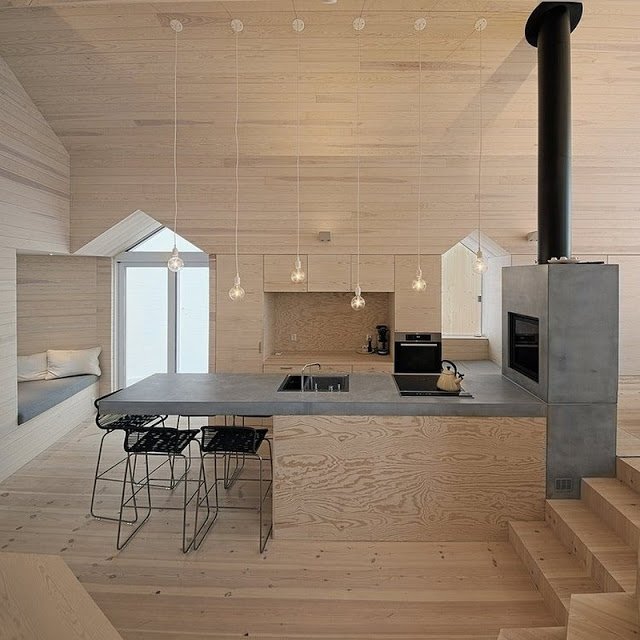
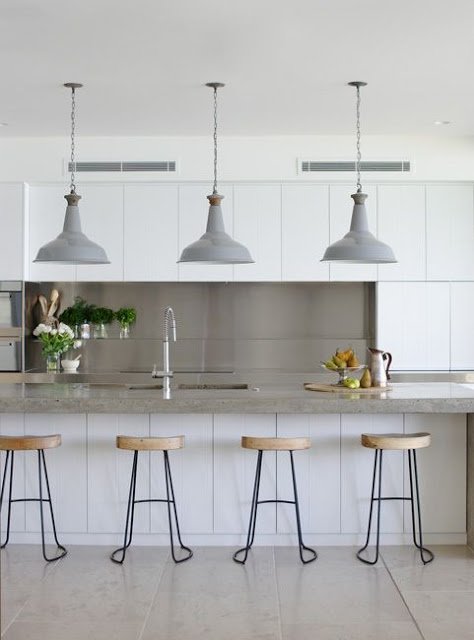
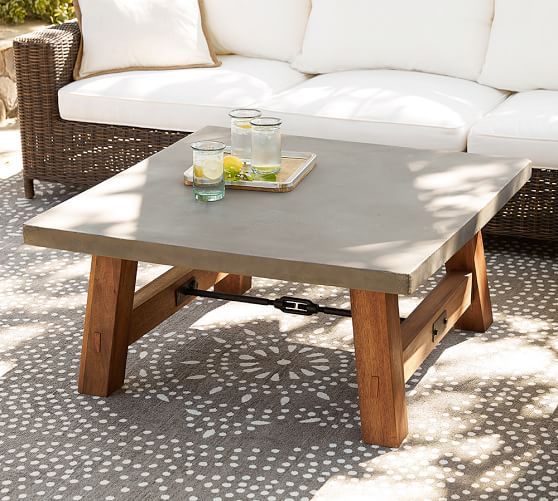
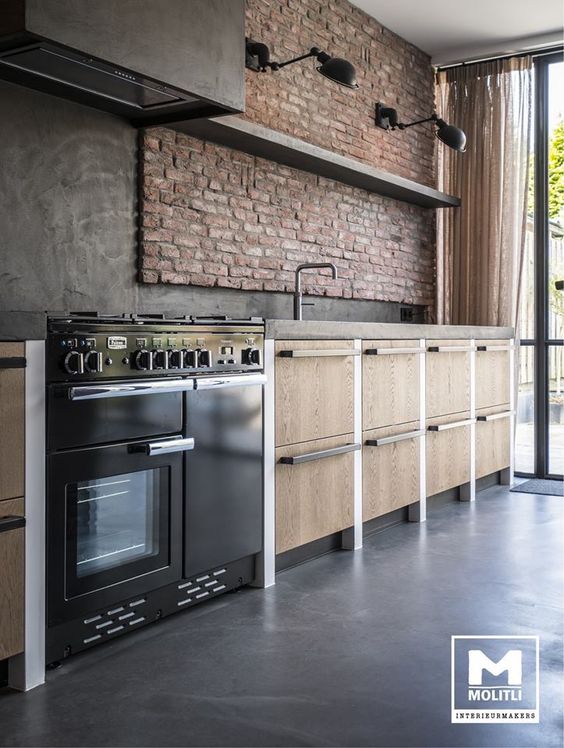
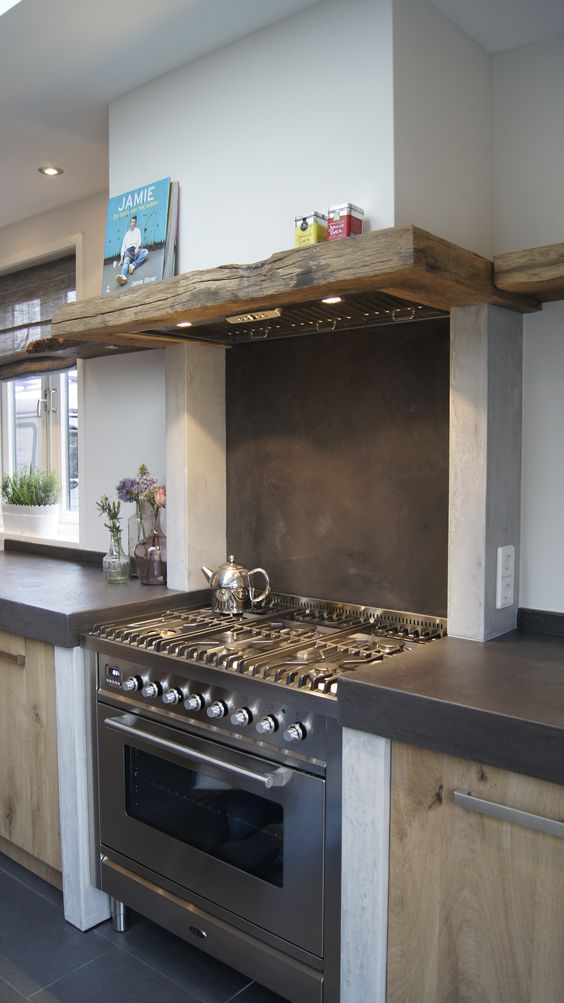
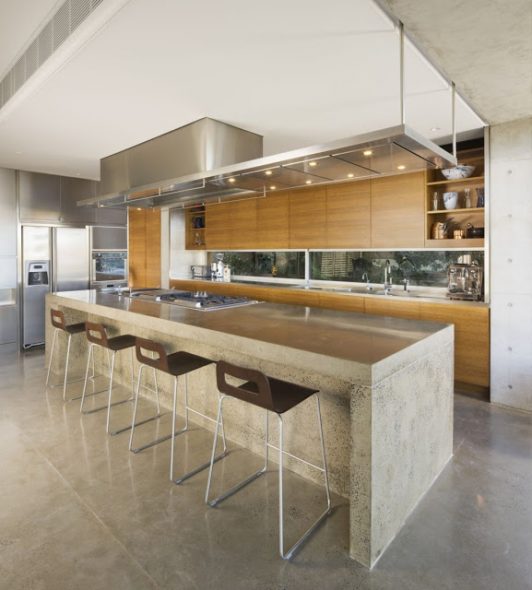
| Method 3 | Inlay of the product with valuable wood species. Concrete and wood are a perfect match. |
The described options for decorating a concrete countertop will allow you to create an original and high-quality ensemble.
The completion of the design can be achieved in several ways.
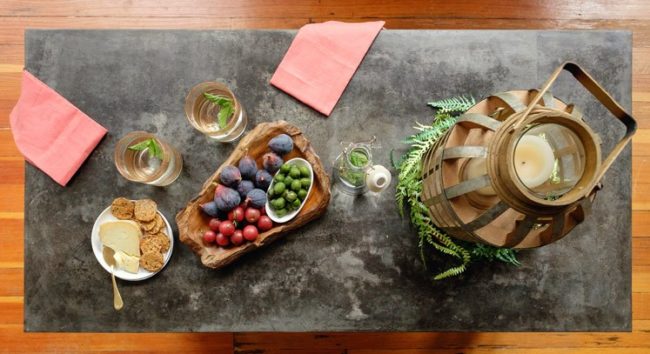
- Milk of cement. On the vertical part there are streaks and spots of a whitish shade.
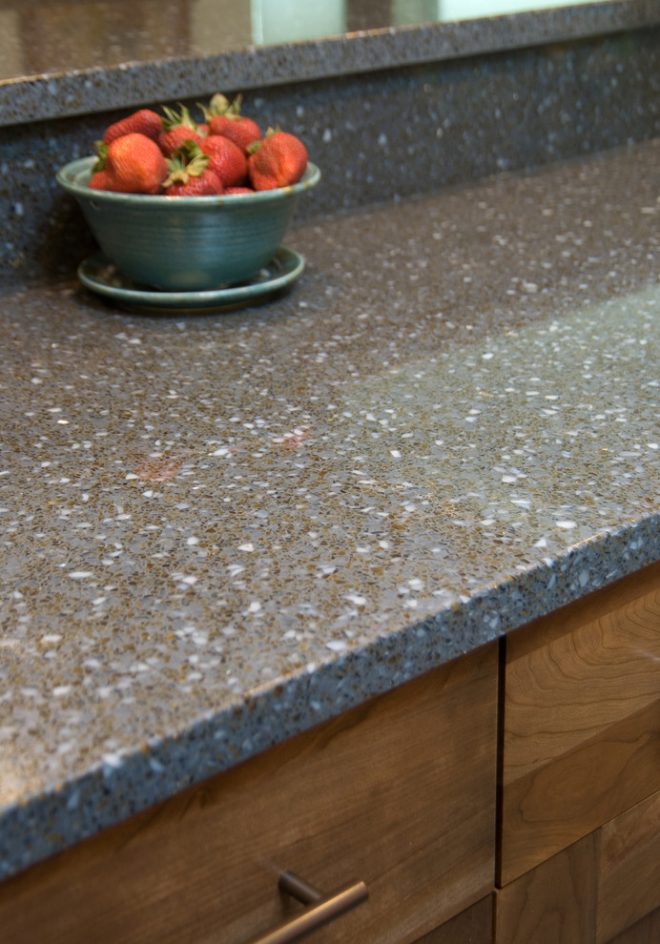
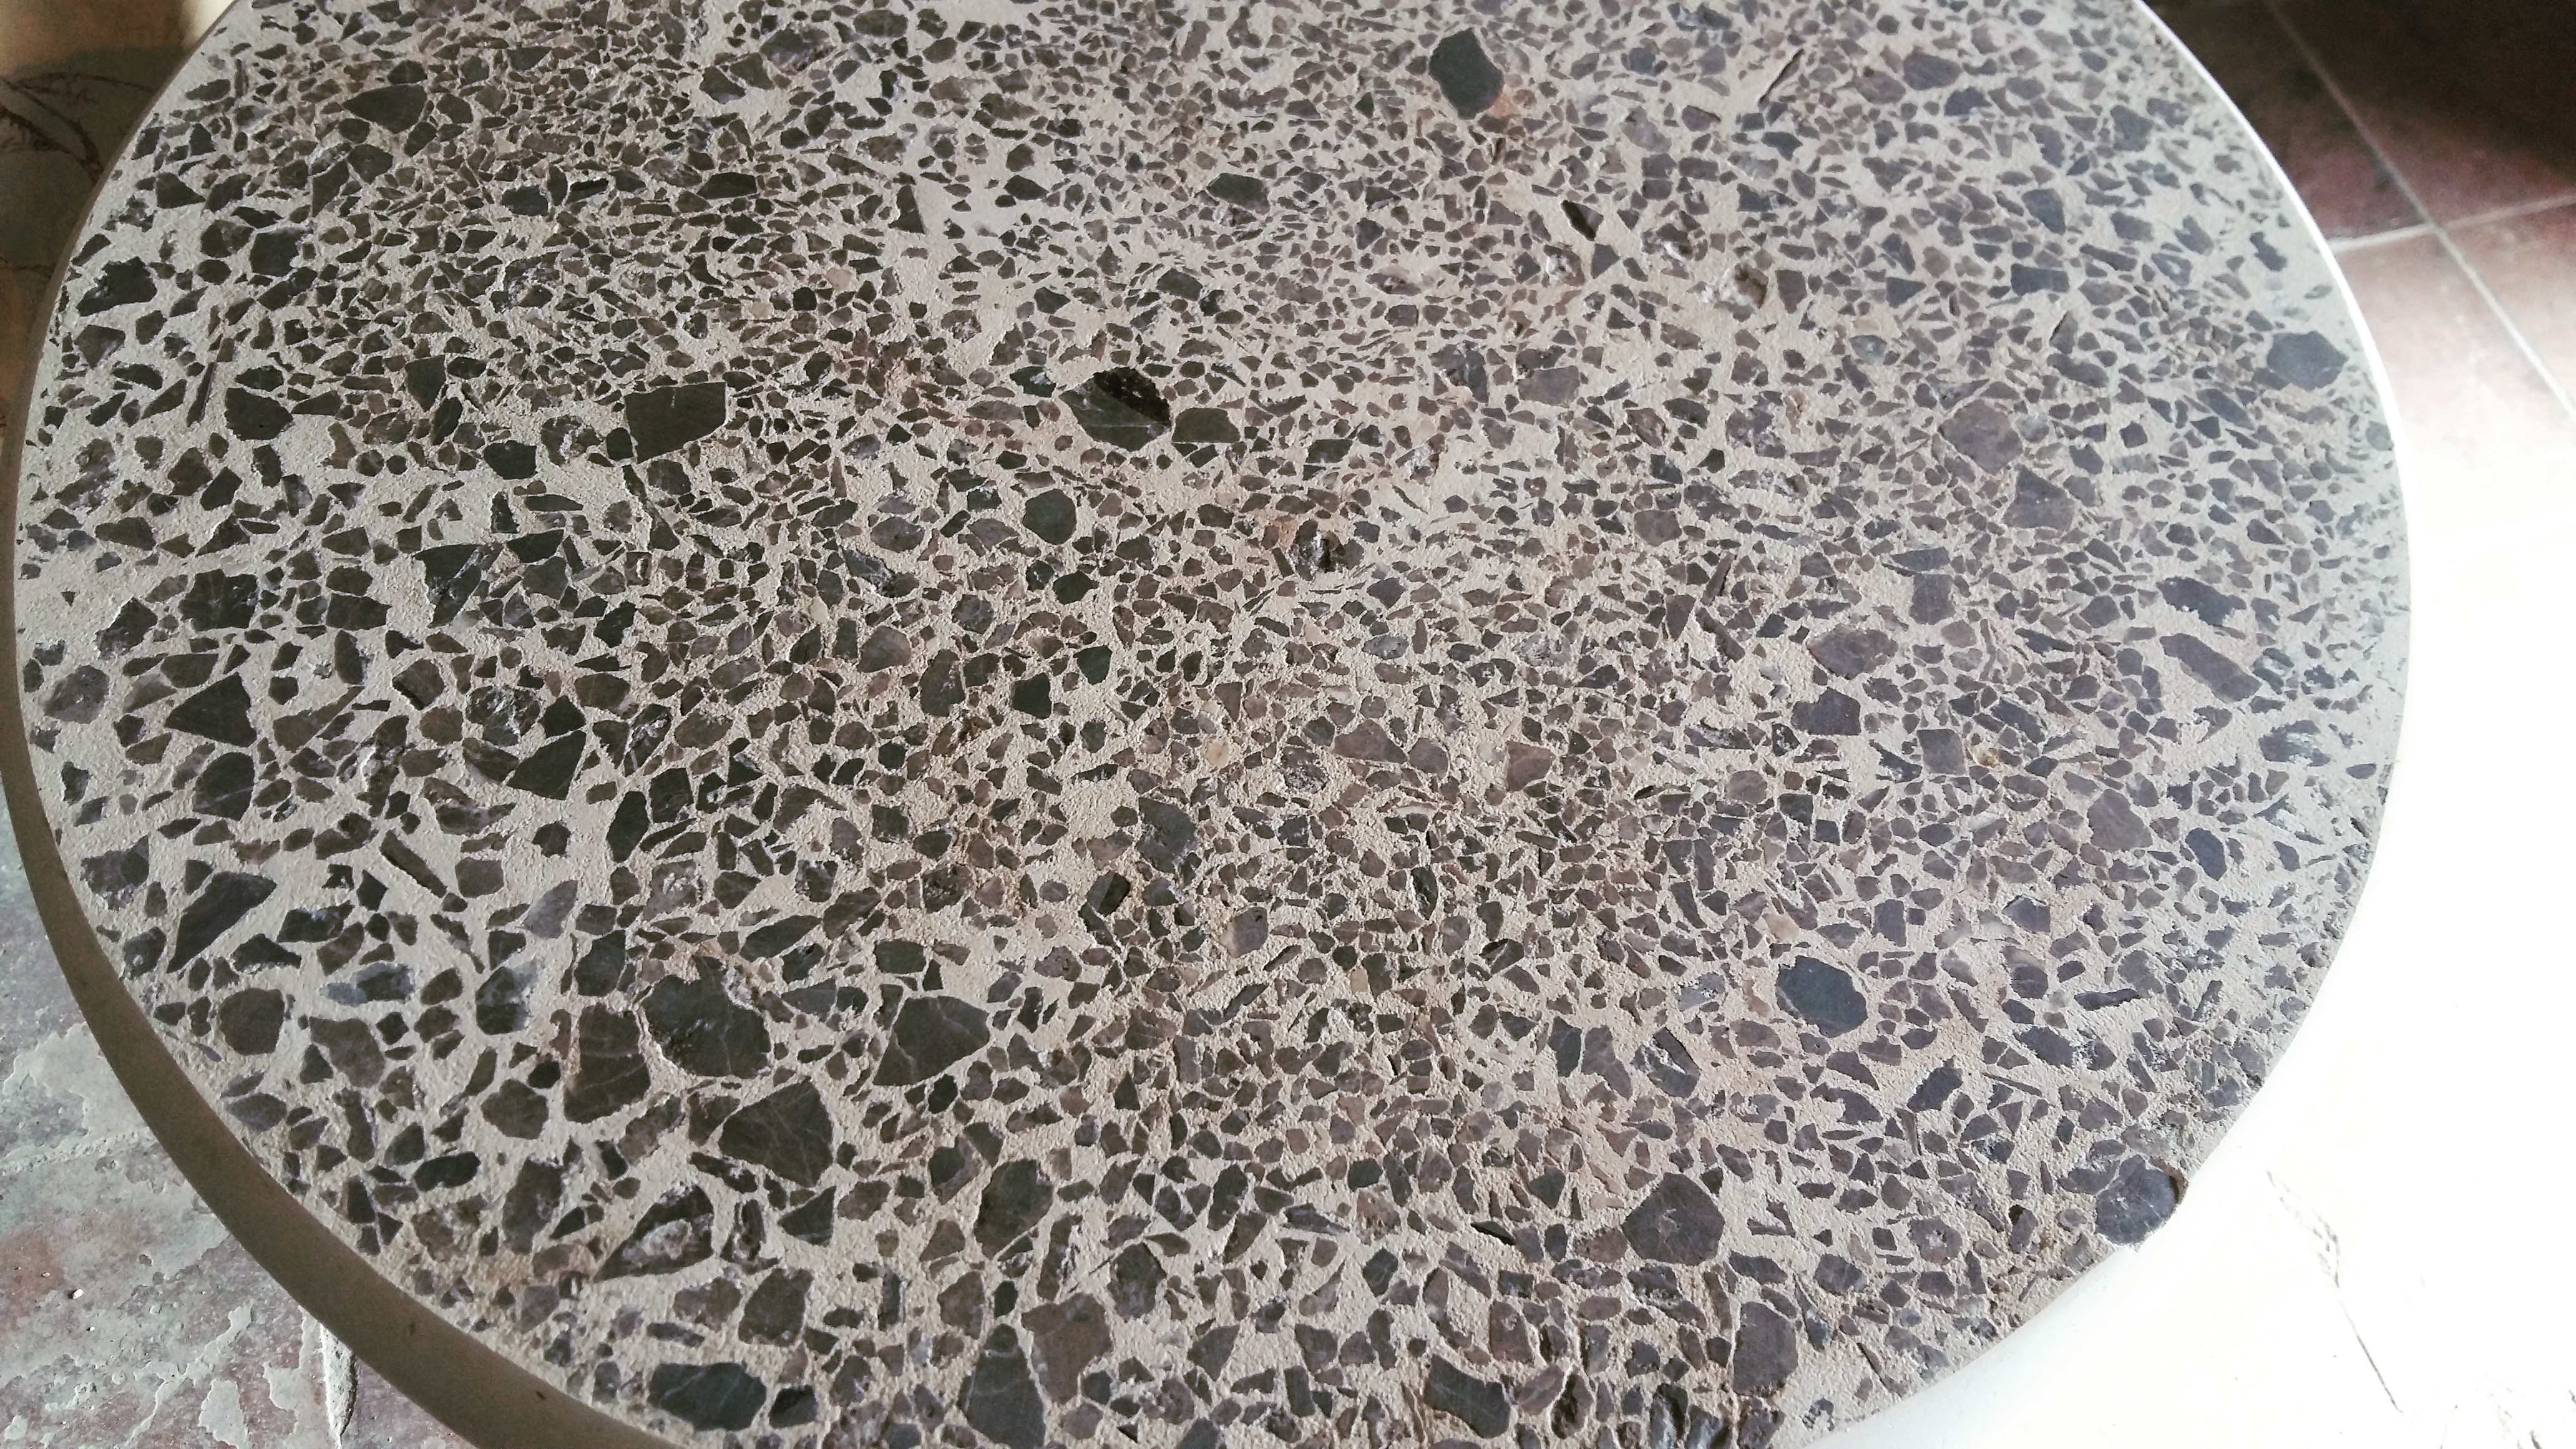
- Deep grinding to sand. The surface structure is granular. Quartz grains are visible.
Content
Necessary materials
To increase the strength of the structure, it is recommended to place a metal reinforcing frame in the solution. Therefore, you should prepare a steel wire with a diameter of 3 mm. The mesh will be made from it later. Knitting wire is used for this. To secure the frame, take self-tapping screws.
The solution is poured into the formwork. It will require a sheet of moisture-resistant plywood with a thickness of at least 12 cm. It will become the base. Laminated chipboard will do.
Choose only materials with high strength. Even the slightest distortion will affect the concrete structure.
To make a concrete countertop of the required thickness, you need to use boards with a cross-section of 50x30 mm. And several wooden beams with dimensions of 50x50 mm. If you plan to install a sink in the product, then you should make a hole for the mixer. Be sure to buy a suitable plastic pipe.
Necessary tools
To make a concrete structure with your own hands, you should prepare the required tools:
- shovel;
- spatula;
- buckets;
- trowel;
- a special mixer if you plan to mix a small volume, or a concrete mixer for large-sized work.
To assemble the formwork, you need to use a screwdriver and a saw. Place pliers, a pencil, a special level and a ruler nearby. To measure the parameters of the future product, you will need a tape measure.
Manufacturing process: step-by-step instructions
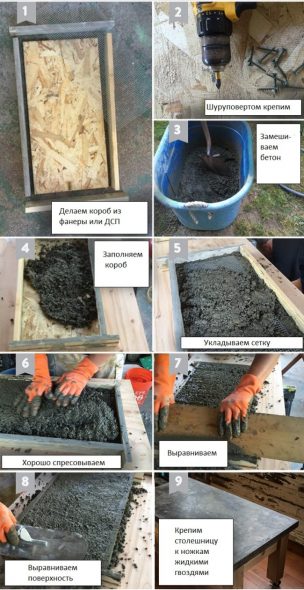
Making a concrete countertop involves following these steps:
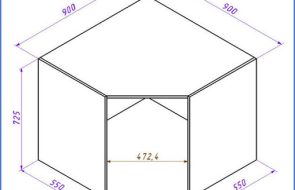
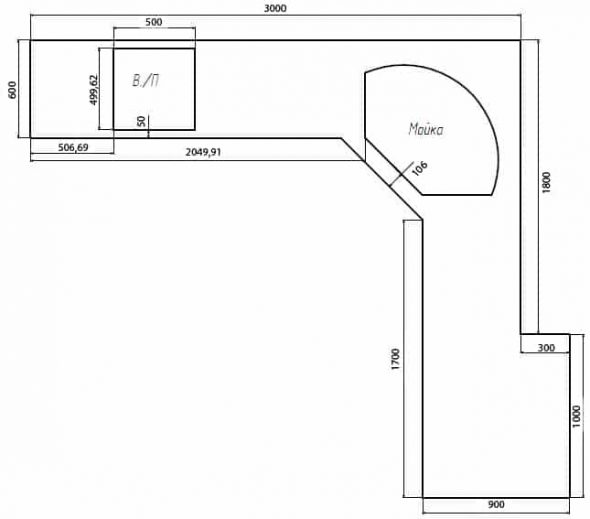
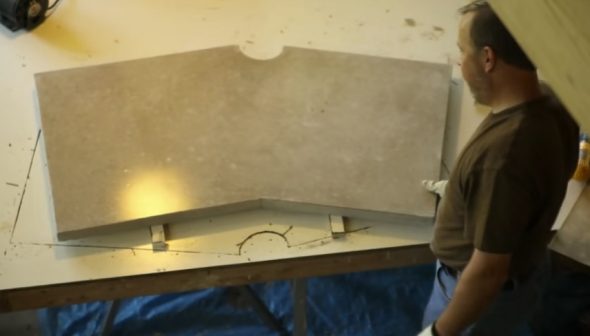
- Creating a drawing. This is a must. It will help you make the structure accurately. Therefore, it is important to carefully measure the space where you plan to install the product with the tabletop. If you plan to place it in a corner, you need to align it at 90 degrees. Then it will be easier to install the structure, and the work itself will be of higher quality. Use a tape measure to measure the space.

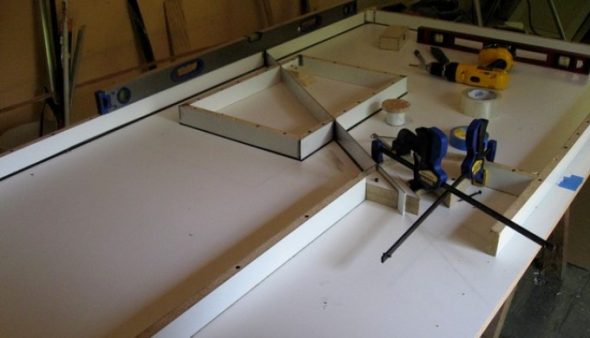
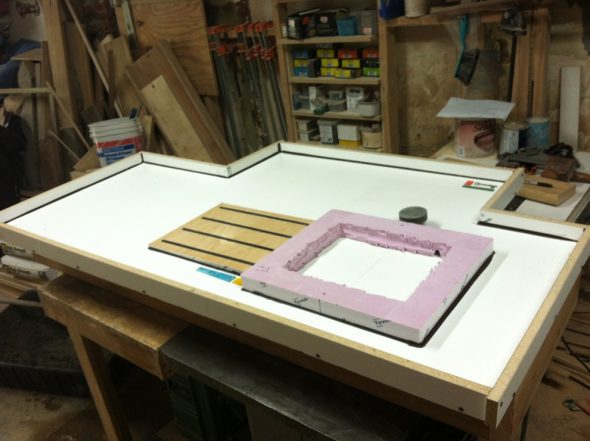
Example of a concrete kitchen countertop drawing with a built-in sink and hob - Preparing the formwork. You need to install a sheet of plywood on a horizontal surface, it must be level. Transfer the data applied to the drawing to the plywood surface. At the edges, install the boards on the edge. The concrete solution will exert strong pressure on the walls of the formwork. Therefore, it is important to secure it tightly. To do this, use bars or metal corners. The first option is secured at the corners of the product.

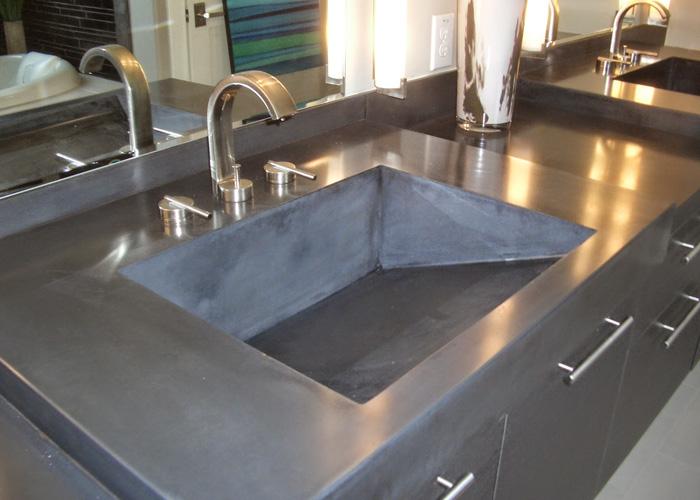
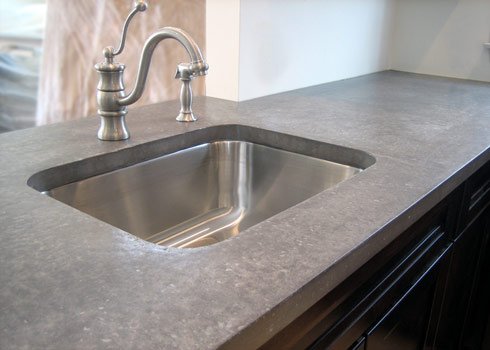
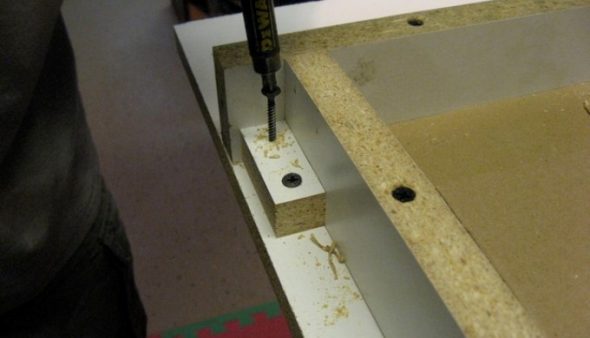
Formwork for pouring concrete countertops - Making a hole for the sink. If required. The workflow depends on the sink model. If it is an overhead version, then you should take the sink and place it upside down on the sheet and draw a line along the edge. Then measure the width of the edge. With a built-in model, you should draw an outline along the edge. The bars are installed along the resulting lines, subsequently secured with screws.
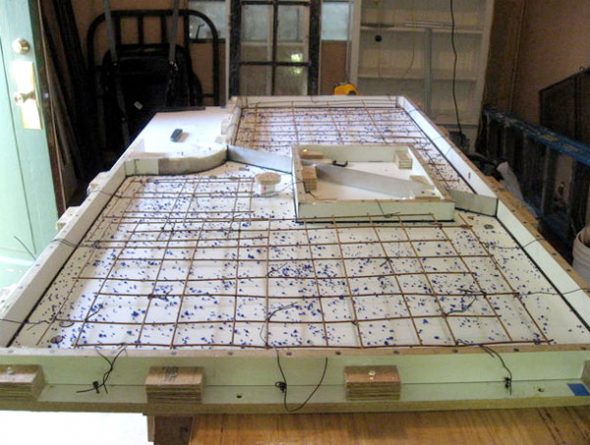
- Erection of the reinforcing frame. It looks like a grid, the cells of which are 25x25 mm in size. You need to step back 25 mm from the sheet and from the edges. Place a polyethylene film in the formwork. Wrap its edges onto the board. Remove all folds. The film should lie in an even layer.

Increasing load-bearing capacity with a steel frame - Installation work with a supporting structure. The frame is made separately, then inserted in place or assembled directly in the formwork. For fastening, choose self-tapping screws. The installation height is 25 mm. Self-tapping screws must be screwed into the plywood sheet over the entire area, keeping a distance of 25 mm. To align the caps, use a ruler and a level. Afterwards, you can screw pieces of wire to the self-tapping screws. At the intersections, everything is fastened with knitting wire material.

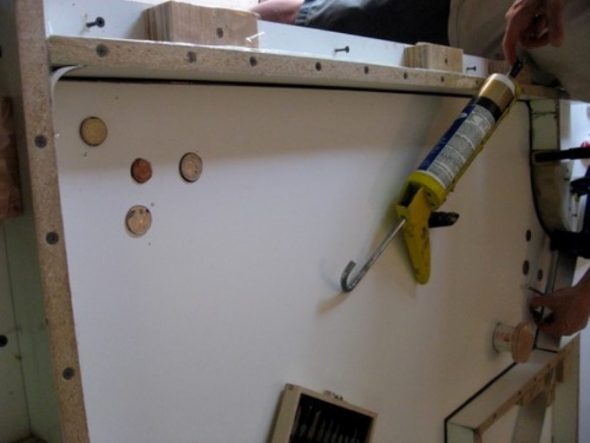
The installation of the supporting structure can be done separately and then installed on site. - Processing of joints. For this, a sealant is used. Carefully process everything so that the cracks and gaps are filled.

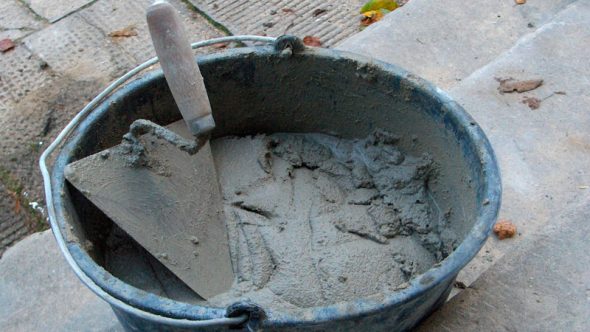
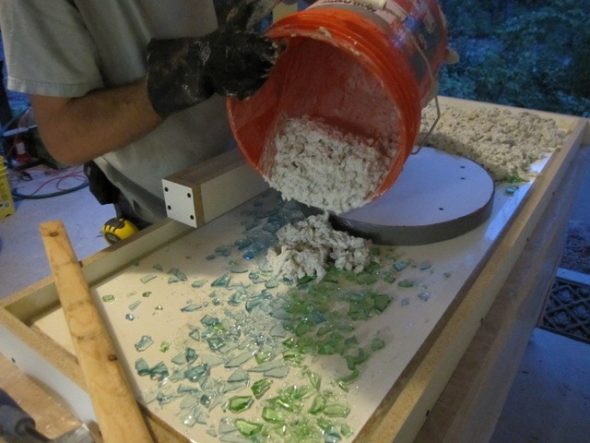
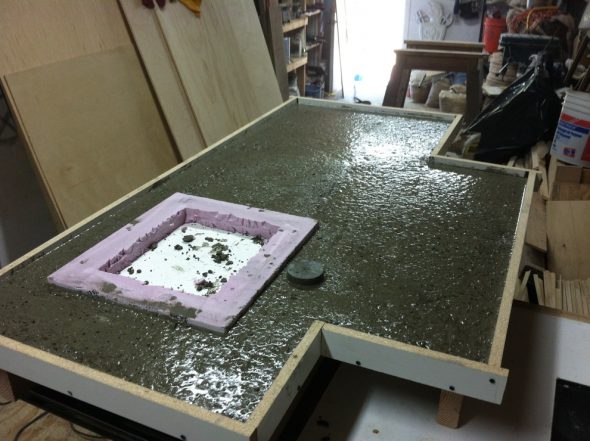
Processing joints between formwork elements with sealant - Concreting. There are several methods for pouring concrete mixture. In the first case, the formwork is completely covered. In the second method, concreting occurs layer by layer. If you choose the first option, you need to mix cement with clean river sand, large aggregate such as marble chips and water in the ratio of 1:2:4:0.5, respectively. First, the liquid and cement are combined until the so-called milk is formed. Then the remaining components are mixed in. It is important to mix everything thoroughly.
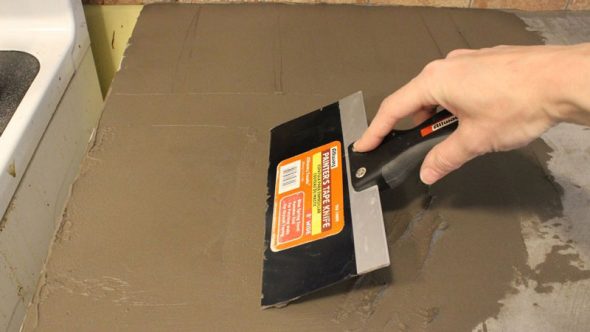
Pouring and uniform distribution of concrete over the entire area of the formwork - Preparing the solution for the face layer. You will need a solution containing fine sand without fillers. Add a little less water than in the previous version. If you are not sure that you will get a high-quality solution, it is better to buy a ready-made mixture. The resulting mass is poured to half or a third of the total height of the formwork. Do not wait for it to dry.
- The main layer. After half an hour, you can proceed to this stage. After pouring, the surface is covered with a film. Leave it for a day. Then remove it and place several pieces of wet fabric on top. After 2 days, the formwork is dismantled.

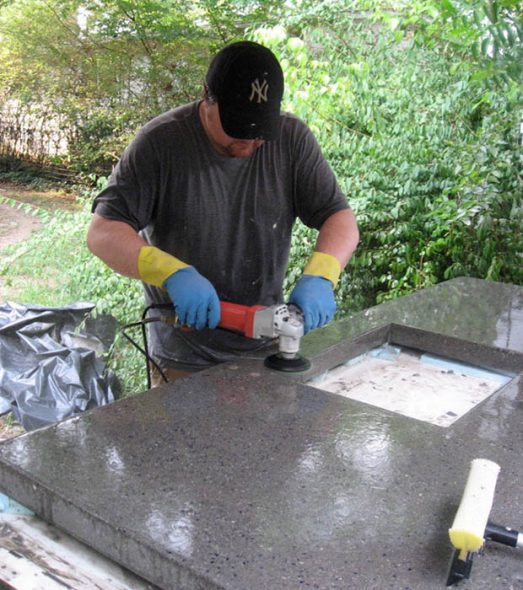
The pouring itself can be done in two ways: layer by layer and as a single monolith. - If no decor was used, then the front side is sanded. Instead of a grinder, take a grinding machine. First take a coarse-grained circle, then change to a fine-grained one. You can polish the surface with a felt circle.

Grinding a concrete slab for the kitchen
The final stage is decoration

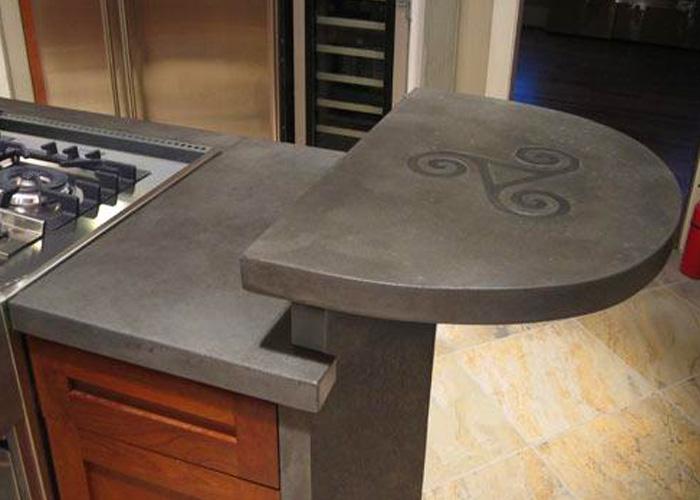
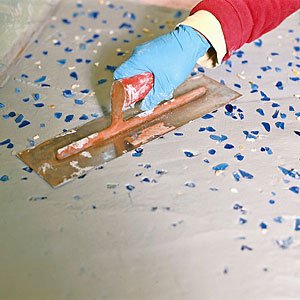
To increase the originality of the product, the concrete surface can be decorated. This should be done at the stage of pouring the mixture. The front part should be designed correctly and harmoniously.
Most often, broken glass and beads are used for decoration. You can make a pattern out of wire. All this is laid on a polyethylene film.

The decor is fixed with glue. This will allow the elements to stay in place. You can use photographs that are pre-wrapped in a special moisture-resistant film.
Video: Concrete Countertop
50 Best Concrete Countertop Ideas for Kitchens: