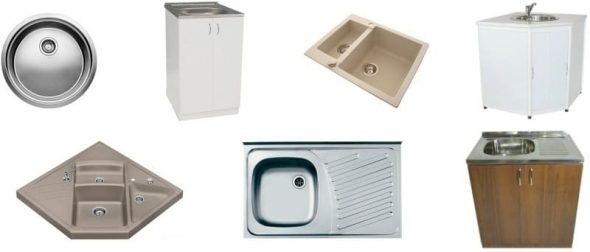
A kitchen sink must withstand absolutely everything. Hot pots and pans, detergents, ice water and much more. It is very difficult to find one. A stainless steel sink is called eighteen by ten. This is the percentage of chromium and nickel that is part of stainless steel. This sink is resistant to corrosion, temperature, household acids and detergents.
Sinks can be built-in or overhead. The former are cut into the countertop, the latter are simply placed on the furniture like a lid.
The choice of coating is small. Either mirror or matte. Decorated stainless steel differs from smooth steel in its greater thickness, lower noise and greater durability. In general maintenance. Minimum scratches are guaranteed if the sink meets the state standard. It is recommended to check the quality of the purchase with a magnet. High-quality stainless steel does not attract it. A sink made of high-quality alloy will cost no more than five thousand rubles. This is one of the cases when the price better matches the quality.
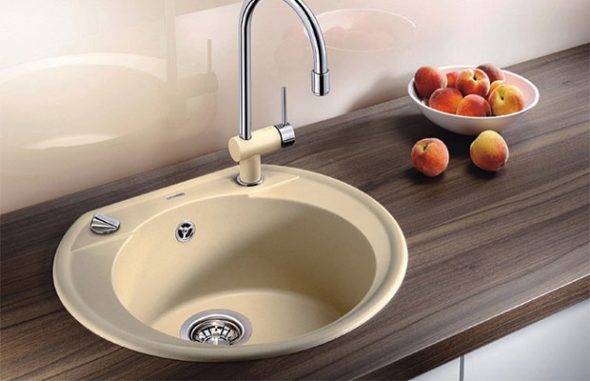
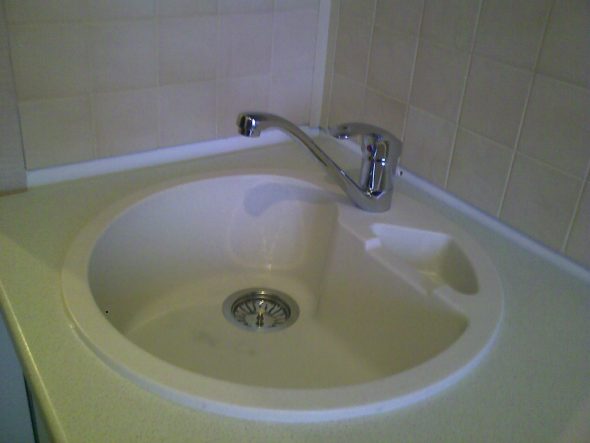
A sink made of porcelain stoneware will cost about twelve thousand rubles. But the quality of porcelain stoneware is always at a high level. The shape, size, smoothness of curves - all this does not play a fundamental role in the functioning of the sink. It is a matter of taste. It was found that for convenience, the sink should be at least 25 centimeters long. And at least fifteen centimeters deep. When choosing a sink, you need to carefully examine it. The enamel should be even and smooth. There should be no protrusions or depressions. It should have two holes for the mixer and drain.
Tools for installing a sink into a countertop:
- pencil and ruler for marking the hole in the cabinet;
- drill;
- jigsaw or electric jigsaw for cutting out the hole for the sink.
- set of screwdrivers;
- pliers;
- silicone sealant;
- rubber seal.

Content
Installing a flush-mount sink into a countertop
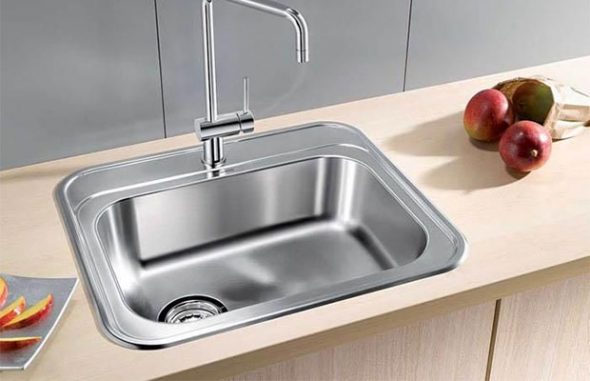
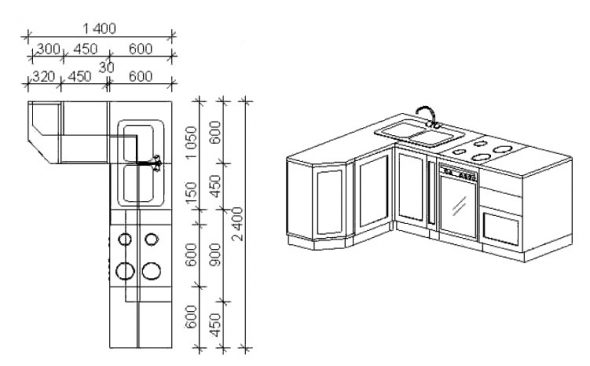
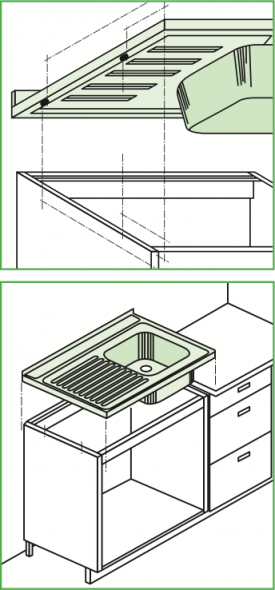
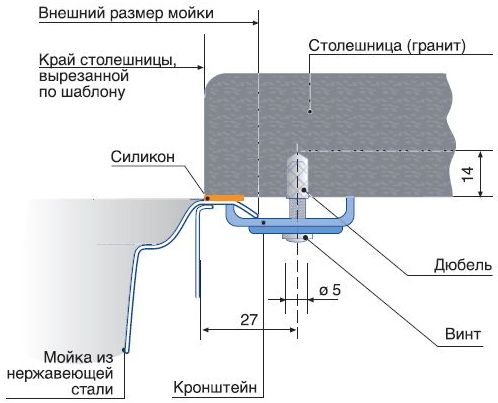
Before installing a built-in sink, you need to decide on the place where it will stand. To begin installation, measure four centimeters from the far edge of the countertop and six centimeters from the near edge of the countertop. Take a pencil and mark.
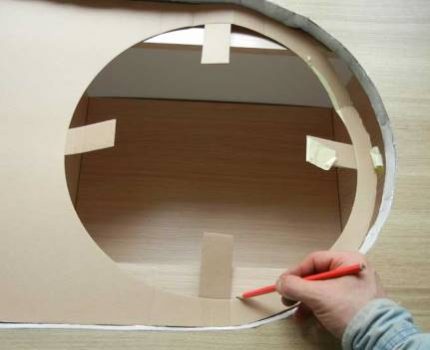
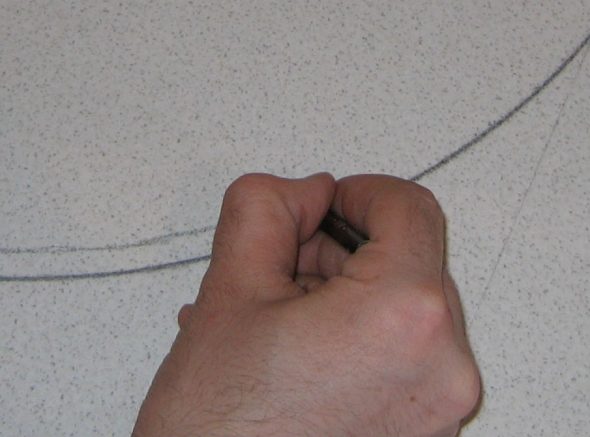
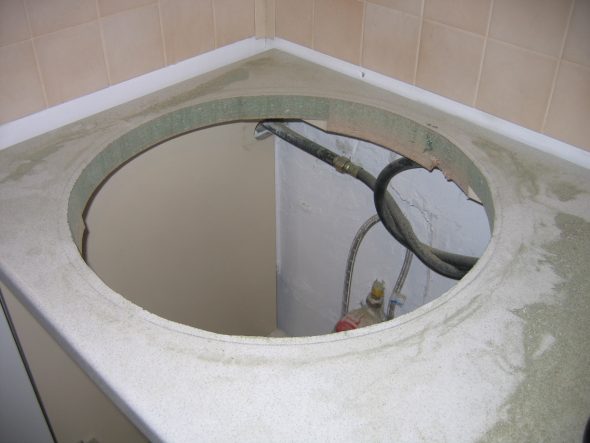
To accurately cut out the space for the bowl, place the sink on its back and use it as a stencil. Trace it, and you get an oval or a circle. Remove the bowl, trace it again with a thicker trace. Make another contour a centimeter deeper. Cut along this trace. Make a hole for the jigsaw in any convenient place, without going beyond the contour. Cut out a circle. To ensure an even cut, use a saw with a straight tooth. To prevent the cut oval from falling through, secure it from below with regular screws.

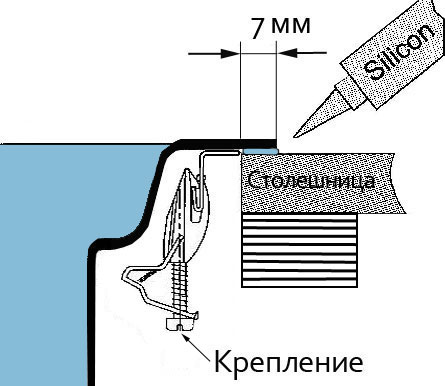
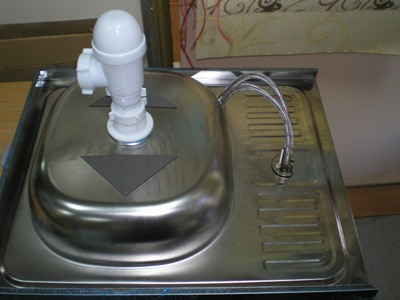
We install crabs on special brackets, which will cling the sink to the countertop. Before installation, we put the siphon and tap under the countertop. It is much more convenient. We screw the hoses onto the tap right away. For reliability, you can screw in a couple more screws and continue. After finishing cutting out the oval, you can dismantle it. To do this, you need to hold it well. We install the sink in its place. After installation, we coat the end of the cut with sealants.

In the future, if moisture gets under the sink, the countertop will not swell. We connect the tap. Siphon and use it.

Mounting a surface-mounted sink into a countertop step by step
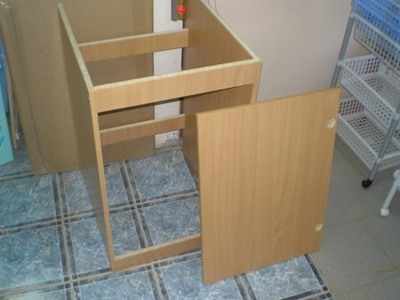
- We install tabletops, or open old ones. The box remains without a top cover, we fix it from below and from above.

We assemble the walls of the table base using screws or wooden dowels - We saw off the top cover to size and make a gap for the future sink in the countertop.
- We make planks that will stand at the top of the cabinet.
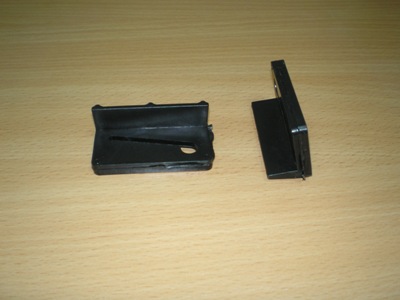
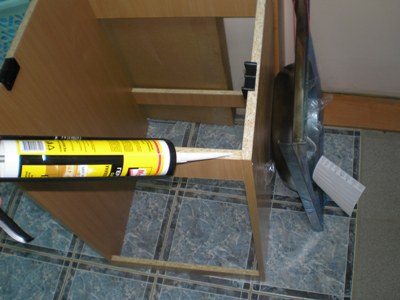
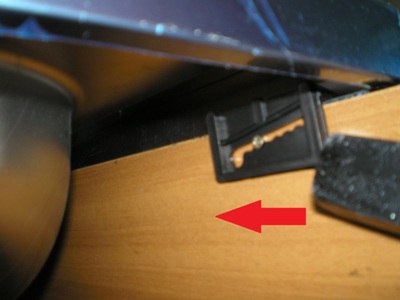
The sink mounts are L-shaped plates with a diagonal slot on one of their sides. - We coat it with sealant so that water does not flow under the edges. We install the strips on the edges coated on both sides.
We apply a layer of silicone sealant to the upper end of the base walls. - Then we install the overhead sink. To do this, we screw in screws in the middle of the slot.
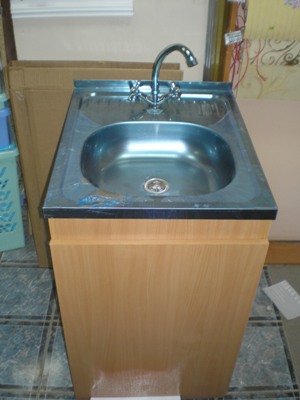
- We put the sink on the cabinet.
We install a mixer tap and a siphon on the sink - We put the corners on the screws and snap them in. The difference between an overhead device and a mortise device is that the overhead device does not need to be screwed in with screws. It is enough to put it down, press it firmly and snap the locks to the tabletop.
Mounting a stone sink into a countertop
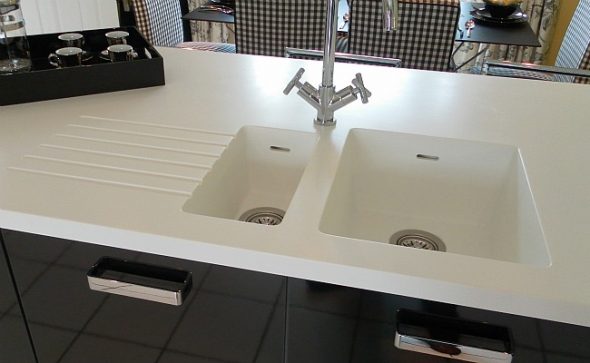
Stone sinks are eighty percent stone and twenty percent binders. Stone sinks can withstand heavy loads, do not conduct electricity, are not affected by aggressive substances, and are safe for food. We measure the dimensions of the sink in the countertop using a ruler and pencil. We take the sink, turn it over, and trace around it.
We measure the exact dimensions. We drill a hole. We take a jigsaw, install it in the drilled hole, and cut out a circle. We apply the sink, it should fit exactly in the cut-out place.
We coat the edges with silicone, using a construction gun. We apply a thick layer of silicone in a circle. In the cut, we smear the silicone with a rag or glove. We also apply sealant to the sink. After that, we install it in the cabinet.
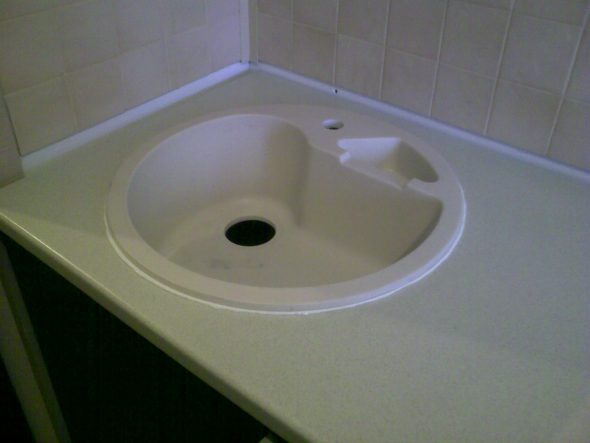
The hole for the mixer should be closer to the wall. We put some weight in it to press it well. We leave it for twelve to twenty hours. We remove excess silicone. We connect the mixer and siphon.
Mounting an integrated sink into a countertop
Such equipment is a single unit with the countertop and sink. Higher requirements are imposed on it. These devices are thicker than usual, and their service life is longer. Just as for the installation of the previous types of sinks, we make a hole in the cabinet, clearly measuring the dimensions. You can order templates for installing any sinks. So, we mark the future hole, cut it out. Sharp edges are removed with a milling cutter. Then the roundings are sanded manually. Polymer glue is applied. After application, the sink is installed. It is fixed and left for 12 hours. Finally, the sink is additionally fixed by pouring it from the bottom with a quickly hardening resin. It is important that the filling mass is applied only to the side walls. Then waterproofing is done with adhesive or aluminum tape. Excess glue is removed after the filling mass has hardened. Water and drain are connected.
Installing a siphon and mixer for a sink
Siphons have two main parts: the main one and the small one. They are assembled together. A plastic nut is inserted into the small one. A rubber seal is inserted under the nut. The small part is inserted into the large one. The nut is screwed in until it stops. But even if you tighten the nut, the large part will move a little. This is necessary so that we can place the corrugation in a convenient position. In the tube that is on the large part. Next to the one into which we screwed the small part. We insert a rubber seal into the second nut. We screw the second part of the siphon into this tube, which will be attached to the bottom of the sink and the countertop. We screw the nut until it stops so that the rubber gasket is pressed well. We screw the revision cover into the siphon. In case of a blockage, you can unscrew this cover, clear the blockage and screw the cover back. It is easier to install the siphon before installing the sink, and not vice versa. Screw the screw into the siphon until you hear a characteristic creak. No need to over-tighten. All that remains is to mount the corrugated pipe. To do this, first insert the nut, seal, insert it into the siphon, screw it in until it stops. Now you can connect it to the sewer from the countertop.
It is important to choose the right countertop faucet. First, you need to decide how you want to turn on the water. Turn the tap or raise and lower the lever. Everyone can choose a design that suits them. It is worth remembering that a low price and a fashionable design are a sign of poor quality production. It is better to buy a simple European faucet. When buying it, you should consider the quality of the water and the presence of a gas water heater in the house. Prices for faucets range from the lowest to the highest. Everything depends on the quality. So, let's start the installation. Shut off the hot and cold water taps. Screw the flax onto the threaded connections. Apply plumbing paste to the flax. After that, screw it into the water outlets.
You can use silicone sealant. This is done to protect the flax from rotting. Attach flexible hoses to the mixer. There are two of them. Place a ring gasket on the base of the mixer. It should be in the groove intended for it, otherwise the water will leak. Screw in the threaded pins. There may be one or two of them in the mixer kit. Pass the flexible hoses through the mounting hole of the sink. In doing so, you need to check whether the ring gasket has shifted. Fix the mixer from below. Put on the rubber seal. Using an open-end wrench, tighten the nuts firmly over the seal. The tap should not move. Connect the flexible water supply hose to the water outlets. It is important that the hoses do not twist or bend during installation. After all these steps, check the operation of the new equipment. Turn on the water and check for leaks.