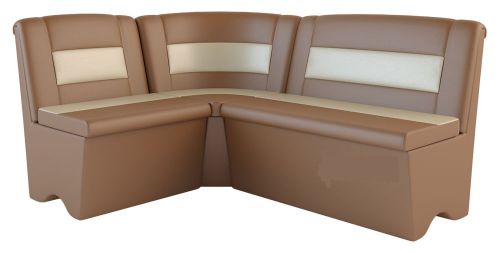
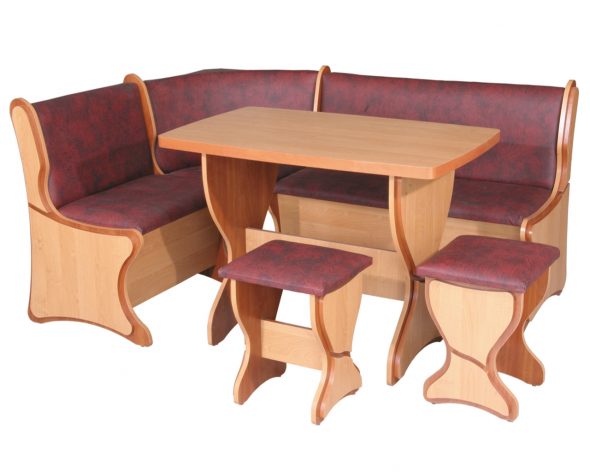
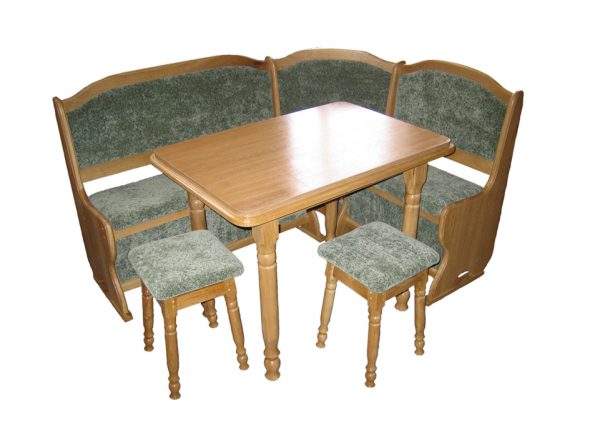
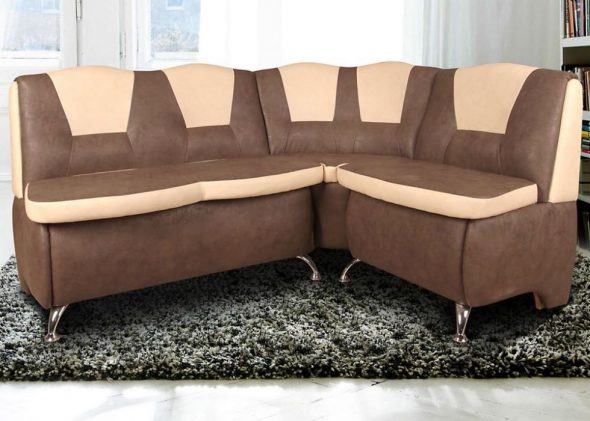
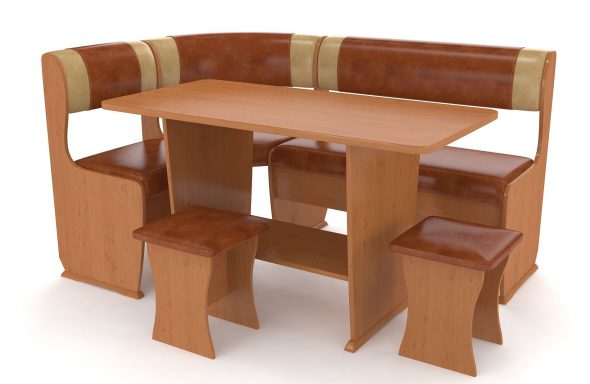
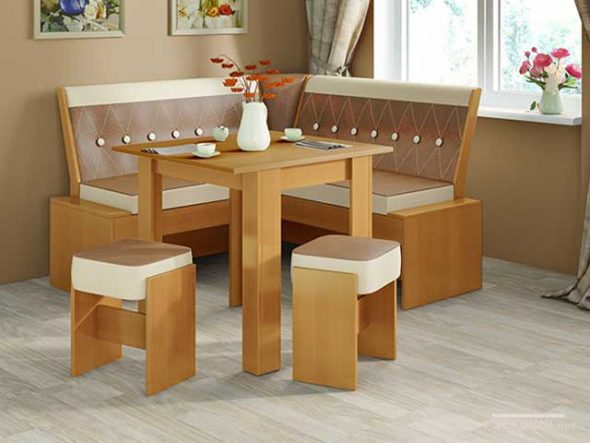
Nice upholstered furniture decorates the kitchen and makes it much more comfortable. If the area of the room allows, you can place a kitchen corner in the dining area. The advantage of such furniture is that it significantly saves space. And with a properly selected set with a table and stools, your kitchen will become a favorite place for gatherings over evening tea or coffee with family or friends.
Making a corner at home is not too difficult, even if you are not a master. Almost all the necessary materials and tools can be found in any home.
Content
General rules for assembling cabinet furniture
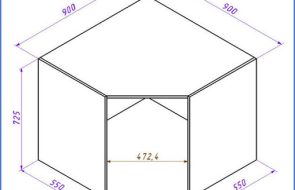
Each craftsman begins making furniture by taking measurements of the place where it will be installed. Assembling a kitchen corner requires a mandatory precise calculation of parts and preparation of a drawing.
Materials are selected based on preferences. It can be wood or its derivatives:
- chipboard;
- Chipboard.
The general rule for purchasing (selecting) material is its quality. The reliability and safety of the future structure depends on it. There should be no fumes from the resins that are part of the chipboard in the kitchen, so a coating is required or neutral chipboard or wood is selected. They must be carefully processed and precisely cut to the design dimensions.
The kitchen corner is usually made soft, so the elements presented in the table are required for upholstery.
| Filling | Synthetic padding or foam rubber. |
| Upholstery fabric | Flock, microfiber, velour, artificial velvet, tapestry. |
The fabric is cut with a small margin. The filler is chosen to be of medium density, its width is approximately 3-4 cm.
If the craftsman is experienced enough, then it is possible to select materials that are difficult to process, for example, not flock, but high-quality artificial or natural leather.
To assemble kitchen corners, select a base material for the supporting structure that is at least 20 mm wide, otherwise, when connected with bolts or screws, the material will delaminate and crumble.
When working with laminated chipboard, you will also need an edge tape in the same color. It is cut after adjusting the panels to size.
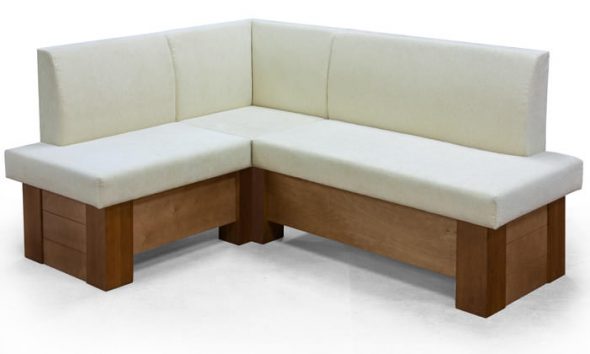
At home, some people make more original corners - with two or three half-chairs, each of which has its own full-fledged support structure.
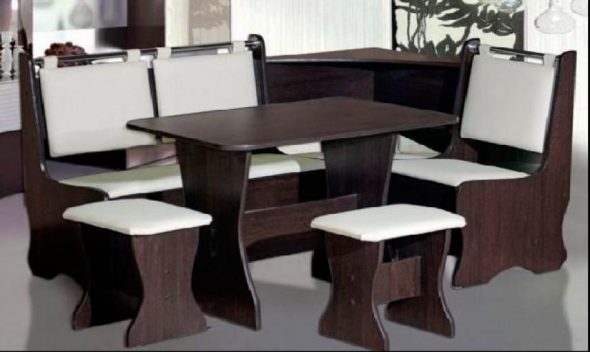
Important point: It is not recommended to make kitchen corners with a closed "leg" part - it will be uncomfortable to sit, especially if the table has straight supports. The lower part must be made through so that the legs can move freely.
If you can’t do without a solid support, then it’s better to make it beveled – the lower part will be at an angle and won’t interfere with your legs too much.
The standard length for a kitchen corner is about one and a half meters. Considering that most dining areas in homes do not have a spacious area, this parameter is the most popular. The width varies from 50 cm.
What tools are needed?
To assemble furniture, you will need the following tools:
- screwdriver;
- hacksaw;
- stapler with staples;
- jigsaw;
- pencil;
- ruler or caliper;
- roulette.
A jigsaw is used to process wooden parts – round them off, make them shaped, etc.
Fasteners
It is also necessary to select self-tapping screws (for solid wood panels), confirmat bolts (for laminated chipboard). To connect the parts, take care of purchasing steel corners.
The seats of the kitchen corners are hung using special piano hinges. This makes the base reliable and durable. First, the hinges are attached to the sides using bolts, and then to the seat panel below. It is important to mark them in advance so that there are no distortions and, accordingly, failures during operation.
Preparation before assembly
To make the kitchen corner look neat, its wooden parts are sanded, and the outer edges are closed or varnished after cutting. Materials such as fabric and filler will require tailor's scissors, ordinary ones are inconvenient and cut unevenly.
Marking the furniture fastenings is done with a pencil and a ruler. The kitchen corner should not only be stable, but also comfortable. Calculate the length of the main seat and the accessory (short) part. Their ratio is usually 3:1 or 3:2. This is the simplest model, consisting of 2 platforms for placement. You can make a more complicated version, then the ratio of the parts will be 2:1:1, 2:1:2 or 2:2:1.
The master must remember that the quality of the finished product depends on the sequence of actions. You should not rush, but think everything through carefully.
The kitchen corner is made with a base on beams with lamellas or thick plywood. It should be dense, not loose. You can also use chipboard.
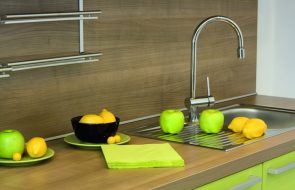
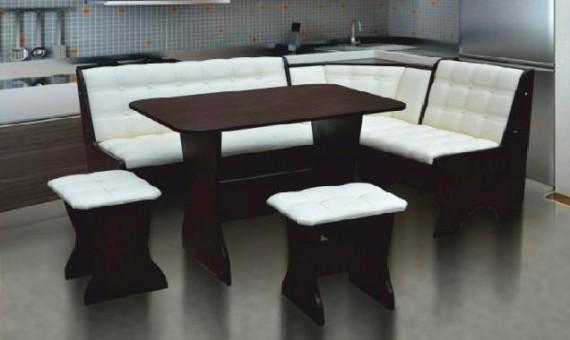
For kitchen furniture, use non-marking upholstery materials. Choose easy-to-wash fabric that will not leave stains when cared for.
Assembly process of the corner
The manufacture of such furniture as a kitchen corner requires accuracy and precision of calculations. Due to the composite structure, the slightest distortion can affect the stability of the product. Let's consider the simplest model of two parts.
- Prepare the support panels. The side ones also act as parts of the back. It is recommended to make the heel pads right away.
- Connect the back panels and the main and side supports separately. Take universal glue, lubricate the seats with it and attach the foam rubber (synthetic padding), wrapping it from below. Press for a few minutes (you can put something heavy).
- Glue the stuffing to the back and let it dry thoroughly. Trim off the excess flush with the side.
- Pull the upholstery fabric taut and secure it to the panels with staples, tucking the edges of the material under first.
- Attach the seats to the main and side parts using hinges to create an even angle. To do this, move the long element to the distance that the short one adjoins.
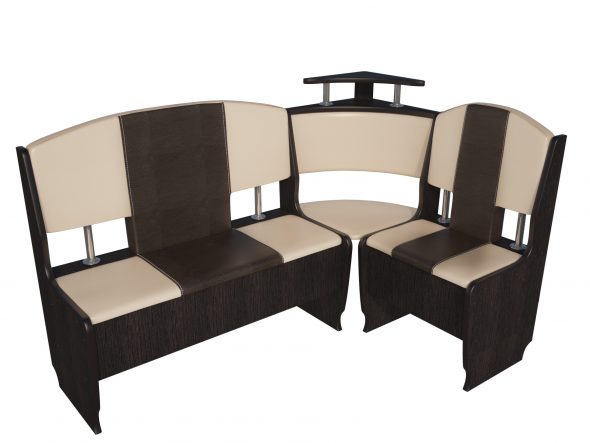
The kitchen corner can be made of three parts. The sequence of actions for assembly is the same, only before that it is necessary to make a corner insert (90 degrees), and then fix all the parts. This process is quite labor-intensive, it is important to maintain the accuracy of the dimensions in order to fit the remaining parts without gaps.
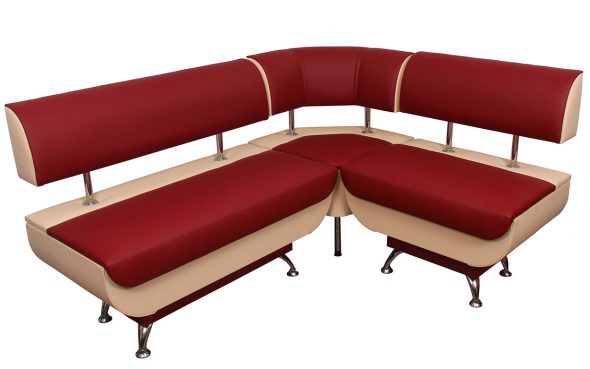
You can also make a modular corner. You don't need to attach the parts to each other, you just need to put them side by side. This is convenient when guests come and you can move one of the seats to the other side of the table.
The rear pillars may not be used if the weight of the occupants per 50 sq. cm. area is assumed to be no more than 100 kg.
Kitchen corner decor
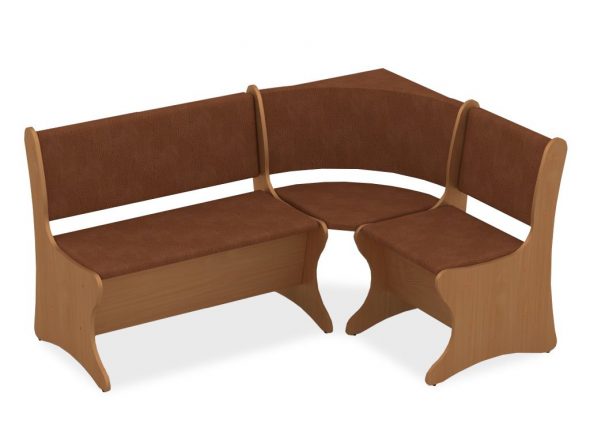
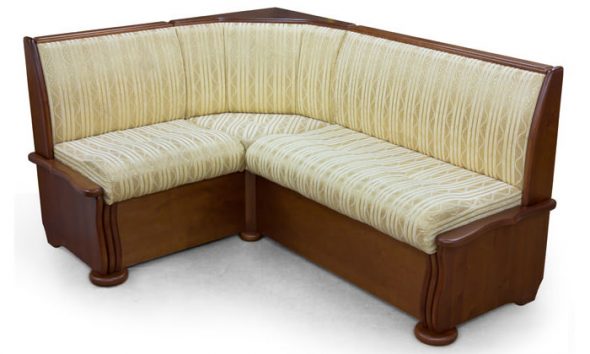
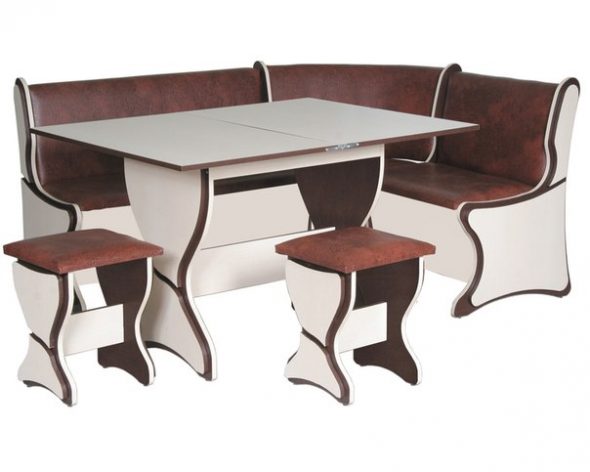
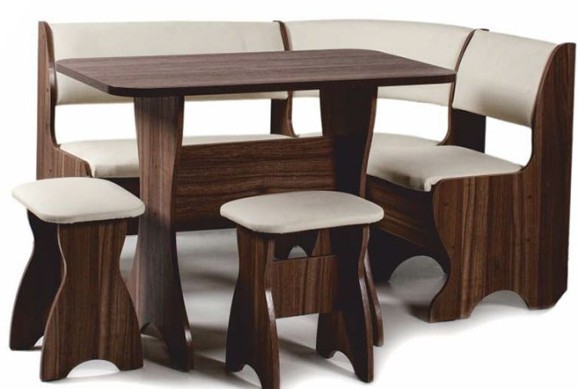
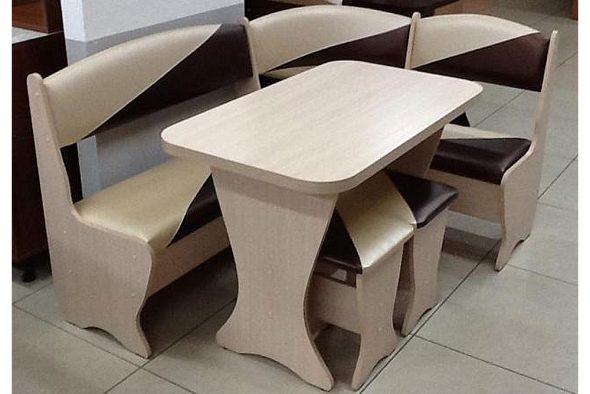
The design of the furniture in the dining area should be done taking into account the overall style of the room. Open parts of the back and supports can be covered with a varnish composition with a shade of natural wood - the most popular option. The finishing of the seats can contrast with the color of the legs.
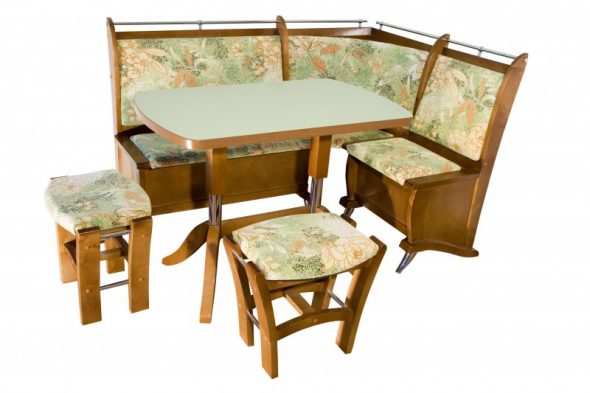
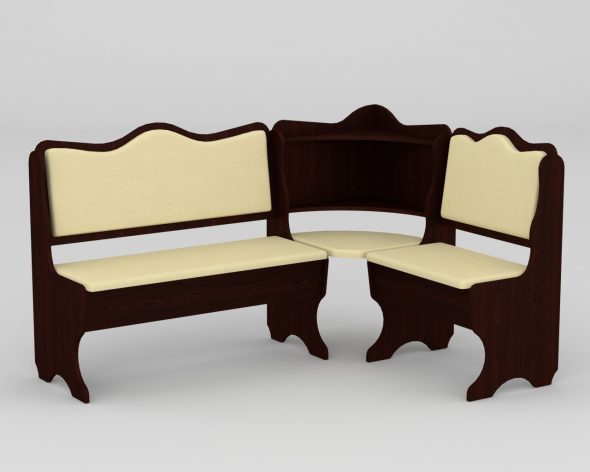
Kitchen corners are often made with shaped supports and a back. In the latter case, it is important that the decorative element does not fall on the place where the spine rests - this is quite inconvenient when sitting. Beautiful curves of wooden parts can be designed with a jigsaw. Finished elements are varnished and dried well.
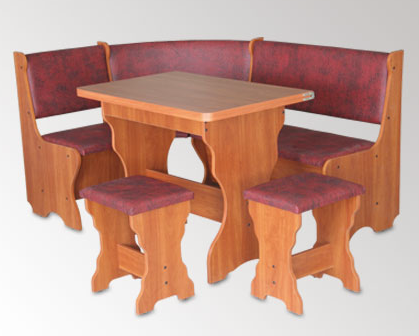
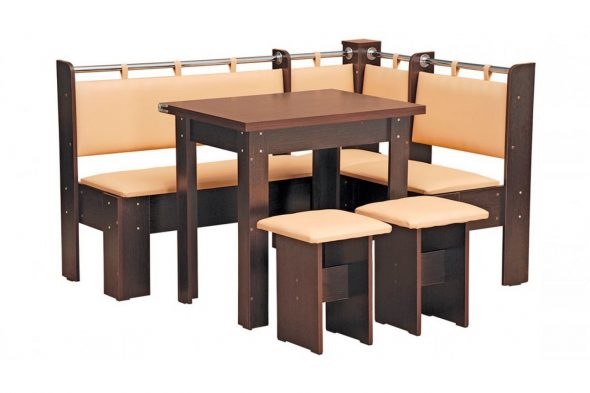
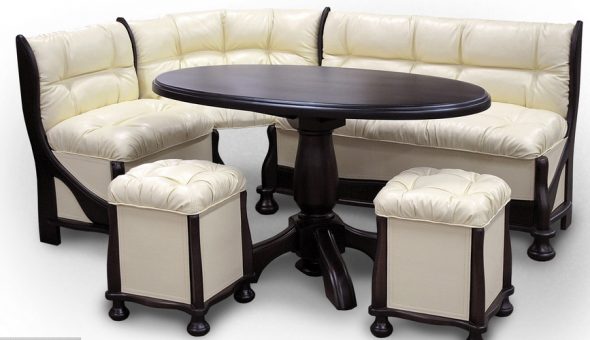
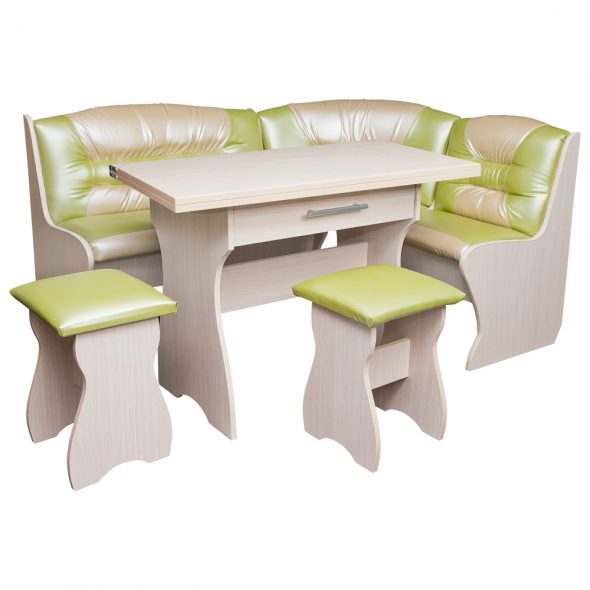
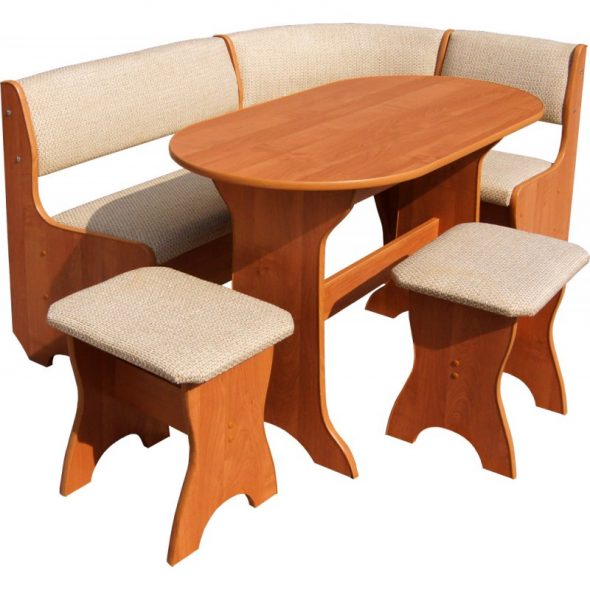
You can add two or three small stools with matching upholstery to the corner. It is better to choose an oval-shaped table. Everything together will look like a single stylish set and create coziness in the kitchen. Make sure there is appropriate lighting. Wide flip-flop lamps on a cord, the height of which can be adjusted, are ideal for the corner area.
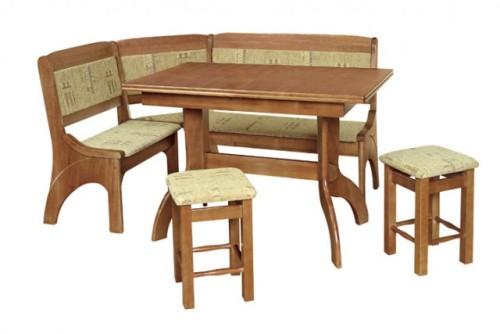
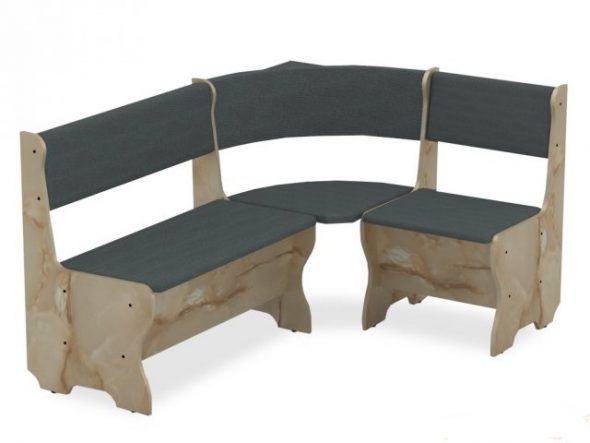
In country houses, many people prefer corners without upholstery, completely wooden - bench-type, with an open or closed (beveled) lower part. Such products look quite stylish and beautiful in combination with a wooden table in the same tone, if the edges are rounded, and the wood has a nice texture. The wood will require careful processing and sanding so that there are no burrs and protrusions or dents from cut branches. One of the decor options is a corner with a glowing table - created using fluorescent and polyurethane paints.