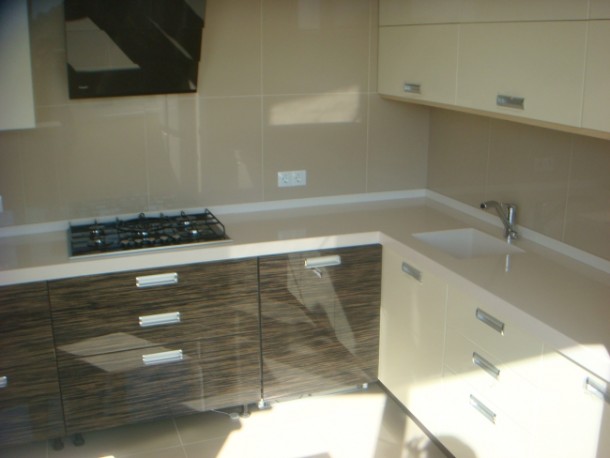
In modern furniture shopping centers, kitchen countertops amaze consumers with their variety of choices and external appeal.
Quality products are very expensive. Those who try to succeed in saving money will be able to make a chic and unique tabletop with their own hands in just a few days, which will not affect the budget and the appearance of the table, as well as its working properties.
Content
The benefits of DIY furniture
- Cost of the product. It is much lower than you can get in the mall. The tabletop will be much stronger and more stable than any other.

It will serve you for a very long time. - Own design. You will be able to make the product according to your project, which, in addition to everything else, will give you a strong confidence in your own abilities. And this is also an excellent reason to brag about your capabilities to your guests!

Give them time to look at the countertop, then admit that it is your creation and enjoy the admiration of others! - Almost all kitchen countertops without exception are made from chipboard. And this means that they are not processed with high quality at all. The products tend to absorb moisture, and subsequently such a cover swells and exfoliates. This kind of base does not like frequent changes of environment, does not tolerate dampness in the room and is unlikely to serve you for a long time.

The delamination of the material used worsens the appearance, which is inconvenient for use and will certainly affect the comfort of the home. - You process the surface of the countertop yourself, and also choose the material for production, which means that installing the countertop with your own hands — guarantee of quality.
A tabletop made with your own hands can turn out to be no worse or even better than a store-bought one.

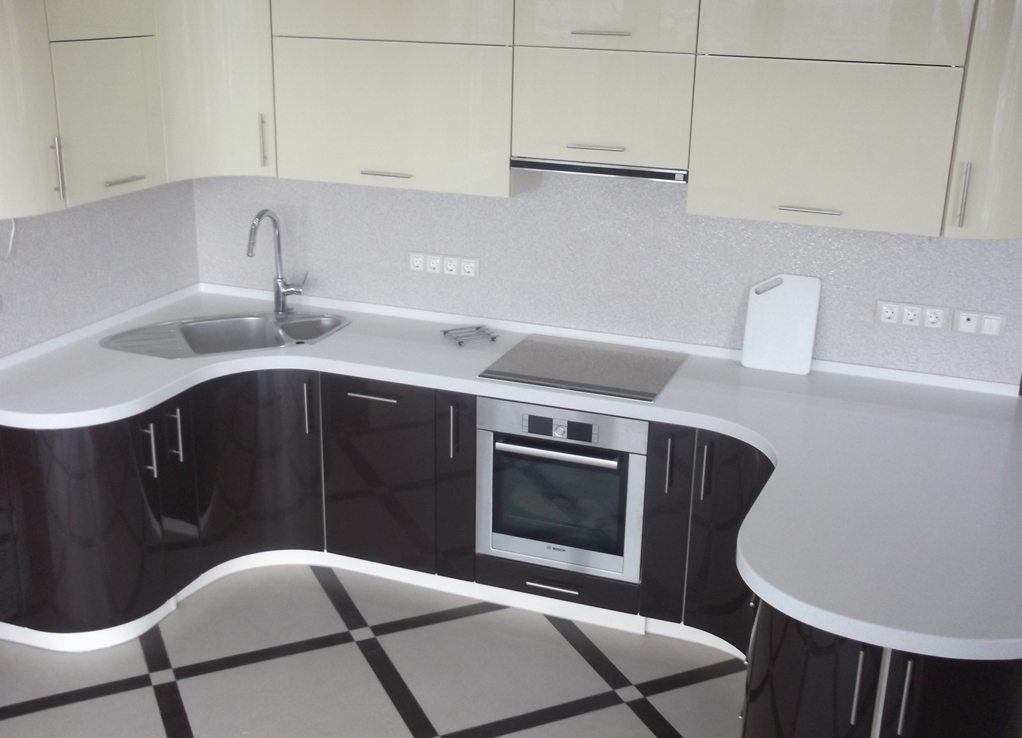
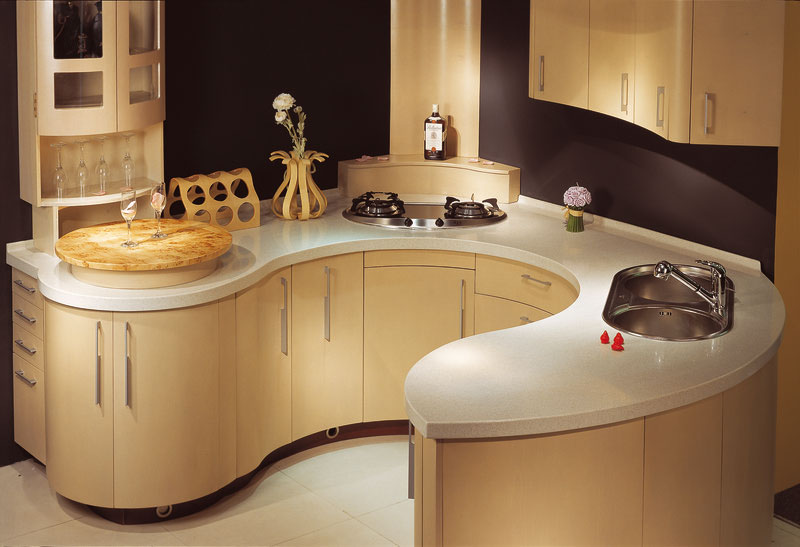
Types of products. What to choose?
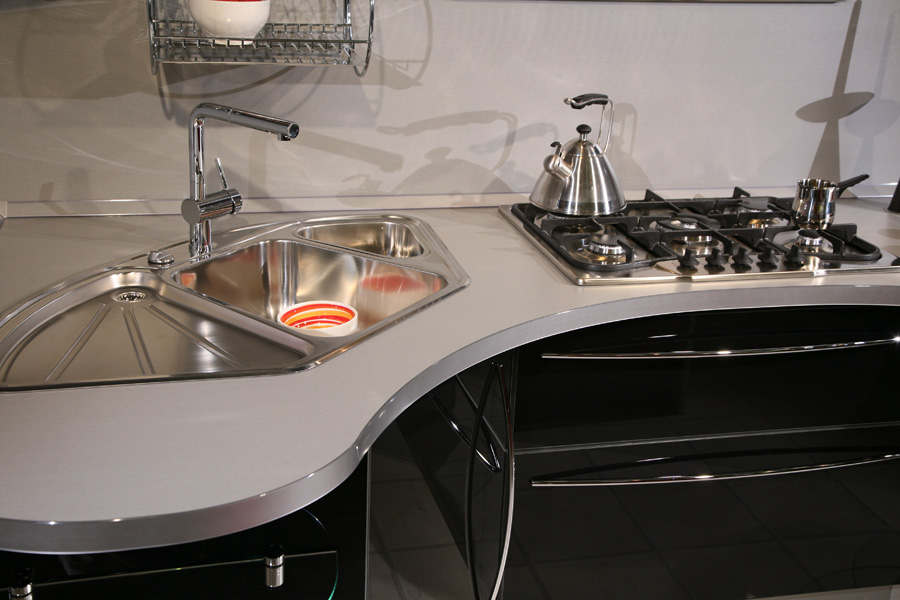
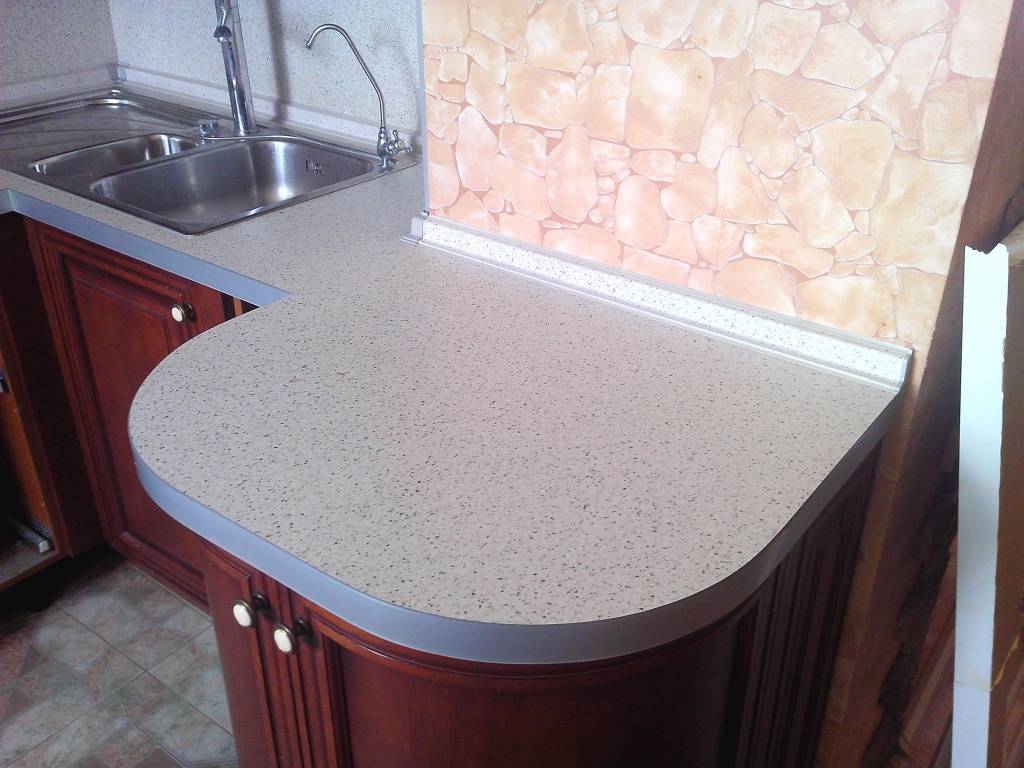
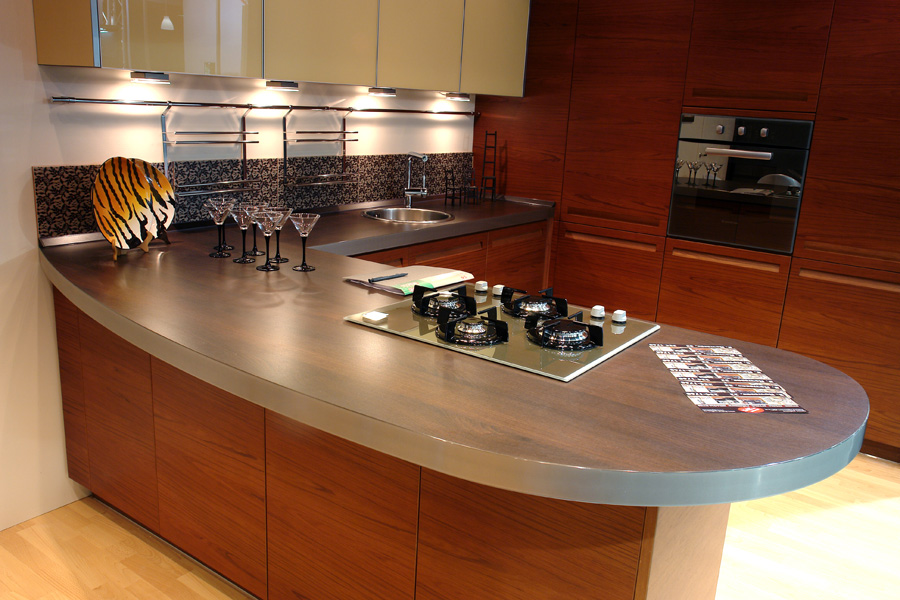
- Round tabletops come in a variety of sizes. In small rooms, sliding devices are very suitable, for example, a sliding type of tabletop.

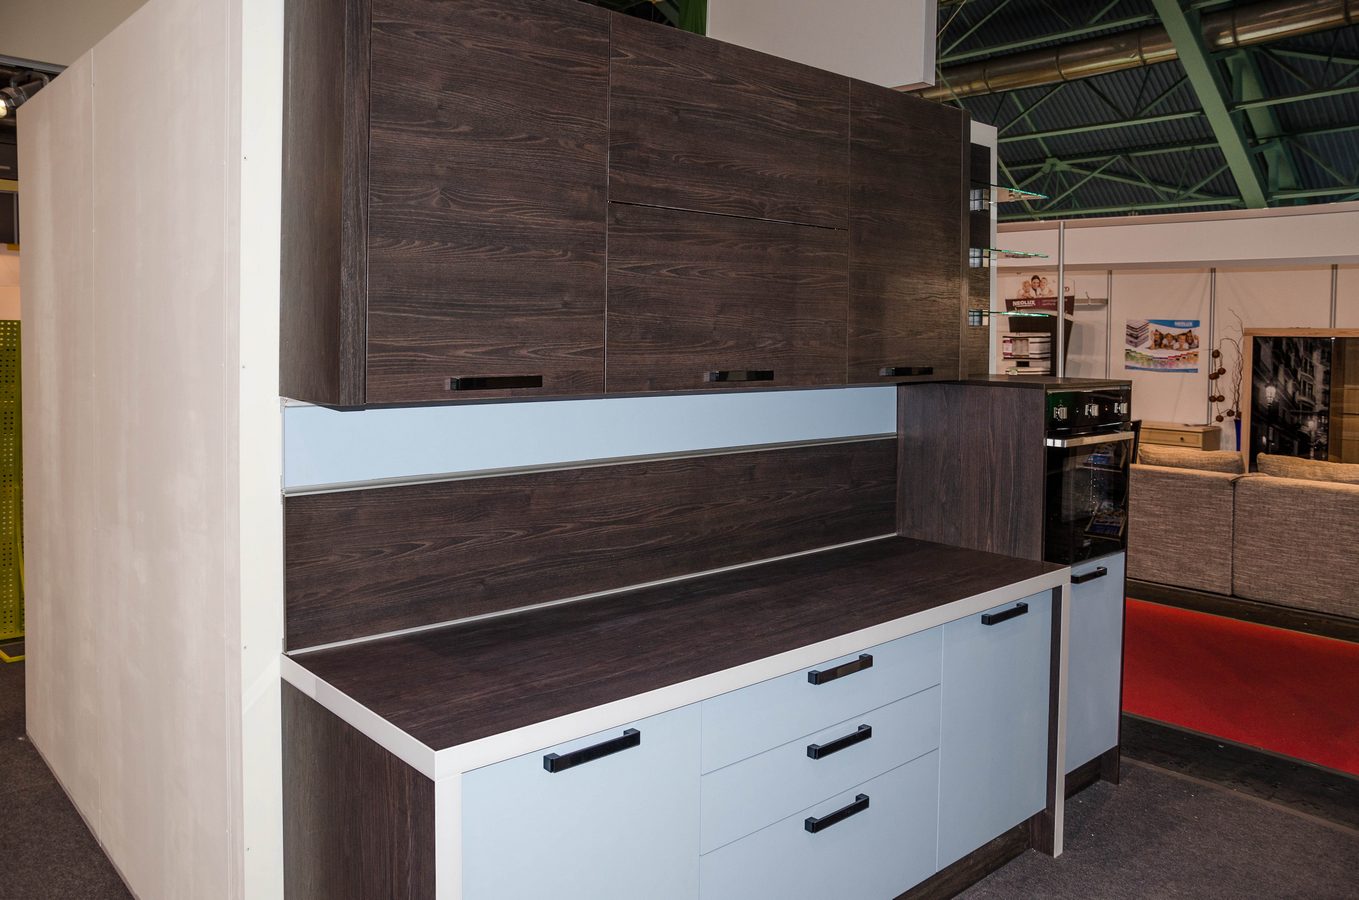
If you have a small kitchen, the work surface can be small. - A table of square or rectangular shape — traditional option. Any tabletop of this shape can be made in a sliding version if necessary. In addition, such furniture is elementary in manufacture!
The installation of such a tabletop is most optimal if the table is designed for a large family or periodic reception of guests. - Table with glass inserts. Tempered glass is usually chosen for the table, as it is difficult to damage. The tabletop is usually installed in a set with elegant wooden legs.

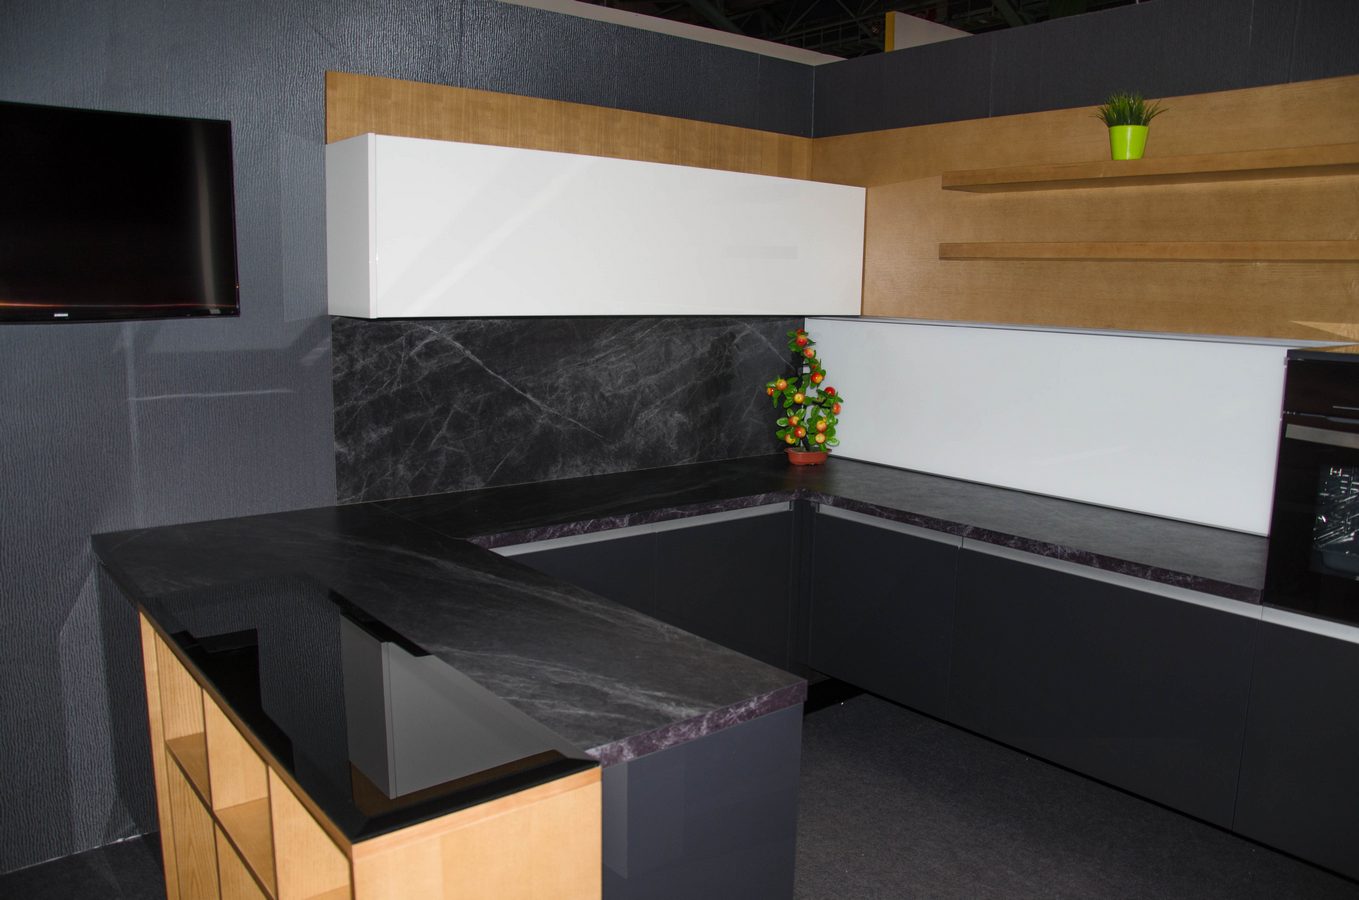
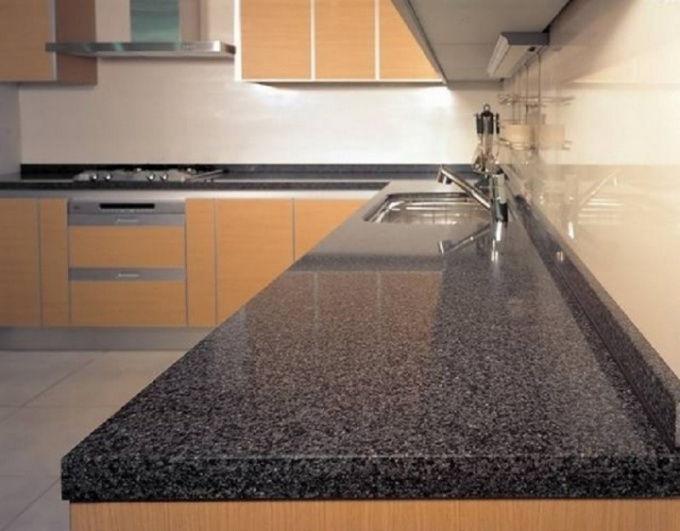
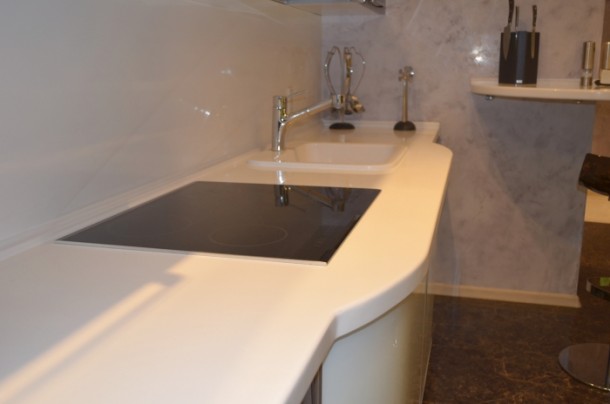
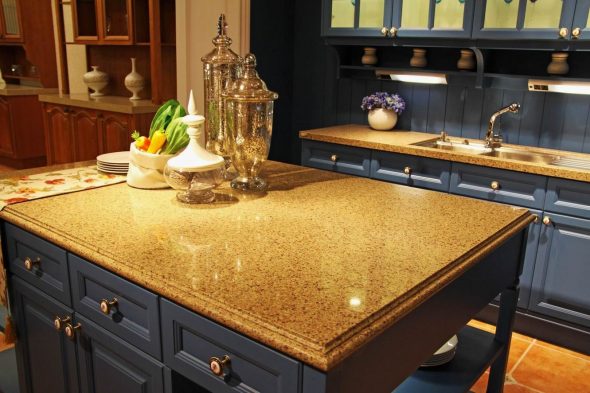
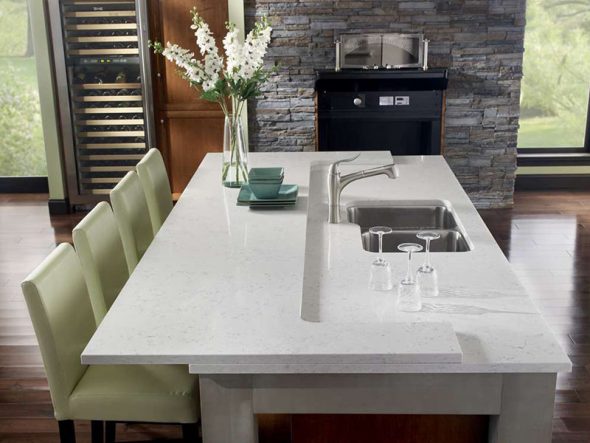
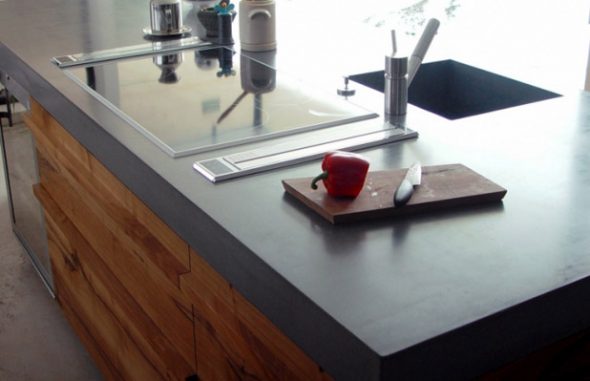
Glass table tops are currently back in fashion. - Concrete countertop coating. If you decide to experiment in the interior, it will certainly stand out with its interesting design.

This option is very comfortable to use.


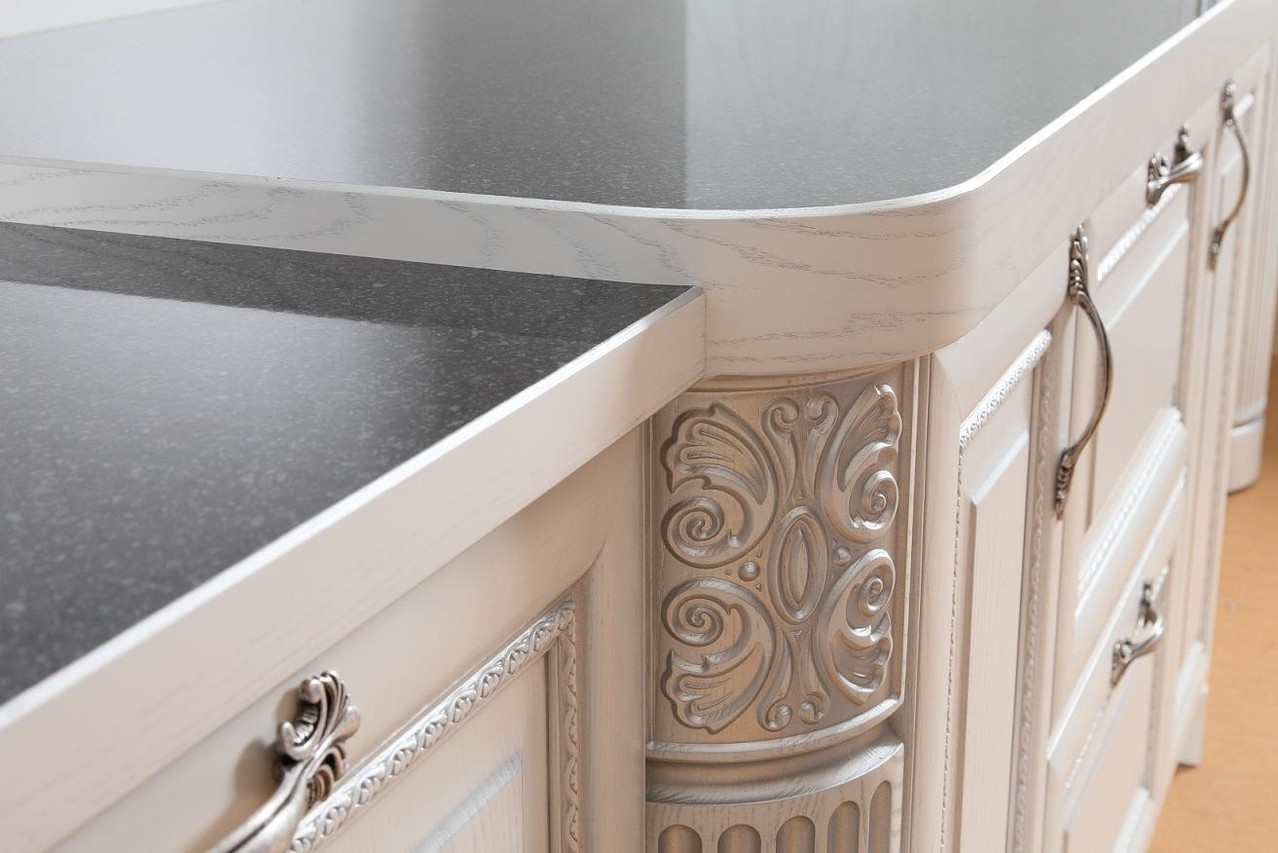
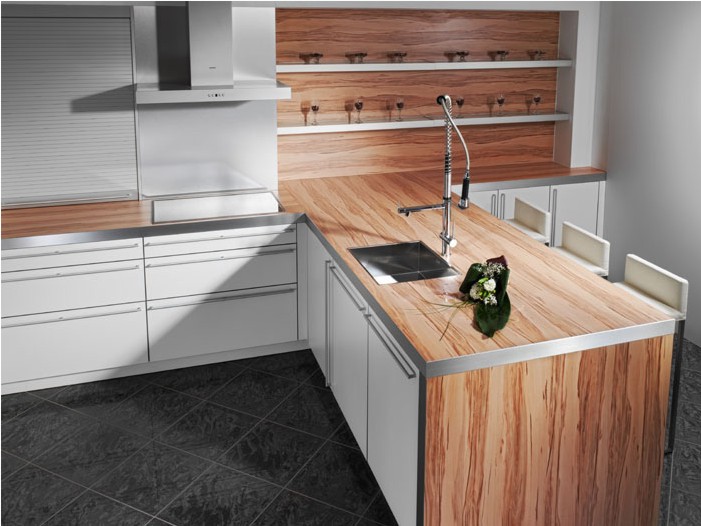
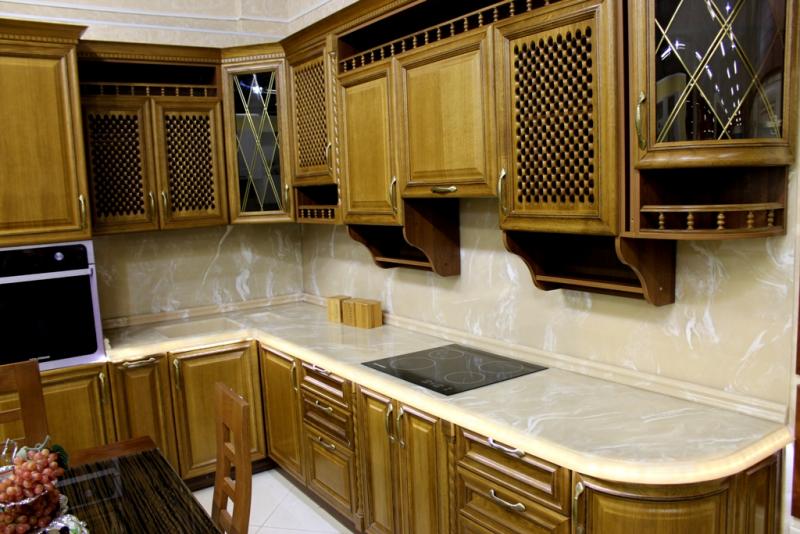
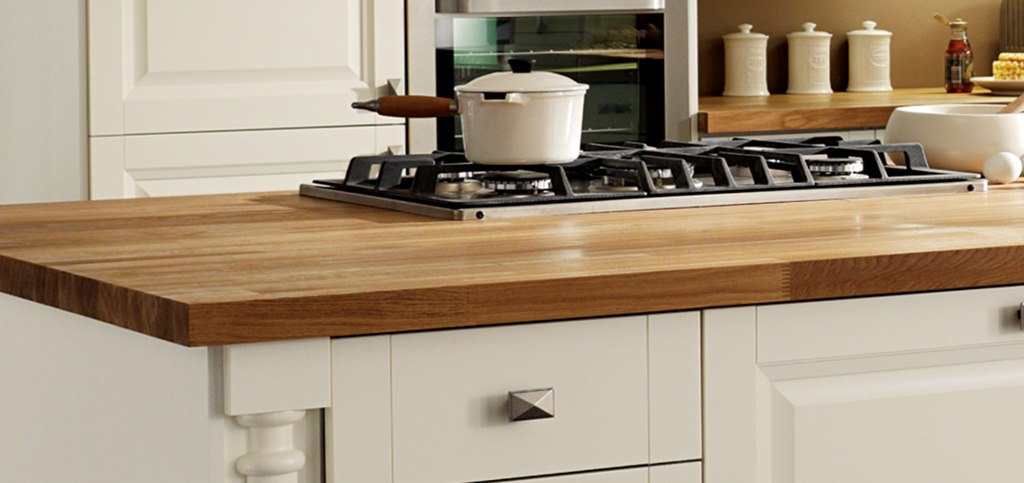
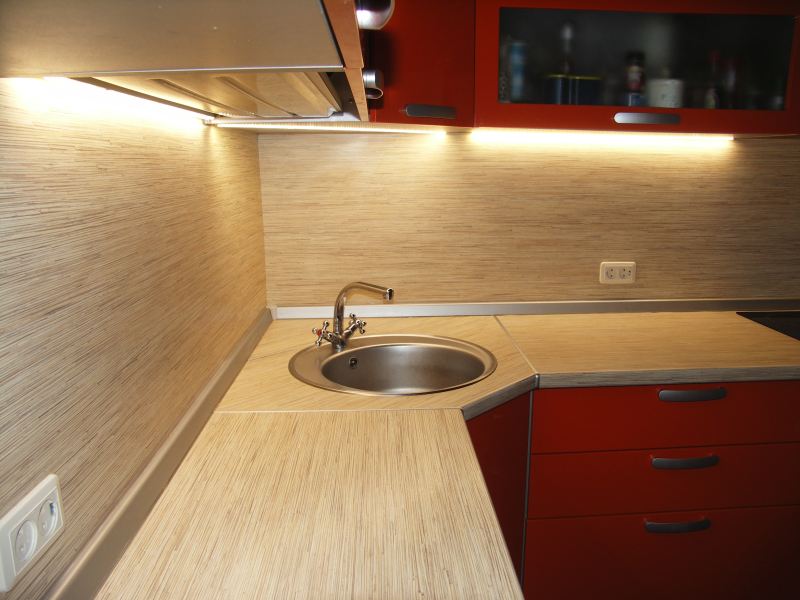
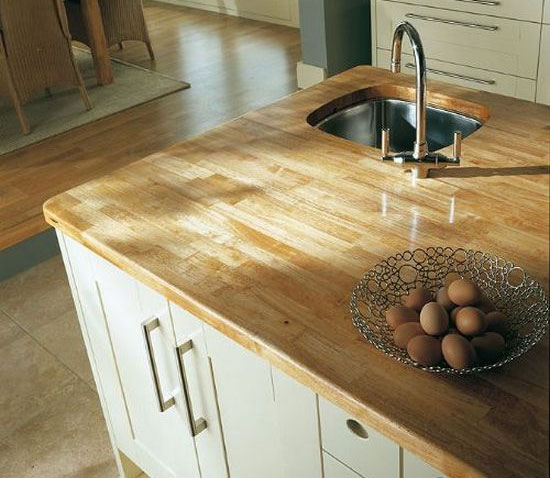
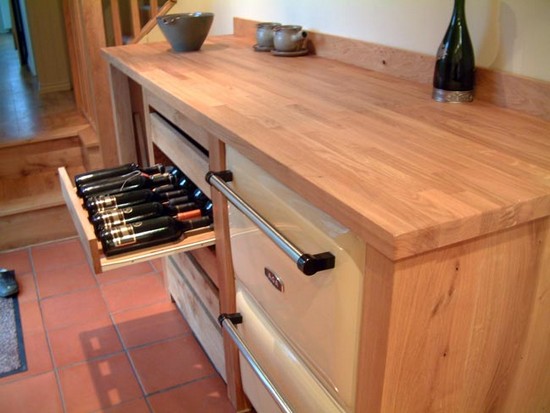
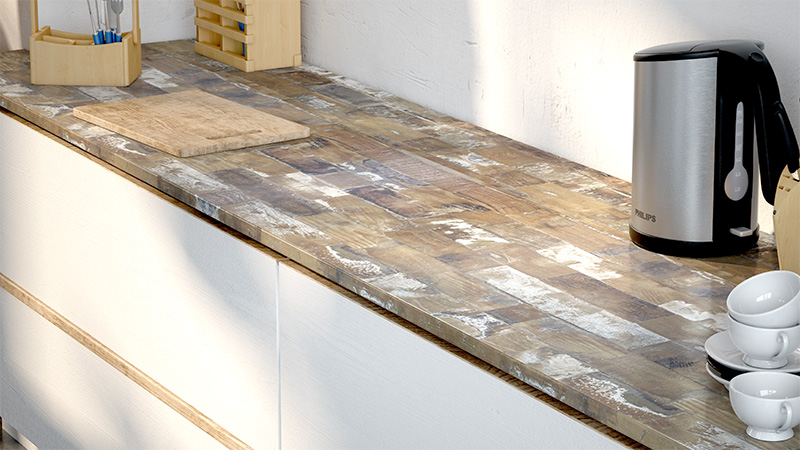
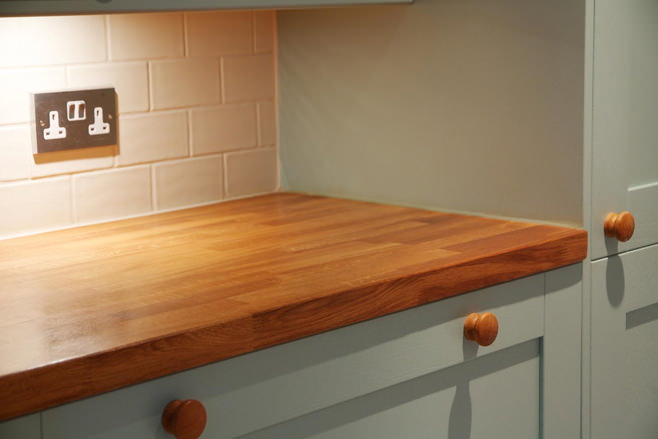
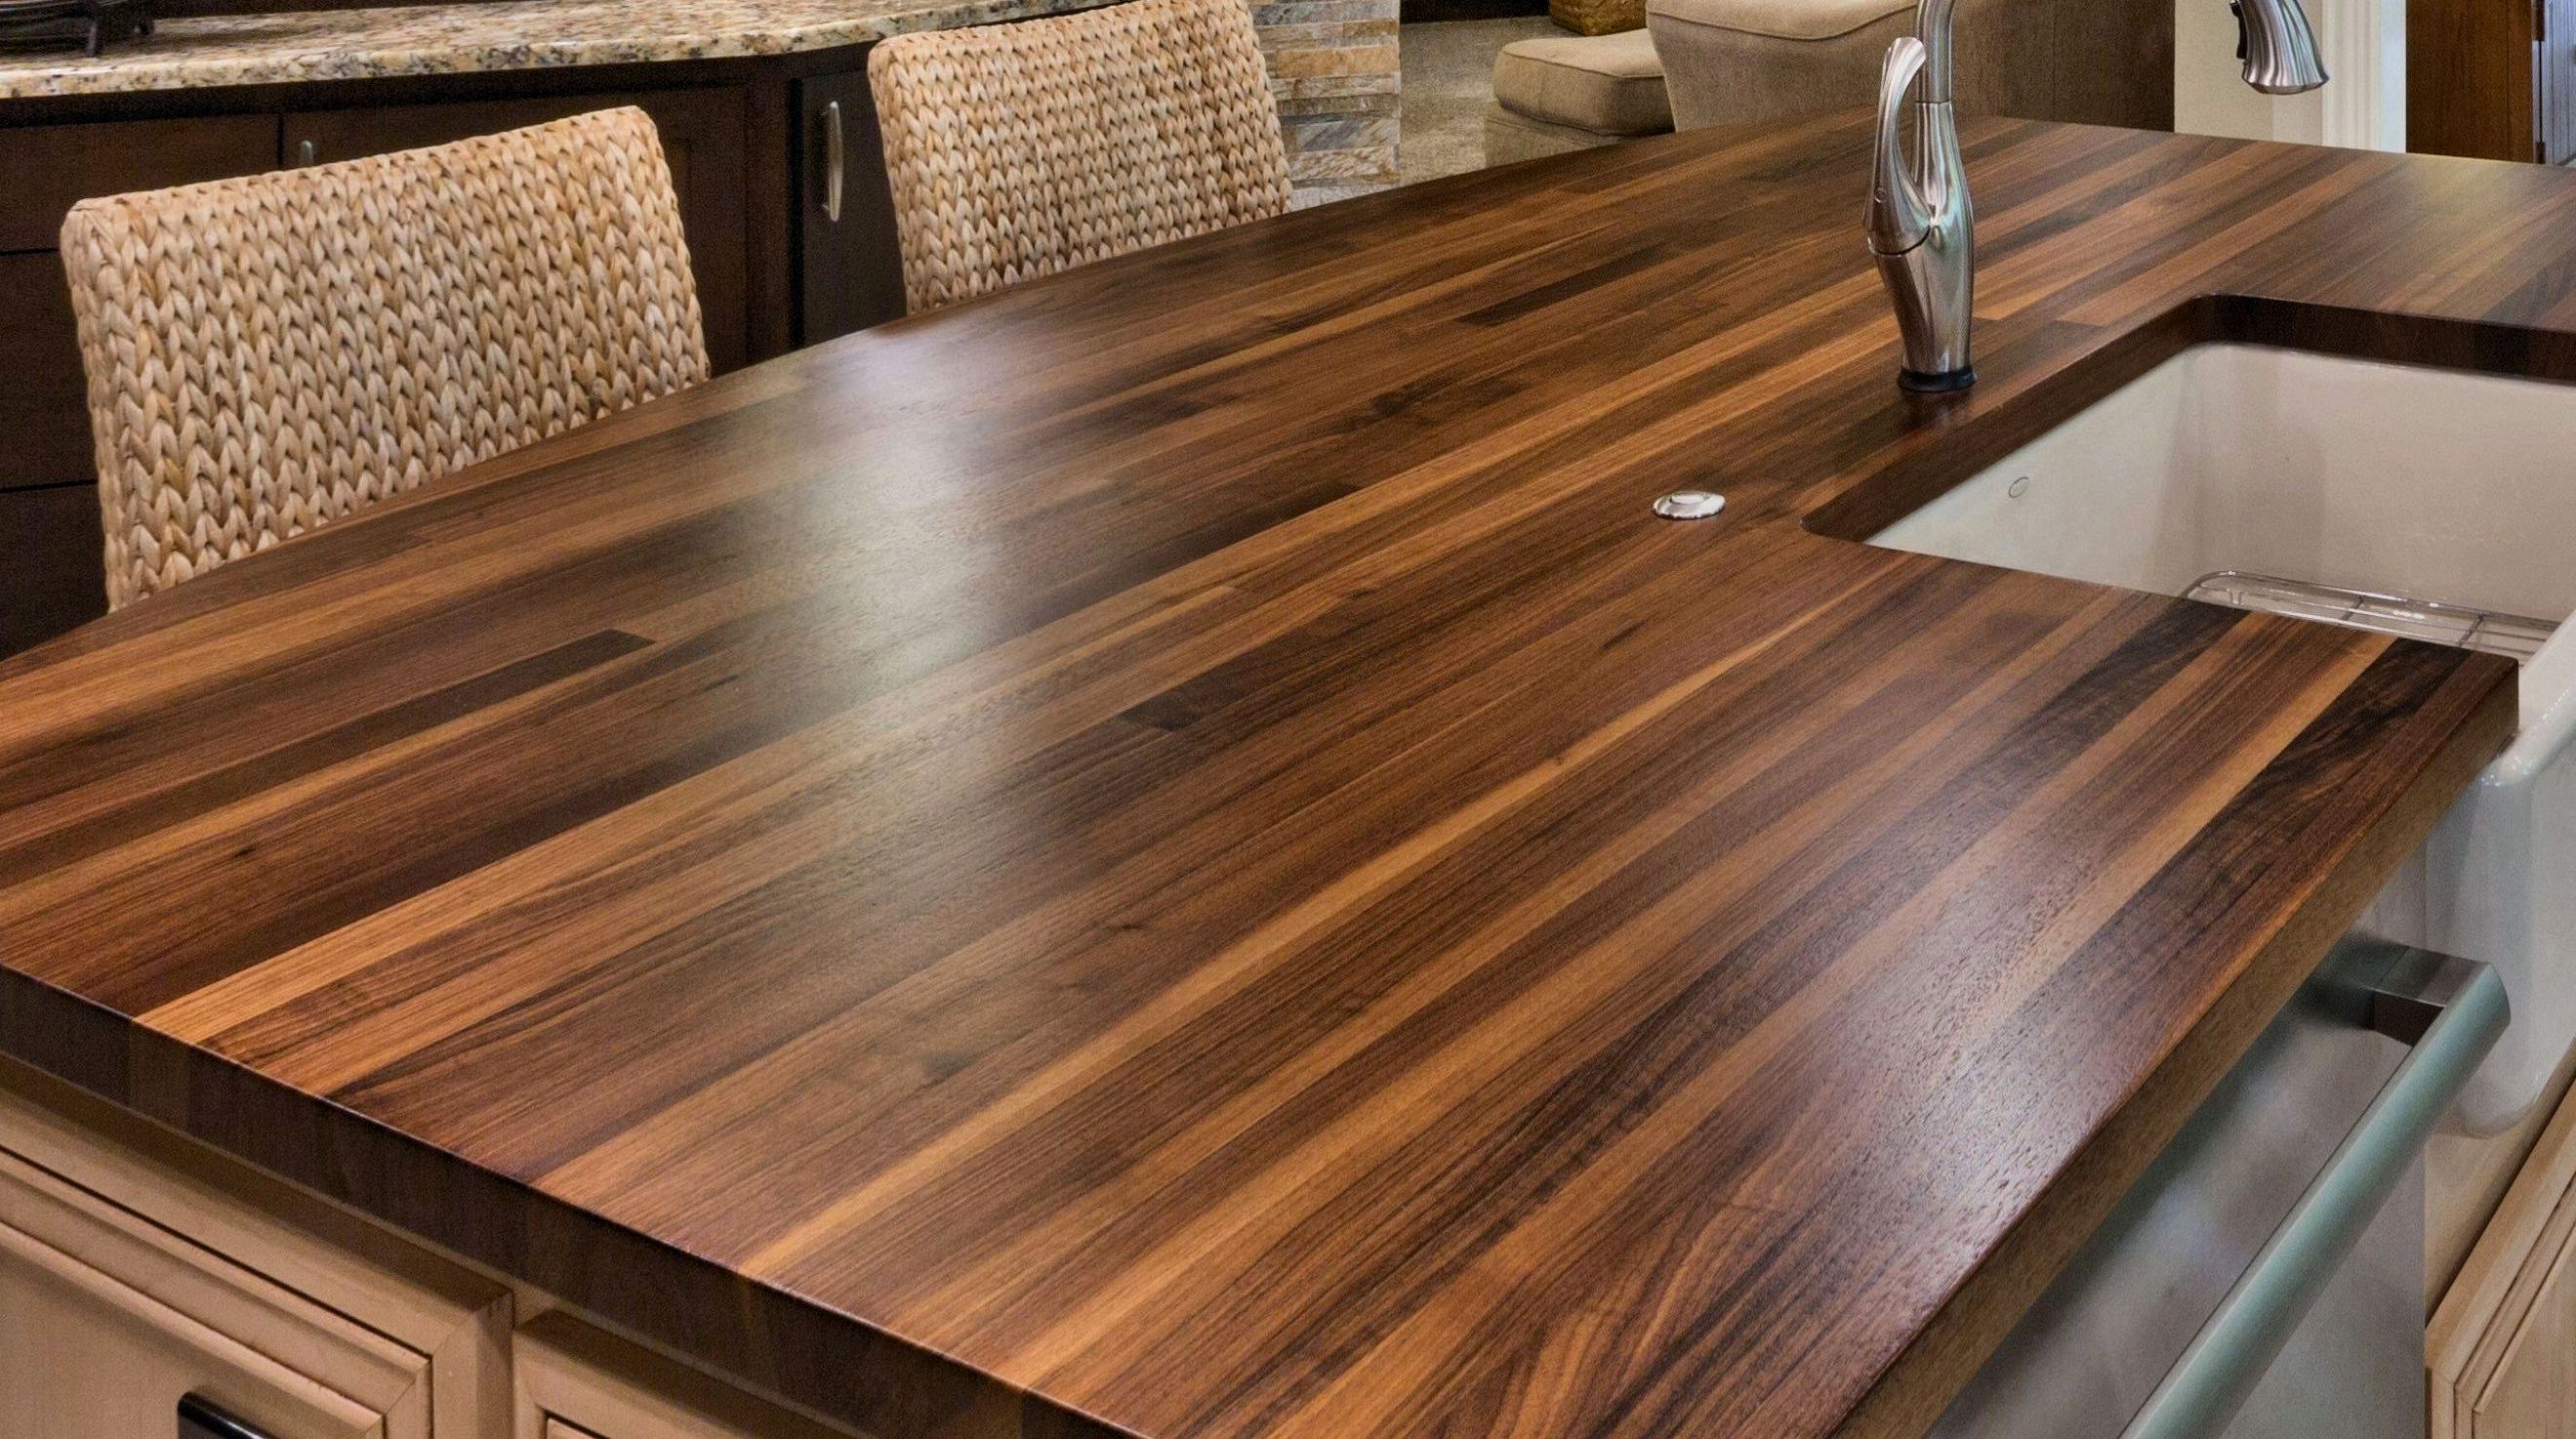
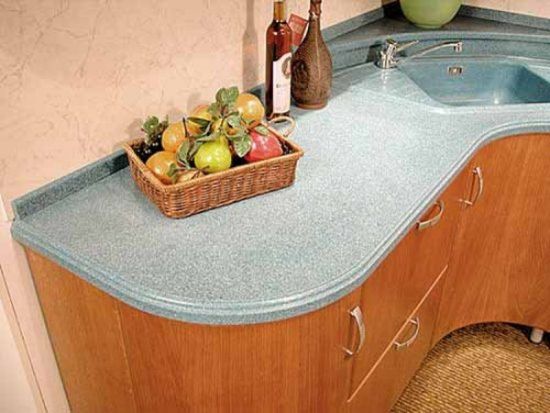
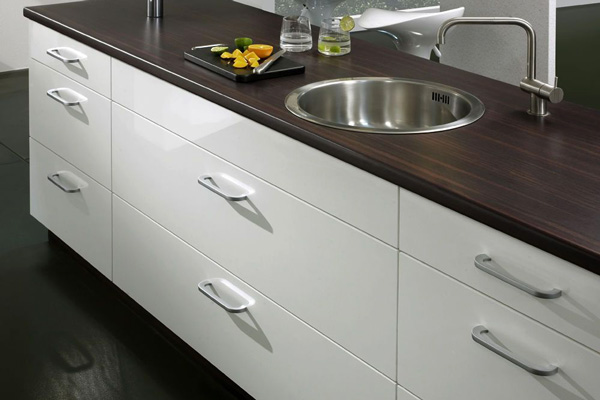
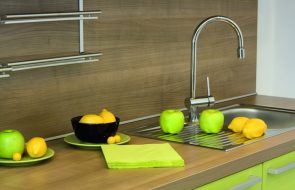
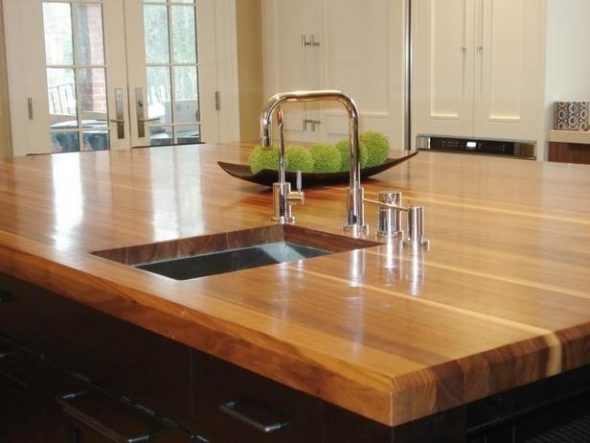
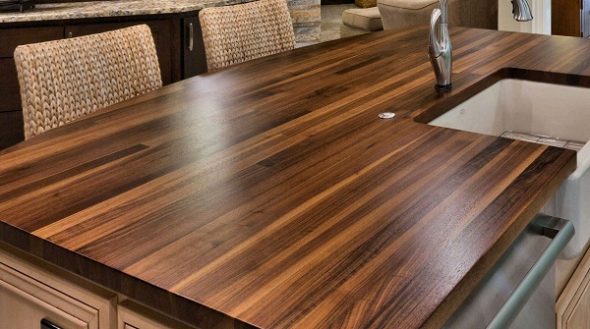
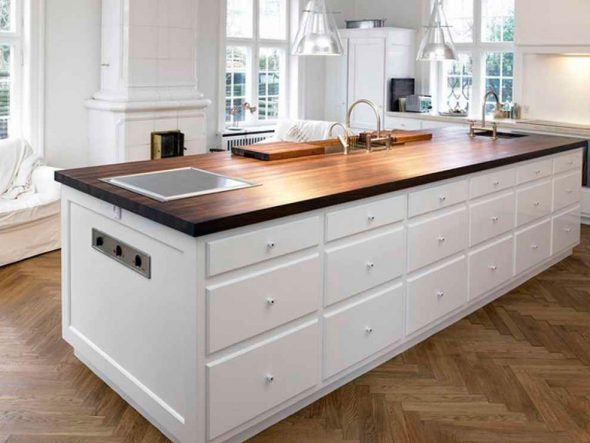
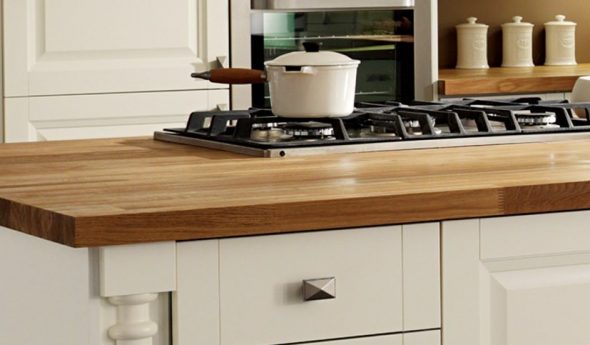
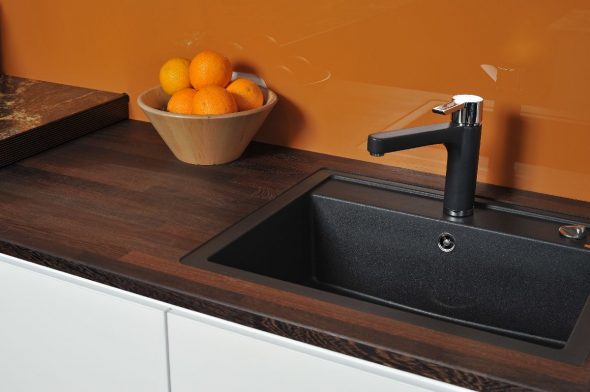
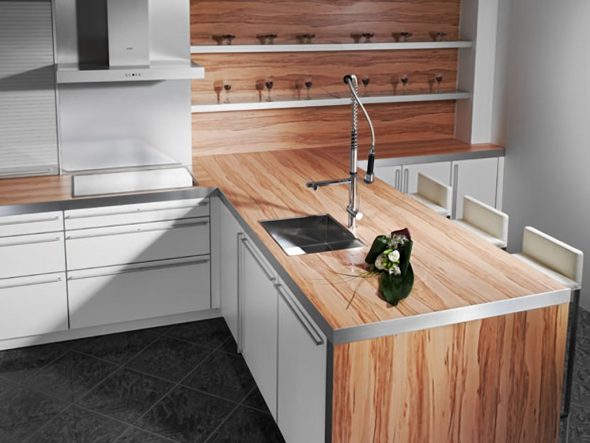
Advantages of wood countertops:
- Aesthetic, cozy look of the table;
- These products are easy to handle and wipe clean;
- Temperature differences and exposure to sunlight are not a problem for wood, which is also very resistant to water;
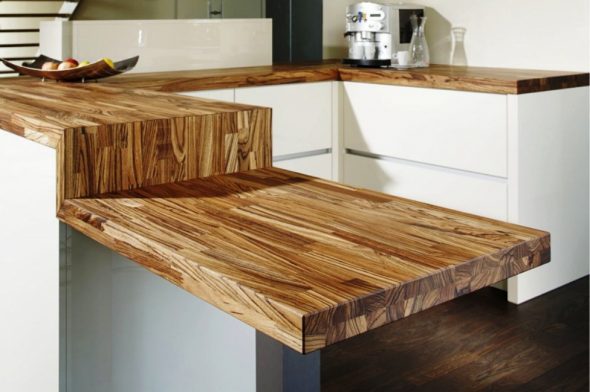
- This type of countertop will show few scratches;
- This type of table is easy to restore;
- The environmentally friendly material does not pose any threat to humans and their health.
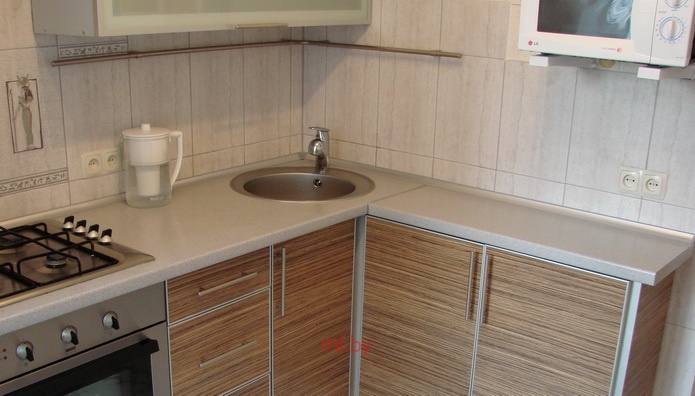
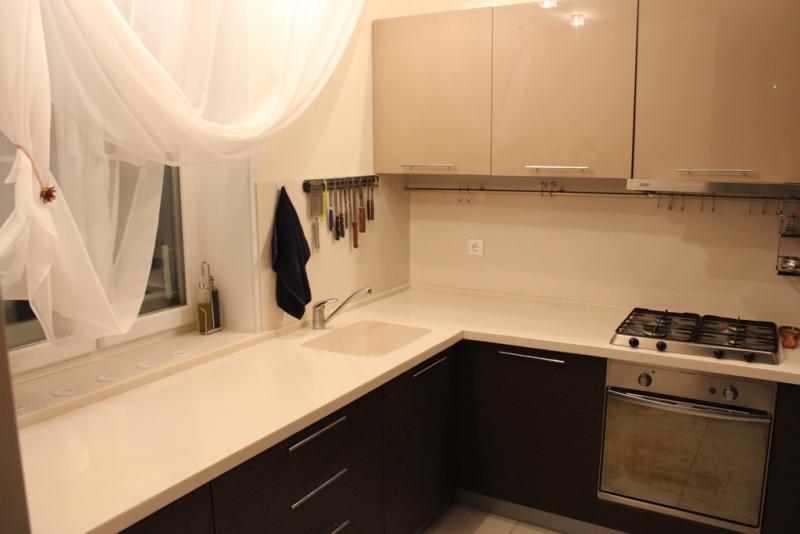
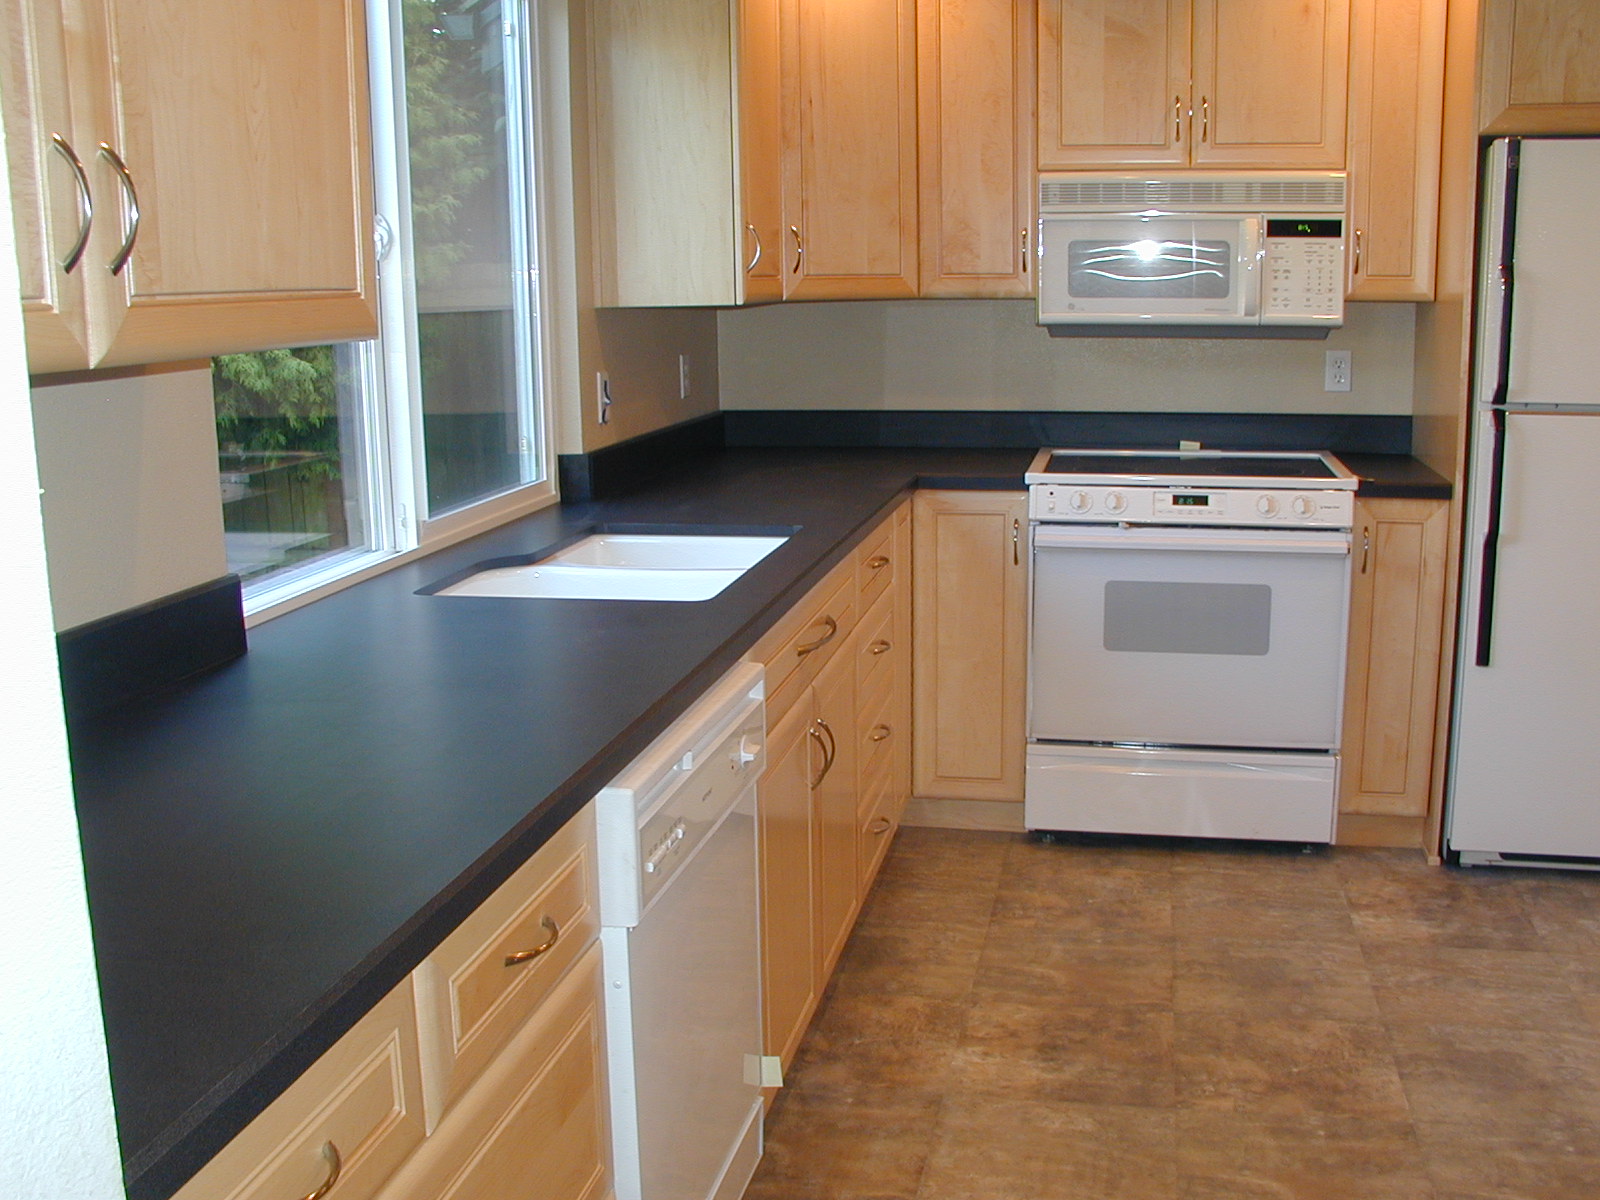
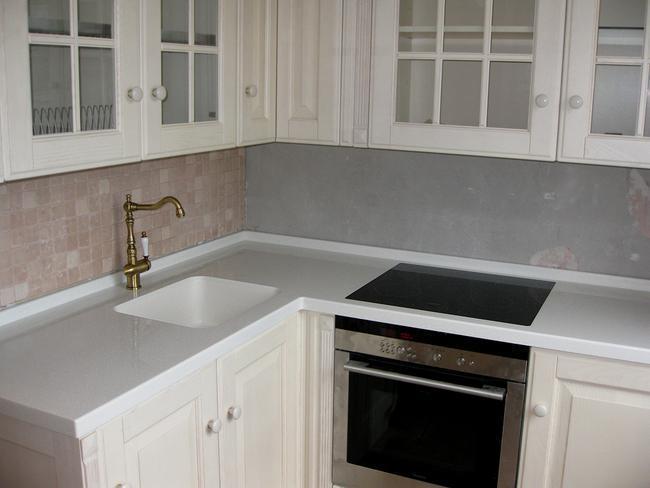
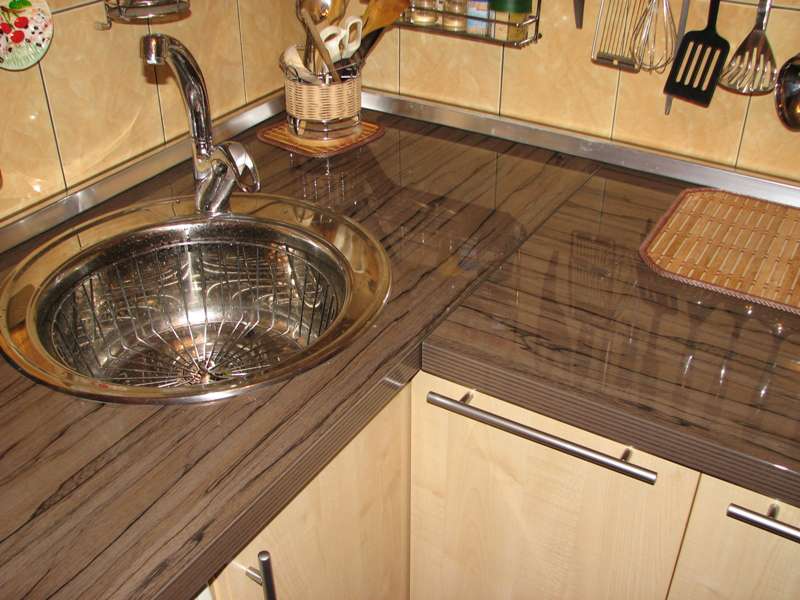
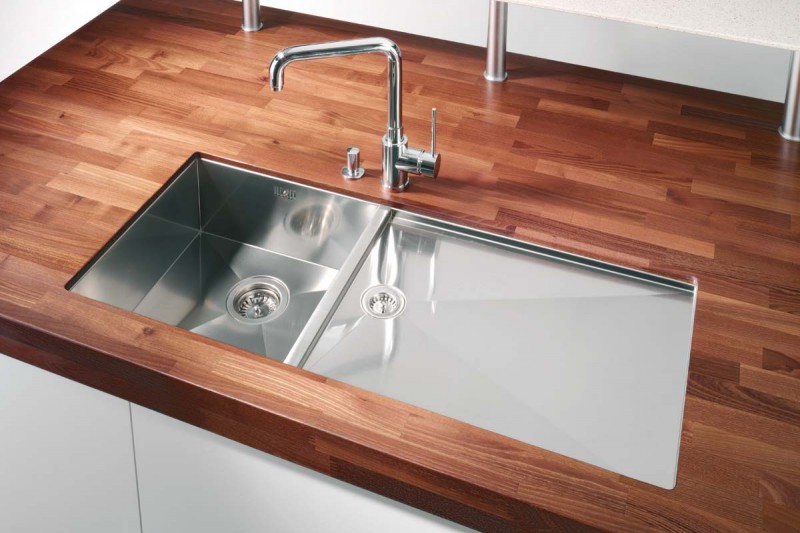
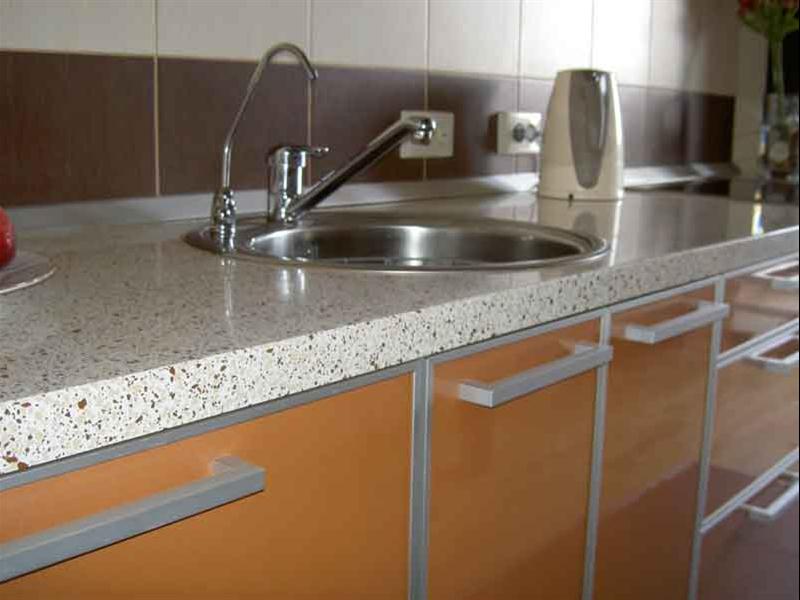
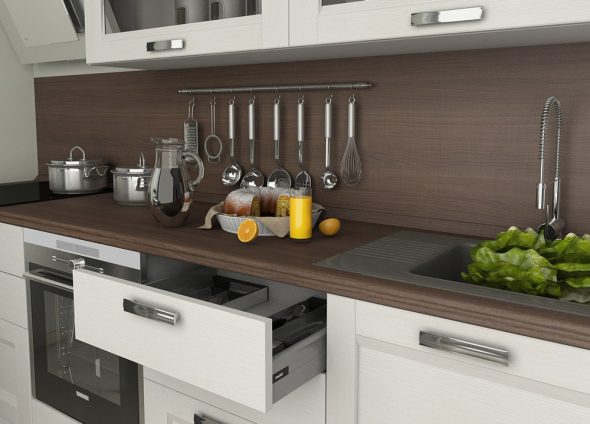
Installing a kitchen countertop with your own hands
- The lower sections of the set should be leveled horizontally, in accordance with the level. If there are protrusions or recesses in the wall, when using a jigsaw, the corresponding shapes should be marked in the tabletop.

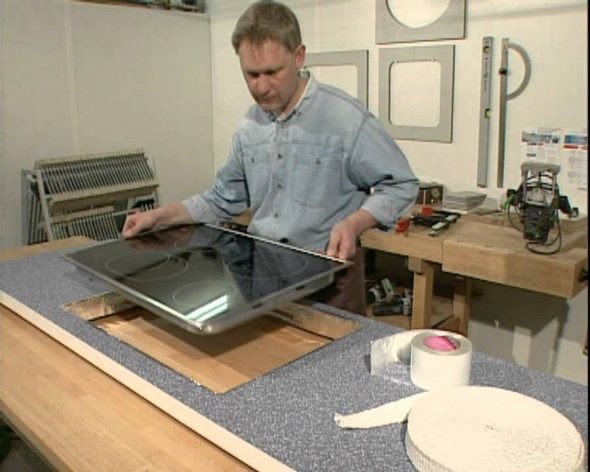
This is necessary so that the plane completely corresponds to the unevenness of the wall. - Then, holes are cut for the hob, and the exposed edges are treated with sealant. The countertop must be screwed to the lower sections of the kitchen set and secured.
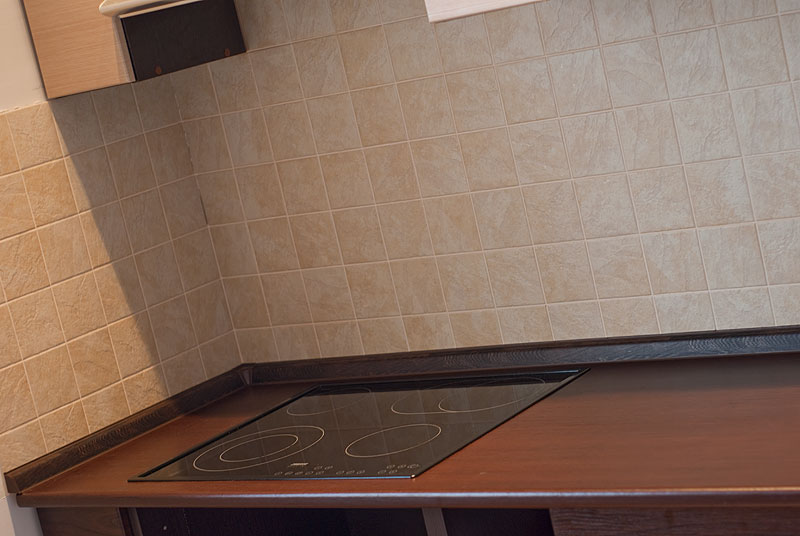
There is no need to secure the tabletop to the wall; a small gap should be left. - Next, you need to identify and secure the hob.

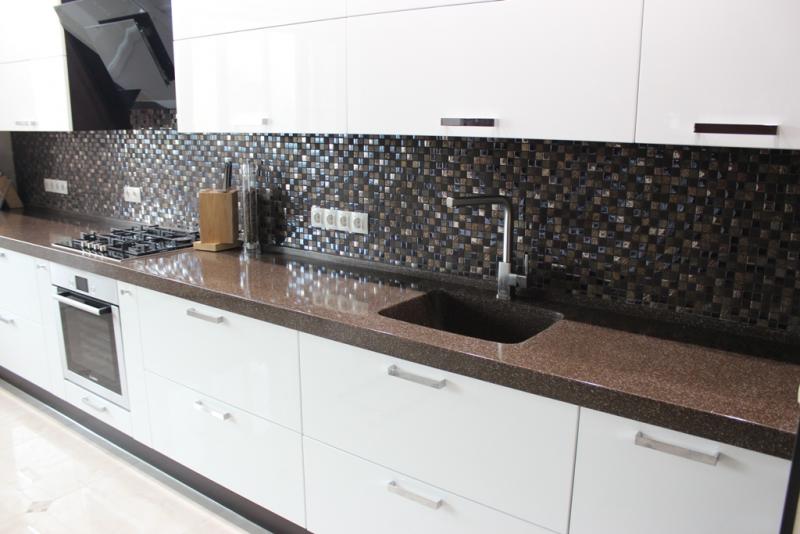
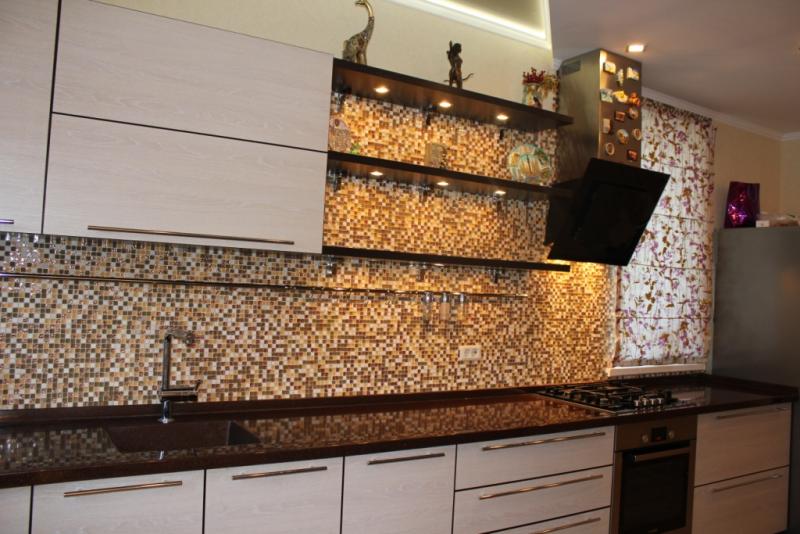
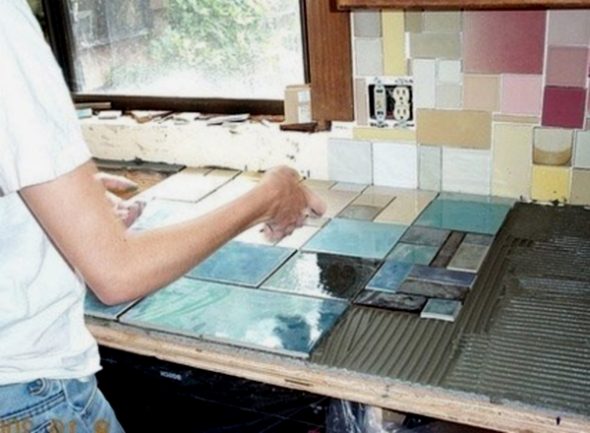
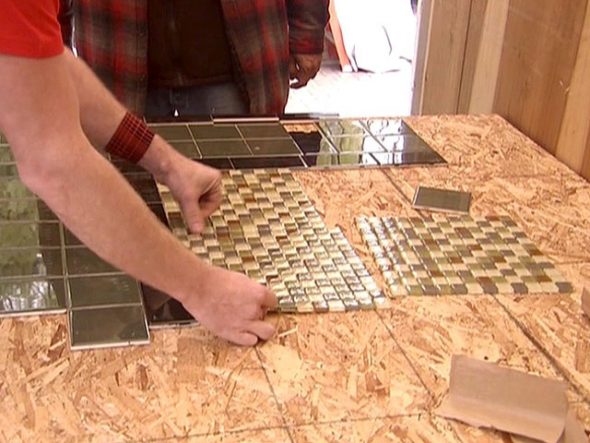
It is inserted into the prepared cutout and secured to the plane with bolts. - Any tile you like can be used to decorate your kitchen countertop.

Apply general construction adhesive to the tiles and lay them on the "base". Do not forget to use specialized crosses that are fixed between the tiles to mark the distance. To insert duralumin or plastic contour profiles, it is important to make recesses on the outer ends until the glue dries.
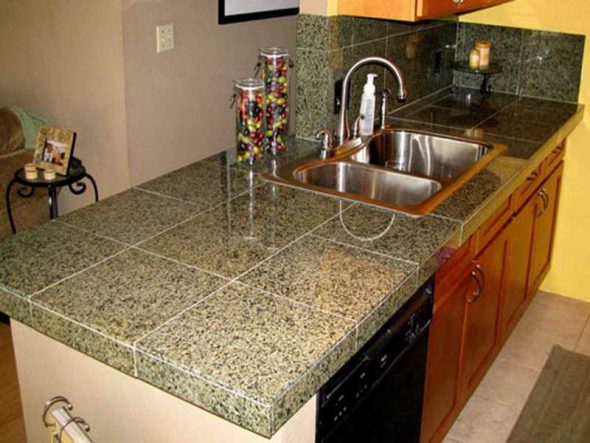
After this, you need to wait 1 to 3 days until the tile adhesive dries completely. - The adhesive layer dries completely in about a few days, two or three will be enough. After complete drying, you should insert the profiles and fix them with a special construction adhesive for tiles, then press them with clamps.
You can start installing the countertop after 5 days.

What tools might come in handy?
Installing a kitchen countertop with your own hands — it's a whole process. And not only from the technical side, but also if we consider this issue from a creative point of view.
So how do you attach a kitchen countertop, or rather, with what? You will definitely need:
- Measuring tape;
- Building level;
- Electric jigsaw;
- Electric drill with attachments.

Decor
How else can you surprise your guests, knowing that installing a kitchen countertop with your own hands is not always an easy, but effective way to show off your talents?
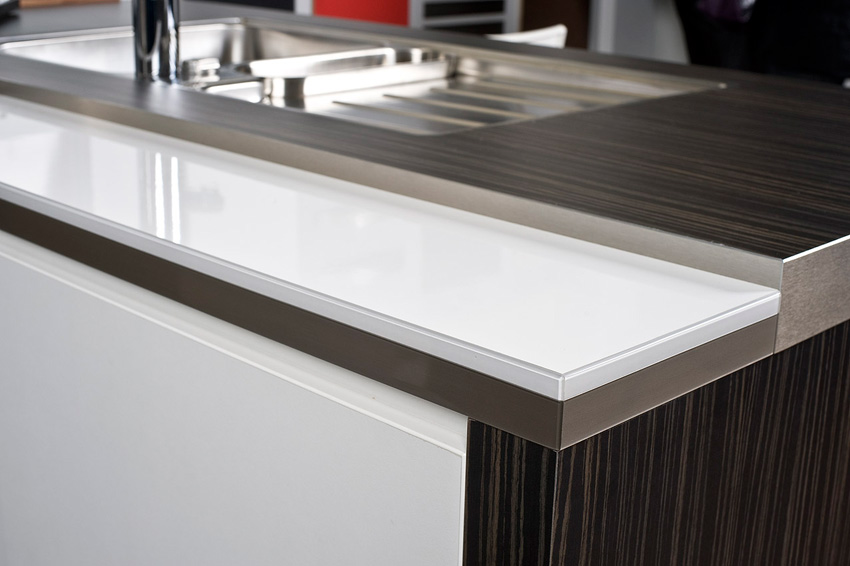
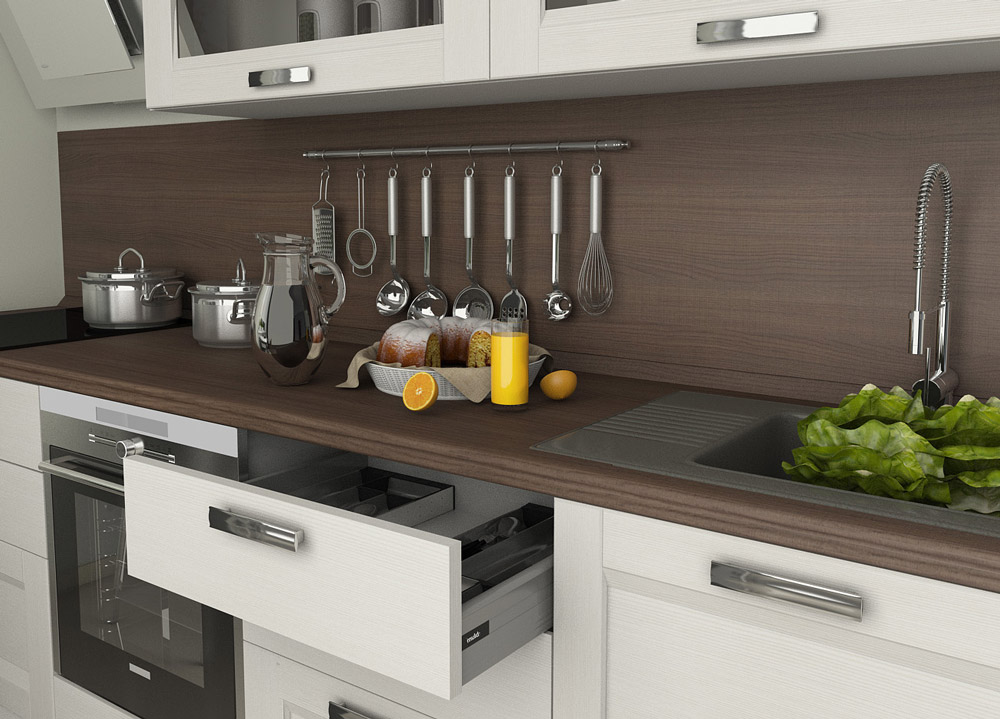
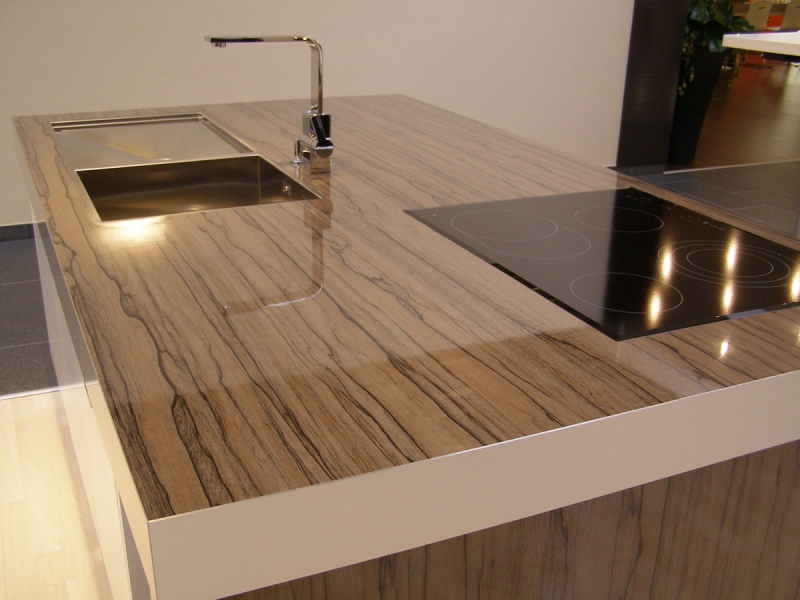
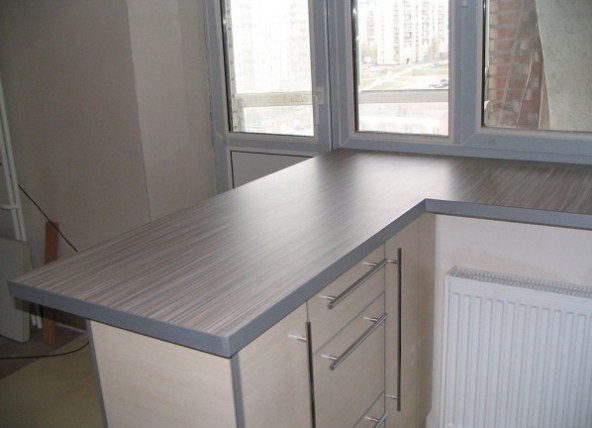
- Laminated surface.
It is difficult to spoil a laminated tabletop with something hot, as well as if you spill water on such a tabletop. You should give preference to a laminated surface if it perfectly “fits” into the style of the room.
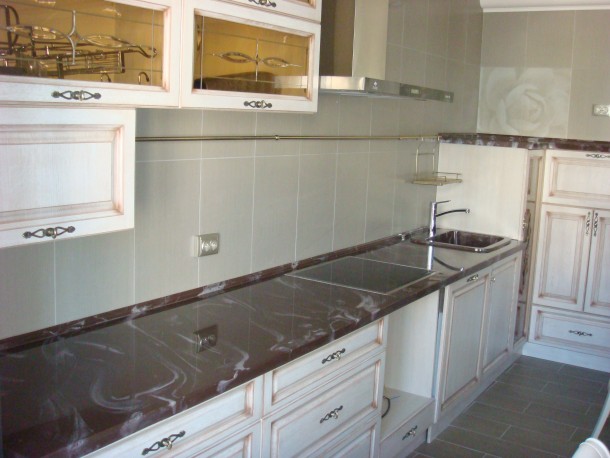
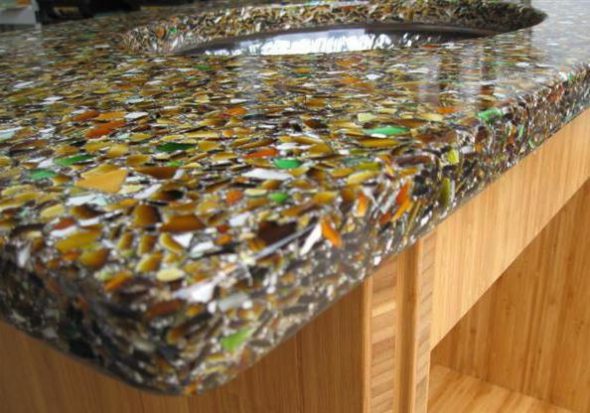
- Table top coated with epoxy resin.
The resin itself is not very cheap, but it will last for many years. It is not advisable to put hot things on it, at least boiling water, but this type of tabletop is ideal for tea drinking with family and friends. Moreover, any elements can be fixed in the epoxy resin itself.
Prepare materials that match the design of your kitchen, as well as those that remind you of something pleasant, and fix them inside the resin. What is important to know? This resin dries well in the open air, it is not advisable to dry it indoors without the necessary amount of air.
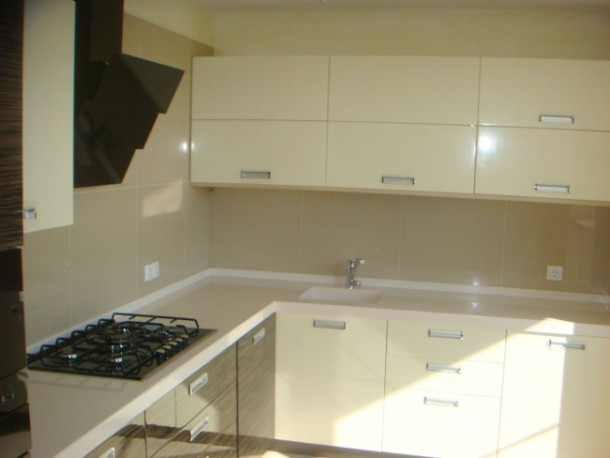
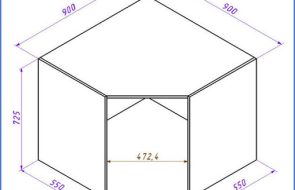
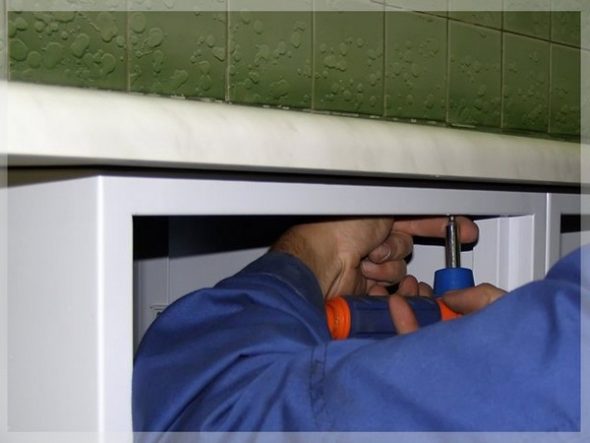
How to attach a countertop to a kitchen unit?
Before installation, unpack the countertop and inspect it for cracks or chips. If everything is intact, the next step is to inspect the level of the lower cabinets. The level must be set correctly. A hole is drilled in the specialized ties located in the cabinet under the very top.
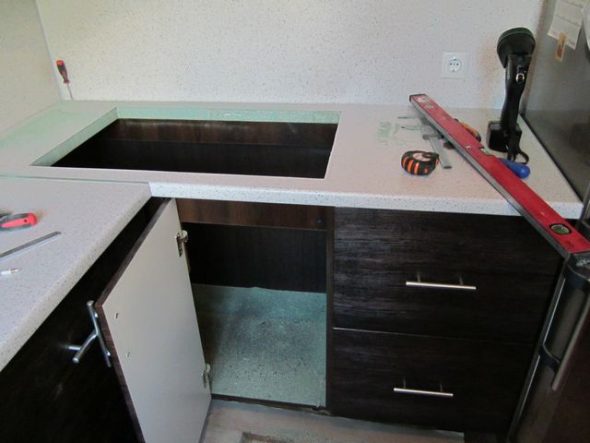
There is no need to secure the product in any way yet. Take a jigsaw and start cutting holes in such a way as not to damage either the cabinets or the tabletop.

Screw the screws through the ties in the cabinets. The installation of the kitchen countertop is complete!

VIDEO: DIY Concrete Kitchen Countertop.
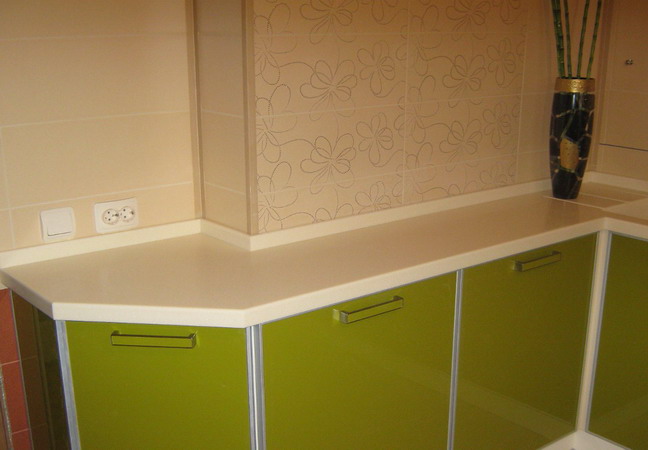
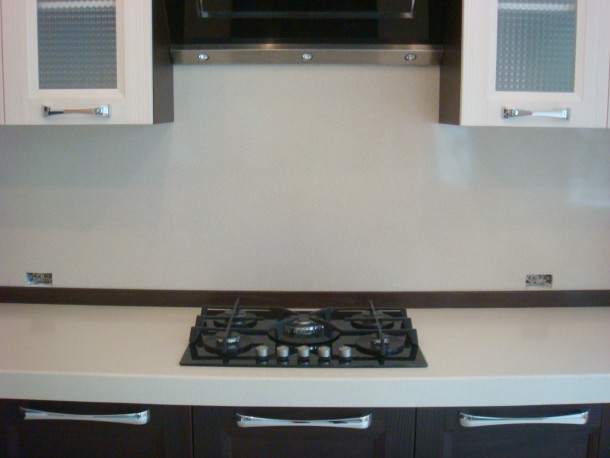
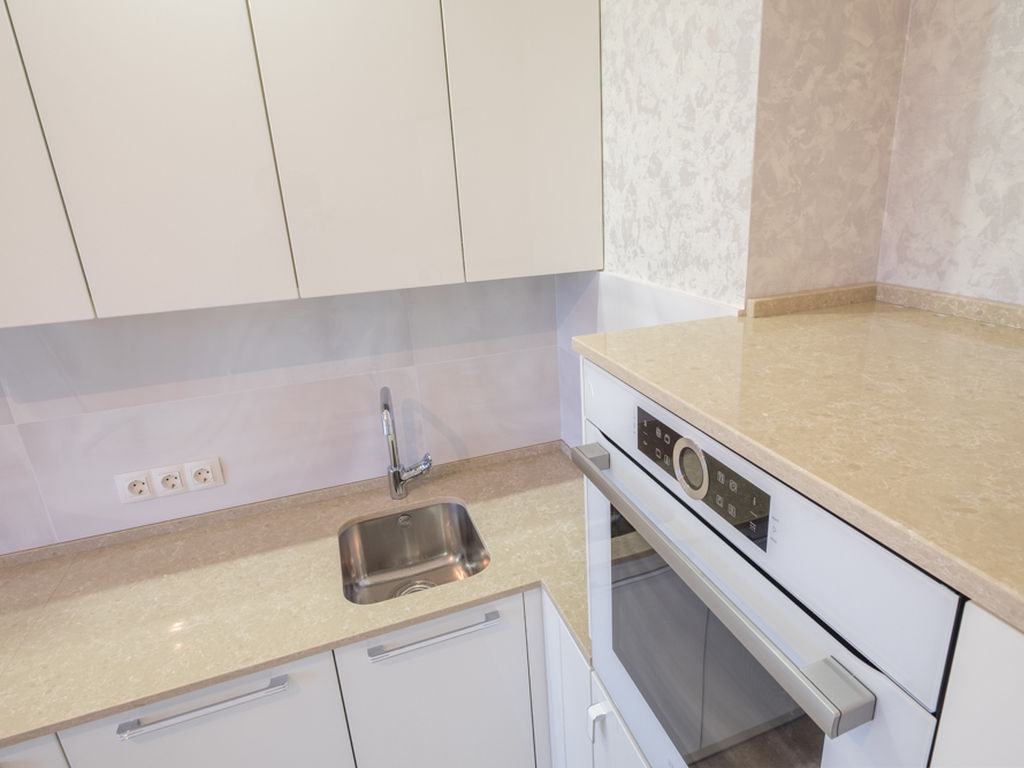
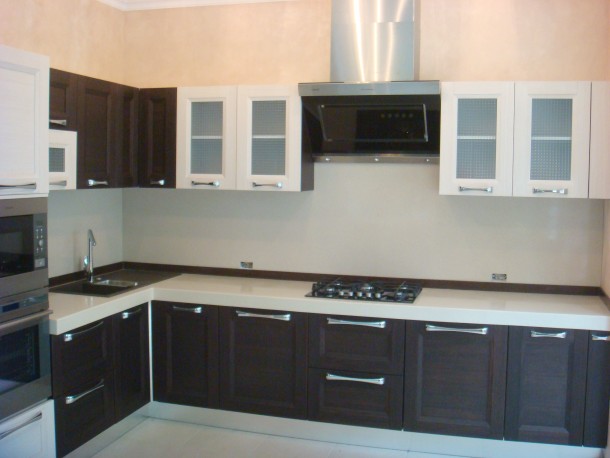
50 Photo Ideas for Kitchen Countertops: