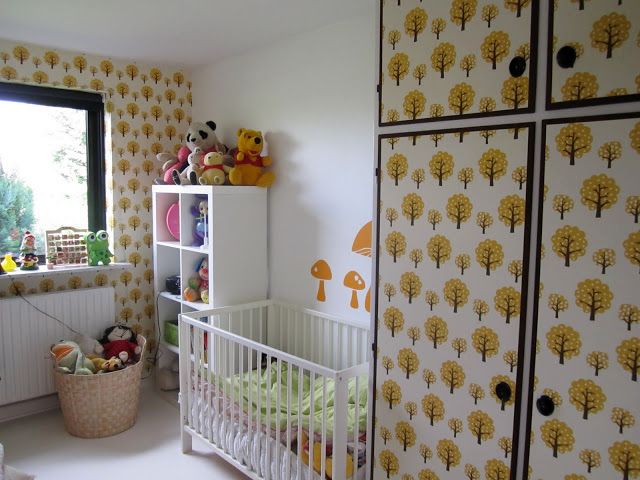
Have you decided to update an old set, or, on the contrary, give an antique look to a new one? In both cases, you will need the "decoupage" technique to help you. This is a well-known way to give new life to old things and give them an unusual look. Perhaps you have seen examples of work in this style on bottles, vases, cups. This is the most common option. But not everyone knows that it can also be applied to furniture.
Content
Peculiarities
Initially, this technique was used to decorate smooth glass and ceramic products. Therefore, its use as furniture decoration has its own characteristics.
In general, the basic principles have not changed. So, its essence consists in transferring the drawing to the surface using napkins. The original uses special napkins, regular paper, or thin paper, on which you can print any image you like. It is slightly soaked, leaned against the glass, covered with several layers of solution (water with glue), then allowed to dry and covered with varnish. The general principle is as follows. Now about the changes.
For any set, wallpaper is used instead of napkins. However, not every type is suitable, and this technique is not suitable for every item.
What furniture can be decorated
There are a few rules to follow to avoid any unexpected surprises during the decorating process. It is desirable that the furniture be:
- varnished or sanded, because the paper will lay better on a flat surface;
- even, this means that not the entire product can be decorated, but only some parts, forming creases and empty spaces on the bends;
- without damage, any chips, dents or other defects will adversely affect the appearance and durability of the decor.
In general, any furniture can be decorated, but not all its parts, and it must meet the criteria described above. Now it remains to choose the right material, and get down to business.
What wallpaper to use
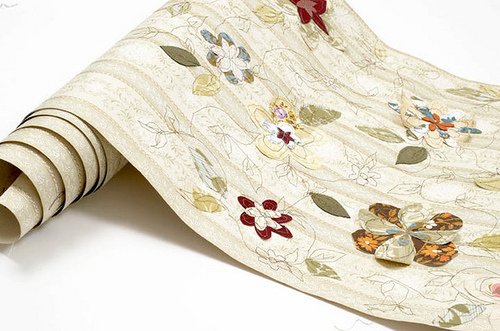
There is a huge variety of wallpapers on the modern market: paper, non-woven, textile, vinyl, self-adhesive, silk-screen, etc. But not all of them are suitable for decoupage.
The first rule is that the base should be paper and easily soaked, so textile and silk-screen printing, not to mention liquid, fade into the background. The most commonly used are ordinary paper, vinyl, photo wallpaper and self-adhesive.
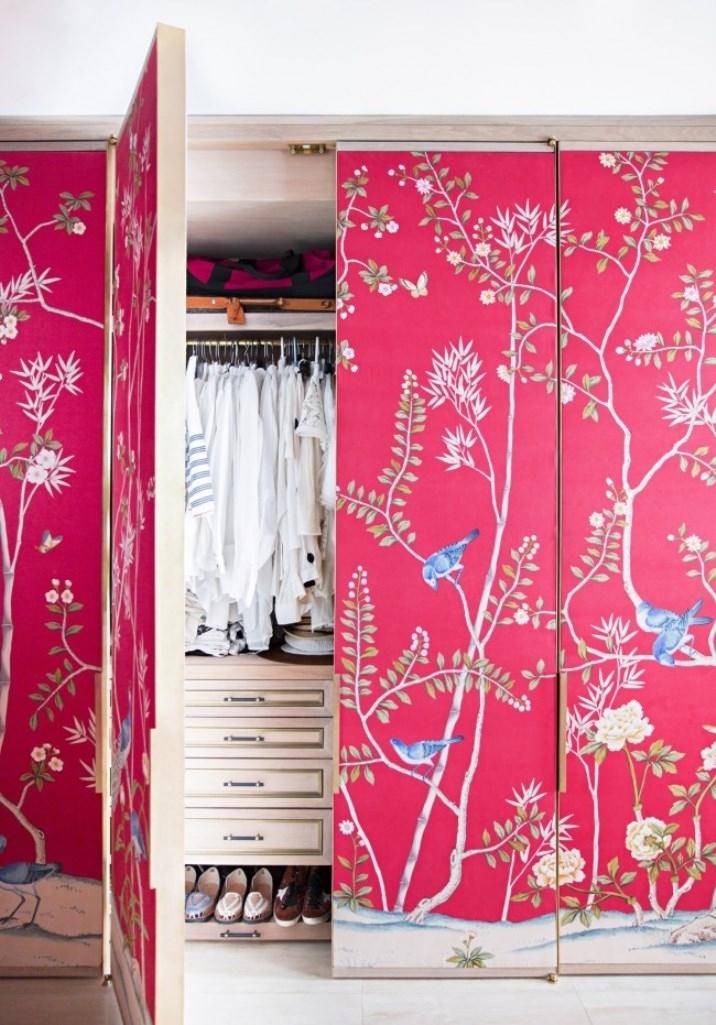
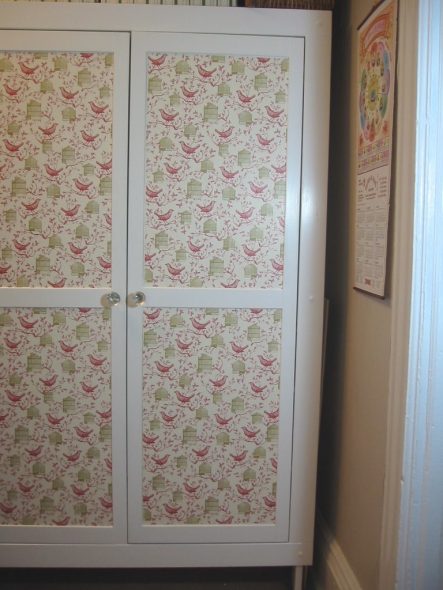
You can use either the entire canvas with the selected print or a separate part of it. Experimenting with small sizes is, of course, easier. But if you decide to decorate a cabinet door, you will have to work hard. Before starting work, let's choose the appropriate type of equipment.
Types
There are several options for decoupage. They vary depending on the base used.
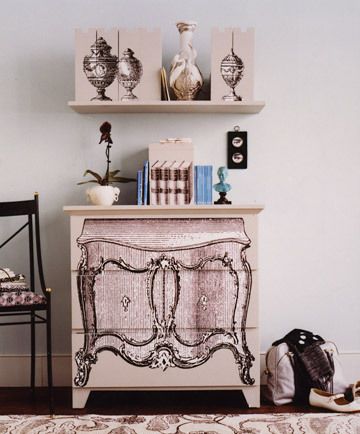
- Classical

Elements for classic cut-out decoupage
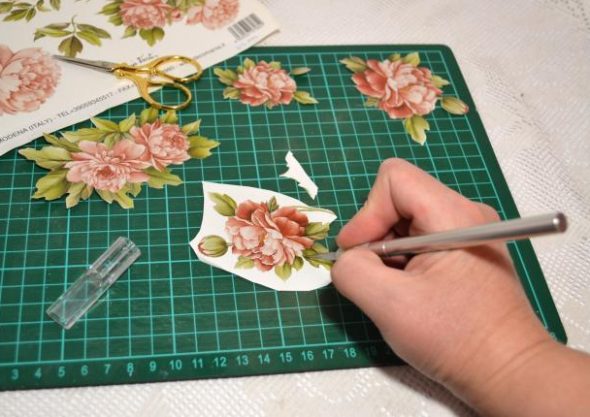
It is used for any plane. This method relies on the original principles: a canvas with a pattern is applied, covered with water and glue, then varnish. Mainly paper and vinyl base is used.
- Art

Notebook cover made using artistic decoupage technique
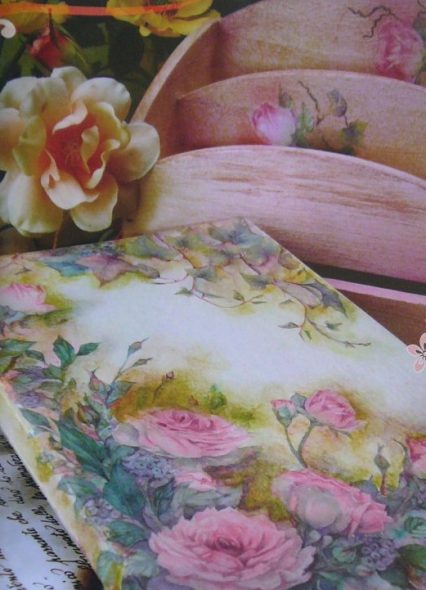
The technique of execution is no different from the previous one. The only difference is that in this case decoupage is part of an existing composition and must be adjusted to its laws.
- Back

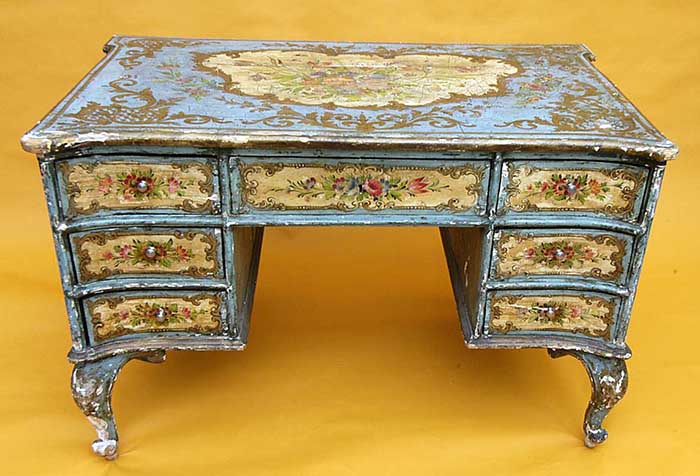
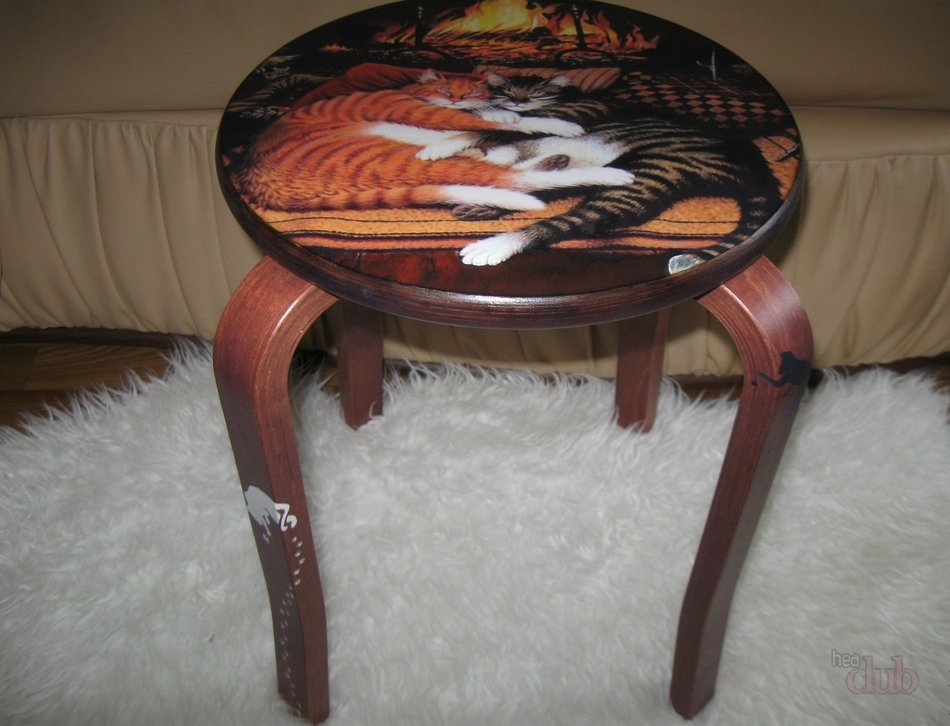
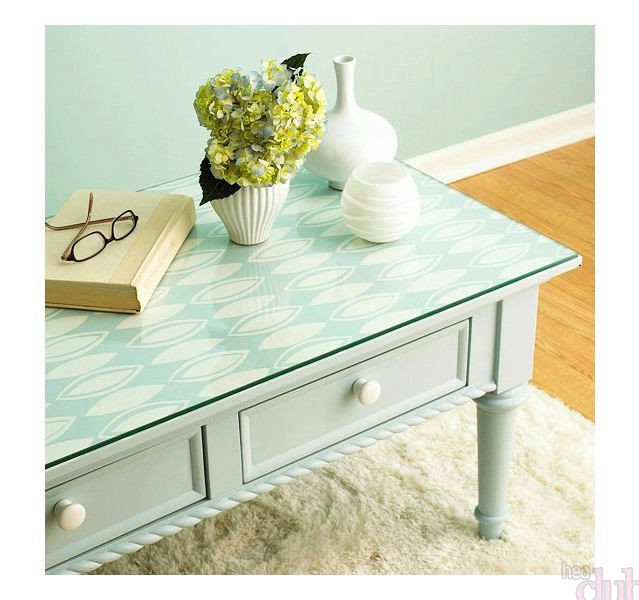
Decorating the tabletop on the back using the reverse decoupage technique allows you to put anything on it without worrying about scratching the varnish layer
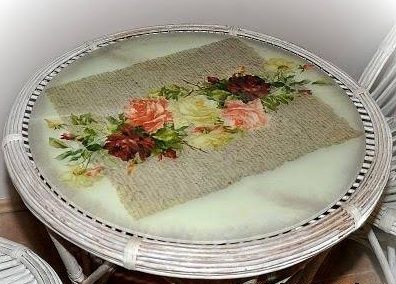
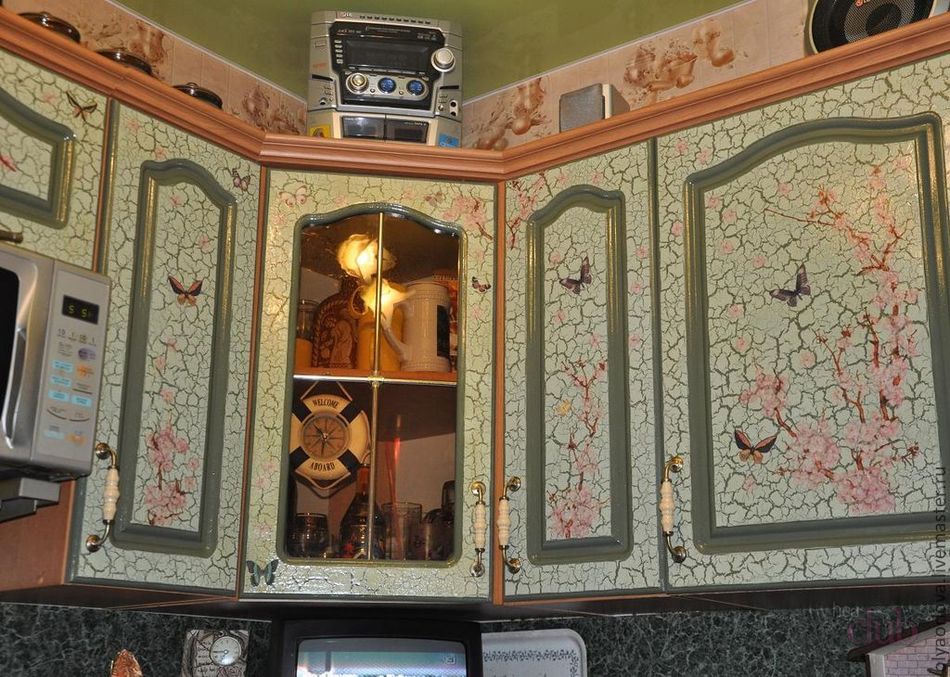
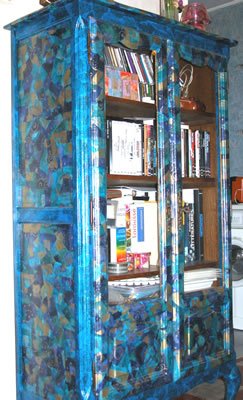
It is used for glass surfaces (cabinet doors). The procedure is the same as in the original technique. In this case, the creation does not need to be varnished.
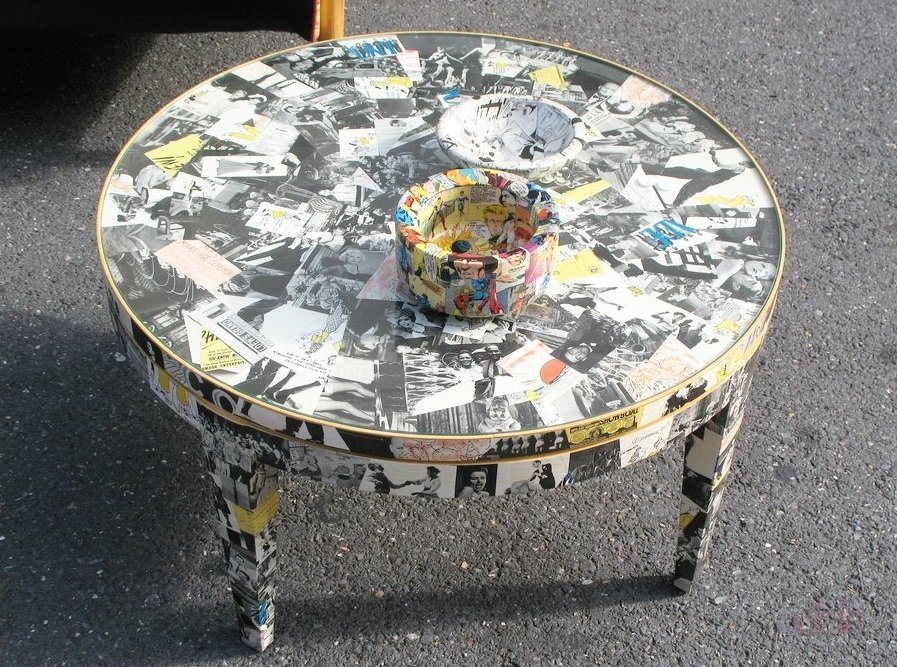
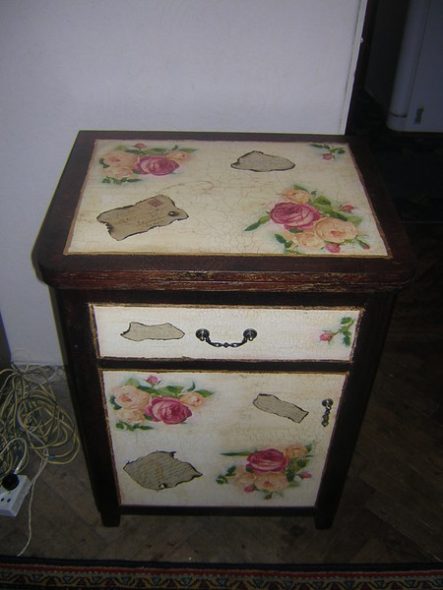
- Deco Patch

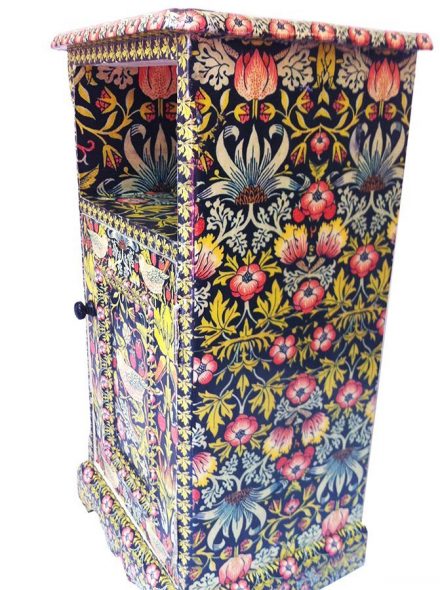
Deco patch is a good way to update old furniture, because scraps of colorful paper can cover all the defects.
A style similar to patchwork. They have one thematic basis: for decoration, the product is pasted over with various pieces of paper in a chaotic order. The method of execution is no different from the classic one, only the appearance and materials will differ.
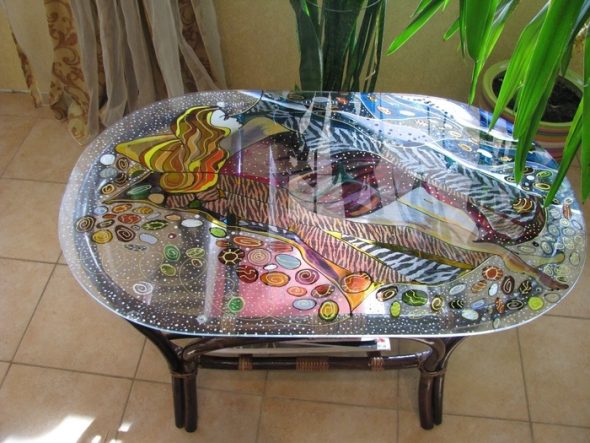
- Volume

Volumetric decoupage is the most interesting way of decorating
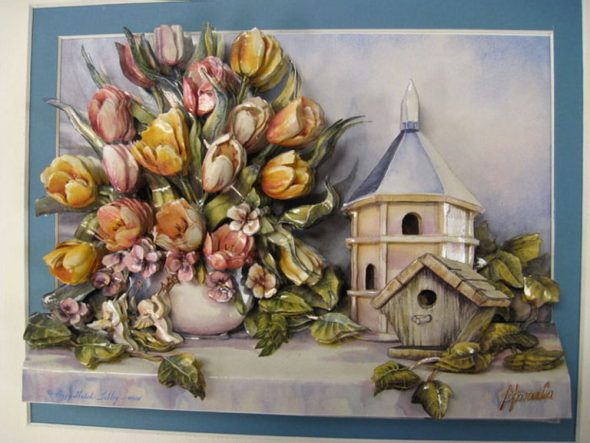
It has admixtures of the technique of "end-cutting" - creating three-dimensional pictures using paper. It is more difficult to perform, requires more materials, and is not suitable for every direction and product.
We will take as a basis the classic version using paper wallpaper, and consider the principles of performing the work.
Let's get down to business
Do-it-yourself decoupage of furniture with wallpaper is carried out in several stages. Each of them has its own significance, and none can be skipped.
| Stage | Materials and tools | Result |
| Selection of materials | Paper wallpaper, PVA glue | The execution style has been selected, the base with the image you like, additional tools |
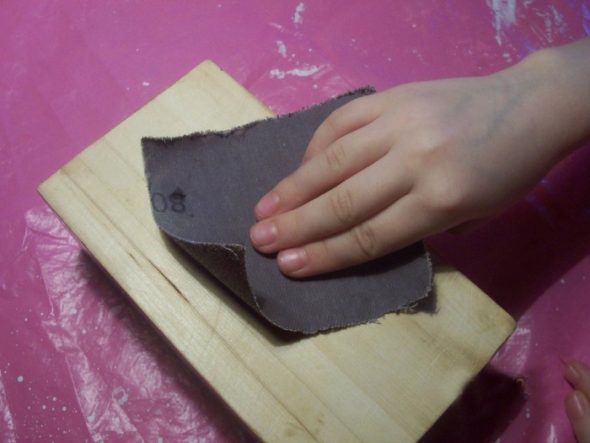
| Surface preparation | Sandpaper, putty, solvent | All paint residues have been removed, the surface is smooth, treated with putty and ready for further decoration. |
| Taking measurements | Tape measure, stationery knife, pencil | The working surface was measured and the material was cut according to the measurements. |
| Main part | Image, PVA glue, water, roller | Wallpaper is applied to the surface, covered with a layer of water and glue solution, and smoothed out |
| We open it with varnish | Wood varnish, brush | The dried drawing is covered with varnish |
Now we can look at the action plan in more detail.
Preparatory stage
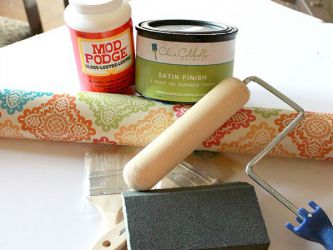
At this stage, the main task is to choose the appropriate type of equipment, the wallpaper you like, and prepare all the necessary materials. It is better to make a plan and write down in it what you will need in the future - this will help you not to be distracted by purchasing various parts in the process, and to do the work faster and better.
It is also necessary to take measurements and, in accordance with the data obtained, cut off the appropriate amount of material. This is best done using measuring instruments. Since determining the distance "by eye" can have significant errors.
Don't forget to prepare the surface for further work. It should be cleaned from dirt, from paint residues, rubbed with sandpaper and covered with putty. Having completed these preparatory procedures, it will be easier for you to apply the image, and the decoupage will look great and last longer.
The main part and the final stage
In the decoupage direction, the main role is played by preparatory procedures. If you approach their implementation correctly, the main part will be quick and easy. We have already chosen the necessary wallpaper, made measurements, prepared the surface. Now it's a small matter.
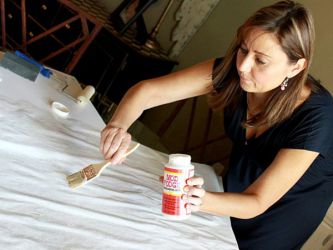
Apply the prepared image to the area to be decorated and smooth them out. Do not rush to start fixing. Choose the most convenient location, remove creases and unevenness. Now we start overlapping. First, prepare a solution of water with glue (calculate the amount approximately, based on the area). Make sure that the glue dissolves completely and forms a homogeneous liquid. It is better to use warm water for this (but not hot!).
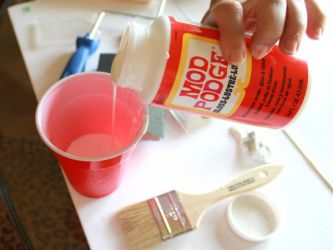
Now carefully, using a brush, cover the entire drawing with this solution. It will be easier to work here than with napkins, since the wallpaper is denser and will not initially stick to the brush.
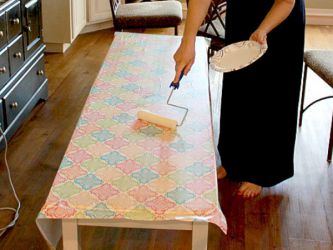
Apply several layers of the solution until the material becomes slightly wet and pliable. Smooth the surface with a roller.
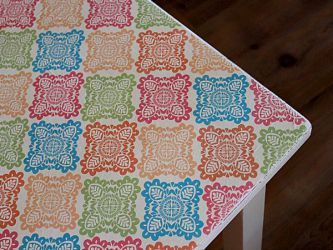
Let the product dry and move on to the final stage. Now all that remains is to varnish our creation. Before doing this, be sure to make sure that the image is completely dry. Otherwise, the varnish will not be applied well, and mold may form underneath it later.
What style will emphasize
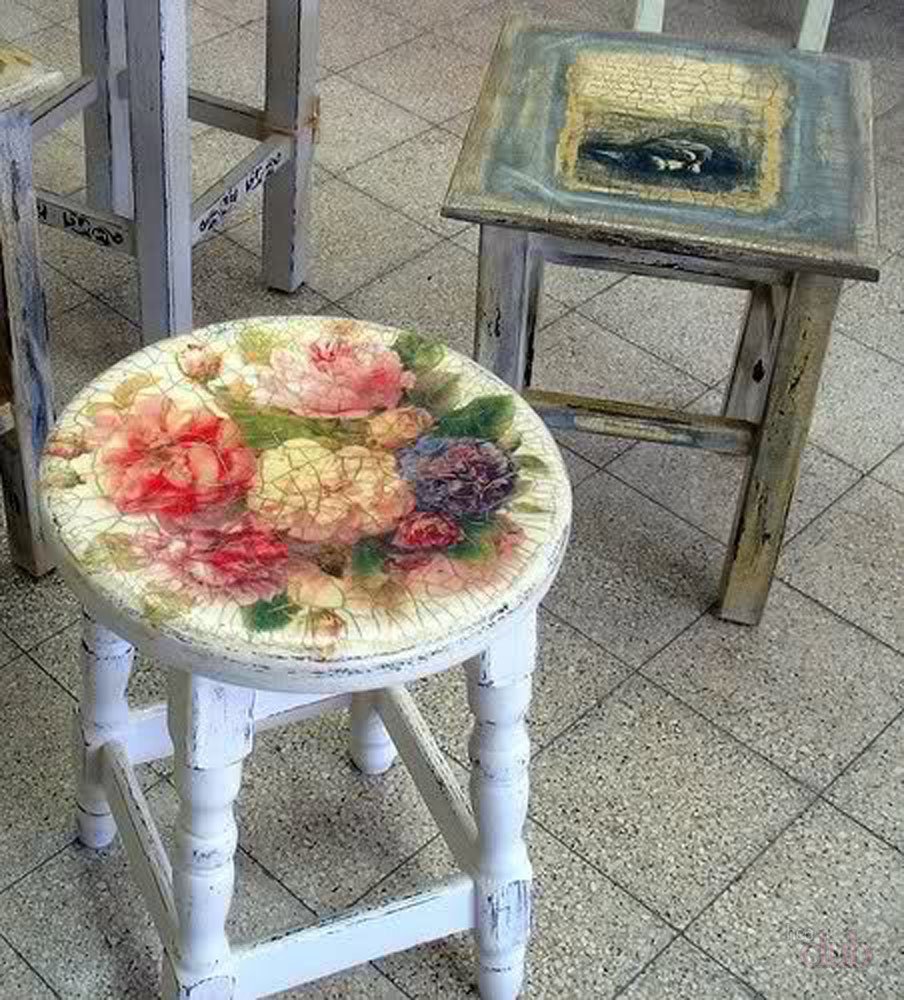
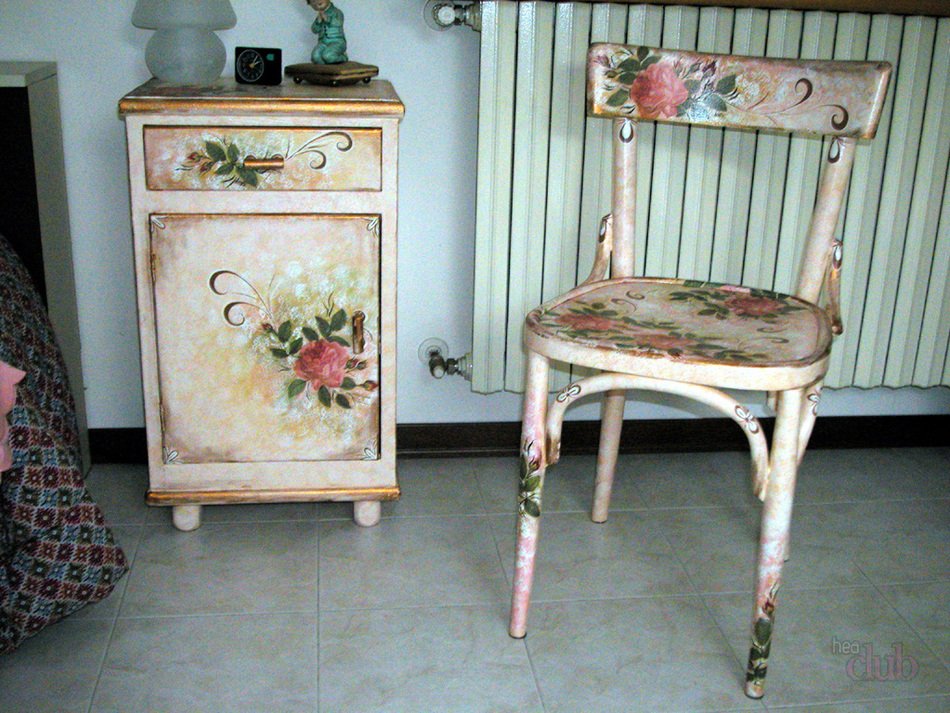
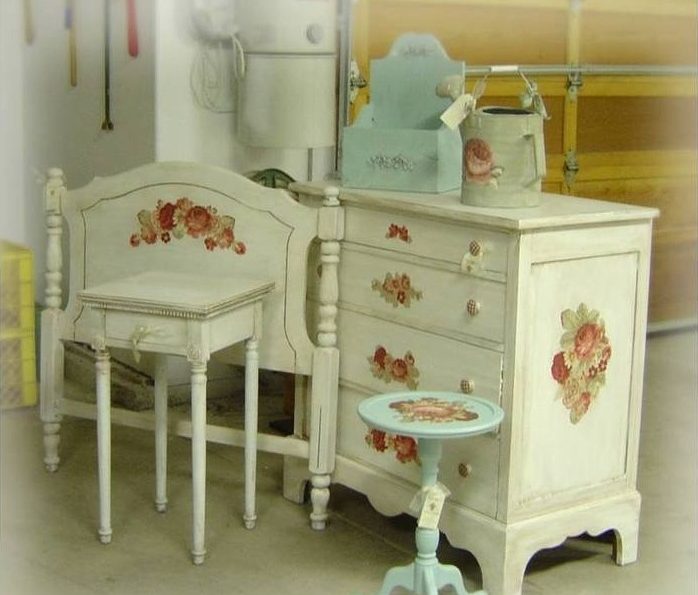
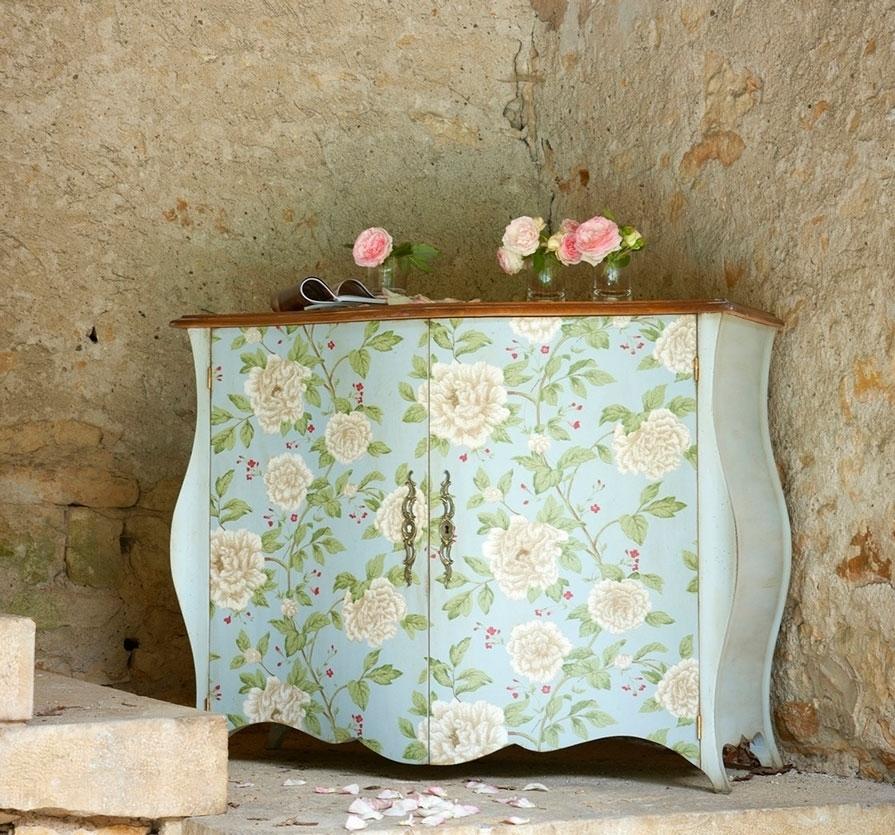
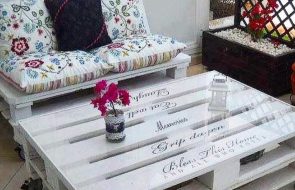
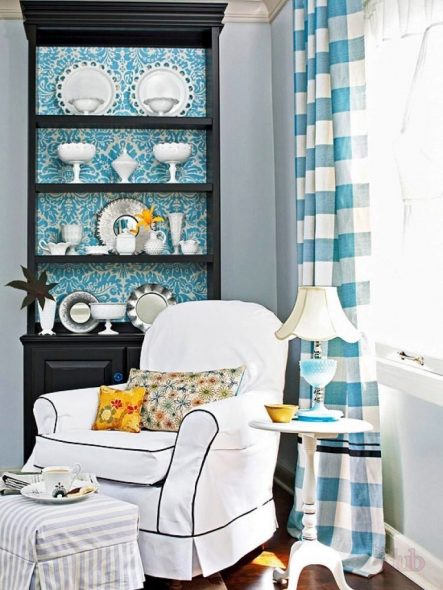
Furniture decorated in this way will suit a limited number of styles. Because after this treatment it will have an aged look. Also, decoupage is often used with various techniques that give the product an antique look. Thus, deliberately aged and shabby creations will be accepted by Provence, vintage, retro, art deco.
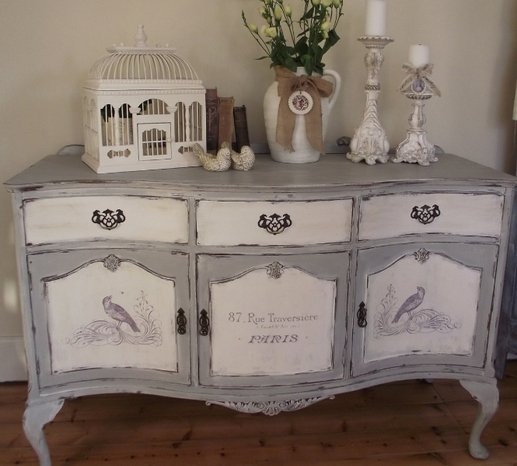
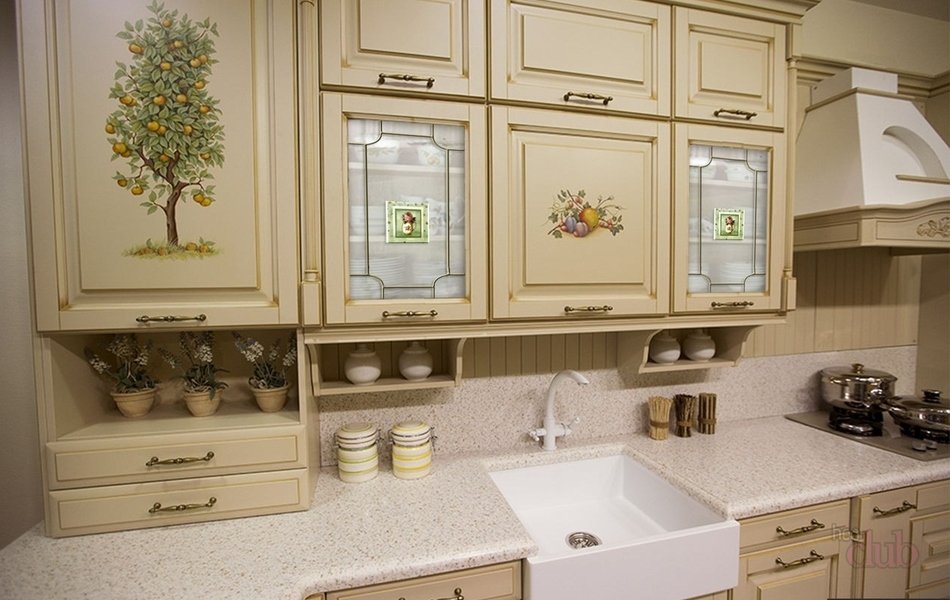
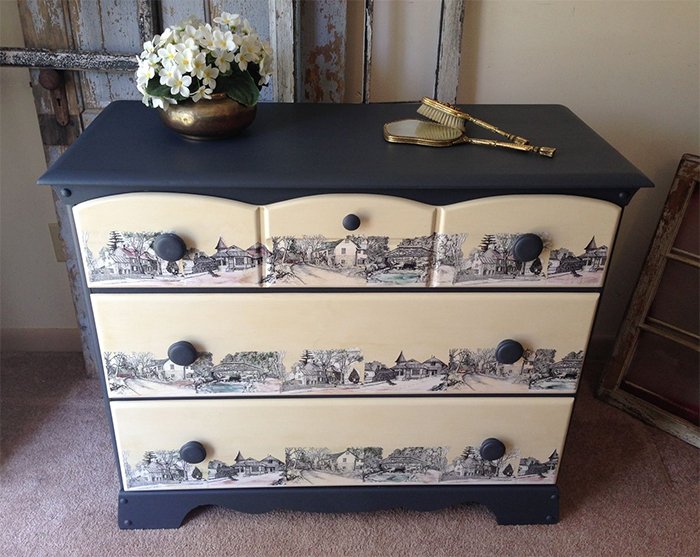
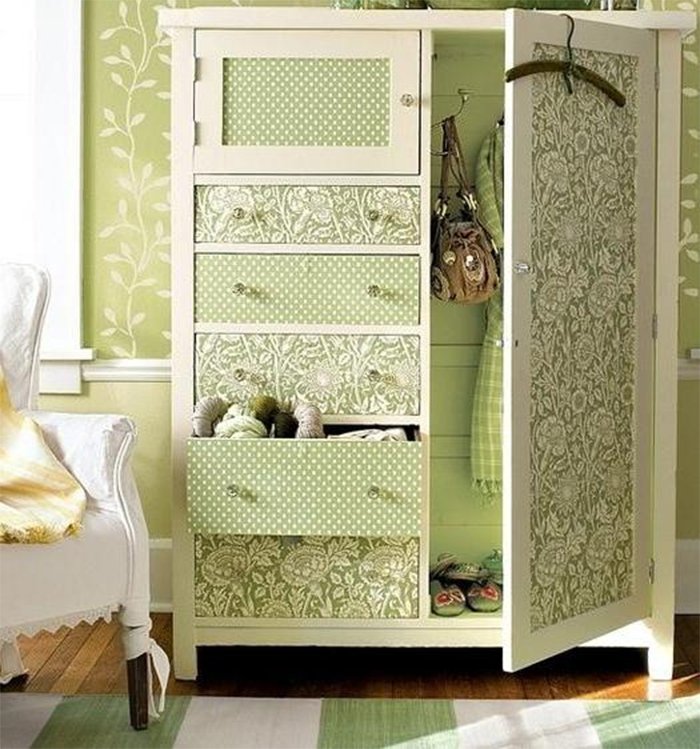
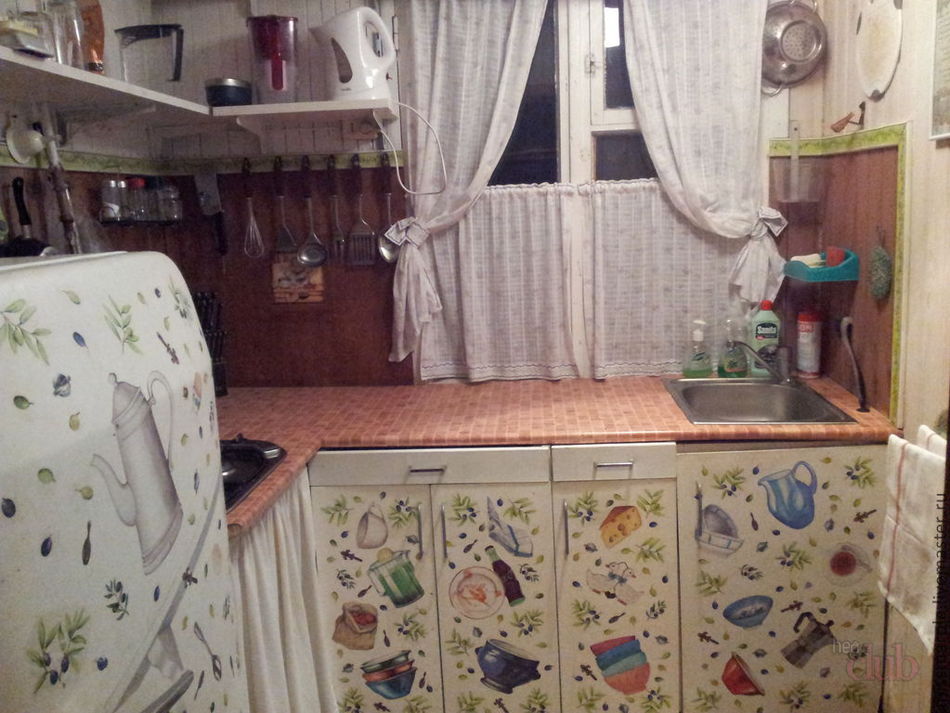
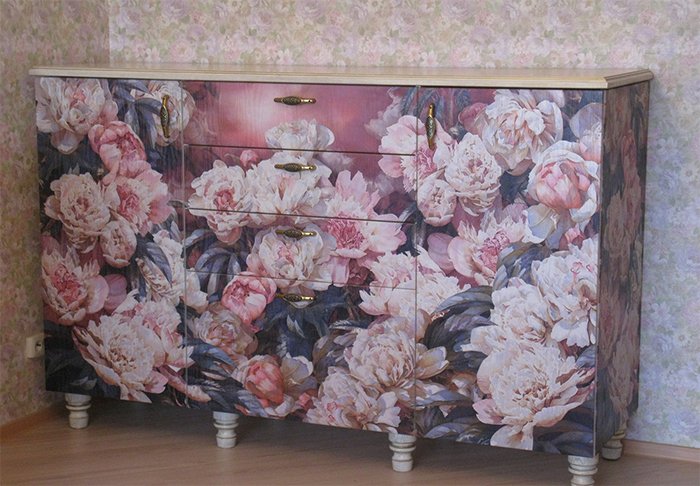
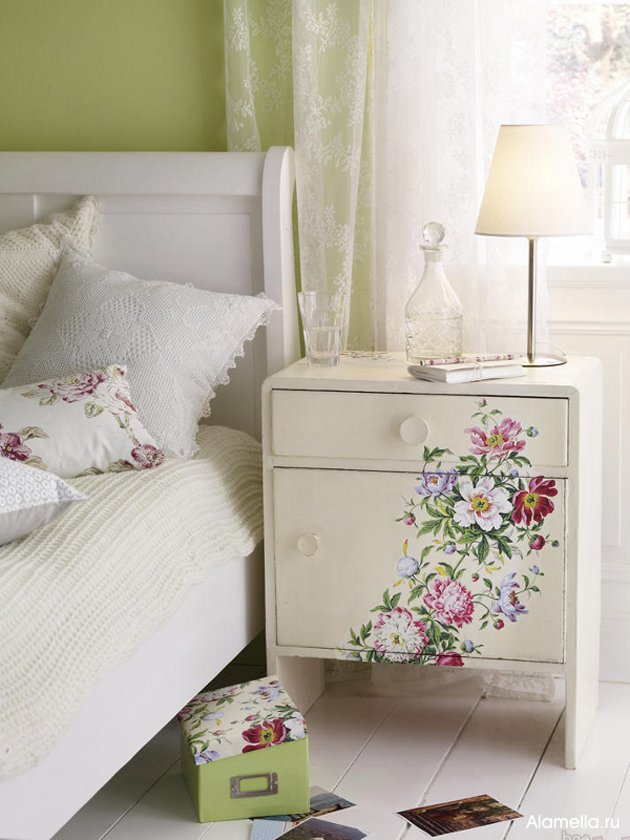
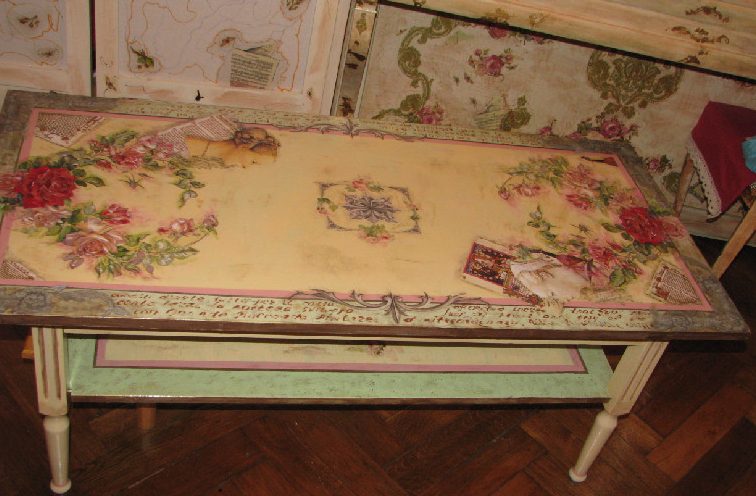
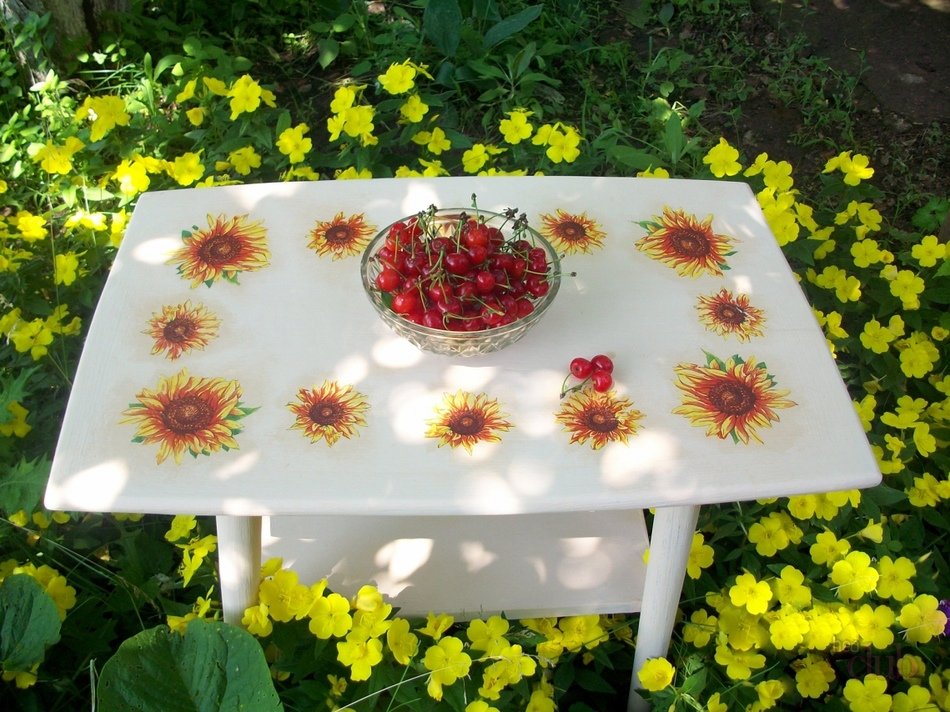
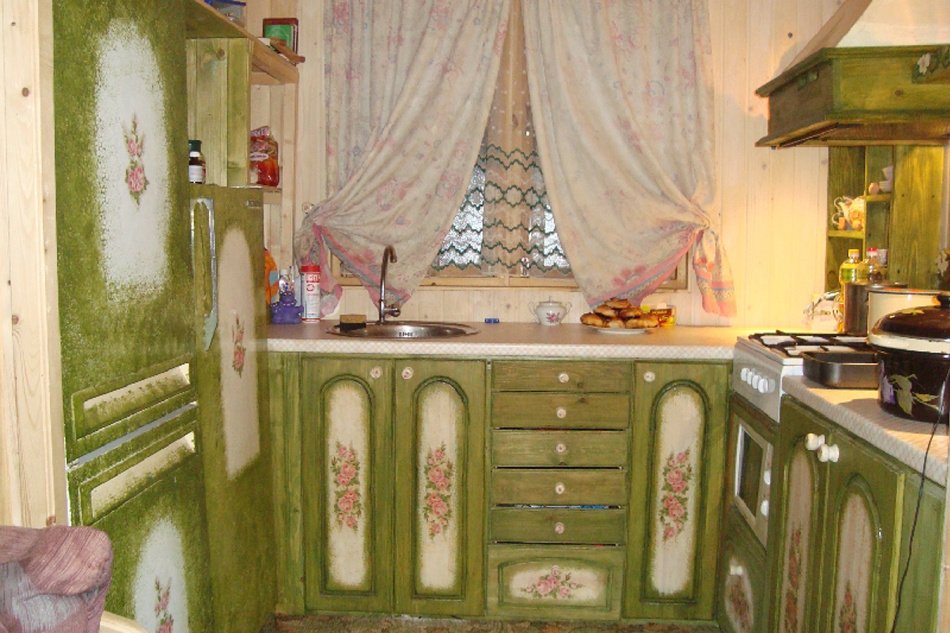
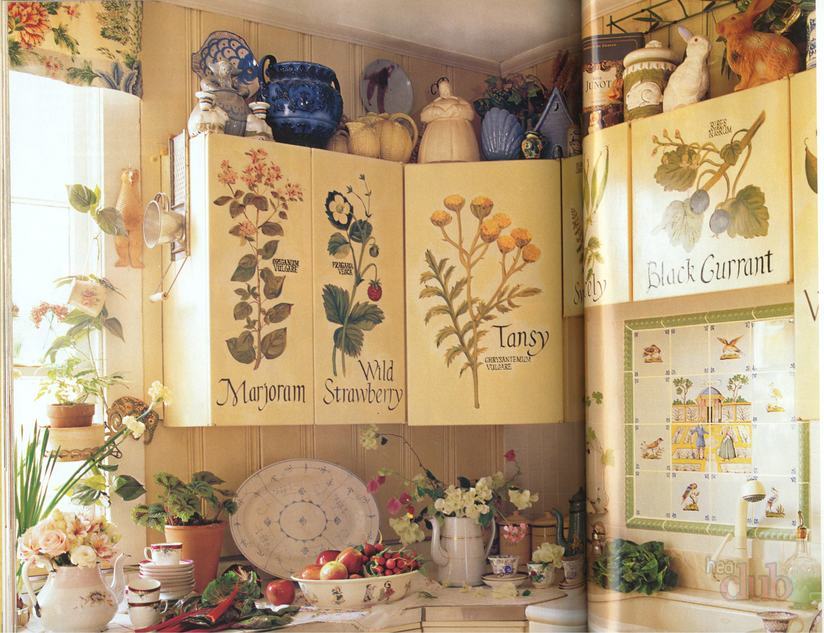
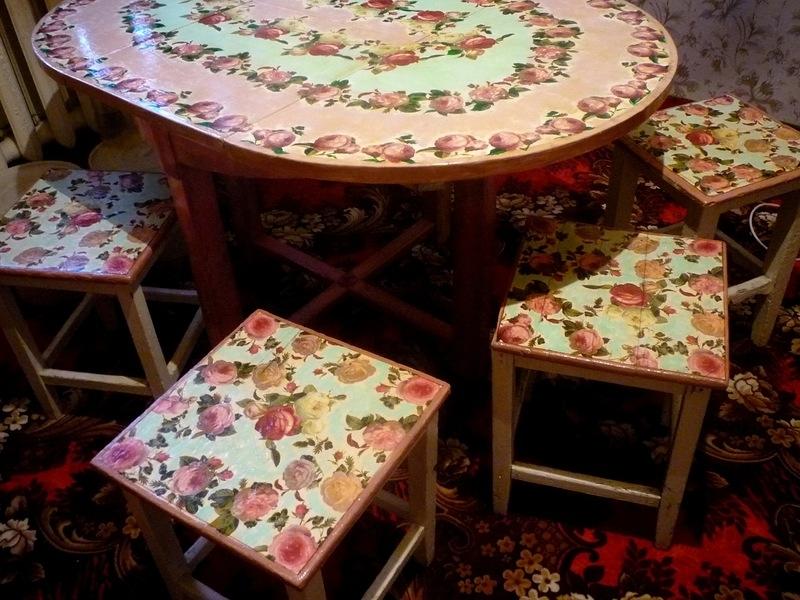
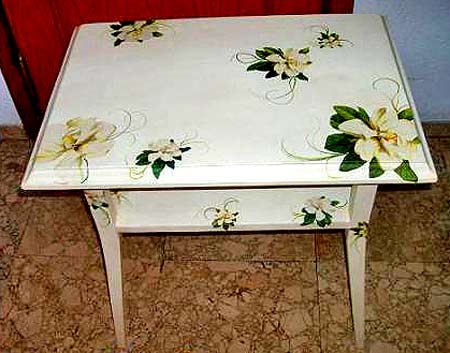
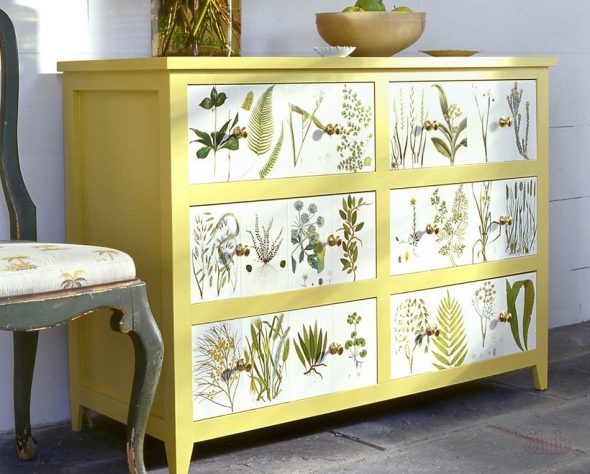
Provence loves old things, natural shades, various pieces of furniture and kitchen utensils. The latter can be decorated using the proposed technique. As a pattern, it is better to choose village motifs: flowers, cockerels, chickens, images of the sun and herbs.

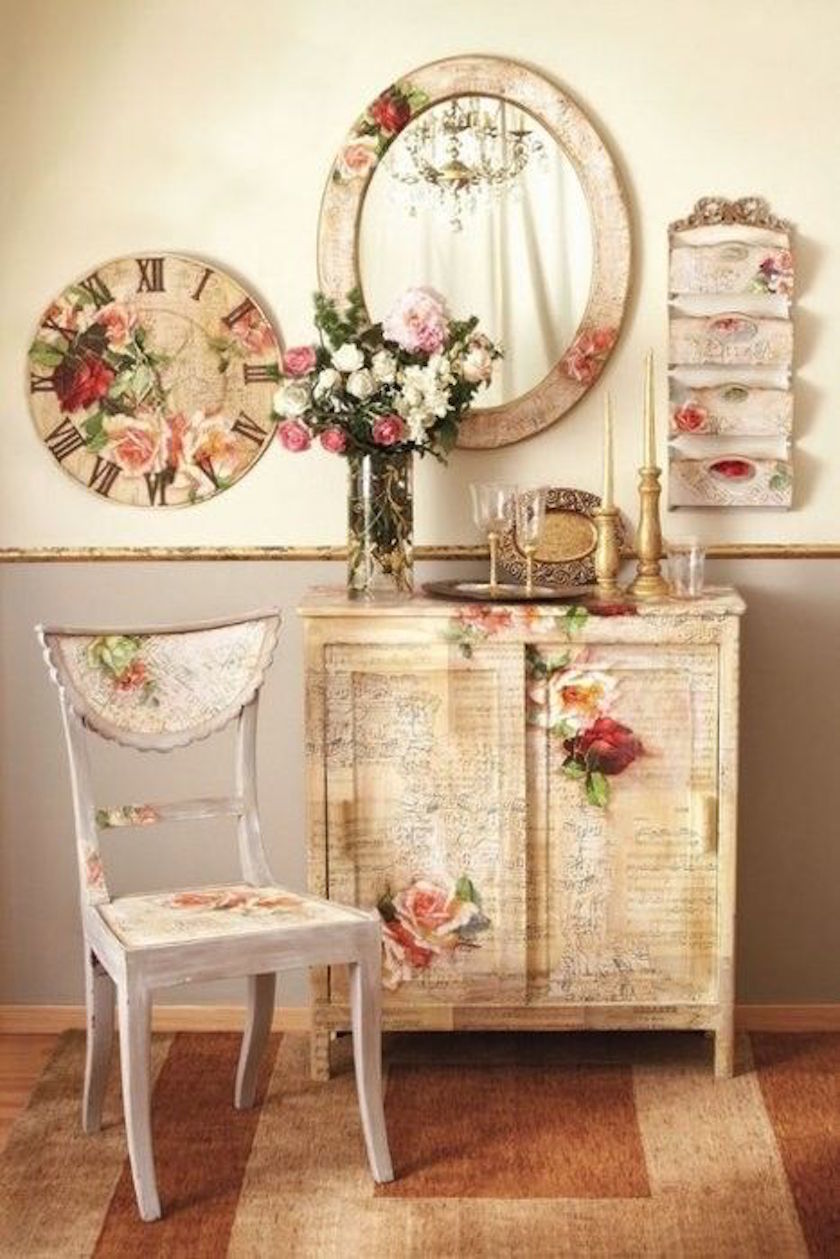
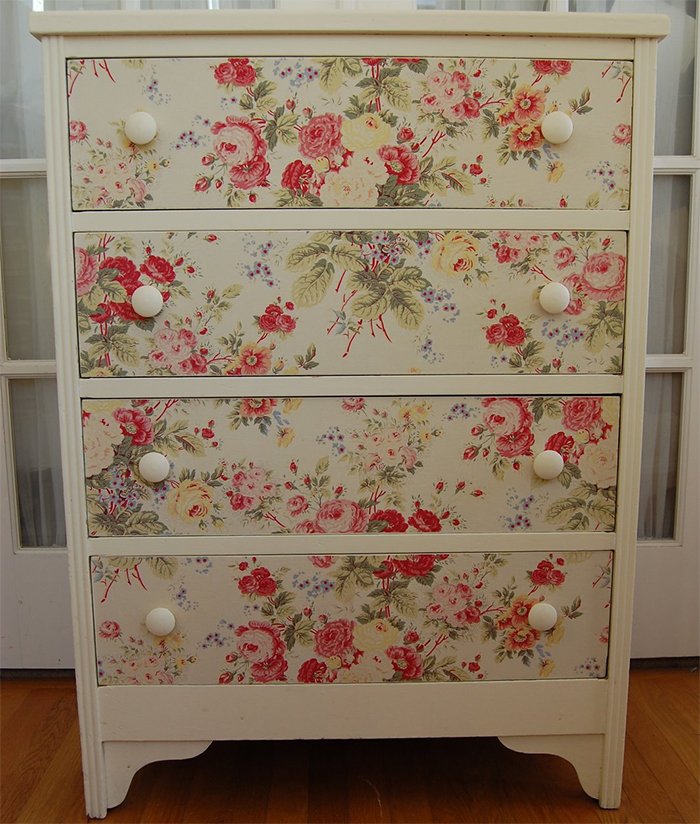
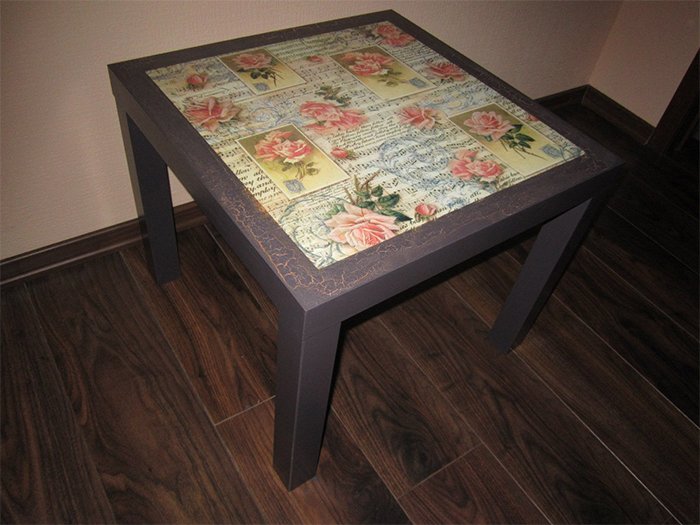
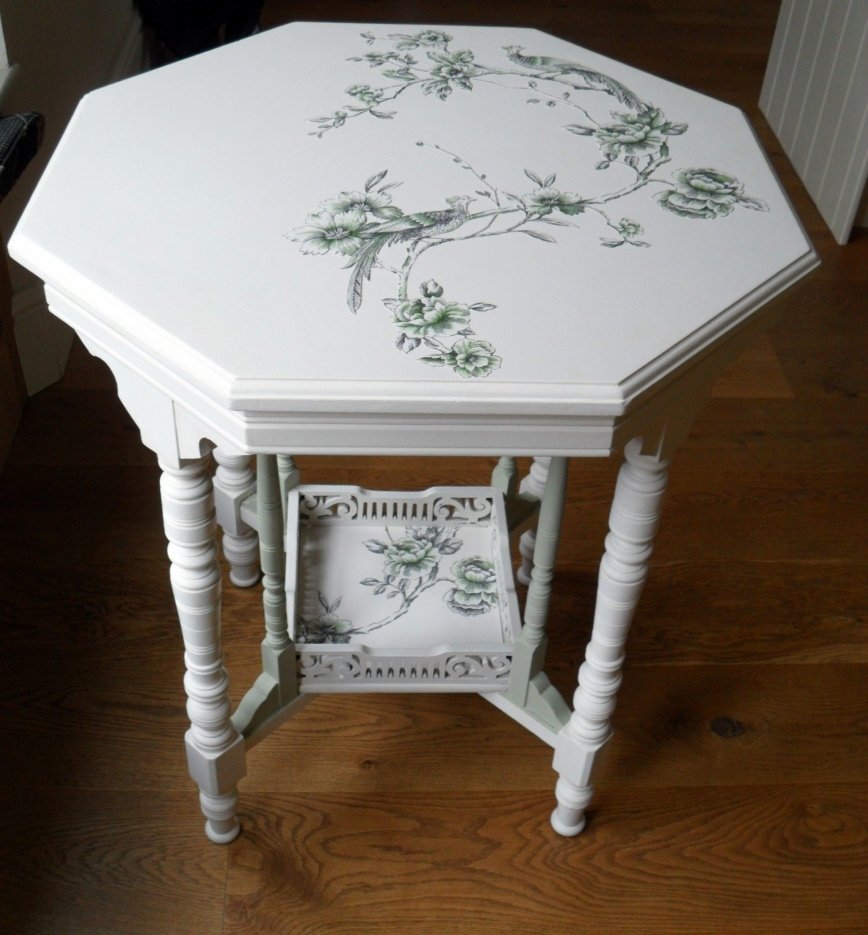
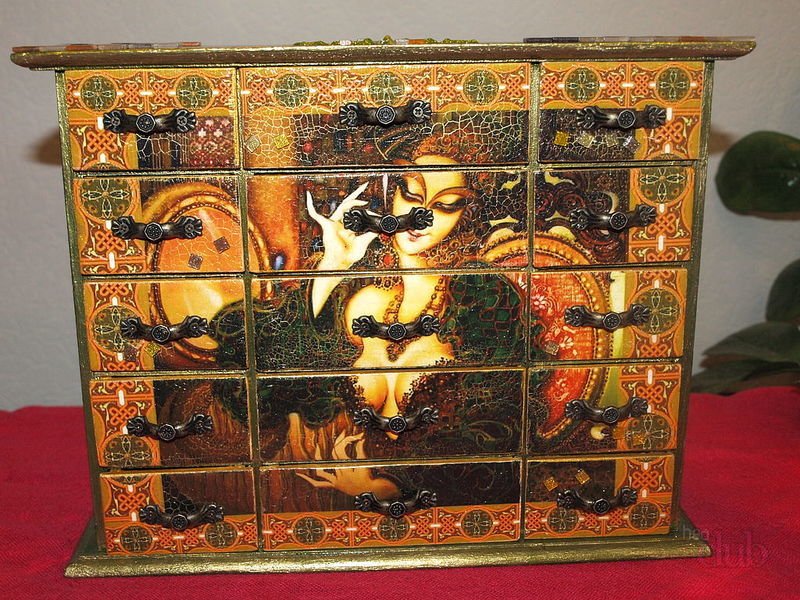
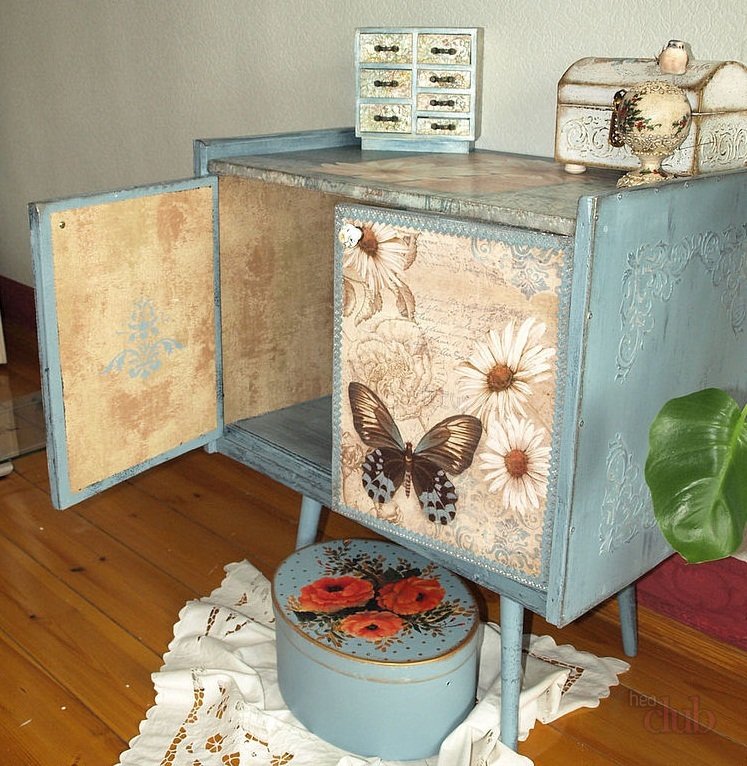
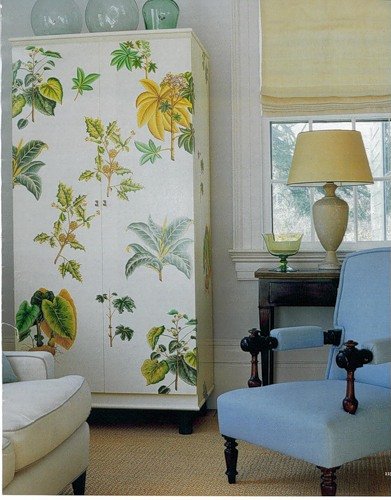
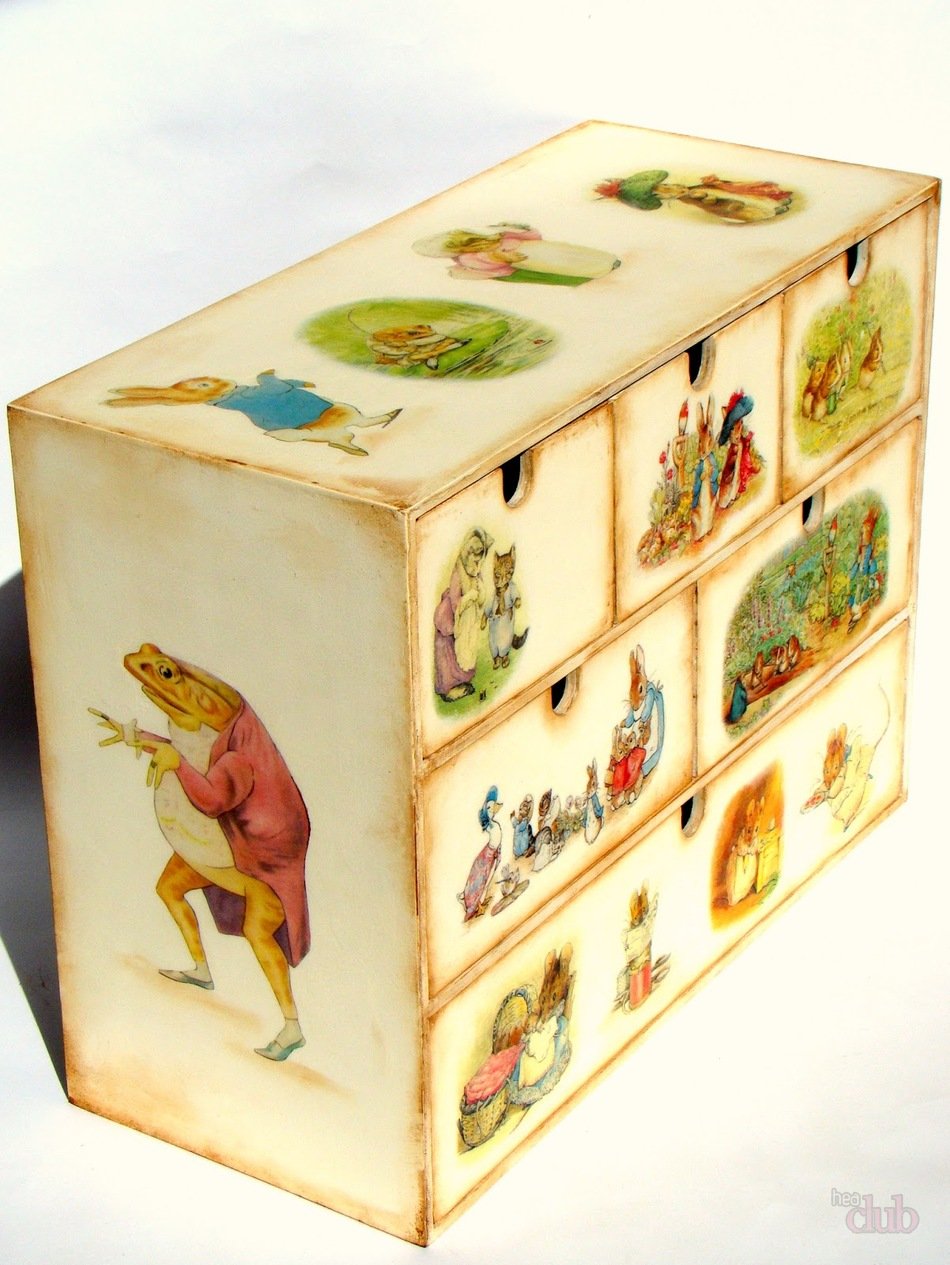
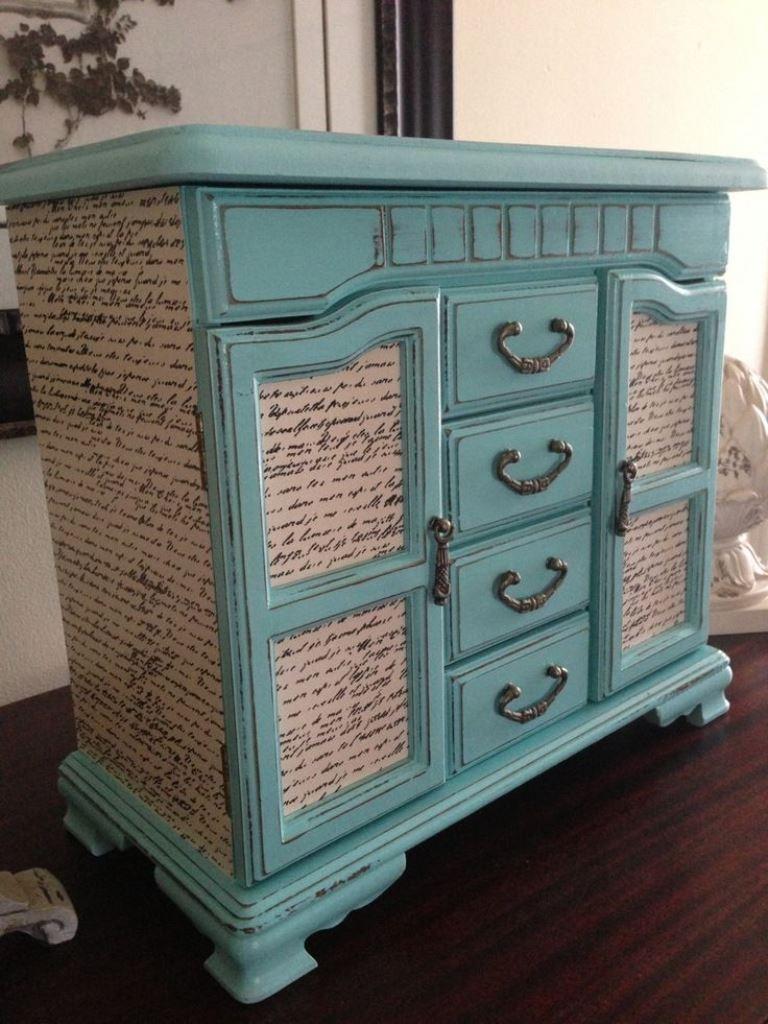
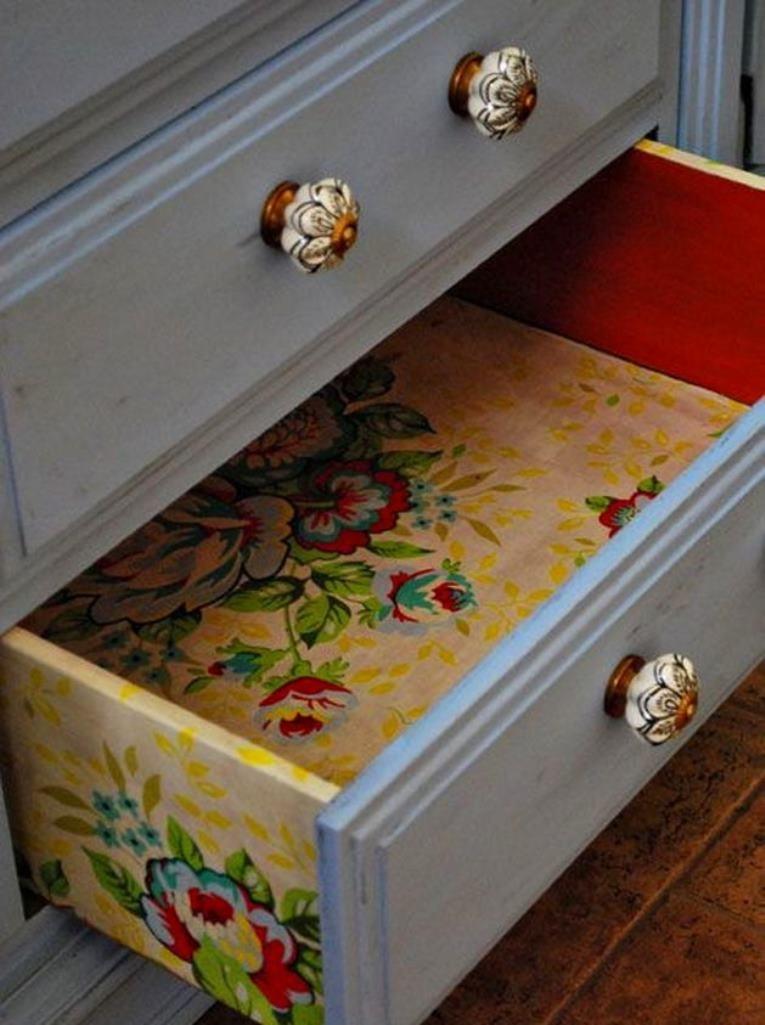
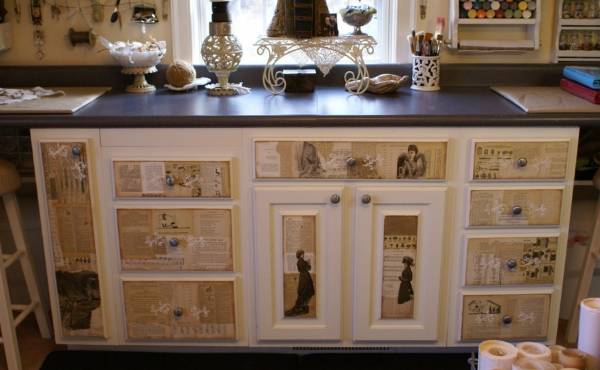
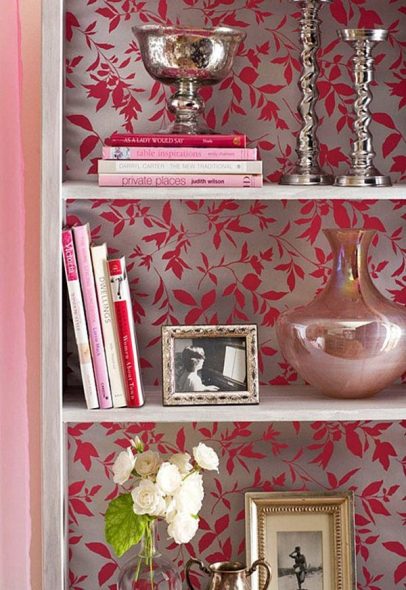
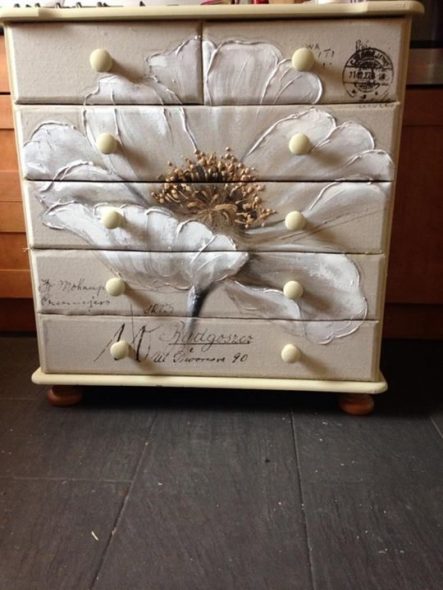
Vintage things are charming. For interior design, use various boxes and furniture processed with decoupage. For this, use images of flowers, romantic silhouettes, various plant motifs. Connect twine, burlap, white paint, and a wonderful design for vintage style is ready.
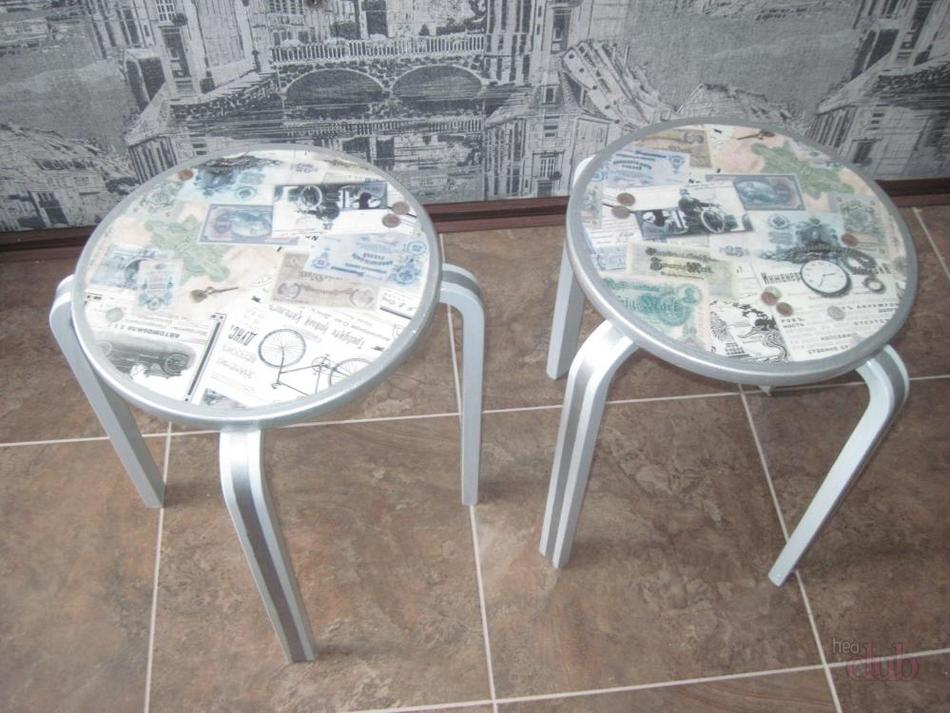
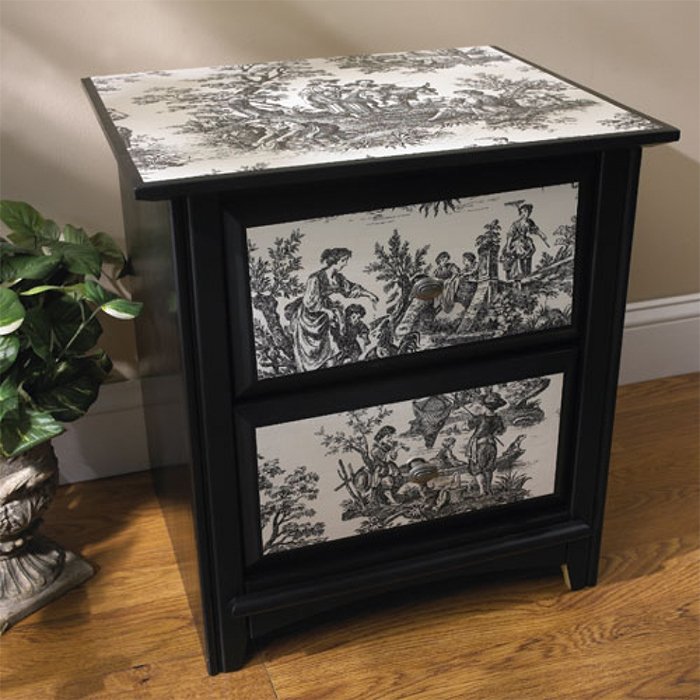
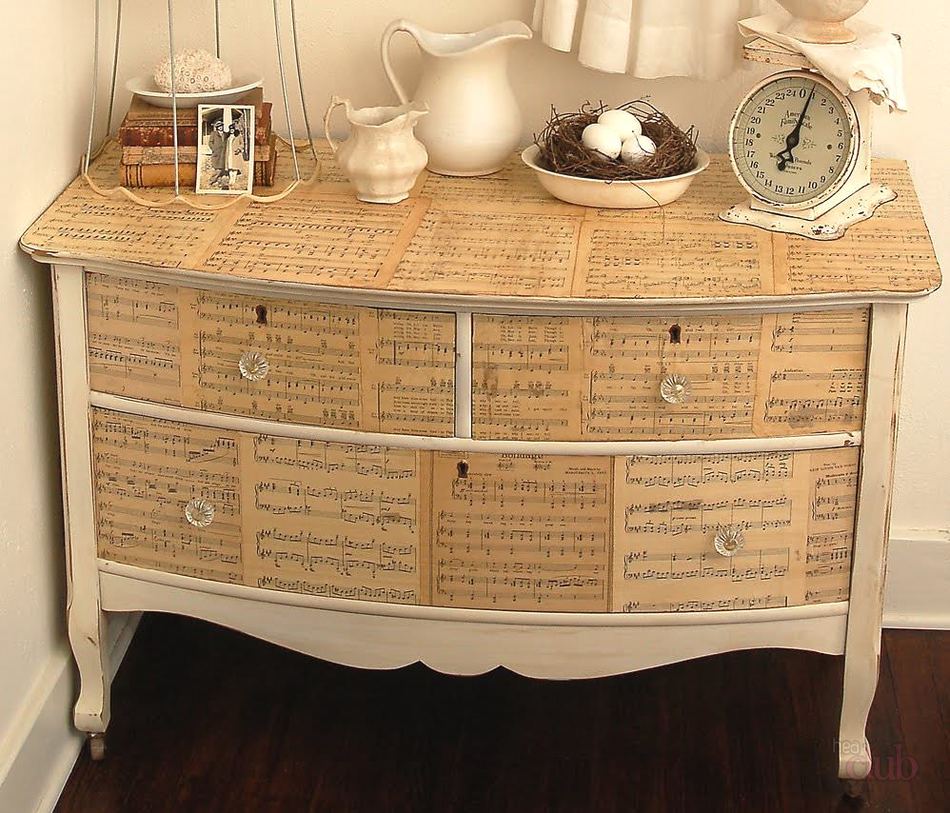
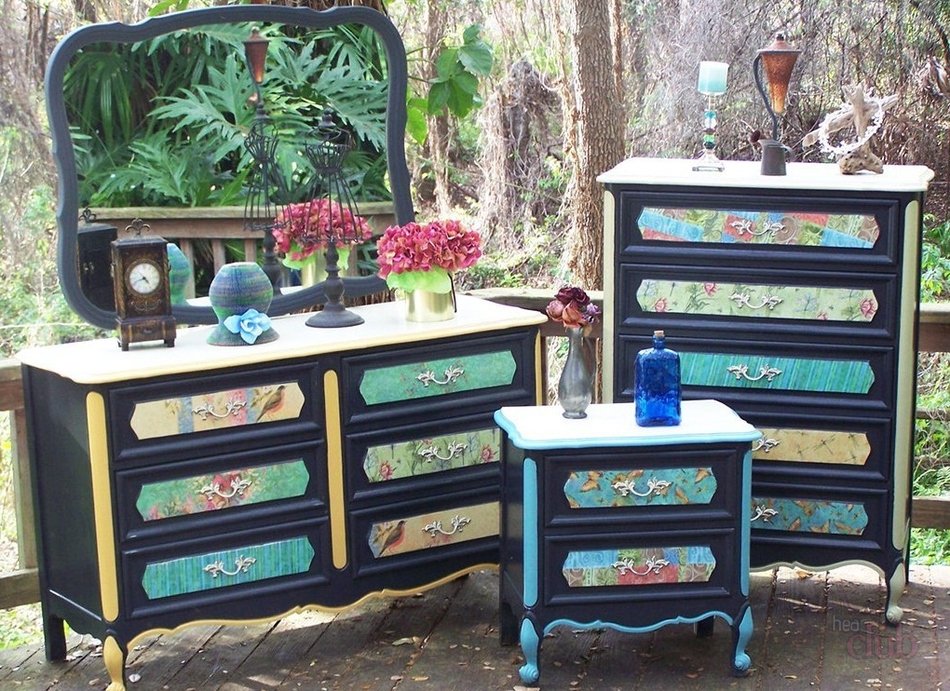
Any type of decoupage of furniture with wallpaper is perfect for retro style. This direction will perfectly accept aged items, especially if it is done with an exquisite method. Here you can use various lines, checkered print and other retro motifs. It is better to choose dark colors.
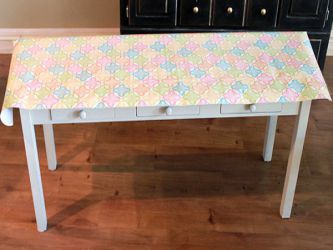
This is how, with the help of decoupage, you can give old furniture a new life, give it a new original look, and create a new interior design.
Video: How to remake a wardrobe. Wallpapering a wardrobe. Updating furniture. Very easy!
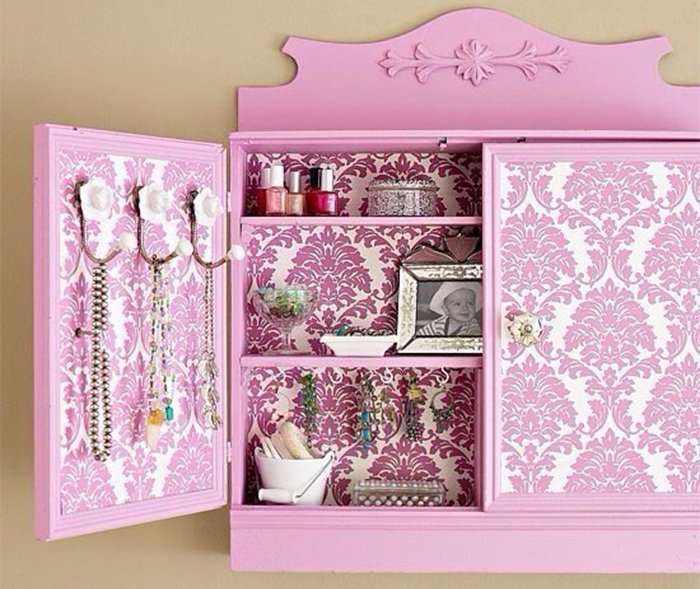
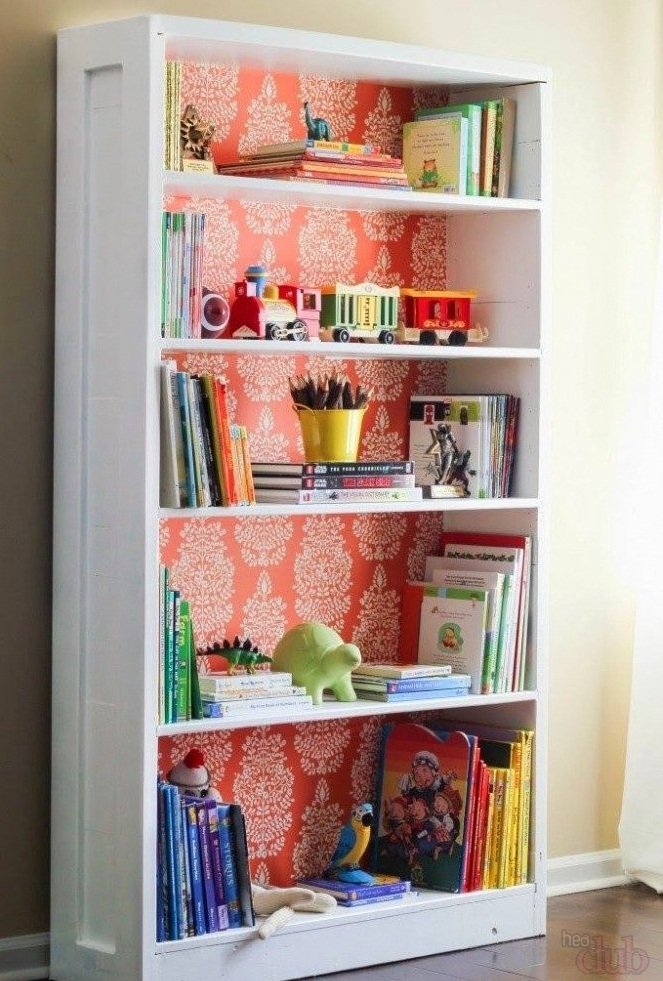
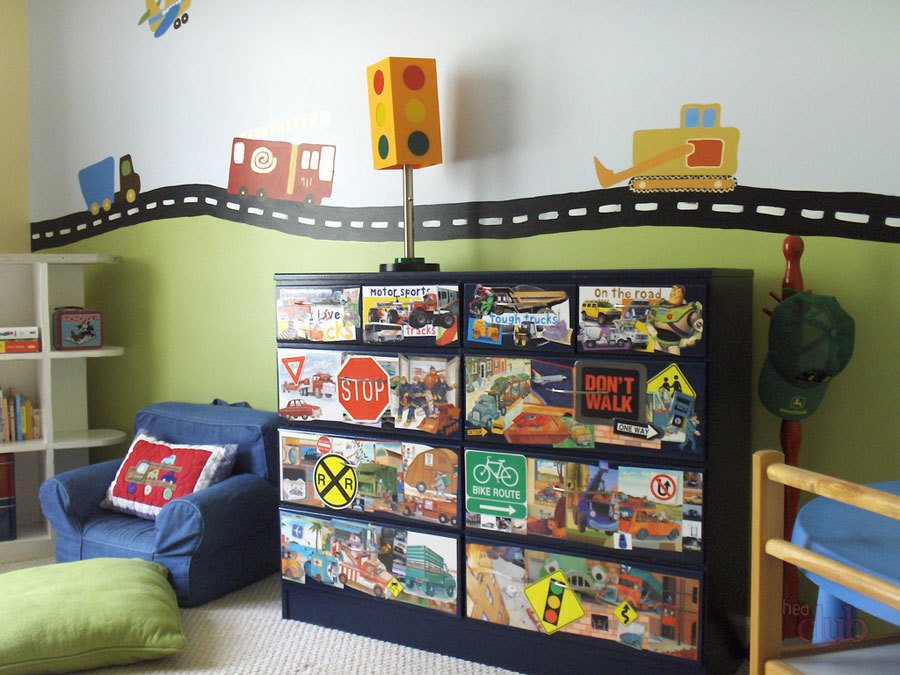
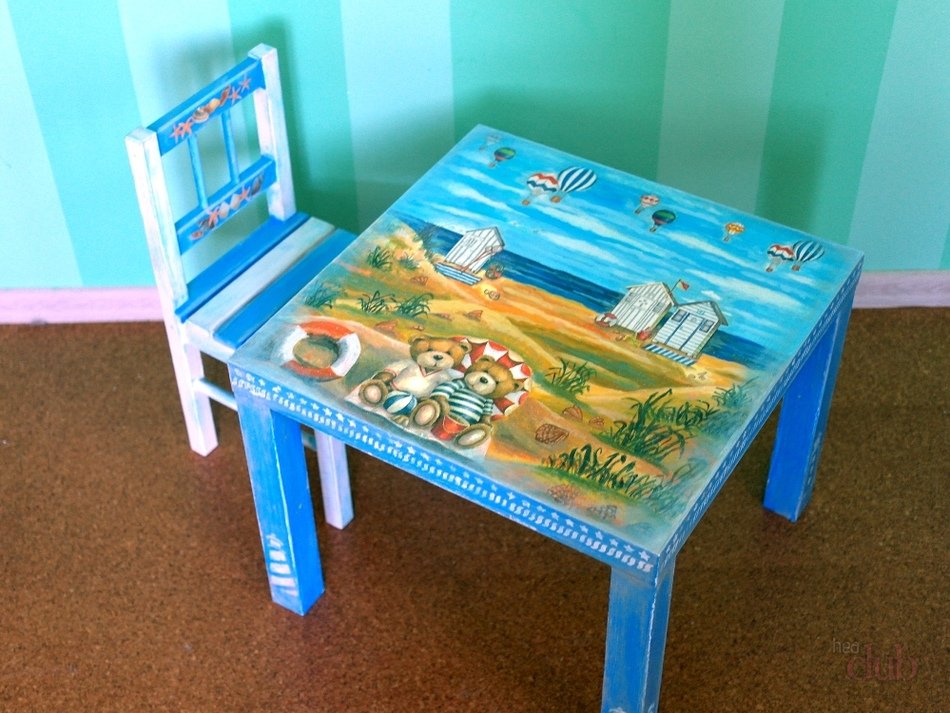
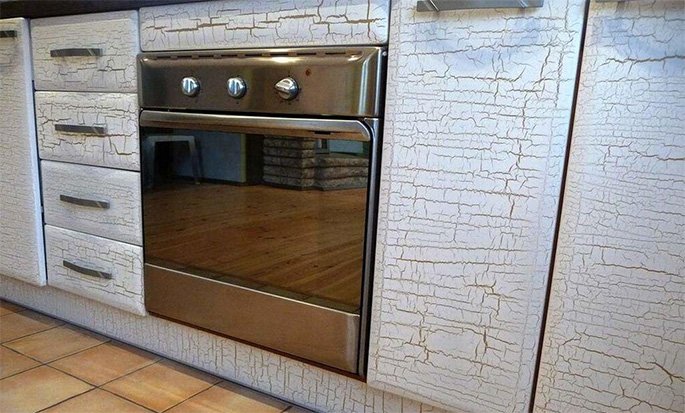
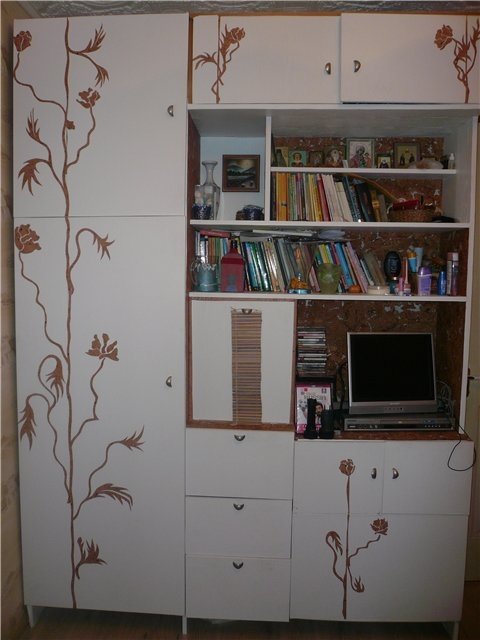
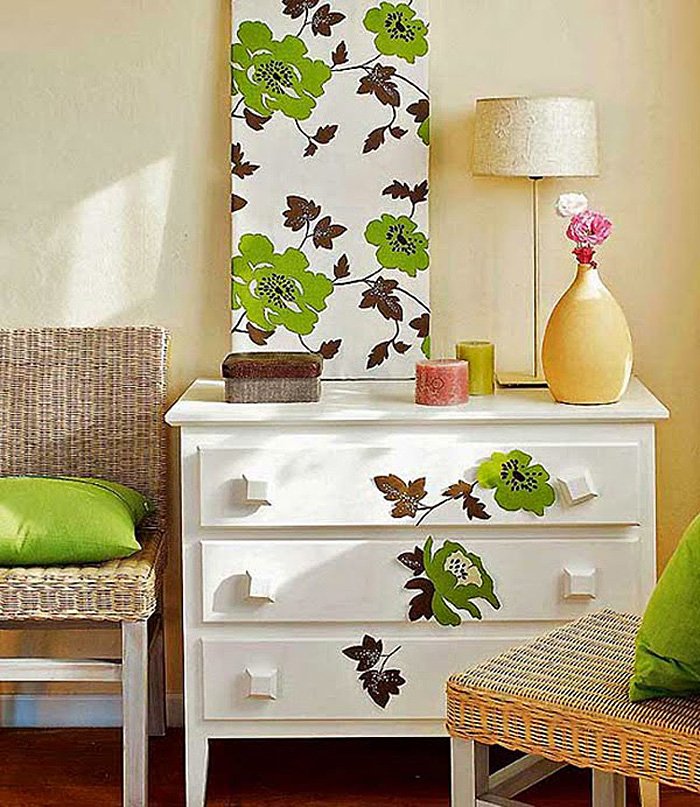
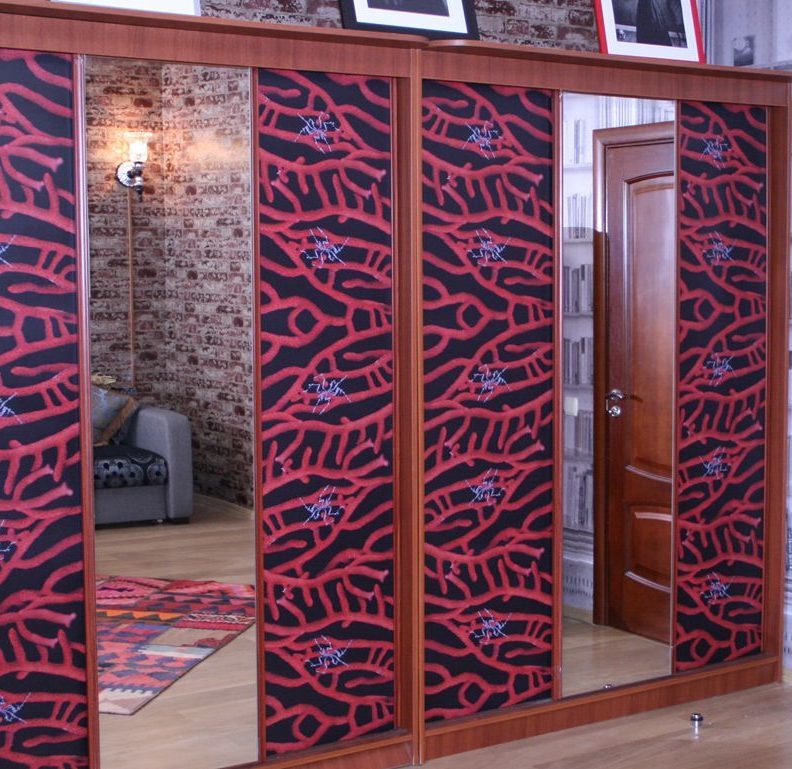
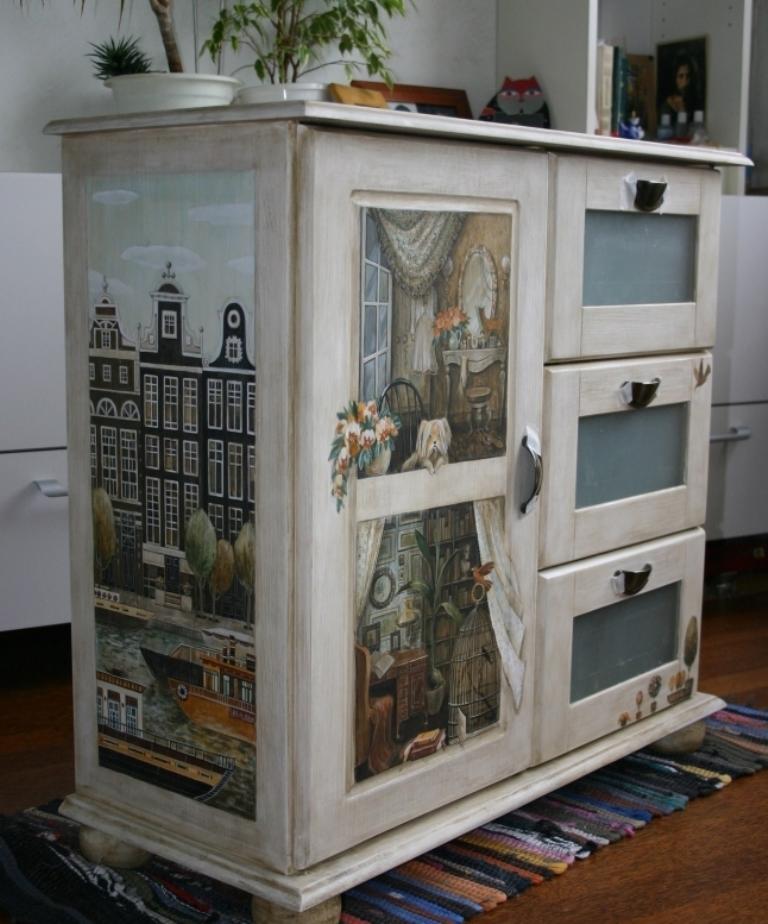
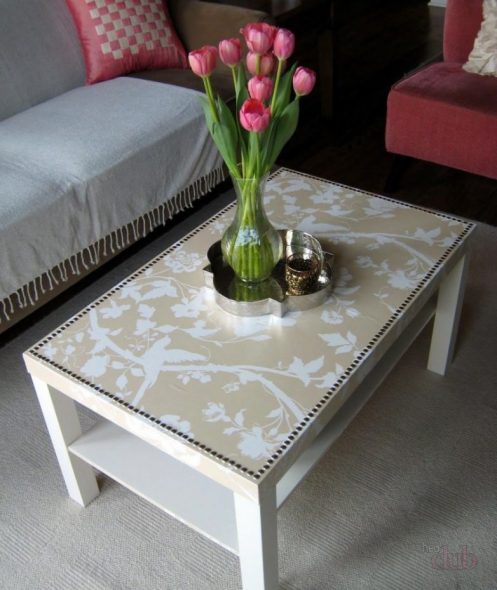
Photo gallery with beautiful furniture elements decorated using decoupage technique: