What is decoupage? The word "decoupage" comes from the French découper "to cut out", "to cut" is a technique for decorating objects using paper, napkins or fabric.
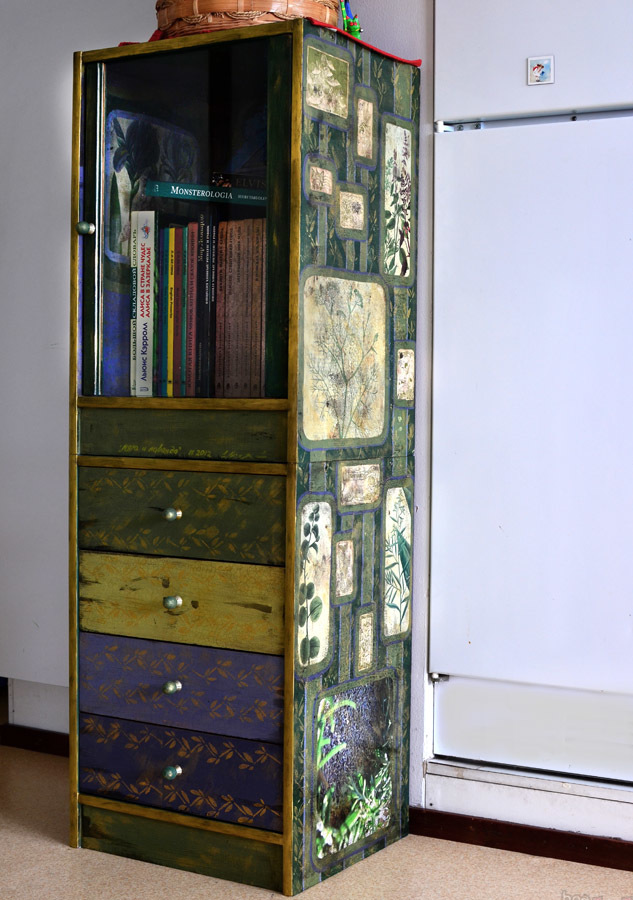
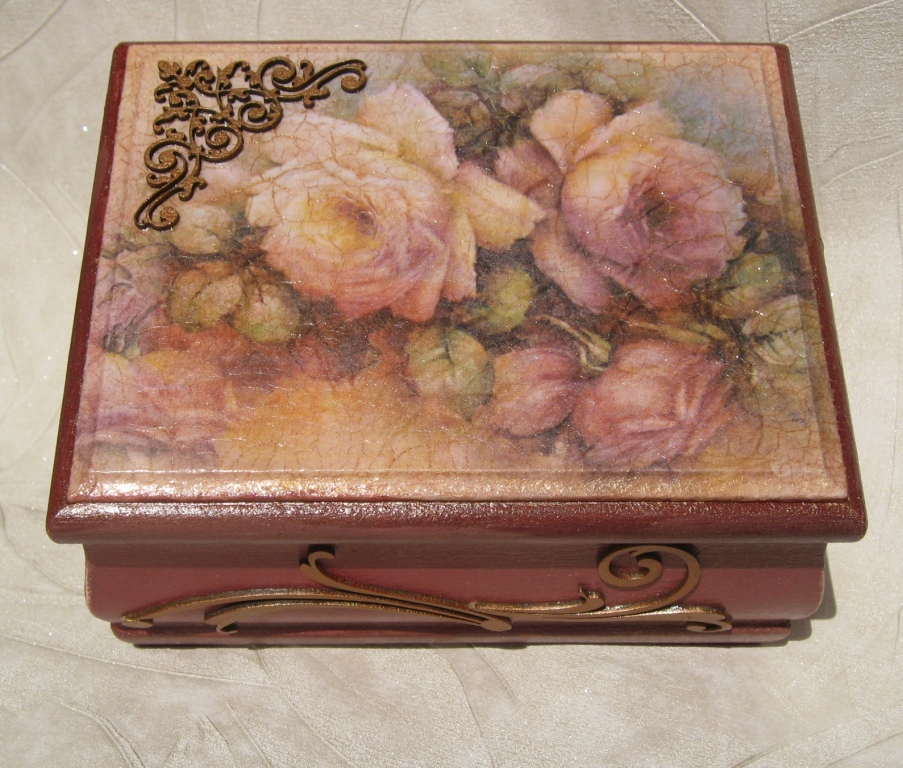
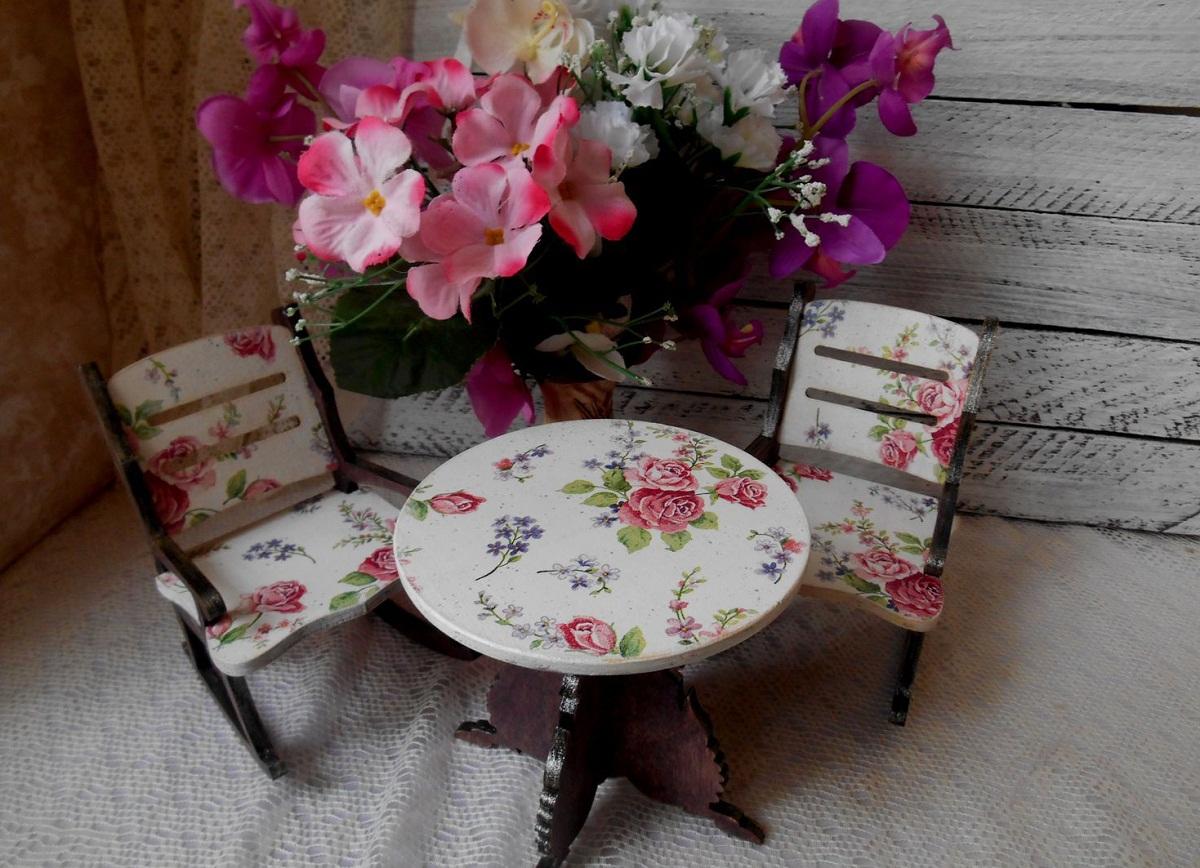
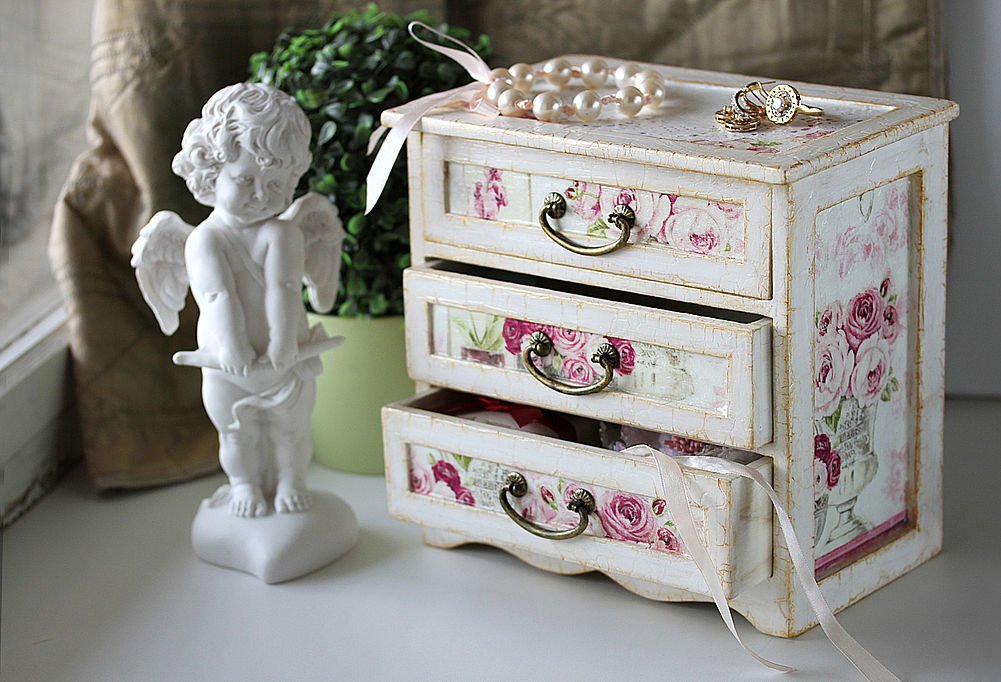
This type of creativity will breathe new life into old interior items, such as furniture, a box or a vase. The ornament you choose will cover cracks, chips, stains that cannot be washed off from furniture.
Content
Features of the technique
Decoupage of old furniture is an inexpensive and very effective way to restore a thing that has served for a long time. For example, an old wardrobe, a dressing table, a chair or even a whole tabletop. With decoupage you can achieve several goals at once.
- Updating the interior of the room.
- Realization and disclosure of creative abilities in yourself and your children.
- Getting an exclusive item that no one else will have.
- Restoration of worn-out furniture, which will help save the budget several dozen times.
Few people know, but the birthplace of this technique is Asia, namely China. It is difficult to guess, because the technique has a French name. The dawn of decoupage in Europe came in the seventeenth century AD, when wealthy Europeans decorated their estates with expensive household items from Asia. Venetian craftsmen, sensing a gold mine, learned to give an Asian look to their products.
In recent years, five main types of decoupage have become widespread in the creative world.
- Direct or classic decoupage is the basic and very common technique due to its simplicity. The principle is suitable for beginner craftswomen who are just starting to try themselves in decoupage and do not yet fully understand the principle of work.
- Reverse decoupage is a method of decoration in which an image with an ornament is glued to the back side of a glass product. Thus, the drawing will be protected from external influences by a layer of glass

- Smoky or artistic decoupage helps to imitate artistic painting with the help of paints; the border between the drawing and the ornament is almost completely erased and a translucent haze is formed.
- Many of those who went to kindergarten made various crafts there. For example, they tore colored paper very finely and glued it onto cardboard in the form of vases with flowers, colorful butterflies or animals. So it turns out that this is another type of decoupage! And it is called decopatch-patchwork from paper.
- For more advanced craftsmen who have fully mastered the main principles and want to try something new, the volumetric type of decoupage is suitable. It consists of creating applications with the increasingly popular 3D effect using modeling paste, finely chopped fabric scraps, multi-layer napkins, putty and art gel. Working in such a technique really requires a lot of experience, perseverance and accuracy.
This technique is also rich in various effects that can create a unique and beautiful interior item. Let's look at the main ones.
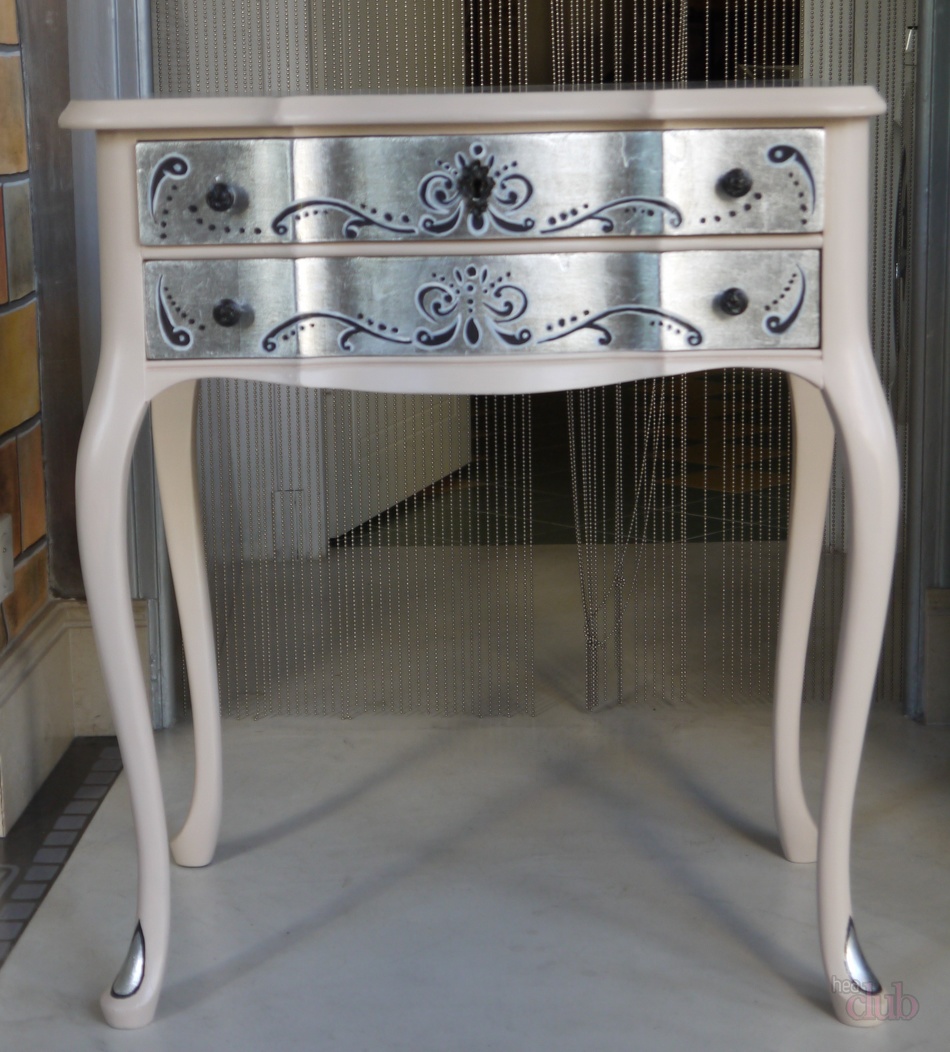
- Gilding. To create this effect, you will need gold leaf or metallic acrylic paints. All of these can be purchased at an art store or ordered online.
- Shading is used in the smoky technique and is done with dry pastels ground into fine crumbs and a dry fluffy brush made of natural bristles.
- Tinting with paints. You should use poster paints on an adhesive base, otherwise the pattern may get wet and wavy.
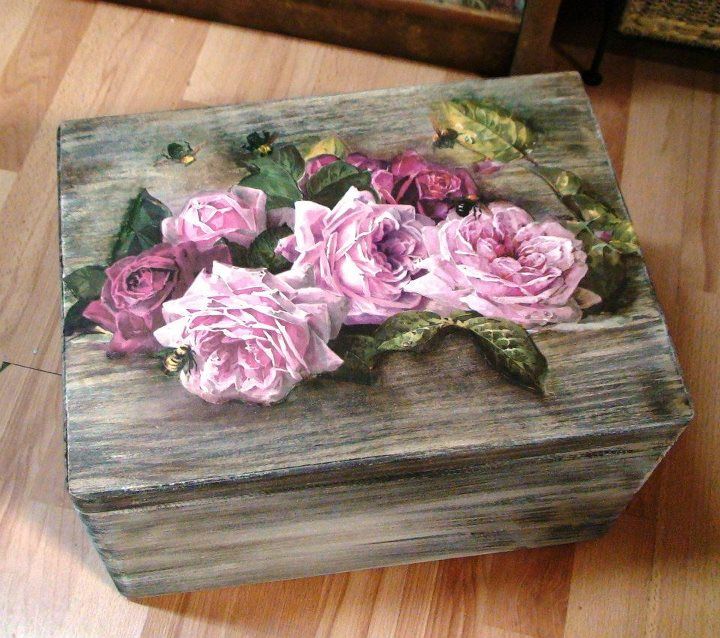
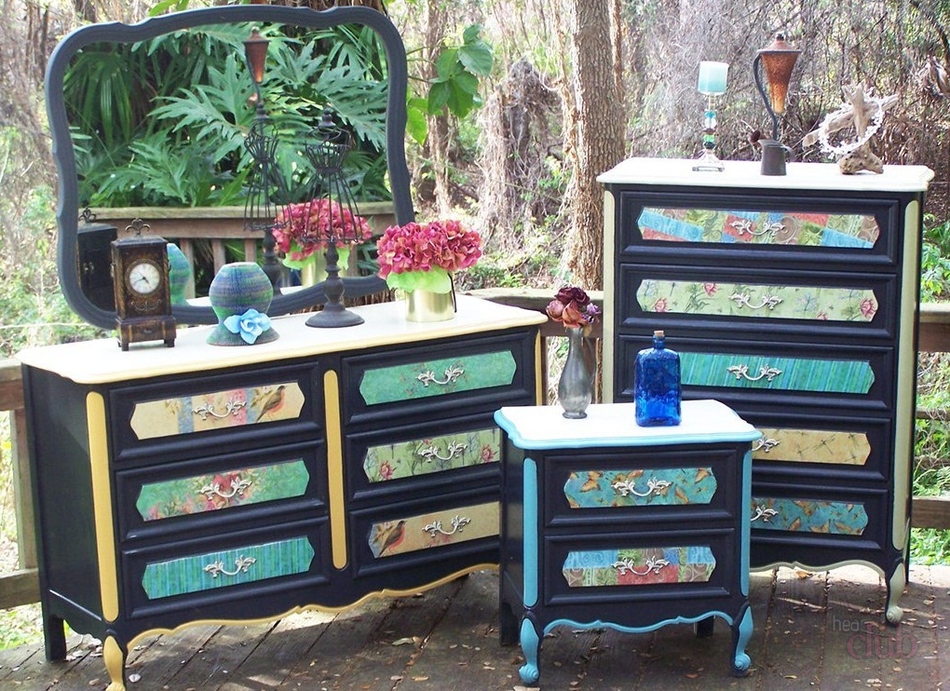
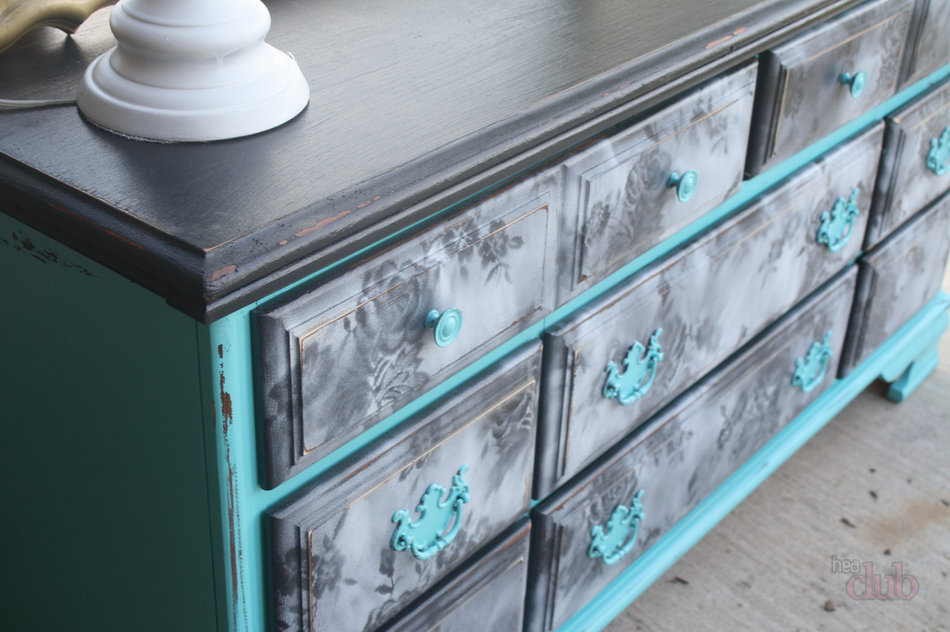
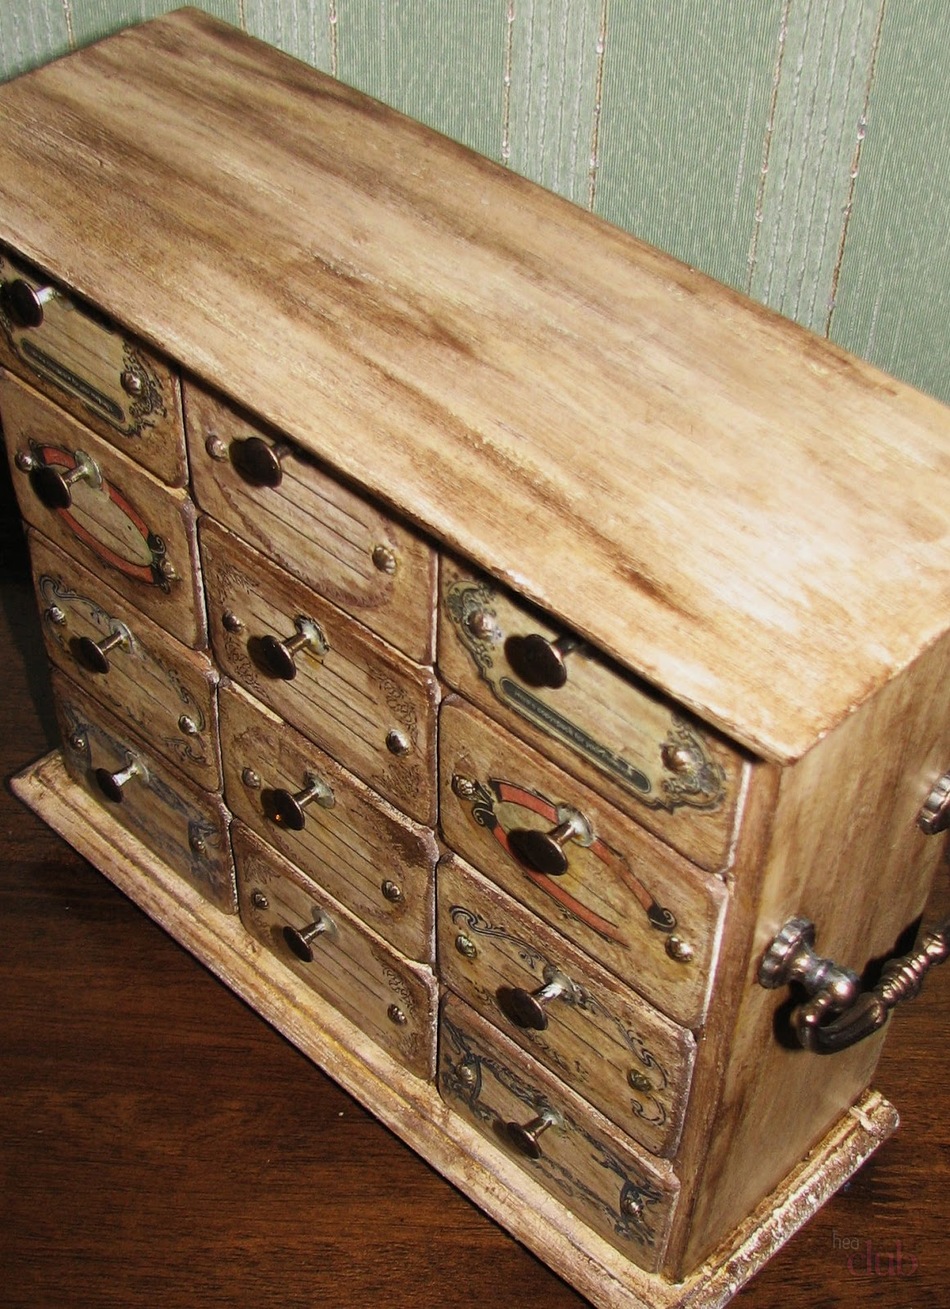
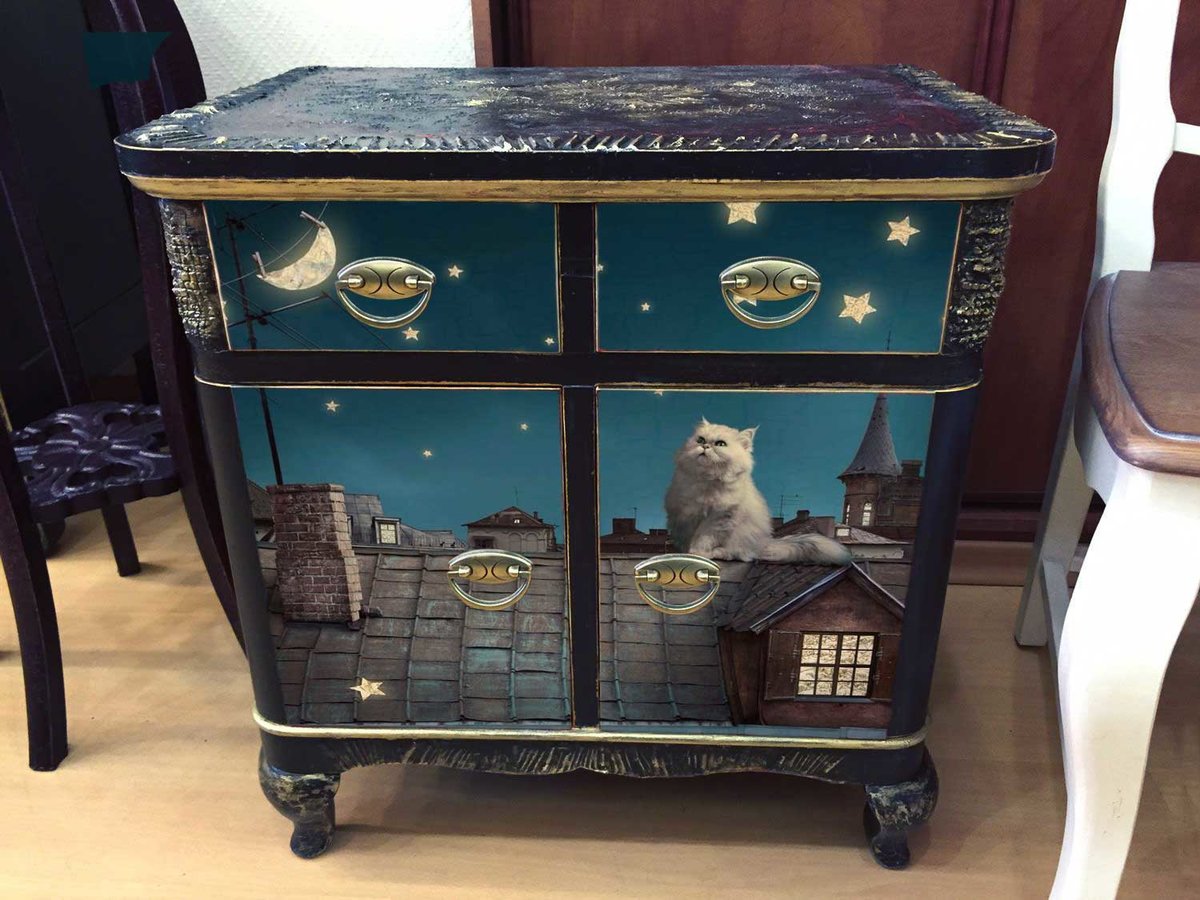
- Creating scuff marks will give the item an antique effect. The scuff mark is created using wax, which is applied before the paint, and then the dried paint is processed with soft sandpaper.
- Patination is another way to artificially age an object. A patina of black, gold or silver color is applied to the edges and corners of the object.
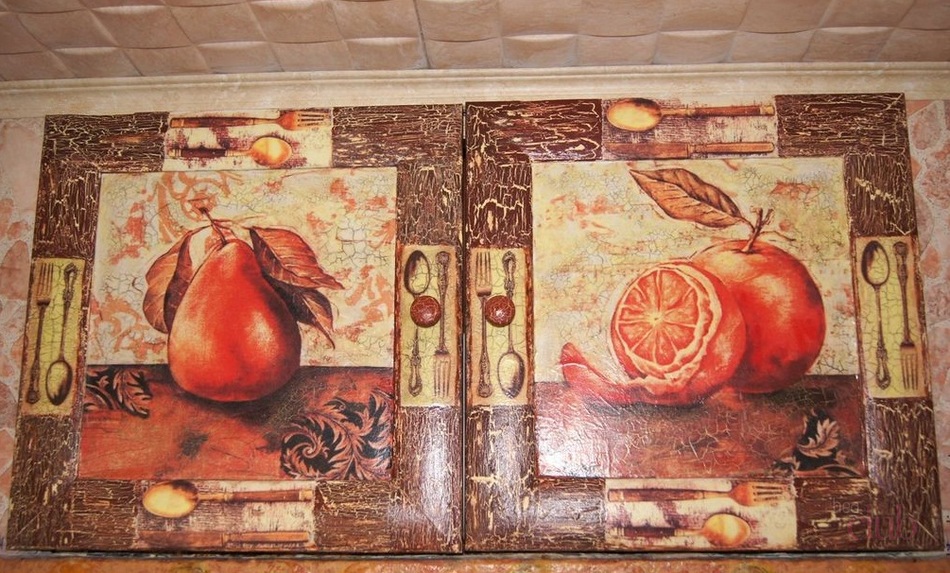
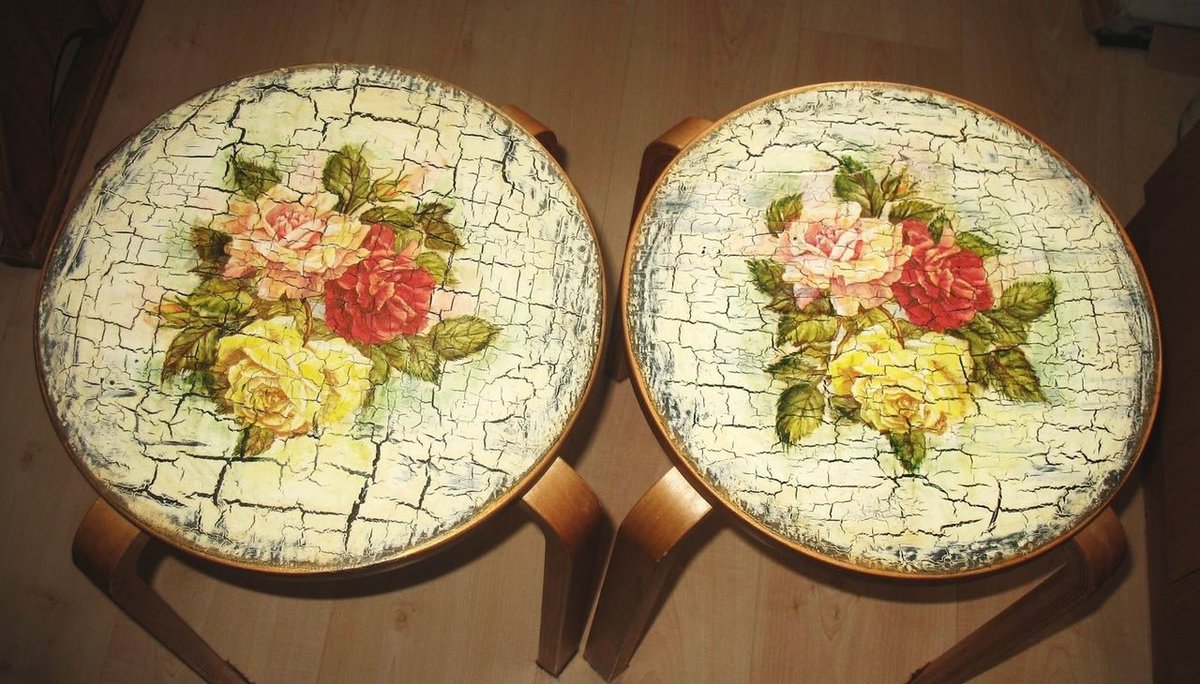
- Craquelure is a technique that creates artificial cracks.
How to choose the right style for decoupage?
There are a great many decoupage motifs that are used to stylize furniture. Their choice is based only on the personal taste of the master and the goals he has set for himself.
Let's look at the most popular motifs used by craftsmen around the world.
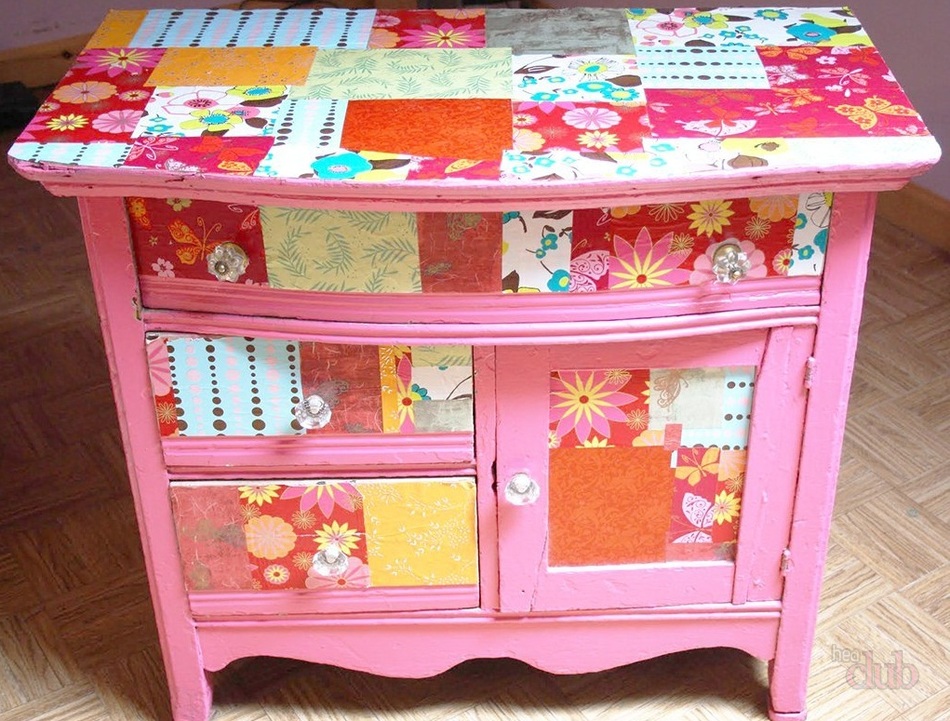
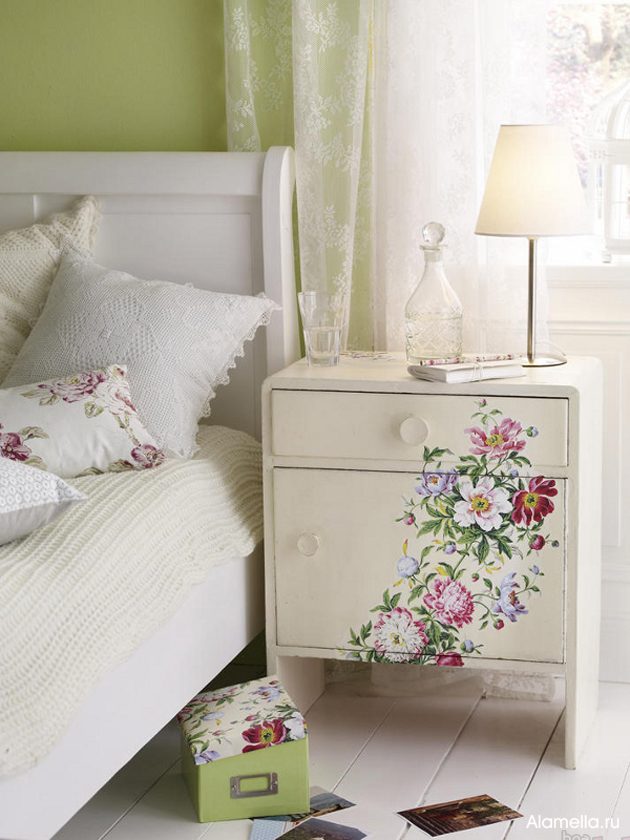
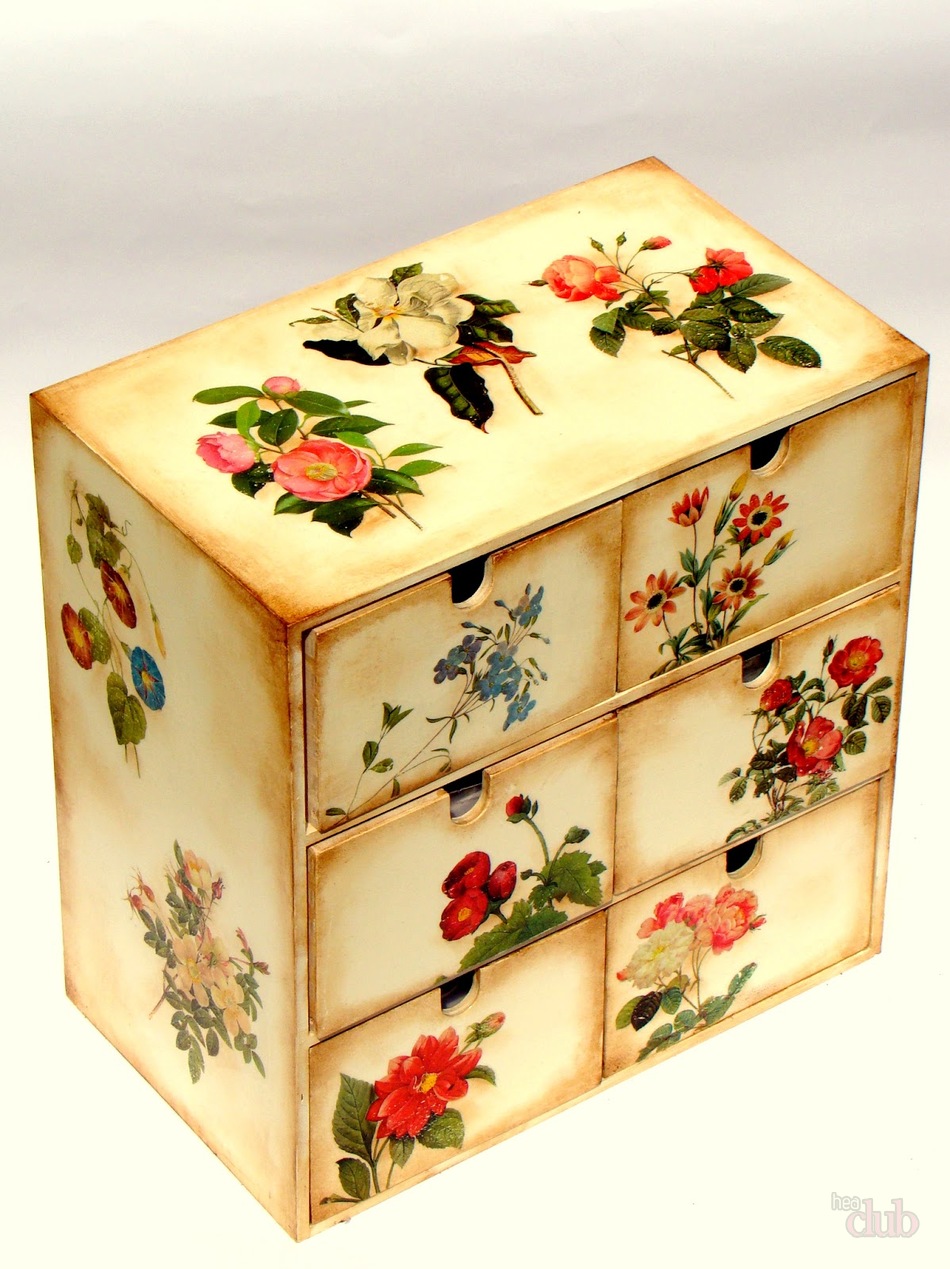
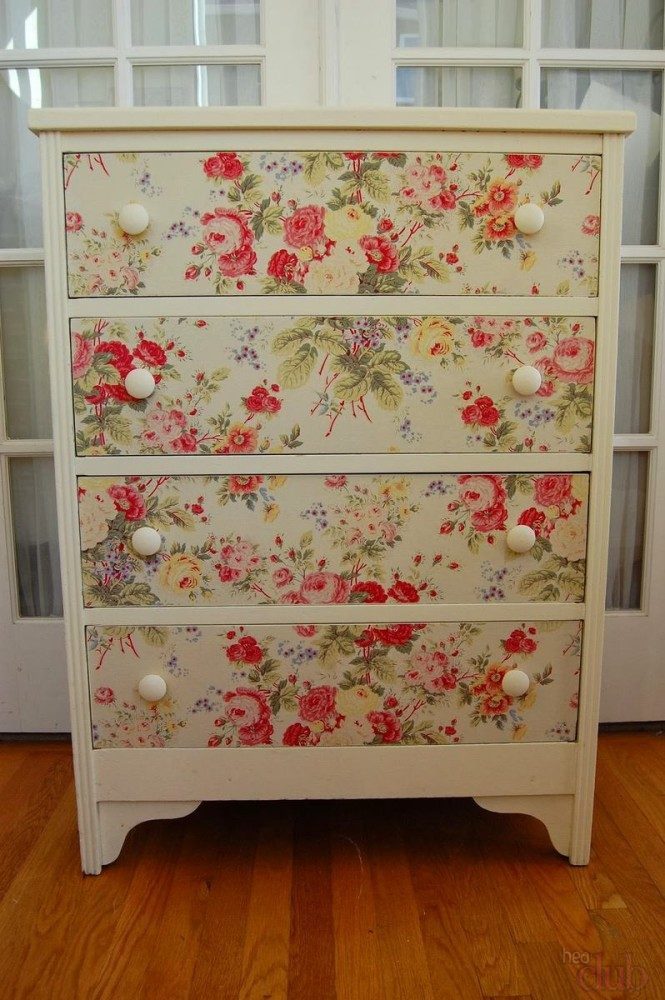
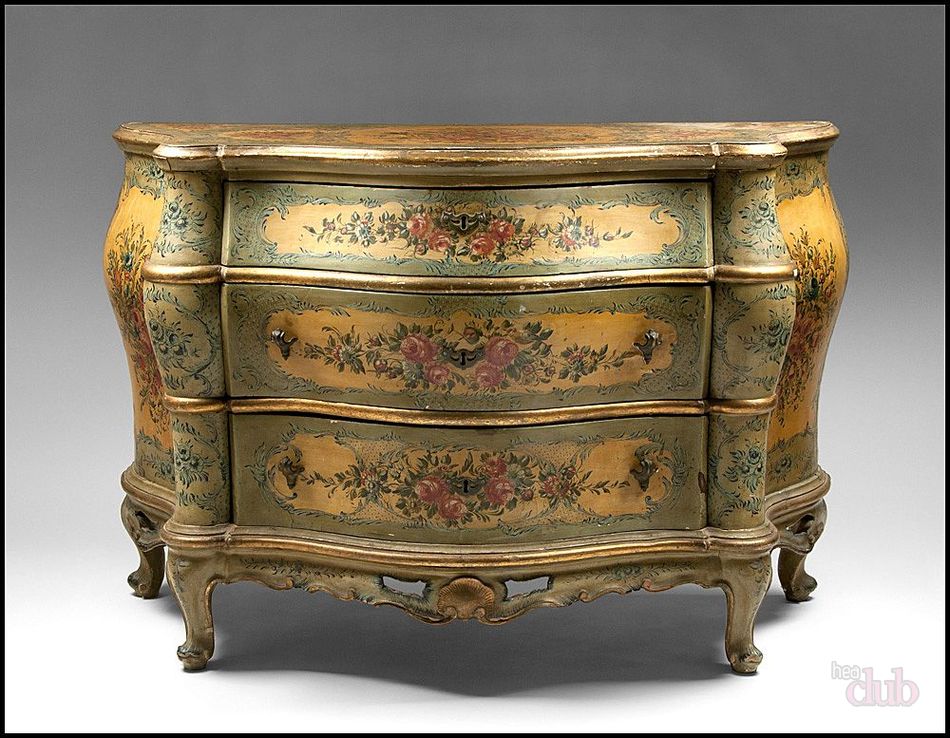
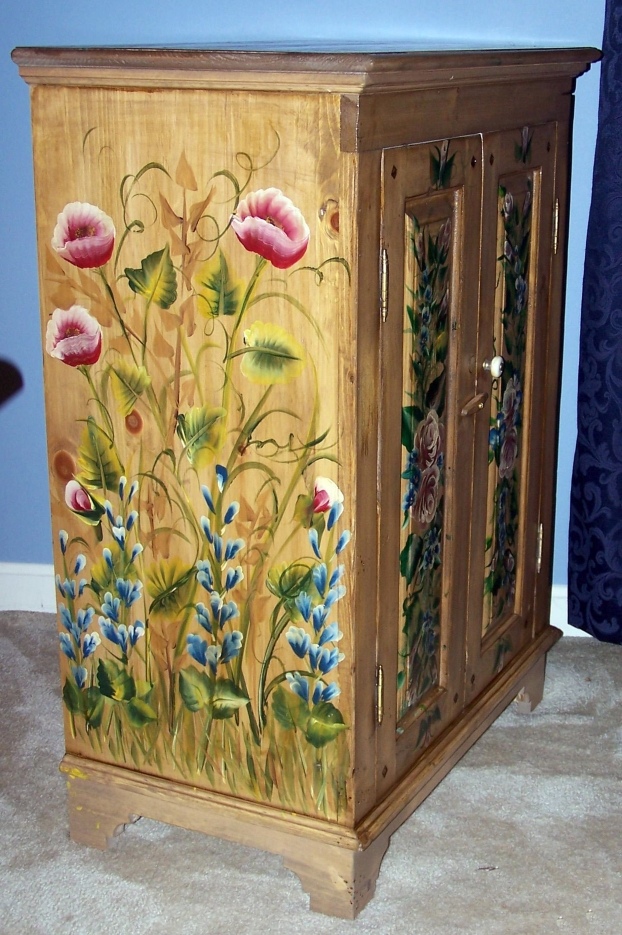
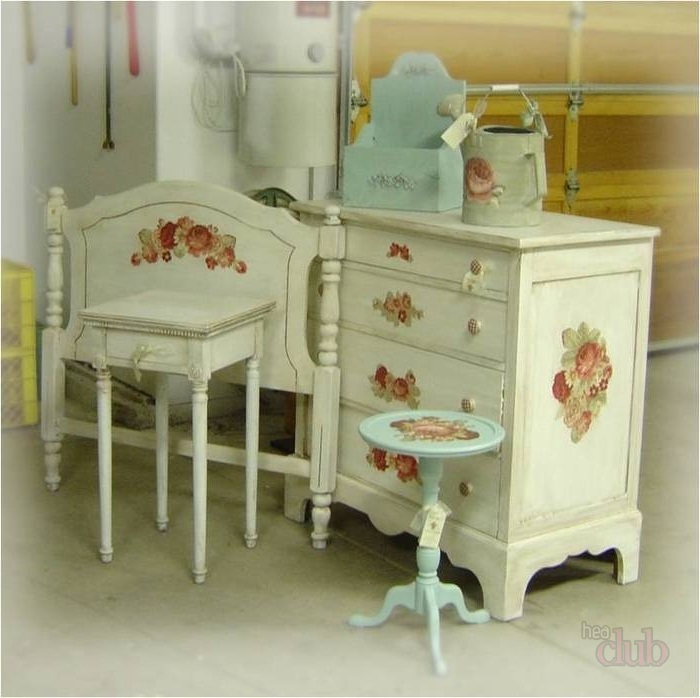
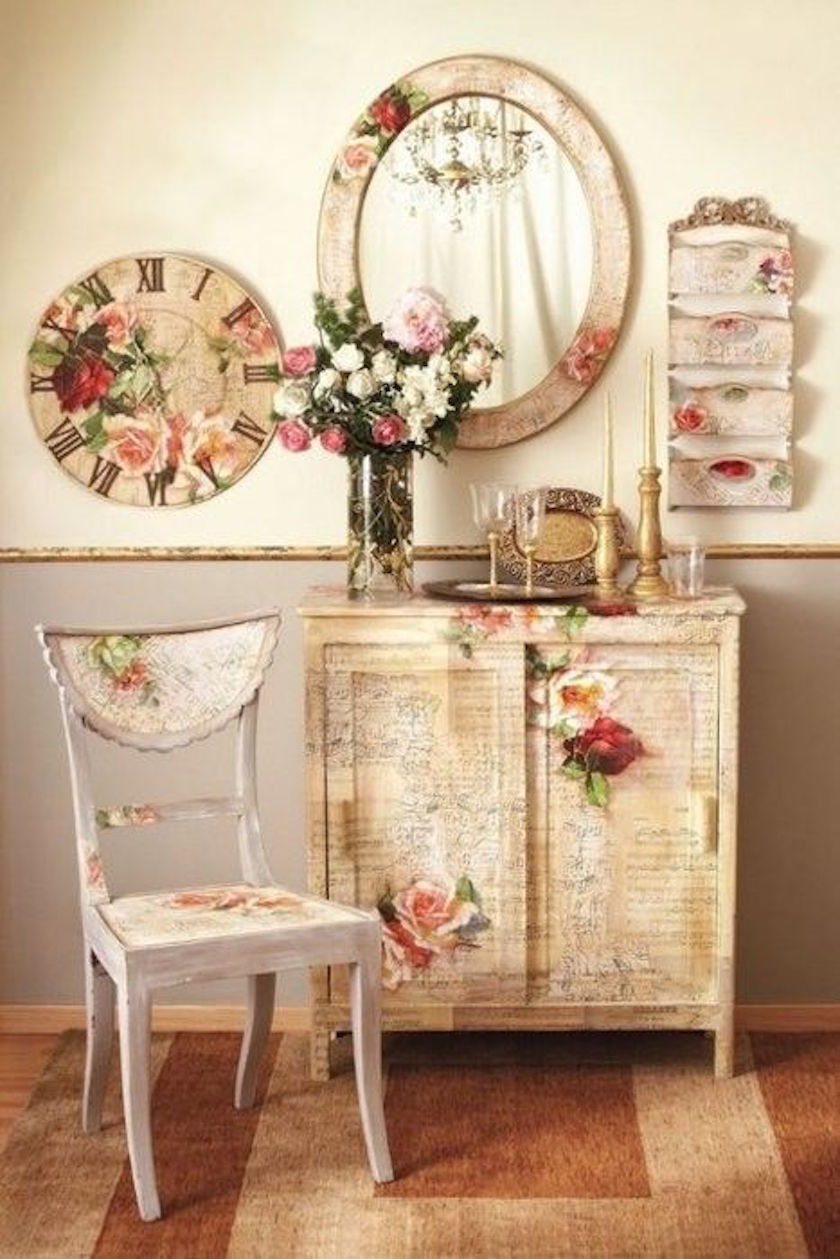
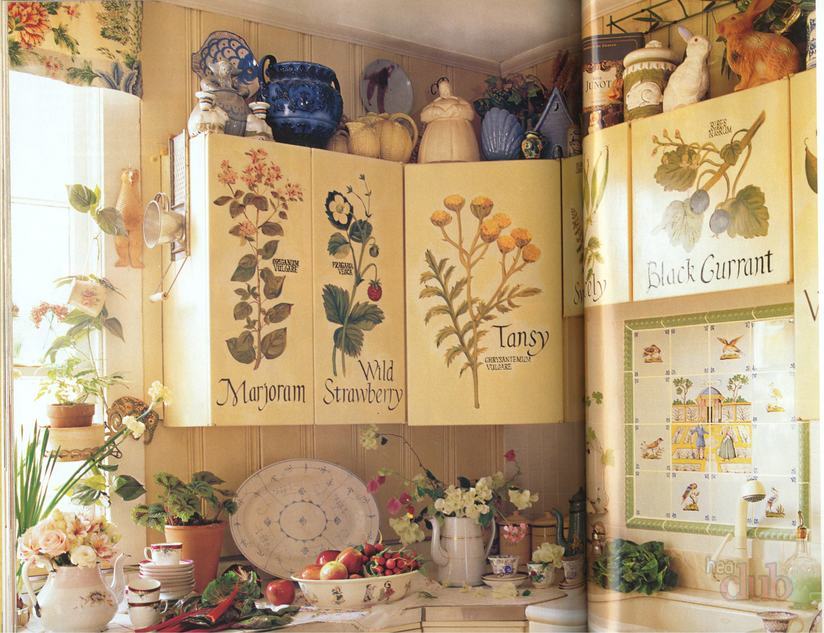
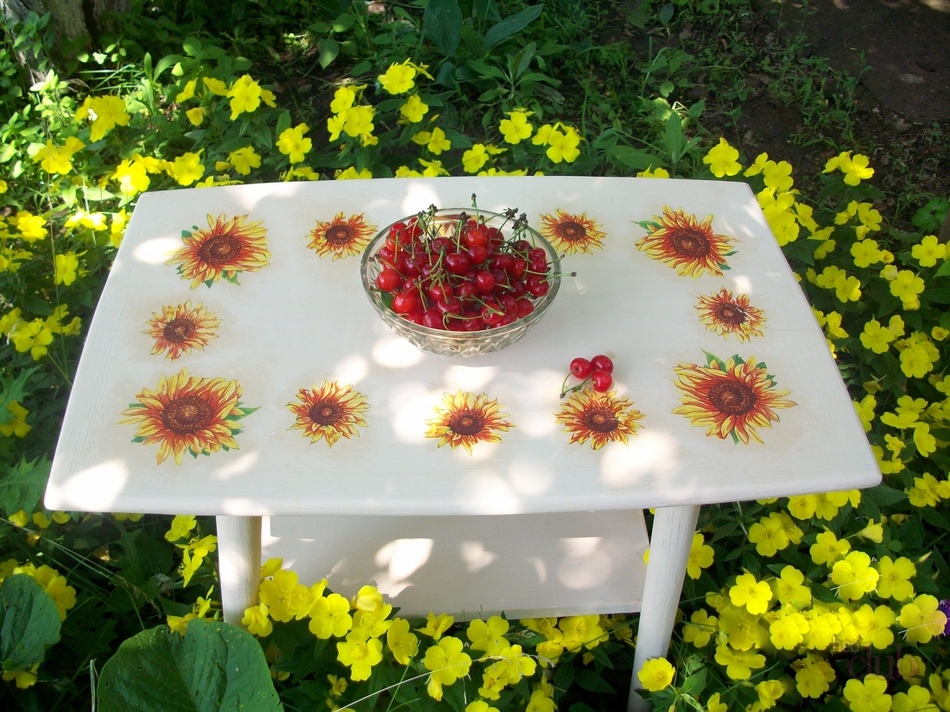
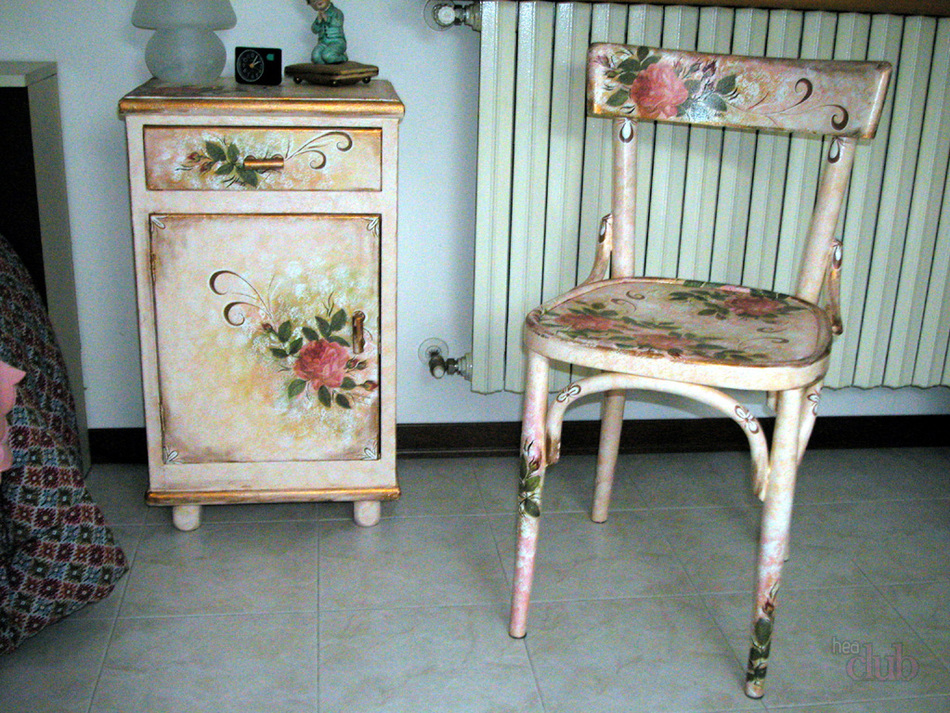
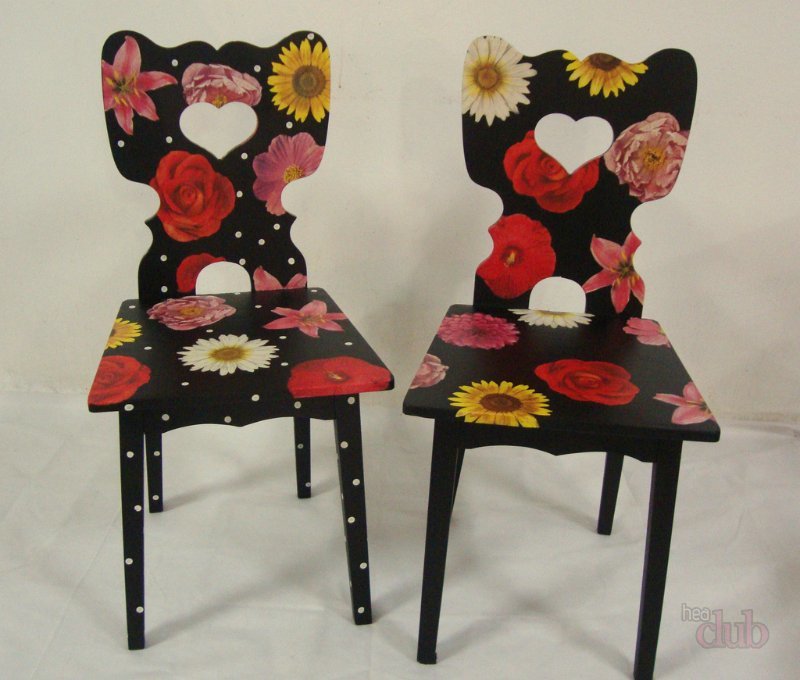
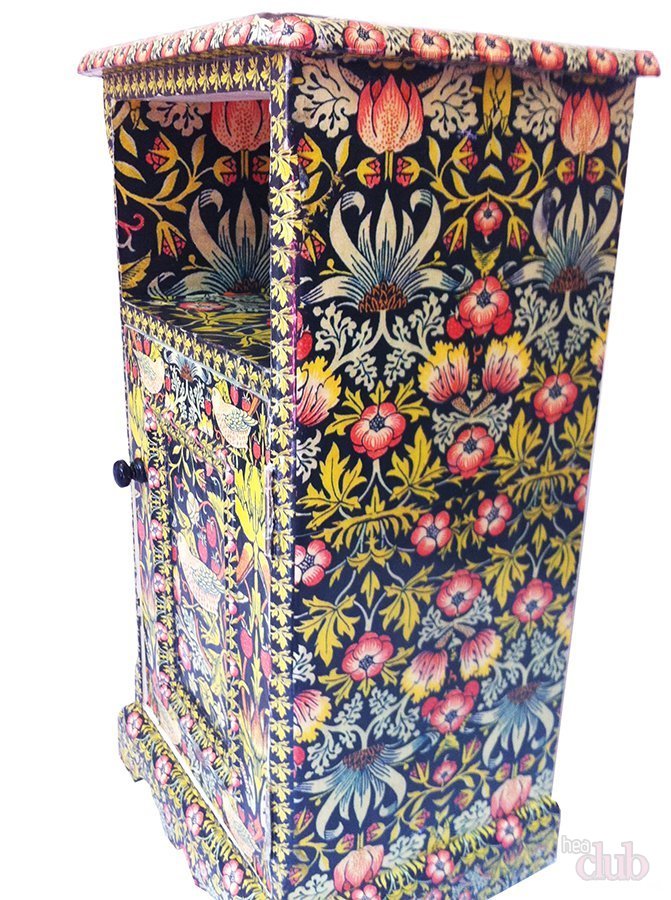
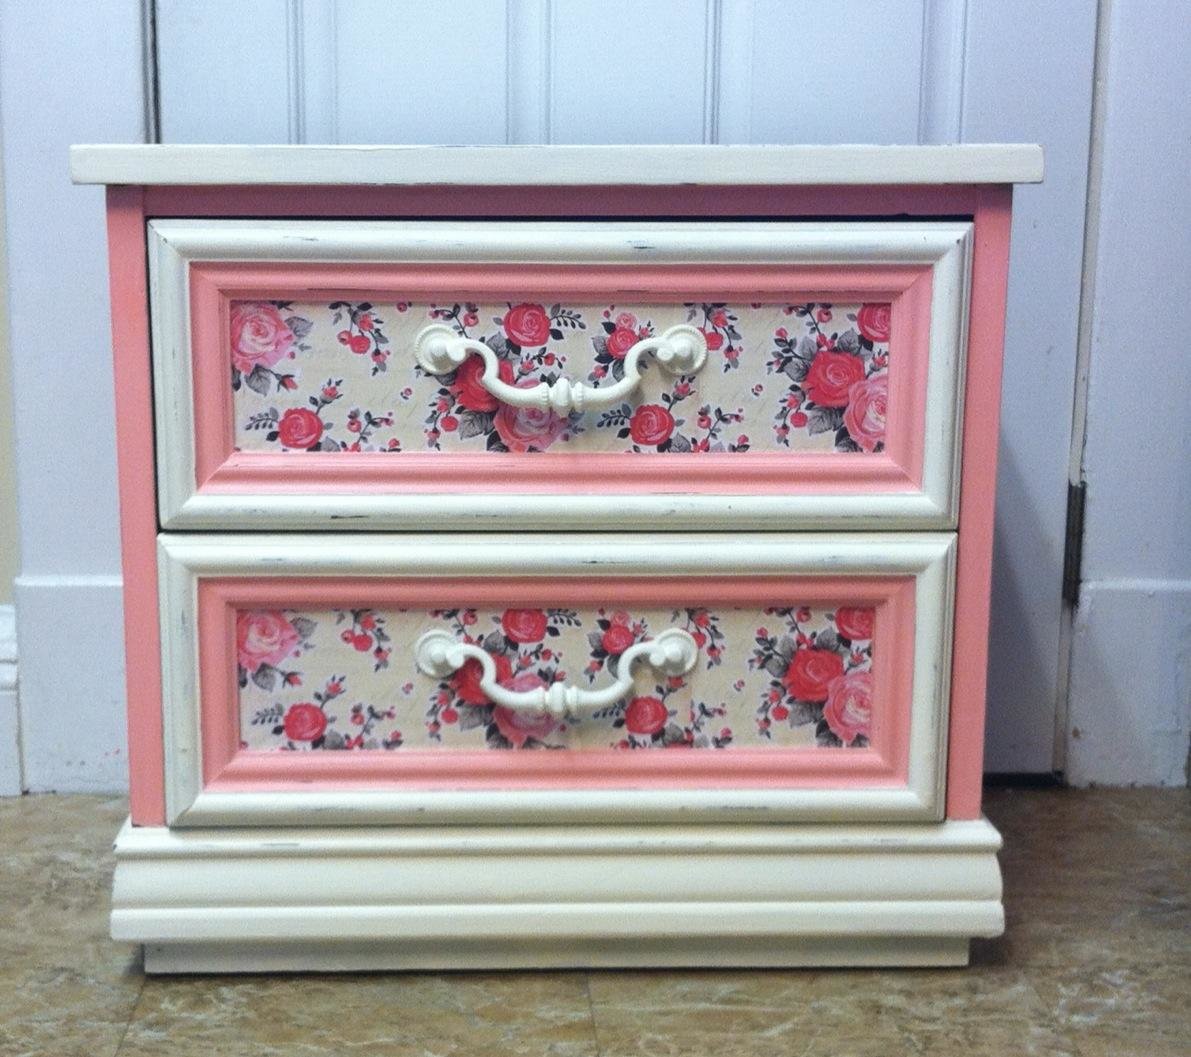
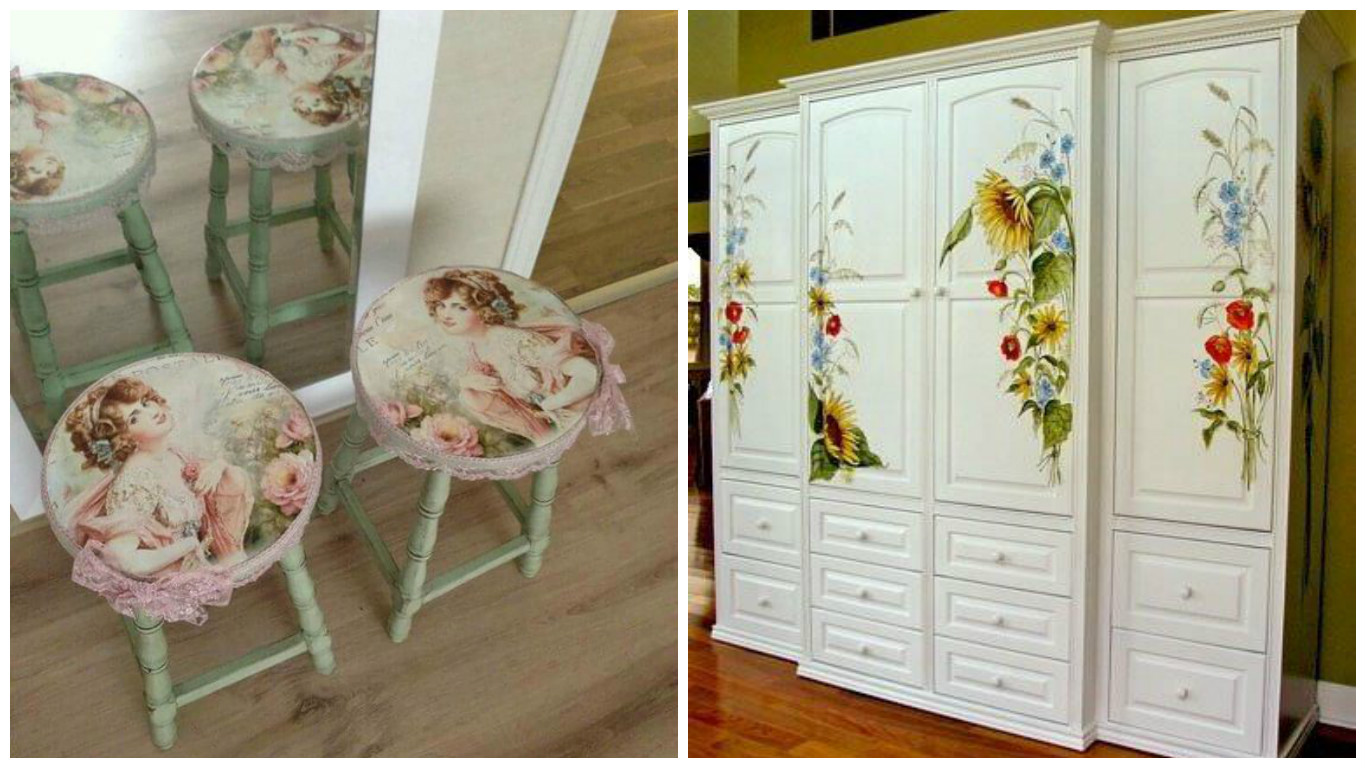
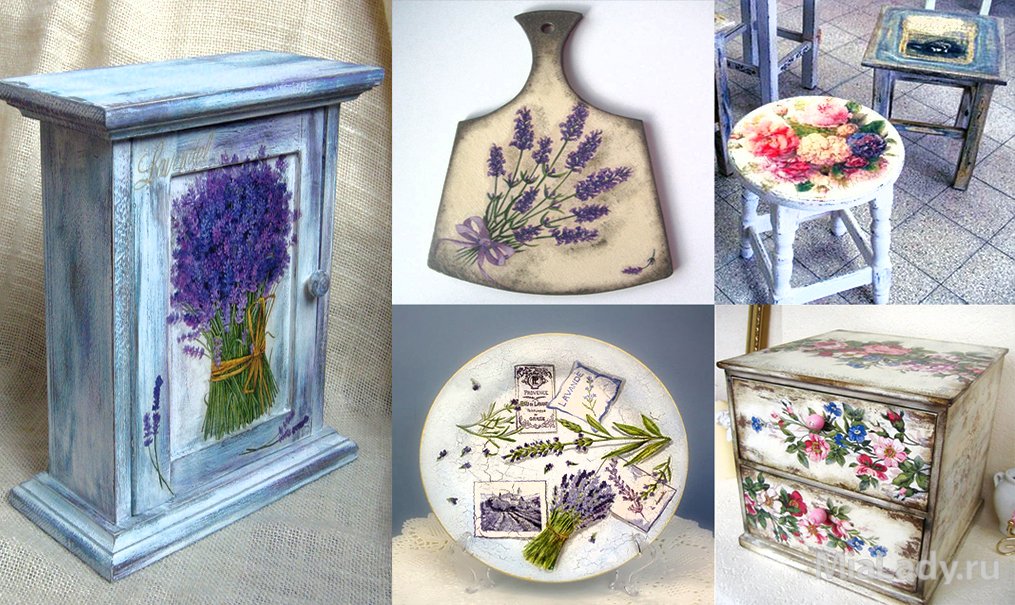
- Floral motifs and pastel colors.
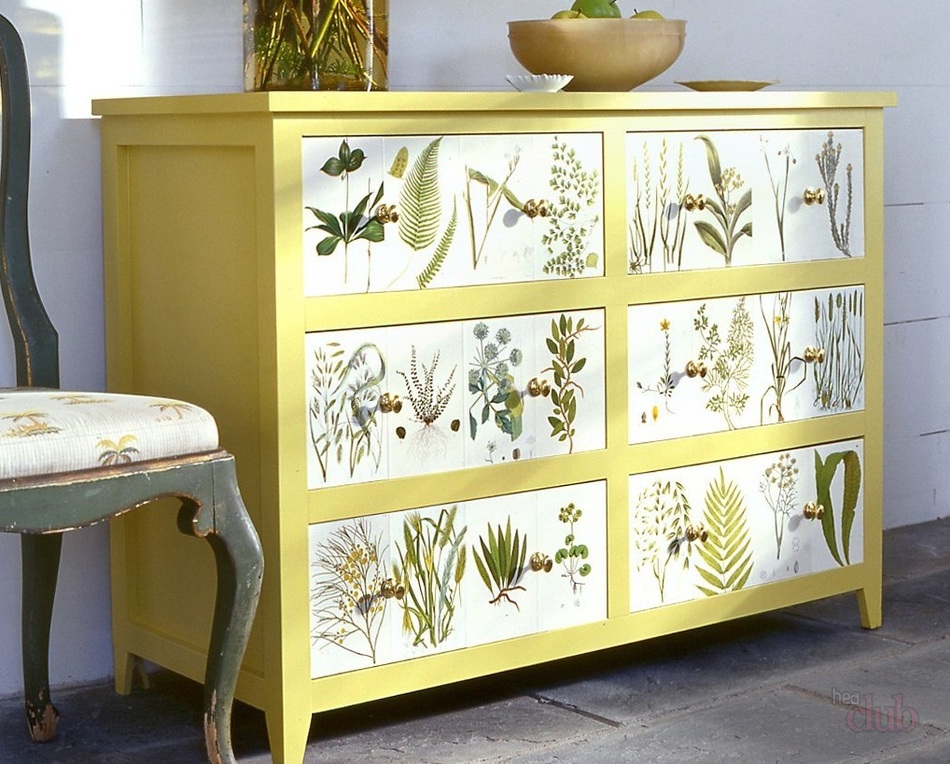
- Fruits, grape roses, whole bouquets of herbs.
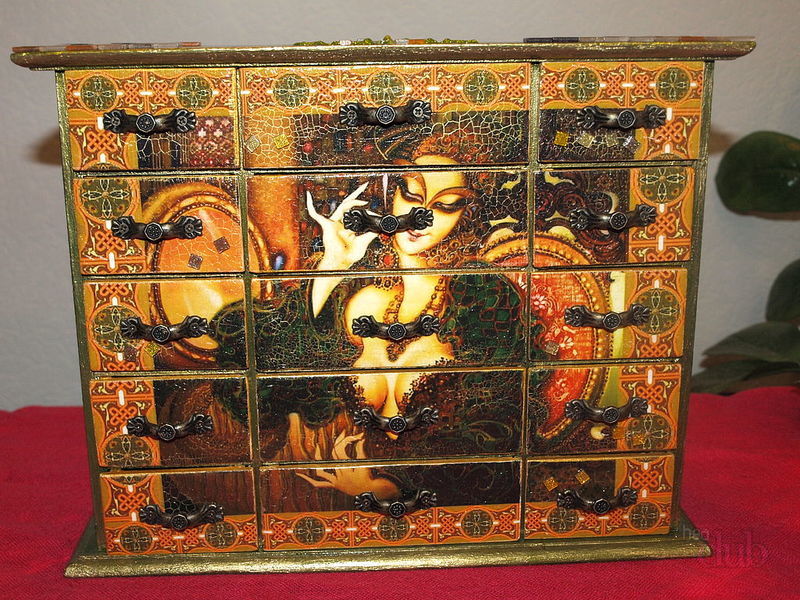
- Religious theme.
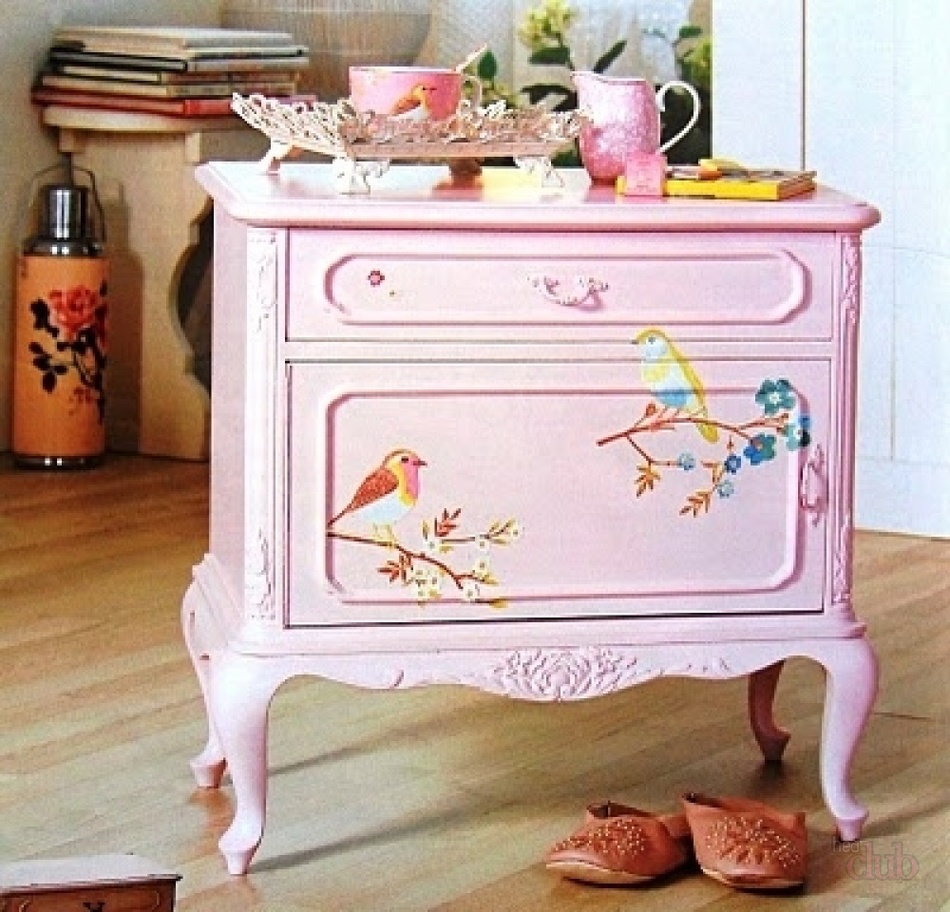
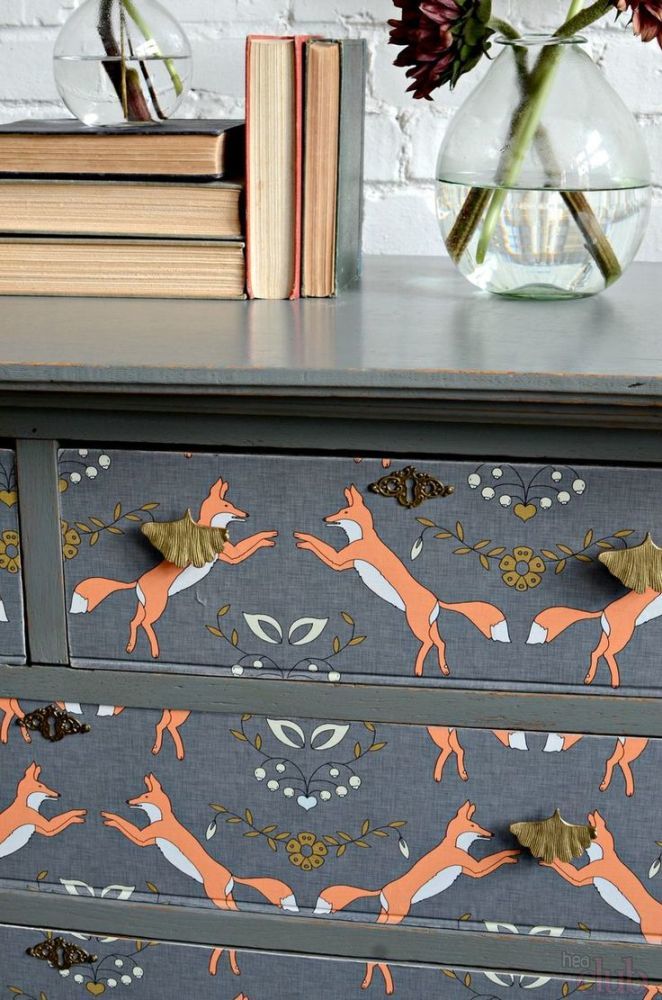
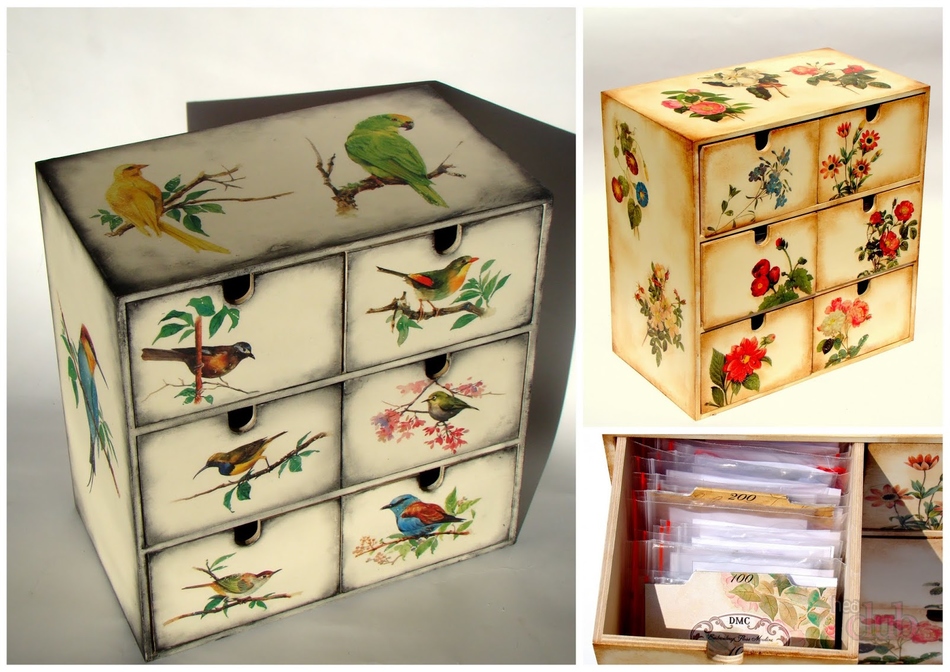
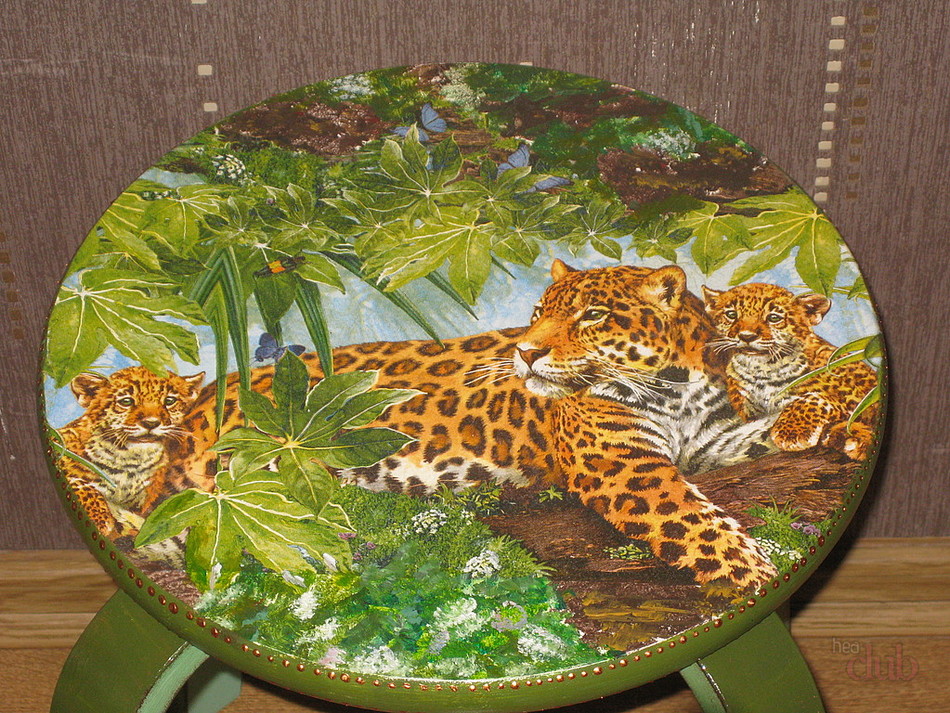
- Birds, animals.
- Chinese and generally Asian motifs.
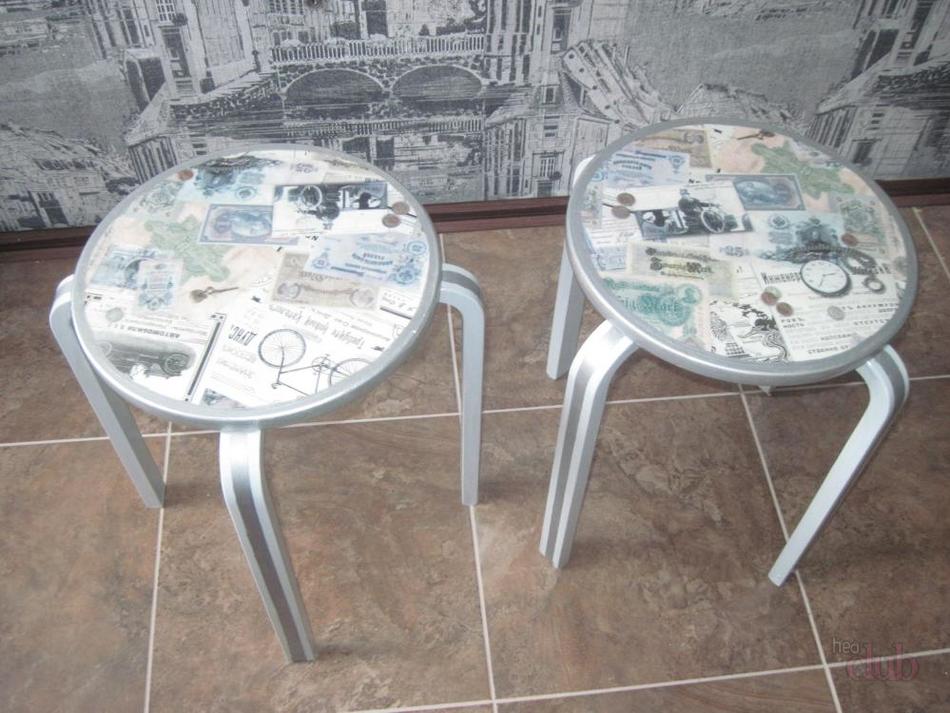
- Old black and white photographs and postcards.

We will also look at some stylistic trends in decoupage.
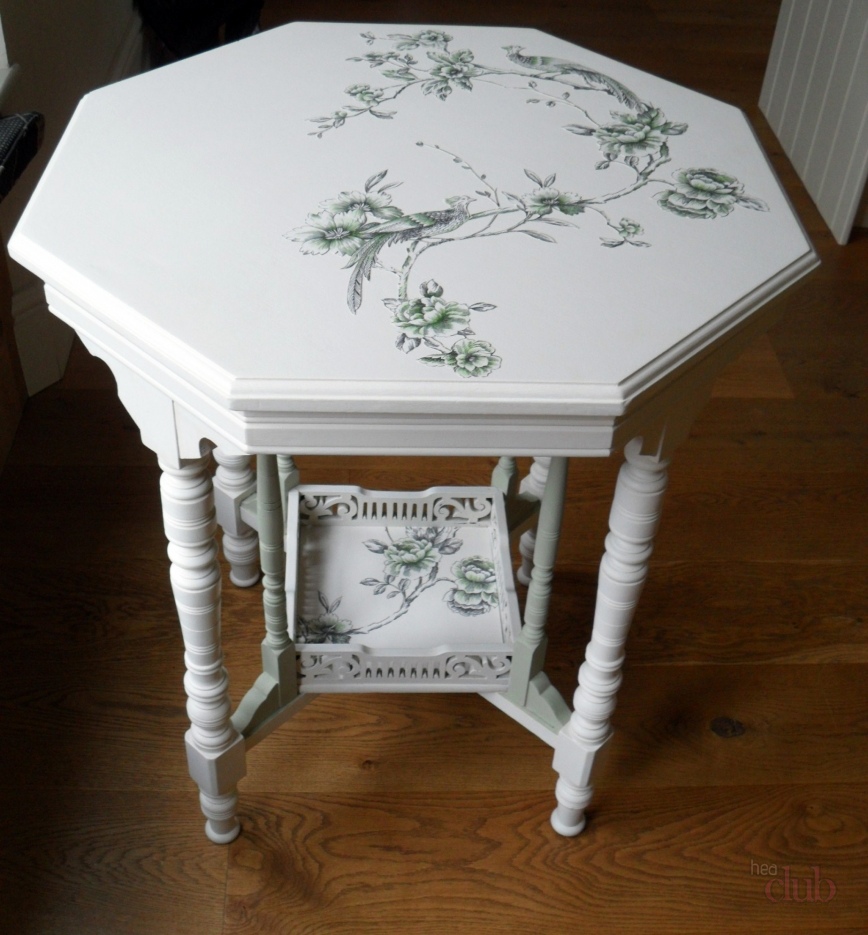
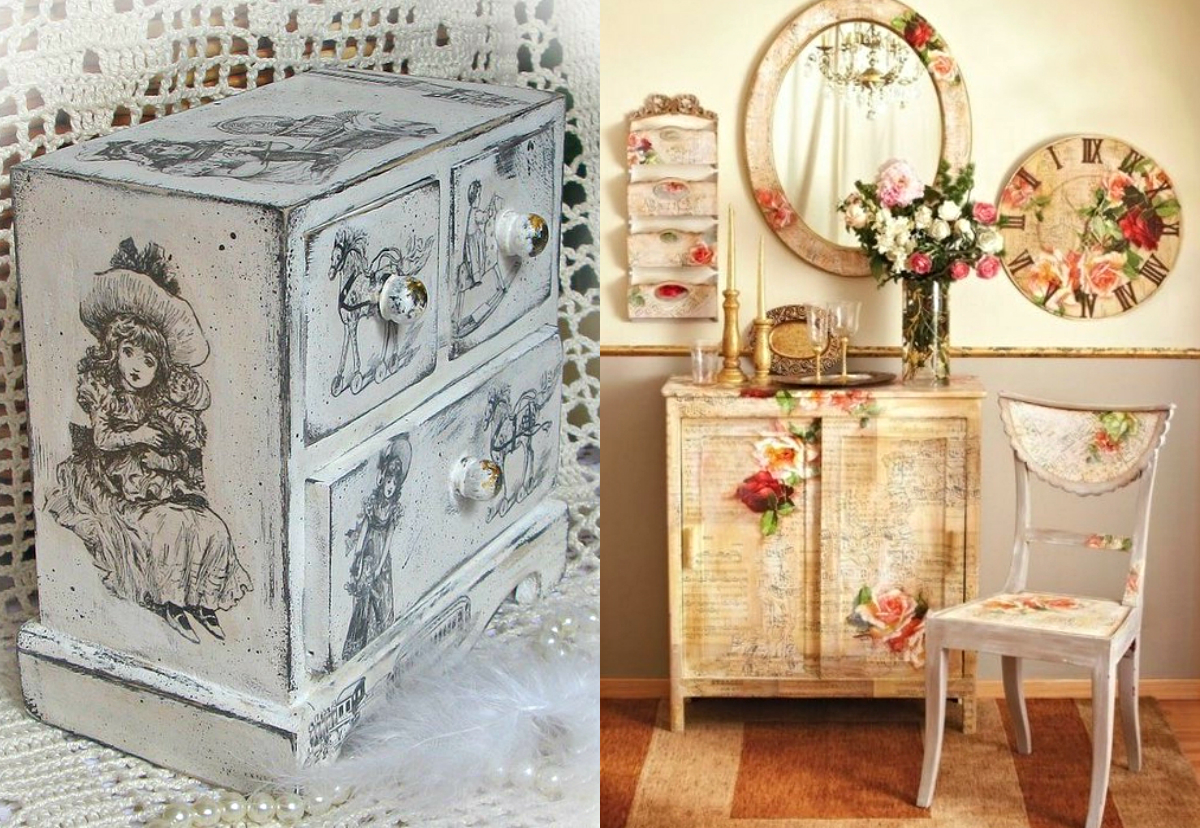
Provence and Victorian styles have always been very popular. Both of these styles came to us from France. Bleached background, slight abrasions, floral motifs and pastel colors are what are typical for these styles.
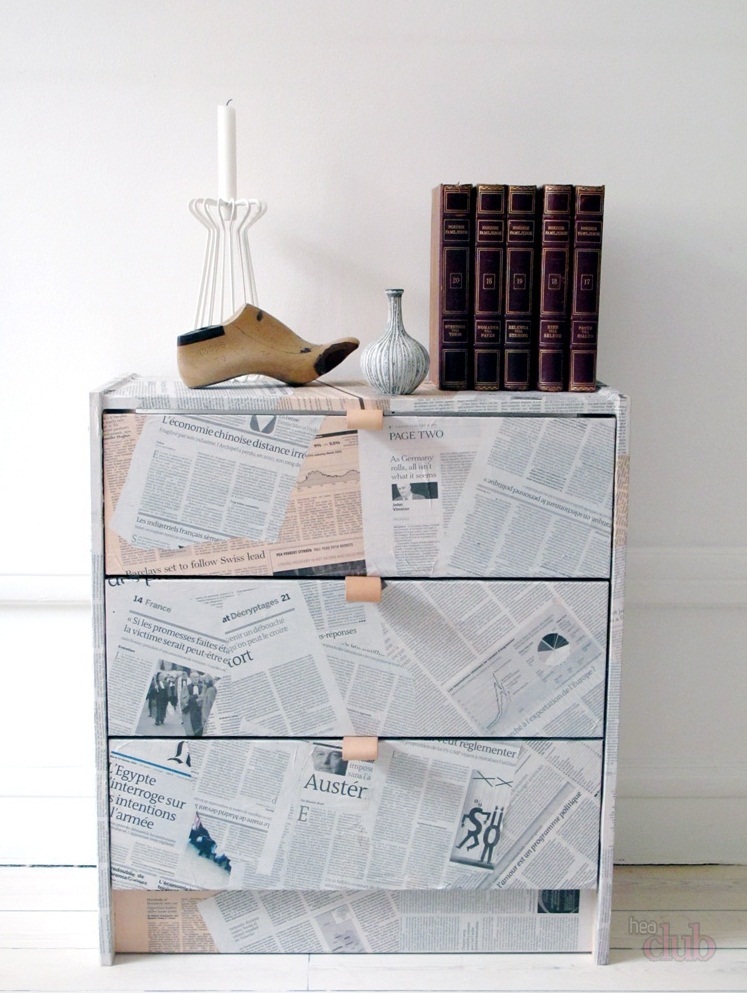
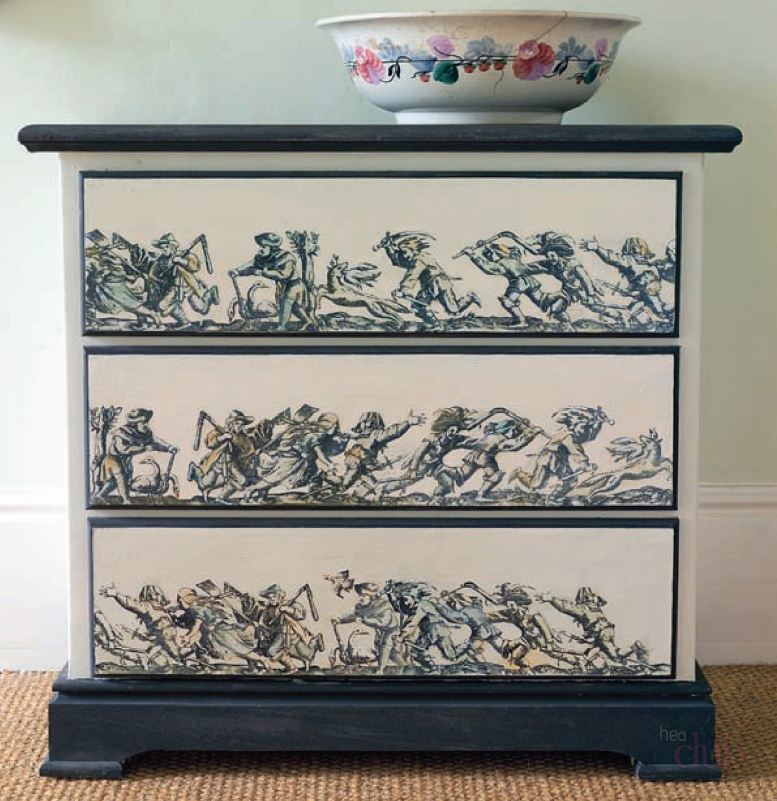
Simple City. Created using neat (or, on the contrary, torn) newspaper clippings and old black and white photographs.

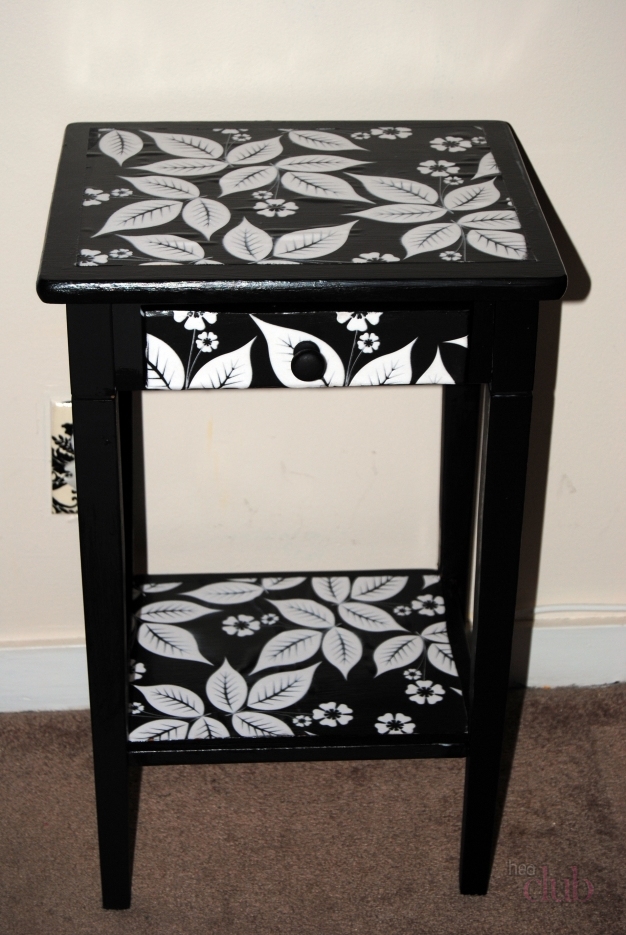
Vintage French. The item is decorated using two, rarely three, colors - white and black. This style was slightly influenced by minimalism.
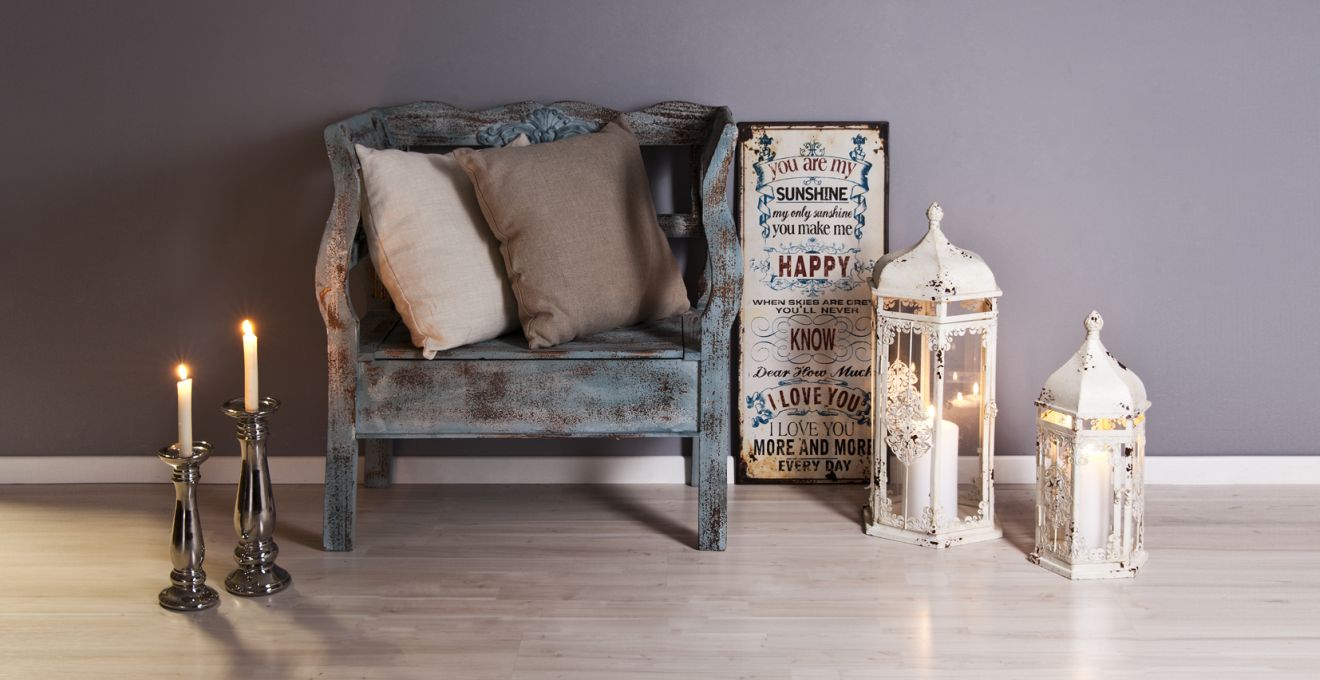
If you see frayed edges and blurred textures, you can be sure it's Shabby Chic. It's also very often associated with Victorian style, with its hunting theme, gold, and bouquets of flowers.
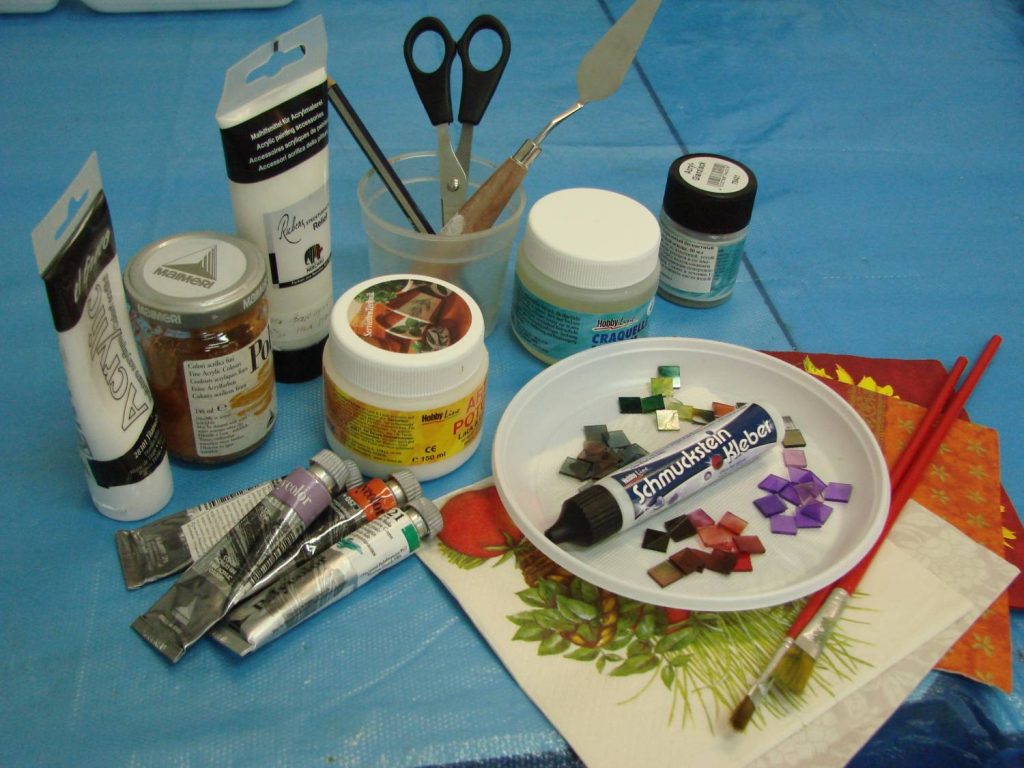
What tools and materials will be needed?
Decoupage is a technique that opens up a wide range of different techniques and does not require large material costs. But if you still want to get a high-quality and beautiful work as a result, you will still have to spend a little money.
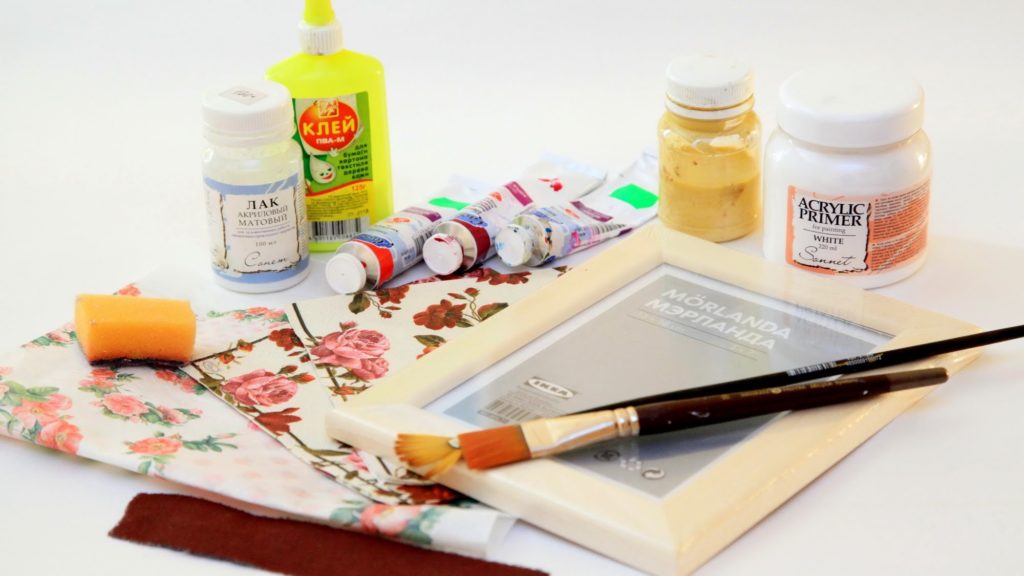
List of materials and tools for furniture decoupage:
- Sharp scissors with a short blade and a Teflon coating. These will cut even the smallest details neatly, and glue will not stick to them. A short blade is also easier to control.
- Brushes. These may be needed for shading pastels, applying glue or paint. For pastels, choose soft, natural bristles, and for glue and paint, hard synthetics are suitable.
- Primer for preparing the work area
- Decoupage glue.
- Acrylic paints for background and small details
- Sandpaper
- Napkins are the cheapest and most accessible material for decoupage. There are a huge number of napkins with different prints on the market now. Even if you make a mistake, you won’t regret the money spent, because a pack of napkins costs pennies. But this option is not very durable and can easily tear.
- Decoupage napkins are a more expensive option, but have greater durability and covering ability. They are sold in specialized stores in already assembled sets on a specific topic.
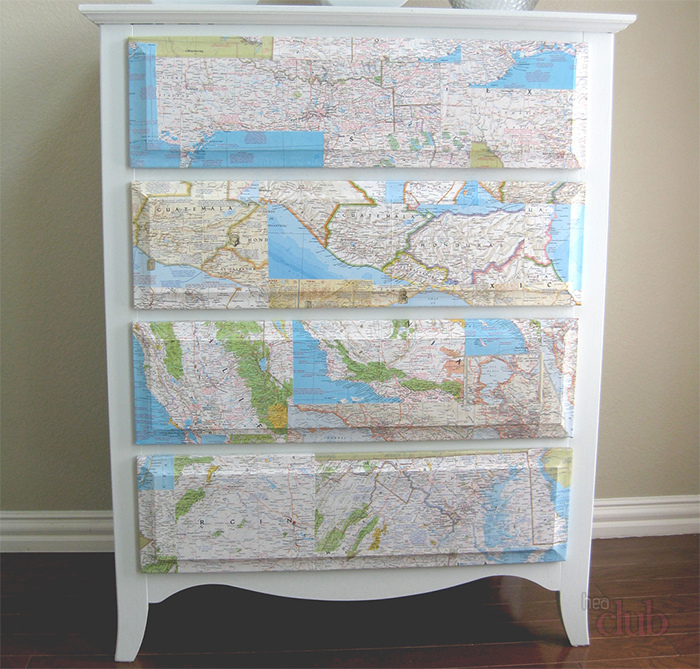
- Printouts are also an economical option, the main thing is to choose a clear picture and print on a laser printer.
- Advanced craftsmen can also purchase a special decoupage knife with a rotating blade.
Do-it-yourself furniture decoupage with napkins
With the help of decoupage we can breathe new life into furniture that has served us for many years. Even unsightly Soviet furniture can sparkle with new bright colors!
Although the technique is not the most difficult to perform, one wrong step can seemingly irreversibly ruin the entire product and discourage any desire to continue working. But show strength of character and correct the mistake. The most common problem is the appearance of small irregularities, bumps, folds on the work, spoiling the entire appearance. If the folds are really small, then fixing varnish can help to correct the situation. Do not be stingy with it, apply a large number of layers. If the folds are large, then it makes sense to sand them a little with soft sandpaper to remove the thickness.

Proper preparation of the surface for decoupage will also help to avoid mistakes.
To ensure that the ornament you have chosen does not tear during the process, does not swell and lies flat, the wood must be carefully processed before work, get rid of all knots and twigs, unevenness on the surface. Go over the entire working area first with coarse sandpaper, and then move on to soft, achieving a perfectly smooth surface.
If you are working on glass or plastic, to avoid the ornament from sliding off, you should thoroughly degrease the work surface before applying it. This can easily be done with alcohol and alcohol-containing products or dishwashing liquid.
More thorough preparation is carried out in cases where corrosion, also known as rust, has formed on the metal. It will definitely need to be removed, otherwise disgusting dirty yellow spots will appear on the ornament.
A bad primer is the main reason for mold and mildew to appear on the finished work. Also, if this step in the work is skipped or done poorly, the work may start to creep, because the primer is the connecting element between the base, glue, napkin and varnish. It is more profitable to prime glass and plastic with artistic acrylic primer, wood is primed with a primer for wood, which can be purchased at any hardware store.
Please note! If you follow all the rules for preparation and strictly adhere to the plan, use high-quality materials, then the work will bring you only joy.
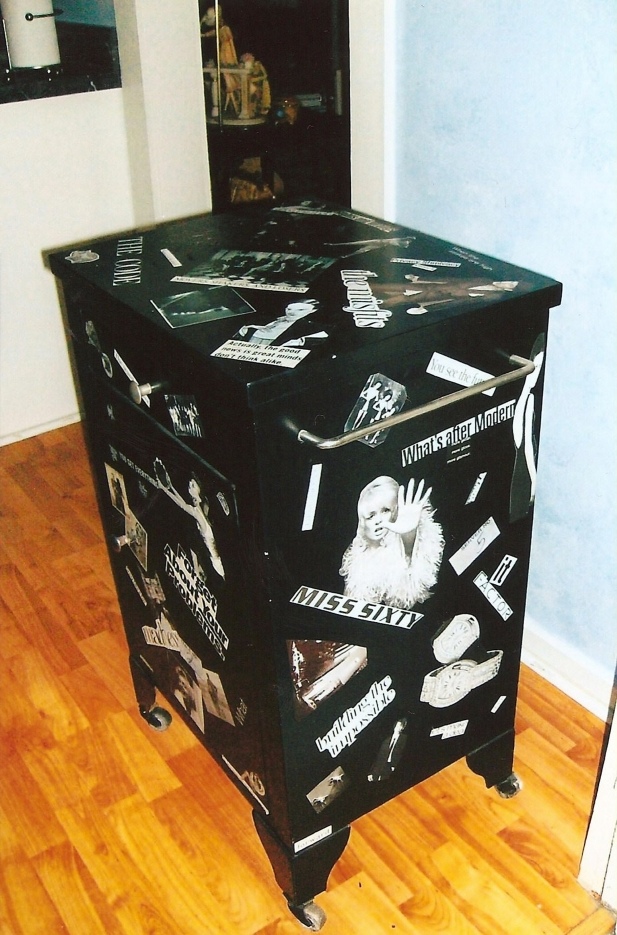
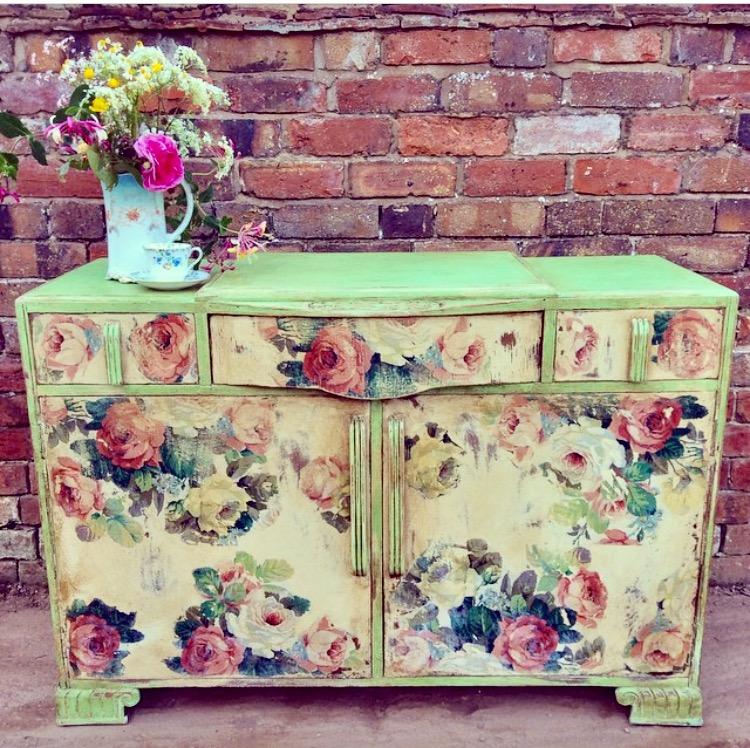
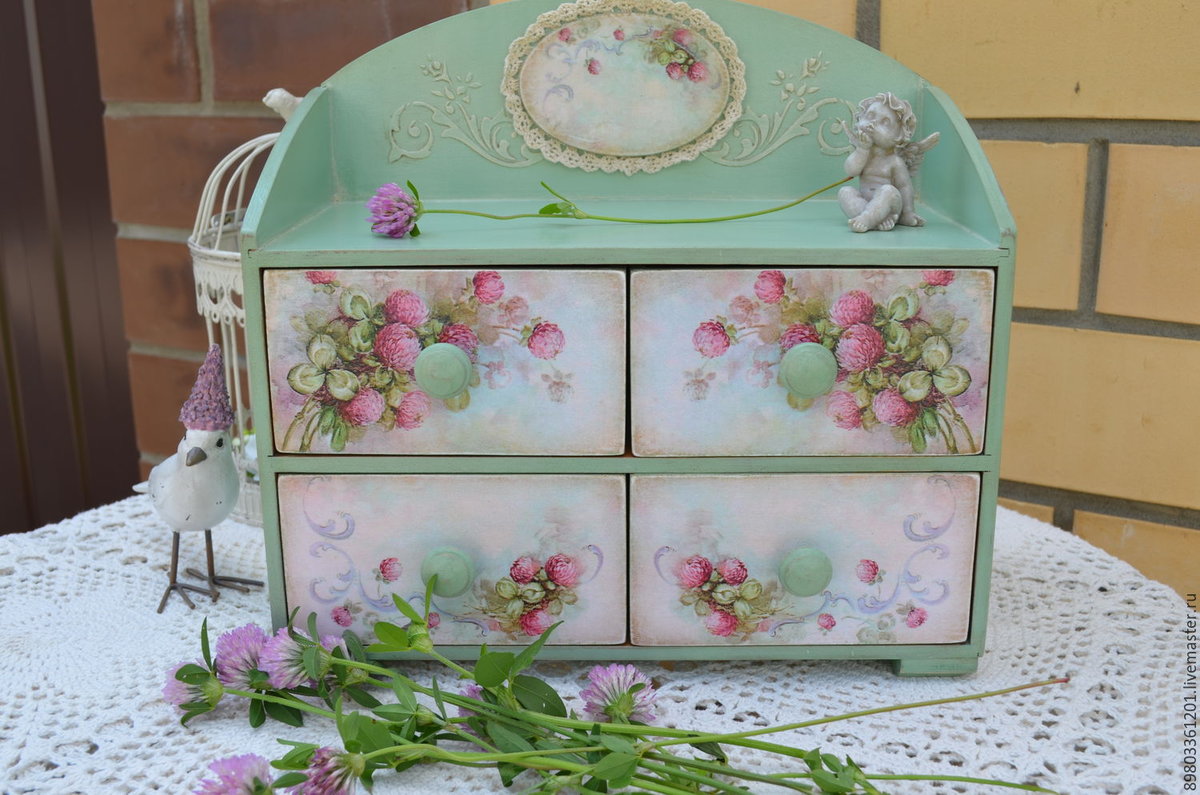
Master class on decoupage of a chest of drawers with napkins
The chest of drawers will be decorated in Shabby Chic style.
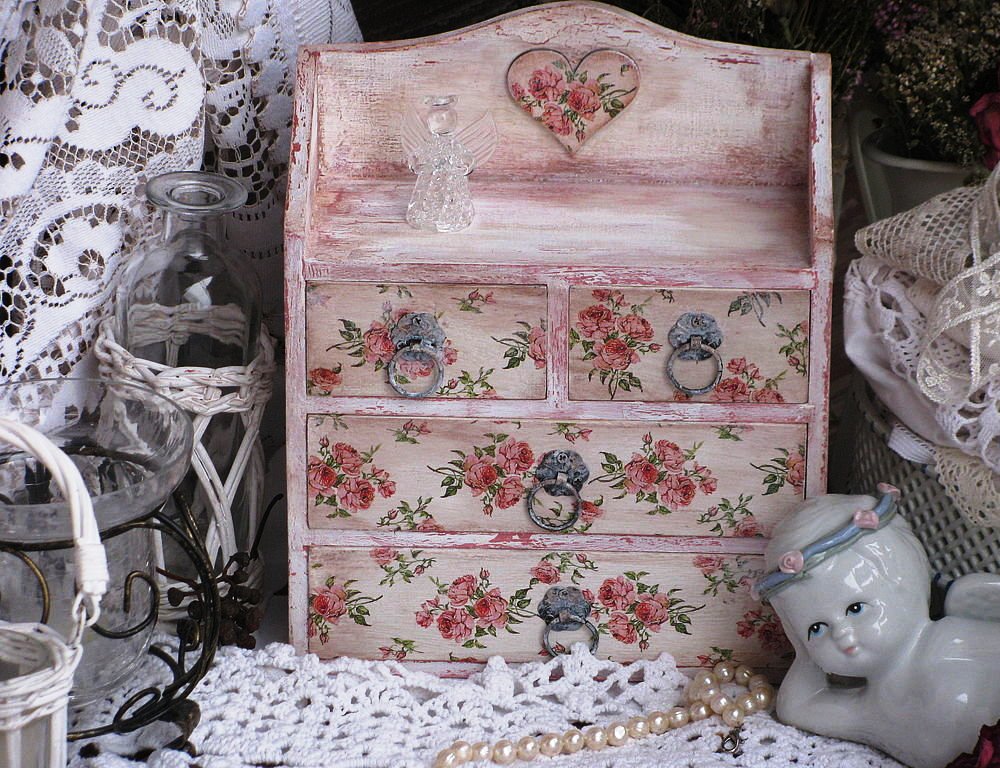
Step 1. Prepare the furniture for creative work. Disassemble it, remove all the fittings and sand it well, removing the top layer. Prime and then paint.
Step 2. Cut out decoupage blanks from napkins, wallpaper or magazines, you can use printouts. Apply to the furniture, find the ideal location for the flowers.
Step 3. Mix glue with water in a 2/3 ratio. Glue the motif to the chest of drawers, coating everything well.
Step 4. Using acrylic white paint, shade the pattern into the background. Cover the finished product with varnish in several layers. Done!
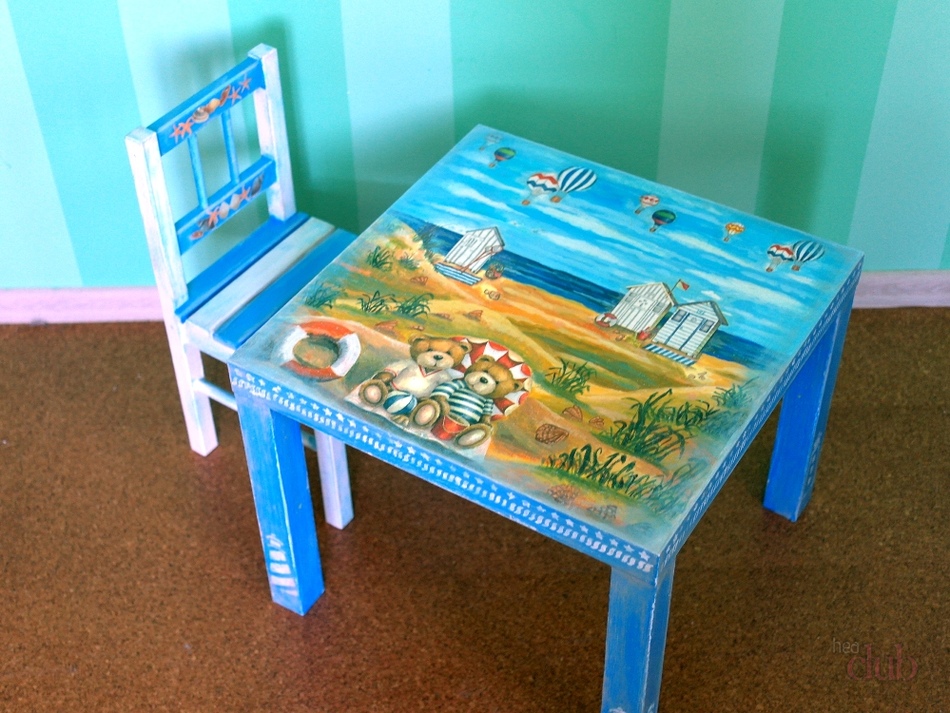
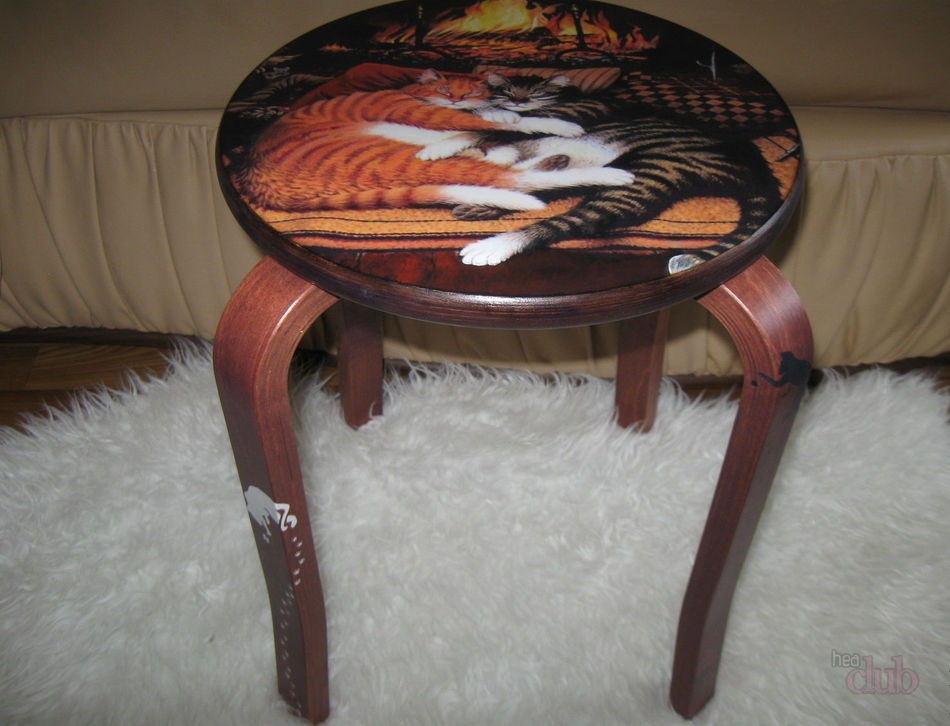
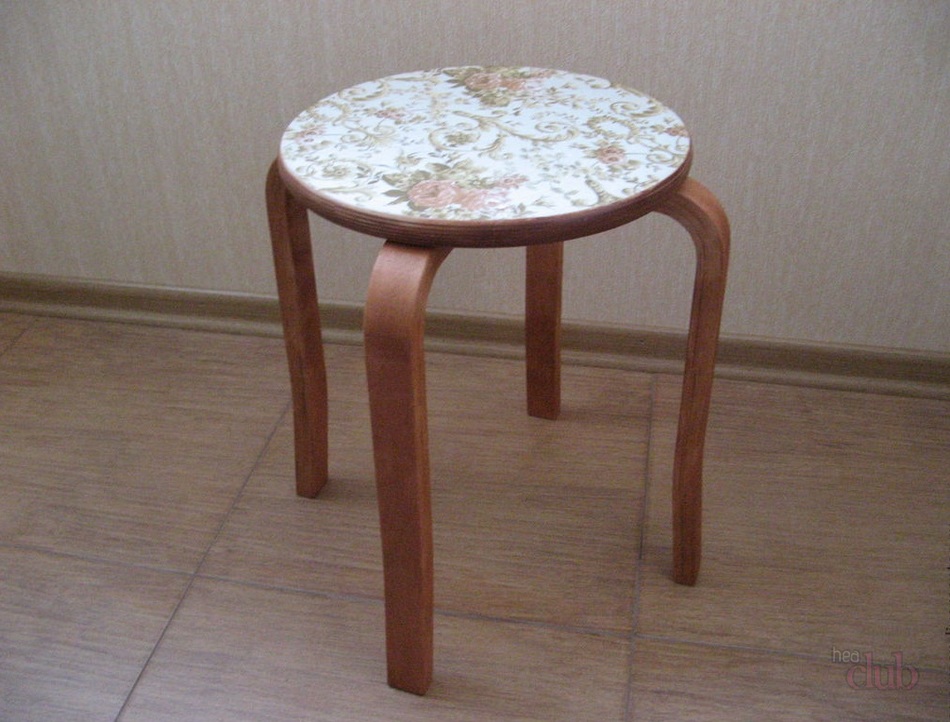
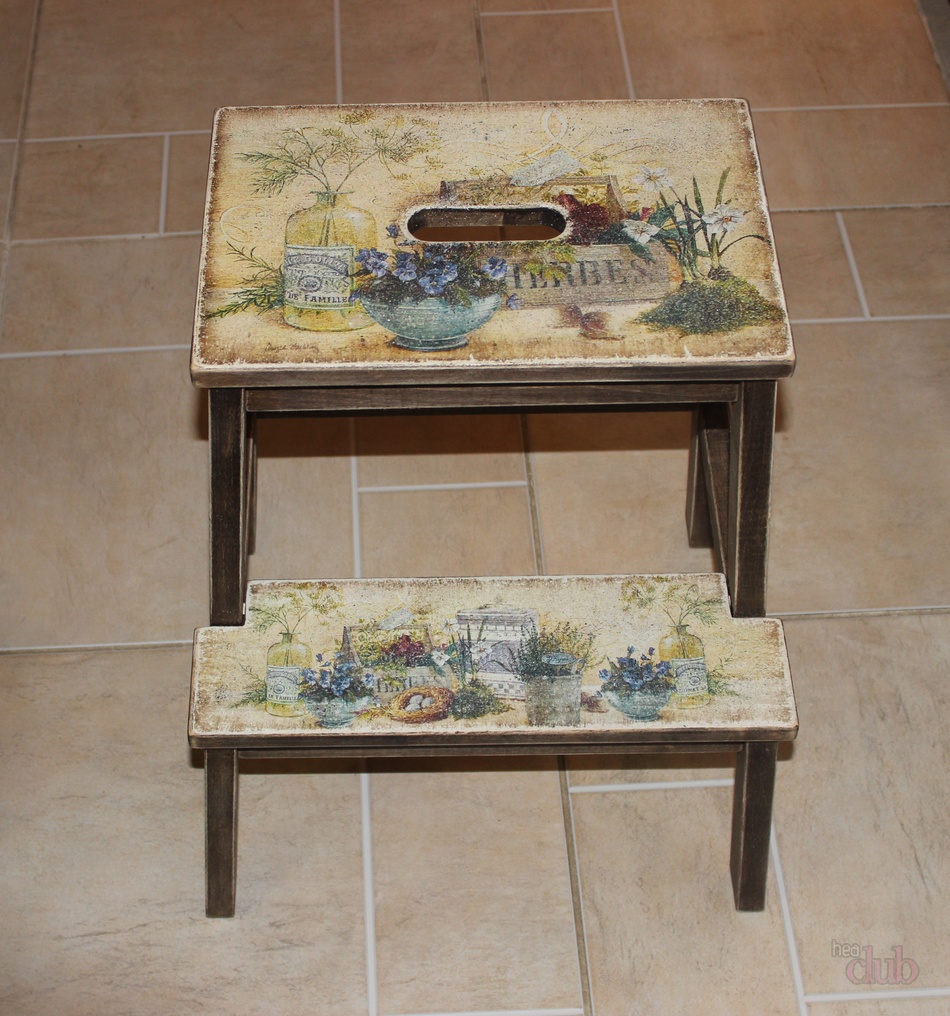
Decoupage of a stool
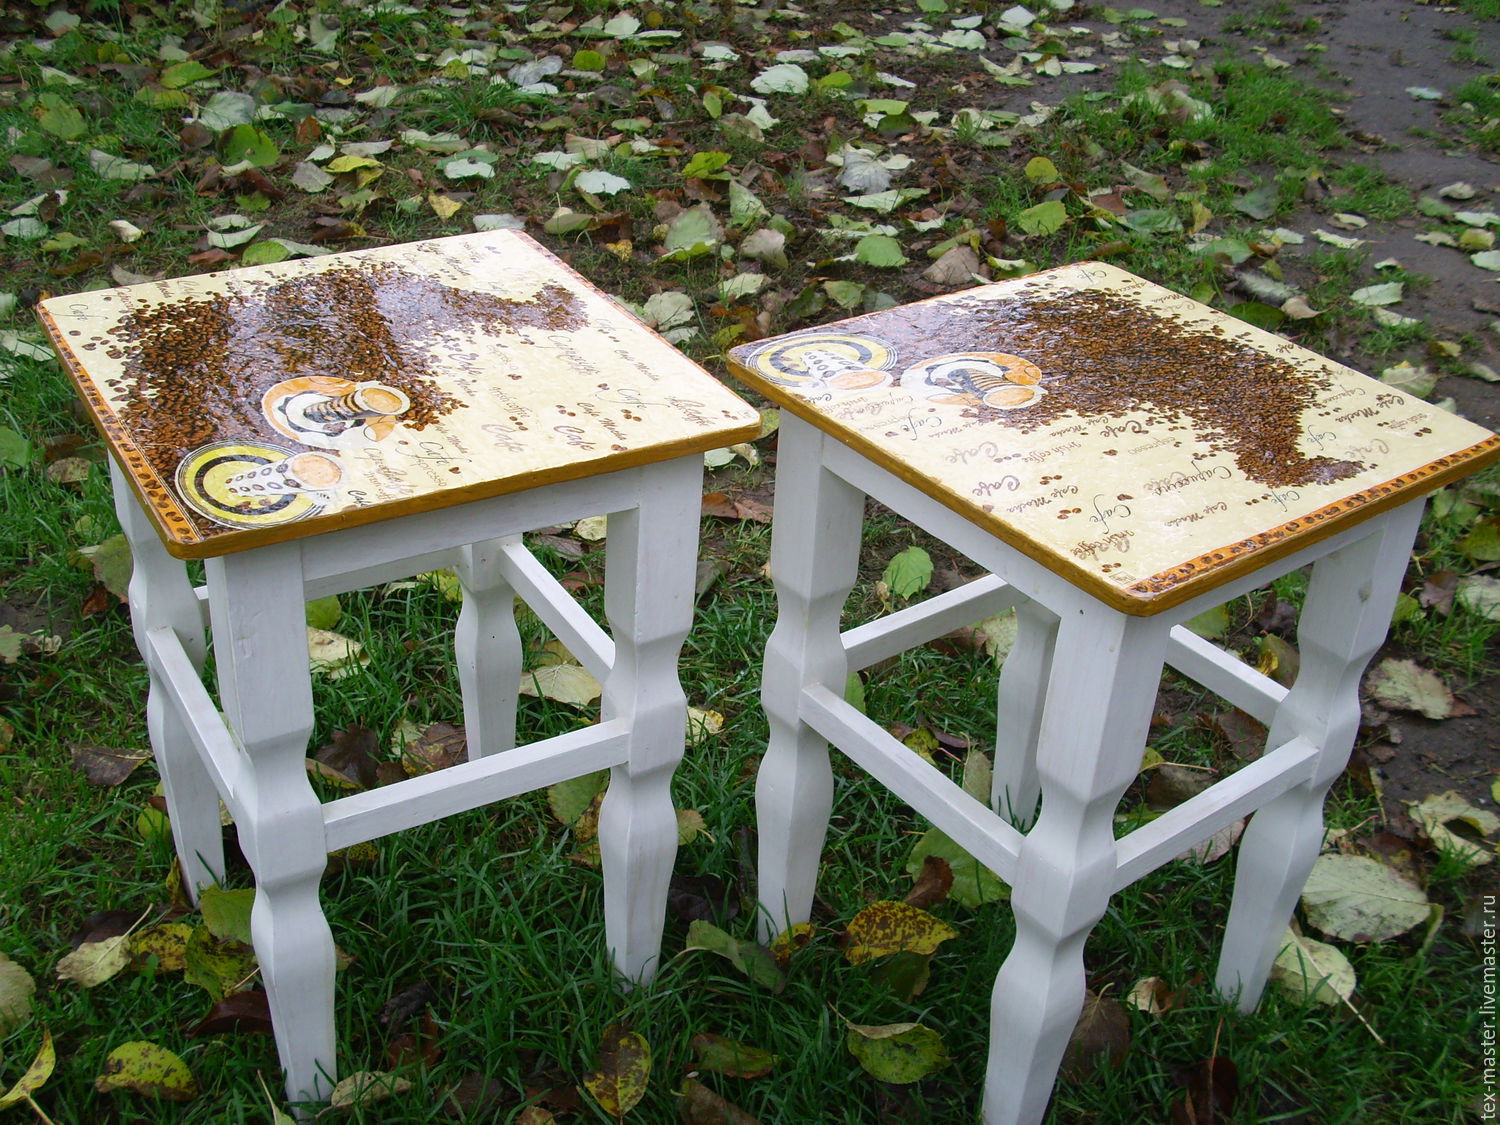
Step 1. Process the surface. Sand, prime and paint.
Step 2. Cut out the pattern you like and roughly place it on the surface of the stool.
Step 3. Glue the picture.
Step 4. Apply varnish in several layers.
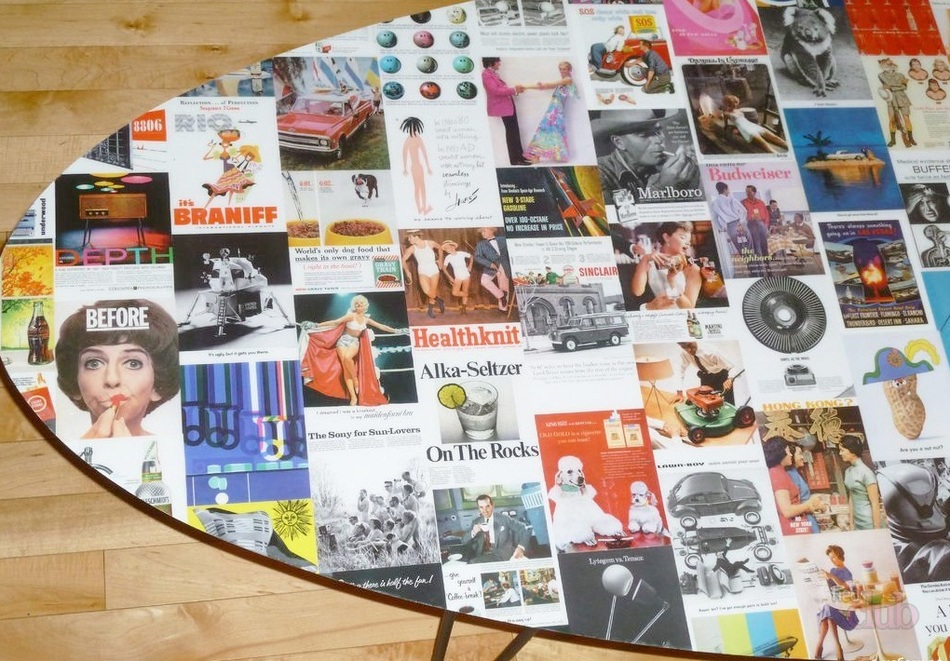
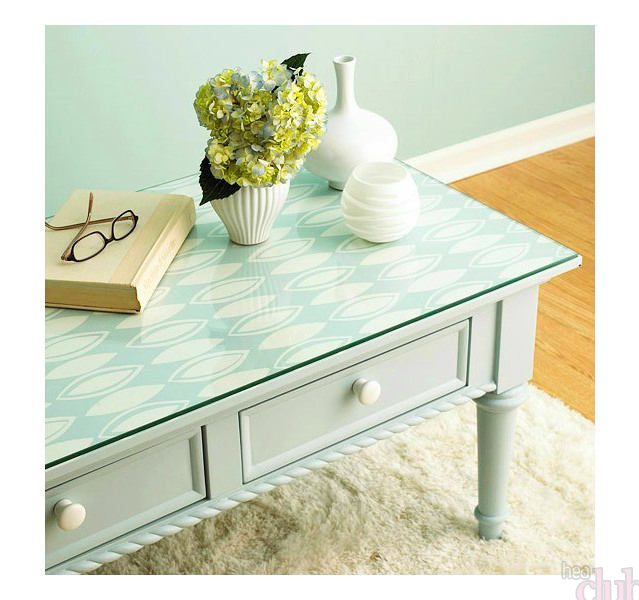
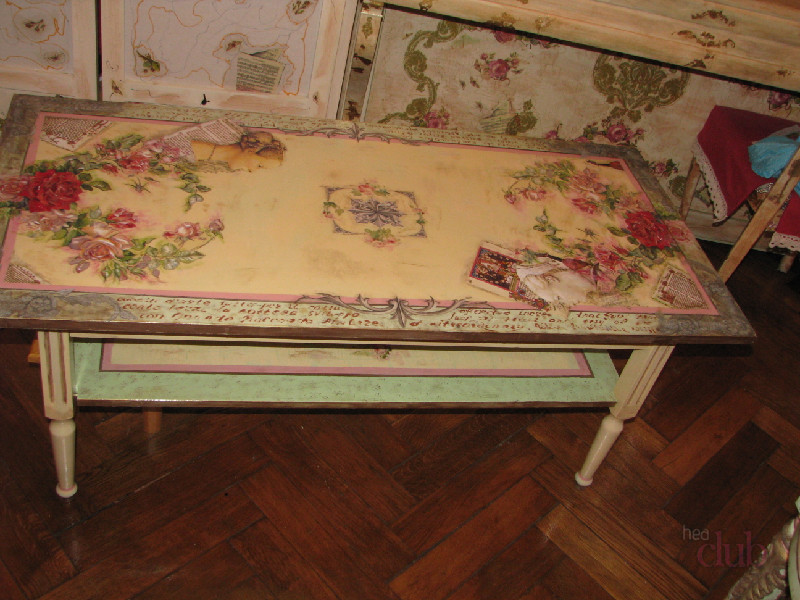
Decorating an old coffee table
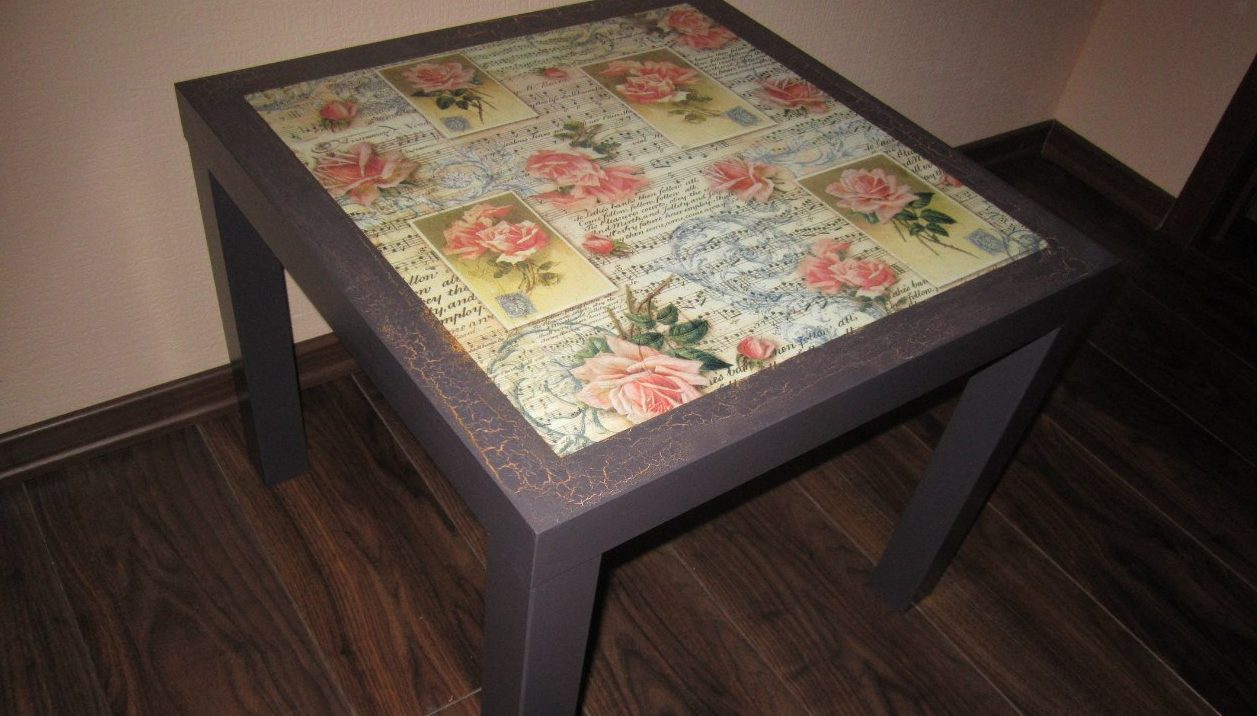
Now let's look at how to decoupage a coffee table with napkins:
Step 1. Dismantle the old table. Prepare the work area.
Step 2. Paint.
Step 3. Cut out a picture from a napkin and glue it onto the table.
Step 4. Cover with varnish and use dark paint to age the furniture and cover with varnish again.
Decoupage of interior door
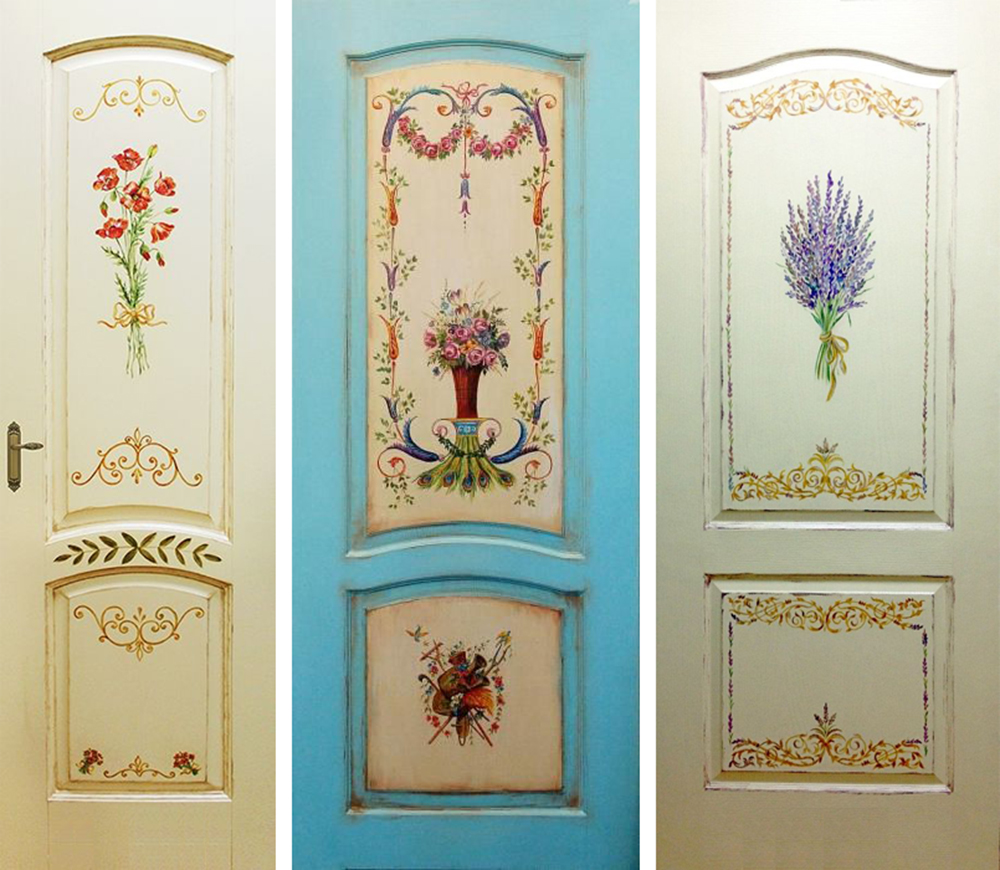
Step 1. We process the entire surface with sandpaper, prime it and paint it in the color we need. After the paint dries, we sand the entire surface again.
Step 2. Cut out the drawing and mark its approximate location on the doors with a pencil. Glue the image. If the glue is too thick, dilute it with water.
Step 3. After the glue dries, cover with glossy varnish so that the doors can be washed. Done!
Important! Glue the image from the center to the edges, pushing out bubbles and getting rid of unevenness!
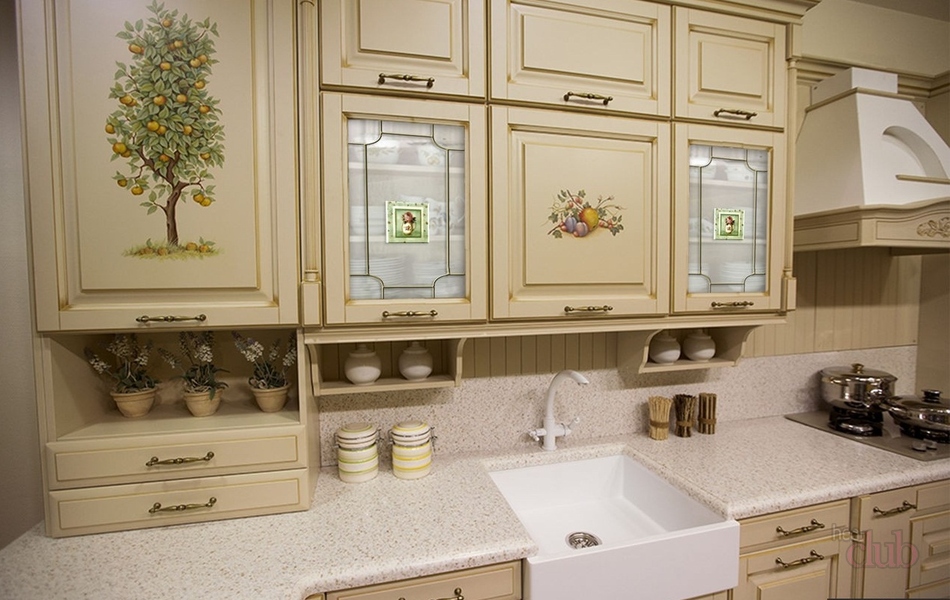
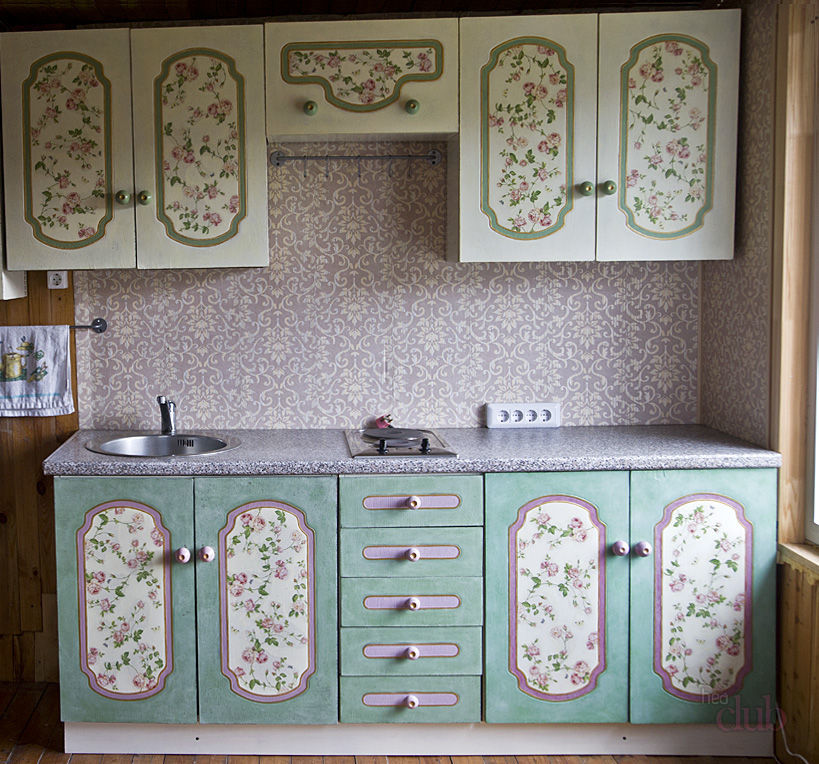
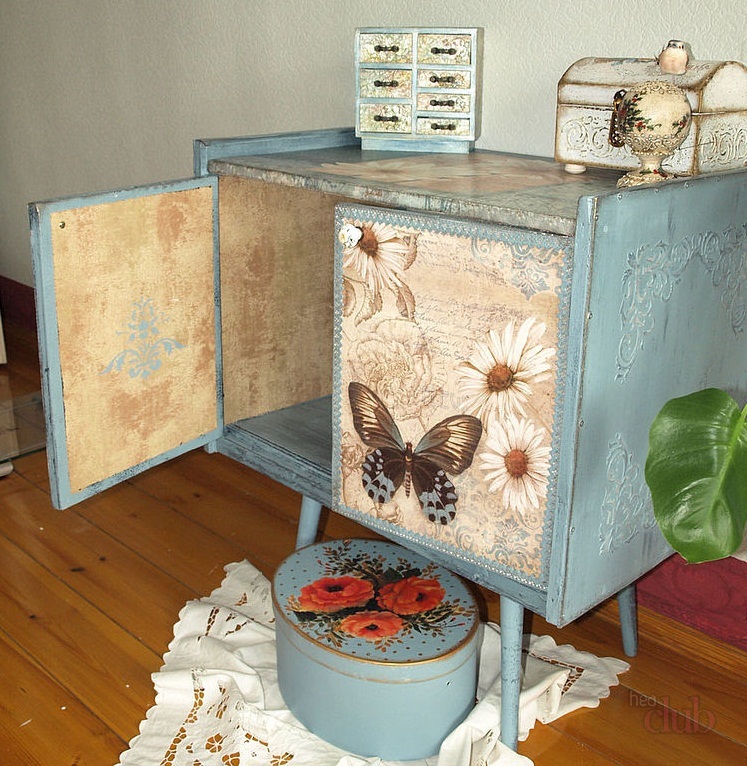
Decoupage of kitchen furniture
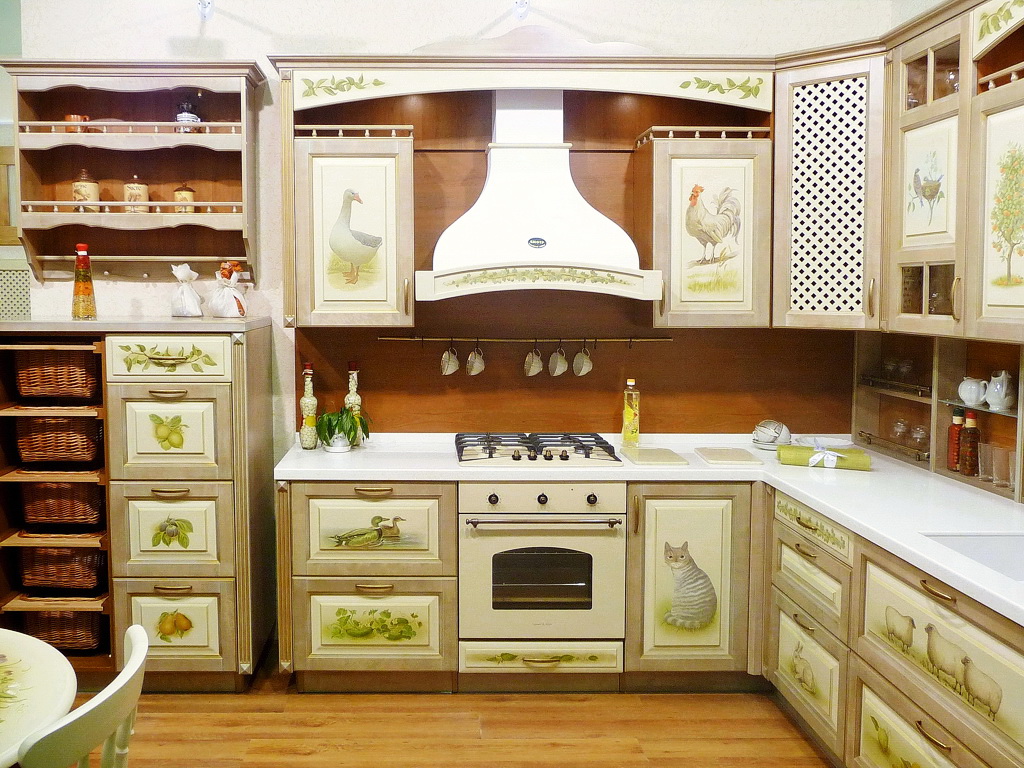
The principle of decoupage of kitchen furniture with your own hands is the same as other furniture. We sand the surface, paint and glue the picture. And at the end we cover it with glossy varnish, this is important for the kitchen, since the furniture there tends to get dirty.
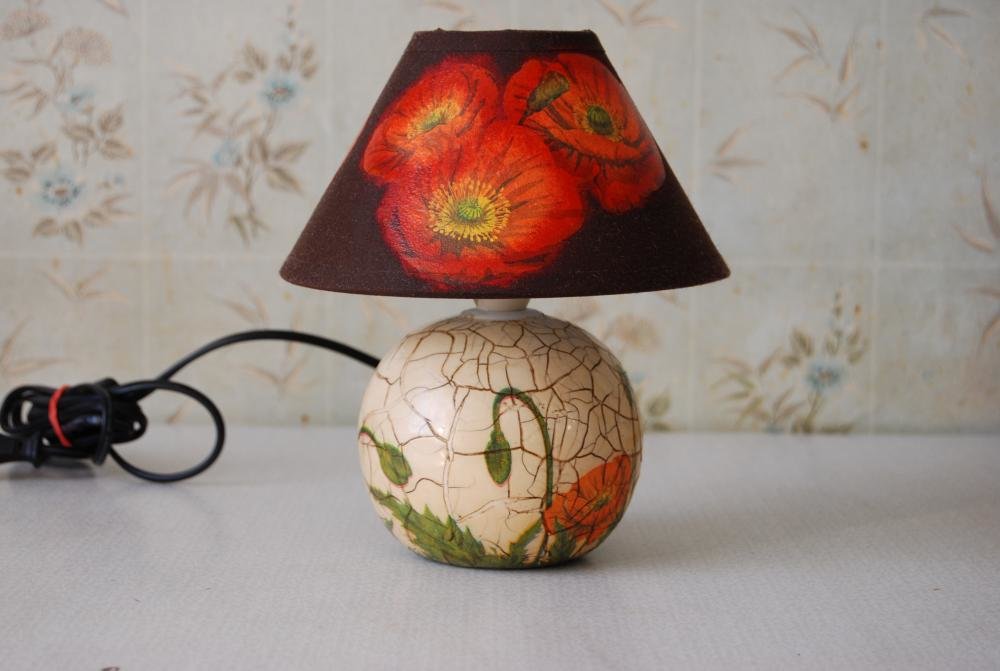
Decoupage of a floor lamp
We process the surface, degrease and sand. And then glue the napkins. Cover with varnish.
Conclusion
In the modern world, the market has been captured by monotonous and faceless products of industrialization, and any hand-made product has become more valuable than ever before. Therefore, if you want to bring more creativity into your life and have been thinking about updating old furniture for a long time, then kill two birds with one stone - do decoupage!
VIDEO: DIY furniture decoupage.
50 DIY Furniture Decoupage Options: