A comfortable chair is the most important part of a comfortable rest after hard working days, both at work and at the dacha. Good furniture in the store is not cheap, and the option of making your own models scares many people with the lack of instructions and the fear that it will not work.
Moreover, the process of designing and creating a chair is fascinating and interesting in itself, first of all, due to its creativity and novelty of the work. But for high-quality execution, minimal experience of working with plywood products and wood is needed.
Content
- Benefits of working independently
- What are the types of designer chair designs?
- Tips for choosing and preparing plywood sheets
- Necessary tools and materials
- Step-by-step instructions for making a model on three legs
- Making a Rocking Chair from Plywood
- What to look out for
- Afterword
- VIDEO: DIY chair made of plywood and insulation.
- Creative plywood furniture – 50 photo ideas:
Benefits of working independently
The most important advantage of the plywood chair created with your own hands, is its price, which is much lower than the store price. In addition, hand-made chairs are in no way inferior to expensive factory ones, and sometimes even better - more original and more reliable.
Such constructions are mainly made for country houses, as leisure items. The average cost of one product does not exceed 6 thousand rubles. plywood chair, you can not only create a high-quality interior item, save money, but also get great pleasure from the work.

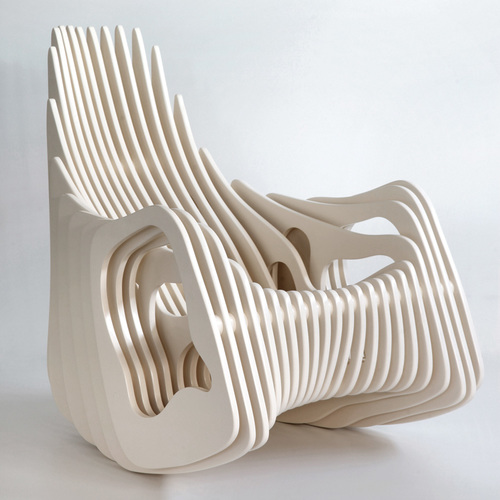
What are the types of designer chair designs?
There may be hundreds or even thousands of design options, but they all boil down to different variations of the 2 most popular models:
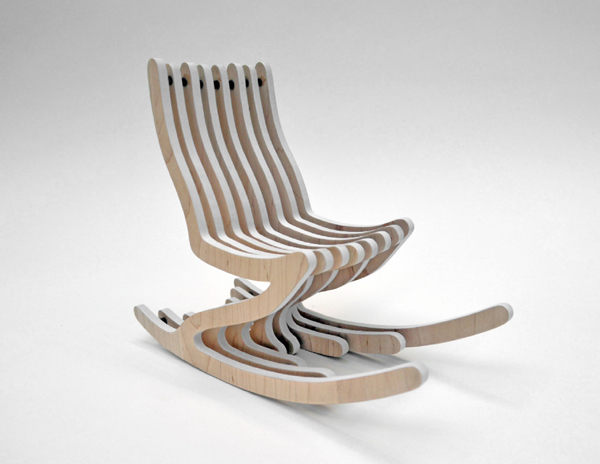
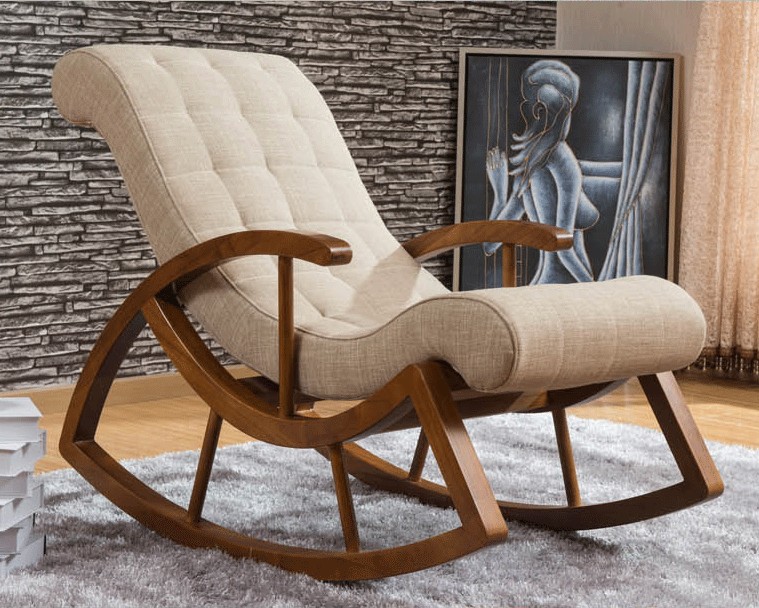
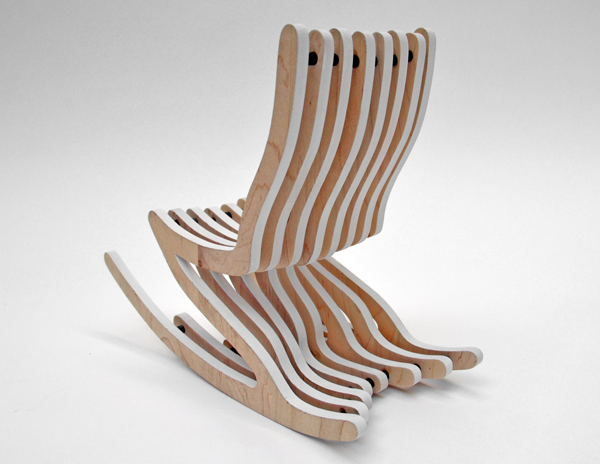
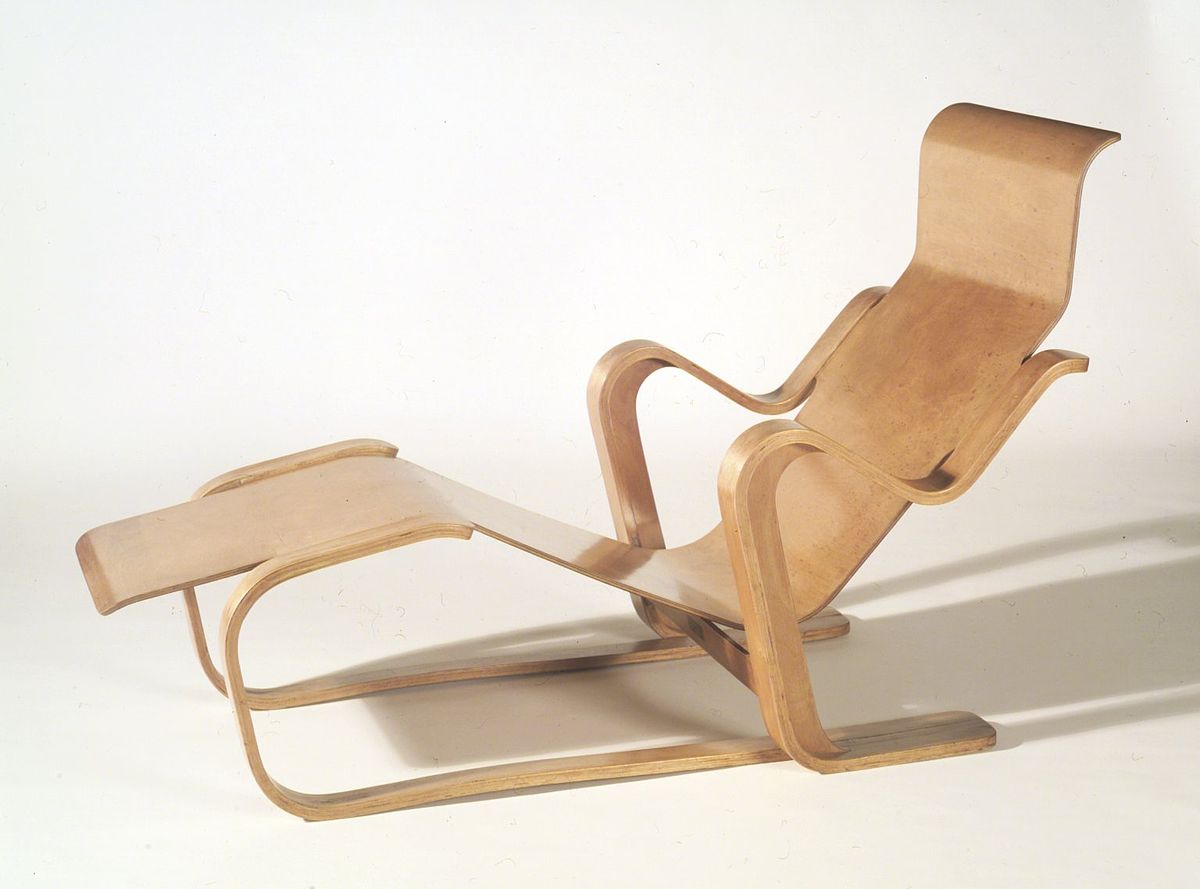
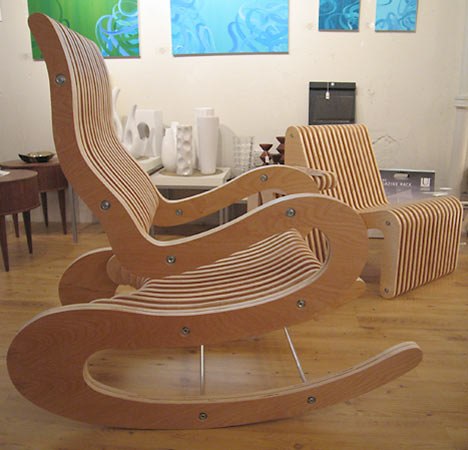
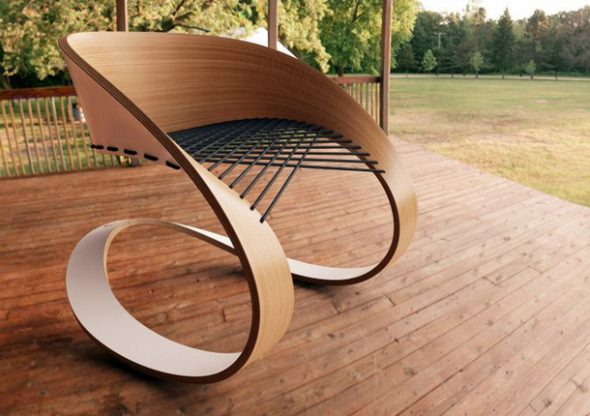
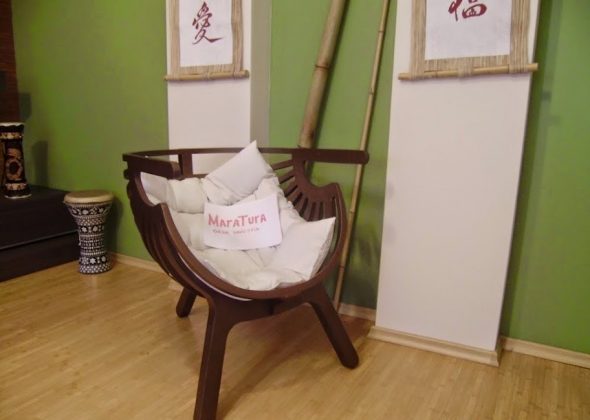
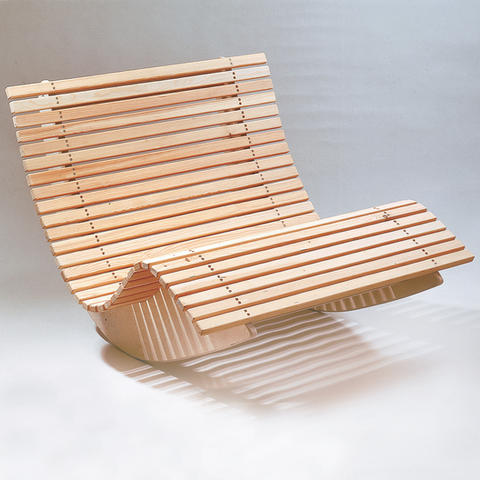
- TOrocking chair;

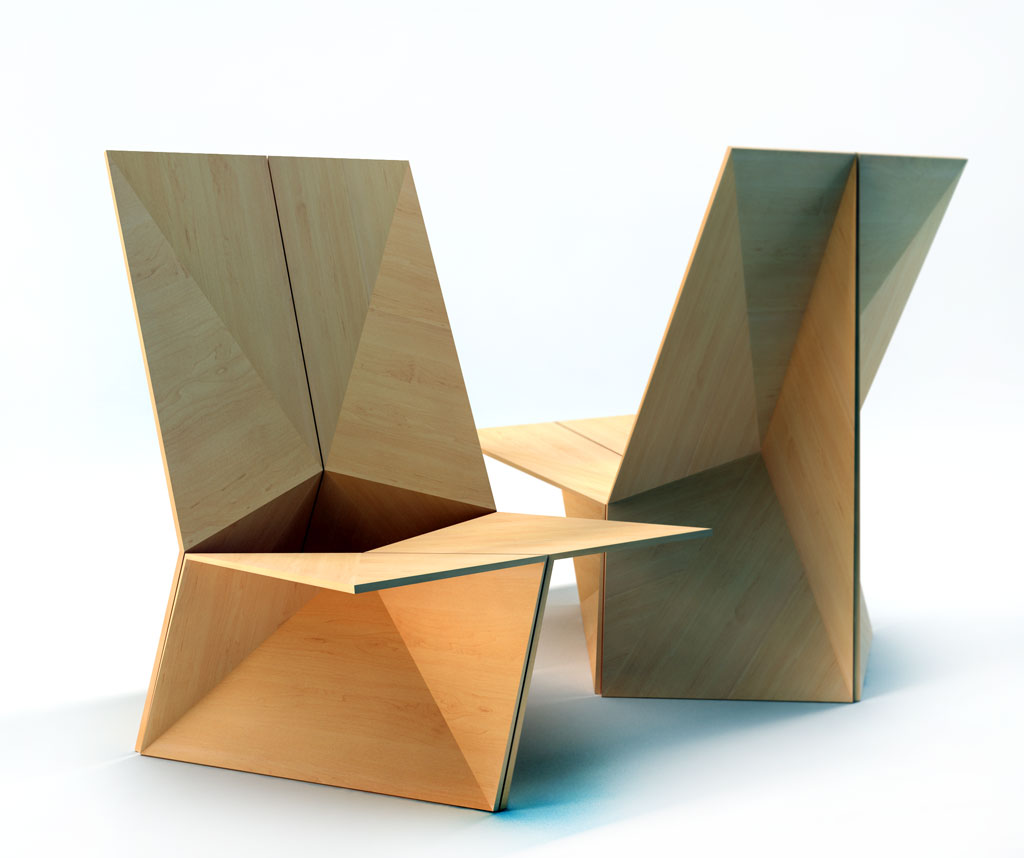
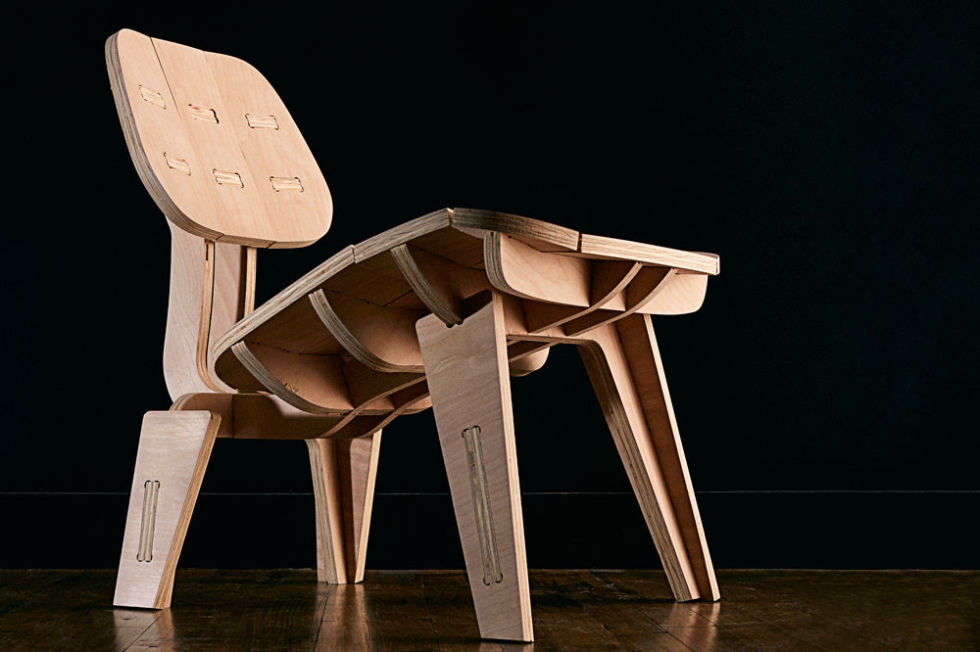
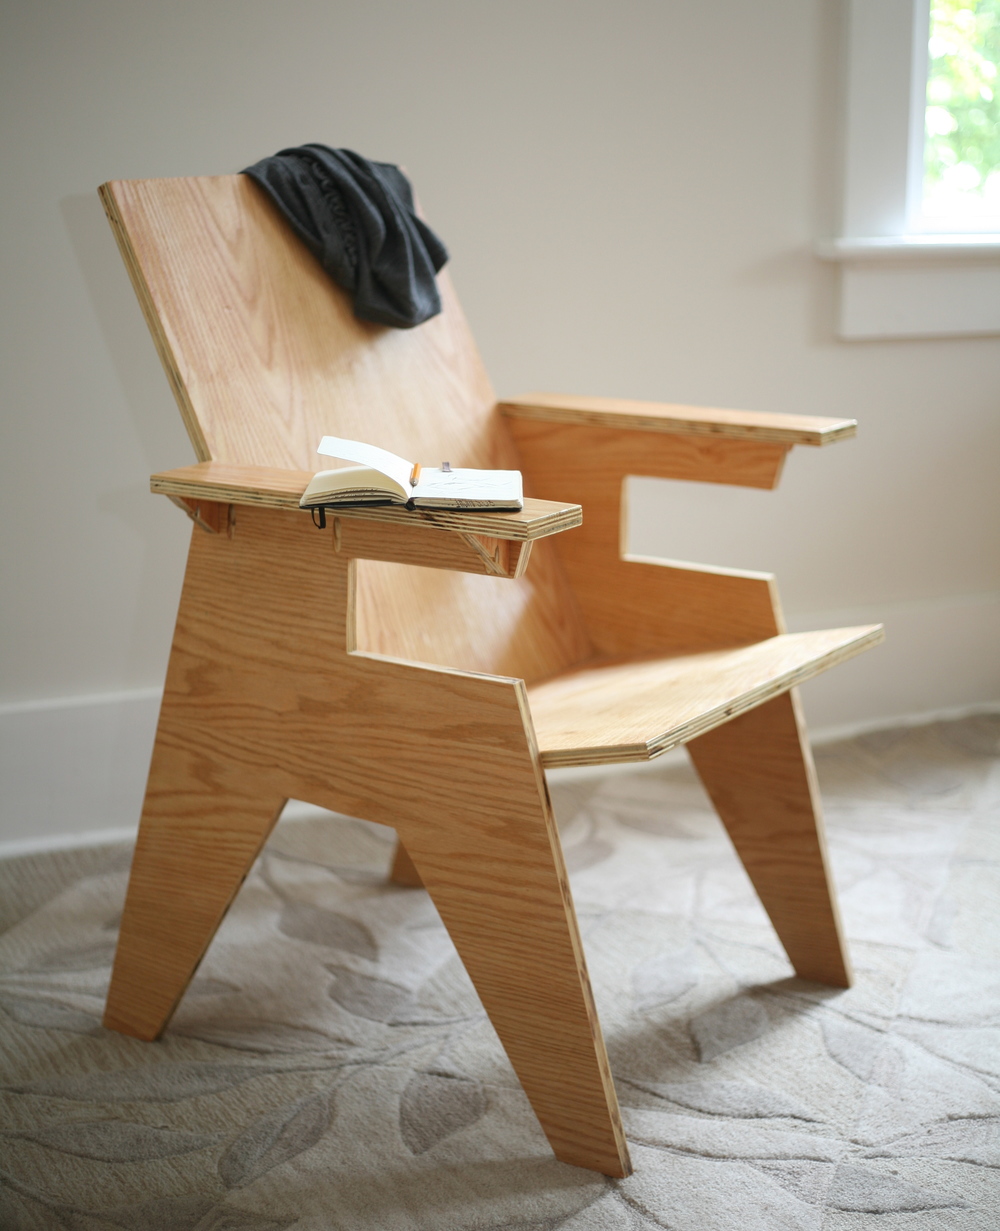
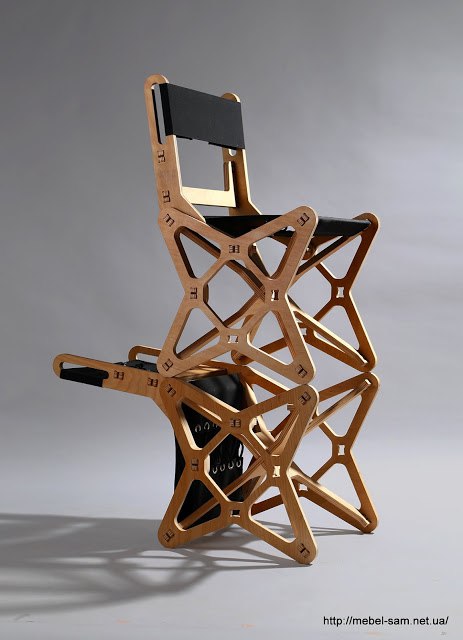
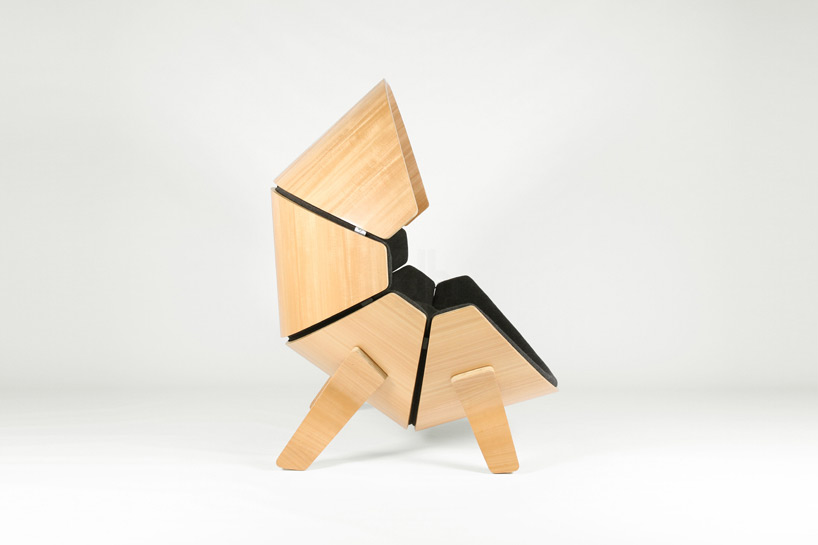
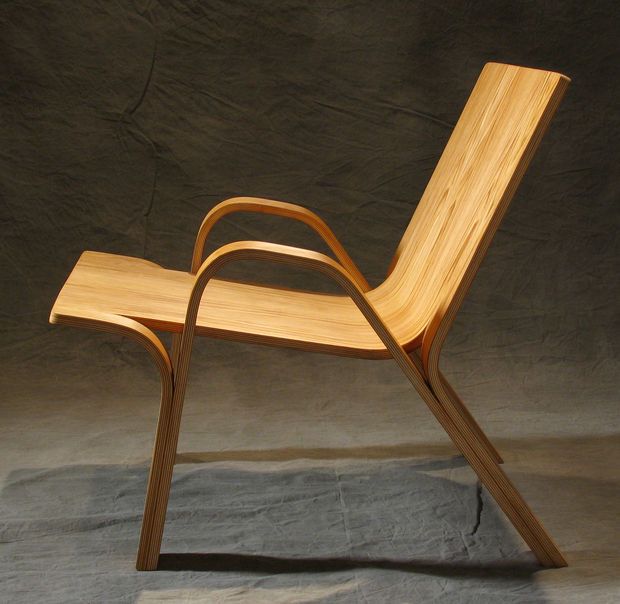
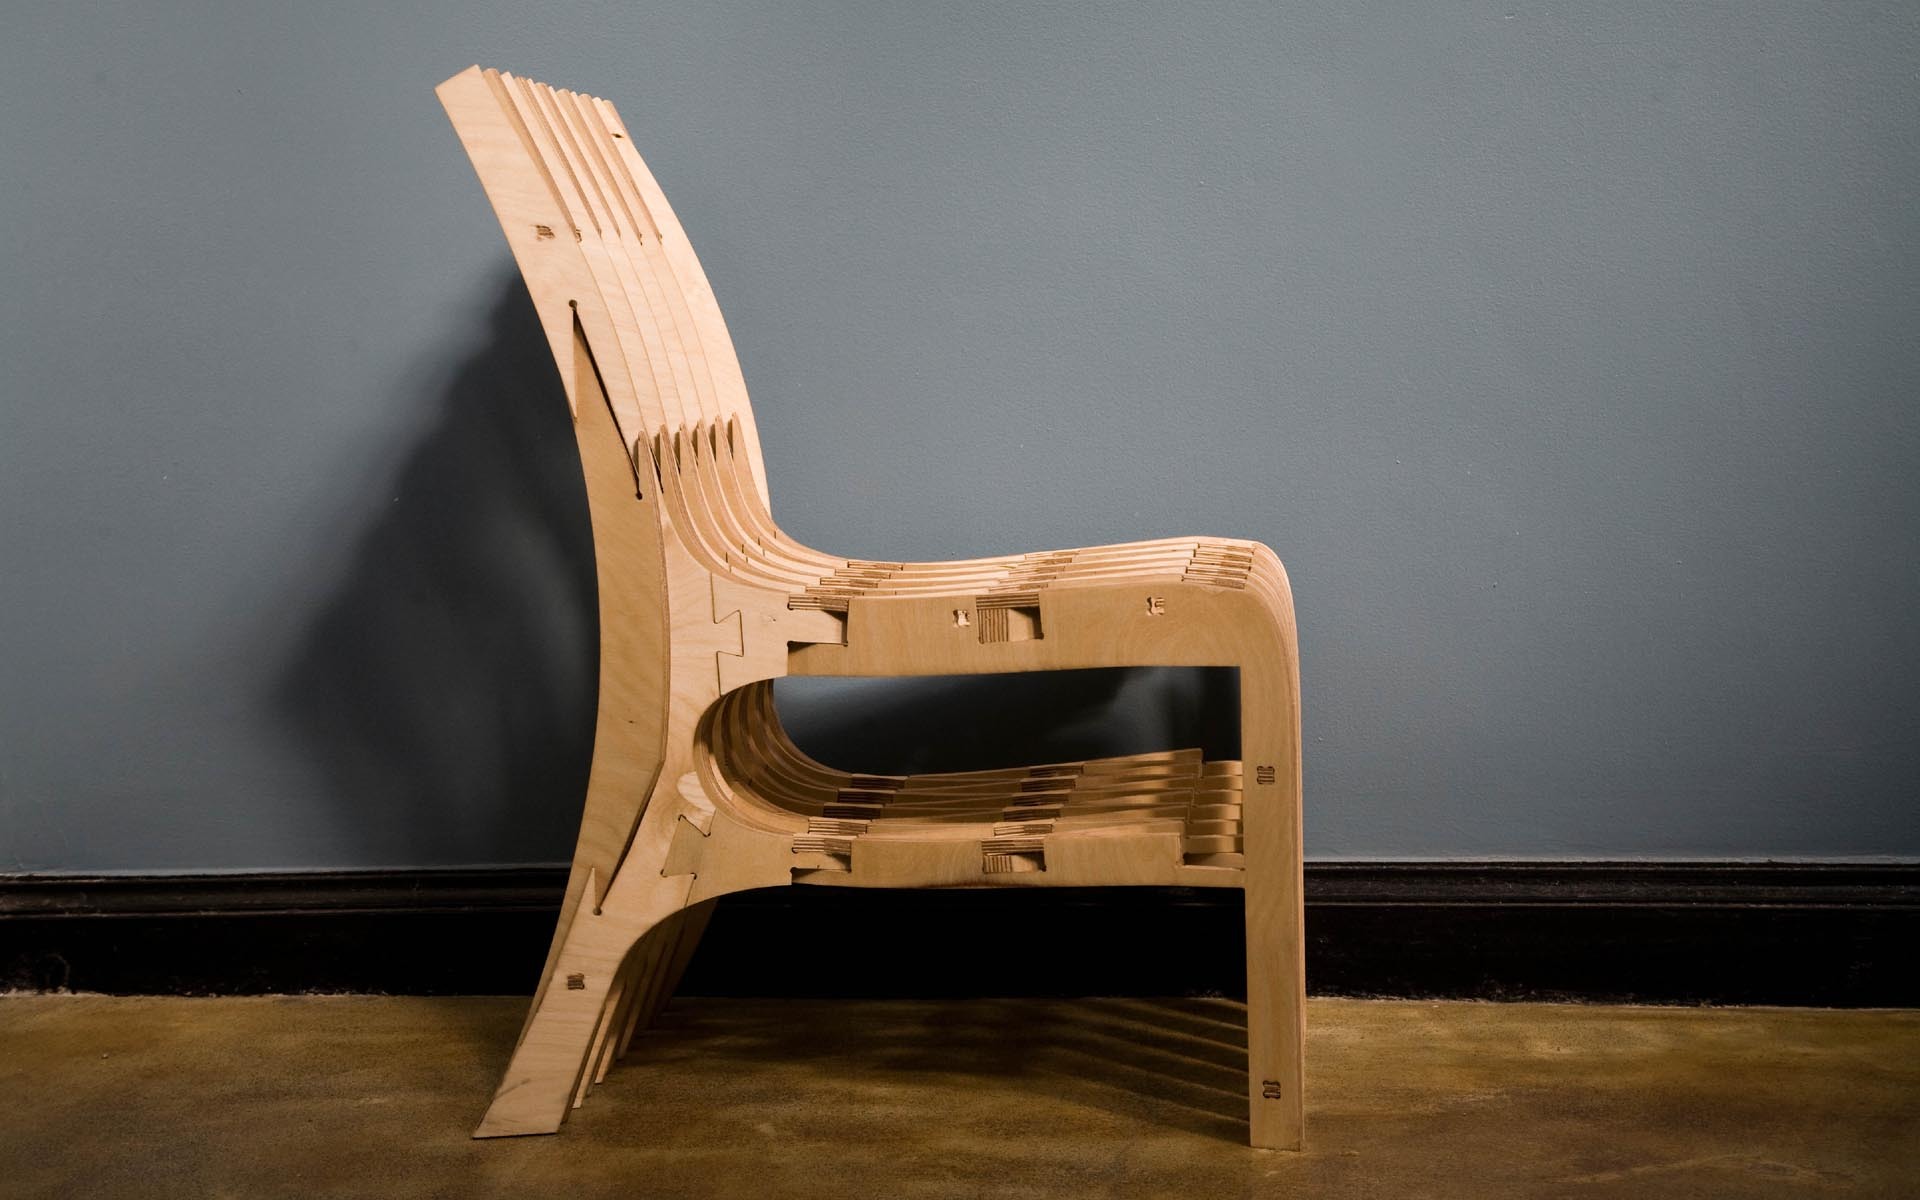
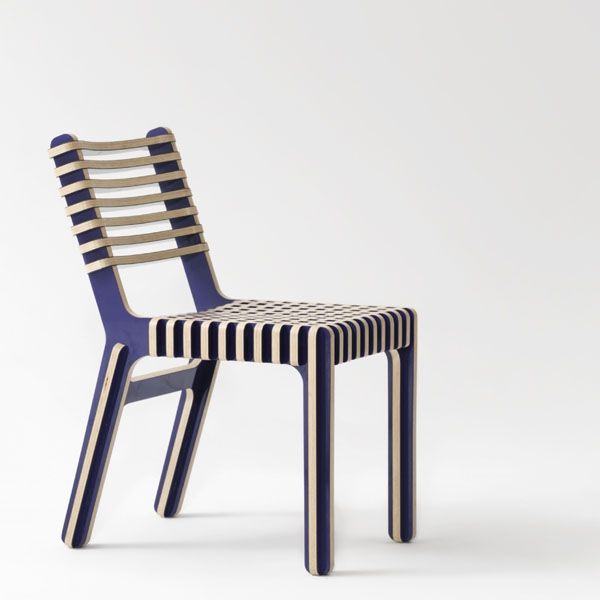
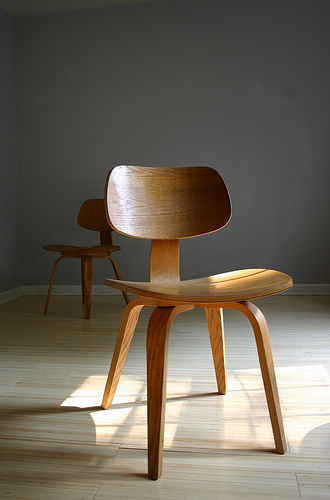
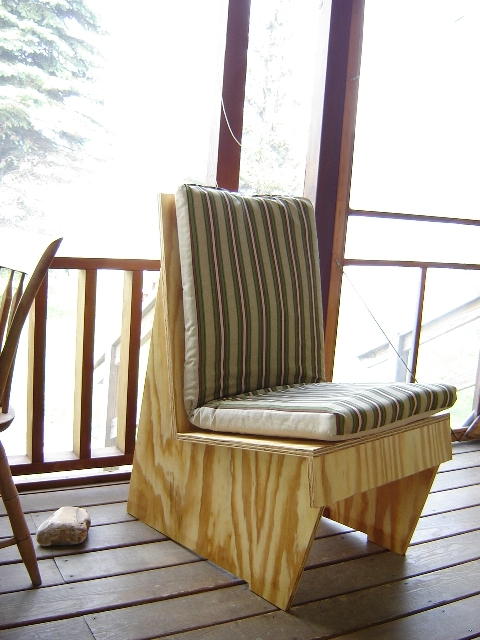
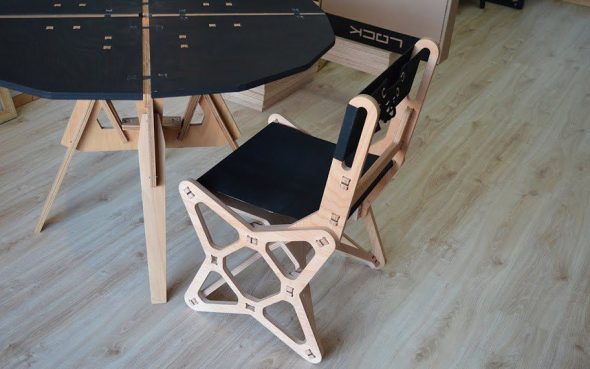
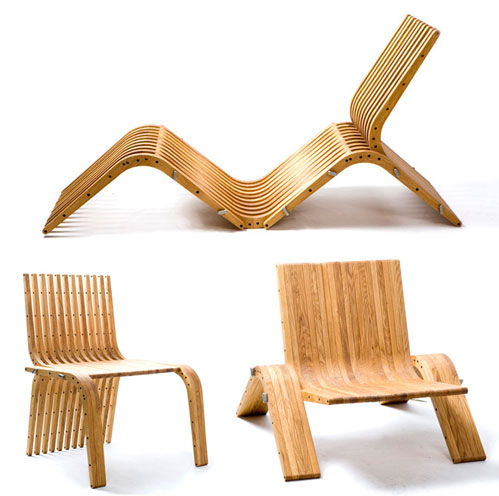
A DIY plywood rocking chair is a great option for relaxing in the country, in a country house or simply in nature. - ABOUToriginal chair on legs of the "stool" type.

Don't be afraid to experiment, as a result you will get a comfortable, beautiful and original item for decorating your garden or summer cottage.


With the necessary plans and some experience working with plywood, both options are easy to make. However, the rocking chair may require some effort to cut out the template, plus the veneering stage will be difficult and time-consuming. Below are two detailed instructions for making a rocking chair from plywood and an original model on three legs.
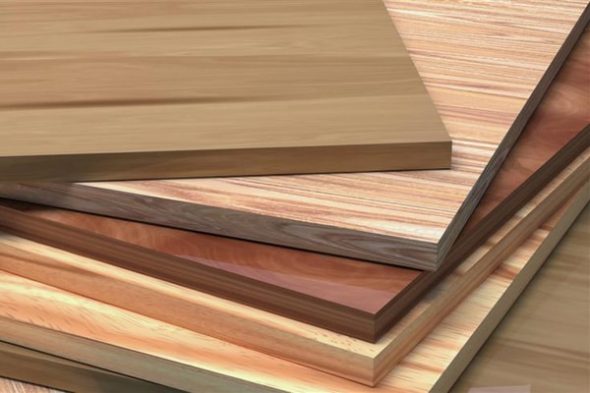
Tips for choosing and preparing plywood sheets
- The plywood sheet structure must be environmentally friendly, safe and have a pleasant texture.
- When purchasing, you need to pay attention to the thickness, since the method of further processing depends on it.
- If the material has a fibrous structure, chips, cracks and breaks are possible when cutting or processing.
- If the material is not thicker than 1.5 mm, it is processed with a hand jigsaw, and for sheets up to 6 mm, an electric one is used.
- If the job requires a cross-cut along the grain, a sharp knife is used to make cuts along the saw lines.
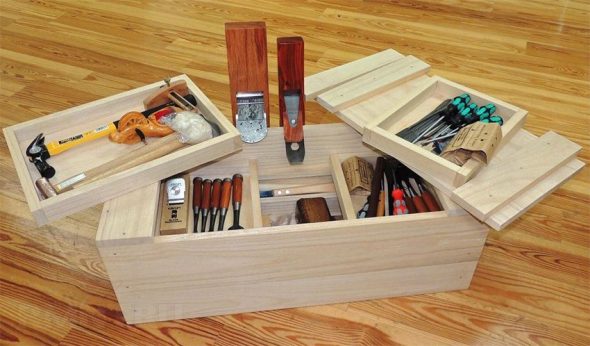
Necessary tools and materials
First, you need to prepare all the necessary materials and tools, namely:
- Plywood sheets 15-20 mm;
- Electric drill and jigsaw;
- Sandpaper;
- Thin nails with wide heads and screws;
- Metal rims;
- 8mm thick foam rubber and upholstery material;
- Paint (glossy) black and stain;
- Wood glue;
- Masking tape;
- Tape measure, scissors and pencil.
Step-by-step instructions for making a model on three legs
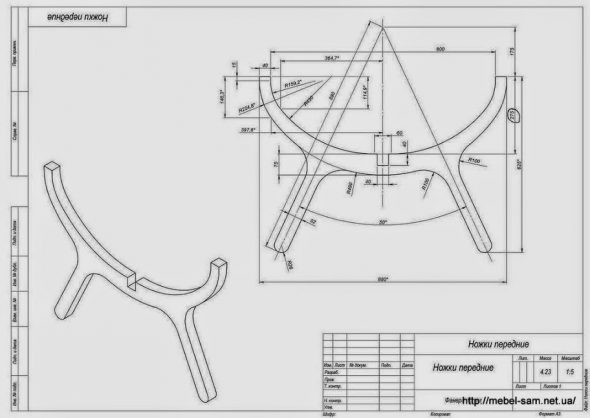
- Engineering project.
It is better to start making chairs from plywood with a thorough study and calculation of the drawing, which you can sketch yourself or find on the Internet.
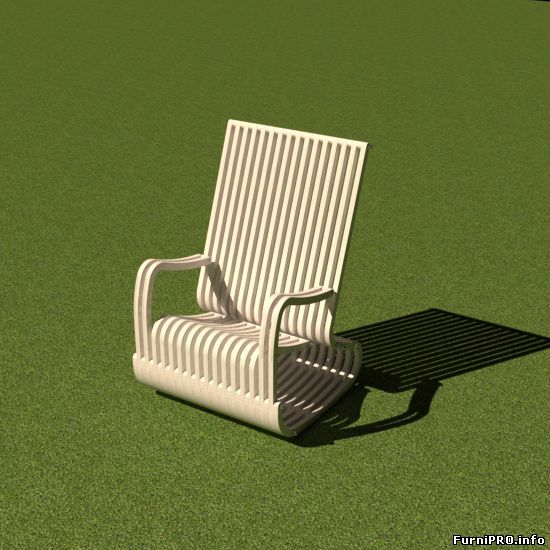
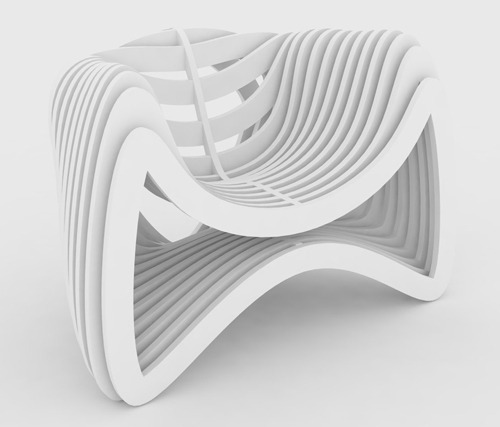
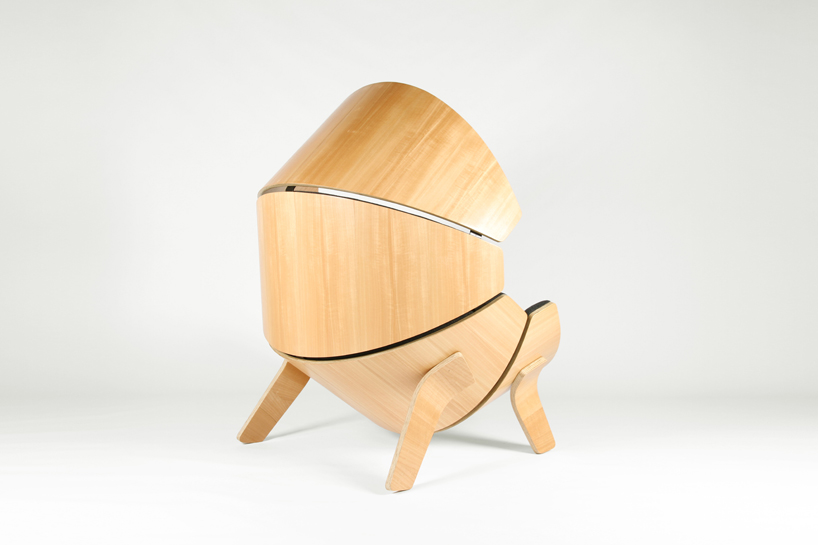
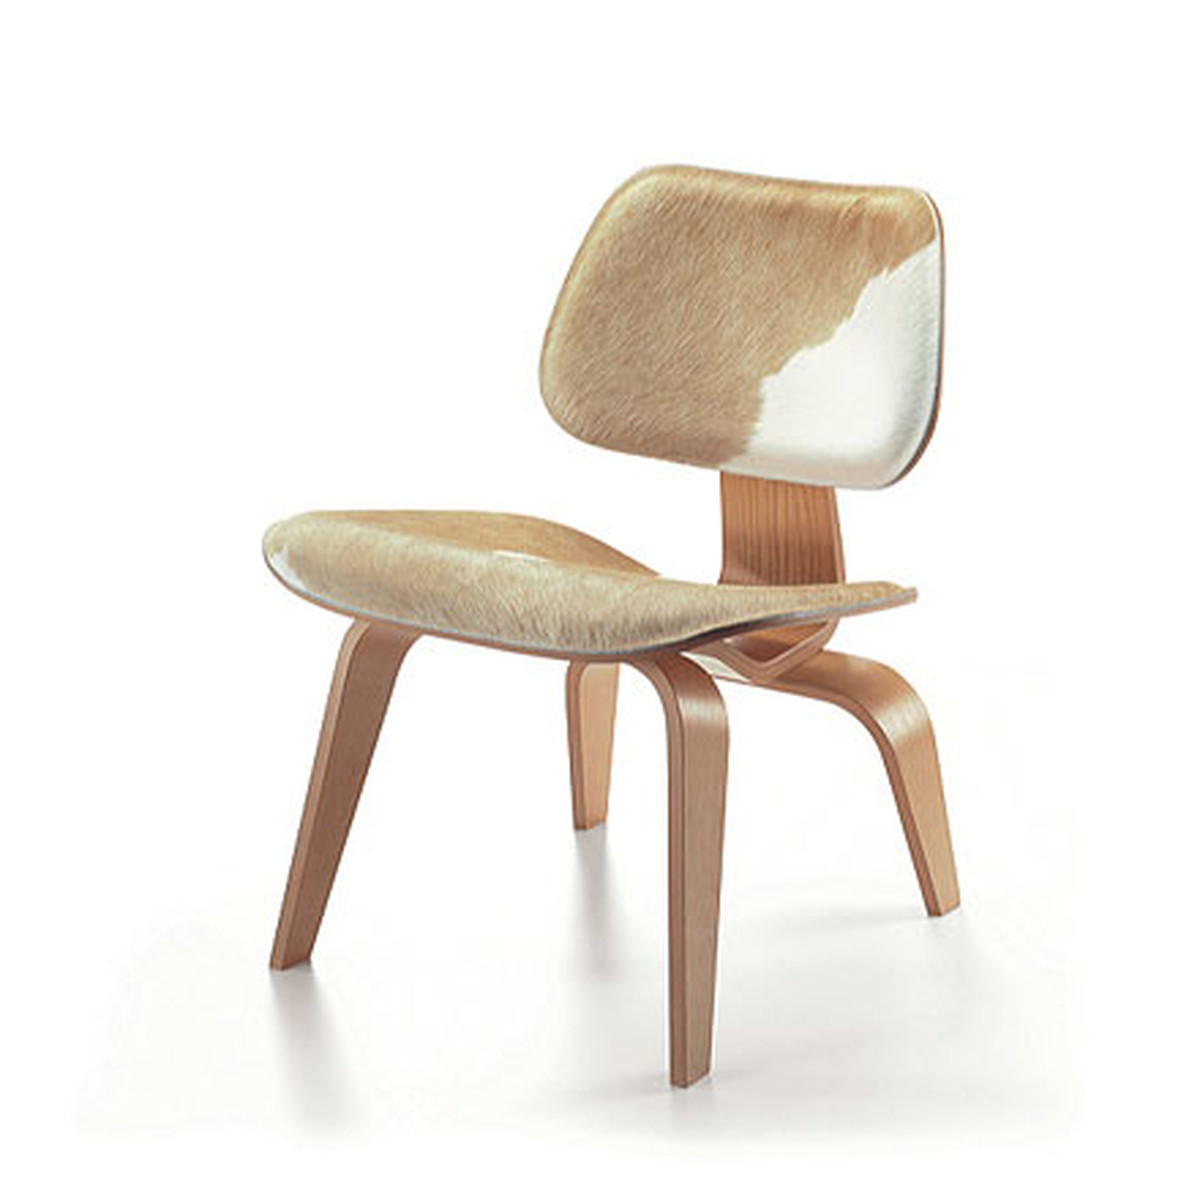
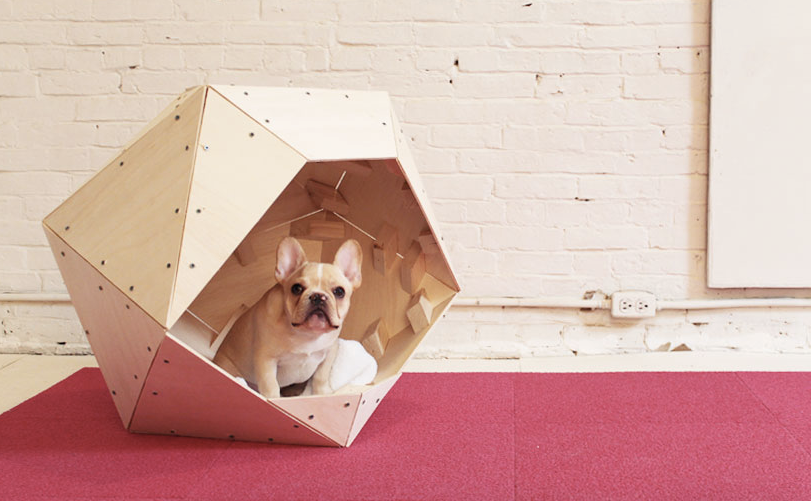
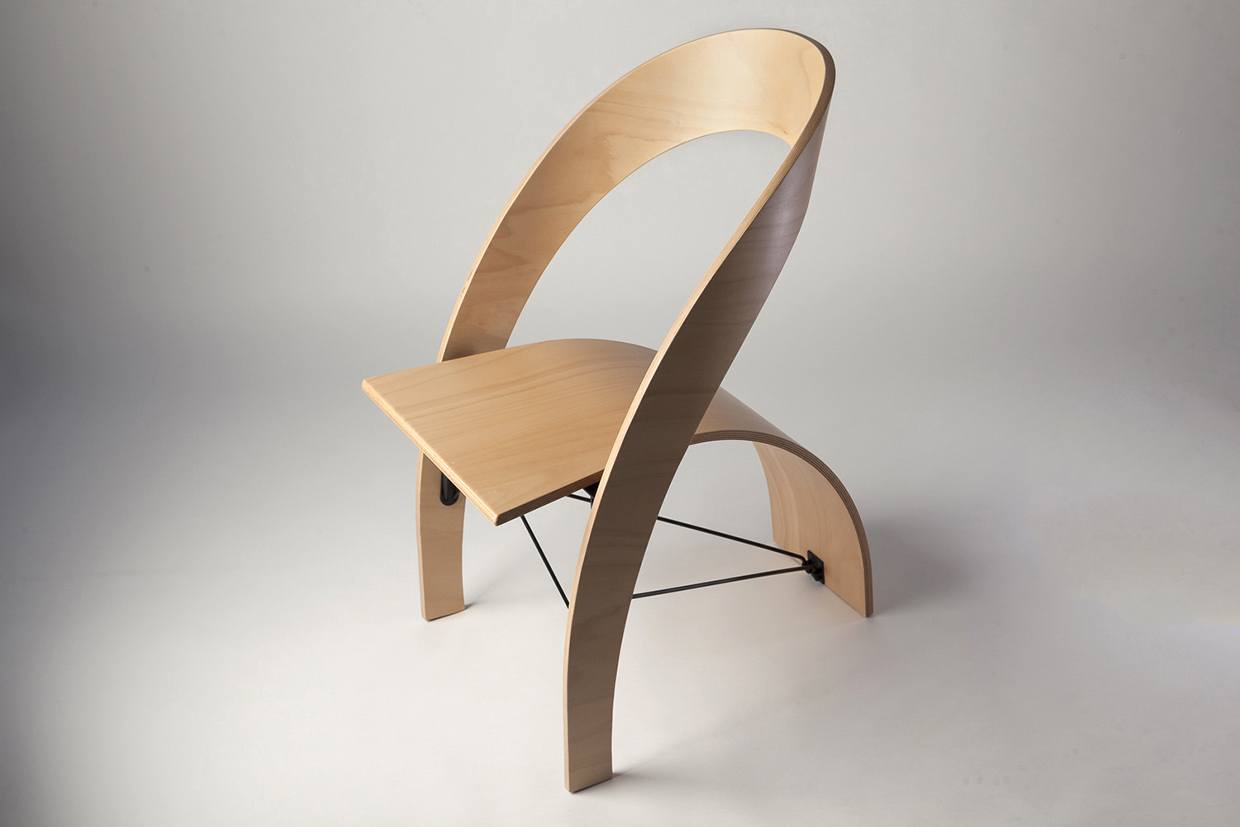
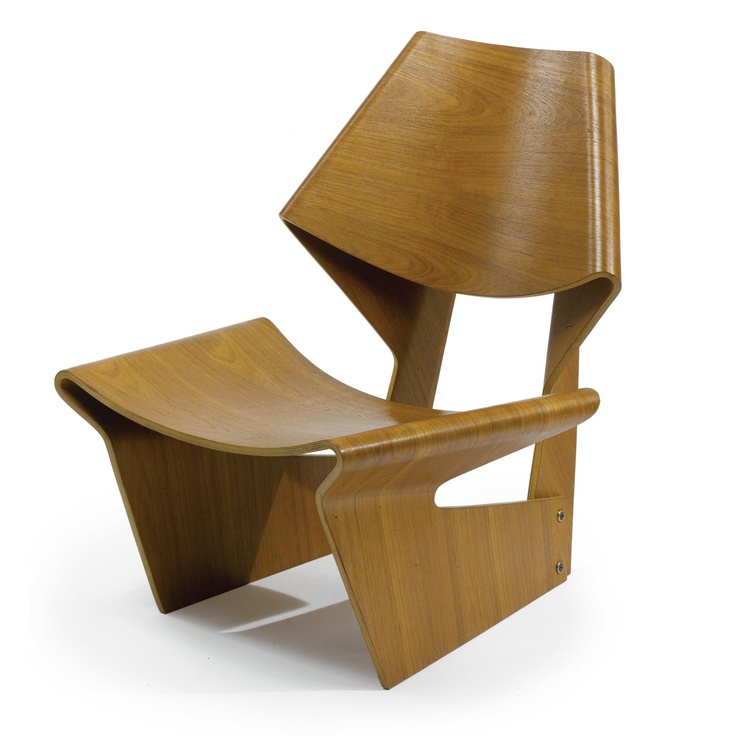
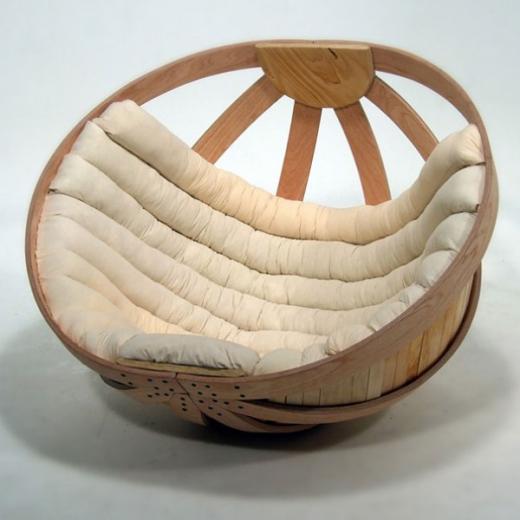
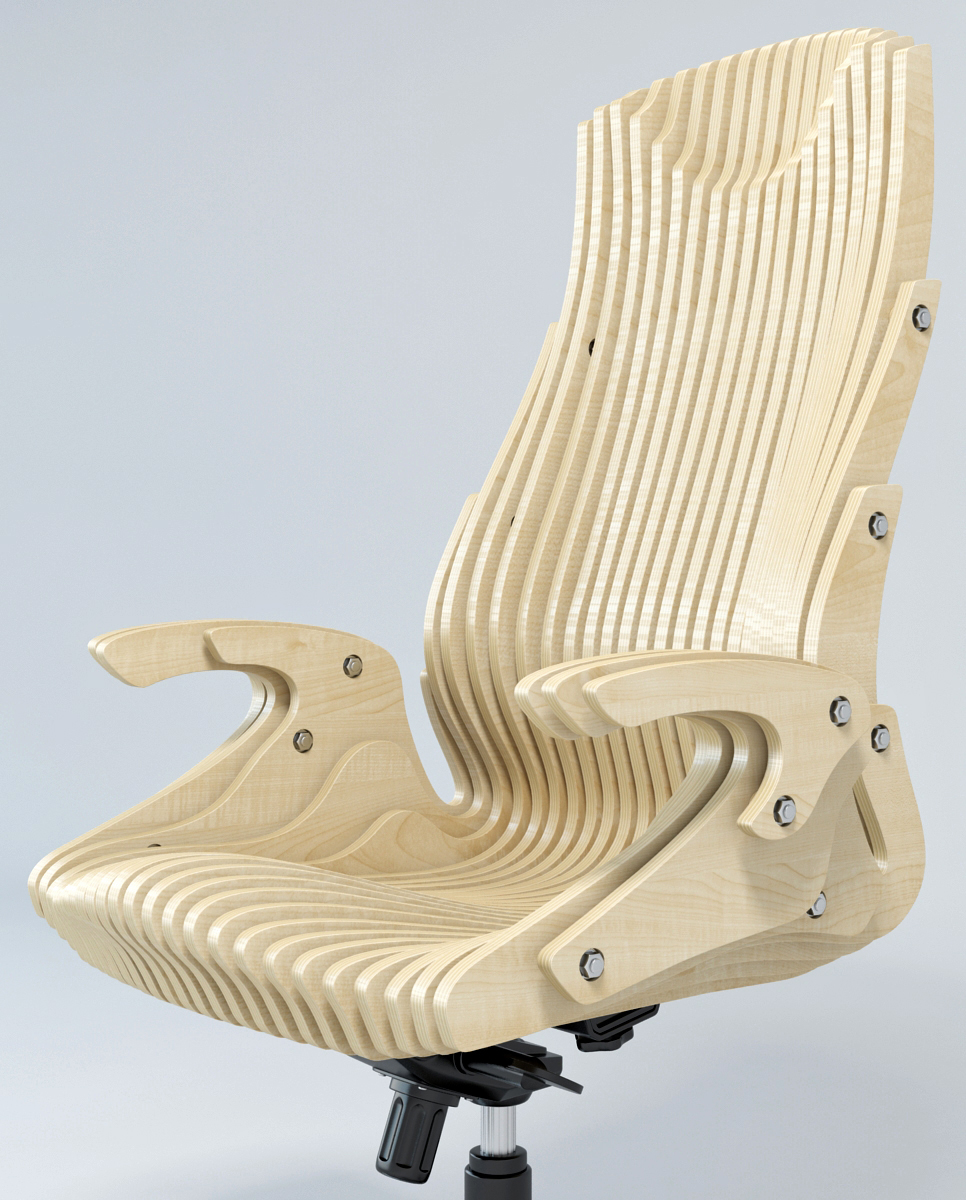
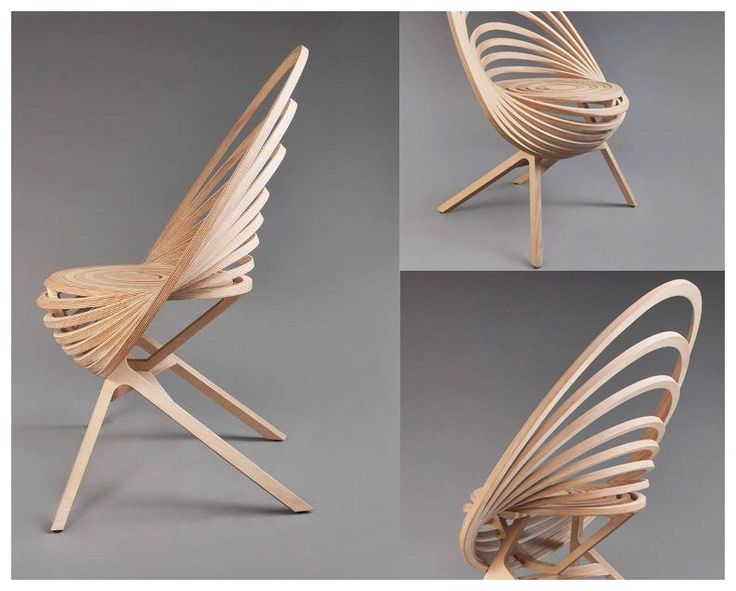
For example, a drawing of a round chair made of spherical plywood is taken. The model is distinguished by its original design and ease of execution. It is better to take a birch sheet. For high-quality cutting, you need to prepare a template.
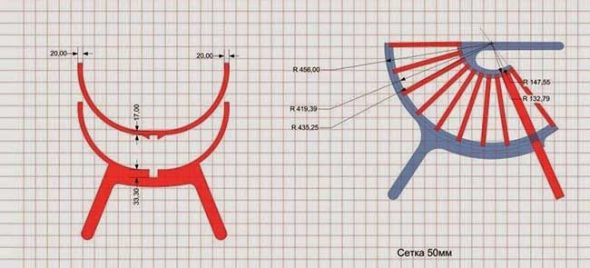
- Making a template.
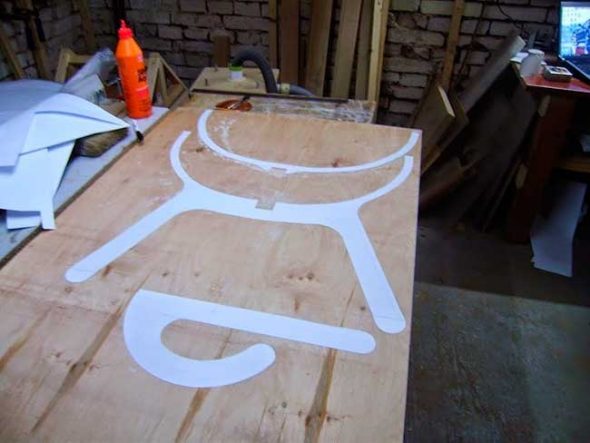
The drawing is redrawn onto graph paper, then applied and traced along the outline.
- Cutting of elements.
After a high-quality redrawing of the drawing, you need to cut out the elements with careful movements, while using the material sparingly.
- Cutting out elements.
After sawing, it is necessary to carefully cut out all the elements with a jigsaw without damaging their structure.
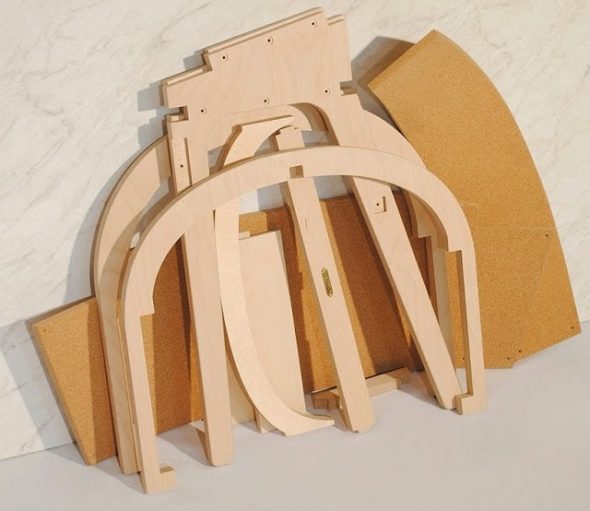
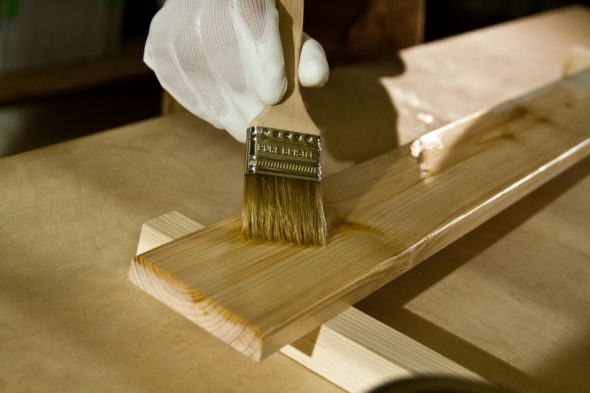
- Veneering.
The cut areas must be treated with sandpaper to remove excess roughness and prevent chipping and delamination during assembly.

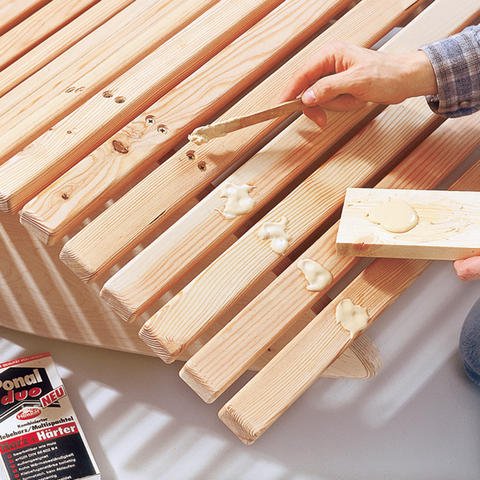
- Processing.
First, with special means with an antiseptic effect. Then comes the treatment with wood glue. This step is necessary to prevent parts from falling apart during assembly.
- Assembling the product.
It is necessary to drill holes for screws and fastening points, according to the drawing diagram. Self-tapping screws should not be smaller or larger than the product, protruding of some parts is unacceptable.
- Putty.
After the assembly stage, the protruding screws should be filled. The frame should be varnished and allowed to dry.
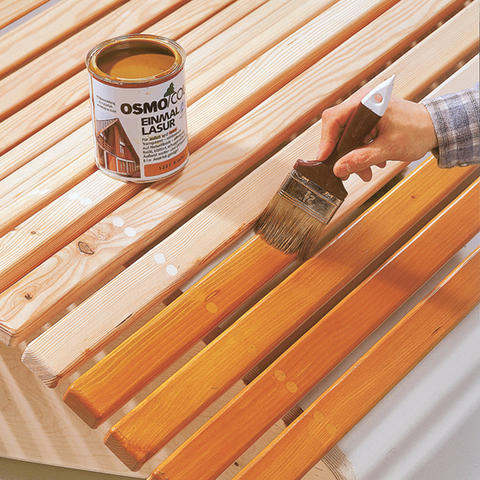
- Painting and upholstery.
To give a brown shade, the plywood sheet should be treated with stain. After that, you can make upholstery for the seat and armrests.
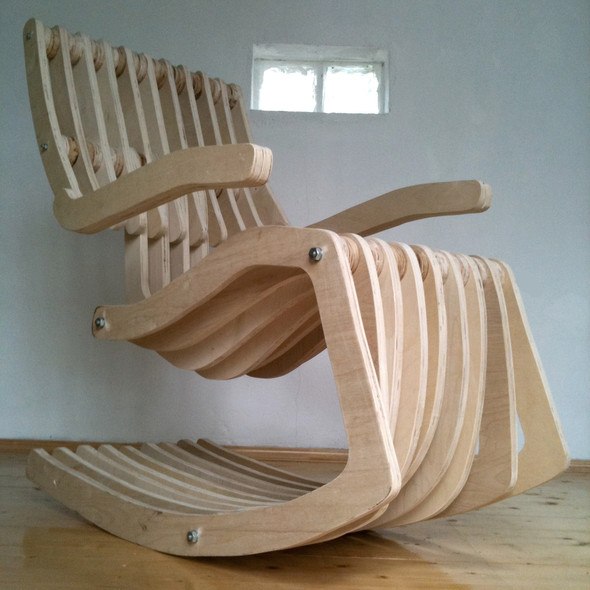
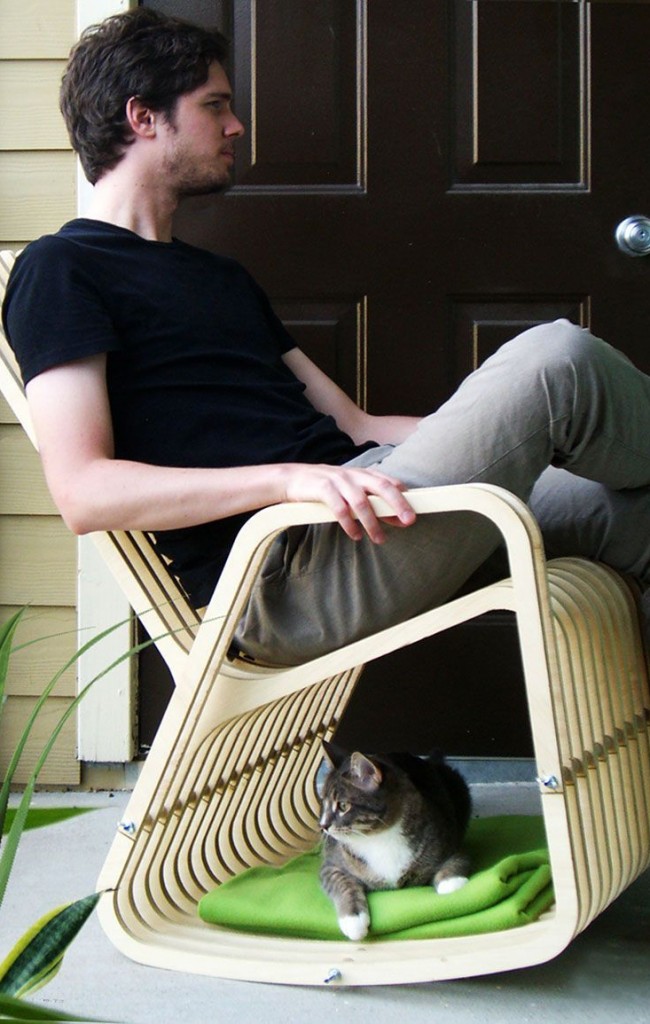
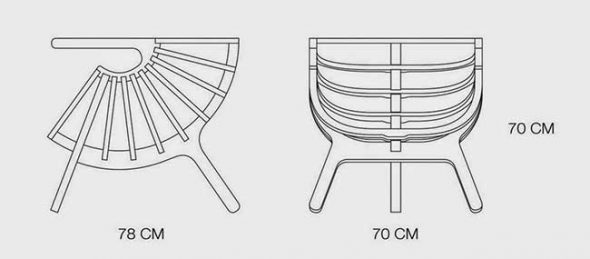
Making a Rocking Chair from Plywood
- Engineering drawing.
In this case, as in the previous one, the creation stages begin with a drawing. You can draw it yourself if you have knowledge of product design, or take a ready-made one from the Internet, the main thing is that it contains all the necessary calculations.
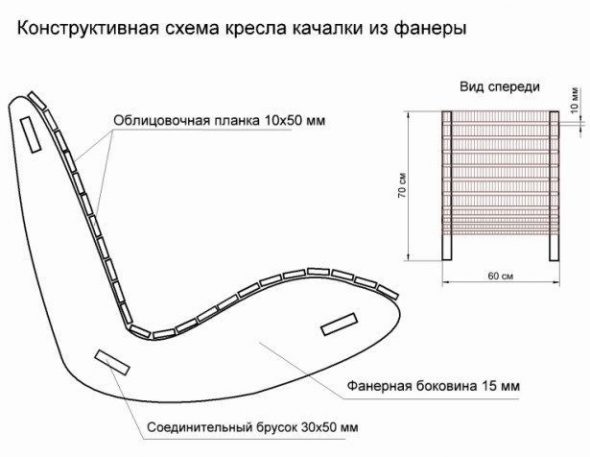
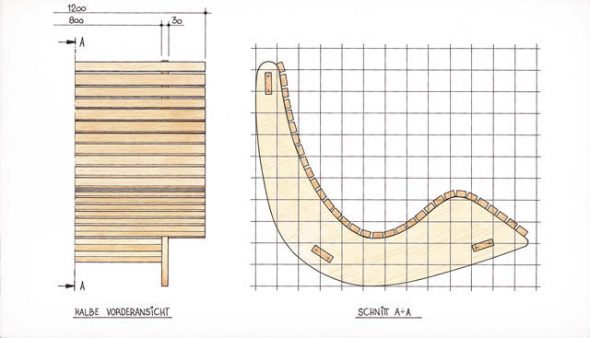
- Template creation and transfer.
As in the previous case, using graph paper, the details of the future rocking chair made of plywood are drawn from the finished drawing; in our case, these are the side parts (runners).
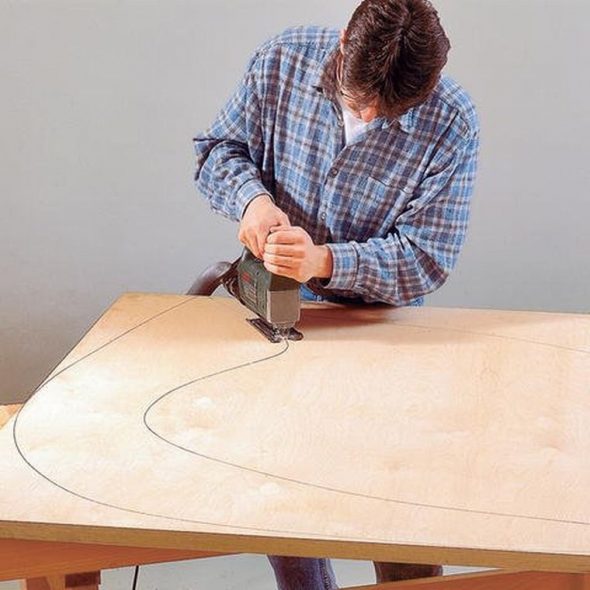
- Cutting out products.
Cut out the parts with a jigsaw along the previously outlined contours and treat the edges with drying oil, then sand with sandpaper. Treat the parts of the product with special antiseptic agents.
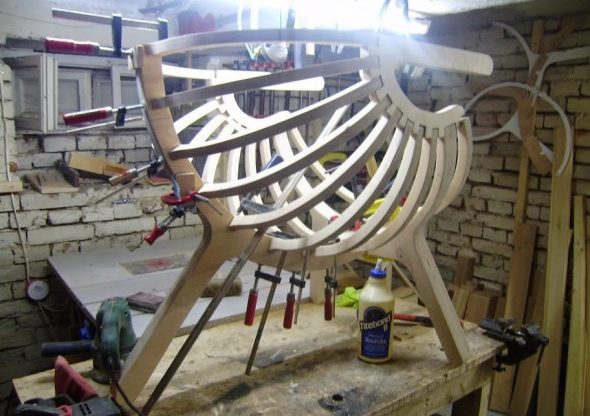
- Final stages.
Fasten the finished side runners together using three crossbars, previously cut in the same order.
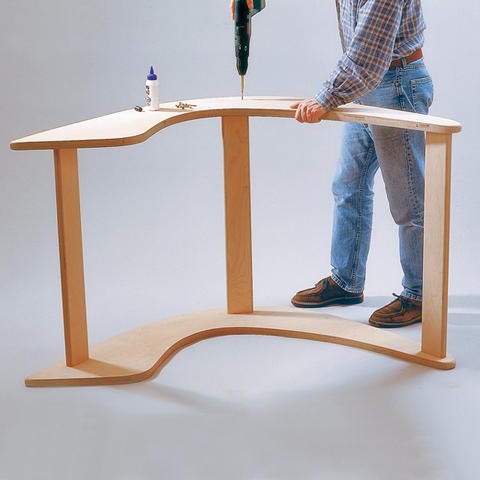
The side runners are reinforced on the outside with iron rims, which must match the overall dimensions of the product. The rims are secured with screws using a drill. The diameter of the hole is equal to the size of the screw.
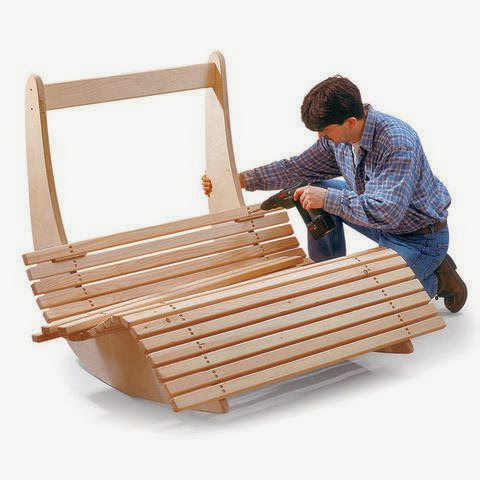
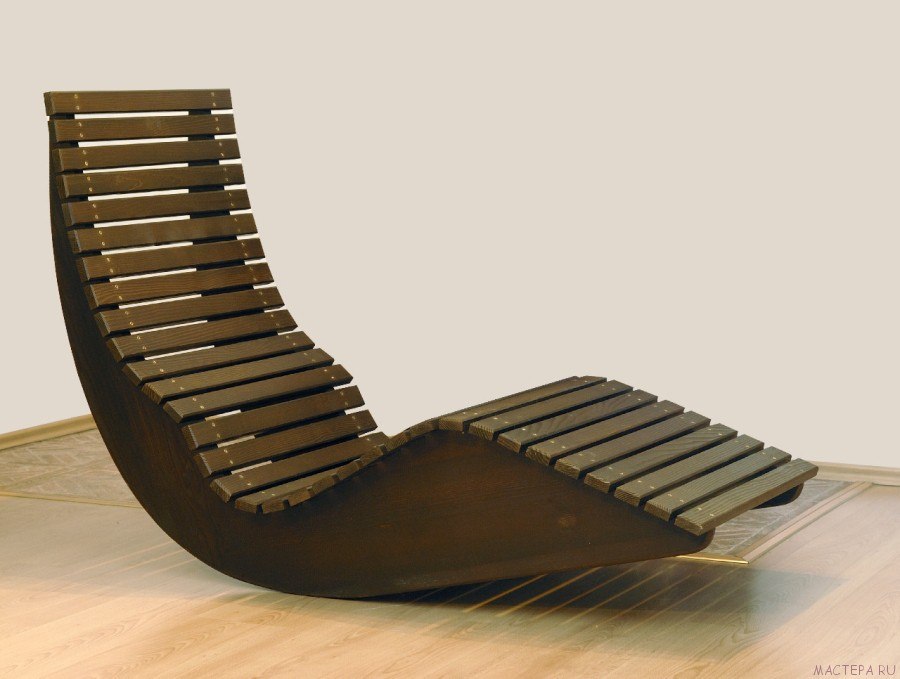
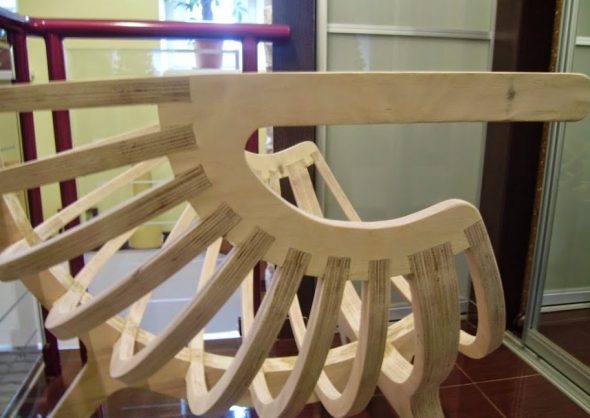
At the final stage, the slats and planks for the back of the rocking chair are cut out of plywood. Attach them with ordinary screws.
Fill the screw heads with putty and cover the chair with varnish and paint.
To increase the comfort of the product, you need to make a foam seat for it and cover it with leatherette or any other thick fabric.If the chair is to be used outside the home, then at the stage of cutting out the parts they should be treated with an antiseptic. This will make it last longer.
What to look out for
To increase comfort, the rocking chair can be upholstered with soft artificial leather or velour. First, the backrest is upholstered, then the fabric is nailed to the frame of the product with small nails. The edges of the cross pieces are upholstered at the back, and the upper and lower planks are upholstered at the front. This is done to increase the strength of the product.

If you don't want to deal with complicated upholstery or sewing pillows, you can do it even easier - make a removable cover. Inside there will be foam rubber (10 mm), and on top there will be some nice furniture fabric.
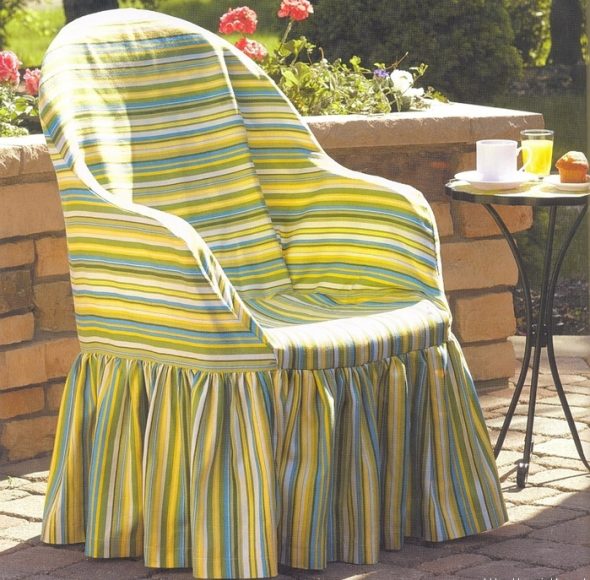
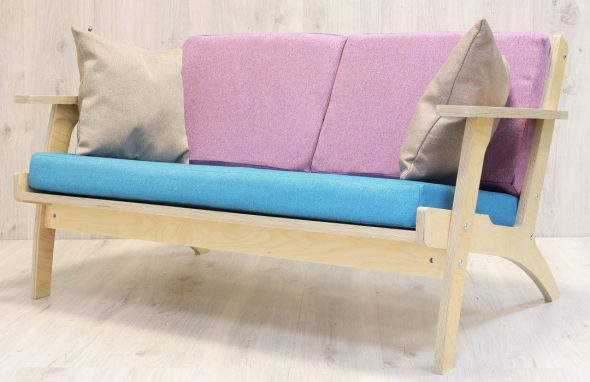
You can apply a mosaic or some beautiful design to the outer side of the back. The main thing — adhere to the overall interior design, do not overdo it with bright colors and patterns. The analogue of this design will be a sofa.
Afterword
This article will cover only two types of plywood chairs that are the easiest for beginners to make. To make with your own hands the first time, you need to put in maximum effort, endurance and patience. After a little practice, you can move on to heavier models.
VIDEO: DIY chair made of plywood and insulation.
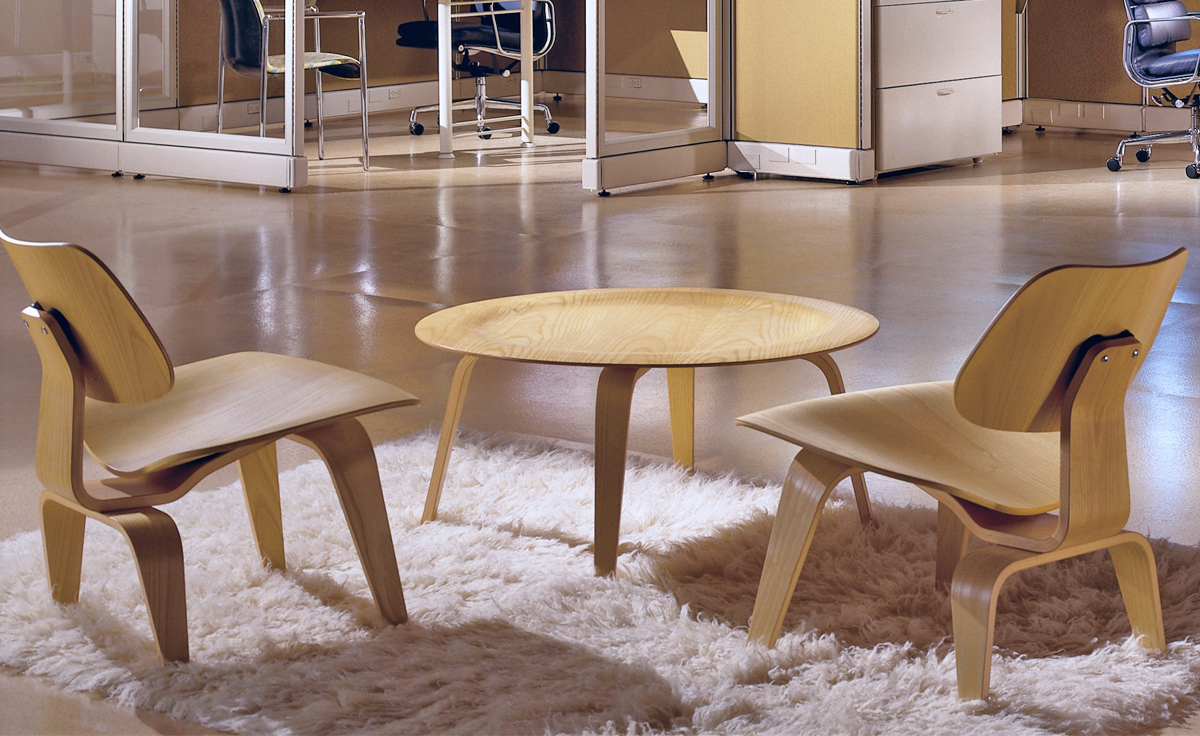
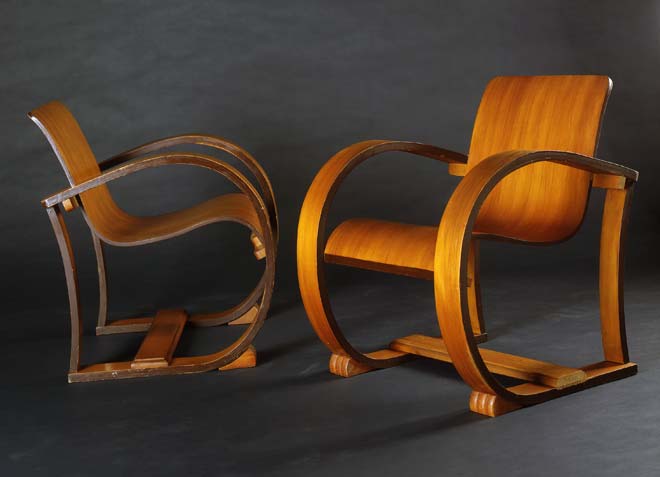
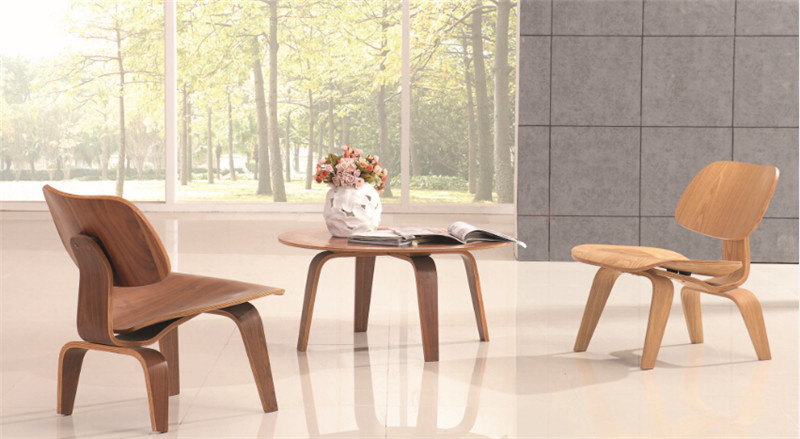
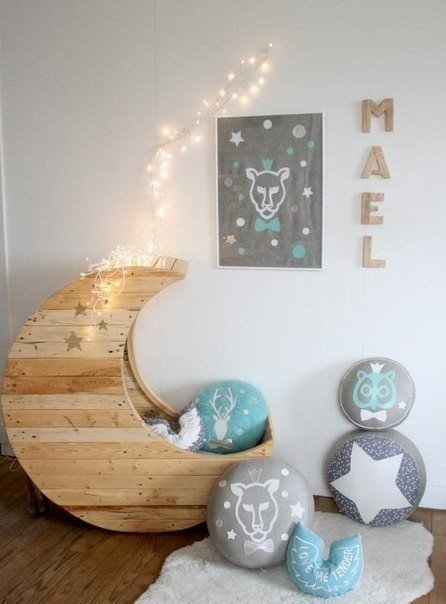
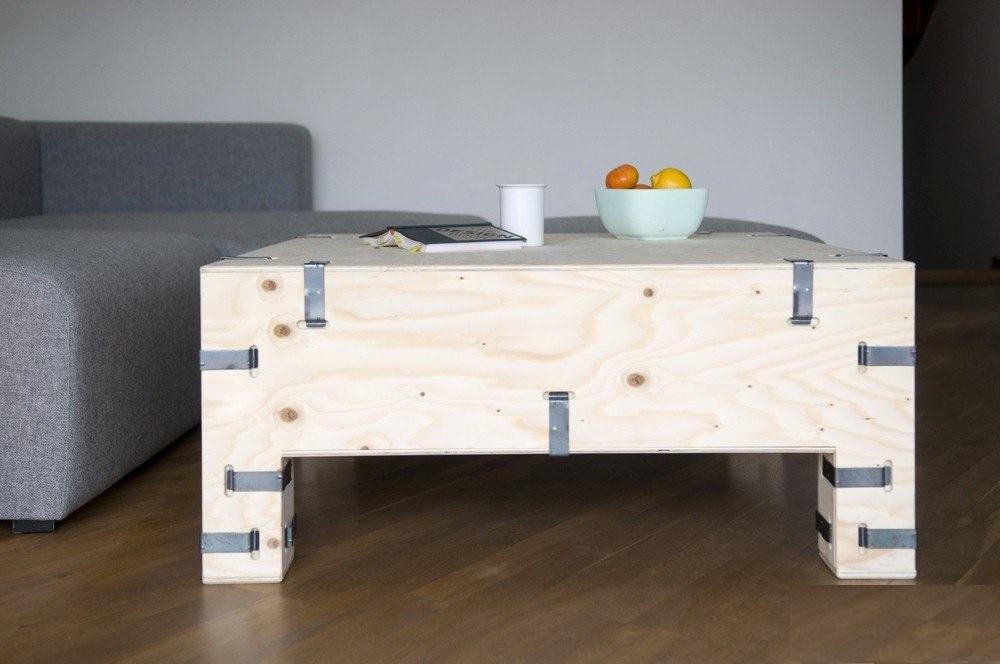
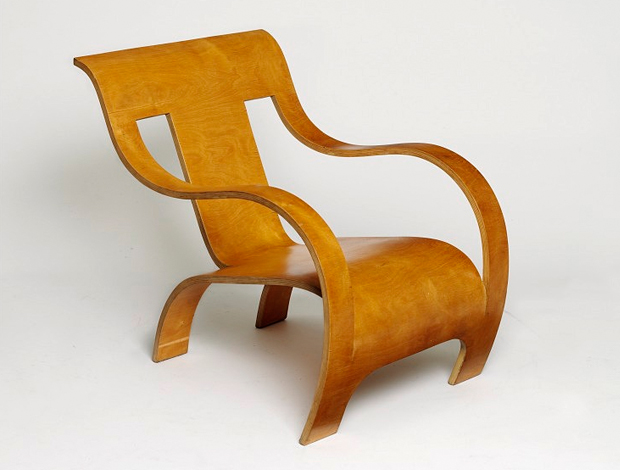
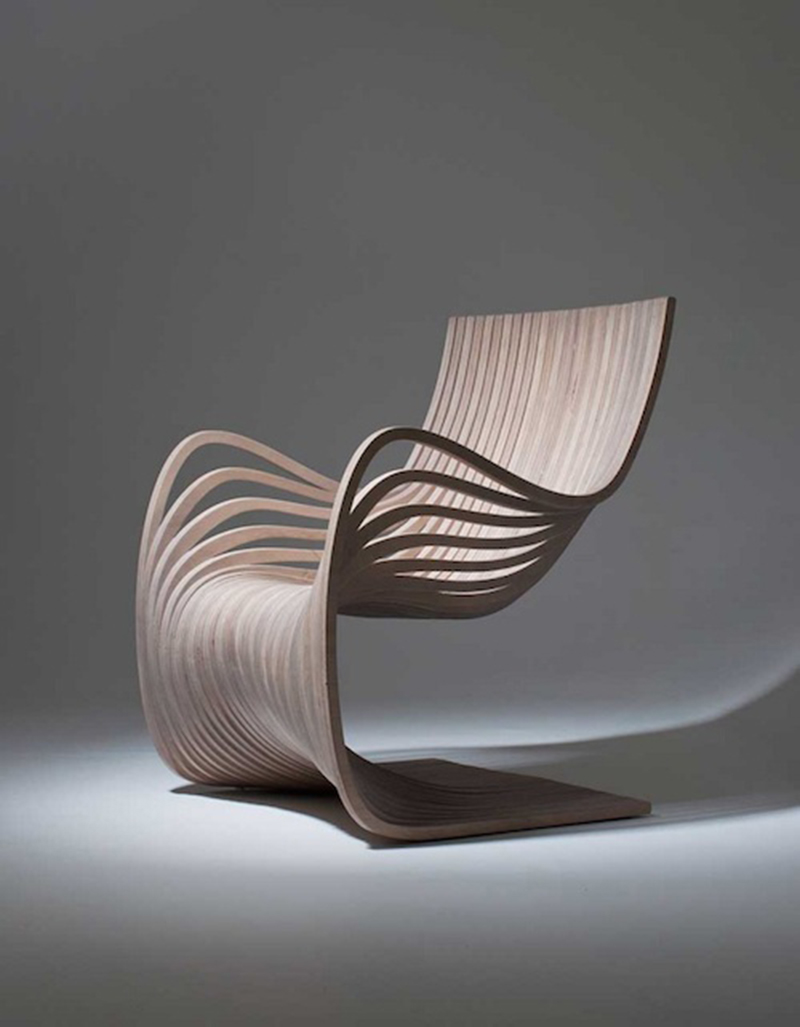
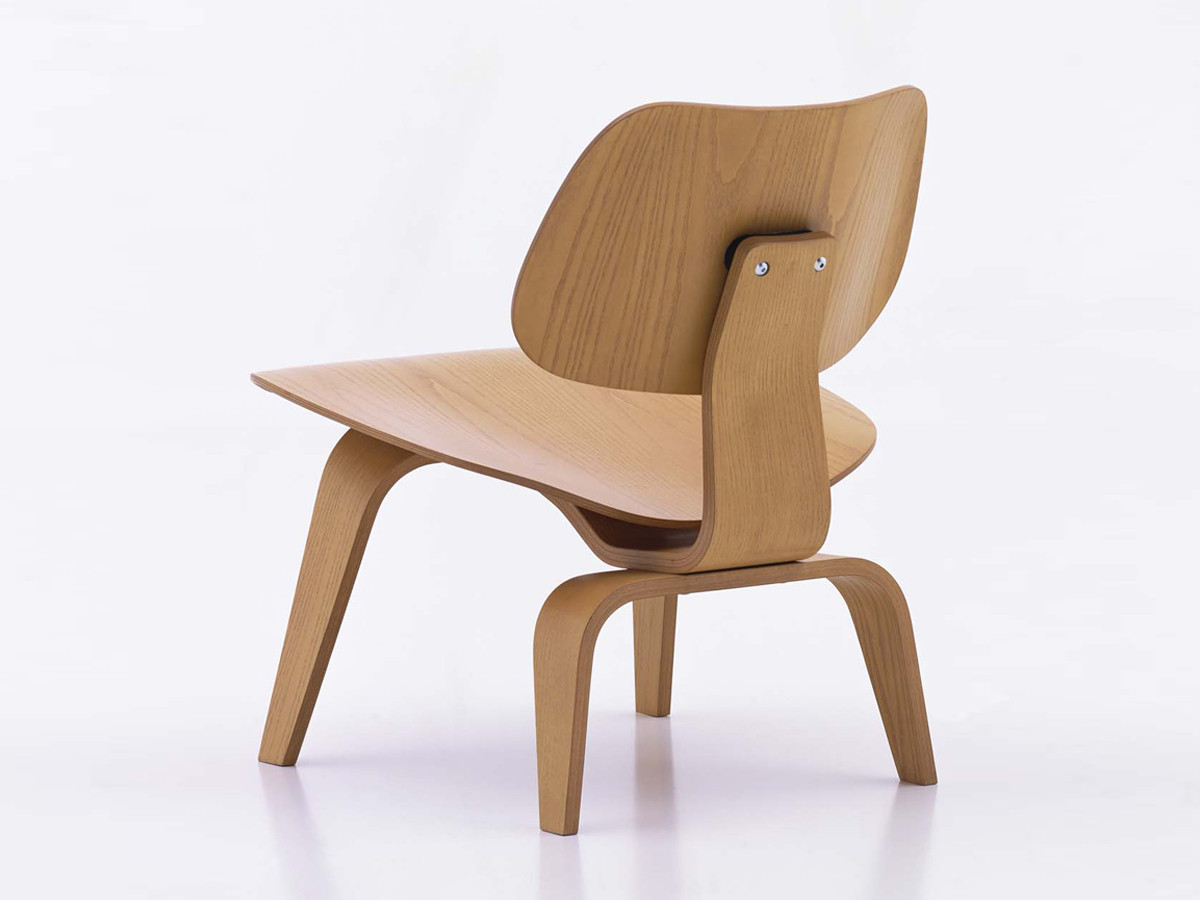
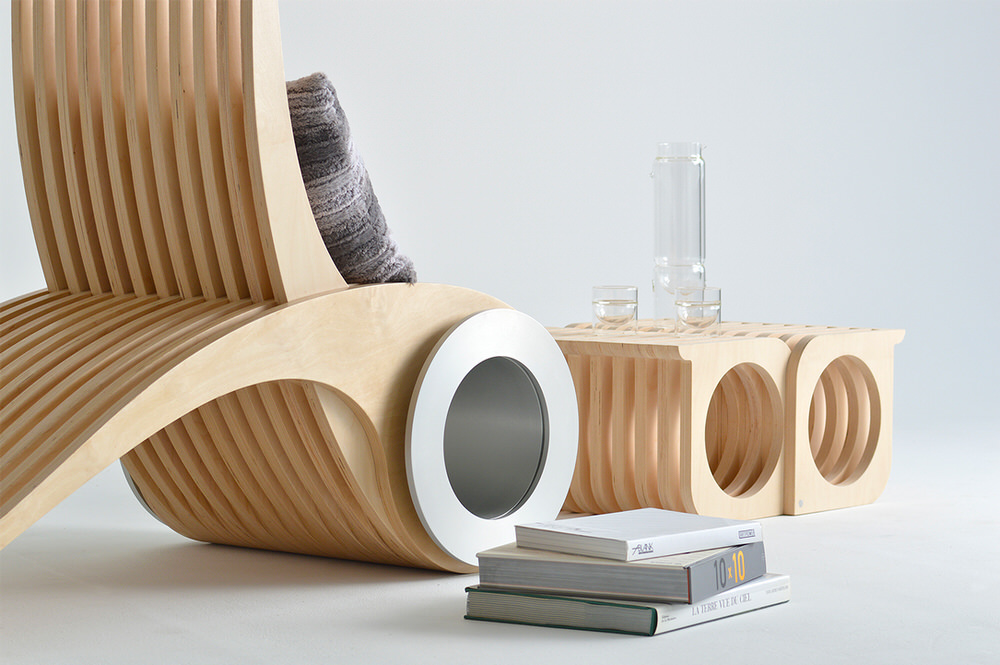
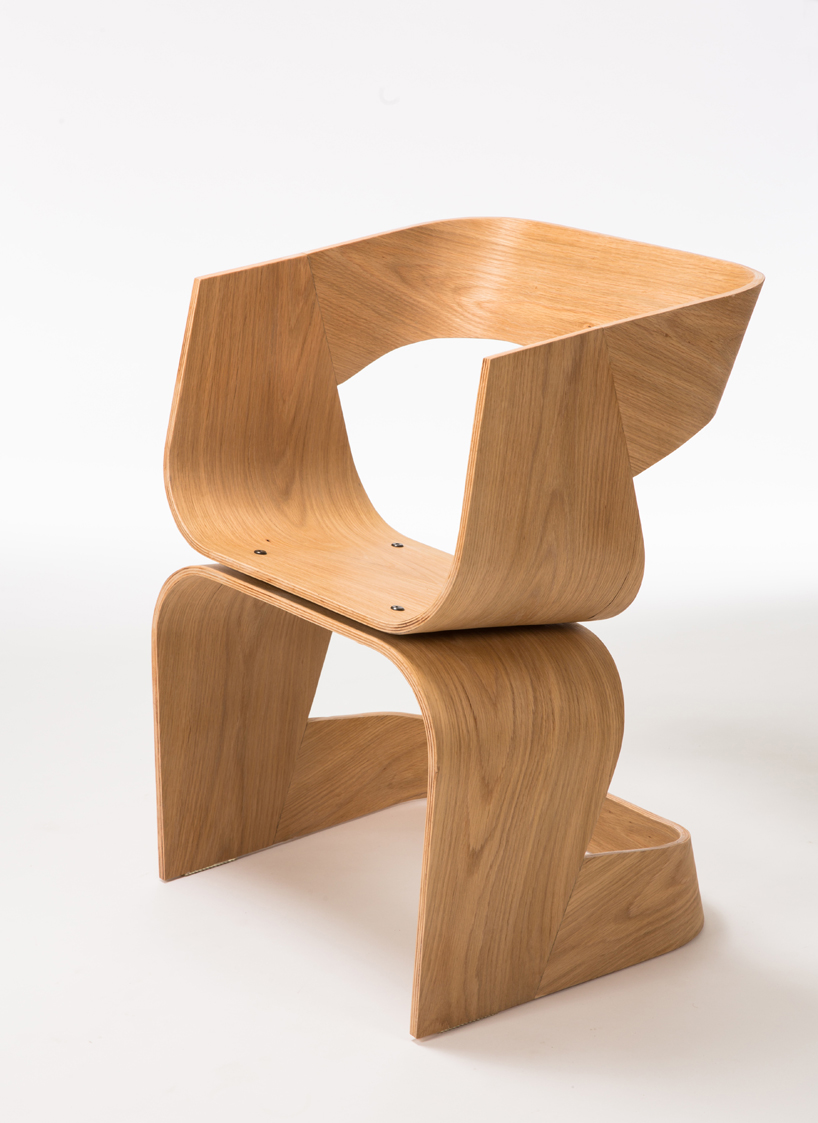
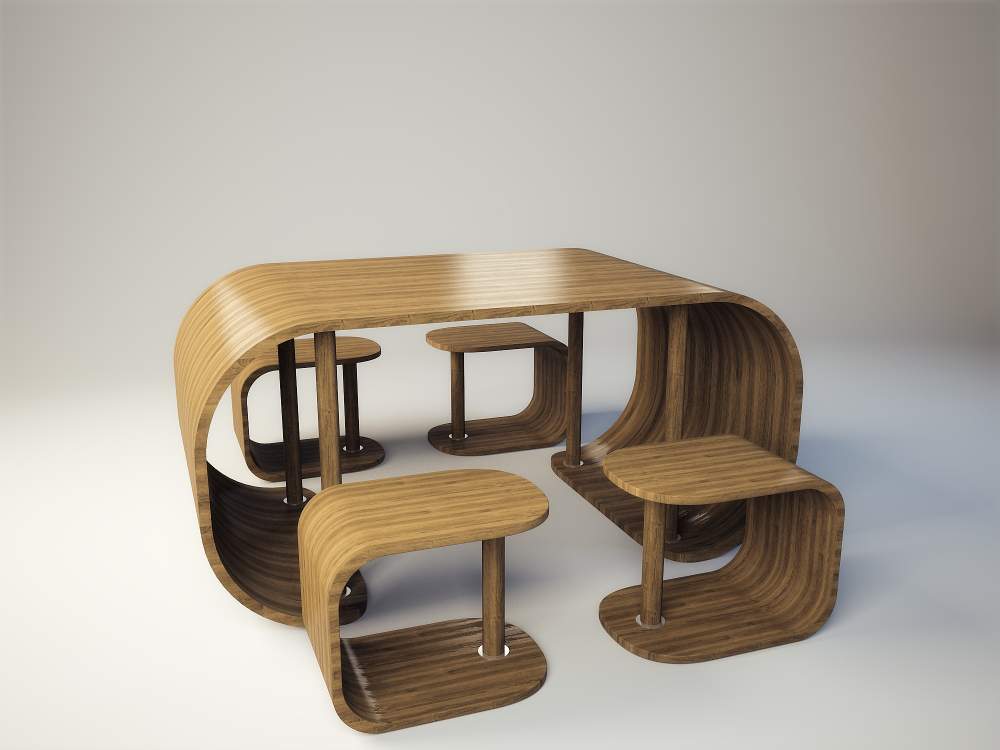
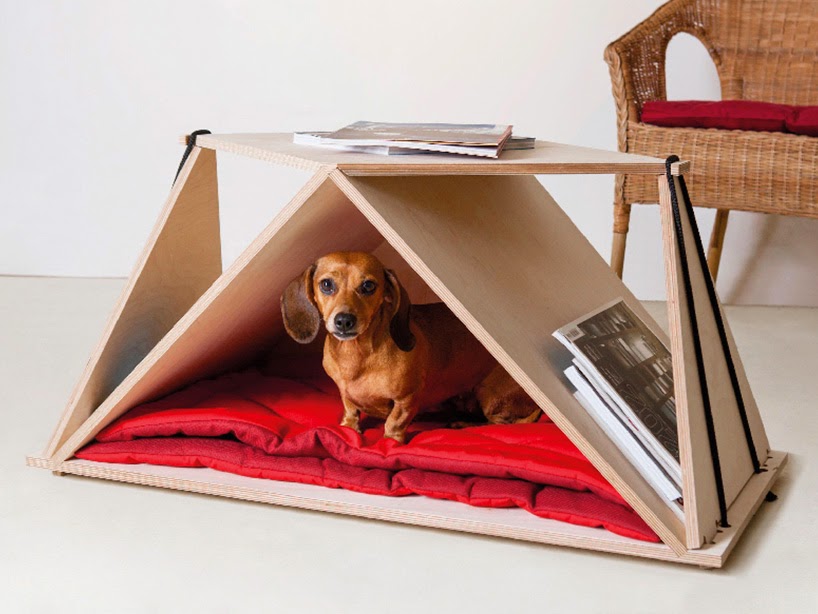
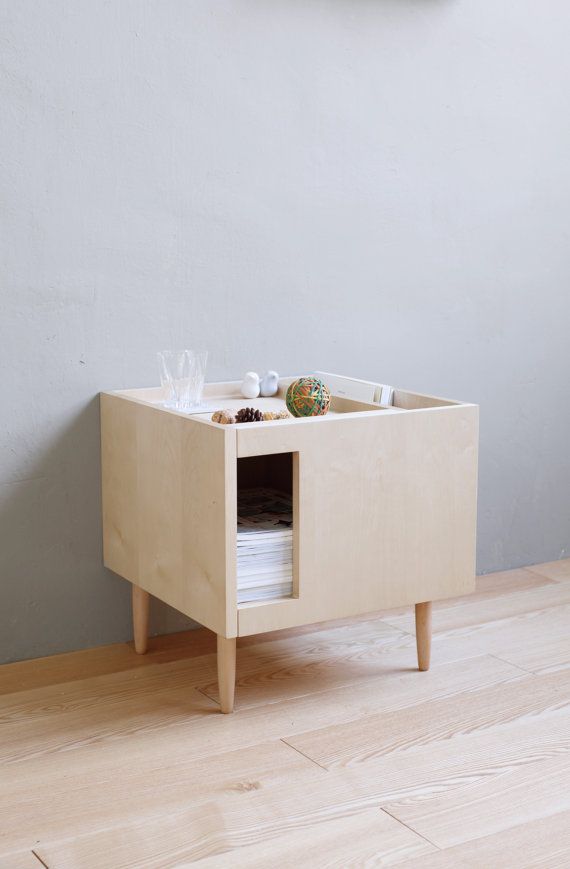
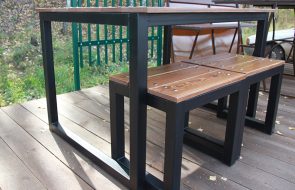
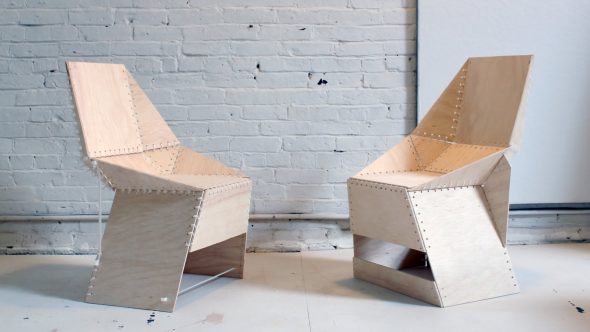
Creative plywood furniture – 50 photo ideas: