Decoupage of old furniture do it yourself - a decorative method of finishing materials, wooden objects and other surfaces.
Furniture decoupage originates from the Middle Ages, but is becoming increasingly popular today among people who love hand-made. Without being a master, it is easy to create a beautiful appearance of the surrounding things.
It is worth replacing the fittings on the item in advance, treating the entire area, preparing it for decoration. If you cannot disassemble the set, you need to contact a master.
Content
- Types of decoupage techniques
- Stylistic directions of decoupage
- Recommendations for surface preparation
- Restoring a table with colored wallpaper
- Decorating an old coffee table
- Decoupage of a chest of drawers
- Decoupage of interior door
- How to decoupage a nightstand?
- Decoupage of kitchen furniture
- VIDEO: Furniture decoupage: a second life for old things.
- Do-it-yourself furniture decoupage – 50 photo ideas:
Types of decoupage techniques
To decorate furniture with your own hands, images are attached to the facades in various ways.
- Standard technique for decoupage of furniture.
Pictures are cut out of a napkin or images printed on paper. The resulting element is applied to the object, and glue is applied to it. After drying, this area is varnished with a colorless composition.

- Reverse technique of furniture decoupage. It is done for decorating glass, sometimes objects.
- Artistic technique of decoupage by cutting and gluing.
Effect: a single image on a plane with shadows drawn and shading manually.
- "Decopatch".
This is the use of various materials from which the necessary components are torn out by hand, for example, silky designer paper, material with the effect of plastic or glass surface, napkins.
- Volumetric decoupage technique.
It is based on the imitation of a painting created on a decorated surface using images cut out from a napkin.
Stylistic directions of decoupage
Furniture decoupage is performed in different styles. The following are widely used.
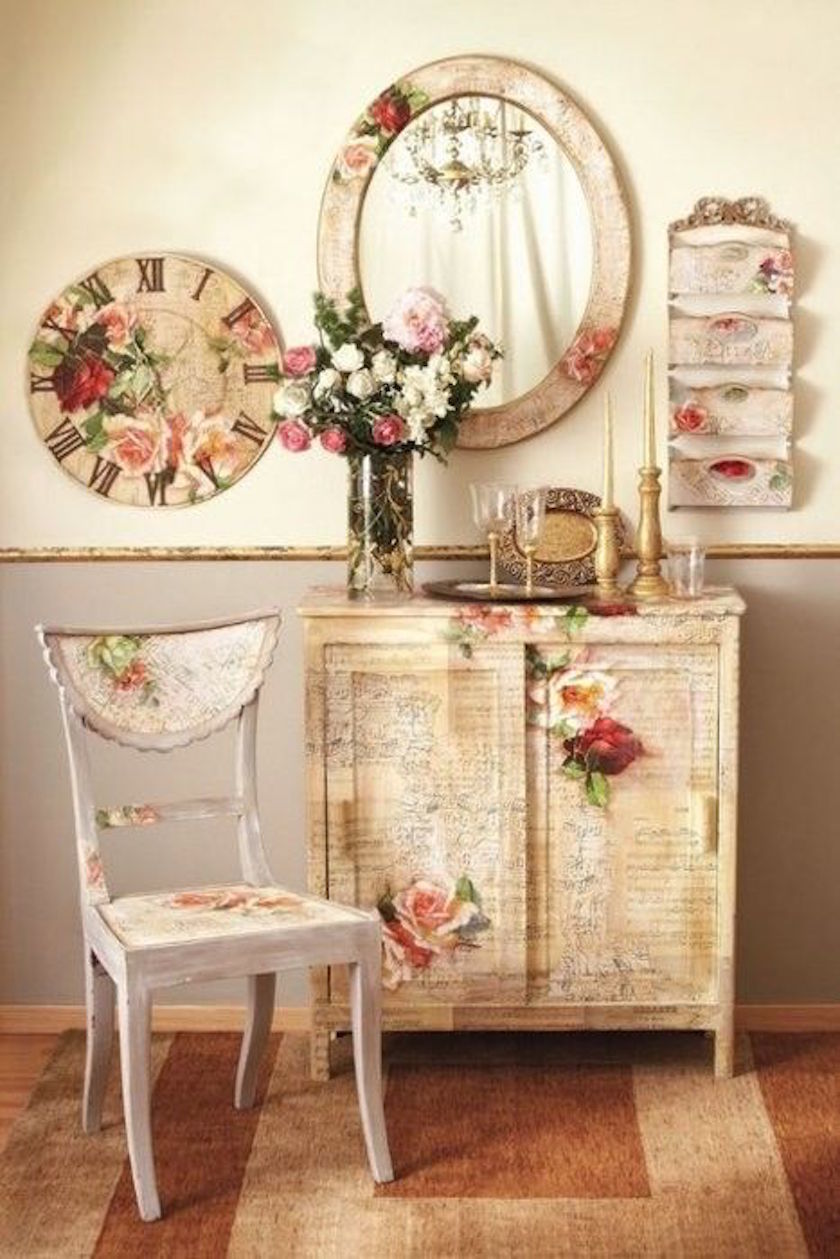
- Provence.
A design style that came from France. It is characterized by a whitewashed background and an image in pastel colors. Often, craftsmen complement it with craquelure and floral prints.
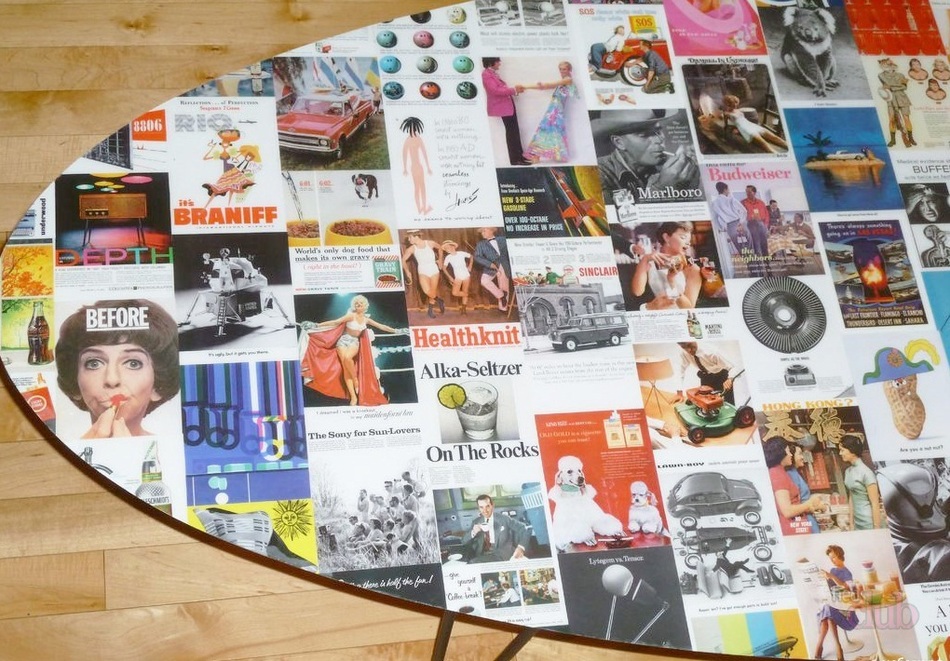
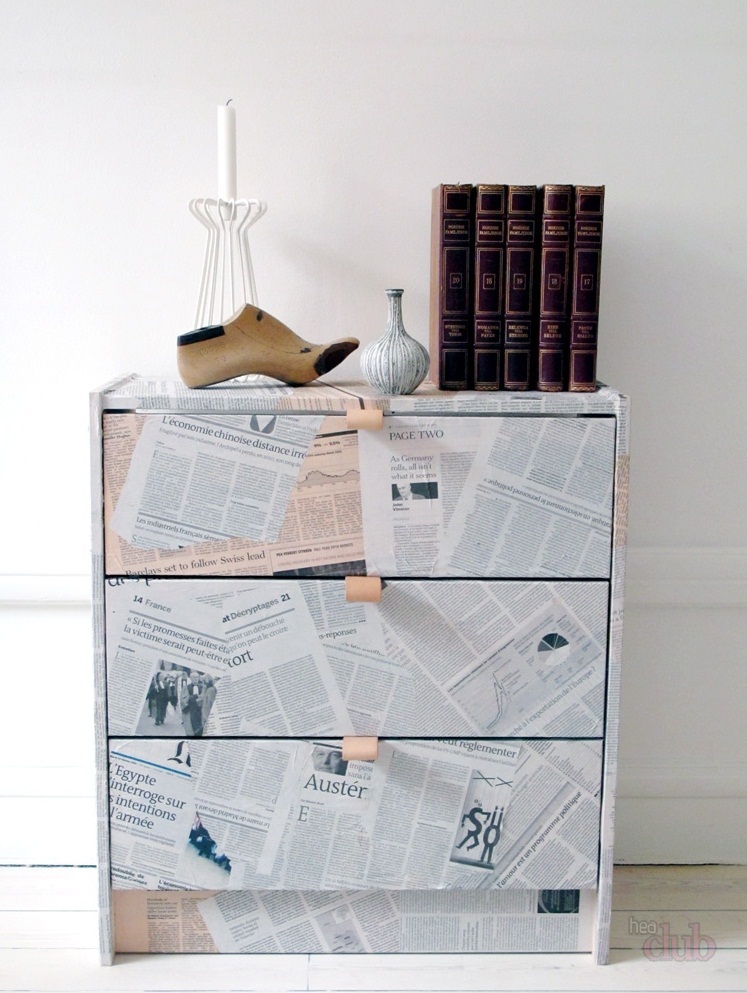
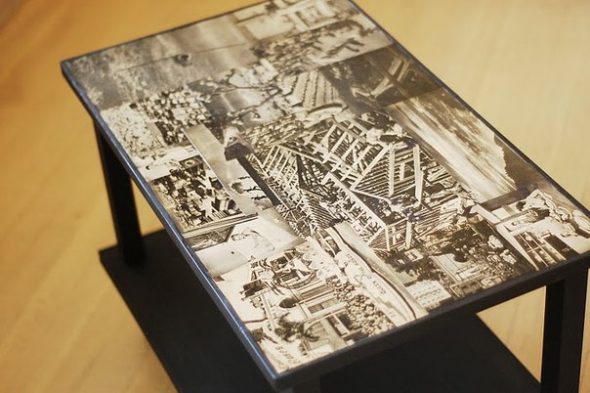
- Simple City.
It is made using the decopatch technique. Newspaper clippings with torn edges or old photographs are used.
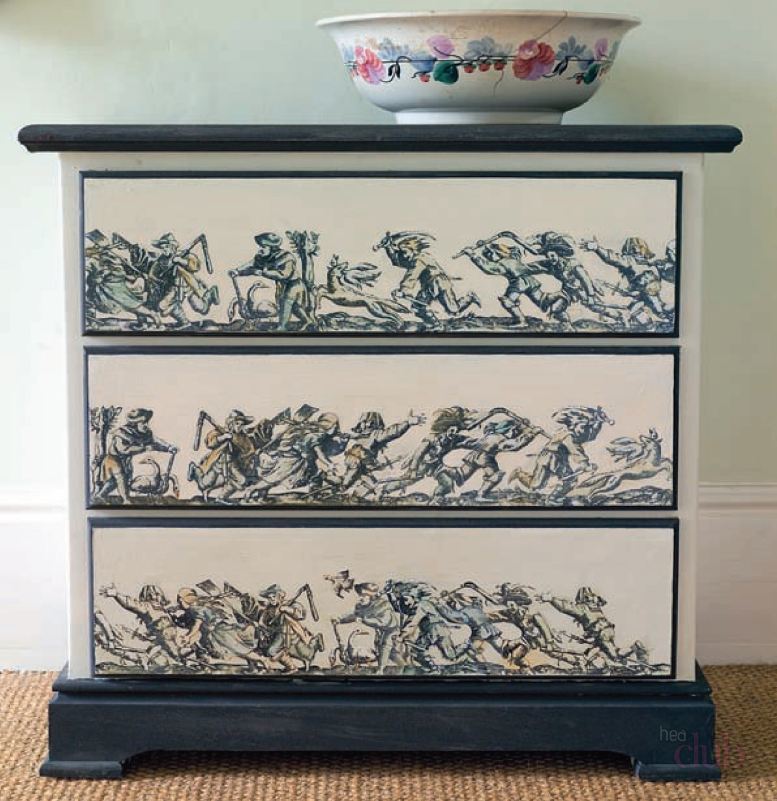
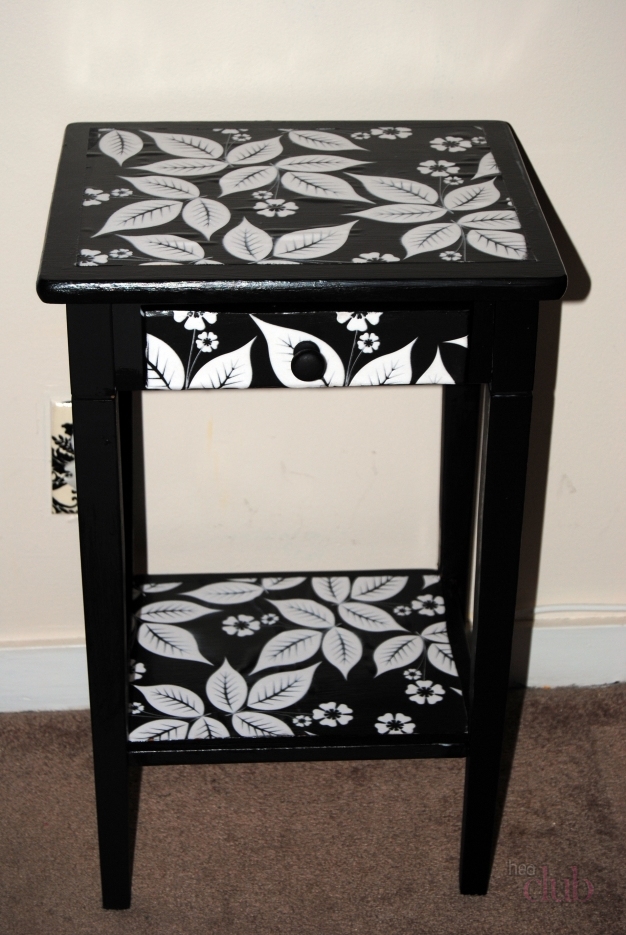
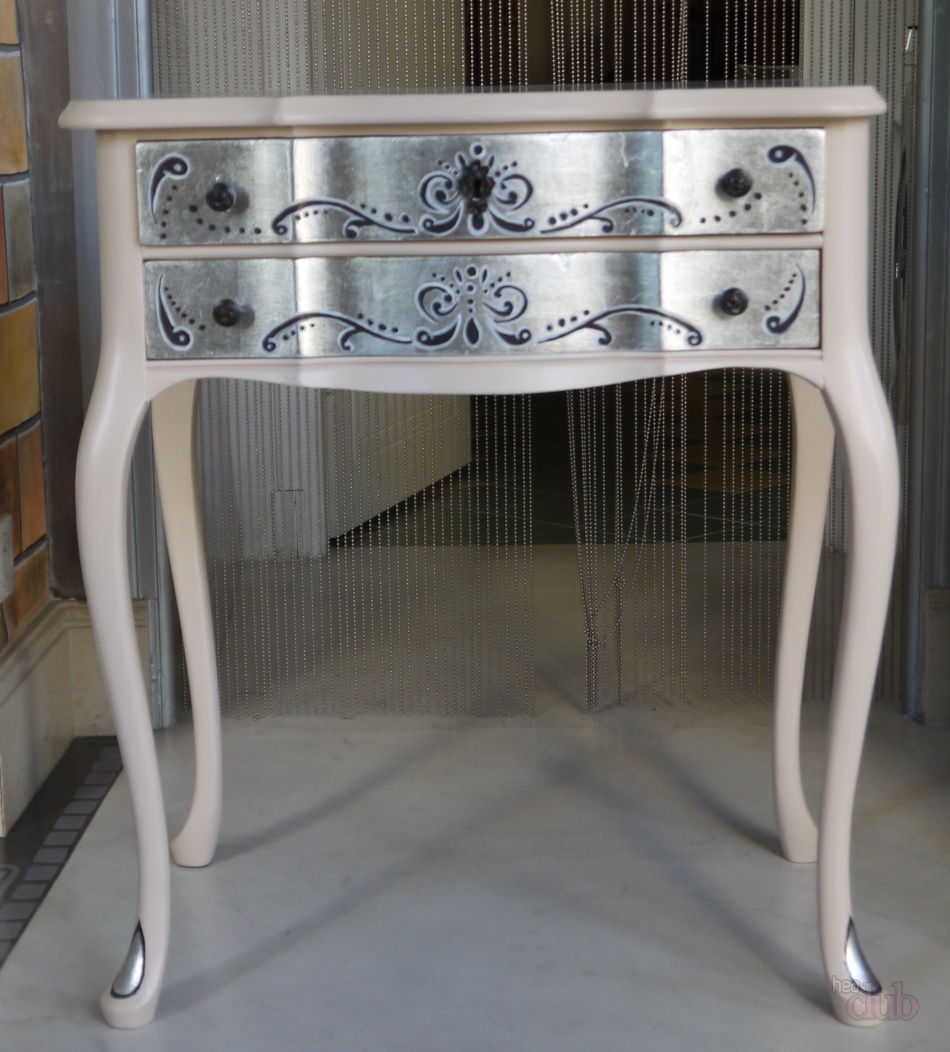
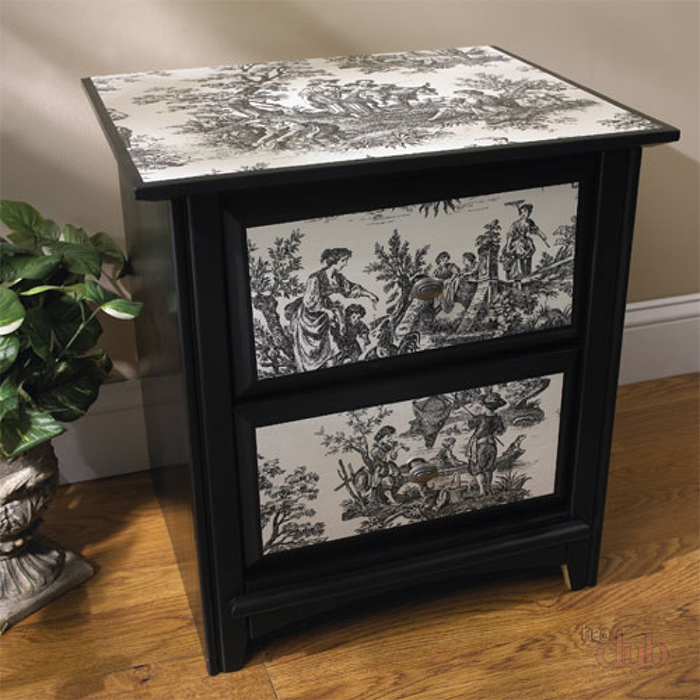
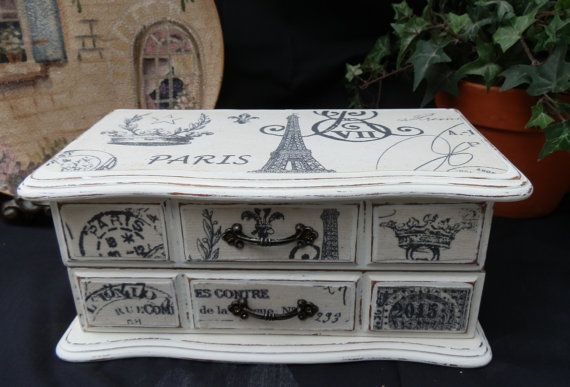
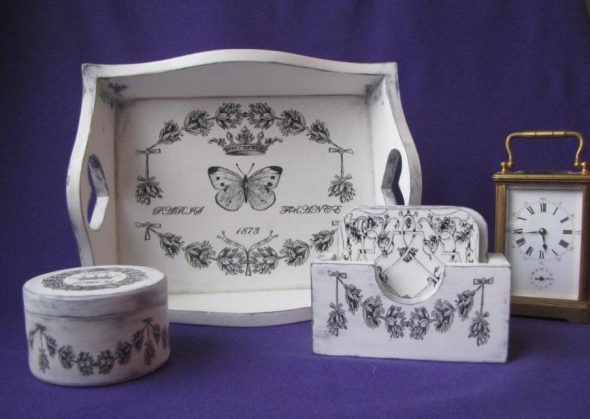
- French vintage.
Features: decoration in two colors (white and black image, less often include pastel colors). Can be used for a chest of drawers, tabletops and other items.
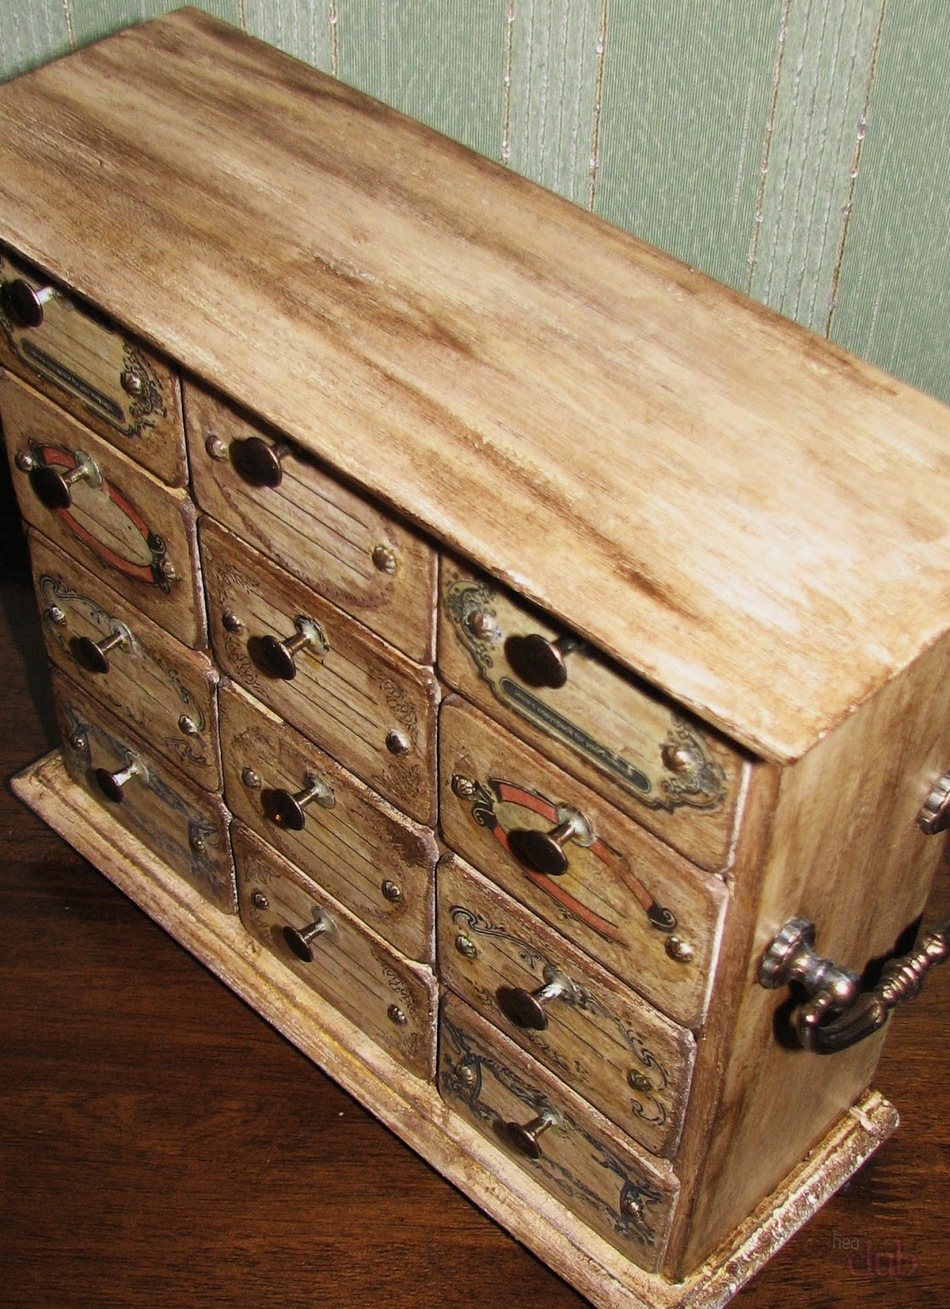
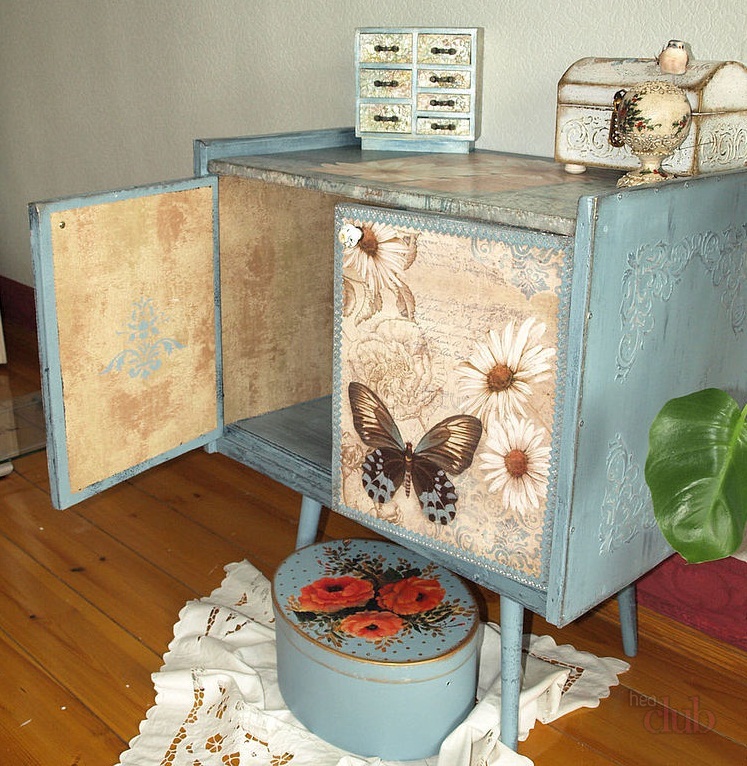
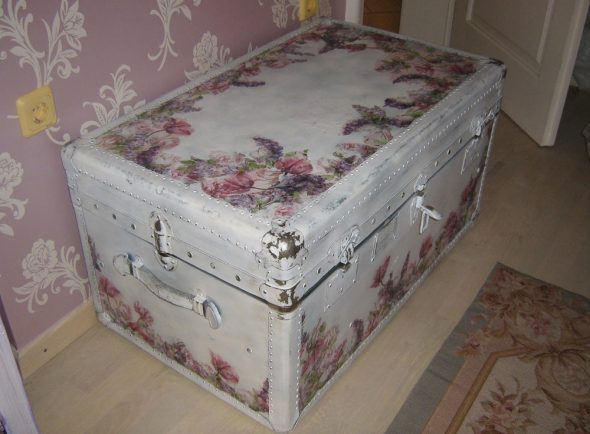
- Shabby chic.
This is decoupage, which makes the surface look like an antique. Features: blurred borders, worn edges.
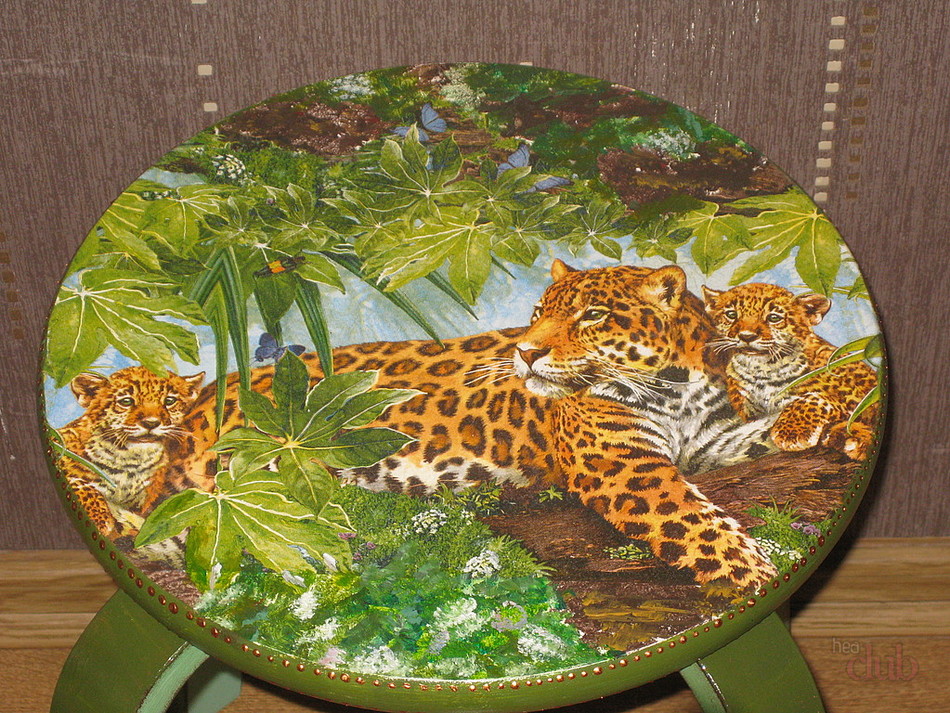
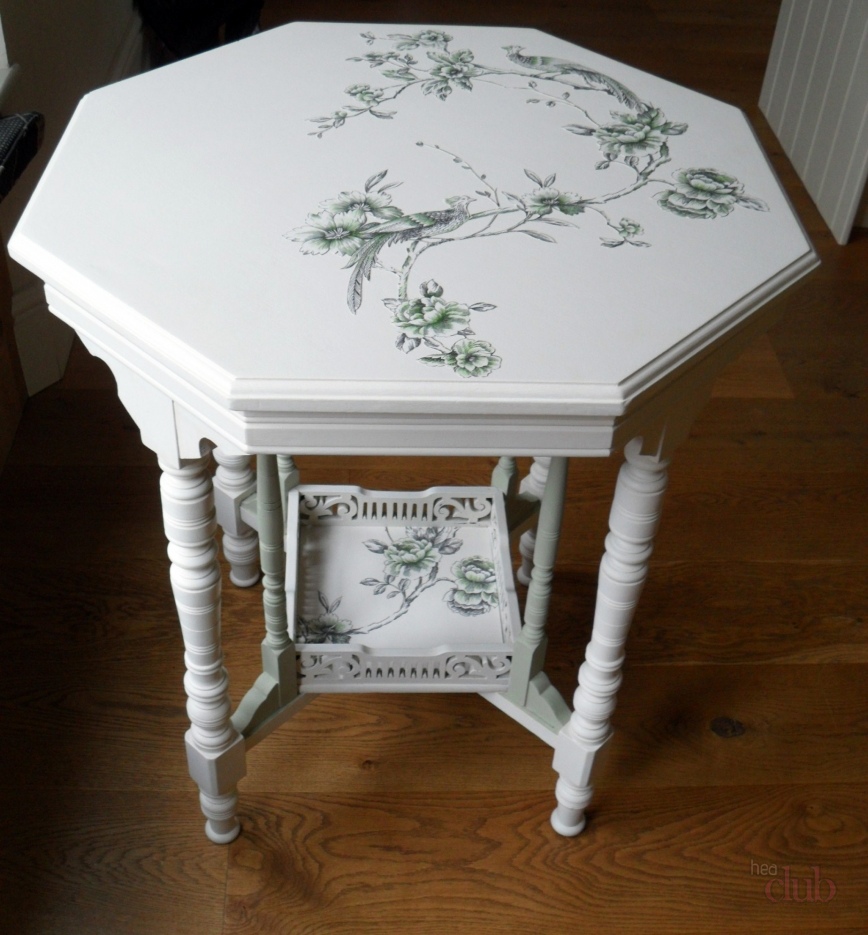
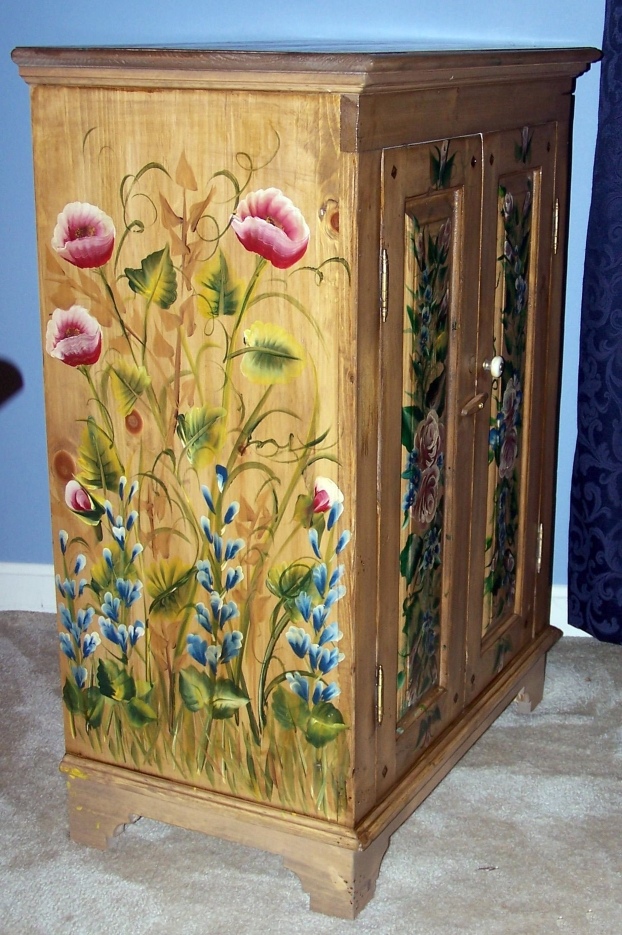
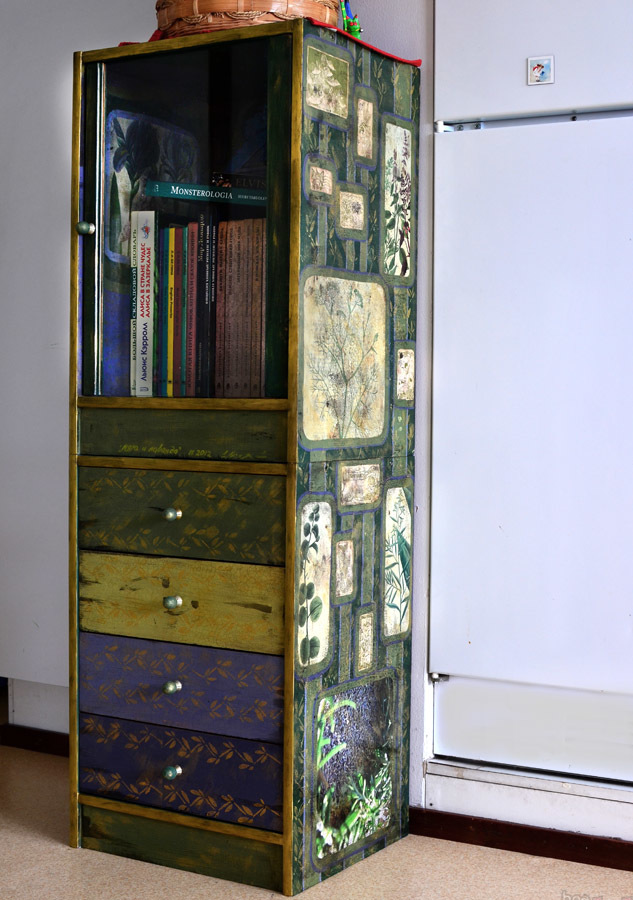
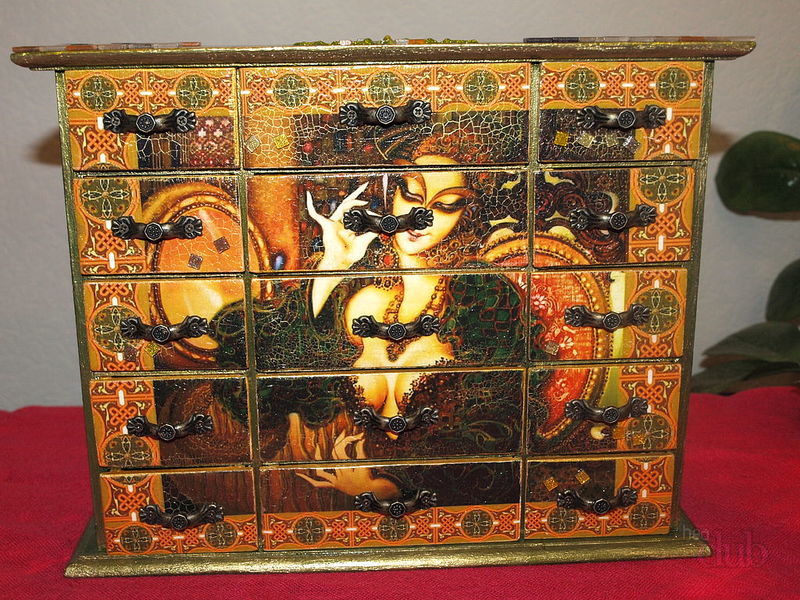
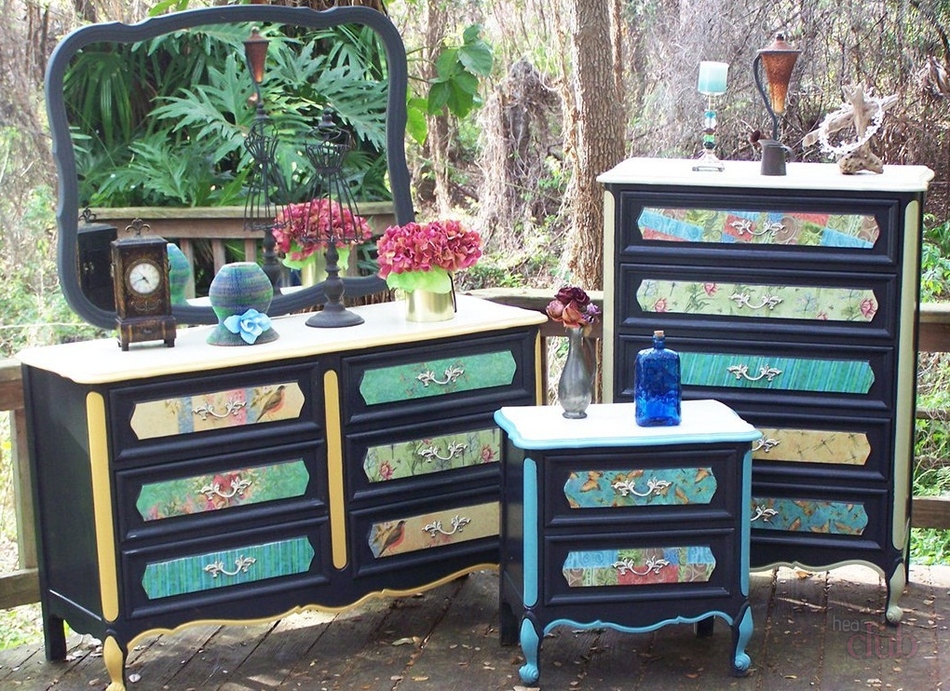
- Victorianism.
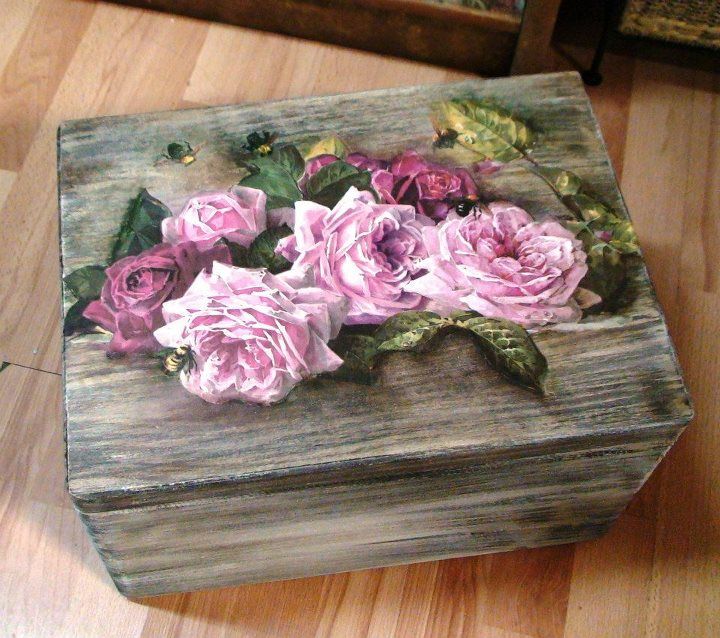
To decorate in this style, you need to have a number of skills. Characteristic features: the combination of gold, blue, green paint. Themes - still lifes, hunting, bouquets of flowers, the animal world.

Recommendations for surface preparation
- Glass products are degreased. To do this, the glass is washed well, dried and wiped with a lint-free cloth. After that, it is degreased with a dishwashing detergent without dyes.
- Before decorating tin surfaces, they should be treated with a solution based on water and vinegar. To do this, the ingredients are diluted in a 1 to 1 ratio. After washing in vinegar water, it is brushed with a metal brush. After removing dirt with a brush, the top layer is removed.
- Before working with wood or chipboard, they are sanded with fine-grain sandpaper to smooth out any unevenness.
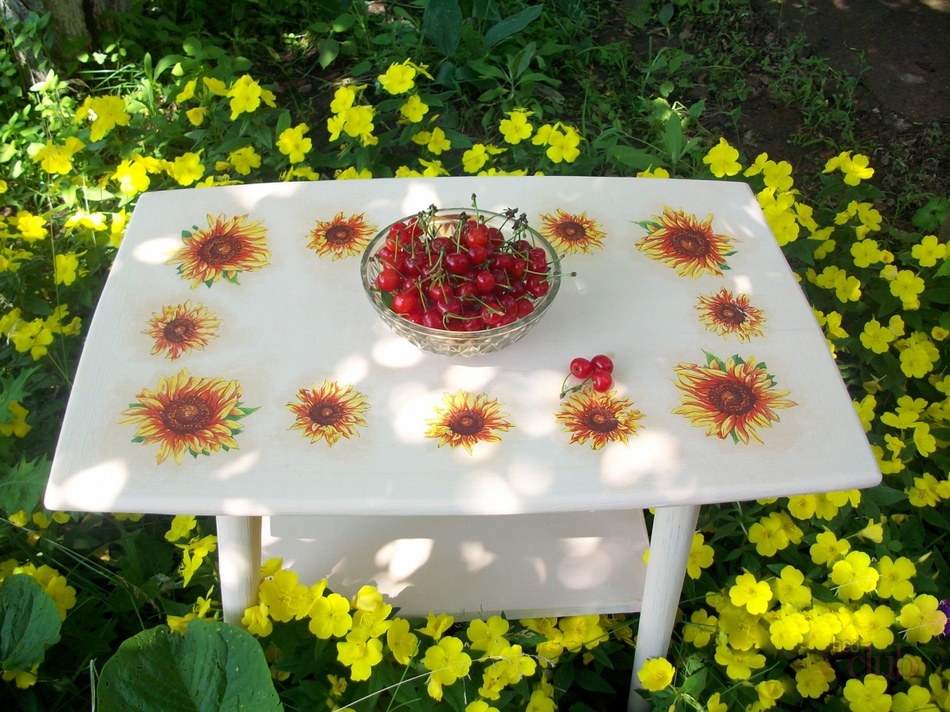
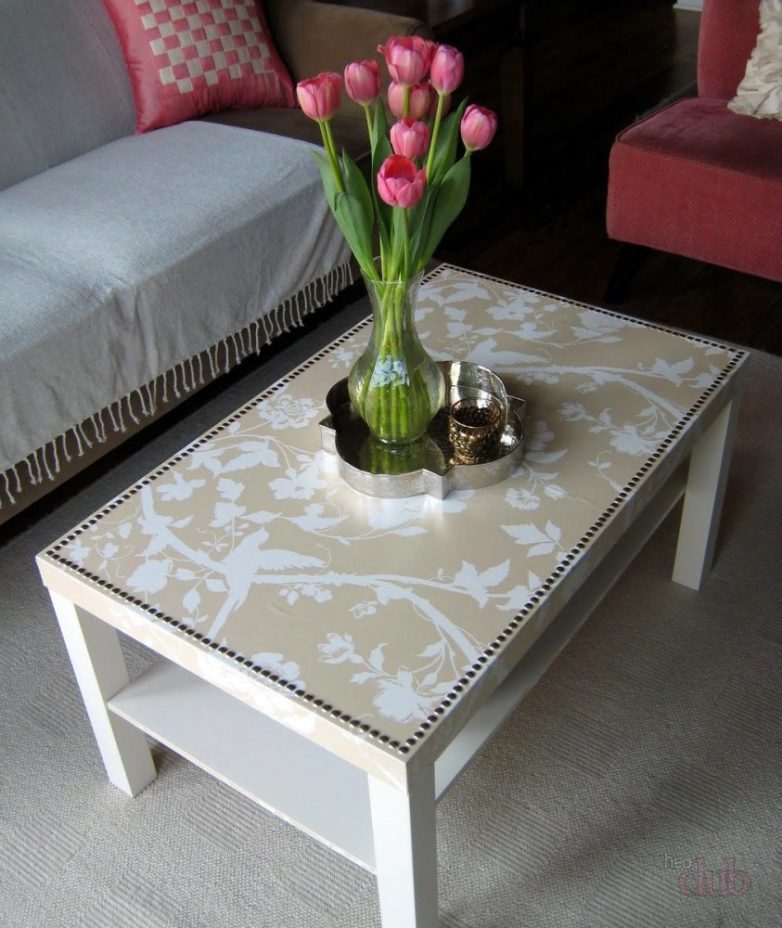
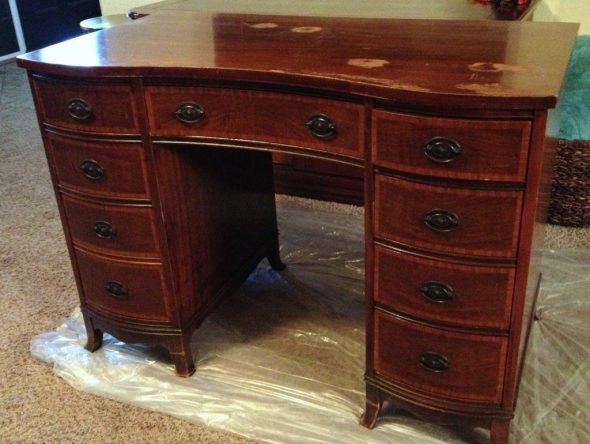
Restoring a table with colored wallpaper
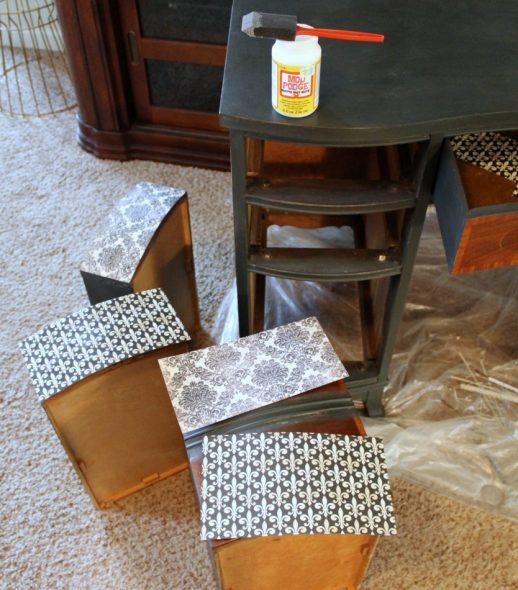
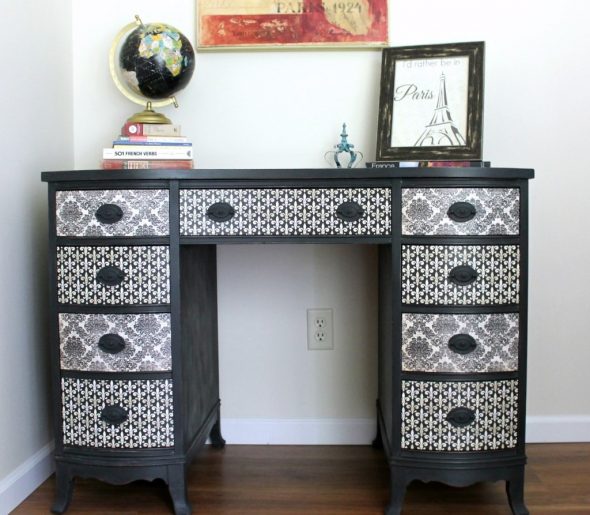
We decorate the table in two monochrome colors, so it will easily fit into a modern style. For work we will need a white primer, black and gray paint for exterior decoration, sandpaper with medium grain, brushes, a paint roller, wallpaper with black and white ornament of 2 types, dark wax, glue.
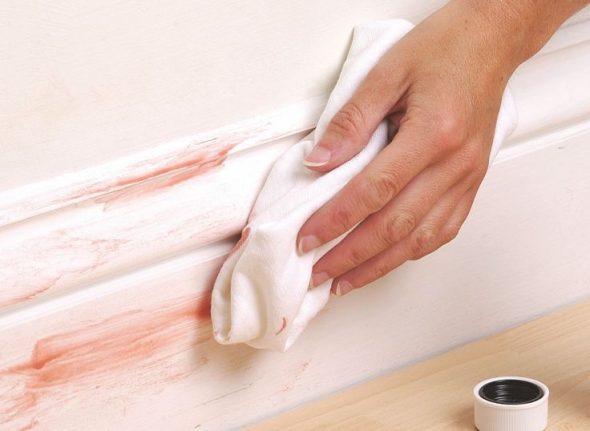
- We prepare the table: we wash it, repair defects, tighten the fittings (replace if necessary).

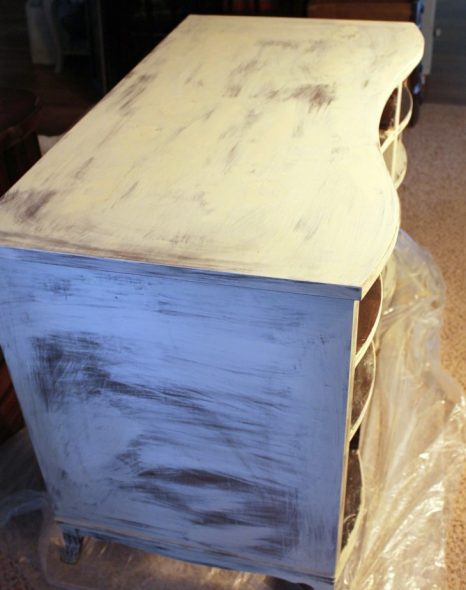
Let the table dry and start decorating. - We cover the entire area of the table with white primer.

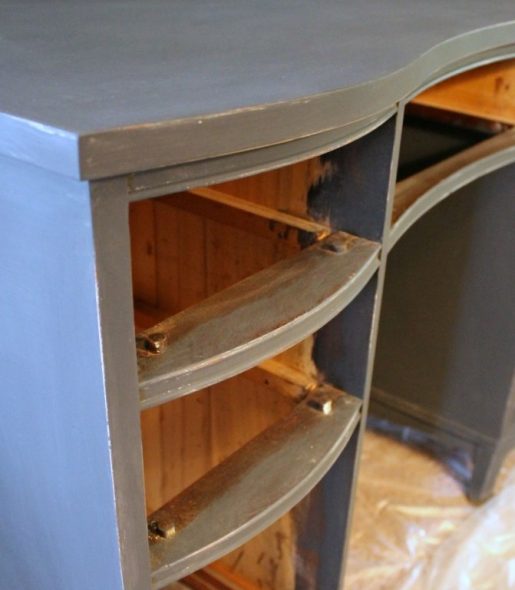
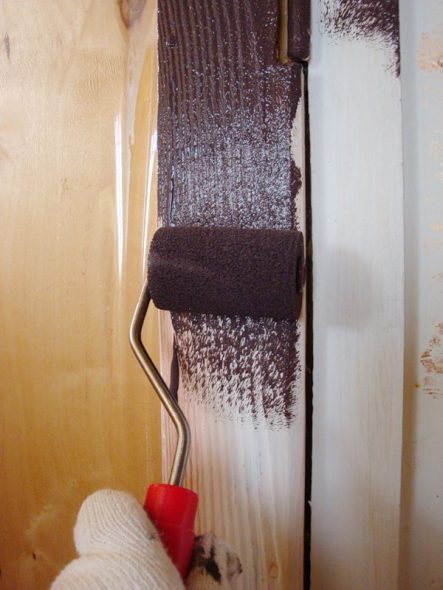
We apply one layer of primer to the prepared surface, which will ensure good adhesion and prevent the paint from peeling off. - We sand, especially carefully going over the edges of the furniture, and cover the table with grey graphite paint.

We also “treat” the boxes with primer and paint them well with gray paint. - We take measurements of the boxes along the side of the facades, cut rectangles to the size of the box from thick vinyl wallpaper.

We glue the wallpaper onto the facades, smoothing it out thoroughly with a roller, sponge or cloth. - After drying, we cover the surface of the pasted facades with varnish.

Thus, decoupage of furniture made by yourself will last longer.
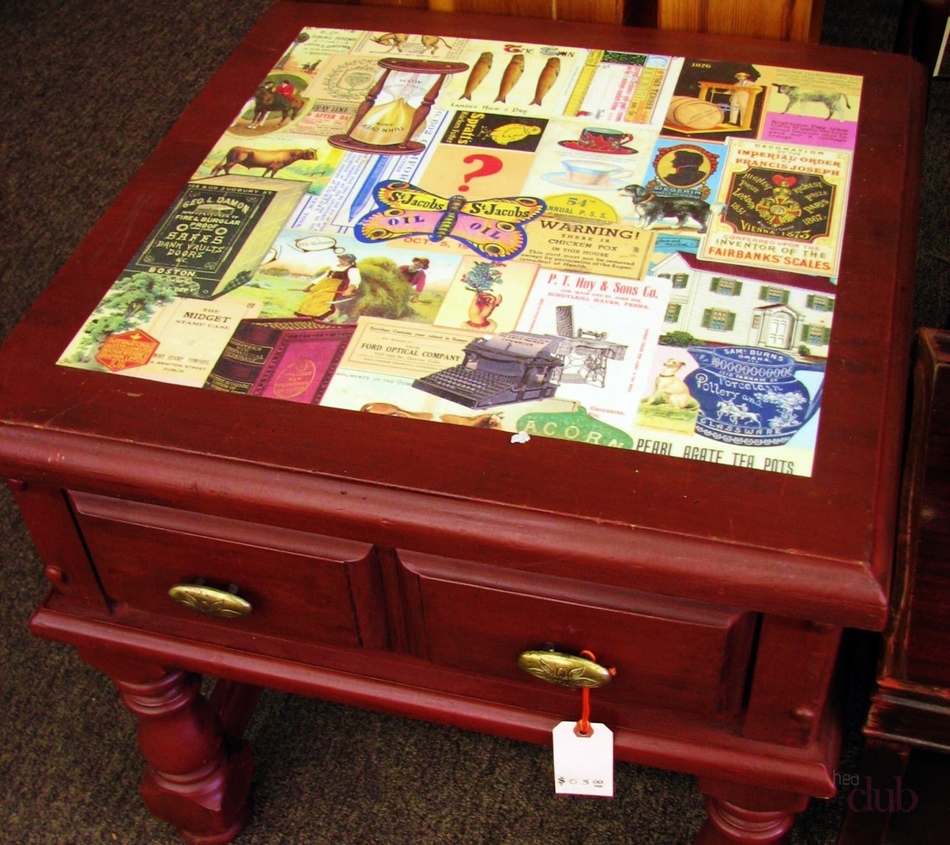
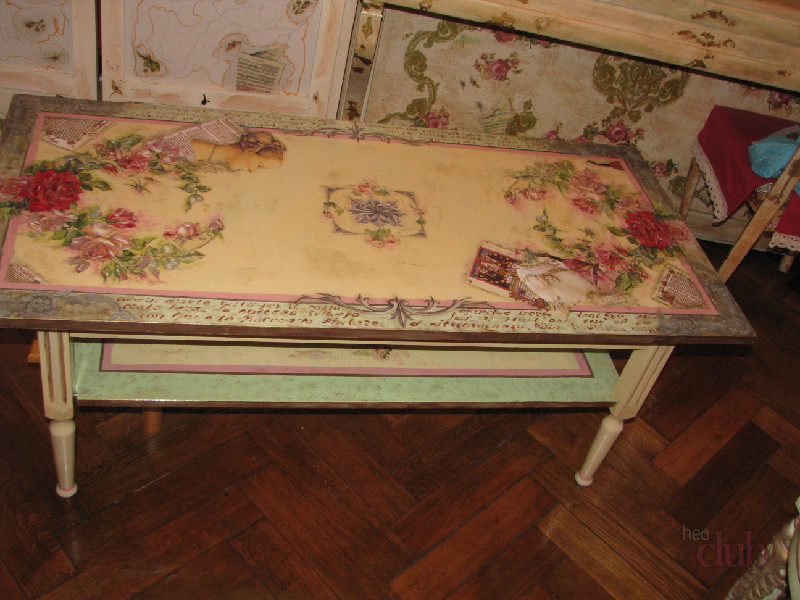
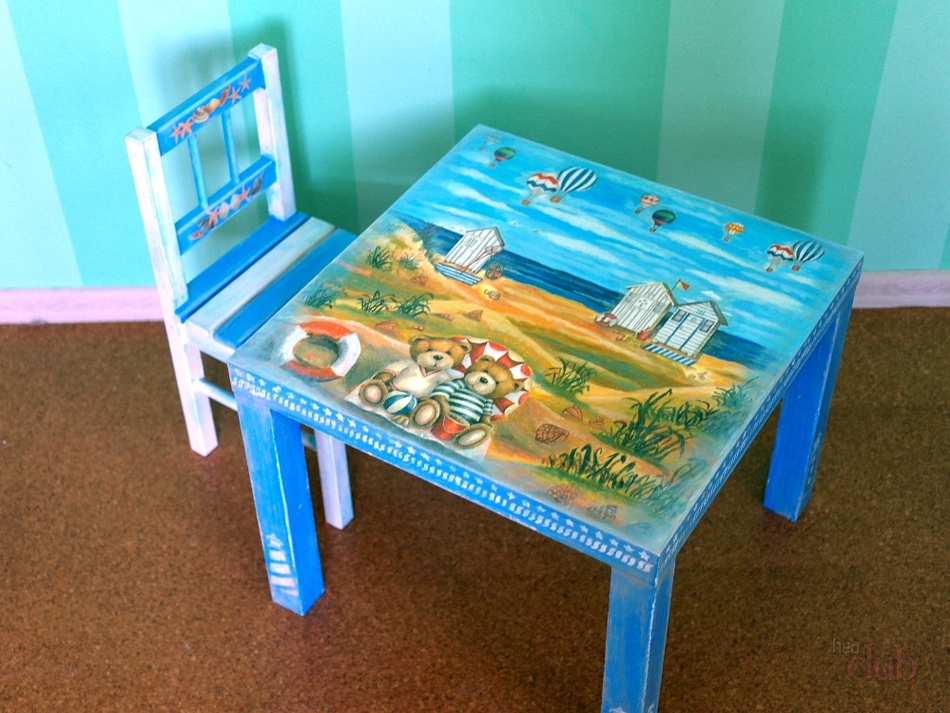
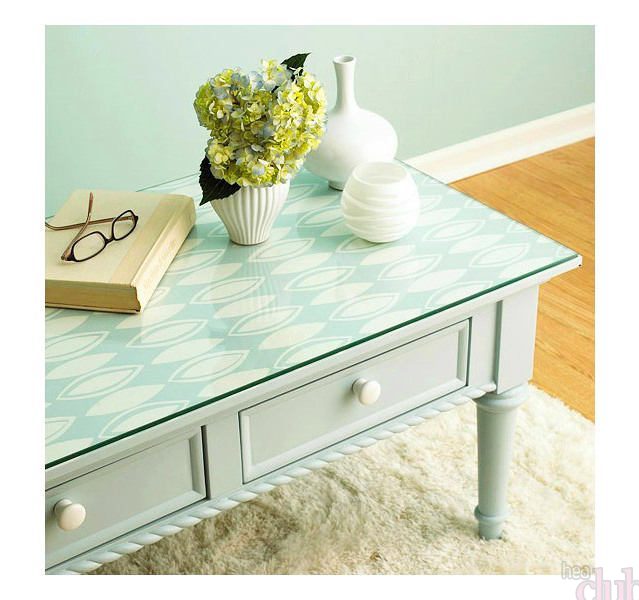
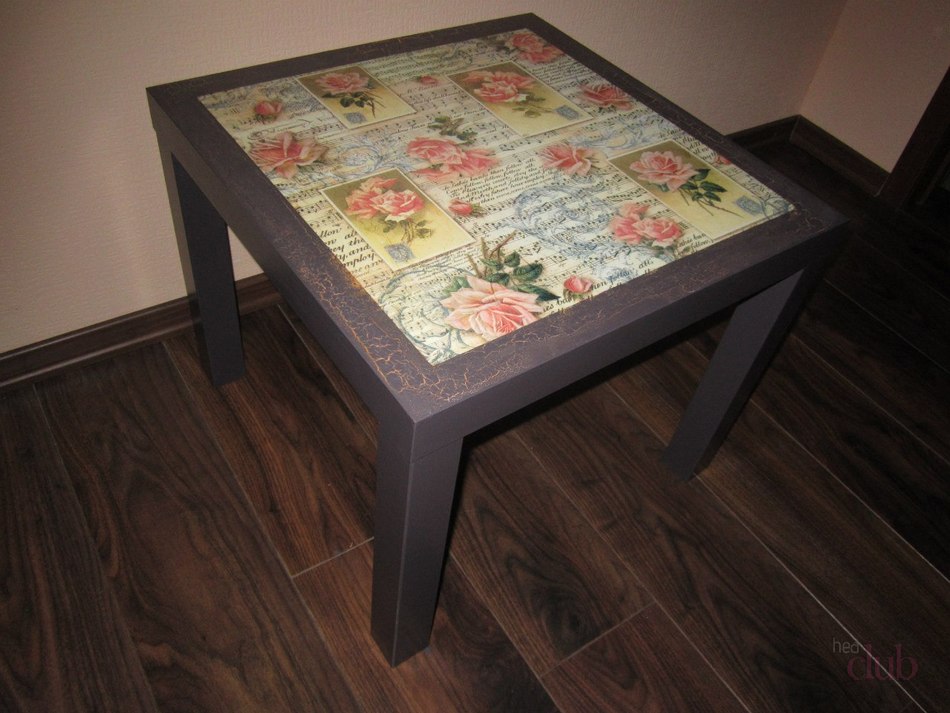
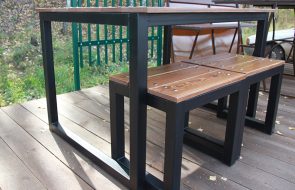
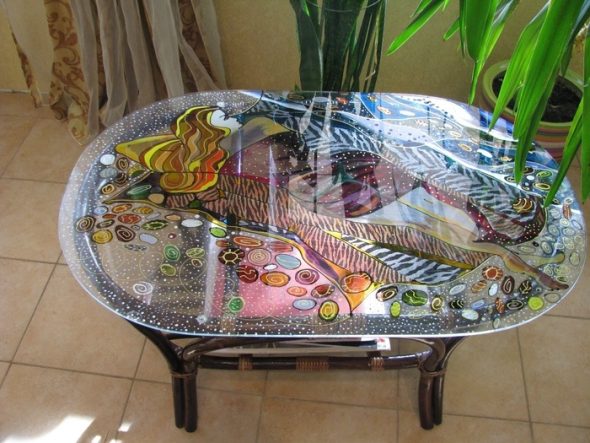
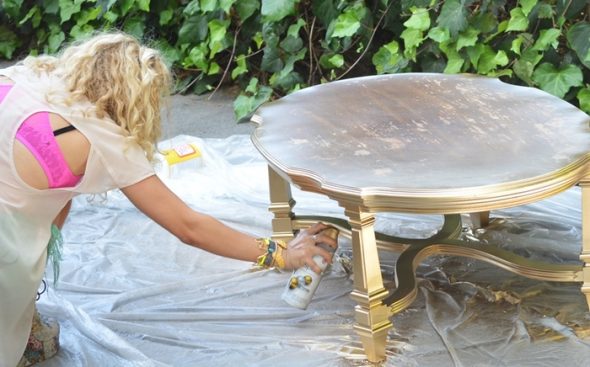
Decorating an old coffee table
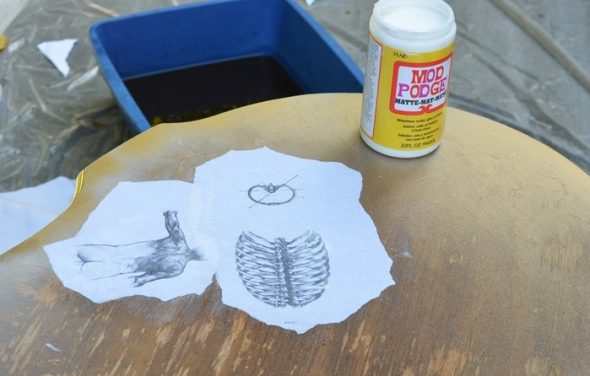
First, you need to prepare the surface of the furniture for work. The plastic is degreased. The wooden table is disassembled and sanded with fine-grained sandpaper to remove the layer of paint and varnish.
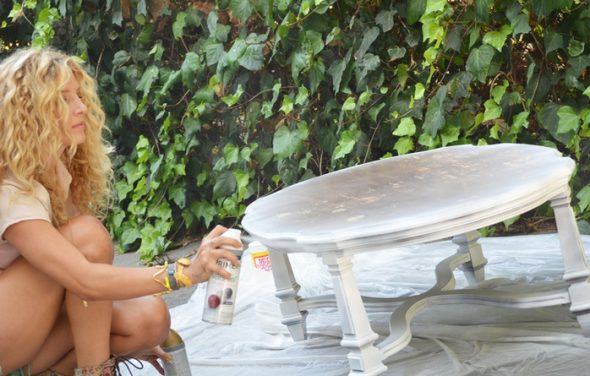
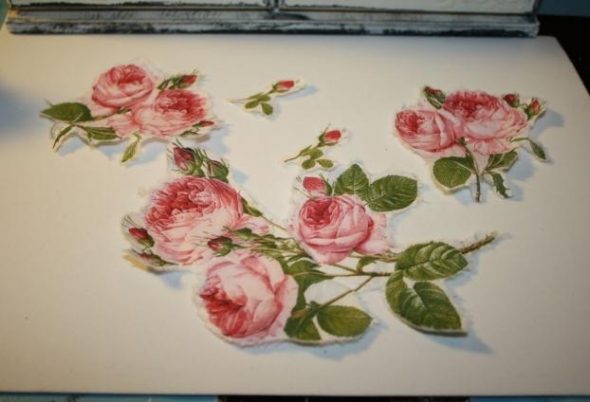
After the primer has dried well, apply several layers of paint.For an additional cracking effect, a craquelure varnish is used. It is applied, then, while it is still wet, it is painted with white acrylic.After the acrylic has dried, glue the motif (if we don’t use craquelure) and cover it with clear varnish. You can varnish it with a spray varnish. This way the application will be more even.
After the varnish has dried, it is necessary to "go over" with fine-grained sandpaper. This ensures stronger adhesion to the surface.Prepare the napkins for gluing: cut out the desired image with manicure scissors, soak in water for 15 minutes, place on a paper towel to remove excess moisture.
Decoupage is done in one of three ways: hot (a motif cut from a napkin is glued and ironed with a hot iron without steam), dry (the motif is glued and the remaining glue is removed with a cotton swab), wet (the motif is soaked in diluted glue or varnish, placed on a multi-fora and carefully re-glued from it to the surface).
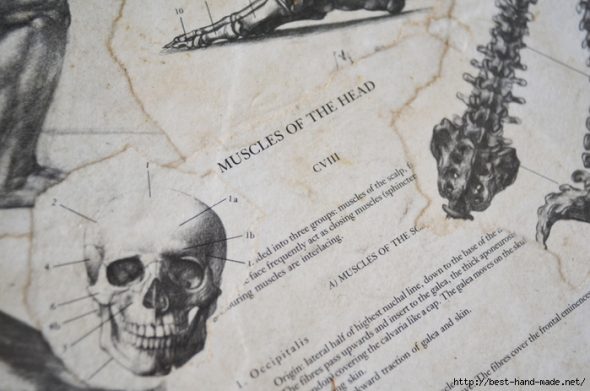
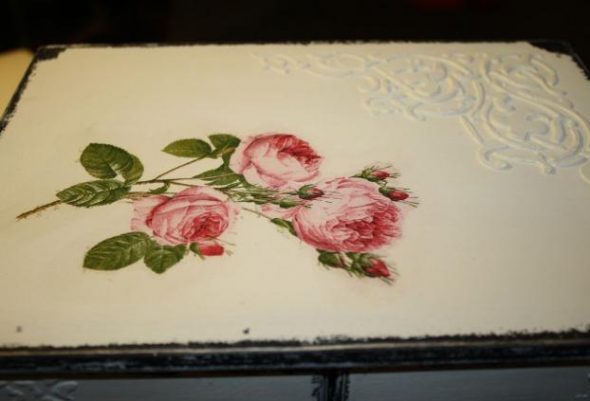
After gluing the image from the napkin, we bring it to its logical conclusion (finish drawing, add shadow, tone, etc.) and leave it to dry.
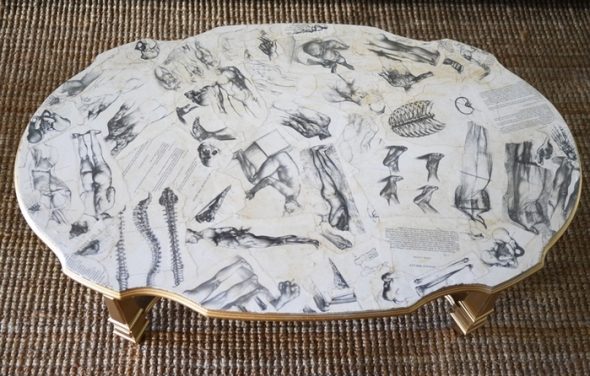
Varnish in two layers. To obtain a smoother texture after varnishing, pour water into the container and smooth out the brush bristles with a wet finger while the varnish is still wet.
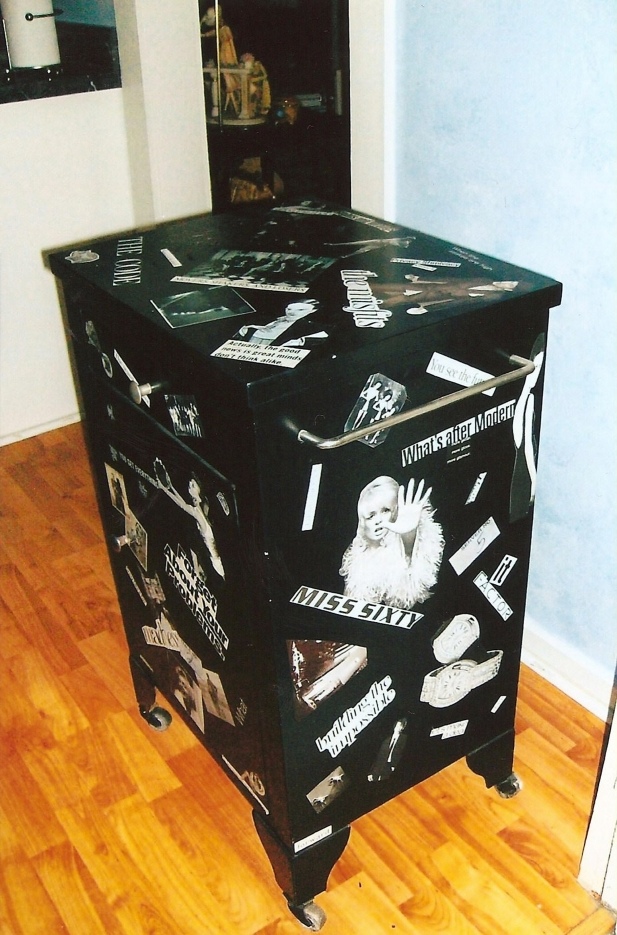
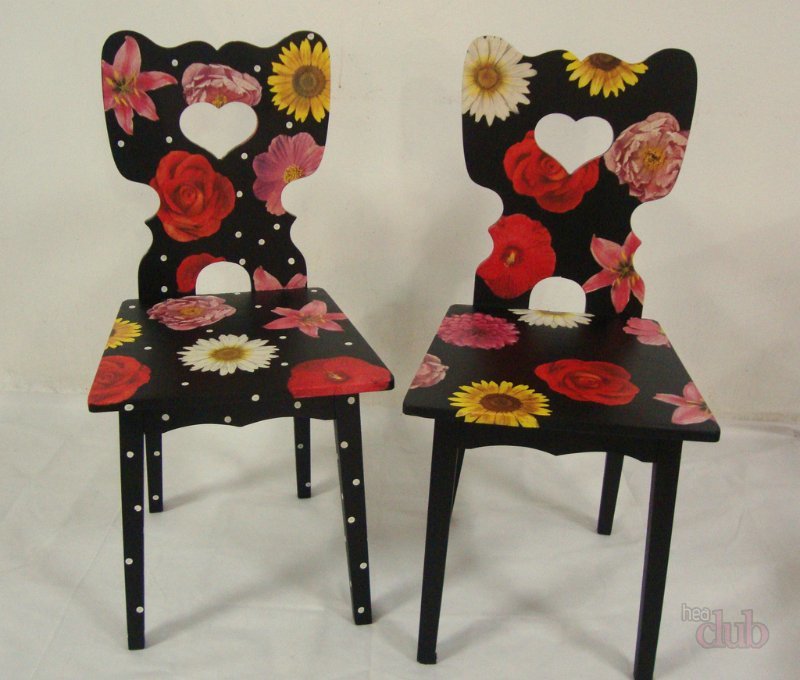
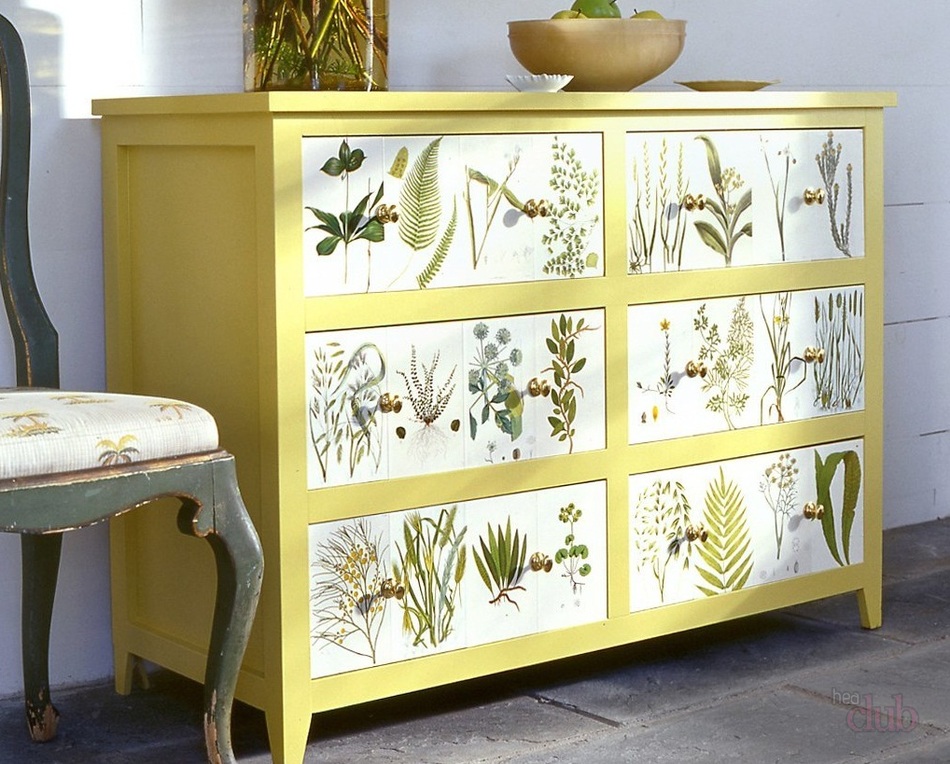
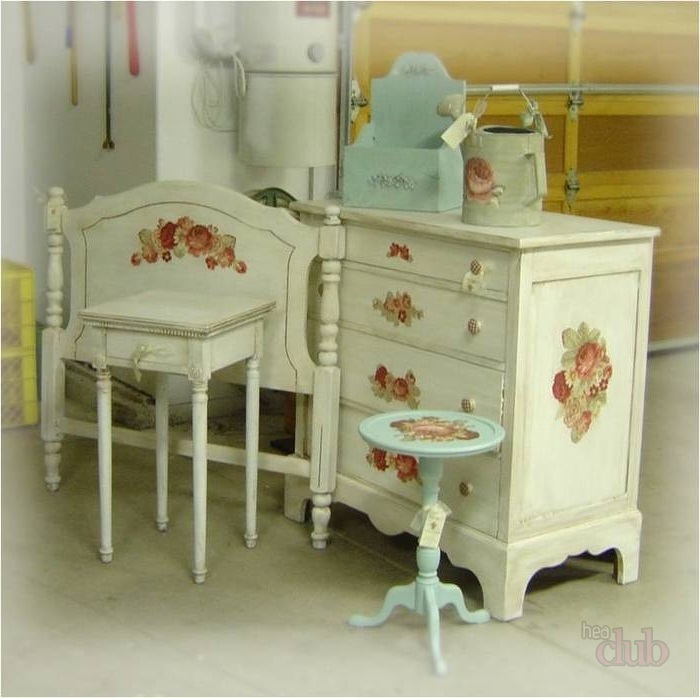
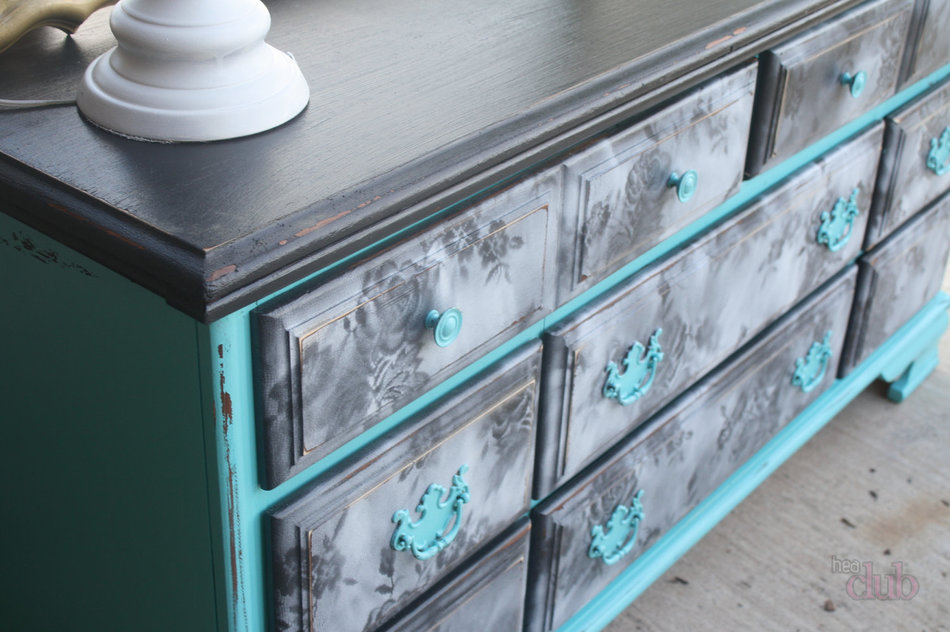
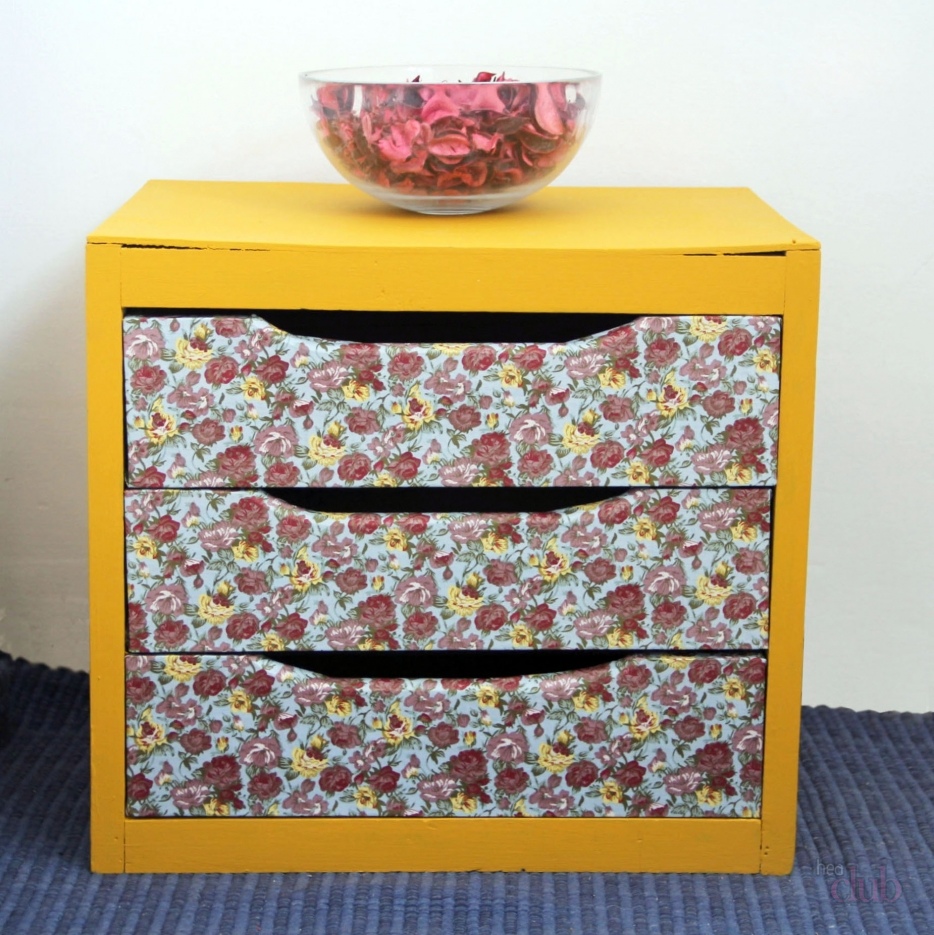
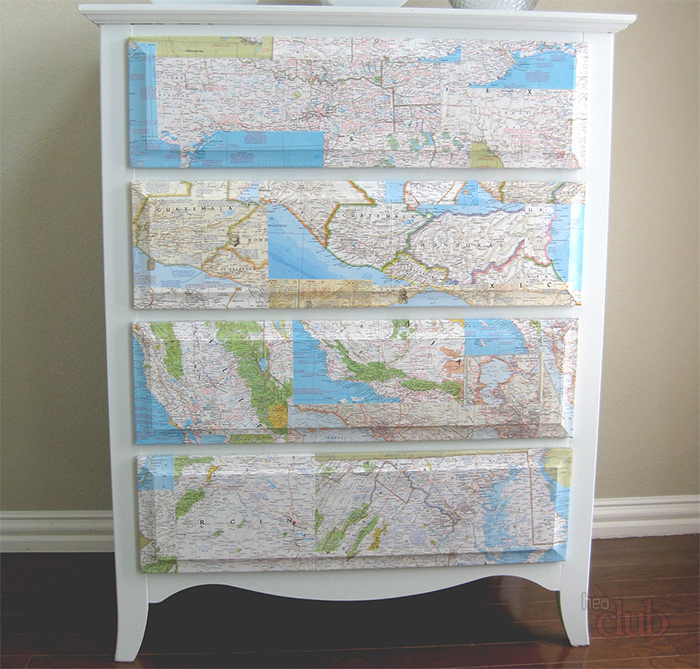
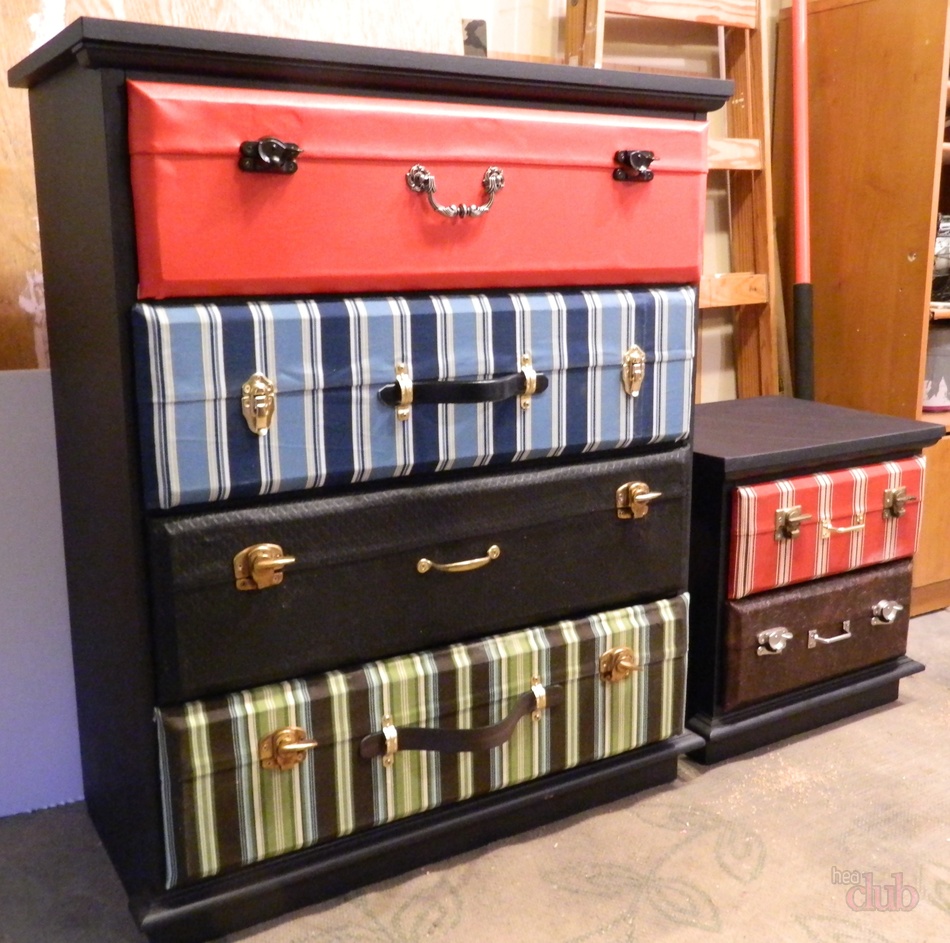
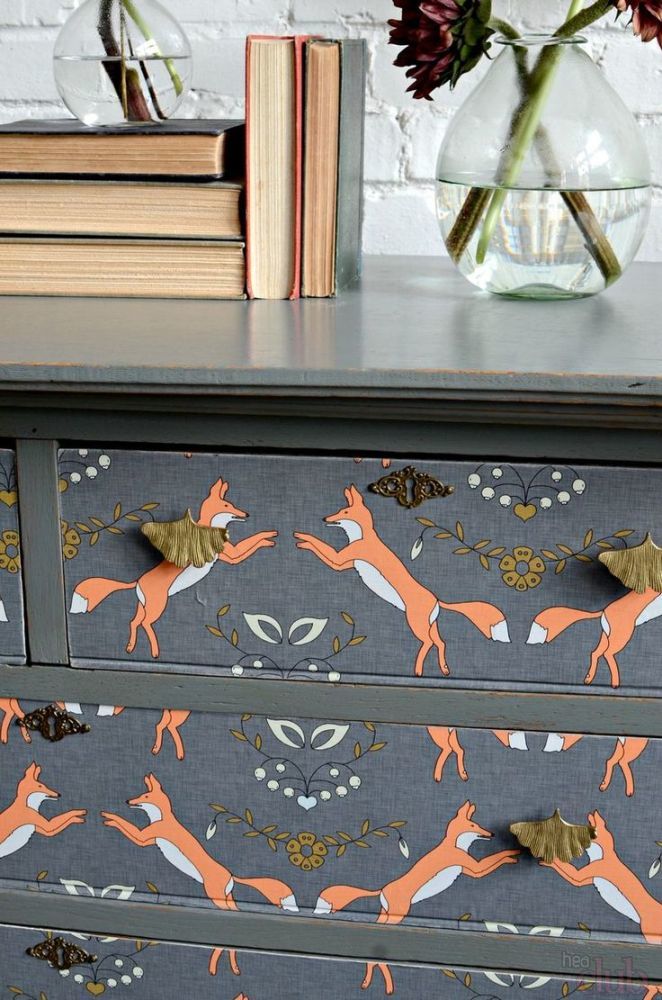
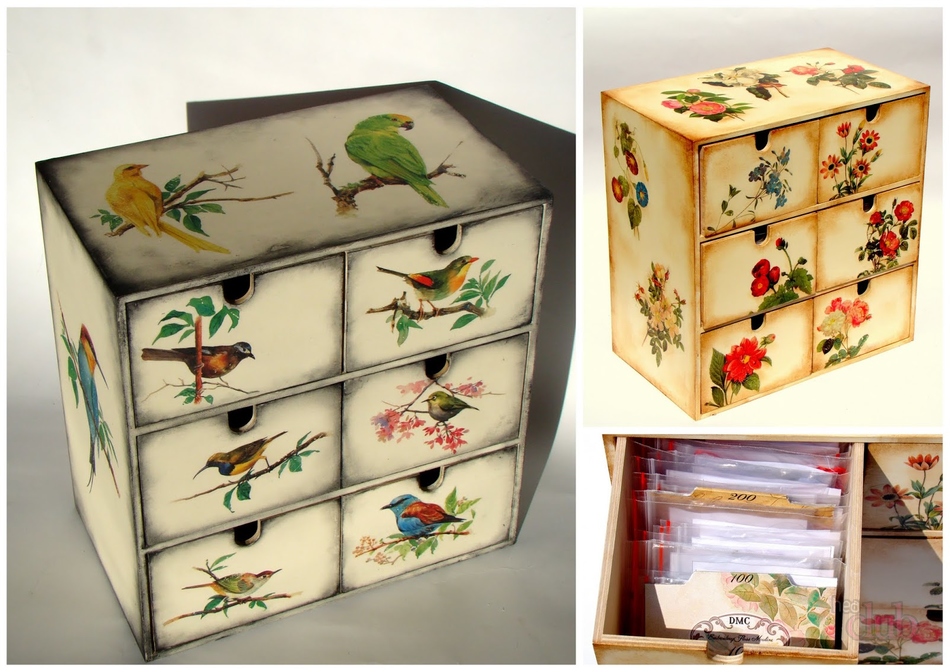
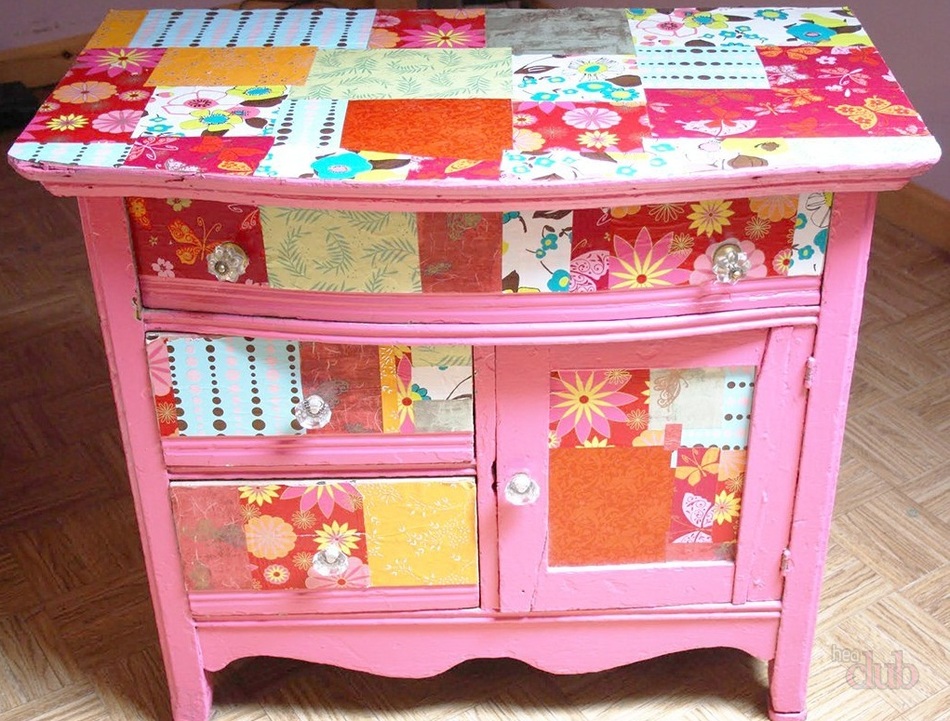
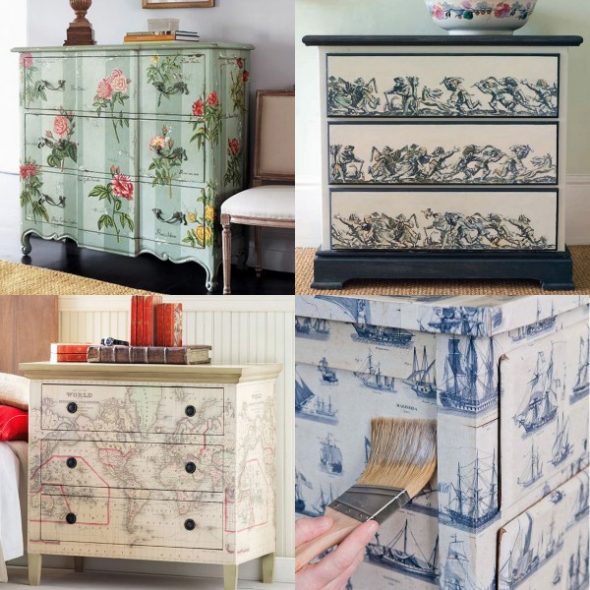
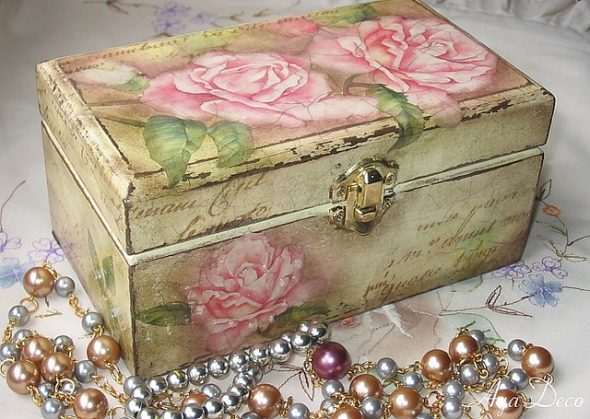
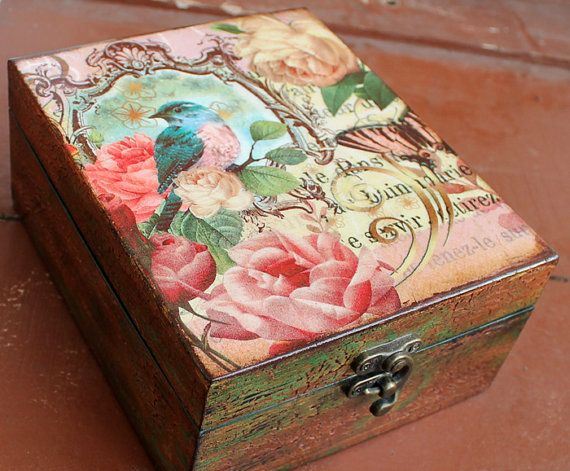
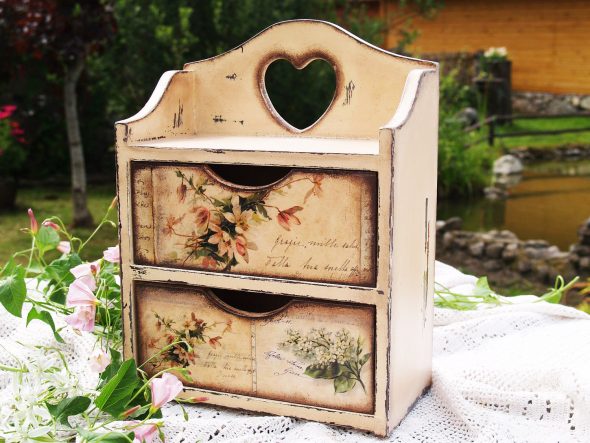
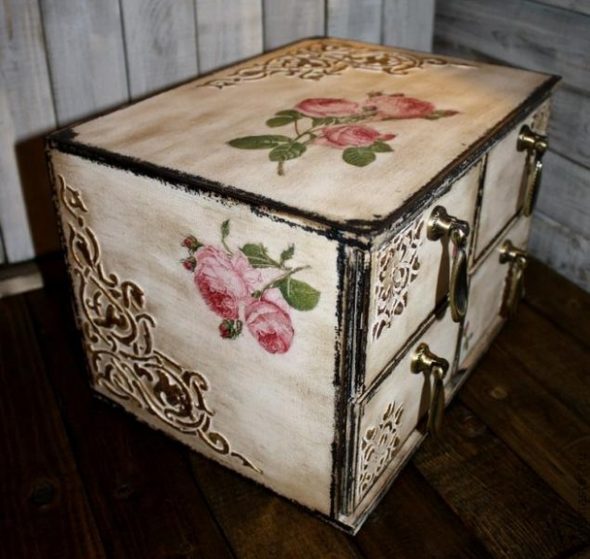
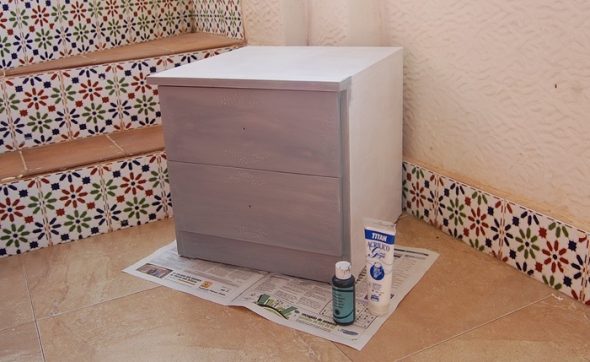
Decoupage of a chest of drawers
Shades of pink, blue, gray, and green are used to decorate furniture in the shabby chic style. This technique does not process polished surfaces or removes them with sandpaper (grinding) machine. They "go over" with an acrylic-based primer or primer.
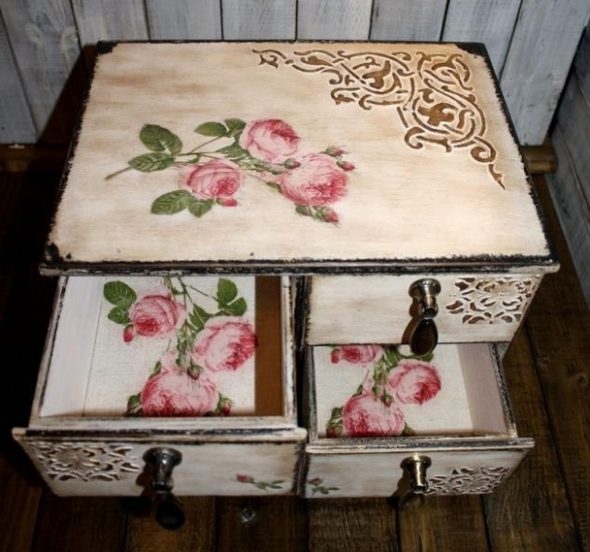
- We prepare the furniture by removing the coating with sandpaper, removing all dust, priming or painting with acrylic.
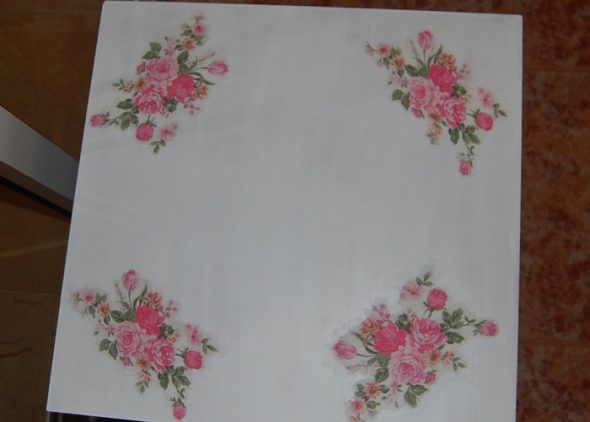
In those places where we will have abrasions, we paint with black paint. - We are preparing pictures for pasting the chest of drawers.

We cut out along the contour and apply it to the furniture to visually form a pattern. - We spread glue on the motif and attach it to the chest of drawers.
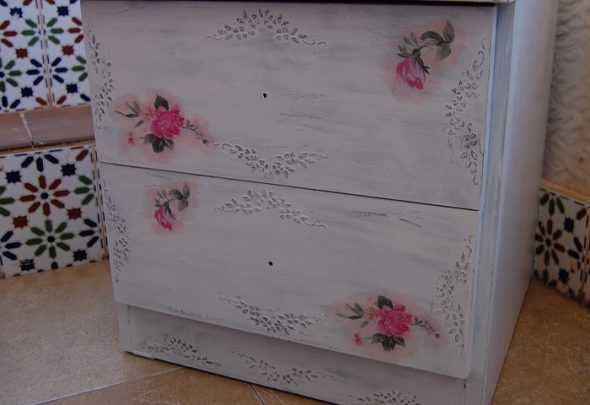
- Dilute the glue in water in a ratio of 2 to 3.

We coat the top of the image with adhesive solution. - We coat the edges with white acrylic. The drawing should smoothly transition into the background color.
- We “cover” the entire chest of drawers with a transparent varnish in several layers.

The varnish can be any, at your discretion.

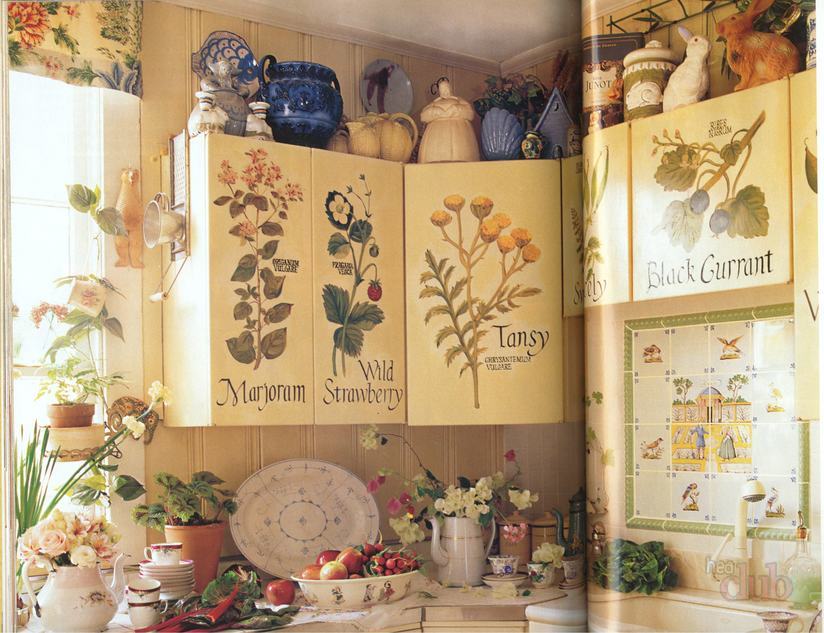
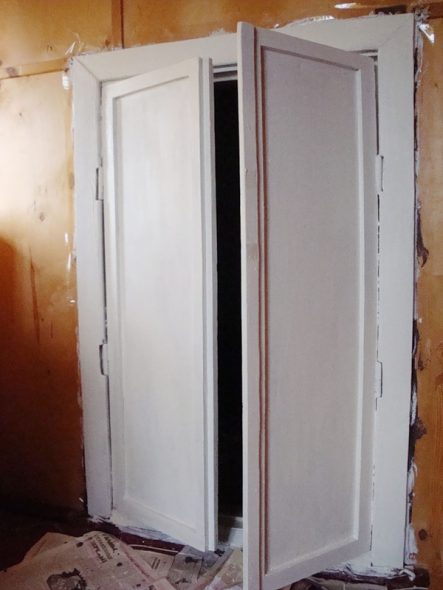
Decoupage of interior door
- Prepare the surface: sand the wood with fine-grain sandpaper and prime it. You can work on MDF without preparation.

We prime our door with dark paint. - Create a background. The best option: acrylic painting in 2 layers of white or dark paint.
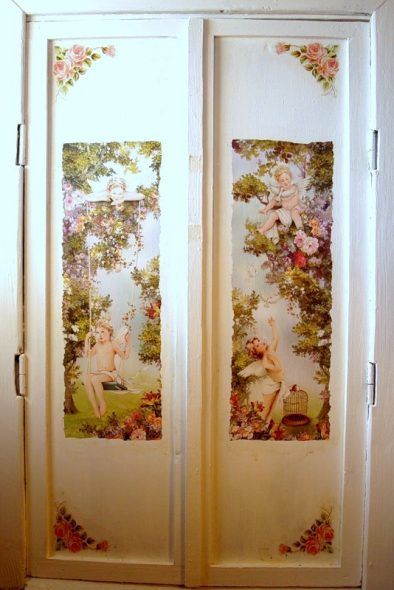
We go over it with fine-grain sandpaper after the paint layer has dried. - Place the drawing, mark it with a pencil. Cut the drawings along the contours, remove the old top layer.
- Apply the chosen motif, dip the brush into the glue and glue the image from the center to the edges, squeezing out the bubbles. If the glue is too thick, dilute it slightly with water.

Carefully glue the drawing, smoothing it out thoroughly so that there are no folds or air bubbles. - When pasting a panel or other large area, glue from top to bottom, starting from the top left corner.
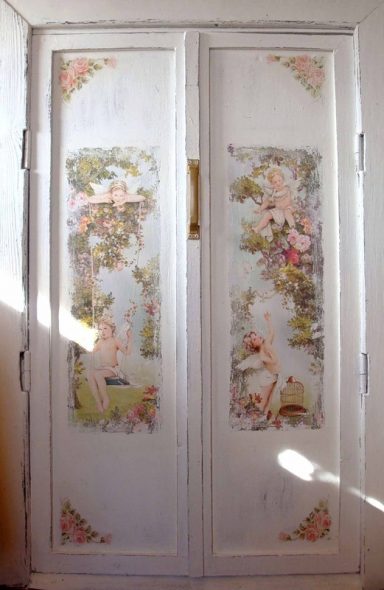
- After gluing and when the glue dries, cover the product with water-based varnish. This will make it easier to wash the doors later.

The door is made in the style of the 30-40s of the last century.
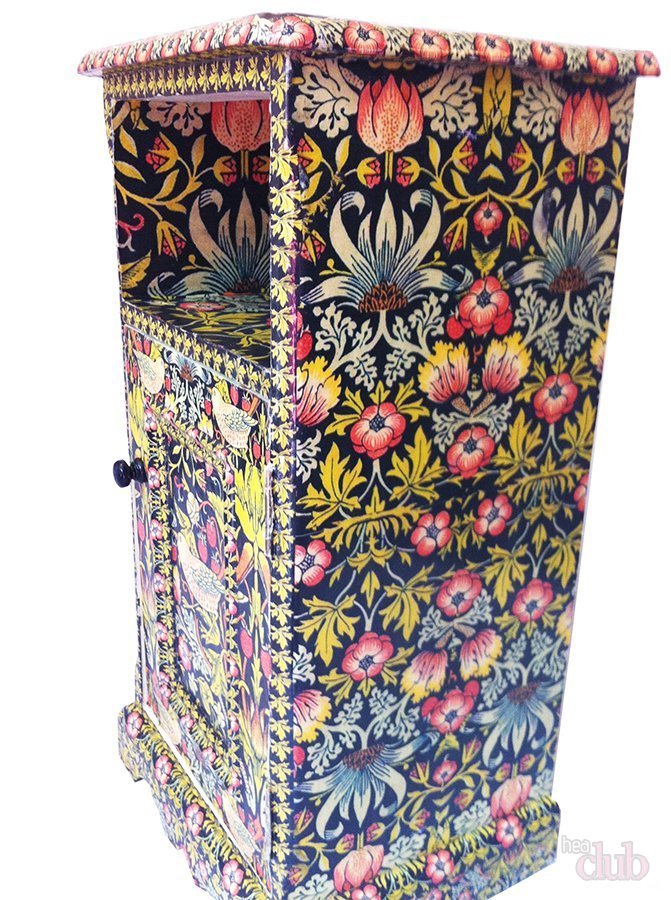
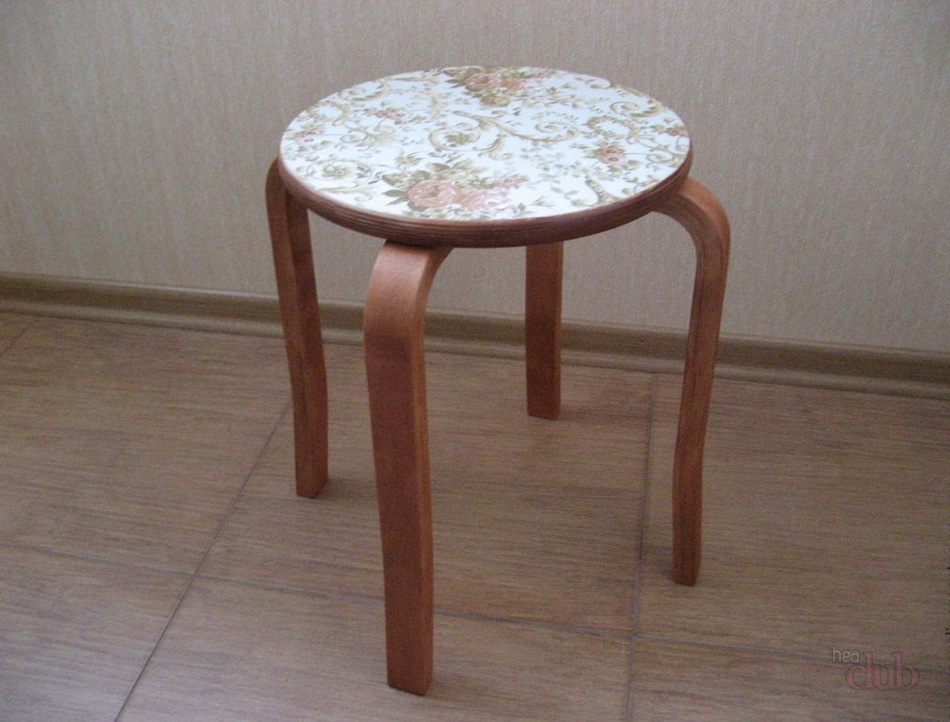
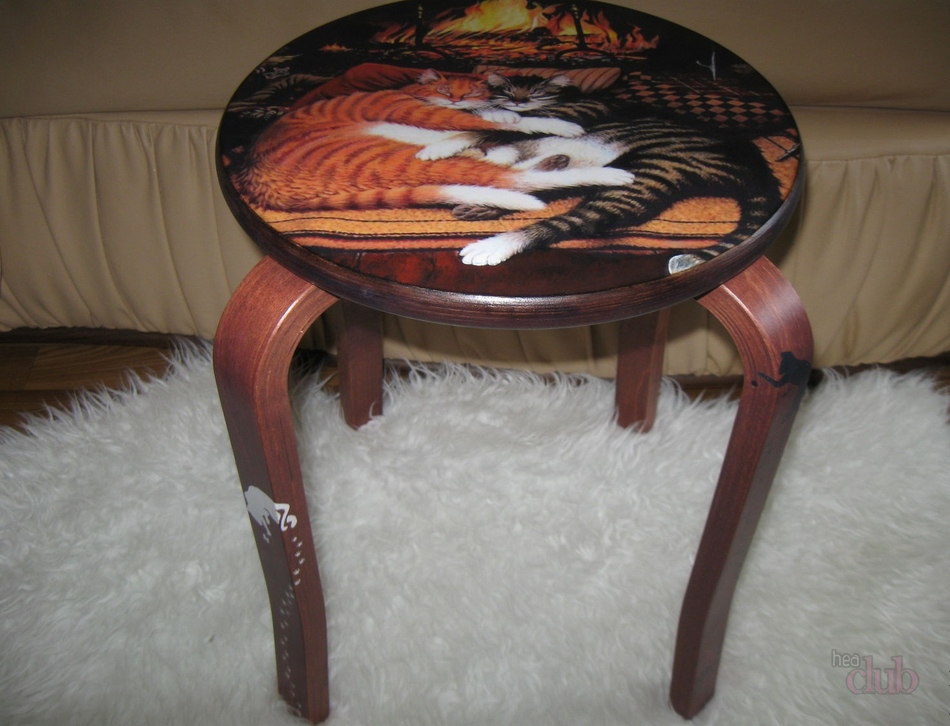
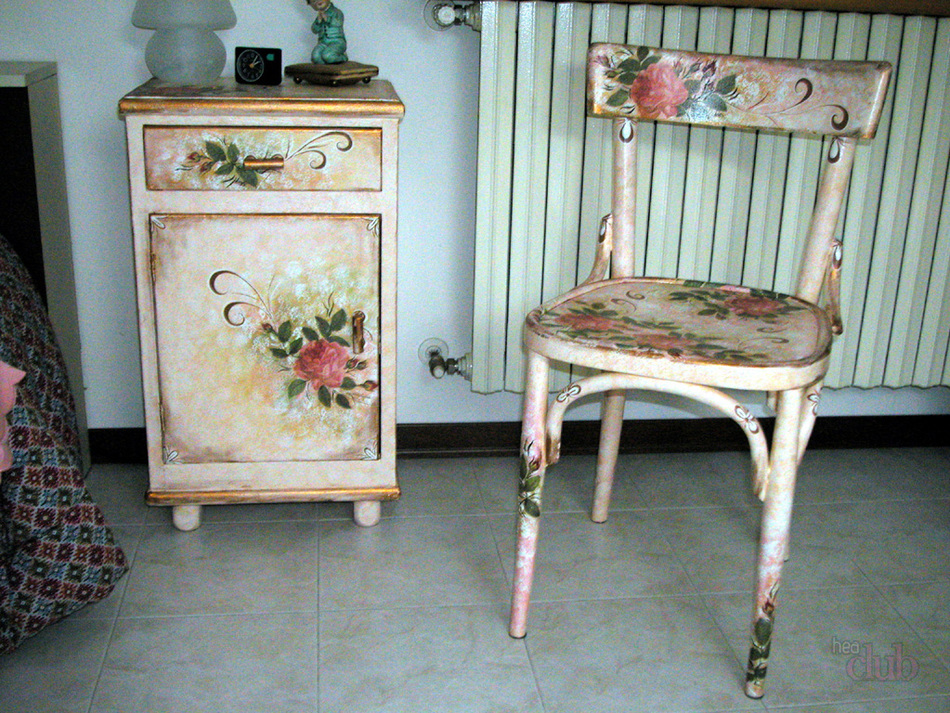
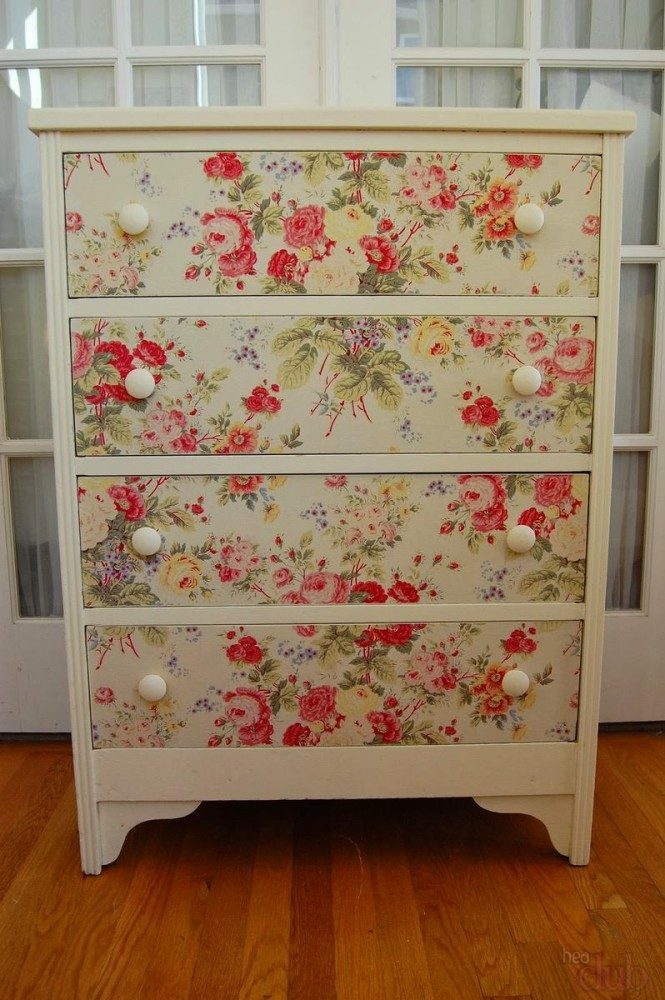
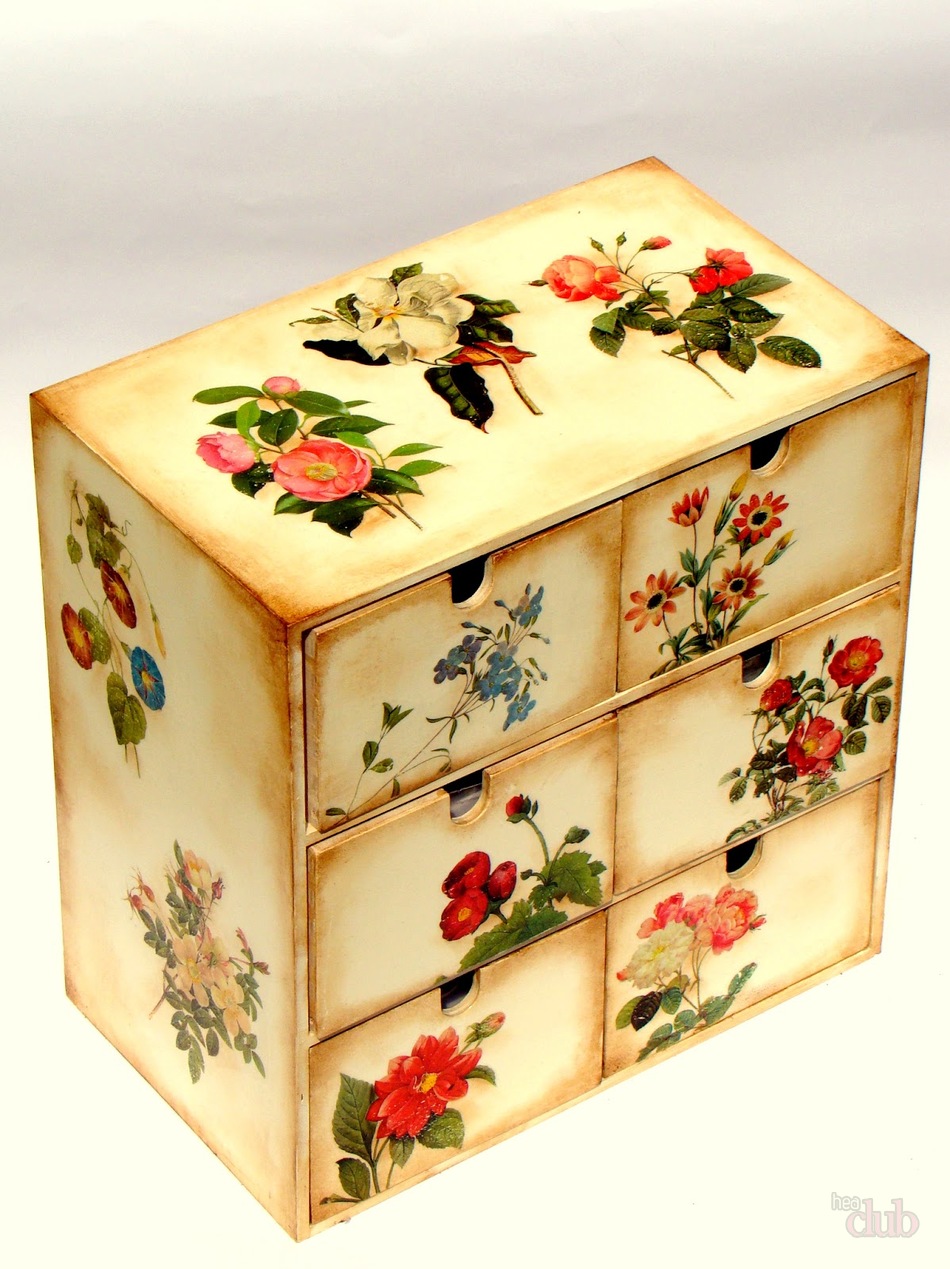
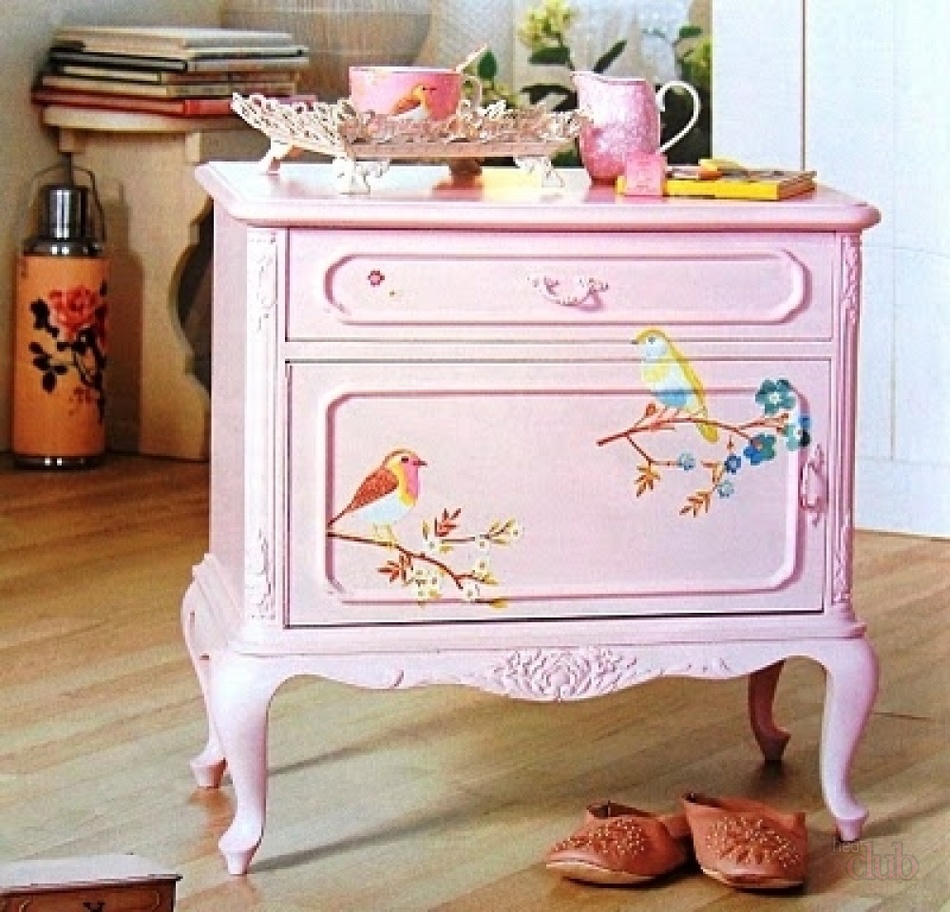
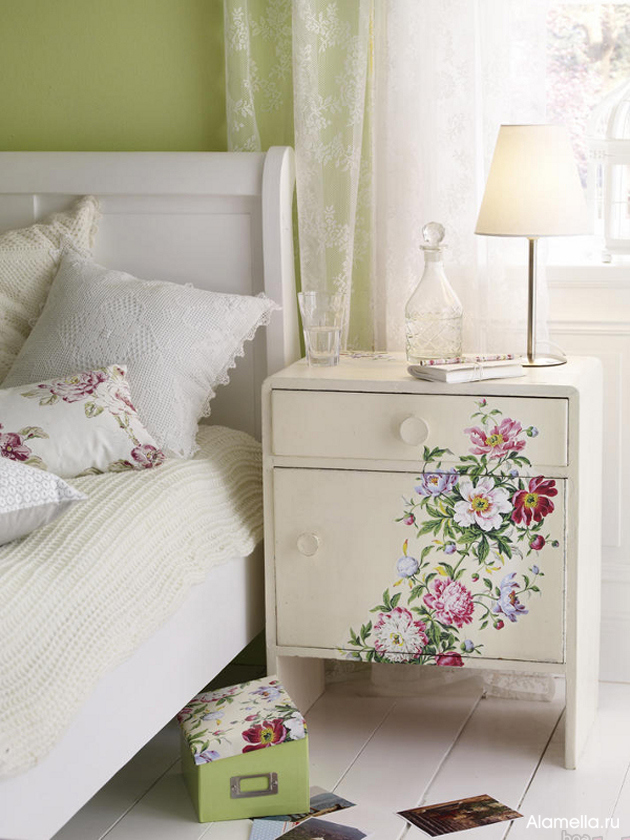
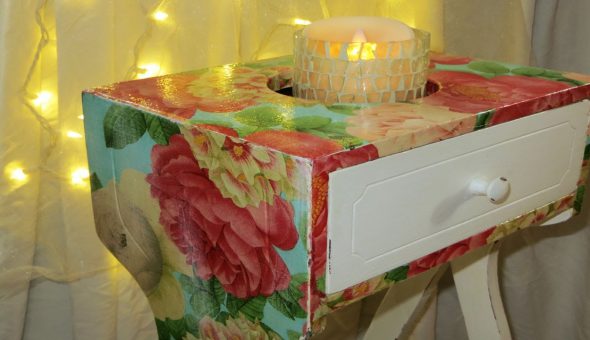
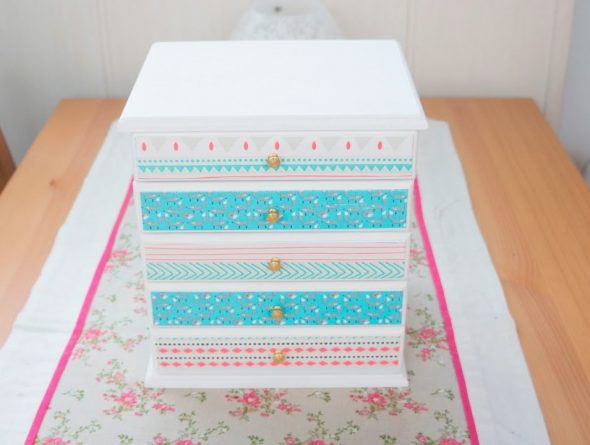
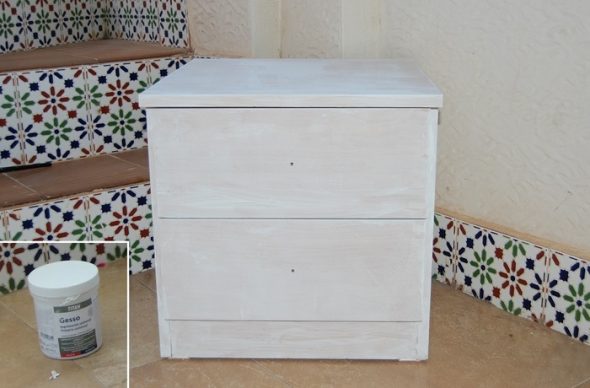
How to decoupage a nightstand?
- We prepare the nightstand for decoration: wash it well, sand it, remove all the dust, let the material dry and paint it white with acrylic.

If the old color of the cabinet shows through, then you need to paint it again, if necessary, prime the defects and chips. - After drying, we cover it with paint and nLet's start decorating. You need to prepare napkins with a pattern you like, glue, varnish, brushes.

We choose a suitable floral pattern for napkins. - We decorate the recesses with decoupage. Prints can be combined with other shades of the room's interior.
- We need to remove the top colored layer of napkins and mark the furniture.

We apply glue to the designated areas, press the cut-out images, carefully smoothing them out as we go. - The insides and drawers can be made bright, decorated with the paint color you like. The cabinet inside will now be easier to clean.
- The glued napkins must dry for 24 hours.

The old cabinet is covered with water-based varnish on top to prevent moisture from damaging the decorated furniture.
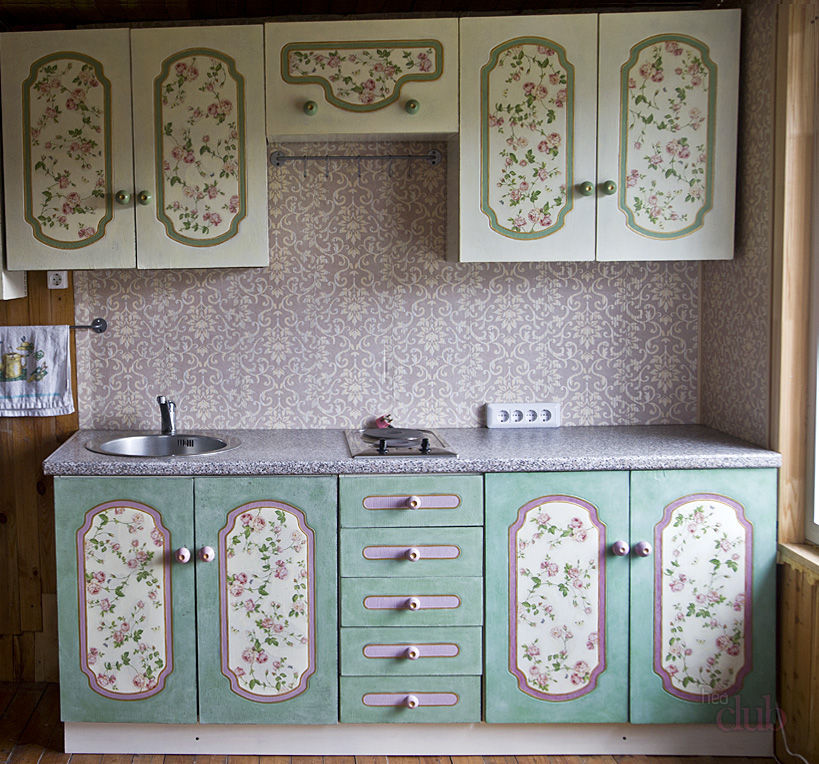
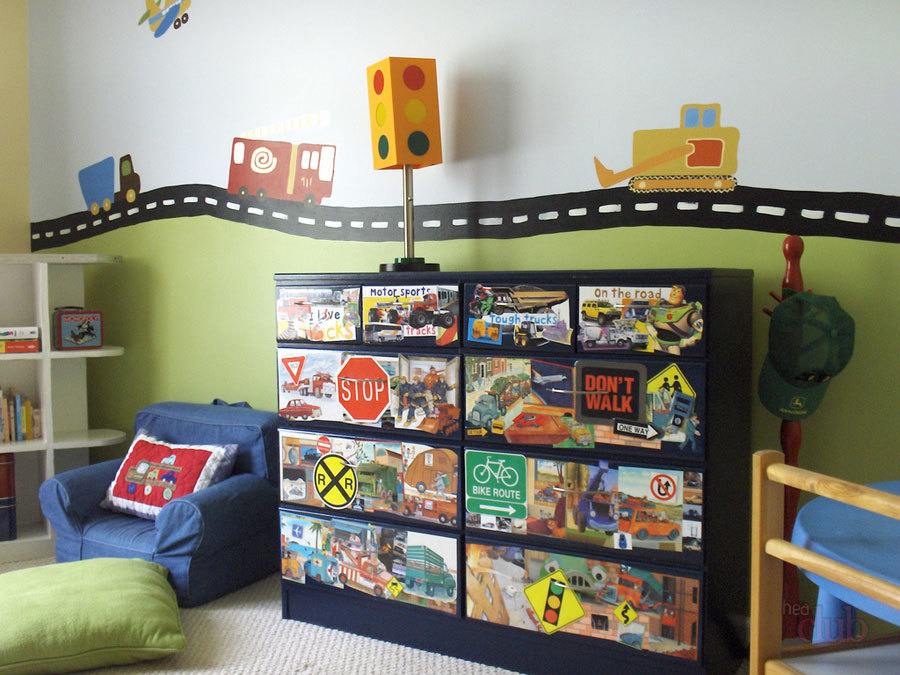
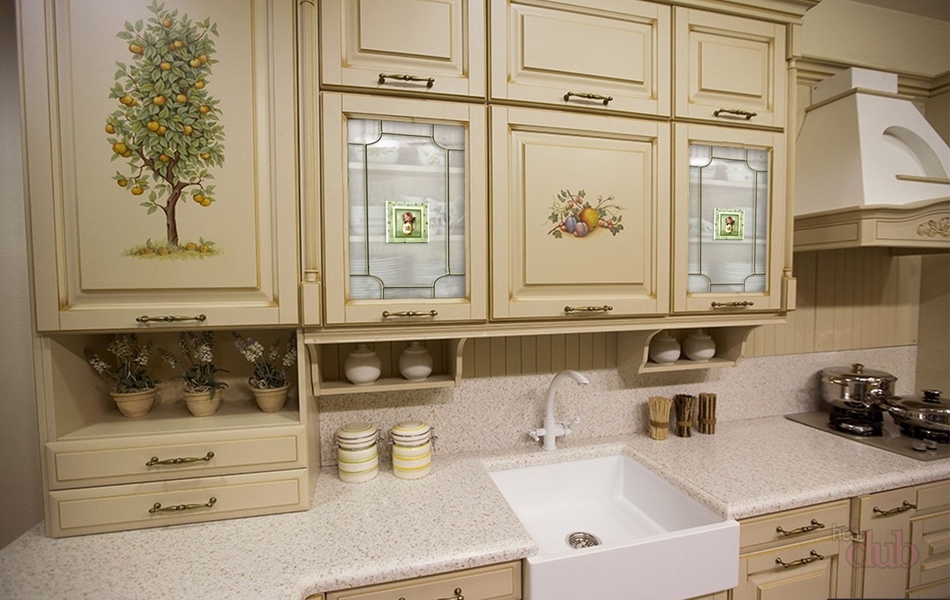
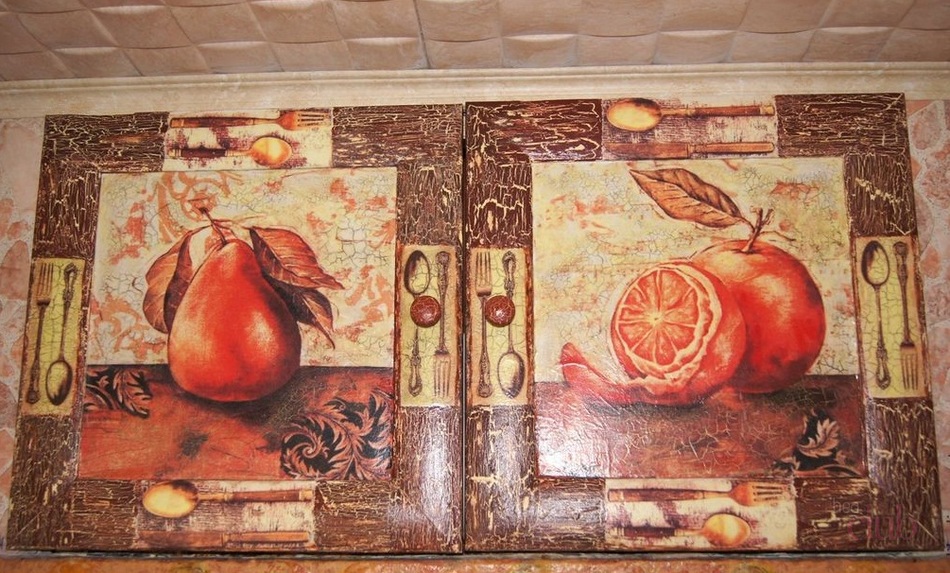
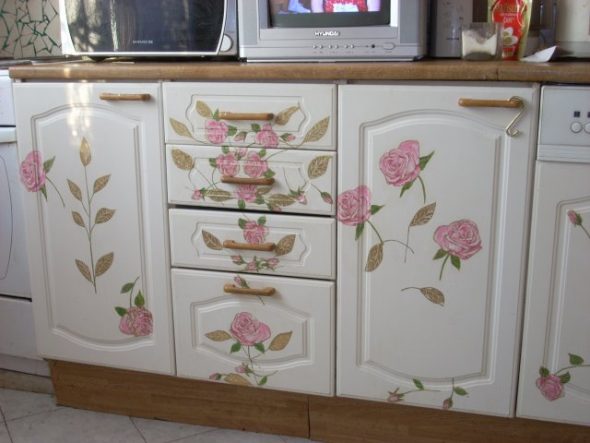
Decoupage of kitchen furniture
To decorate old furniture, you can cover it with scraps of newspapers, magazines, special or your own kitchen napkins, or wallpaper.
The reverse technique is well suited for working with glass. Smoky design can easily replace artistic painting, but it lends itself better to the hand of a master. Materials with fruits, vegetables, and dishes are perfect for decorating old furniture in the kitchen. Decorating with rice, mulberry, and banana textured paper looks good.
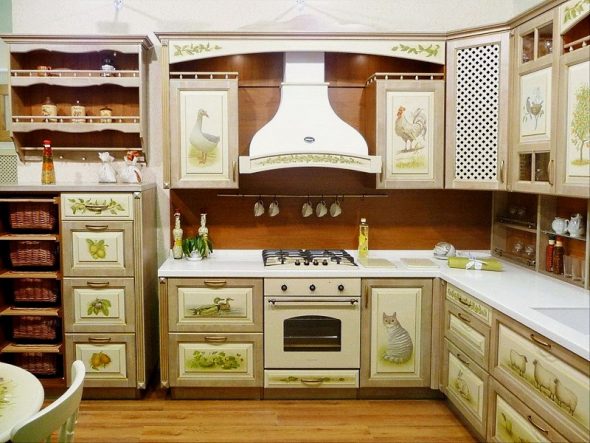
PVA is good for gluing, acrylic paints, bitumen and paste with metal effects are used for artificial “aging”.
VIDEO: Furniture decoupage: a second life for old things.
Do-it-yourself furniture decoupage – 50 photo ideas: